Nintendo Land Guide Walkthrough Solo Attractions
Captain Falcon’s Twister Race
Racing, F-Zero Style!
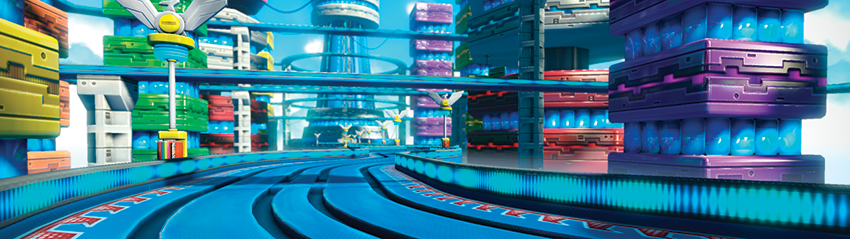
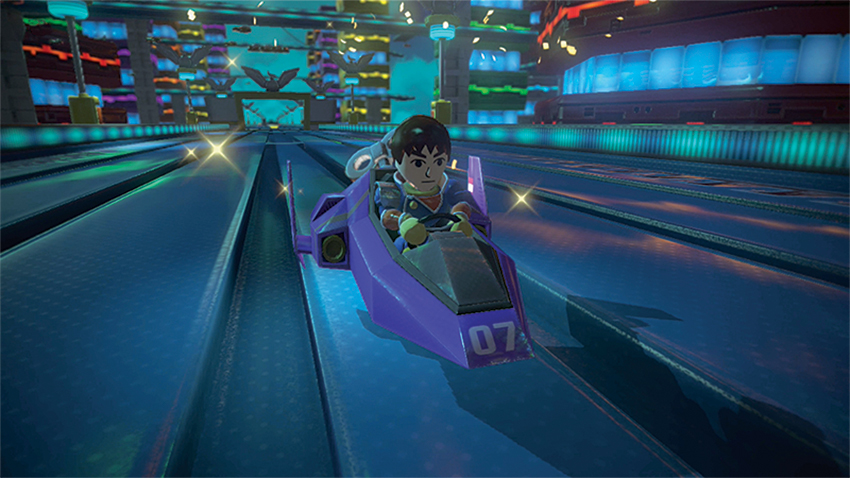
Few racers are as simultaneously beloved and dreaded as F-Zero . Chalk it up to a whole lot of old-school difficulty if you must, but Captain Falcon’s Wii U version of the sport offers an interesting portal into the could-be world of HD hovercraft racing. Interestingly, though, the control method for the game involves holding the GamePad on its side, then twisting left and right to steer the craft while watching a top-down view of the track. The combined use of the GamePad and TV views allows you a better view of the race track to locate Stars and upcoming Dash Plates, especially when the craft is when the craft enters a tunnel. It may seem a little tricky at first, but this decidedly different take on a typical racing game is unlike anything you’ve ever played before. That’s how Captain Falcon likes it!
Controls
Gamepad contols
| Destroy Obstruction | Point Wii Remote at object and press A Button |
Assist Play Controls
| Steer Falcon Flyer | Turn GamePad left or right |
| Brake | Touch GamePad touch screen |
| Drift | Quickly turn the GamePad left or right. |
| Turn camera on/off | Touch the (camera button). |
Speed? Did someone say they were looking for some speed? Look no further than the ultimate test of high-speed racing mettle: Captain Falcon’s Twister Race ! With tight controls and a series of increasingly tense challenges, this 12-Area race is nothing to scoff at. You’ll find plenty of old F-Zero classics like Dash Plates and huge Jumps, but plenty of new hazards too like Battery Trams, Air Barricades, Red Bombs, and dozens of Small Cones that slow things down. Any one of these could put a serious damper on your race to the finish, but all of them together? That’s a serious F-Zero challenge right there.
Stamps
| Icon | Name | Conditions |
|---|---|---|

|
Hang Time | First Jump. |
|
|
4-Star Racer | Acquire a 4 Star ranking in any Area. |
|
|
5-Mistake Limit | Reach the goal with less than 5 mistakes. |
|
|
Checkered Flag | Pass all areas. |
|
|
Racing Perfection | Complete a perfect run with no crashes. (No Assist Play allowed.) |
Normal Course
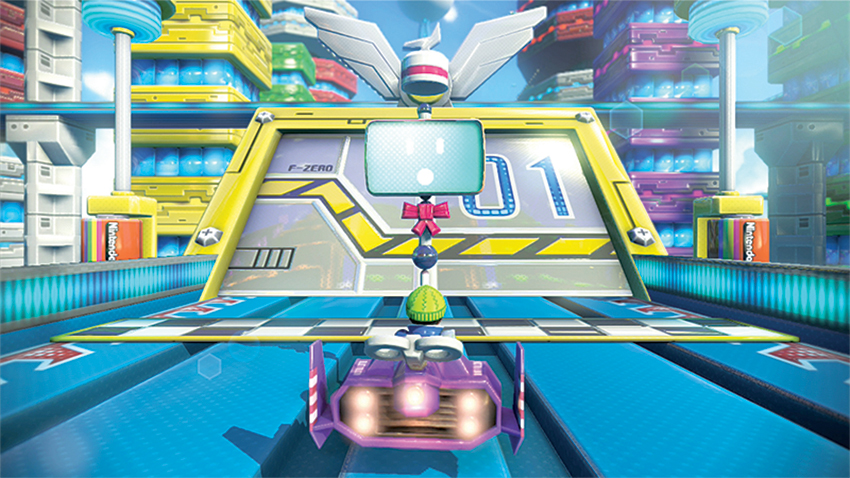
Here it is, ladies and gents, in all its futuristic glory. The first few Areas are all about teaching you the basics; hazards, Dash Plates, and even a Star that gifts a brief bit of invincibility. Having only 35 seconds in these early Areas (later Areas have even fewer seconds) means mistakes here are costly, but not race-ending; avoid those hazards and you’ll cruise across the finish line with seconds to spare.
Area 1
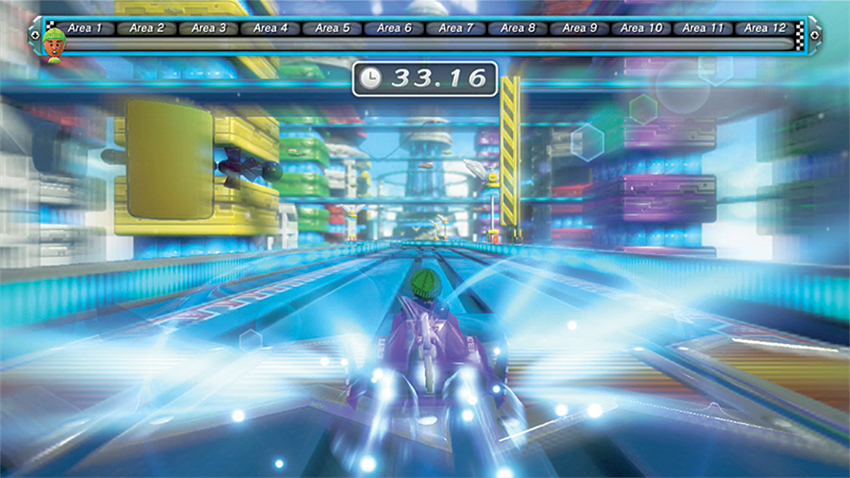
The first Area of this race is all about speed. Dash Plates are scattered all over the course. The first is a freebie: a row of multiple Dash Plates span almost the entire width of the track. The ones that follow, however, take a little planning to get into position to fly over. Stay right after the second turn to hit your first challenging Dash Plate, then look for another Dash Plate coming out of the fourth turn. Line up for a string of Dash Plate by zigzagging from the center to the outside of the track for three more dashes, then continue to skirt the inside lines of the following turns to grab another Dash Plate on the right. There’s a final Dash Plate right before the first tunnel.
Area 2
Area 3
Area 4
Area 5
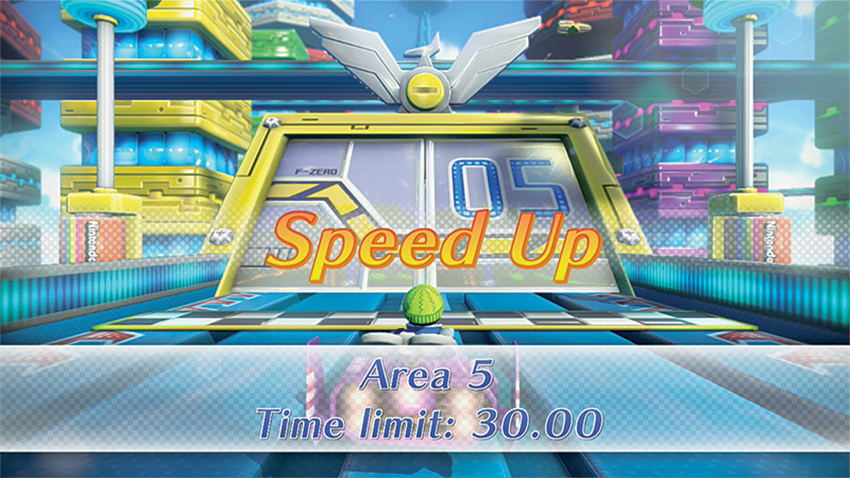
After passing through the Area 4 tunnel, your Mii gets a well-deserved bit of rest. If you need to tend to grab a bite to eat or anything, do so before tapping the OK button on the touch screen because it’ll be another few Areas before another one of these Checkpoints pops up. When you’re ready, press OK, and be ready for a decrease to 30 seconds allotted to make it to each tunnel.
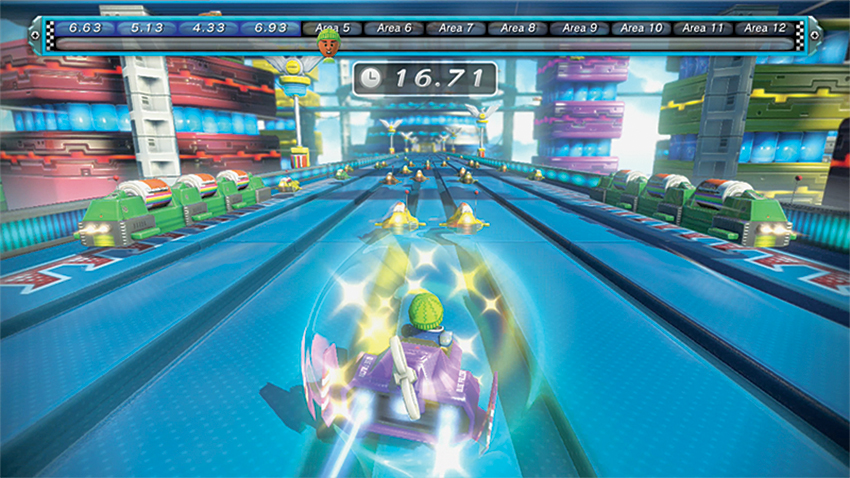
This first new area is a completely straight shot all the way to the tunnel, but there are quite a few Battery Machines and their longer cousins, the Battery Trams before you reach it. Work your way through the pairs of slow-moving obstacles and try to stick to the sides to make weaving through these hazards easier. A Star waits for you about halfway through Area 5, and if you can grab it, the Battery Vehicles and even Battery Trams will be smashed out of your way on contact with no loss of speed. Watch out for the last few Battery Machines, though, as your Star will have run out and their zigzagging can be tough to slip past if you’re not ready for it.
Area 6
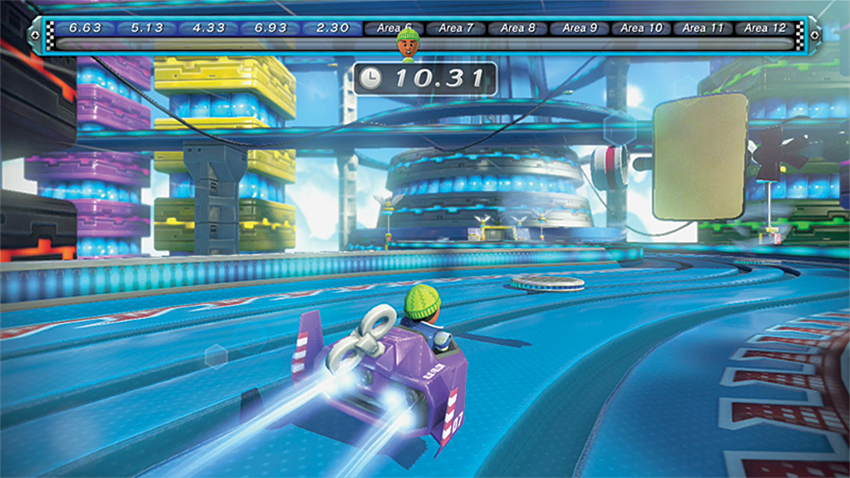
More Air Barricades pop up during this part of the race, but you can thread between them by hugging the insides of most corners. Be ready to tap the air brakes to navigate a hard turn and you’ll squeak through here with minimal problems. There’s a Star about midway through this section, but it runs out rather quickly and can give you a false sense of security. It’s best to learn how to avoid the Air Barricades the hard way.
Area 7
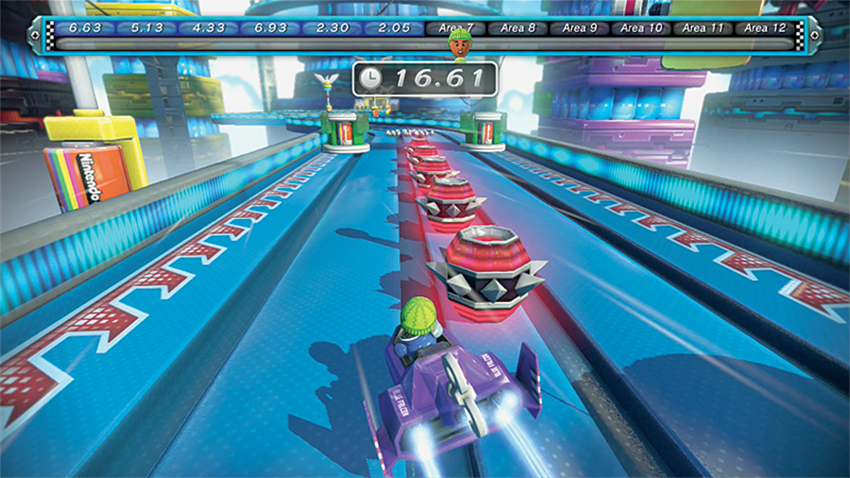
Two new dangers are introduced during the brief sprint through Area 7: green Neon Barricades and the ultra-lethal Red Bombs that will stop all progress and force your Mii to start from the beginning all over again. The Neon Barricades are easily navigated by alternating between hugging the inside line and swinging wide around the threats. When the track straightens out, tap the air brakes a bit to make sure you can avoid the Neon Barricades and a nasty string of Red Bombs. Shortly after the Red Bombs is a series of hard turns. Tap the air brakes here, too, if it feels like the Falcon Flyer is starting to skid a bit too much. Alternatively, if you think you’ve got the power slide technique down, you can attempt to slip through the corners without slowing down much at all.
Area 8
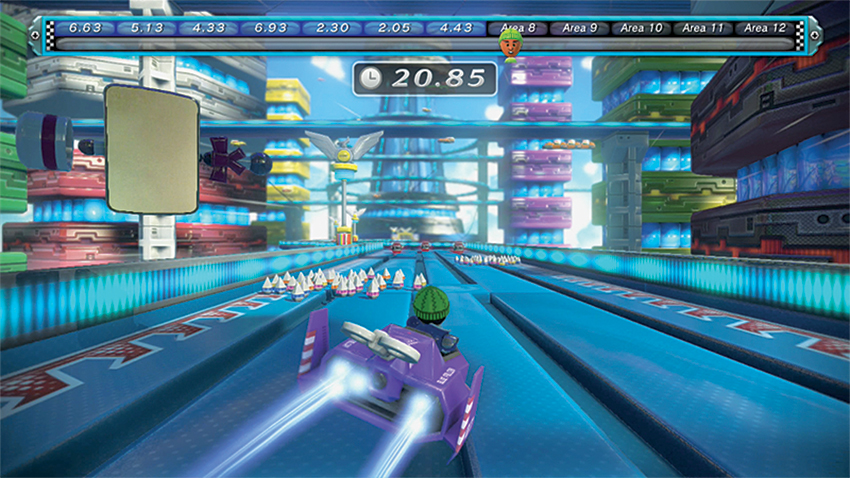
Air Braking is extra important in Area 8, as it’s littered with Red Bombs and, in one particularly nasty section heading into the mid-point of the Area, a combination of Small Cones and scattered Red Bombs. If you have to hit one obstacle, make sure it’s a Small Cone, but adequate air braking should make slipping by them fairly easy. The final section is a gauntlet of Red Bombs that are staggered so that you’ll have to zigzag between them. Think back on those early Air Barricade encounters to remember that it doesn’t take much more than a slight twist of the wrist to steer around hazards like these.
Area 9
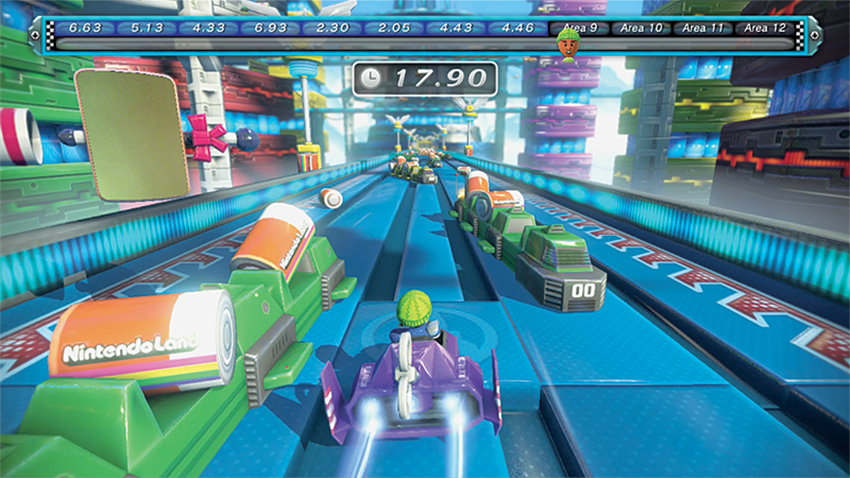
You’re three-fourths of the way through the Normal Course, and it’s time for another breather. Gather your strength, then hit the OK button on the touch screen to kick off the next area. Be ready for a further decreased time limit of 25 seconds per Area. Luckily, this whole area is a straightaway. Unluckily, it’s also riddled with the unmoving remains of dozens of Battery Machines and Battery Trams. Worm you way through them by sticking just to the left or right of center and easing the GamePad left and right to cut between them. Don’t fret if you hit one or two of the stationary blockades; stay clean through the rest of them and you’ll make the tunnel.
Area 10
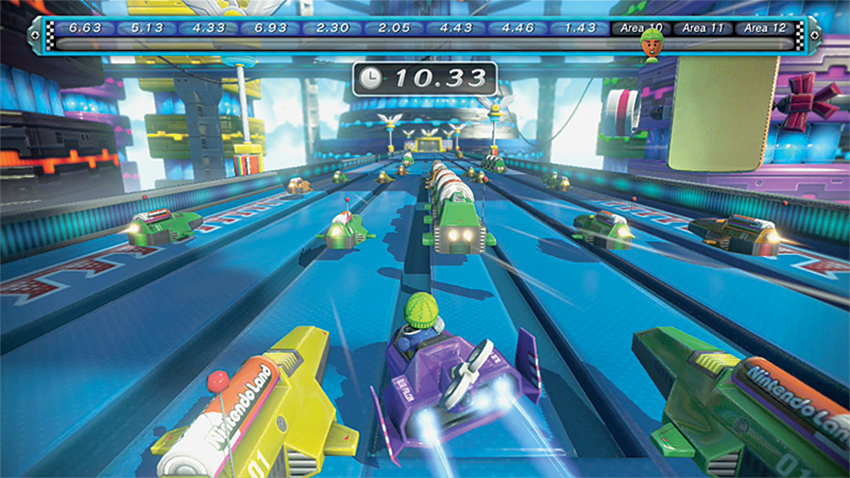
Another straight section awaits you here, but this time the Battery Trams and Battery Machines are on the move, constantly sliding all over the track. Use the same cool-headed approach as the last Area, tapping the brakes if need be to avoid a collision.
Area 11
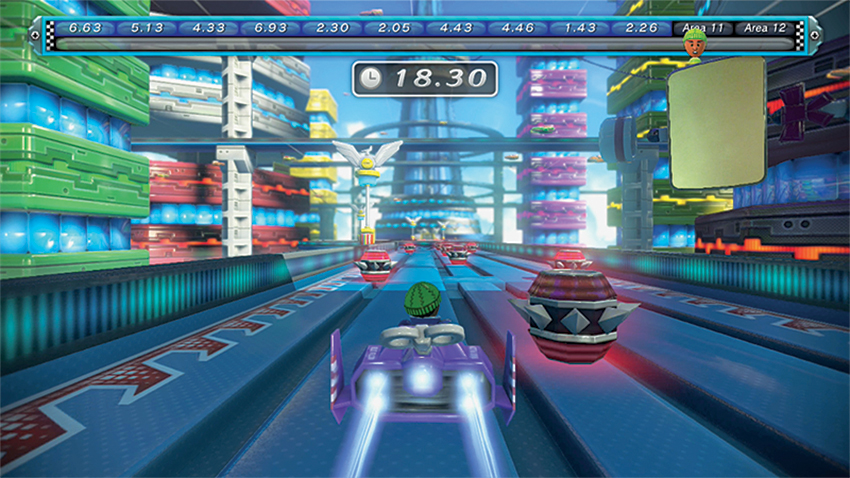
A triple threat of hazards crop up in this second-to-last stretch: lots of Red Bombs, a few patches of Small Cones, and a smattering of Air Barricades all combine to create quite a bit of chaos. Tap your air brakes as you enter and exit corners to avoid being surprised. Reflexes are everything here, but there’s no need for quick, jerky motions; they’ll just slide you right into the very thing you were trying to avoid.
Area 12
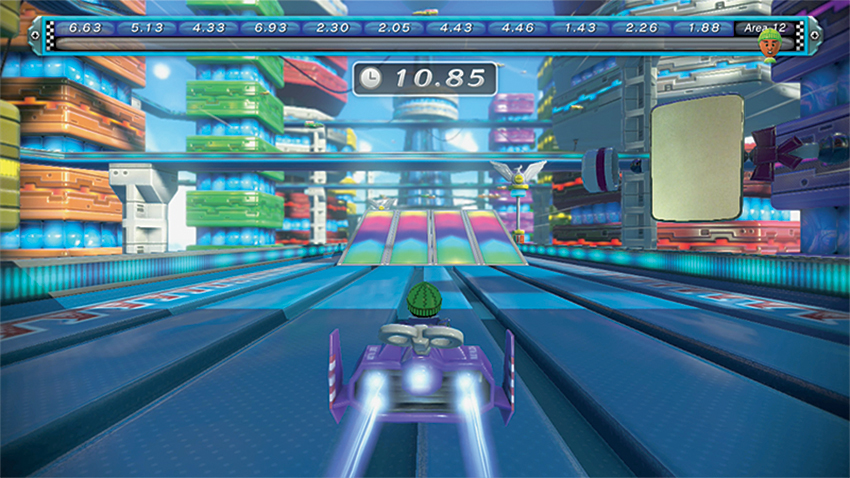
This is it, the final stretch! A handful of Jumps are available (and recommended), but remember the golden rule of Jumps: straight-on or not at all. You’re so very close to the end now, and it would be a shame to have to go all the way back to the start. At about the midpoint, a huge number of Air Barricades are thrown up to try to slow you down. Squeeze through them with a measured, serpentine set of turns—nothing drastic here. Your ability to keep a cool head and steady hands will be your greatest asset.
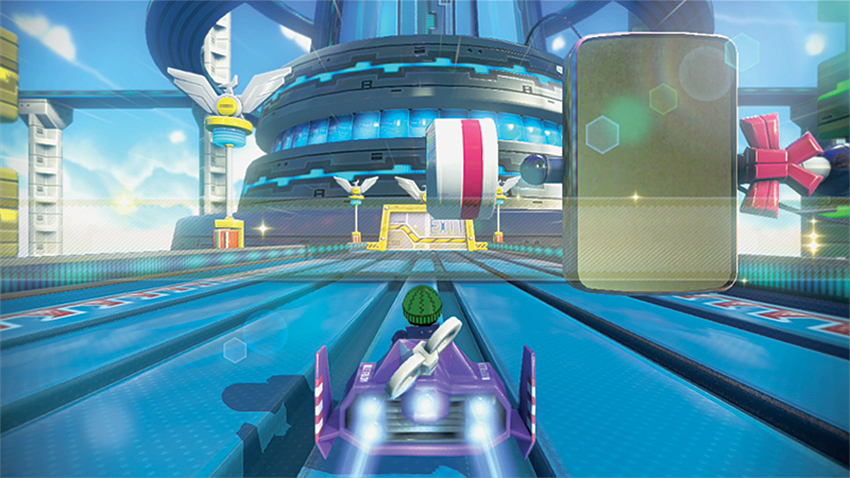
Take a deep breath as you coast into the final Area. You’ve made it through the whole course! Ready for more? Good, because Monita’s ready to give you a Star and unlock the Extra Course.
Extra Course
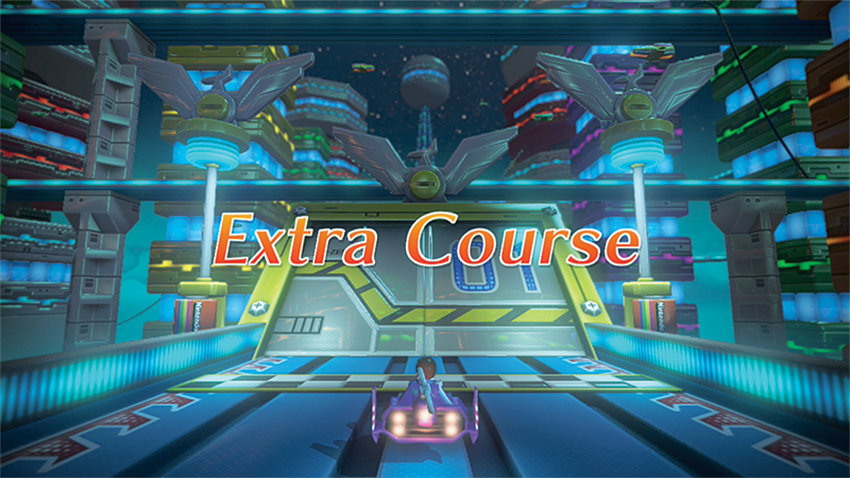
Now it’s time for a real race. The Areas to come are littered with sharp corners, hazard-filled blind spots, and lots of speed. You’ll have less time to reach the tunnels between Areas, too, so after running through the Normal Course once more, take a small breather and get ready for the ultimate Twister Race challenge. Recruit a friend to help out with Wii Remote in Assisted Play if you’d like; they can actually erase hazards from in front of your path by pointing the Wii Remote at an object and pressing the B Button, but they must use the TV view to hunt down targets.
Area 1
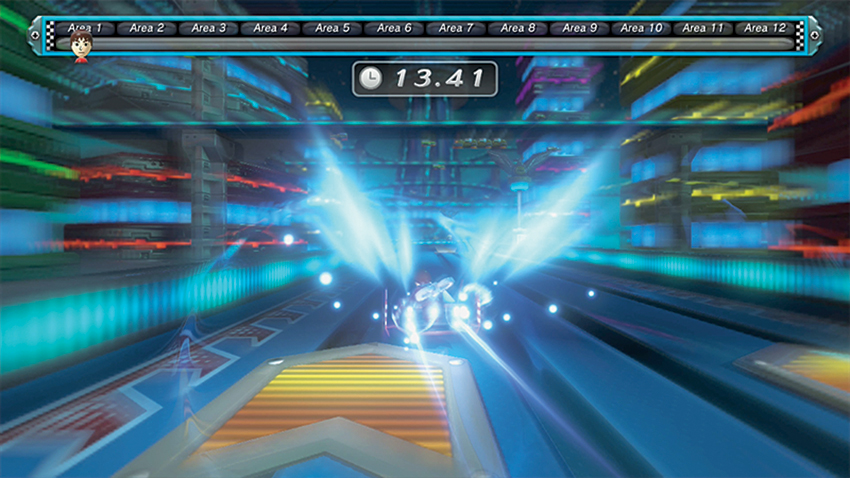
To reach the tunnel in only 25 seconds, you’re going to have to hit every Dash Plate along the way. Hit the first Dash Plate right out of the gate and dead center. Then hug the inside corners of each turn, and as you come out of the fourth turn, angle toward the right side of the track, then the middle, and back out, moving from one Dash Plate to the next. Stay left and outside after the sixth turn to hit one Dash Plate, then cut over to the right to chain into another. Finally, air brake while you head into the next corner and get ready to hug the left part of the track when coming out of the last corner. Then hit the final central Dash Plate and coast into the tunnel.
Area 2
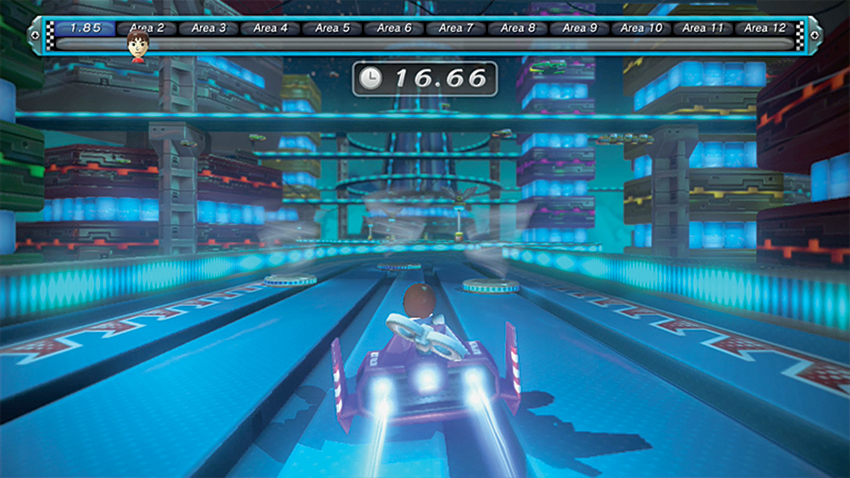
The Air Barricades in this next section have never been so plentiful. Stay on your toes and air brake heading into tight corners to allow yourself enough time to maneuver between the Air Barricades. When you enter a set of tight turns with moving Air Barricades, try to hug the outside walls to slip by them, then cut through the middle of the stationary Air Barricades in the next few corners. Grab the Dash Plate at the very end to make sure you speed into the tunnel.
Area 3
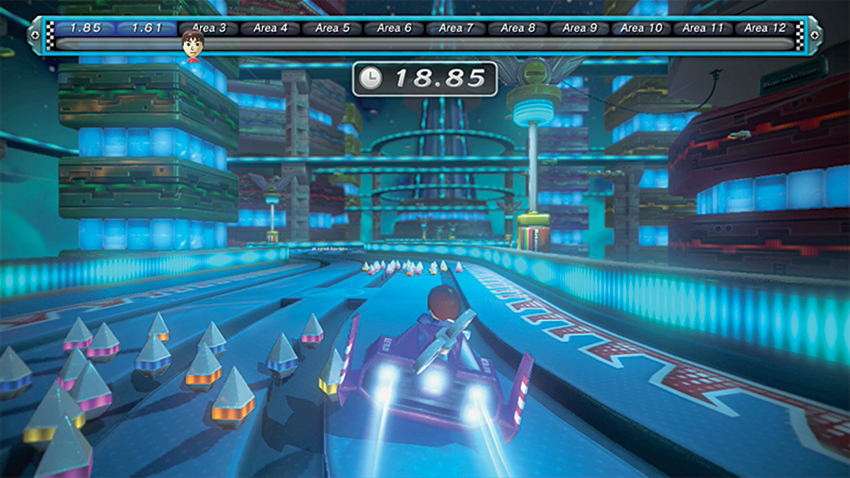
The second corner of this Area is an absolute air brake must. Tap it enough to pull a hard left, then slalom between the groups of Small Cones. To make up for the speed lost in navigating these hazards, look for Dash Plates after the sixth and final corners, right in the middle of the track.
Area 4
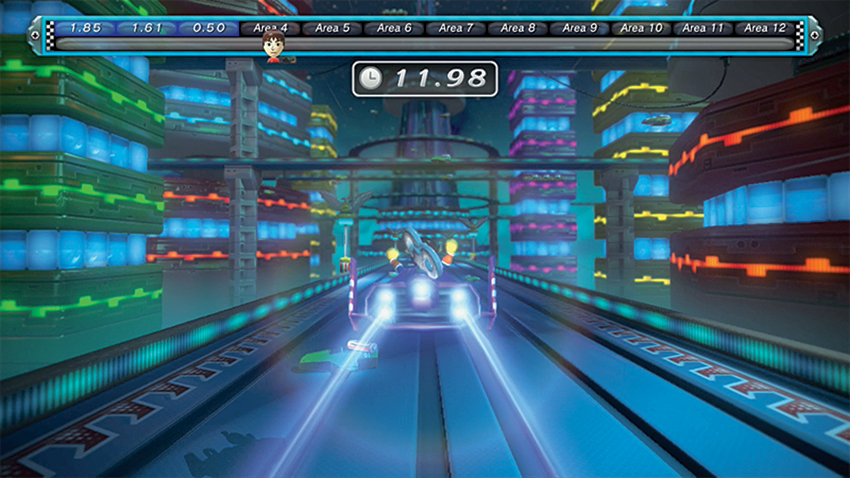
Unlike almost every other Area of Twister Race , you actually want to watch the TV for this part. Not only does it let you line up your Jumps earlier than would be possible on the GamePad, but it lets you see farther down the course to help you race across the few Dash Plates needed to make it to the tunnel. You’re almost to your first Checkpoint, keep it up!
Area 5
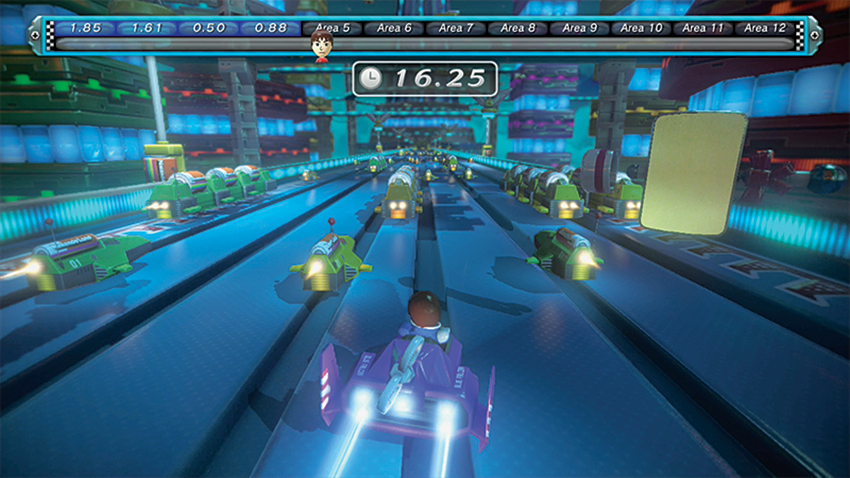
Another straight shot, this Area is infested with Battery Machines and Battery Trams. Catch the Dash Plate right at the start and then work your way through the group. Don’t forget to switch your view back to the GamePad for this section, as the top-down view provides a much-needed perspective on just how tightly you can squeeze between the many Battery Trams and Battery Machines dotting the track. Glance up from time to time, though, to see how close you are to the end of this Area. At about the three-quarter mark of this Area, there will be two outside Dash Plates and then one central one that can help make up for lost time if you accidentally hit one of the Battery Trams and Battery Vehicles.
Area 6
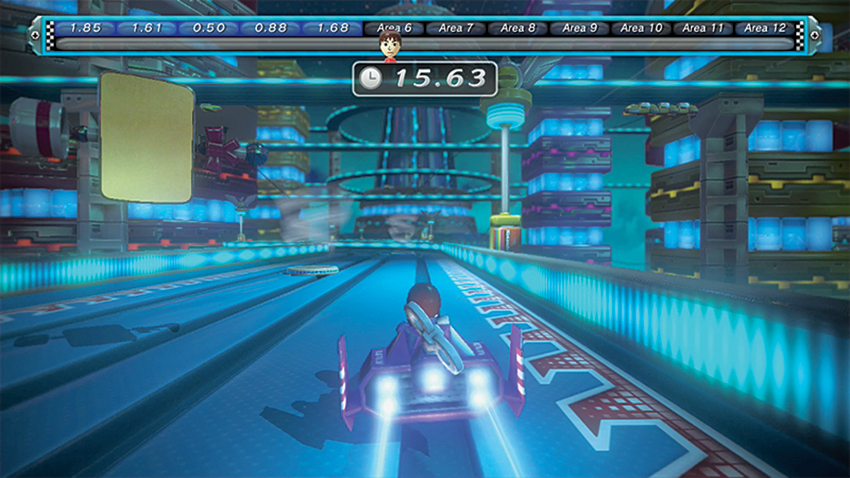
It’s time for more Air Barricades and unfortunately these are all moving. Stick to the usual strategy when trying to slip by these menaces: hug the inside of turns for minimal movement, and look for openings between groups of the Air Barricades to slip by them. A Dash Plate waits right after the final corner to give you one last nudge into the tunnel.
Area 7
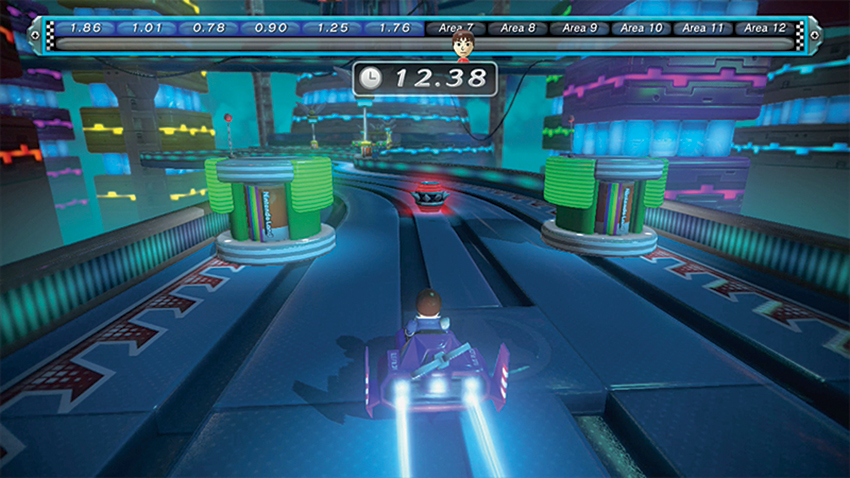
The Neon Barricades have returned, and they’re joined by some insidiously-placed Small Cones. Tap the air brakes when you see two Neon Barricades as you exit many of the turns in this Area to thread between them and the Small Cones that follow. Be especially careful when running over a Dash Plate at about the halfway mark; it leads right into a Red Bomb that can end this race in a hurry. Past the Red Bomb is a series of extremely hard right-left-right S curves. Air Brake if you need to in order to avoid accidentally drifting, then slip between the Red Bombs and Neon Barricades in the home stretch.
Area 8
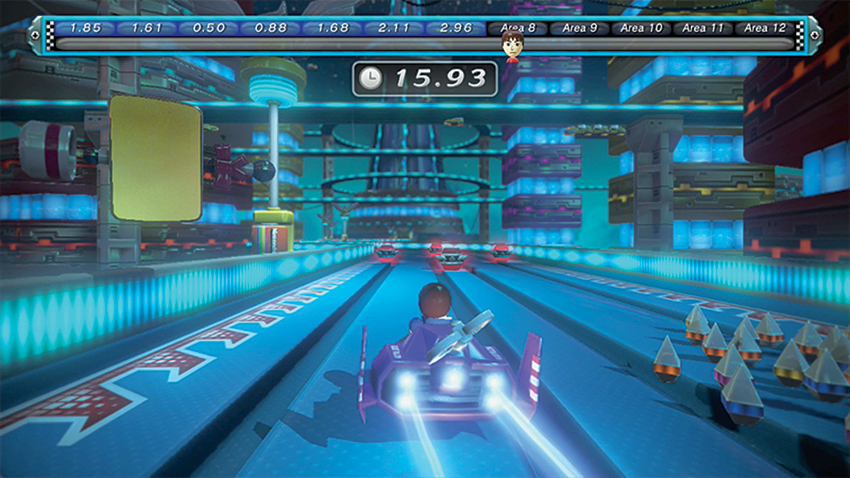
Red Bombs are everywhere in this portion of the Area—especially in the middle of turns. Even the straights force a zigzagging path between the staggered rows of explosive threats, so keep your cool here. This Area is about making tiny adjustments more than snap turns. Thread through this Area and you can look forward to some slightly easier bits to come.
Area 9
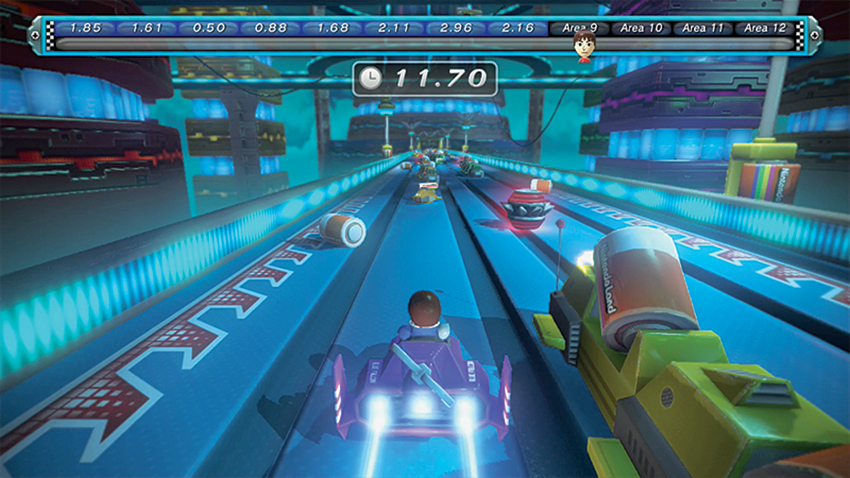
The Battery vehicle graveyard returns, and now it features quite a few Red Bombs. The Battery vehicles can be hit (though they will slow the Blue Falcon down considerably), but don’t treat the Red Bombs with the same cavalier attitude. All it takes is one touch to bring this race to a close. Again, small adjustments are the rule of thumb here. Try to stick to one side and weave through the stationary traffic all the way to the tunnel.
Area 10
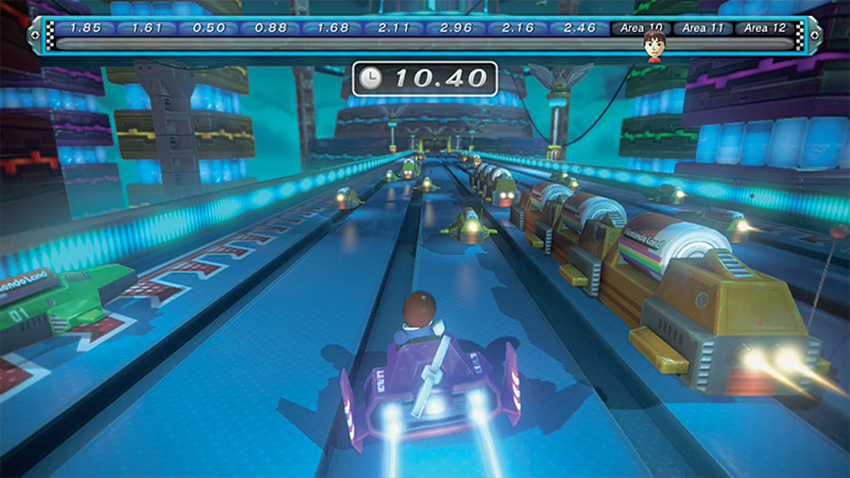
If you’ve made it this far without getting hit (at least not too many times), you may feel a sense of Zen calm washing over you. That’s good, because the next Area requires a bit of dual screen viewing. Look up at the TV to get a sense of where the Battery Trams are located, then back down to the GamePad to squeeze through them. It’s actually possible to hit one or two of the smaller Battery Machines along the way, but avoid the Battery Trams at all cost; their ability to slow you way down is a serious danger.
Area 11
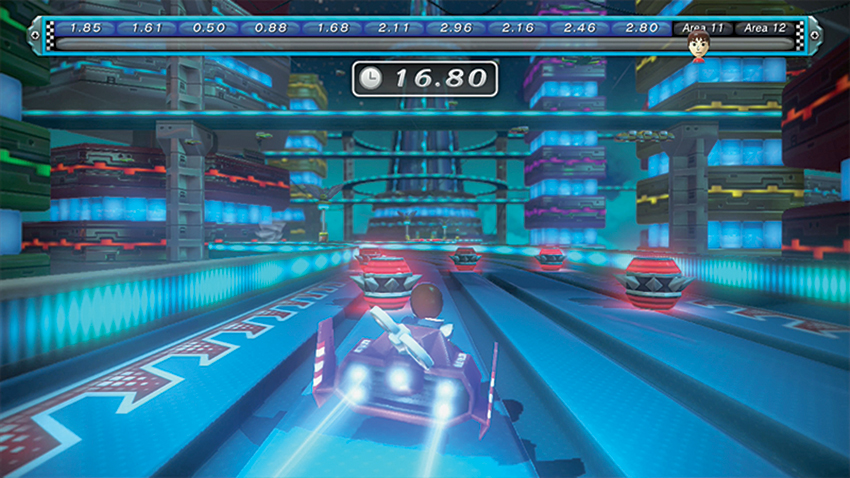
Small Cones in the tight opening corners greet you, and then the course opens up to an absolute sea of Red Bombs in the straights. You’ve done this plenty of times before, though, so tap the air brakes if you need to adjust, but otherwise snake left and right through the staggered rows of Red Bombs. A handful of Air Barricades at the midpoint corners might catch you off guard, but stay vigilant. Avoiding the Red Bombs in the straights is of the utmost importance, and some time can be made up coming out of the last corner by hitting two Dash Plates that run right down the middle of the track.
Area 12
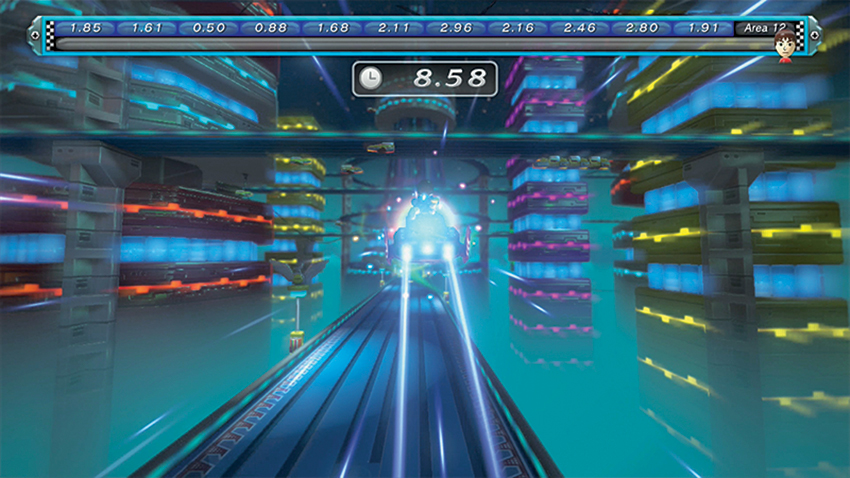
It has all built to this moment, and you’ve got this one in the bag. Carefully line yourself up to hit all of the Jumps in a left-right-left-right sequence. Tag the final Dash Plate and zoom into the history books!