
Nintendo Land Guide Walkthrough Solo Attractions
Takamaru’s Ninja Castle
Shooting Stars
Princess Monita has been captured and is in need of a hero! With your Throwing Stars and katana at the ready, fight through four Scenes of ninjas to reach Monita’s captor, a mechanical statue named Murasame. Be prepared to take on five types of foes, all with unique features, in the name of—well, it certainly isn’t love—let’s say, curiosity as to who is really behind all of this!
You have three hearts in which to complete your rescue mission, with hearts hidden in pots and awarded by defeated enemies. Keep in mind that these acquired hearts only replenish lost ones! You can also hold up to 50 Throwing Stars at a time, although this changes to 30 during the extra Scenes. As you progress deeper into the castle, the danger increases, as do the number and variety of ninjas. Be prepared to defend against Throwing Stars, katanas, and clay bombs, while learning your own special techniques to become all the more powerful!
Controls
Gamepad Controls
| Aim | Move GamePad |
| Throw Throwing Star | Slide finger vertically on the touch screen. |
| Perform Clay Bomb (once earned) | Draw a circle with your finger on the touch screen. |
| Perform Falcon Eye (once earned) | Draw a straight, horizontal line with your finger on the touch screen. |
| Perform Triple Star (once earned) | Draw a “V” with your finger on the touch screen. |
| Reload | Tilt GamePad upright. |
| Center Reticle | Press the A Button or Left (seen as Up as you hold the GamePad sideways) on the +Control Pad. |
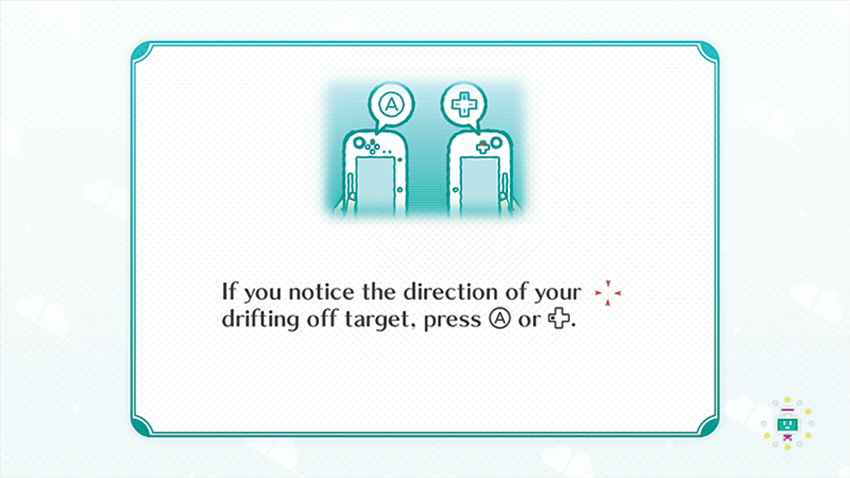
When playing Takamaru’s Ninja Castle , the GamePad is held vertically, with either the A Button or Left on the +Control Pad facing toward the TV. It stays in this position for the entirety of the Attraction, so ensure that the hand that is supporting the GamePad is nice and comfortable. With the GamePad secure in one hand, have your other at the ready to slide up the touch screen and attack with Throwing Stars for long-range enemies, or your katana for close-range enemies. When you learn special techniques via scrolls, you’ll be able to perform different motions with your finger and unleash even more powerful attacks.
The faster you move your finger up the touch screen, the greater the speed and power of your attack. However, accuracy is key for a high score. Move the GamePad to adjust your aim and tilt it to point off-screen to reload your Throwing Star supply.
Wii Remote Assisted Play
| Aim | Move the Wii Remote. |
| Stun Ninja | Press and hold the A Button. |
When you are joined by a friend playing with the Wii Remote, you are given a helping hand! The player with the Wii Remote can aim the hand reticle around the screen, grabbing enemies and shocking them in place until they are released. This gives the player with the GamePad more time to take aim and destroy the foe!
The Land Tainted by Evil
Your Mii journeys through four areas. Each Scene has ninjas lurking in the shadows, just out of sight until it’s their turn to strike. You must be quick-fingered and accurate to survive the trials and save the fair Princess Monita. To ensure your GamePad accuracy, you are required to strike the drum between each Scene.
Stamps
| Icon | Name | Conditions |
|---|---|---|

|
10-Hit Combo | Perform a 10-hit combo. |
|
|
10-Star Defense | Deflect 10 Throwing Stars. |
|
|
First 100 Down | 100 up, 100 down |
|
|
Princess Rescue | Rescue Princess Monita. |
|
|
Unstoppable | Flawless victory (All enemies must be defeated in the Extra Stages and your Mii cannot take any damage). |
Scene 1
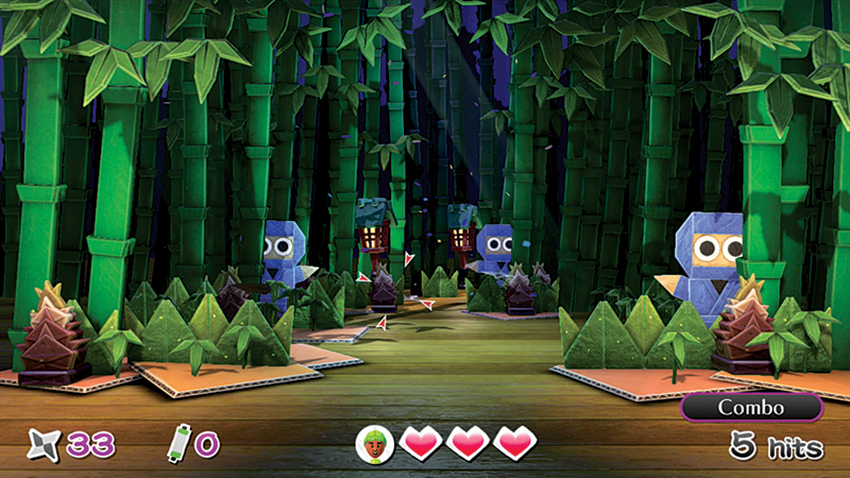
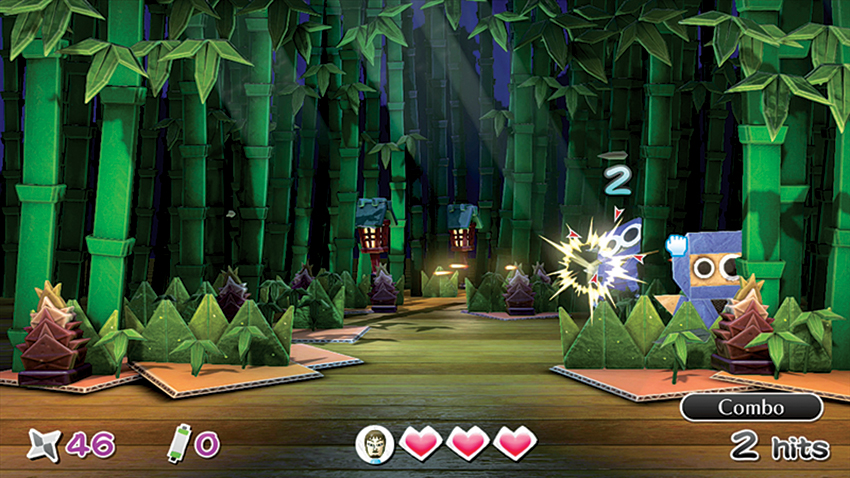
You start your quest to rescue Princess Monita in the bamboo forest, where blue ninjas peek behind the trees to take in your presence. These blue ninjas are harmless and for the most part remain still, although some shuffle across the path where your Mii stands. Use these first ninjas to practice your aiming and link a nice combo as you move into the next area.
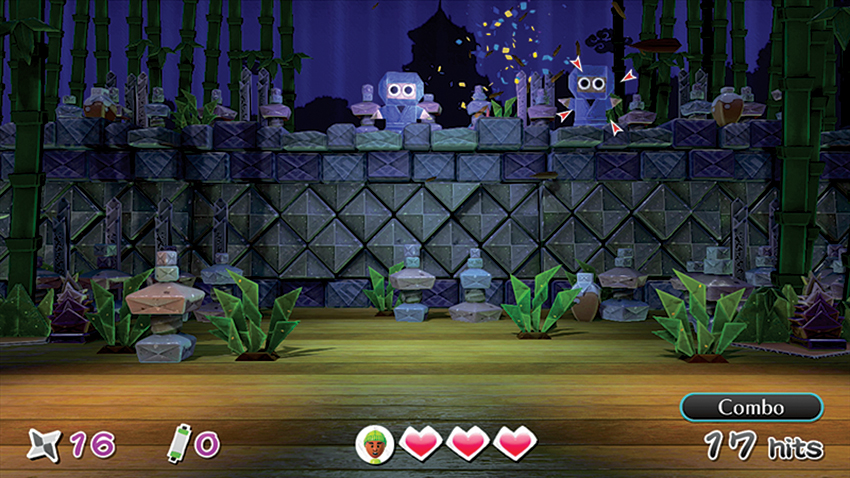
You zoom through the forest to enter a clearing where more blue ninjas lurk. This time, however, they have brought company: purple ninjas. Purple ninjas offer a bit more of a challenge, but are still on the lower end of the enemy totem pole. Be mindful of both the upper and lower level of the clearing. Enemies appear from both areas.
At the end of Scene 1, you are shown just how many ninjas you spared, as well as your score details. This is where you can see just how important those combos are! Whenever you finish a Scene, you are shown that each enemy defeated is worth 10 points while you gain additional points for your highest consecutive combo.
Scene 2
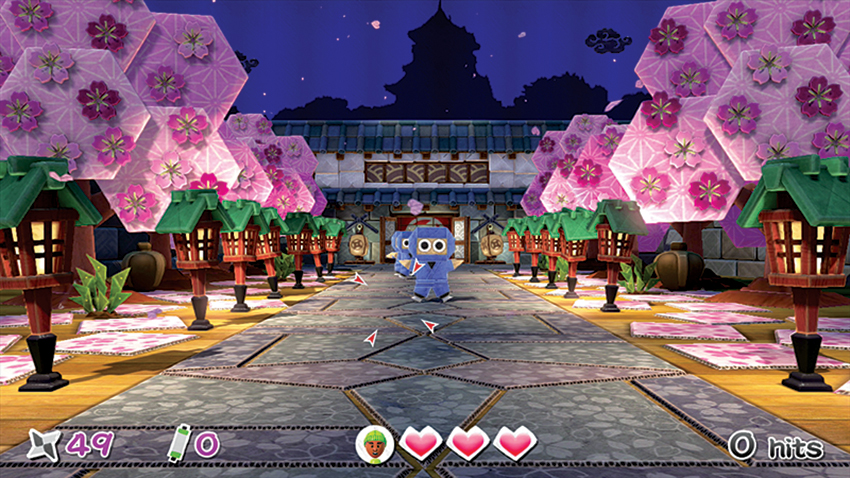
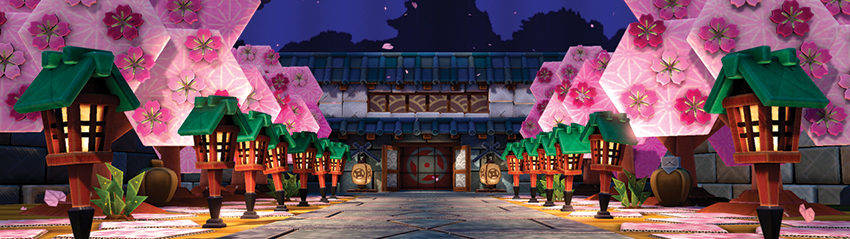
Fluttering cherry blossoms fall as your Mii approaches the castle. Both purple and blue ninjas dart into the path before retreating into the castle, and they sometimes hang just at the edge of the walkway to spy and attack. Watch out for the purple ninjas’ Throwing Stars and strike on target to collect those easy combos.
Jumping onto the roof of the entrance is yet another new enemy! Green ninjas are the mid-level foes, quick to attack and quick to retreat. You have to be on your toes when these foes are around. Take careful, but swift aim and remove them from sight! After clearing out any stragglers, your Mii rushes the entrance, encountering a large number of ninjas, including yellow ones. These sunny enemies use a new weapon—clay bombs—and they are more difficult to dispose of.
The final enemy of Scene 2 makes a grand solo entrance: the black ninja. This foe is particularly powerful, wielding the very same weapons as your Mii. The black ninja strikes from a distance with Throwing Stars and gets in close to slice with a katana. You must wait for the right moment to land a hit. If you attack while the black ninja is at a distance, all of your Mii character’s Throwing Stars are deflected. The only way to defeat this shadowy figure is to wait for the ninja to charge, and when the ninja’s katana is raised, there is an opportunity for you to strike! Repeat this attack five times to down the enemy with just your katana and finish Scene 2. To defeat the enemy in only three rounds of attacks, make sure to follow up your katana strikes with Throwing Stars.
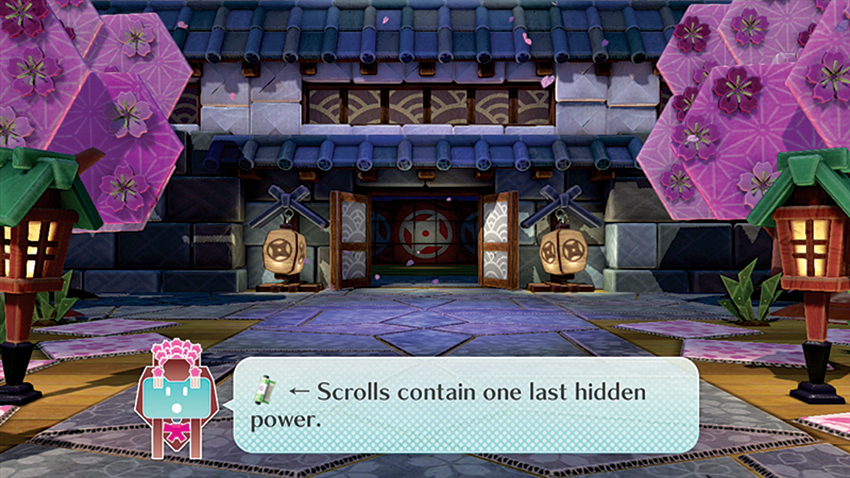
Before moving into the castle and beginning Scene 3, Princess Monita has a few words regarding scrolls. Scroll techniques allow you to learn special ninjutsu abilities. The first scroll teaches you the Clay Bomb technique, and as you continue your quest to rescue the princess, you learn even more ninjutsu. There are also scrolls found about the Scenes. These wrapped pieces of parchment, found inside pots and left behind by fallen ninjas, allow you to perform unlocked ninjutsu techniques. Scrolls are required to unleash your techniques. The total amount of scrolls in your possession is listed on the bottom of the screen.
Scene 3
After enjoying the bonus round, your Mii enters the castle to begin Scene 3.
Right from the start, your Mii is attacked! A new type of ninja—a red ninja—springs forward, katana in hand. Strike the ninja down with your katana before it can land a blow and follow up your move with Throwing Stars to down the enemy. Once the first ninja has fallen, a steady stream of purple, green, blue, and yellow ninjas, plus one additional red ninja, enter the room from all sides. If it’s available, use the Falcon Eye technique to slow everyone down and give yourself a little more time to link together combos and fully clear the room before the ninjas have any chance to escape!
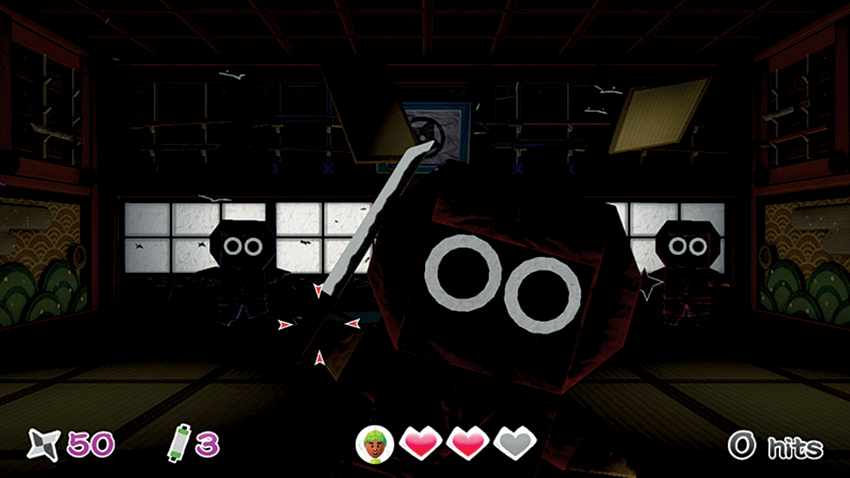
Your Mii passes into the next room, and it looks like someone forgot to turn the lights on. In the dark it’s difficult to see what type of ninjas you are up against. As foes enter, try to spot which weapon they are holding. Throwing Stars signal that the ninja is either purple or green, katana are the signature weapon of red ninjas, and clay bombs mean you’re up against yellow ninjas. As the ninjas stack on top of each other, consider using the Clay Bombs technique to eliminate an entire cluster of foes at once. If you don’t have the Clay Bombs technique, then focus on the ninjas at the top of the stacks. They are the ones with weapons and are therefore the biggest threats.
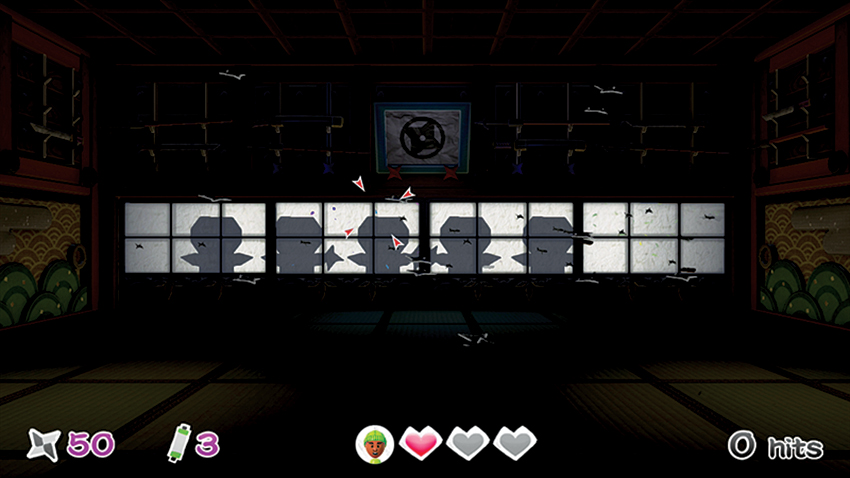
The back of the darkened dojo is lined wall-to-wall with paper sliding screens. Ninjas move behind the screen, stalk back and forth, and attack from behind the sheets of paper. It’s impossible to tell what type of ninjas your Mii is facing, but the shadows of their weapons can give clues. Strive to eliminate all foes, but when in doubt, focus on the ninjas that are actually armed and dangerous.
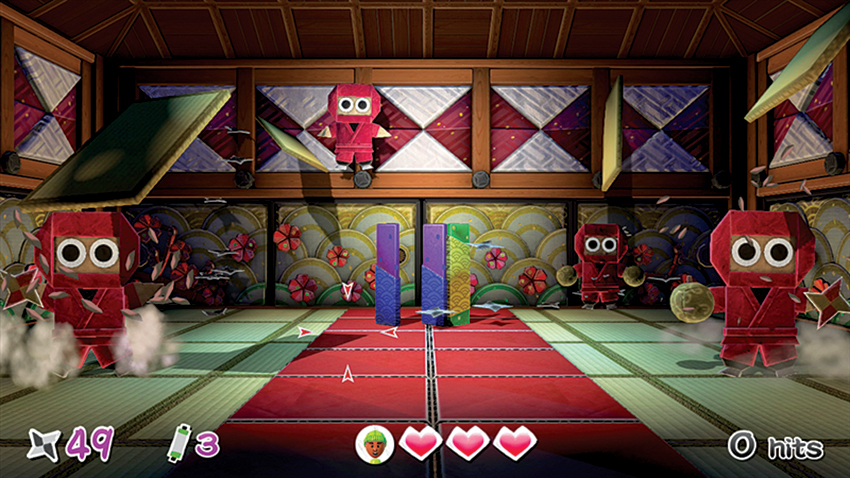
Beyond the paper sliding screens is the final room of Scene 3. In the center of the space is another folding screen that hides red, yellow, and green ninjas. Work on destroying the screen, along with the ninjas, to remove their cover and gain scrolls, Coins, or hearts. A wave of red ninjas then occupies the room, wielding clay bombs, Throwing Stars, and katana. With so many powerful enemies gathering at once, this is a great time to use one of your stored scrolls. Red ninjas attack quickly, so the Falcon Eye can slow them down and give you more time to focus your attacks.
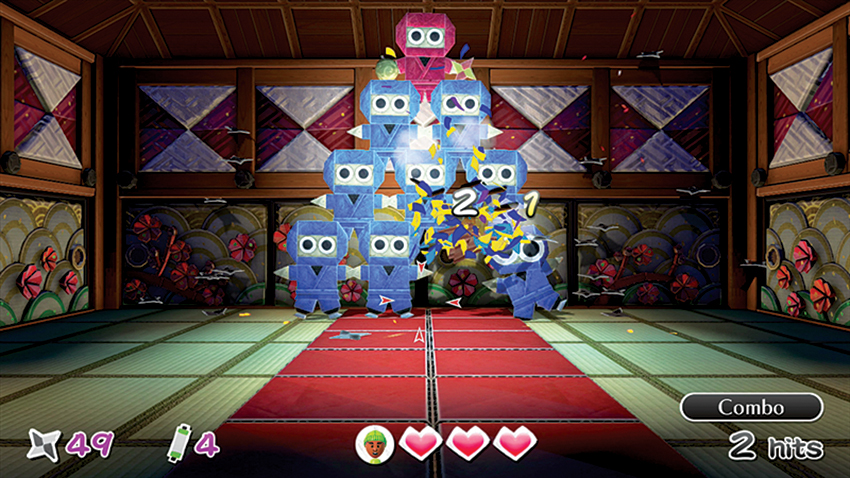
The final set of the Scene has ninjas stacking on top of each other to form a pyramid. This towering structure is built with blue ninjas, with only a single red ninja at the top. Eliminate the crowning ninja first, as it is the only one that has weapons, and then terminate the blue ninjas as you move down.
Scene 4
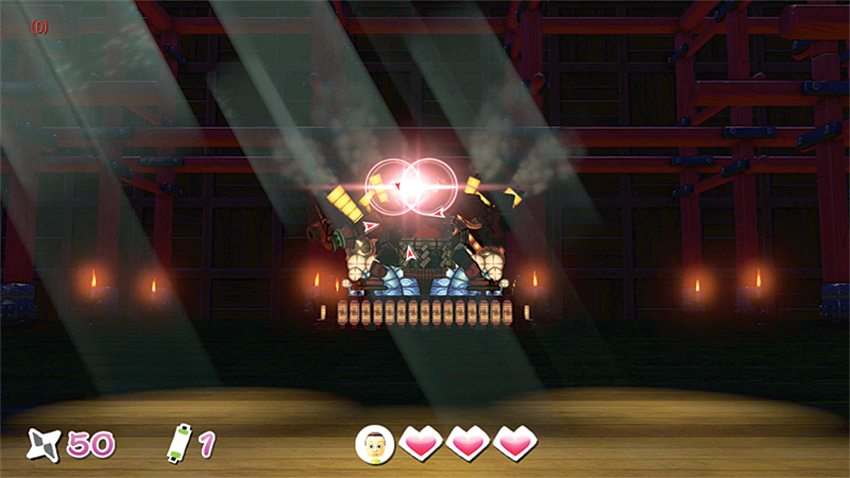
As you enter the next room, you can immediately sense that something is different. Five ninja classes appear in front of your Mii: blue, green, purple, yellow, and red. Your Mii is momentarily paralyzed, helpless as they take up position behind the giant mechanical beast known as Murasame. This is the final boss of the standard game of Takamaru’s Ninja Castle and it will take all of the techniques you have learned thus far, in addition to a smart balance of standard offense and defense, to be victorious.
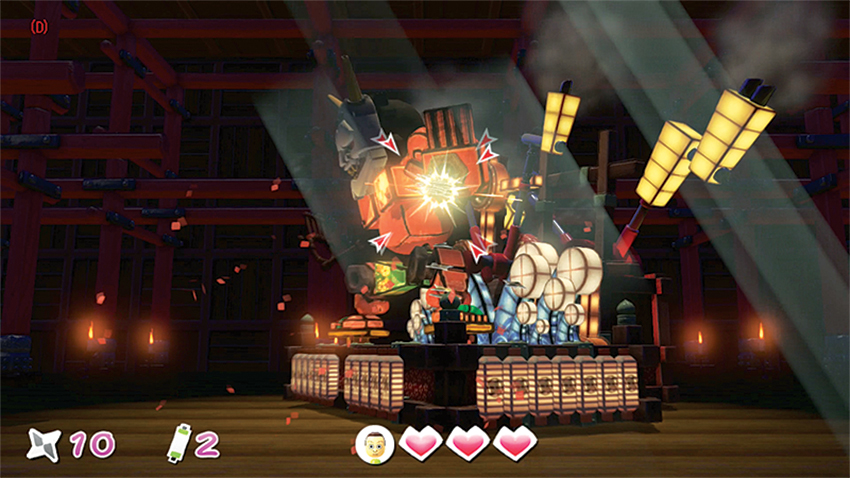
The robotic statue fires projectiles from five different locations: both kneecaps, both palms, and its mouth. At first, it fires only from the knees and hands, with clay bombs coming out of its kneecaps and Throwing Stars from its hands. The stream of projectiles can be deflected with a series of your own Throwing Stars. Then, when there is a lull between attacks, go on the offensive. Aim for the metal rings in the palms and knees where the weapons are fired from and attack with everything you have! There is nothing to combo when fighting the statue, so you don’t have to worry about lining up the perfect shot.
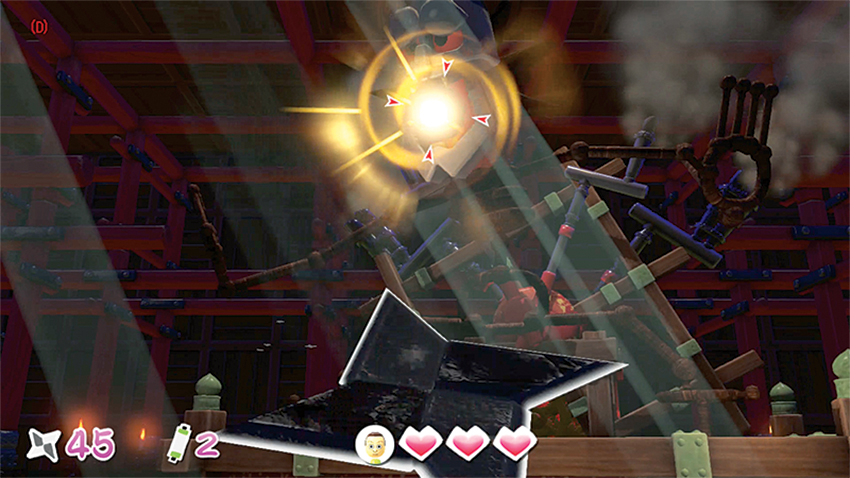
Continue to attack the metal rings until they are broken and rendered unusable. Look for the animating light on the rings when targeting them; this lets you know that you’re hitting your mark or that they’re about to launch an attack. After the limbs are destroyed, the statue’s head comes into play. The mouth is the last stage of this boss, but it takes a lot of fire power to destroy the target. The metal ring inside Murasame’s mouth is open for attack only when it’s charging up to launch a fireball. When this happens, lash out with everything you’ve got! If the statue is allowed to launch its fireball, it cannot be stopped. It takes quite a number successful attacks to destroy the ring in the statue’s mouth, but once you do it, the boss has been slain.
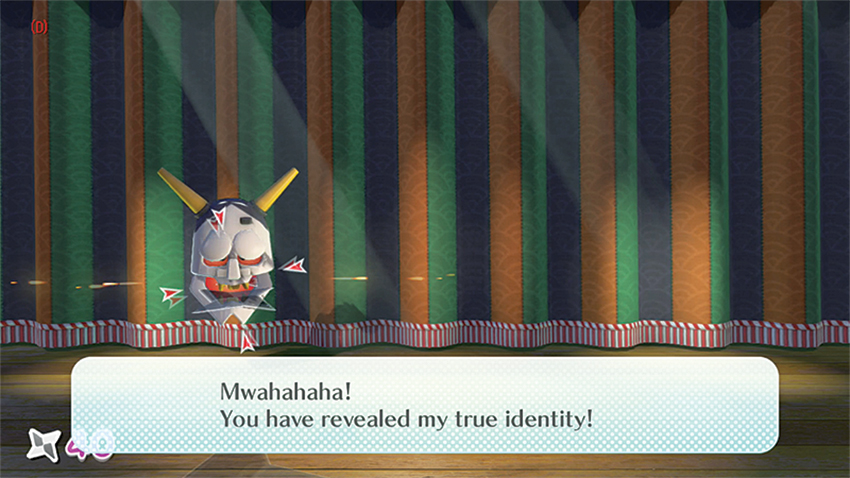
Congratulations! The princess has been saved! Or has she? Something doesn’t seem right about Monita, and when you play through the Attraction again, you’ll discover that the princess isn’t all she appears. After defeating Murasame, line up and fire at Monita to reveal the evil boss’s floating head! It was disguising itself as the princess! The real Monita is still in danger, and the quest to save her continues. Note that you have a limited time in which to attack the false princess. If you don’t attack quickly, you do not reveal the true enemy and the extra Scenes are not unlocked.
Extra Scenes
As you begin playing through the Scenes again to discover reveal the true location of Princess Monita, your Mii has only 30 Throwing Stars to fight with instead of the previous 50. This makes reloading all the more important. Get into the habit of tilting your reticle up above the screen whenever possible. The extra Scenes for Takamaru’s Ninja Castle are actually the same as the original four, however, this time, there are more enemies. With the additional waves of foes, new strategies must be implemented.
Scene 1 Revisited
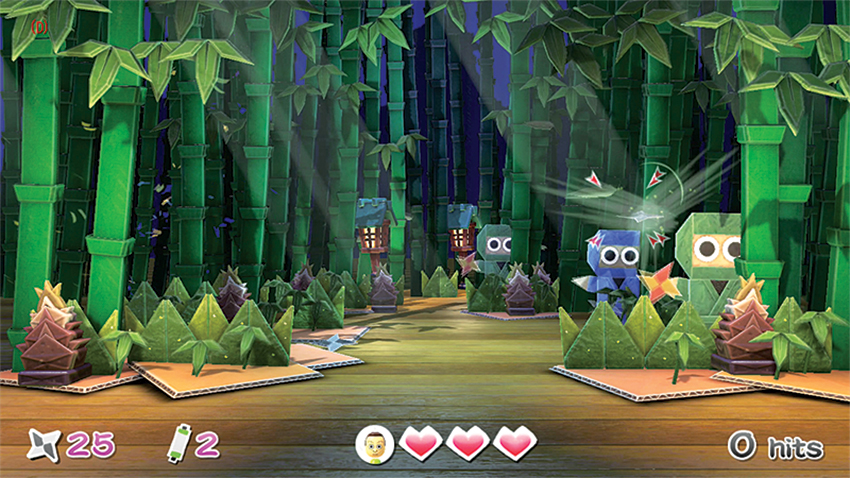
In amongst the bamboo, where there was once only blue ninjas, there are now also green and red enemies. For these weapon specialists, always look for the animating light that signals that they are about to attack. This can help draw your focus toward incoming danger, allowing you to react quick enough to deflect attacks and counter with your own.
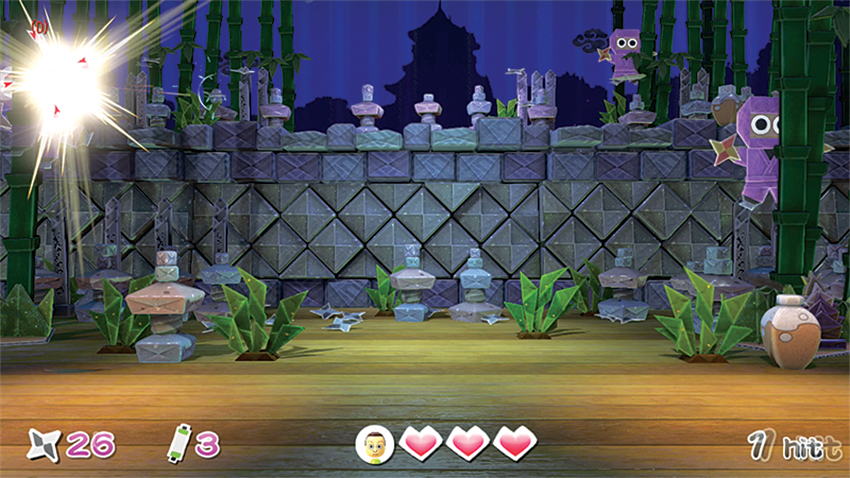
The clearing now houses yellow, green, and red ninjas in addition to the purple and blue enemies. The new ninjas are split between the upper and lower levels, while some purple ninjas even hang from the bamboo trees, attacking from on high.
Scene 2 Revisited
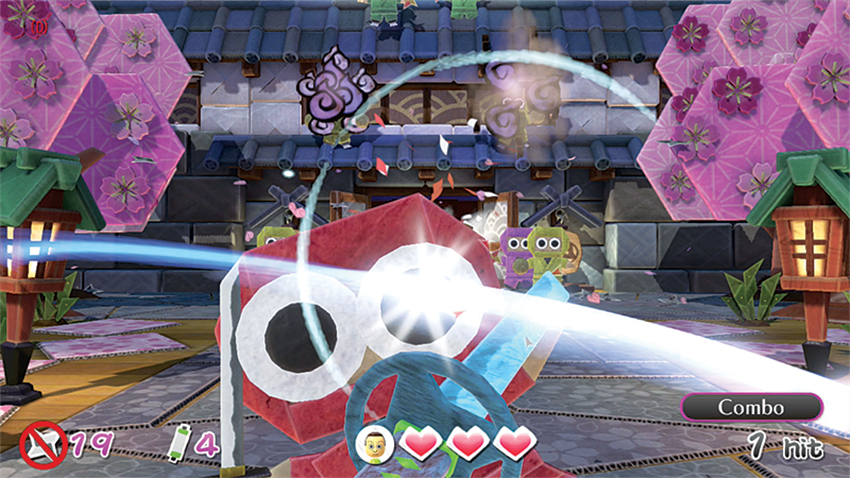
The path up to the castle now has every type of ninja on guard duty. The ninjas rush down the path and disappear more quickly than previously. Purple ninjas now lurk among the cherry trees, blending right into the environment, and various classes of ninjas work together to launch highly effective attacks. Red ninjas run in for katana strikes while yellow ninjas volley clay bombs at the same time. Your focus is regularly split, but when in doubt, keep firing, tilting your GamePad up whenever you can to reload.
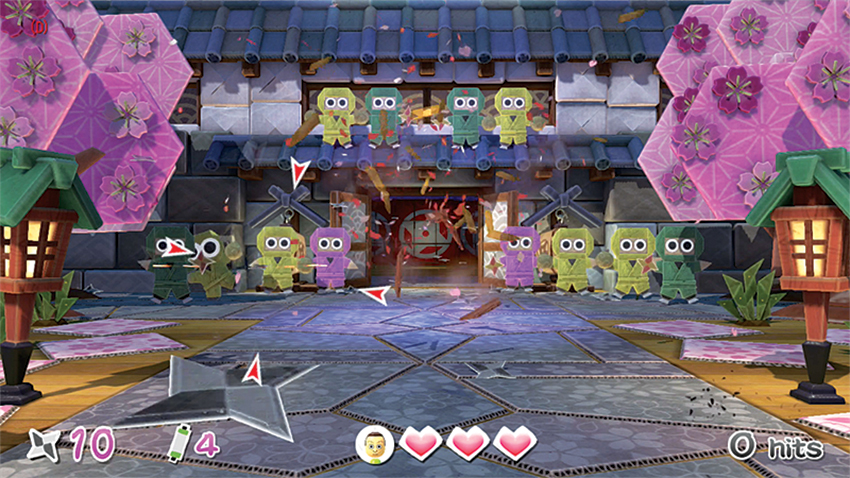
Green and yellow ninjas like to crowd around the entrance to the castle, both in front of the walkway and up on the roof. The cluster of enemies often launches several attacks at once. Focus your own attacks on the clay bombs, and it’s possible to wipe out a large portion of the ninjas at once, rather than starting with the green ninjas and targeting individual foes.
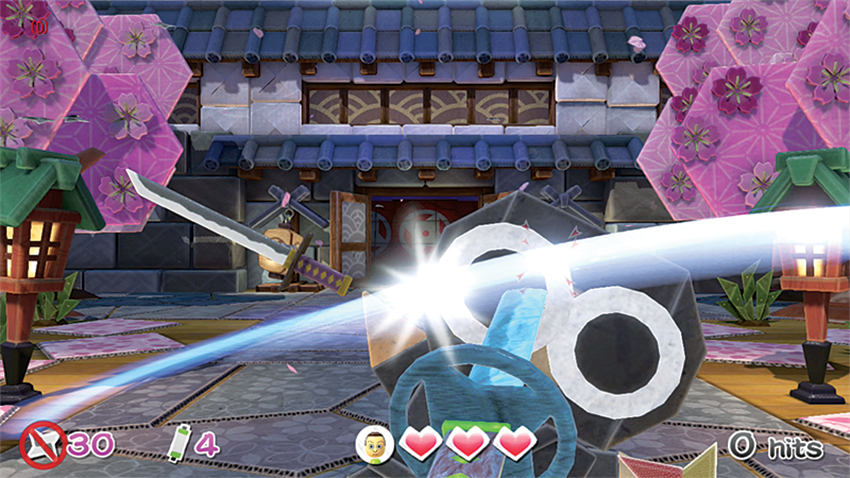
The black ninja appears and fights in the same way as before. Just remember that your ammo count is lower than before; there’s no reason for you to go firing off any warning Throwing Star. The black ninja blocks everything except for close-range katana slashes and follow up Throwing Stars.
Scene 3 Revisited
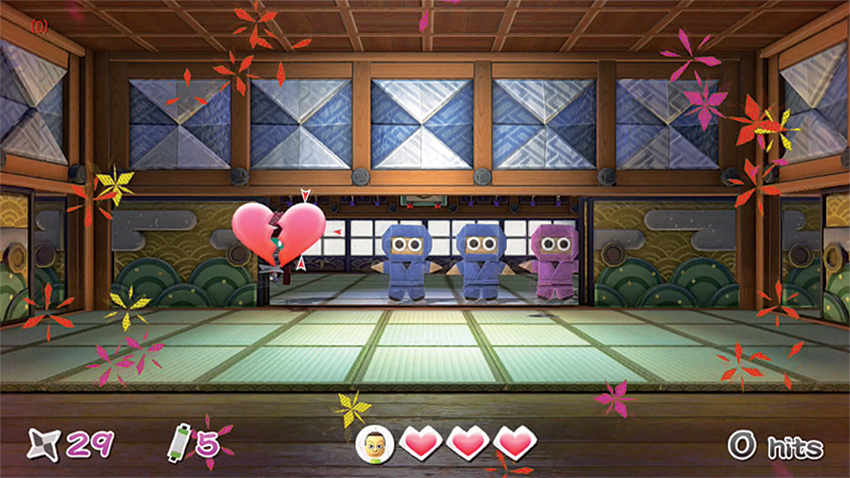
After the bonus round of pots, your Mii heads back into the castle, where the beautiful Princess Monita makes her appearance. It appears that she is being trailed by blue and purple ninjas! Take very careful aim when targeting the enemies chasing the fair princess. If she is hurt, your Mii loses a heart. Use the Falcon Eye technique when possible to give yourself more time to focus your reticle!
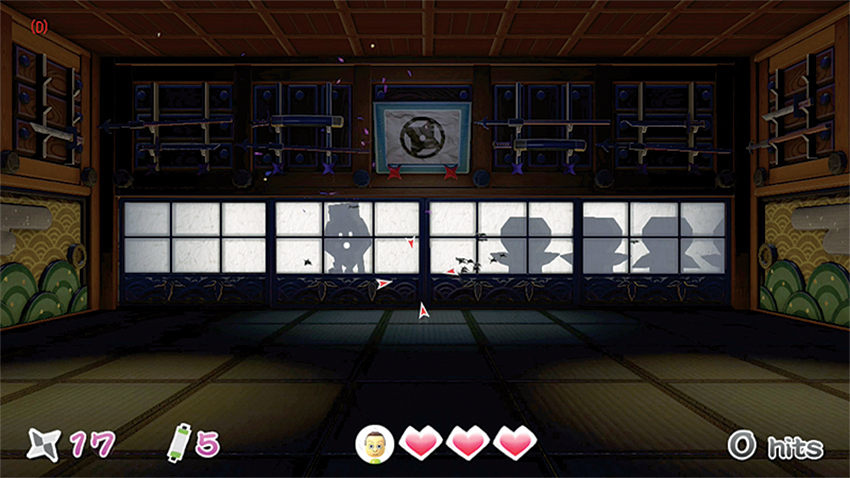
It’s more difficult to spot princess Monita once you move into the shadows of the next room. Look for her unique glowing eyes and mouth, and focus your aim on the ninjas that follow behind her.
In the back room, there are more objects than before, offering greater cover for your enemies. Don’t give them the opportunity to hide behind the objects and make destroying them your first priority. There are plenty of ninjas darting in and out of the room to keep you busy. Don’t be afraid to use your scrolls. Unlike the last time, scrolls are essential due to the increased number and strength of enemies. Be extra cautious of the purple ninjas at the end of the level. They can teleport around the room.
After completing Scene 3, the princess runs to your Mii character’s side, finally under your protection. However ,there is still the matter of Murasame...
Scene 4 Revisited
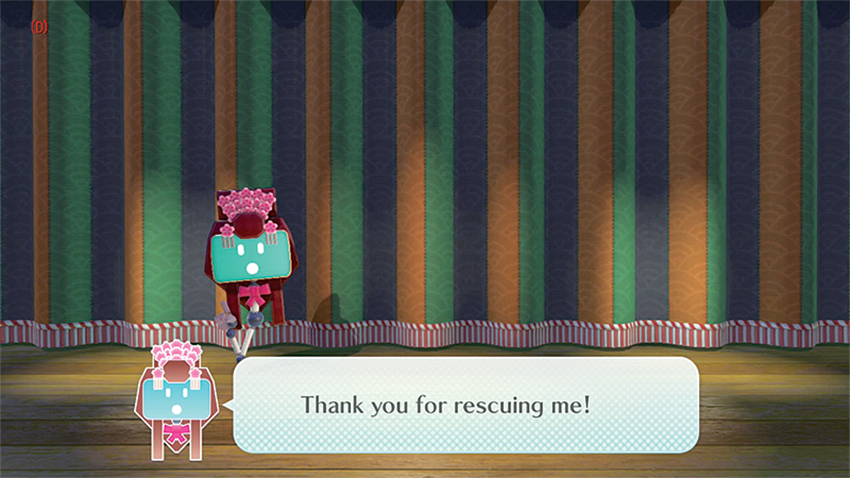
The boss fight with Murasame is the same as in the standard playthrough of the Attraction. The only difference is the reduced number of Throwing Stars your Mii can hold. However, the same tactics apply, and once the villain is defeated the princess is safe. Although you can’t tell by her voice, Princess Monita is overjoyed that you have completed Takamaru’s Ninja Castle with your superior ability and bravery!