
Nintendo Land Guide Walkthrough Solo Attractions
Balloon Trip Breeze
Going with the Flow
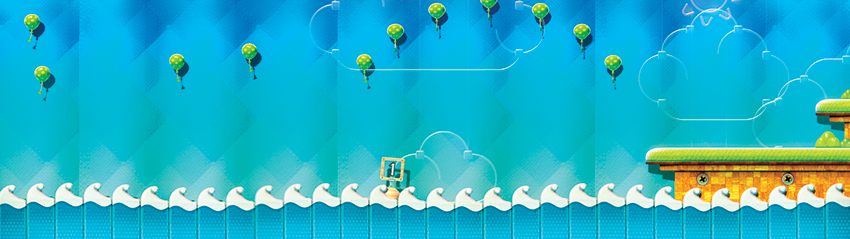
There’s an art to going where the wind may take you, especially if you’re the one who is controlling that wind. In Balloon Trip Breeze you control the air currents, guiding your Mii safely through obstacle courses and from Rest Island to Rest Island. However, at the end of some portions of your journey, there is no Rest Island. It’s a three-day journey, and you have only three lives in which to complete it—unless, of course, you keep increasing your score by 1,000 points!
Your Mii is held afloat by two bright red balloons, and when you take damage one of them pops. Once both are gone, your Mii drops straight down into the sea. Watch out for Balloon Breakers and spiked balls and Balloon Birds; they can really do a number on your Mii. Be careful when flying close to the sea, too. There’s a Balloon Fish lurking in the depths and if you tempt it with a tasty Mii dangling just above the sea’s surface, it might jump out and swallow your Mii whole. Then again, it could also miss and release a helpful item.
Once you finish the blustery, three-day trip, you earn a star for the attraction and can then play an extended run of Balloon Trip Breeze , lasting seven days instead of just three.
Controls
Gamepad Controls
| Create Breeze | Slide your stylus across the touch screen |
| Create Shock Wave | Tap the touch screen with your stylus |
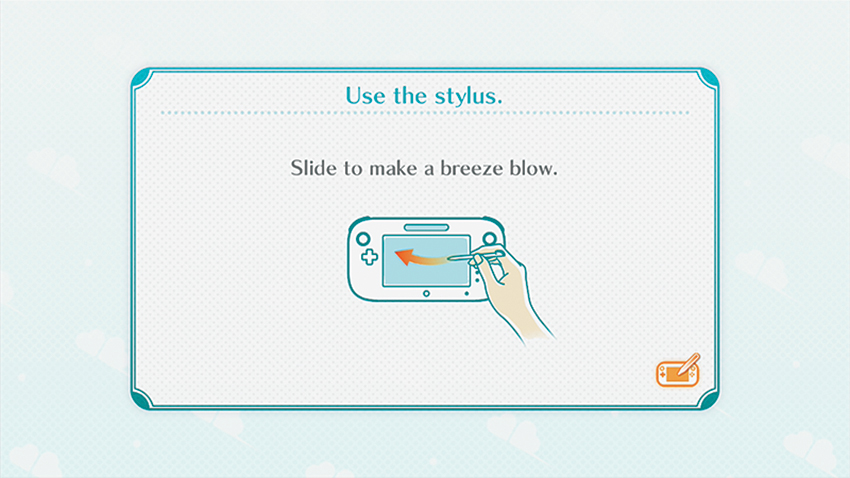
With the GamePad and stylus in your hands, you are in control of the breeze blowing through the vast chain of islands dotting the watery landscape. A single slide of your stylus across the GamePad touch screen can cause anything from a blustery billow of wind to a gentle flutter of air. Swift slides create powerful breezes, while slow, careful slides are perfect for finesse and careful maneuvering around obstacles. You’ll need a mix of the two to navigate the various objects and enemies blocking your Mii character’s way and threatening the delicate balloons.
Sometimes, it’s easier to go right through obstacles instead of around them. Light brown blocks, Balloon Breakers, bubbles, balloons, and enemies are all affected by a shock wave. Look down at the GamePad and tap around a Balloon Breaker, balloon, or bubble to move them, or tap right on a block, balloon, bubble, or Balloon Breaker to break or damage them. This allows you to reach out-of-the-way bubbles and balloons, which helps you continue your combos and rack up points, destroy blocks and Balloon Breakers clogging up your path, and bring down enemies.
Wii Remote Assisted Play
| Aim | Move the Wii Remote |
| Create Shock Wave | Press the A Button |
A friend can play with you using a Wii Remote, and can create their own shock waves to move around all the same obstacles. They can also clear out Balloon Breakers and defeat Balloon Birds, but do not gain any points for the action. With the Wii Remote in hand, the player aims around the screen, targeting objects with their on-screen reticle and pressing the A Button to send out a shock wave. This can be used to help the person using the GamePad by clearing obstacles out of the way, or it could be used to push hazards into the main player’s space, and thus create even more difficult flight paths!
Three-Day Journey
The main journey of Balloon Trip Breeze spans three days, with each day broken into four segments: Morning, Afternoon, Evening, and Night. As you progress, the weather changes from fearsome storms to calm clear skies, and your Mii must traverse well-guarded, spike-filled landscapes and more! Make sure to use both the GamePad and the TV to find the best routes and execute the best courses of action.
Stamps
| Icon | Name | Conditions |
|---|---|---|
.jpg)
|
Almost Fish Food | Escape from the fish. |
|
|
Special Delivery | Complete two successful package deliveries. |
|
|
30 Birds Down | Defeat 30 Balloon Birds. |
|
|
Island Hopper | Visit all islands. |
|
|
Flawless Flight | Complete a perfect journey. (Wii Remote Assisted Play must not be in use, and all balloons must be collected.) |
Day 1
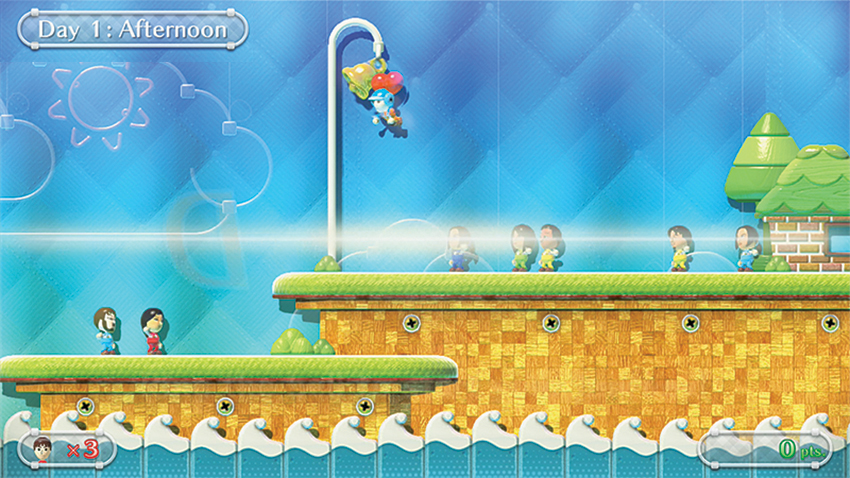
The morning of Day 1 is a tutorial session with Monita. You can choose to stick around and learn the basics of not-so-easy-but-definitely-breezy flying, or you can press the SELECT and skip to the afternoon. As you take off on your first gust of wind, ring the bell by touching it to officially start your journey right as the sun is at its peak. You must ring the bell in order to continue! This first flight is a simple one—short with only one Balloon Bird and a handful of Balloon Breakers. Use the Day 1 afternoon to get the hang of your own breeze, and take down your first enemy!
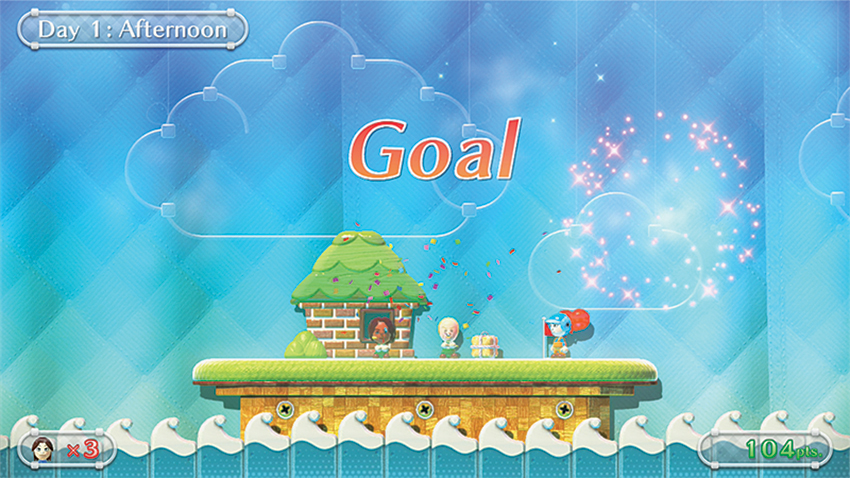
When you reach the Rest Island, you can land anywhere on the island’s platform to end the first leg of your journey. However, certain landing spots are more profitable than others. At every Rest Island throughout your trip, you’ll see a three-tiered platform that looks just like a medal podium. If you land on a level of the podium, you’ll gain a Goal Bonus: 50 points for the top spot, 30 for the second, and 20 for the third.
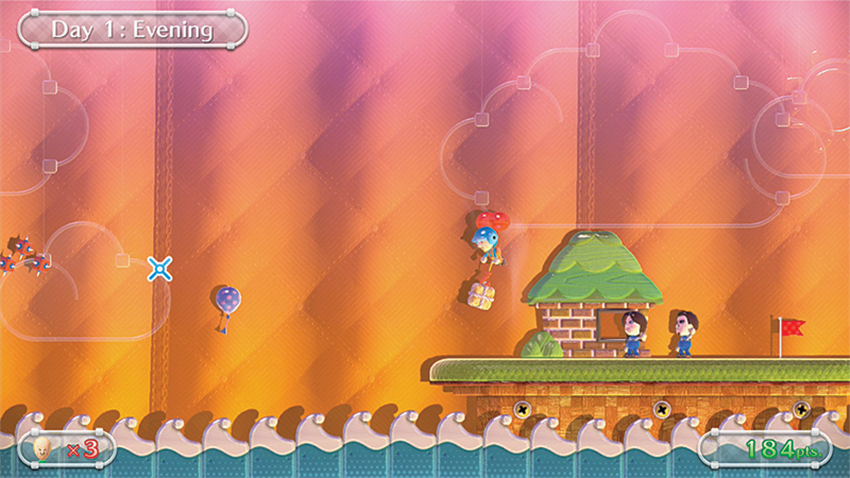
The evening of Day 1 gives you your first opportunity to transport a package, and there it is, resting next to the podium. To pick it up, swoop over the parcel and a hook extends from your Mii character’s belt to collect the parcel for delivery.
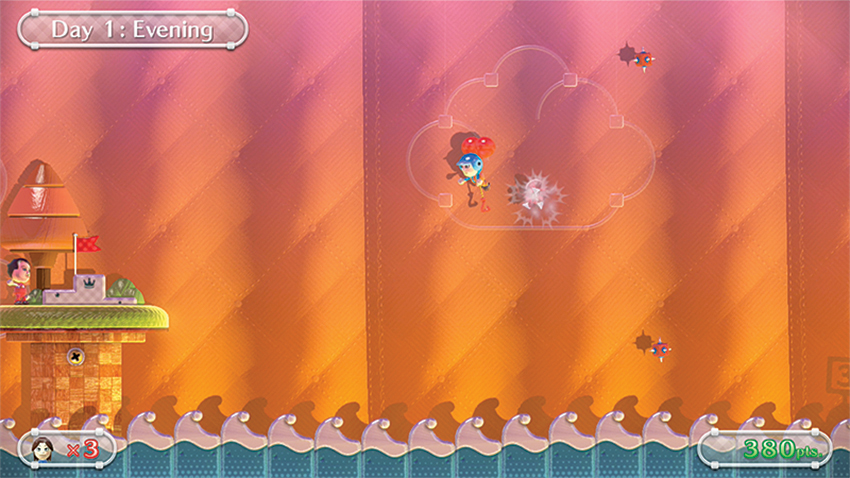
More Balloon Breakers cover the beautiful dusk sky, and very little is in the way of the Balloon Birds attacking your Mii. Take this leg of the journey to learn to use your shock wave ability and clear away those spikes. Make a wider path for both your Mii and the package attached to your belt for an easier trip.
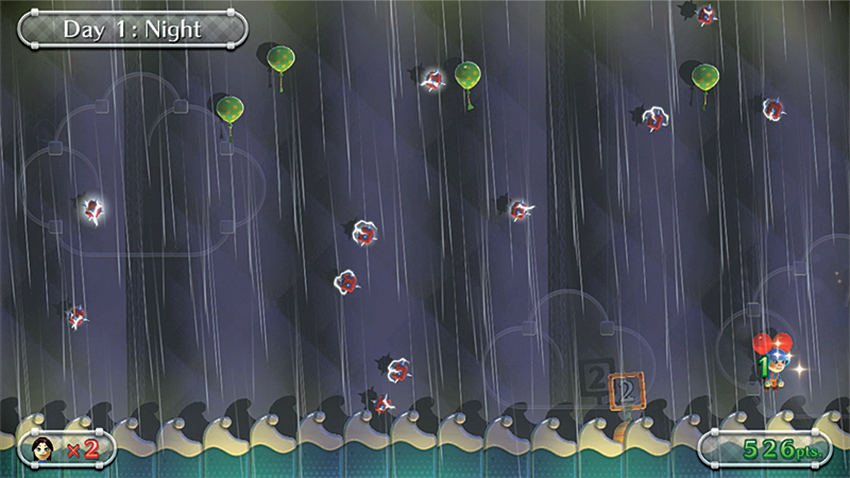
Weave and blast your way across the open sea until you land safely at the next Rest Island. Then, it’s time to drift into the inky night sky for your last leg of Day 1. This part of your journey has no enemies, but plenty of Balloon Breakers. Blast those with your shock wave to give your Mii more room to maneuver. Be extra cautious once the rain starts. The spikes turn electric in the rain and can cause a shocking amount of damage. One electric spike can pop both of your Mii character’s balloons at once.
Day 2
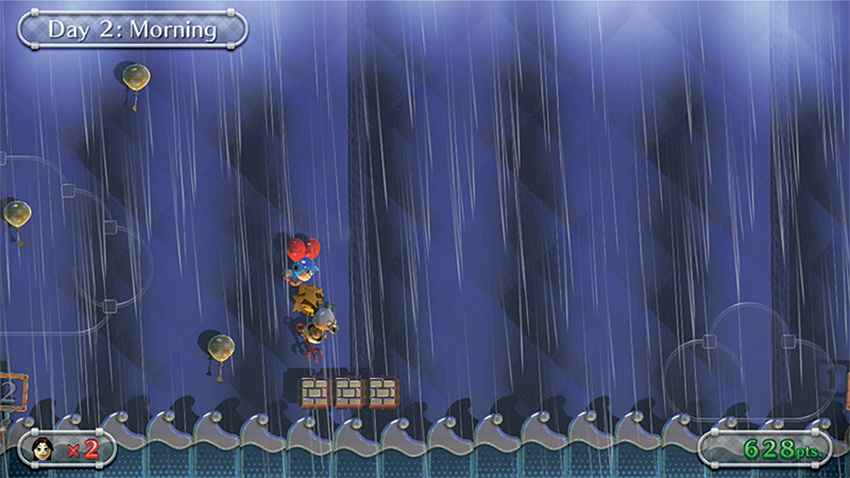
The morning of Day 2 holds more wet weather, and this time, more enemies! Balloon Birds start off inside their egg shells, waiting for your Mii to wander closer before coming out of their defense to attack. When they are inside their shells, they cannot be harmed by shock waves, but if the block they are resting on is breakable, you can certainly damage that and force the bird out of its shell. However, even in their shell, your Mii can still knock these birds out of the sky! Just give them a good bonk on the top of the egg and down they go.
The rain clears up near the end of your morning trip and soon you’re greeted with blue skies and bubbles—lots and lots of bubbles. Pop them all to get a big boost to your score, and then make a landing at the next Rest Island for a mini breather.
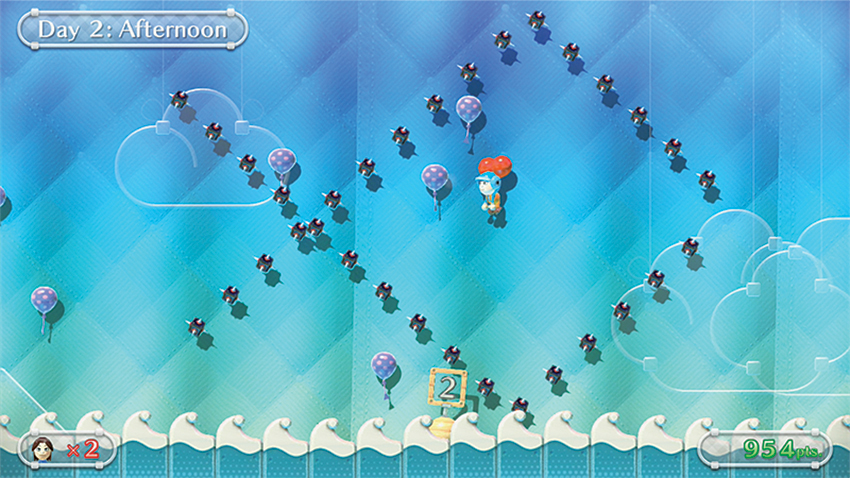
The afternoon of Day 2 is when things start to get tricky, as this is your first encounter with spiked balls. These new obstacles cannot be broken or moved with your shock wave ability. Unless you obtain the star or eraser item, the only way to get past spiked balls is with careful navigation. Weave in and out of them to collect all of the balloons and stray bubbles possible before landing at the next Rest Island.
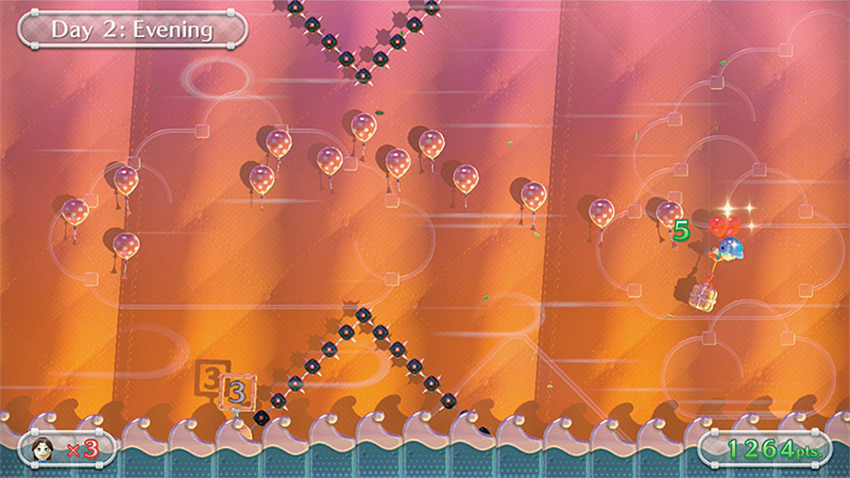
The evening portion of Day 2 is a doozy. For one thing, you are given another opportunity to carry a package to the next Rest Island, and it can be collected to the left of the landing podium. For another thing, it’s really windy out there! There is a strong breeze blowing across the screen, carrying your Mii with it. To counter the powerful gusts, be ready to slide your stylus across the touch screen in the opposite direction. It takes a lot to completely fight against the current, but you can at least slow your Mii down to keep from ramming into obstacles. The trick with this leg of your journey is to follow the balloons. They lead your Mii through the danger zones and right to the next Rest Island.
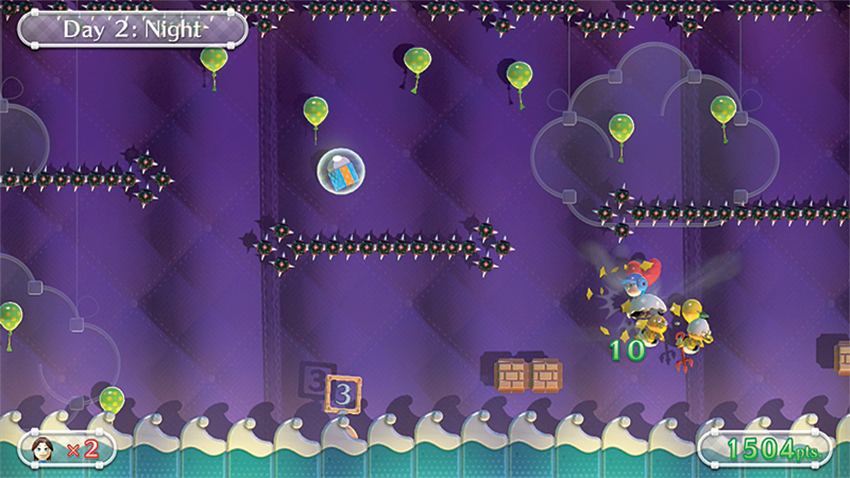
As you venture into the night of Day 2, the wind lets up and the Balloon Birds are back in droves. This time, you face both the boxing Balloon Birds and the spear-wielding Balloon Birds. Each type has attack patterns, but when in doubt, work to stay over their heads and take them on from above. There are more spiked balls than ever during this leg of the journey, so if you see a star or eraser item, fight to get it!
Day 3
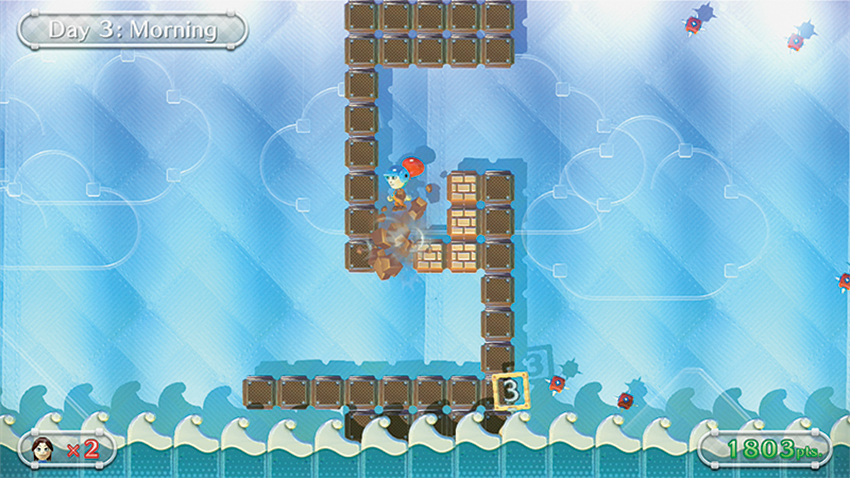
Here you are, the morning of Day 3 and the final day of your journey! Don’t think you’re in the clear yet, though. There are plenty of challenges still ahead, as you soon discover, right after starting your morning flight. A whole flock of Balloon Birds is waiting for your Mii, and then a wall of blocks obscure your path. Bob, bop, and weave your way through your enemies to down them, and then use your shock wave to break through the blocks.
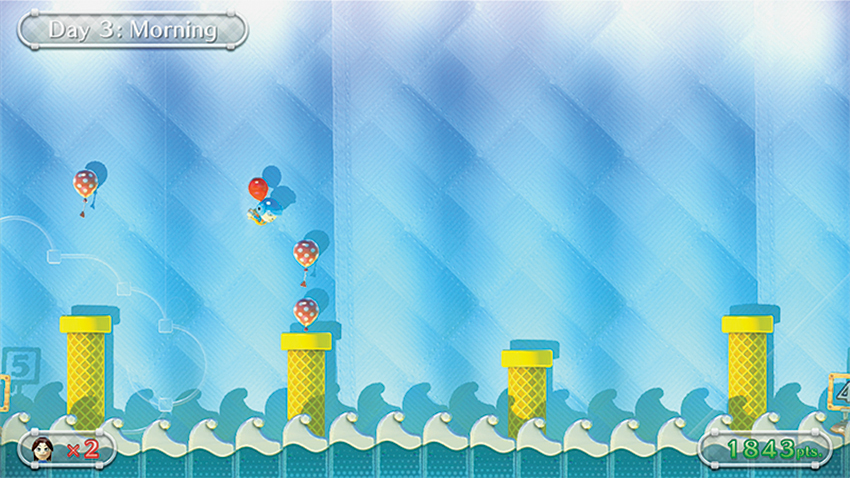
After passing through the diamond of balloons—and bringing in a good amount of points—break through to the other side, avoiding the hard blocks because those are immune to your shock wave. Now, the only thing between you and your last Rest Island for the standard journey are four pipes and a steady stream of balloons. Make sure you don’t miss even a single balloon to chain together and keep the highest combo possible!
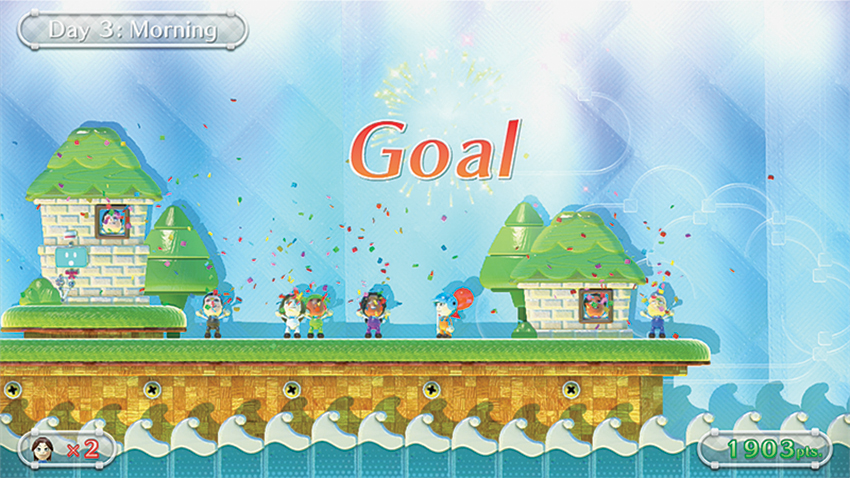
When you land on the next podium, you have successfully completed your three-day journey! This earns you a star for the attraction and opens up additional days for you to traverse the sky. Come back with the same Mii to fly through the first three days again and continue your journey to encounter new items, enemies, and obstacles!
Extra Days
Remainder Day 3
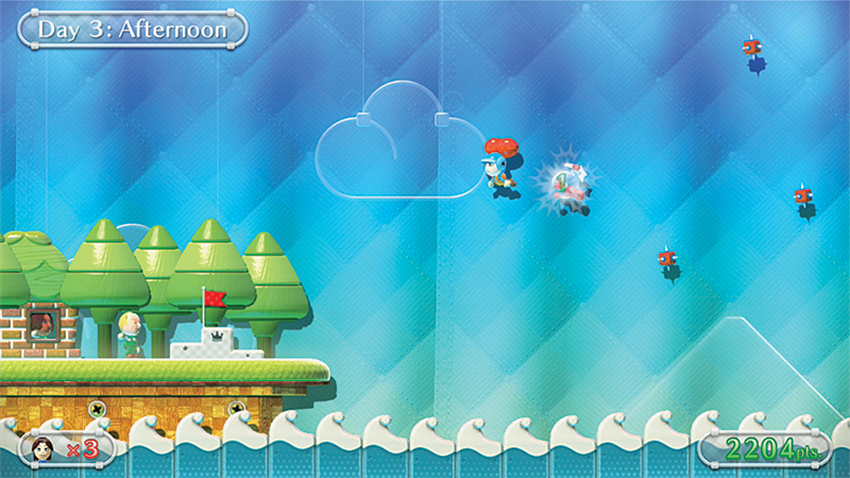
The afternoon of Day 3 is the start of the extended journey, and it’s not all that bad a start, either! There are plenty of Balloon Birds but if you get to them before they hatch out of their shells, they’re easy to down with a single hit. You’ll notice that some of the Balloon Birds are a little different from the others. Marked with a maroon shell, these enemies take three hits to down once they’re out of their shell instead of the standard two.
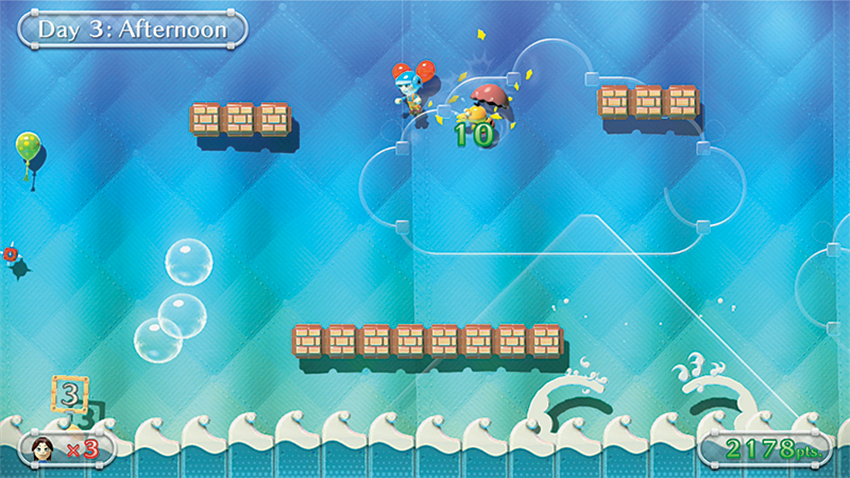
An ocean of Balloon Breakers awaits on the evening of Day 3. Each one of these little bits of danger is on the move, which makes navigating through them quite a challenge. Luckily, Balloon Breakers can be blasted away with your shock wave. Use your signature ability often to create your own flight paths and keep your Mii in the air. Each blasted spike gives you one point, so don’t be shy with your shock waves!
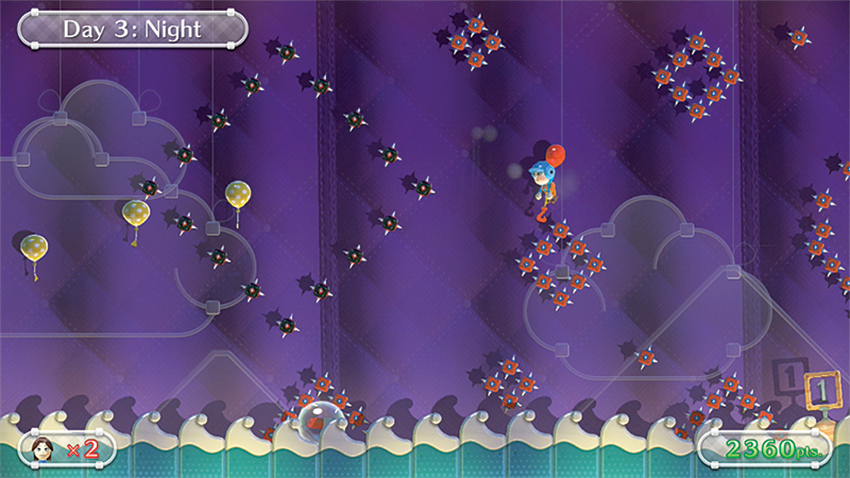
After landing at the Rest Island and before heading into the night of Day 3, collect the large present to the left of the podium for another delivery challenge. Presents are larger than standard packages and, as a result, are harder to carry around. The night sky is littered with Balloon Breakers spiked balls. This route is partially difficult to navigate if you don’t take advantage of your shock wave ability. Blast away the small diamonds of Balloon Breakers to make some room for your Mii and the present you carry. When you approach the moving spiked balls, keep back and watch a spiked balls’ route before proceeding with the best flight path. If you’re lucky, a capsule bubble will drift into reach, allowing you to shrink and weave right through the spiked balls.
Day 4
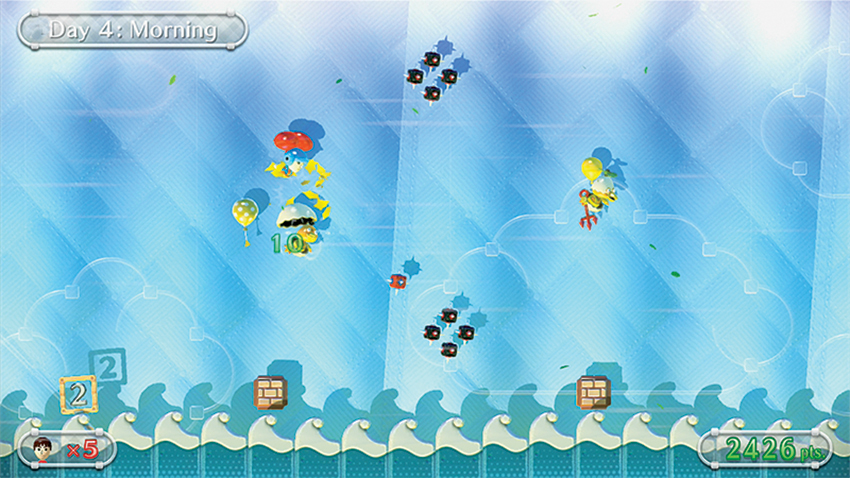
With the morning comes the wind, and the blustery gusts are back to send your Mii zooming across the screen. This time, simply following the balloons to navigate the screen won’t cut it. Enemies are afoot—lots of them—and if you keep even with the balloons for too long, the Balloon Birds will send your Mii down to the sea’s depths. Work hard against the wind current and move up above foes to go on the offensive. There aren’t many spikes to worry about, however rain starts to fall just as you reach the next Rest Island.
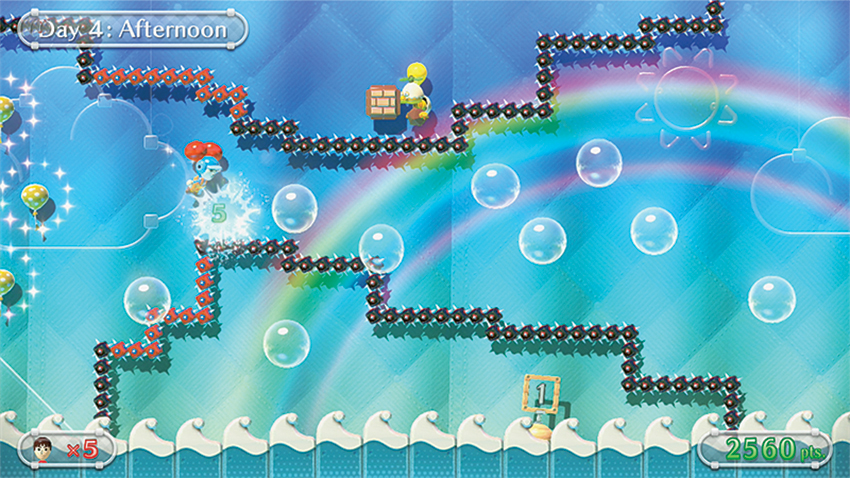
The wind and rain clear in the afternoon of Day 4, bringing a cloud of bubbles up from the sea. Collect as many as you can as you weave into a spike-lined obstacle course, and make a point of staying away from the edges of this danger zone. A new type of Balloon Bird is lurking about. This one carries a boulder and is ready to drop it on your Mii character’s noggin. Always try to keep the upper hand and avoid the attack.
Have your stylus at the ready for the afternoon of Day 4, as blocks close off your path part way through this leg of the journey. Continue to follow the obstacle course until you reach the Rest Island, where you can take a breather. The flight paths become only trickier from here!
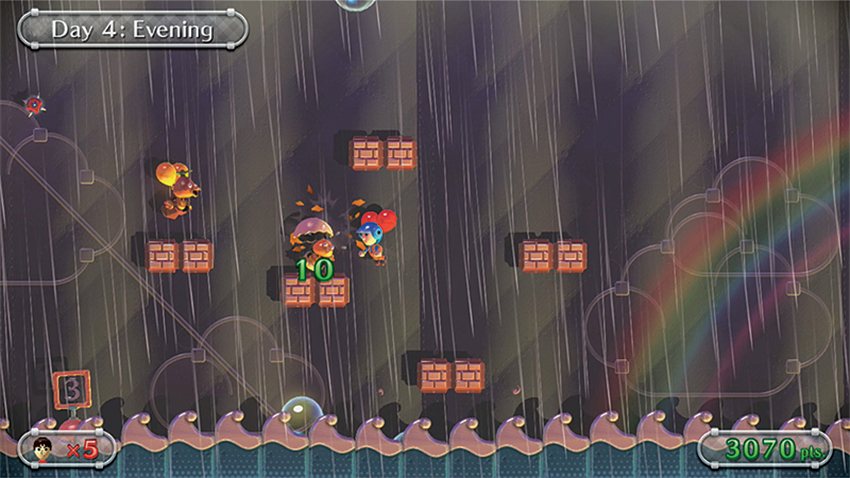
The evening of Day 4 has very temperamental weather that shifts from rain to sunshine in the blink of an eye. This leg is filled with nearly every type of Balloon Bird. This leaves you two options: You can zip right through the evening, bopping the enemies while they’re in their shells, earning only 10 points per foe. Or, you can wait for all of the Balloon Birds to come out of their shells and rake in more than double the score by downing all of them with multiple hits.
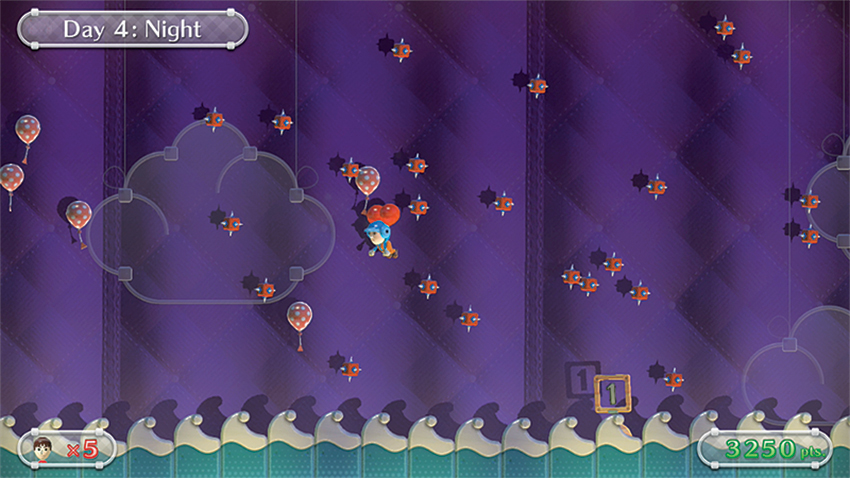
As you take off into the night of Day 4, the weather is fine and the sky is filled—not with twinkling stars, but with countless Balloon Breakers. Throughout the night, your Mii must navigate this sea of bite-size danger. Fight for an eraser when you can by getting nice and low to the sea, drawing the item from the Balloon Fish. At the end of this final leg of Day 4, there is a maroon Balloon Bird wielding a spear. Try to stay above the center of the screen to have its attack blow right under your Mii.
Day 5
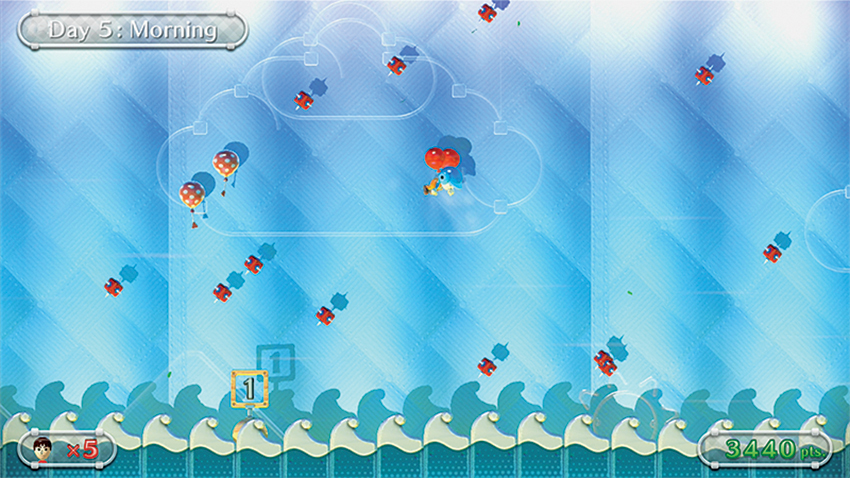
Need something to keep you going in the morning? Day 5, has just the thing for you. Greeting your Mii post take-off is a strong gust of wind right in the face and flying Balloon Breakers to go with it. It can be a challenge to overcome the headwind, but quick short slides of your stylus should help your Mii stay in place.
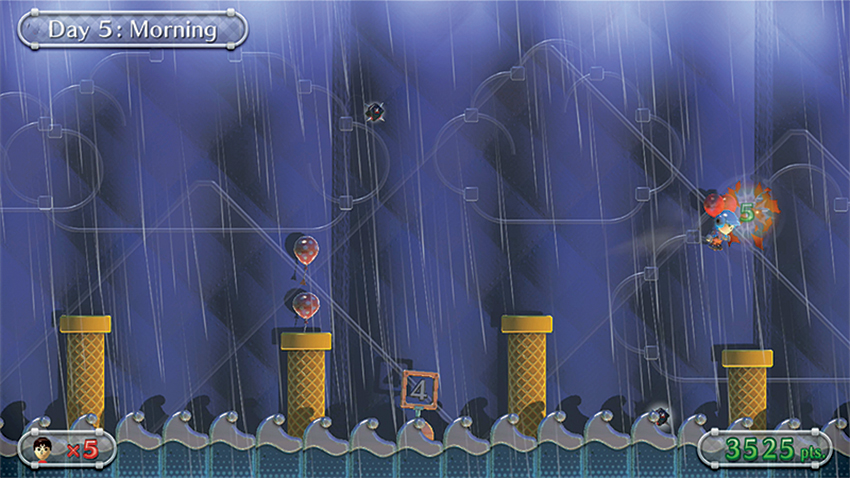
Soon enough, however, the wind dies down, and it is replaced with rain. Those wandering spikes are now electric, adding more danger to the morning leg of your journey. Avoid them and you are rewarded with pipes releasing balloons at the end of the morning route. There are still a few electric spiked balls zipping about, but those can be avoided with patience and a keen eye. After the rain comes the bubbles. Linger around and collect them all to gain optimal points before landing at the Rest Island.
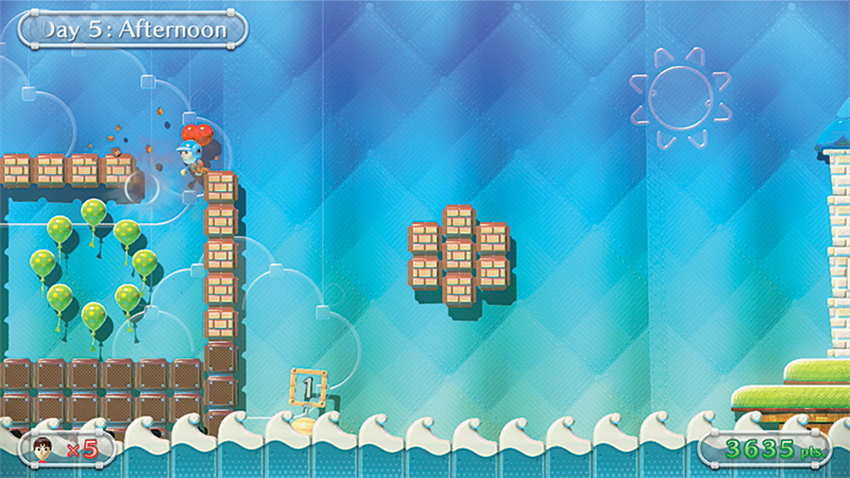
The afternoon of Day 5 isn’t a long leg of your journey, but it sure is a heavy one. To the left of the Rest Island’s podium is an iron ball that’s waiting for delivery. Collect it and successfully navigate it through the course for some bonus Coins! Right from the start of your flight, you’ll spot plenty of blocks, some of which must be broken to reach caged-in balloons. Break through and get ready for some classic platforming.
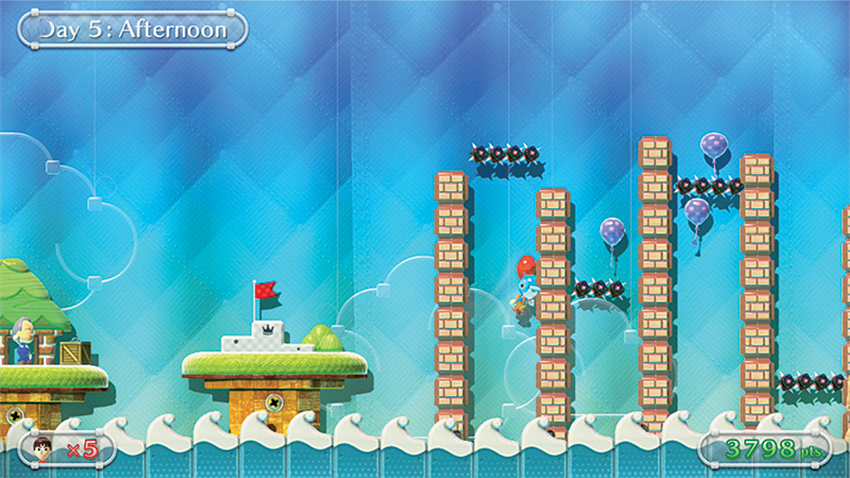
A series of stacked blocks stretch up toward the top of the screen, and between each column spiked balls move up and down, creating a difficult flight path. These blocks house quite a few balloons between their walls. To reach those precious points and keep your chain going, you can do one of two things: dip in between the stacks of blocks to collect the balloons or break straight through the blocks with your shock wave for a more direct route.
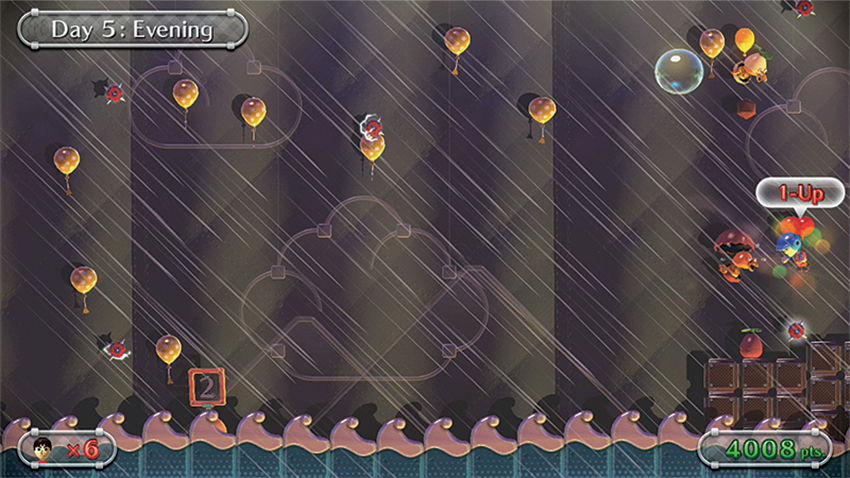
It’s a wet evening on Day 5, with rain starting to fall shortly after take off. However, before you venture out into the storm, make sure to collect the wooden box just to the left of the podium. It’s similar in size to a package, but heavier. In the rain, the spikes that litter the dark sky are electric, and in their small clusters they require tricky navigation for your Mii and the parcel. The real danger, through, comes right at the start of the evening’s journey. A large flock of Balloon Birds rests on the hard blocks below. You need to get past the gaggle of maroon and white foes before worrying about those spike clusters.
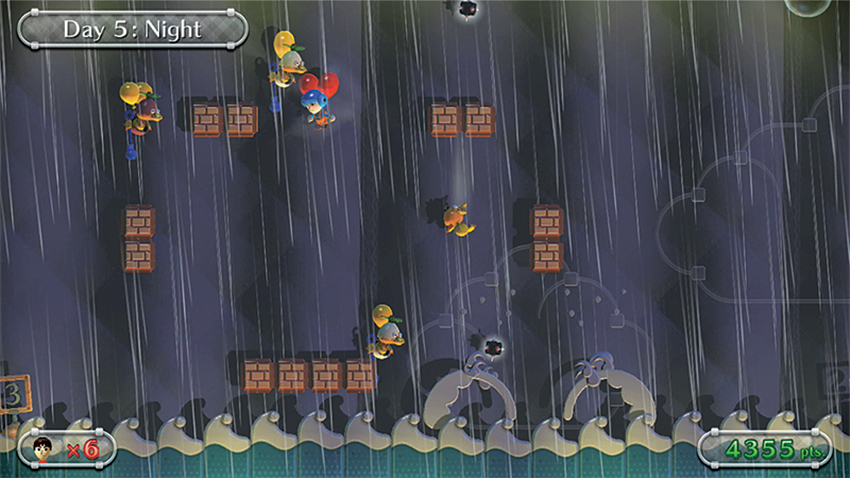
Day 5 ends with yet more rain and another large amount of enemies. Many of the Balloon Birds you encounter have a new ability. With a wave of their wand, they cloak their appearance and make it difficult to track their movements. Look for the ripple in space and attack to reveal their presence. Beyond these foes, there aren’t many obstacles. Survive the invisible army and your Mii will be chilling at the next Rest Island soon enough.
Day 6
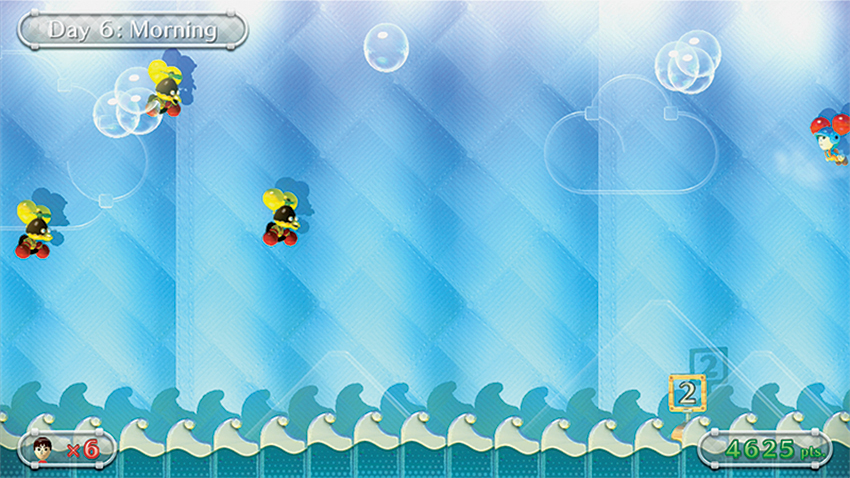
After you traverse a few more electrical spiked balls in the rain, the weather clears. The sun brings out the bubbles—more at once than ever before. Collect them all and then prepare for battle! Yet another new Balloon Bird makes an appearance. The black-shelled Balloon Bird this type is the most aggressive of all. Once you’re past the flock, you’re in the clear!

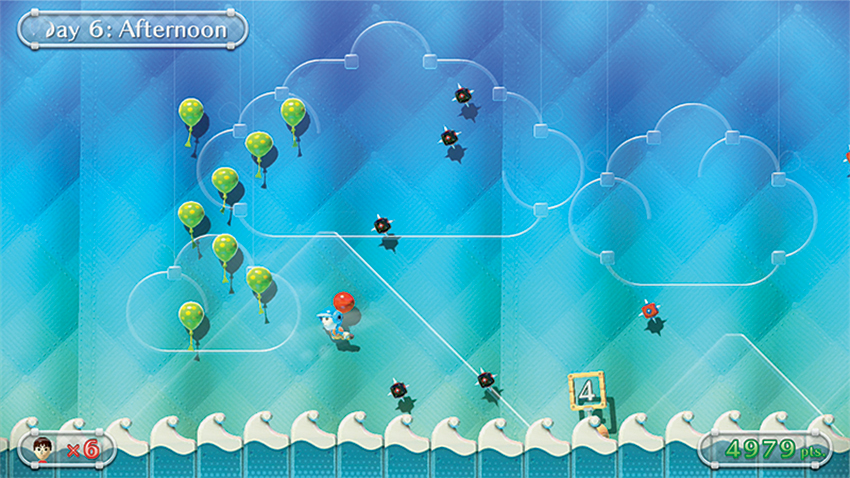
In the afternoon of Day 6 there are fewer foes, with black-shelled Balloon Birds entering the screen only once in awhile. The greatest dangers during this particular leg of the journey are the spiked balls that bounce around the screen. As you progress through the afternoon flight, more and more spiked balls enter the window and stay, bouncing around and greatly disrupting your flight path. By the time you reach the Rest Island there are six spiked balls that have it out for your Mii.
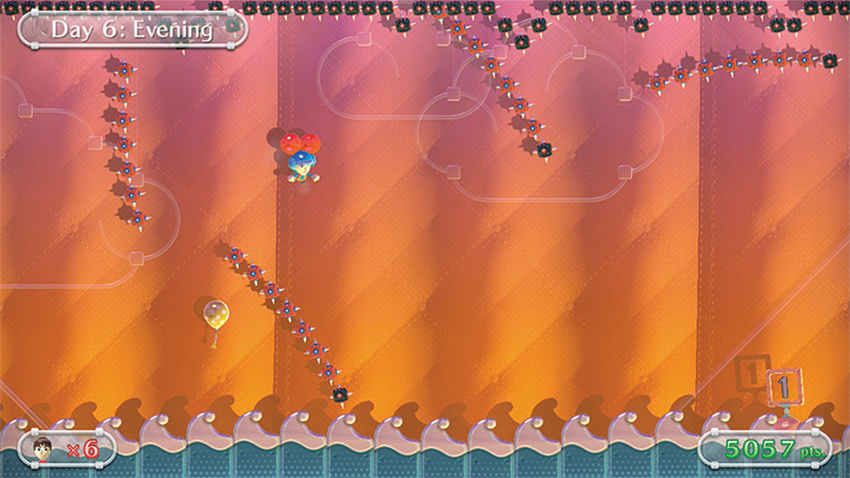
Ribbons of Balloon Breakers, lead by a single spiked ball, bounce around in the twilight of Day 6. These long streams of spikes cut off your flight patterns regularly, making it difficult to fly in any sort of a straight line. Avoid them the best you can, along with the row of spiked balls that lines the top of the sky to reach the next podium without harm.
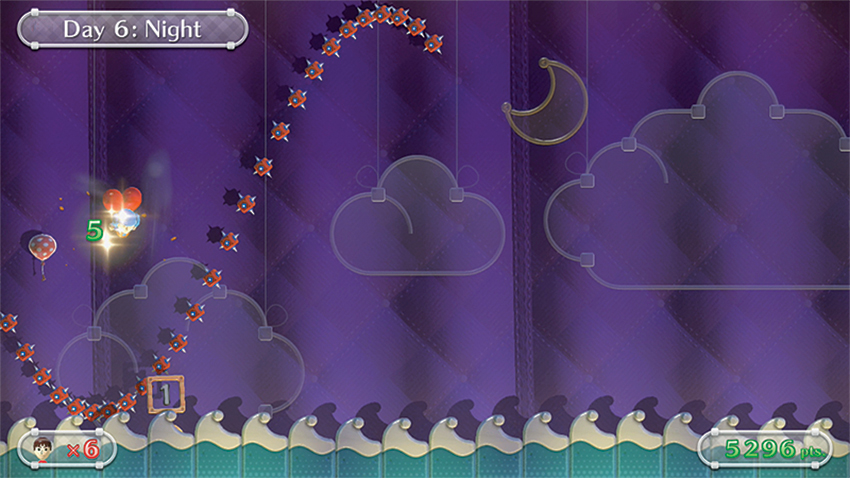
On the last night of your journey, the spikes prove that they are the real threat of Balloon Trip Breeze . The sky is covered with them, long strings of rippling Balloon Breakers, grids of spiked balls, and single Balloon Breakers that bounce from spiked ball to spiked ball. It’s very tricky navigating these pools of points. To make it through to the lone podium on the other side, make sure you use your shock wave ability to break up as many Balloon Breakers as possible, and, if you can, lure out beneficial items from the Balloon Fish and fight for that eraser!
Day 7
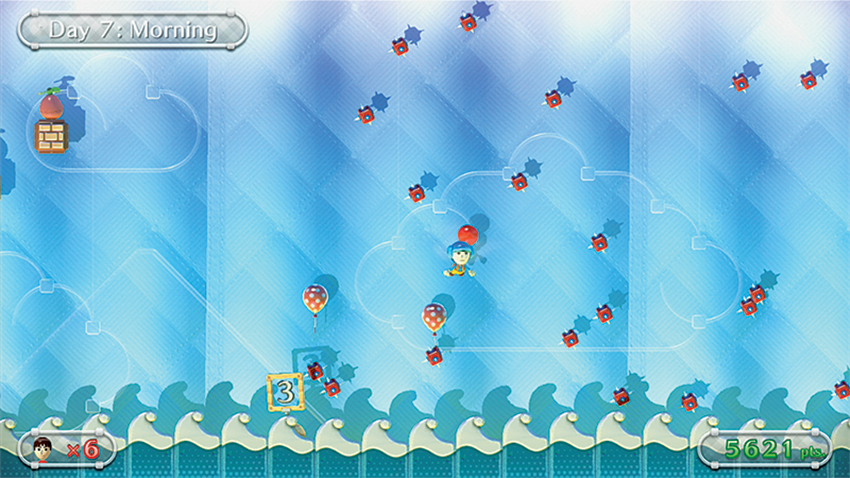
You made it. Here it is. A gloriously bright morning and the last leg of your journey. Day 7 may only have one part to it, but it certainly keeps you on your toes, starting out with a collection of Balloon Breakers that fies right toward your Mii. Bob and weave around the projectiles to encounter more ribbons of spikes. Break apart what you can with your shock wave, and keep this ability at the ready as you enter the sea of Balloon Breakers.
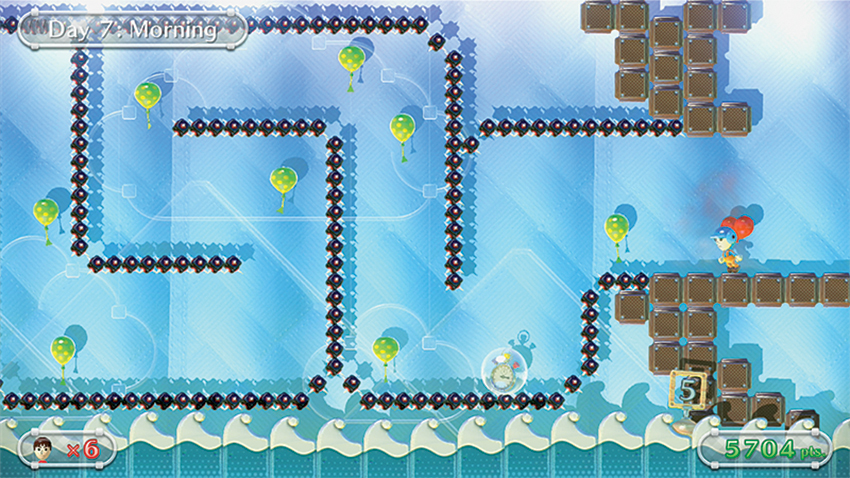
Beyond the spikes lies a flock of Balloon Birds covering just about every foe you’ve encountered on your journey, including white-, maroon-, and black-shelled foes. Show them just what you’re made of and battle for the upper position. The final obstacle is a twisting maze lined with spiked balls. Use your shock wave to break the blocks at the entrance of the winding course. Once on the other side, your Mii encounters a series of balloon pipes.
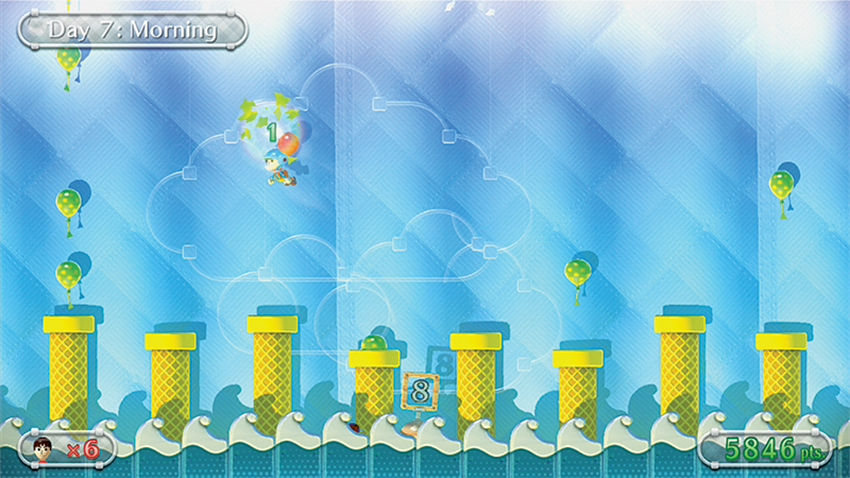
This is no easy picking like the previous balloon pipes you’ve experienced. Black-shelled Balloon Birds and several Balloon Breakers act as distractions and can keep you from collected a massive combo. Remove them from the screen as quickly as possible, and then pop your prizes to your heart’s content.
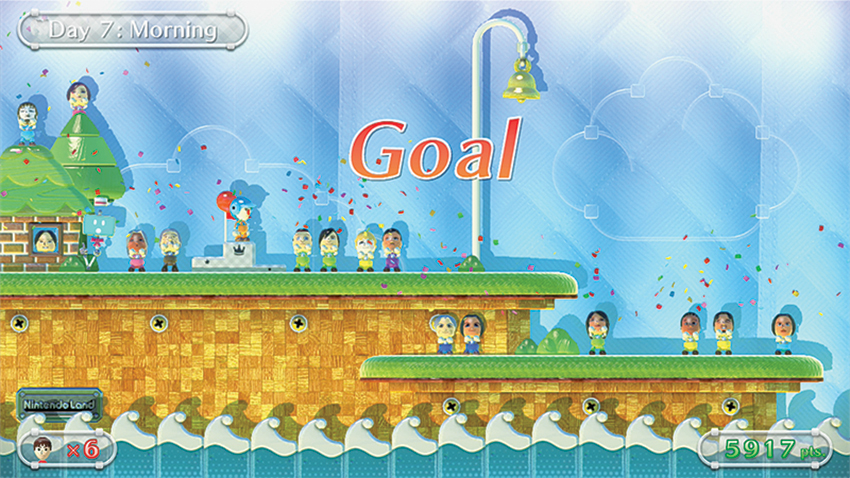
The final Rest Island greets you with a warm welcome from many of those you have helped and met along the way. Ring the bell to signal the end of your week-long journey and land on the final podium to start celebrating! Great flying out there!