Nintendo Land Guide Walkthrough Team Attractions
Metroid Blast
The Galaxy’s Greatest Bounty Hunter Returns
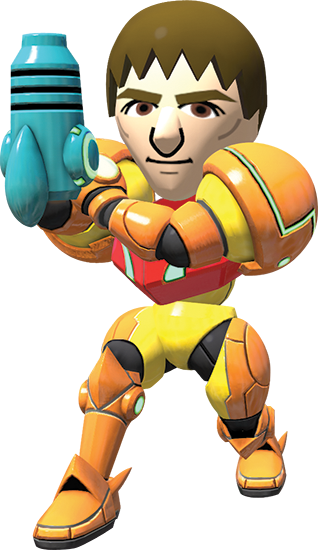
The galaxy is overflowing with dark, dangerous threats, and when trouble comes calling, there’s only one person for the job: Samus Aran. When Samus Aran isn’t available, there can be only one other person for the job: your Mii! Thankfully, stepping into the shoes of one of the galaxy’s biggest champions is easier than most would imagine, and when your Mii is given the reins of the Gunship on top of all that? There isn’t a low-down, no-good space pirate left that isn’t quaking at least a little in their boots. That’s a good thing because to overcome the 30 different Assault Missions Nintendo Land has set up, it’s going to take plenty of firepower and more than a little luck.
Presented from two different perspectives, the various Metroid Blast offerings let you shoot it out on ground level, gunning down targets with pinpoint accuracy, or from the increased altitude of the Gunship. Both perspectives have strengths and weaknesses, and if playing with friends they can even be combined in cooperative or competitive challenges. Now who’s ready to take down some Zebesian bad guys?
Controls
GamePad Controls
| Move/Strafe | Tilt Left Stick left or right |
| Turn | Tilt Right Stick left or right |
| Change Altitude | Tilt Right Stick up or down |
| Boost | Press the Left or Right Stick down |
| Aim | Move GamePad or Tilt Right Stick |
| Zoom Aim | L or ZL Button |
| Fire | R or ZR Button |
| Fire Missile | Hold R or ZR Button to charge until reticle fills, then release |
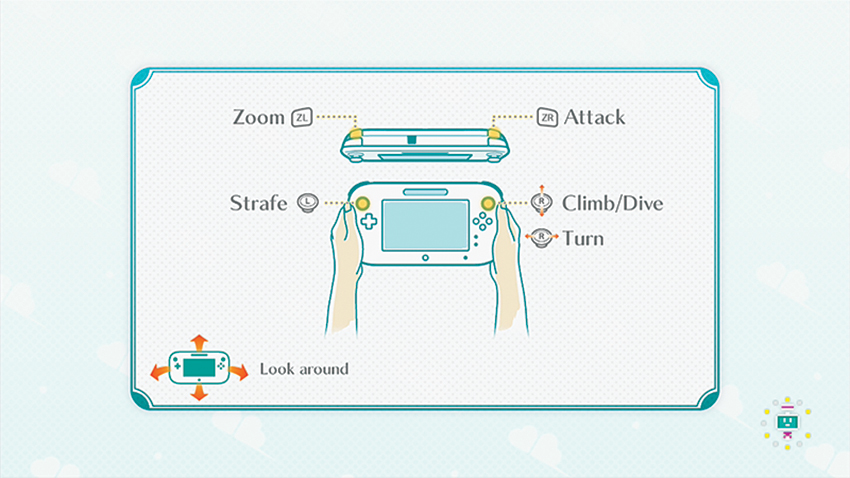
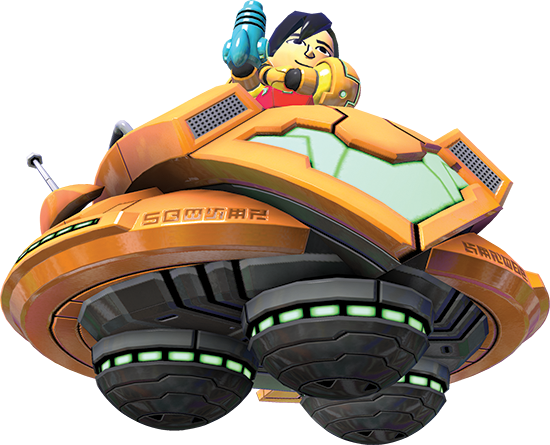
Whosoever commands the GamePad controls one of the greatest ships in the known galaxy. Samus’s Gunship is a zippy, high-powered attack craft that is more than capable of taking on multiple threats simultaneously. To so do, though, your Mii will have to harness the various means of guiding the ship around any given level. Start with left and right lateral movement, which is mapped to the Left Stick. With a simple tilt, the Gunship is able to strafe left or right of wherever you’re looking. To change that aim, simply move the whole GamePad, tilting it as needed to make fine adjustments. To turn the ship completely, tilt the Right Stick left or right, and to fly up or down, just press the corresponding direction on the Right Stick. It can take a little getting used to, the idea of climbing and diving on one thumb, while the other simply strafes, but it quickly becomes natural and allows for extremely quick, precise aiming. To fire, tap the ZR Button, and for far away targets, hold the ZL Button to zoom in. Holding the fire button charges up the Gunship’s rockets, and releasing once the circular reticle has completely filled lets loose a slow-moving but extremely powerful blast.
Wii Remote Plus Controls (Samus Character)
| Move | Tilt Control Stick |
| Dodge | Shake Wii Remote Plus |
| Aim | Use Wii Remote Plus to move targeting reticle |
| Zoom Aim | Hold C Button |
| Look | Hold A Button and move Wii Remote Plus |
| Fire | B Button |
| Bomb | Hold B Button to charge until reticle fills, then release |
| Morph Ball | Hold Z Button |
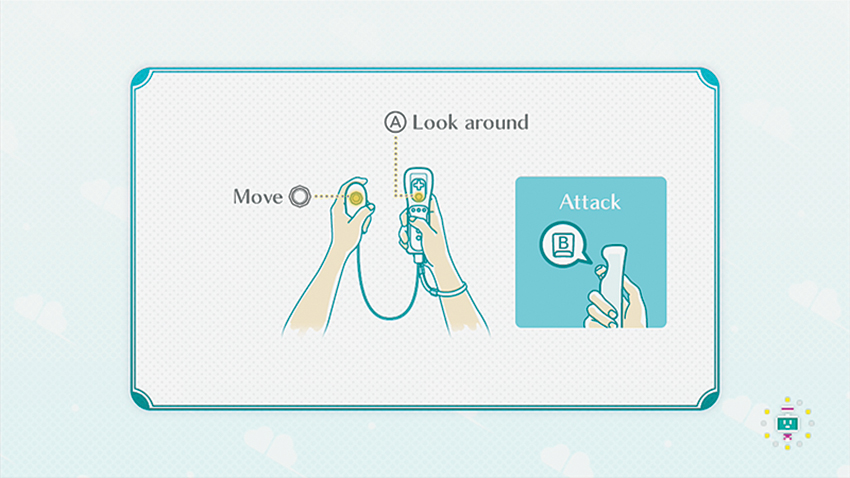
Just because your Samus character is confined to the ground while wearing the Power Suit, it hardly means you are at a disadvantage. Ground-level players have all the firepower of the Gunship, but slightly less mobility due to that pesky gravity thing. Thankfully, you’re given the same measure of precise control. Hold the C Button on the Nunchuk to zoom your aim and move the targeting sights with the Wii Remote Plus pointer. To look around freely, hold the A Button and aim as if you were targeting something. Ground troops can move forward, back, and strafe left and right all with the Control Stick on the Nunchuk as well, while firing requires tapping the B Button (for normal shots) on the Wii Remote Plus or holding it to charge up a bomb. To duck into Morph Ball form for faster (and lower-profile) movement, hold the Z Button. Bombs can also be dropped in Morph Ball form as normal. In the hands of experienced bounty hunters, this combination of smooth analog movements and pinpoint aiming can lead to precision sniping, fast reactions, and, thanks to the Power Suit’s ability to dodge incoming attacks, plenty of options for getting out of danger in a hurry.
Assault Mission
With a huge number of challenges, the Assault Missions will serve as both training ground and test of mettle for more than a few hours. Metroid Blast’s varied locales and objectives mean your Samus character will be able to explore fiery pits, icy caves and everything in between. Start by learning the ins and outs of piloting the Gunship with the GamePad, but don’t forget to give the Wii Remote Plus a go too (preferably while helping friends on their own Assault Missions) to make sure you’re ready for the head-to-head modes against your buddies. Be ready for multiple boss fights against some of the deadliest foes Samus has ever come across and of course her old friend the life-sucking (but not necessarily evil) Metroids themselves.
As these are simple arenas, this section of the Nintendo Land guide won’t offer step-by-step instructions on how to pass each and every Assault Mission, but it will absolutely give you the tools to finish them in your own way. Don’t be afraid to experiment with the various strategies in the pages to come; many of them can be used to complement other players who might be struggling—or can be used in competitive modes to get that extra edge.
Stamps
| Icon | Name | Conditions |
|---|---|---|

|
100 Enemies Down | Defeat 100 enemies total. |
|
|
In the Belly | |
|
|
of the Beast | Get inside a huge enemy’s body. |
|
|
Boss Blaster | Defeat the final boss. |
|
|
Master Bounty Hunter | Finish all missions (including Extra missions). |
|
|
Mission | |
|
|
Accomplished | Earn Master Rank on all missions. |
1. First Contact
Mastery Requirement: All players achieve 50% hit accuracy or more.
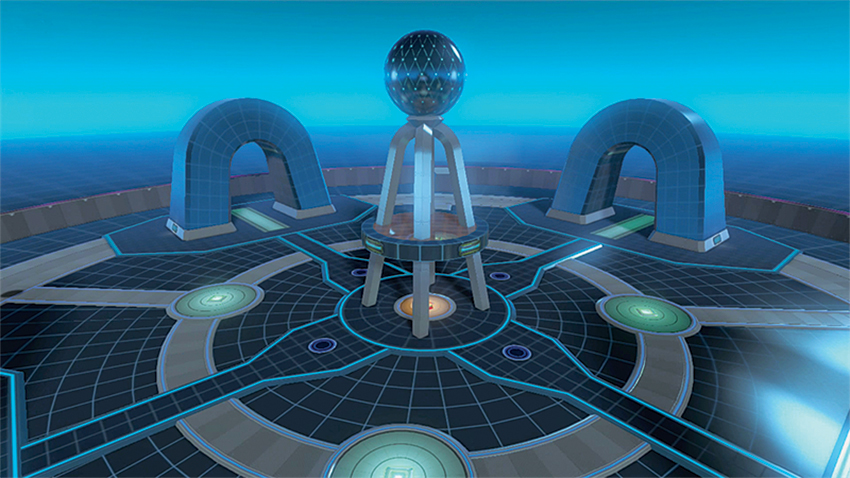
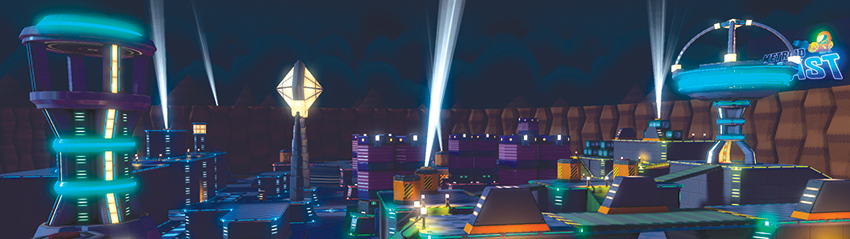
This small, enclosed area is the perfect training ground for all of the various ins and outs of Metroid Blast . Take your time here and learn how the Gunship and Power Suit (depending on which control method you opted for) move and react while taking out the five small waves of Geemers to close out this challenge.
2. Geemer Invasion
Mastery Requirement: Win using only charge attacks.
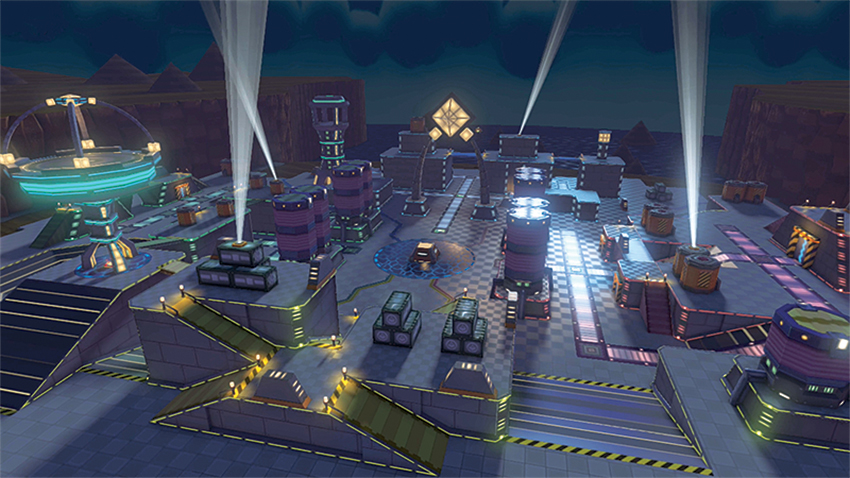
This arena is much bigger than the last, and offers multiple places to duck, dodge, and scurry around the various bridges, walkways and open areas. Why not become familiar with how your charge attack (that’s holding the Fire button until the reticle fills, then releasing) lays waste to multiple enemies at once. tYou’ll Master the stage and learn something in the process! There are just three enemy phases to work through, but plenty of enemies per phase.
3. Approaching Cyclons
Mastery Requirement: Take no damage.
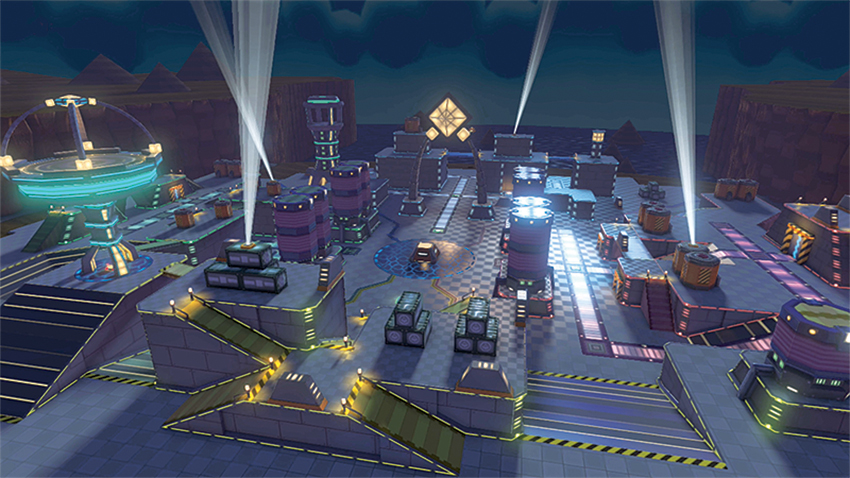
Welcome back to the familiar highways and byways of this neon-lit arena. The objective this time isn’t too different from the last time out, though to earn Master Rank status for the level, you must take no damage. That’s easy when it’s just a bunch of slow-moving Geemers, but what about these new Cyclon threats?
4. Token Sweep
Mastery Requirement: Finish with 3:00 or more remaining.
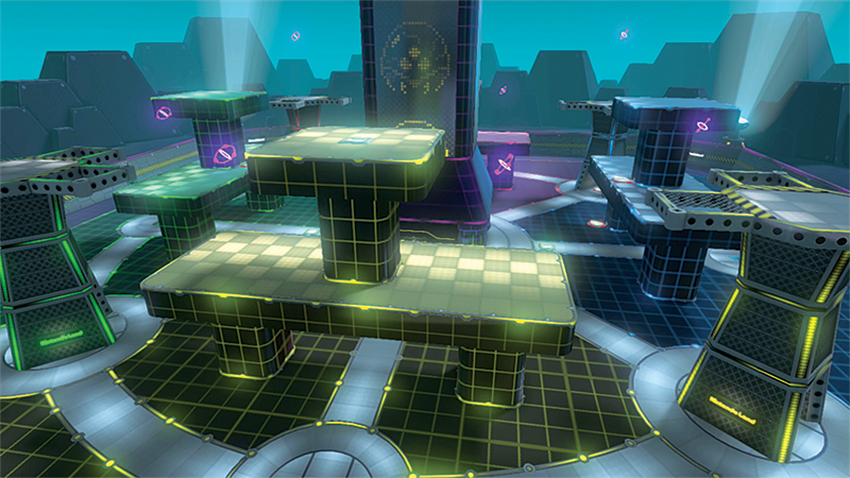
There’s thankfully very little to this challenge. Just follow the on-screen radar blips for the locations of the Tokens and scoop them up quickly to Master the stage. Don’t even worry about combat here; you’ll have plenty of chances to teach these creatures a lesson soon enough.
5. Zebesian Incursion
Mastery Requirement: Take no damage.
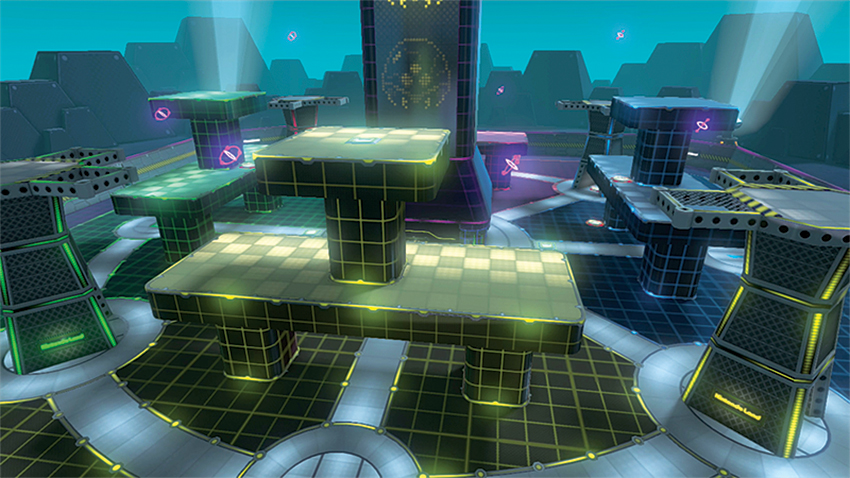
Just four short waves of enemies are in the cards this time around, but the Zebesians are hardly the pushovers that Geemers and Cyclons were before them. For one, they can return fire quite quickly, and have to be hit three times in their weak spot to finally keel over. Engage them from long range where possible and try to duck behind a bit of cover to avoid any return fire. Mastering this challenge will be a breeze.
6. Cyclon Infestation
Mastery Requirement: All players achieve 50% hit accuracy or more.
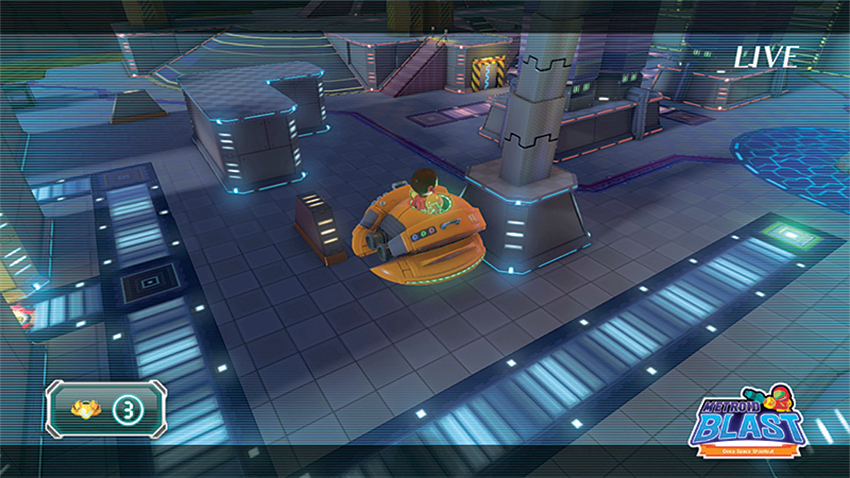
Five waves of Geemers and Cyclons await you back in a familiar arena. Take them out from a distance, but remember that a missed shot on a Cyclon will turn them into an angry spinning threat. So aim carefully.
7. Destroy 10 Cyclons
Mastery Requirement: Win using only charge attacks.
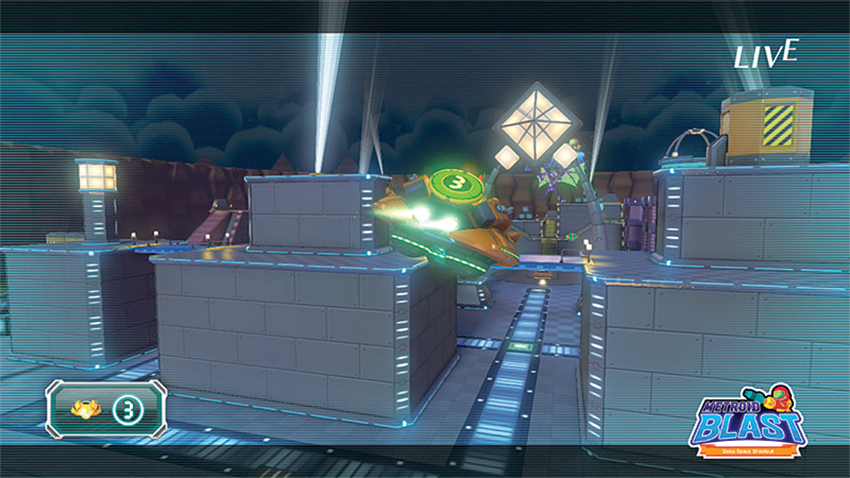
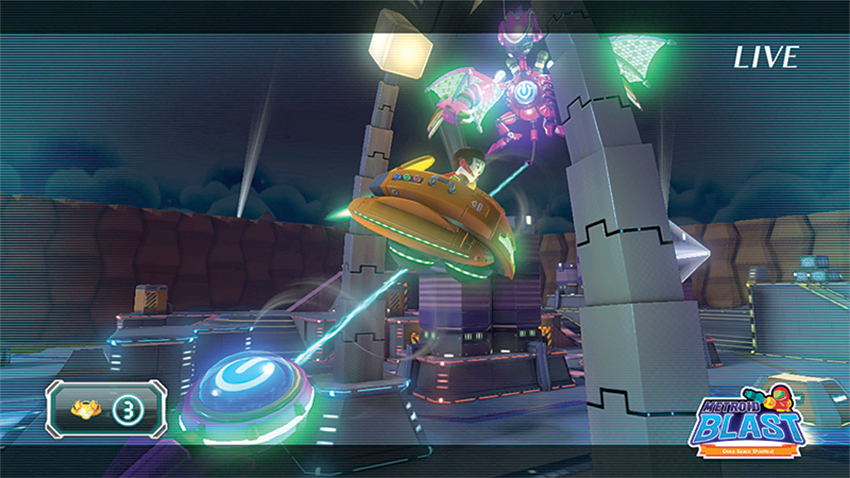
So that objective seem pretty easy, right? Just take out 10 enemies? There’s only one problem: an old enemy appears: Ridley! This winged monstrosity constantly harasses your Mii while you attempt to take out just 10 little Cyclons. You can either fight the monster, or you can simply outlast him. After a few minutes, he’ll take off and never return. Either way, your real goal here is to eliminate the Cyclons. Ridley will have to wait for another challenge.
8. Infernal Battle
Mastery Requirement: Take no damage.
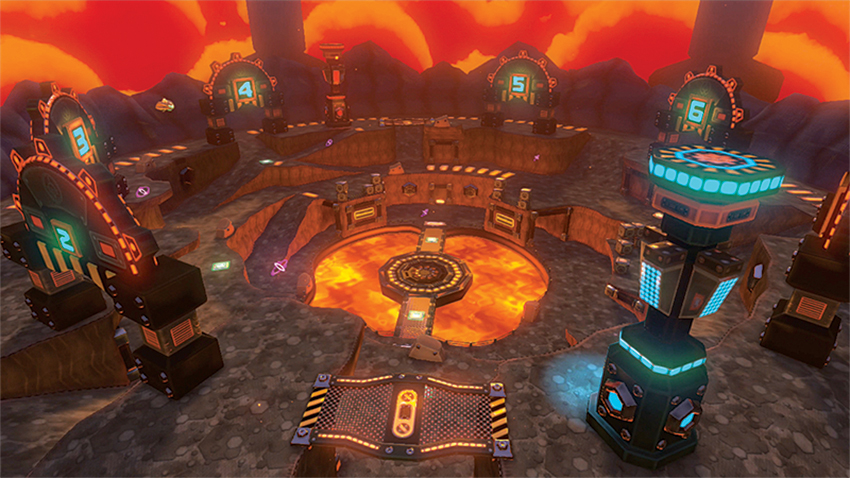
Welcome to a new battleground! The bubbling mass of magma in the center of this level looks more dangerous than it really is, but that doesn’t mean you should take a dip. There are only four waves of enemies to deal with here, but the Red Geemers that can return fire have a way of sneaking in those slow-moving missiles, so stay on the move. Be on the lookout for sniping Zebesians in the later waves, and try to skirt the outside of the level to avoid their shots if you’re in the Gunship.
9. Cyclon Queen’s Tokens
Mastery Requirement: Finish with 3:30 or more remaining.
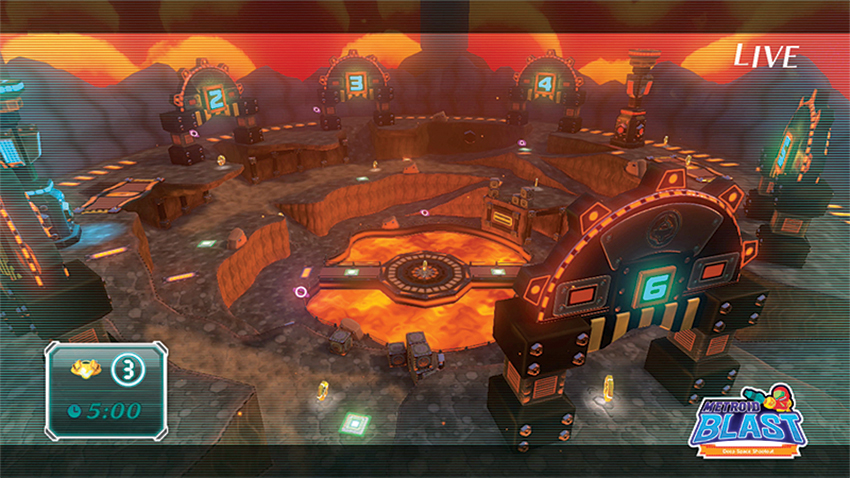
The fiery playground seen in the last stage makes a return appearance here, and an all-new threat, the Cyclon Queen, joins the party! In truth, she’s little more than a collection of Cyclons around a central weak point, which you’ll discover after you’re able to destroy the entire group surrounding her. You’ll get the chance to fight her again, so if going for a Master rank on this stage, just make a beeline for the Tokens scattered all around. Use your radar if necessary to locate any missing Tokens. (They’re scattered around the outer and inner circles of this stage.)
10. Hostile Colossus
Mastery Requirement: Do not miss any charge shots.
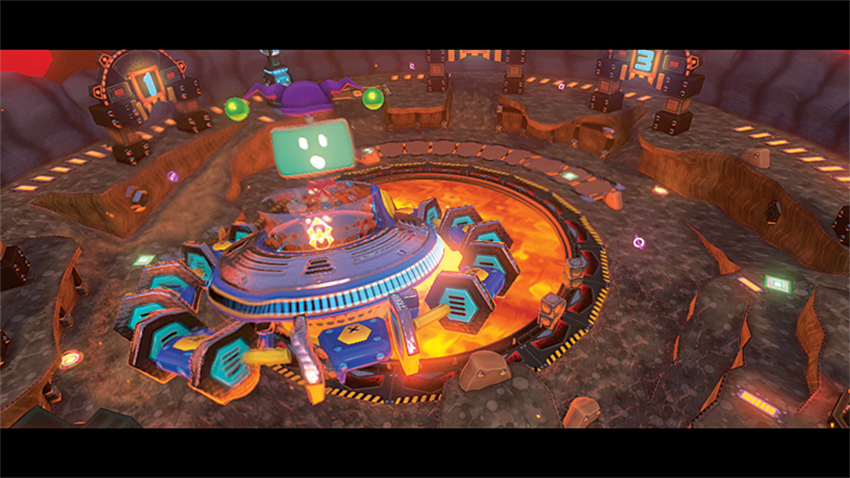
You just can’t get enough of this lava-filled arena! There’s only one problem: You’ve never faced a threat like this before....
11. Geemers!
Mastery Requirement: Finish with 3:00 or more remaining.
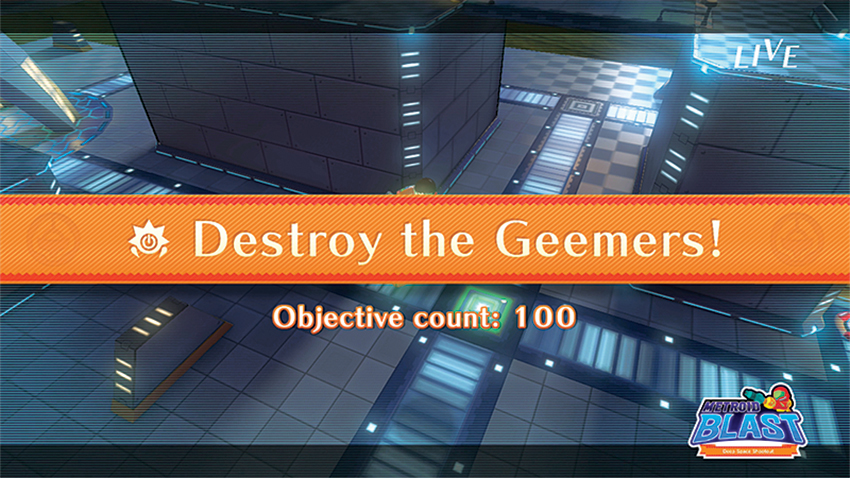
Yeah, there’s 100 Geemers that require elimination for this second-tier challenge. Thankfully, Samus’ charged up shots do a great job of taking out multiple targets simultaneously, so pour on the attacks to whittle down the enemy numbers. Contrary to previous challenges, this time it’s actually a good idea to stay put in the starting area, and let the Geemers come to you rather than go searching them out. Move forward as they spawn, then slowly inch back to avoid being overwhelmed if playing on ground level.
12. Subzero Combat
Mastery Requirement: All players achieve 50% hit accuracy or more.
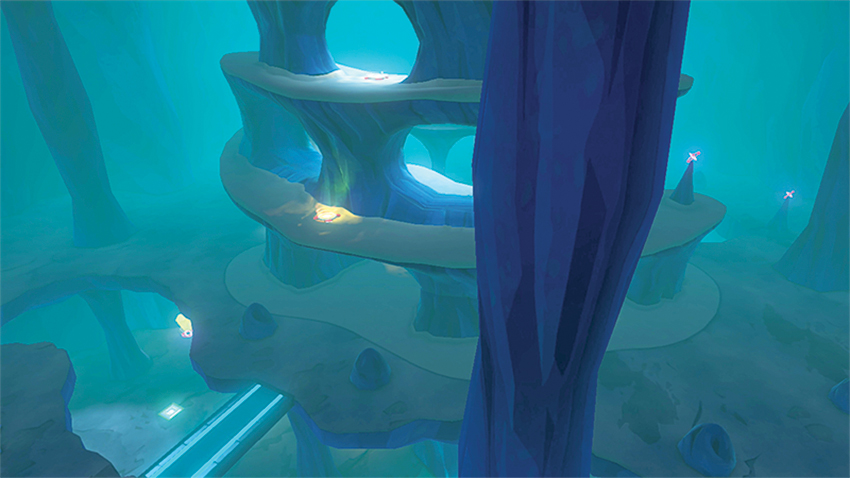
It’s time to do a little underground firefighting. This stage starts out with plenty of incoming attacks, so strafe to avoid the Red Geemers’ needle missiles right from the get-go, then slowly work your way through the different chambers of this arena to polish off all six waves.
13. Metroid Hunt
Mastery Requirement: Do not miss any Ice Charge Beam shots.
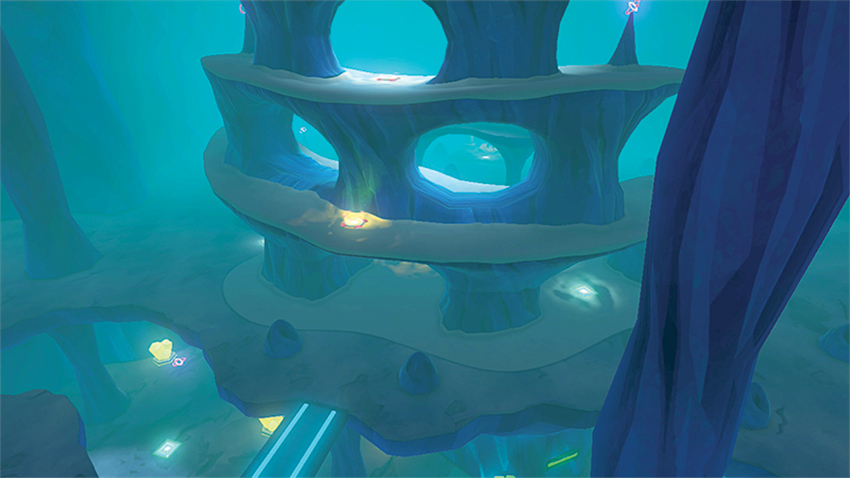
Well it wouldn’t be a Metroid game without any Metroids, right? Head back into the icy caves from the last challenge and prepare to do battle against one of the galaxy’s oldest foes.
14. Defend Your Allies
Mastery Requirement: Take no damage.
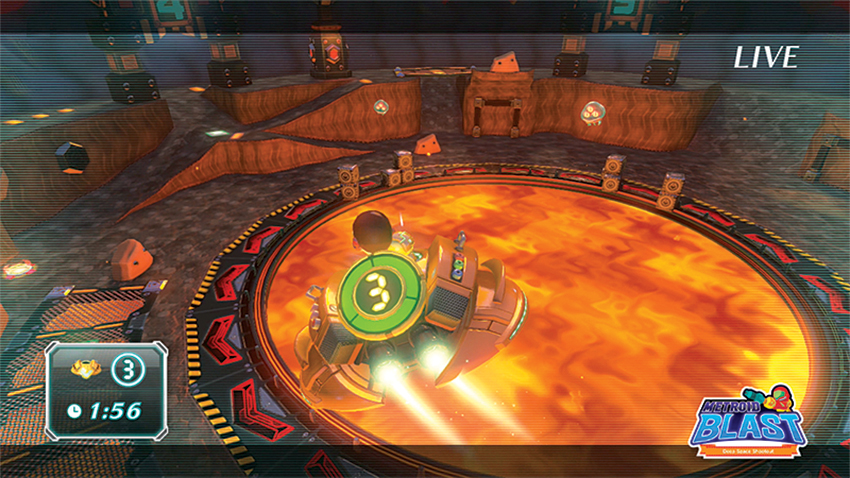
It’s time for an abrupt climate change. The icy levels give way to the return of the molten rock that bubbles away in a familiar arena. This time around, though, you’re not the only target. For two minutes, Metroids will attempt to steal away some scientists, while other enemies appear on the scene to harass you. Stay on top of the Metroids and shoot them as soon as they grab an ally to make them release the captive, but be wary of attacks from Zebesians at the 1:00 mark and Geemers when only 30 seconds remain.
15. Zebesians Incoming
Mastery Requirement: Take no damage.
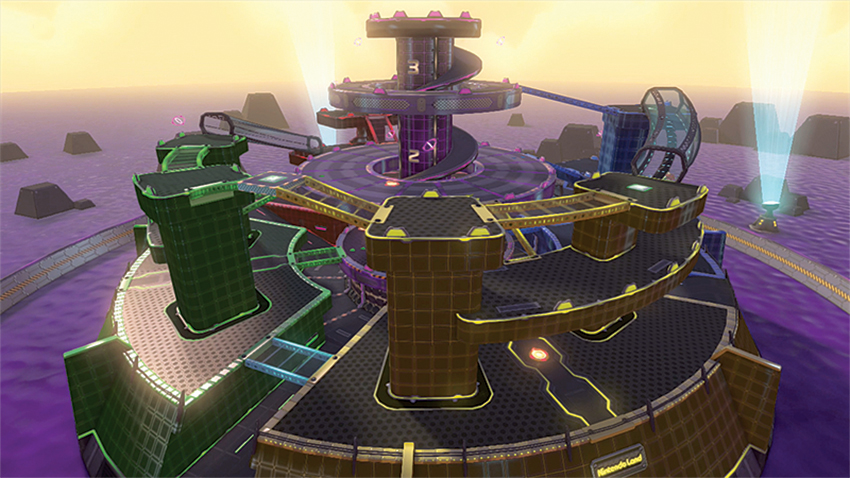
This Sea Tower is home to plenty of enemy resistance, including Metroids, so be sure to grab the Ice Charge Beam near the starting point to take down the life-sucking creatures. Five waves of threats await you here, and the Zebesians are crack shots. Worse still, the Zebesians take three hits to defeat and can fly around, too. To avoid losing out on Mastering this stage, be sure to stay on the move and keep cover in front of you as often as possible while you search for the next target.
16. Evade the Snipers
Mastery Requirement: Do not fire a single shot.
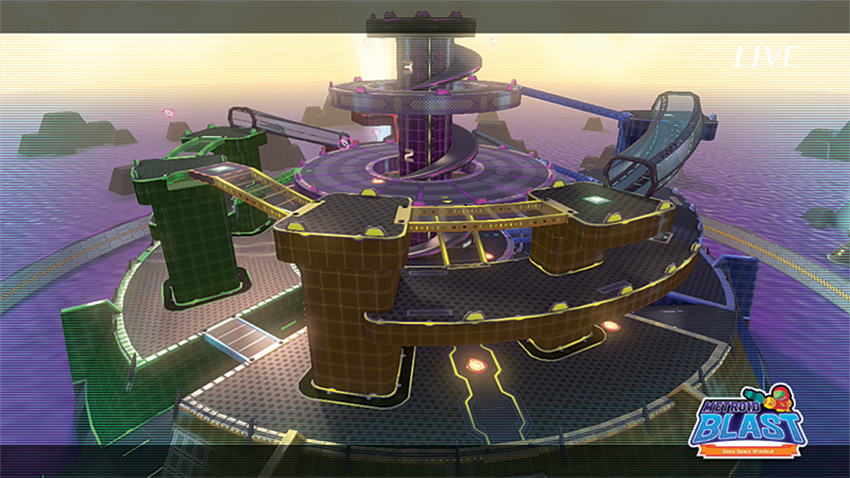
The same watery arena from the last stage returns, but now it’s home to some dangerous foes in the form of Zebesian snipers. If they acquire a lock, no matter how far away or fast your Samus character is moving, that shot will damage you unless there’s a solid surface in between or a Dash or Dodge is used right before the sniper fires. The solution is to constantly seek out cover before looking for the next target. Since snipers are perched on elevated surfaces, it’s possible to sneak by them from below while you search for the dozen Tokens scattered high and low around this arena. To Master the stage, however, no shots can be fired, so keep an eye out for targeting lasers and sneak out from cover after a shot is taken just be sure to find cover before the sniper can take aim again.
17. Air Supremacy
Mastery Requirement: Do not pick up any items.
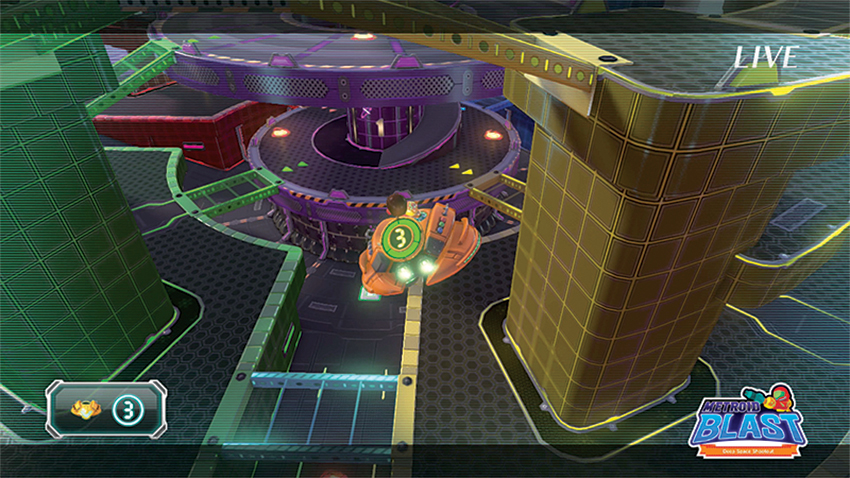
It’s back to the watery arena for the third time in a row, but this time there’s plenty of shooting to be done. Although you have only four waves of enemies to contend with, they’re very tough threats, including Sniper Zebesians, Flying Ice Zebesians with freezing attacks that love to zoom in for a follow-up strike, and a Queen Cyclon, just to make things extra difficult. Concentrate on one threat at a time, and if possible, lure the Ice Zebesians down into the circular tunnel in the middle of the stage to allow for maximum cover.
18. Frosty Token Sweep
Mastery Requirement: Finish with 1:00 or more remaining.
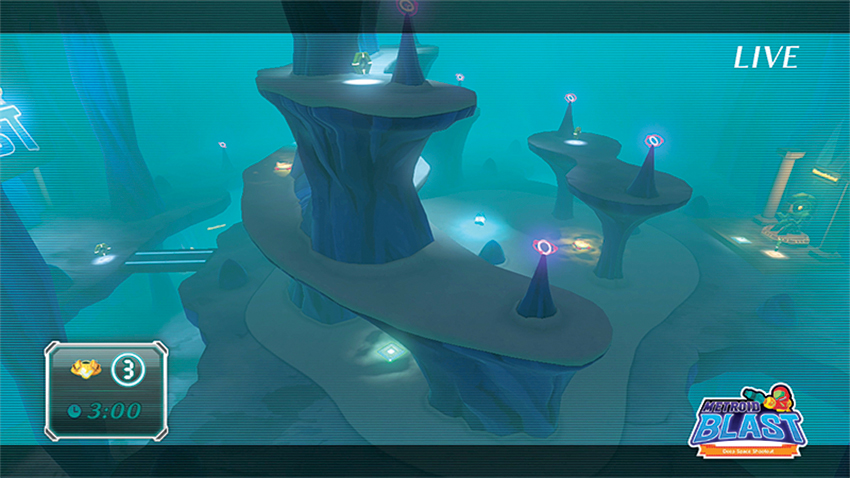
There’s just two minutes to scoop up a dozen Mii Tokens if you’re attempting to Master this stage—and only three minutes even if you aren’t. Thankfully, this icy level is riddled with tunnels and passageways that should allow you to avoid attacks from sniping Zebesians and the odd Metroid that likes to munch on your brain. Stay constantly moving, and avoid combat where possible unless an enemy is near a Token.
19. Strike from Behind
Mastery Requirement: Use no charge attacks.
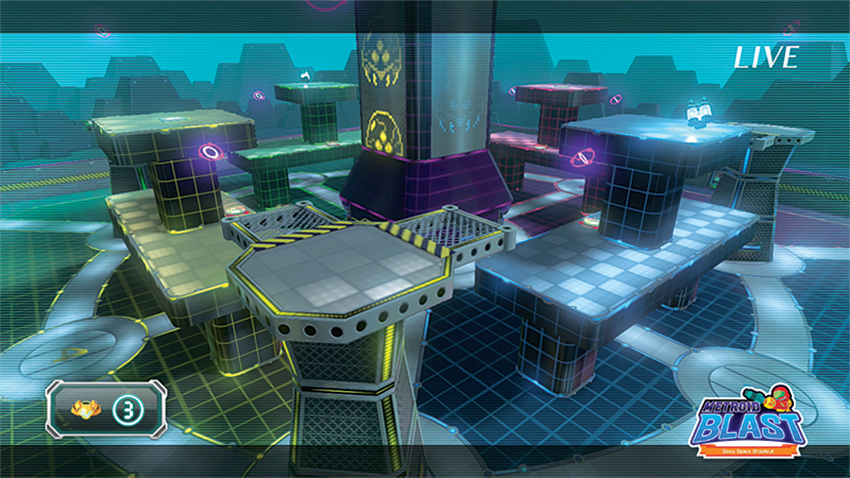
A new threat looms in the form of Zebesians with weak points not just on their stomachs, but their backs too. Thankfully, an Ice Charge Beam is offered right from the get-go, but if you are going for the Master accomplishment, you’ll have to use some clever circle-strafing around bits of cover, or long-range sniping to take out the targets. There are only four waves of enemies to overcome, but these are limber targets. Shoot fast.
20. The Final Battle
Mastery Requirement: Do not dodge or dash.
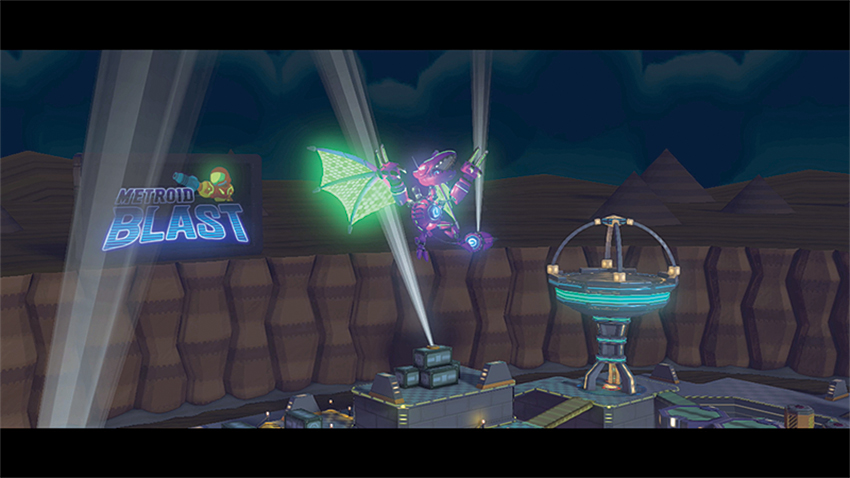
He’s baaaaaaack! Ridley finally makes a return in the very arena where you first met him. This time, however, he won’t be running away, so it’s either you or him.
Extra Missions
No, it couldn’t be that easy. Monita rewards your efforts for polishing off the first 20 Missions with a gold star, then unlocks a whopping 10 more. These are no trivial challenges; expect multiple boss fights, enemies that are extremely ruthless and some Mastery requirements that are absolutely diabolical.
21. More Geemers
Mastery Requirement: Win only using charge attacks.
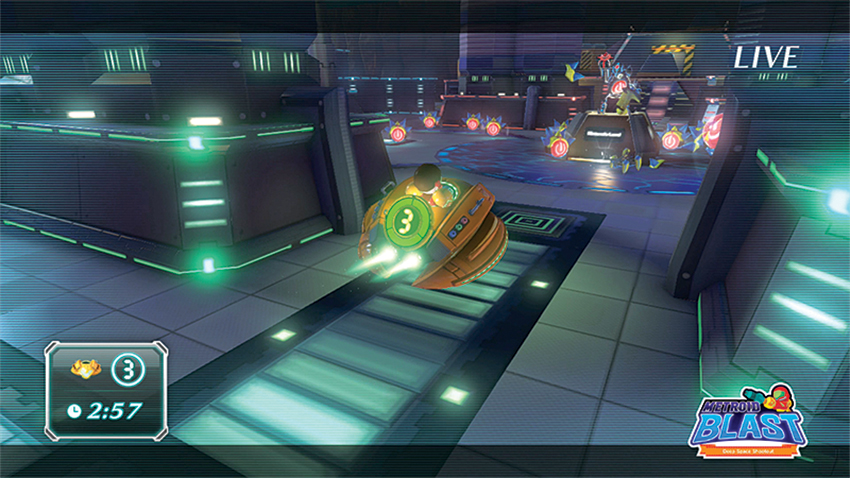
The Geemers have returned, and they have a few Zebesian friends with them. The key here is to stick to the same method as before: Stay put as much as possible to lure the Geemers toward you, though seek a bit of cover to avoid the Zebesians’ attacks. The Master Rank requirement for this level is actually a pretty great tip; charge up a Missile or Bomb and let the blast radius take out multiple targets without risking your own hide.
22. Unidentified Enemy Object
Mastery Requirement: Do not pick up any items.
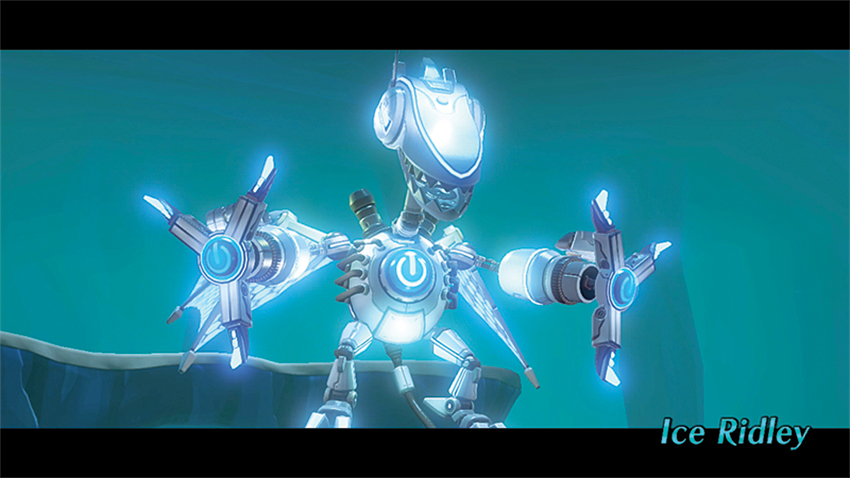
Wait, what? A boss fight already? Yes, and this time Ice Ridley has a little extra punch: If that Ice Beam of his makes contact, your Samus character on foot or in the Gunship will be defenseless for a few extremely dangerous seconds. Ice Ridley doesn’t really deviate much from his normal version, but the combination of Ice Beam and telescopic claw attacks can make short work of unprepared adventurers. Stay on your toes here. After the first phase, Zebesians and Metroids decide to complicate matters, so deal with them first before returning your attention to this icier nemesis.
23. Metroid Rush
Mastery Requirement: Do not miss any Ice Charge Beam shots.
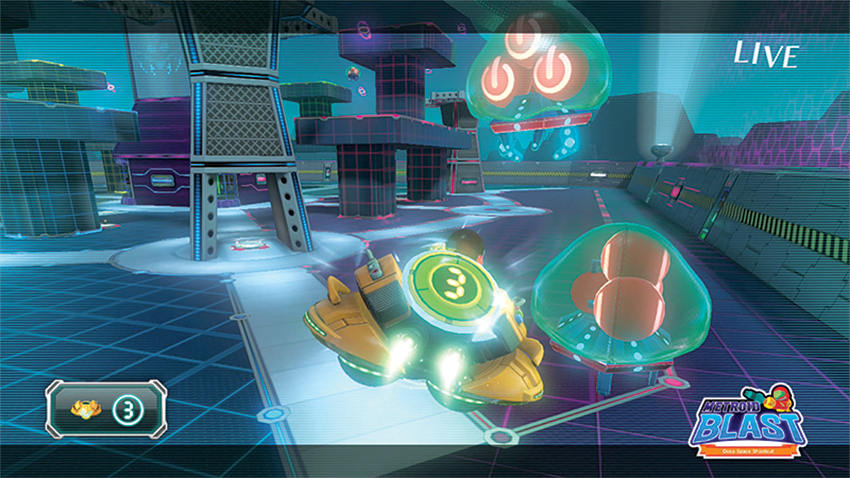
It’s open season on Metroids in this battle, which actually is not terribly difficult so long as you remember this one rule: Never stop moving. Stick to the outside parts of the level after grabbing the Ice Charge Beam and then draw the attention of a Metroid. Start backing up while charging and freeze the creature in its tracks before unloading on it. When Zebesian snipers start appearing, make sure to take them out to avoid getting tagged by an errant shot and repeat the previous steps to clear out all the Metroids.
24. Kraid’s Army
Mastery Requirement: Finish with 1:00 or more remaining.
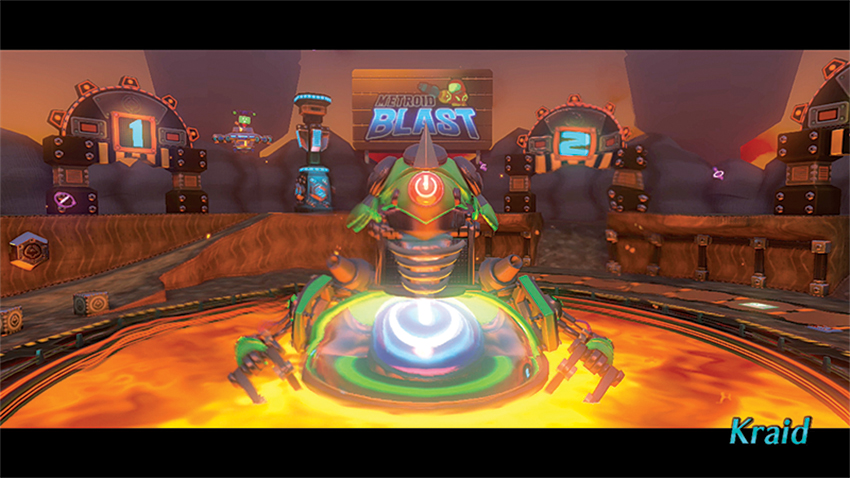
Oh great, a boss fight and a ticking clock? That’s right, it’s Mission 10 all over again, and this time, there are even more enemies. Work quickly to eliminate any enemies that might try to damage you while you go about performing these steps: Hit his nose to open his mouth, fire a Missile or Charge Bomb into his throat and then repeat. With each phase, more enemies will appear. Take them out as fast as possible, but try to balance hitting the weak spots on the monster’s body with removing the secondary threats and he’ll go down in no time. Well, in less than five minutes, anyway—or four if you can manage to Master this stage!
25. Token Sweep
Mastery Requirement: Finish with 3:00 or more remaining.
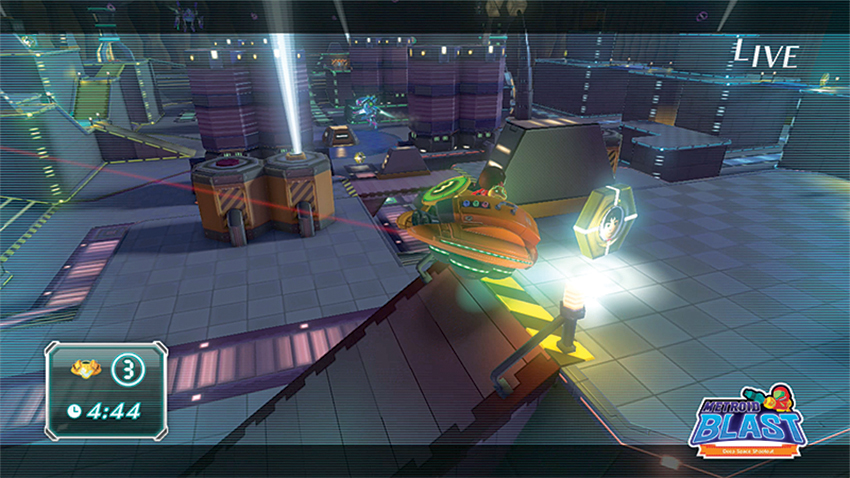
Although there’s “only” a dozen Tokens to pick up in this Mission, they’re guarded by a small army of enemies. And with five minutes to gather all those Mii Tokens, you don’t really have the luxury of taking all the enemies head-on. Instead, make generous use of the dash and dodge moves—this will obviously be a much easier goal for Gunship pilots, so help out any Samus characters by towing them around to their destination when you’re not attacking enemies.
26. Defend Your Allies 2
Mastery Requirement: Defeat Ice Ridley.
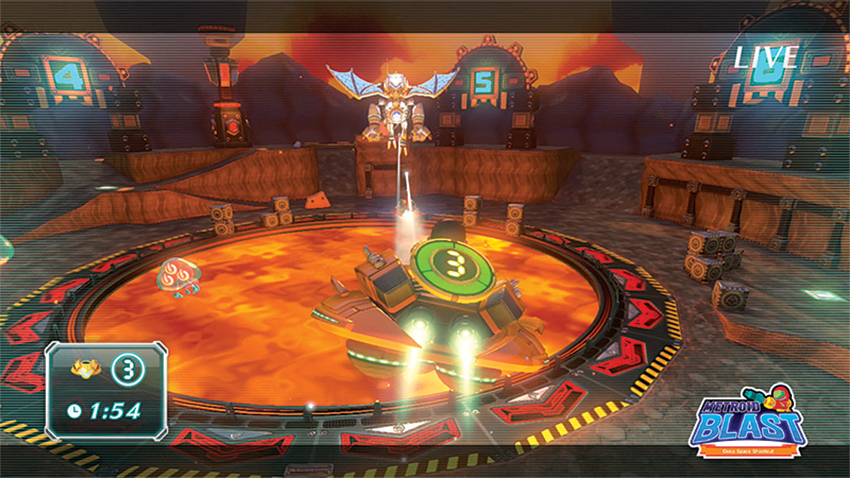
Are you ready for a serious challenge? Then attempt to take on a boss while Metroids are constantly trying to steal away your friends! This is definitely a Mission best attempted with friends. But if you’re flying solo (and you will want to be piloting the Gunship to make traveling around and grabbing power-ups easier), work on taking out one weak spot at a time before turning your attention to the Metroids. Look for the countdown timer indicating a captured ally, and prioritize the ones with the least amount of time remaining. You’ll have just two minutes to finish off Ridley and keep the allies safe, so having someone on ground level to deal with the Metroids is massively helpful.
27. De-Iced
Mastery Requirement: Finish with 3:00 or more remaining.
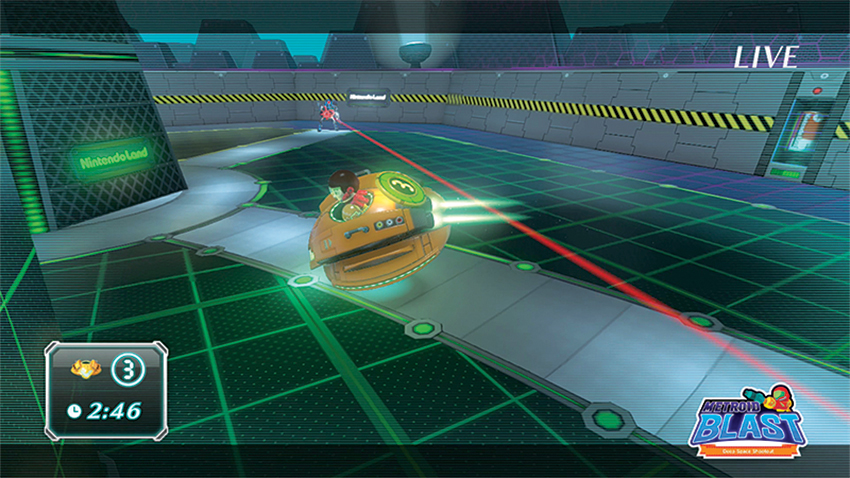
Be ready for attacks from all angles in this Mission, thanks to Sniper Zebesians (who should be targeted first whenever possible), Ice Zebesians, Flying Zebesians, and Metroids. Stay on the move, and use guerrilla tactics to take down all 15 targets. Mastery of this Mission requires a ridiculous two minutes or less completion time, but it can be done with the help of power-ups and by grabbing the Ice Charge Beam as soon as possible to keep enemies in their place. Make long, wide circles around the central tower, firing on enemies when they can be targeted. Don’t stop for anything or an absolute barrage of attacks will overwhelm your Mii.
28. Ridley and Ice Ridley
Mastery Requirement: All players have 50% hit accuracy or more.
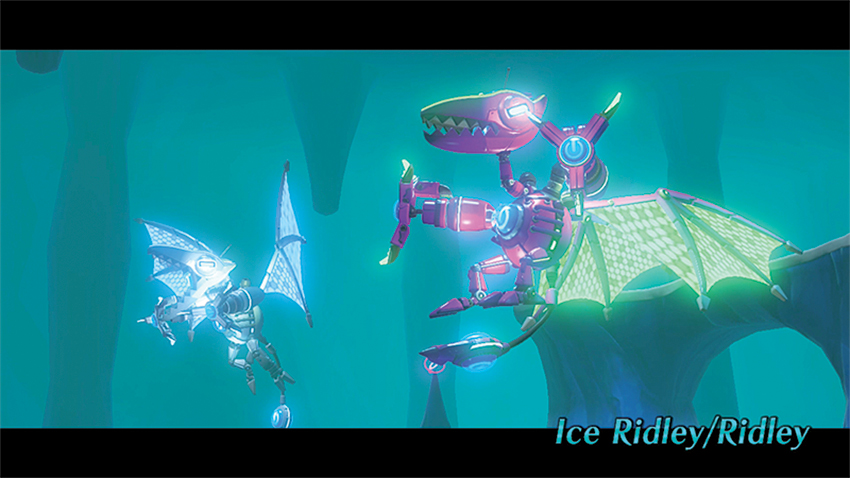
There’s difficult and then there’s—well, whatever adjective you’d like to use to describe having to fight two bosses at once. Ice Ridley is definitely the primary target here; his Ice Beam leaves you open to attack from not just Ice Ridley himself, but his normal counterpart and the enemies that continue to pester throughout the phases of the boss fight. By concentrating on one boss at a time, you can keep spawning enemy numbers low. This isn’t a race, thankfully, so take your time here and attack from afar. Pick up any and all power-ups you can find and keep health up as much as possible. You can duck down into the lower caves for a bit of breather if you need to, but don’t spend too much time down here. The Ridleys absolutely can and will come down to chase you and you do not want to try to tackle them in the closed confines of the caves. There’s simply too much stuff to run into down there.
29. On Familiar Ground
Mastery Requirement: Use no charge attacks.
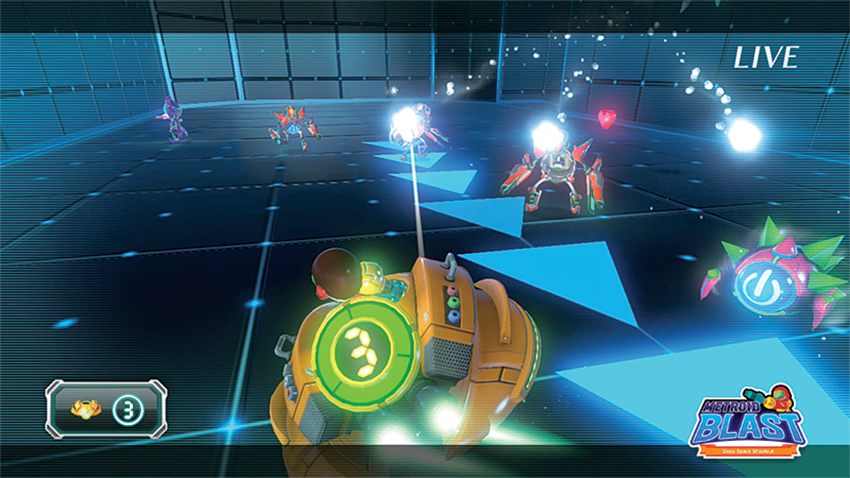
Six waves of enemies might not sound like a whole lot, but when there’s 100 total targets to take out, you know this isn’t going to be easy—especially if you adhere to the Master requirement of never using a charge attack. Thankfully, there’s no such stipulation on dodging and dashing, so make ample use of both while absolutely hammering the fire button. At regular intervals, forward progress is blocked by an energy barrier, which pens you in with a lot of the targets. Cover is usually at a premium here, so where possible, double back around corners to catch a breather, then dash or dodge out and keep laying on the firepower. Don’t be stingy with the Life pick-ups that are dropped by enemies here either. It’s very easy to become distracted and end up failing the Mission because you just wanted to get one last shot off instead of recovering some health.
30. The True Final Battle
Mastery Requirement: Do not pick up any items.
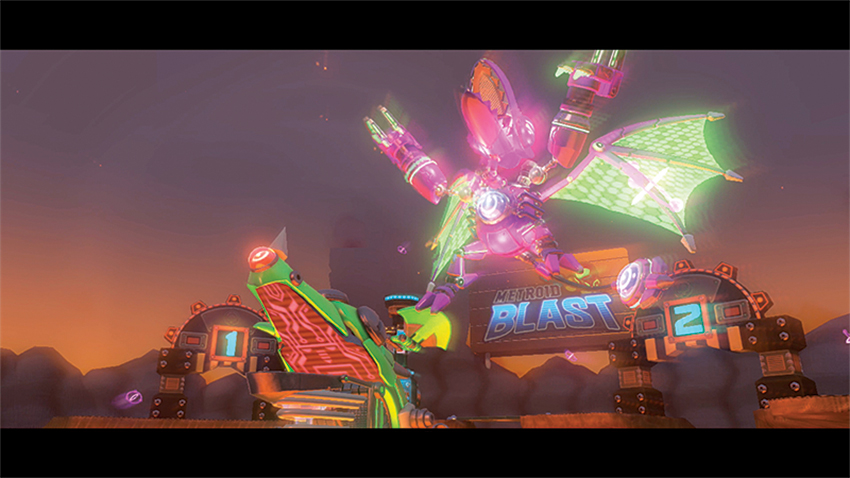
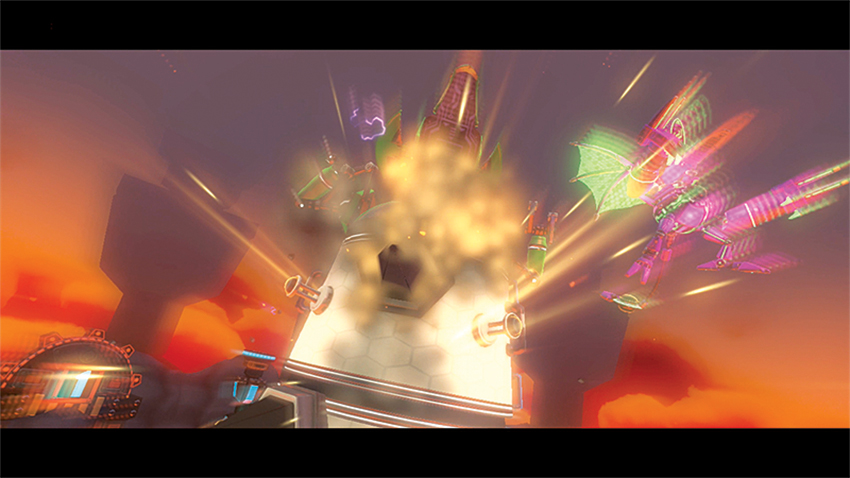
Seriously?! No items can be picked up to Master this challenge? Thankfully, there’s no time limit here, but there’s a bigger problem than just the fact that this ultimate Mission requires you to deal with two bosses: Ridley can’t actually be destroyed. He simply recovers all over again after you stun him. That’s a small blessing, though, since it’s extremely difficult to lob those damaging Missile or Charge Bomb shots into Kraid’s belly while Ridley’s around, so the best tactic here is to work from long range and chip away at both enemies’ weak spots. First, make sure Kraid’s nose weak spot is activated. Take out Ridley’s five weak spots and, while he’s stunned, quickly open fire on Kraid to get that yawning maw open, then let loose with the charged attacks—as many as you can get off in the limited time before Ridley rejoins the fight. Repeat this during each phase, and make sure to also remove normal enemies from the fight to clear the air and avoid crossfire. This is one of the hardest challenges in Nintendo Land , but all of your Samus character adventures have brought you to this point. Trust in your reflexes, make the most of cover, and pound these two boss creatures into dust. You can do it!
Competitive Modes
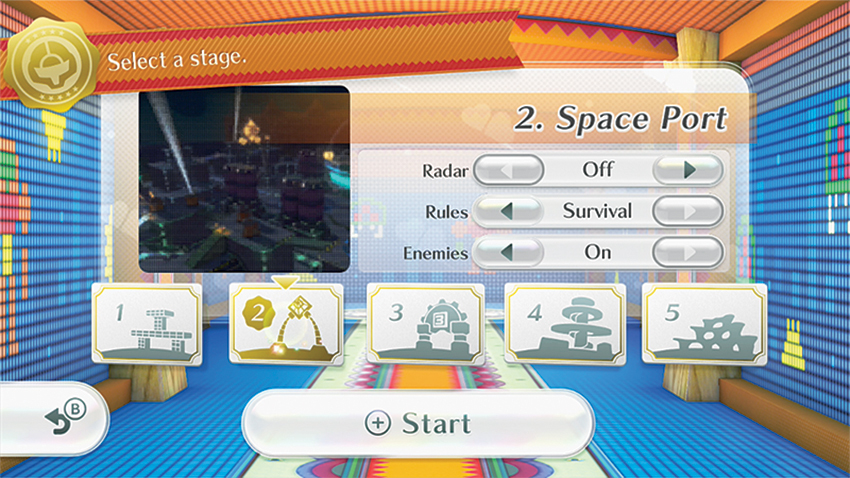
Metroid Blast isn’t just about challenging some of the most dangerous alien threats in the galaxy. It’s also a means of battling your friends in the very same arenas (Training Zone, Space Port, Volcanic Sector, Sea Tower, and Ice Cavern) where you take down all those big, bad bosses. Five distinct stages are yours for the choosing. And you can toggle on or off Radar, Token or Survival based goals, and whether or not you would like enemies that can freeze (but not damage) players in the stage prior to starting a match.
Surface-Air Combat
When thumping on aliens just isn’t enough, square off against one player piloting the Gunship and everyone else on foot. Though the Gunship has the speed advantage, Samus characters can use terrain to their advantage, and force the Gunship to expose itself to fire from other angles. Cooperation here is extremely important; if everyone just fights for themselves, the Gunship will easily overpower enemies and tag them from long range. So work together, use cover at all times, and let your combined firepower take down the Gunship!
Stamps
| Icon | Name | Conditions |
|---|---|---|
|
|
Last-Second Blast | Land the finishing blow with 1 second left on the clock. |
|
|
Free-Fall Finisher | Land the finishing blow to the Gunship while in free fall. |
|
|
Gunship Bomber | Deal damage to the Gunship with a Charge Bomb. |
|
|
Missile Strike | Land a direct blow on a Samus character with a Charge Missile. |
|
|
Gunship Accuracy 100% | Win as the Gunship with 100% hit percentage. |
Ground Combat
There’s only one way to settle a true showdown: everyone on foot,t no Gunships to be found. Ground-based combat can be incredibly exciting, mostly because everyone’s ability is on the same level. Drop into Morph Ball form, use Grapple Points—anything to get the superior firing angle on your opponents!
Stamps
| Icon | Name | Conditions |
|---|---|---|
|
|
10-Hit Hunter | Achieve 10 hits in a single match. |
|
|
Max Token Victory | Win with 99 Tokens. |
|
|
100 Token Drop | Drop 100 Tokens in a single match. |
|
|
Thanks for the Tanks | Collect all Token Tanks in a single match. |
|
|
Perfect Accuracy | Win with a 100% hit percentage |