
Hyrule Warriors Guide Walkthrough Legend Mode
The Water Temple: Lake Hylia

Playable Characters Impa Impa  Sheik Sheik  Darunia Darunia
Heart ContainerPiece of HeartGold Skulltula
Hard Mode Gold Skulltula
UnlockablesSheik’s Typhoon Harp Victory ConditionsDefeat Zelda. Defeat Conditions |


 1,000 KOs

The Underwater Sanctuary

Sheik and Impa finally catch a break on the whereabouts of Princess Zelda, but the news is not nearly as positive as they were hoping. Rumor has it that Princess Zelda is actually leading a regiment of Cia’s monster army and she’s used it to take over the Water Temple at the bottom of Lake Hylia! Princess Zelda definitely wouldn’t join Cia willfully, so we’ll need to reach her to get to the bottom of this.
A Brief Reprieve
This Scenario offers a nice reprieve from what you dealt with at Death Mountain, though there are still some tricks and challenges coming your way, especially if you’re looking to get the Hard Gold Skulltula on this map. Hang in there and we’ll give you the best strategies for handling this Scenario and getting all it has to offer.
Ambush the Enemy!
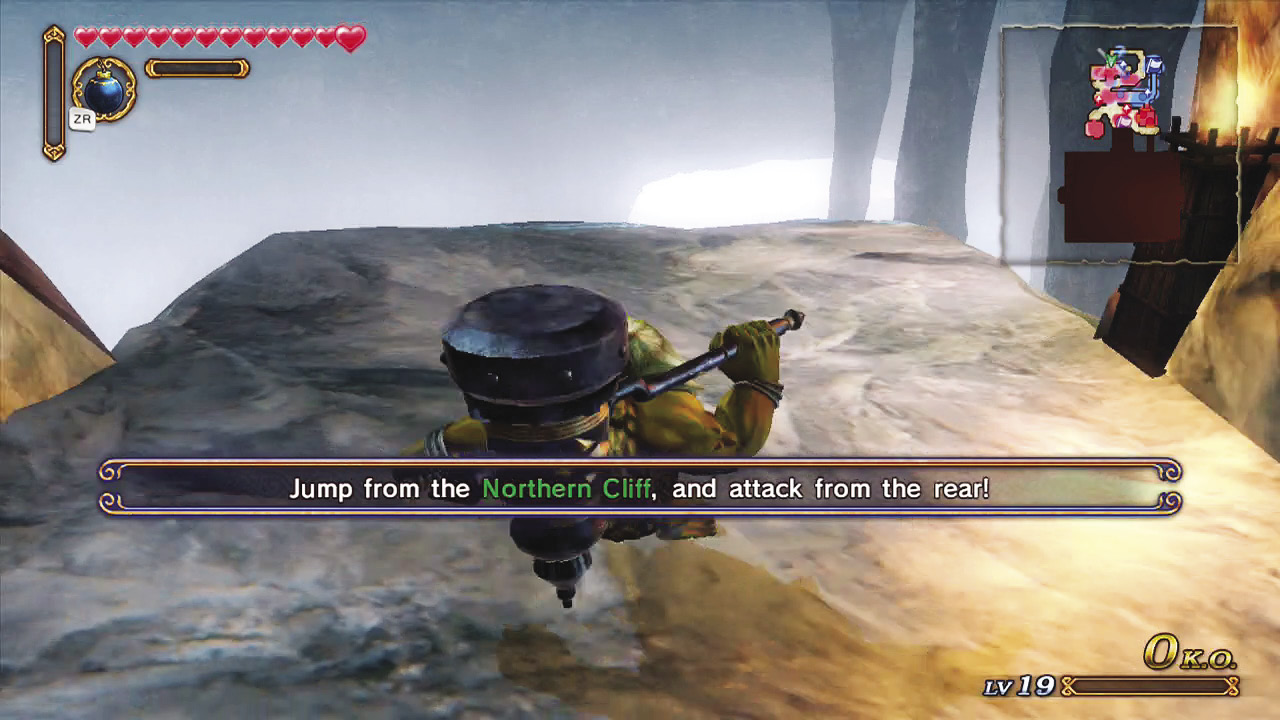
You start the scenario inside the Mine Keep with a mission to ambush the opposing force. To do that, you must get the drop on them. Literally. Take a right out of the Mine Keep and run to the end of the path. There is a ledge you can—and should—jump from. When you take the plunge, it catches the enemies within the mines off guard, dropping their morale. Clear out the enemies in the mines and then head outside.
Rescue and Escort Ruto
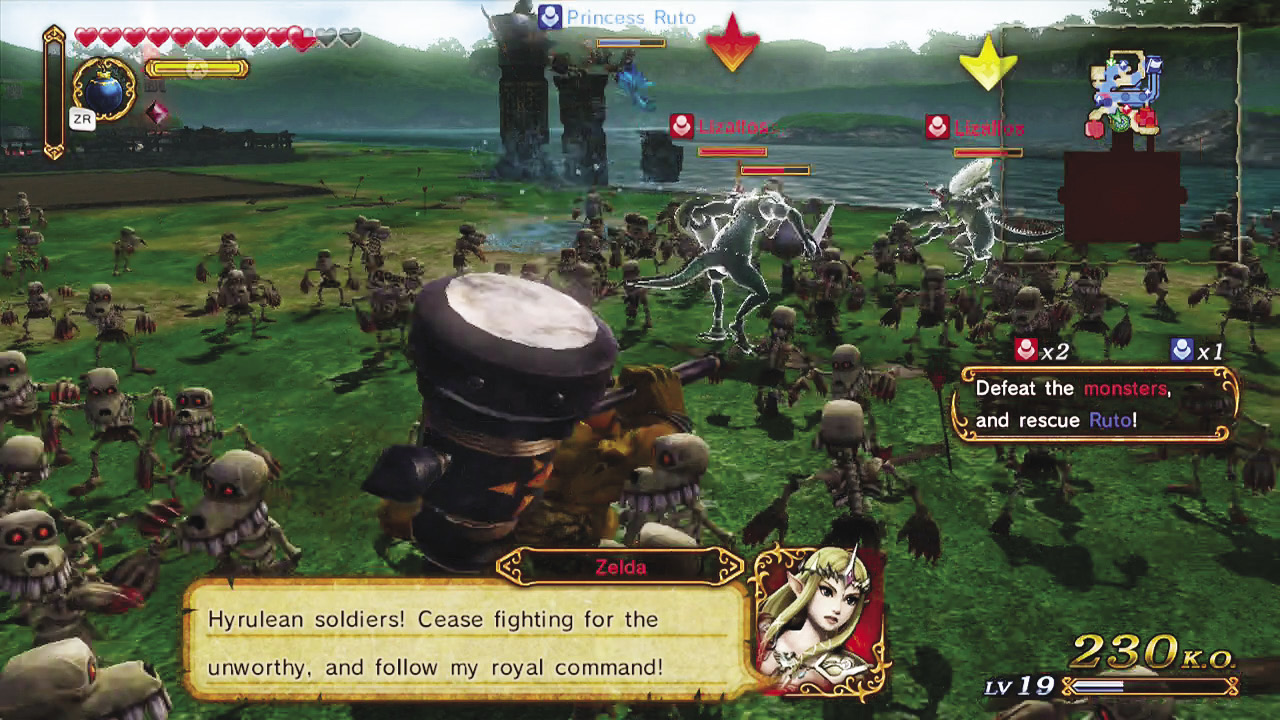
Your next mission is to help the Zora Princess, Ruto, who’s had her hands full with Zelda’s army since before you and your allies arrived. Head toward the flag icon on the minimap to find Ruto, then defeat the two glowing Lizalfos attacking her to rescue her.
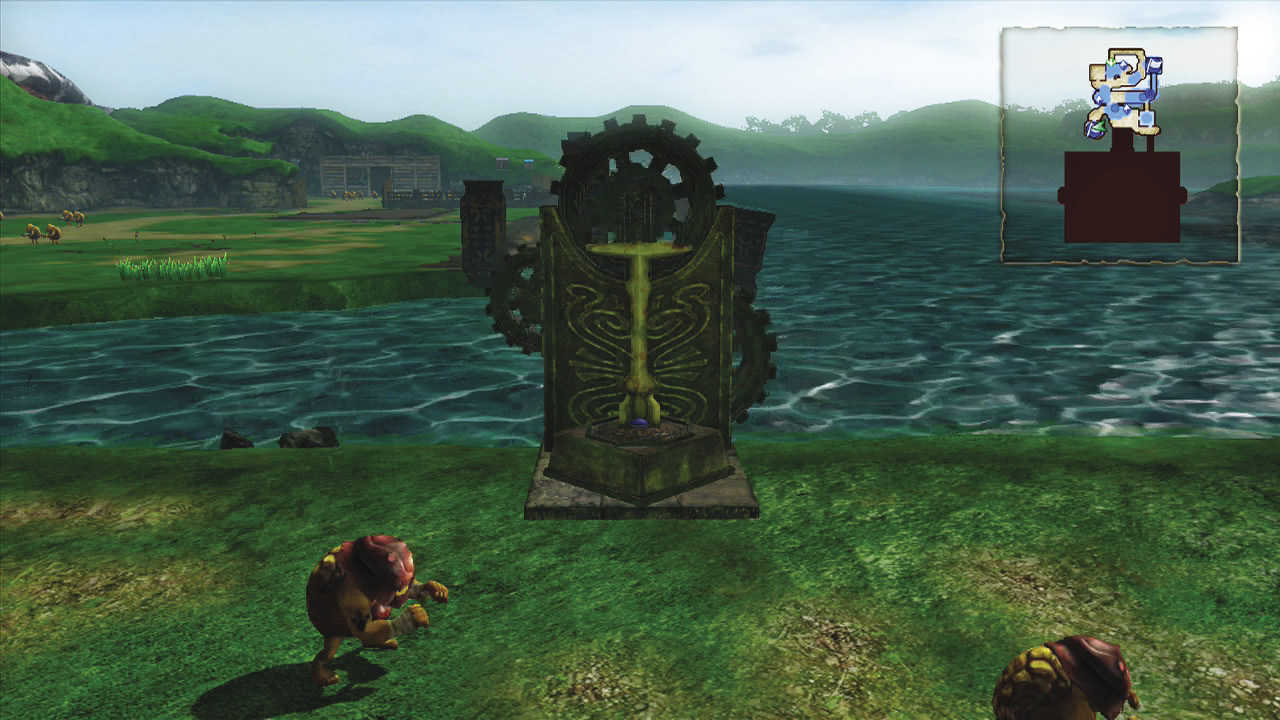
Once she’s been rescued, Ruto asks you to escort her to the Lakeside Keep on the west side of the lake’s shore. Capture the Keep and then Ruto flips a switch that lowers the lake’s water level, revealing the Water Temple below.
Enter the Water Temple
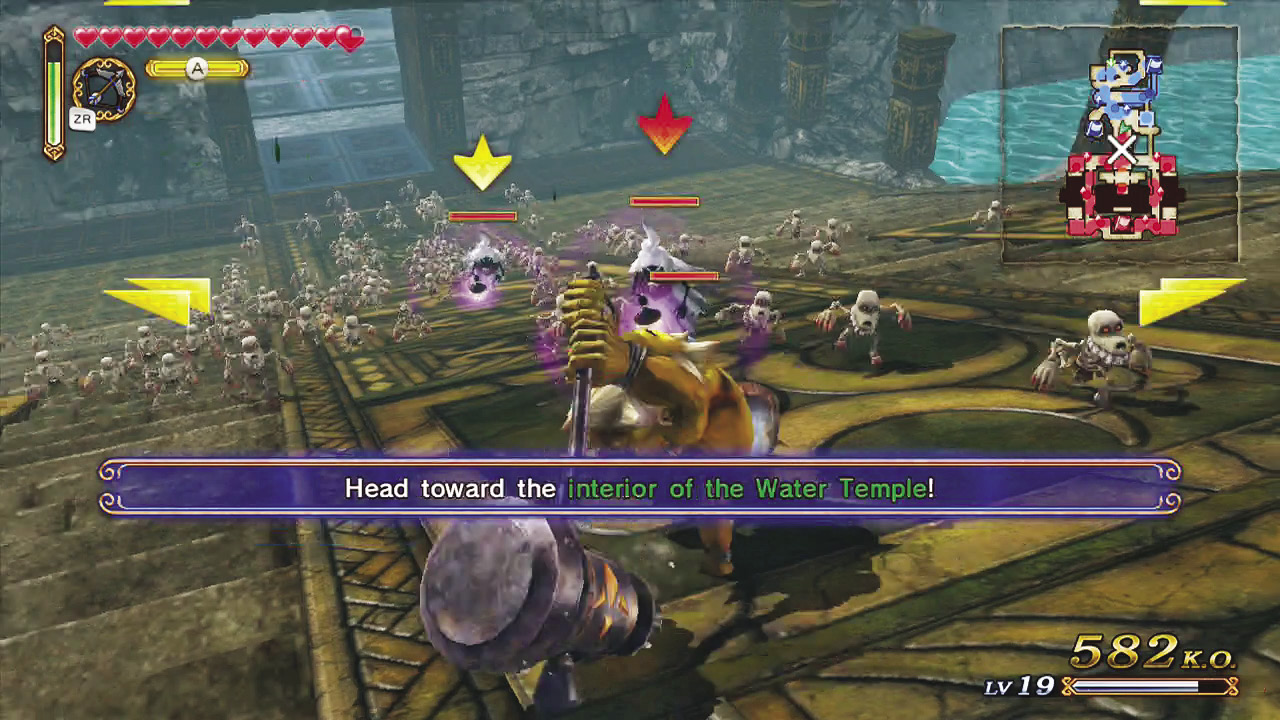
Head into the Water Temple from the steps in the center of the map. A legion of Big Poe Captains will make their way up those very steps, which means you’ll be able to intercept them and prevent them from causing trouble for your allies who stay behind on the lake’s shore.
The Zora Princess Imprisoned!

Almost immediately after entering the Water Temple, Princess Ruto gets kidnapped by Zelda’s forces and taken to a room in the center of the temple. This is the trickiest part of the Scenario, because enemy Captains will continuously attack Ruto so long as she’s in that room and reaching her is no simple task. You need to hit two different switches in two different Keeps to reach her and the only way to hit the switches is to capture both Keeps.

The Keeps housing the switches are the SE and SW Room Keeps. Head over to the SE Room Keep first and capture it. This switch not only slightly lowers the currents blocking your access to the center of the Water Temple, it also lowers the water on west and east sides of the temple, giving you access to the West and East Room Keeps. Don’t bother going to either Keep just yet; saving Ruto should be your number one priority.
Gold Skulltula Opportunity
|


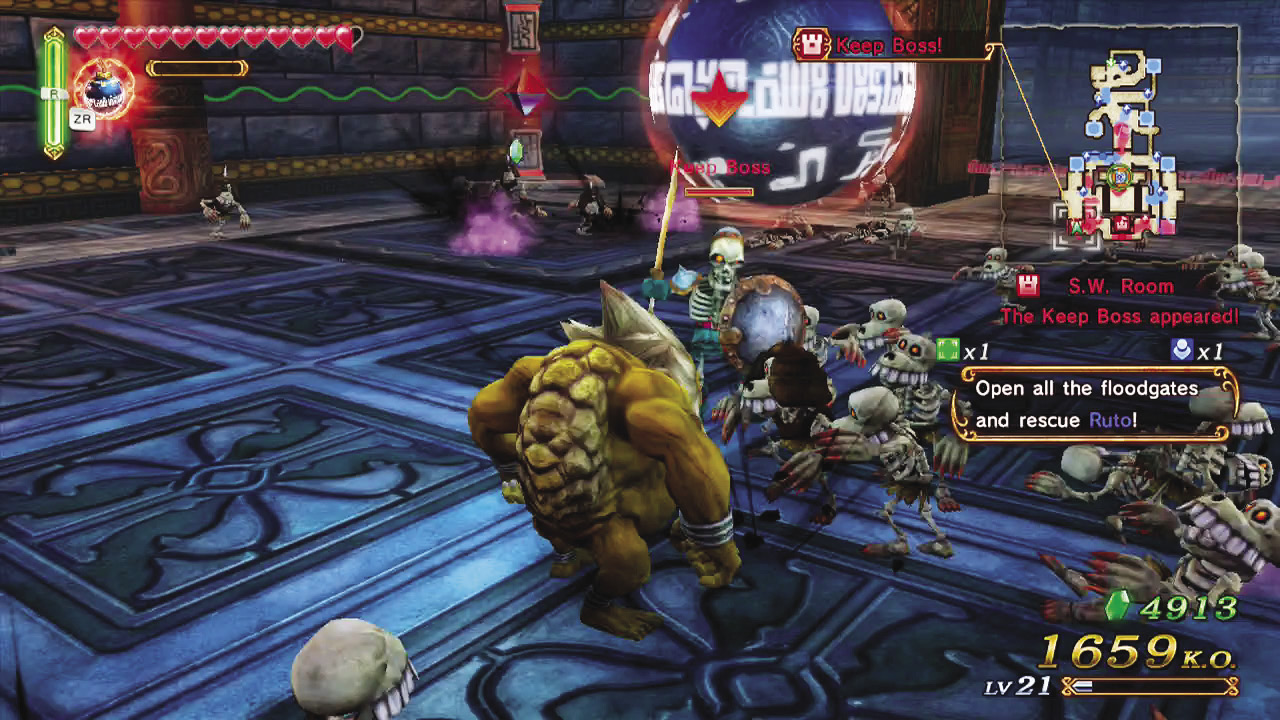
Head over to the SW Room Keep and capture it to lower the water in the central room.
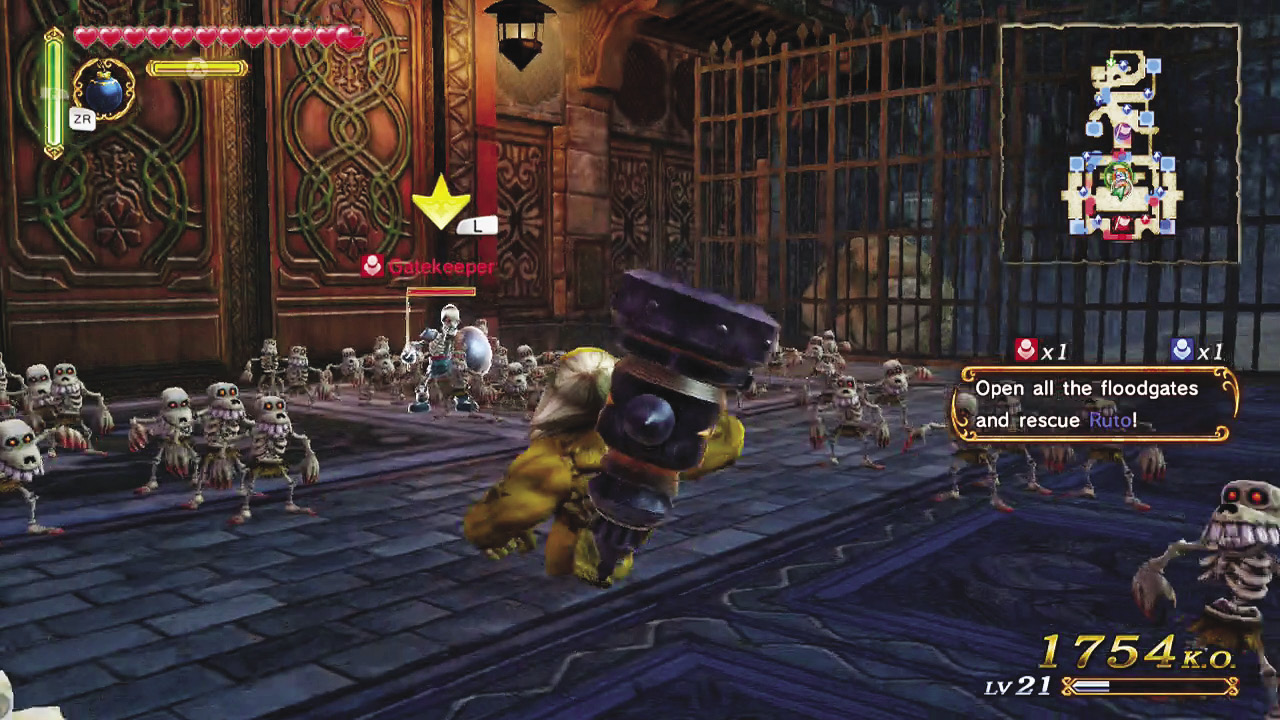
You can now reach Princess Ruto via the central room’s south entrance, but first you need to take out the Gate Guard standing in front of the door. Once the Gate Guard’s been defeated, the door opens and you find Princess Ruto fighting for her life.

Defeat the Captains attacking Ruto to save her and complete the mission.
Heart Container Opportunity
|


Hard Gold Skulltula Opportunity
|


Piece of Heart Opportunity
|


Defeat Zelda

Now that Ruto is safe, it’s time to get back to the main objective: stopping Zelda from hurting anyone else. Her Keep opens up after you free Ruto, which means it’s time to get to the bottom of this mystery. In classic villain form, as soon as you enter her Keep, Zelda summons King Dodongo to the center of the map. You must deal with Dodongo before you can face Zelda, or you’ll run the risk of letting it destroy the Allied Base, and your losing the fight.
Hard Gold Skulltula Opportunity Continued
|


 and save your progress on the Scenario Information screen, so that if you fail, you can reload from before you entered
 (
( in
in Boss Fight: King Dodongo

Your second fight with King Dodongo is pretty much the same as the first, but this time the monstrous monitor is far less interested in opening its mouth for you. It’s also a good bit stronger than the first fight, but all of its moves are the same.
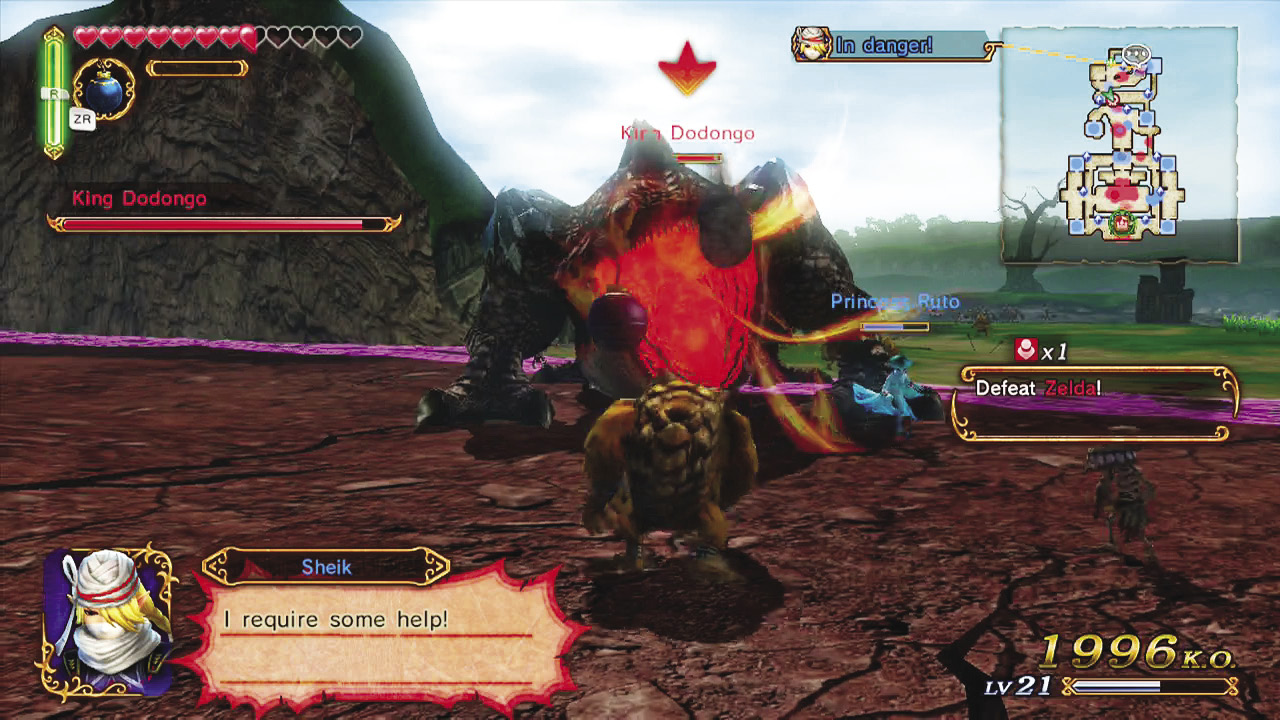
As a refresher, wait for King Dodongo to open its mouth to charge up a fireball attack, which often happens immediately after it breathes fire. King Dodongo’s mouth is bright orange while charging, so make sure to dump a boatload of Bombs in there as soon as you see it open.

Once you’ve thrown some Bombs in, Dodongo will collapse and its Weak Point Mark will be revealed. Beat up on King Dodongo to deplete its Mark and perform a Weak Point Smash. Repeat the process until it’s defeated.
NOW Finish Zelda
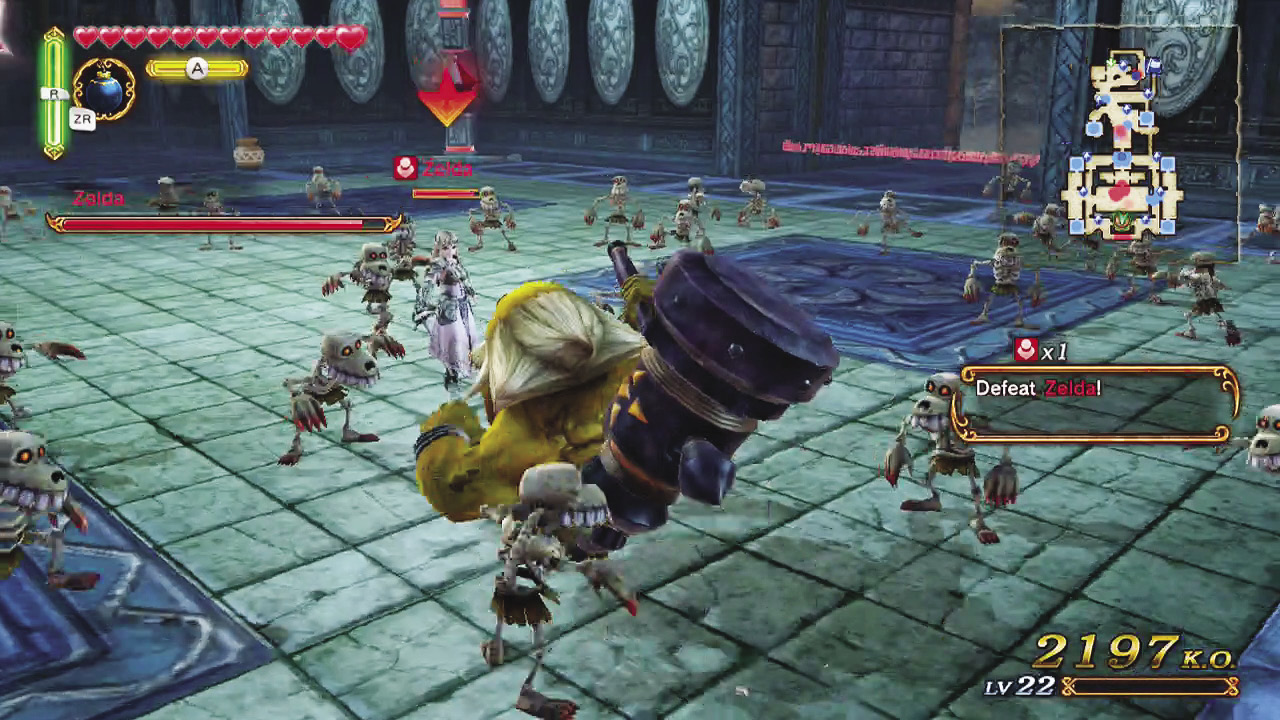
With King Dodongo out of the way, it’s time to go deal with Zelda once more. Defeat her the same way you did Darunia: Blocking her attacks and waiting for her Weak Point Mark to appear. Her Mark takes considerably longer to deplete than Darunia’s, so be prepared for this fight to test your patience.
Once you’ve defeated her, though, the battle will be over and you will have won the Scenario.