
Hyrule Warriors Guide Walkthrough Legend Mode
Sealed Ambition: Sealed Grounds

Playable Characters Link Link  Fi Fi
Heart ContainerPiece of HeartGold Skulltula
Hard Mode Gold Skulltula
UnlockablesLink’s White Sword Victory ConditionsDefeat Ghirahim. Defeat ConditionsIf the Allied Base falls. |


 1,000 KOs

Prevent the Rise of Demise

Ghirahim takes the battle from Skyloft to the Sealed Grounds, a location known for being the prison of the source of all monsters himself, Demise. Ghirahim is attempting to bring back Demise to aid Cia in her conquest of all of Hyrule’s past, present and future, so failure is not an option.
You have the choice of playing Fi in this fight, but if you choose her, there are a few tricks you need to know to use her properly. Fi has a meter directly under her Health Bar that shows how much Light Element she has stored up. To fill Fi’s meter with Light Element, press  (
( in Zelda Style) to make Fi transform into the Goddess Sword and point into the sky. This makes all of Fi’s attacks stronger until the meter depletes. You reveal the meter at anytime by pressing
  (
( in Zelda Style) again.
Another thing you need to keep in mind while using Fi is that her Regular Attacks don’t stagger enemies like most other Warriors’ do. This means that you have to be extra aware of what your enemies are doing if you want to avoid taking damage in the middle of a combo. You can dash out of almost any attack you perform, so if it looks like an enemy is about to take a swing at you, dash away immediately. Opt for a stick-and-move approach, sliding in, attacking a few times and then dashing away; don’t stay in one place for too long and you’ll be fine.
Hard Gold Skulltula Opportunity
|


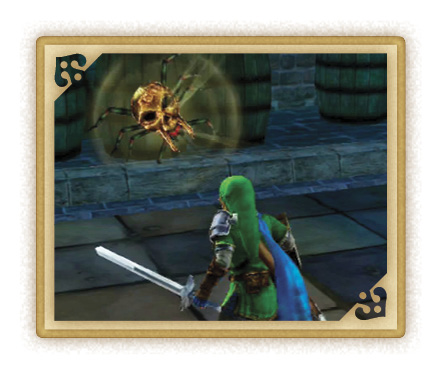
Defeat the Gatekeeper

Reaching Ghirahim as quickly as possible is the order of the day, but the Demon Lord is as clever as he is vain. He’s locked himself up in his temple nice and tight, so reaching him isn’t going to be an easy task. Luckily your allies have discovered a Gatekeeper who can open the eastern gates to Ghirahim’s stronghold – there is also a Gatekeeper on the western side of the temple, but we’re going to ignore that one during this battle. Race to the East Keep and capture it to gain access to the Gatekeeper in the northeastern corner of the map.
Betrayers in the Ranks!

By the time you reach the Gatekeeper, Ghirahim plays his gambit. One of the Hylian Captains is actually under the Demon Lord’s employ and it’s causing a faction of allied troops to attack their own. You must root out this traitorous turncoat before he can cause any serious damage.

Unfortunately, there are no leads on the turncoat’s current whereabouts, so deal with the Turncoat Soldiers marked on the minimap while your allies try to figure out exactly what’s going on around here. As soon as you defeat two Turncoat Captains, several more Hylian Captains will switch sides and begin attacking their own, forcing a portion of your allies off the field.
This is getting out of hand! Now Ghirahim’s called in more reinforcements to back him up in his stronghold. He’s going all in on this battle. That means we must have him backed into a corner! If we can just deal with this onslaught of enemies, we’ll be able to take him out for good!
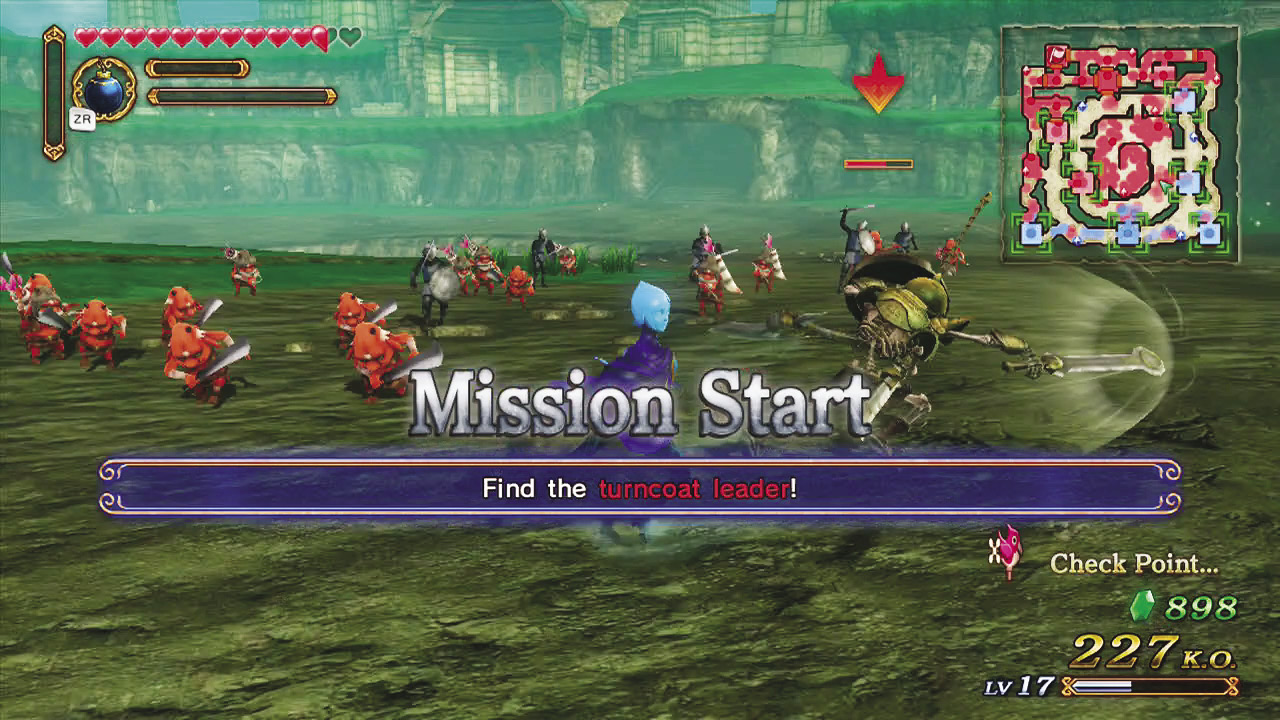
After defeating a few more Turncoat Soldiers, your allies will provide you with the information we sorely need: The location of the Hylian Captain working for Ghirahim—sort of. They can narrow down his location to one of seven Keeps on the map. To pull him out of the shadows, you simply need to step foot in the Keep where he is hiding.

It’s best to start with the three southern Keeps first; the Turncoat Leader has a habit of hiding out in one of those three Keeps more than all the others. Run through each Keep until he reveals himself, then give him the thumping he so deserves.
Gold Skulltula Opportunity
|


Ghirahim’s Ace
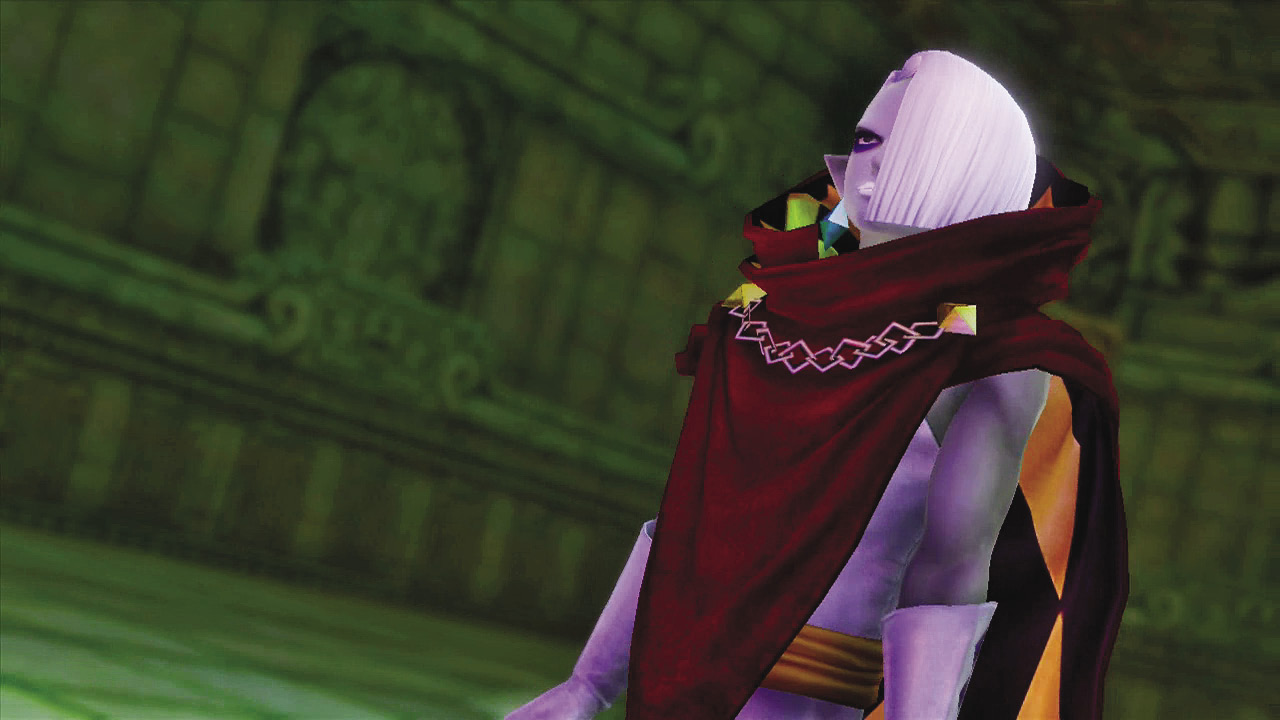
The Demon Lord’s plan to turn your allies against you wasn’t his only plan, nor was it his most deadly. He used the Turncoats to keep you and your allies distracted while he performed the summoning ritual to bring Demise in his imprisoned form to the battlefield. This is going to be a tough fight, so get ready and read on!
Boss Fight: The Imprisoned

The Imprisoned is one of the deadliest Giant Bosses in the game despite its limited move set. The monumental beast starts in the center of the map and slowly makes its way up to the West Cannon Keep. It can destroy Keeps instantly if it is allowed to charge a devastating energy attack, so waste no time in reaching the Giant Boss immediately.

The way to bring The Imprisoned down is by, well, bringing The Imprisoned down, literally. You need to attack the jiggling toes on both of its feet until they pop. Once its out of toes, it’ll fall over and his Weak Point Mark will appear. Sounds easy enough, right? But the challenge truly comes from destroying the toes without getting smashed by his feet.

Each time the feet hit the ground they create a shock wave that deals damage if you’re caught in it. You must alternate between attacking the left foot and right foot, depending on which one The Imprisoned is about to step with—only strike the foot that is firmly planted on the ground and try to stay on its outside to avoid taking damage from the shock wave created by the other, stepping foot.

Once the Imprisoned falls and you deplete half of its Weak Point Mark, it begins slithering around the ground. Try to distance yourself from the beast to avoid taking damage while it slithers. It eventually stands up again and its toes regenerate, allowing you to begin the assault once more.

The Imprisoned eventually reaches the West Cannon Keep and begins hovering above it. Waste no time. Race into the Keep and capture it immediately if hasn’t been captured already. The Imprisoned begins charging an attack that, if unleashed, can capture the Keep for the opposing forces instantly. Against the western wall of the Keep is a catapult created by the devilishly handsome Groose called the Groosenator. You can use it to do massive damage to The Imprisoned and knock it out of the sky, but only if you’ve captured the Keep first.
Hard Gold Skulltula Opportunity Continued
|


After its been hit by the Groosenator, The Imprisoned hits the ground and its Weak Point Mark appears. The Weak Point Mark will stick around this time for much longer than it does if you knock it over by destroying its toes, so you have a real shot of performing a Weak Point Smash on The Imprisoned if you hurry to where it fell.

Once you’ve lowered its Health Bar to half, The Imprisoned’s steps become electrified and it begins doing large, dark electricity attacks. Every time The Imprisoned takes a step, it create an even more deadly shock wave. You must avoid its shock waves at all costs if you want to avoid a quick defeat. Continue alternating between the feet to attack the foot that is firmly planted on the ground, and dash away whenever you see its other foot about to hit the ground. It is more important now than ever to use Focus Spirit attacks and Special Attacks to knock The Imprisoned over quickly.

The Imprisoned’s next destination is the East Cannon Keep. When it reaches the Keep, it hovers in the air once again. You need to capture the Keep if you want to use the Groosenator within, so hurry and get it!
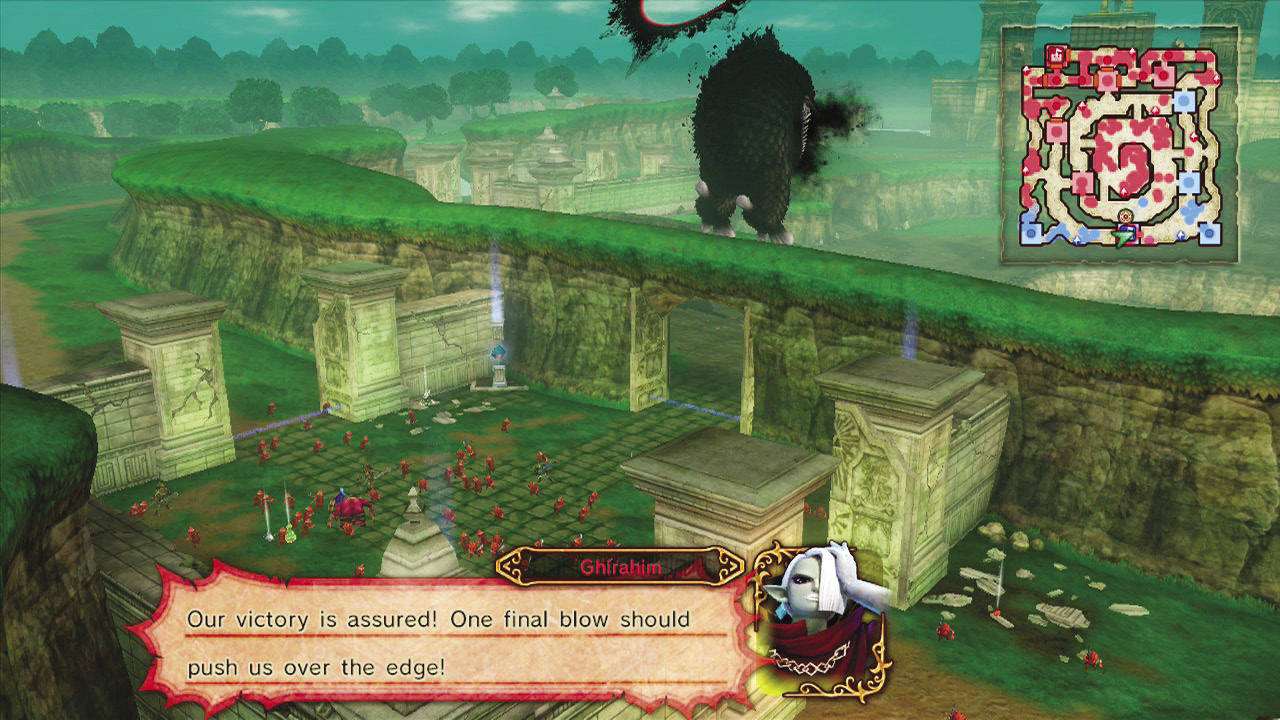
The Imprisoned’s last stop is at the Allied Base. Needless to say, letting it charge up and release its energy attack will cause a Scenario failure, so get into the Base and wait by the Groosenator. No matter how much damage you’ve done to the monster, the next hit with the Groosenator will be the last.
One Last Push

That’s it! Ghirahim’s use of The Imprisoned was the last straw! It’s time to take the fight to him directly. Lucky for us, the Demon Lord knows he’s in trouble, so he sends out most of the Captains in his stronghold to attack the Allied Base directly. Intercept them by focusing on the Captains that get closest to the Base, then mop them up quickly; Ghirahim needs to be paid a visit so we can get some well-deserved revenge.
Piece of Heart Opportunity
|


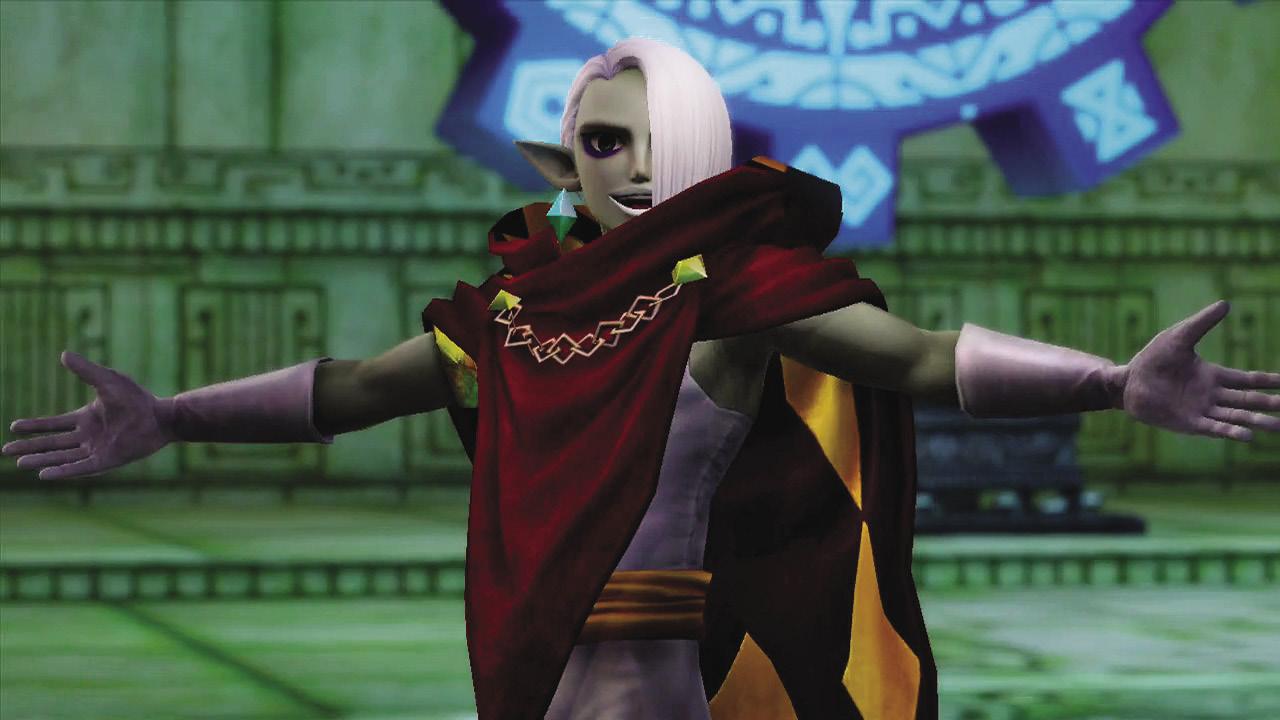
After you’ve dealt with all of his attacking Captains, head north and enter Ghirahim’s stronghold. Ghirahim is waiting inside the Enemy Base Keep, so let’s get moving!
Heart Container Opportunity
|


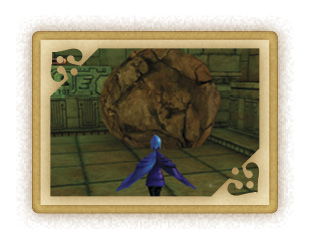
When you’ve reached Ghirahim, use the same strategy to defeat him as you did in Skyloft: Block his attacks and blitz him the second his Weak Point Mark appears. When you see an opportunity to dash out of the way of his attacks and get behind him, don’t hesitate to take it. Most of Ghirahim’s Strong Attacks are launched directly in front of him, so getting behind him will help you dodge his attacks and strike at him the second his Mark appears.
Defeating Ghirahim wins you the fight, so give him all you’ve got!