
Hyrule Warriors Guide Walkthrough Adventure Mode
H
H-1
Defeat the enemy forces!
Limited Warrior: Link (Recommended Level: 30)
UnlockablesLink—Heart Container (in the South Keep) Search ItemIce Arrow: Link’s Great Fairy (Victory Reward) |

Adventure Battle Scenarios are almost identical to the Scenarios in Legend Mode. You have the full battlefield at your disposal, an enemy Captain/Warrior to defeat to win the Scenario, and teammates to assist you. The key difference is that you typically have only a single mission that appears at the start of the battle, which makes up the bulk of the entire fight. Once that mission is completed, you need only to defeat the enemy Commander to win the Scenario.
Sealed Grounds
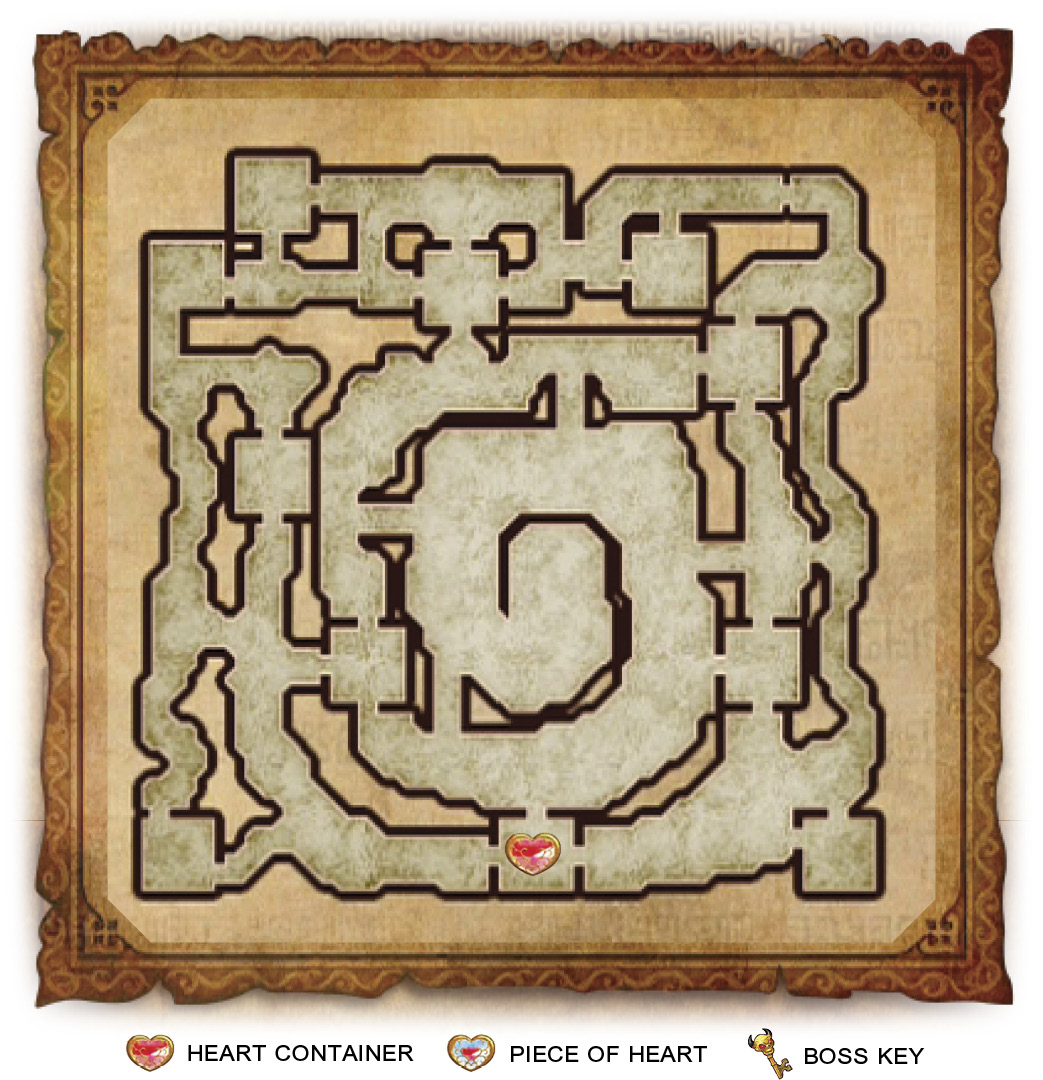
Victory ConditionsDefeat Impa. Defeat ConditionsIf Wizzro flees or the Allied Base falls. |
Defeat all enemy Captains to lure the Commander
You need to defeat the three Captains that are marked on your minimap to progress the mission.
Defeat the Manhandla Stalks
Immediately after starting this Scenario, Manhandla Stalks will appear and begin launching seeds all over the map. Don’t delay: Look for their location on the Battlefield Info screen and take them out immediately to stop the attack.
Defeat the enemy Commander
You can find Impa in the Enemy Base Keep.
H-2
Defeat the Commanders of two armies!
Limited Warrior: Zelda (Recommended Level: 40)
UnlockablesZelda—Heart Container (in the East Room Keep) Zelda—Piece of Heart (in the South Temple Keep) Search Item |

Adventure Battle Scenarios are almost identical to the Scenarios in Legend Mode. You have the full battlefield at your disposal, an enemy Captain/Warrior to defeat to win the Scenario, and teammates to assist you. The key difference is that you typically have only a single mission that appears at the start of the battle, which makes up the bulk of the entire fight. Once that mission is completed, you need only to defeat the enemy Commander to win the Scenario.
Valley of Seers
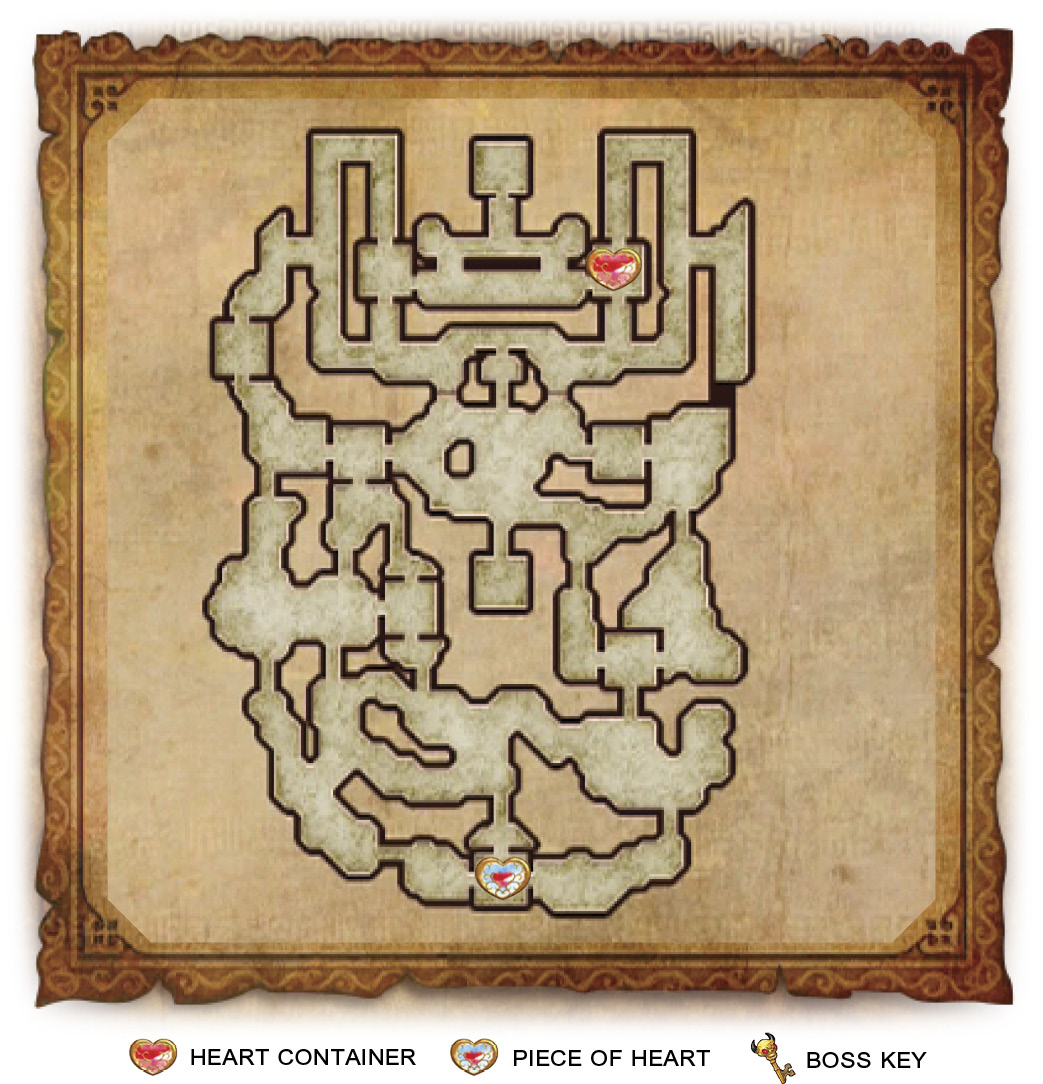
Victory ConditionsDefeat Sheik and Fiery Aeralfos. Defeat ConditionsIf Ghirahim flees or the Allied Base falls. |
Defeat a valued enemy Captain
A Captain from both enemy armies will appear on the map. Find the nearest one and defeat it to gain access to that Captain’s Commander.
For this stage, the best Captain to attack first is the Rogue Forces one. It’ll enter the battlefield directly south of your starting location, so work your way south at the start of the battle.
Defeat the Messengers before they call in reinforcements
Messengers will appear on the field and attempt to make it to a Keep on the opposite side of the battlefield. Defeat them before they reach their destination to prevent them from calling in enemy reinforcements.
If you can’t defeat the Messengers in a very small amount of time, just ignore them. The Allied Base will be under heavy attack for most of this fight, so protecting it should be your main objective. Try to keep the enemy Captains and Warriors out in the central valley in front of the Allied Base to limit how much damage those enemies can do. If they’re in the Allied Base, any attacks they make will damage the base, making winning this fight much harder.
Defeat the enemy Commanders
You can find Sheik in the Enemy Base Keep and you can find Fiery Aeralfos in the Rogue Base Keep.
H-3
Defeat all Giant Bosses within 10 minutes!

Defeat all Giant Bosses! Scenarios require you to do just that: defeat all giant bosses on the map within the time limit. These Scenarios almost always consist of two-to-three of the same boss attacking different corners of a confined map at once. Pick your strongest Warrior and challenge the Giant Bosses one at a time and you’ll be fine. Just try to divide up your time evenly for each of the bosses. If you notice that fighting any monster is taking more than half of your time for any monster, quit the Scenario, level up your character, and try again. If that still doesn’t cut it, unlock some of the stronger Weapons in Adventure Mode and come back at a later time.
Two of The Imprisoned
You don’t have to worry about protecting Keeps this time around. Just aim for the toes and watch out for where they step. They’ll fall over when you destroy all of their toes, which is when their Weak Point Mark will appear.
One thing to note: Ghirahim will turn traitorous almost immediately after the Scenario begins. If your Warrior is strong enough, feel free to take him out, otherwise do your best to avoid him.
H-4
Mystery Mastery Quiz
Quizzes are Scenarios where you have to answer three questions about a specific Zelda title or element in Hyrule Warriors. The questions will always be answered by defeating the enemy that matches the description. For example: a question could say, “Defeat the enemy that holds a shield.” Two enemies will appear: a Big Poe and a Shield Moblin. Just defeat the enemy holding the shield and you’ll have successfully answered the question. It’s that easy. Just be careful not to defeat the wrong enemy while fighting the right one and you’ll have no issues with these challenges.
Defeat the one weak to the Hookshot
The correct answer is Aeralfos.
Defeat the one weak to Bombs
The correct answer is Shield Moblin.
Defeat the one weak to Arrows
The correct answer is Big Poe.
H-5
Dungeon 3: Defeat the wasteland beast!
UnlockablesMidna—Heart Container (A-Rank) Ghirahim—Piece of Heart (in the North Settlement Keep) 1,000 KO Gold Skulltula Second Gold Skulltula Boss Key (North Oasis Keep) Search ItemNone |
Dungeon Scenarios play the same as Adventure Battles, but with a twist: There’s a Giant Boss at the end of each one of them, and you must grab the Boss Key hidden in one of the enemy Keeps to open the Enemy Base’s gates. Other than that, you can expect the same kind of battle you’d get from an Adventure Battle.
Gerudo Desert
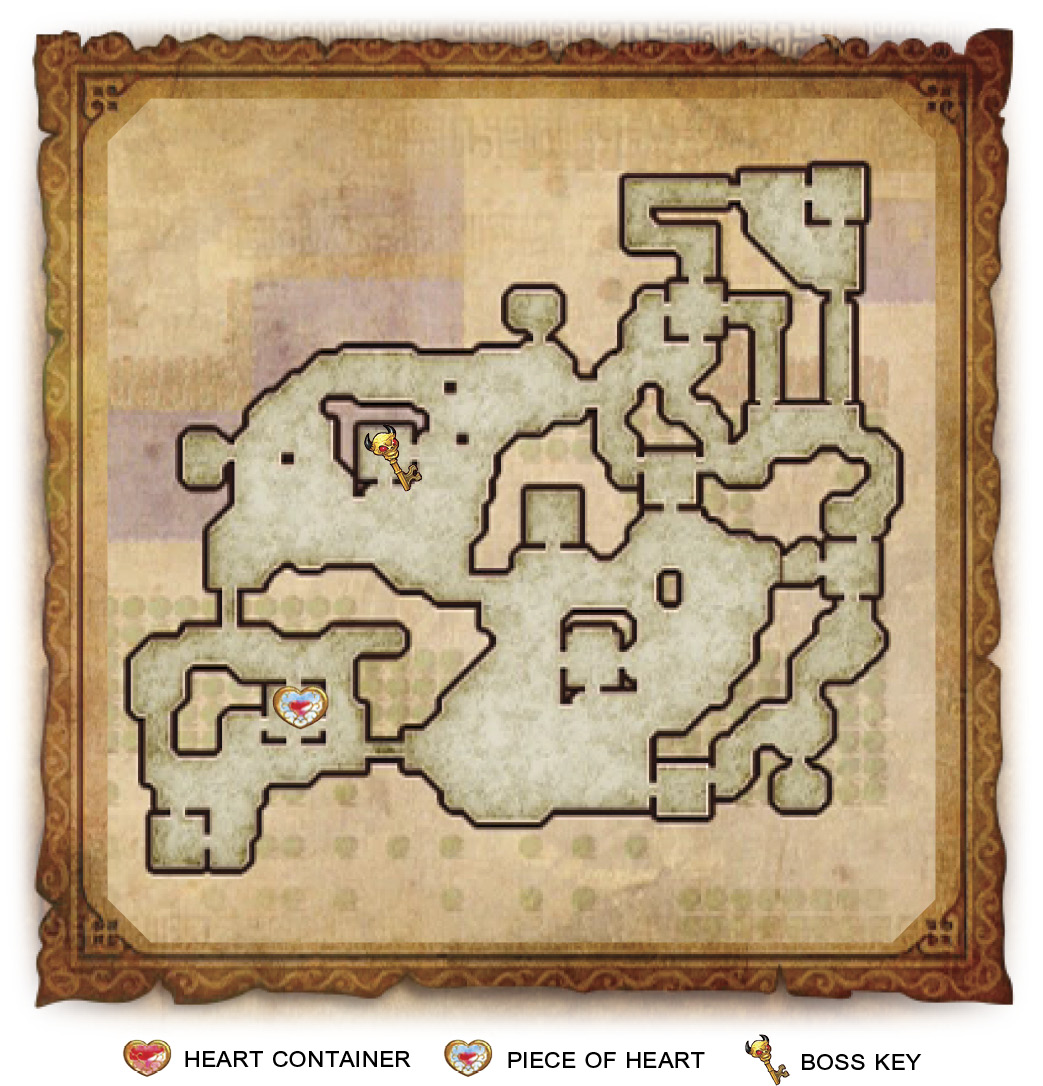
Defend allied Keeps and defeat enemy forces
Your job is to stop the enemy forces from taking any of your Keeps. If they do, they’ll gain a morale boost, making the battle that much harder, and you’ll then be tasked with recapturing that Keep.
The enemy forces will use Bombchus to capture your Keeps. Focus on the Bombchus that have arrows on the minimap; these Bombchus are active and are making their move toward one of your Keeps, so stopping them should be top priority.
Ignore the Bombchu in the southwest corner of the map and attack the northern Bombchu while keeping an eye on the eastern one. The northern Bombchu will reach its destination (the Rockface Keep) before the other two will, that’s why attacking it first is important.
Destroy the eastern Bombchu, then the southwestern one. Now, focus on clearing your Keeps of Captains that have undoubtedly invaded them. Don’t linger in one spot for too long and focus on Keeps that have a lot of enemy Captains in them, instead of trying to protect your Keeps with only one or two enemy Captains.
Once you’ve defeated the Bombchus, the mission will be finished.
Defeat the Messengers before they call in reinforcements
Messengers will appear on the field and attempt to make it to a Keep on the opposite side of the battlefield. Defeat them before they reach their destination to prevent them from calling in enemy reinforcements.
Defeat the enemy Commander
You’ll find Midna in the Enemy Base Keep. To reach her, you must find the Boss Key in the North Oasis Keep. Once you have the Boss Key, approach the Enemy Base Keep and the gates will open.
Defeat Gohma to win
After defeating Midna, Gohma will enter the battlefield near the Allied Base. Use your Bow to shoot its eye when it turns blue to reveal its Weak Point Mark. Hit it with a handful of Weak Point Smashes to win.
H-6
Skyward Sword Quiz
Limited Warrior: Fi

Quizzes are Scenarios where you have to answer three questions about a specific Zelda title or element in Hyrule Warriors. The questions will always be answered by defeating the enemy that matches the description. For example: a question could say, “Defeat the enemy that holds a shield.” Two enemies will appear: a Big Poe and a Shield Moblin. Just defeat the enemy holding the shield and you’ll have successfully answered the question. It’s that easy. Just be careful not to defeat the wrong enemy while fighting the right one and you’ll have no issues with these challenges.
Defeat the Demon Lord
The correct answer is Ghirahim.
Defeat the heavyweight
The correct answer is the Shield Moblin.
Defeat the spirit of the sword
The correct answer is Fi.
H-7
A Warrior of Light!
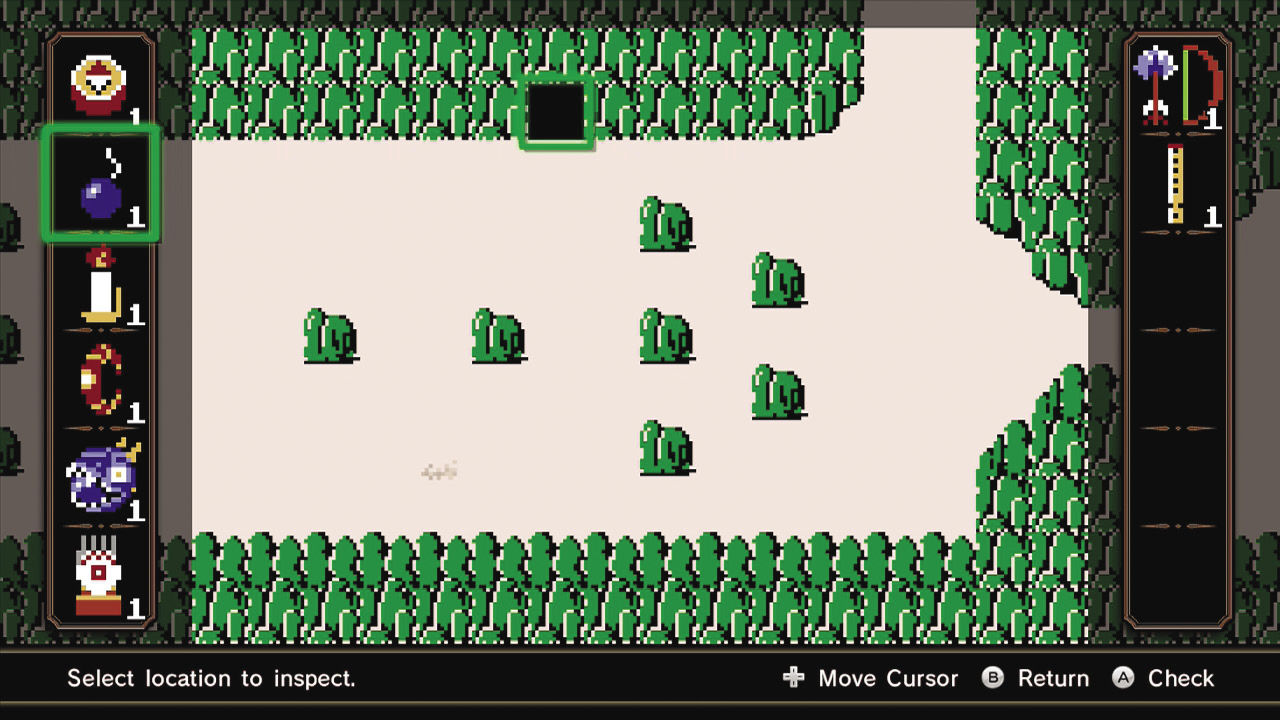
UnlockablesGhirahim—Piece of Heart (on the Battlefield) 1,000 KO Gold Skulltula Second Gold Skulltula Search ItemBombs: Shiek—Heart Container (A-Rank) |
Adventure Battle Scenarios are almost identical to the Scenarios in Legend Mode. You have the full battlefield at your disposal, an enemy Captain/Warrior to defeat to win the Scenario, and teammates to assist you. The key difference is that you typically have only a single mission that appears at the start of the battle, which makes up the bulk of the entire fight. Once that mission is completed, you need only to defeat the enemy Commander to win the Scenario.
Hyrule Field
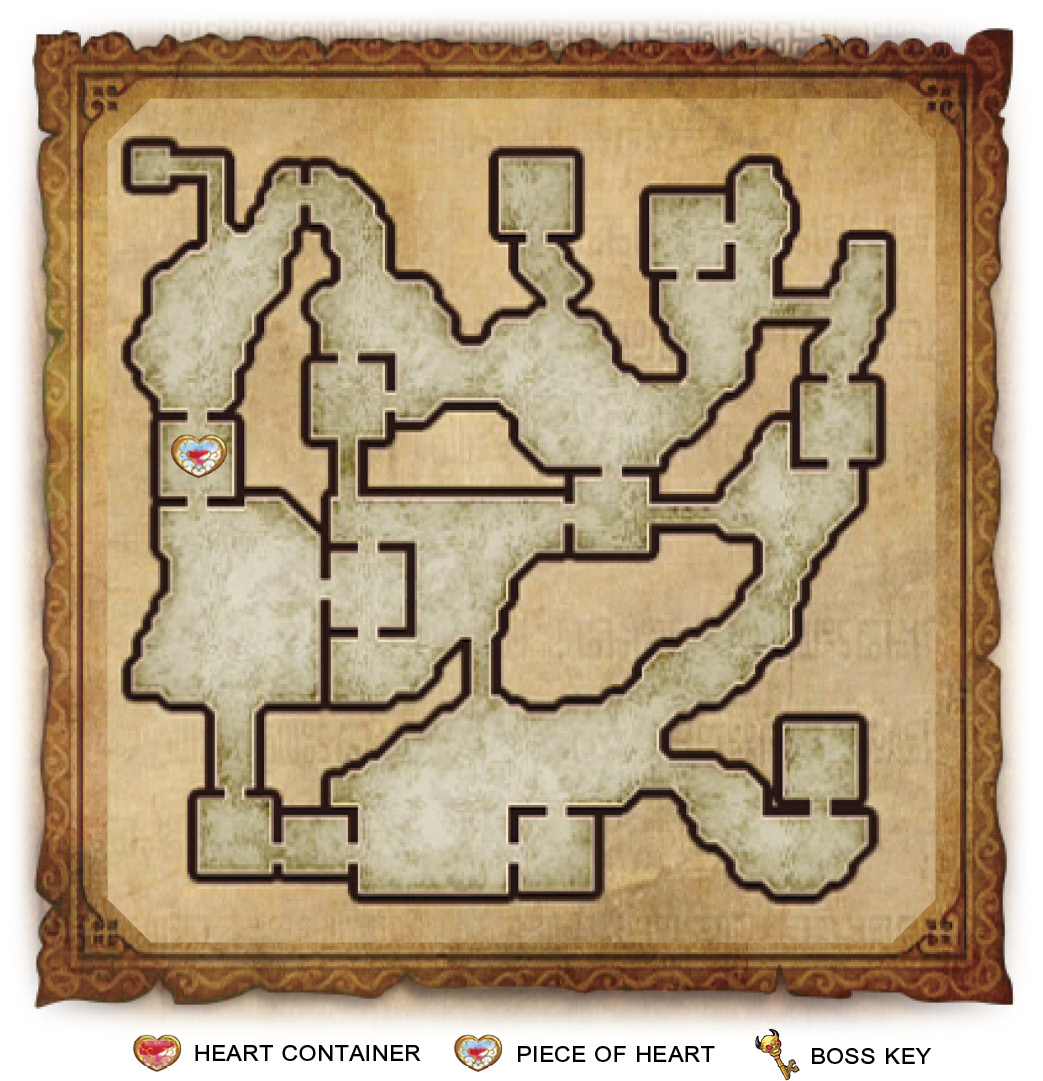
Save the Stranded Allied Forces!
One of your allies is stuck on the west side of the battlefield. You need to get over there and defeat the marked enemy Captains to free your ally.
Capture one of the Keeps and break through!
To reach your ally, you’ll first need to capture either W. Rockface Keep or Central Keep to gain access to the west side of the map.
Defeat the Item Transporter and take the treasure.
An Item Transporter enemy Captain will appear on the battlefield. These enemies drop Weapons and Materials when defeated. Use the Battlefield Info screen to locate them on the battlefield.
Defeat the enemy Commander
After you save your ally, all you need to do is defeat Wizzro to finish the battle.
H-8
Defeat 300 enemies in 10 minutes.
This is one of the more straightforward Scenario types in Adventure Mode. Defeat the listed number of enemies in the given amount of time to win. Don’t linger on individual enemies and do your best to ignore enemy Warriors, Captains, and Bosses; they are only there to distract you from your goal. Enemy Warriors and Captains will boost the morale of the enemy troops currently in the battlefield, but unless you’re struggling to survive, you can feel free to carry on defeating enemies as usual.
H-9
Into the dragon’s den!
UnlockablesFi—Piece of Heart (in the West Square Keep) Search Item |

Adventure Battle Scenarios are almost identical to the Scenarios in Legend Mode. You have the full battlefield at your disposal, an enemy Captain/Warrior to defeat to win the Scenario, and teammates to assist you. The key difference is that you typically have only a single mission that appears at the start of the battle, which makes up the bulk of the entire fight. Once that mission is completed, you need only to defeat the enemy Commander to win the Scenario.
Faron Woods
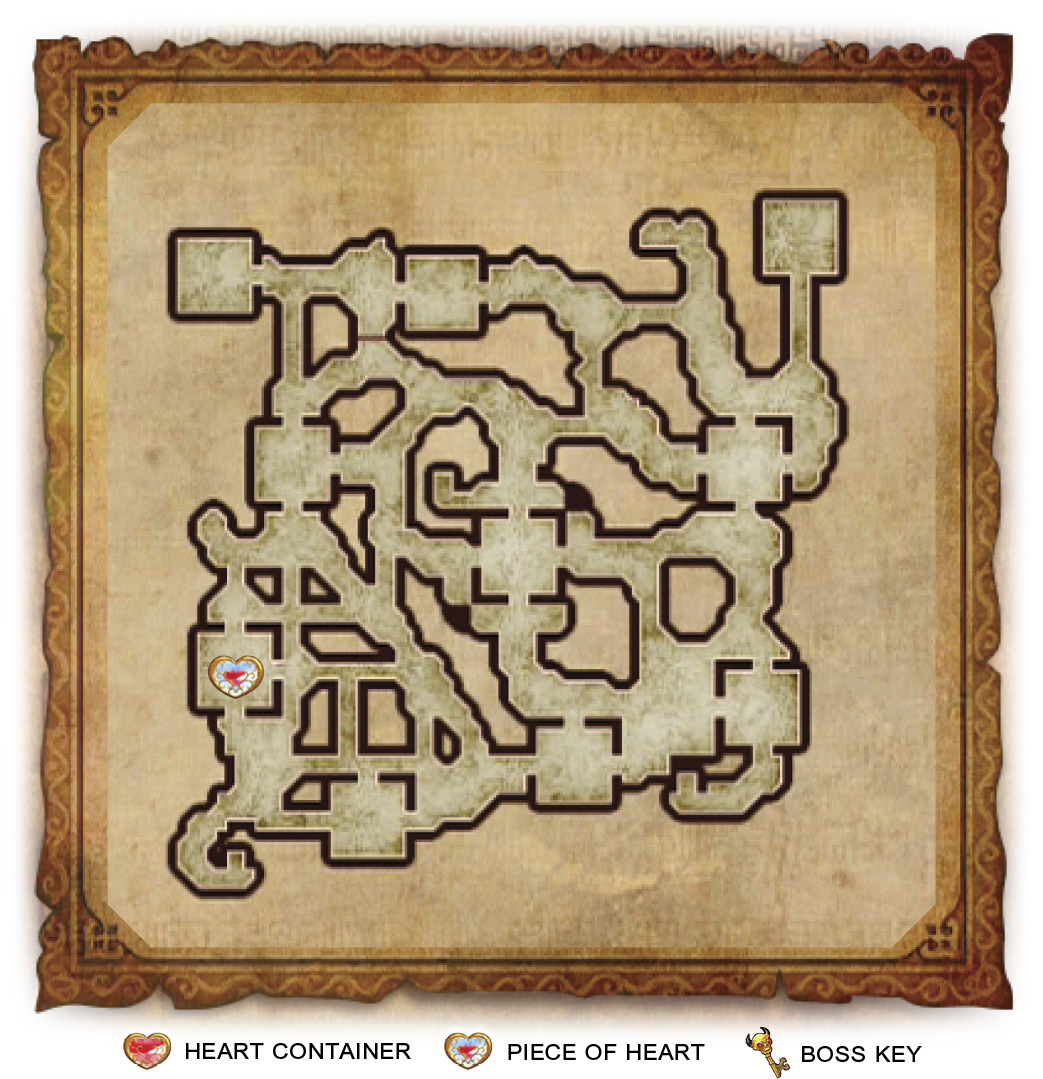
Victory ConditionsDefeat Volga. Defeat ConditionsIf Zelda flees or the Allied Base falls. |
Capture all keeps and weaken the enemy!
Capture the Deku Tree and South Square Keep to complete the mission. Be warned: the South Square Keep has a Barrier of Water around it, meaning you must rescue the Fairy of Water from the Deku Tree Keep if you want to avoid taking continuous damage in the South Square Keep.
Escort Cucco Chick to Adult Cucco
The Cucco Chick starts in a random Keep; look up its location in the Battlefield Info screen. Approach the Cucco Chick to get it moving. Escort it to its destination to complete the mission. If you fail to rescue it, the Adult Cucco will become enraged, attacking everyone everywhere it goes. If you succeed, Adult Cucco will begin attacking the enemy forces.
Defeat the enemy Commander
Defeat Volga, who is currently hiding out in the Enemy Base Keep, to win this Scenario
H-10
Prevent reinforcements from arriving!
Limited Warrior: Zelda (Recommended Level: 35)
UnlockablesZelda—Heart Container (A-Rank) Zelda—Piece of Heart (in the Central Keep) 1,000 KO Skulltula Second Gold Skulltula Search Item |
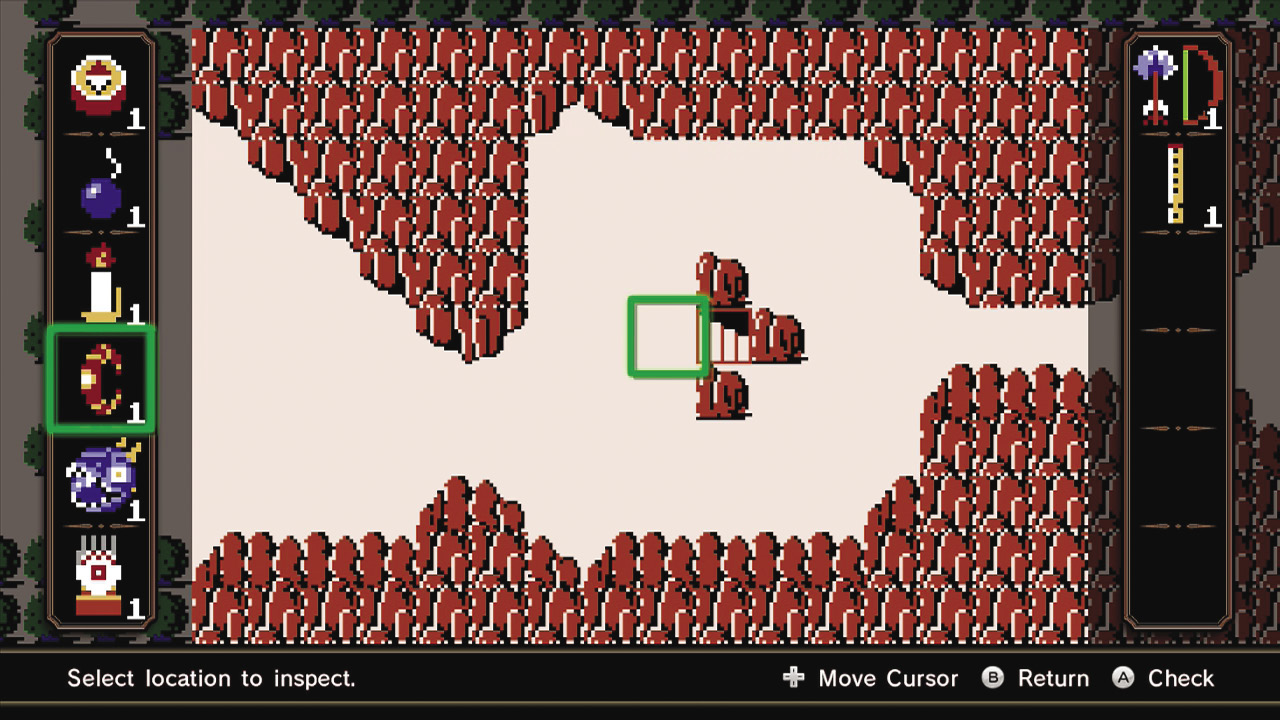
Adventure Battle Scenarios are almost identical to the Scenarios in Legend Mode. You have the full battlefield at your disposal, an enemy Captain/Warrior to defeat to win the Scenario, and teammates to assist you. The key difference is that you typically have only a single mission that appears at the start of the battle, which makes up the bulk of the entire fight. Once that mission is completed, you need only to defeat the enemy Commander to win the Scenario.
Temple of the Sacred Sword
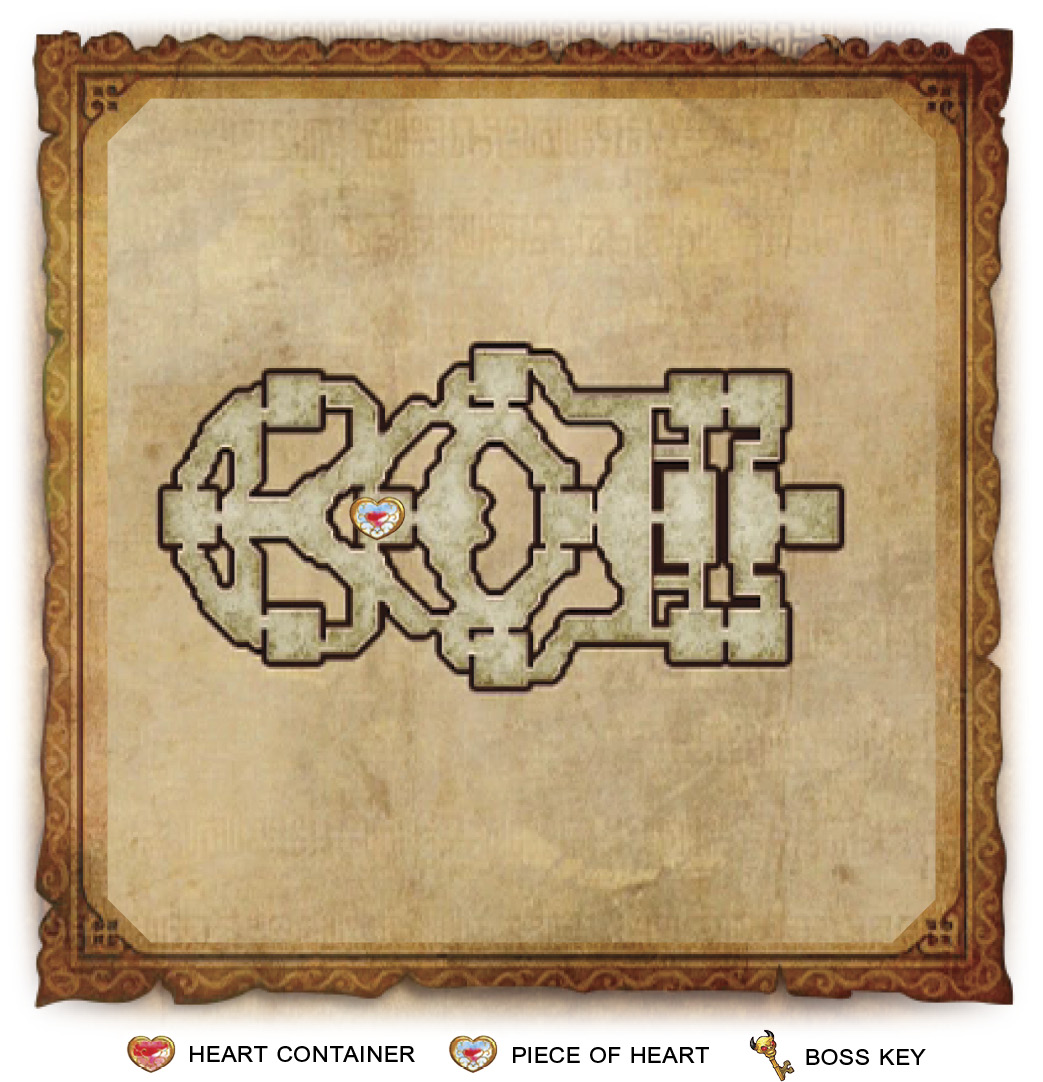
Victory ConditionsDefeat Cia. Defeat ConditionsIf Link flees or the Allied Base falls. |
Defend allied Keeps and defeat enemy forces
Your job is to stop the enemy forces from taking any of your Keeps. If they do, they’ll gain a morale boost, making the battle that much harder, and you’ll then be tasked with recapturing that Keep.
The enemy forces will use Bombchus to capture your Keeps. Focus on the Bombchus that have arrows on the minimap; these Bombchus are active and are making their move toward one of your Keeps, so stopping them should be top priority.
A Bombchu will head for both the N. Temple Hall Keep and the Temple Square Keep. Head to the N. Temple Hall first, because the Bombchu headed that way will reach its destination much faster than the one heading for the Temple Square.
Defeat the Scout Captain before Scout Troops can be called
A Scout Captain will enter the field while you’re working on your mission. If the Scout Captain is left to his own devices, he’ll call in Scout Troops to aid in the fight. To stop this from happening, race to the Scout Captain and defeat it swiftly. Just make sure that you do it only after the Bombchus have been dealt with.
Defeat the enemy Commander
You’ll find Cia in the Enemy Base Keep, but before heading there, make sure to clear your Keeps of any Captains that may have entered them while you were distracted with the other missions. You’ll also have to look out for a Summoner that enters the west side of the map. The Summoner will continuously summon Bokoblins to your location, making your time on this map that much more challenging.
Once you feel that your Keeps are safe, head to the Enemy Base Keep and defeat Cia.
H-11
Watch out! All attacks are devastating!
Watch Out! Scenarios can get pretty hairy if you don’t, well, watch out! Any enemy in these battles—even the basic soldier—can take you down to a quarter heart in a single hit. Basically, you can take two hits before you fail the Scenario. Luckily, these are incredibly straightforward fights, working similarly to the Defeat all enemies! Scenarios. Your goal is to defeat a certain number of Captains. Your best bet is to stick to ranged weapons and use your Bow and Arrow frequently. Carve your way into groups of enemies, instead of running through them, and don’t linger. You’ve got this!
Defeat 30 enemy Captains
The Captains you’ll be tangling with in this battle are ReDead Knights. They have only one projectile attack that can damage you and you can see it coming from a mile away—a poison spit attack that the ReDead Knight must charge up in the same way it charges up a freeze attack. Stick to Warriors with projectiles (Ghirahim, Link, Lana, Sheik) or use the Bow to handle this Captains with ease.
H-12
Run swiftly across the battlefield!
Limited Warrior: Lana and her Spear (Recommended Level: 30)
UnlockablesLana—Piece of Heart (in the Town Center Keep) Search Item |
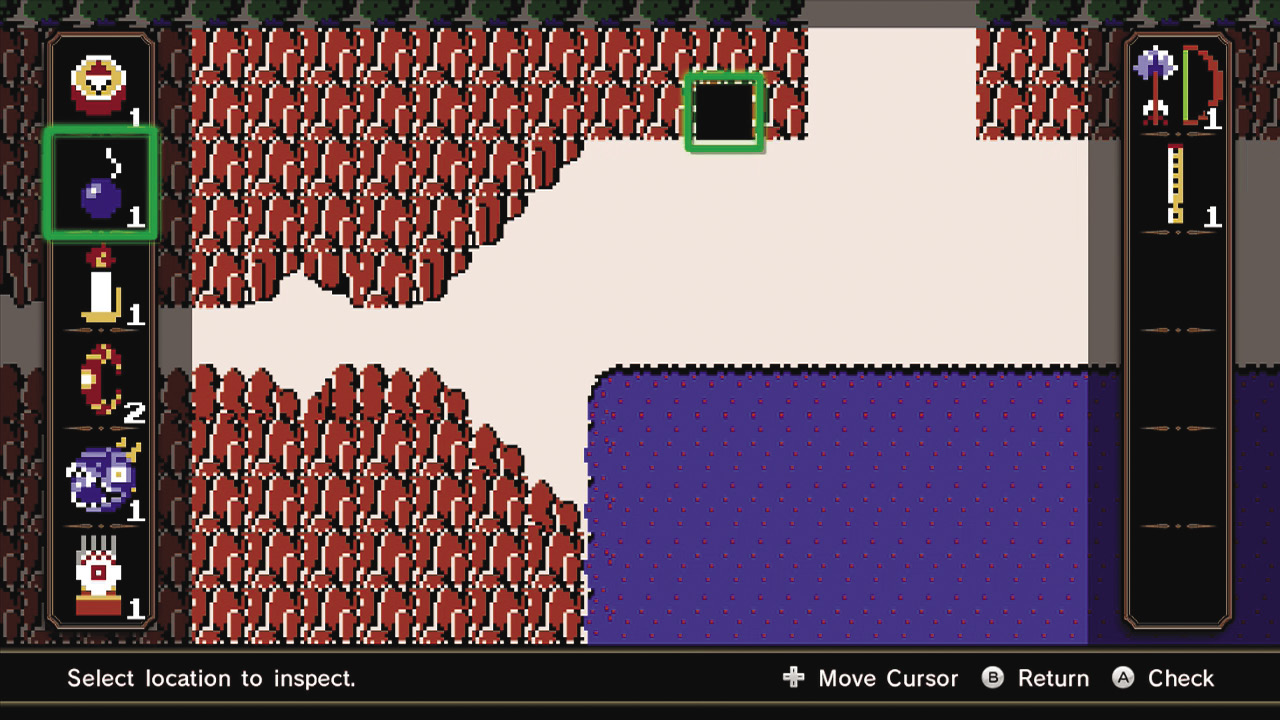
Adventure Battle Scenarios are almost identical to the Scenarios in Legend Mode. You have the full battlefield at your disposal, an enemy Captain/Warrior to defeat to win the Scenario, and teammates to assist you. The key difference is that you typically have only a single mission that appears at the start of the battle, which makes up the bulk of the entire fight. Once that mission is completed, you need only to defeat the enemy Commander to win the Scenario.
Skyloft
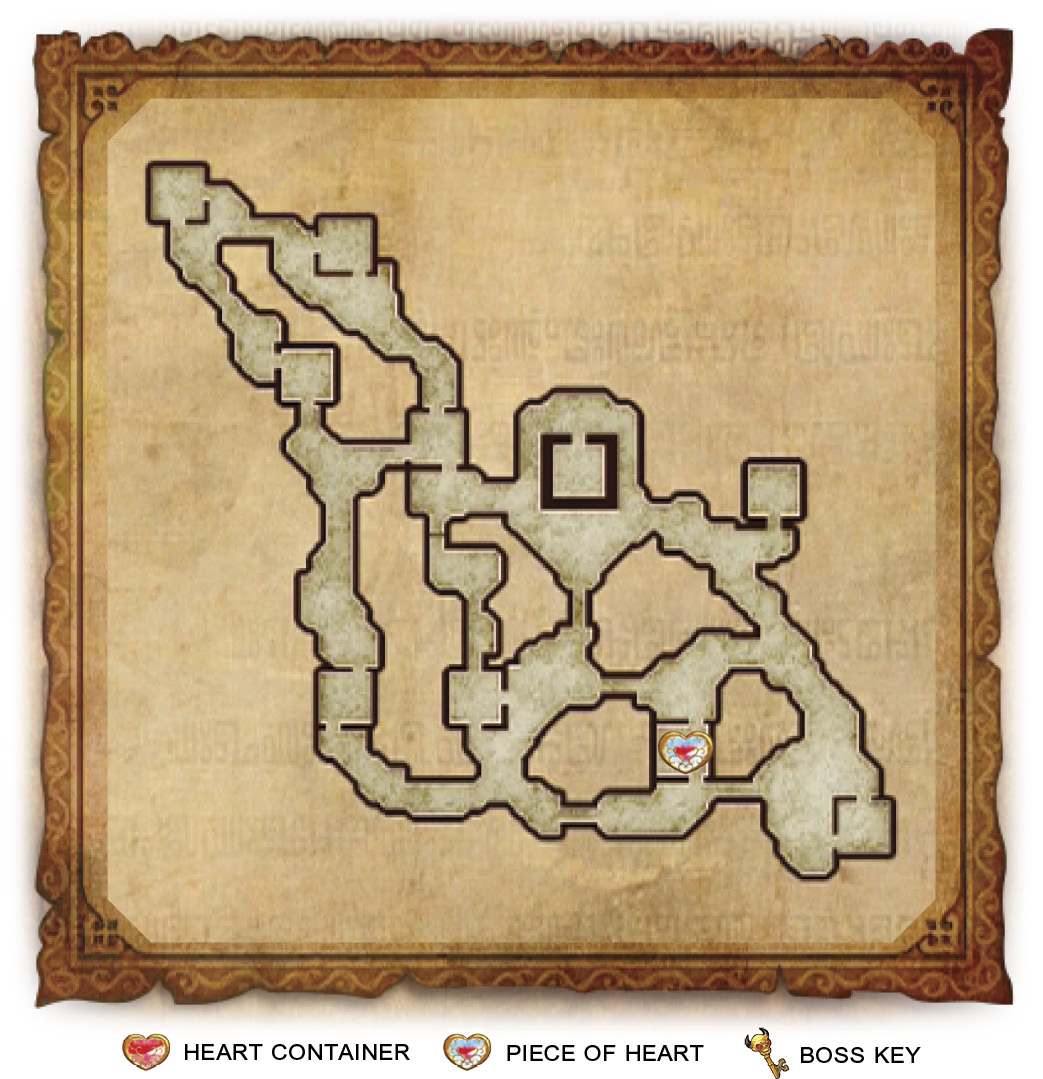
Victory ConditionsDefeat Midna. Defeat ConditionsIf Volga flees or the Allied Base falls. |
Defeat all enemy Captains to lure the Commander
You need to defeat the three Captains that are marked on your minimap to progress the mission.
An allied Cucco appears shortly after the start of the Scenario. Keep it safe and it’ll continuously call more Cucco fighters to fight for your army as you defeat more enemies.
Pay close attention to both the Allied Base and Volga, the battlefield is lousy with enemy Captains that roam in packs of three or four. If you allow them to, a pack of enemy Captains can defeat Volga or capture the Allied Base with no problems at all. Other than that, this battle is pretty simple.
Defeat the Manhandla Stalks
Manhandla Stalks will appear on the map and begin pelting random locations on the battlefield with seeds. Don’t delay: Look for their location on the Battlefield Info screen and take them out immediately.
Defeat the enemy Commander
You’ll find Midna in the Enemy Base Keep.
H-13
Defeat all Giant Bosses within 10 minutes!
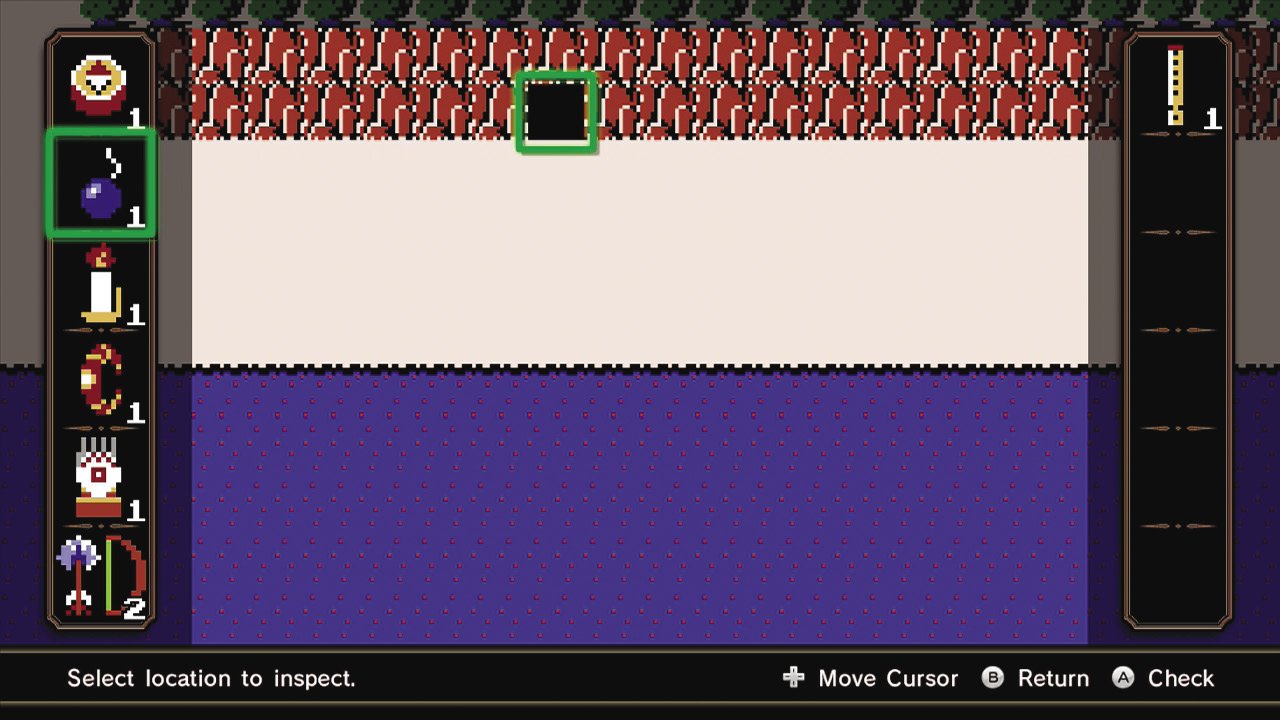
Defeat all Giant Bosses! Scenarios require you to do just that: defeat all giant bosses on the map within the time limit. These Scenarios almost always consist of two or three of the same boss attacking different corners of a confined map at once. Pick your strongest Warrior and challenge the Giant Bosses one at a time and you’ll be fine. Just try to divide up your time evenly for each of the bosses. If you notice that fighting any monster is taking more than half of your time for any monster, quit the Scenario, level up your character, and try again. If that still doesn’t cut it, unlock some of the stronger Weapons in Adventure Mode and come back at a later time.
Three King Dodongos
If you’ve ever played a Legend of Zelda title before, you know exactly what to do with these fellows. Wait for their mouths to open, then start shoveling Bombs into them.
Lana and Link with his Master Sword are excellent for this mission. Lana’s 
 combo and Link’s combo both can take out the Dodongo’s Weak Point Mark in one go.
H-14
Defeat the Shield Moblin Forces!
Limited Warrior: Fi (Recommended Level: 35)
UnlockablesFi—Heart Container (in the Lower Level East Keep) Fi—Piece of Heart (in the Southeast Square Keep) 1,000 KO Skulltula Second Gold Skulltula Search Item |
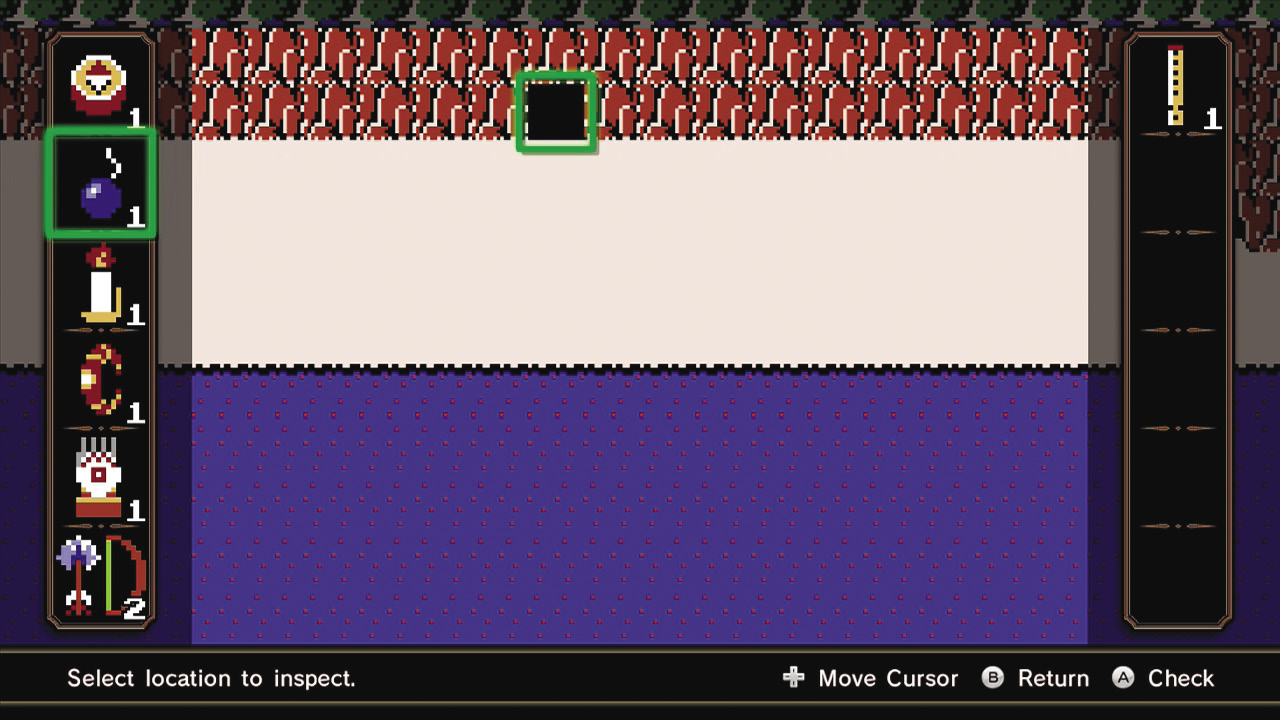
Adventure Battle Scenarios are almost identical to the Scenarios in Legend Mode. You have the full battlefield at your disposal, an enemy Captain/Warrior to defeat to win the Scenario, and teammates to assist you. The key difference is that you typically have only a single mission that appears at the start of the battle, which makes up the bulk of the entire fight. Once that mission is completed, you need only to defeat the enemy Commander to win the Scenario.
Twilight Palace
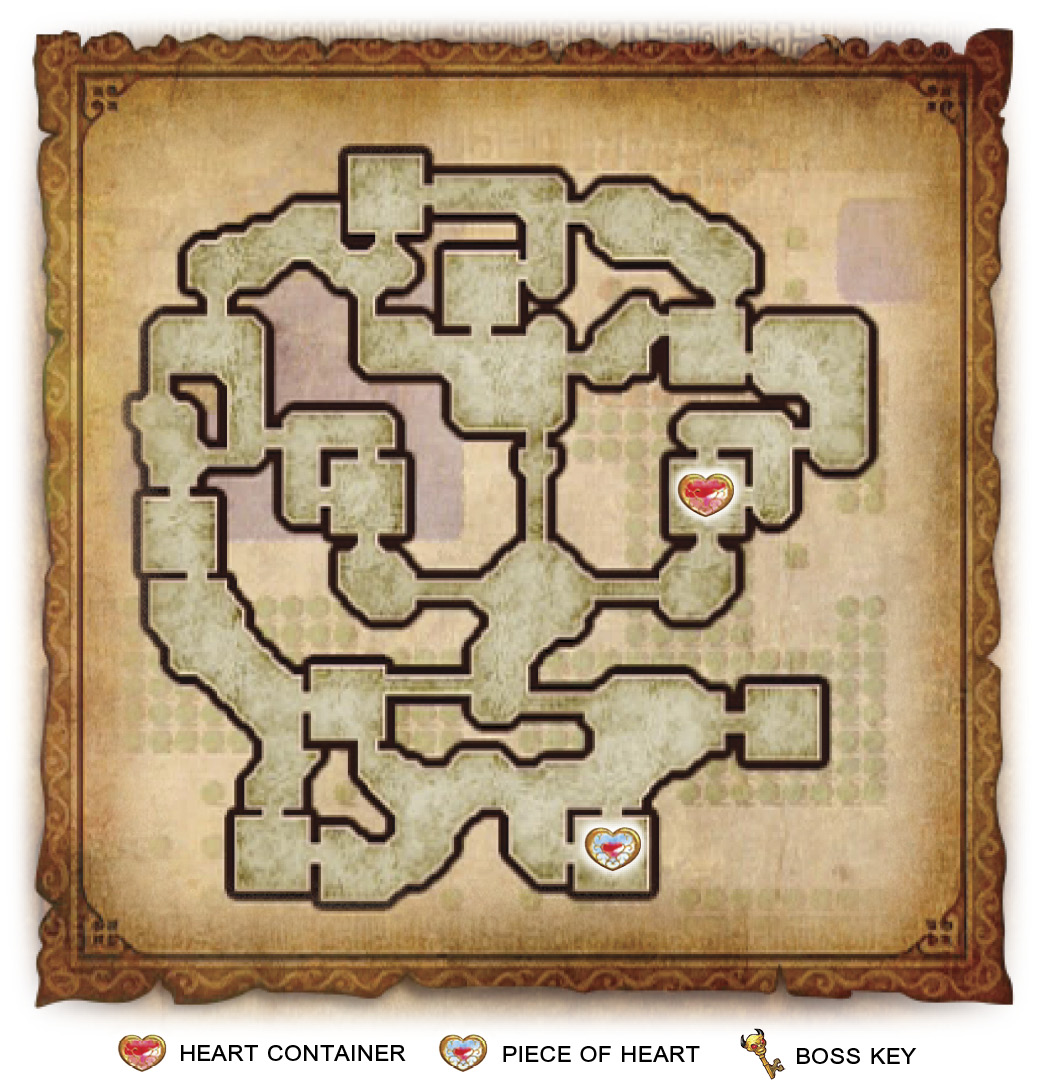
Save the Stranded Allied Forces!
A group of your allies are scattered and stuck around the battlefield. You need to get over to them and defeat the marked enemy Captains to free your allies. Before you can do that, you need to capture either the Central Square or West Square Keep. This will open a gate in the Keep you captured, which will give you access to the northern half of the map.
After capturing one of the Keeps, you’ll then be tasked with capturing another Keep from a pair. Either capture the Lower Level East or the North Palace Keep to get access to the remaining Stranded Allied Forces.
If you choose the Lower Level East Keep, you can grab Fi’s Heart Container for this Scenario.
Convince Stalmaster to join you
Stalmaster will appear on the map. Make a point to get to it as swiftly as possible to prevent it from being defeated by the enemy army, or yours. All you need to do is approach it and it’ll join your side of the conflict. Though, if it does flee, it’s not a huge loss; don’t jeopardize the mission for Stalmaster and its troops.
Defeat the enemy Commander
You can find Cia in the Enemy Base Keep.
H-15
Defeat the Warriors of Skyloft!
Limited Warrior: Midna (Recommended Level: 30)
UnlockablesMidna—Heart Container (in the North Oasis Keep) Midna—Piece of Heart (in the North Settlement Keep) 1,000 KO Skulltula Second Gold Skulltula Search Item |
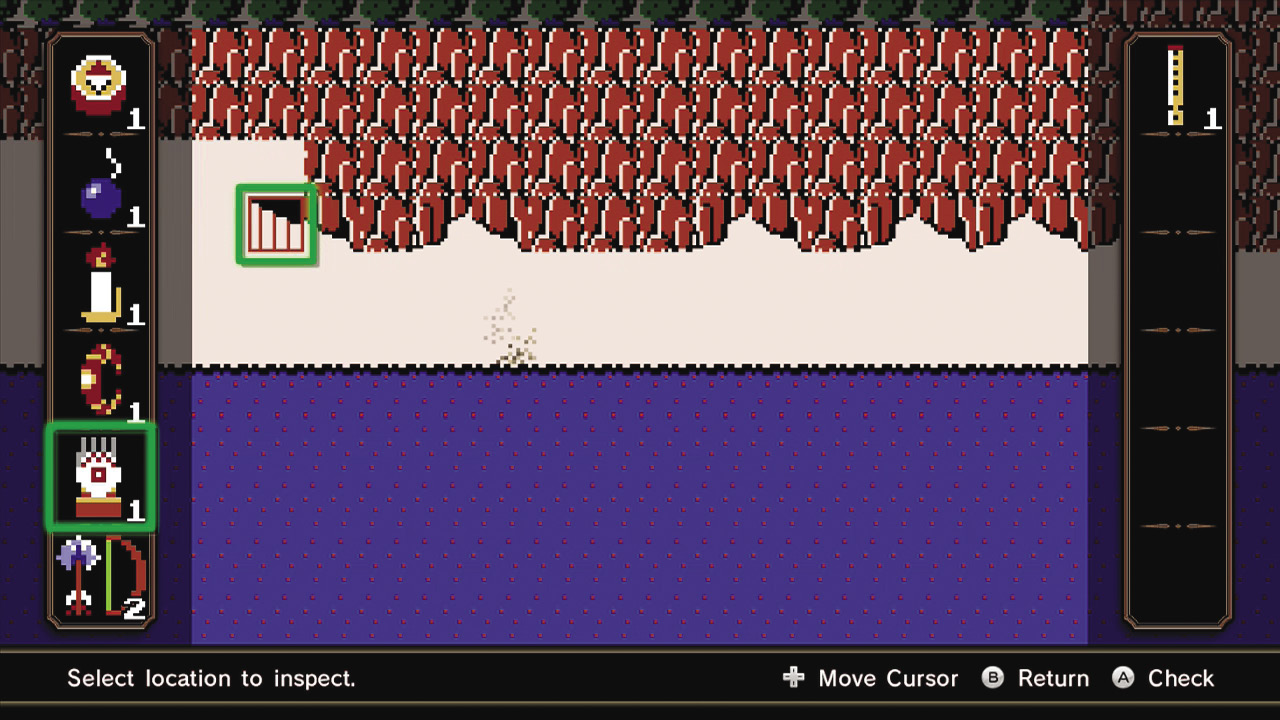
Adventure Battle Scenarios are almost identical to the Scenarios in Legend Mode. You have the full battlefield at your disposal, an enemy Captain/Warrior to defeat to win the Scenario, and teammates to assist you. The key difference is that you typically have only a single mission that appears at the start of the battle, which makes up the bulk of the entire fight. Once that mission is completed, you need only to defeat the enemy Commander to win the Scenario.
Gerudo Desert
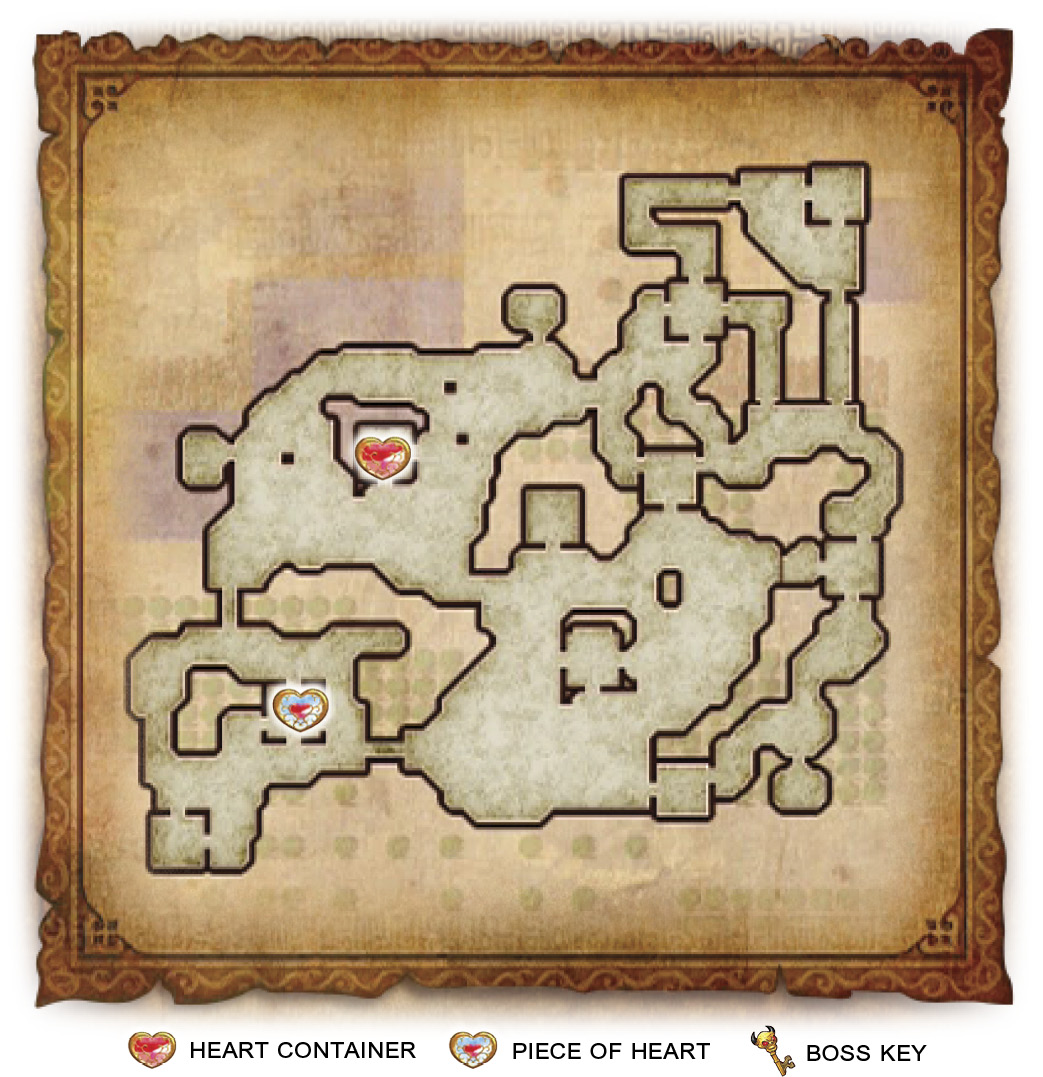
Capture all Keeps and weaken the enemy!
In order to complete this mission, you need to capture the Rockface, North Oasis, S. Desert, and N. Settlement Keeps.
Defeat the siege Captains
Siege Captains will begin pouring out of the highlighted Keeps. They have the ability to capture your Keeps at a remarkable pace. That is why taking them out as they appear on the battlefield should be near the top of your list; the top should be capturing those Keeps to stem the flow of Siege Captains.
Defeat the enemy Commander
You can find Ganondorf in the Enemy Base Keep.
H-16
Watch out! All attacks are devastating!
Watch Out! Scenarios can get pretty hairy if you don’t, well, watch out! Any enemy in these battles—even the basic soldier—can take you down to a quarter heart in a single hit. Basically, you can take two hits before you fail the Scenario. Luckily, these are incredibly straightforward fights, working similarly to the Defeat all enemies! Scenarios. Your goal is to defeat a certain number of Captains. Your best bet is to stick to ranged weapons and use your Bow and Arrow frequently. Carve your way into groups of enemies, instead of running through them, and don’t linger. You’ve got this!
Defeat 30 enemy Captains
The Captains you’ll be facing this time are Shield Moblins. They don’t provide much in the way of opposition in these one-hit KO Scenarios. Just grab a character with a ranged attack, use your Bow and Arrow, and go to town. Just make sure you clear out the Beamos statues; they’ll cause their fair share of problems later in the Scenario if you don’t.
Rewards Map
The Rewards Map will appear after you’ve finished your first illustration. To complete an illustration, you must find and defeat twenty Gold Skulltulas related to that illustration. Once you’ve accomplished that, you will be able to play a Scenario based off the completed illustration. There are no unlockables in these maps—except for a few new costumes for Link,—but completing them yields a rather larger sum of Rupees, so they are excellent for amassing a fortune.
Evil Power
Victory ConditionsDefeat Cia. Defeat ConditionsIf Lana flees. |
Defeat the enemy Captains in time!
You have three minutes to defeat four marked Captains. As soon as you finish off two of them, four more will enter the fray. This is a challenge by anyone’s standards, but fortunately you won’t fail if you can’t complete the mission in time. When the clock hits zero, all of the remaining Captains charge Lana at once. If you’ve already cleared up four or more of the Captains, you shouldn’t have too much trouble keeping Lana safe. Cia will enter the battlefield as soon as time runs out and she’ll join her Captains in the assault on Lana. Defeat Cia and you’ll win the fight.
Unity
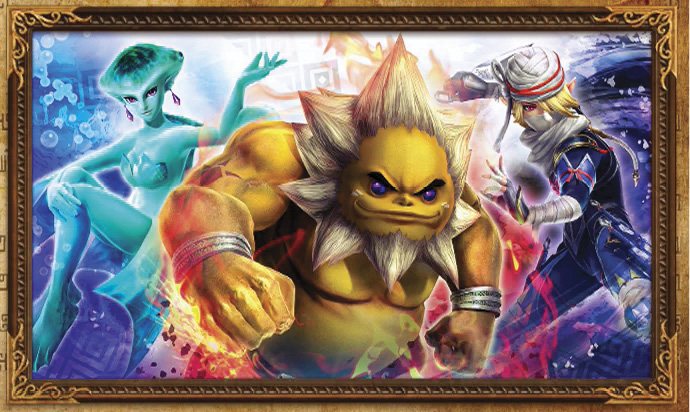
Hyrule Field
Defeat all enemy Captains to lure the Commander
You need to defeat the two Captains that are marked on your minimap to progress the mission. As soon as you defeat them Ruto and Sheik will enter the battlefield.
Defeat the Summoner immediately
As soon as you finish capturing the Keeps to break through to your allies, a Summoner enters the battlefield. It has the ability to summon enemy soldiers directly to your location. If you’re not struggling to defeat the soldiers it is summoning, don’t worry about rushing over to take out the Summoner.
Defeat the enemy Commander
You can find Darunia in the Enemy Base Keep.
Boss Rush
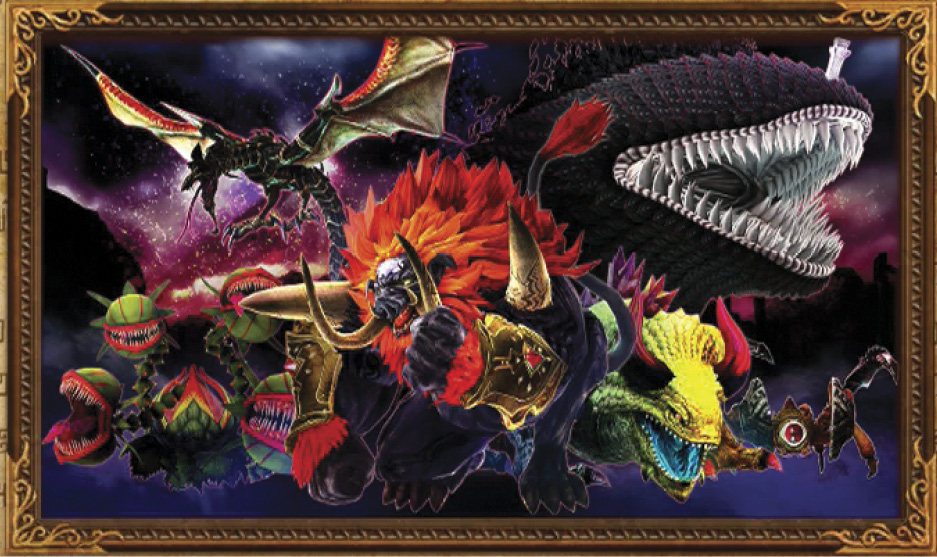
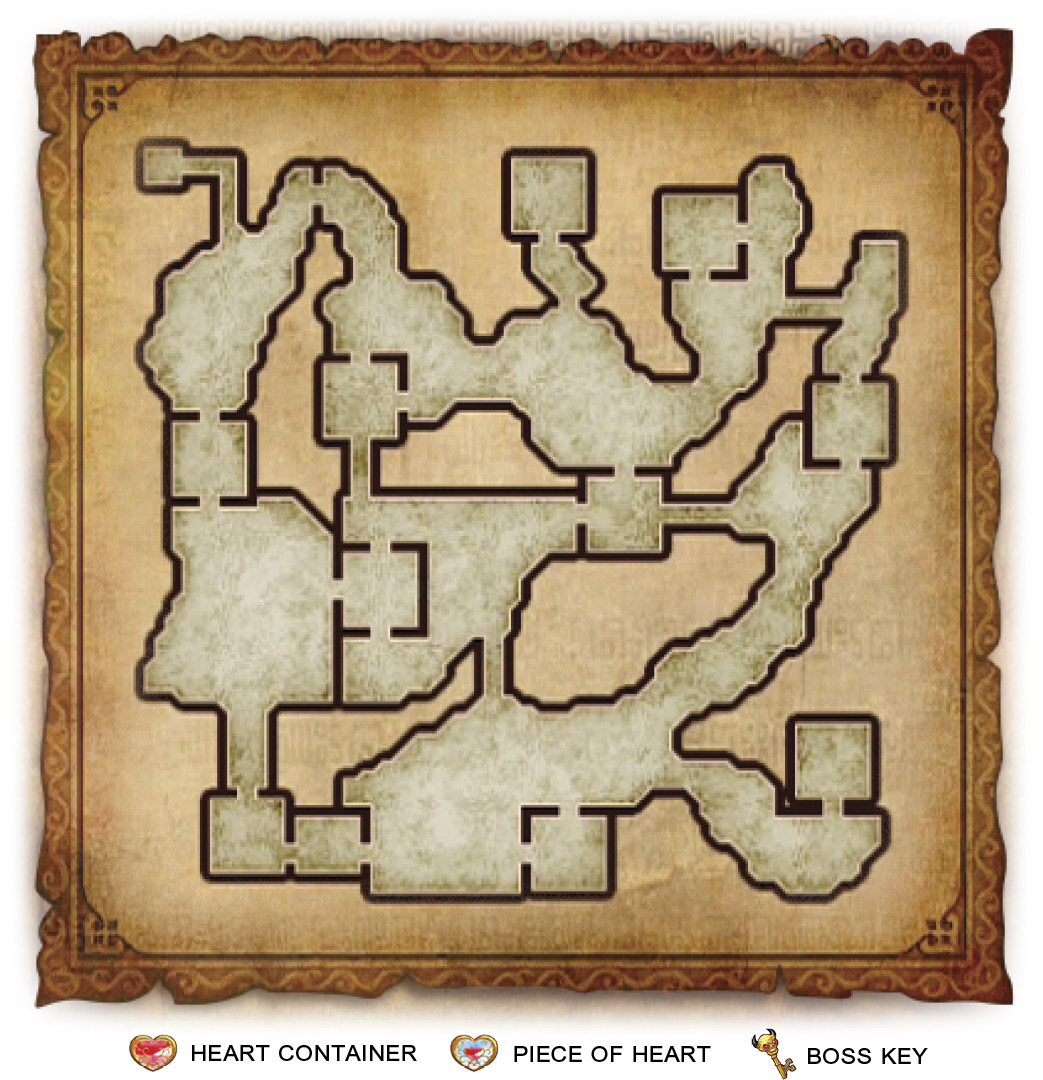
Victory ConditionsDefeat all the Giant Bosses. Defeat ConditionsIf Zelda flees. |
Mission Briefing
You’ll need to keep an eye on Zelda during this fight. If she’s forced to flee, you’ll fail and with this many Giant Bosses, it wouldn’t take long for her to be forced off the field. We highly suggest you don’t try this fight until you’ve purchased all three Empty Bottle and Stamina Fruit Badges from the Badge Market for your Warrior of choice. These bad beasts hit like an 18-wheeler and Hearts are incredibly limited. There are two Heart Jars inside the abandoned Keep in the center of the map that you should only use in an emergency. Use your Special Attacks every chance you get to chip away at the Giant Bosses’ health. We also suggest using Lana and her Book of Sorcery for this fight, as her Combo Attack is excellent for depleting Weak Point Marks and it’s not dependant on Lana having full health like Link’s Combo. Attack with the Master Sword.
This is an incredibly tough fight, so be alert, keep moving from the north and south sides of the map to lure individual Giant Bosses and don’t get surrounded. You’ve got this in the bag!
Defeat the Giant Bosses
Manhandla, King Dodongo, and Gohma will be the first Giant Bosses on the map. They’ll group together pretty quickly, which will make the fight a complete mess. Try and lure one of the monsters away and take it out while it’s alone. Gohma is the fastest monster on the field right now, so it’s likely the best candidate for luring. Just make sure not to challenge one of the Giant Bosses while its grouped with the others; it’ll be a complete nightmare for you.
As soon as you defeat your first Giant Boss, Argorok will swoop in to replace it. The Imprisoned will show up to replace the second Giant Boss you defeat. Ganon will show up as the sixth and final Giant Boss for this fight.
Every time you defeat a Giant Boss all the other Giant Bosses get a Morale Boost. Focus on the Bosses that have the highest damage output, which in this case would be Manhandla and Ganon. Their seed attacks can do an intense amount of damage. Gohma and Argorok should be last on your priority list as their attacks are easy to dodge and their Weak Point Marks are incredibly easy to reveal.
True Partners
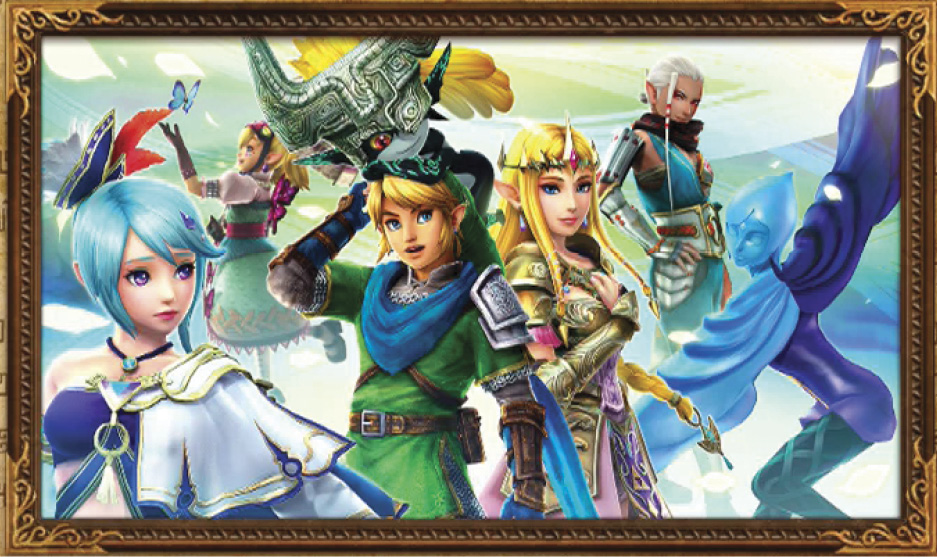
Skyloft
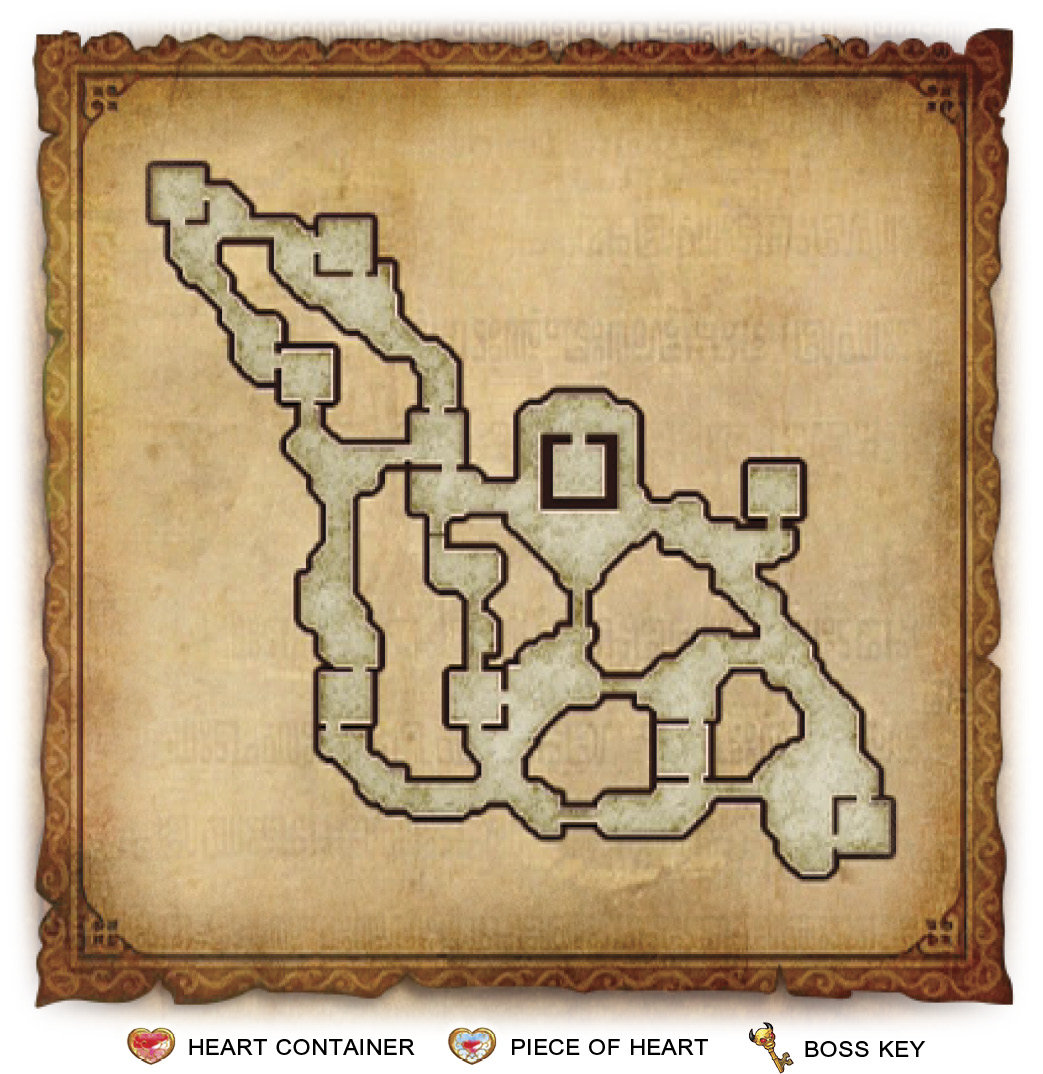
Select an ally partner
Six yellow targets will appear on the minimap. Each of them is the location of one of the female Warriors in the game. Your job is to pick which one you want fighting by your side for the rest of the battle. The remaining Warriors will then turn and join the enemy force. We suggest you select Zelda as your partner since she tends to have one of the hardest Weak Point Marks to reveal, though, the choice is entirely up to you.
Defeat the enemy Commander
You can find Dark Link in the Enemy Base Keep.
Chosen By Fate
Ganon’s Tower
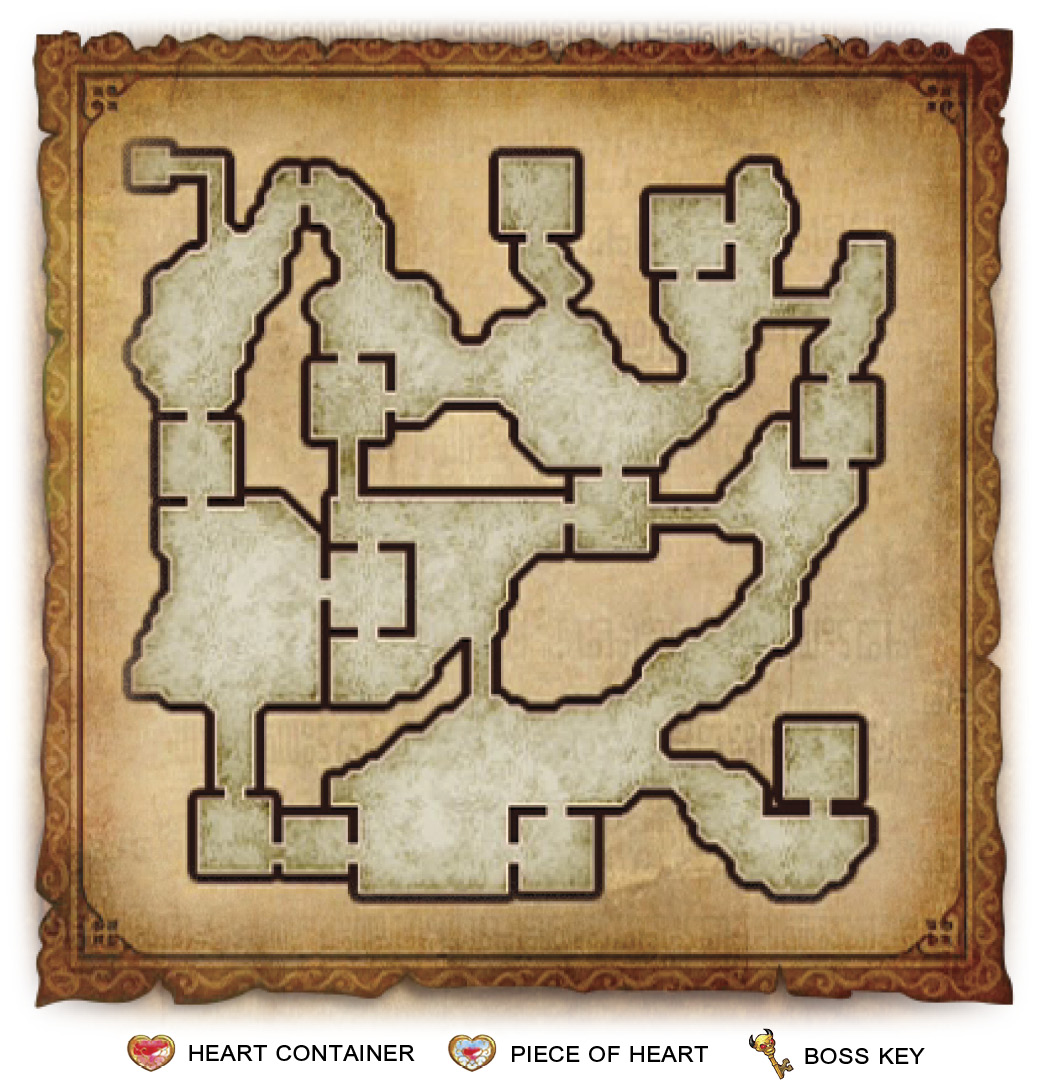
Capture the enemy keeps
You need to capture both the East Field and the Central Keeps to escape the southeastern corner of the map.
Defeat the Rally Captain
Shortly after the Scenario begins, a Rally Captain will enter the field. Rally Captains boost the morale of enemy troops, so taking them out swiftly should be high on your priority list.
Capture more enemy keeps
After capturing the first set of Keeps, another pair will be marked. Capture both the West Field and Abandoned Fort Keeps. We recommend not using your Fairy of Darkness on the West Field Keep’s Barrier of Darkness. The Enemy Base also has a Barrier of Darkness that you really don’t want to fight Ganondorf in.
Once you capture the second pair of Keeps, the Enemy Base will open up and all of Ganondorf’s forces in the Castle Keep will charge toward Zelda in the Allied Base. You can easily intercept them by waiting inside the West Field Keep. That Keep serves as a chokepoint for the Captains’ journey to Zelda. Take them all out, then head for Ganondorf in the Enemy Base.
Defeat Ganondorf and Ganon to win
As soon as you enter the Enemy Base, Ganon will appear inside it. Pay attention to his attacks: he emulates every Giant Boss except for The Imprisoned and you must hit him with whichever item that the Giant Boss he’s emulating is weak to. As a refresher, if he holds out his right hand and begins charging a fireball, race in and throw Bombs at his hand. If he lifts his left hand and begins charging a blue energy ball, dodge out of the way of the attack and shoot his hand with the Bow. If his shoulder spikes open up and begin firing small spikes, hit them with the Boomerang as soon as they are finished firing. If he flies into the air, pull him down with the Hookshot.
Once you’ve destroyed each of Ganon’s parts, he’ll begin performing attacks that make the gem on his head glow. When you see it glow, shoot him with your Bow to make him reveal his Weak Point Mark. Perform some Smashes and you’ll defeat him. Defeating Ganon means you have successfully won the Scenario and completed Adventure Mode. Congratulations!