
Hyrule Warriors Guide Walkthrough Legend Mode
The Sheikah Tribesman: Eldin Caves

Playable Characters Link Link  Impa Impa
Heart ContainerPiece of HeartGold Skulltula
Hard Mode Gold Skulltula
UnlockablesLink’s Fire Rod Victory ConditionsHelp Link and Impa escape the Eldin Caves. Defeat Conditions |


 1,000 KOs

Fair Play
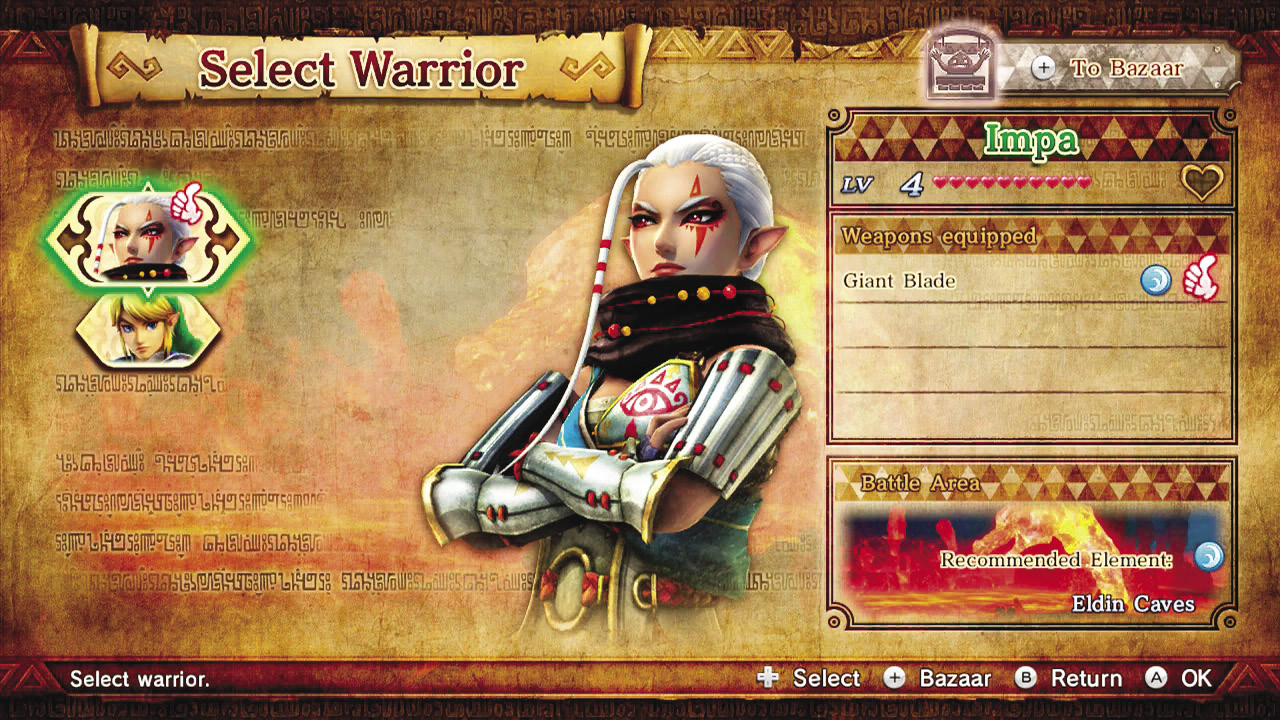
Before the start of this Scenario, you’ll have the ability to select between Link or Zelda’s Sheikah bodyguard, Impa. Impa is recommended for the next level because of her use of water-based Strong Attacks, but you are free to select whichever Warrior you enjoy playing the most. Just make sure not to overuse a single Warrior: During your time with Hyrule Warriors, you’ll be forced to play with specific Warriors and weapons, so making sure each of your Warriors gets attention is key to making the many challenges you’ll face as easy as possible.
Fire Walker

Weeks after the battle in Hyrule Field, Impa hears whispers of a young woman leading a resistance group in the Faron Woods. Hoping that Zelda is that young woman, she and Link head north to discover who this mystery girl is. But to reach the woods, they must first make their way through the Eldin Caves, a lava-filled deathtrap that only the most courageous and skilled warriors have any hope of surviving.
Rendezvous with the Hylian Captain

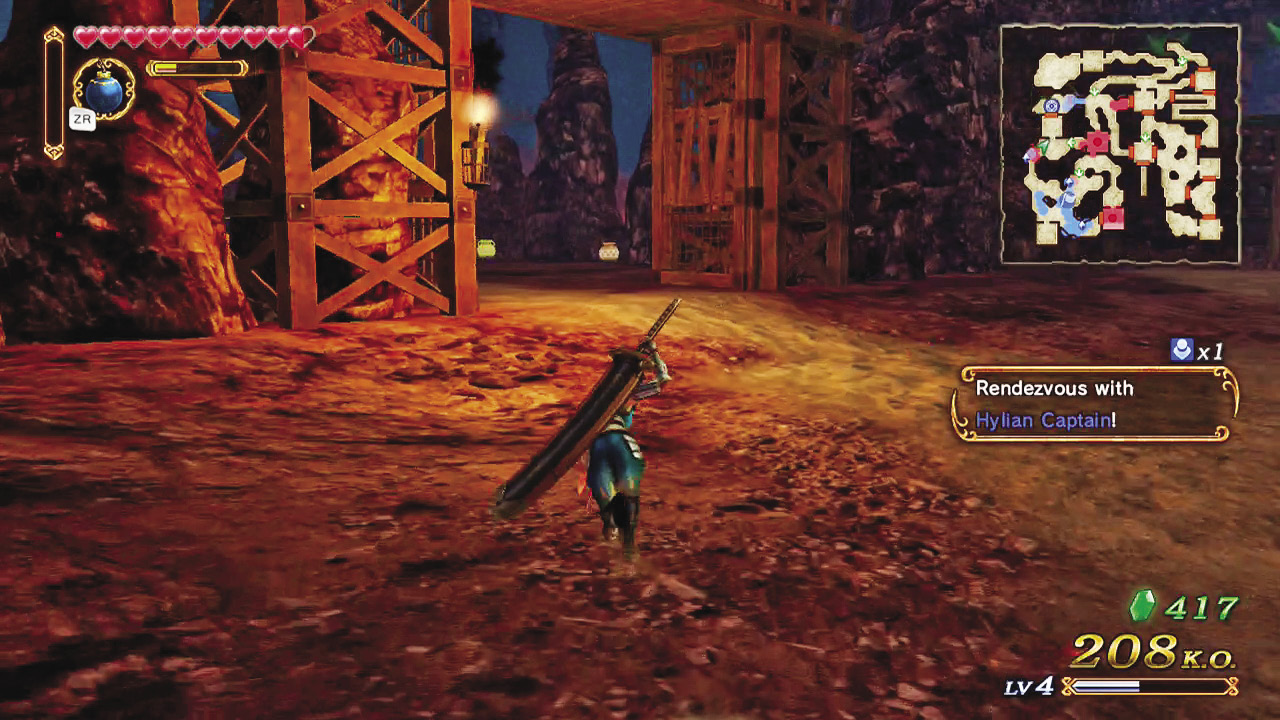
Right from the start of the Scenario, things are looking grim. Your goal is to escape the magmatic nightmare, but the only exit out of the cave is blocked off. To make matters worse, a squad of Hylian knights is stuck a little too close to the lava and it’s getting too hot for comfort. As if that weren’t enough, monsters start pouring out from an unknown source to attack Impa and Link. If you have any hope of stemming the flow of enemies, you’ll first need to meet up with the leader of the Hylian knight squad by heading north immediately after starting the Scenario.

An abandoned Keep is just north of the Keep where you start the Scenario. You can safely leave your allies to battle with the monster hordes while you head over to the Hylian Captain’s location. As soon as you enter the Keep, it becomes apparent that the gate is locked. Looks like we’ll have to find another route.
Reroute to the Captain!
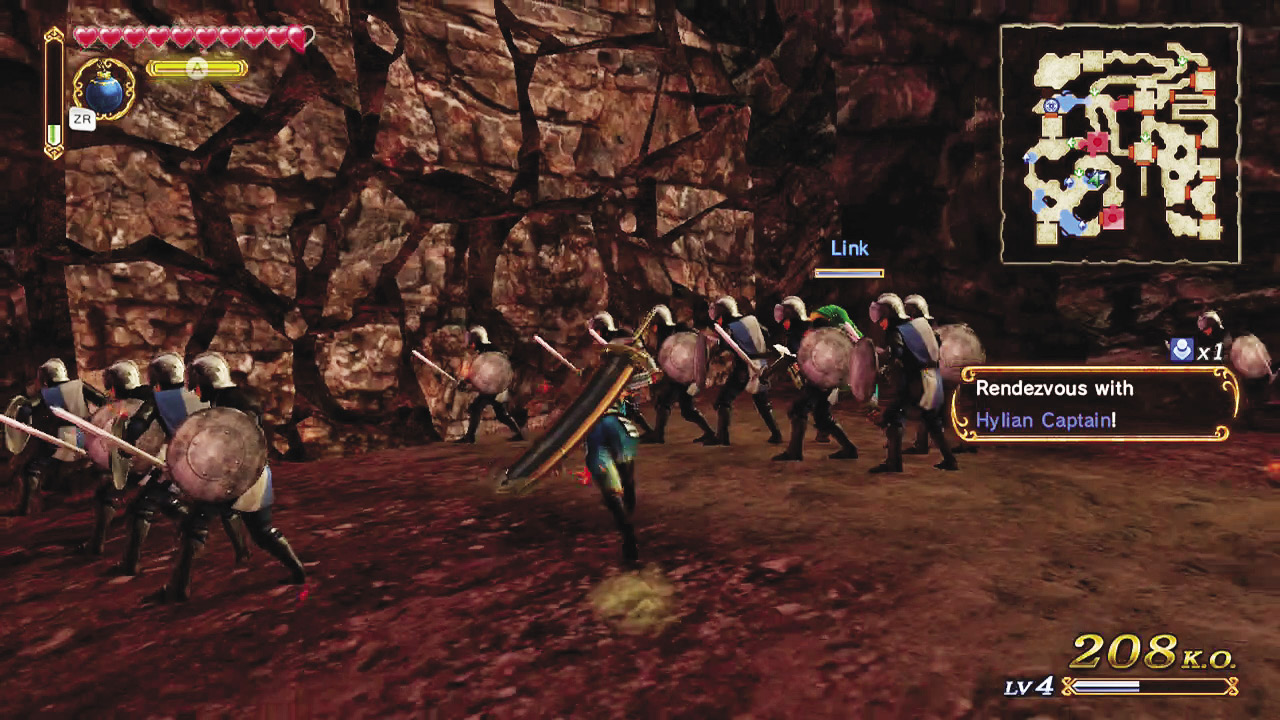
Just below the Stone Square Keep is a wall that looks awfully brittle. Perhaps a small explosion would be enough to make it crumble? Well, let’s find out! Run over to the wall, which is marked with an X on your minimap, and throw one of your Bombs at it.
Stem the Flow of Monsters

It worked! Now you can get into the South Square and Stone Square Keeps. If you capture those Keeps, you stop the never-ending flow of enemies onto the field. Don’t worry about rushing: Nothing on the battlefield is going to change much until you reach the Hylian Captain, which means you can take your time knocking out the two Keeps, so long as nothing is attacking the Captain.

Once you’re inside the Keep, you find a new type of enemy Captain: a Big Poe. Big Poes are ghastly ghosts that carry around torches that they use throw spectral fire at their enemies. These ghoulies are some of the more evasive enemies in the game, teleporting after they’re hit a few times. To take them out, keep attacking them until they knock you away with a Force Blast. At this point, they’ll teleport a few times. Lay off them until they begin charging up an attack. Get behind them, wait for them to use whatever attack they’re charging, and then their Weak Point Mark will pop up. It usually takes two tries to get the Weak Point Mark low enough to do a Smash, so don’t sweat it if the Big Poe gets away from you before you can defeat it. Just keep at it and you’ll knock it out!
Bombchu Escorting
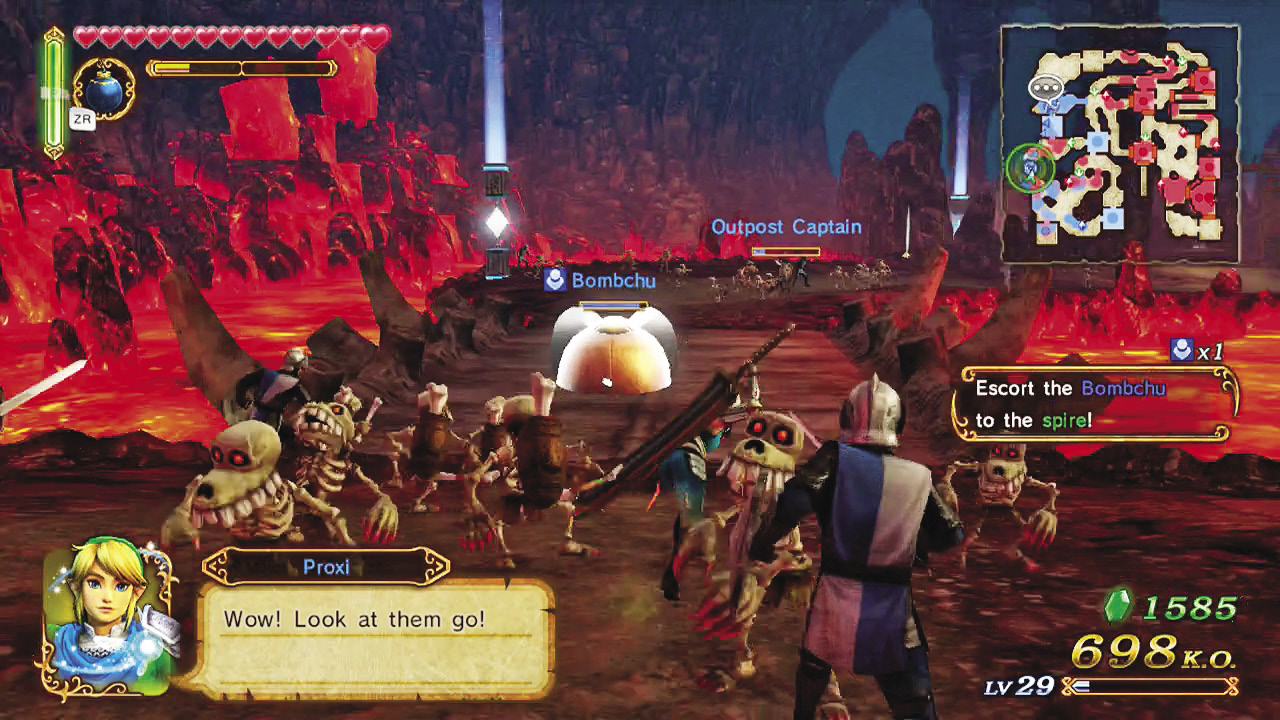
Once you reach the Hylian Captain, your ally will notice a stone spire that seems like it would make a good bridge. But how do we knock it down? Like an answer to our prayers, a Goron Captain enters the Eldin Caves with a highly explosive Bombchu in tow. He’s got an idea on how to knock that spire down and it most certainly involves that metallic mouse, but he needs assistance getting it to the spire. The problem is, an evil wizard has summoned a whole lot of monsters to do away with Link and Impa. You’re going to have to act fast if you want to avoid having the Bombchu blown up.

Head to the map’s southwest corner (the abandoned Keep where you started this Scenario) and escort the Bombchu. It will stop any time it runs into any enemy with a Health Bar, so make defeating those enemies your highest priority. Once it reaches the West Square Keep, you’ll need to capture it to progress. When the Keep is in your possession, the Bombchu will take care of the rest.
Join Your Ally
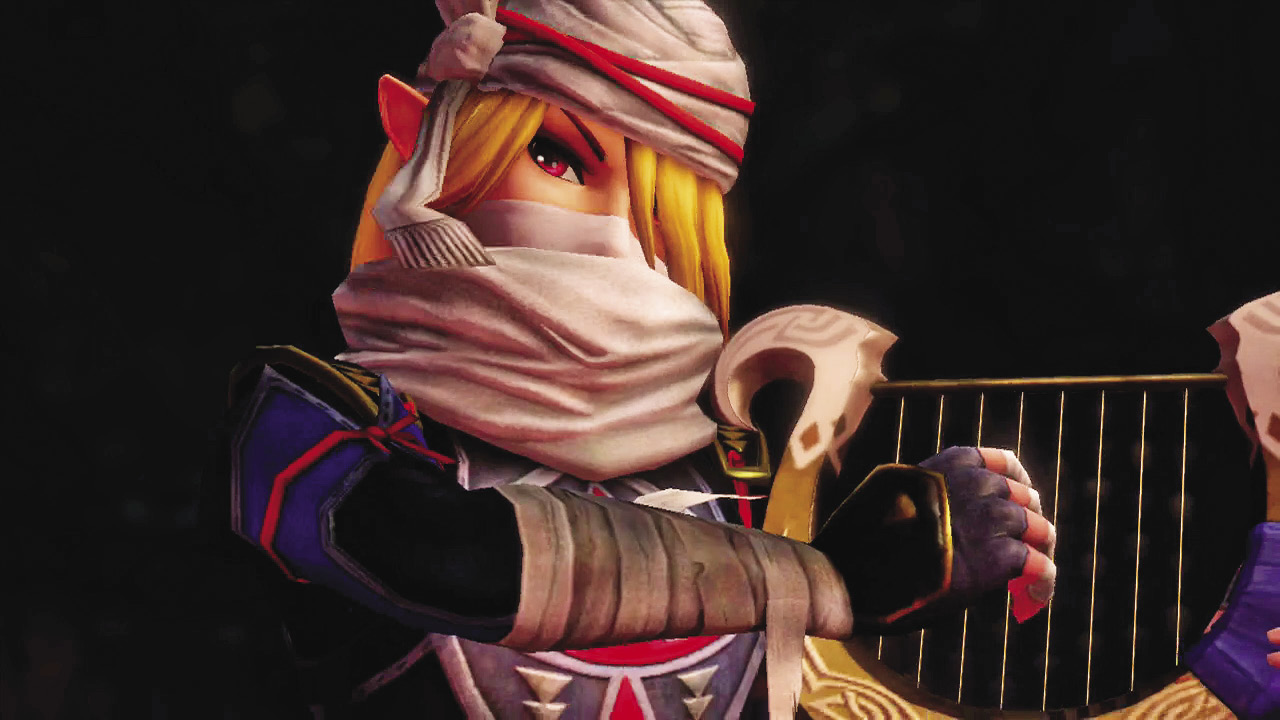
After the spire falls over, follow Link or Impa up to the northern abandoned Keep to trigger a cinematic. Sheik, a Sheikah Warrior that you might remember from Ocarina of Time, will join your group.
The dark wizard also brings some friends of his own into the battlefield; a handful of Captains enter the Eldin Caves through the same entrance you started the Scenario in. You can go fight them to prevent them from taking the Keeps you’ve already captured, or you can move on to the next mission. Capture the Tunnel Square Keep!
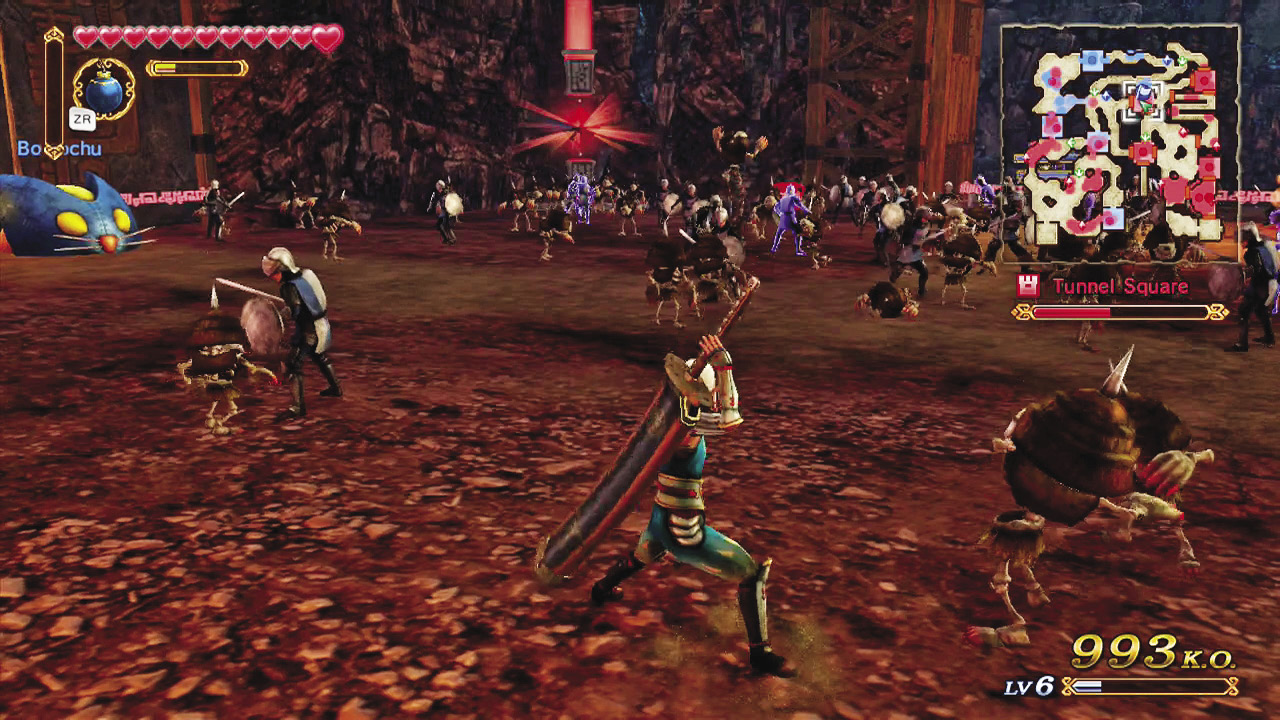
Travel with your allied Warrior to the Tunnel Square Keep and capture it. Once you’ve captured it, a treasure chest containing this Scenario’s Sealed Weapon appears. Once you complete the Scenario, the Sealed Weapon will become Link’s second weapon, the Magic Rod.
Gold Skulltula Opportunity
|


Find the Spirit of the Caves

Even though you capture the Keep, the gates are still closed. The Tunnel Interior gate opens. Monsters begin pouring out of it, which leads your ally to think that there may be some sort of spirit at the end of the tunnel that is summoning the monsters.
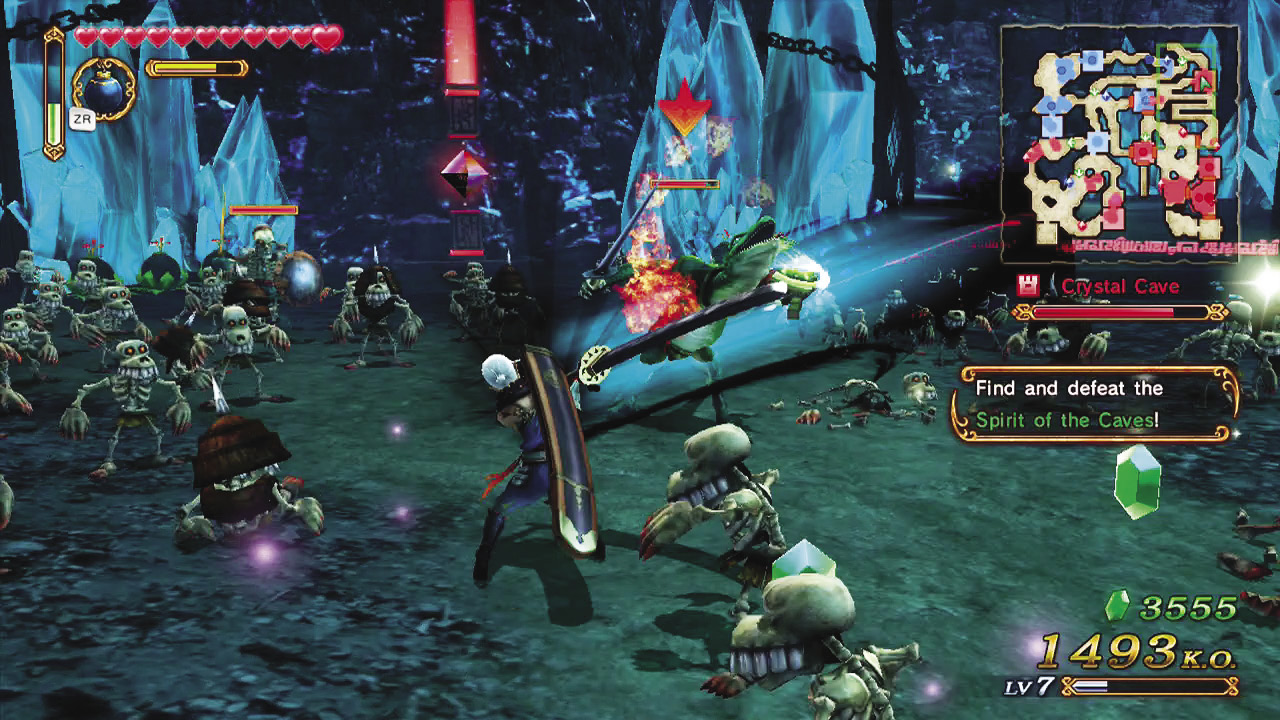
Your next mission is to confirm whether there is, in fact, a Spirit of the Caves, so start by heading west into the zigzagging tunnel system. As soon as you make the first turn, the Crystal Cave Keep, directly north of you, will open. Before you go any farther down the tunnel, head up to the Crystal Cave Keep and defeat Lizalfos. This pesky lizard would have gone directly for your ally and put him or her in danger. This will save you from having to race back and forth around the map to complete your mission and save your ally.
Piece of Heart Opportunity
|


Continue on south through the tunnels and you’ll eventually come to the Spirit of the Caves, a Big Poe that’s been the source of your recent problems. Defeat it to make the tunnel gate, as well as the Tunnel Square Keep gates open up.

Escort the Bombchus to the Rock Spires

Your last major mission for this Scenario is to escort two Bombchus to two more rock spires. If the Bombchus can reach the spires, they can blow them up and create a bridge over the lava, giving Link, Impa, and Sheik a path out of the Eldin Caves. Before you can start escorting Bombchus, however, you must first find them. You already have one in your control in the Tunnel Square Keep, so you need to find only one more to continue with the escape plan.
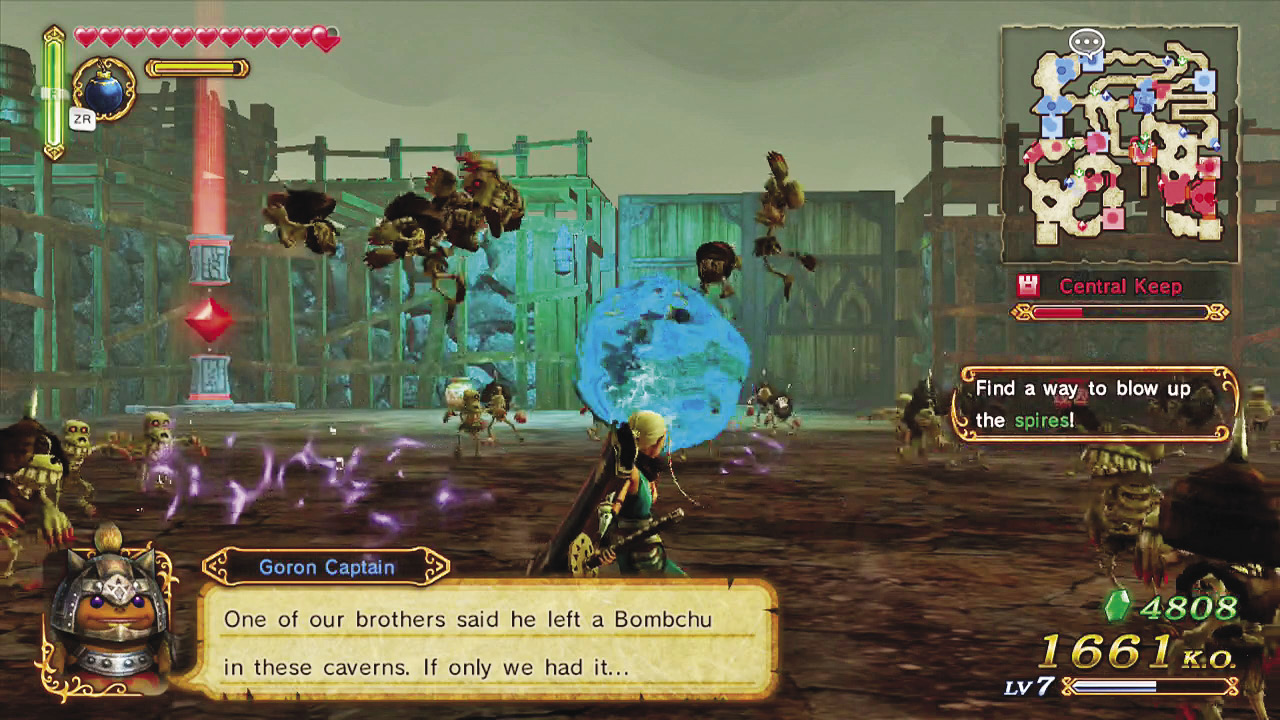
Two locations are marked on your map: The Stock Room Keep and the Central Square Keep. Go ahead and ignore the Stock Room Keep and head directly to the Central Square Keep; the Stock Room is woefully undersupplied with Bombchus at the moment.
Twisted Wizard Wizzro
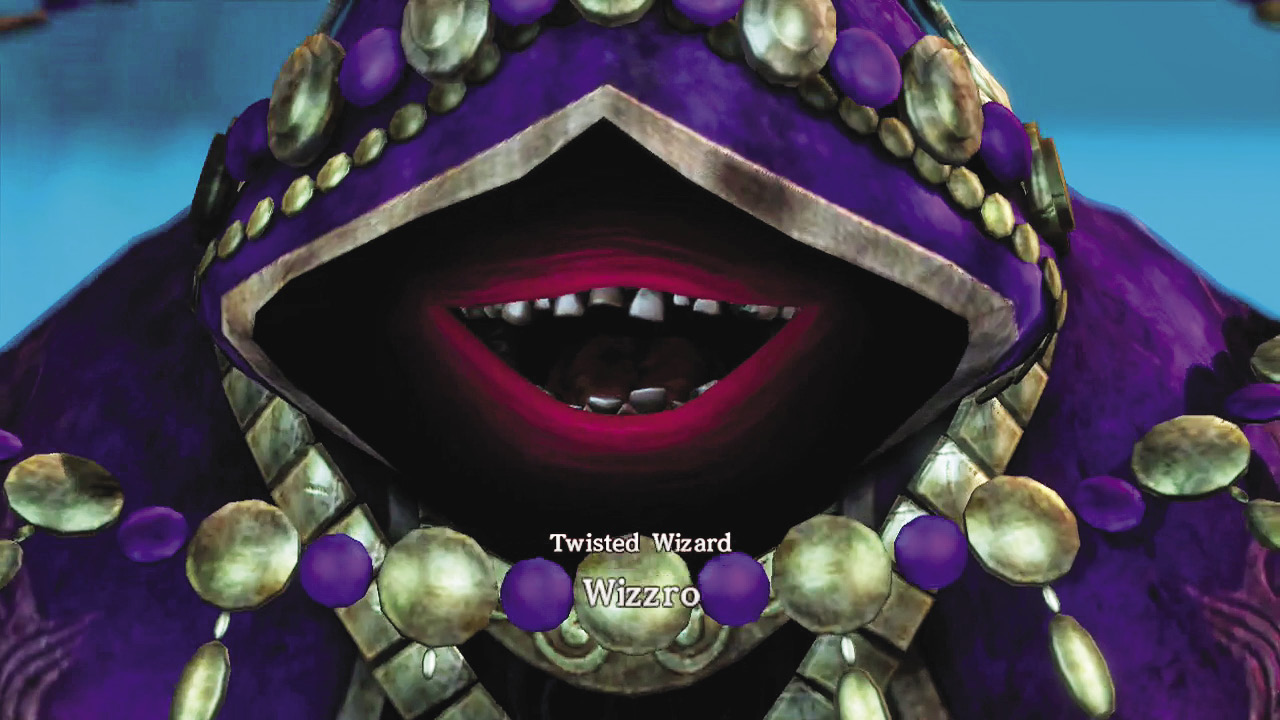
You must first capture the Keep to gain control of the Bombchu. After you’ve accomplished that feat, both Bombchus begin making their way to the southern spires. Your job now is to make sure they get there in one piece. Remember: All you have to do is defeat anything with a Health Bar and the Bombchus will get going again. The main challenge you’re going to face here is the dark wizard, Wizzro.
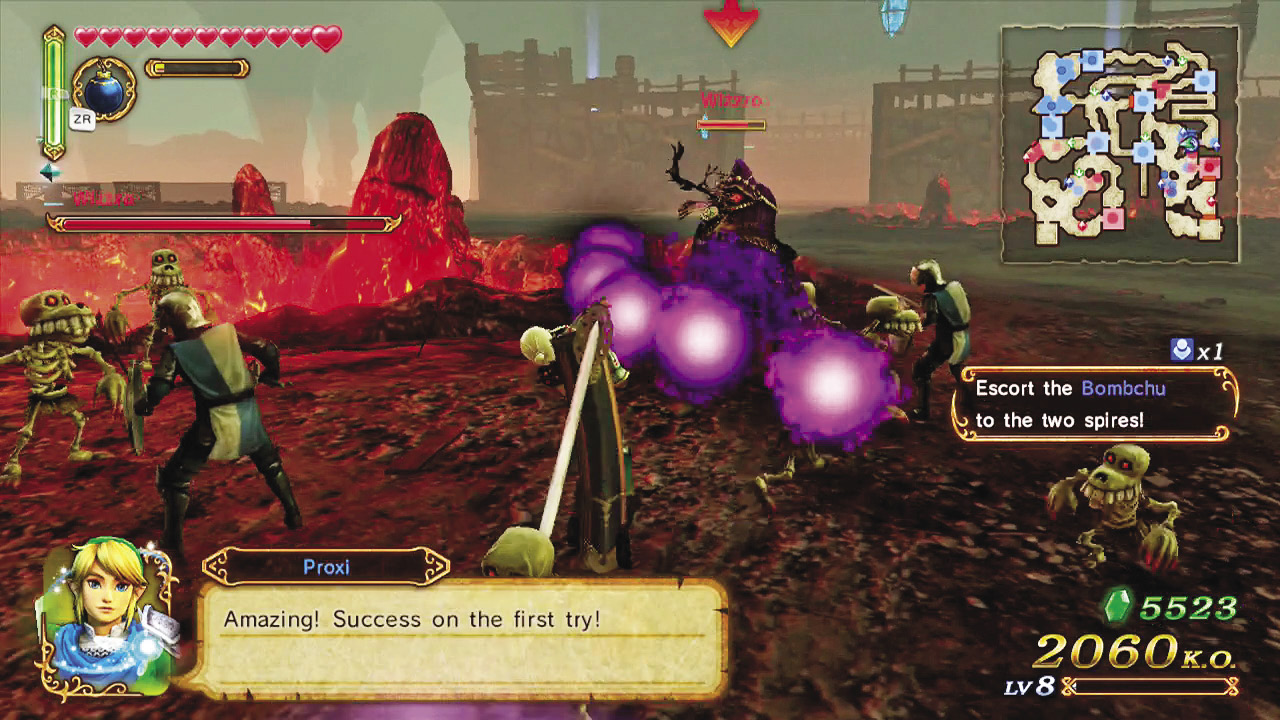
Wizzro is a lot like a Big Poe in that he shoots spectral fire everywhere. The easiest way to defeat him is by standing in front of him with your guard raised—use  to block. We’ll call this “Bating.” The goal of Bating is to get Wizzro to perform Strong Attacks, so that he reveals his Weak Point Mark. If you’re blocking, his attacks won’t damage you. All you need to do is roll toward him as soon as his Weak Point Mark appears, then let him taste your cold steel. Boom! An easy Weak Point Smash. If you repeat this method a few times, Wizzro will retreat from the battle. Just clean up the rest of the Captains near the Bombchu and watch it head toward the spires to finish its job.
Hard Gold Skulltula Opportunity
|


Once the first Bombchu explodes, the second one will be primed to begin its journey toward the remaining spire. Guide it there, clear up any remaining Captains that block its path and you’ll be home free!
Heart Container Opportunity
|


Head to the abandoned Keep in the southeast corner of the map to complete the Scenario. Good work!