
Donkey Kong Country: Tropical Freeze Guide Walkthrough Island 5: Juicy Jungle
Stage 5-4: Panicky Paddles
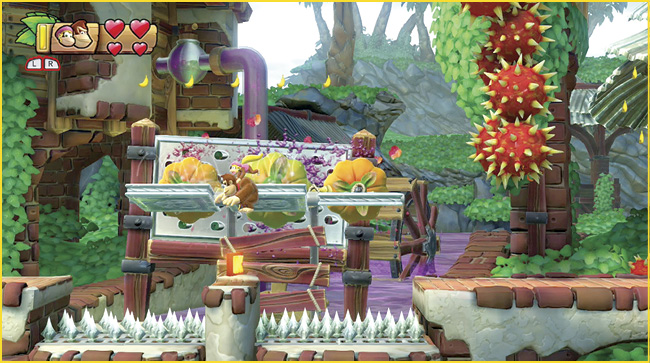
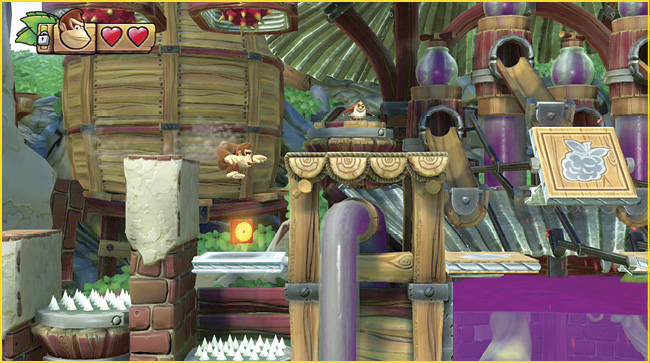
Stage BasicsAs you move through this stage, watch out for the spiked fruit scattered throughout each area. These hazards drop out of chutes, bounce in place, and float around pools of fruit juice. You can Ground Pound many of the available platforms to drop into otherwise inaccessible areas, but falling fruit can also spin these platforms out of position. Pay attention to your surroundings, and time each jump to ensure that you make a safe landing. |
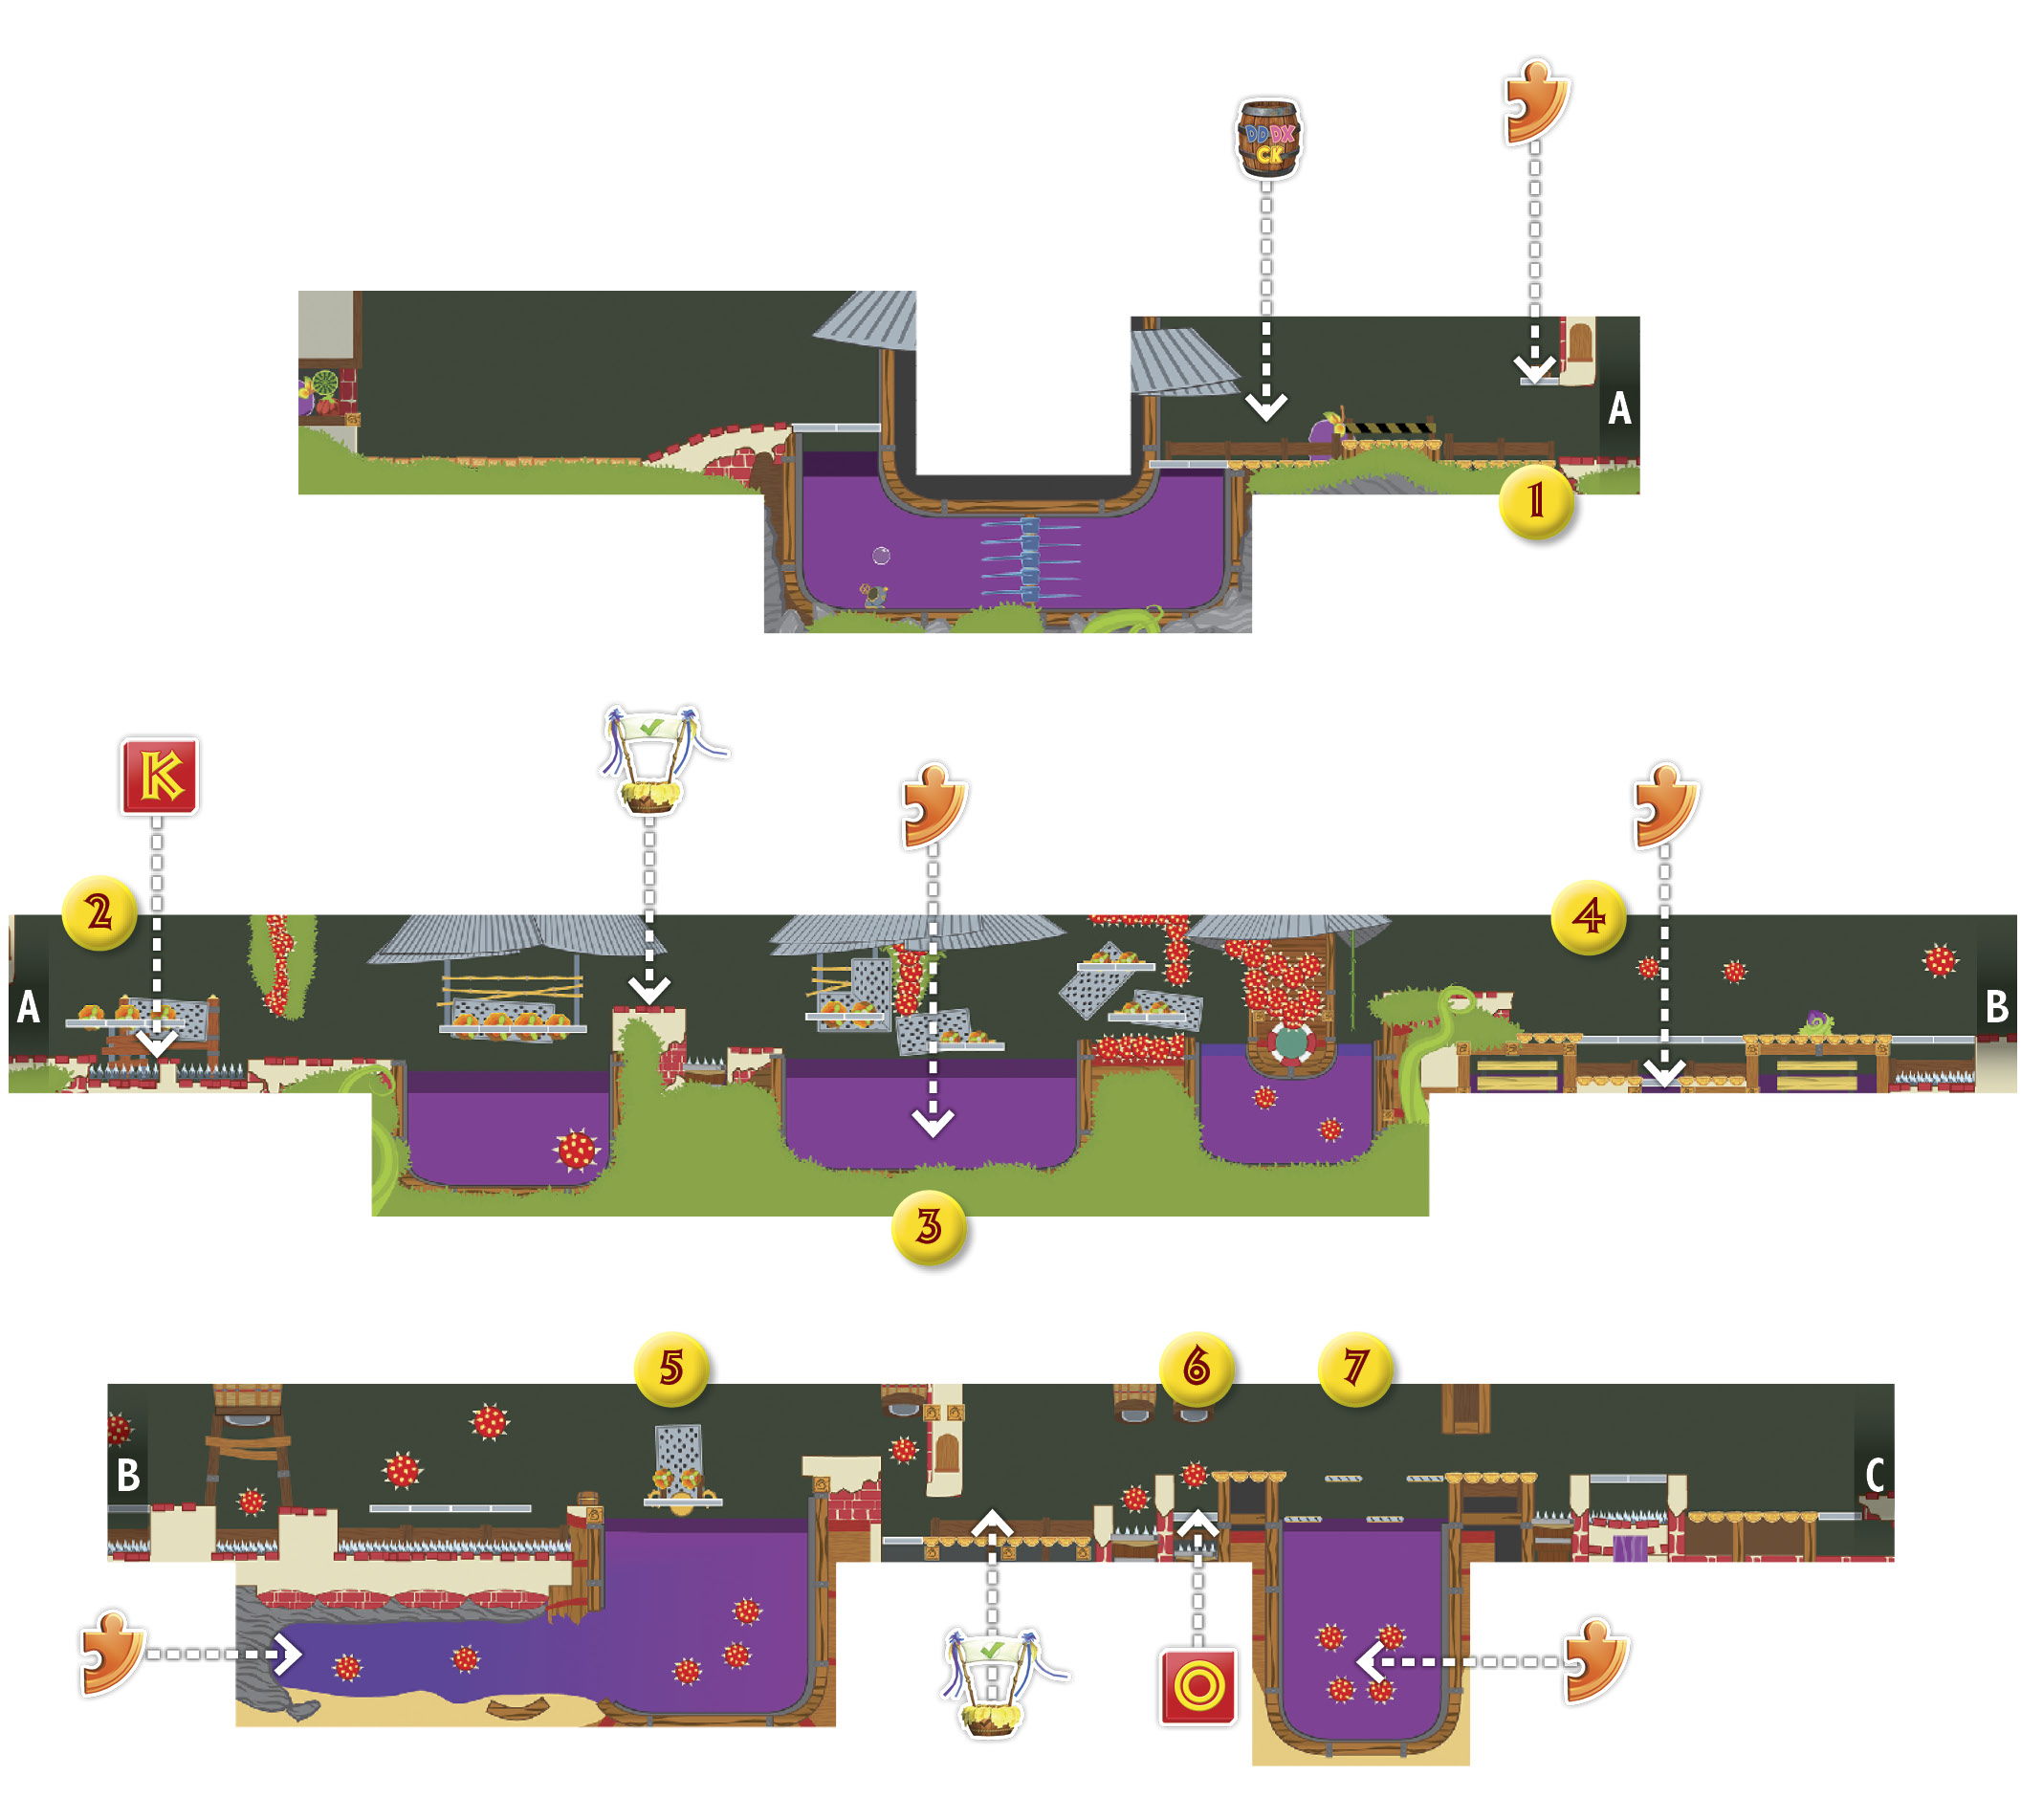

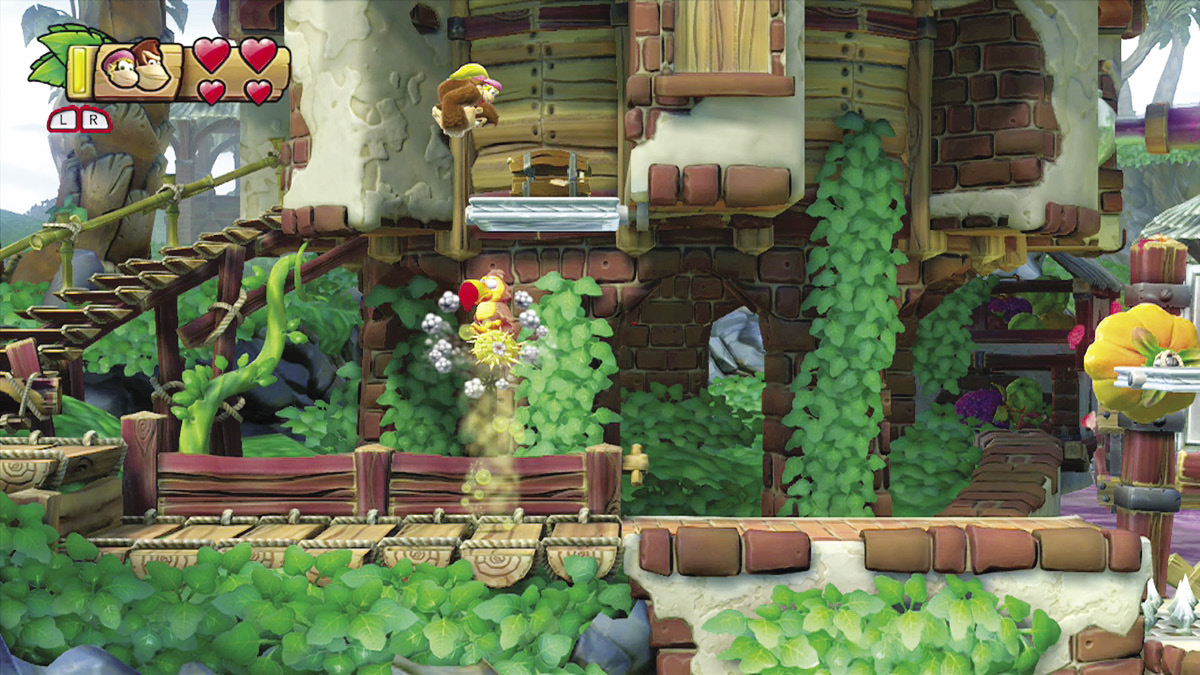

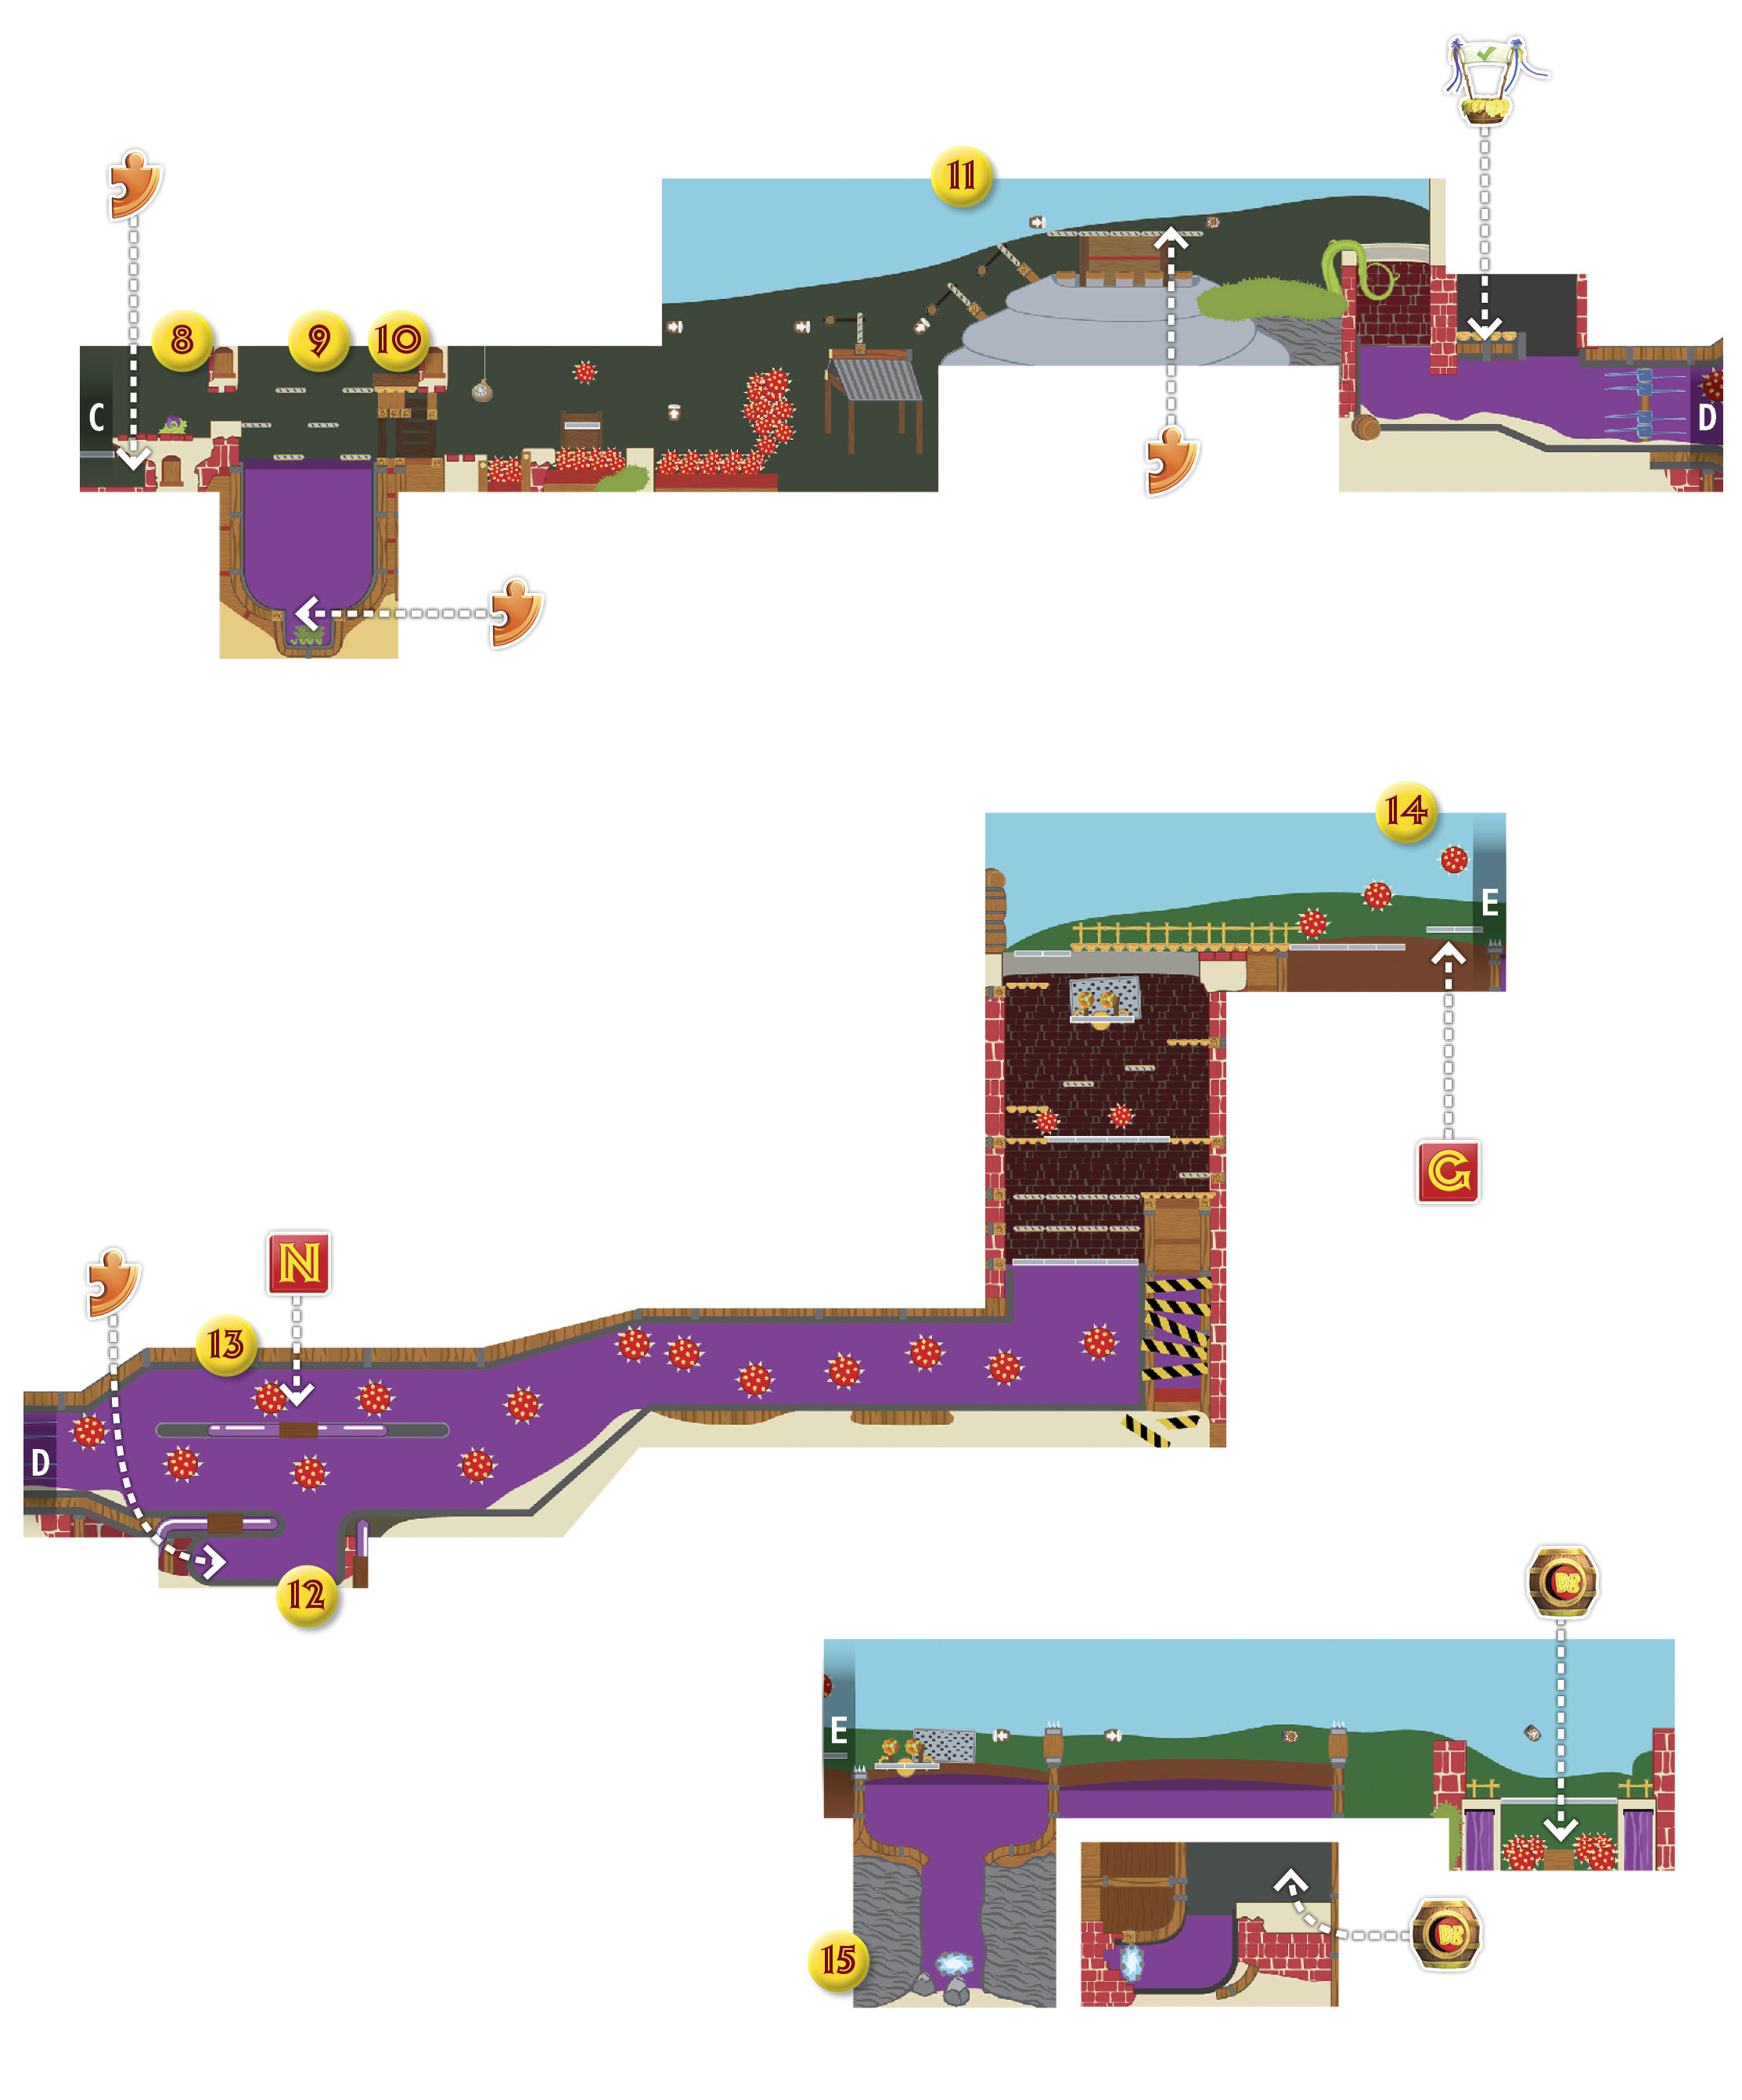
 There’s a flying banana trapped in the chest at point 1. Bop the nearby Toucan’t and bounce up to the small platform, then perform a Ground Pound to free the flying banana.
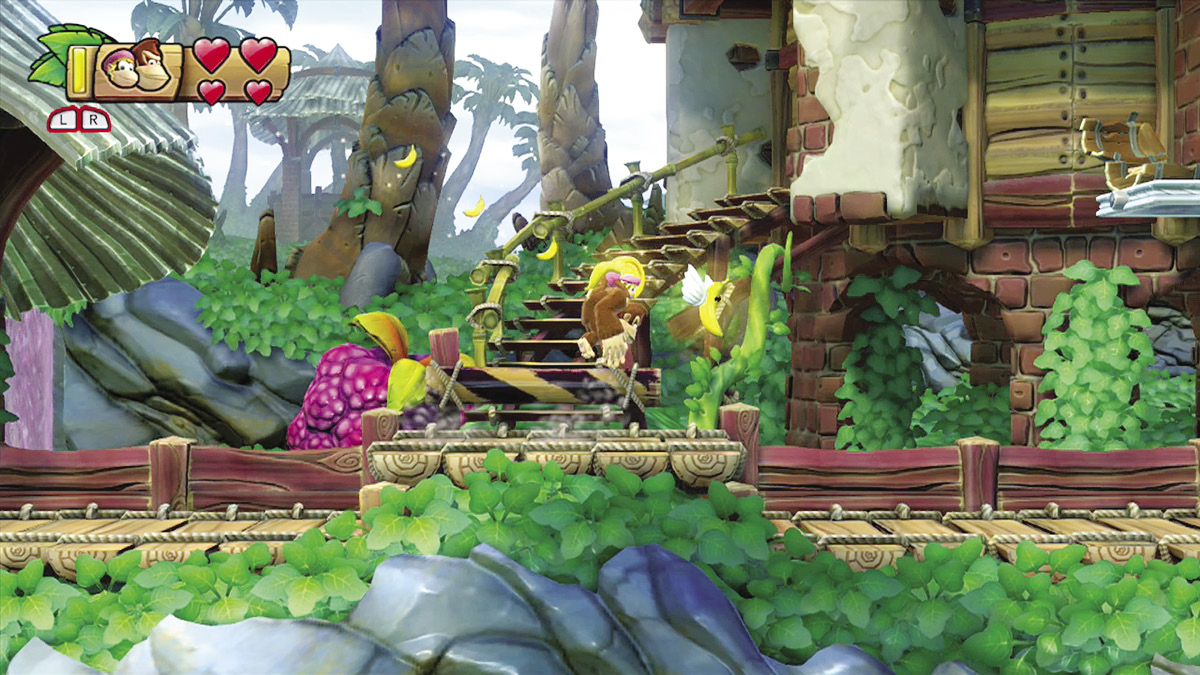
As the flying banana circles the area, gather the items trailing behind it. Grab all of the available items before they leave the area to reveal a Puzzle Piece.
|

 The first KONG Letter is at point 2. Ride the nearby platforms until you’re directly above the K, then perform a Ground Pound to drop down and collect it.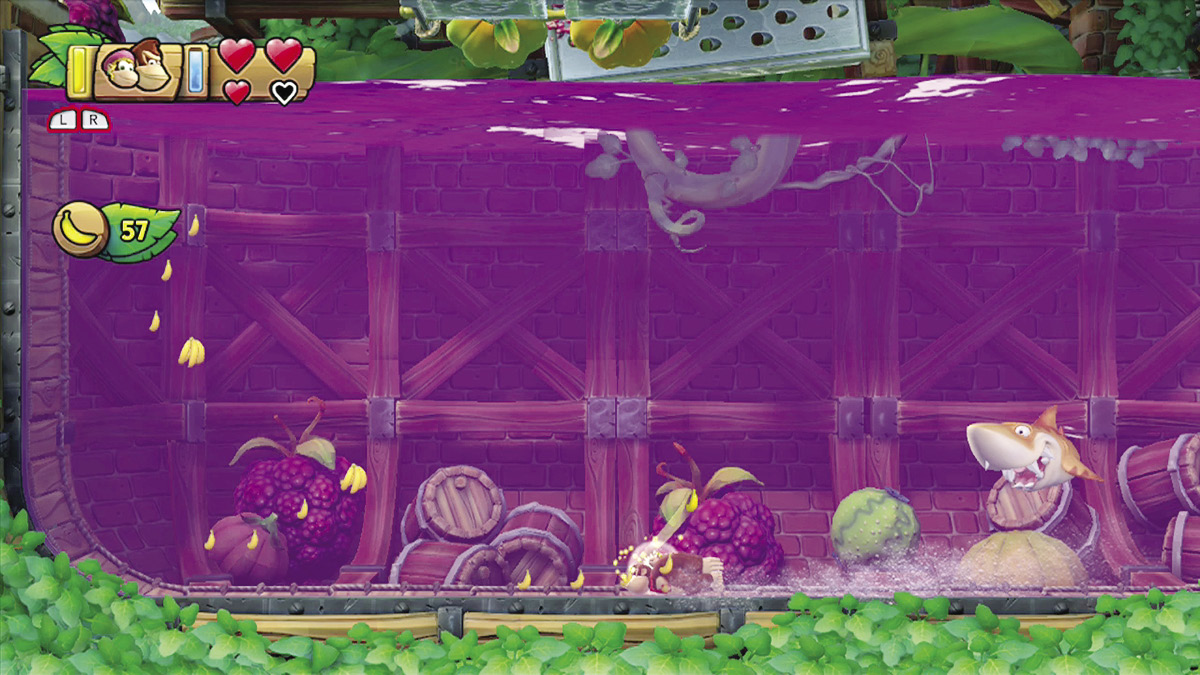

 Drop into the juice at point 3 and scoop up all of the nearby bananas to reveal a Puzzle Piece. Unfortunately, the patrolling Yellow Snaggles makes it fairly difficult to complete this seemingly simple task. Defeat this enemy as quickly as possible, or evade its attacks until you’re ready to leave the area.
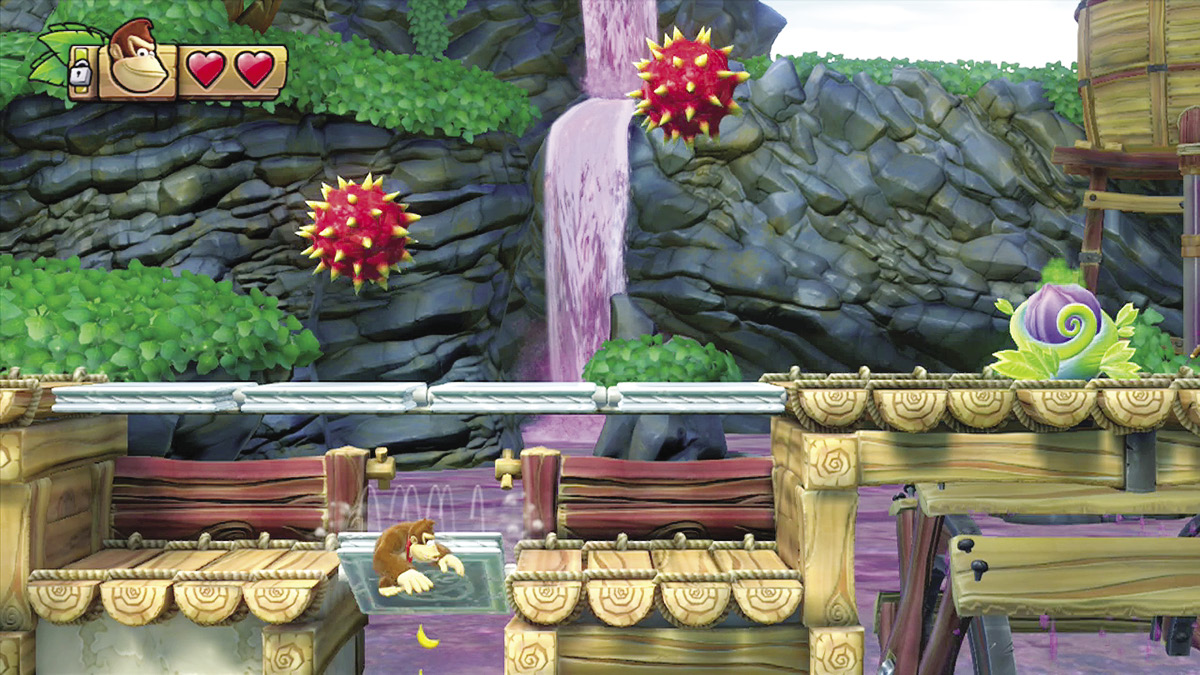

 Ground Pound through the platform at point 4 to find a bonus room.
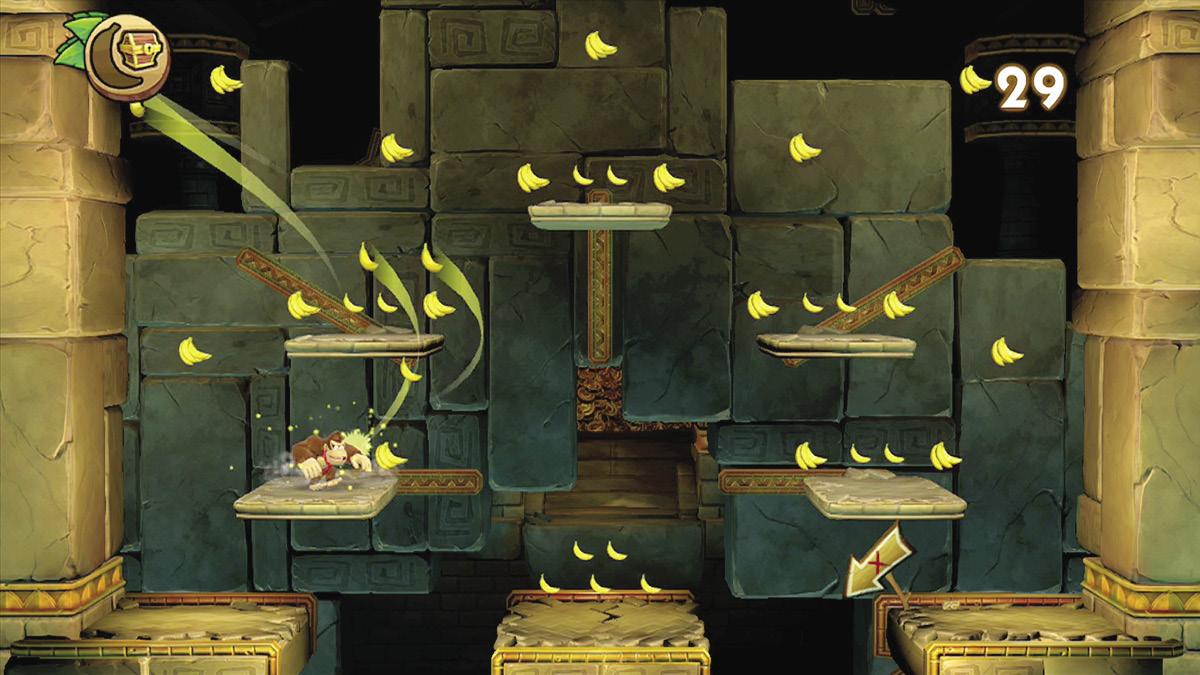
Once you enter the bonus room, you have 30 seconds to collect all of the available bananas. If you succeed, a Puzzle Piece appears near the center of the area.
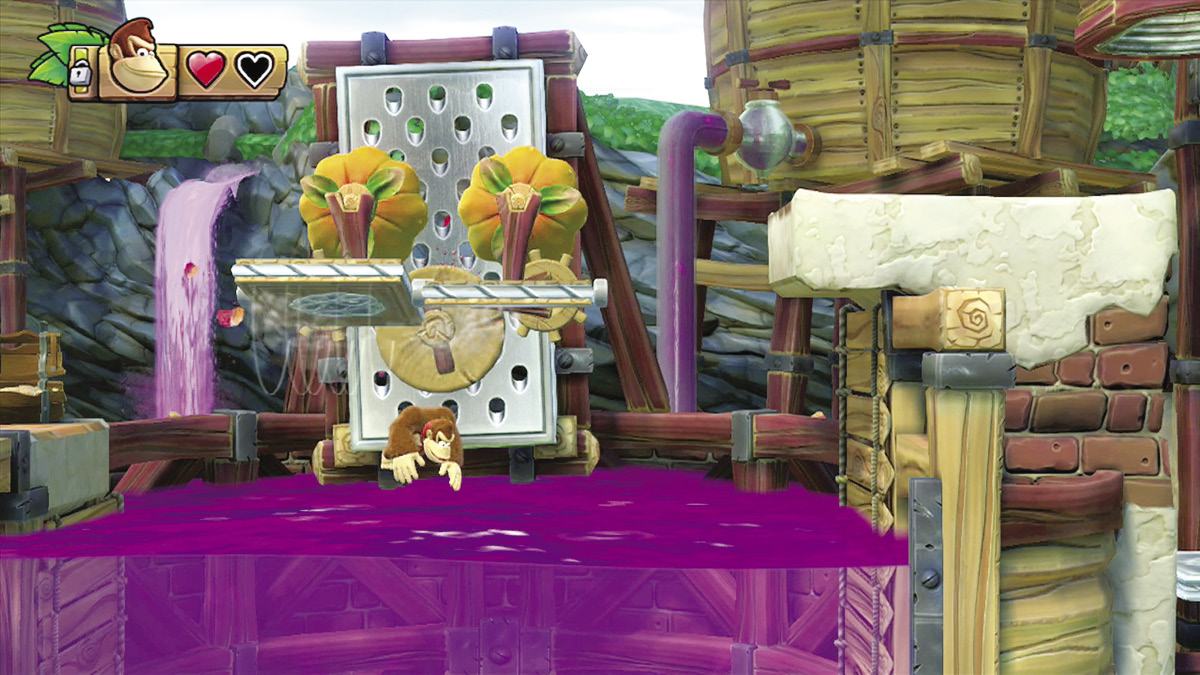

 Drop into the juice at point 5 and swim toward the bottom of the map.
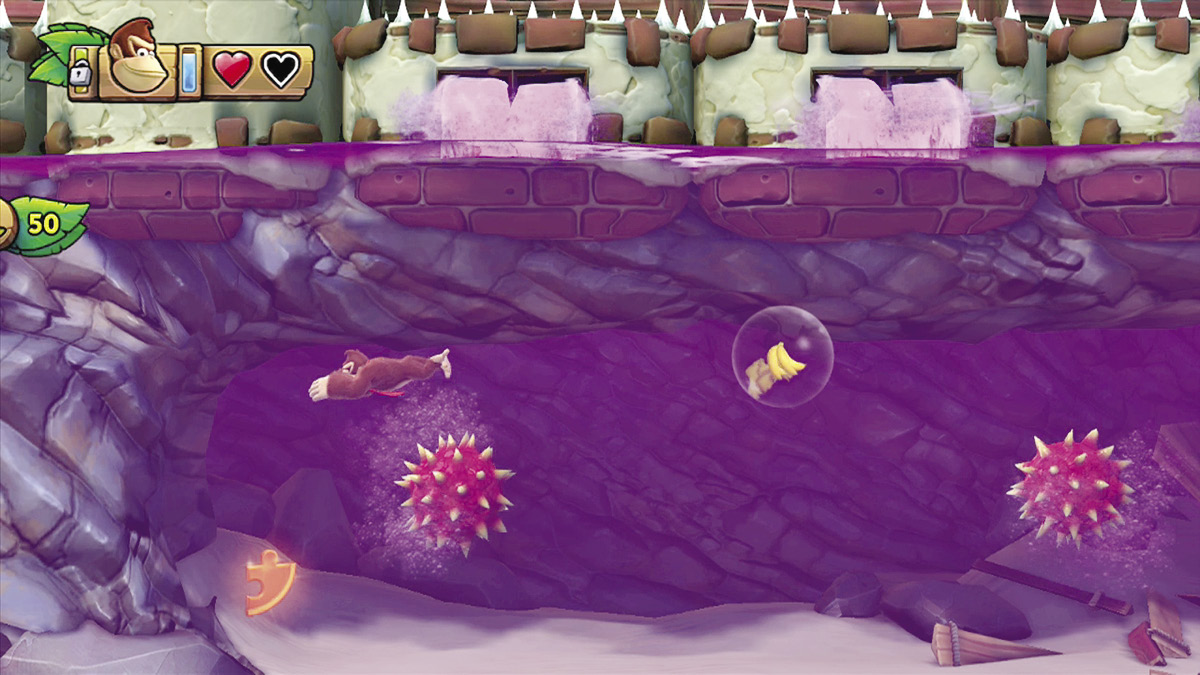
When you reach the bottom of the pool, follow the path to the left to find a Puzzle Piece.
|

 The second KONG Letter is on the small platform at point 6. Stand on the nearby bricks and wait for a spiked fruit to drop through the platform. As soon as the platform stops spinning, grab the O and jump to safety.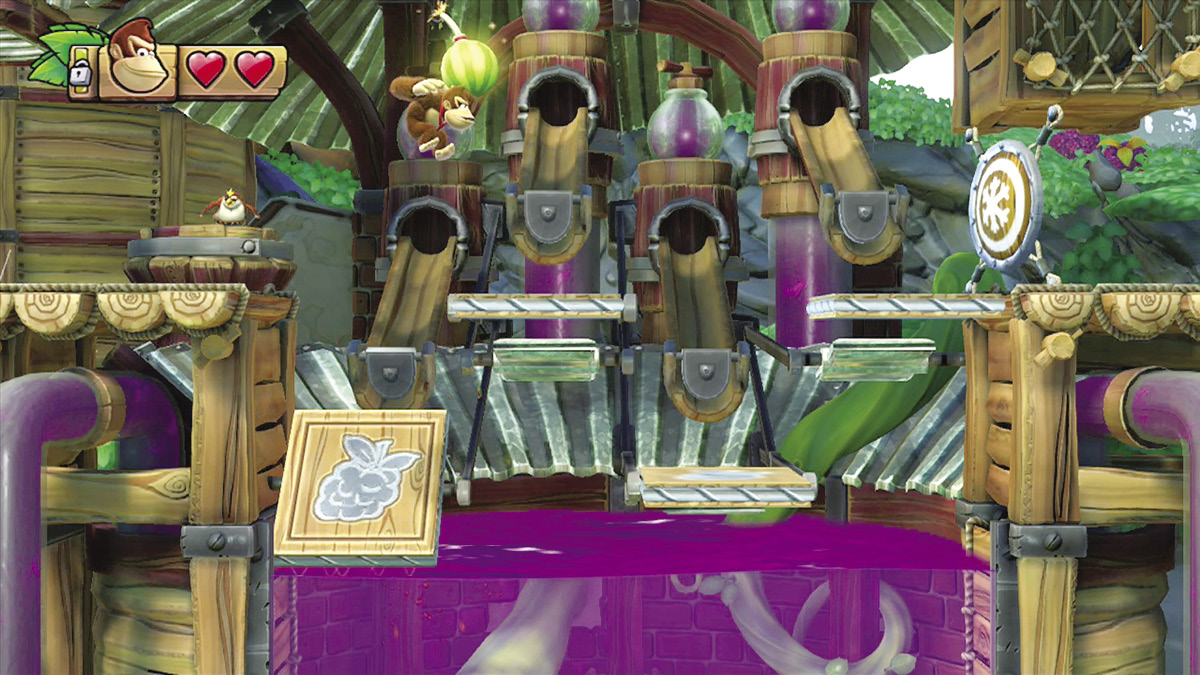

 When you reach point 7, you must use one of the nearby Watermelon Fuse Bombs to destroy the shield blocking the main path. Before you leave the area, however, drop into the pool of juice below you.
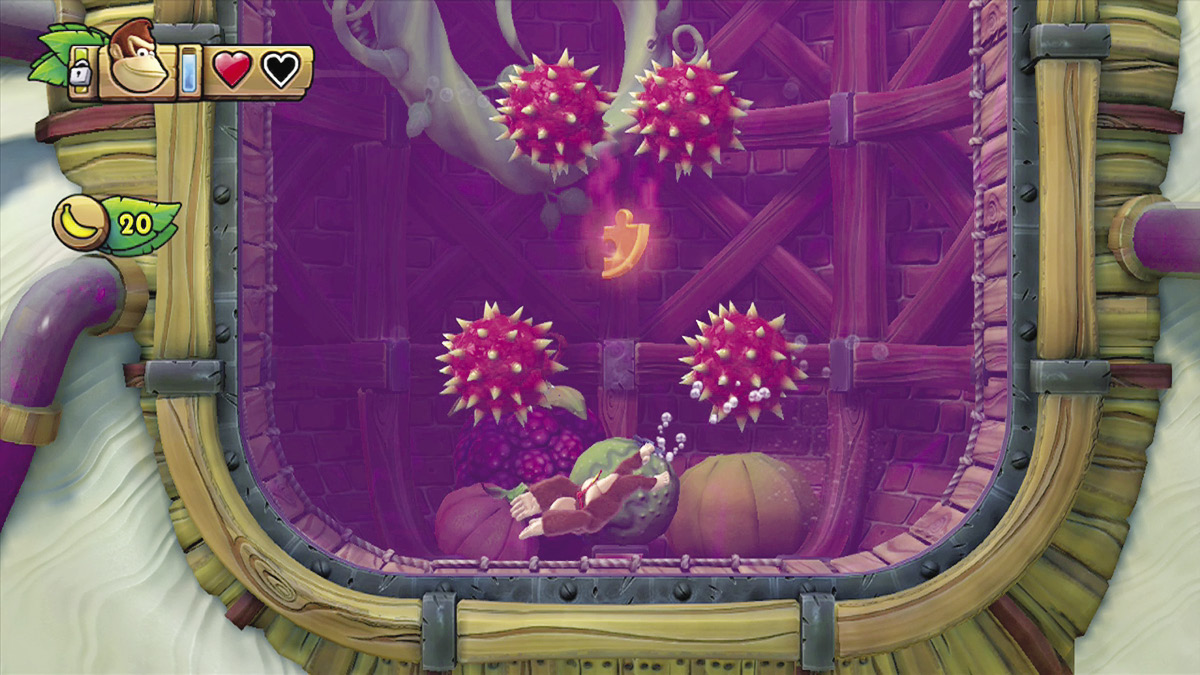
Swim to the bottom of the pool and collect all of the available bananas. When you do, a Puzzle Piece appears near the spiked fruits above you.
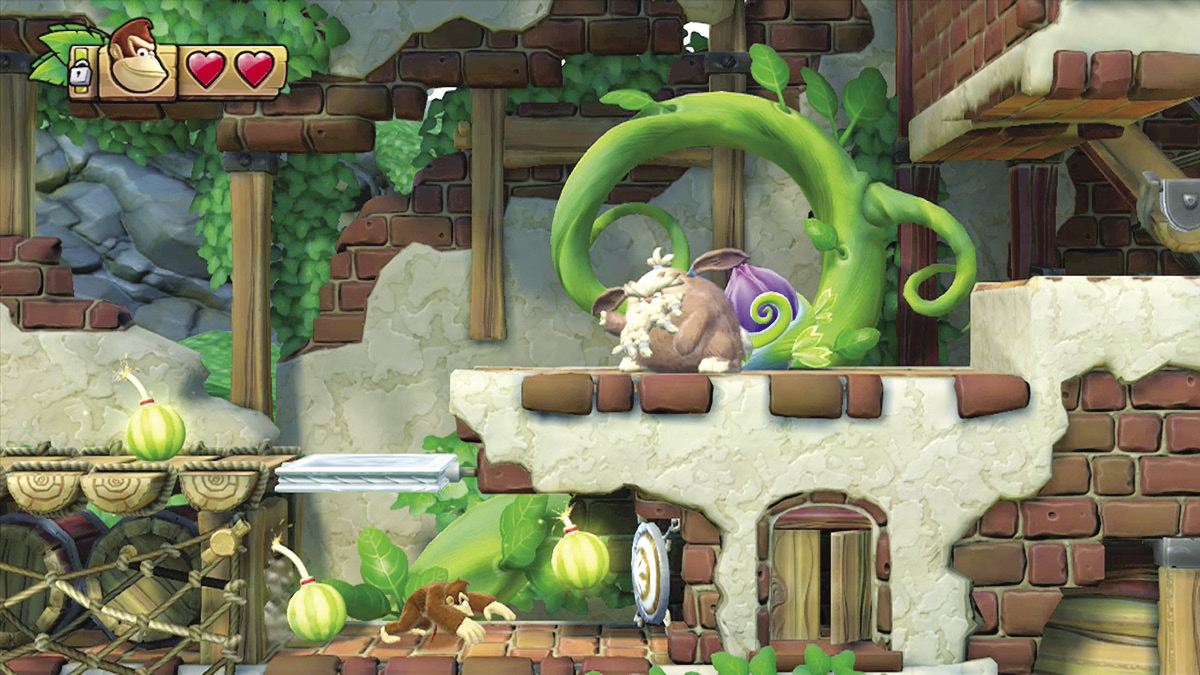
 Stand on the spinning platform at point 8 and wait for the nearby Harold to throw some Watermelon Fuse Bombs at you. As soon as a Watermelon Fuse Bomb lands on the platform, perform a Ground Pound to drop into the area below you. Grab the bomb and toss it at the shield to the right. After the blast, head through the opening to find a bonus room—and move quickly to escape any additional Watermelon Fuse Bombs that may have dropped into the area.
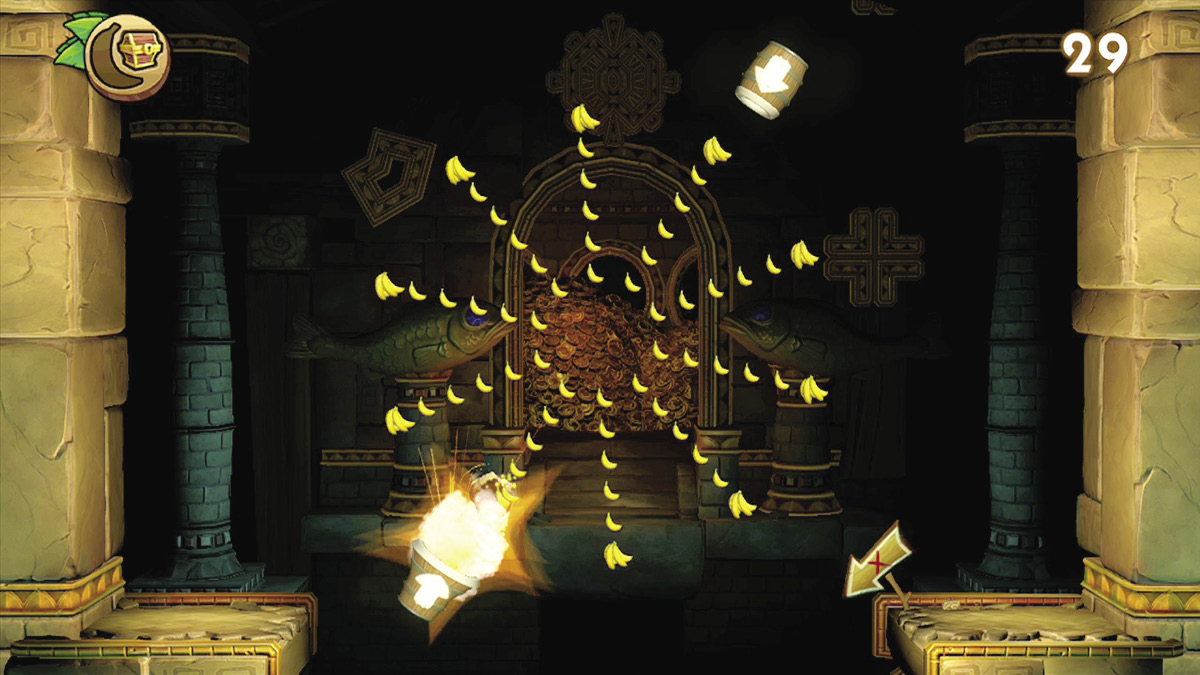
 Once you enter the bonus room, you have 30 seconds to collect all of the available bananas. If you succeed, a Puzzle Piece appears at the center of the area.
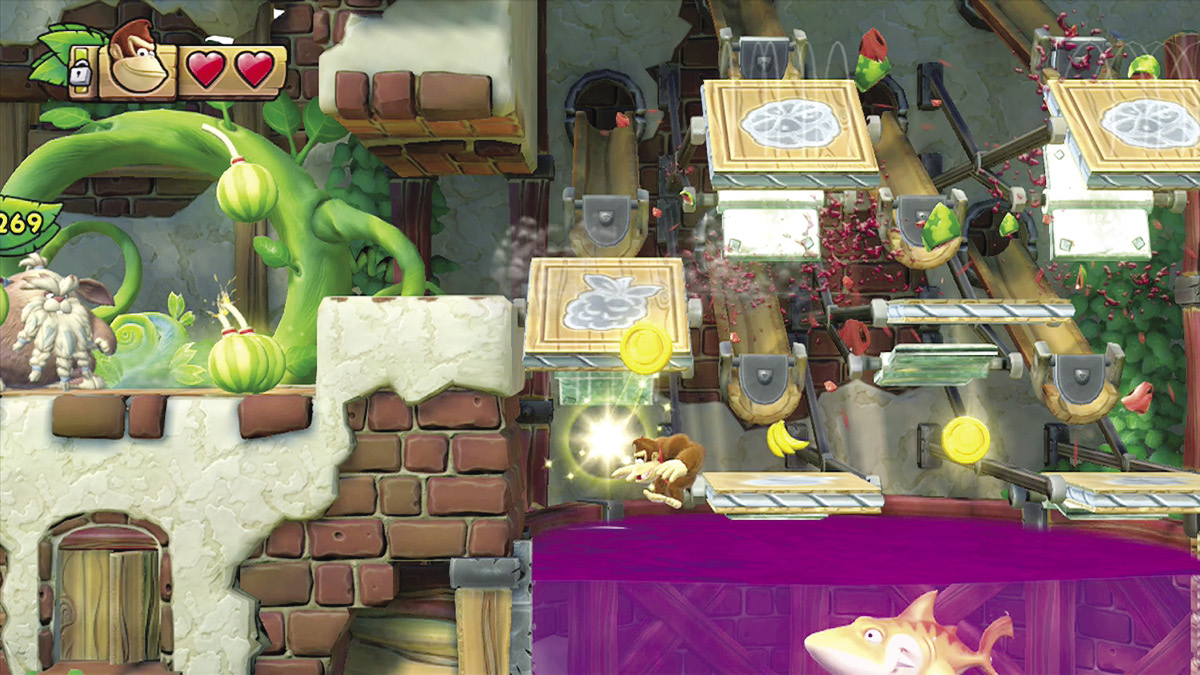
 Drop into the juice at point 9, then slip past the patrolling Yellow Snaggles.
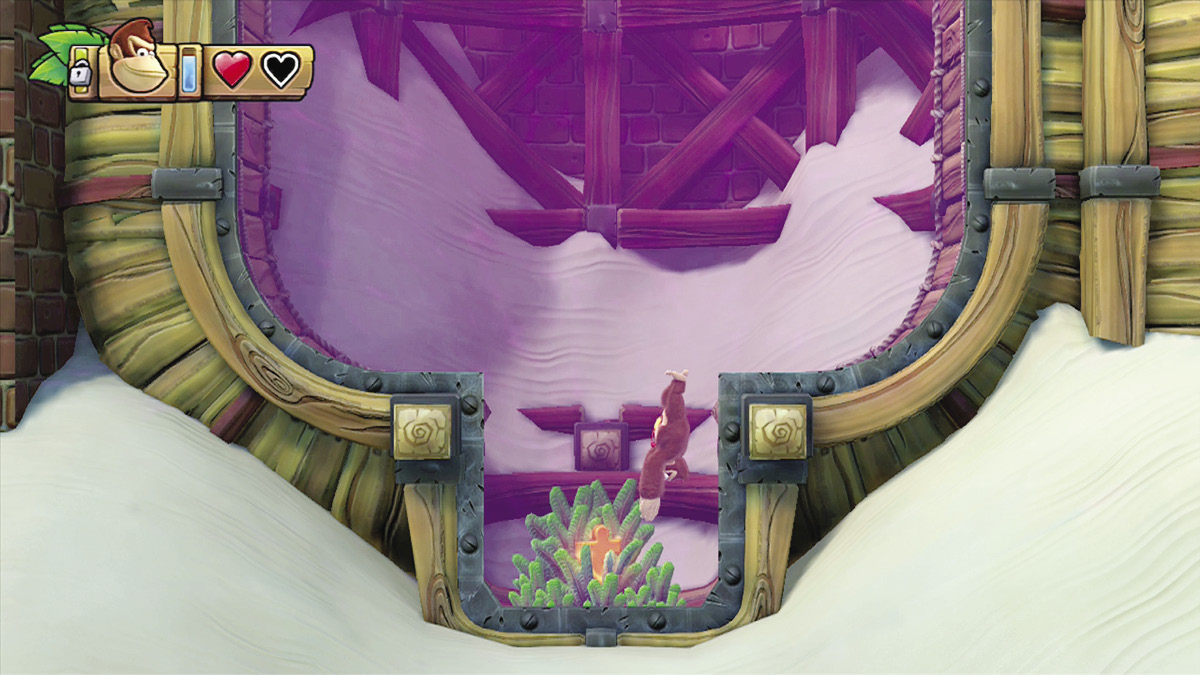
 Swim to the bottom of the pool to find a partially hidden Puzzle Piece in a patch of seaweed.
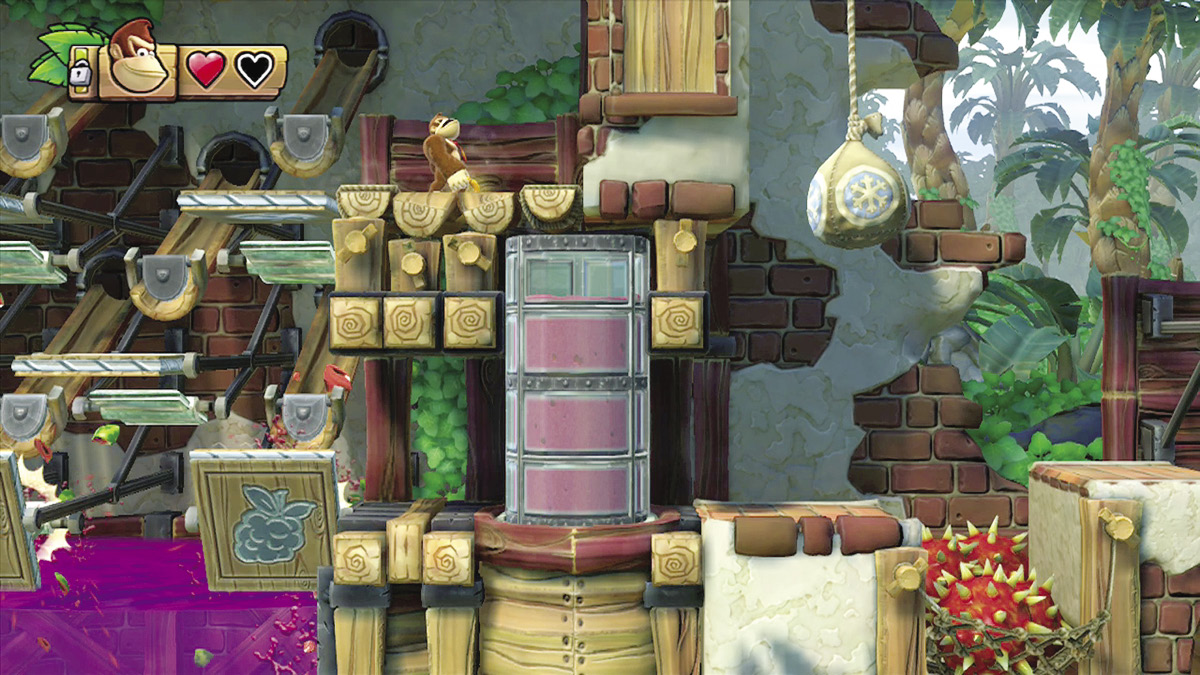
 The tank at point 10 blocks the main path. When you’re ready to leave the area, pluck the handle above the tank to reveal the way out.
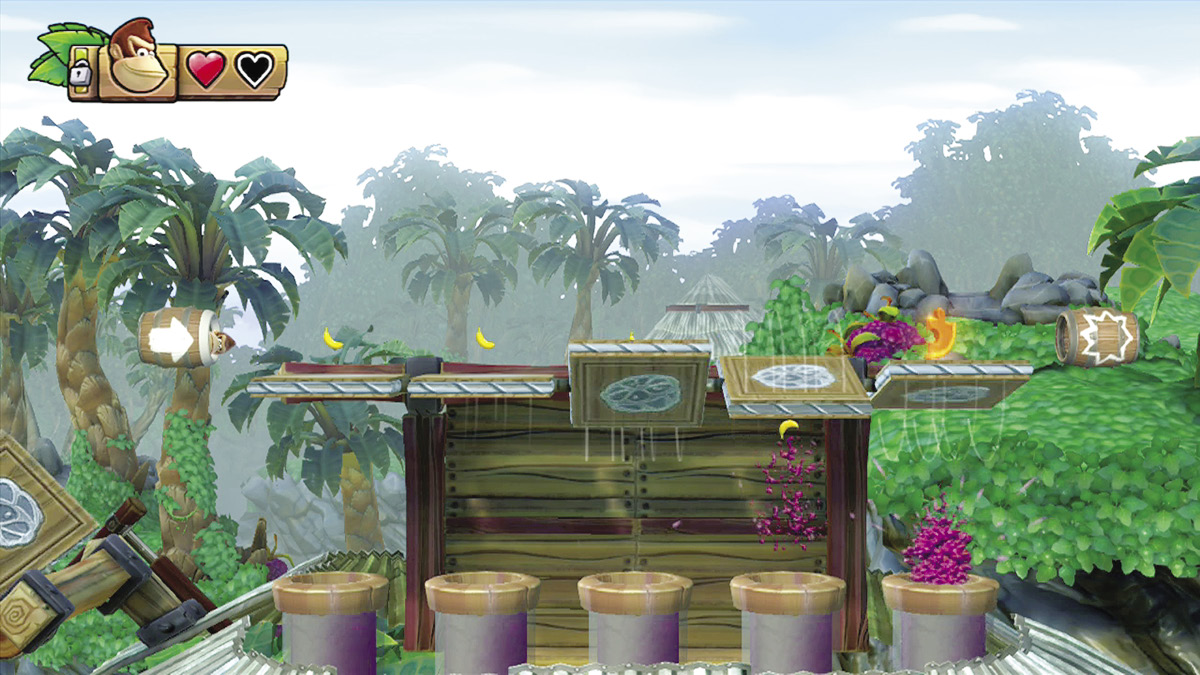

 When you reach the Barrel Cannon at point 11, look for the Puzzle Piece to the right. The Puzzle Piece spins in time with the nearby platforms—time your launch so that you pass through the Puzzle Piece just after it stops moving.
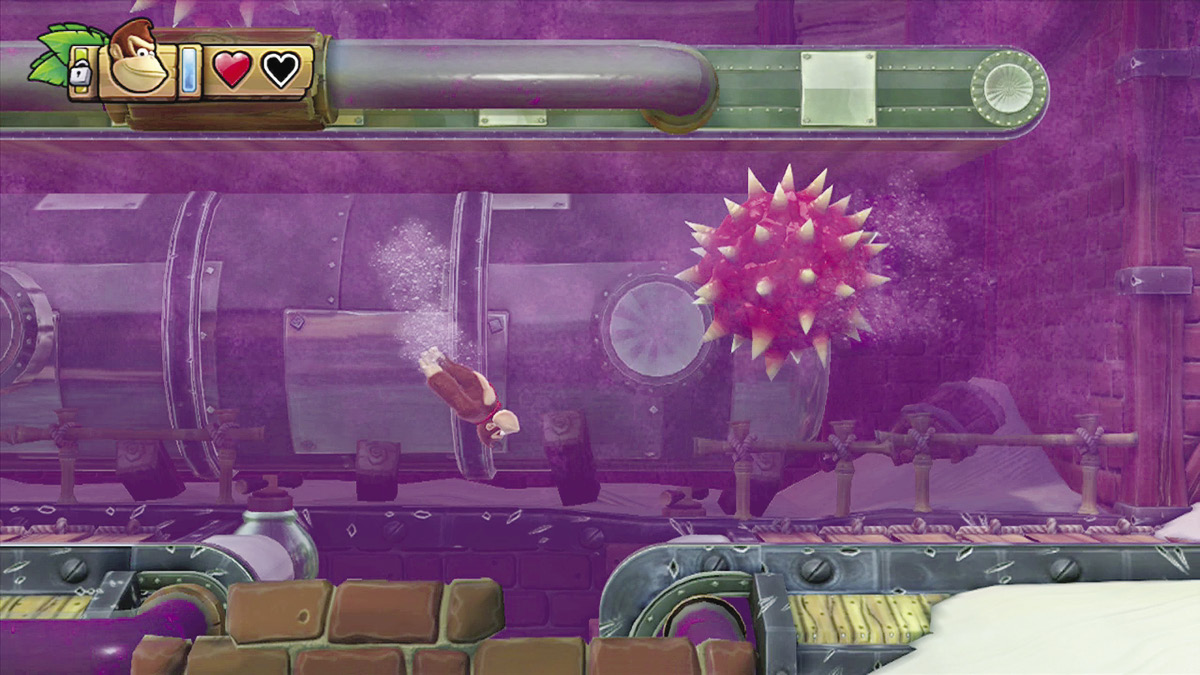

 Swim behind the bricks at point 12 to find a hidden area. Snag the Puzzle Piece to the left, then return to the main path.
|

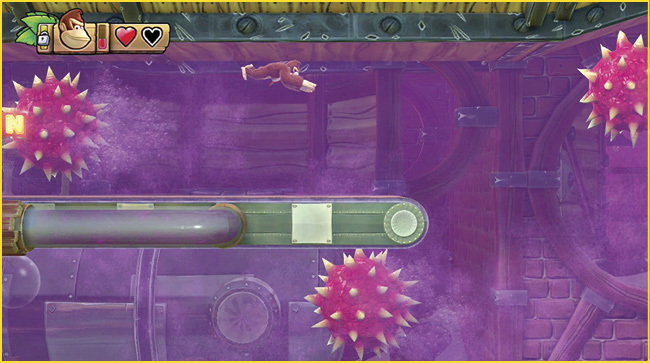
 The third KONG Letter is floating at point 13. Follow the main path to pass under the N, then circle back to collect it. Slip between the spiked fruits and allow the current to carry you to the KONG Letter. The spiked fruits move a bit slower than the current, so adjust your position as needed.
|

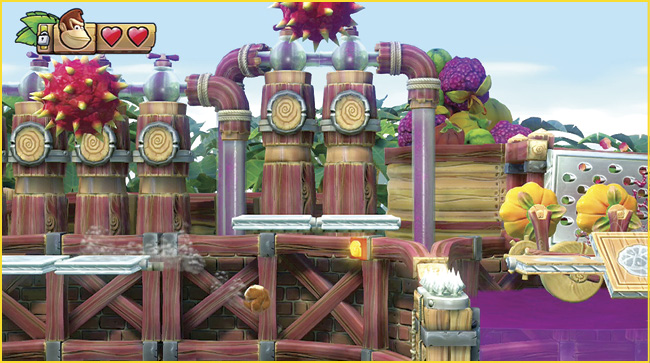
 The last KONG Letter hovers at point 14. To collect it, you must perform a Barrel Roll Jump from the nearby platforms. Time your approach to slip under the bouncing fruit. Roll as you reach the gap to launch yourself toward the G, then time your jump to grab the KONG Letter on your way to the nearby pool.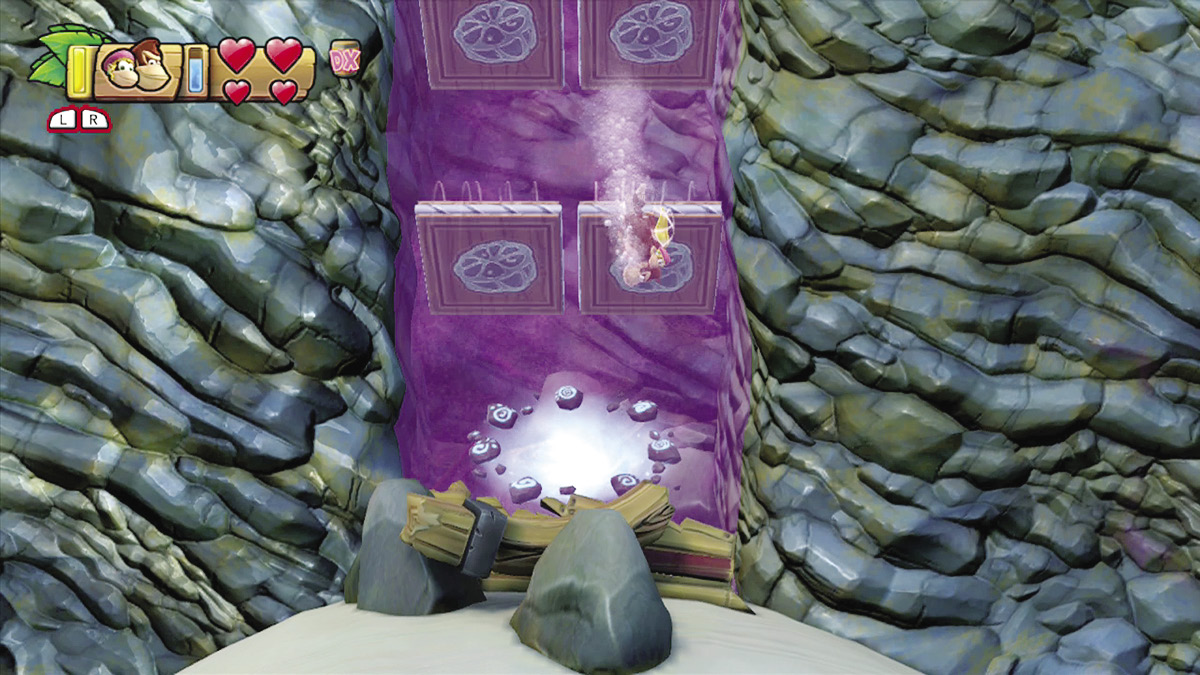
 The map’s secret exit is through the blue portal at point 15, and you’ll need Dixie Kong’s help to reach it. Hop into the pool of juice and swim down toward the bottom of the map. Use Dixie Kong’s Ponytail Propeller to fight through the current. Enter the portal and strike the hidden Slot Machine Barrel to unlock the path to stage 5-B: Jammin’ Jams.