Prima Games eGuides
primagames.com Browse Redeem a code Help
Donkey Kong Country: Tropical Freeze eGuide
Sign in My Guides

Sign in or create an account

We'll email you a link. No password needed, and if you don't have an account yet, the link makes one.

By creating an account or signing in, you agree to our Terms of Service and Privacy Policy.

Have a password?

Had an account on the old eGuides site, or a code from a printed guide? Help and troubleshooting

Sign in with a password

By signing in, you agree to our Terms of Service and Privacy Policy.

Check your email

A sign-in link is on its way. It works once and expires in 15 minutes. Open it and you're in, with an account if you didn't already have one.

Contents

  • How to Play
    • Introduction
    • Save Data Management
    • Understanding Game Screens
    • Controllers
    • Advanced Character Controls
    • Buddy Abilities
    • Game Modes
    • Level Progression
  • Important Items and Objects
    • Collectible Items
    • Inventory Items
    • Item Containers
    • Interactive Objects and Platforms
    • Hazards
  • Characters
    • Allies
    • Mechanical Allies
    • Domestic Enemies
    • The Snowmads
    • Boss Fights
  • Walkthrough
    • Island 1: Lost Mangroves
      • Introduction
      • Stage 1-1: Mangrove Cove
      • Stage 1-2: Shipwreck Shore
      • Stage 1-3: Canopy Chaos
      • Stage 1-4: Trunk Twister
      • Stage 1-A: Zip-Line Shrine
      • Stage 1-B: Busted Bayou
      • Stage 1-Boss: Big Top Bop
      • Stage 1-K: Swinger Flinger
    • Island 2: Autumn Heights
      • Introduction
      • Stage 2-1: Windmill Hills
      • Stage 2-2: Mountain Mania
      • Stage 2-3: Horn Top Hop
      • Stage 2-4: Sawmill Thrill
      • Stage 2-5: Alpine Incline
      • Stage 2-6: Wing Ding
      • Stage 2-A: Crumble Cavern
      • Stage 2-B: Rodent Ruckus
      • Stage 2-Boss: Mountaintop Tussle
      • Stage 2-K: Bopopolis
    • Island 3: Bright Savannah
      • Introduction
      • Stage 3-1: Grassland Groove
      • Stage 3-2: Baobab Bonanza
      • Stage 3-3: Frantic Fields
      • Stage 3-4: Scorch N Torch
      • Stage 3-5: Twilight Terror
      • Stage 3-6: Cannon Canyon
      • Stage 3-A: Rickety Rafters
      • Stage 3-B: Bramble Scramble
      • Stage 3-Boss: Triple Trouble
      • Stage 3-K: Precarious Pendulums
    • Island 4: Sea Breeze Cove
      • Introduction
      • Stage 4-1: Deep Keep
      • Stage 4-2: High Tide Ride
      • Stage 4-3: Amiss Abyss
      • Stage 4-4: Irate Eight
      • Stage 4-5: Sea Stack Attack
      • Stage 4-6: Current Capers
      • Stage 4-A: Rockin Relics
      • Stage 4-B: Shoal Atoll
      • Stage 4-Boss: Fugu Face-Off
      • Stage 4-K: Spinning Spines
    • Island 5: Juicy Jungle
      • Introduction
      • Stage 5-1: Harvest Hazards
      • Stage 5-2: Reckless Ride
      • Stage 5-3: Fruity Factory
      • Stage 5-4: Panicky Paddles
      • Stage 5-5: Jelly Jamboree
      • Stage 5-6: Frosty Fruits
      • Stage 5-A: Beehive Brawl
      • Stage 5-B: Jammin Jams
      • Stage 5-Boss: Punch Bowl
      • Stage 5-K: Platform Problems
    • Island 6: Donkey Kong Island
      • Introduction
      • Stage 6-1: Homecoming Hijinxs
      • Stage 6-2: Seashore War
      • Stage 6-3: Aqueduct Assault
      • Stage 6-4: Blurry Flurry
      • Stage 6-5: Forest Folly
      • Stage 6-6: Cliffside Slide
      • Stage 6-7: Frozen Frenzy
      • Stage 6-8: Meltdown Mayhem
      • Stage 6-A: Dynamite Dash
      • Stage 6-B: Icicle Arsenal
      • Stage 6-Boss: Volcano Dome
      • Stage 6-K: Slippy Spikes
    • Island 7: Secret Seclusion
      • Introduction
      • Stage 7-1: Levitation Station
      • Stage 7-2: Rocket Rails
      • Stage 7-3: Crazy Clouds

Donkey Kong Country: Tropical Freeze Guide › Walkthrough › Island 3: Bright Savannah

Stage 3-3: Frantic Fields

Stage Basics

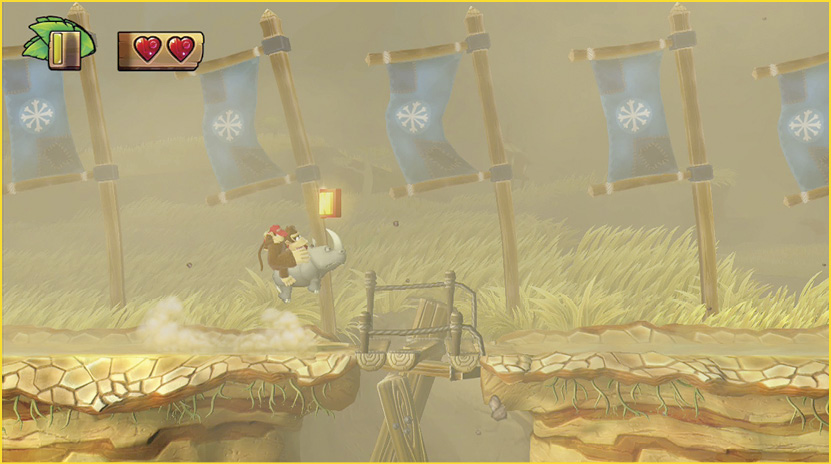
This stage contains powerful winds that can both help and hinder your progress. Use Rambi to fight your way through particularly strong winds, but take care to keep the friendly rhinoceros safe. Rambi attempts to flee the area if you’re knocked to the ground by a lightning bolt or a windswept enemy.

This level contains Rambi Crates.

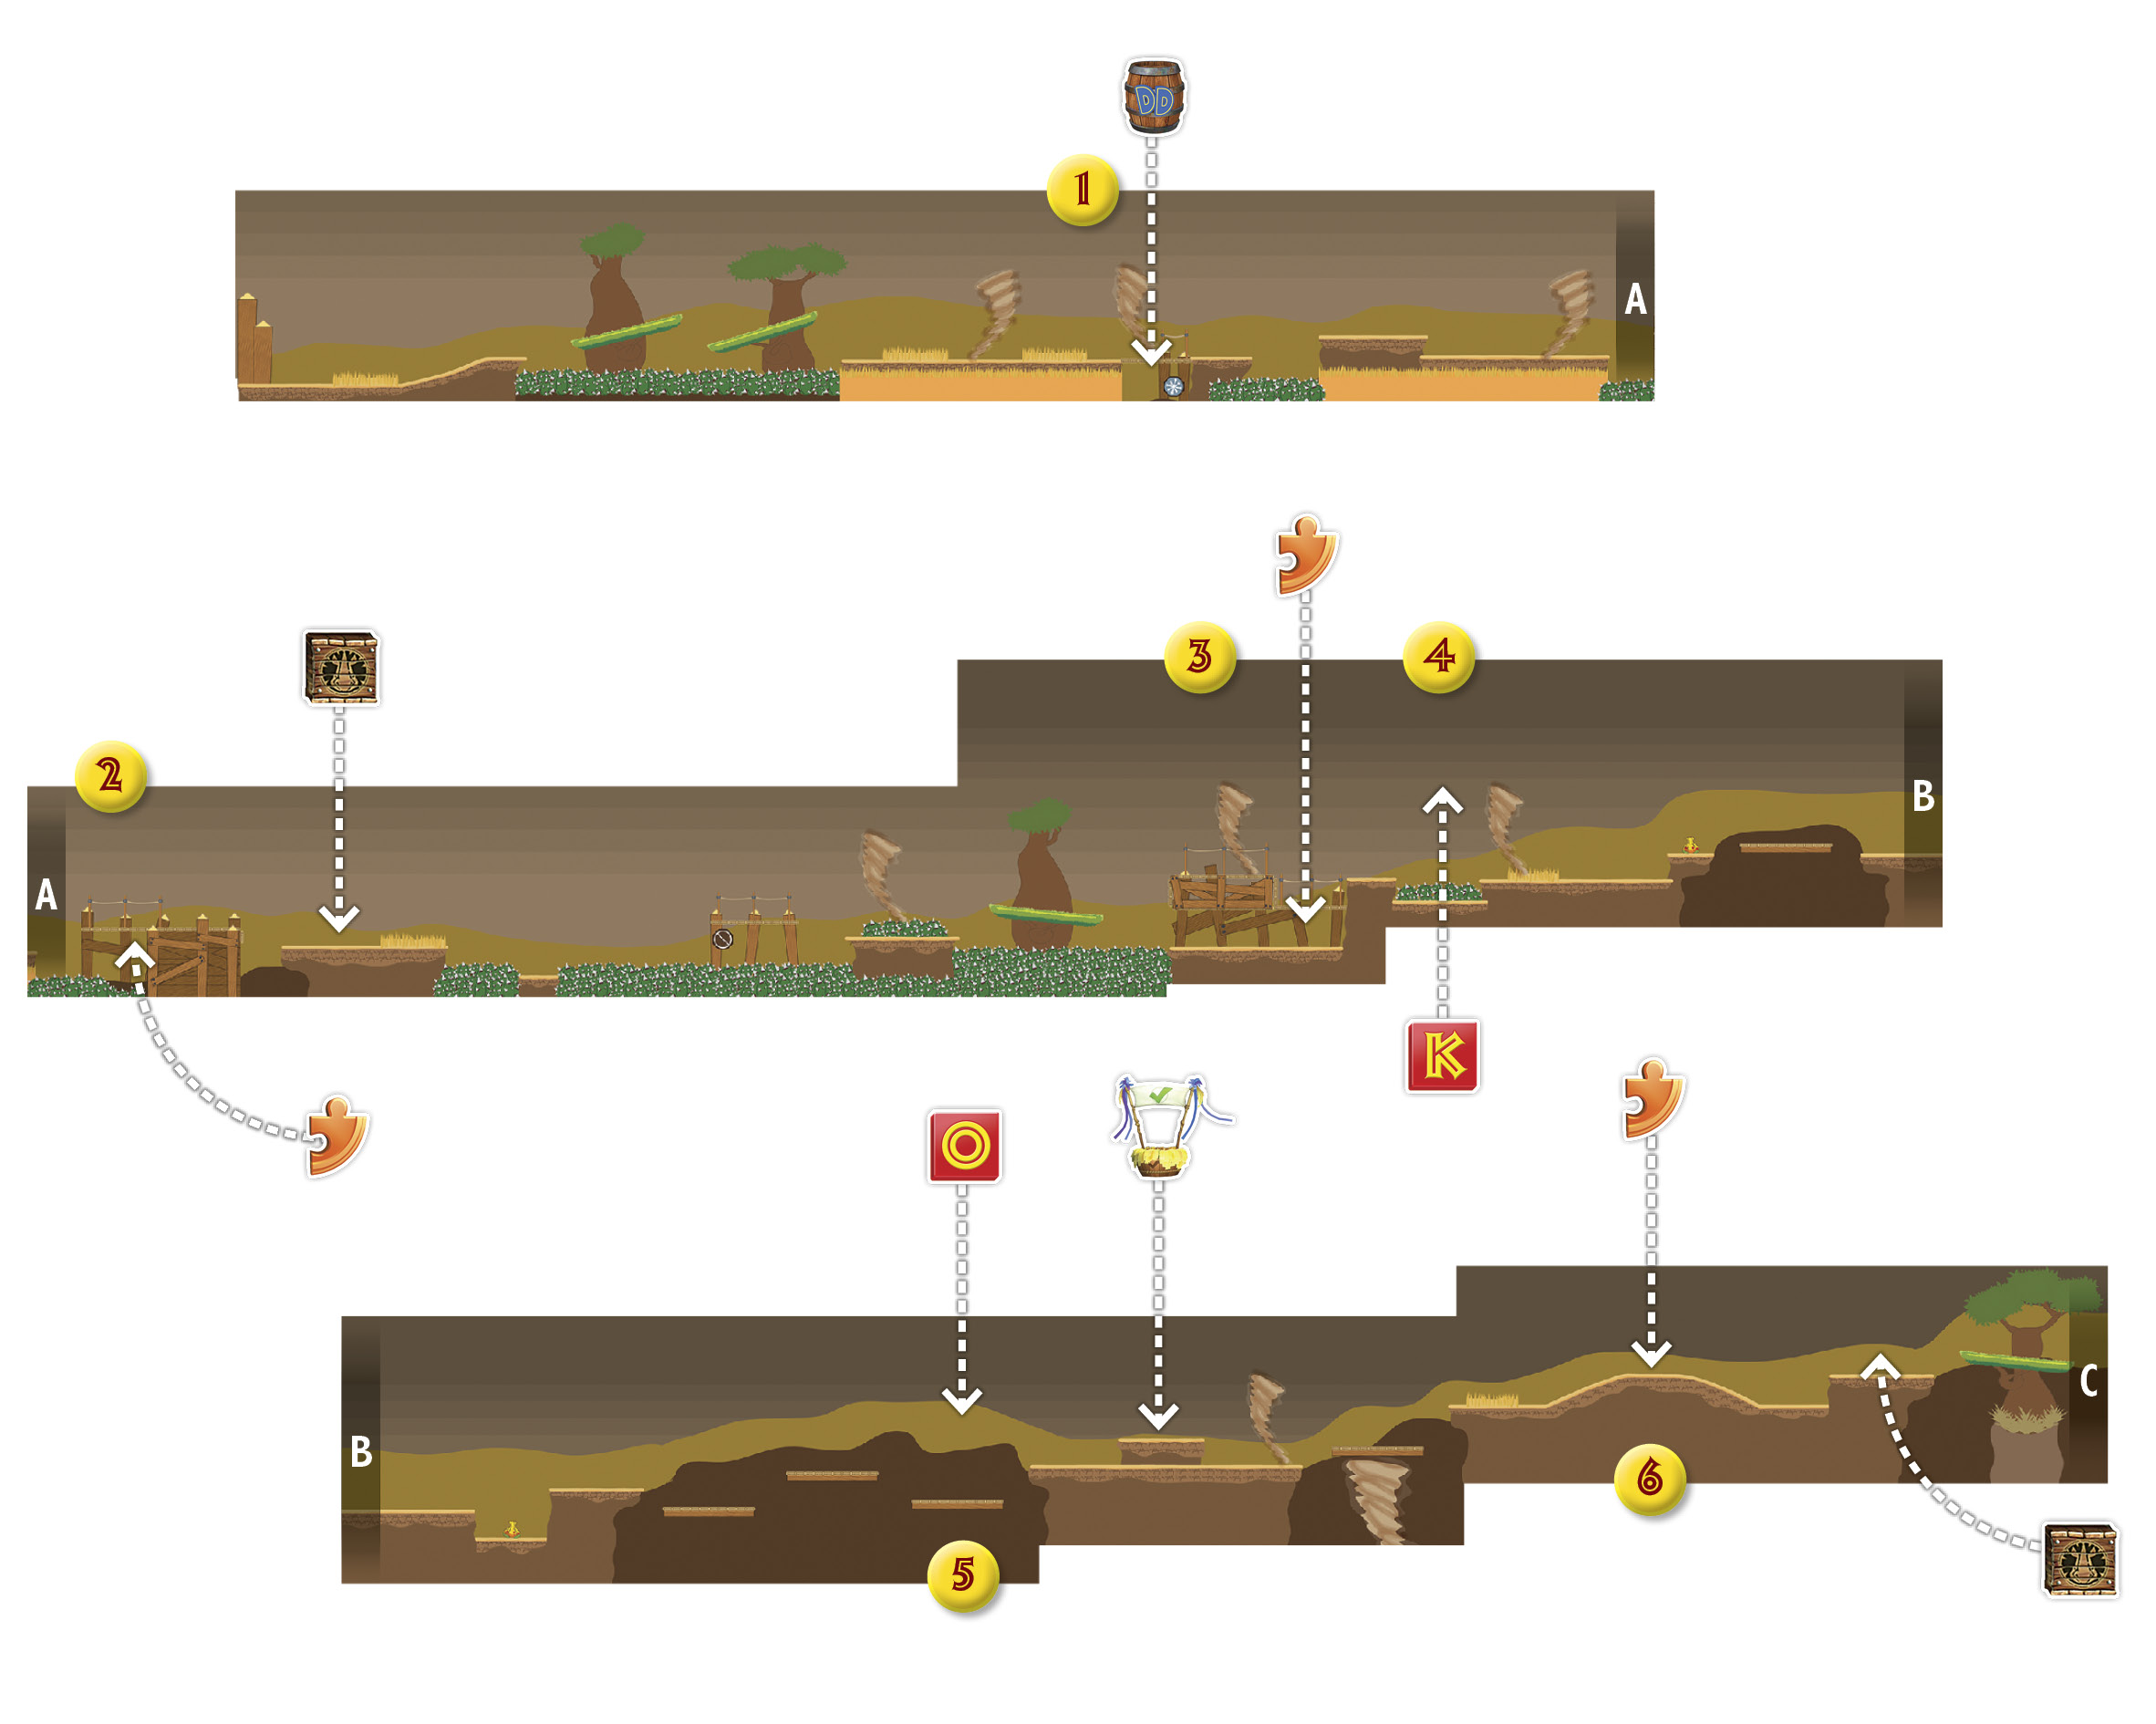
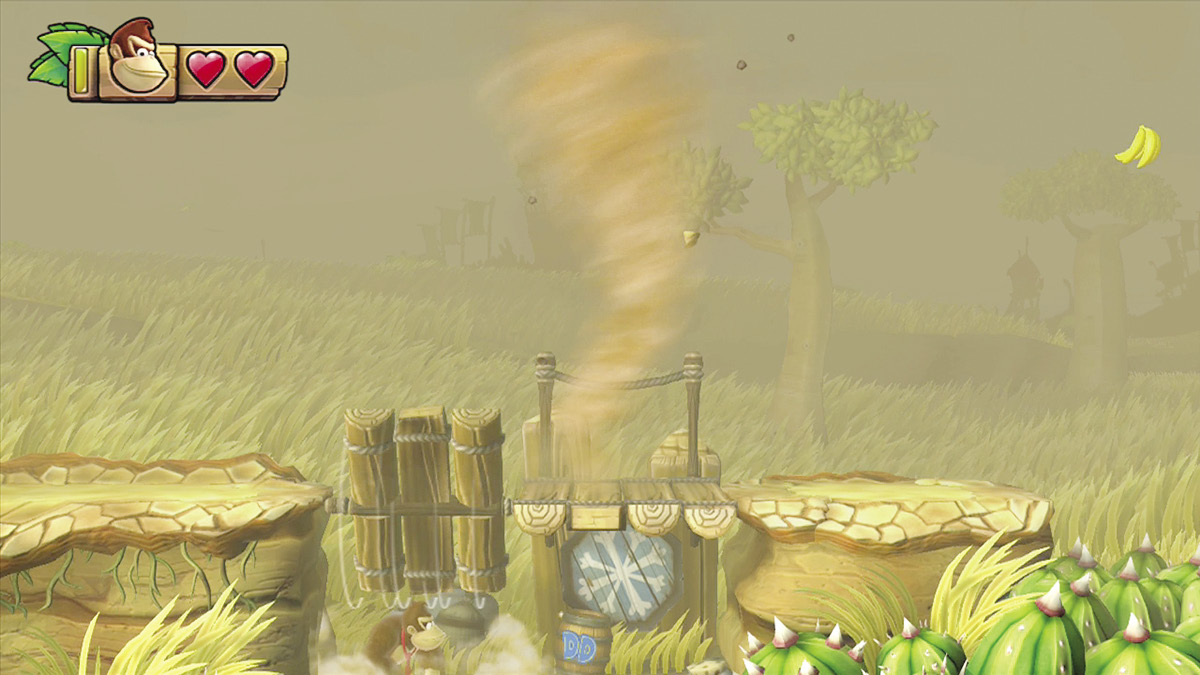
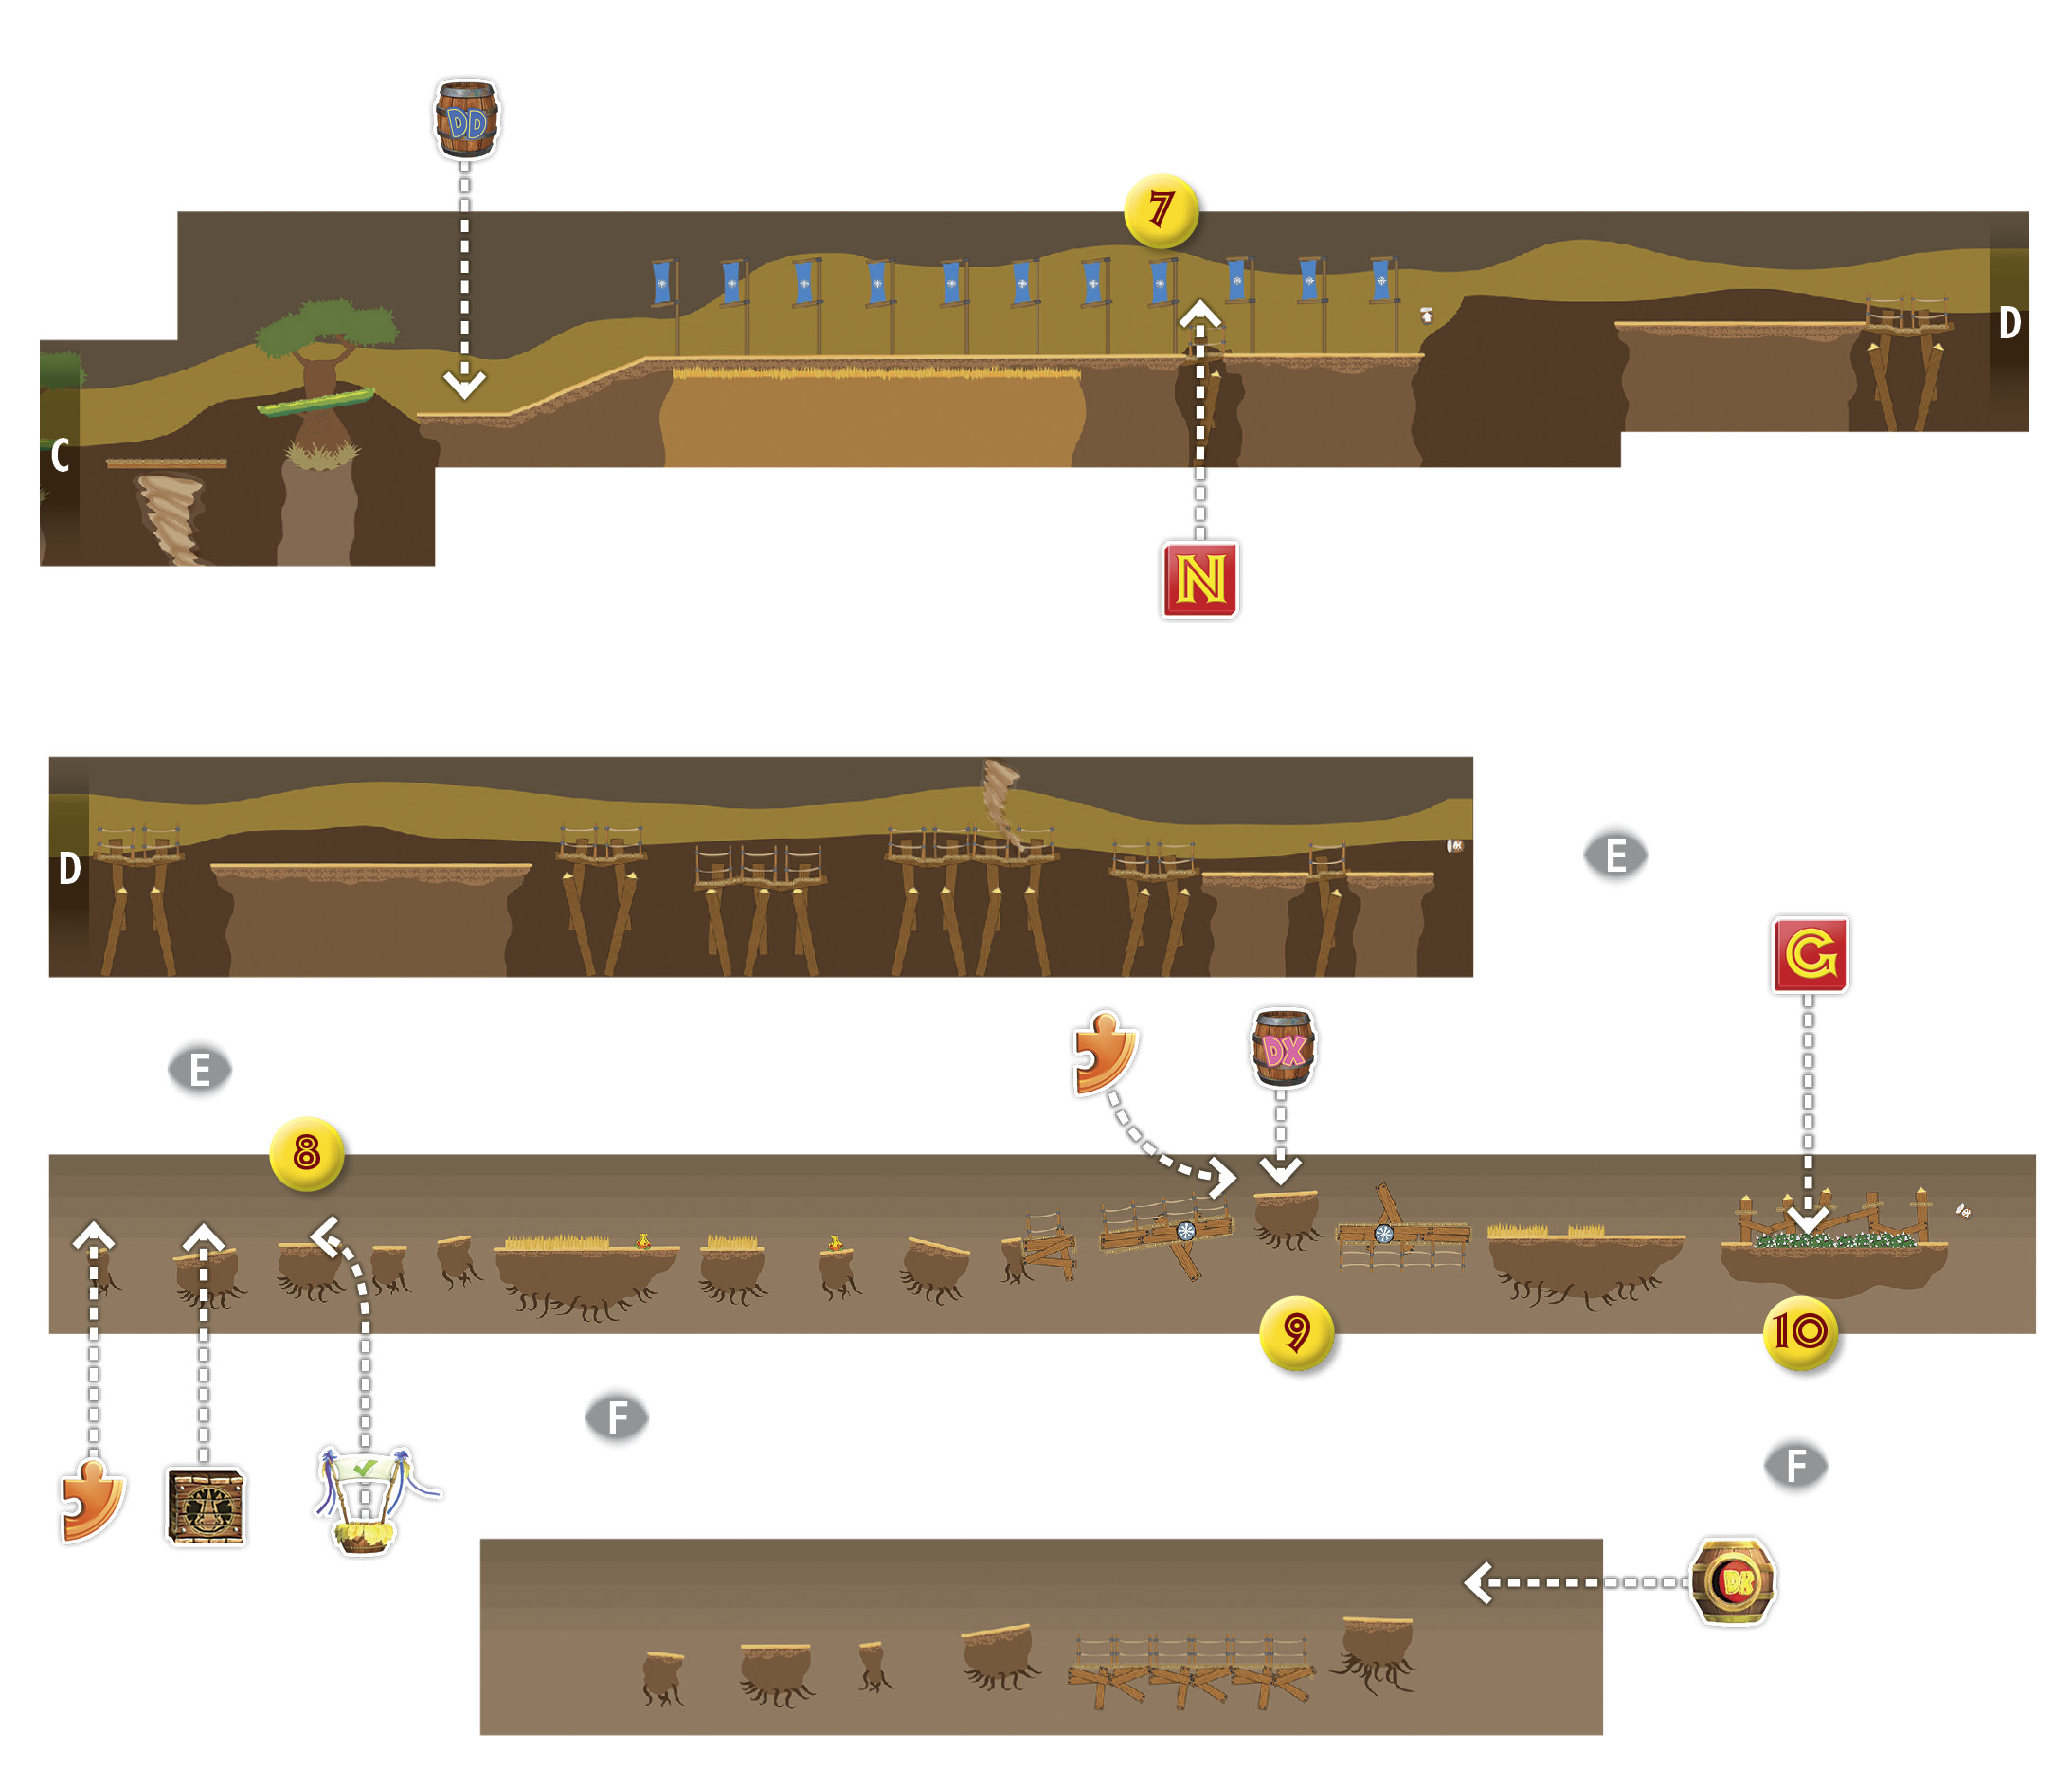
Ground Pound the loose panel at point 1 to find a DD Barrel hidden below the main path.
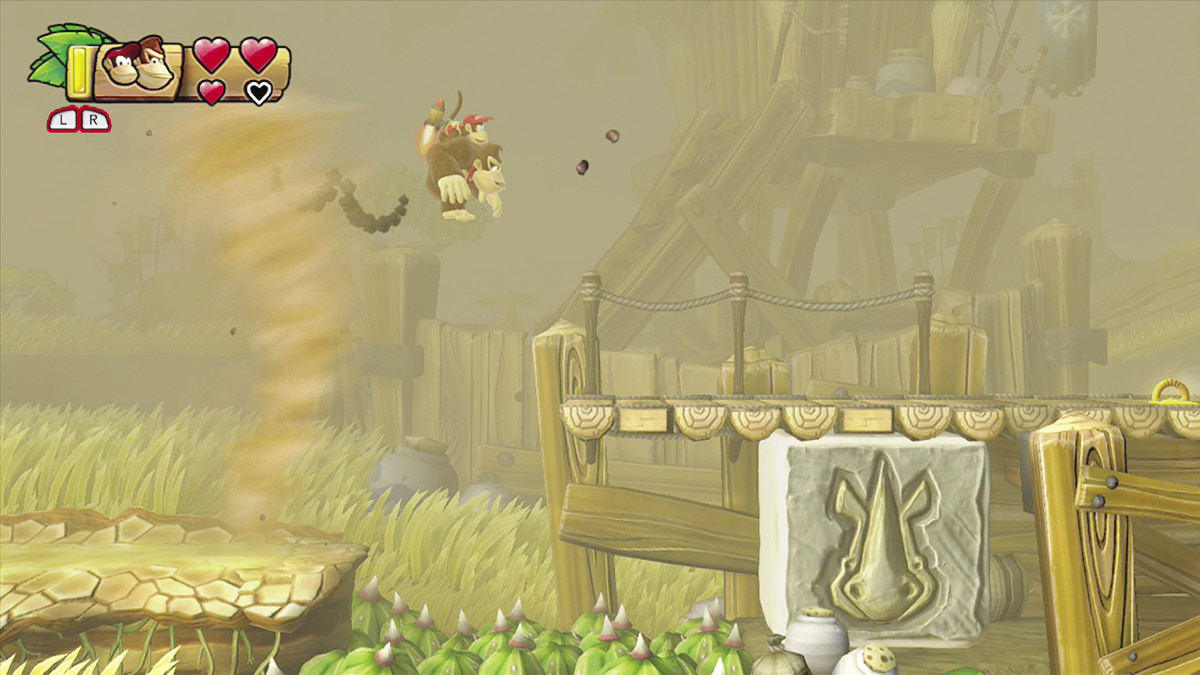
As you cross the cactus patch at point 2, look for the large block marked with Rambi’s portrait. Continue along the main path and free Rambi from the nearby crate, then return to point 2 and charge through the large block to find a bonus room.
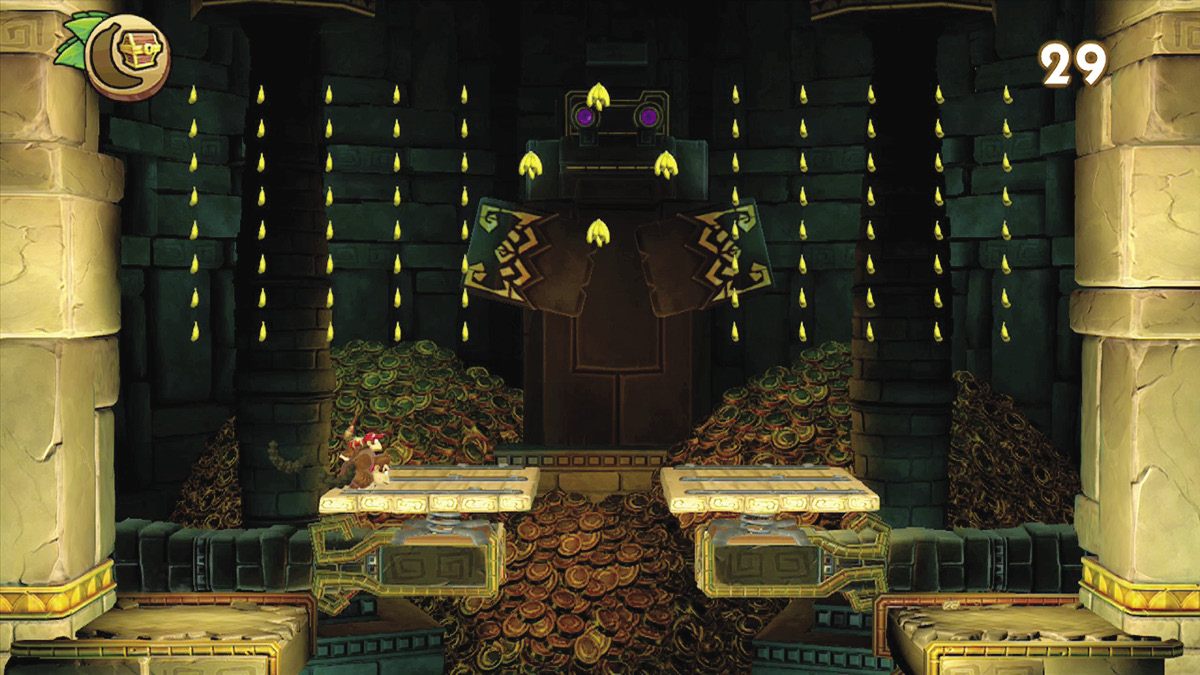
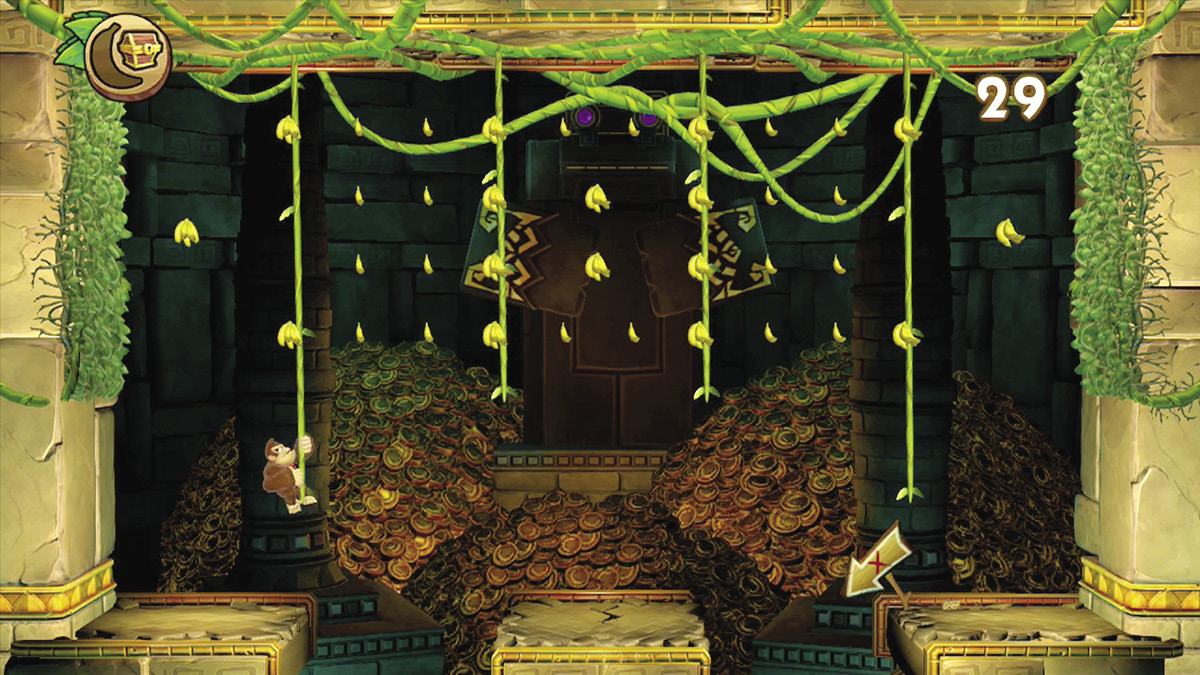
Once you enter the bonus room, you have 30 seconds to collect all of the available bananas. If you succeed, a Puzzle Piece appears near the center of the area.
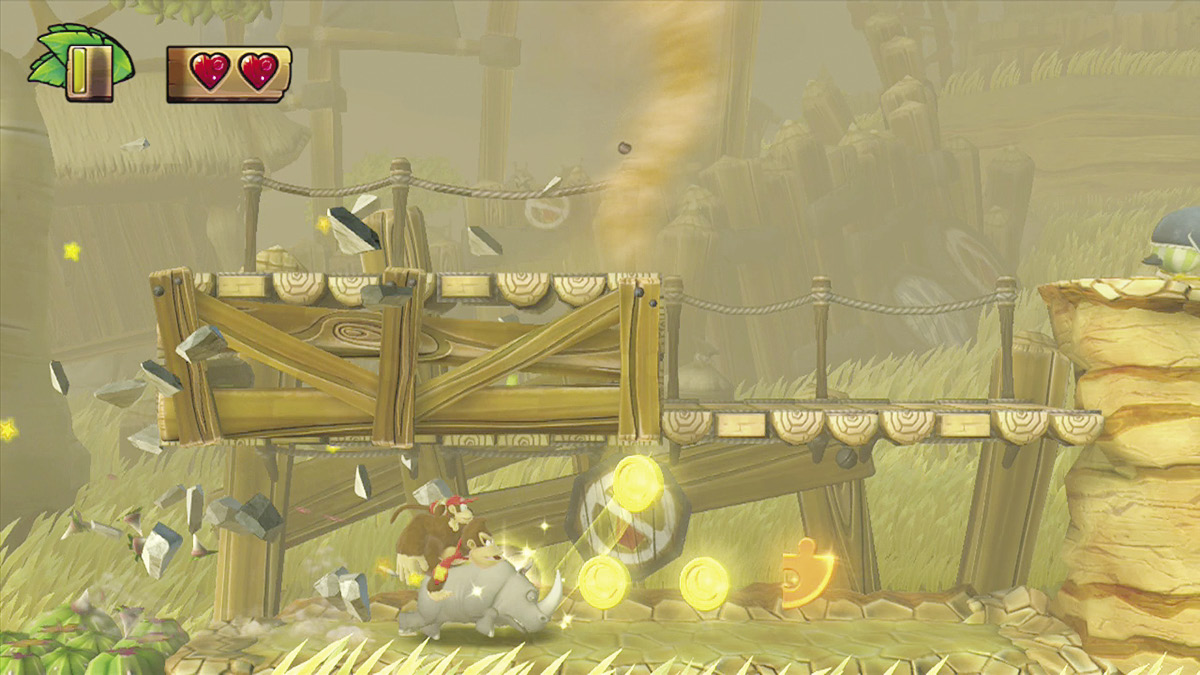
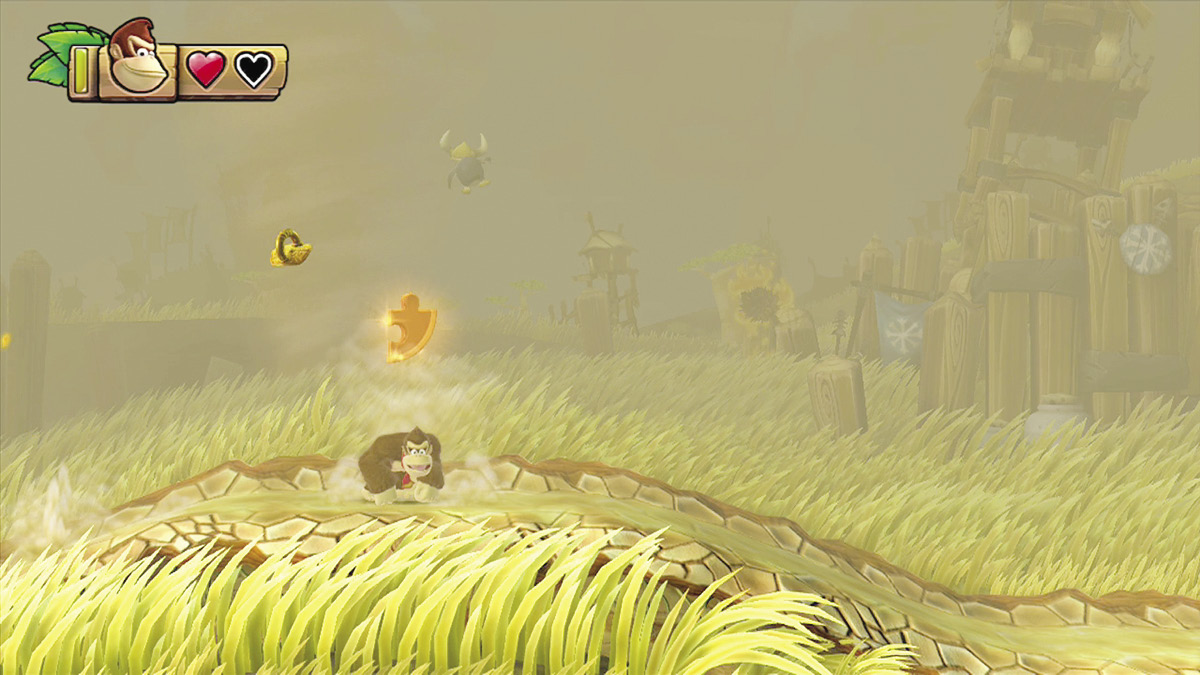
Use Rambi to smash through the large block at point 3, then collect the Puzzle Piece to the right. Once you’ve done this, turn around and return to the main path.

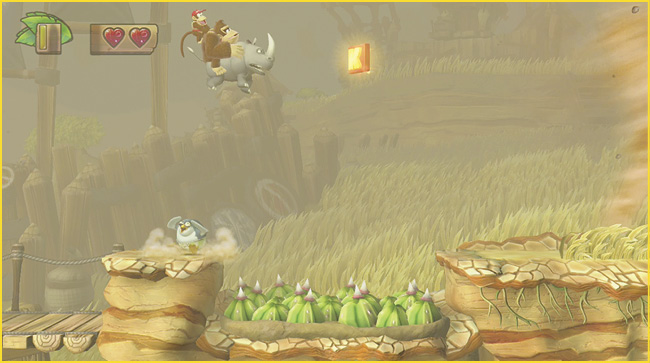
The first KONG Letter is floating at point 4. Bop the nearby Tucks to bounce up and collect the K as you move through the area.

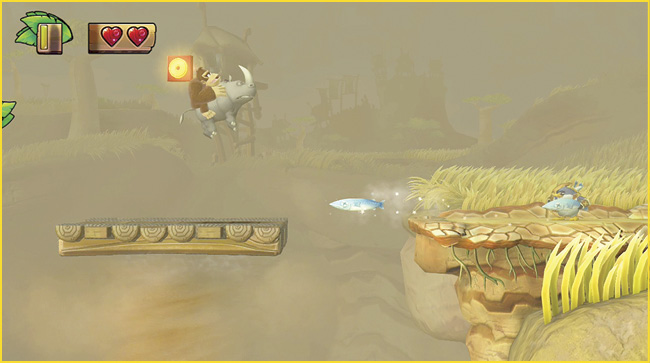
The second KONG Letter hovers at point 5. Move under the O, then jump up and collect it when the platform lifts you into range. The nearby Archy attacks once it spots you. Jump over any incoming fish, or bop them to bounce up and collect the KONG Letter whether or not the platform is in range.

Pluck the handle at point 6 to release the Puzzle Piece hidden beneath it. As you do, watch the background for incoming enemies.

As you approach point 7, the third KONG Letter comes flying toward you. Jump up and grab the N as it approaches. When you land, charge across the fragile planks on the ground to ensure that you’re safely past them by the time they break loose.

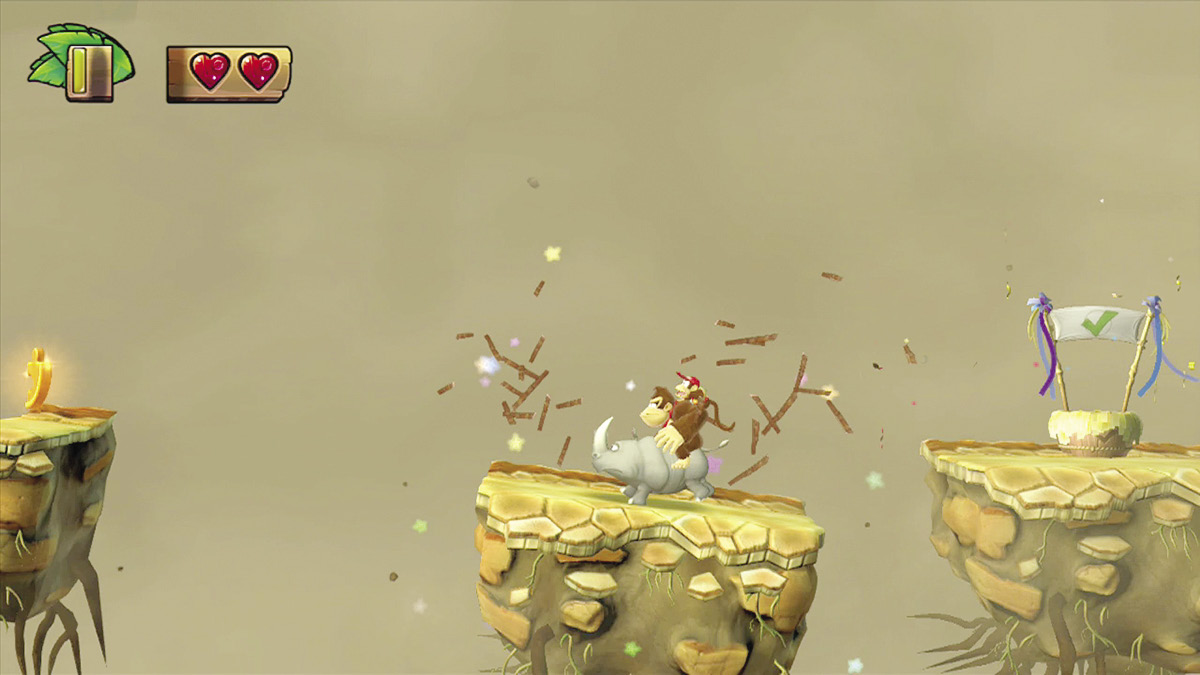
When you reach the checkpoint at point 8, jump along the platforms to the left to find an extra Rambi crate and a hidden Puzzle Piece. Once you’ve searched this area, turn back and continue along the main path.

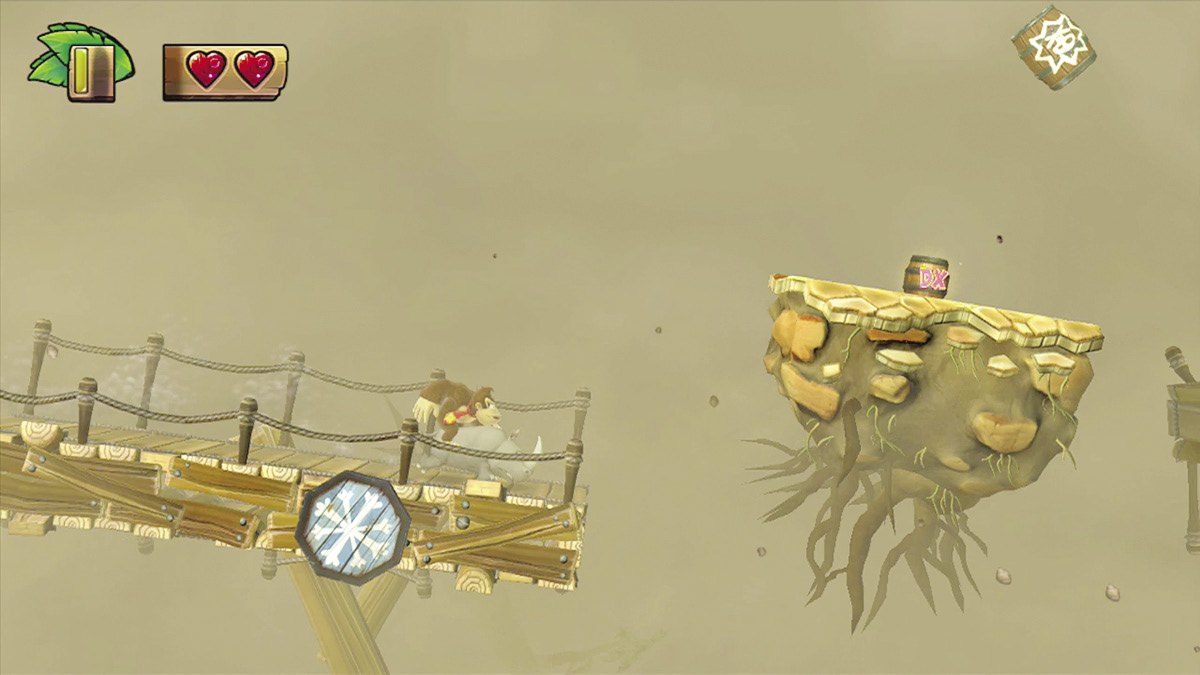
As you approach the DX Barrel at point 9, watch for the Barrel Cannon that sweeps along the top of the screen. At least one of the nearby platforms should be positioned near the top of the screen. Move to a suitable location, then jump up and enter the Barrel Cannon to launch yourself into a bonus room.

Once you enter the bonus room, you have 30 seconds to collect all of the available bananas. If you succeed, a Puzzle Piece appears near the center of the area.

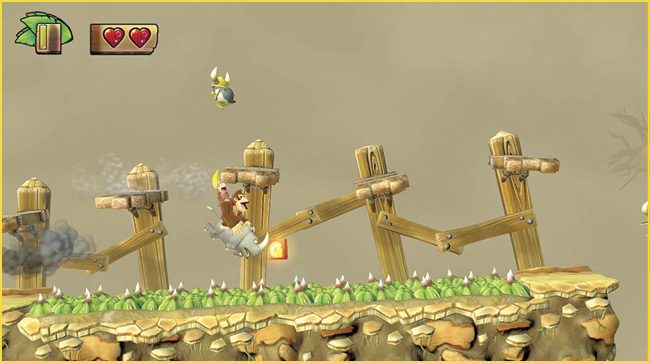
The last KONG Letter floats at point 10. If you’ve managed to hang onto Rambi the Rhinoceros, you can simply grab the G and run along the cactus patch. If you’ve lost Rambi, however, drop from the nearby platforms, then use Dixie Kong’s Helicopter Spin to avoid touching the cacti.

Keep reading with a free account

The first 3 sections of Donkey Kong Country: Tropical Freeze are open to everyone. An account opens the rest of it, and every other guide in the archive. It's free, and there's nothing to buy.

Bought guides on the old Prima Games site? Your account and every guide you own moved here, so there's nothing to buy again. Sign in.

Create a free account Or browse our free guides

PreviousStage 3-2: Baobab Bonanza NextStage 3-4: Scorch N Torch