
Donkey Kong Country: Tropical Freeze Guide Walkthrough Island 1: Lost Mangroves
Stage 1-3: Canopy Chaos
Stage BasicsUse the vines located throughout each area to reach high platforms and bypass obstacles. This stage also contains a few CK Barrels—use Cranky Kong’s Cane Bounce to boost your vertical jumps, as well as to move across thorns and spikes that might otherwise prevent you from collecting valuable items. |
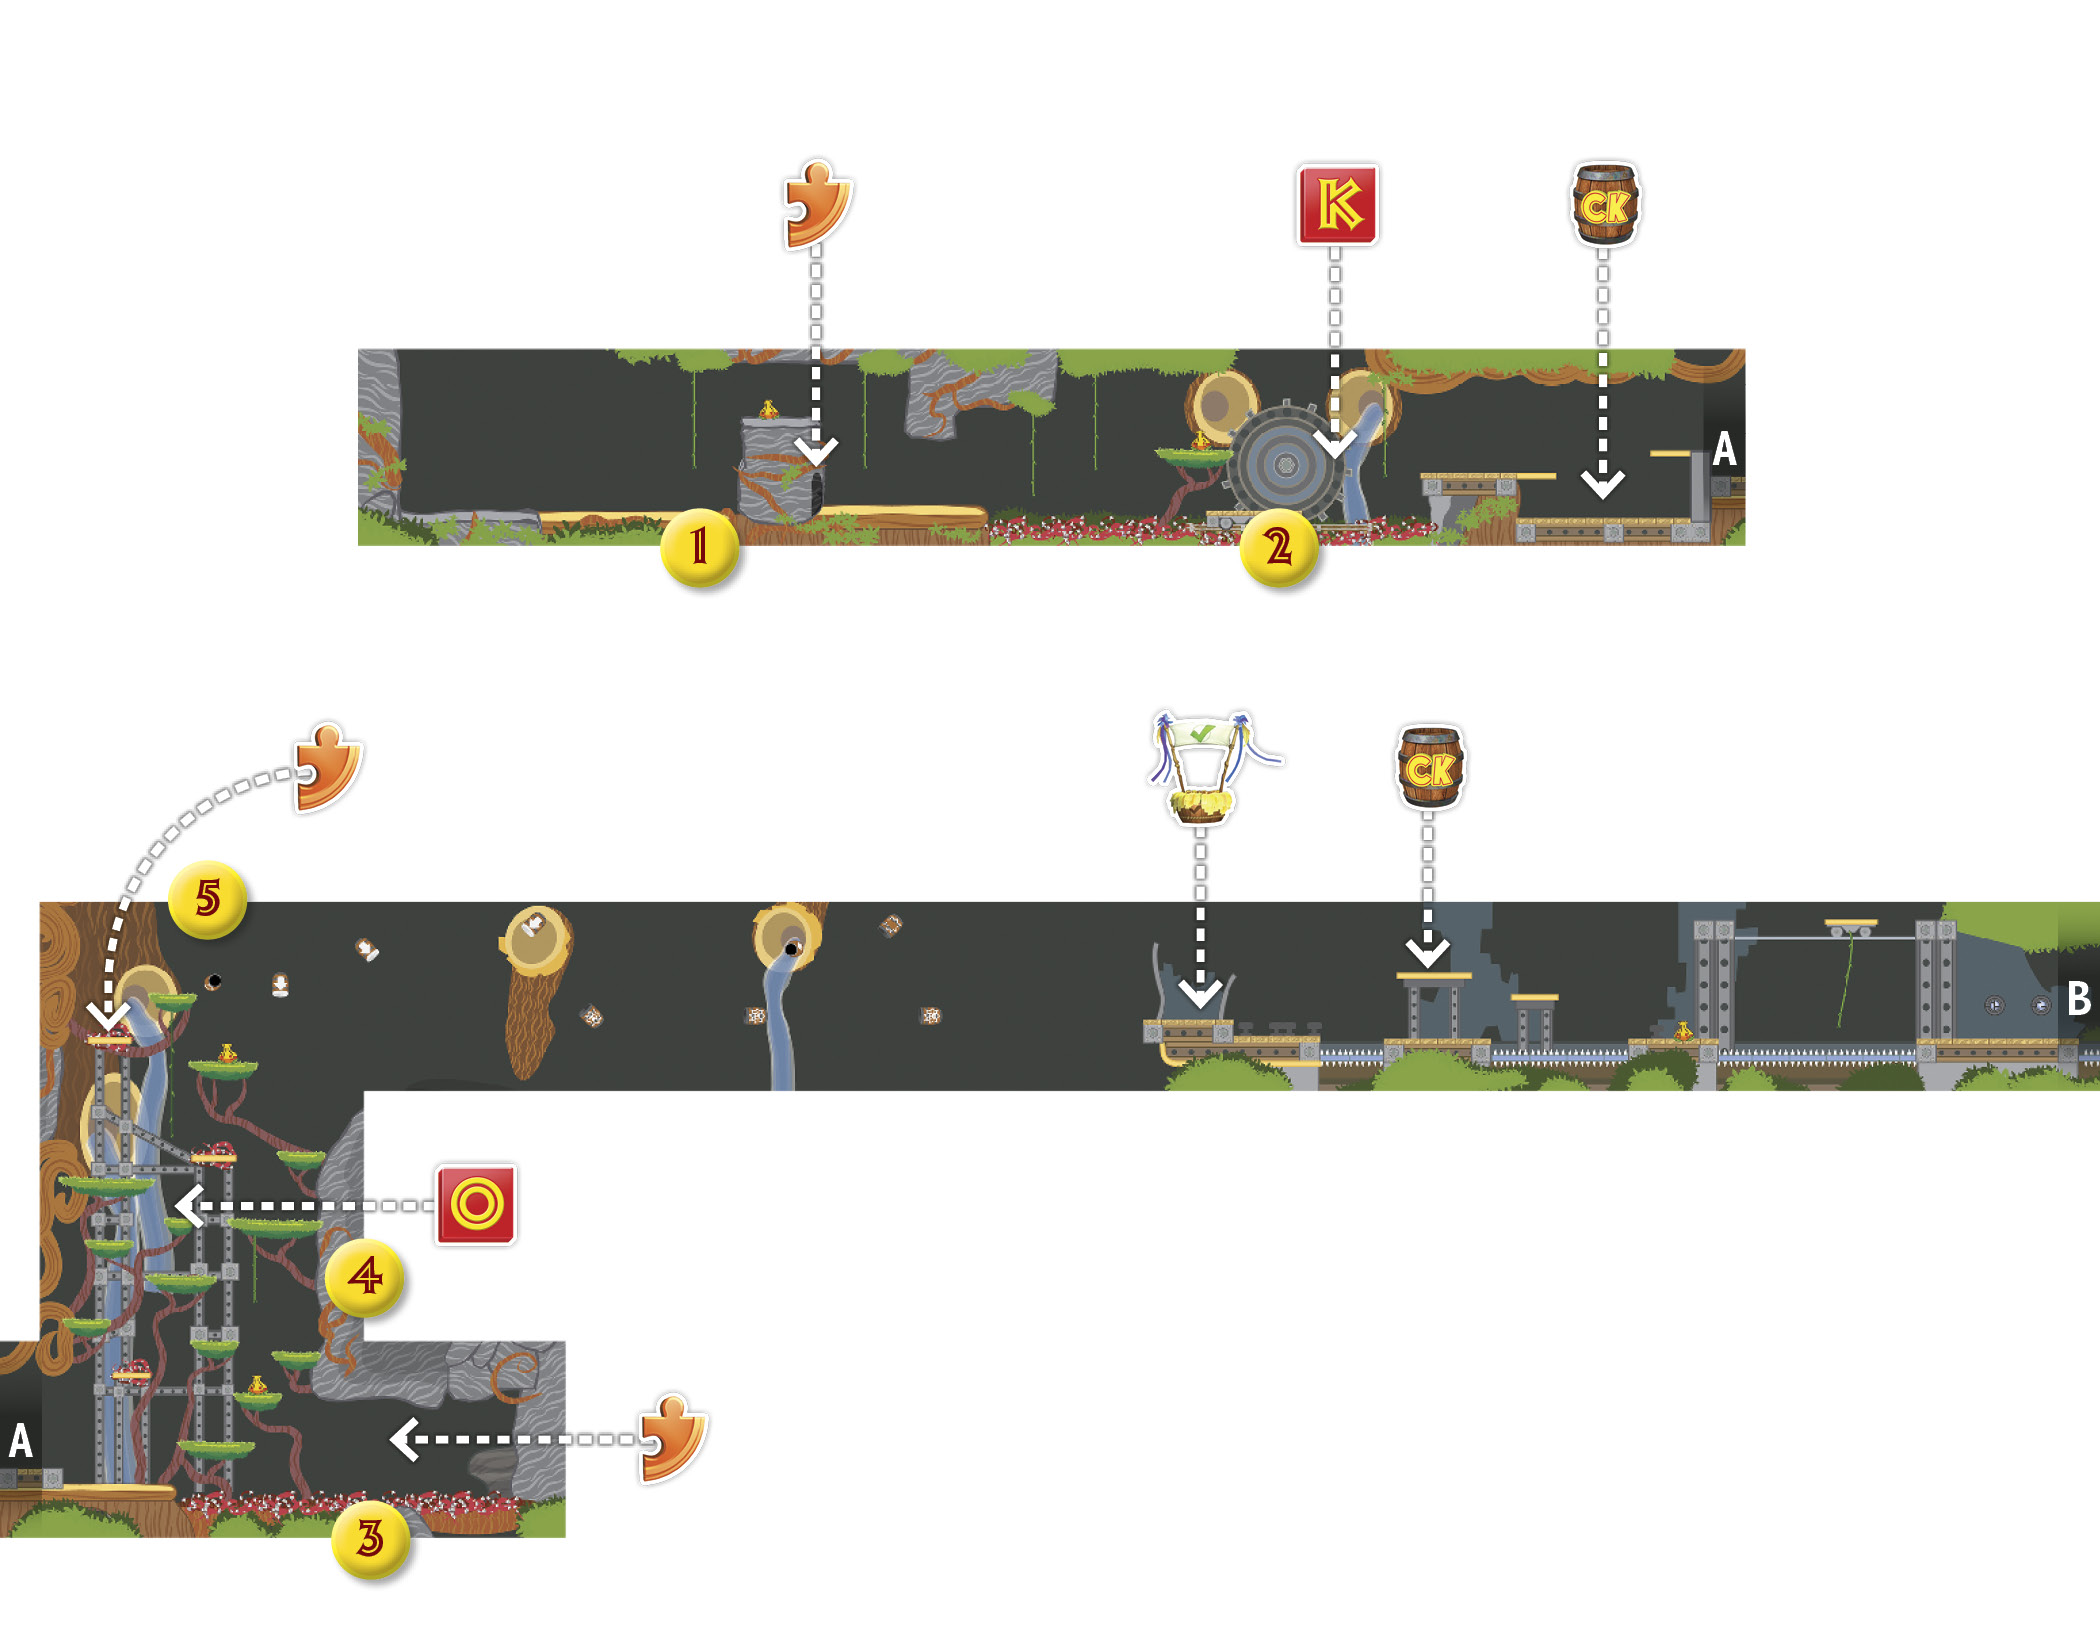

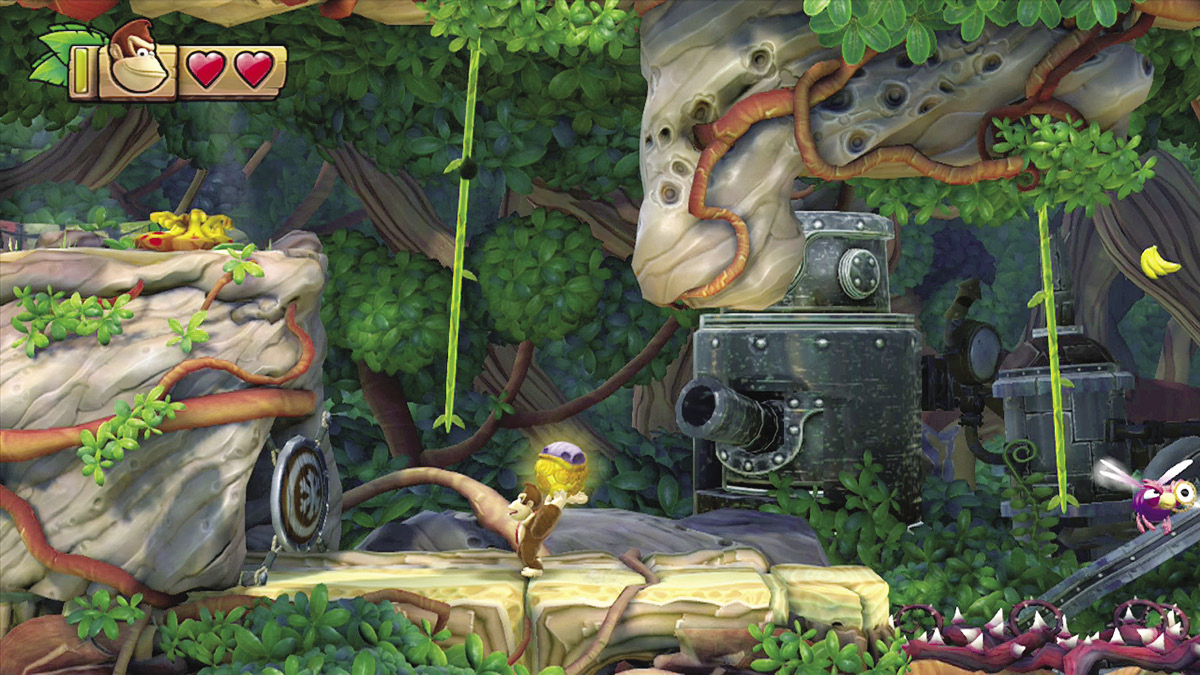

 Bop the Wild Wendell at point 1, then toss it through the shield to the left. Once the shield is destroyed, step through the opening to find a bonus room.
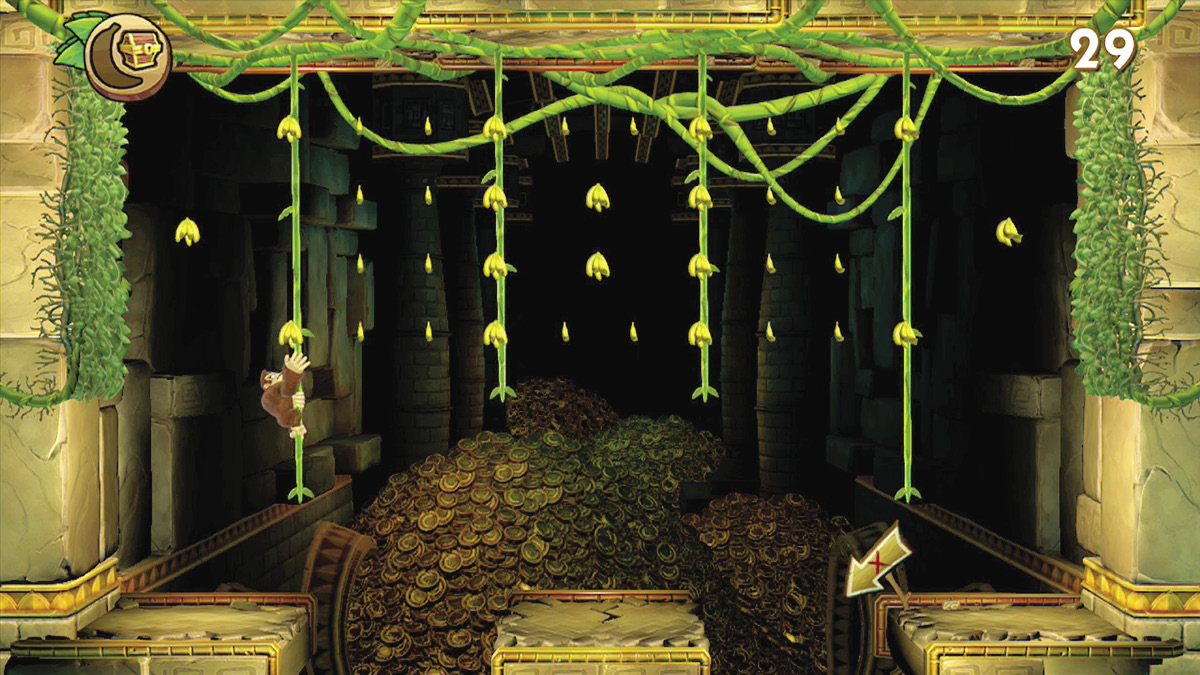
One you arrive in the bonus room, jump between the vines and the grassy surfaces to collect all of the available bananas within the 30-second time limit. If you succeed, a Puzzle Piece appears in the center of the area.
|

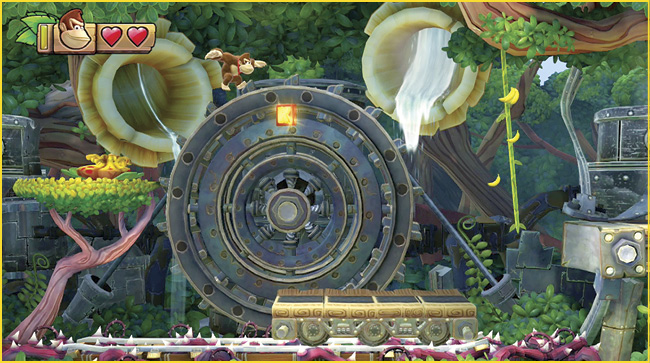
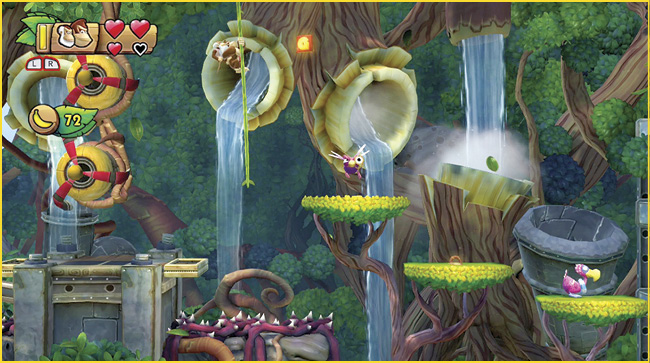
 The first KONG Letter is floating in front of the water wheel at point 2. The K and the platform below it both move in sync with the wheel. Time your jump to ensure that you grab the KONG Letter and land safely on the rolling platform.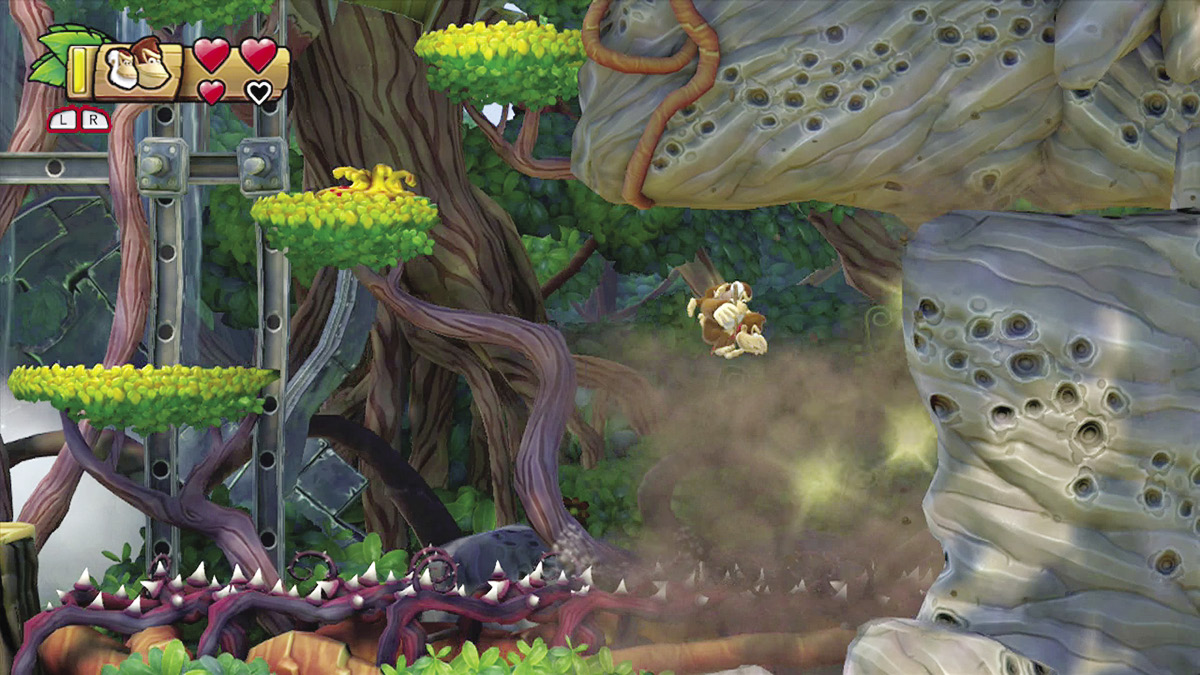

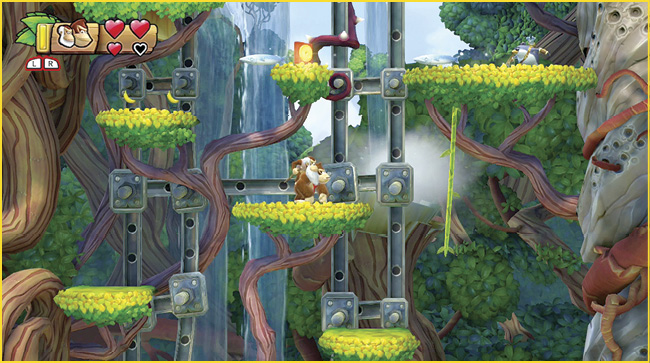
 There’s a Puzzle Piece hidden behind the rocks at point 3, and you’ll need Cranky Kong’s help to collect it. After you free him from the nearby CK Barrel, use his Cane Bounce to move across the thorns in this area. The rocks drop away when you approach. Simply collect the Puzzle Piece and return to the safety of the nearby platforms.
|

 The second KONG Letter is on a small platform at point 4. Time your approach to avoid the nearby Archy’s attacks.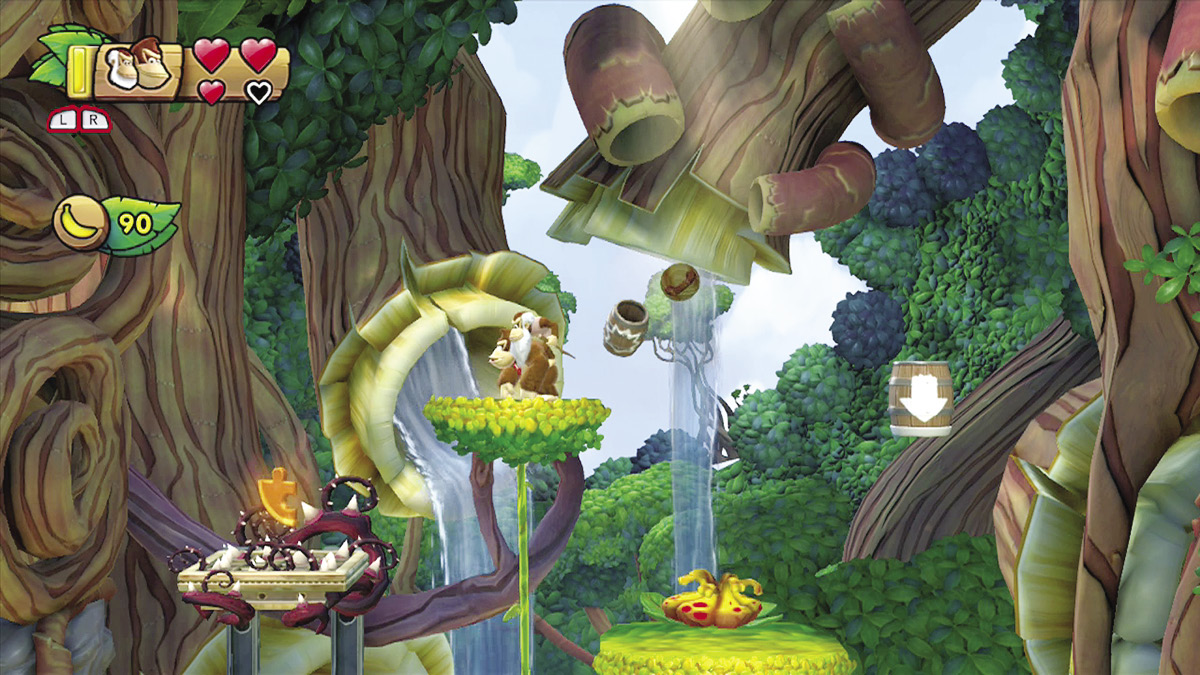

 Pluck the handle at point 5 to reveal the nearby Puzzle Piece. Use Cranky Kong’s Cane Bounce to collect the Puzzle Piece without taking damage from the thorns below it.
|

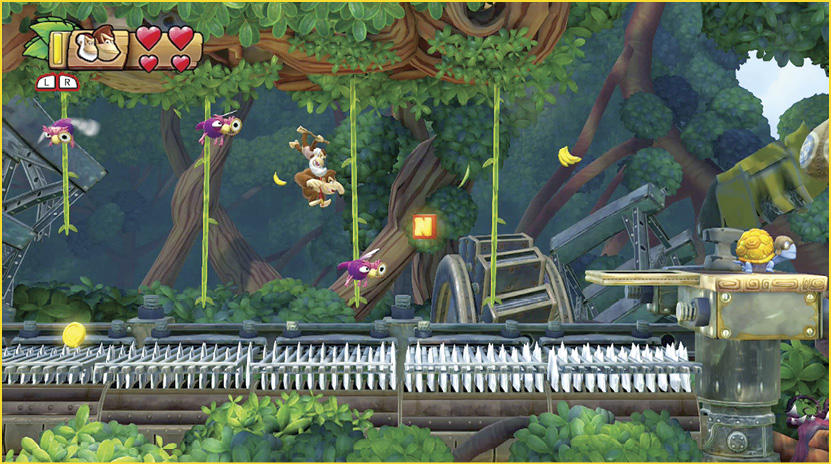
 The third KONG Letter floats between the vines at point 6. Defeat or avoid the nearby enemies, then grab the N on your way to the next platform.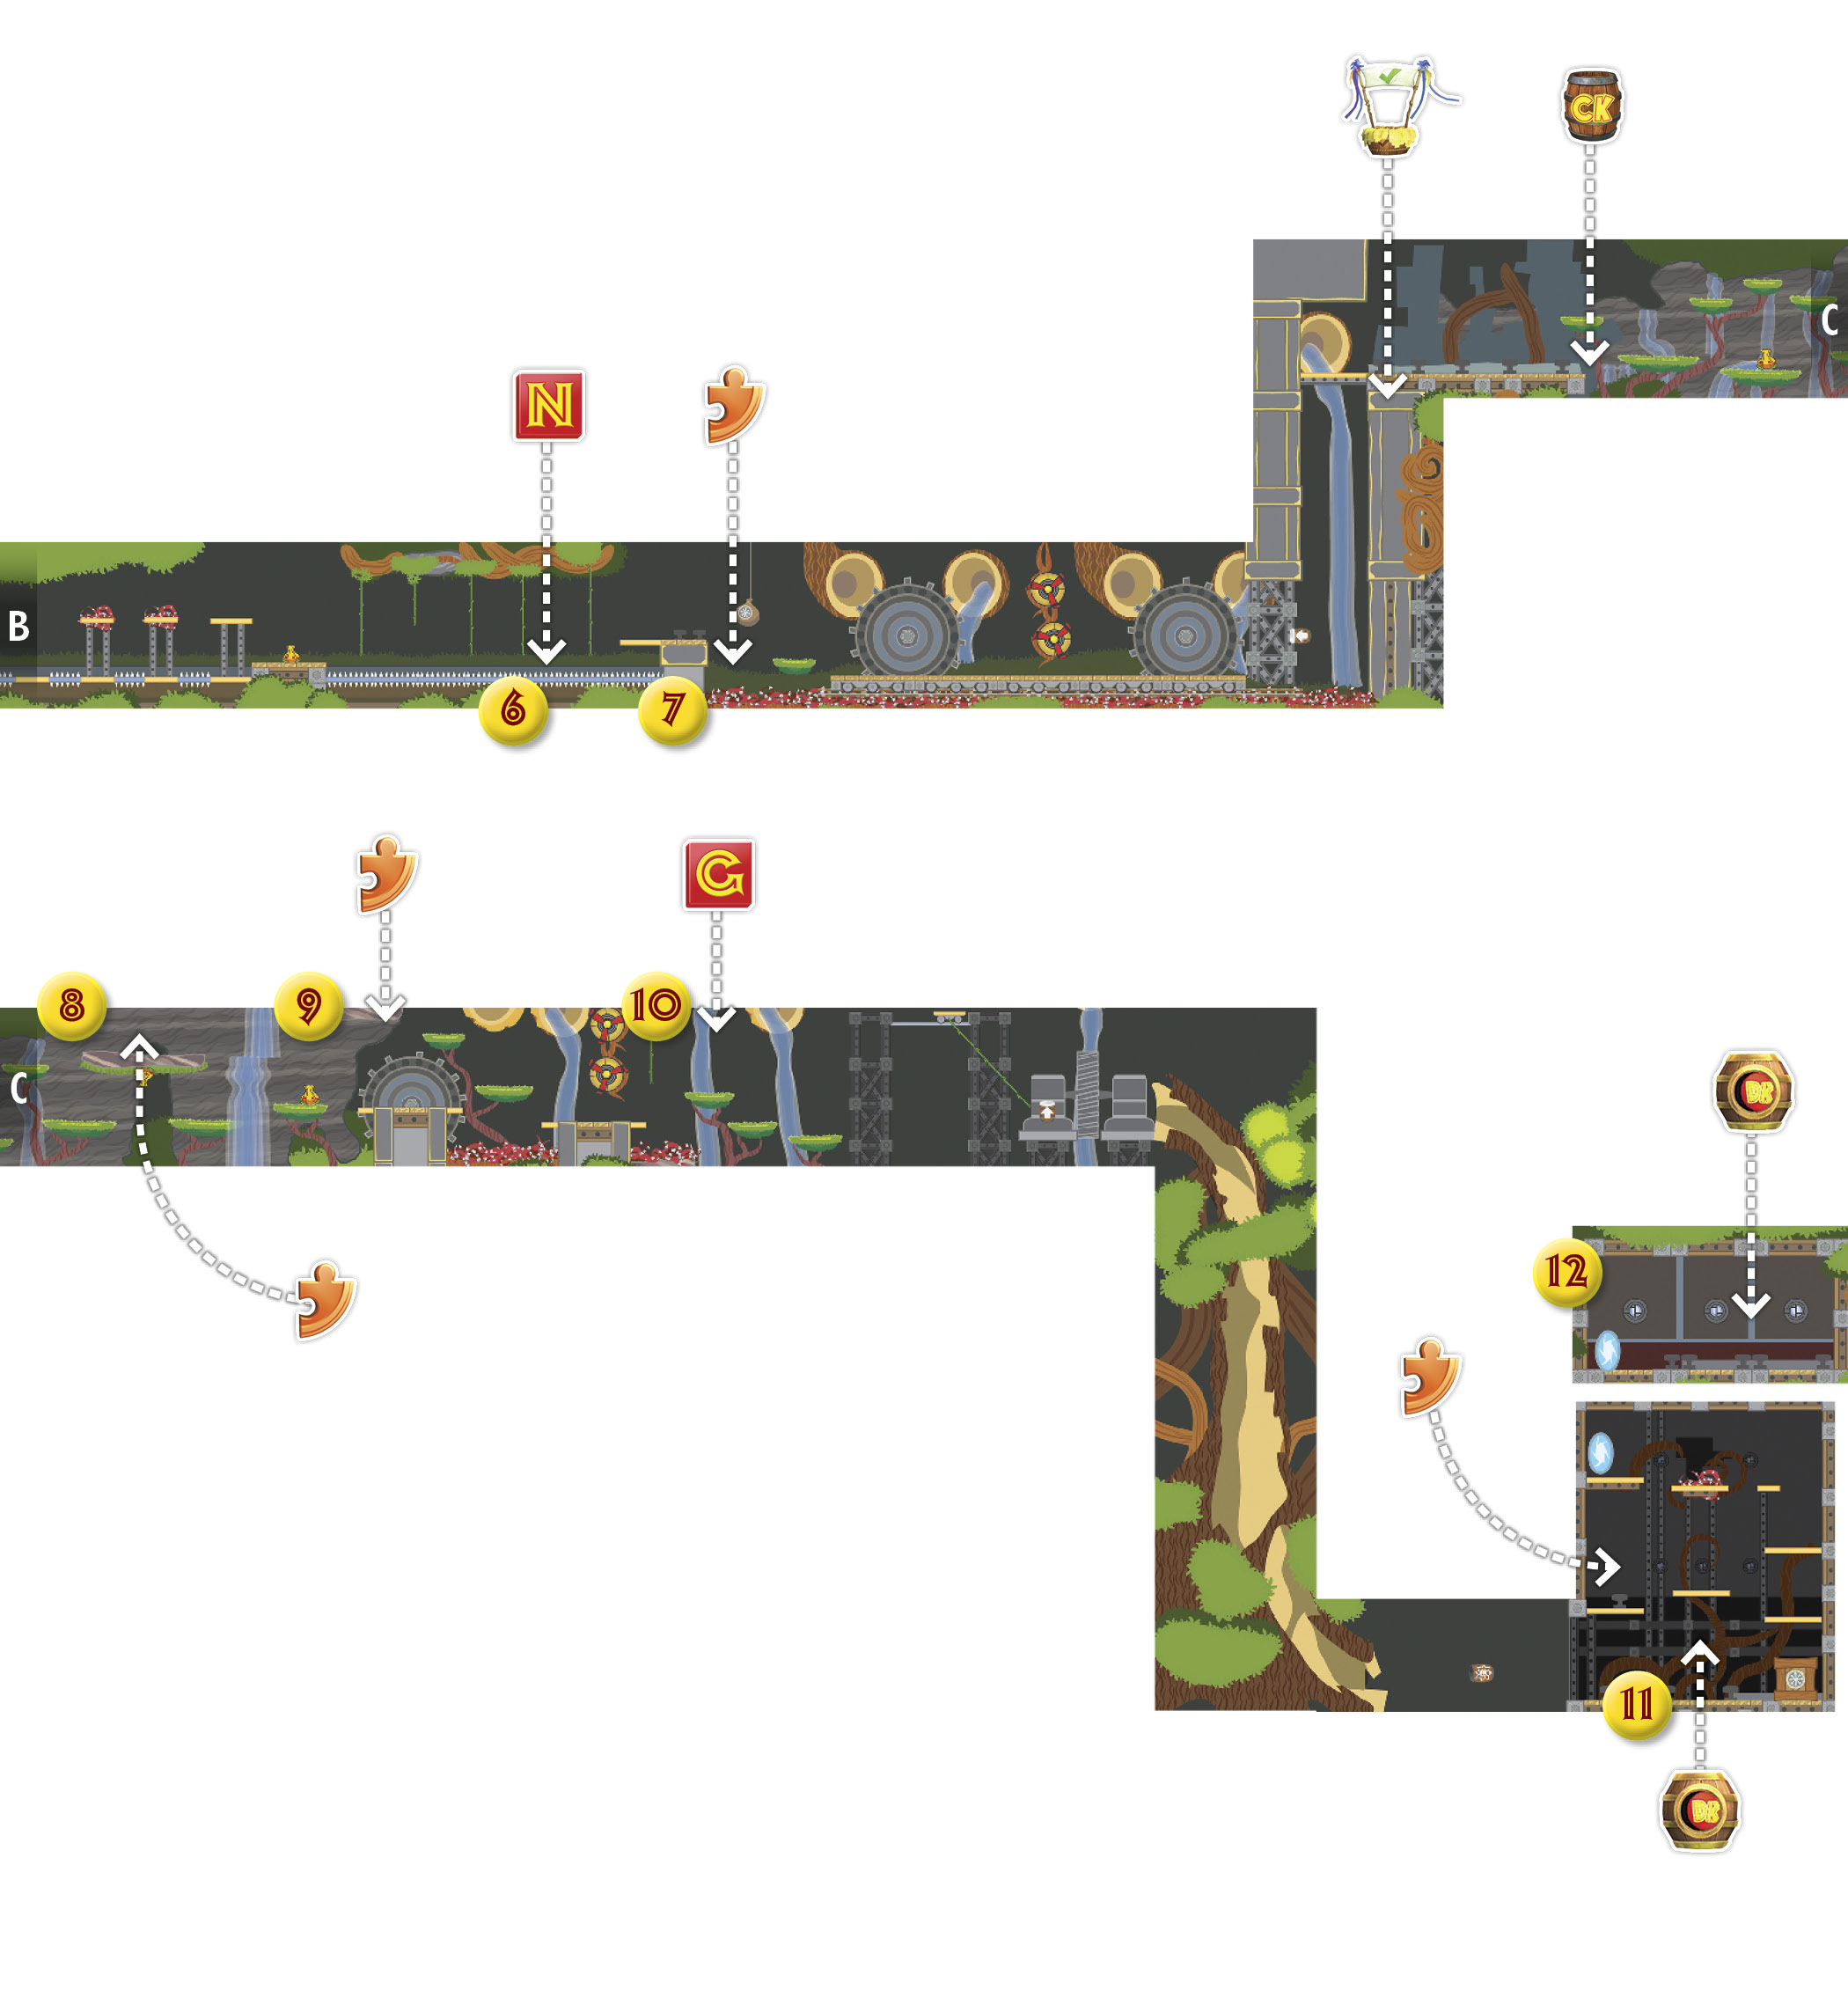
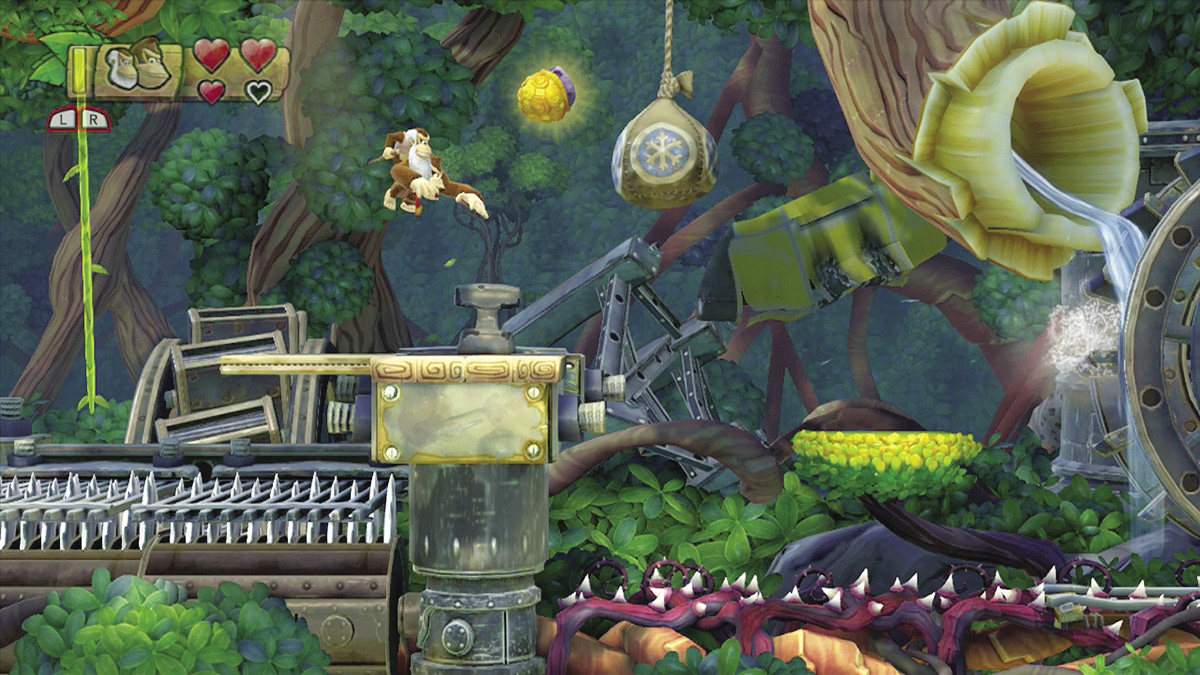

 Perform a standard jump to bop the Wild Wendell at point 7, then toss the stunned enemy at the sandbag to the right. Once the sandbag is destroyed, a Puzzle Piece drops onto the nearby thorns. Use Cranky Kong’s Cane Bounce to collect it without taking damage.
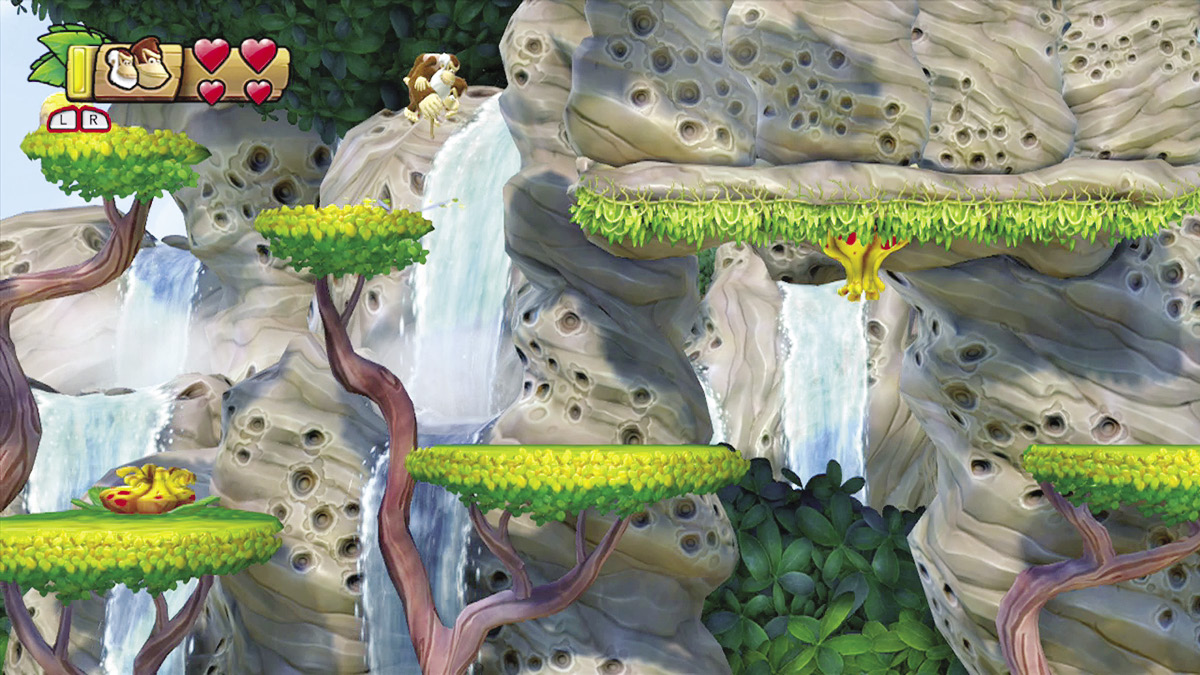

 There’s a Puzzle Piece hidden behind the rocks at point 8. Cane Bounce up to the nearby platform, then hop toward the rocks to clear them from the ledge. When you land, collect the revealed Puzzle Piece and continue through the area.
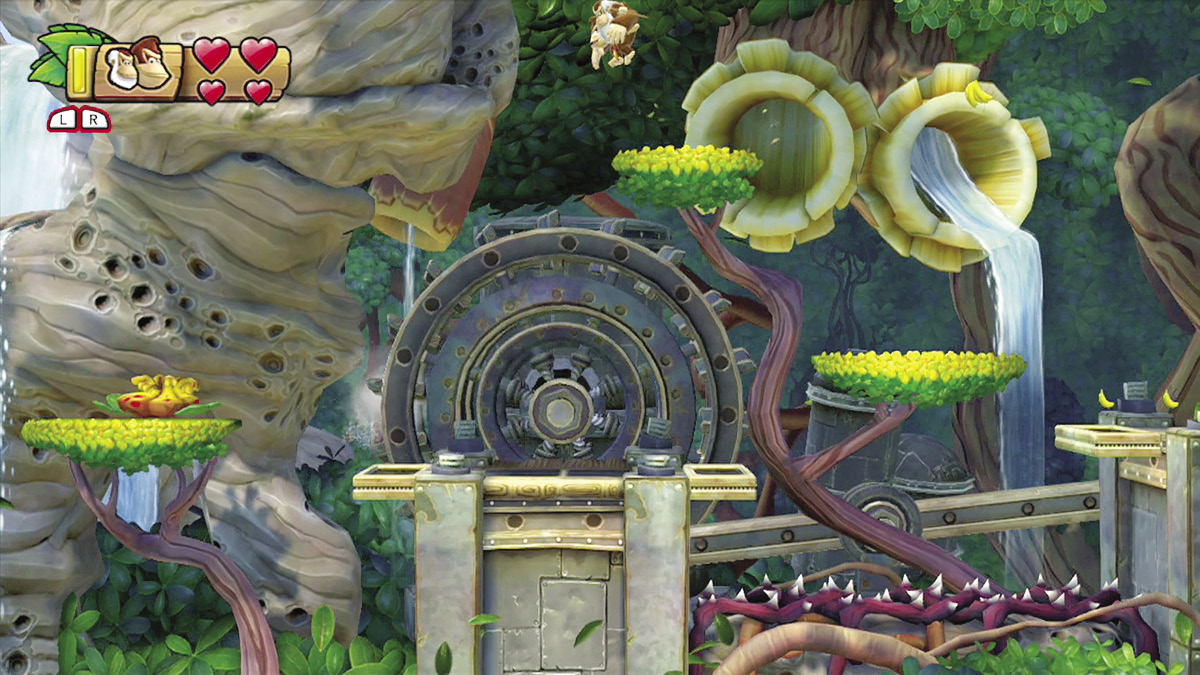
 There’s a bonus room hidden behind the rocks at point 9. Use Cranky Kong’s Cane Bounce to reach the nearby platform, then jump to the opening and enter the room.
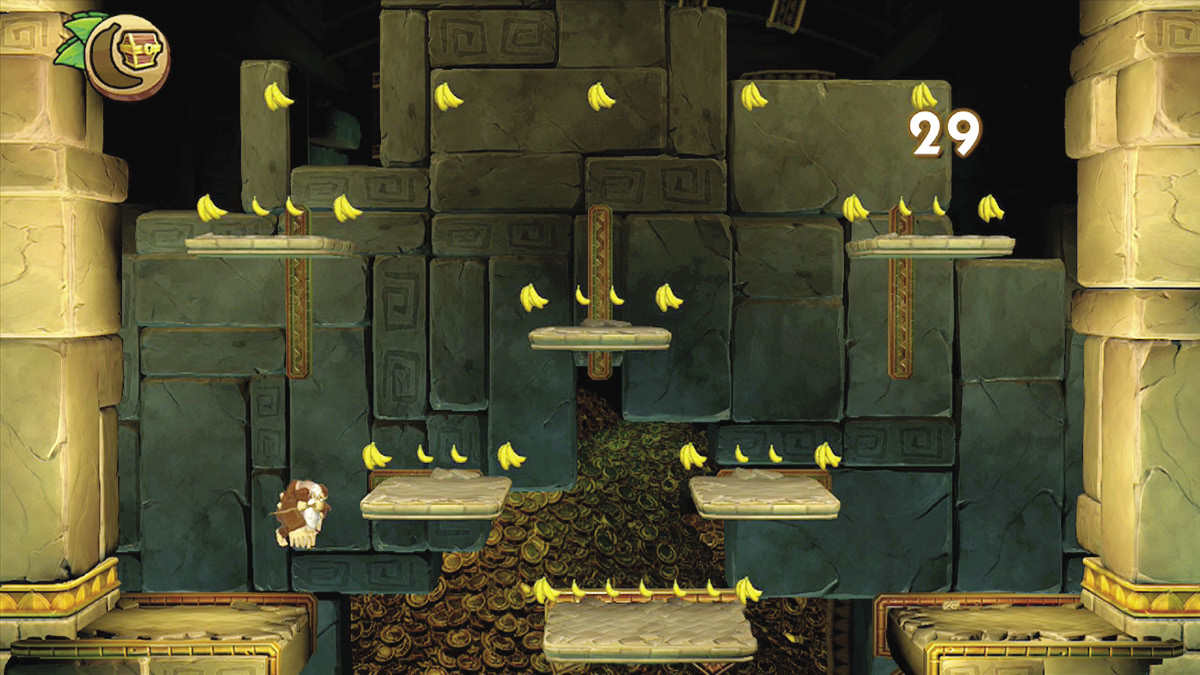
 Once you enter the bonus room, you have 30 seconds to collect all of the available bananas. If you succeed, a Puzzle Piece appears in the center of the area.
|

 The final KONG Letter is floating at point 10. Climb the nearby vine and watch the Monacle Monica hovering to the right. When the enemy moves into its lower position, leap from the vine to collect the G and bop the enemy in a single move.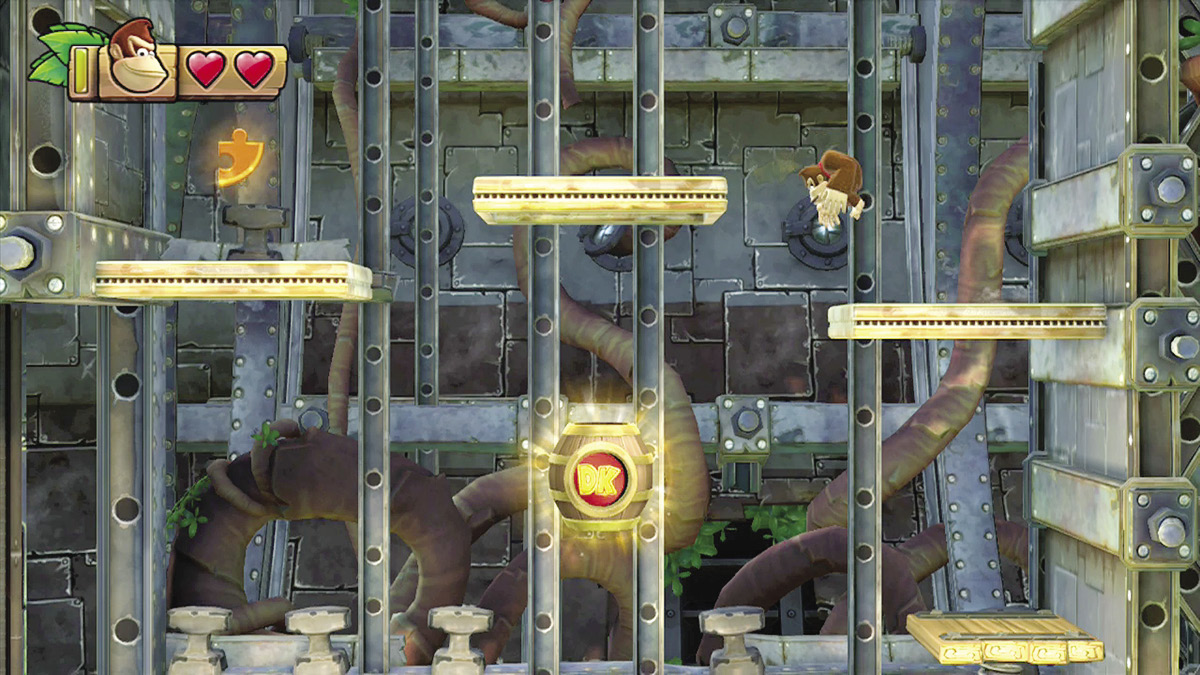

 The final Puzzle Piece is at the end of the map—make sure you collect it before you complete the level. Smash the large crate just past the Slot Machine Barrel and hop onto the revealed springboard. Perform a Ground Pound to launch yourself up to the platform above you, then hop over and collect the Puzzle Piece to the left.
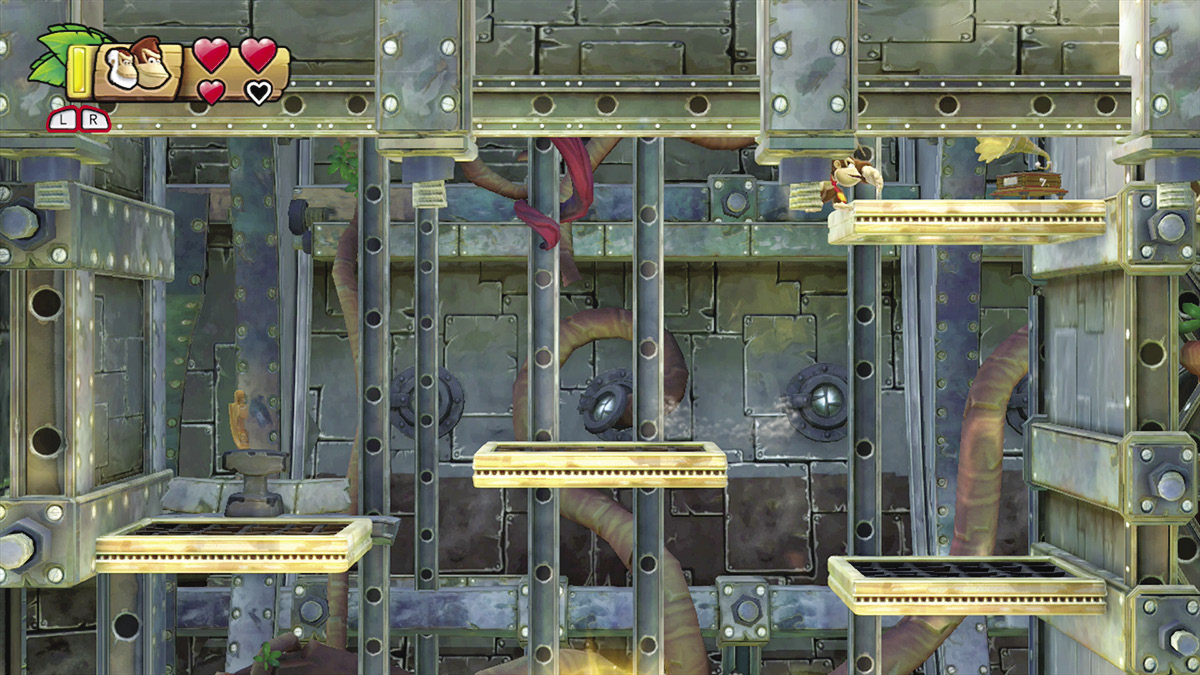
 You’ll need Cranky Kong’s help to reach this stage’s secret exit. Launch yourself up to the platforms above the main Slot Machine Barrel, then use a Cane Bounce to reach the platform high on the wall to the right. As you land, the rest of the room is revealed.
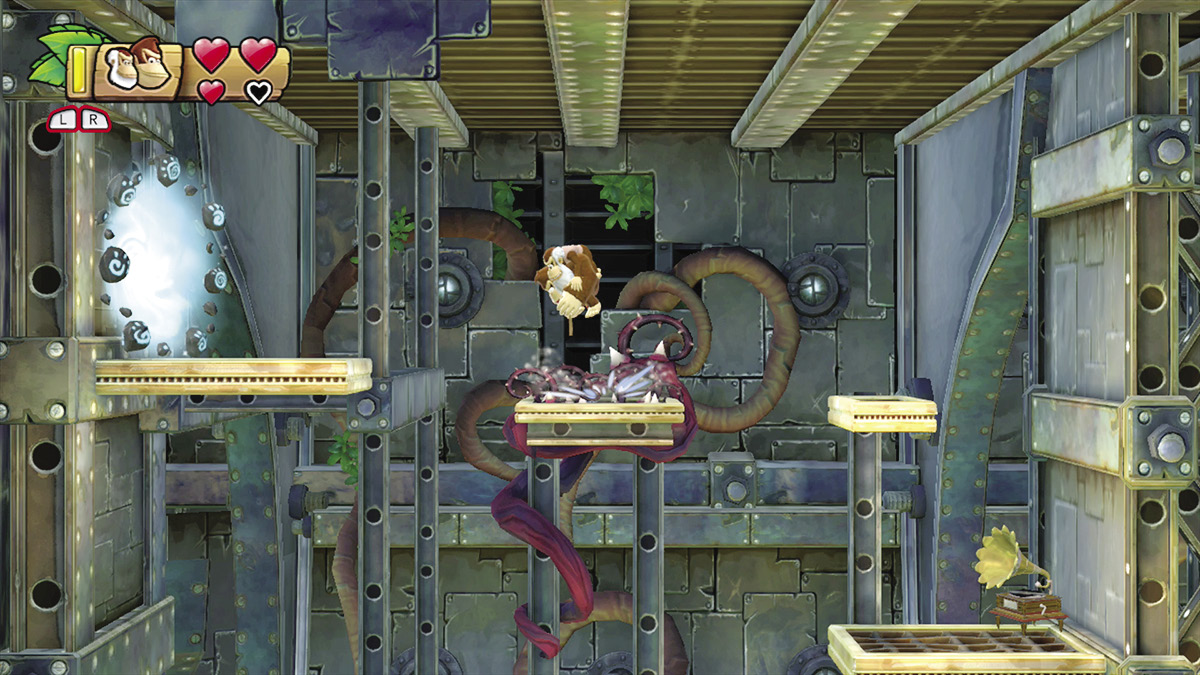
Cane Bounce across the remaining platforms to reach the portal in the room’s upper-left corner, then pass through the portal and strike the hidden Slot Machine Barrel to unlock stage 1-B: Busted Bayou.