
Donkey Kong Country: Tropical Freeze Guide Walkthrough Island 2: Autumn Heights
Stage 2-A: Crumble Cavern
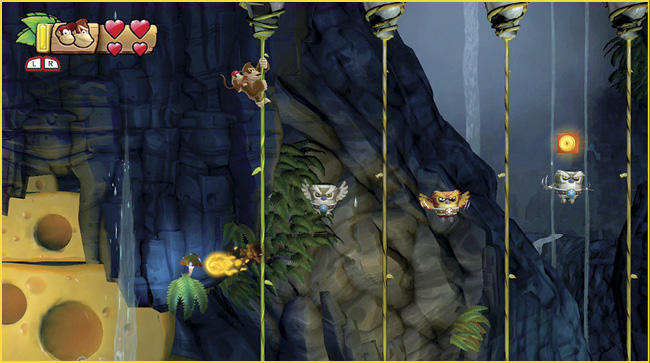
Stage BasicsIn addition to teetering platforms and mobile Barrel Cannons, this stage contains some particularly fragile vines. Green vines are healthy enough to support your weight, but any vine with a brown tint will break loose as soon as you cling to it—when this happens, leap to the nearest vine, platform, or flying enemy to avoid a costly fall. As you progress through the map, beware of falling stalactites. Once the cavern begins to collapse, it’s important to keep moving. |
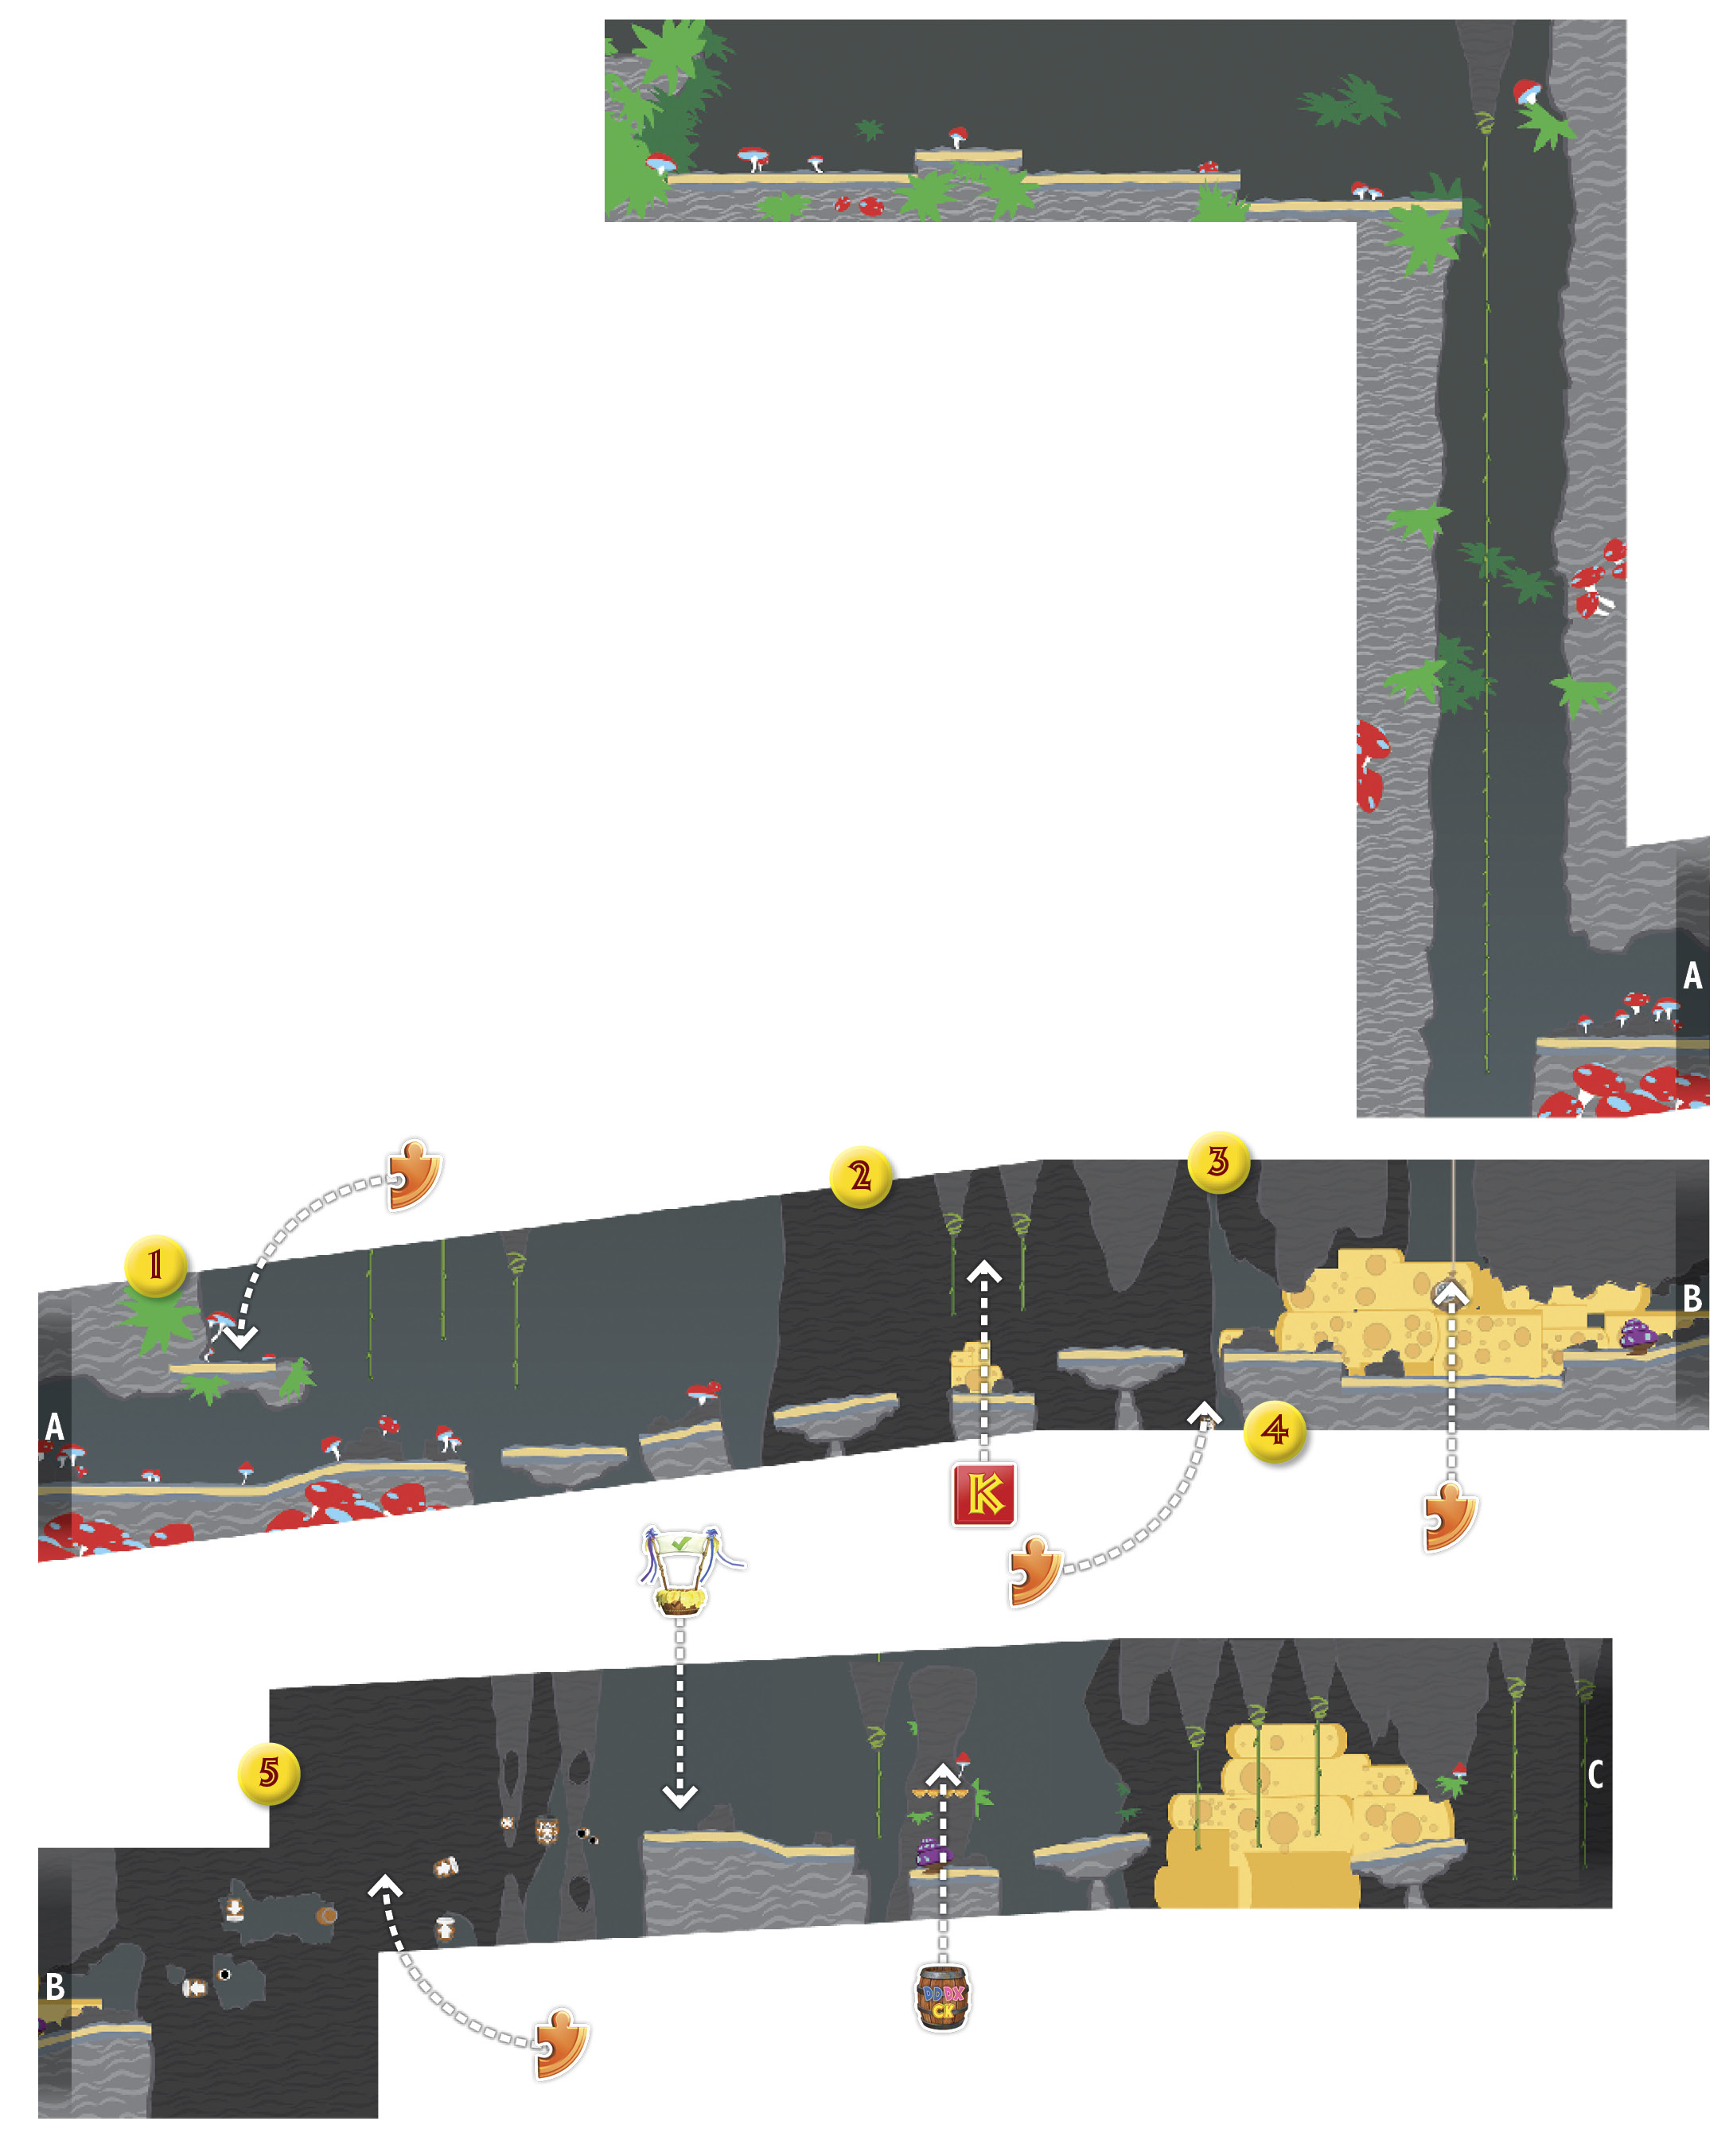

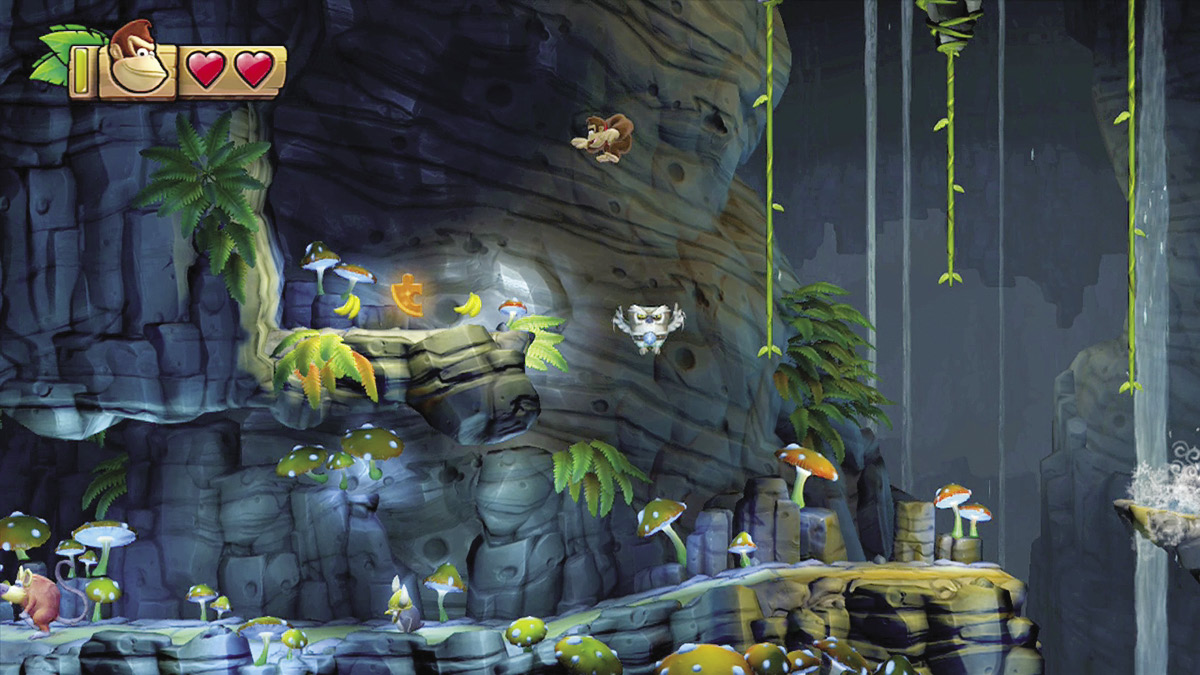

 There’s a Puzzle Piece on the ledge at point 1. As you pass under the ledge, bop the Tucks ahead of you and bounce up to the nearest vine, then climb to the top of the vine and leap across to the Puzzle Piece.
|

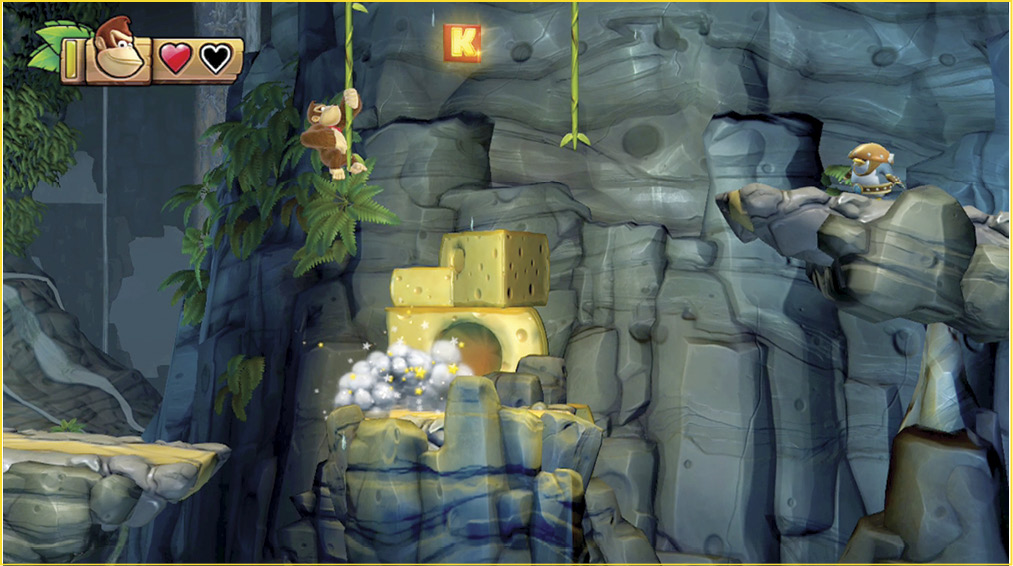
 The first KONG Letter is between the vines at point 2. Bop the nearby Fluff and bounce up to the vines, or use the teetering platform to the right. Once you reach one of the vines, jump through the K to collect it before you move on.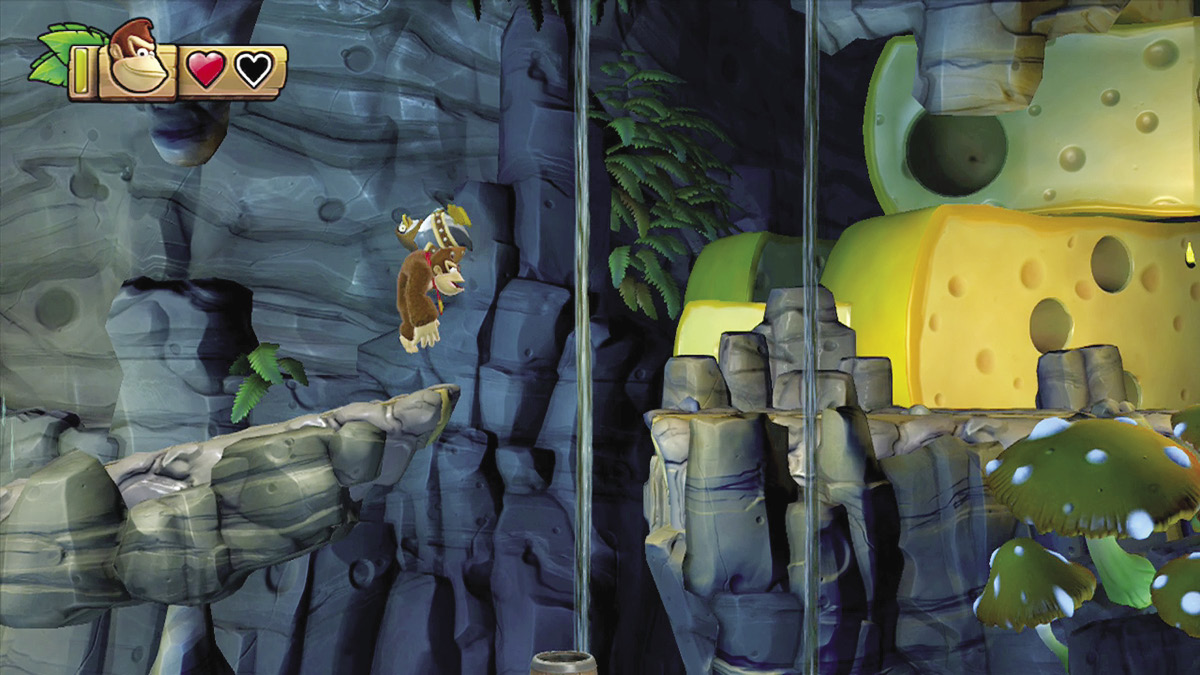

 Bop the Tuff Tucks at point 3, then grab the stunned enemy and leap to the next platform.
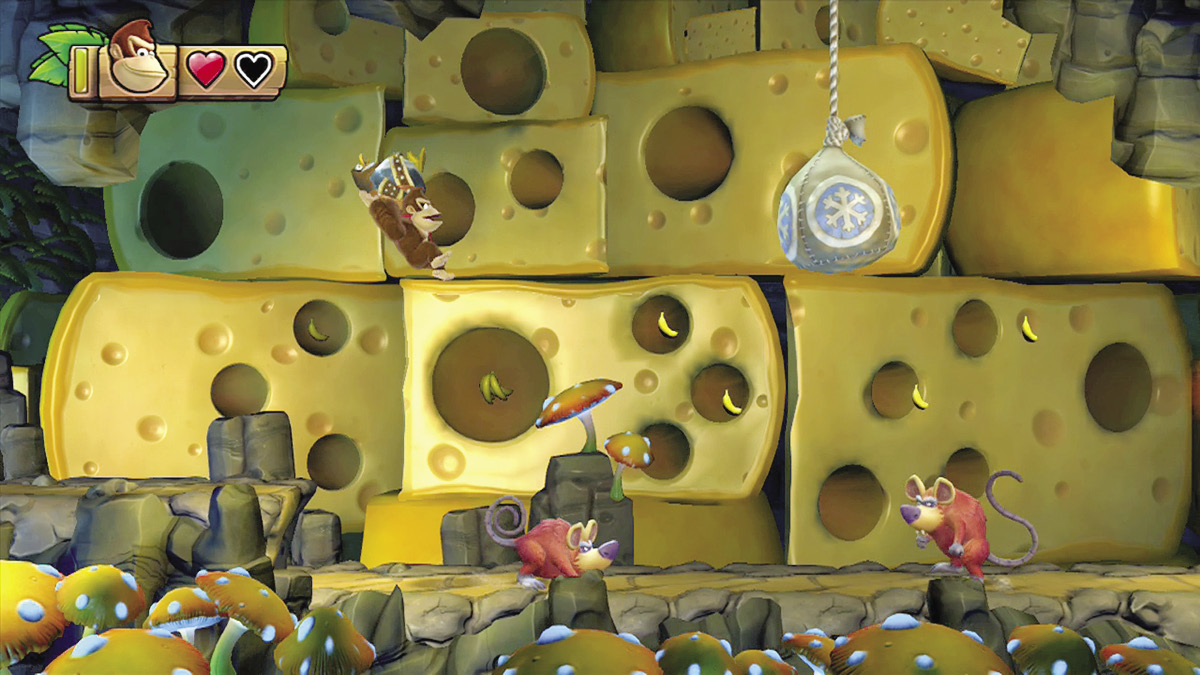
Stop just before you reach some Cheesy Chesters patrolling the main path. Jump up and throw the Tuff Tucks through the sandbag above them to reveal another Puzzle Piece.
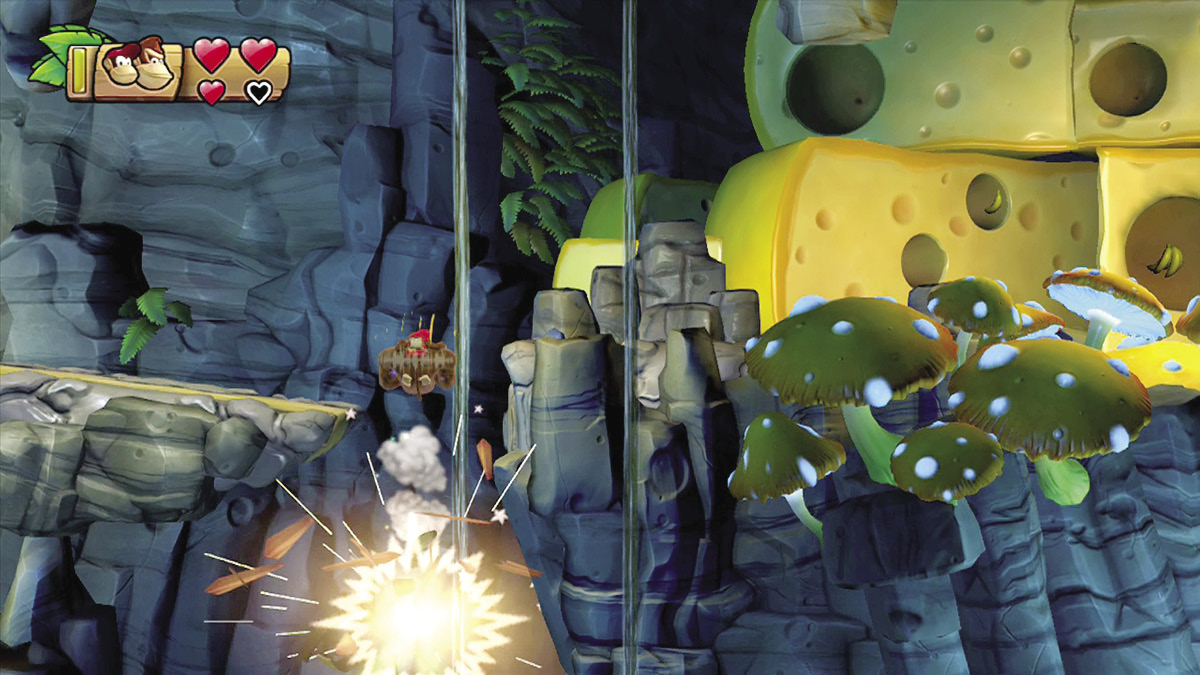

 There’s a secret Barrel Cannon floating at point 4. Drop down between the platforms to launch yourself into a bonus room.
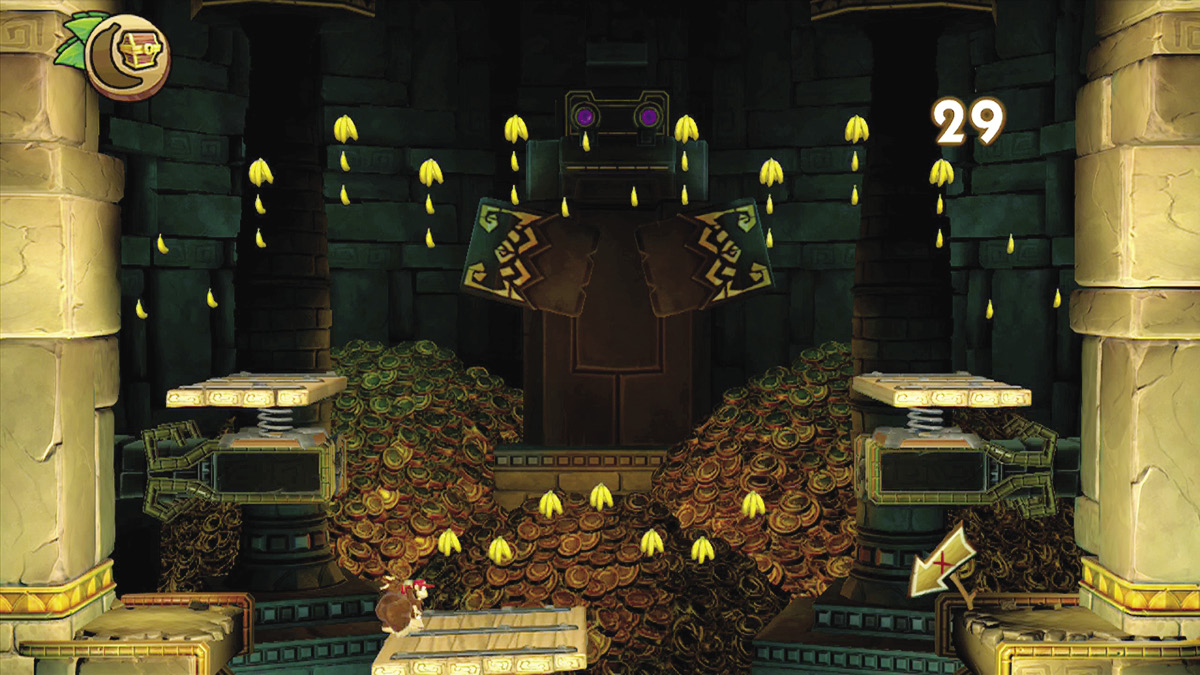
Once you enter the bonus room, you have 30 seconds to collect all of the available bananas. If you succeed, a Puzzle Piece appears at the center of the area.
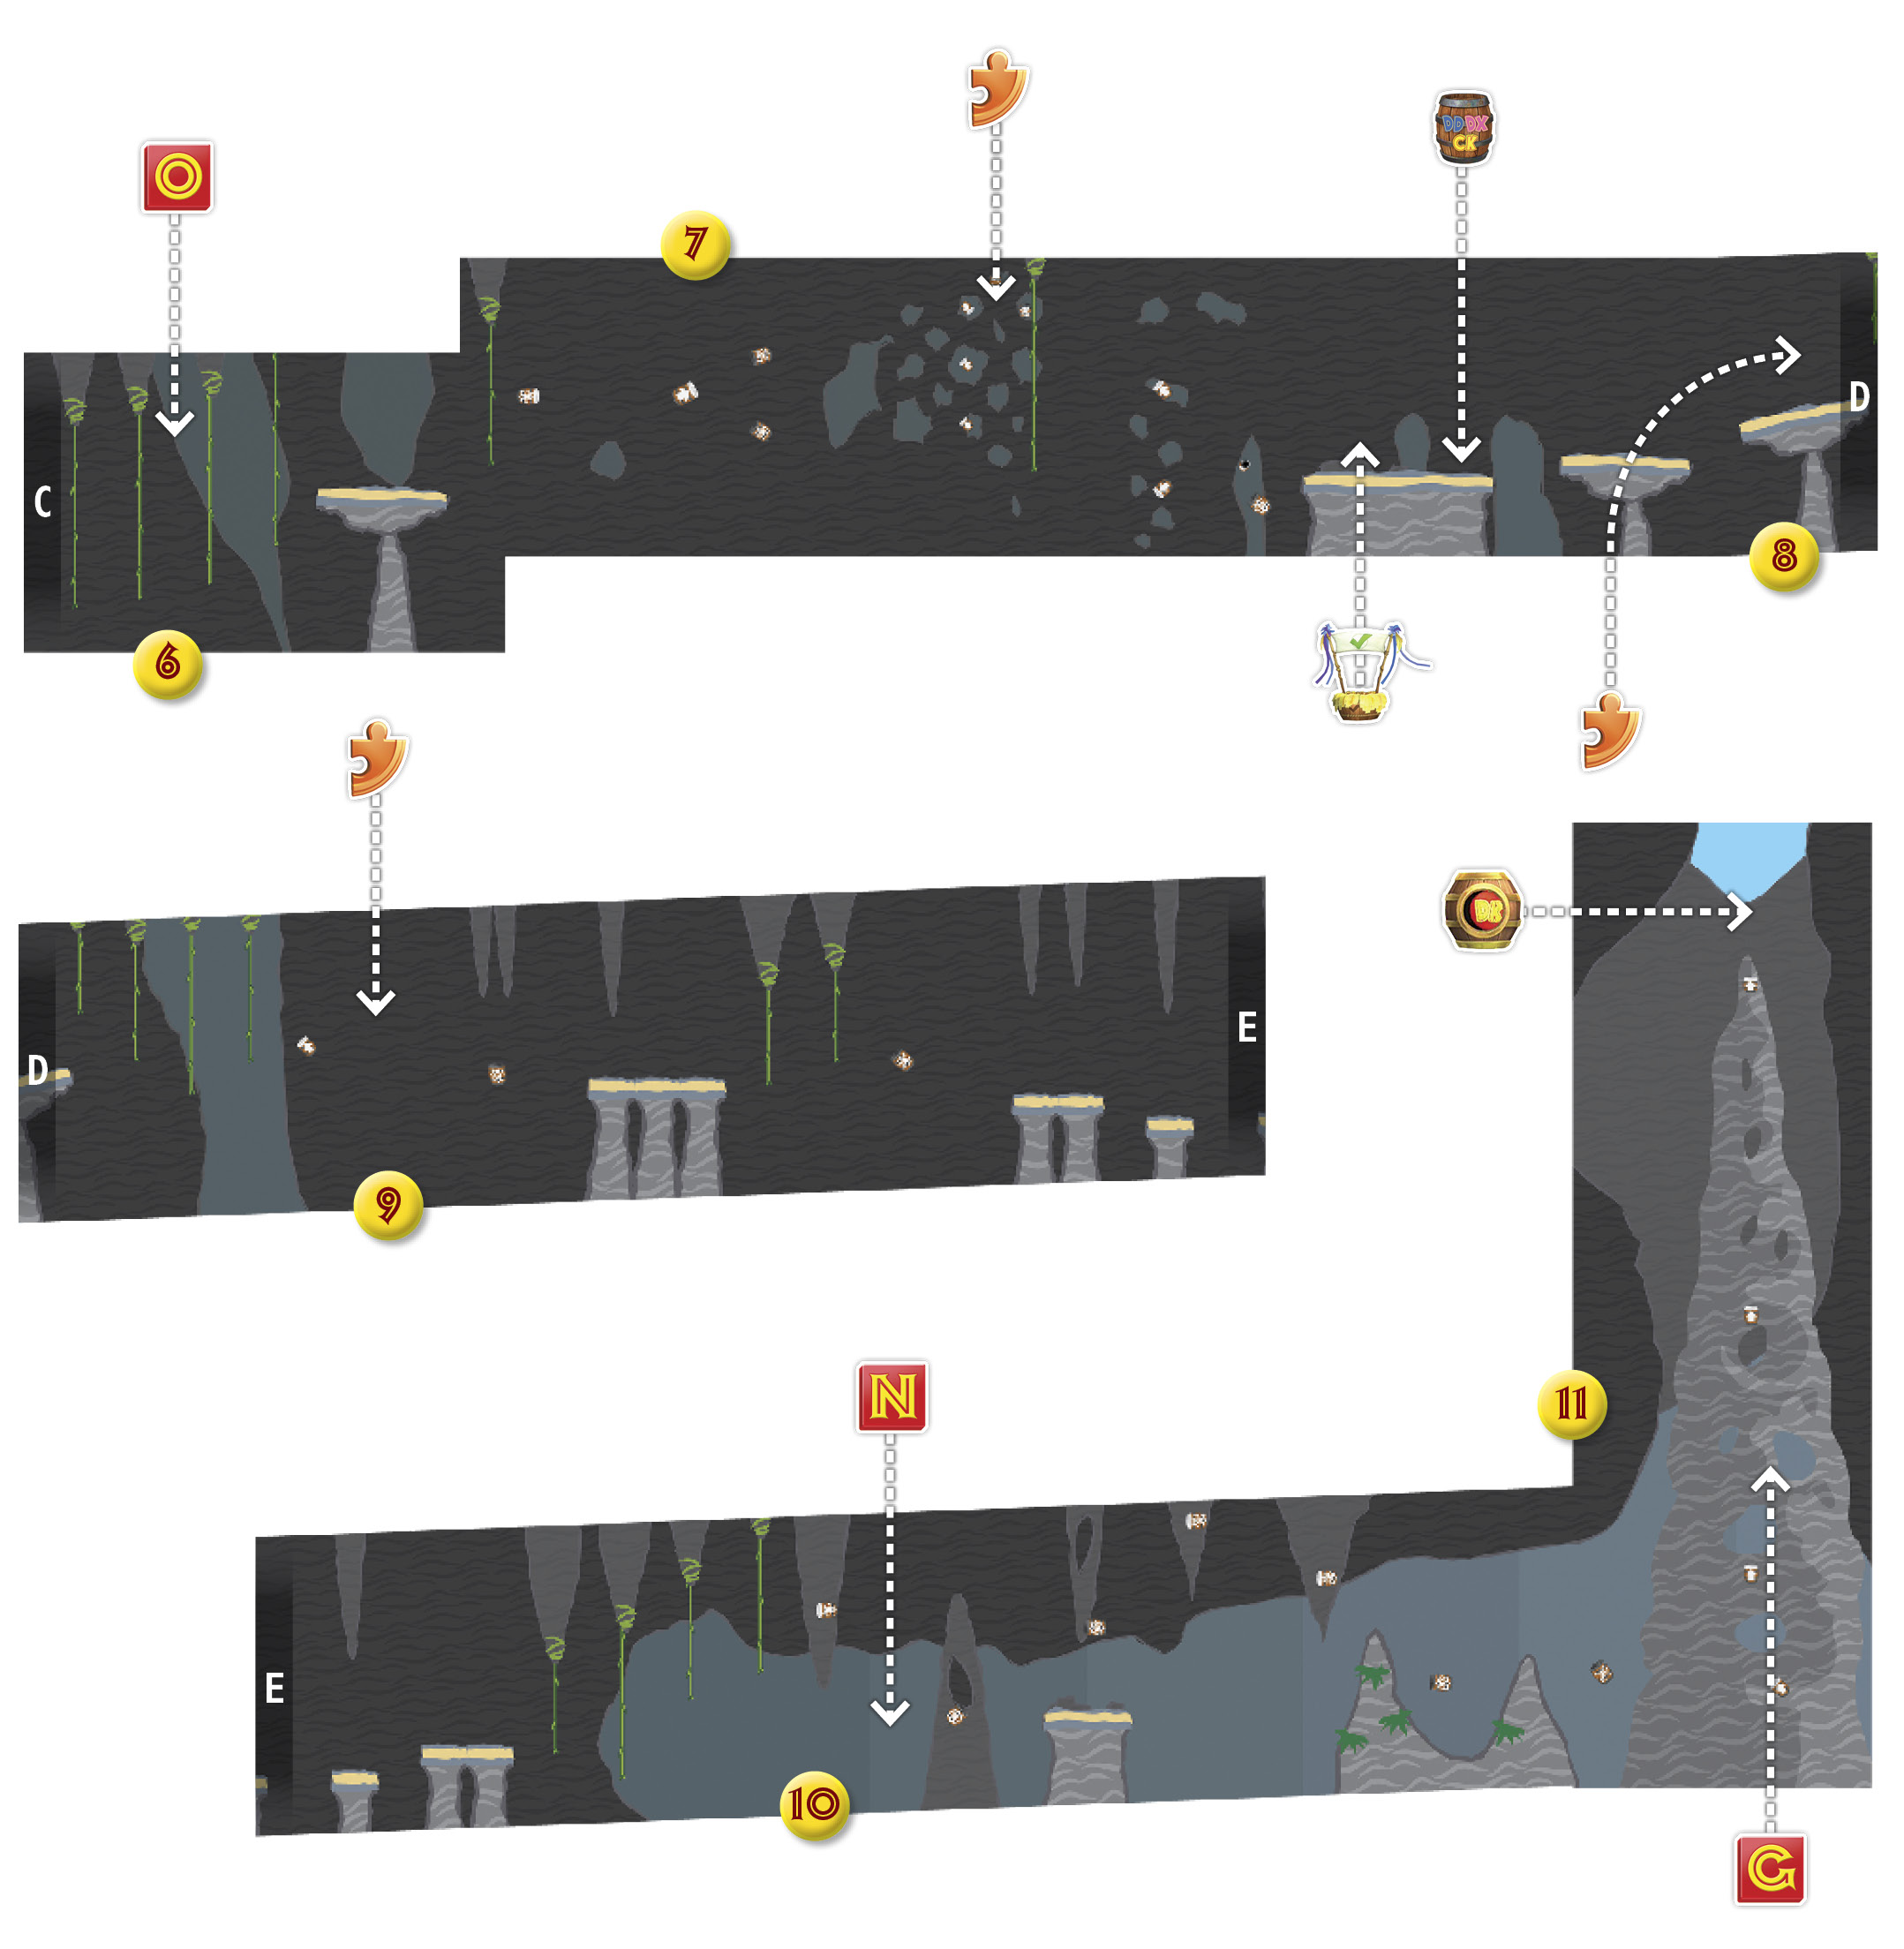
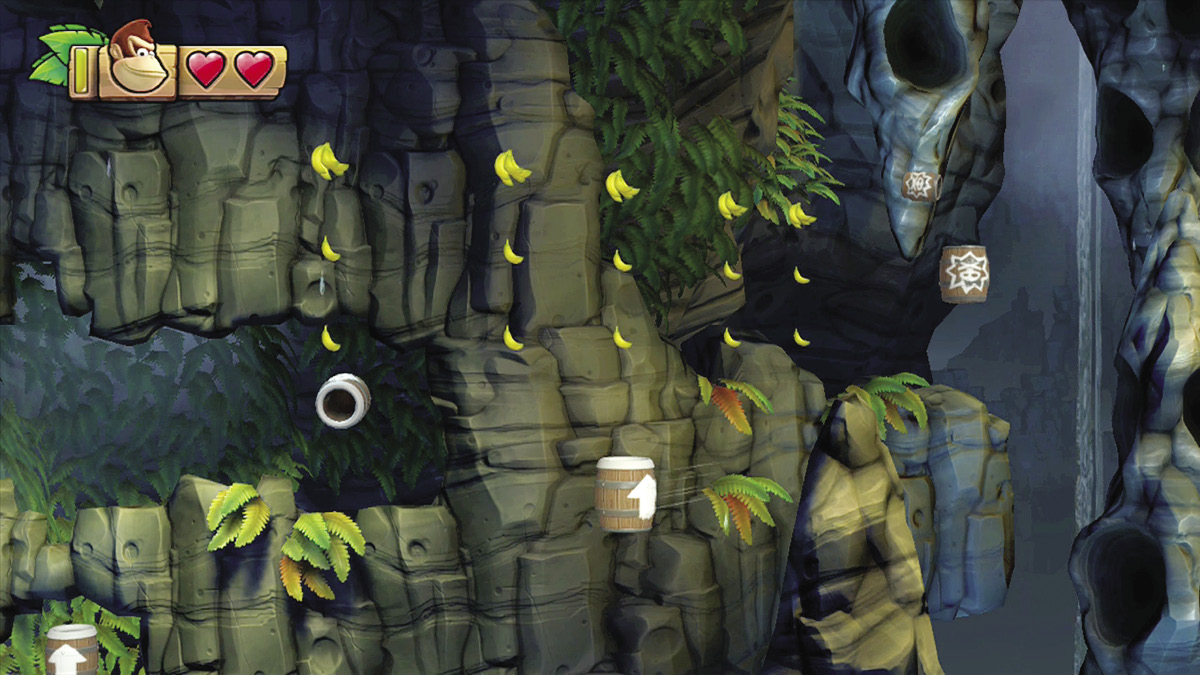

 Collect all of the bananas at point 5 to reveal a Puzzle Piece. As the Barrel Cannon sweeps back and forth across the area, you must launch yourself up through each group of bananas. As long as you avoid launching yourself into the next Barrel Cannon, you can take as much time as you need to accomplish the task.
|

 When you reach the green vine at point 6, look for the KONG Letter to the right. Climb up toward the cavern ceiling, then leap along the brown vines and drop through the O. Bop the Hootz below you and leap along the remaining vines to reach the next platform.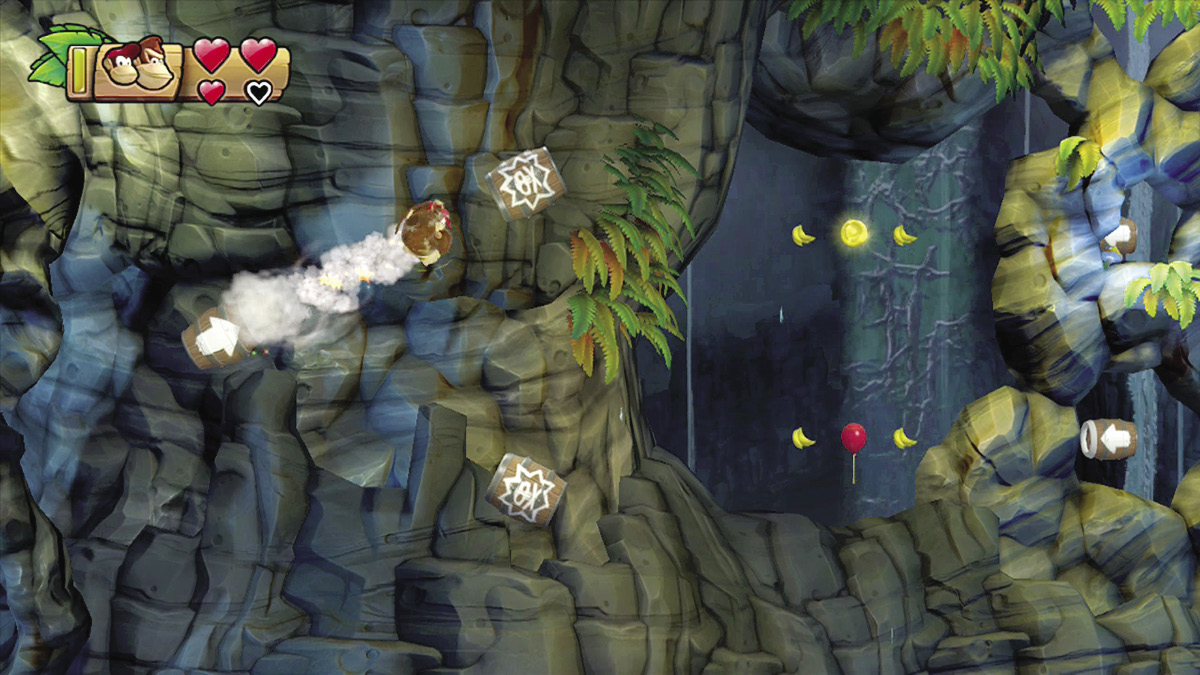

 The Barrel Cannon at point 7 tilts back and forth between two similar paths. When it tilts upward, launch yourself out of the Barrel Cannon to take the higher path. The path splits again when you reach several Barrel Cannons floating behind a large rock formation. The partially hidden Barrel Cannon at the top of the screen leads to a bonus room. Launch yourself into the Barrel Cannon at the center of the rock formation, then launch yourself straight up to the appropriate barrel.
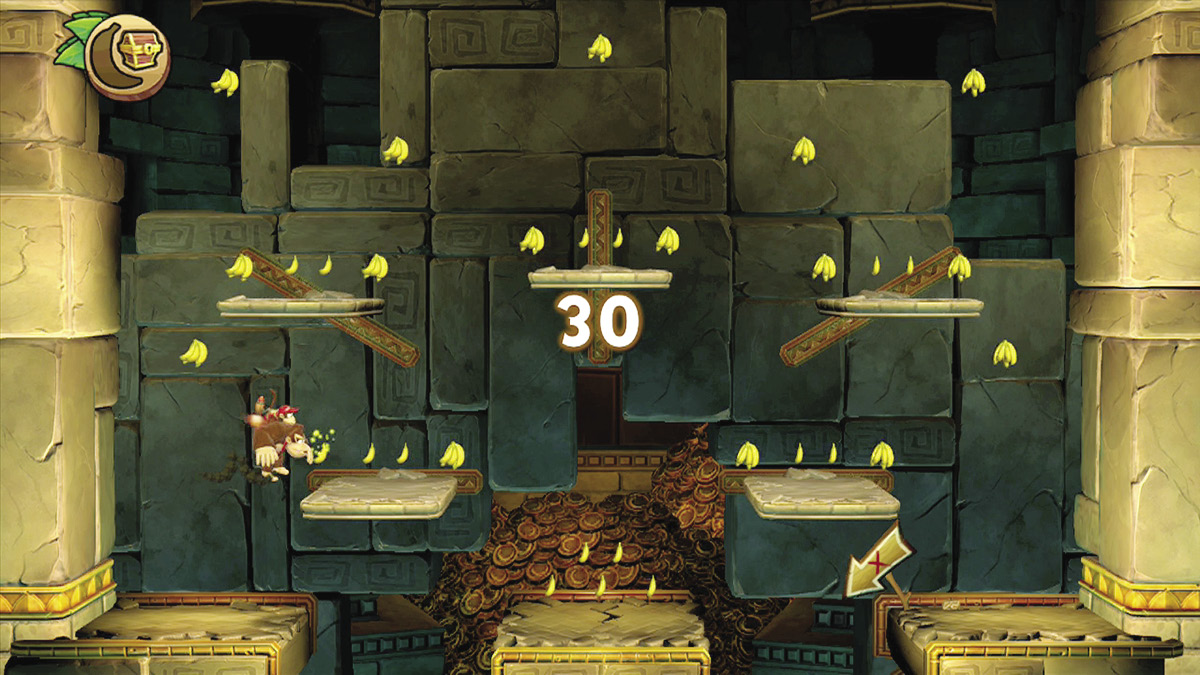
Once you enter the bonus room, you have 30 seconds to collect all of the available bananas. If you succeed, a Puzzle Piece appears near the center of the area.
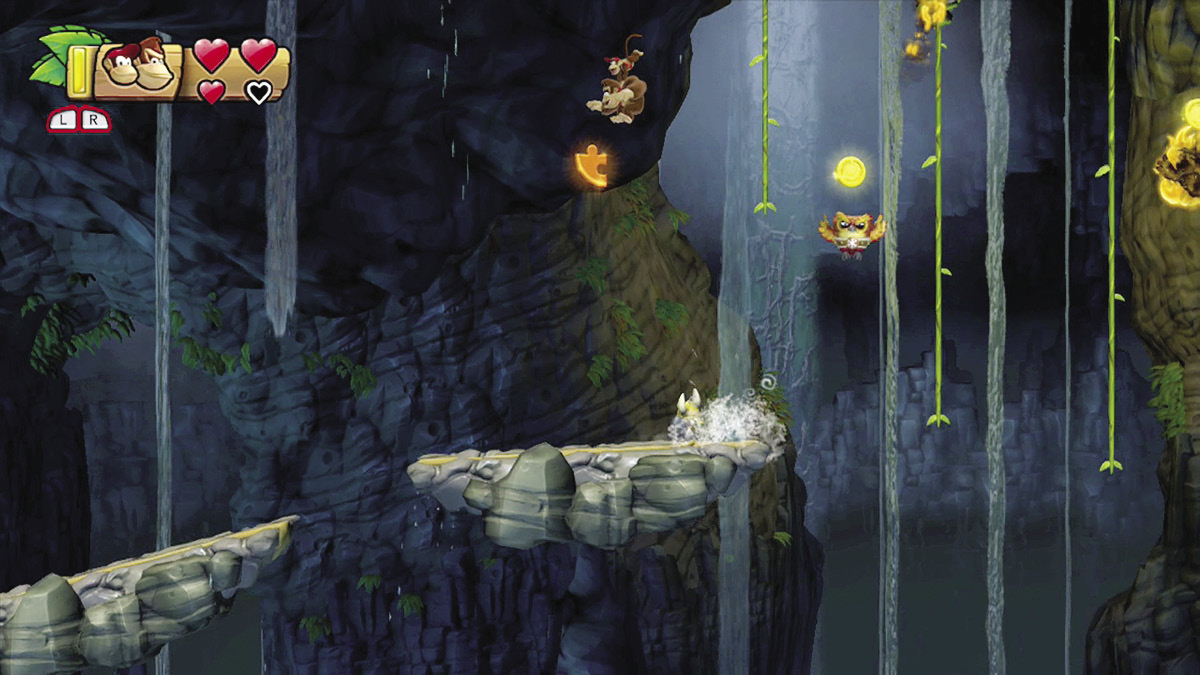

 A Puzzle Piece floats at point 8. Climb the nearby vines and drop through the Puzzle Piece to collect it before you move on.
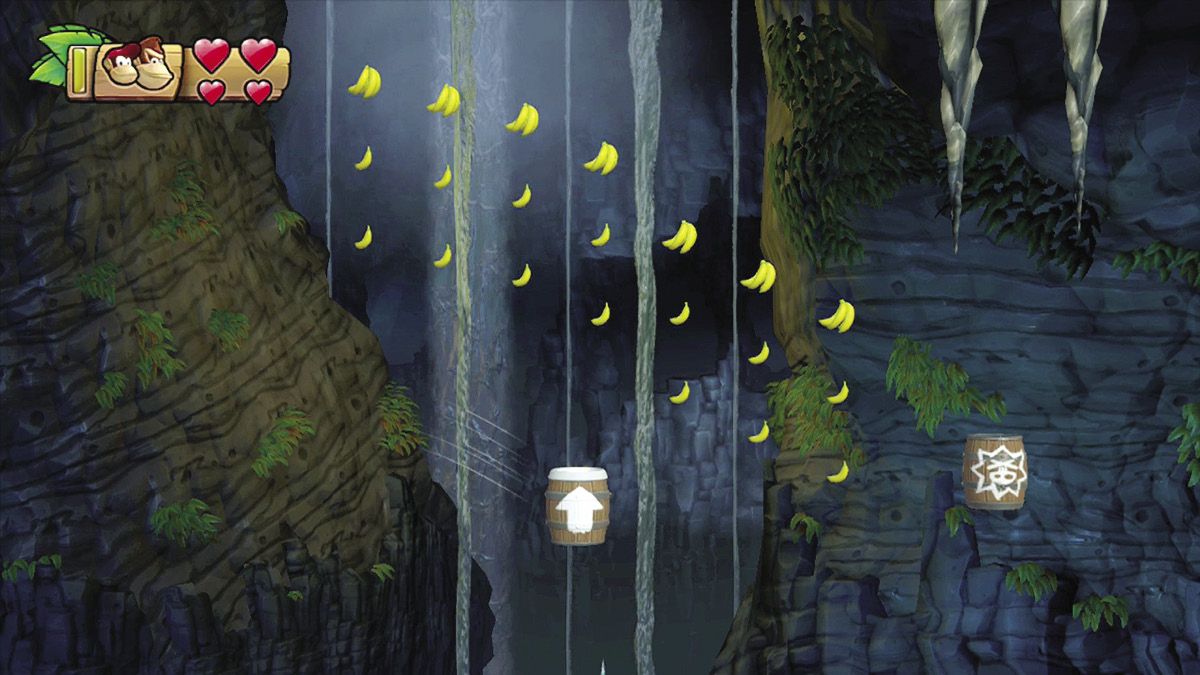

 Collect all of the bananas at point 9 to reveal a Puzzle Piece. As the Barrel Cannon sweeps through the area, launch yourself into the air to collect any bananas above you. Avoid entering the next Barrel Cannon until you’ve collected all of the bananas and the resulting Puzzle Piece.
|

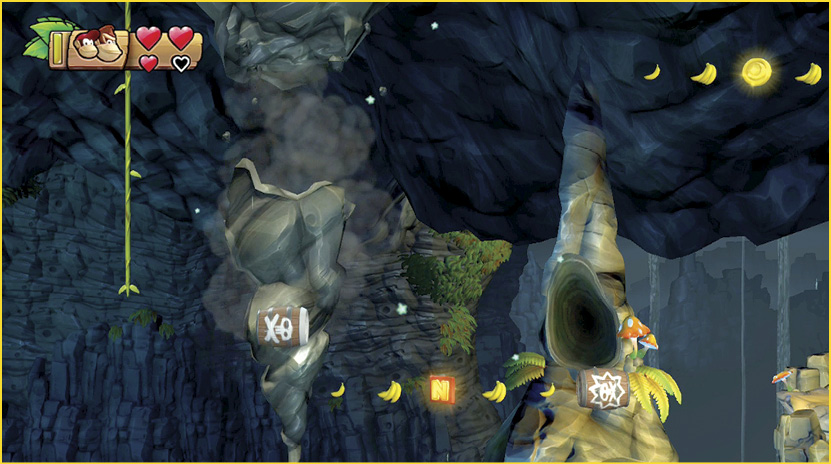
 When you reach the Barrel Cannon at point 10, the attached stalactite breaks loose from the ceiling. As you fall, look for the KONG Letter to the right. Launch yourself through the N and into the next Barrel Cannon before you fall off of the map.
|

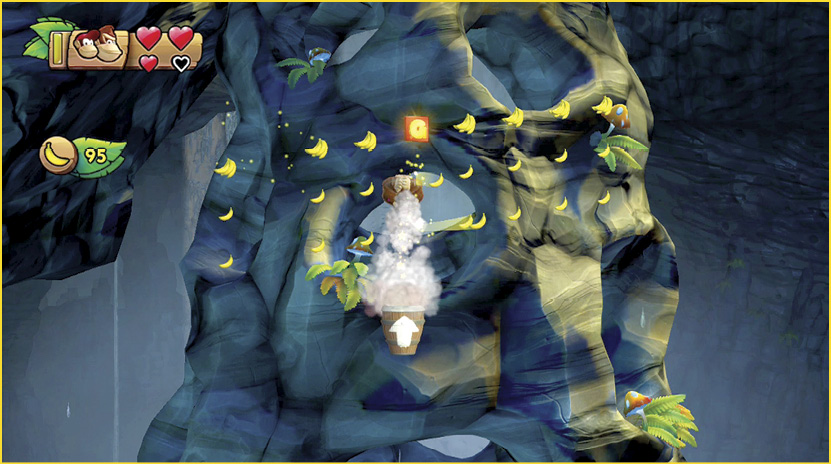
 The last KONG Letter appears along the giant stalagmite at the end of the map. As the Barrel Cannon sweeps through the area, launch yourself up through the G to collect it.