
Donkey Kong Country: Tropical Freeze Guide Walkthrough Island 1: Lost Mangroves
Stage 1-A: Zip-Line Shrine
Stage BasicsBetween this stage’s teetering platforms, swinging vines, and slick zip-lines, it’s particularly important to properly time each jump. This map contains very little solid ground, so be sure you cling onto any vines or zip-lines within reach—soaring past one of these objects often results in a costly fall. The map contains a single DX Barrel. Dixie Kong’s Helicopter Spin can be used to salvage most mistimed jumps, but the available Puzzle Pieces and KONG Letters can all be collected without her help. |
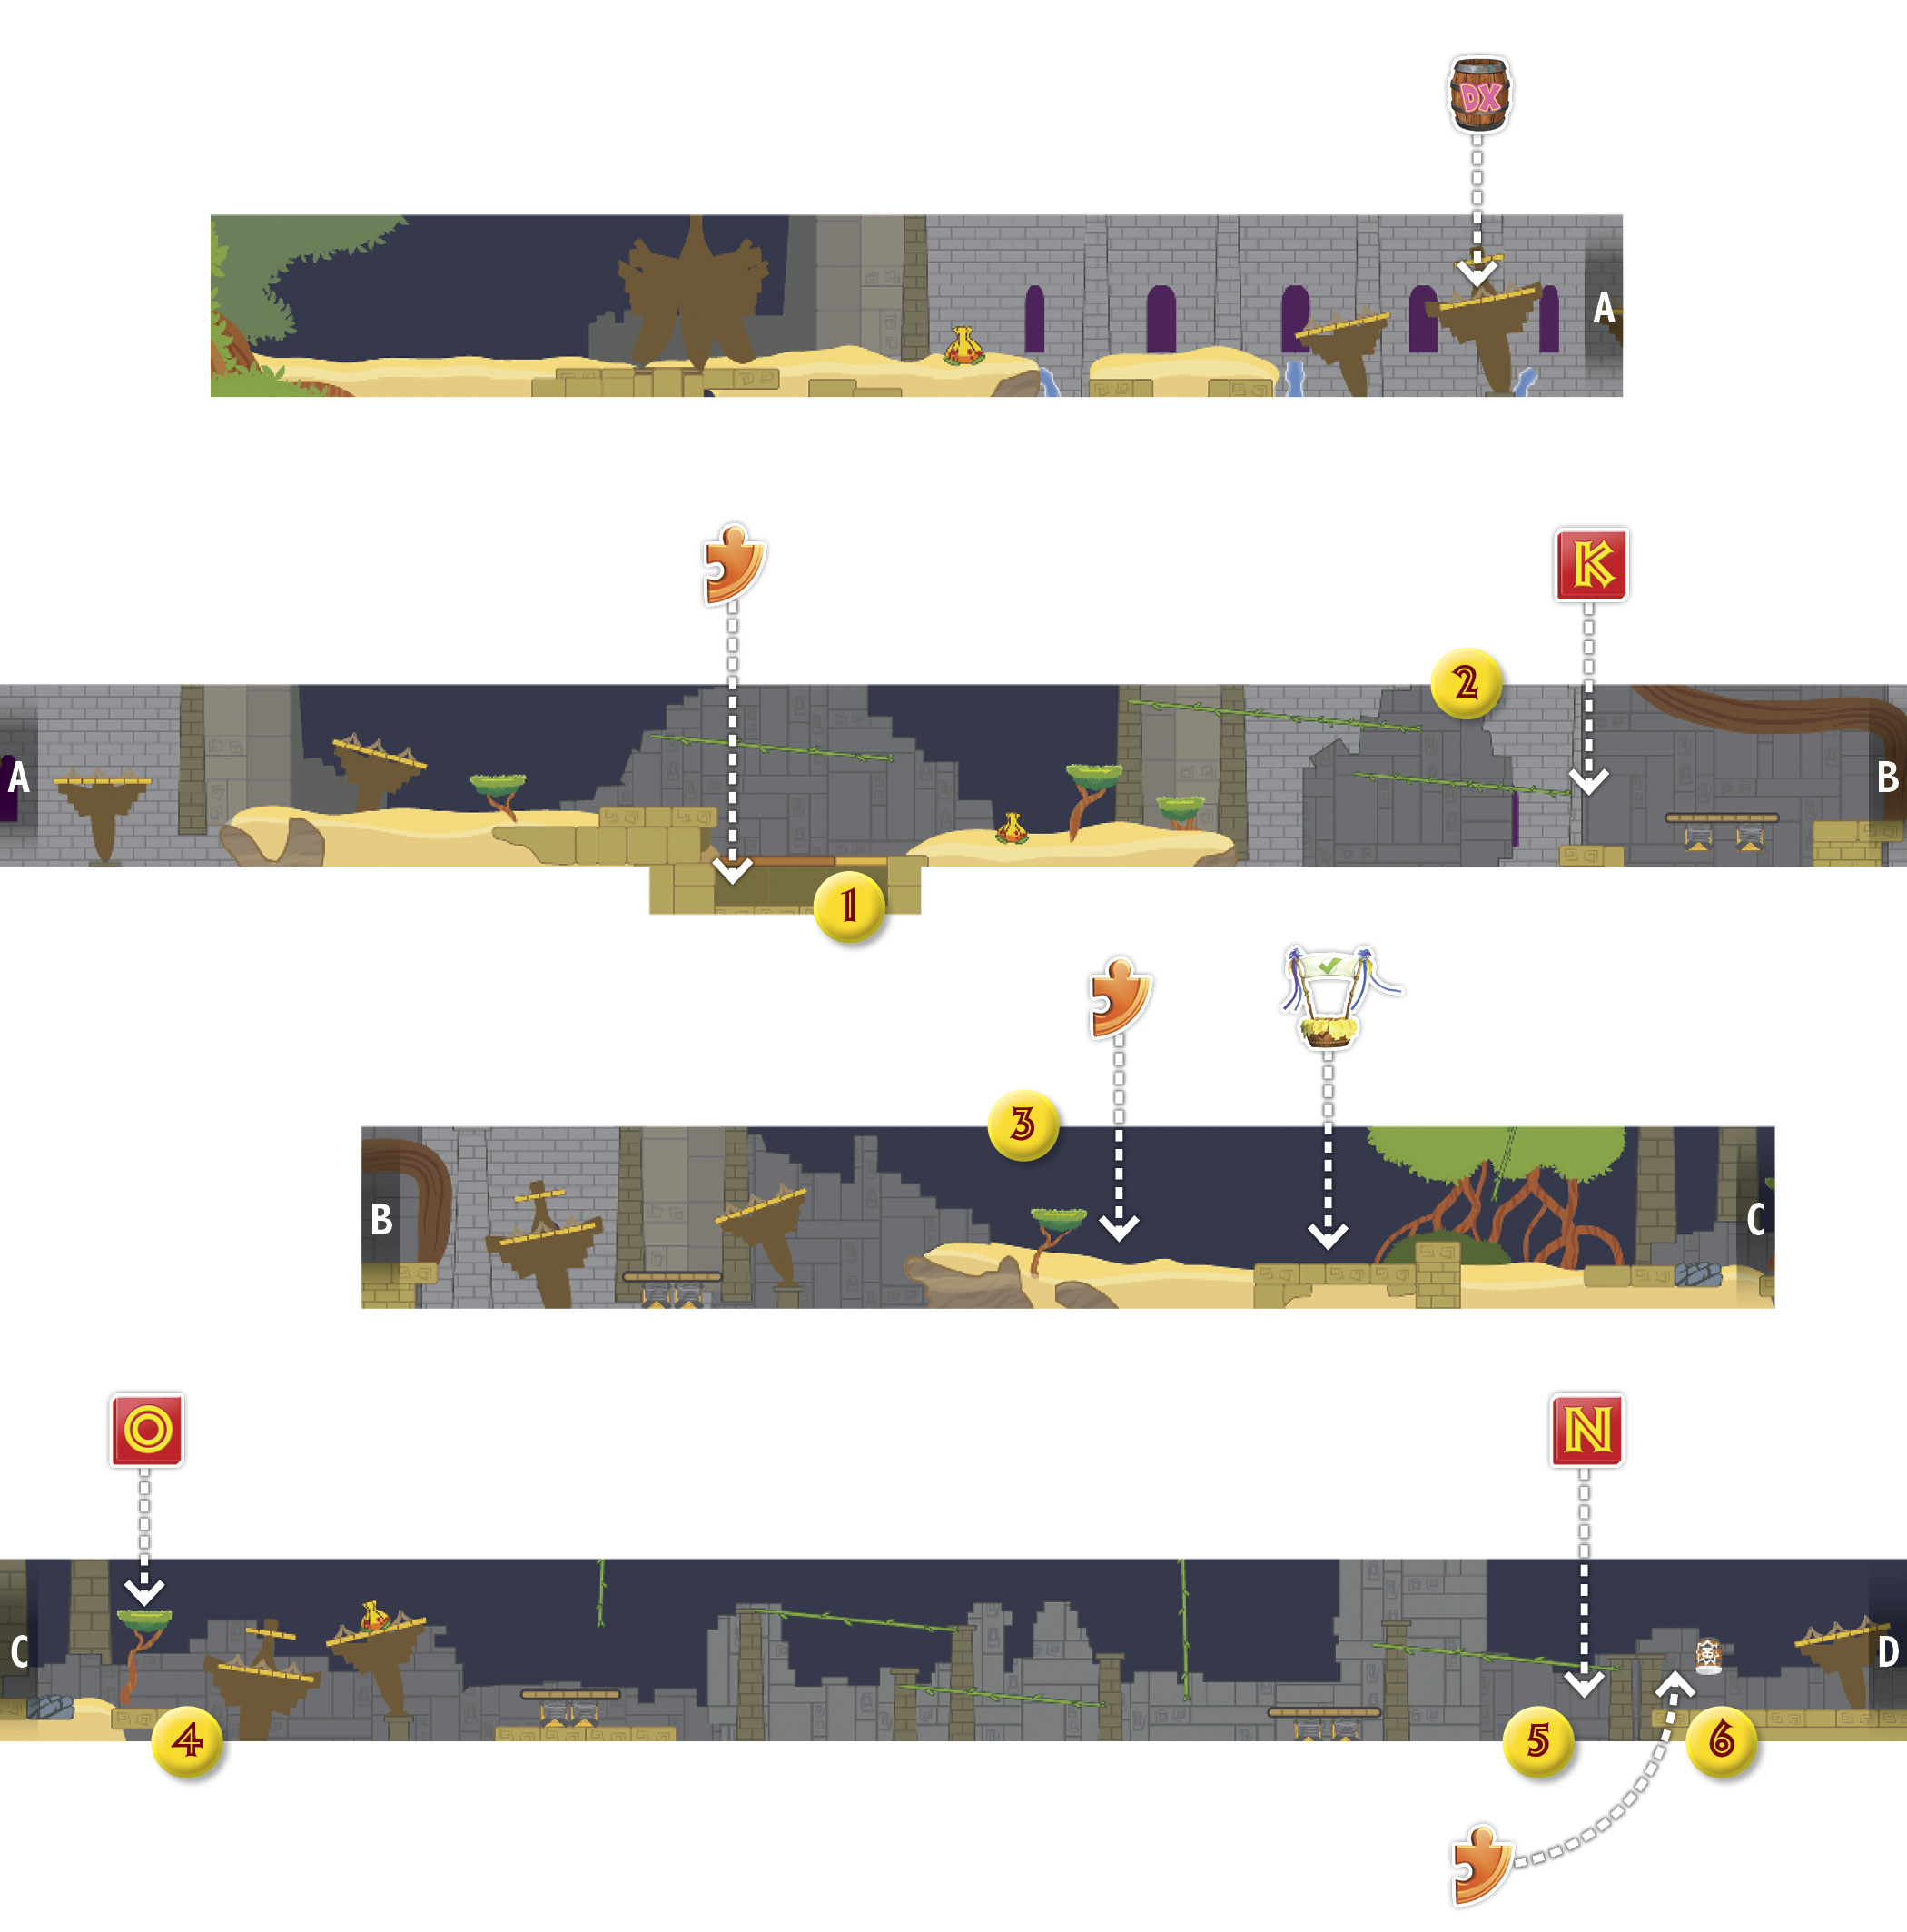

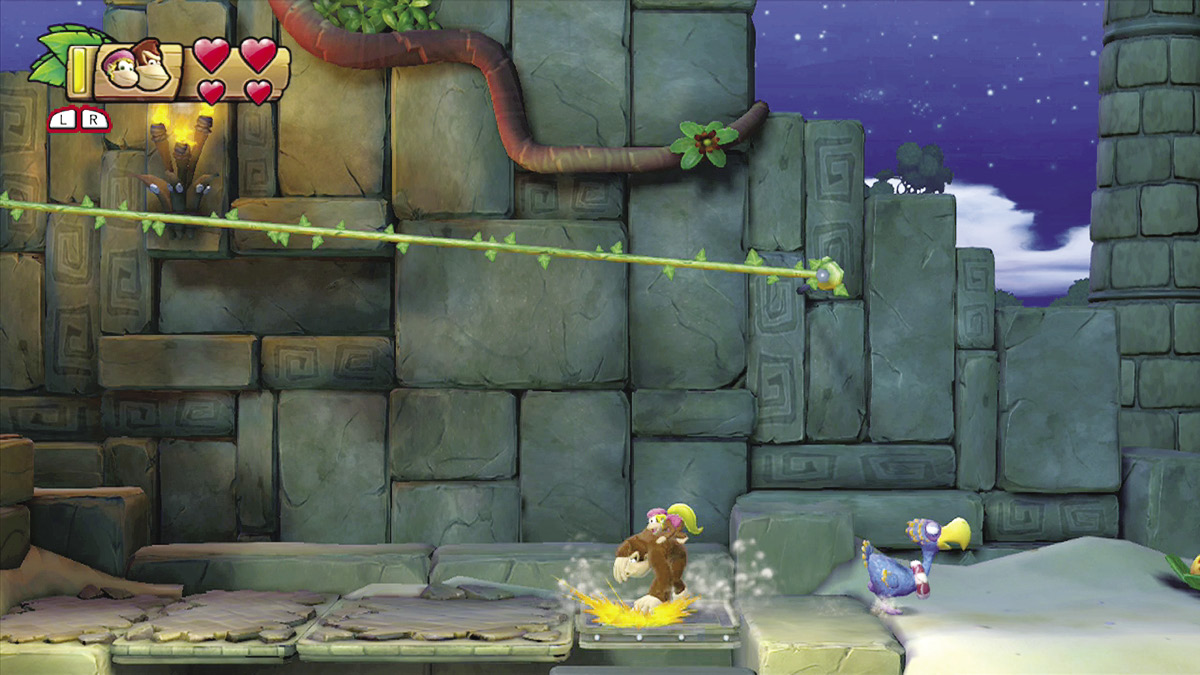

 There’s a Puzzle Piece hidden under the map’s first zip-line. Stand on the loose panel at point 1, then perform a Ground Pound to drop into a small enclosure. Grab the Puzzle Piece to the left, then return to the main path.
|

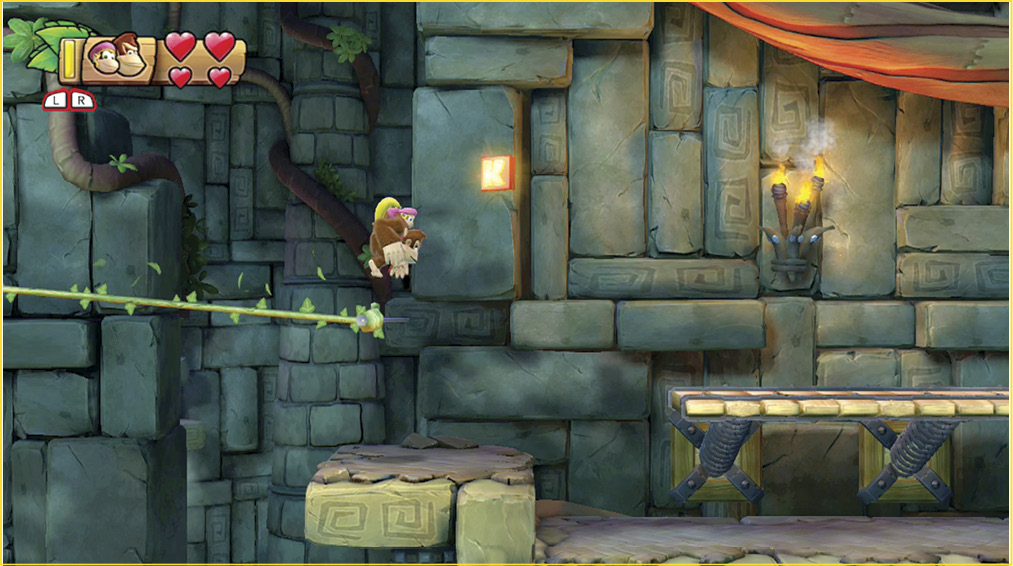
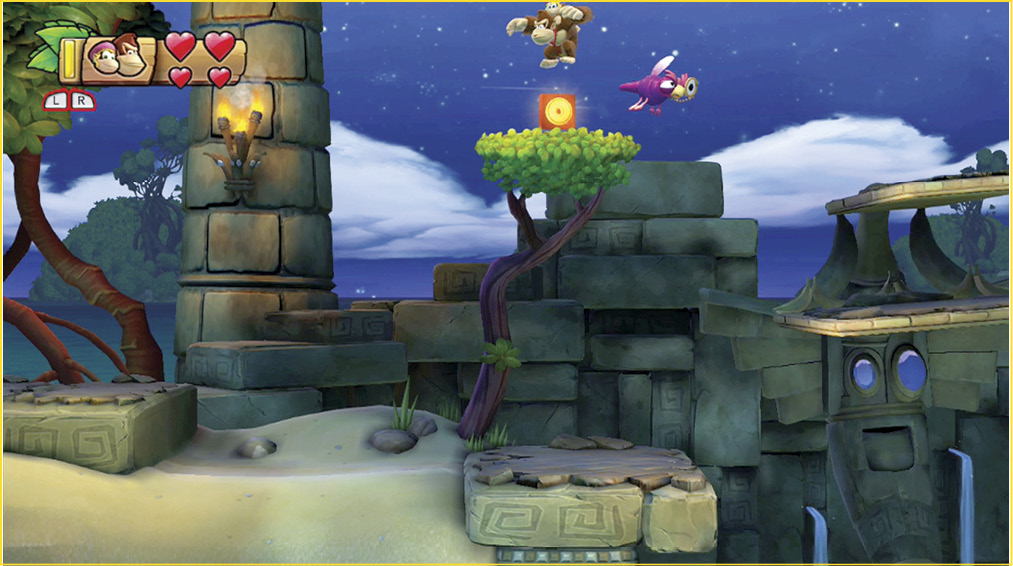
 The first KONG Letter is floating at point 2. Jump from the end of the zip-line to grab the K as you come sliding into the area. If you miss, simply use the nearby springboard to bounce up and collect the KONG Letter before you continue.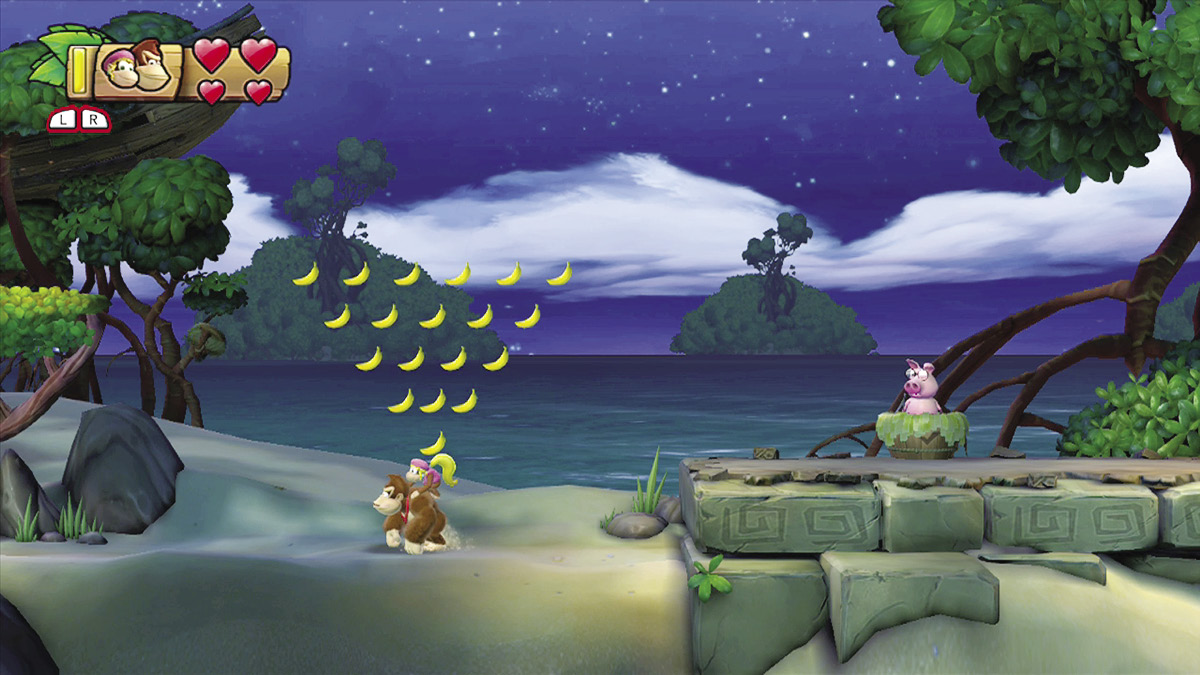

 Bop the Punchy Paddy at point 3, then pluck the handle on the ground. When you do, a several bananas burst out of the sand and form a triangular pattern in the air. Collect all of the bananas before they vanish to reveal a Puzzle Piece.
|

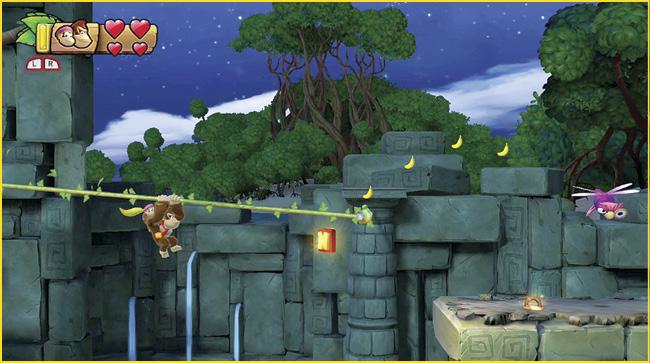
 The second KONG Letter is at point 4. To reach it, you can either leap from the nearby vine and perform a Helicopter Spin, or you can jump up along the teetering platforms to the right. Avoid or defeat the patrolling Monacle Monica, then grab the O and continue to the next area.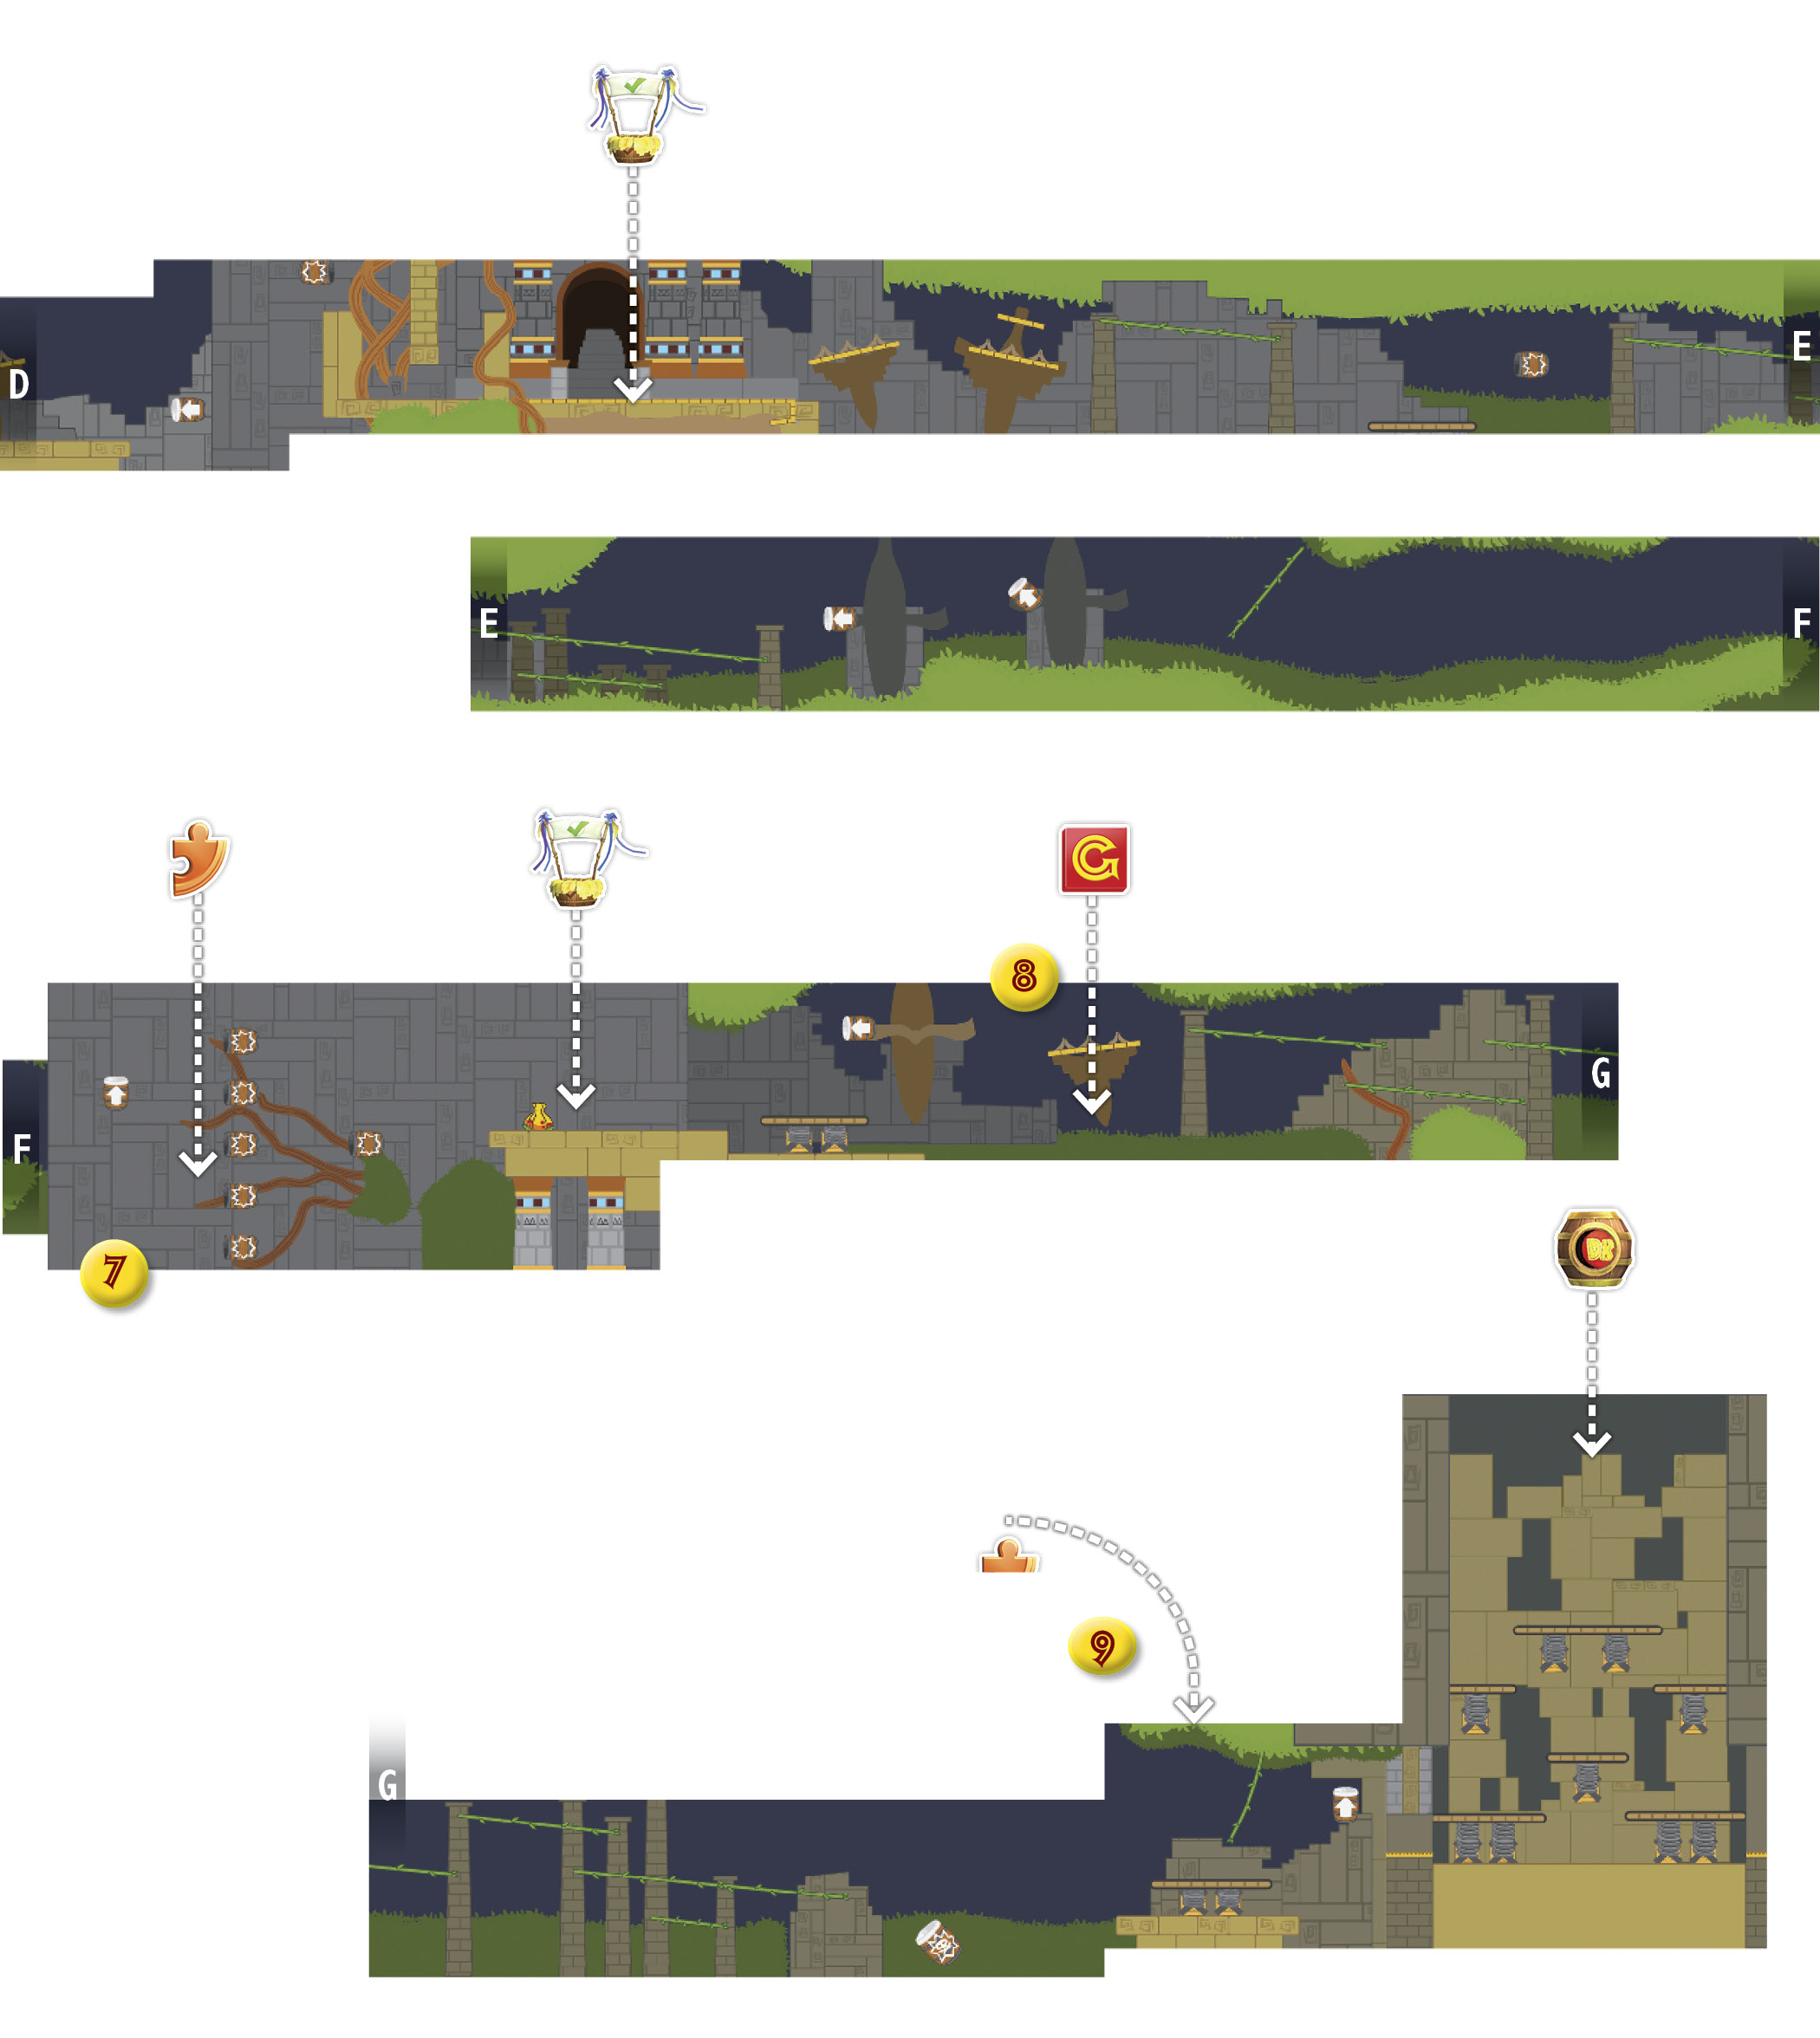
|

 The third KONG Letter is hovering at point 5. Slide along the zip-line until you collect the N, then jump to the nearby platform.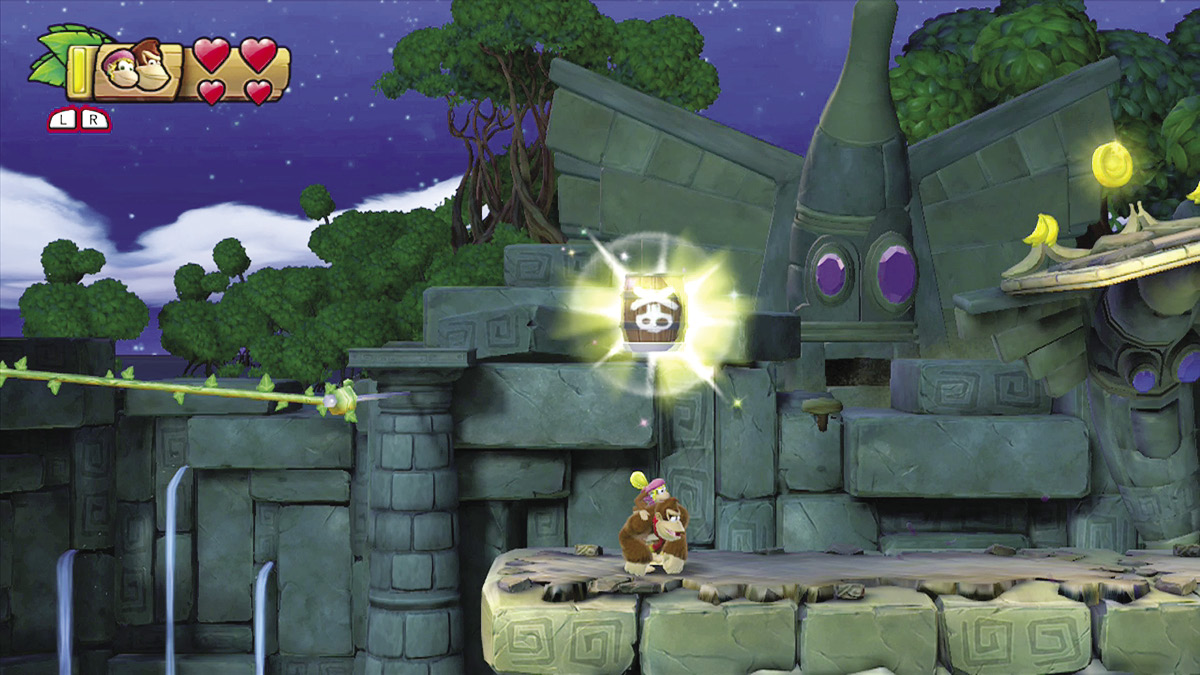

 Pull the handle at point 6 to reveal a hidden Barrel Cannon. When you’re ready, hop into the barrel to launch yourself into a bonus room.
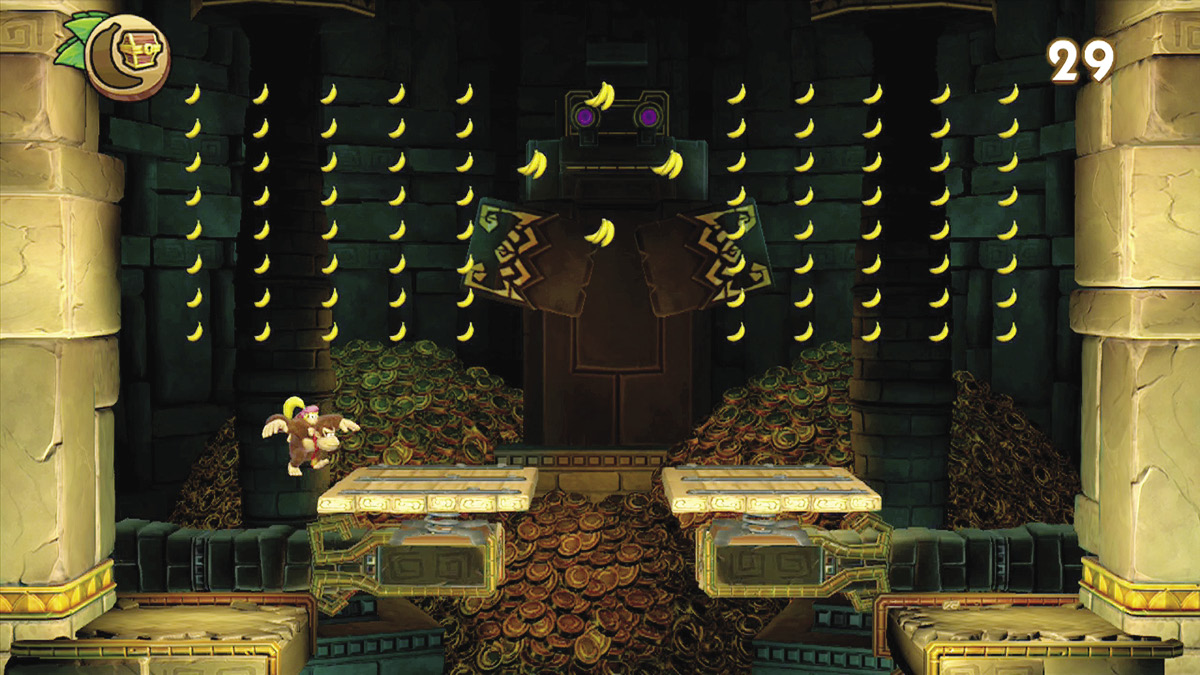
Once you enter the bonus room, you have 30 seconds to collect all of the available bananas. If you succeed, a Puzzle Piece appears at the center of the area.
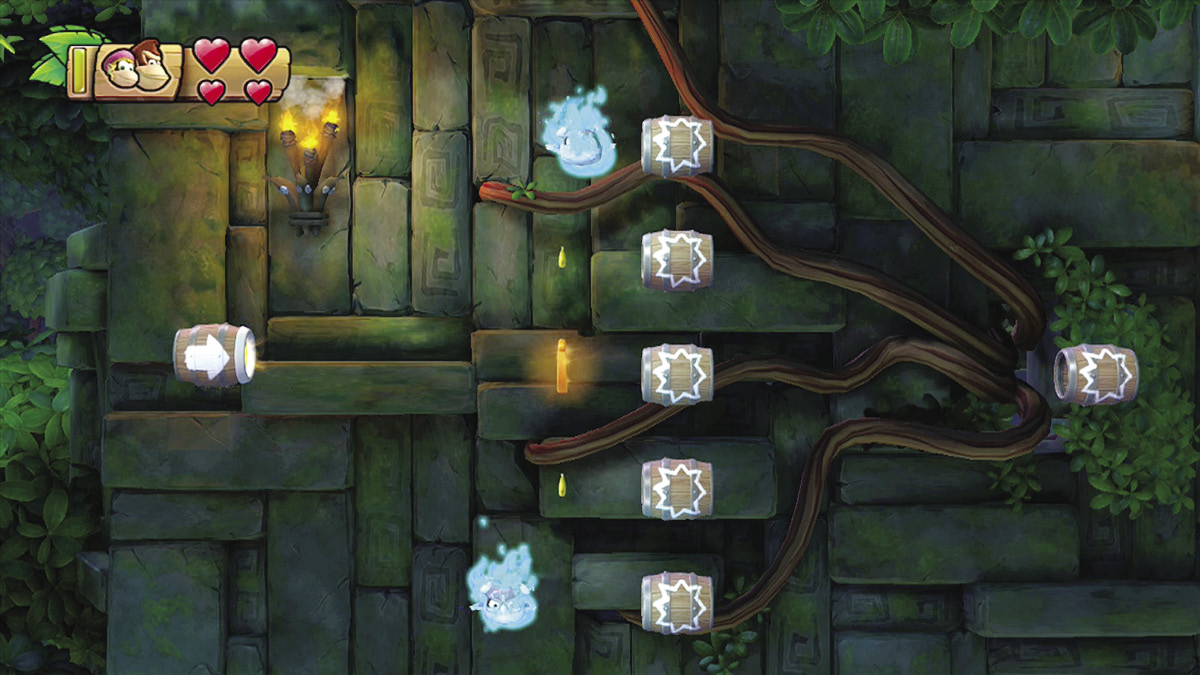

 When you enter the Barrel Cannon at point 7, look for the Puzzle Piece to the right. Wait until the barrel is in position, then launch yourself through the Puzzle Piece.
|

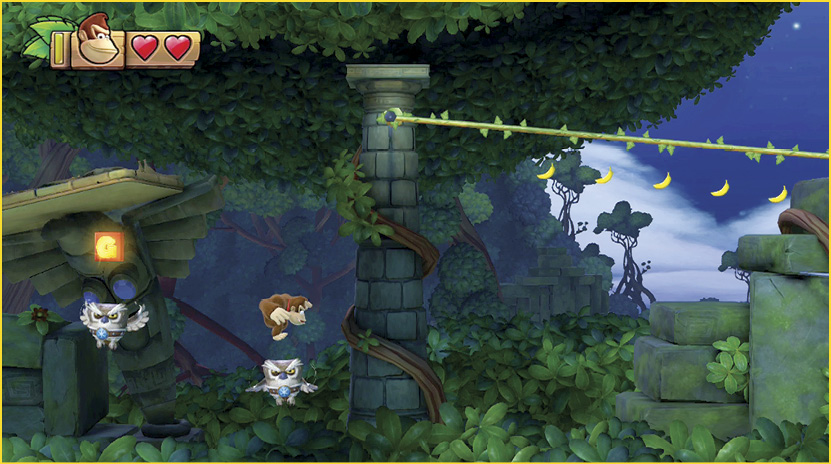
 The final KONG Letter is floating under a teetering platform. To collect it, you must bounce off of the enemies at point 8. Hop down toward the Hootz on the right, then press and hold the jump button as you bop its head. Steer your bounce to the left and grab the O, then press and hold the jump button to bop the remaining Hootz and return to the platform.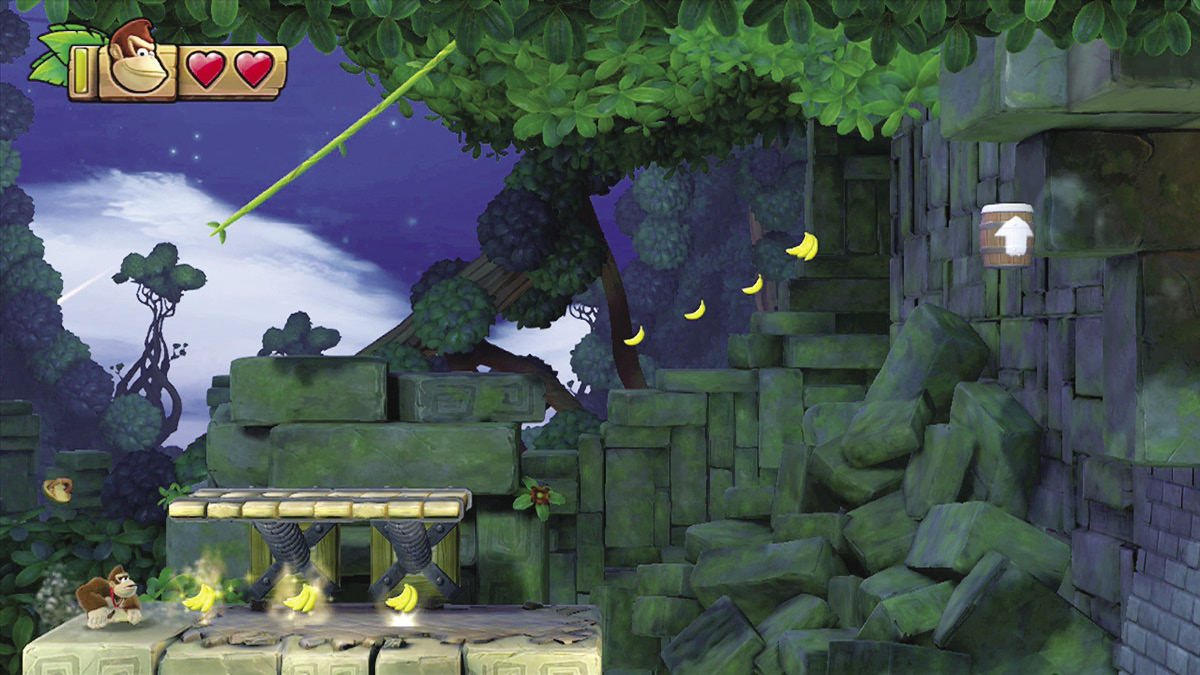

 Pluck the handle at point 9 to reveal three bunches of bananas. When you collect all of these bananas, a Puzzle Piece appears near the vine above you. Make sure you grab it before you swing over to the nearby Barrel Cannon.