Battlefield 3 DLC Guide — Premium Maps End Game Battlefields
Sabalan Pipeline
Conquest
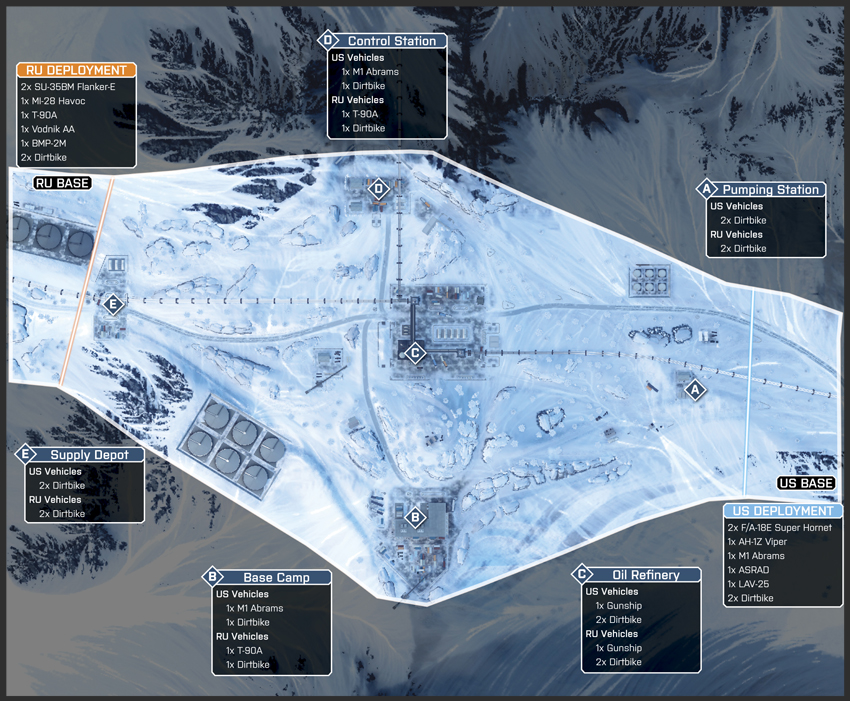
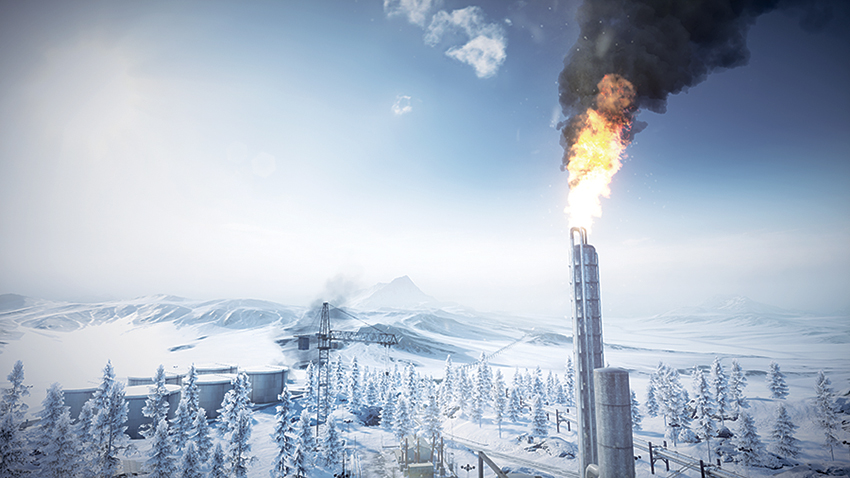
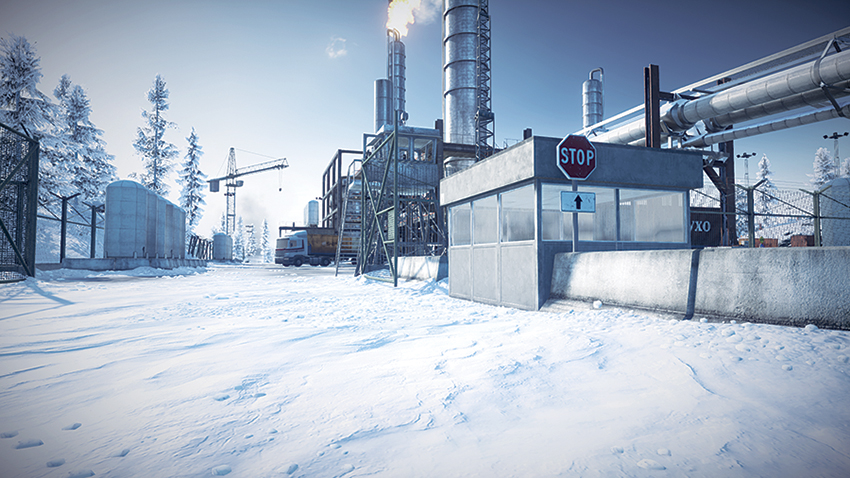
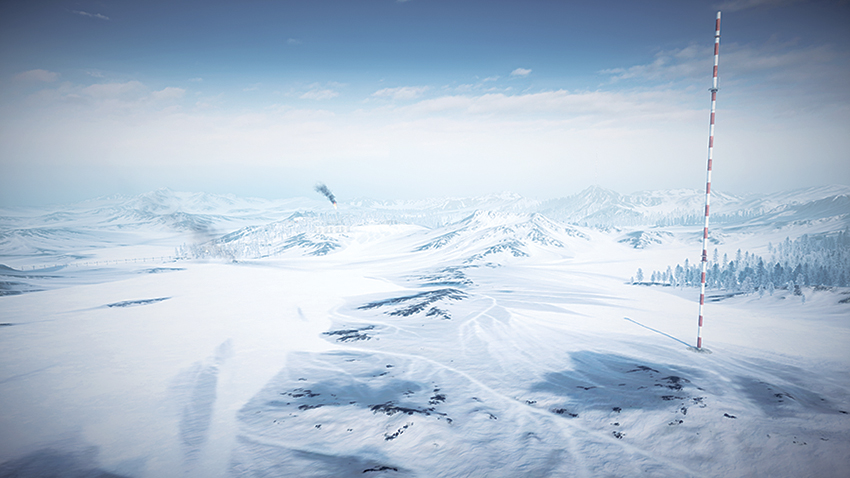
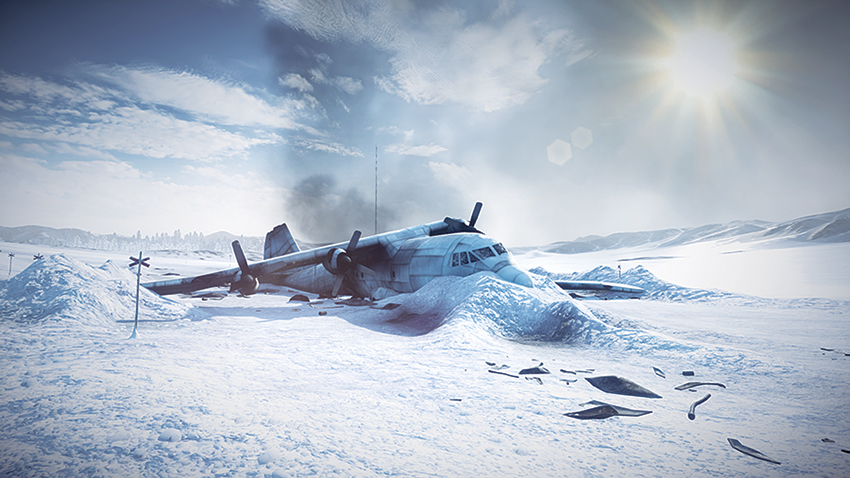
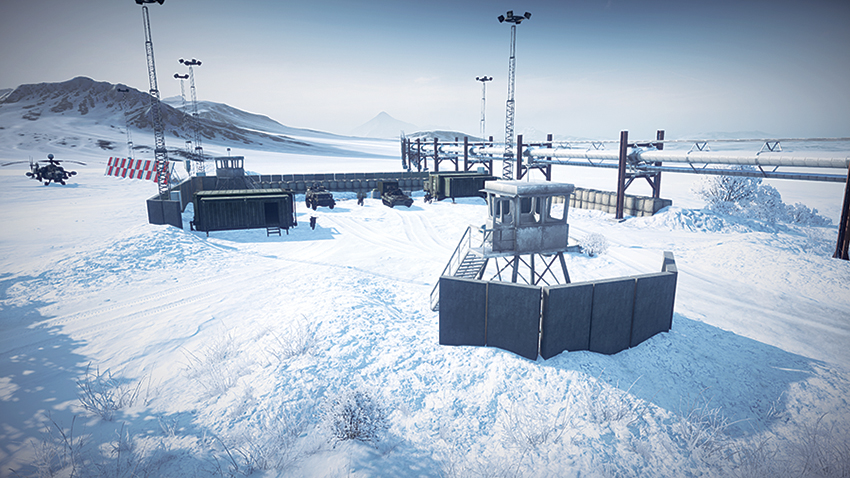
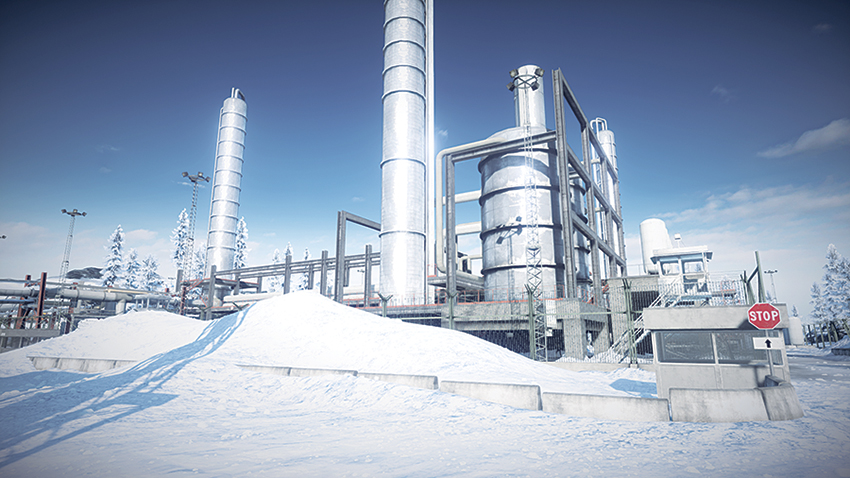
While renewable energy sources are being sought out, nations have begun exploring the basins within the Arctic region for crude oil in an effort to capitalize on a geocentric refining operation to ease rising market prices and provide their nation with this lifeblood of modern convenience. The battle at Sabalan Pipeline centers around one of these refining operations. Although the site’s crew was evacuated, leaving the refinery and its satellite buildings a mere shell of what it once was, the refinery’s flare stack still burns brightly. This flare provides a beacon for this strategic location among the whitewashed snowy landscape. This map features five control points. Both teams are deployed near the pipeline that cuts through this map running east to west. The US team deploys from a makeshift base on the map’s eastern end. This position allows the US team to capture the Pumping Station (A) as they move west and maintain control of it through most of the battle. Deploying from the western end of the map, the RU team will quickly capture the Supply Depot (E) as they push east; its proximity to their deployment allows them to maintain control through the battle. Due to their centralized locations, the Warehouse (B), Oil Refinery (C), and Control Station (D) will be contested throughout the duration of the battle, as neither team has an immediate advantage to capture these control points. Teams should focus on holding the Oil Refinery (C) because aside from affording the Dropship to the controlling team, the site provides long sight lines across the landscape.
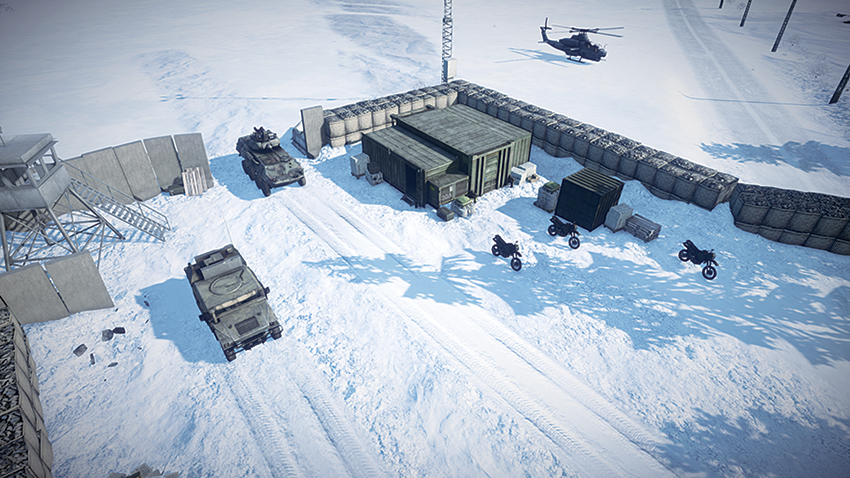
US Base
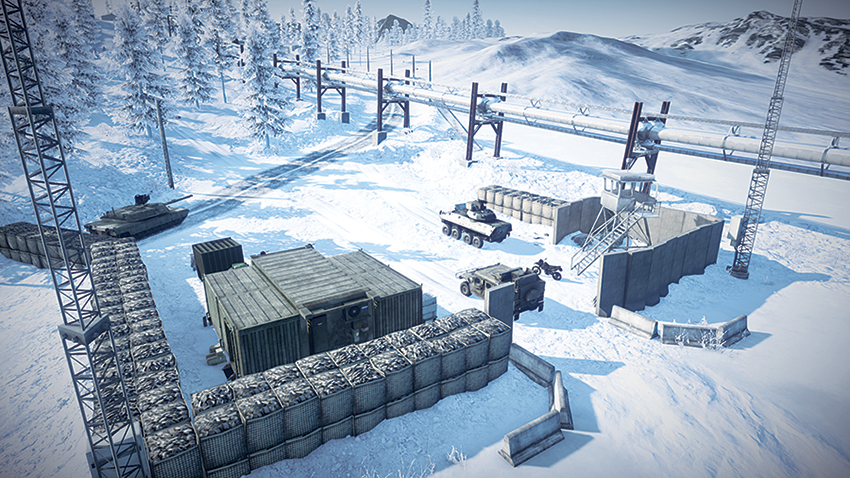
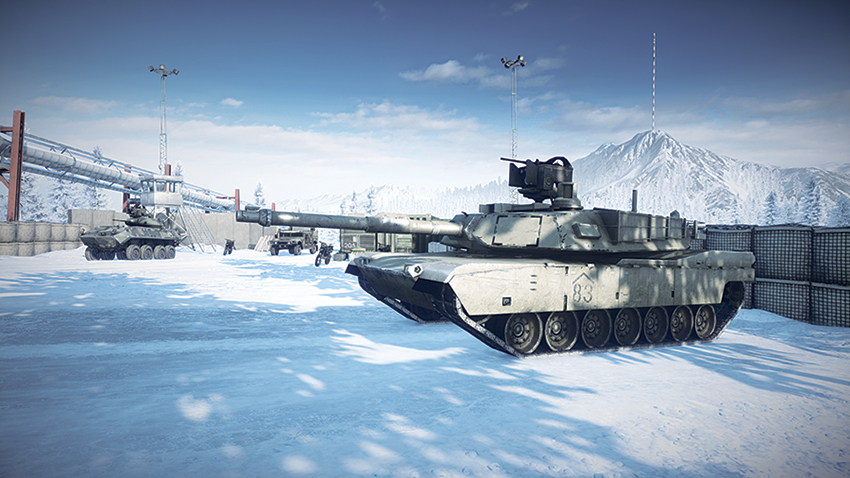
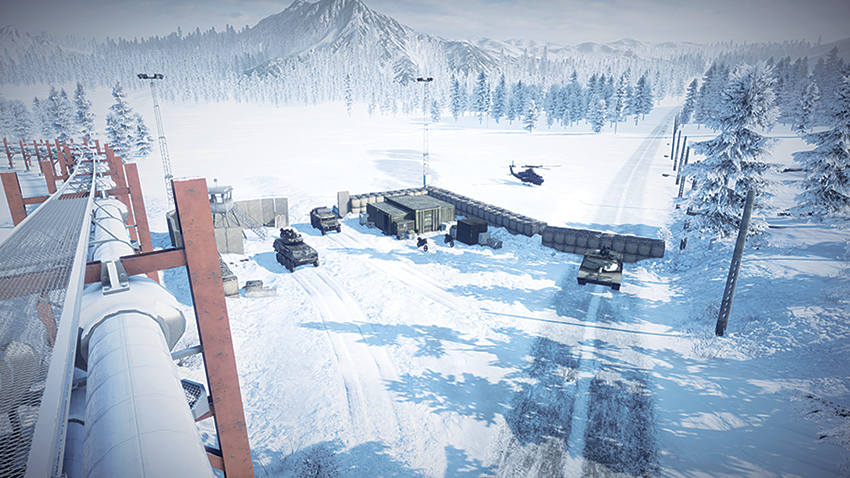
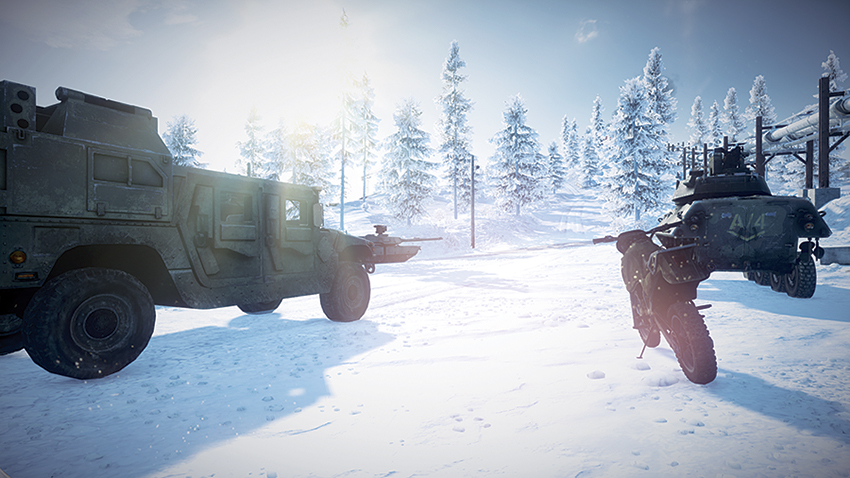
Deploying from the east side of the map, the US team should proceed west and capture the Pumping Station (A). Once this point is under the team’s control, the team should divide its resources, sending dirtbikes to the southwest to capture the Warehouse (B) while the heavier vehicles go west to the Oil Refinery (C). The primary reason for maintaining control of the Warehouse (B) this early in the battle is to access the M1 Abrams that spawns there. This second M1 Abrams can reconnect with the rest of the team attacking the Oil Refinery to the north. By this time, the RU team should be attempting to take control of the Oil Refinery (C) as well, and the extra firepower is useful in pushing them back. While this conflict is taking place, the AH-1Z Viper should patrol between the Warehouse (B) and the Pumping Station (A) to prevent RU forces that have splintered off during the battle from capturing these control points amid the chaos. Another control point to attempt while pushing toward the Oil Refinery (C) is the Control Station (D) to the north. Like the Warehouse (B) to the south, this control point awards the controlling team with a tank. The Control Station (D) attracts the attention of the RU team more than the Warehouse (B), though, because it’s easy to reach from the RU team’s deployment. When maintaining control of this point, the US team should expect heavy resistance from the RU team deployment area.
RU Base
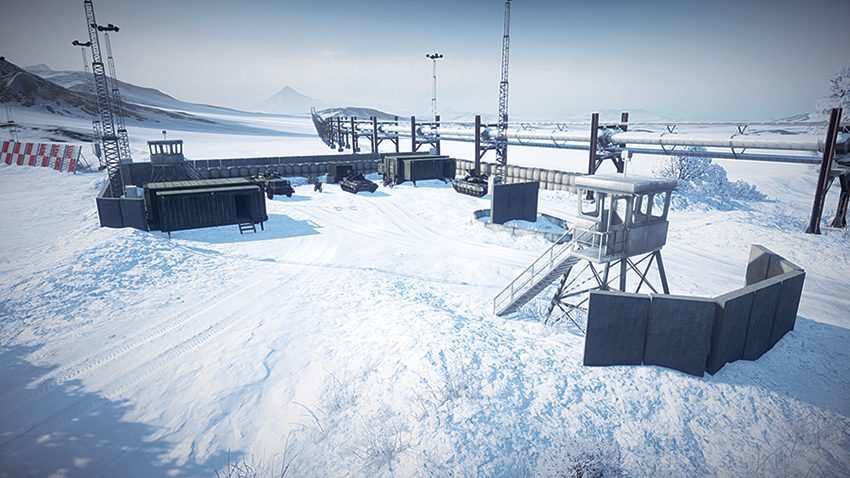
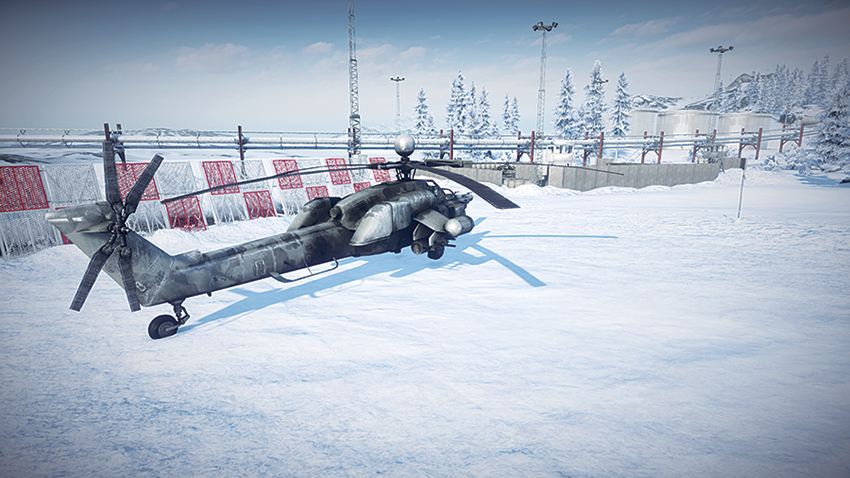
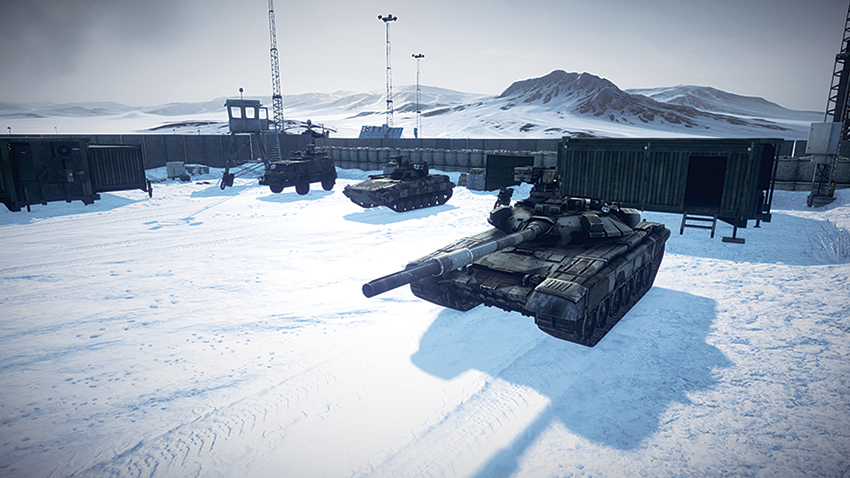
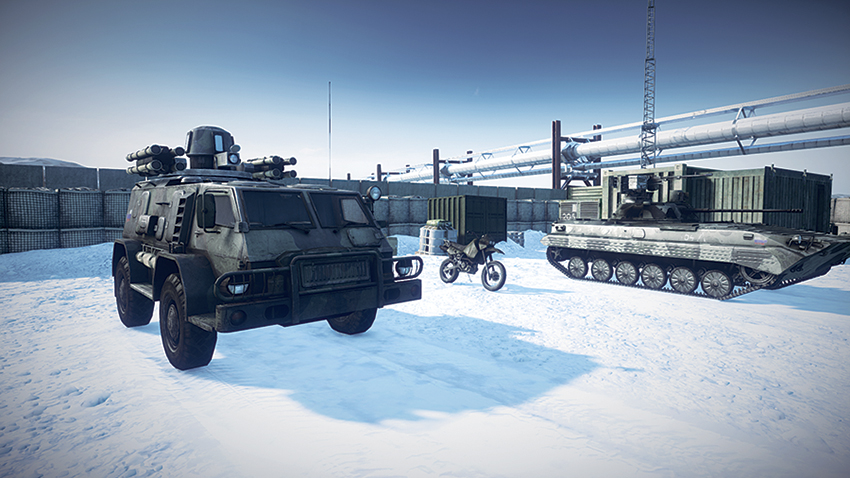
Deploying from the west, the RU team is poised to quickly capture the Supply Depot (E) and maintain control of it throughout the battle. With this point captured, the team should then move to capture the Oil Refinery (C) next. While squads are en route to the Oil Refinery (C), any available dirtbikes should make their way to the map’s north side and capture the Control Station (D). With this point under the team’s control, they are afforded another T-90A that can regroup with the squads assaulting the Oil Refinery (C) area to the south. One strategy is for the recently acquired T-90A to continue moving south, past the Oil Refinery (C), and capture the Warehouse (B). By this time though, the Warehouse (B) is likely to be under control of US forces, so this should be kept in mind when approaching the Warehouse (B) area. Should capture of this point be successful, another T-90A can be deployed from this control point as well, giving the RU team a tactical advantage over the opposition. When leaving the Warehouse (B) area, the team should expect to lose the control point quickly, as the US team’s deployment connects to the road that runs east from the control point, allowing them to access the site quickly to reclaim it.
Pumping Station
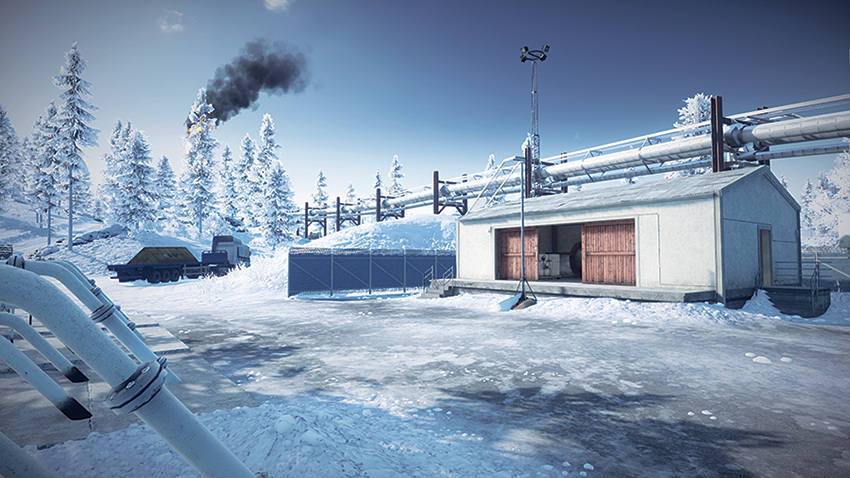
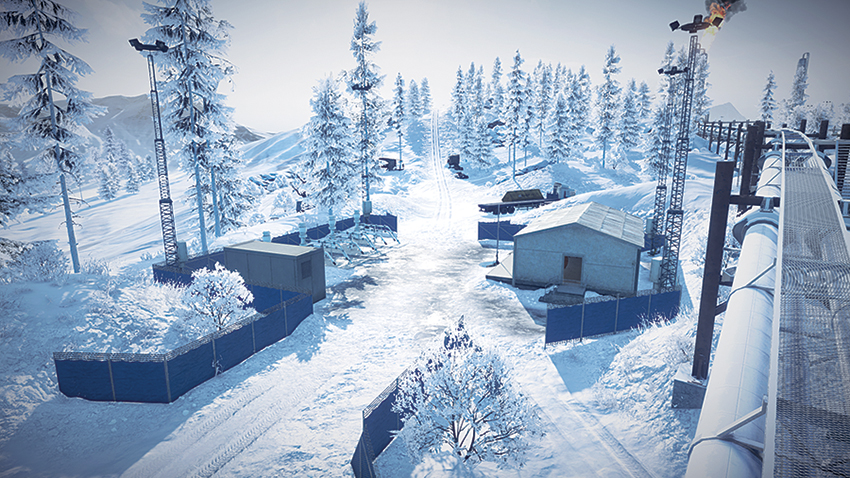
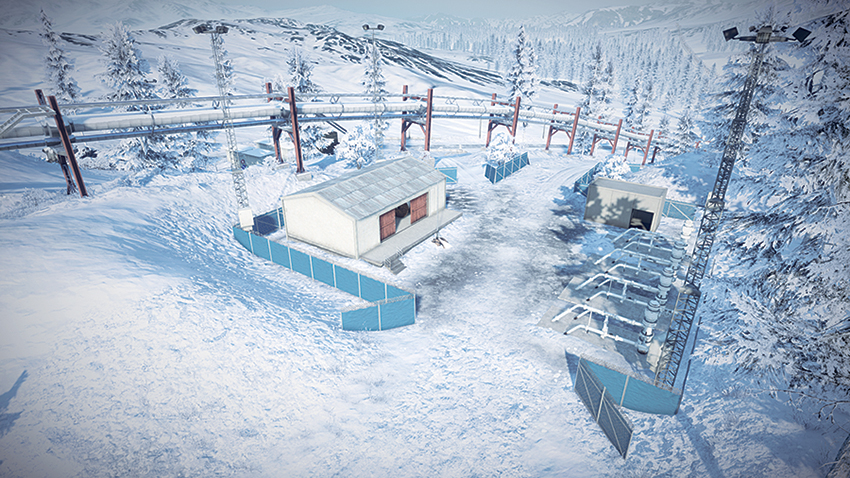
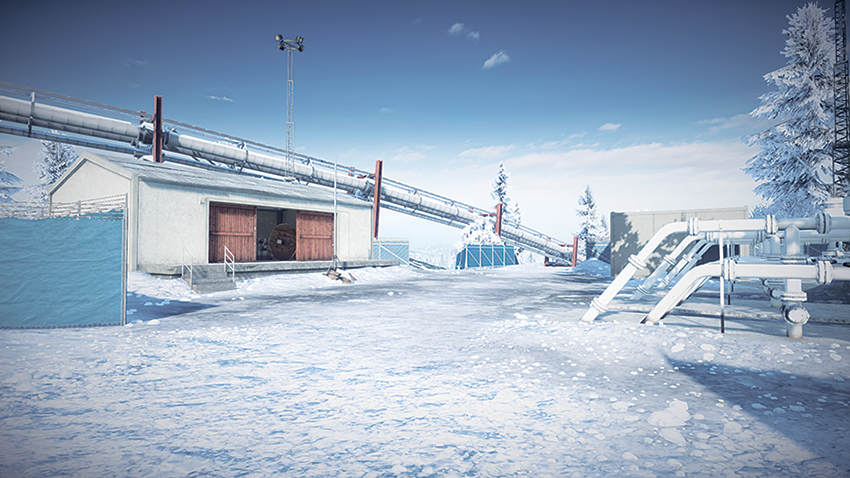
Located on the east side of the map, this control point will likely be held by US forces throughout the battle. With an exposed flag and immediate access from roads, this site can be claimed by the RU team to push back US deployment vehicles. An RU team looking to accomplish this should leave the work to dirtbikes, with air cover provided by the MI-28 Havoc. This strategy is designed to prevent heavier vehicles like the T-90A or BMP-2M from leaving the map’s central area, where the combat is most intense. If the US team loses a foothold here, they can easily reclaim the site by using heavy vehicles from the deployment site making their way west. To eliminate campers at this site, climb onto the nearby oil pipeline via the ladders east of the flag. Doing so provides a sight line into the flag area.
Warehouse
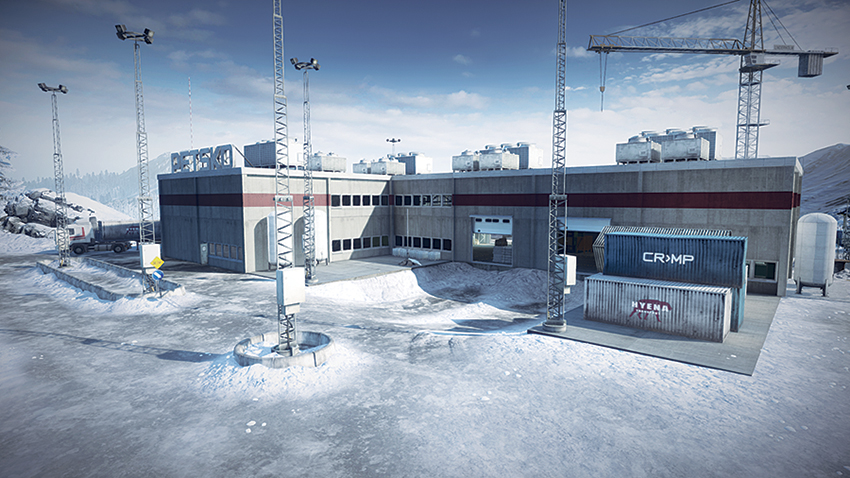
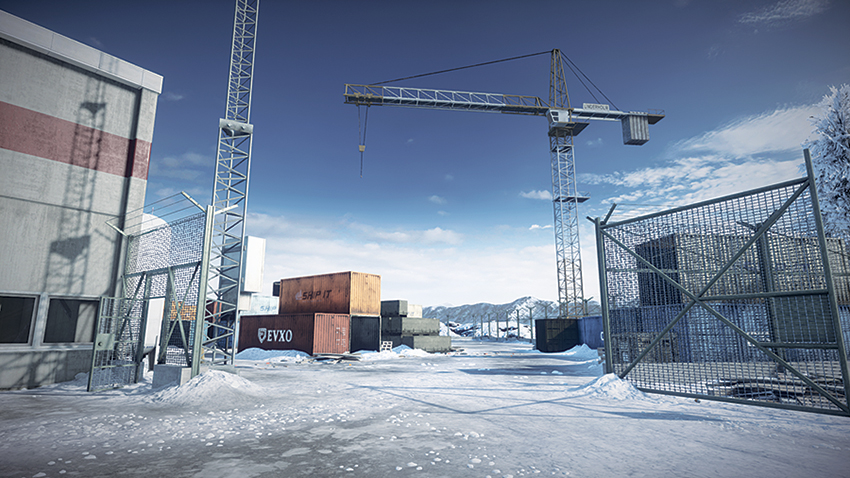
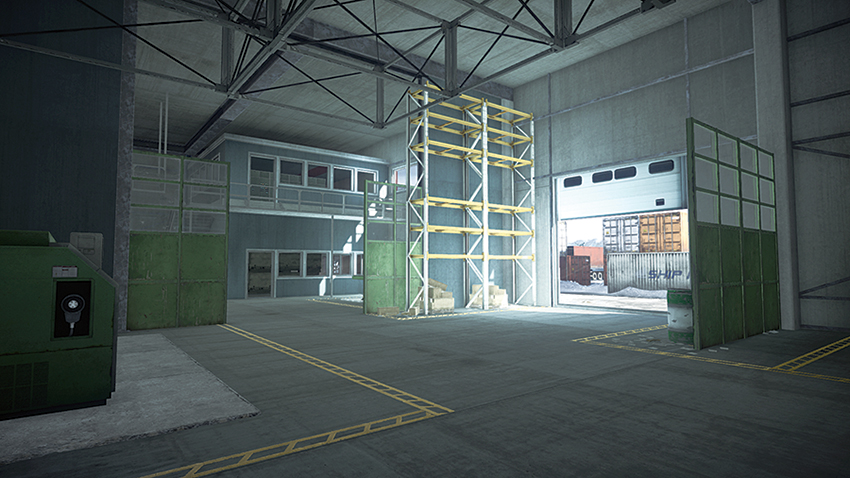
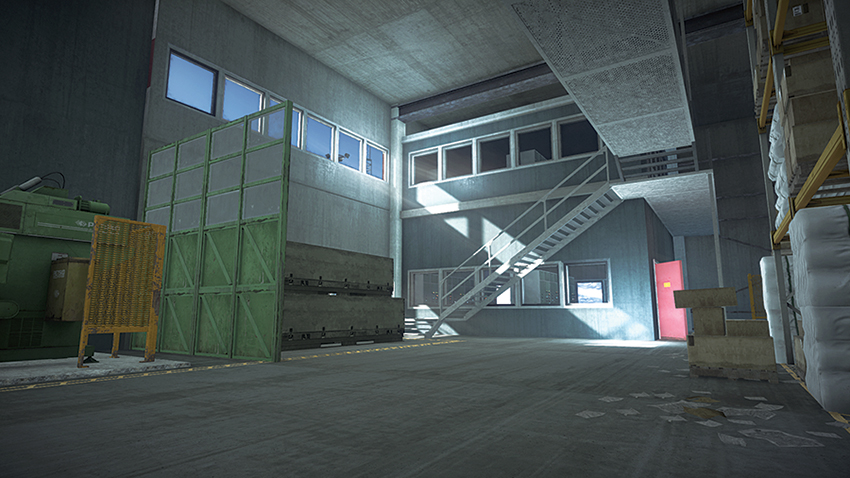
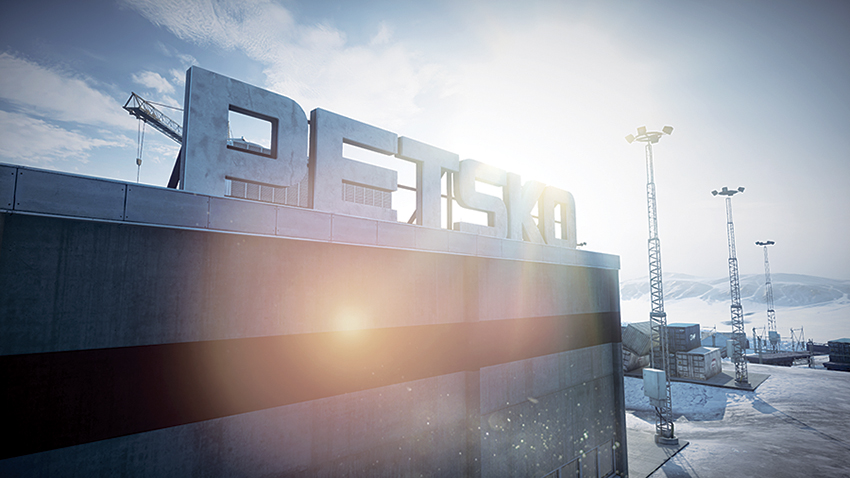
The Warehouse (B) is located on the southern edge of the map, directly south of the Oil Refinery (C) and over a hill. Although the site is slightly outside the intense combat around the Oil Refinery (C), the strategic significance of the control point is that the capturing team is rewarded with an extra tank that can be deployed from the site. An immediate disadvantage to this control point is that even from the roof, there are not many direct sight lines to watch other control points. The key sight line offered here requires climbing the crane outside of the southern fence line. From here, a sniper has a good view of the northwest, including the vehicles deploying from the RU team’s base. When capturing the control point from the enemy, teams should make use of the entrances on the building’s south and east sides, as any campers are likely to be on the roof with their attention directed toward the northern road that leads from the Oil Refinery (C).
Oil Refinery
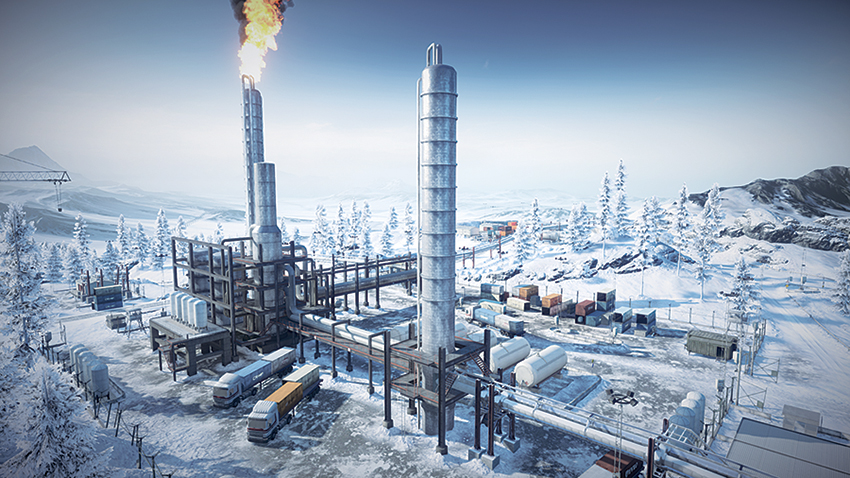
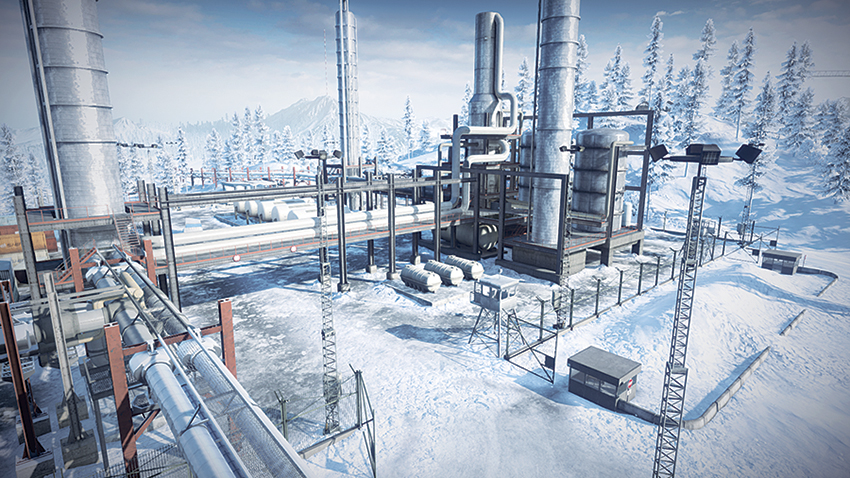
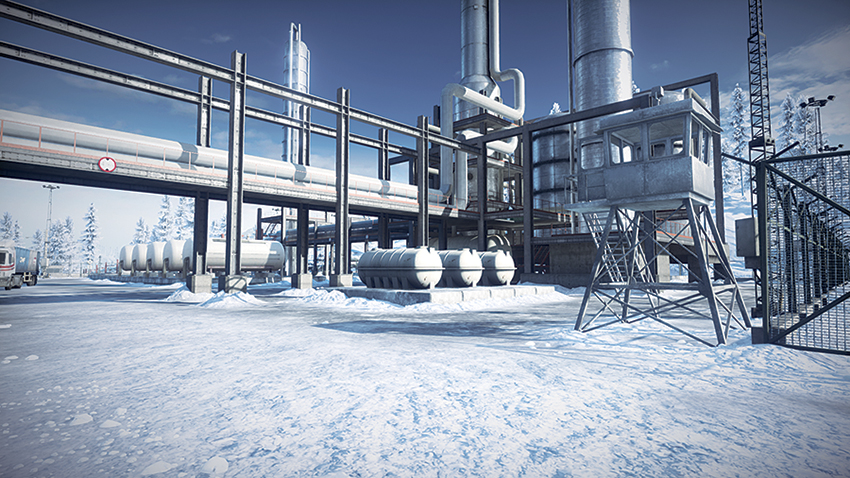
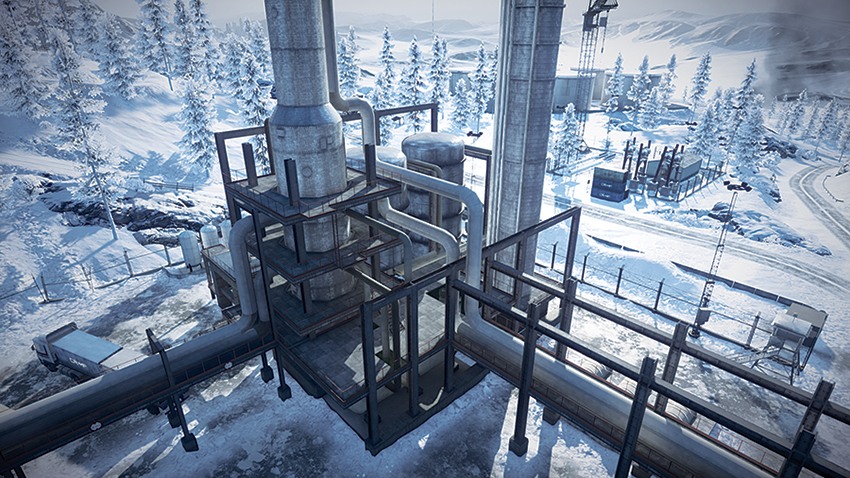
Central on the map is the Oil Refinery (C). This monolithic structure is visible from nearly all corners of the map, as its gas flare serves as a fiery beacon among the snow-capped landscape. This will quickly be a highly contested control point, not only for the Dropship that is awarded to the team that controls it, but also for the sight lines offered by climbing atop the large metal silos on the refinery’s south side. From this vantage point, nearly all four corners of the map can be observed, providing for early detection of enemy armored vehicles as they approach to capture the point for themselves. Combat is fiercely competitive here, as the Refinery’s multiple tiers invite close-quarters combat and the expansive area surrounding the Refinery allows for armored vehicles to bombard the site with artillery. For infantry looking to access the site undetected, the three pipelines that connect to the Oil Refinery from the west, north, and east can be traversed to access the Refinery’s second level with relative ease. When using this method of approach, soldiers should be aware that staying on the pipeline exposes them to sniper fire from the Refinery itself, so make the trek as short as possible.
Control Station
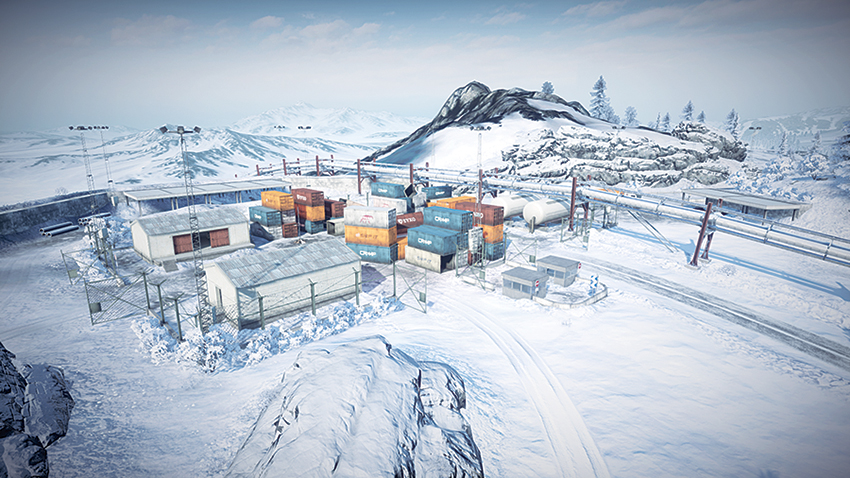
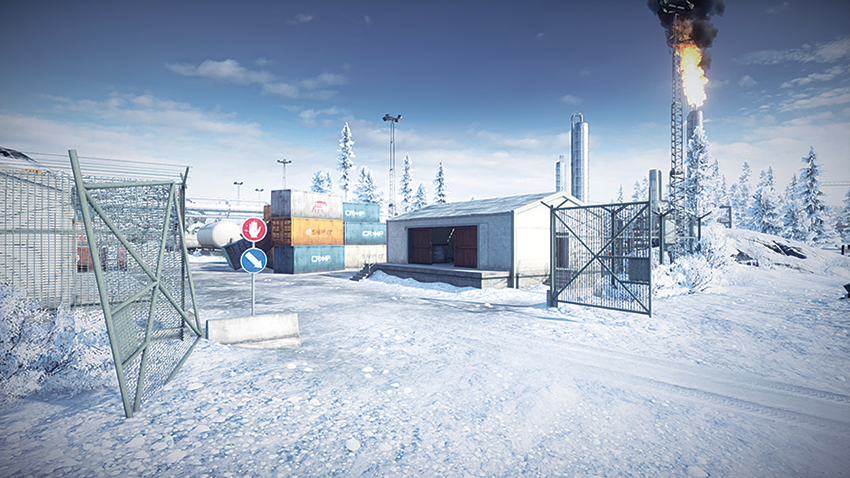
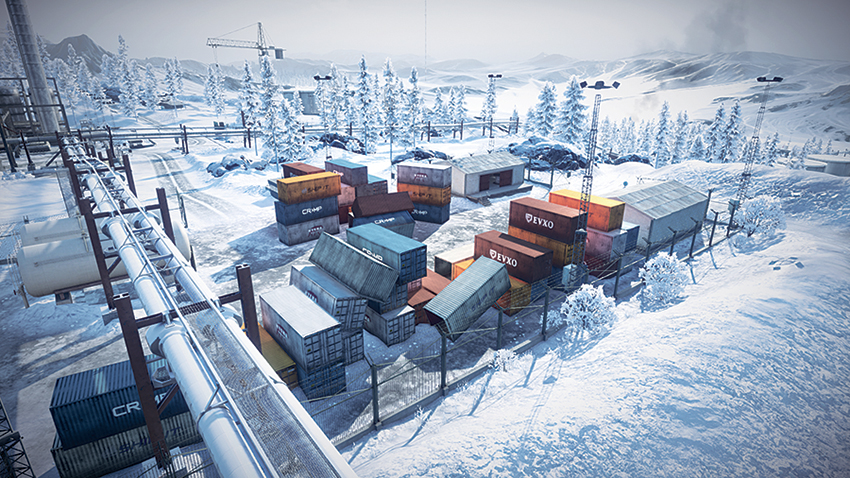
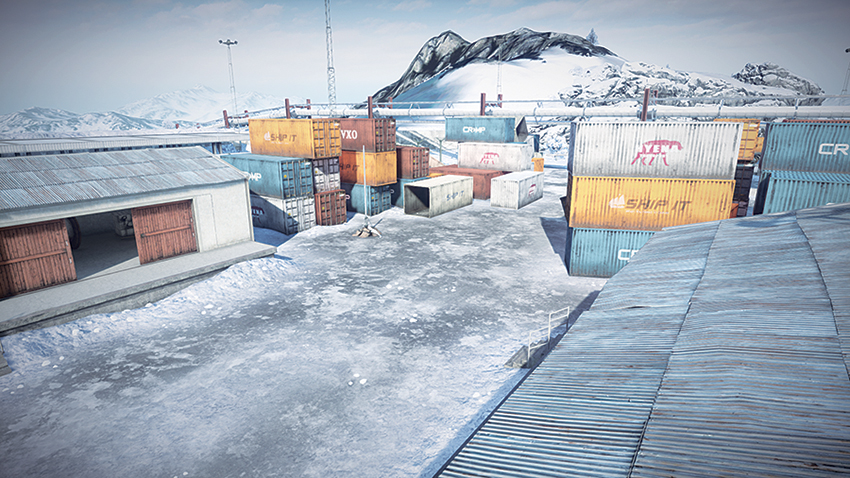
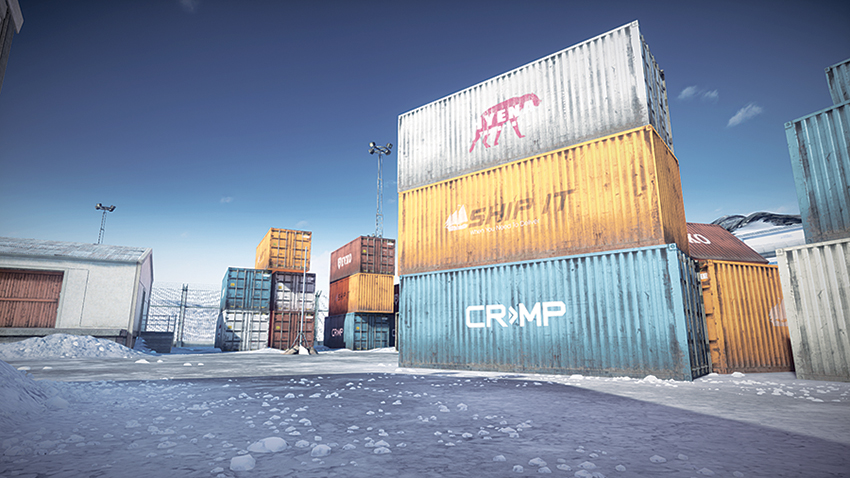
Located on the northern edge of the map, due north of the Oil Refinery, the Control Station (D) may seem out of the way, but the tank awarded to the team controlling it makes the site a strategic resource. The US team should expect this site to be under control of the RU team early on. A US team looking to take the site should make their approach directly from their deployment by using the road that runs northwest from the Pumping Station (A) to flank any hostiles that have decided to camp here. An RU team making their approach from the west should enter the area by following the road leading northeast from the Supply Depot (E). Approaching this site from the south is risky if the point has been captured by the opposition, as there will be a possibility that the tank that spawns here has yet to deploy. When maintaining a presence at the site, infantry and dirtbikes will discover that they can cut in and out through the shipping containers on the station’s north side to conceal their presence from oncoming armored vehicles.
Supply Depot
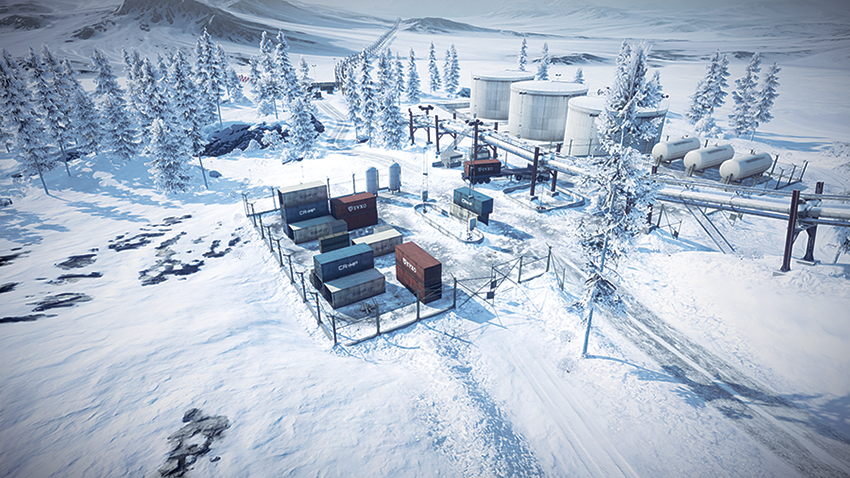
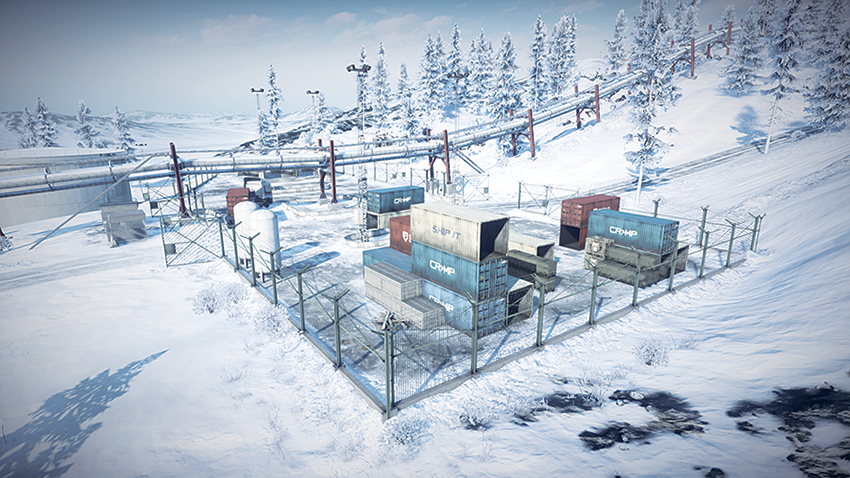
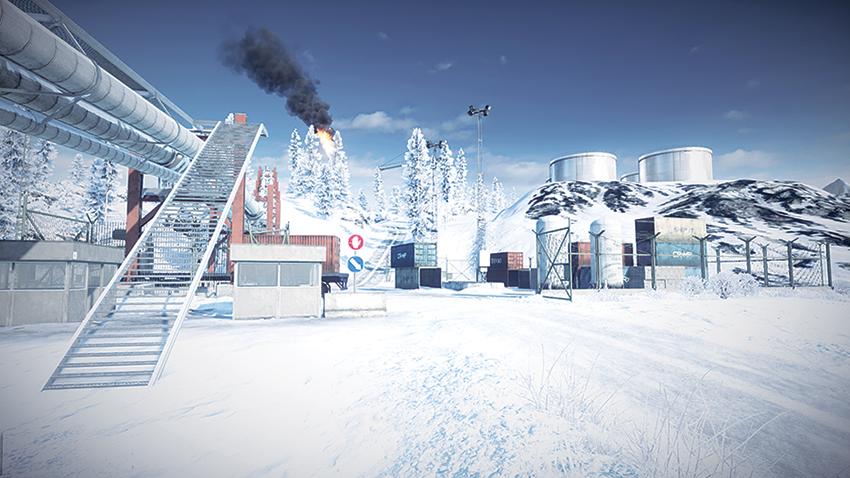
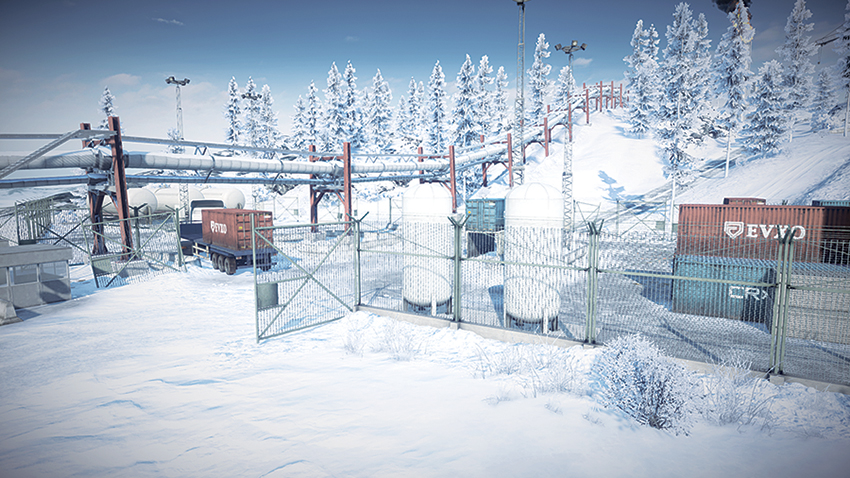
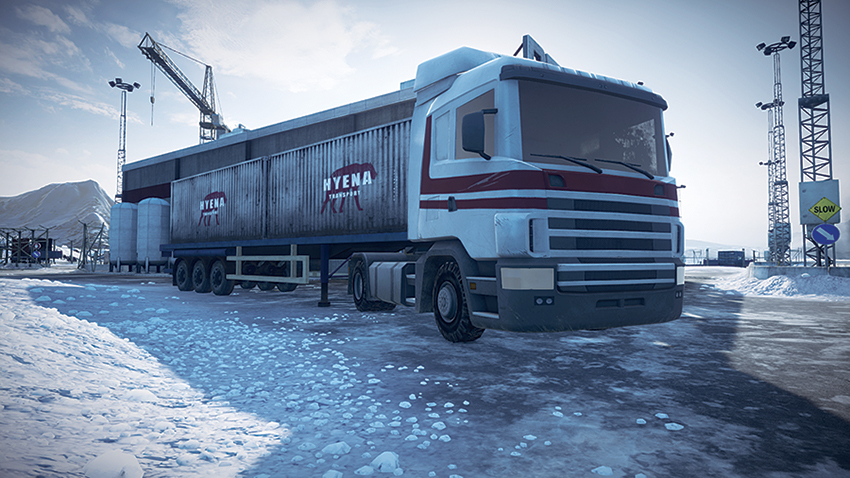
Located in the far west, Supply Depot (E) will be captured early by the RU team as they make their move east. The flag is located in the center of the depot, beneath the pipeline that runs through the area. This area provides no sight lines to observe the eastern portions of the map, given that it is located downhill. Nevertheless, the site serves as the main thoroughfare for the RU team’s armored vehicles, and should the US team capture this control point, they will be able to control the flow of RU vehicles into the field. If the US team is to be successful in capturing this control point, dirtbikes must enter the area under the escort of the AH-1Z Viper. The US team should not expect to hold the site for long, though, as they will find themselves overrun by RU infantry deploying from their base.
Conquest 64
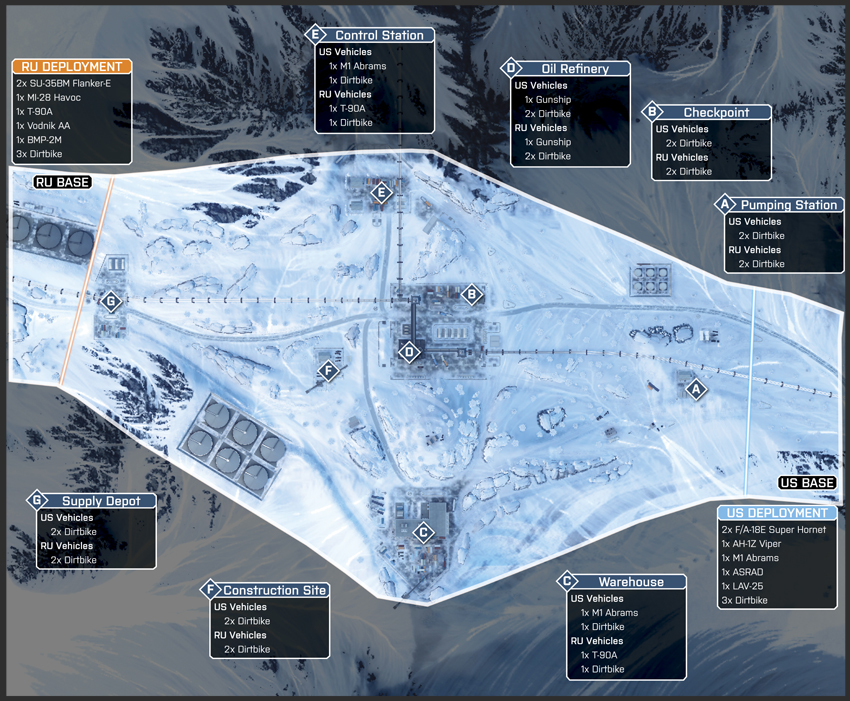
This game mode of Sabalan Pipeline has the same map borders as its Conquest counterpart, but has two extra control points on the map. These new control points are the Construction Site (F) and the Checkpoint (B). Both of these additional control points are located adjacent to the Oil Refinery (D). The US team still deploys from the east and will capture the Pumping Station (A) early in the round and maintain it for the duration of the battle. The RU team still deploys from the west and will capture the Supply Depot at the start of the match and will likely hold it for the duration as well. The addition of the Construction Site (F) and the Checkpoint (B) results in a more centralized battle than Conquest, since the proximity of the new control points to the Oil Refinery (D) means teams do not want to stray too far from the center of the field. Teams should keep this in mind as they disperse and attempt to capture the Control Station (E) to the north and the Warehouse (C) to the south. Although these points will be deserted through much of the conflict, maintaining a strong presence in the center of the map results in the opposition bleeding a steady stream of tickets. It also doesn’t hurt that the Oil Refinery (D) affords the controlling team with a dropship, as this deployment platform can be used to hold back armored opposition that enters the center of the map.
US Base
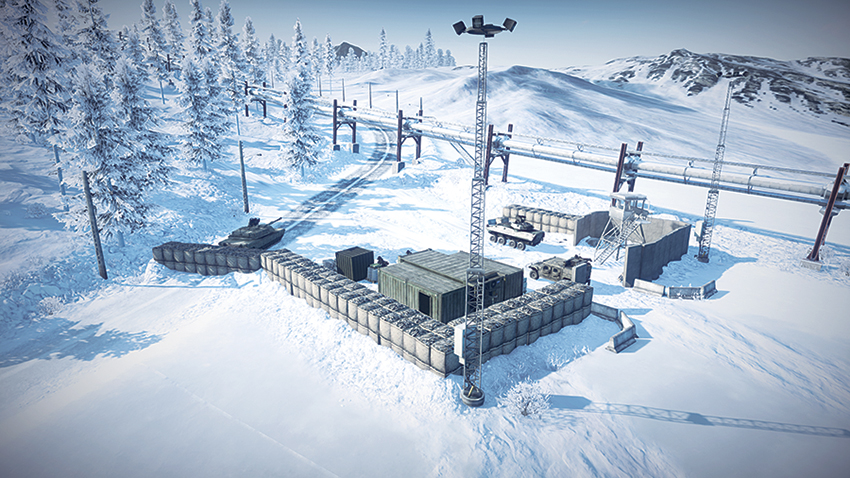
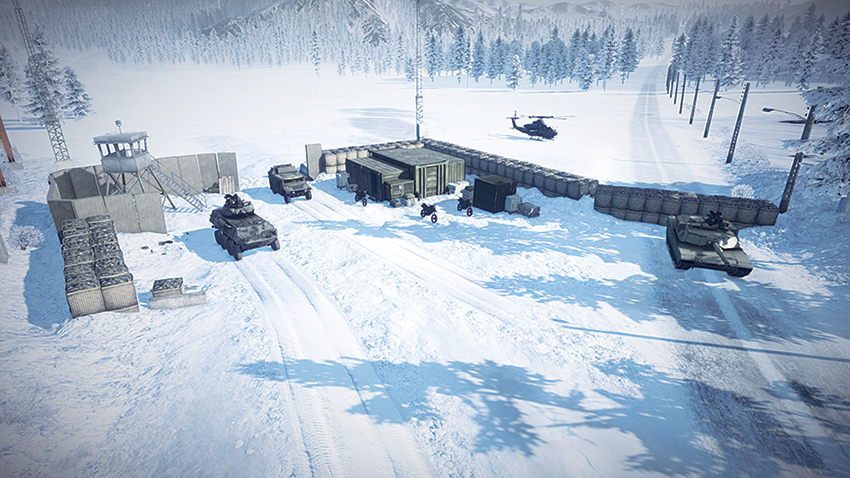
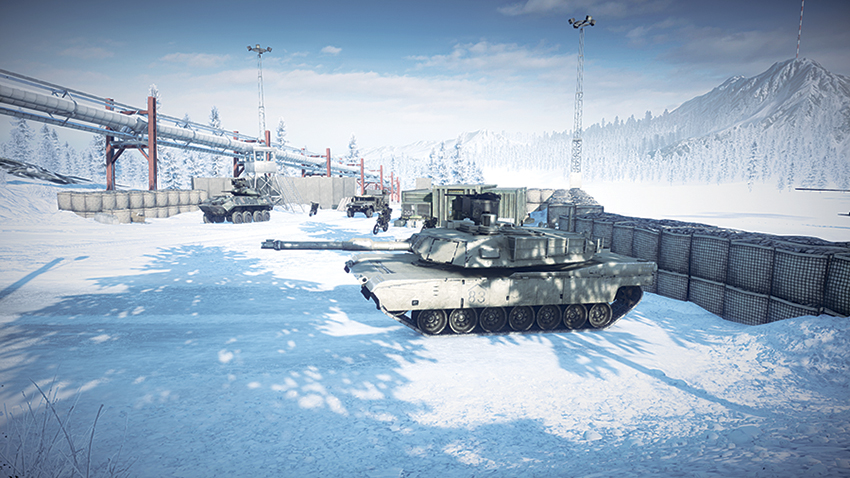
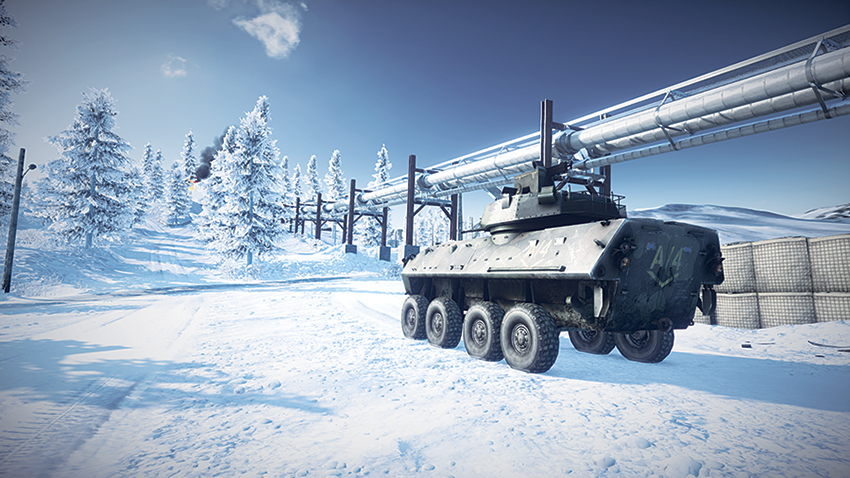
Deploying from the east side of the map, the US team should proceed west and capture the Pumping Station (A). Once this point is under the team’s control, the team should focus on entering the Oil Refinery (D) area, which is in the middle of the map. As the team enters the area, armored vehicles should continue to advance west past the Oil Refinery (D) and capture the Construction Site (F), while resisting the advance of the RU team in the process. By maintaining a strong presence on the west side of the Oil Refinery (D), other team members will find little opposition while capturing the Checkpoint (B). By this time, the Oil Refinery (D) should be under US control and the Dropship should be in the air. With the Dropship under US control, the craft should be used to deploy an IFV onto the center of the map to prevent RU soldiers from ripping these points out the US team’s grasp. Even if the RU team advance and capture the Control Station (E) and the Warehouse (C), they will still be holding only three points on the map and not be in a position to pose a significant threat. To maintain dominance, the US team should also have a strong presence in the skies, using the AH-1Z Viper and the two F/A-18E Super Hornets to push back the advance of heavy armored vehicles and prevent them from entering the Oil Refinery area (D).
RU Base
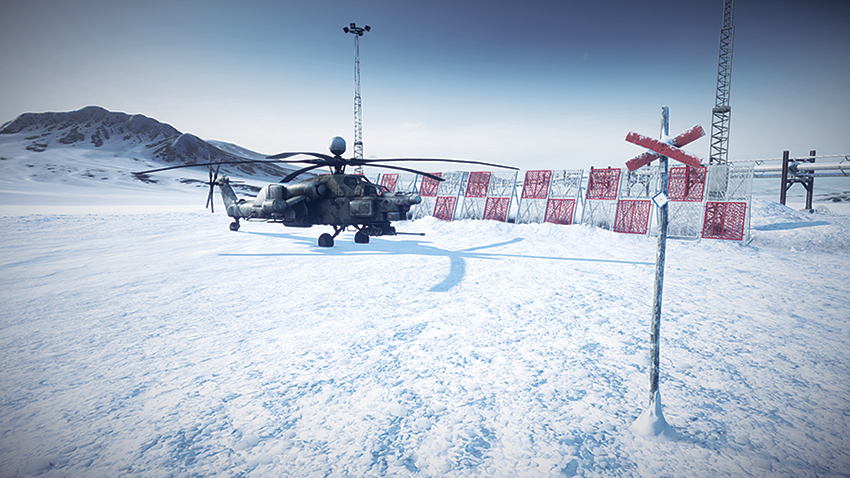
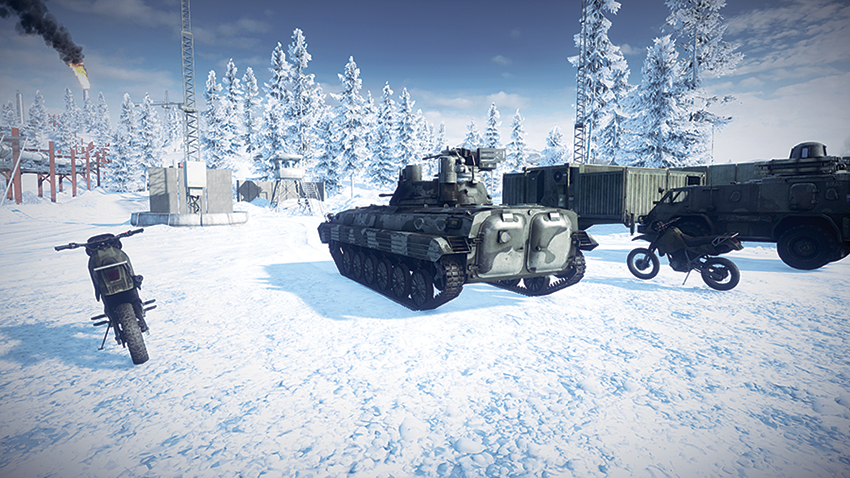
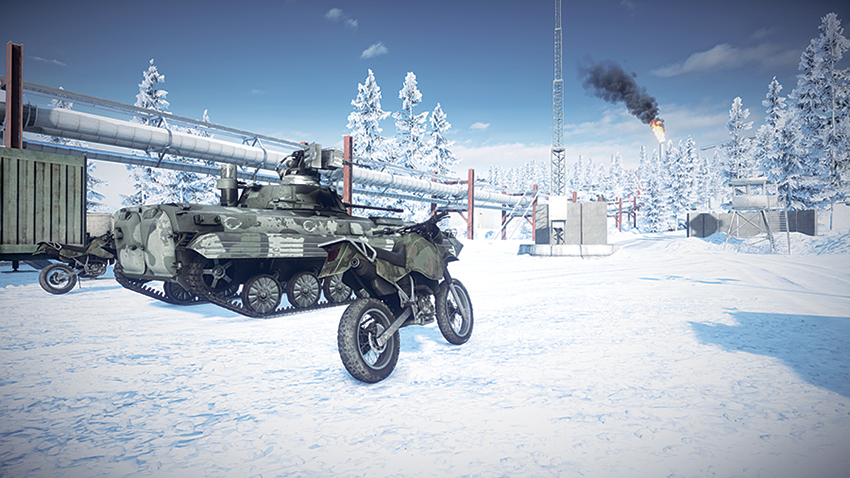
Deploying from the west side of the map, the RU team should proceed east and capture the Supply Depot (G) before continuing their advance. At this point, dirtbikes should proceed to the north and claim the Control Station (E) while armored vehicles advance to the Oil Refinery (D) area. After capturing the Construction Site (F) and moving on to the Oil Refinery (D), the RU team will meet resistance at the Checkpoint (B), which by this time will be overrun with US forces. Although the US team will likely be holding the Checkpoint (B), victory can still be achieved as long as the Control Station (E) and the Oil Refinery (D) are not lost. With the Oil Refinery (D) under RU control, the Dropship can maintain the exposed control point at the Construction Site (F) , as the IFV it deploys can be used to eliminate threats that enter the area. Maintaining the Control Station (E) affords the team with an extra T-90A that can be used to maintain the Oil Refinery (D) area to the south. The MI-28 Havoc should be in the skies over the center of the map, patrolling the Oil Refinery (D) for US infantry attempting to enter the site and capture the point. While the Oil Refinery (D) requires approaching on foot, the MI-28 Havoc can fire rockets into the upper tiers of the refinery and eliminate threats near the flag.
Pumping Station
Located on the east side of the map, this control point will likely be held by US forces throughout the battle. With an exposed flag and immediate access from roads, this site can be claimed by the RU team to push back US deployment vehicles. An RU team looking to accomplish this should leave the work to dirtbikes, with air cover provided by the MI-28 Havoc. This strategy is designed to prevent heavier vehicles like the T-90A or BMP-2M from leaving the map’s central area, where the combat is most intense. If the US team loses a foothold here, they can easily reclaim the site by using heavy vehicles from the deployment site to make their way west. To eliminate campers at this site, climb onto the nearby oil pipeline via the ladders east of the flag. Doing so provides a sight line into the flag area.
Checkpoint
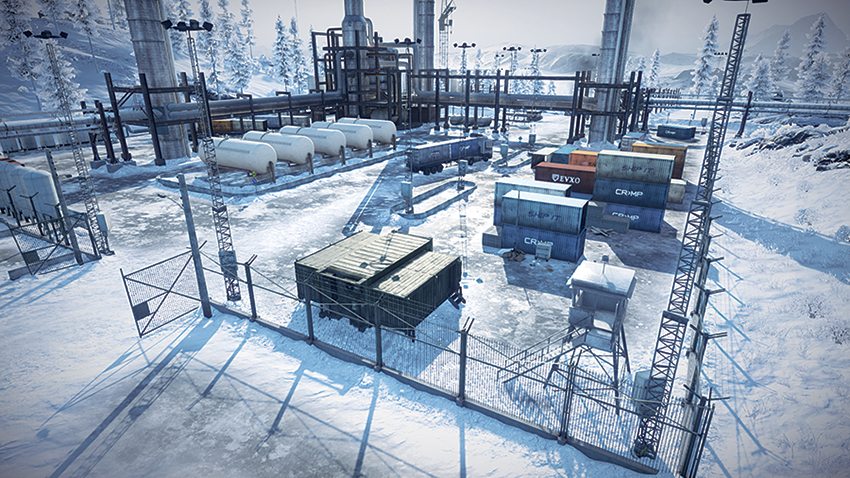
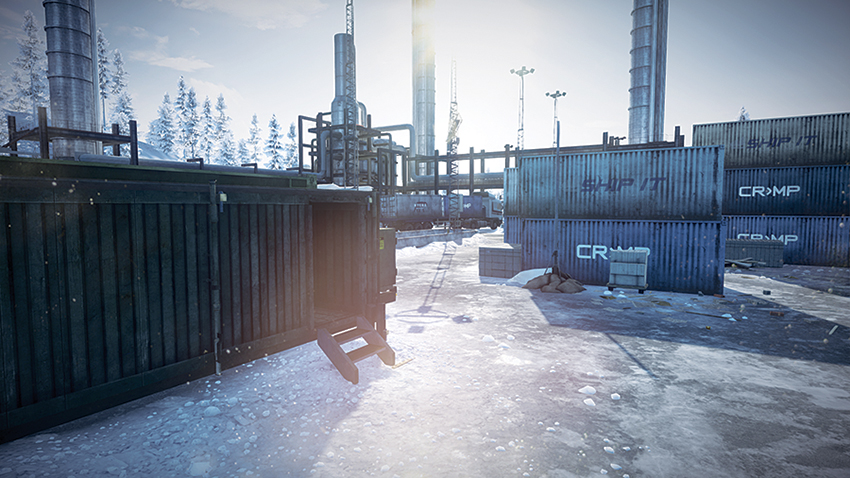
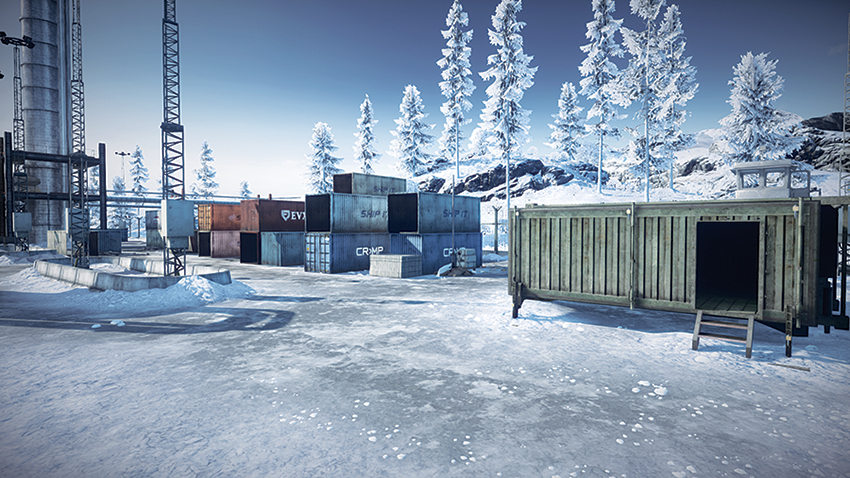
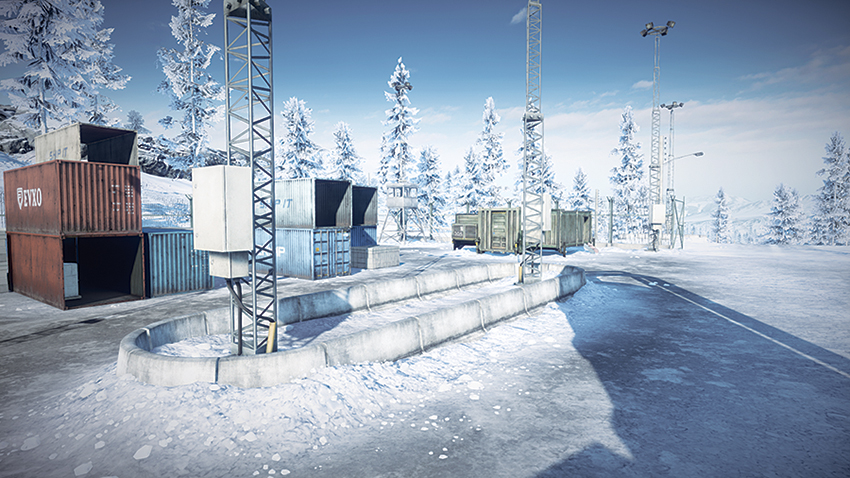
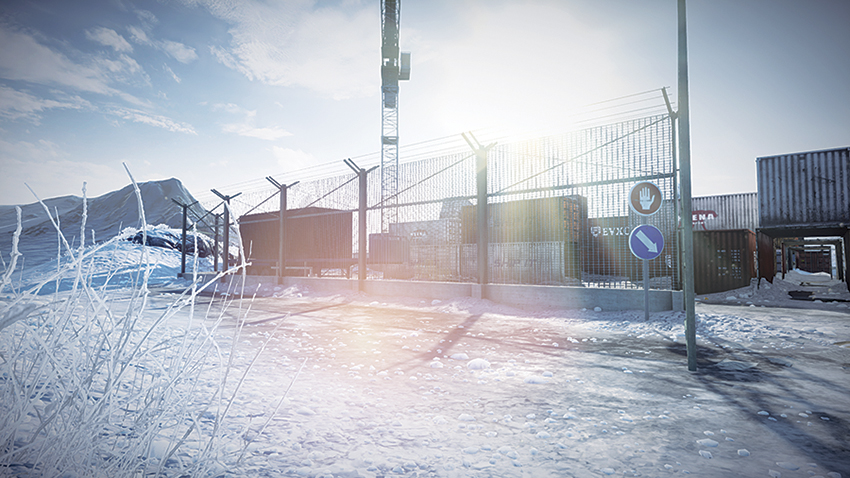
Located northeast of the Oil Refinery (D) within the fenced compound, the Checkpoint (B) is an exposed control point. Set near shipping containers, the area provides a significant amount of nearby cover, as the point can be captured by climbing into the nearby shipping container. Teams looking to exploit this cover option should be careful for armored vehicles though, as being fired upon while inside results in heavy suppression or splash damage from cannon fire. When capturing this point, it is a good idea to have support from a helicopter to stave off attacks from armored vehicles. Two sight lines afforded within this area are the watchtower on the northeast corner of the compound and the guard shack to the east near the compound’s open gate. However, being spotted in these two cover positions can be dangerous when under armored attack, as heavy weapons can obliterate these small structures. When approaching the site, teams should take care if the Oil Refinery (D) is under control of the opposition, as the refinery provides a sight line of the Checkpoint (B) area.
Warehouse
The Warehouse (C) is located on the southern edge of the map, directly south of the Oil Refinery (D) and over a hill. Although the site is slightly outside the intense combat around the Oil Refinery (D), the strategic significance of the control point is that the capturing team is rewarded with an extra tank that can be deployed from the site. An immediate disadvantage to this control point is that even from the roof, there are not many direct sight lines to watch other control points. The key sight line offered here requires climbing the crane outside of the southern fence line. From here, a sniper has a good view of the northwest, including the vehicles deploying from the RU team’s base. When capturing the control point from the enemy, teams should make use of the entrances on the building’s south and east sides, as any campers are likely to be on the roof with their attention directed toward the northern road that leads from the Oil Refinery (D).
Oil Refinery
Central on the map is the Oil Refinery (D). This monolithic structure is visible from nearly all corners of the map, as its gas flare serves as a fiery beacon among the snow-capped landscape. This will quickly be a highly contested control point, not only for the Dropship that is awarded to the team that controls it, but for the sight lines offered by climbing atop the large metal silos on the refinery’s south side. From this vantage point, nearly all four corners of the map can be observed, providing for early detection of enemy armored vehicles as they approach to capture the point for themselves. Combat is fiercely competitive here, as the Refinery’s multiple tiers invite close-quarters combat and the expansive area surrounding the Refinery allows for armored vehicles to bombard the site with artillery. For infantry looking to access the site undetected, the three pipelines the connect to the Oil Refinery from the west, north, and east can be traversed to access the second level of the site with relative ease. When using this method of approach, soldiers should be aware that staying on the pipeline exposes them to sniper fire from the Refinery itself, so make the trek as short as possible.
Control Station
Located on the northern edge of the map, due north of the Oil Refinery (D), the Control Station (E) may seem out of the way, but the tank awarded to the team controlling it makes the site a strategic resource. The US team should expect this site to be under control of the RU team early on. A US team looking to access the site should make their approach directly from their deployment by using the road that runs northwest from the Pumping Station (A) to flank any hostiles that have decided to camp here. An RU team making their approach from the west should enter the area by following the road leading northeast from the Supply Depot (G). Approaching this site from the south is risky if the point has been captured by the opposition, as there will be a possibility that the tank that spawns here has yet to deploy. When maintaining a presence at the site, infantry and dirtbikes will discover that they can cut in and out through the shipping containers on the station’s north side to conceal their presence from oncoming armored vehicles.
Construction Site
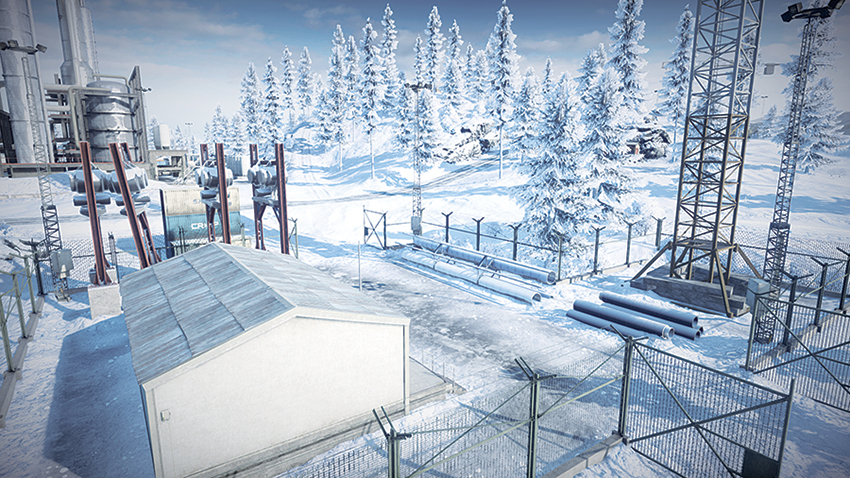
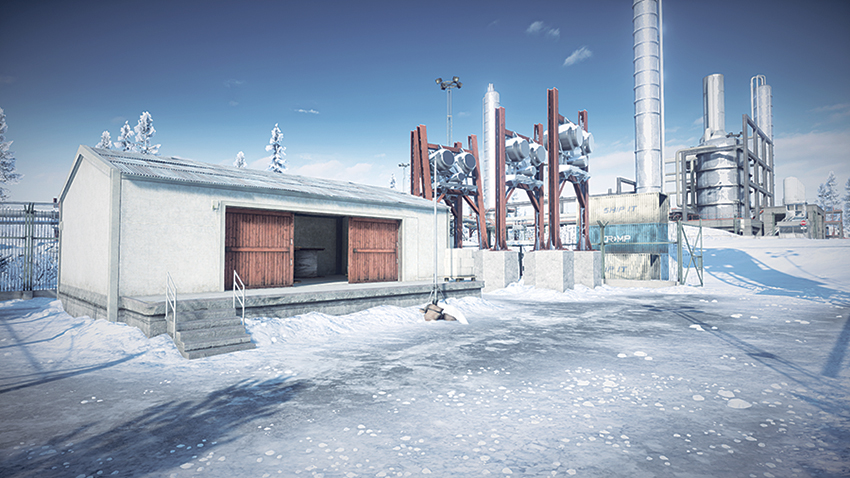
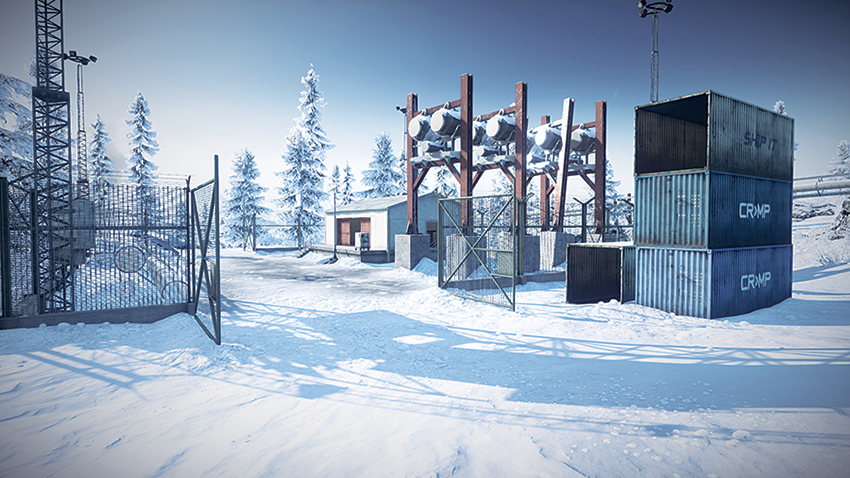
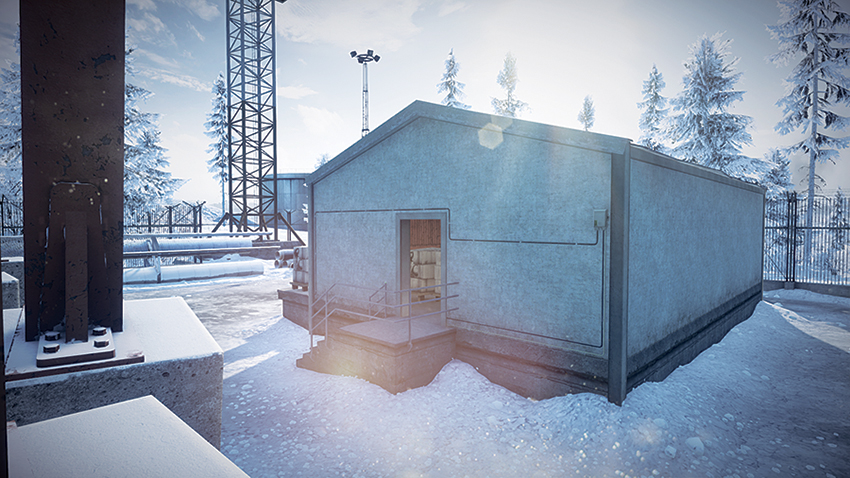
Located west of the Oil Refinery (D), the Construction Site (F) will be under the control of whoever maintains control of the Oil Refinery (D) due to its close proximity. The crane on the site affords a sight line over the Construction Site (F), the Control Station (E), the Oil Refinery (D), and gives a partial view of the Warehouse (C). The flag is exposed, with the only cover option being the nearby storage building. When approaching the site, teams should keep in mind that the Oil Refinery (D) provides a direct sight line over the control point and snipers will exploit this to maintain control of the site. Placement of mines near the entrances to the Construction Site (F) will help in preventing armored vehicles from entering the site, but dirtbikes will avoid these booby traps by crashing through the chain-link fence.
Supply Depot
Located far west, Supply Depot (G) will be captured early by the RU team as they make their move east. The flag here is located in the center of the depot, beneath the pipeline that runs through the area. This area provides no sight lines to observe the eastern portions of the map, given that it is located downhill. Nevertheless, the site serves as the main thoroughfare for the RU team’s armored vehicles, and should the US team capture this control point, they will be able to control the flow of RU vehicles into the field. If the US team is to be successful in capturing this control point, dirtbikes must enter the area under the escort of the AH-1Z Viper. The US team should not expect to hold the site for long, though, as they will find themselves overrun by RU infantry deploying from their base.
Capture the Flag
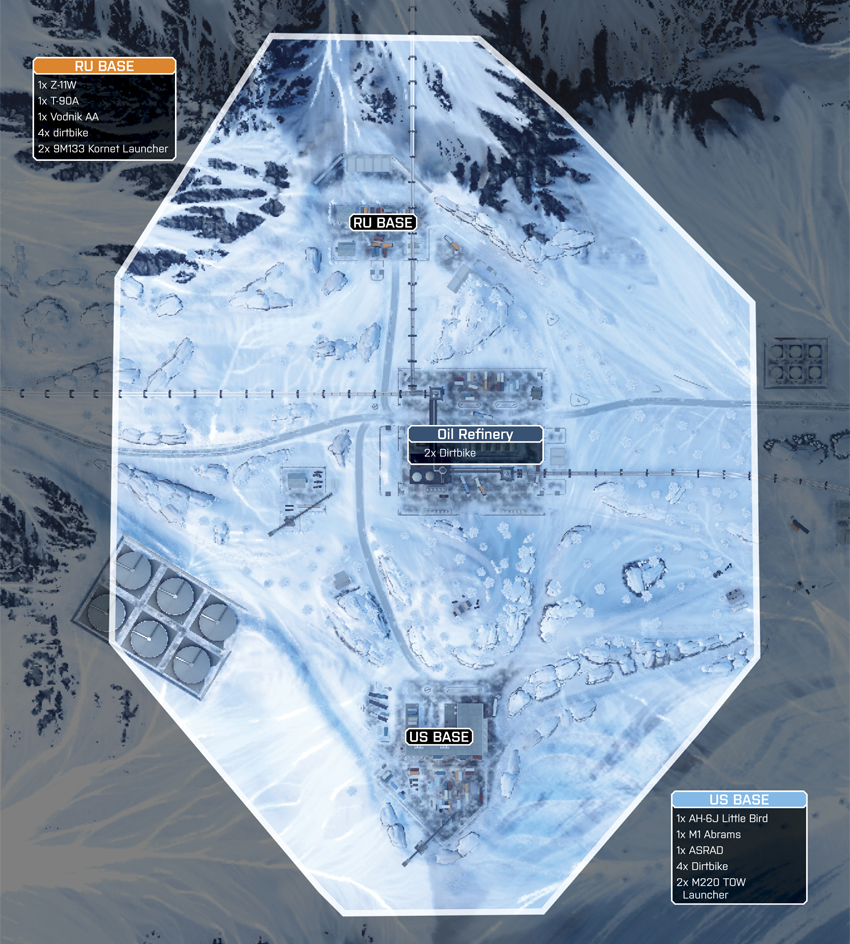
The map boundaries of Capture the Flag on Sabalan Pipeline are similar to those found in Conquest, without the Supply Depot to the west and the Pumping Station to the east. This change in the map concentrates the combat in the center. The US team’s base is located at the Warehouse in the south, and the flag is on the building’s north side, near the loading dock. The RU team’s flag is on the far north side of the map at the Control Station, in the center of the station, between the walls of shipping containers. Although the road that runs north to south on the map provides a direct approach for dirtbikes, this path is likely to be littered with mines. Teams can opt instead to flank each other by going to the east of the Oil Refinery, which results in longer travel times, but less opposition encountered along the way. For teams looking to capitalize on the map’s open space, taking up position within the Oil Refinery provides good views of enemy movements. Snipers looking to exploit the elevated position here should place a T-UGS motion sensor nearby to prevent being stabbed in the back. A far safer sight line requires climbing the crane at the Construction Site west of the Oil Refinery. This crane provides a direct view of the US flag at the Warehouse and the entrance to the Control Station. With this in mind, the site affords an advantage to the US team, as an experienced sniper can provide cover of his flag while also monitoring the traffic leaving the RU team’s base. The Oil Refinery has two dirtbikes that are up for grabs as well.
US Base
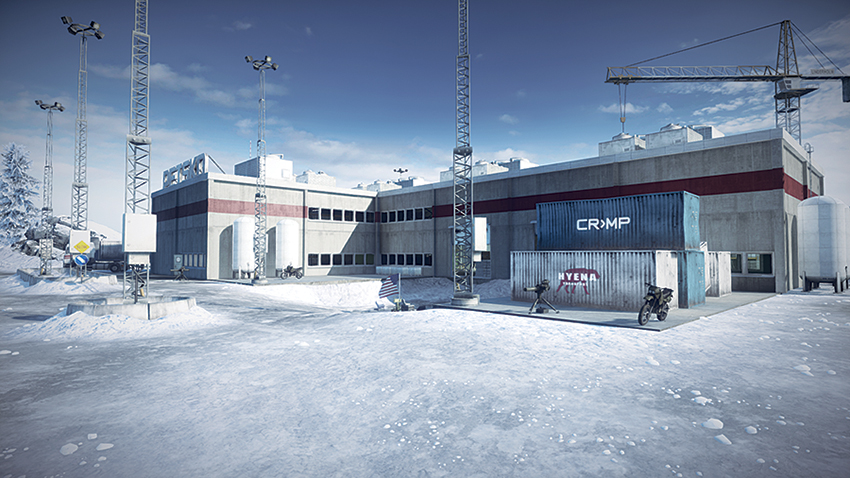
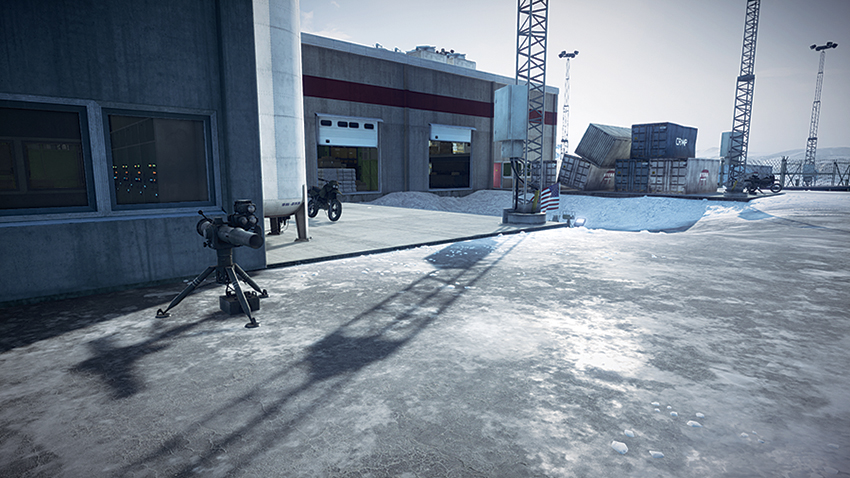
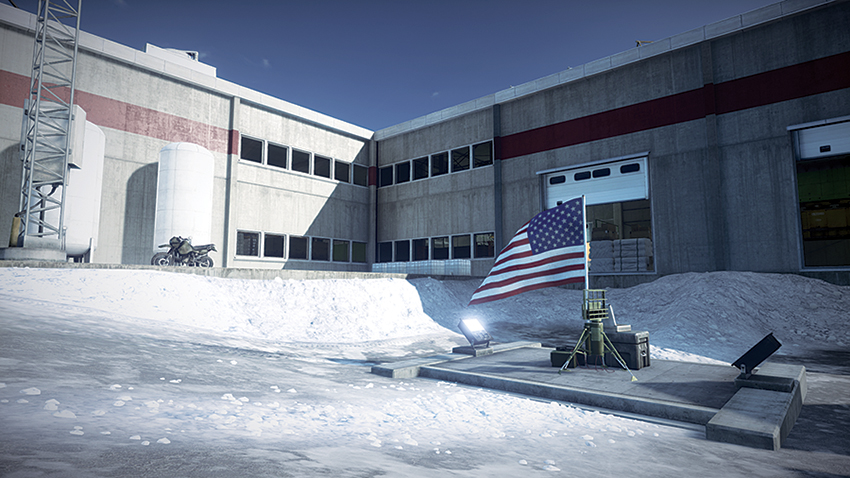
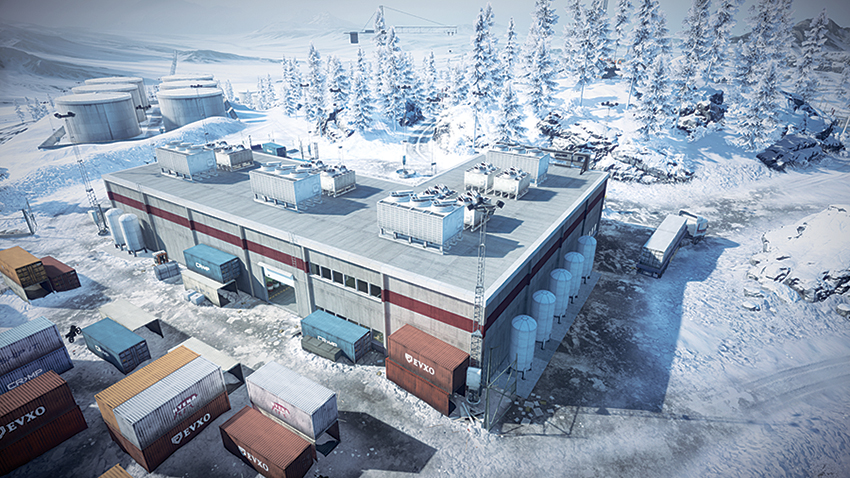
Located at the Warehouse on the south edge of the map, the US flag is on the building’s north side in the loading dock. With two M220 TOW Launchers nearby, defending the area from armored vehicles is not very difficult if experienced soldiers are manning these stationary weapons. Another advantage to defending the flag site is afforded by climbing onto the roof of the Warehouse. From here, the advance of the RU team can be observed early, and experienced snipers and engineers can eliminate the threats as they approach. The south side of the Warehouse will not see too much conflict, but deploying a MAV over this area can alert rooftop soldiers if enemies are attempting to flank the base. To the north is the Construction Site; the crane can be scaled and the boom provides a direct line of sight to the US team’s flag and the RU team’s base. If the team has not sent a sniper to take up position here, any US soldiers on the rooftop of the Warehouse should be aware that they can be fired upon from the crane.
RU Base
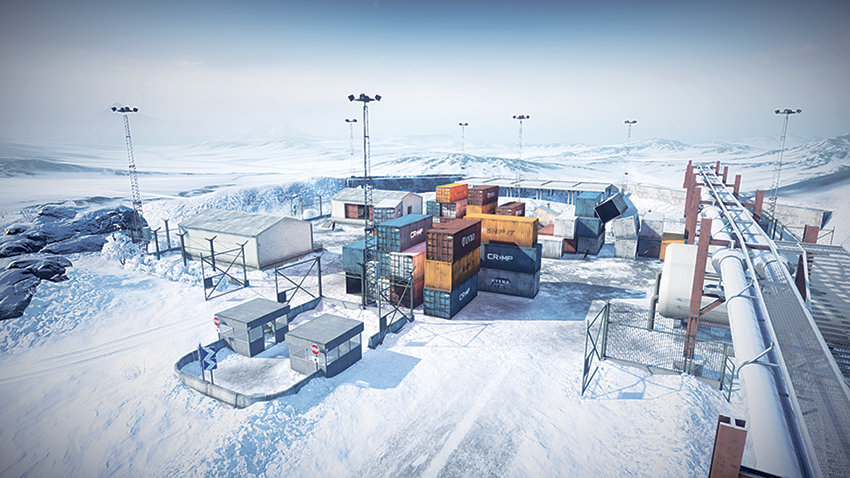
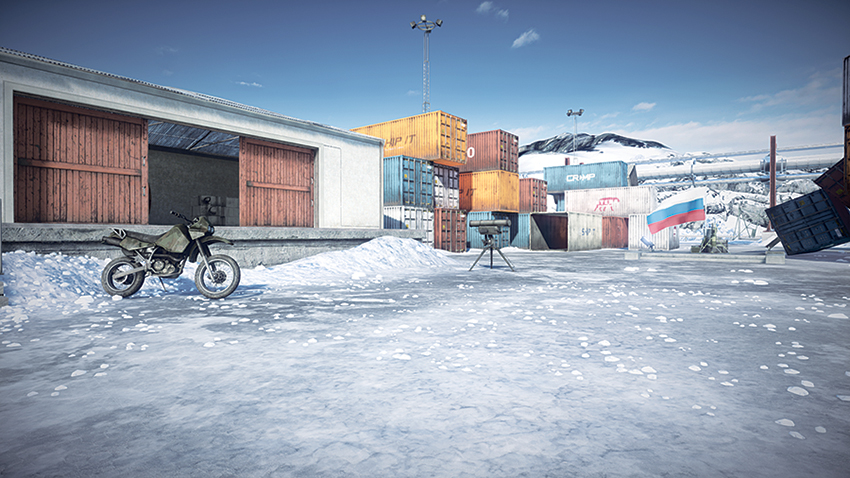
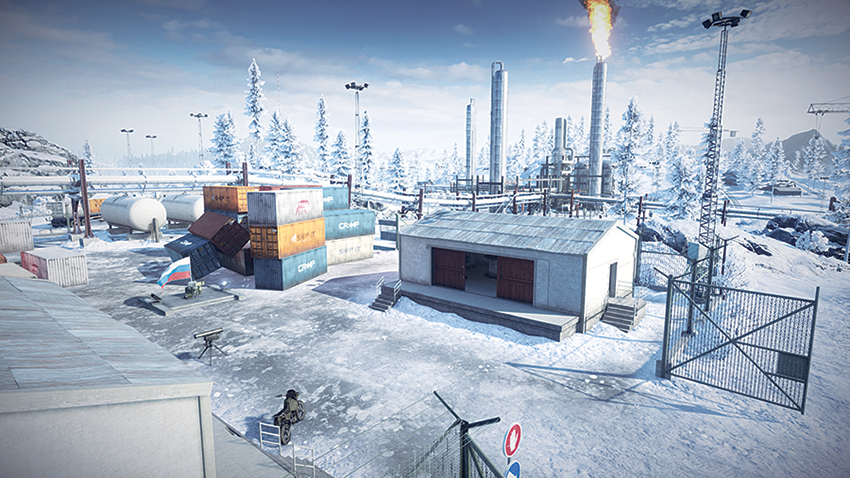
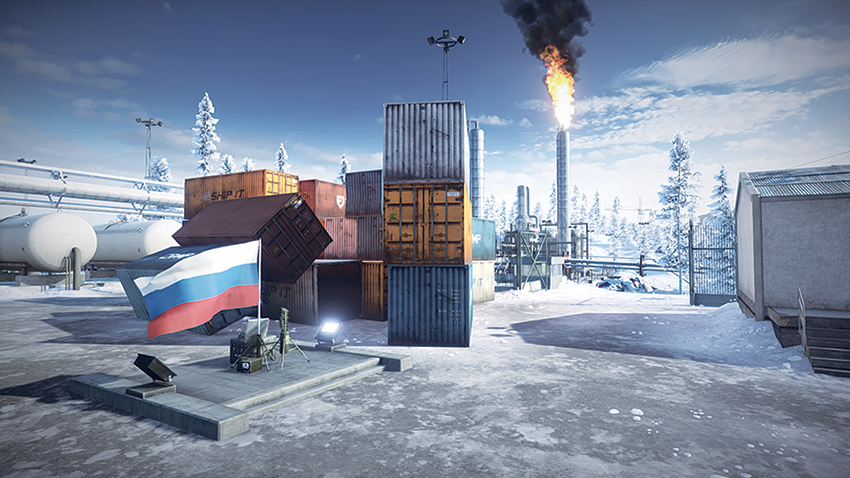
Located at the Control Station on the north edge of the map, the RU flag is in the center of the station, between the stacks of shipping containers. One advantage that the RU team has with their base is that the flag area is not visible from the south. The two 9M133 Kornet Launchers on site are positioned to directly defend against vehicles approaching from the south. Only the launcher on the west side of the station can fire on the flag area. For soldiers looking to defend the site, the shipping containers provide an excellent amount of cover for maintaining a view of the flag. While placing mines around the Control Station area prevent vehicles from entering the site, claymores are more efficient in defending the flag, as the flag must be captured while on foot. . The flag can be viewed from the two on-site buildings; hostiles attacking the flag will not notice defenders that have taken up position in these buildings. To the south of the Control Station is the Construction Site. Its crane can be used to observe the movement of US troops as they make their way through the Oil Refinery area. This crane also provides a strategic sight line of the Warehouse and the US flag there, and can be used by experienced snipers to eliminate threats on the rooftop of the Warehouse while allies attempt to take the flag.
Rush
The Rush battle of Sabalan Pipeline begins on the map’s east side. The objectives are located around the Pumping Station area. As the battle progresses, the combat moves west, following the pipeline through the Oil Refinery to the Construction Site, and then concluding at the Supply Depot. The locations of the objectives result in battles that are well suited to the vehicles afforded to both teams, although attackers have a slight advantage with the AA jeep and dirtbikes included in the motor pool, except in the final zone. Throughout the battle, defenders will have access to a BMP-2M to even the score, and when this is deployed in tandem with their MI-28 Havoc, the vehicles are more than capable. The greatest disadvantage to defenders in the battle is the expansive landscape. With plenty of open land to roam, attackers will attempt to flank every step of the way, but savvy defenders can use this to their advantage by deploying MAVs along the way to detect hostiles and isolate them from their comrades. This map offers plenty of sight lines for defenders to push back their opponents, so experienced snipers will prove to be the team’s greatest asset here.
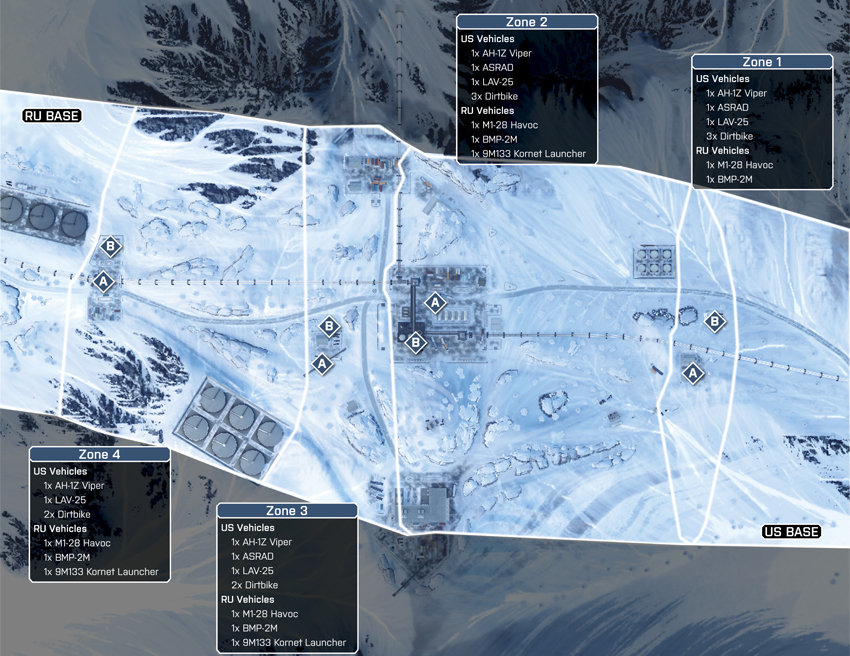
Zone 1: Pumping Station
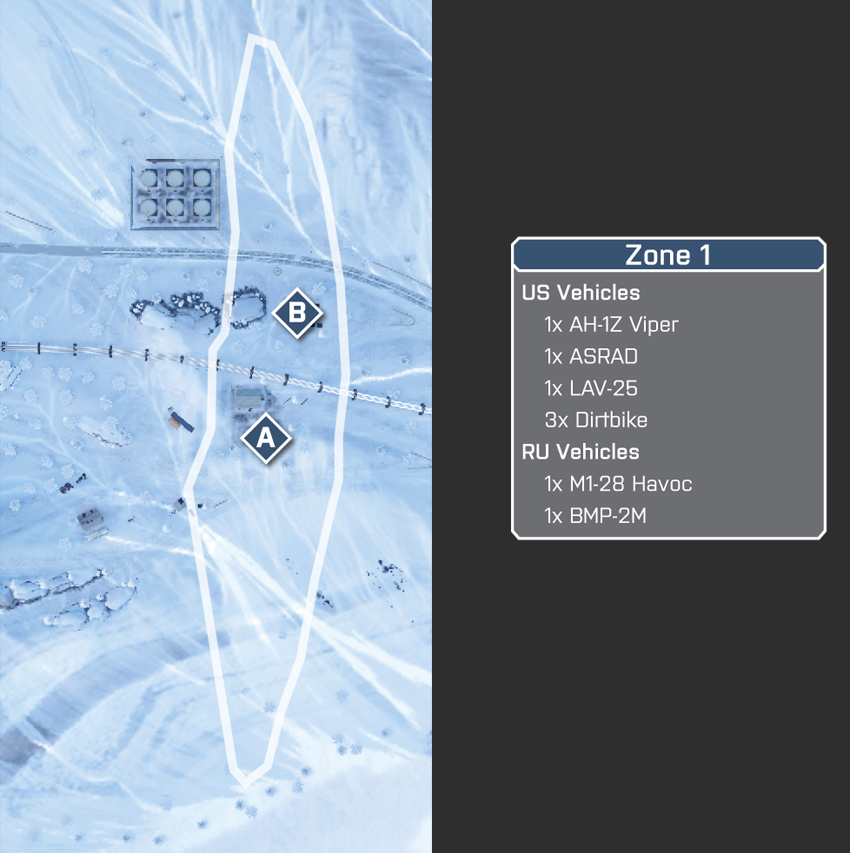
US Deployment
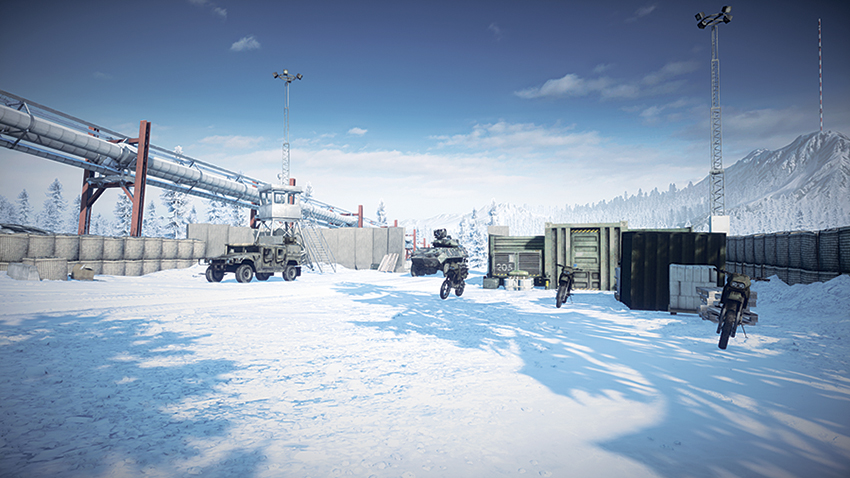
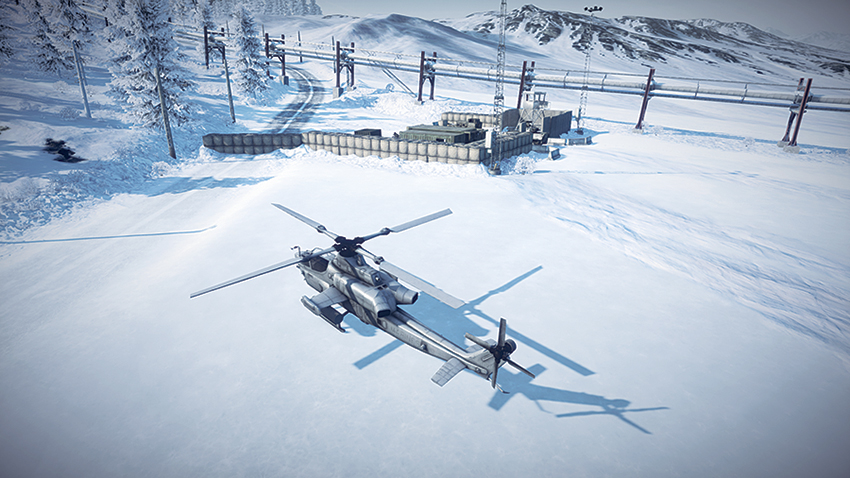
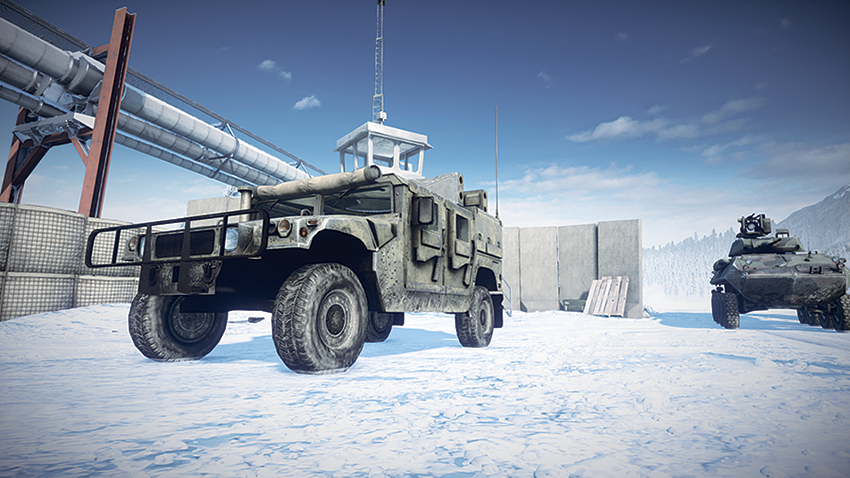
The US team will quickly meet opposition as they head west from their makeshift base in the east to attack the objectives. While making this advance, the dirtbikes should focus on making their assault on M-COM Station A, which is located within the building at the Pumping Station. The RU team’s IFV deploys north of the objectives and will be on the move to defend the site, so the LAV-25 and ASRAD should follow the US dirtbikes as they mount their offensive. The focus of these vehicles should be destroying the defenders’ IFV before turning their attention to the RU infantry that they encounter. While this chaos is ensuing, the AH-1Z Viper should proceed west to meet with the RU team’s MI-28 Havoc that is en route to the objective site and prevent its arrival. By commanding the airspace and preventing the defenders from keeping a bird in the air, the AH-1Z Viper is free to rain down destruction upon infantry that attempt to take back the site from US forces.
RU Deployment
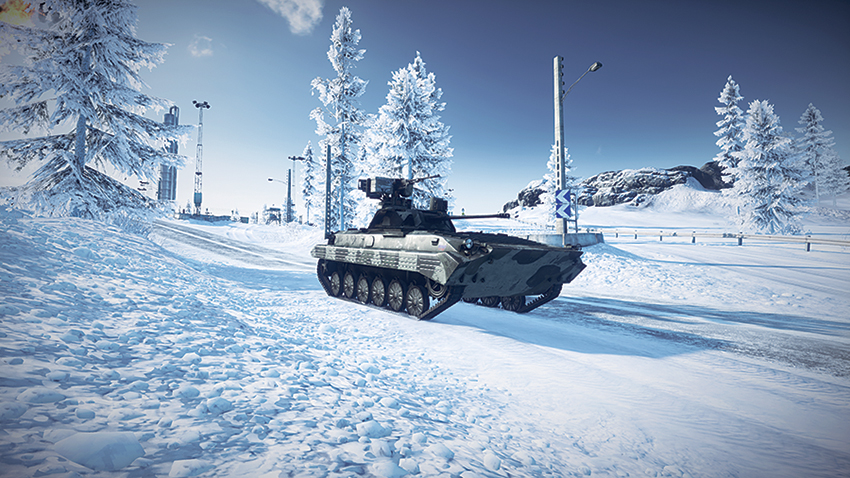
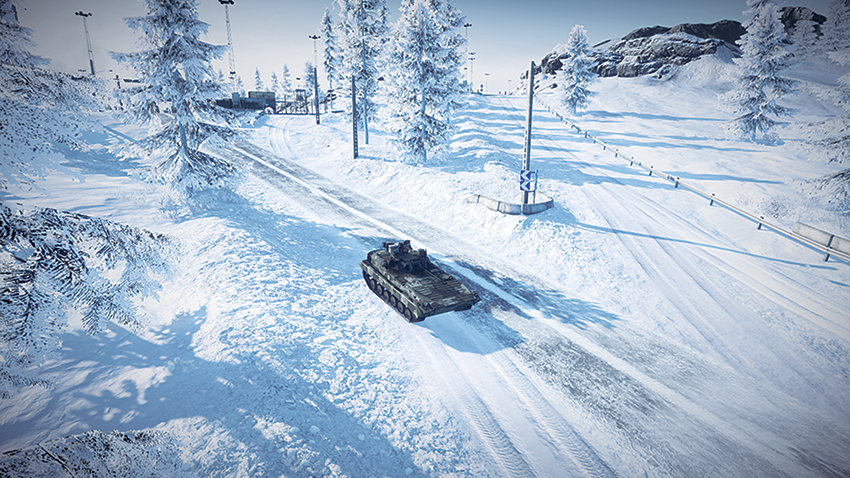
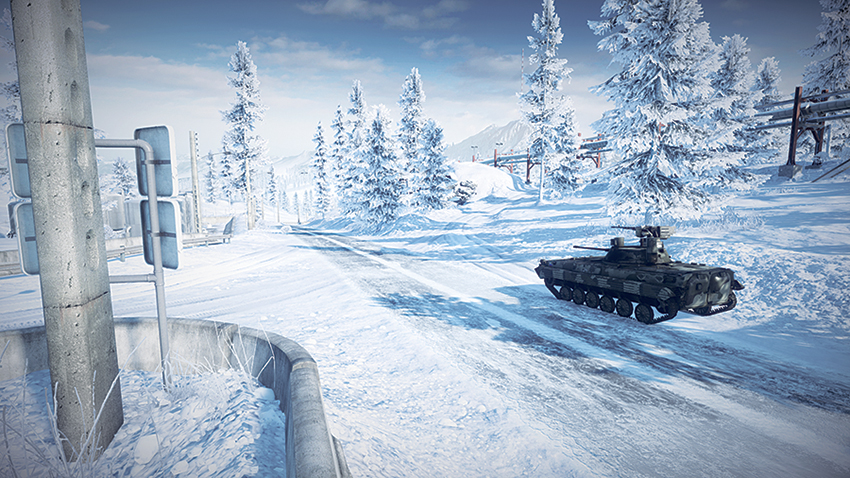
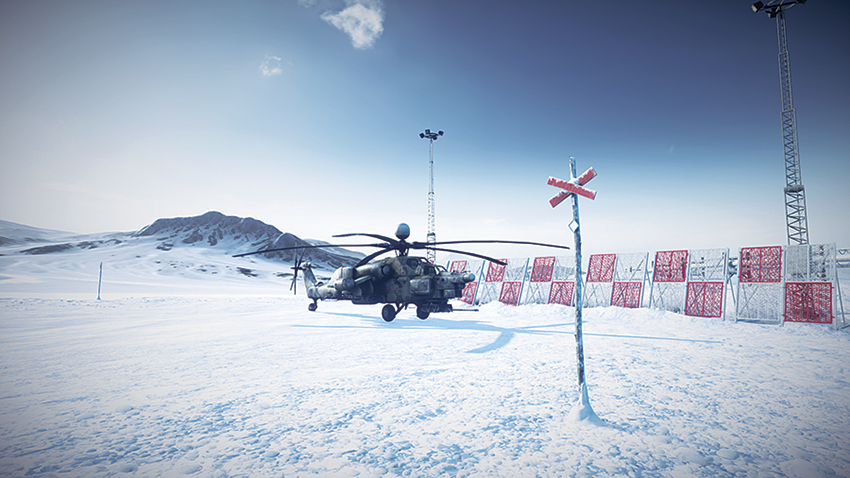
Deploying just west of the Pumping Station, the RU team can quickly entrench themselves at the objective site and mount a defense against the approaching US forces. With the BMP-2M deploying to the north of the objective area, infantry units should focus on placing mines around the Pumping Station. In regards to M-COM Station B to the north, claymores should be used around the small utility sheds because larger vehicles will not be able to approach the objective itself. The MI-28 Havoc will take a moment to arrive at the site, as it deploys from the map’s far western edge. Engineers on the ground should be on alert for the attackers’ helicopter, which will attempt to control the open airspace. The BMP-2M should maintain its distance from the objective site, opting to fire on attackers from afar instead of entering the Pumping Station, where explosives are its greatest threat.
M-COM Station A
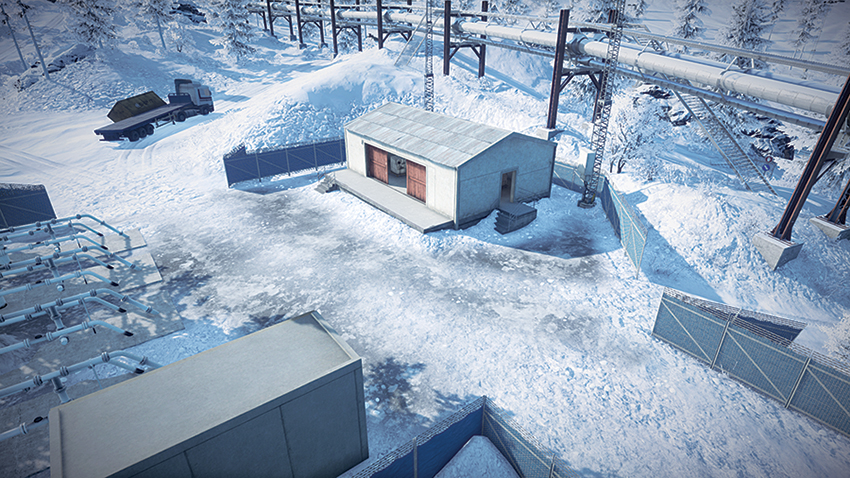
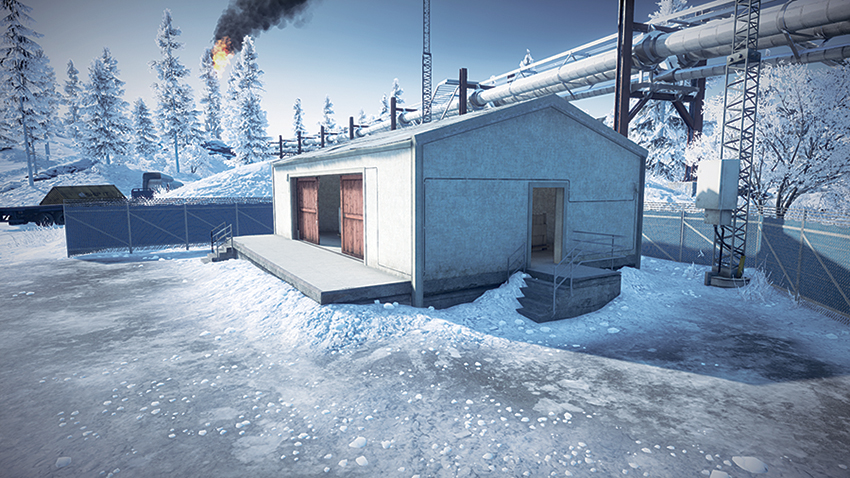
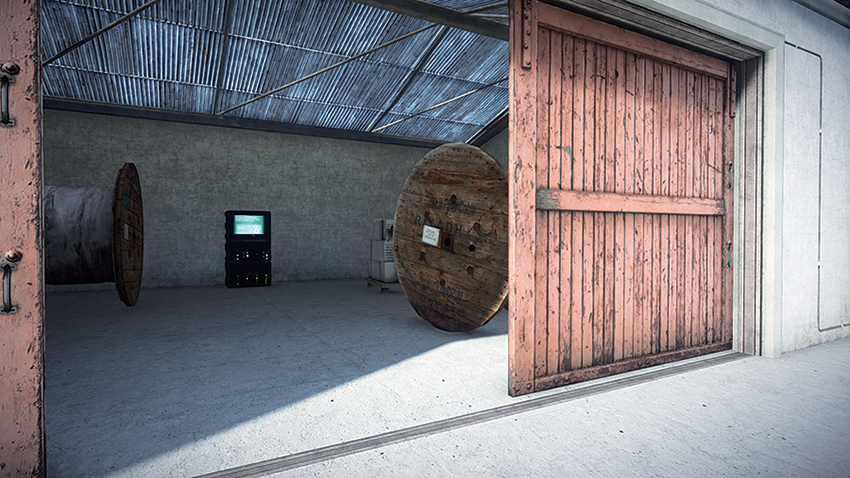
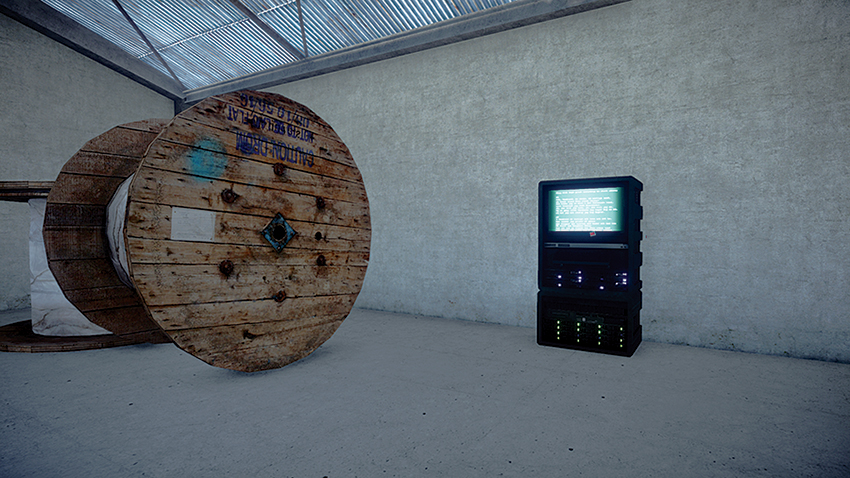
Located within a building at the Pumping Station, the M-COM itself is only accessible by infantry. This is not to say that attackers should not roll up to the site in a loaded ASRAD and deploying their crew while providing suppressing fire with the vehicle’s unguided rockets on unsuspecting defenders. More so than the LAV-25, if the ASRAD can maintain a foothold inside of the compound, it poses a great threat to the defenders’ maintaining control of the site. When defending the objective, the defenders’ BMP-2M should be a presence outside the fence line, firing into the compound instead of entering into the confined space. Until the fence surrounding the Pumping Station compound is destroyed, though, both teams will lack any immediate visibility of the chaos taking place there.
M-COM Station B
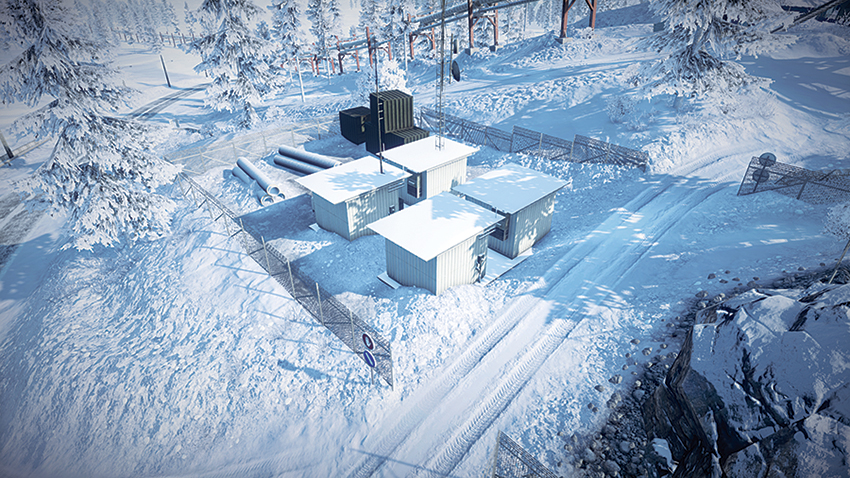
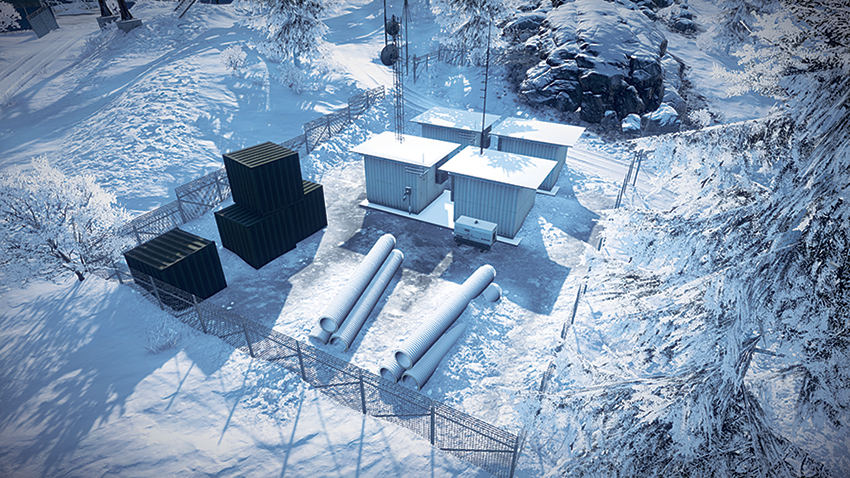
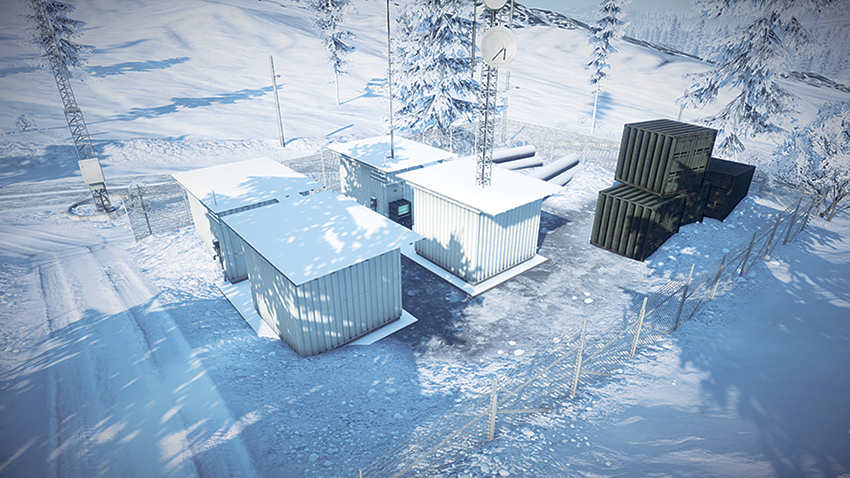
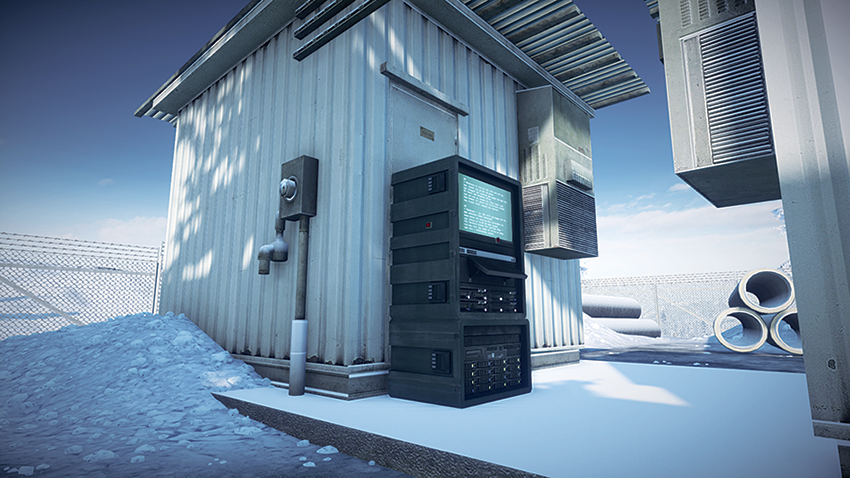
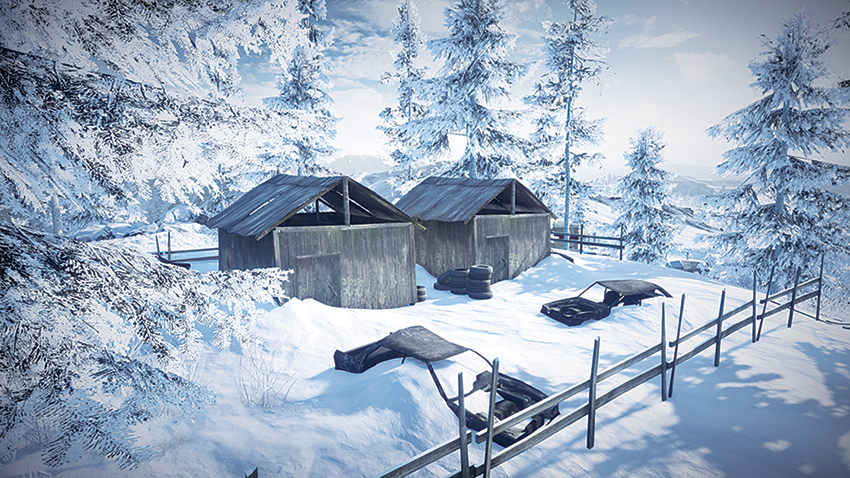
North of the Pumping Station, M-COM Station B is positioned amid four utility sheds, against one of the inner walls. Although armored vehicles can approach the site, infantry can use the sheds for cover until one of their own armored vehicles can arrive to defend them. Defenders looking to maintain the site should place claymores within the cluster of sheds early in the round, before the conflict gets too heated here. Attackers can make use of the open terrain surrounding the site by taking advantage of the firepower afforded them by the AH-1Z Viper, which can circle the area and bombard oncoming defenders with its weapons. Defender snipers can make use of the pipeline to the south to maintain a sight line of the objective as well by climbing the nearby stairwell to get atop of the pipeline. This position provides a great view of the objective, but also exposes the sniper to attack, should his position be realized.
Zone 2: Oil Refinery
US Deployment
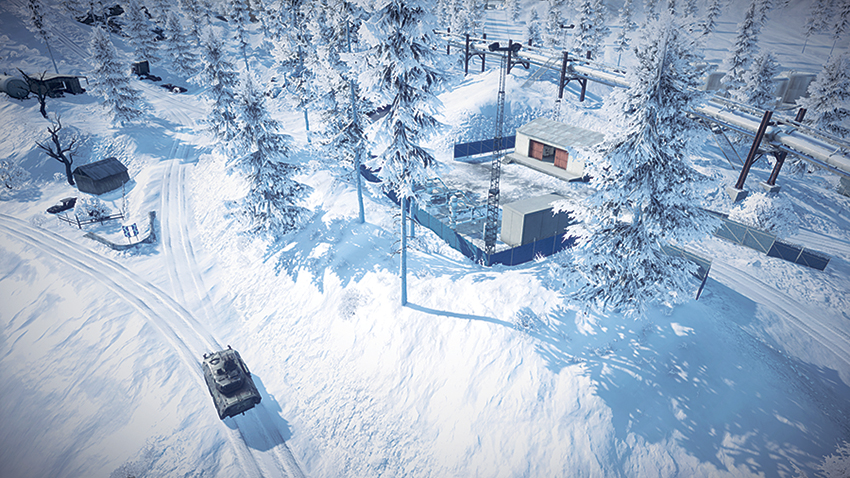
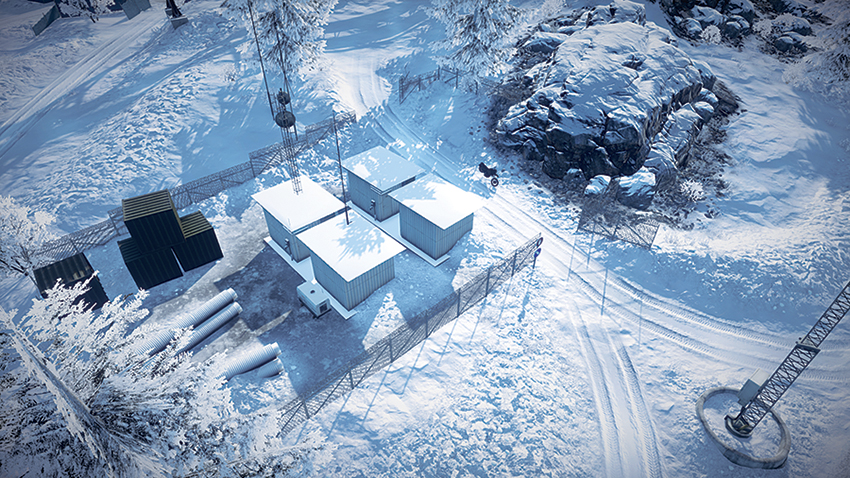
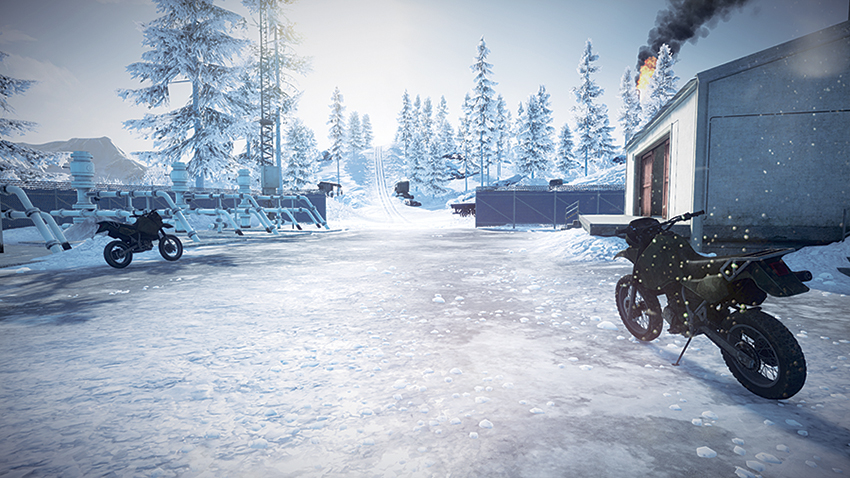
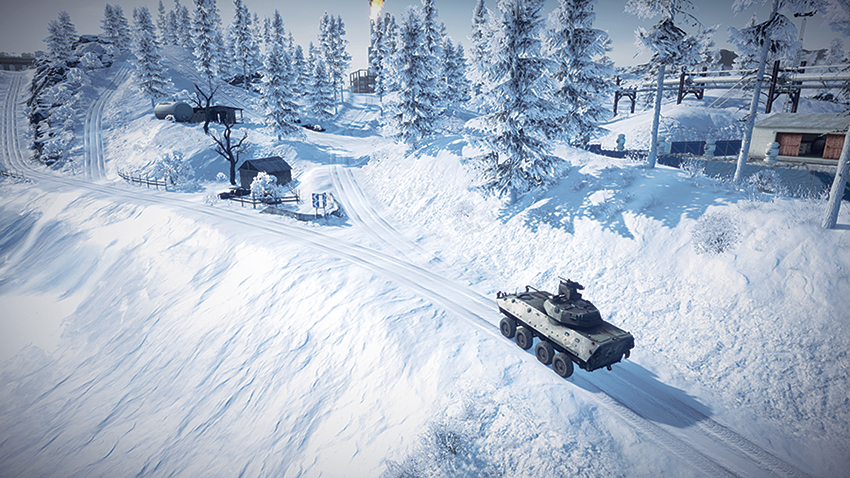
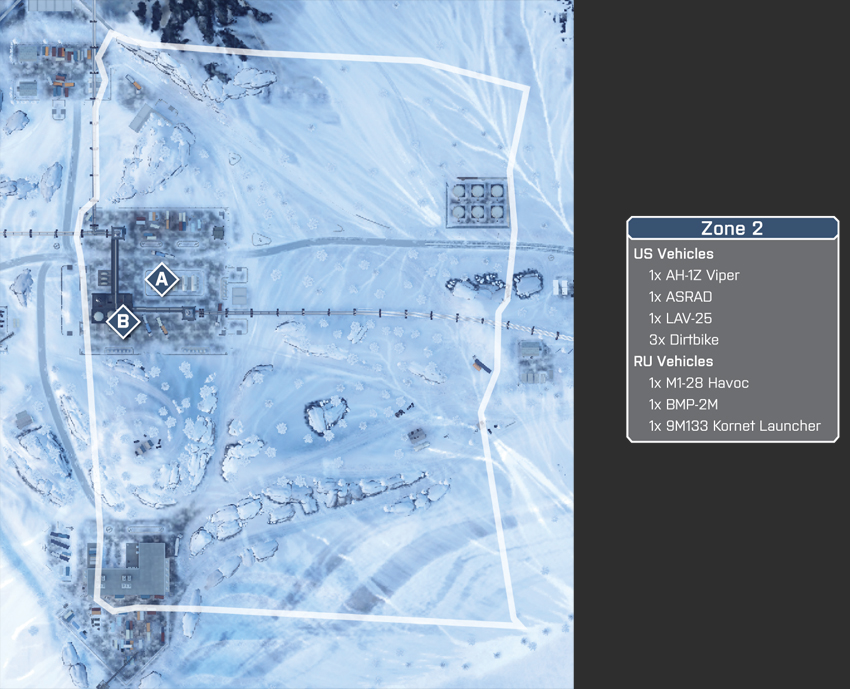
This stage sees the US team mounting their assault from the Pumping Station and moving west into the Oil Refinery compound. Because the RU team deploys from the nearby Construction Site due west of the Oil Refinery, attackers should expect heavy resistance to come from the Oil Refinery’s upper tiers as they approach. Of the two objectives presented during this round, the first to be attacked should be M-COM Station A, which is relatively exposed. As US attackers push into the Oil Refinery compound, it would be beneficial to have a squad travel the pipeline as they make their way to the Oil Refinery. This elevated position, if traveled quickly, can allow undetected access to M-COM Station B, as defenders are will be focusing their firepower on the US vehicles that have breached the east gate of the refinery compound by now.
RU Deployment
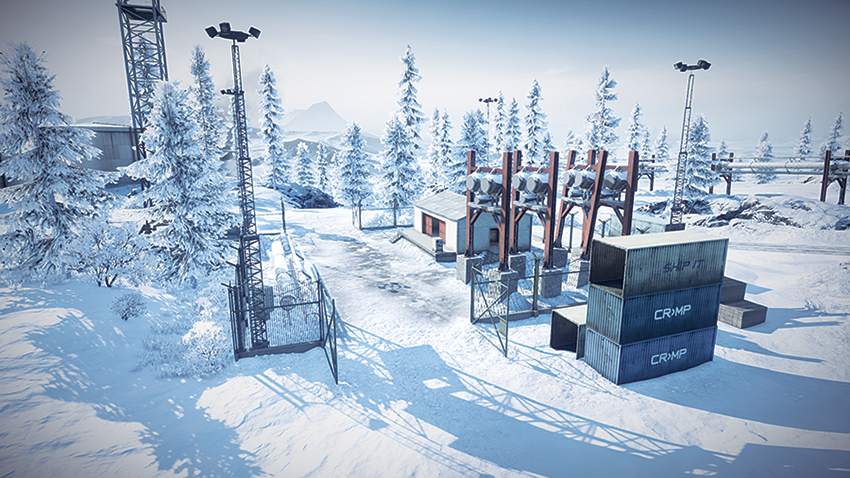
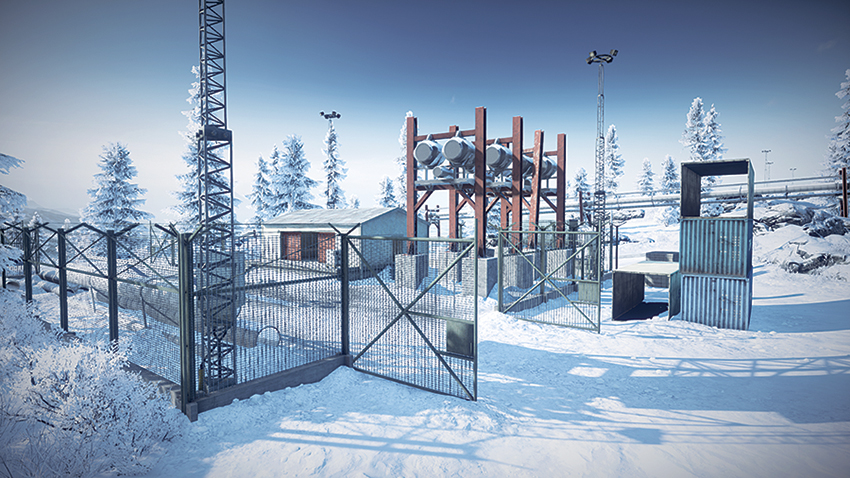
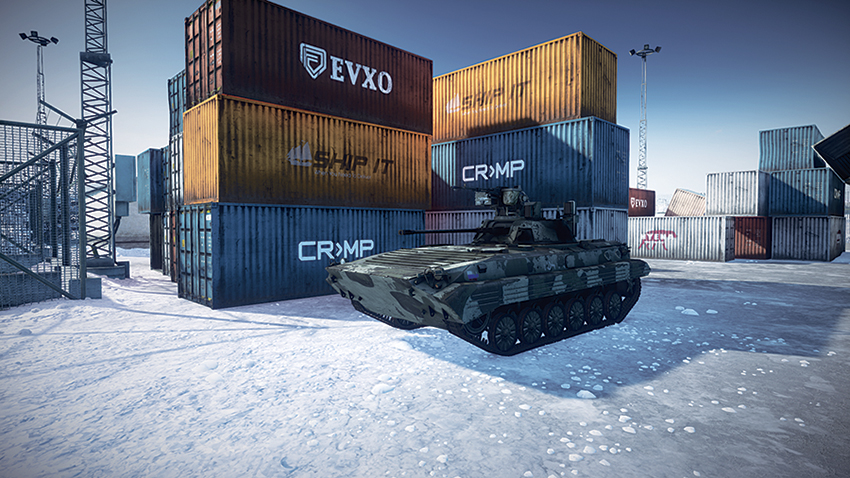
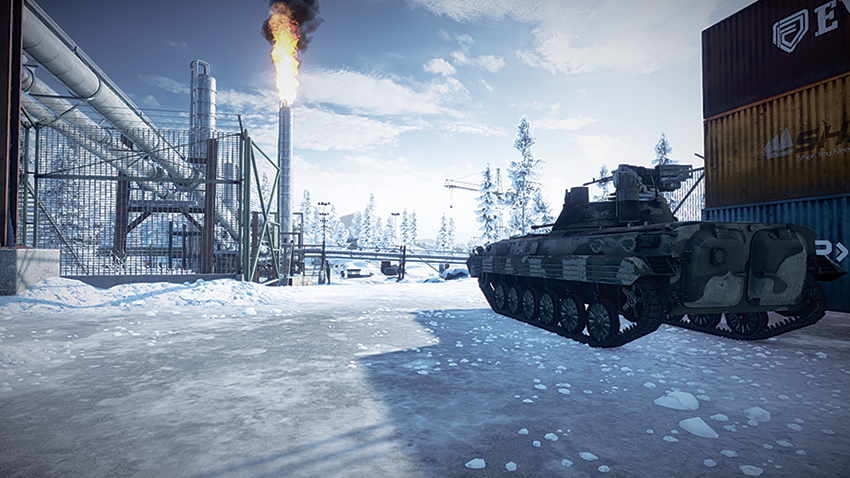
Deploying from the Construction Site, it will not take long for the RU team to establish a presence at the Oil Refinery, which is due east. Deploying from this location affords the defenders an advantage, as they can entrench themselves among the multiple tiers of the Oil Refinery. Aside from advancing to the objective site, recon soldiers can take position atop the boom of the Construction Site’s crane, gaining direct sight lines to oversee the combat within the Refinery compound. There is a 9M133 Kornet Launcher located south of the Oil Refinery along the fence line, but this stationary cannon is exposed and mounting a defense from it will result in a quick death for anyone who dares to attempt it. The RU team should focus on fortifying the Oil Refinery and defend this objective at all costs, as attackers will have to make use of infantry to approach it. Should the objective area become overrun with US forces, the MI-28 Havoc can bombard the exposed tiers to eliminate threats, but friendly casualties can be expected when executing this method of defense.
M-COM Station A
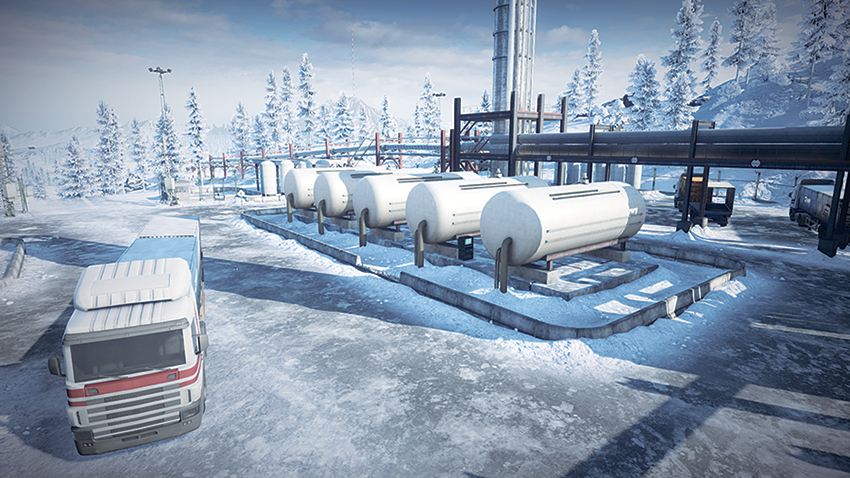
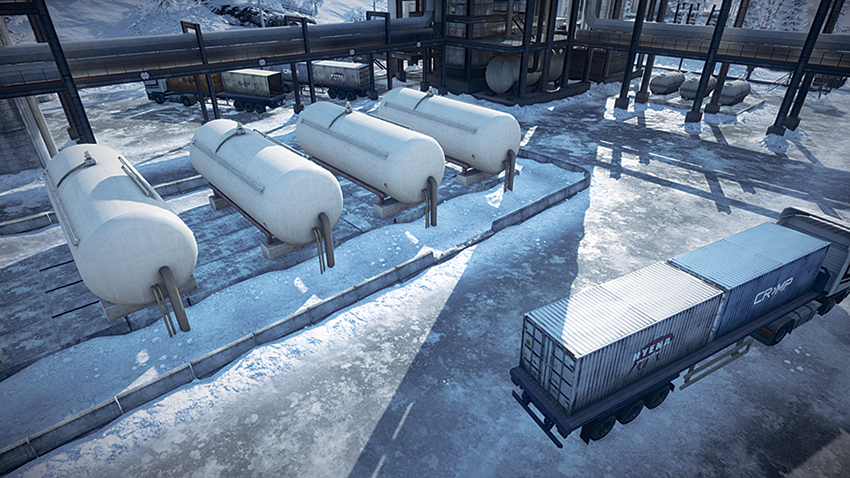
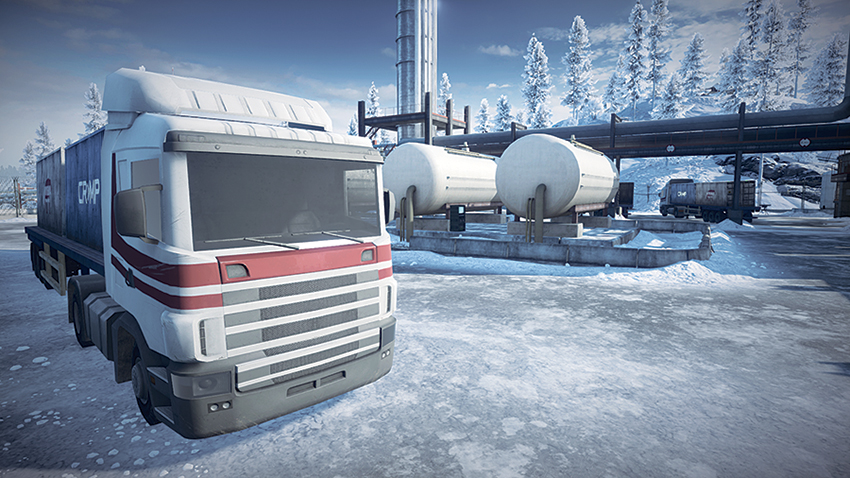
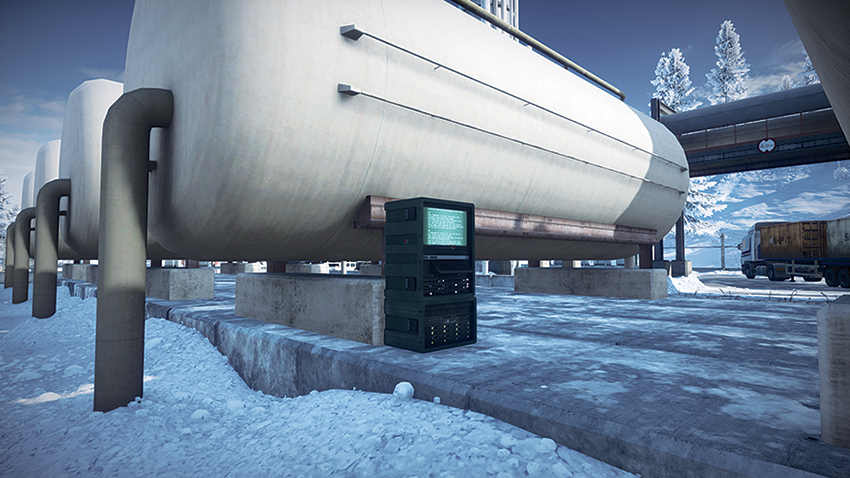
This objective is located within the refinery compound northeast of the Oil Refinery. Exposed and set beside a storage tank, M-COM Station A can be directly approached by most vehicles. Because of this, the attackers will attempt to destroy this objective first before proceeding to the Oil Refinery objective. When defending this objective, it is best to set mines around the storage tanks to disable armored vehicles that approach the site. A pipeline connects the north and south towers of the Oil Refinery. This pipeline can be used as a sight line over the objective by snipers to eliminate infantry and dirtbike threats that approach the objective. Attackers looking to gain the upper hand here should look to the MI-28 Havoc to patrol the west side of the compound and check the defenders attempting to flank the objective site from the shipping containers on the north side of the complex.
M-COM Station B
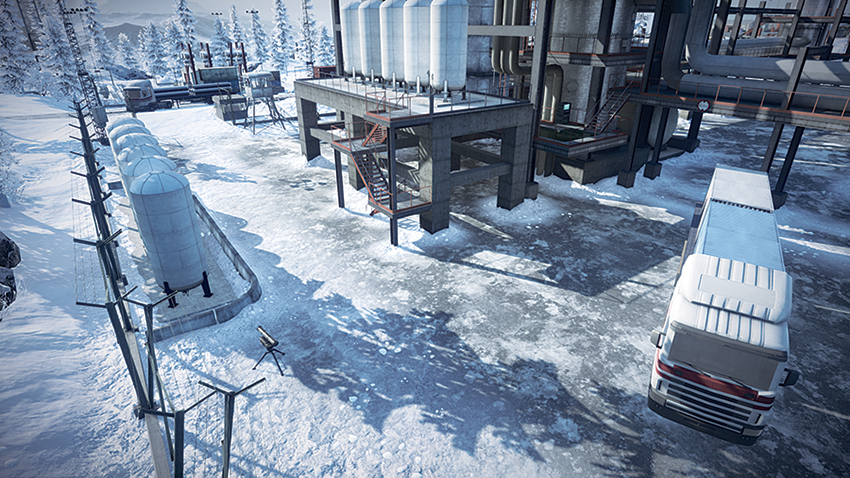
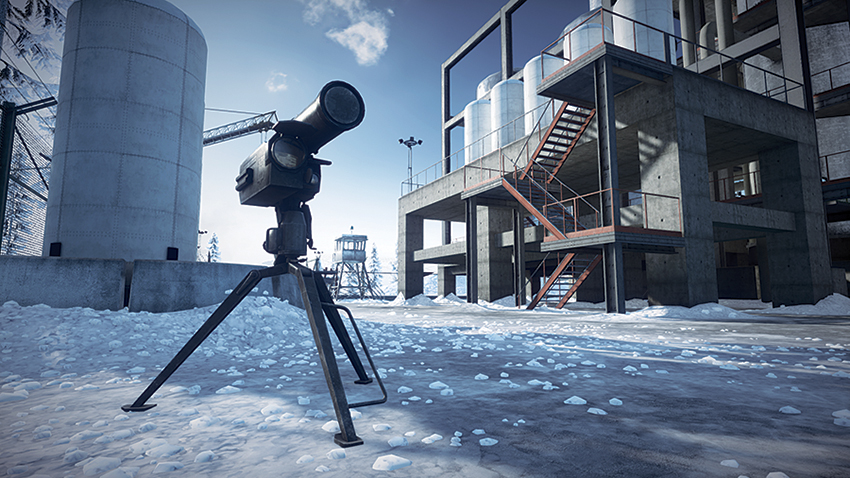
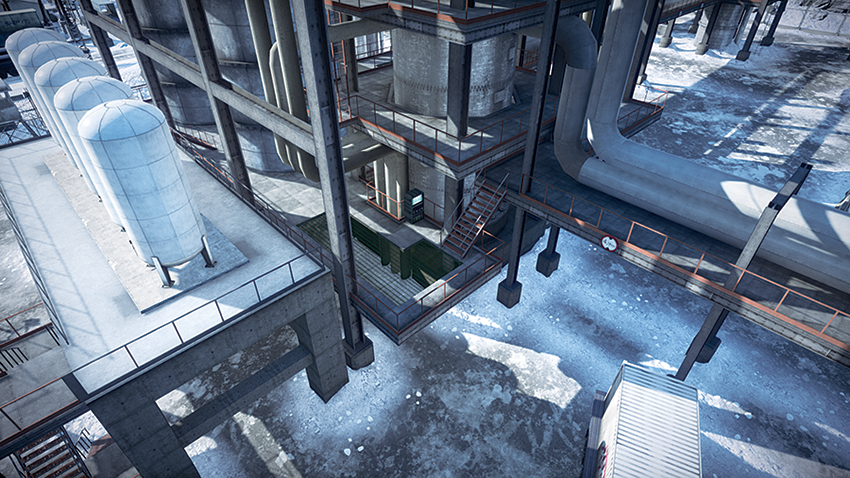
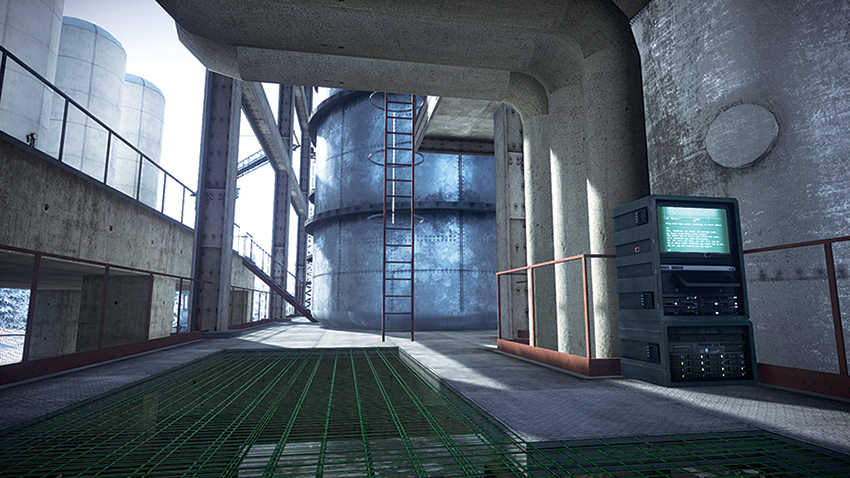
Positioned within the Oil Refinery on the second floor of the structure, M-COM Station B is not approachable by vehicles, and requires attackers and defenders alike to approach the objective on foot. Because of this, the objective will be home to fierce close-quarters combat, with the exception of occasional cannon fire from passing vehicles. When defending this objective, place claymores on the stairwells leading up to the objective instead of on the tier where the objective is located. This creates an “early detection” system for defenders, so that attackers reveal their attack direction with the explosion they trip. This strategy also serves well for attackers as they approach the objective, preventing defenders from rushing in behind them. Placement of a T-UGS motion sensor on the ground floor beneath the objective will assist defenders in locating threats as well. For attackers looking to approach the objective, the AH-1Z Viper should make a few passes first, bombarding the tiers above and below with rockets to eliminate or suppress threats within the area.
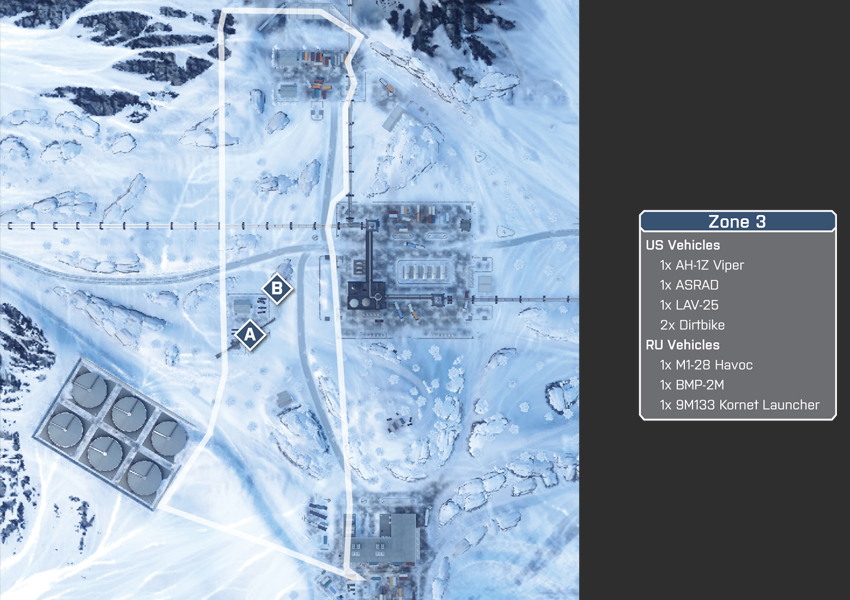
Zone 3: Construction Site
US Deployment
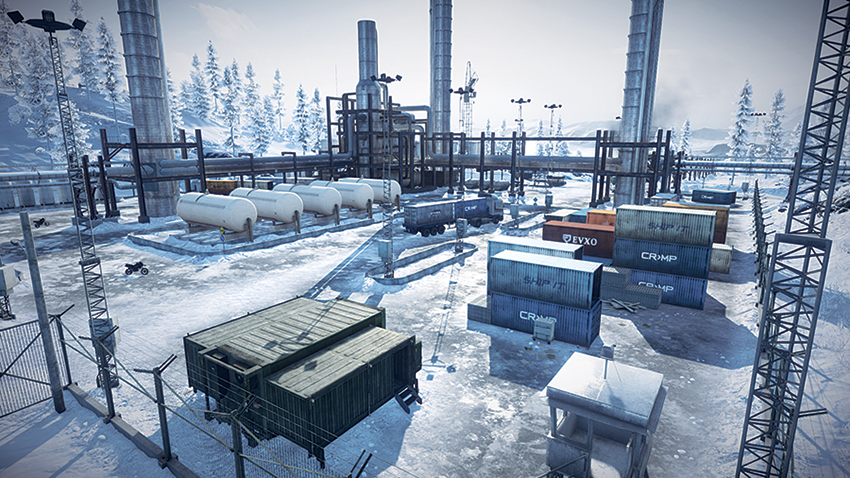
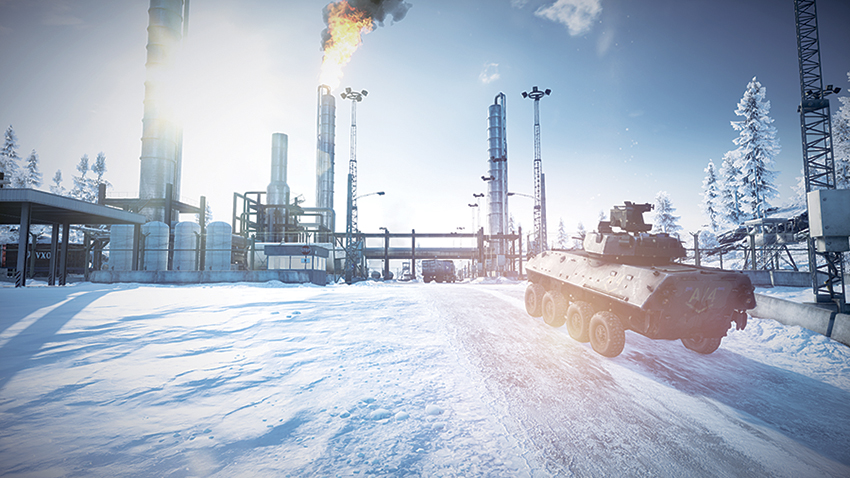
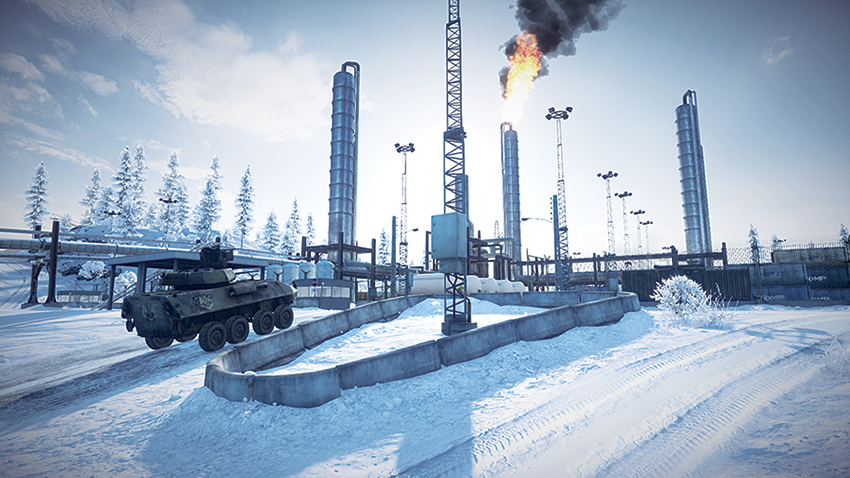
The US team now deploys from the Oil Refinery. Now, with the objectives located at the Construction Site due west of the Refinery compound, attackers will be able to engage their targets quickly. Recon soldiers should make their way onto the metal tanks that are on the south side of the Refinery structure to maintain a sight line over the Construction Site and its objectives. From this view, it is possible to observe the approach of the RU team as they deploy from the west and spot these hostiles early to give a heads up to the rest of the team. Aside from this advantage, the ASRAD and LAV-25 can approach the Construction Site from both the north and the south to prevent camping defenders as well as those attempting to flank US infantry planting a charge on the objectives.
RU Deployment
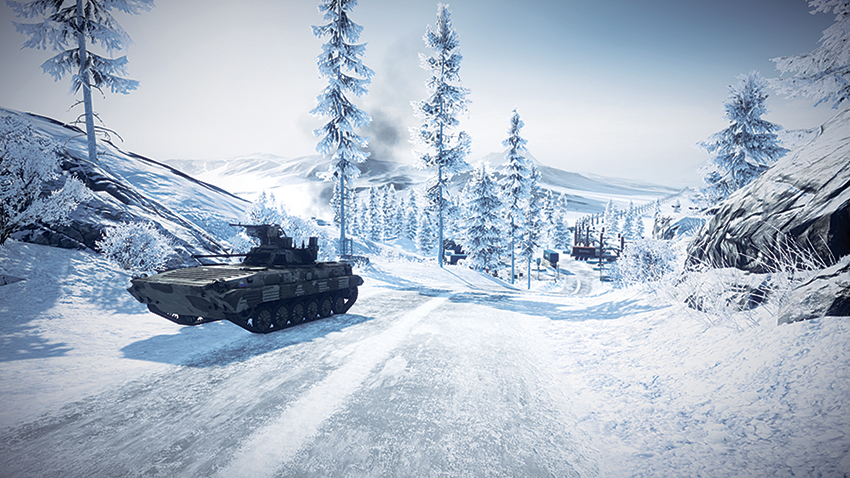
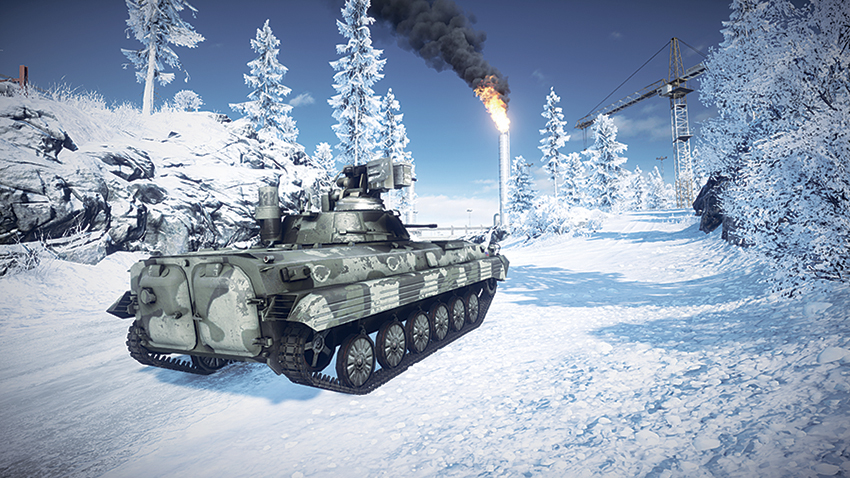
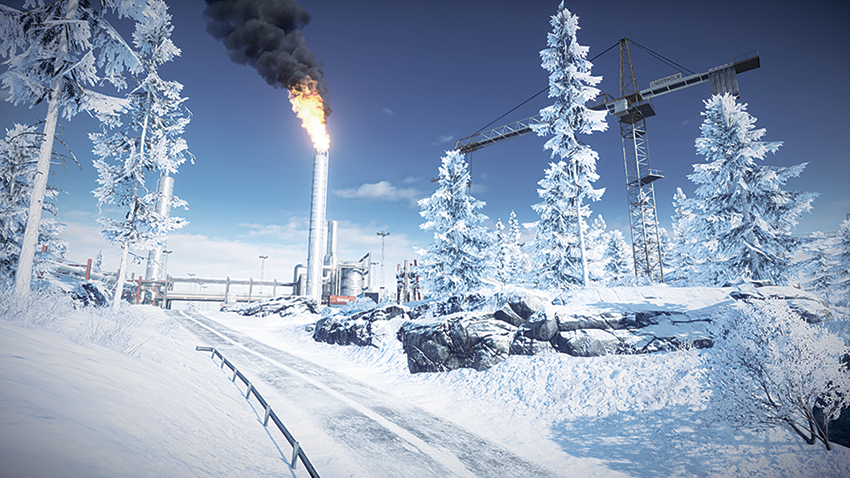
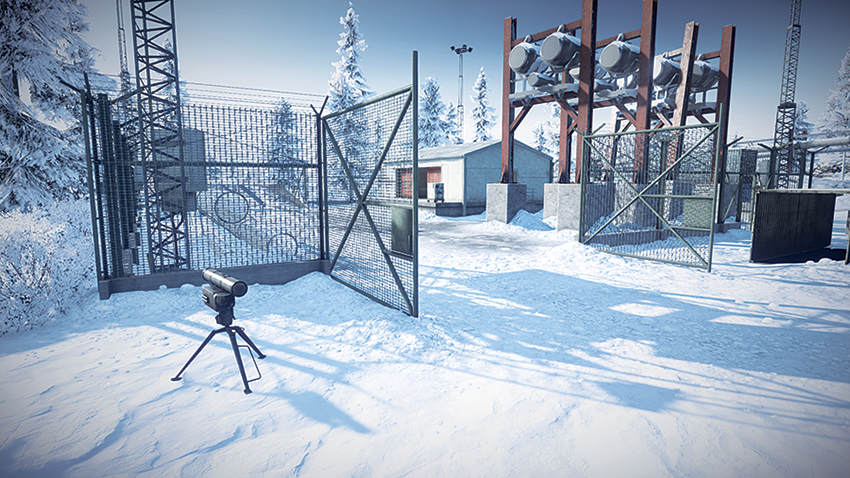
Deploying slightly west of the Construction Site, the RU team can quickly move in on the objective site and entrench themselves here. The only problem is that there are not many structures here to provide cover from the attackers approaching from the east. The 9M133 Kornet Launcher at the objective site serves only to paint a target on the soldier operating it, so the team should opt for engineers to handle the heavy lifting and destroy hostile armored vehicles. Southeast of the objective area is a small shack that can be used to watch over M-COM Station B, which is inside of the building at the Construction Site. When securing the site, placing mines within the Construction Site yard is crucial in preventing armored vehicles from coming into the objective area. The MI-28 Havoc should be used here to push back advancing infantry units as they are exposed when crossing the road from the Oil Refinery.
M-COM Station A
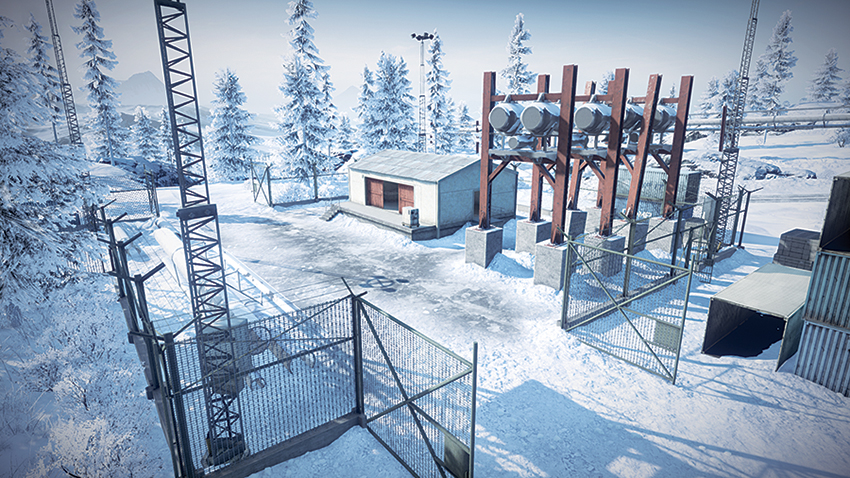
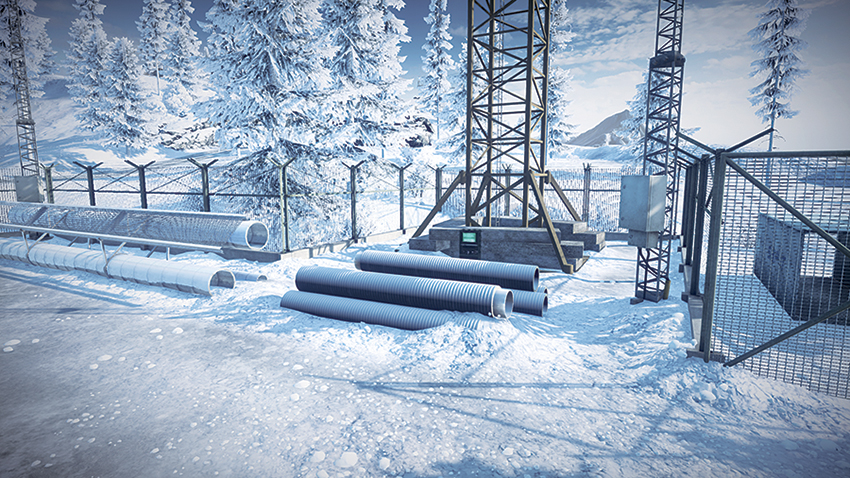
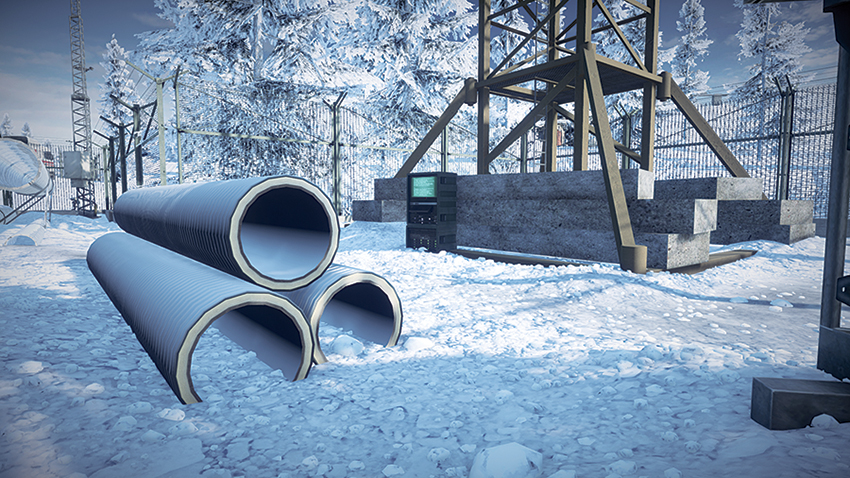
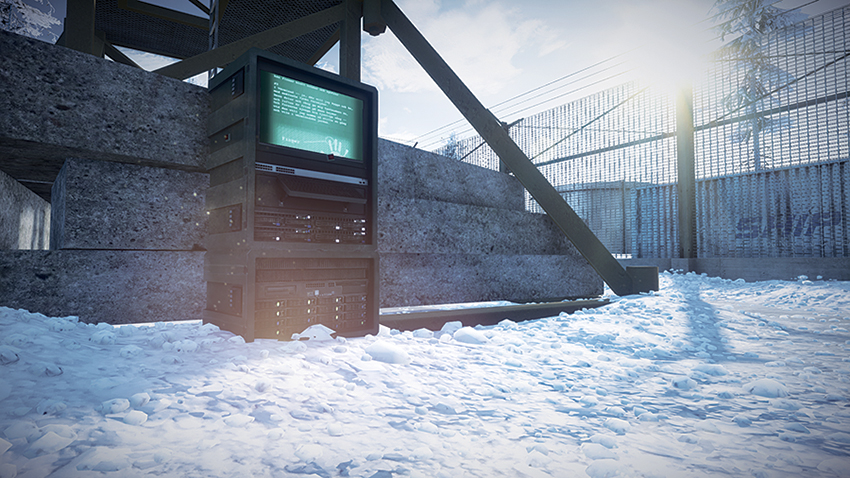
“Exposed” is an easy way to describe the location of M-COM Station A. Set at the base of the crane at the Construction Site, this objective is open to attack from almost all directions. When approaching, attackers can easily break through the chain-link fence surrounding the Construction Site and come at the objective from the south. This makes defense of the objective difficult, as heavy losses can be expected if the US team’s armored vehicle is positioned south of the objective and bombards the site with cannon fire. Attackers should be aware of the building that houses M-COM Station B directly to the north. This building will be a haven for defenders looking to camp the objective site and fire on anyone that approaches M-COM Station A, so a few well-placed grenades should prevent the squad mate arming the charge from being shot in the back.
M-COM Station B
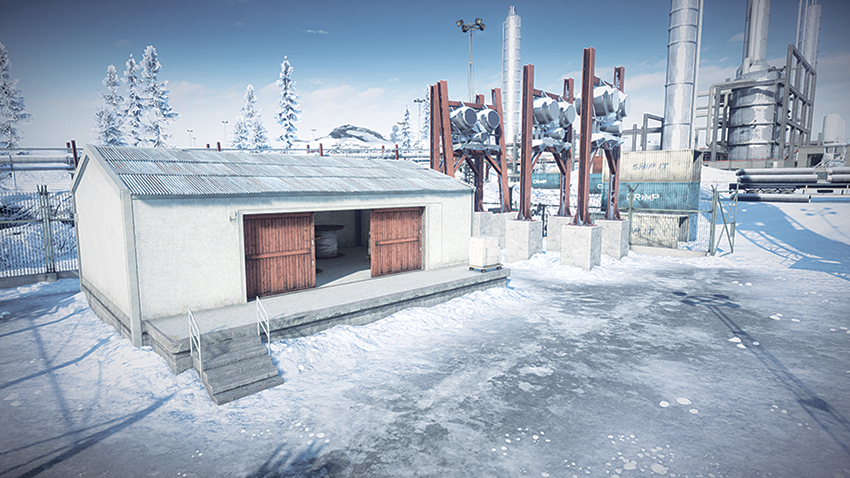
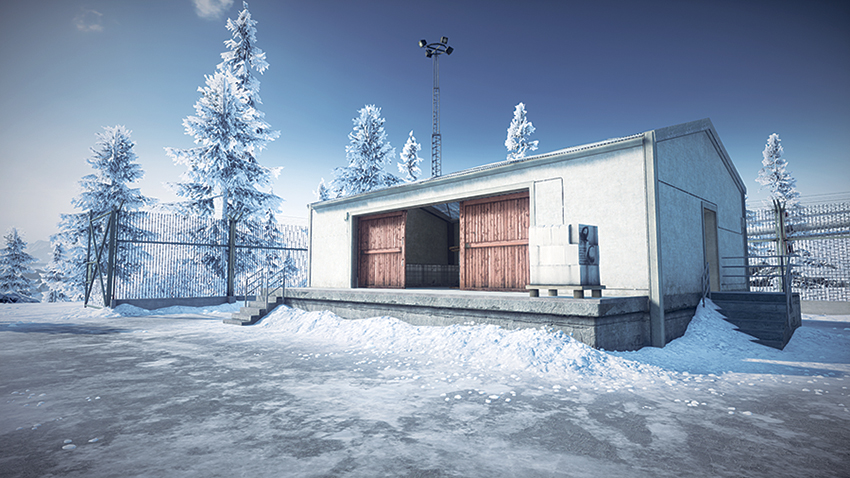
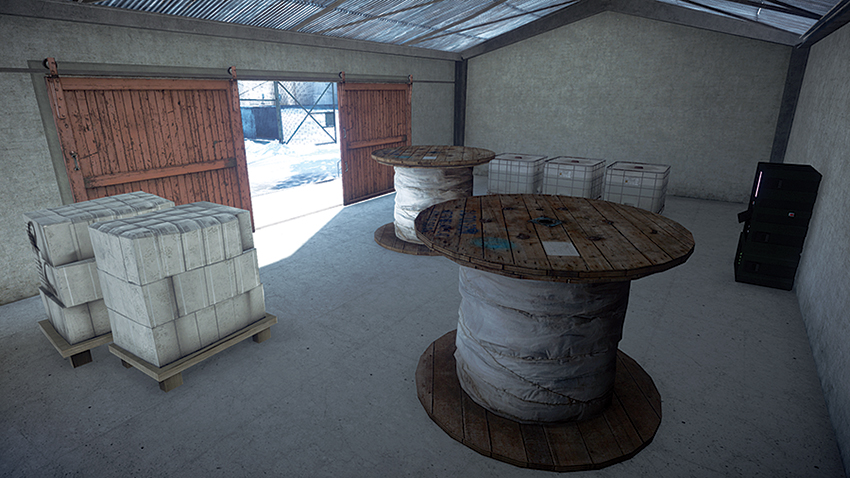
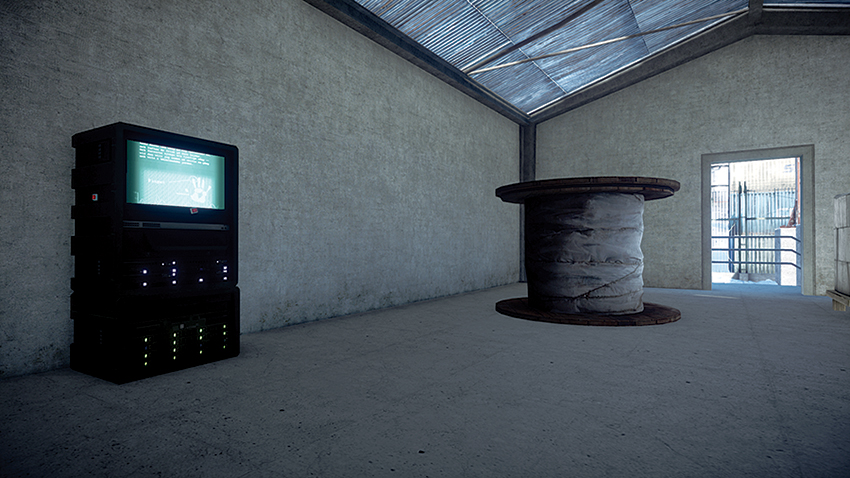
M-COM Station B, inside the building at the Construction Site, will serve as a favorite for defenders looking to camp the objective area. The building’s interior contains several large spools of wire that provide cover from external gunfire while concealing the presence of soldiers within. For attackers, a few grenades thrown into the building prior to entry can eliminate these threats, but crafty defenders looking to avoid this kind of assault would be right to place claymores near the entrances to the building. Booby traps like these can alert defenders hiding in the nearby shipping containers to the entry of hostiles, and then they can throw a few grenades in after the attackers to clear the space of the threat. For a determined US team, having an armored vehicle patrol the Construction Site premises to stave off the defenders’ infantry can help to contain the area until a squad mate can enter the building to arm the charge.
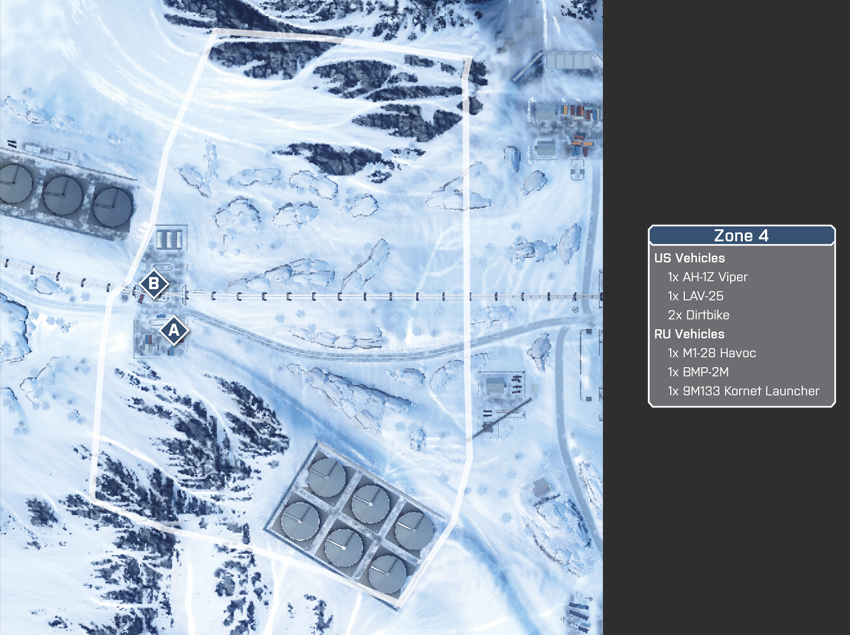
Zone 4: Supply Depot
US Deployment
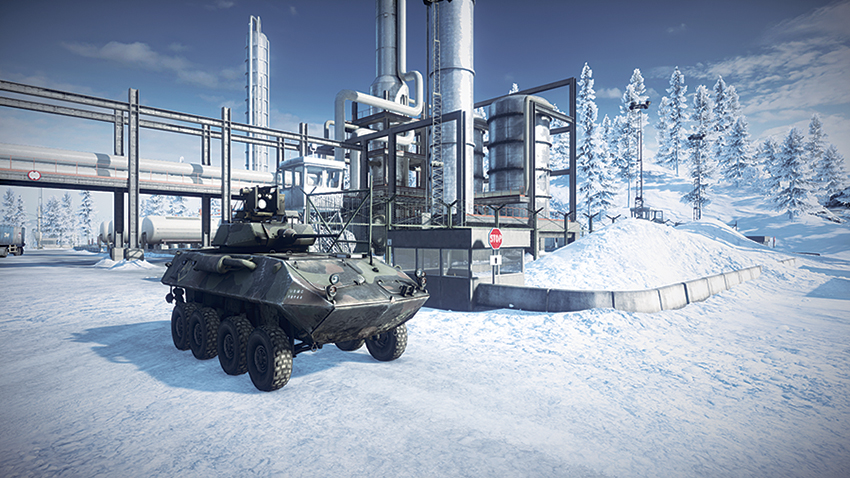
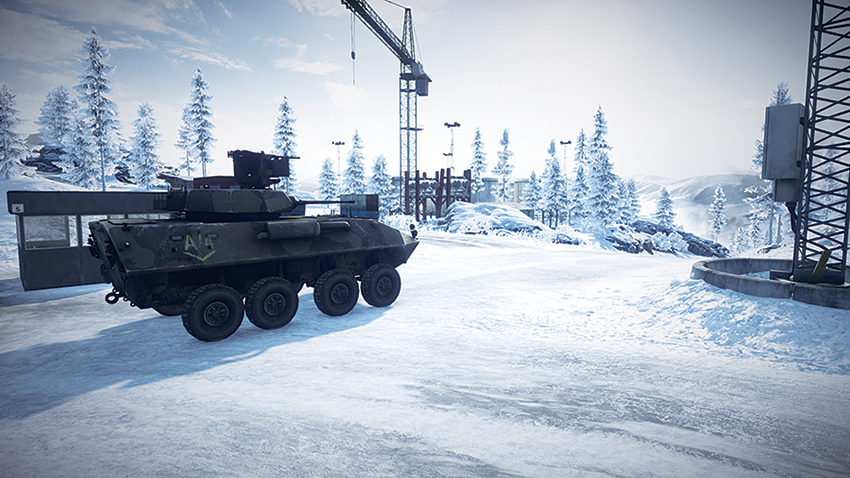
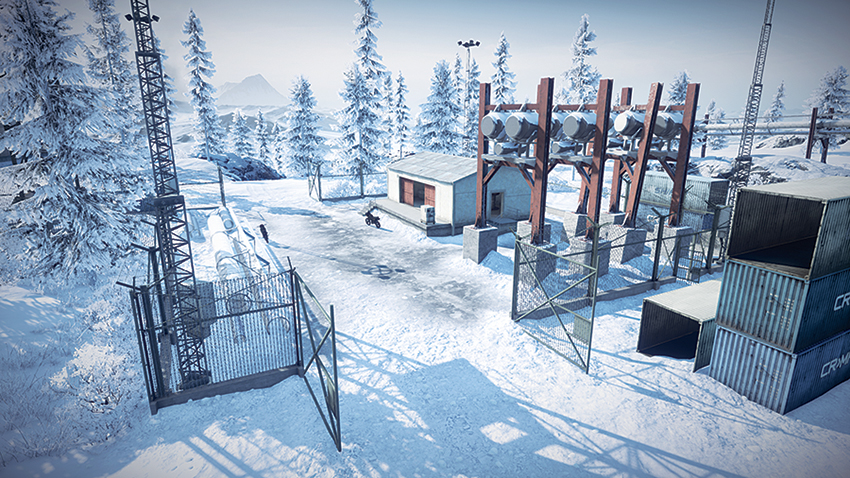
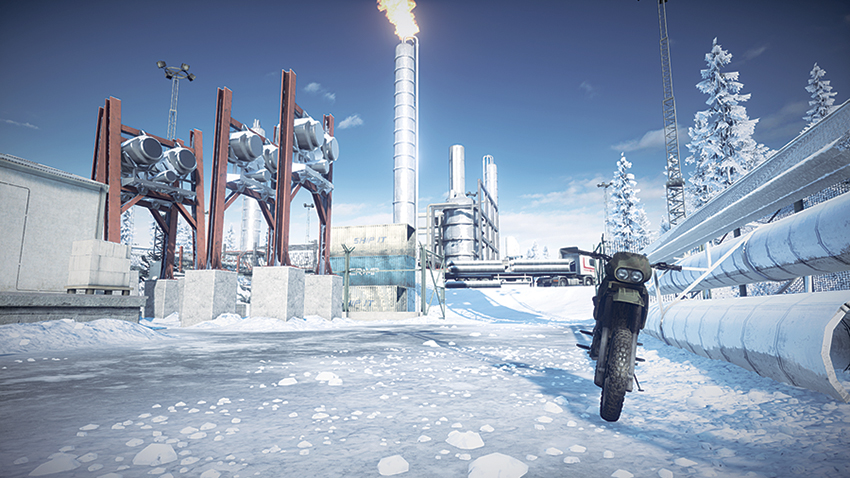
This final stage of the battle places the US team’s deployment at the Construction Site. From here, the team can proceed west and downhill to the Supply Depot, where the final two objectives are located. This downhill approach, while not steep, makes the attackers blind as the come over the ridge. Another disadvantage is the loss of the ASRAD; the attackers have only one armored vehicle to contend with the RU team’s BMP-2M. The LAV-25 is therefore pitted against the defenders’ IFV. Unless the IFV threat can be extinguished by the AH-1Z Viper, the LAV-25 should keep its distance from the objective area and provide suppressive fire on the site downhill while infantry and dirtbikes assault the objectives there.
RU Deployment
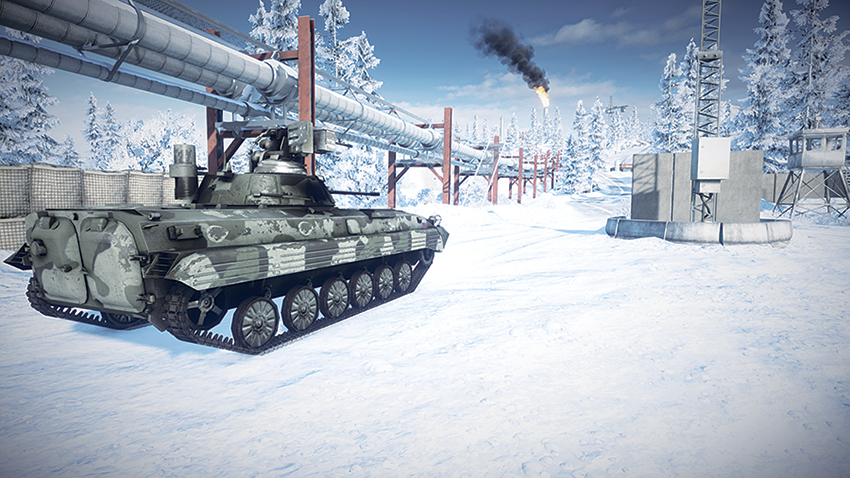
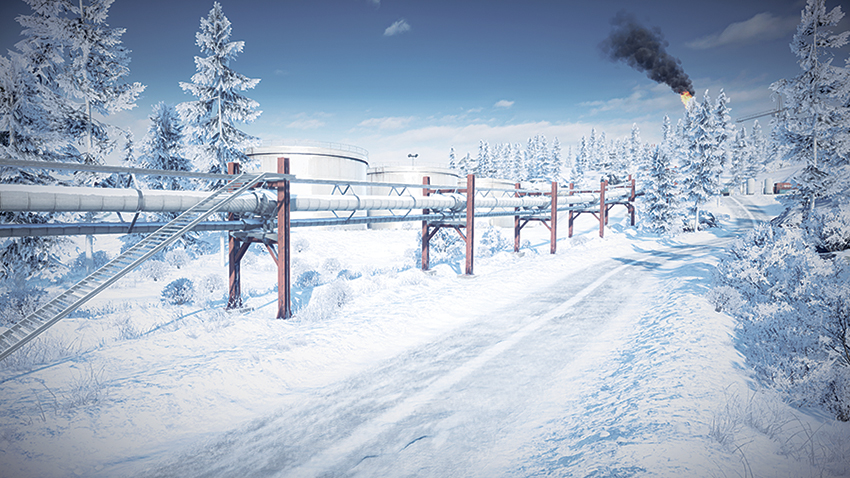
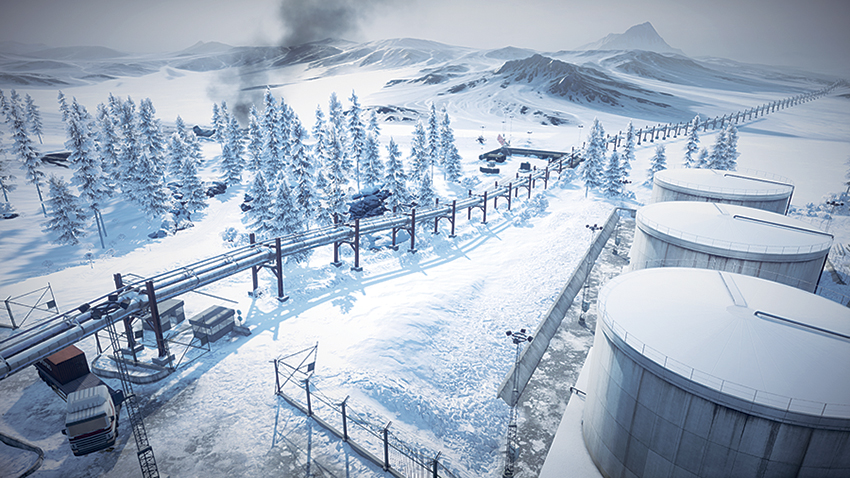
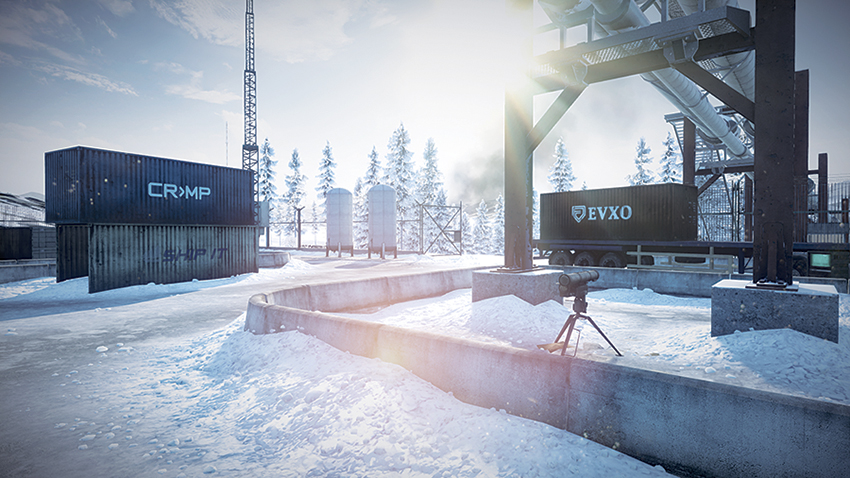
Pushed east, the RU team’s final attempt at mounting a defense sees them deploying from just west of the Supply Depot. The objective area is downhill from the attackers’ deployment, and this can help the RU team to gain the upper hand at this final stage of the battle. When approaching the Supply Depot, snipers can climb atop the nearby pipeline by way of the stairway on the west side of the Supply Depot. From this elevated position, recon and engineer class defenders alike can use these sight lines to defend the site from the US team’s approach. This stage is where the MI-28 Havoc can shine. With the playing field equalized by the removal of the US team’s ASRAD from the field, the BMP-2M can contend with the US team’s IFV, pushing it back from the objective area. The MI-28 Havoc should maintain patrol of the objective site, eliminating hostile infantry that attempt to approach it.
M-COM Station A
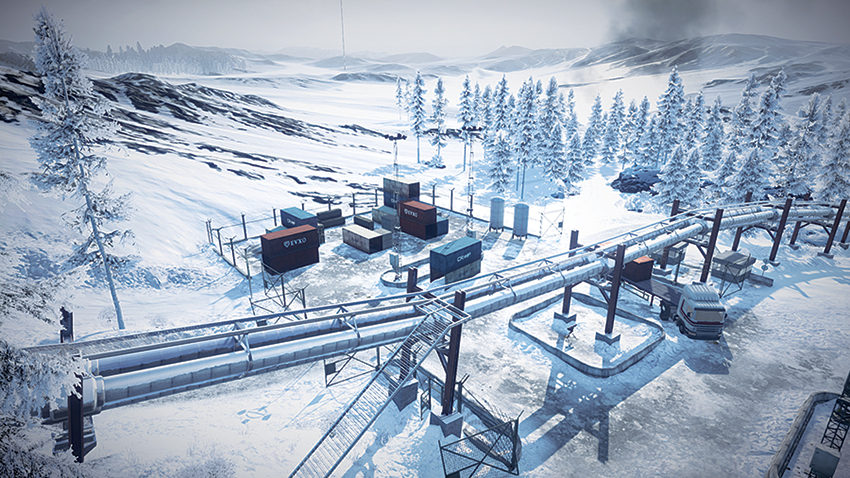
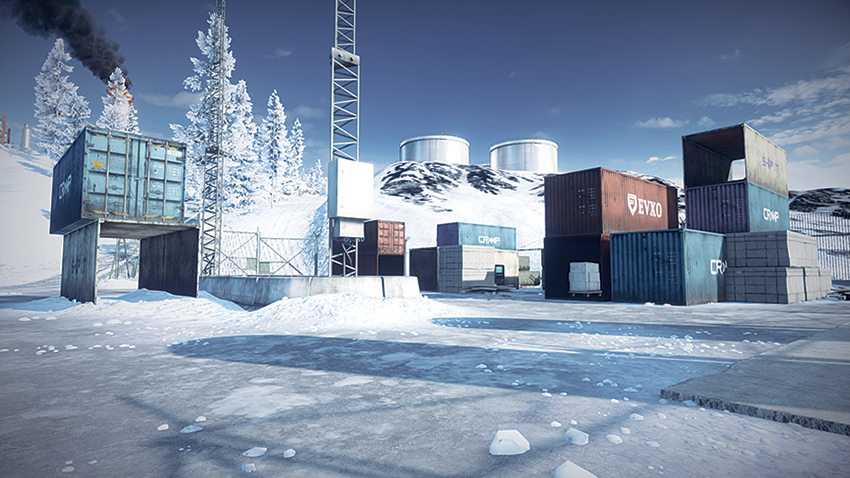
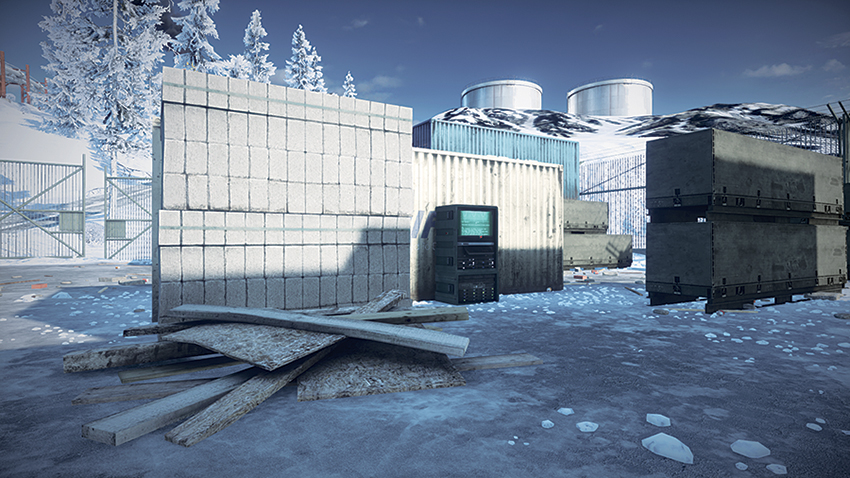
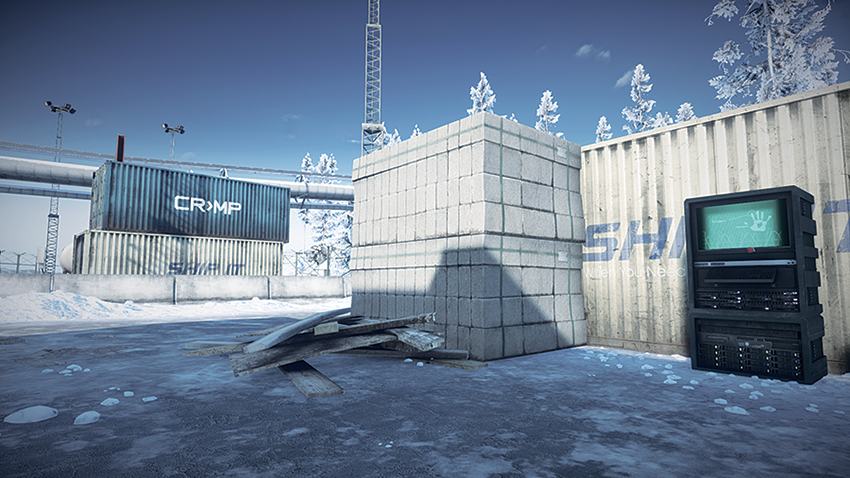
The Supply Depot itself provides little to no cover, except for the shipping containers on the south side, where M-COM Station A is situated. But defenders that take up position there are sure to be routed quickly by either the LAV-25 or the AH-1Z Viper that will descend upon the site. For attackers looking to get close to the site, the best option is dirtbikes that drop off soldiers after barreling downhill. Surrounded by shipping containers, defenders should deploy a MAV to provide an overview of the objective area while they lie in wait on the west side of the Supply Depot to rush attackers as they enter the area to arm the objective. By climbing onto the nearby pipeline, defenders can also make use of a direct sight line on M-COM Station A. Attackers should keep this in mind while approaching and make use of the AH-1Z Viper to patrol for campers and defenders attempting to flank.
M-COM Station B
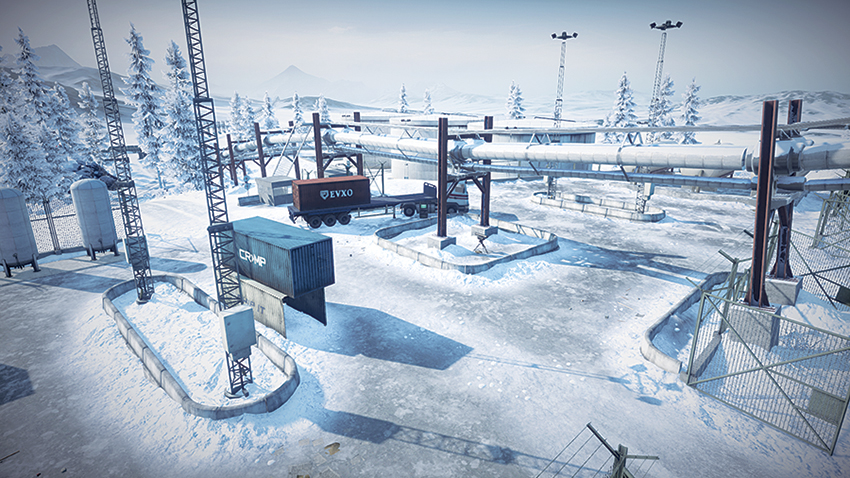
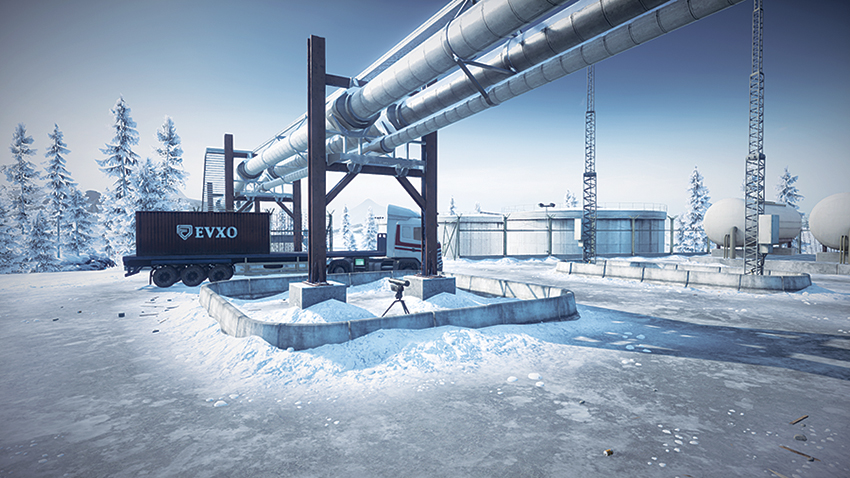
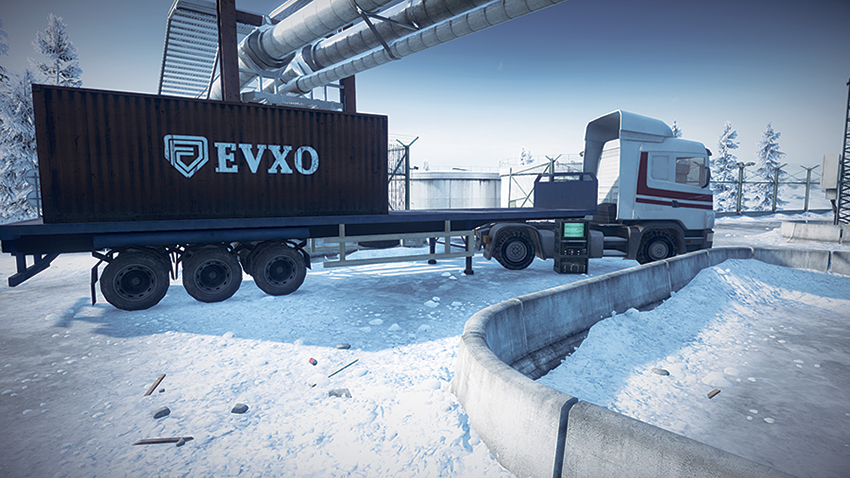
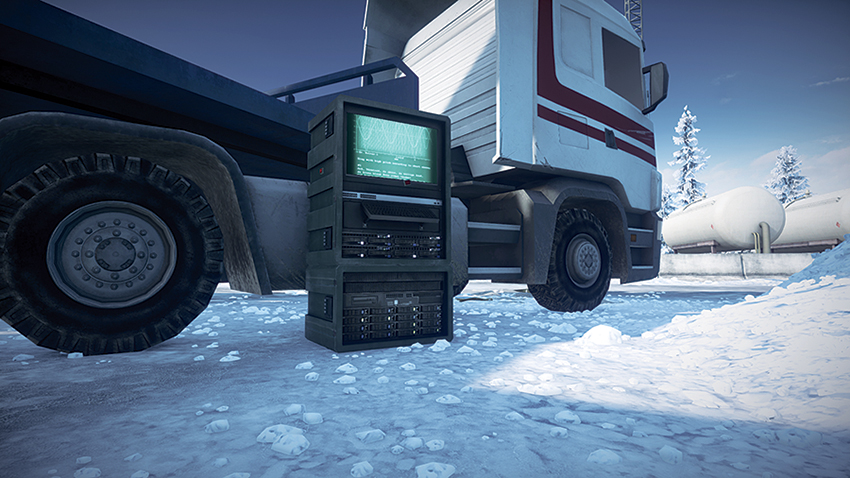
Located on the north side of the Supply Depot, M-COM Station B is beside a semi-truck parked beneath the pipeline suspended above the site. The M-COM itself is very exposed and, unfortunately for defenders, there is no direct way to observe from a position of cover outside the Supply Depot. This will likely be the final objective to be contested as well, which makes the firefight a frantic and bloody exchange. Defenders can capitalize on the chaos here, though, by having their MI-28 Havoc circle the objective and obliterate any hostiles that attempt to enter the site. However, the same can be said for the attackers, and defenders should be careful not to allow the US team to gain supremacy of the skies this late in the battle. The 9M133 Kornet Launcher, positioned immediately in front of the semi-truck and facing east, can be used by defenders to push back not only the US team’s IFV, but their infantry units as well, which will be spilling in from the south in an attempt to flank.
Squad Rush
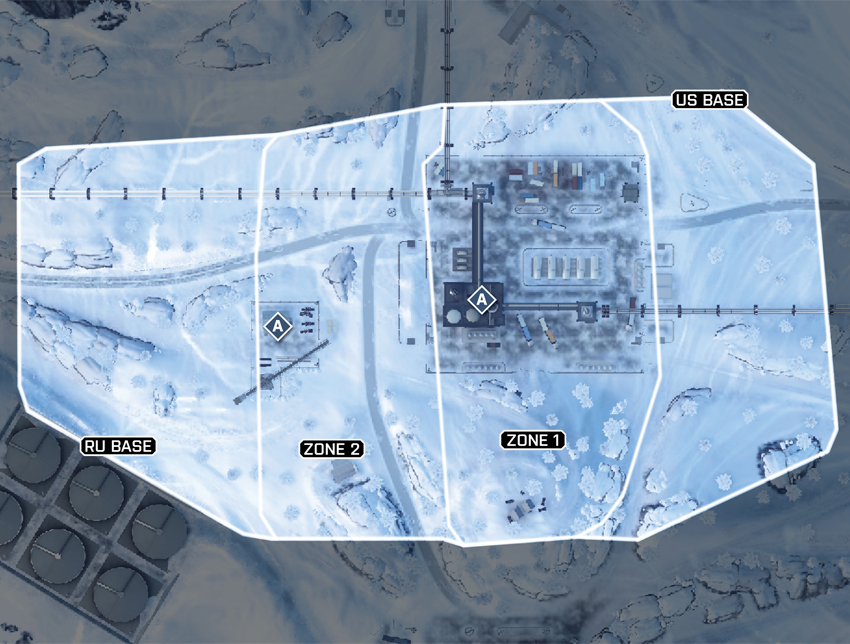
The combat of Squad Rush on Sabalan Pipeline is focused on the Oil Refinery and the nearby Construction Site. These two locations result in a varied combat experience. The round begins at the Oil Refinery—a constrictive, multitiered environment that produces fast-paced, close-quarters combat—and then moves on to the Construction Site, where the combat is more open, there are fewer opportunities for cover, and efficiently flanking your enemy is key. The environment is the greatest asset to both teams here and efficient squad play can help to turn the tide of the battle and keep the opposition pinned down. Teams that can efficiently set booby traps as well as make use of tools like the MAV will quickly gain the upper hand here, directing the flow of the enemy in their favor. Although the terrain is not suited to long-range sniper rifles, the landscape does provide the opportunity to fire on hostiles at range. With this in mind, carbines are an efficient weapon for the duration of the conflict and shotguns and PDWs should be avoided.
Zone 1
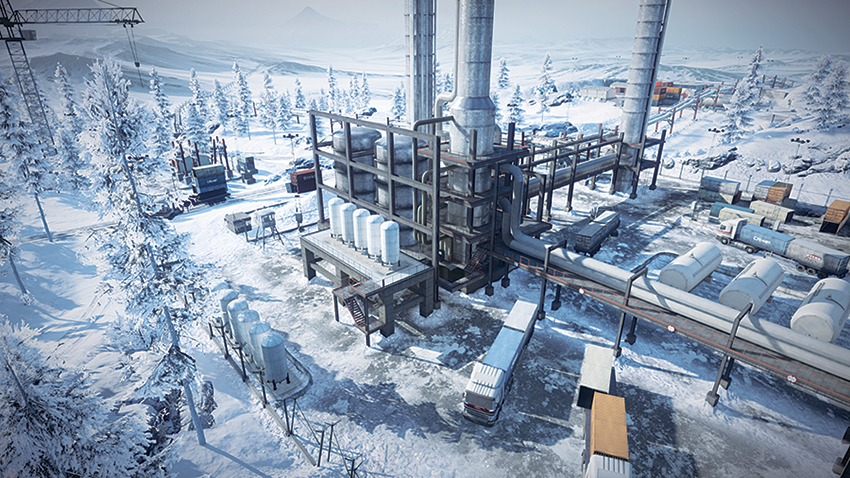
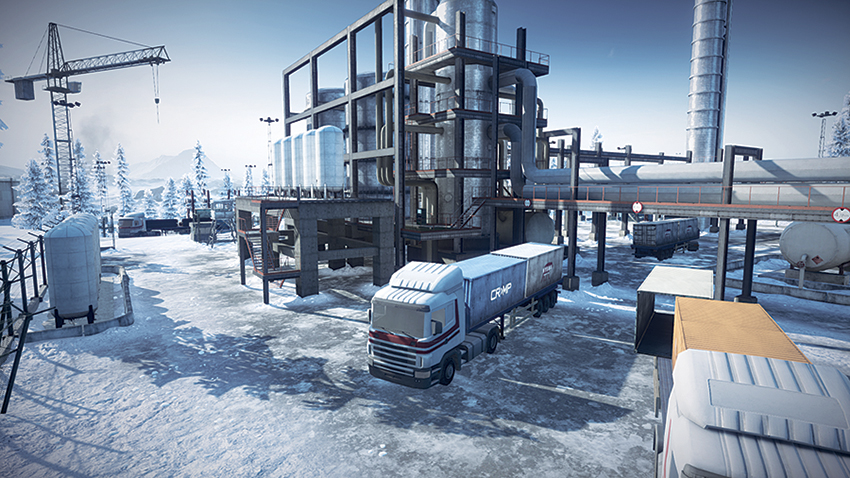
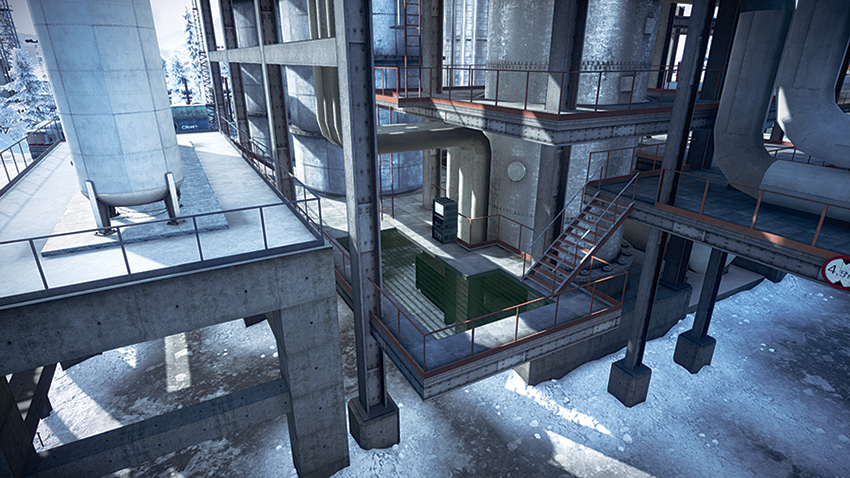
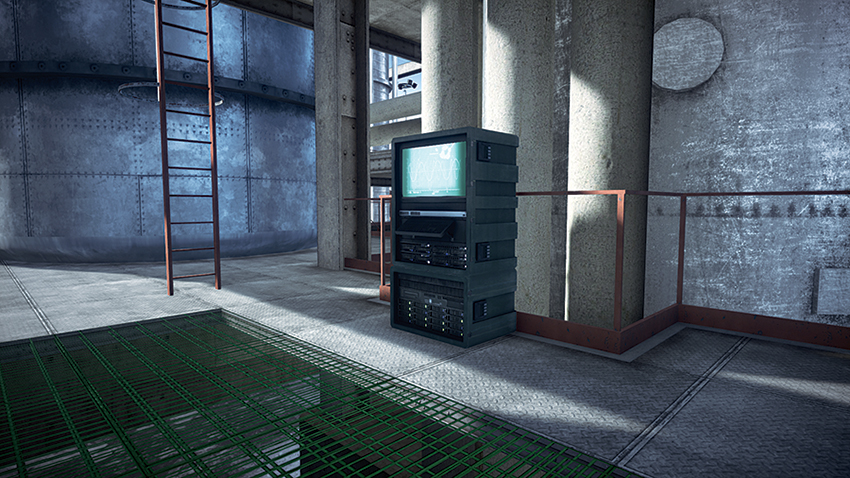
Positioned on the second tier of the Oil Refinery, the objective for Zone 1 can be difficult to approach if it is overrun with hostiles. The objective is accessible via stairways on the north and south sides of the Oil Refinery, which provides defenders with a dilemma as to how they should defend the site. Booby traps and motion sensors prove their worth here, as a squad can maintain a strong presence without putting themselves in a direct line of fire. These tools are equally valuable to both attackers and defenders during this battle, as they allow a squad some foresight into the actions of their enemy and can then modify their actions. For attackers looking to overtake the objective from entrenched defenders, grenades can help to equalize the battle and uproot campers from their positions atop the Oil Refinery. Although not frequently used, the M320 Smoke gadget afforded to assault class soldiers can conceal a squad’s advance on the objective and provide an extra moment to capitalize on flanking attempts when proceeding up the stairways here.
Zone 2
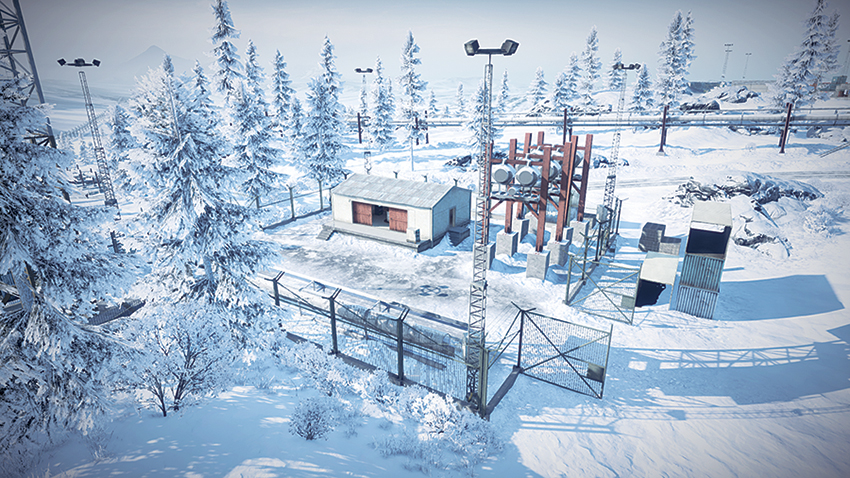
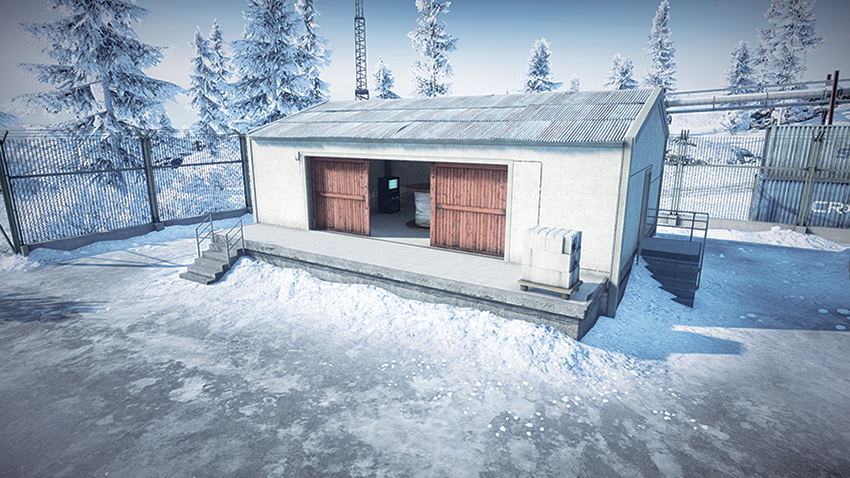
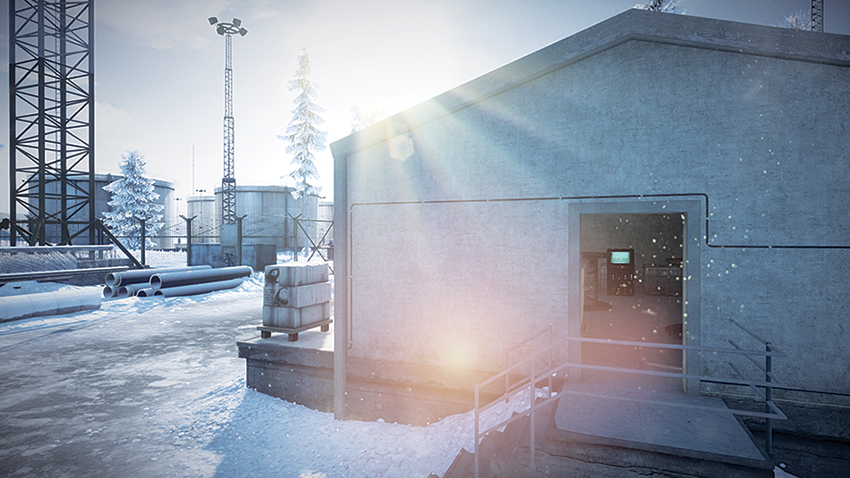
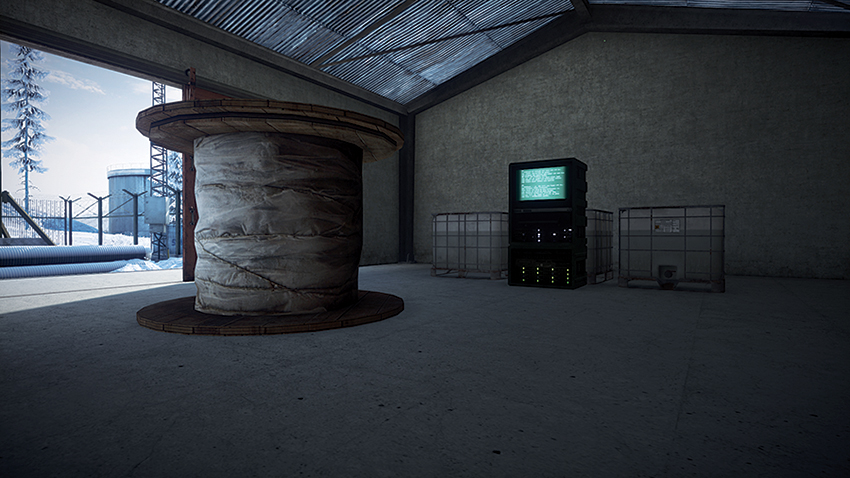
Located within the building on the north side of the Construction Site, the objective of Zone 2 will be a difficult one for attackers to approach. Defenders can position themselves near the base of the crane and lob grenades into the building should attackers enter it without detecting them. The objective is not visible except from the east side of the Construction Site, though, so defenders have no efficient sight lines to exploit. Once again, the M320 Smoke gadget can benefit attackers because it masks their assault as they make their way into the Construction Site. Otherwise, they have little to no cover for their advance. Attackers will find that making their approach from the north by breaking through the chain-link fence and coming from around the west side of the building to be an efficient tactic, as defenders will be focused on the Oil Refinery, expecting attackers to engage them directly from this entrance. Flanking is essential to protecting and destroying the objective, so a squad that is willing to divide and attack from multiple angles will be able to secure the victory here.
Air Superiority
The battle for Air Superiority over Sabalan Pipeline provides very little advantages for pilots. The only advantage afforded pilots is the snow white landscape that can make being seen by enemy fighters difficult, as planes tend to blend in with the environment when flying low. A loadout should include the stealth upgrade; although it does not make an aircraft invisible to hostiles, it can help in reducing the range necessary for a bogey to get a lock on the plane. Also, a fire extinguisher can help to repair the craft in the event that it sustains damage, since the planes cannot land and be repaired during this game mode. Teams should maintain contact with one another and not fly in tight formation to avoid being spotted. This tactic offers even unexperienced pilots a fighting chance here, as their wingmen can attract the fire of enemy fighters while one of the squadron moves in to claim the objectives. When attempting to shake enemy fighters, use hard banks and air brakes to break weapon locks. Pilots should be cautious when flying low to avoid being locked onto, as the mountainous terrain here can be dangerous for the inexperienced and experienced alike.
Jet Unlock Progression
| Image | Name | Loadout Slot | Points | Description |
|---|---|---|---|---|

|
IR Flares | Gadget | 300 | Infrared flare launchers that when launched will distract incoming missiles and cause them to miss their locked target. |

|
Heat Seekers | Weapon | 700 | Heat-seeking missiles launched by the pilot that lock on to and track enemy aircraft. |

|
Stealth | Upgrade | 1,500 | Engine tuning and fuselage coating materials disguise your vehicle’s infrared signature, thereby increasing enemy locking and tracking difficulty and decreasing the time you are revealed to the enemy when spotted. |

|
Belt Speed | Upgrade | 2,700 | An enhanced mechanism that decreases the minimum time between firing bursts with your main weapon. |

|
Proximity Scan | Upgrade | 4,200 | External sensors detect and reveal enemy units on your minimap. |

|
Rocket Pods | Weapon | 6,200 | A set of unguided FFAR Rocket Pods mounted under the wings. |

|
Air Radar | Upgrade | 8,600 | The range of your minimap increases greatly and reveals all friendly and enemy aircraft. |

|
Extinguisher | Gadget | 11,600 | A controlled air pressure release in the engine compartment will extinguish engine fires when activated, helping a disabled aircraft return to normal operation and recover from damage. |

|
Below Radar | Upgrade | 15,000 | When flying at low altitudes, your heat signature is decreased, hiding you from enemy radar and preventing enemy air-to-air missile systems from locking on to you. |

|
Maintenance | Upgrade | 19,000 | Preventative maintenance procedures improve your vehicles recovery from damage. |

|
Guided Missile | Weapon | 24,000 | Laser-guided missiles launched by the pilot which lock on to and track enemy land vehicles and can acquire laser-designated targets even if they are out of line of sight. |

|
Beam Scanning | Upgrade | 29,000 | A computer upgrade for advanced weapon systems that helps you lock on to enemy targets faster when using heat-seeking or laser-guided missiles. |

|
ECM Jammer | Gadget | 35,000 | Electronic countermeasures including chaff launchers and deceptive transmitters prevent your aircraft from being locked on to by enemy weapon systems for a short time when activated. |
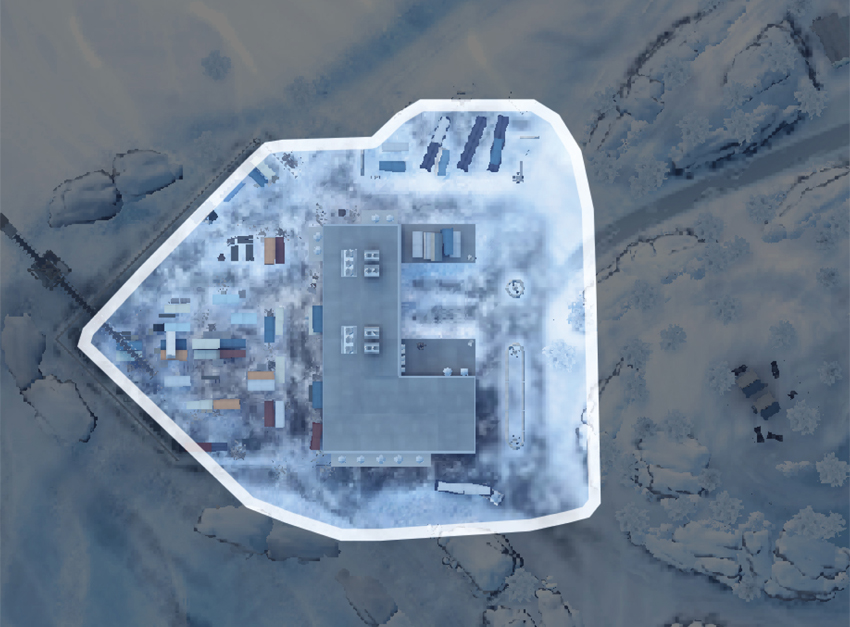
Squad Deathmatch
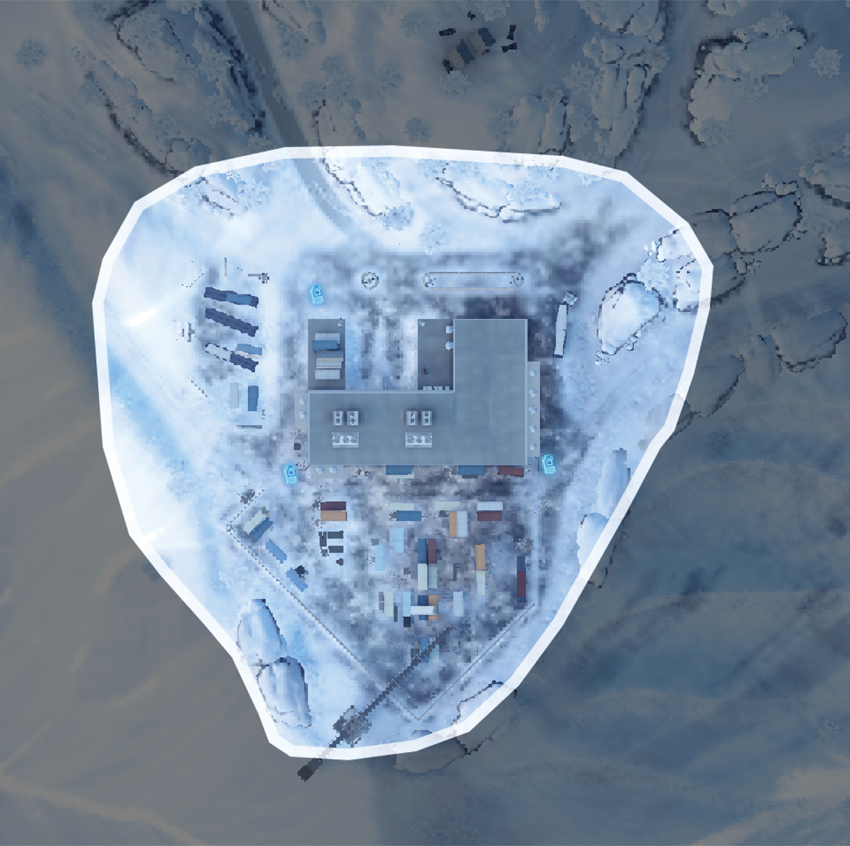
Focused around the Warehouse, the Squad Deathmatch combat at Sabalan Pipeline will be fierce and in close quarters, despite the massive exterior area surrounding the Warehouse. Combat will focus on two areas: the multitiered interior of the Warehouse and the outdoor storage yard south of the building that contains a large number of shipping containers. The tight confines of the storage yard will make it difficult to navigate with the IFV, as the tight turns and haphazardly placed shipping containers provide enemy squads opportunities to use explosives to destroy the vehicle. For the squad that possesses the vehicle, the best tactic is to travel just outside of the fence line and fire its weapons into the storage yard, where the close-quarters combat is taking place. Doing this suppresses enemy soldiers, and racks up kills through splash damage or kill assists. Once inside, the multiple tiers of the Warehouse provide plenty of opportunities for campers to capitalize on their elevated position, quickly killing off entire squads that choose to stick together. Experienced teams will either place T-UGS motion sensors or deploy a MAV to observe enemy positions and flank when possible.
Team Deathmatch
Similar in layout to the Squad Deathmatch battle, the Team Deathmatch map is limited to the area within the fence line, confining the conflict to the Warehouse and the south yard. Experienced teams will choose to engage in combat within the Warehouse itself, as this small space allows them to monitor the entire facility with only a few T-UGS motion sensors that give away the position of all hostiles within the building. Another advantage to remaining within the building is that booby traps such as claymores can be used more effectively, eliminating entire squads with minimal effort. Teams should expect grenades and the M320 GL to reign here, as the confines of the building allow for deflecting tactics when using these tools. Should the battle flow outside, though, the tactics remain the same. Instead of T-UGS motion sensors, MAVs should be used when engaging the enemy in the south yard, as they allow for a greater overview of enemy positions while they frantically run about the shipping containers.