
Battlefield 3 DLC Guide — Premium Maps Close-Quarters Battlefields
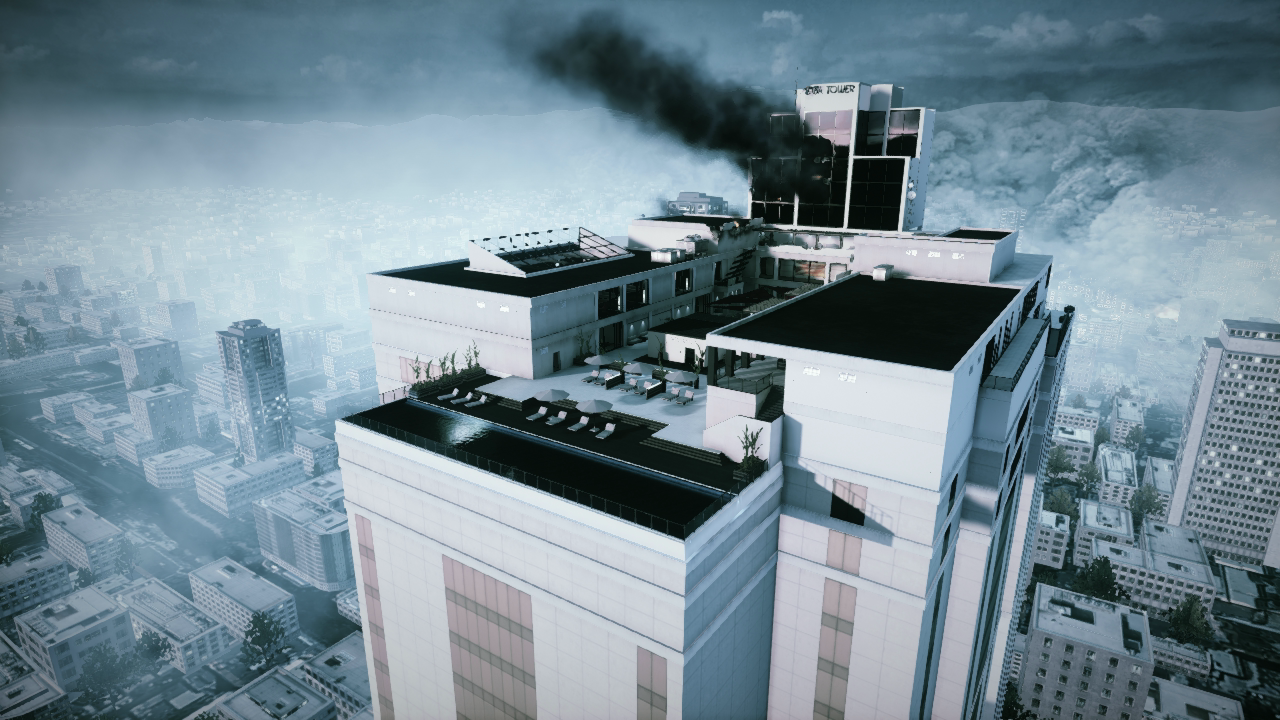
Ziba Tower
Points of Interest
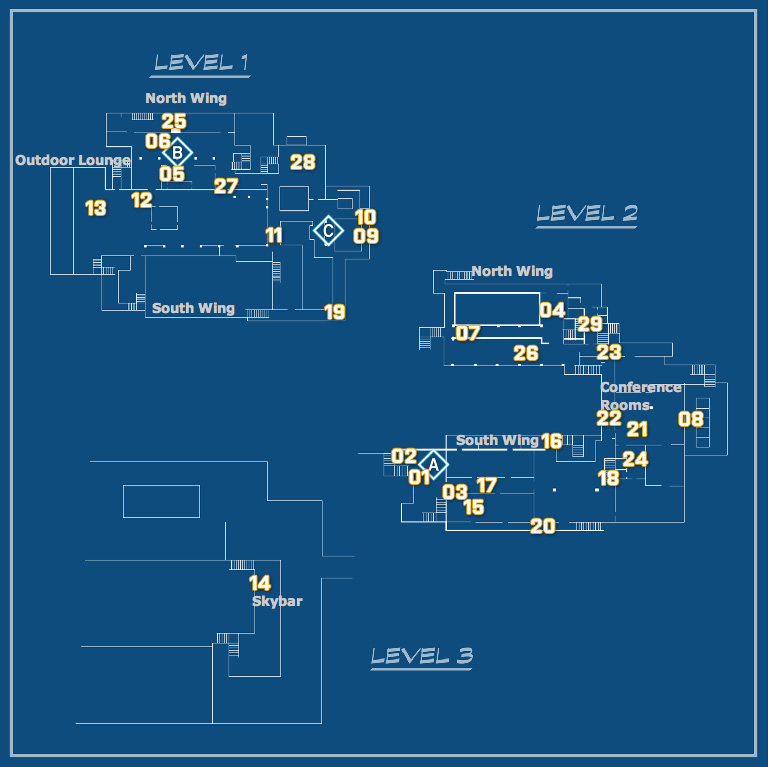
South Balcony (Flag A)
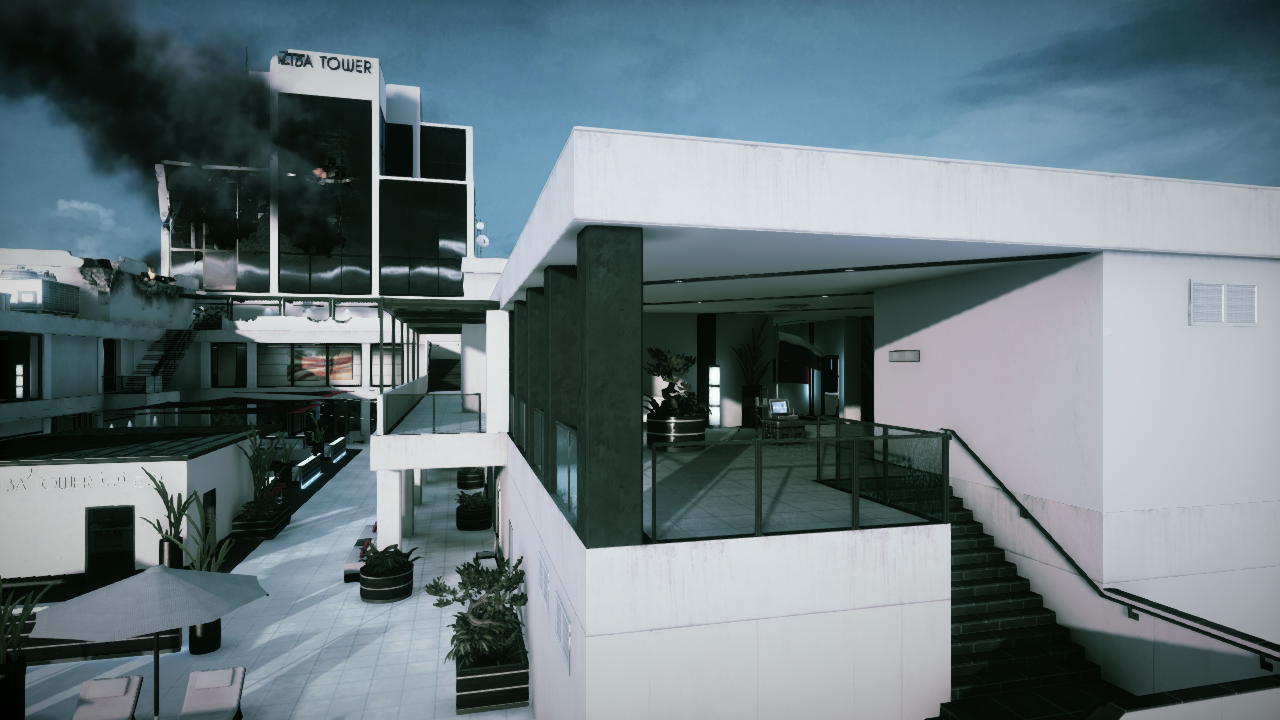
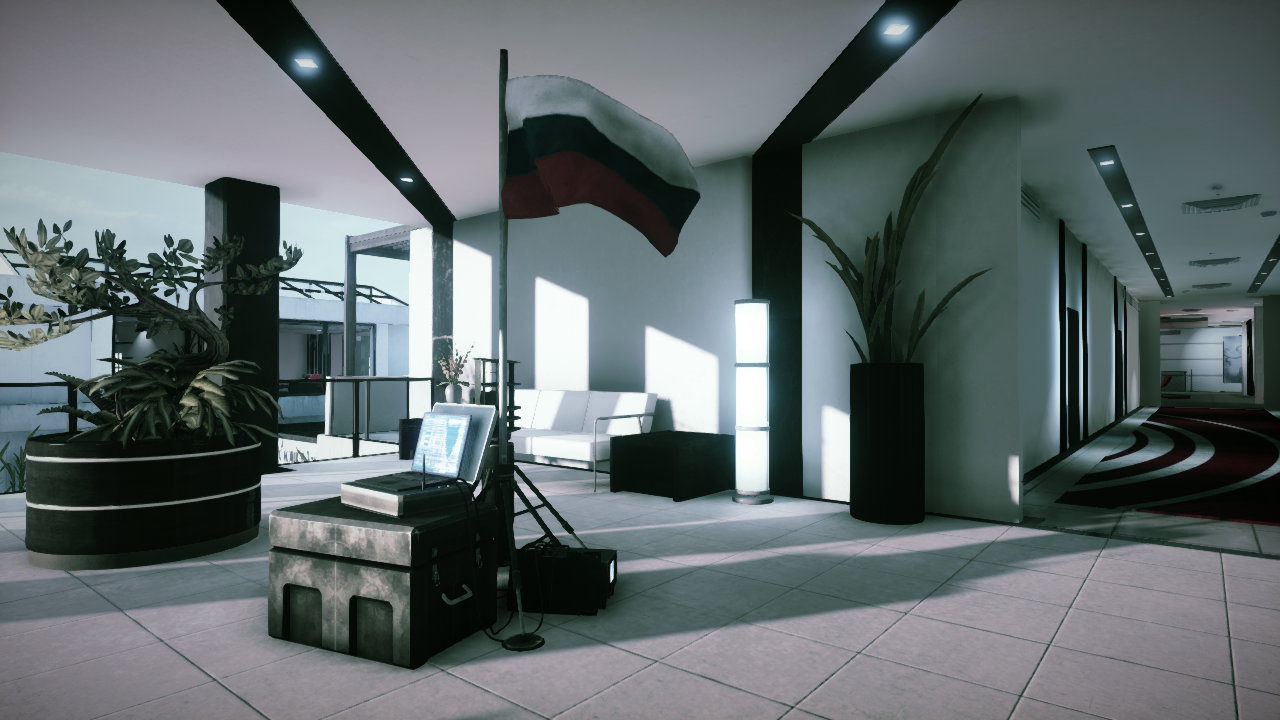
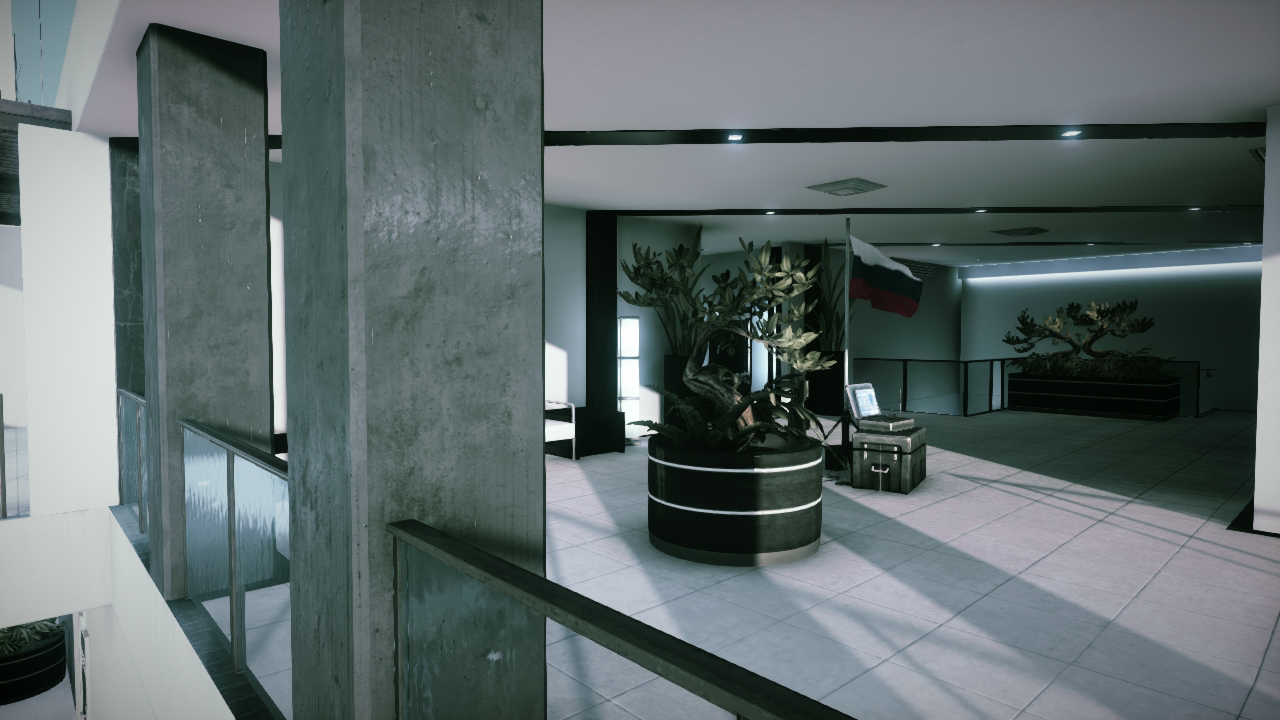
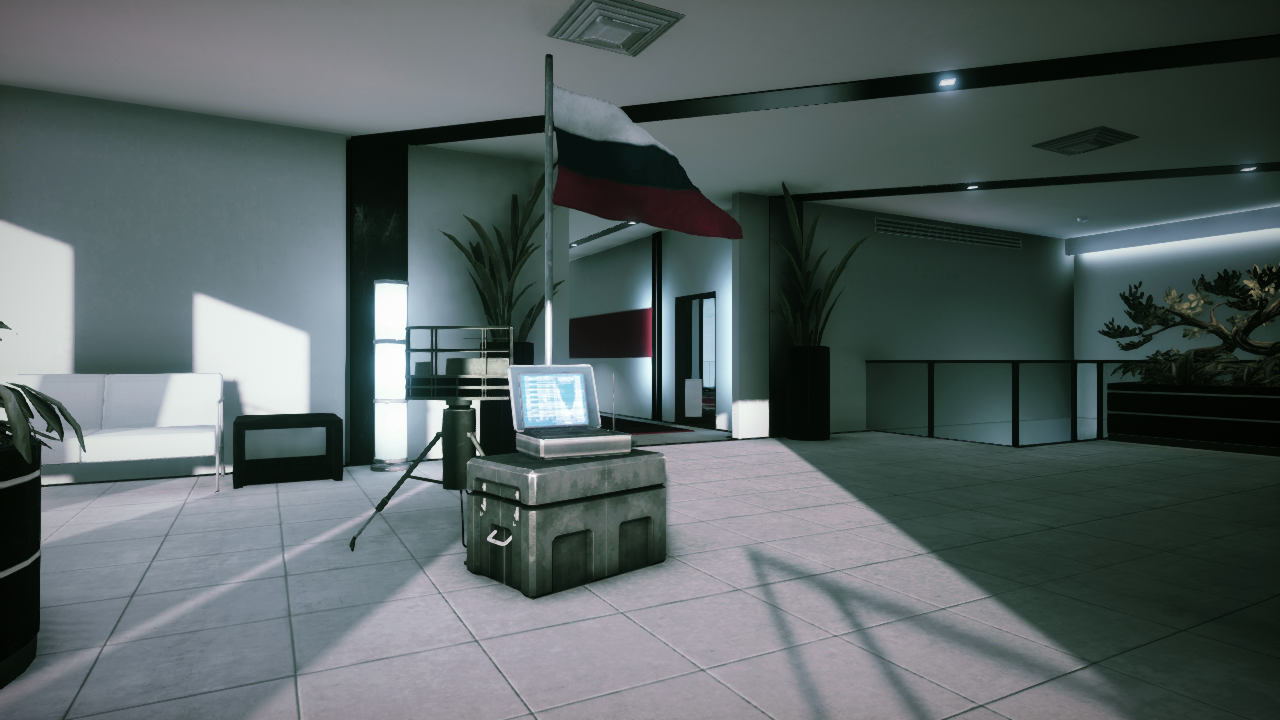
Located on the second floor of the south wing, the south balcony overlooks the outdoor lounge. During Conquest Domination matches, this location is home to Flag A, making this cramped space a deadly high-traffic area as teammates and opponents race from one flag to the next. Always seek cover behind the nearby planter when converting this flag. At the very least, keep moving to avoid being surprised by sharpshooters posted near the restaurant to the north.
The staircase to the west offers access to and from the outdoor lounge. Given the lack of cover on this staircase, it’s safer to use the interior staircase to the south, which connects to a small lounge on the south wing’s first floor. The balcony can also be accessed from the long interior hallway to the east. While most fighting in this area occurs at close range, be prepared to deal with long-range threats posted to the north or down the hall to the east. Such versatility is best met by equipping a carbine or compact assault rifle.
Restaurant (Flag B)
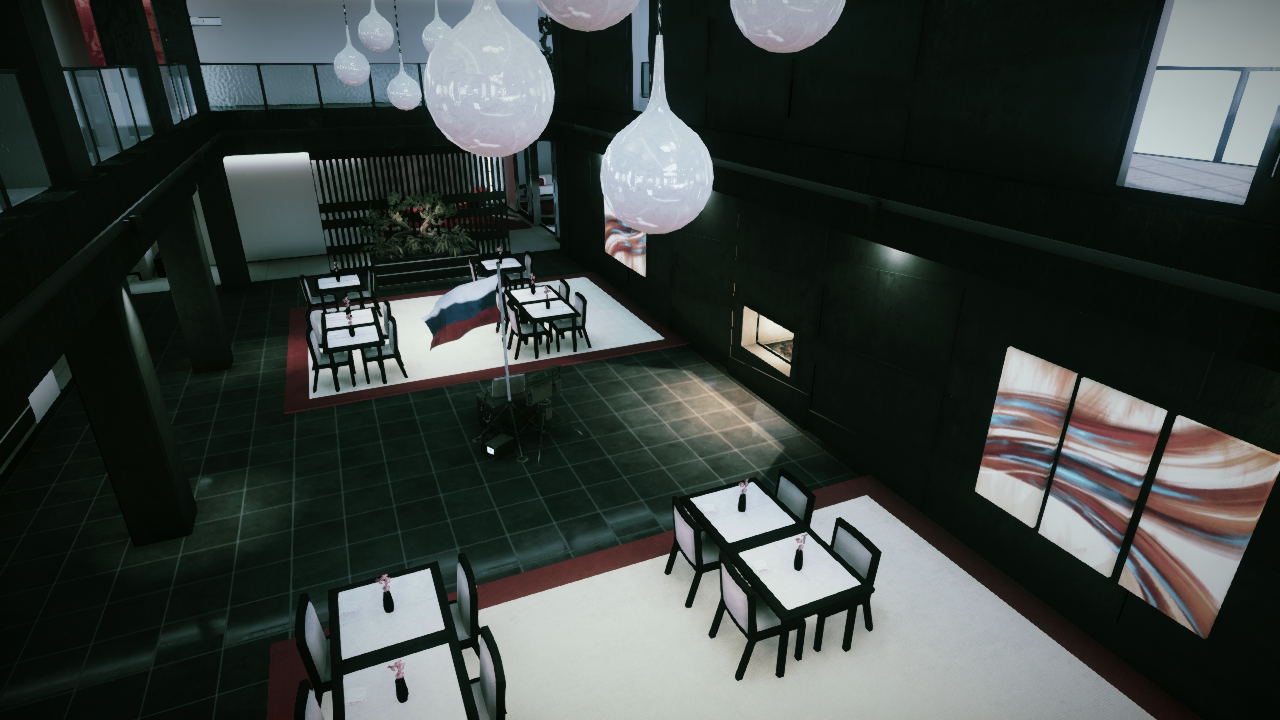
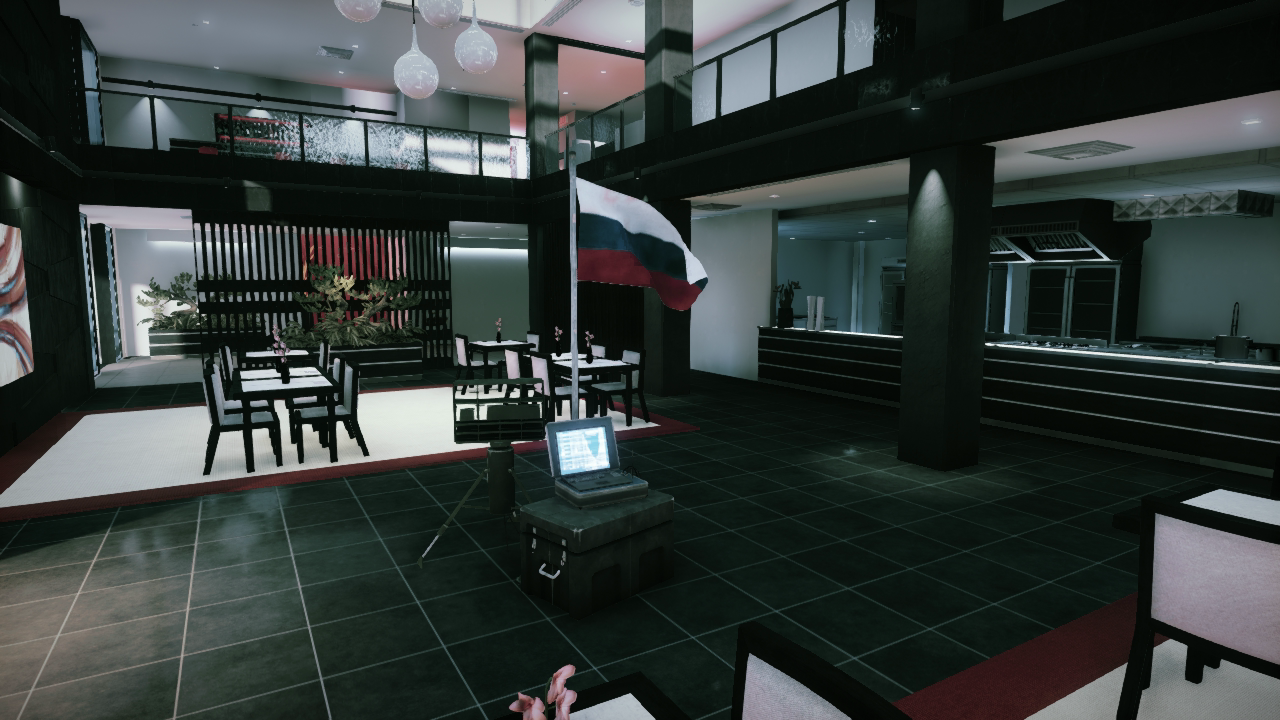
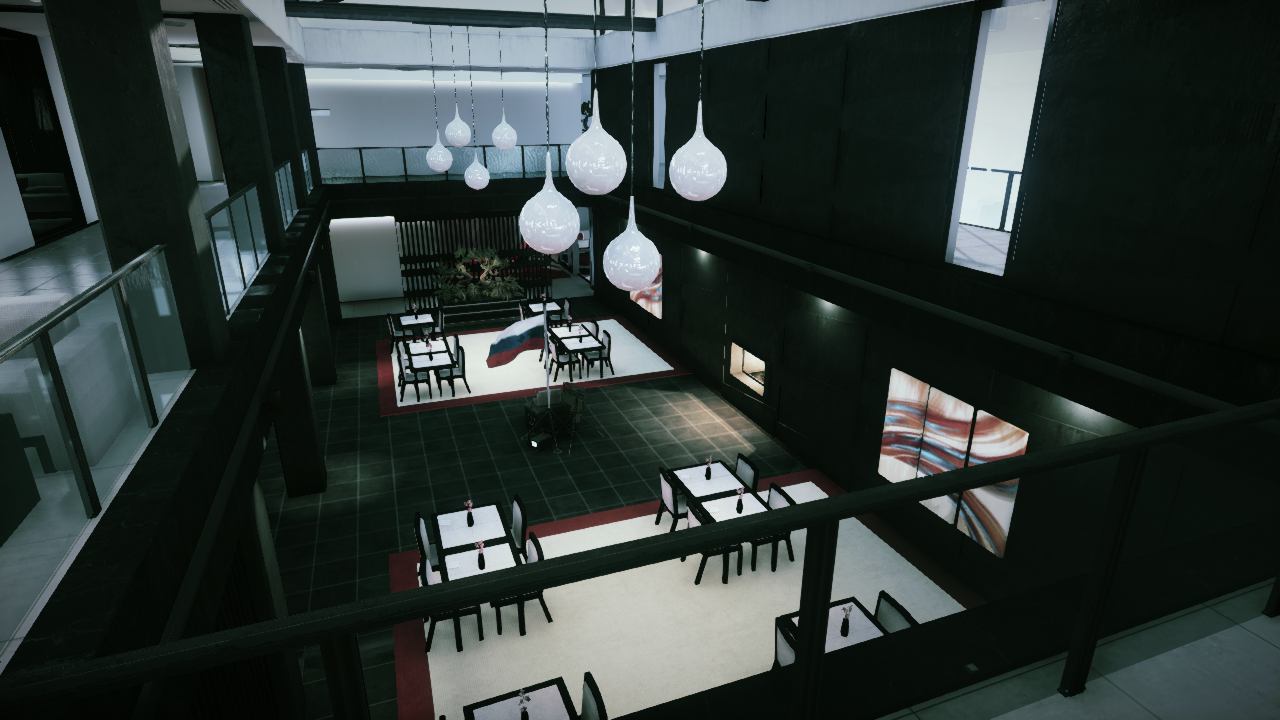
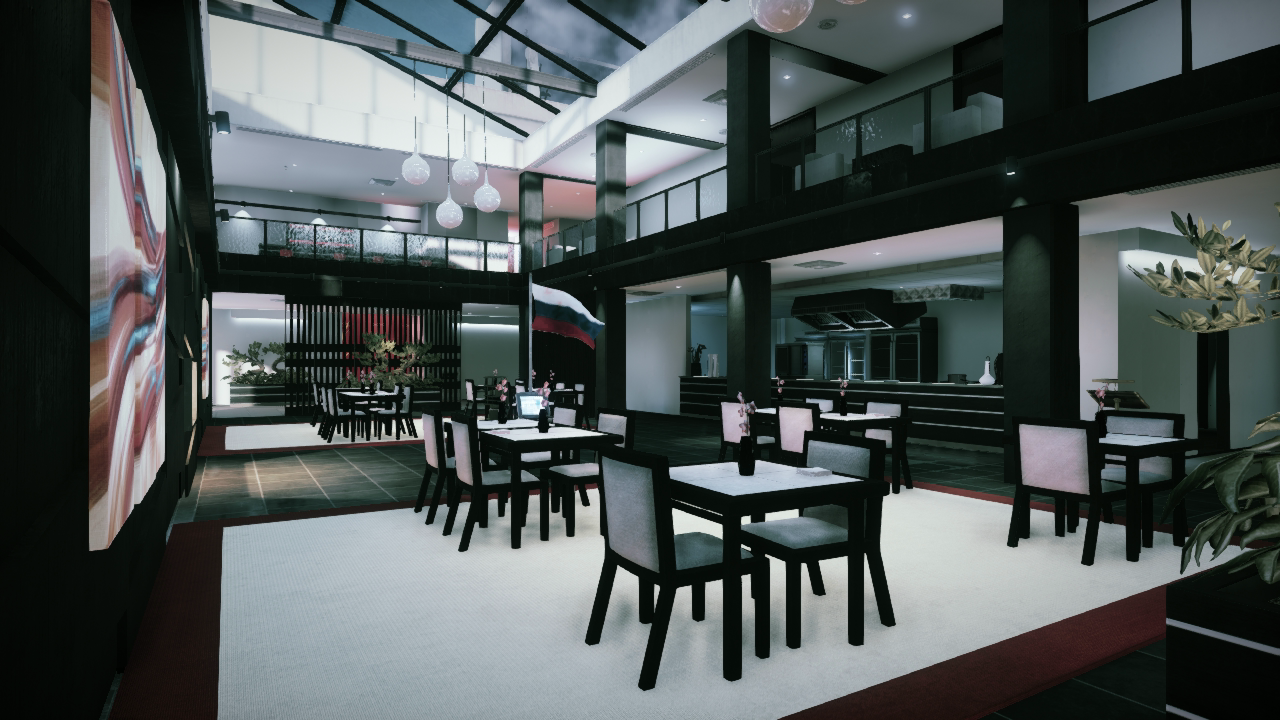
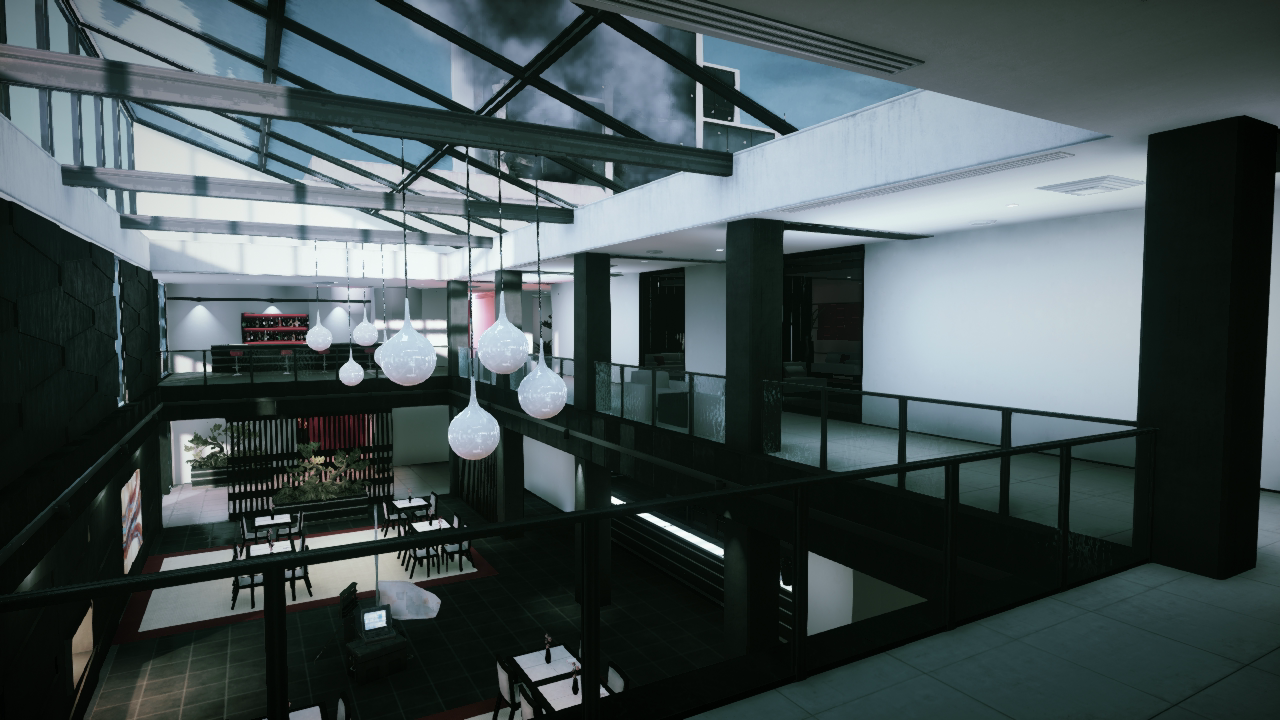
This upscale restaurant occupies the majority of the north wing’s floor plan. The spacious dining area on the first floor is also home to Flag B during Conquest Domination matches. Converting the flag here can be deadly, especially if opponents are posted on the upper-floor walkway ringing the dining area. Sneaky defenders can also watch this flag by peering through the fireplace directly to the north while posted on the adjoining lounge. The kitchen, on the south side, is also a good ground-floor defensive position.
While stepping into the dining area is a necessary risk in Conquest Domination, the bottom floor is best avoided in all other game modes. There’s virtually no cover and the tables and chairs can hinder movement. Stick to the upstairs walkway, using the height advantage to fire down at opponents. If you find yourself on the bottom floor, stick to the perimeter of the dining area where you’re less likely to be spotted from above. The relatively long sight lines afforded by this location make both carbines and assault rifles very effective.
Pool and Spa (Flag C)
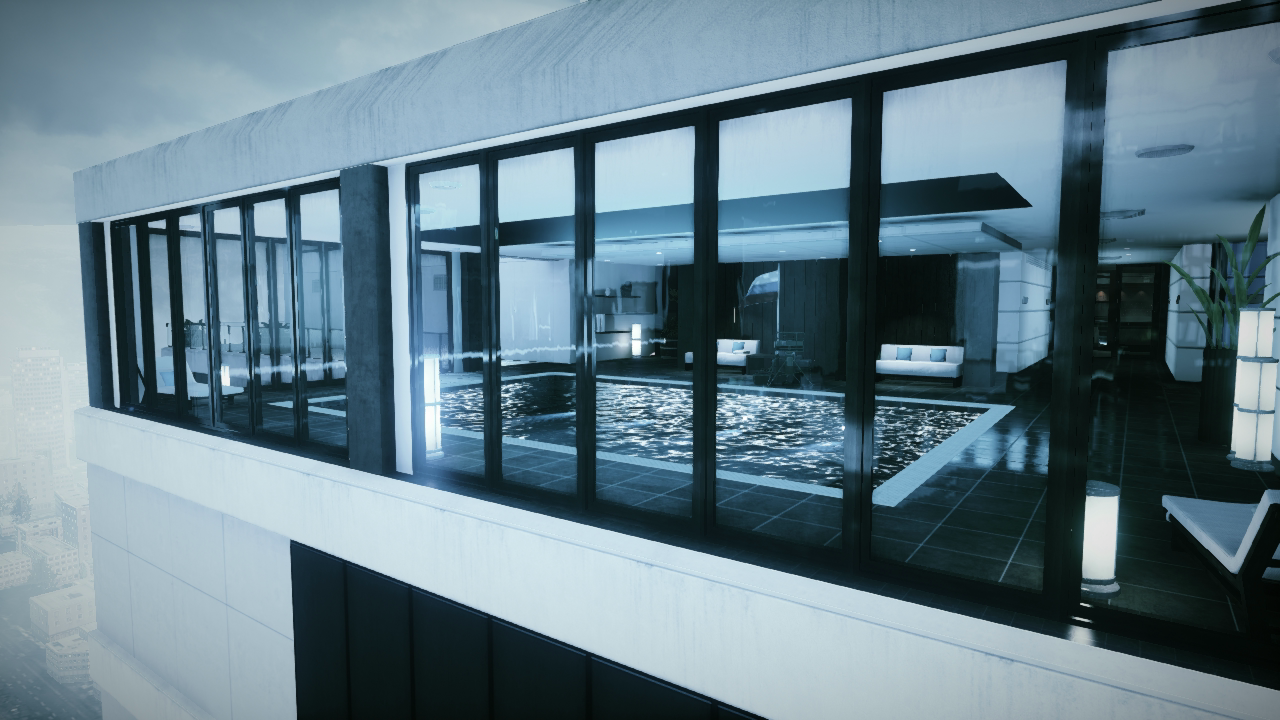
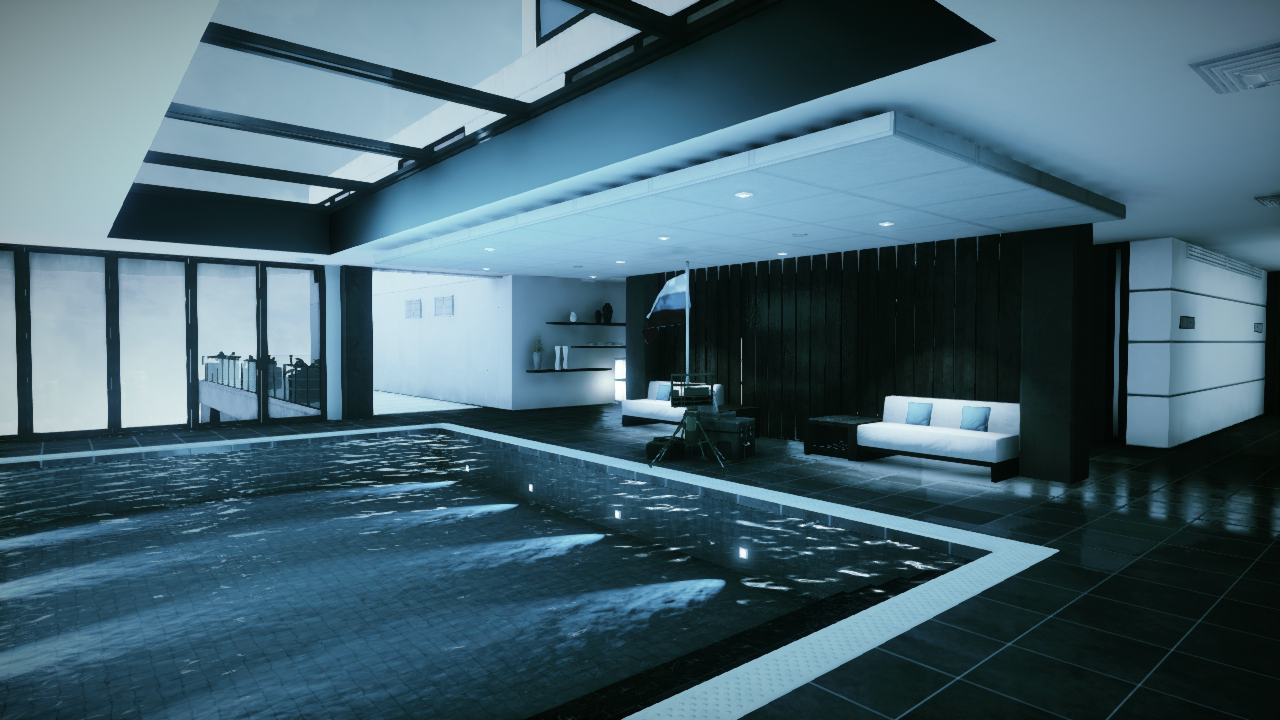
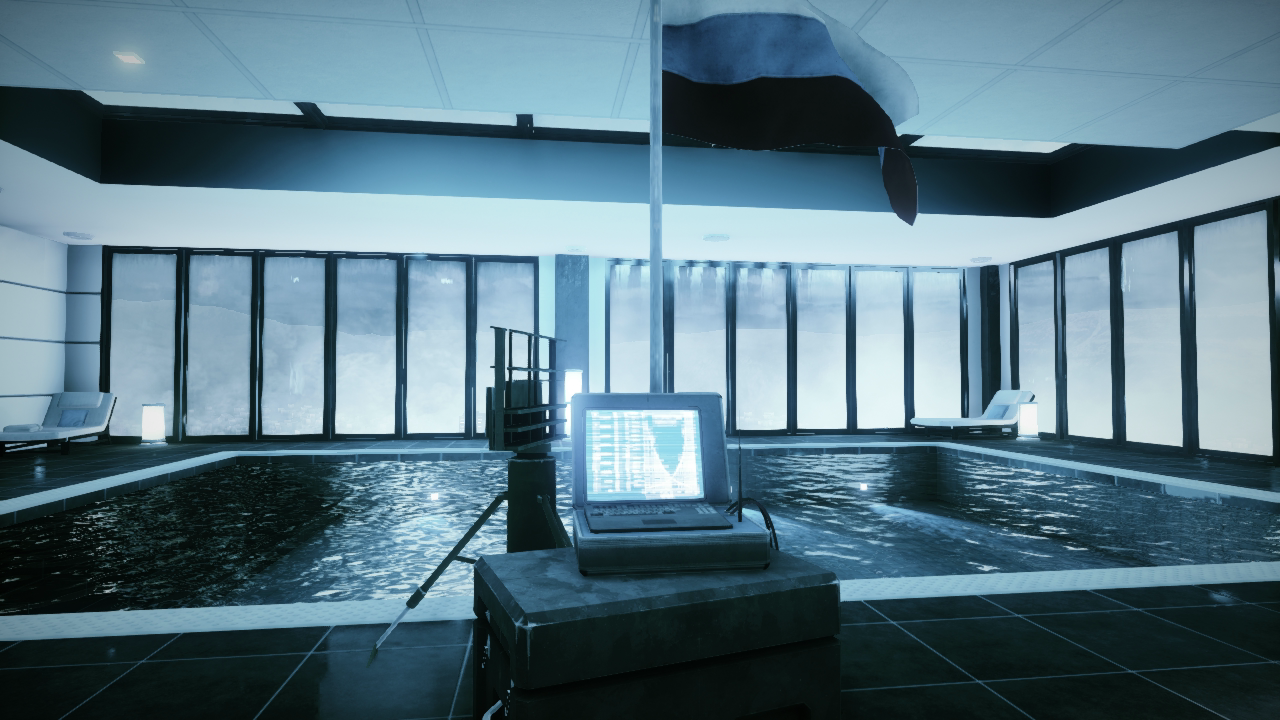
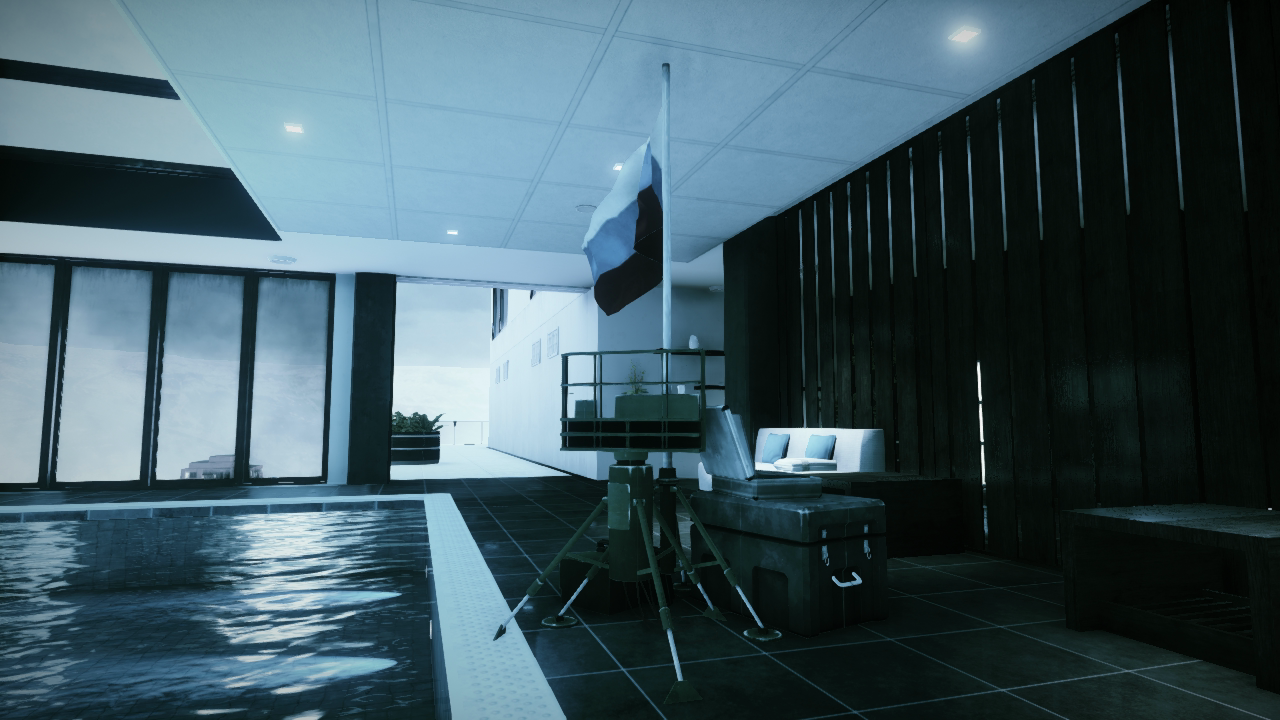
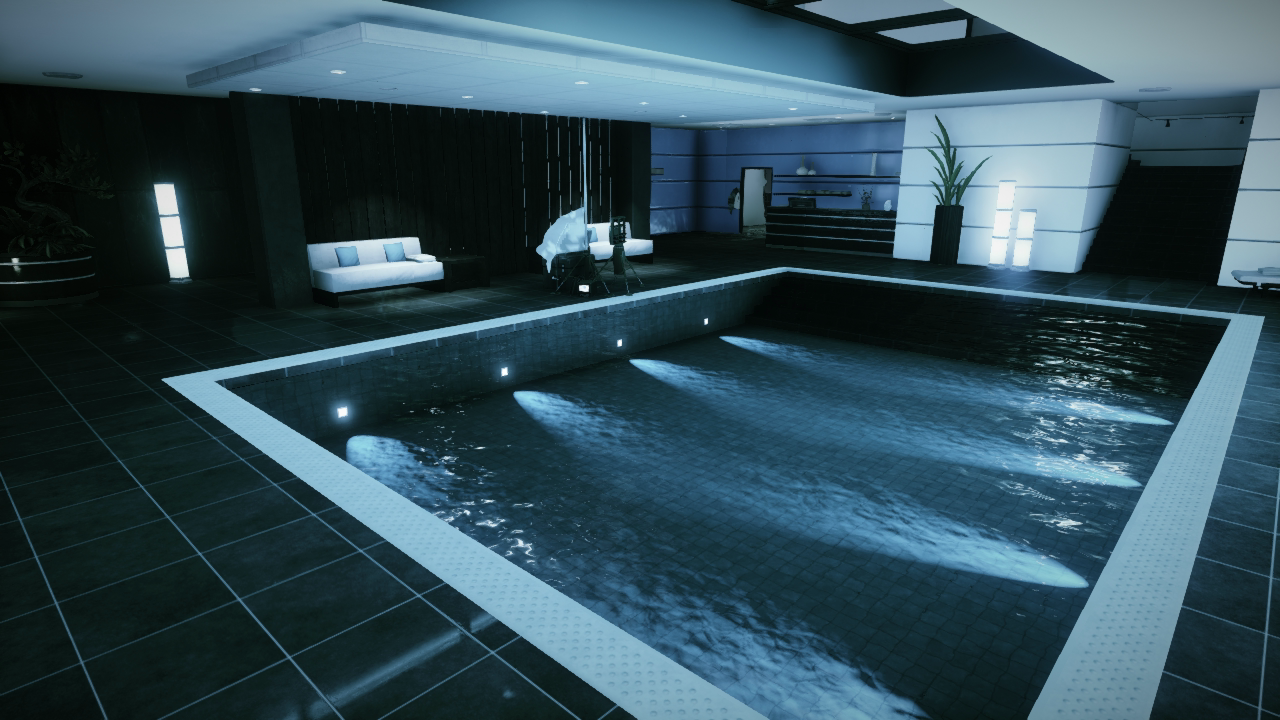
There’s little time to relax in this shallow indoor pool on the building’s east side. Flag C is located along the pool’s west side during Conquest Domination matches, ensuring this location sees plenty of traffic. As two of the map’s central locations, the pool and spa can be accessed from multiple directions on the first floor. But it’s also possible to drop through the skylight (on the second floor) to make a surprise entry.
When operating in this location, avoid stepping into the shallow pool, as you may get hung up on the perimeter while trying to exit. Also, be mindful of the lengthy outdoor path to the south. Long-range duels are common along here and can serve as a good overmatch position when watching Flag C from a distance. Defenders may also seek cover behind the reception desk on the pool’s north side. Shotguns and PDWs work well when engaging opponents within this small room. But if you wish to contend with opponents posted to the south, a carbine or assault rifle offers greater range and versatility.
Outdoor Lounge
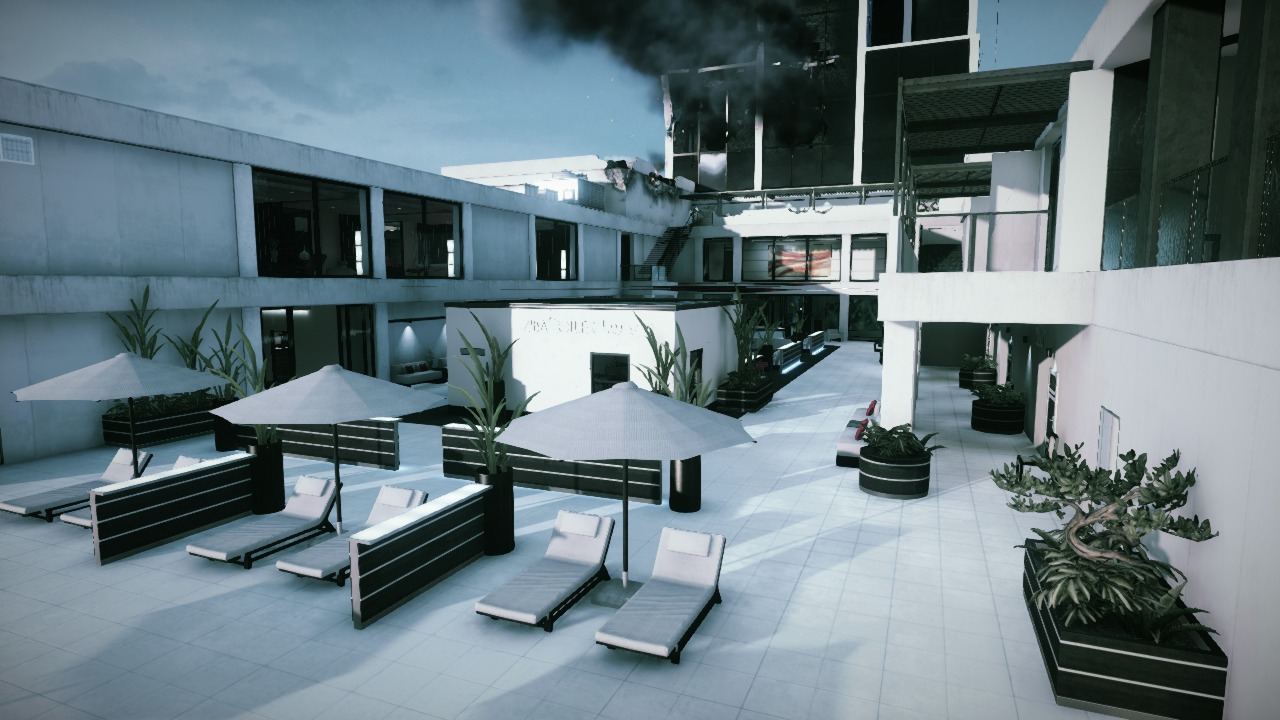
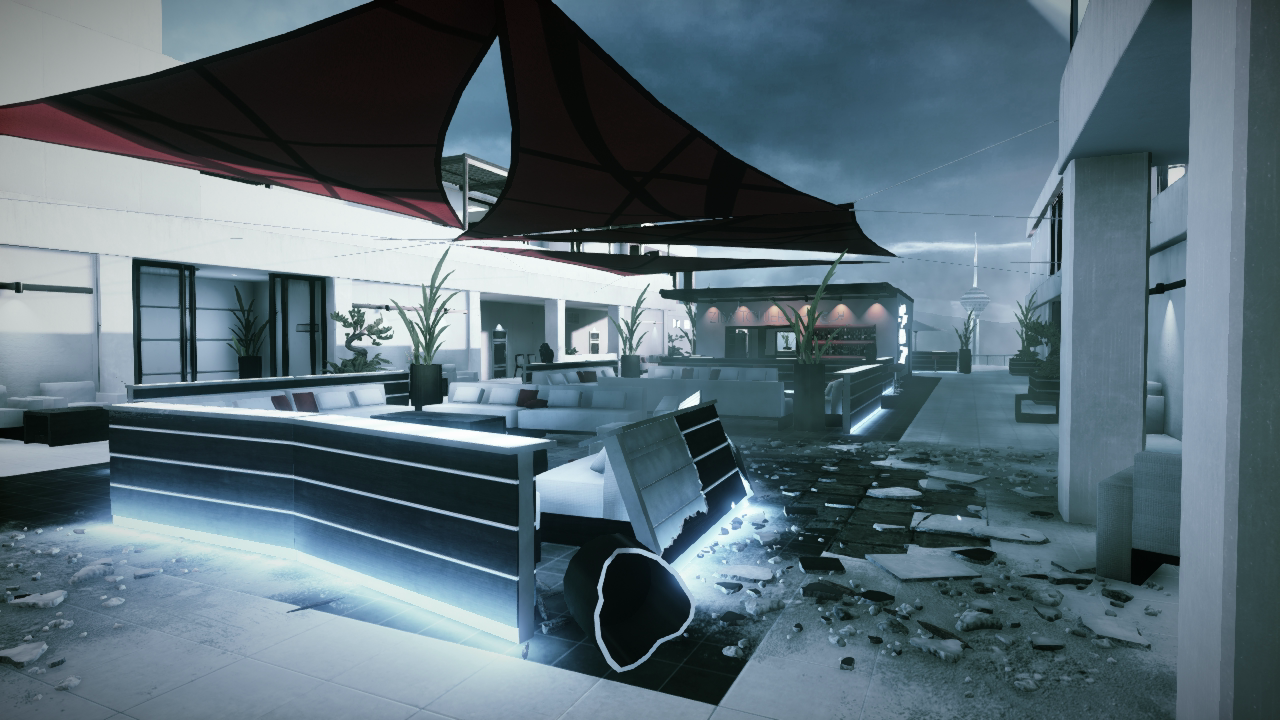
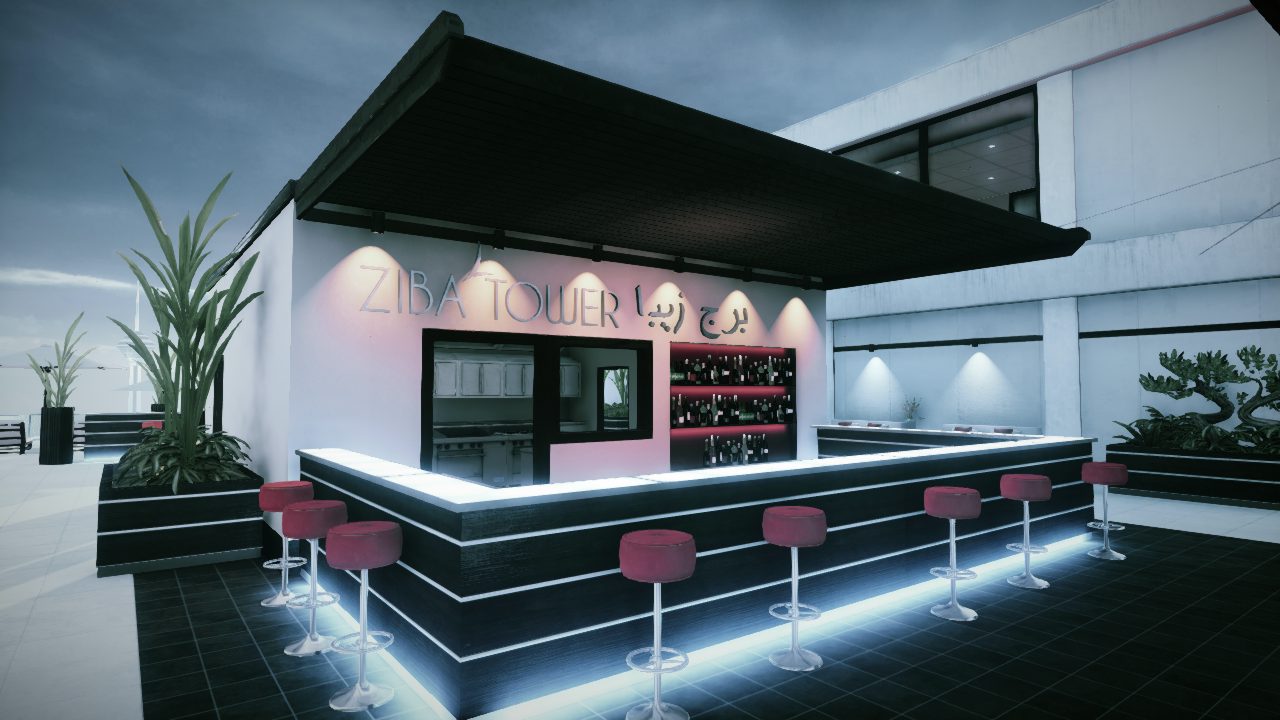
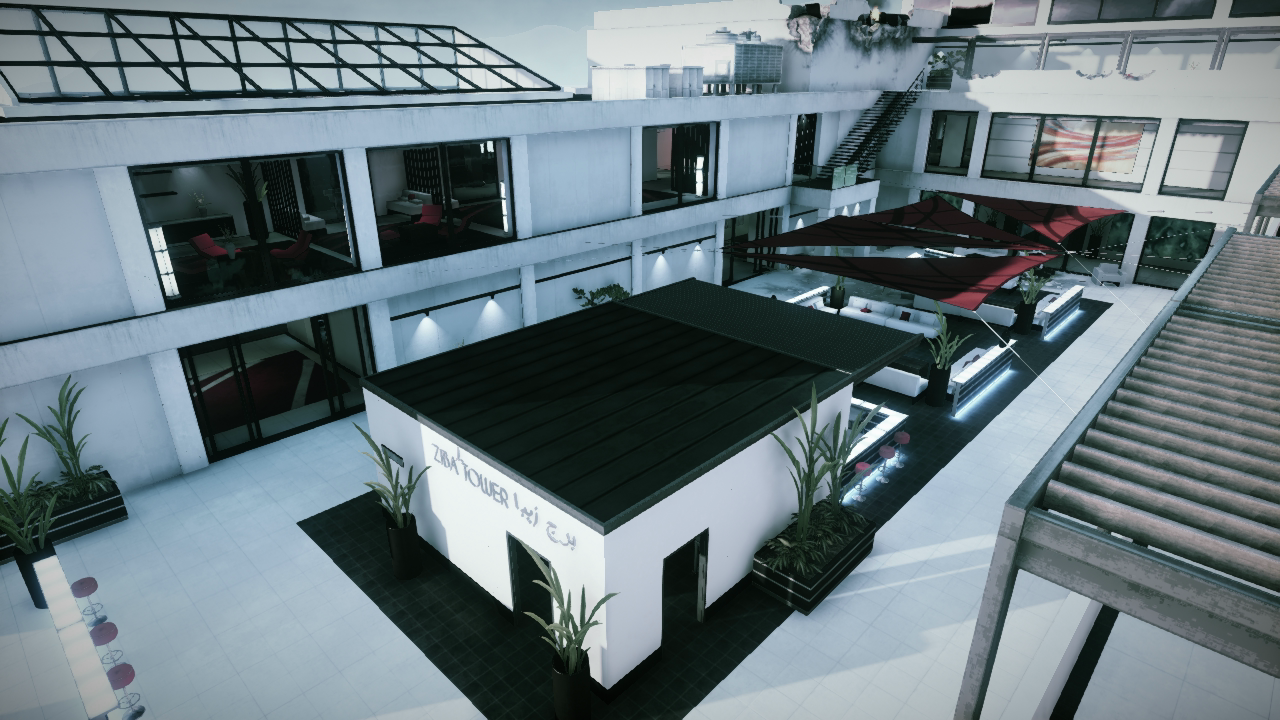
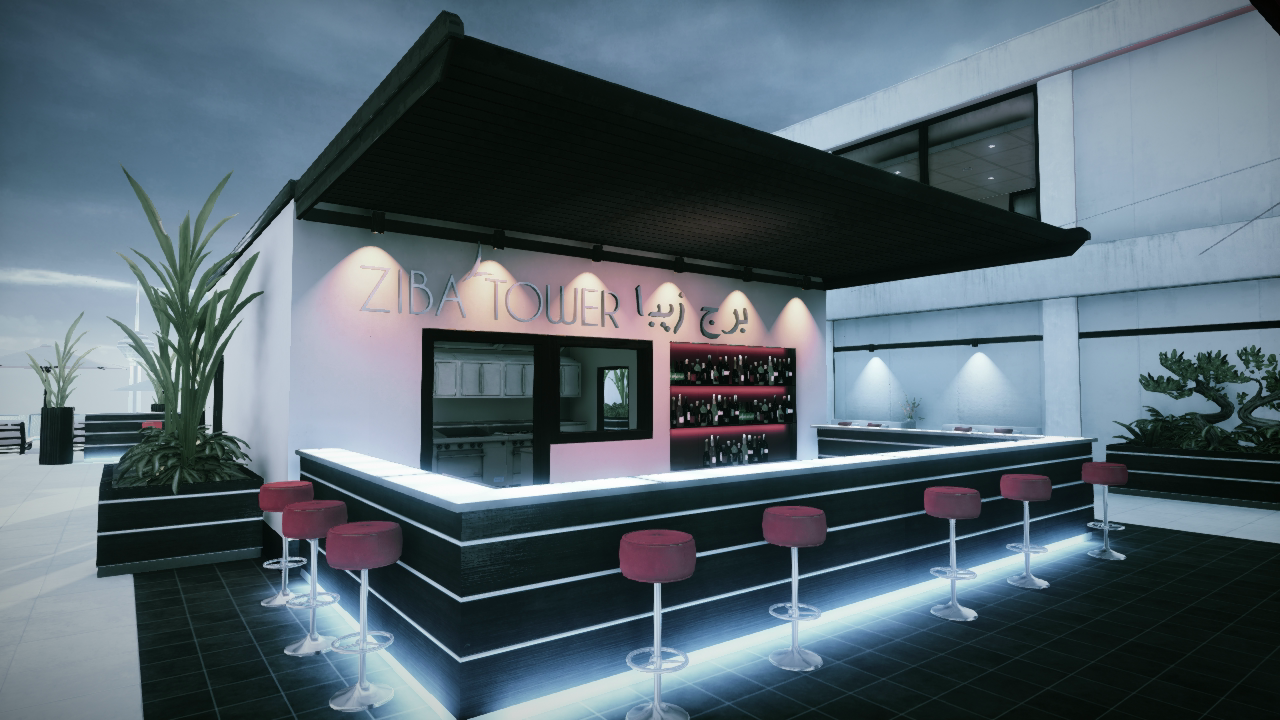
At one time, this swanky outdoor lounge was a relaxing rooftop retreat for business executives and their wealthy clients. Now this open-air lounge is a kill zone. Regardless of game mode, this area is best avoided due to the lack of cover and long sight lines. Still, racing through this area is the quickest way to move between the restaurant and south balcony, often making this a high-traffic area during Conquest Domination matches. If you wish to engage the cross-traffic here, take a position on the east or west sides of the lounge. Or better yet, head upstairs and cover the area from one of the perimeter walkways.
The kitchen behind the bar offers the only solid cover here. All other objects and furniture break apart quickly when exposed to small-arms fire. If you’re planning to spend some time out here, bring along a sniper rifle or assault rifle and take advantage of the long east–west sight lines. But chances are your victims won’t be standing still, so be prepared to lead your targets as they race through this kill zone.
Sky Bar
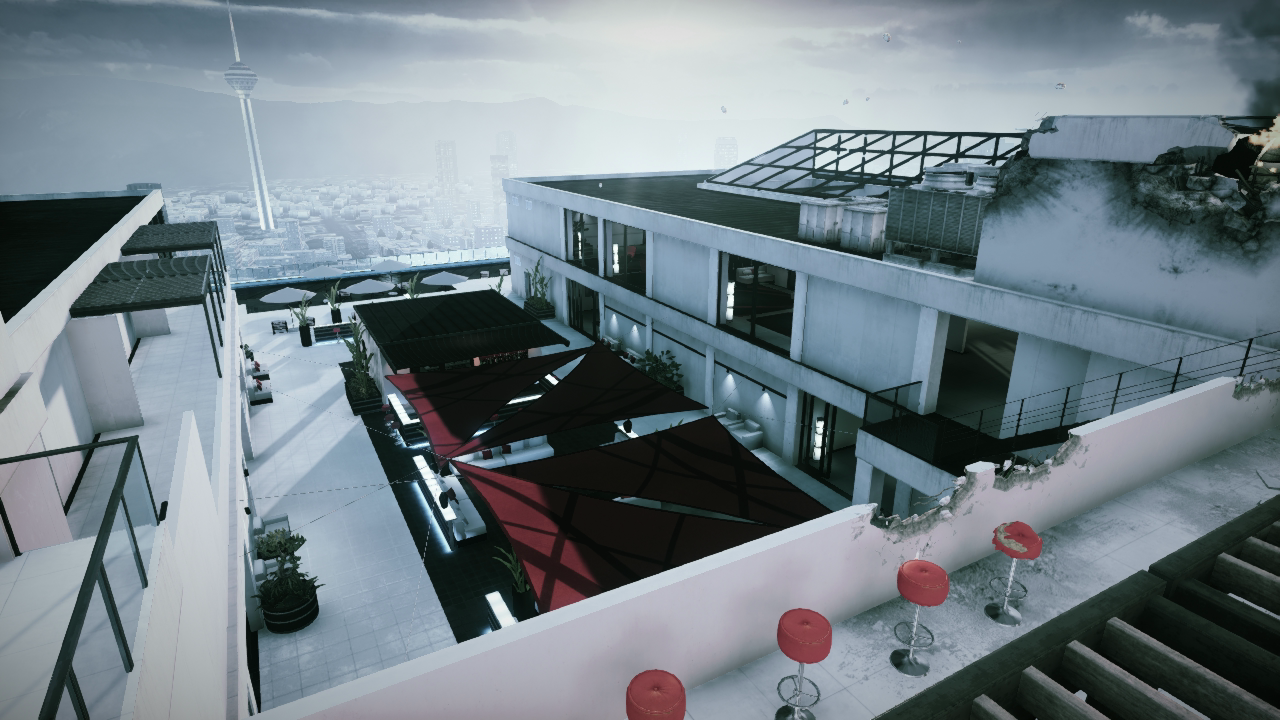
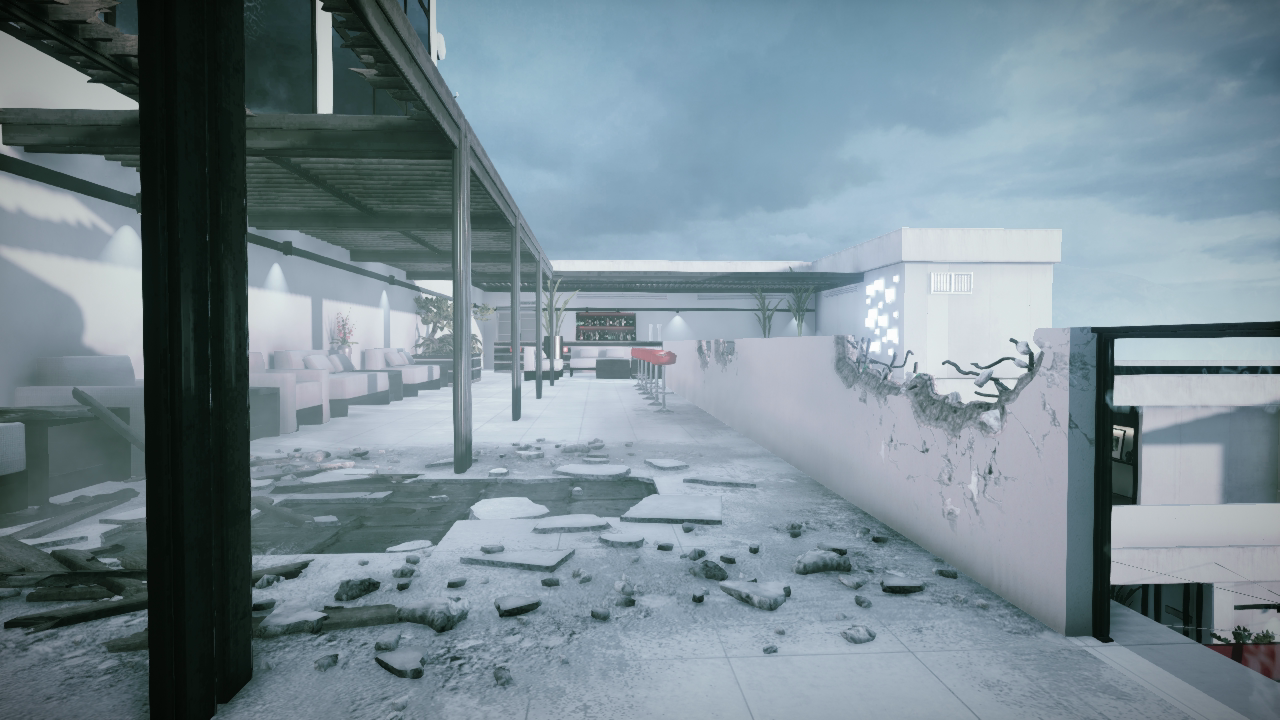
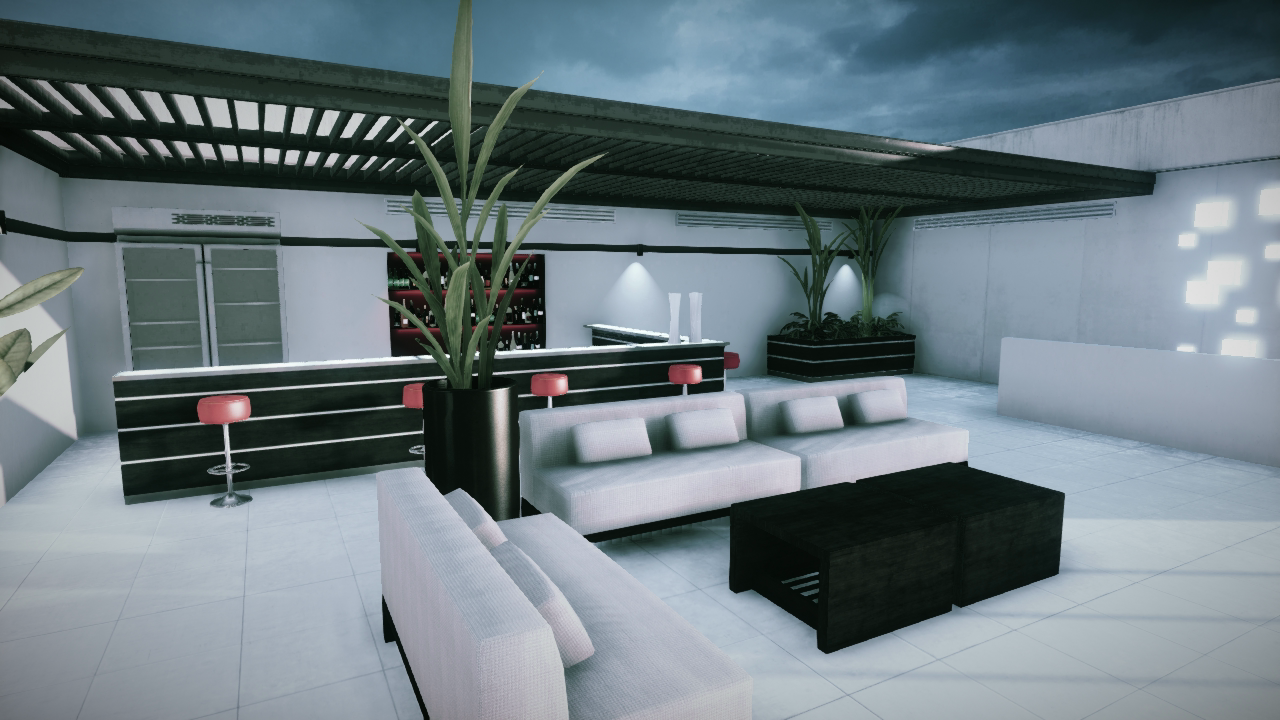
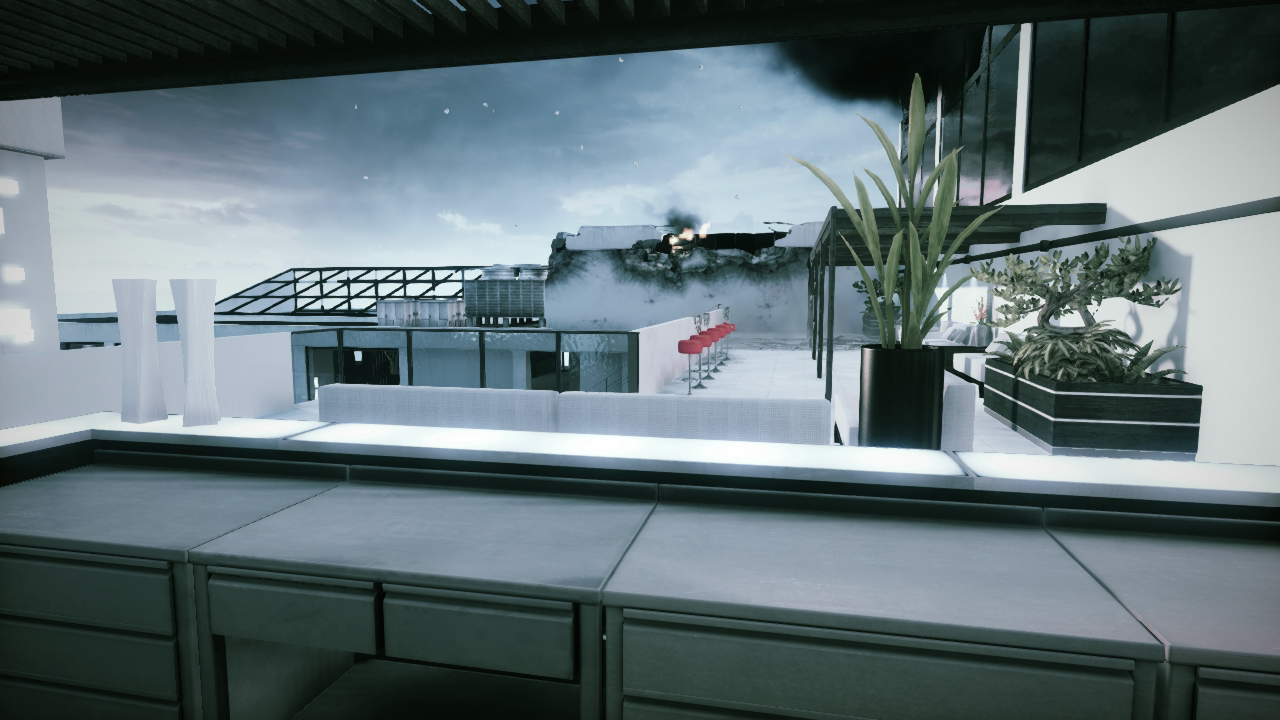
The sky bar is the highest point on the map, making it a popular sniping perch for recon troops. Positioned on the far east side of the outdoor lounge, this bar is little more than a wide open-air balcony, offering a sweeping view of the floors below, including the perimeter corridors of the restaurant and south wing. This area is only accessible via two staircases, located to the north and south. As a result, the sky bar is relatively simple to lock down, particularly if occupied by a squad.
Even if you’re short on manpower, booby-trapping the staircases with claymores is a good way to prevent surprise attacks. While scanning for targets to the west, avoid getting hung up on the barstools positioned along the balcony’s edge. Also, be ready to drop prone if you start taking fire. Assuming a crouch position may not be enough to escape danger, as the top edge of the balcony’s low wall can be chipped away. While sniper rifles and assault rifles are well suited for engaging opponents in the outdoor lounge below, shotguns and PDWs are great for guarding the two staircases. During Squad and Team Deathmatch games, a well-equipped squad or team can fortify this location quite easily, making it an excellent base of operations.
South Wing
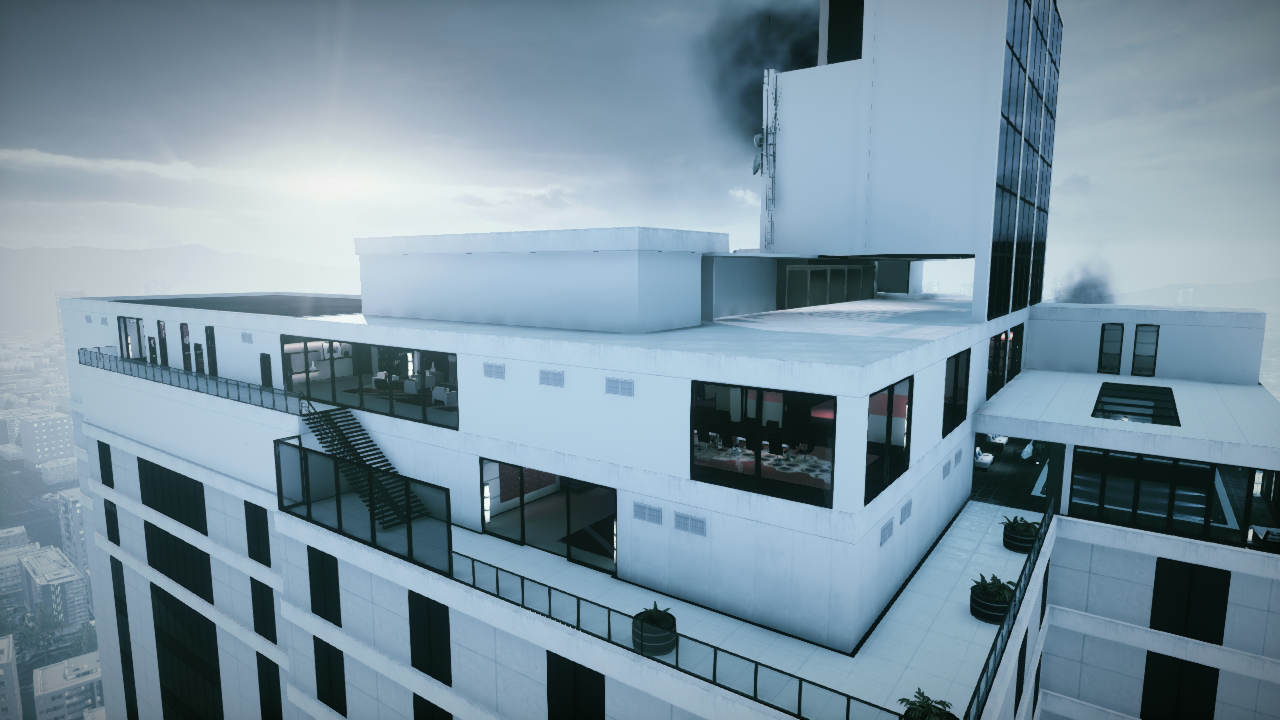
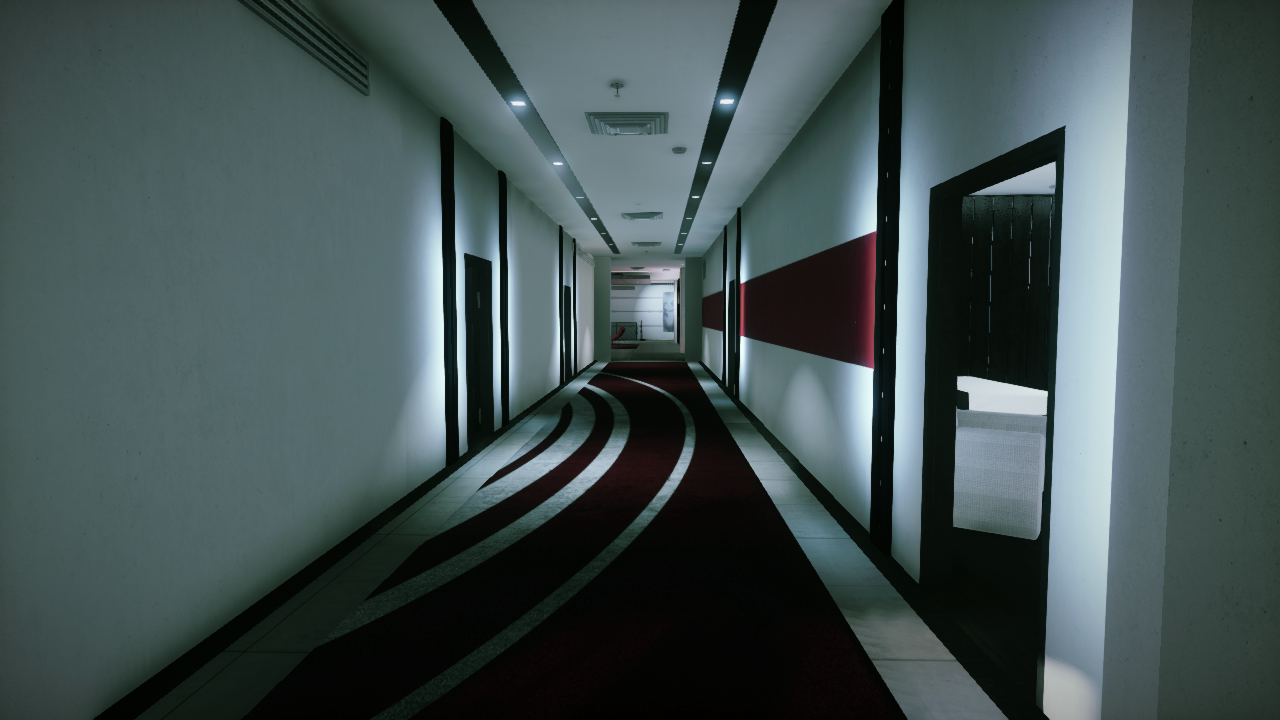
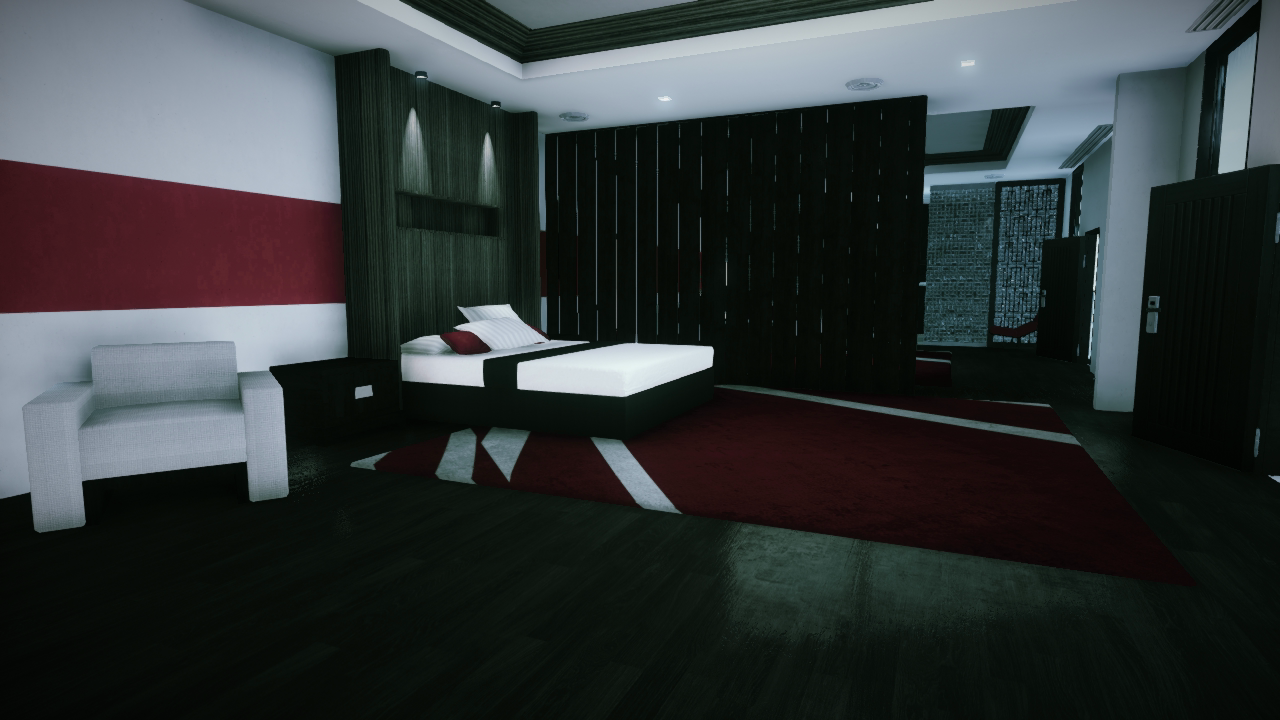
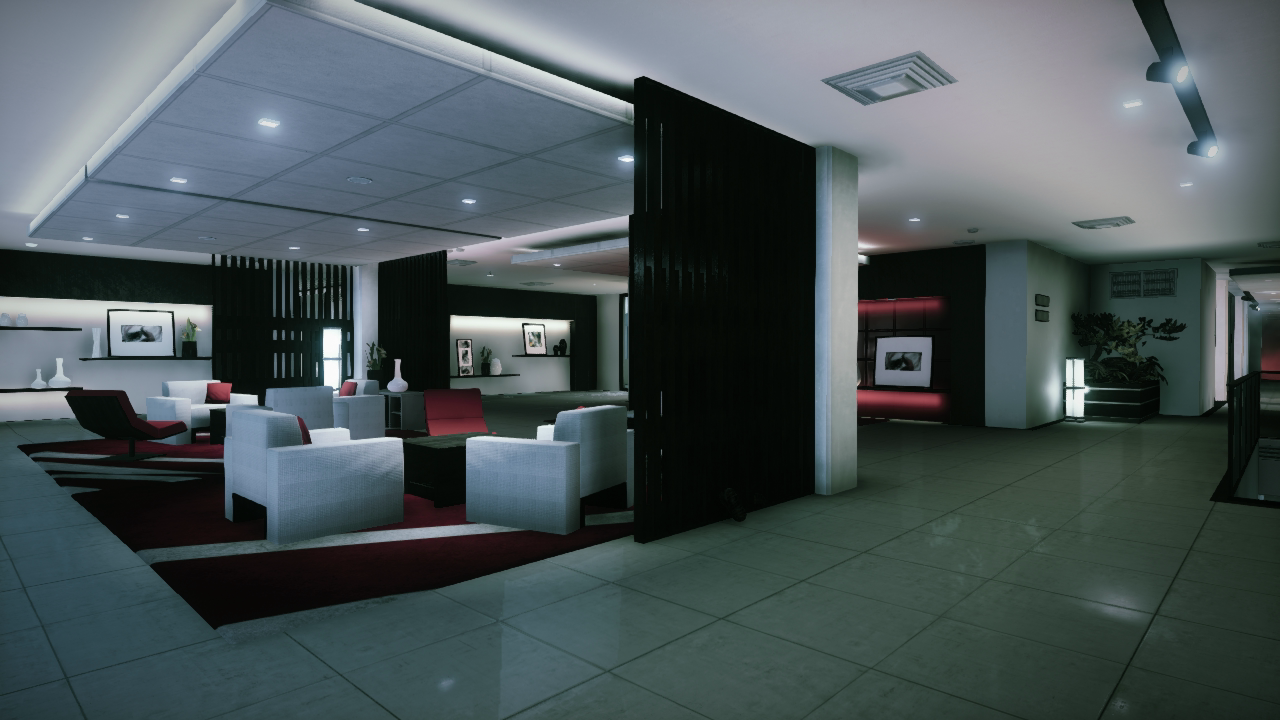
Most of the south wing’s first floor is inaccessible with the exception of the small stairway to the west and the hall to the east. For this reason, most action and movement occurs upstairs between the south balcony and conference rooms. On the west side of this area are two large bedroom suites separated by a long, narrow corridor. The southern suite is connected to an outdoor walkway, offering perimeter access along the building’s south side. This is a great way to move to the pool and spa. The north suite also has an elevated walkway overlooking the outdoor lounge.
Sometimes moving along these perimeter walkways is safer than racing down the interior hallway between the suites. This long sight line offered by this corridor makes it a popular choke point for recon or support troops posted on the west or east ends. Directly east of the suites is a large lounge. This is often a high-traffic area, connecting the south wing to the conference rooms. Watch the long corridors to the north and west to avoid getting picked off by sharpshooters.
While there are long sight lines in this area, most engagements occur at close range, particularly while moving through the suites. As a result, shotguns and PDWs work well while moving through here. But if you’re looking to defend or camp this location, bring along a carbine or assault rifle to take advantage of the long-range opportunities afforded by the narrow, lengthy hallways.
Conference Rooms
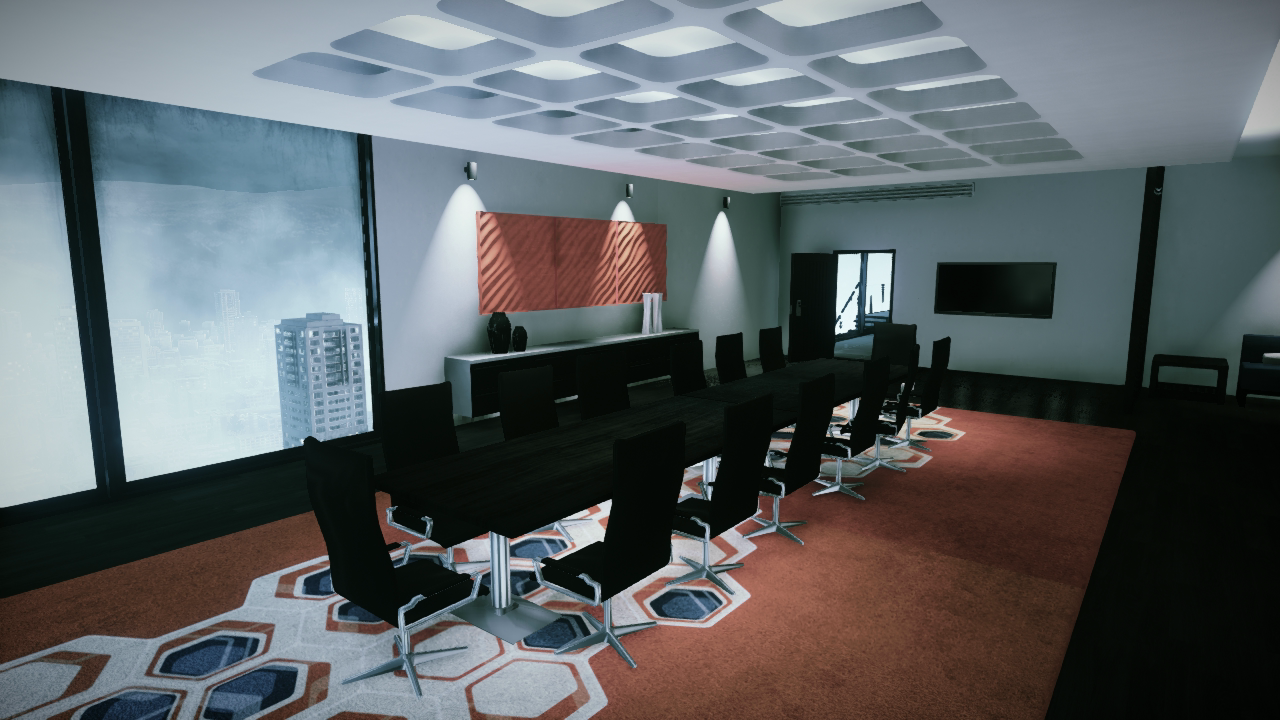
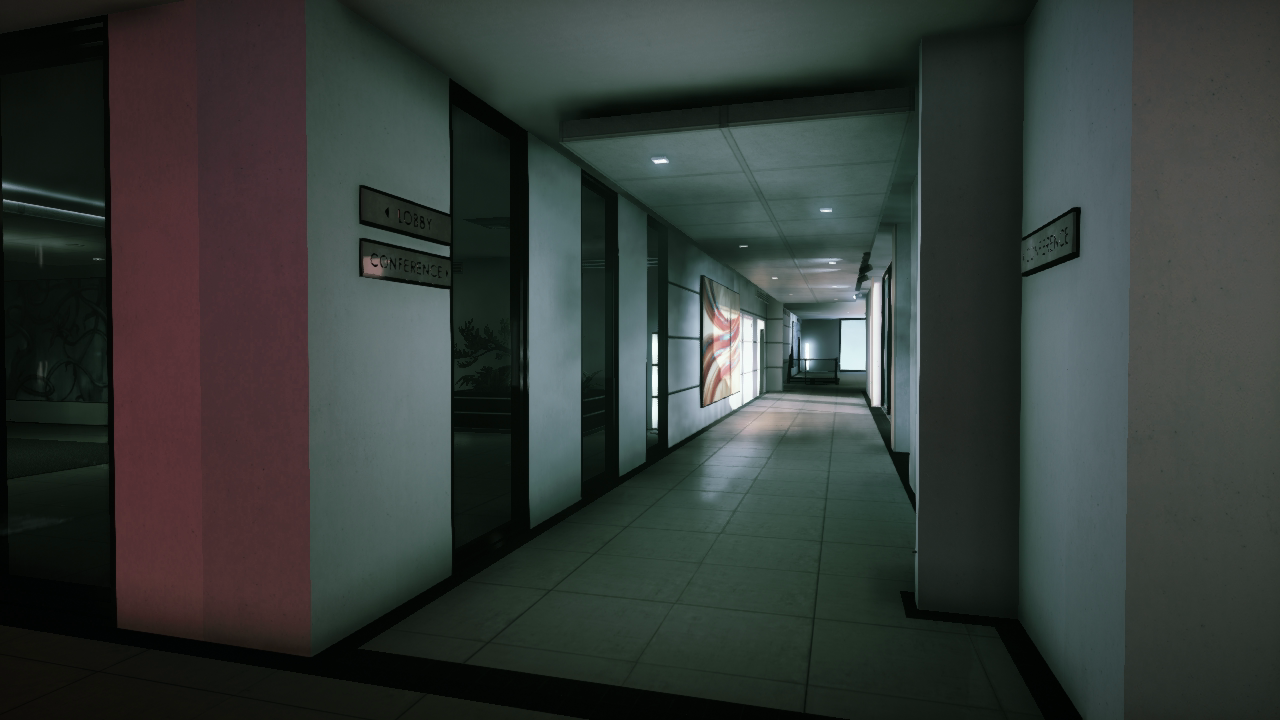
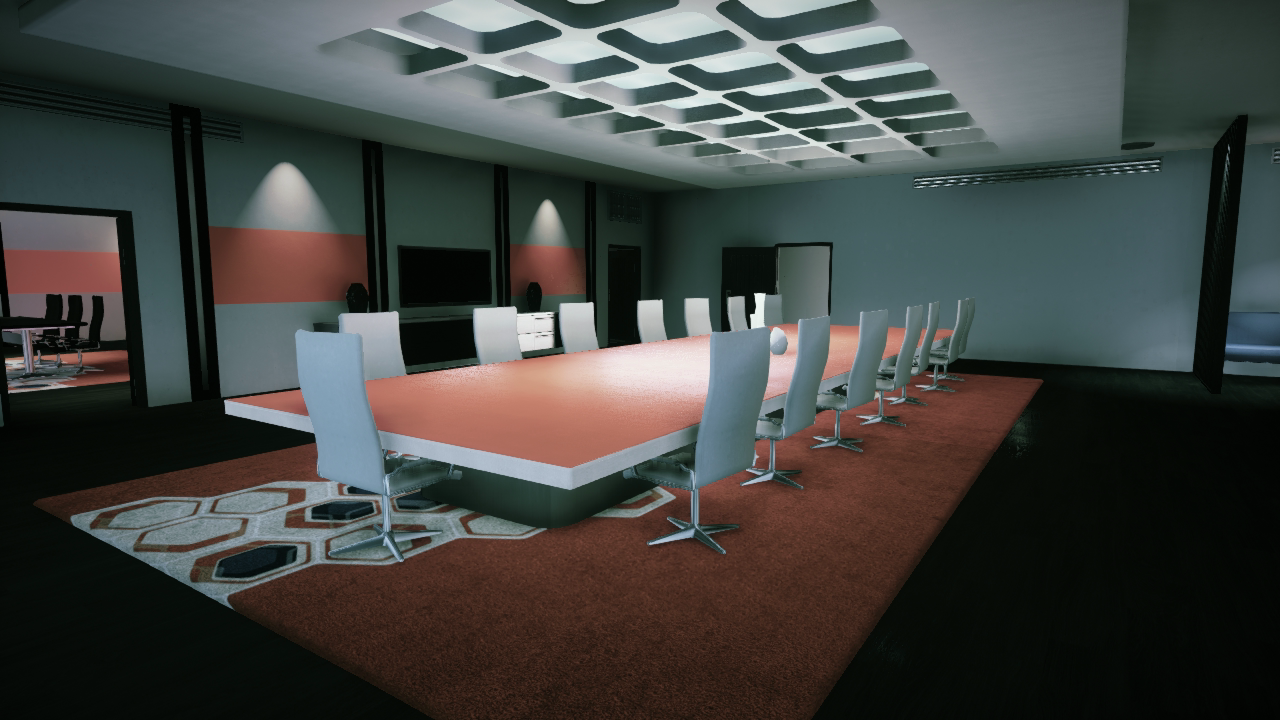
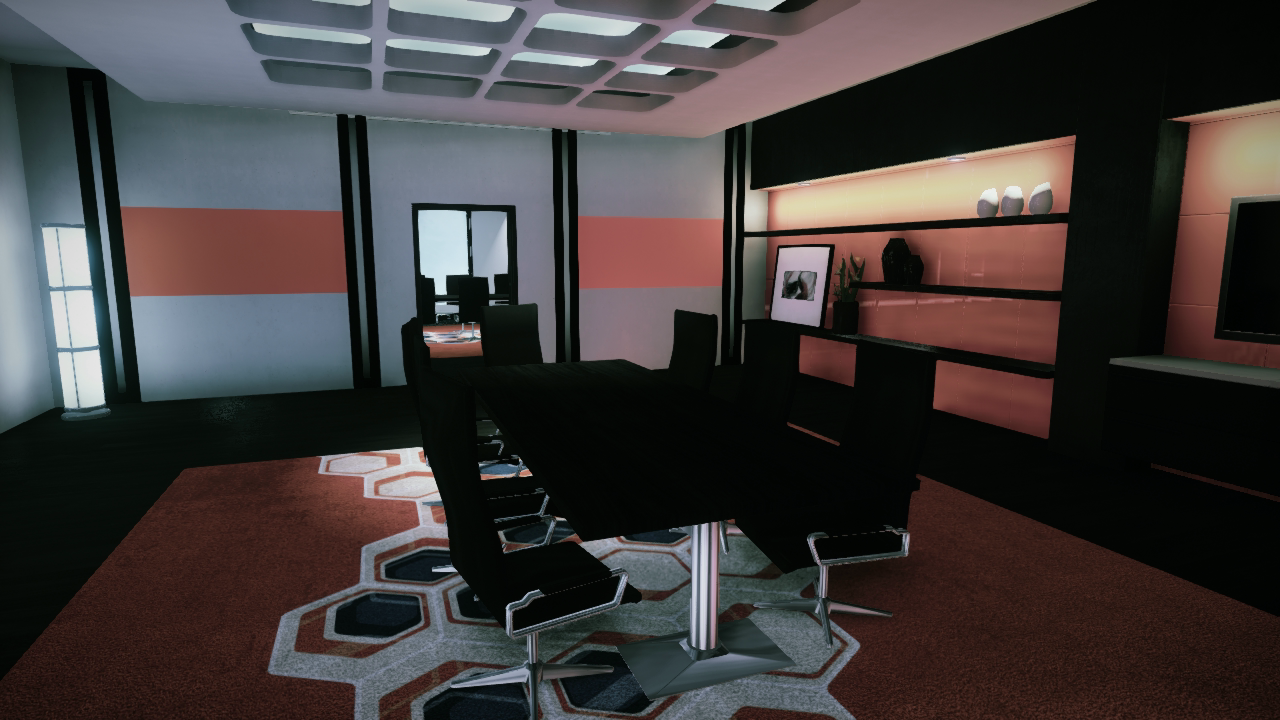
There are a series of three conference rooms, all located on the east side of the second floor. The largest of the conference rooms has large windows on the eastern wall, overlooking the rooftop of the pool and spa area. You can hop out these windows and drop through the skylight on the adjoining rooftop to quickly access the pool and spa, a maneuver that comes in handy during Conquest Domination matches.
The two other conference rooms, to the south, are much smaller and can become deadly choke points frequented by campers equipped with shotguns and PDWs. Sometimes moving through the conference rooms is safer than racing along the hallway to the west. This long corridor connects the north and south wings. The large windows on the corridor’s west side offer a great view of the outdoor lounge below. But don’t make a habit of stopping here and engaging opponents on the floor below. Instead, keep moving to avoid being flanked or stabbed in the back. If you want to snipe opponents in the outdoor lounge, you’re better off advancing to the sky bar on the floor directly above this corridor.
North Wing
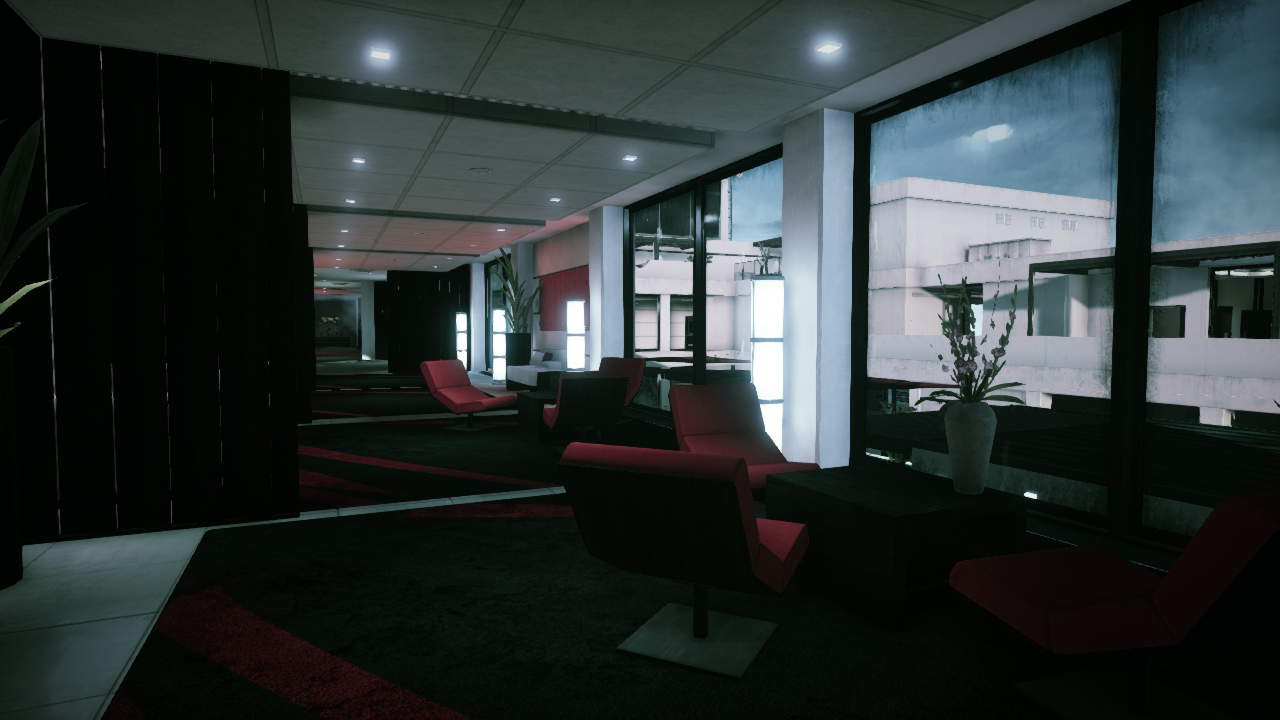
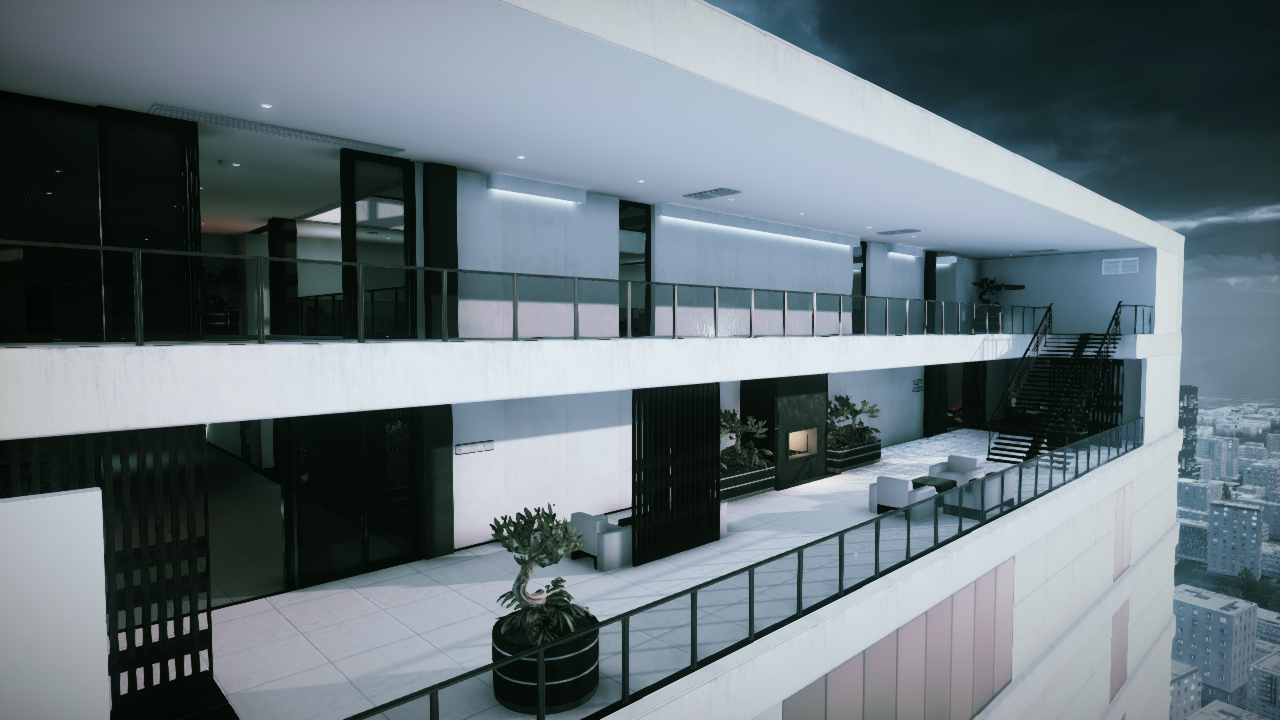
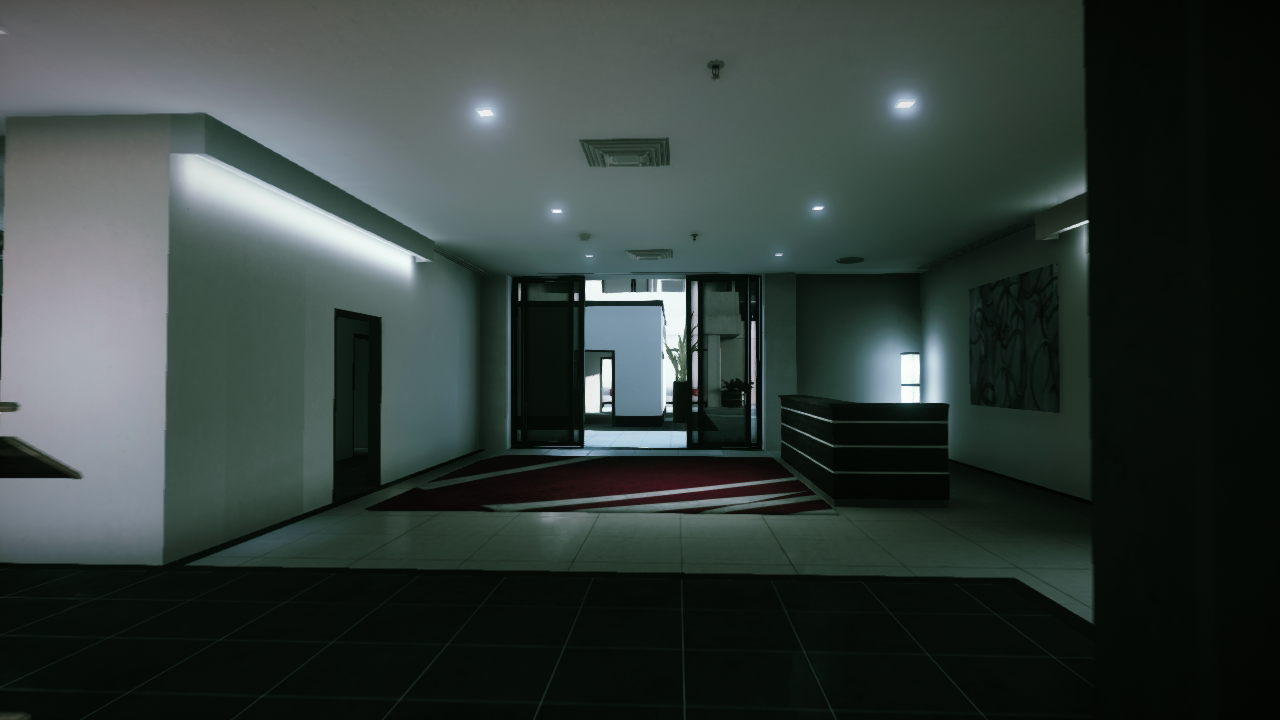
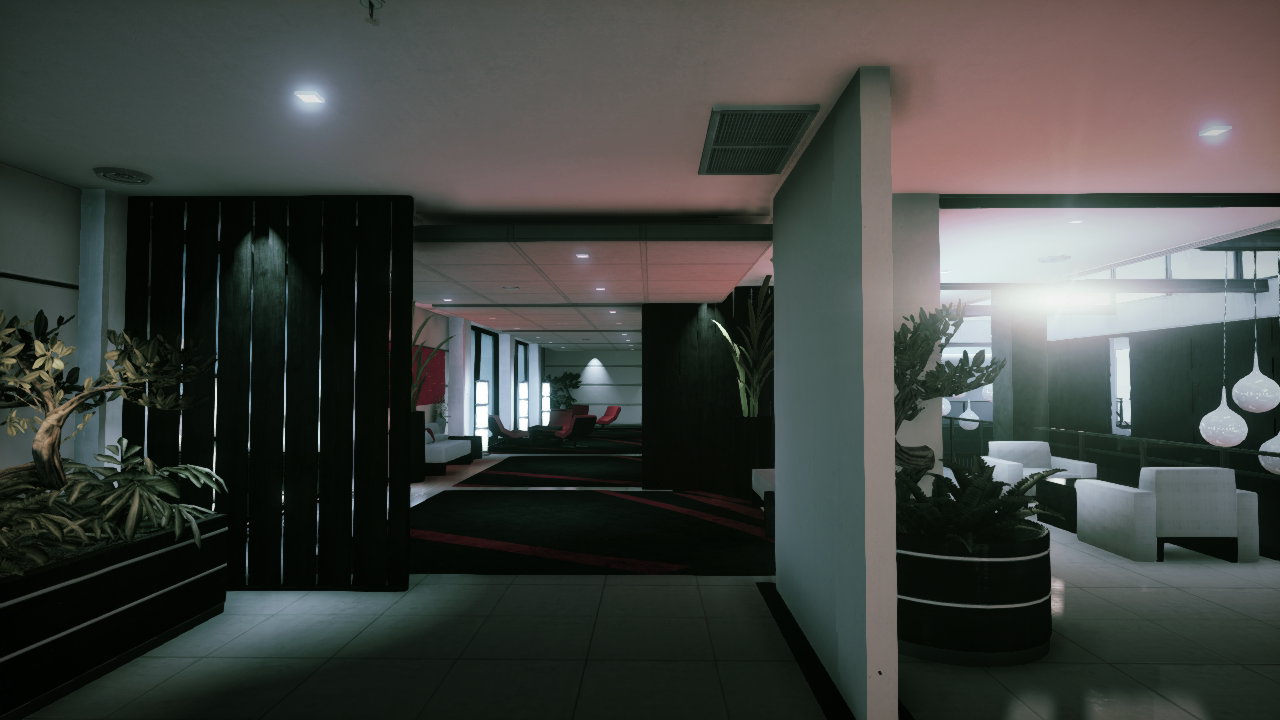
While the restaurant makes up the majority of the north wing, there are corridors, stairways, and walkways flanking the north and south sides, ideal for avoiding the chaotic central dining area. On the north wing’s second floor, a large lounge overlooks the outdoor lounge, with several floor-to-ceiling windows. While moving through here, watch for incoming fire originating from the south wing. North–south duels are common here. Unfortunately, there isn’t much cover in this lounge, so don’t wander far from the southern walls once the bullets start flying. Directly north of the restaurant are two outdoor walkways running along the building’s perimeter. Moving along either of these walkways is a great way to transition between the north and south sides of the restaurant, or use the staircase connecting the walkways to move between floors.
With the exception of some planters and some lounge furniture, there isn’t much cover here. So prepare to sidestep and strafe while engaging opponents here. Just be careful not to inadvertently jump off the side of the building in the heat of battle. Given the varied sight lines in this wing, carbines are a safe bet, providing decent range and maneuverability.