
Battlefield 3 DLC Guide — Premium Maps Aftermath Battlefields
Azadi Palace
Azadi Palace
Conquest
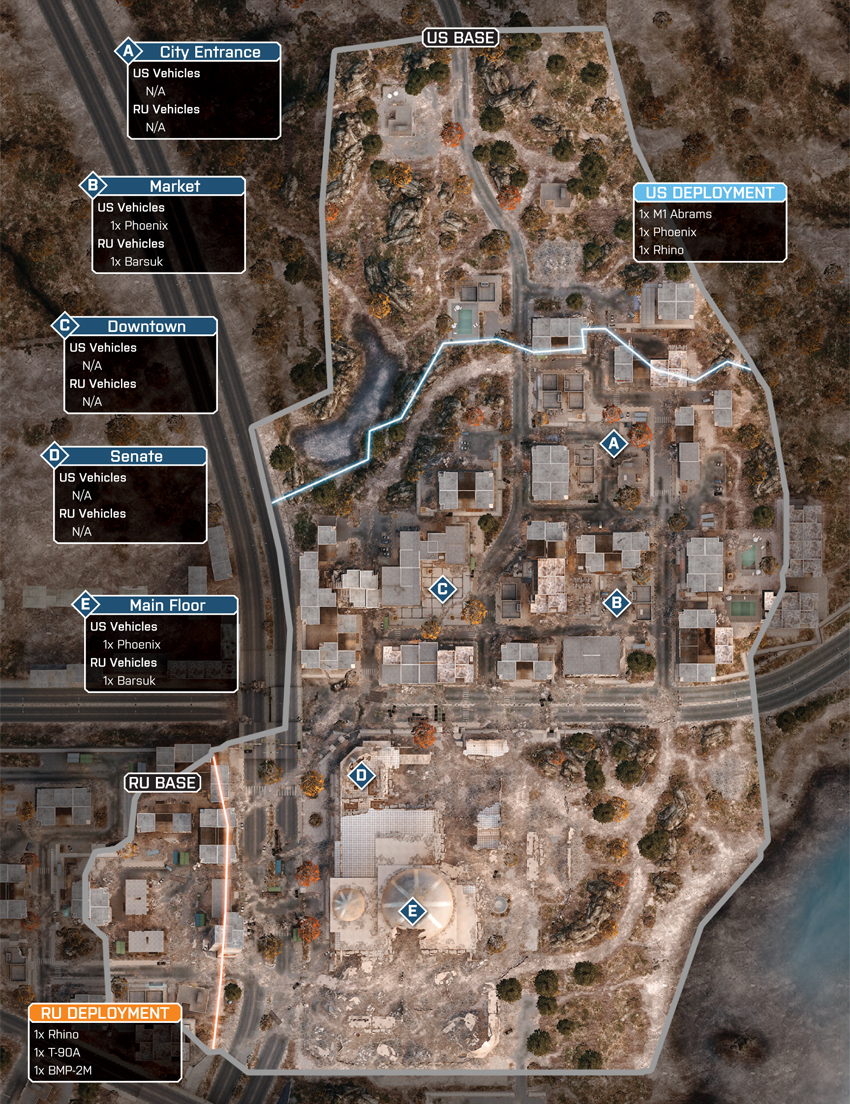
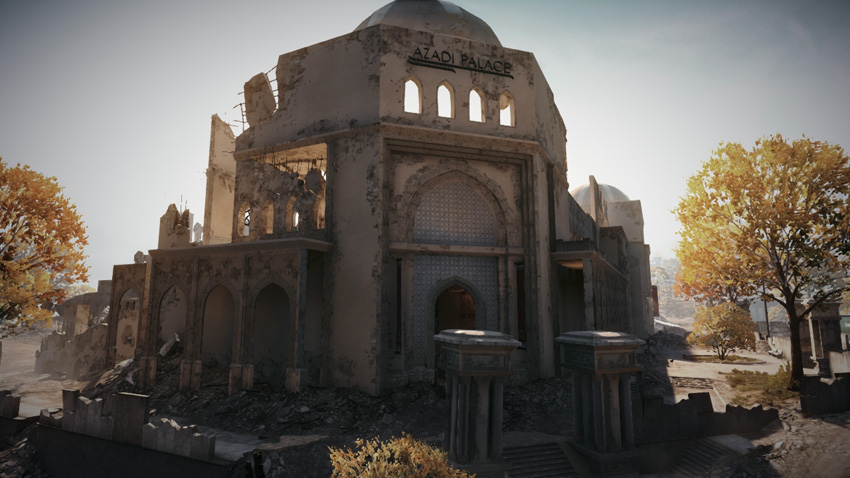
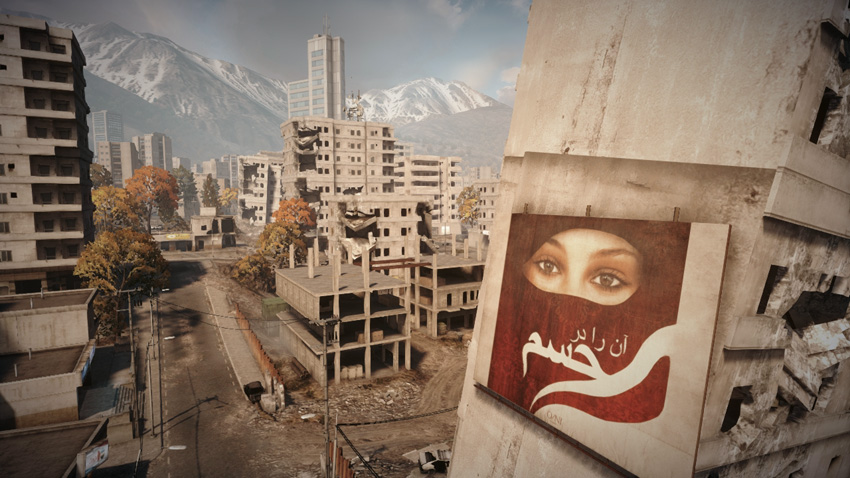
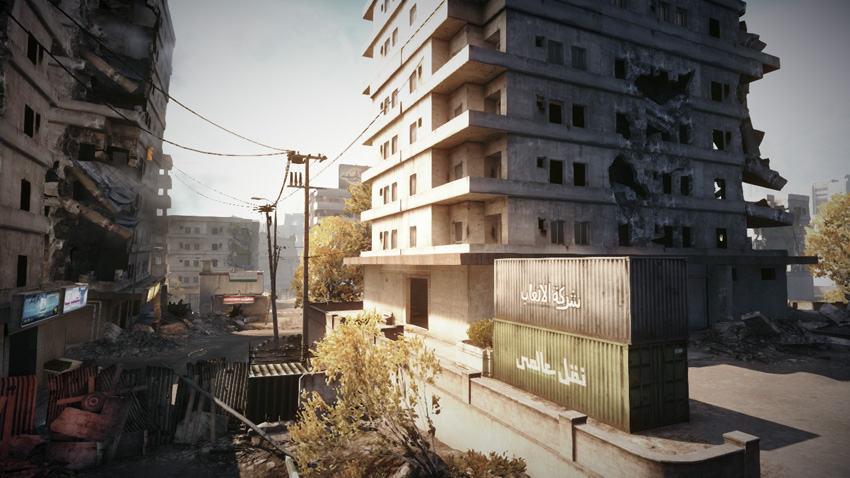
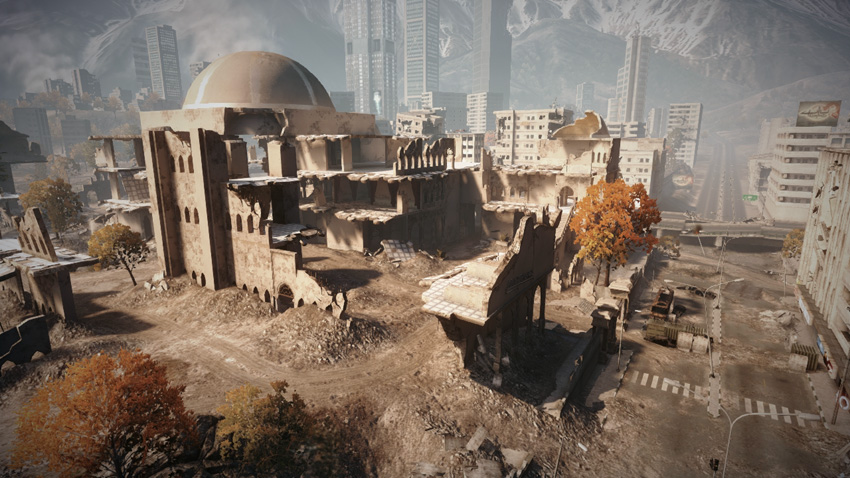
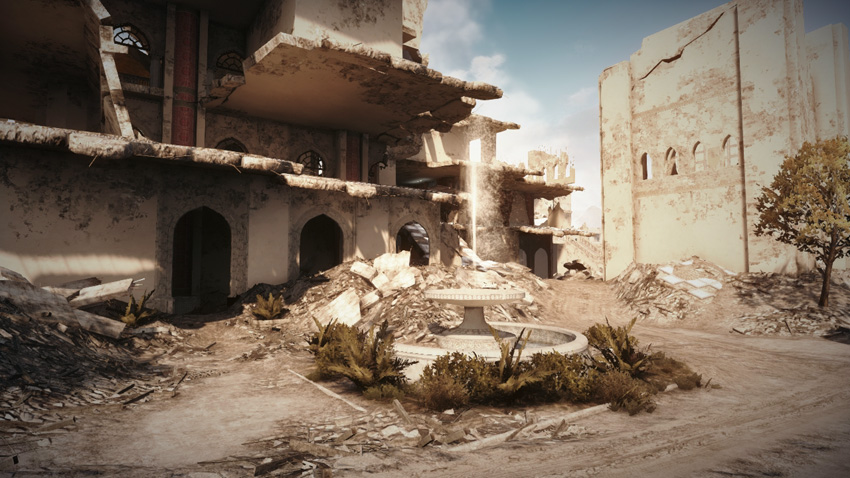
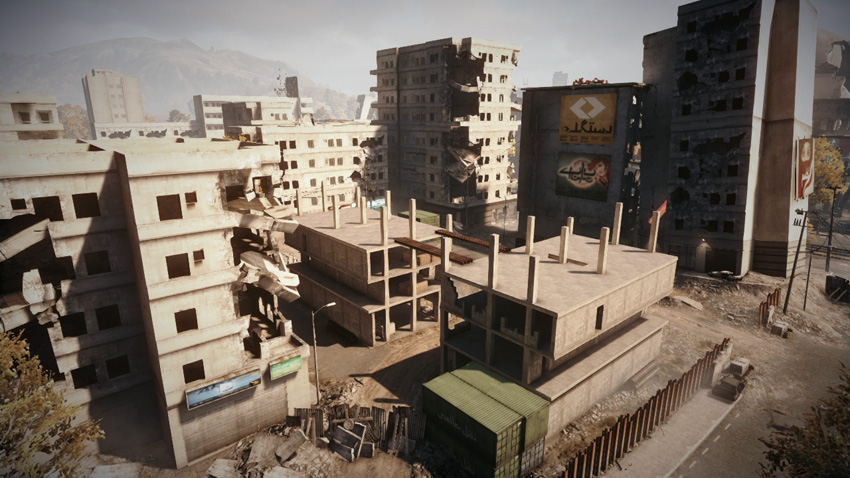
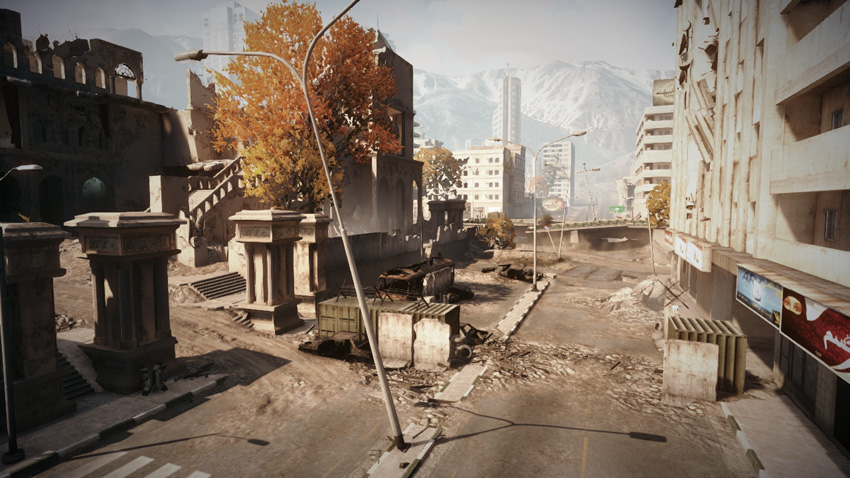
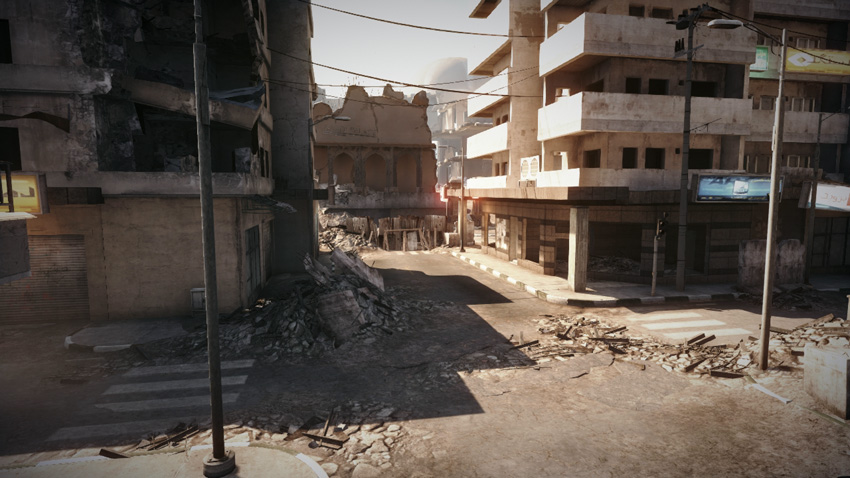
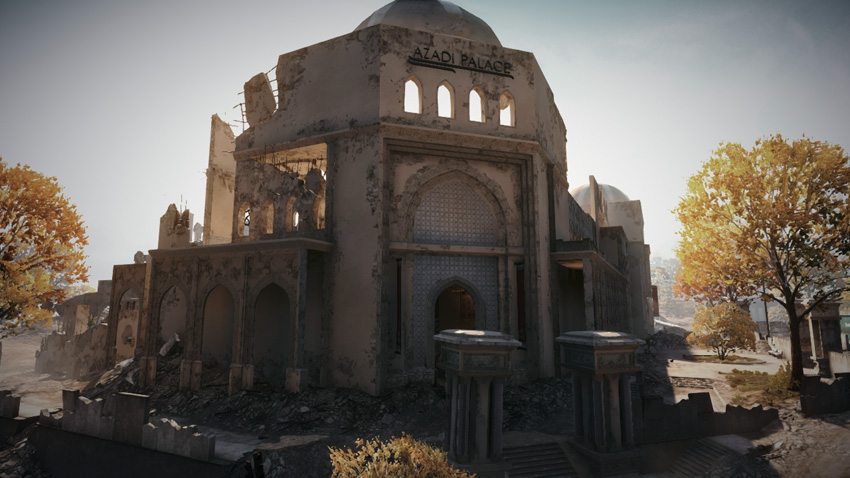
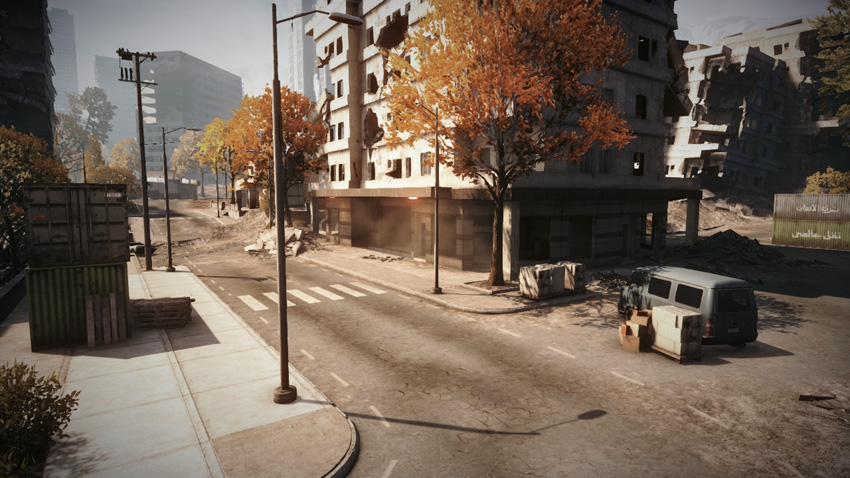
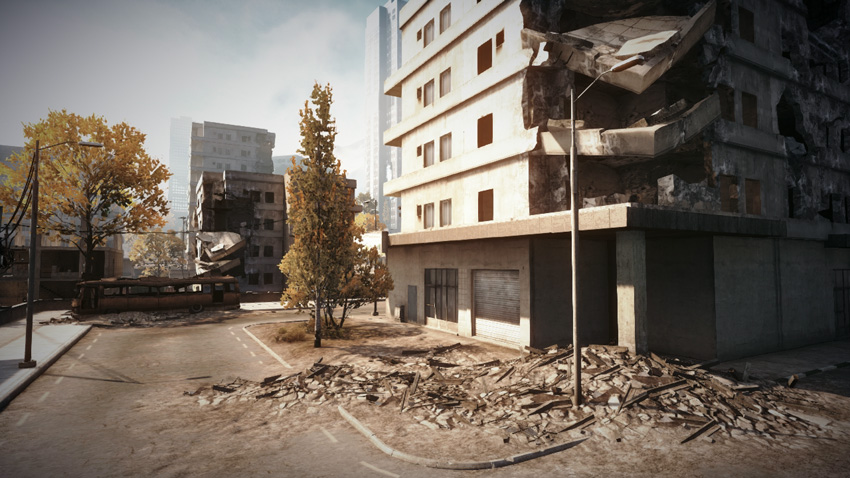
Before the earthquake, Azadi Palace, located on the southern side of the map, was a popular tourist destination, appreciated by locals and guests alike for its ornate architecture and lush gardens. But now, little is left of this once majestic structure’s former glory, as soldiers and military vehicles scurry about the rubble-filled grounds and fight for control of the Palace and the adjoining neighborhood to the north. With five control points up for grabs at the start of the match, both teams must rush to secure at least three flags to initiate a drain on the opposing team’s ticket count. Spawning on the city’s northern outskirts, the US team has the best chance of capturing the City Entrance (A), Market (B), and Downtown (C), and establish a strong presence on the north side. Meanwhile, the RU team, deploying from the Construction Site in the southeast, has a good chance of securing the Main Floor (E) and Senate (E) within Azadi Palace. But the neither team can win by simply holding the Palace. So in addition to capturing the Palace’s two control points, the RU team must look for opportunities to secure at least one of the three northern flags to avoid hemorrhaging tickets. In close matches, a tug-of-war struggle often centers around the Downtown (C) control point. To give your team the upper hand, make sure you make the most of the vehicles spawned at your team’s base and control points—the M1 Abrams and T-90A are particularly effective when it comes to taking and holding ground.
US Base
Base Assets
| Name | Rhino | Phoenix | M1 Abrams |
|---|---|---|---|
| Quantity | 1 | 1 | 1 |
| Respawn Time | 20 sec. | 20 sec. | 50 sec. |
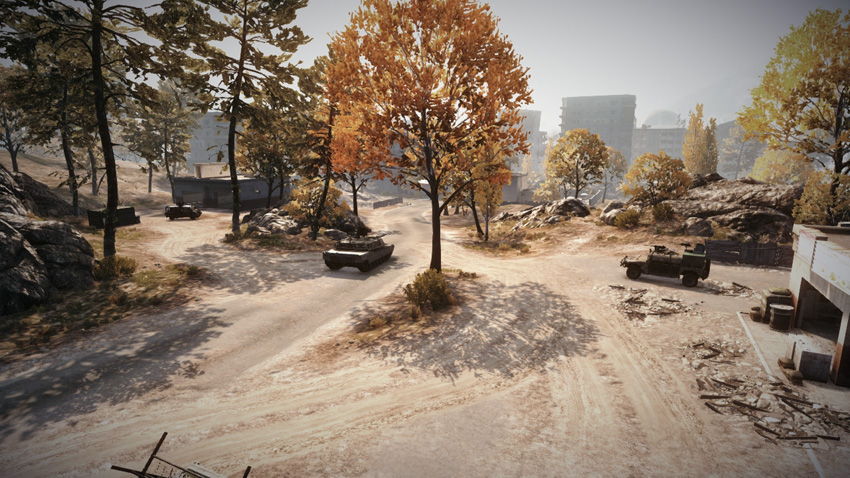
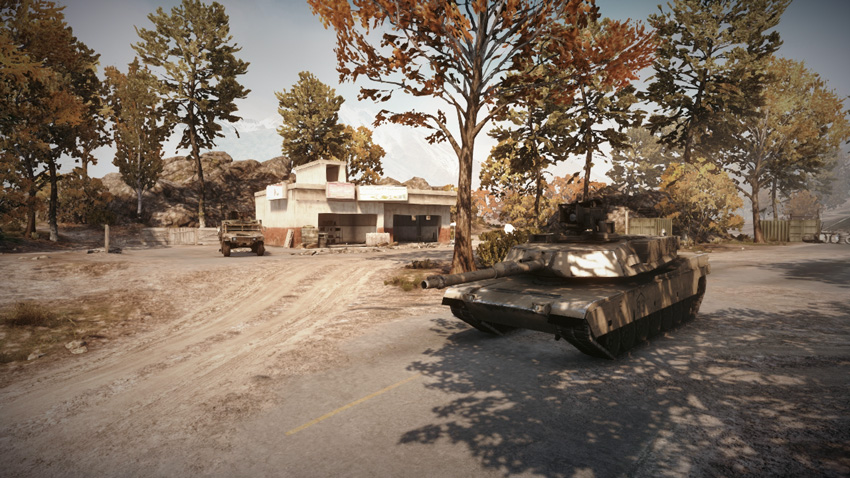
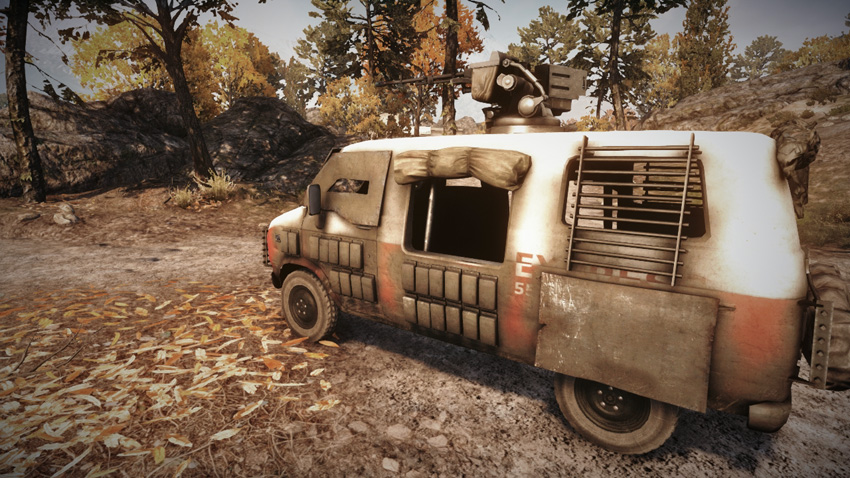
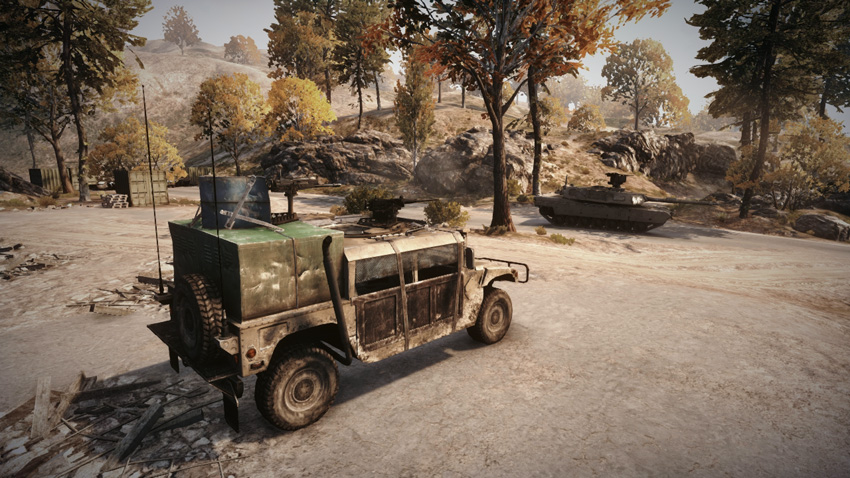
The US team deploys on the north side of the map, in the city outskirts. The vehicles spawned here play their most important role at the start of the match by serving as troop transports. Both the Rhino and Phoenix are capable of transporting three soldiers. Fill these vehicles to capacity and send the Rhino to the Market (B) while the Phoenix secures the Downtown (C) control point. Meanwhile, the remaining infantry and M1 Abrams can follow these speedy vehicles into the city and capture the City Entrance (A). If the US team moves out fast, they stand a good chance of securing these three northern control points, instantly draining the RU team’s ticket count. By holding three out of the five flags, the US team doesn’t need to even approach the Palace to the south. Instead, it’s better to consolidate on the north side of the city. Post at least one vehicle at each control point and dig in for the rest of the match. As vehicles are destroyed, don’t forget to spawn back at the US Base and move new vehicles to the front lines—keeping the M1 Abrams in the fight is particularly important.
RU Base
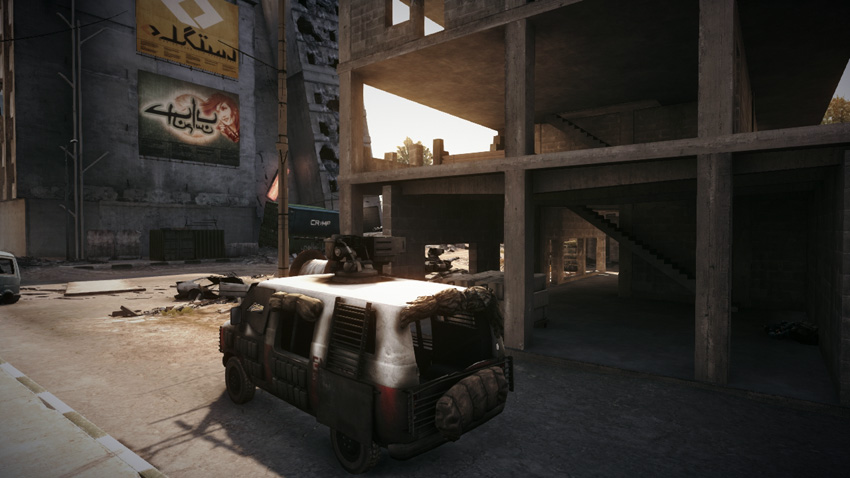
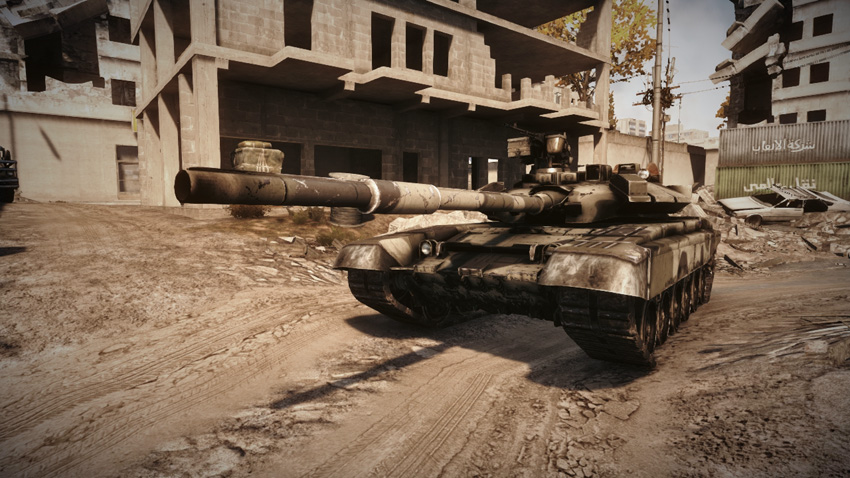
Base Assets
| Name | Rhino | Barsuk | T-90A |
|---|---|---|---|
| Quantity | 1 | 1 | 1 |
| Respawn Time | 20 sec. | 20 sec. | 50 sec. |
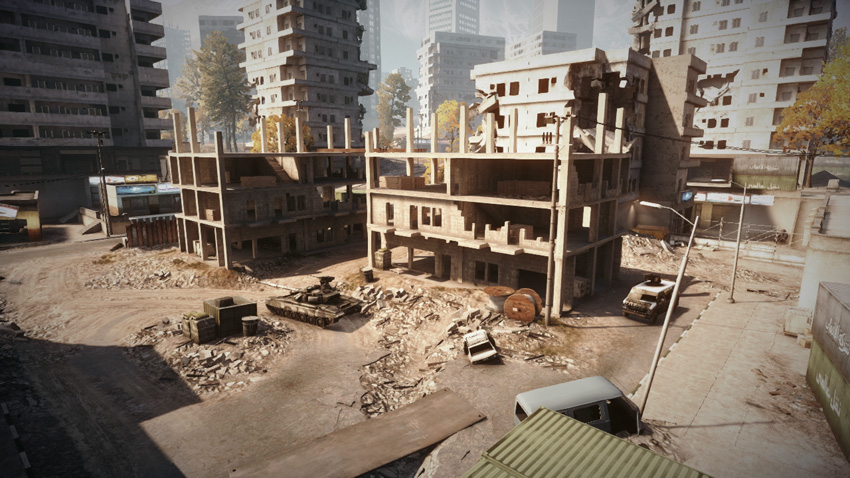
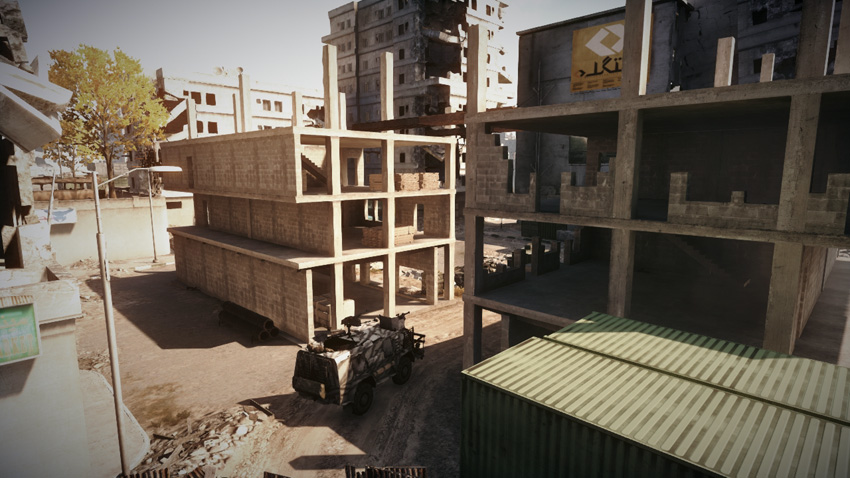
Spawning from the Construction Site in the southwest corner of the city, the RU team begins the battle from a slight geographic disadvantage. While the Palace and its two control points are within close striking distance, the RU team has a difficult time beating the US team to the other three control points, on the north side of the city. So at the start of the battle, while a couple of squads secure the nearby Main Floor (E) and Senate (D) at the Palace, the rest of the team should make an aggressive push toward the Downtown (C) control point. Attacking this control point with the T-90A, Rhino, and Barsuk should be enough to overwhelm the US team’s defenders. If the early-round attack is successful, instead of spreading their themselves thin, the RU team should consolidate their forces at the Downtown (C), Senate (D), and Main Floor (E) control points. The two control points in the Palace are easily defended by infantry, so use the vehicle spawned at the RU Base to reinforce the Downtown (C) control point.
A: City Entrance
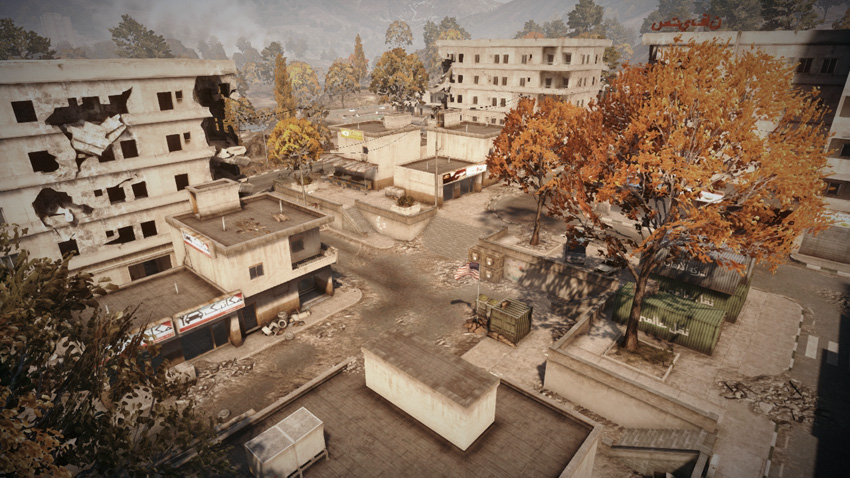
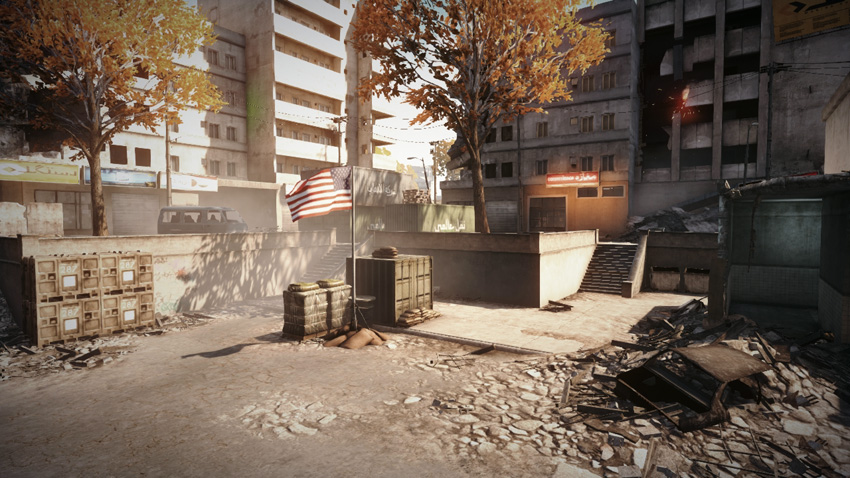
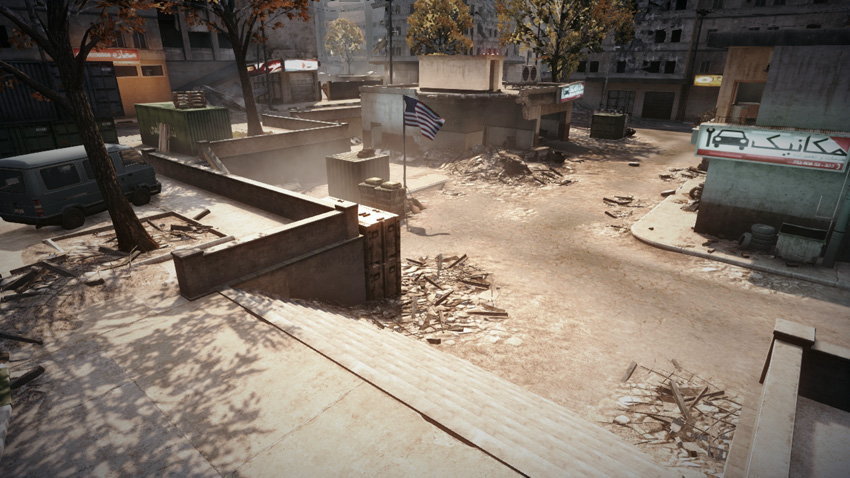
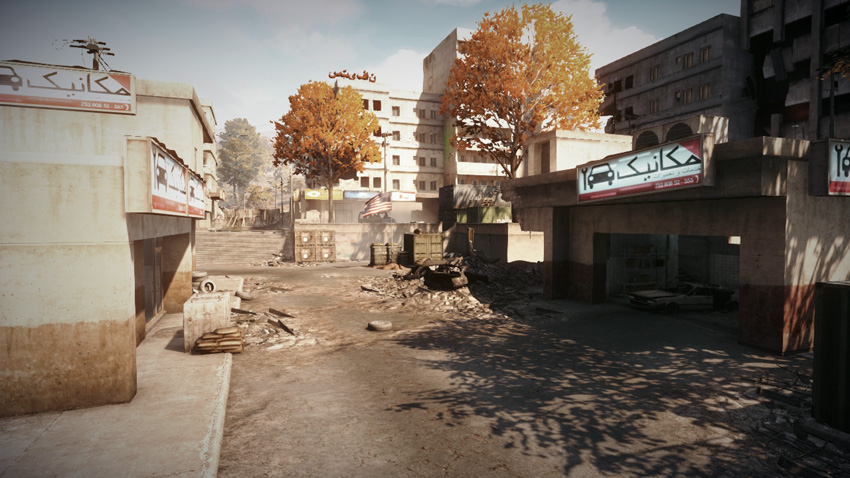
The City Entrance (A) is a small plaza located on the north side of the city, only a few meters from the US Base. The US team stands a good chance of capturing this control point at the start of the match. However, the US team often takes this flag for granted and leaves it undefended. This gives RU squads an opportunity to sneak in and capture this control point, often without ever firing a shot. The flag is positioned in a small plaza flanked by several small buildings. The crates next to the flag offer adequate cover for infantry, but attackers should always watch for defenders posted in the buildings or on rooftops nearby. This control point is easiest for vehicles to access from the south or west. But in a pinch, vehicles can also traverse the wide staircase to the north—it’s easier to drive down the stairs than it is to drive up them. Although the control point produces no vehicles for either team, it’s still a location worth holding on to, so make sure at least one squad stays behind to guard it.
B: Market
Control Point Assets
| US Control | RU Control | Respawn Time |
|---|---|---|
| Phoenix (1) | Barsuk (1) | 50 sec. |
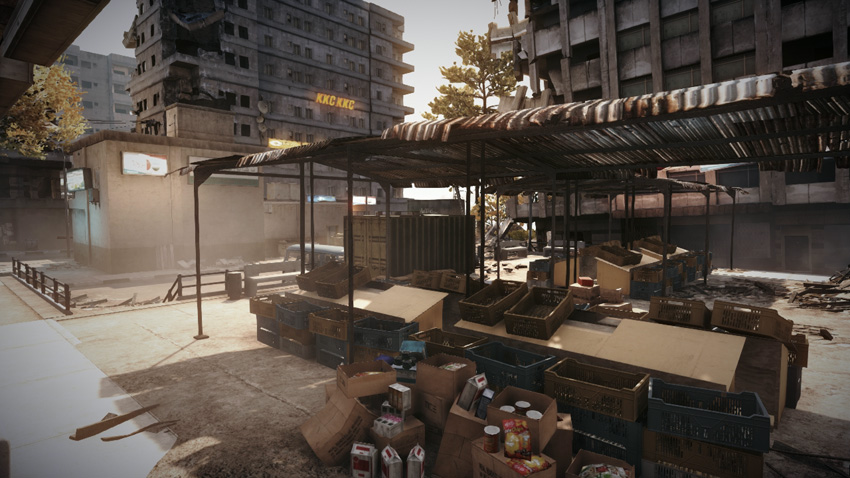
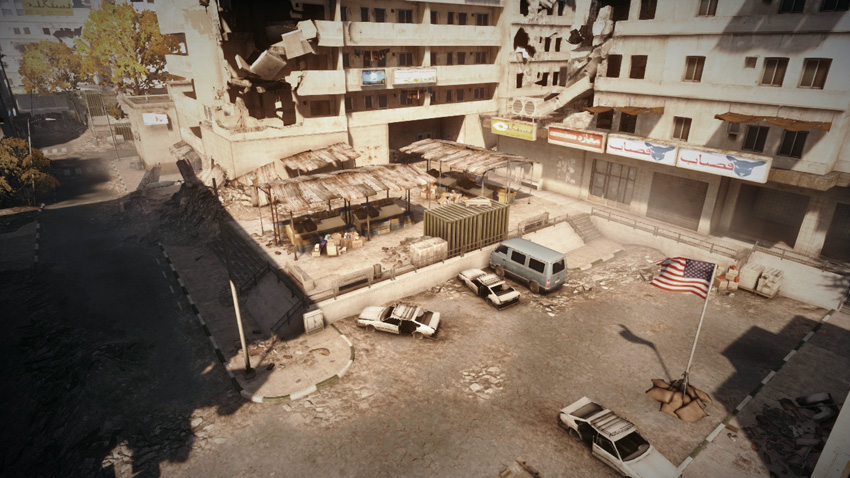
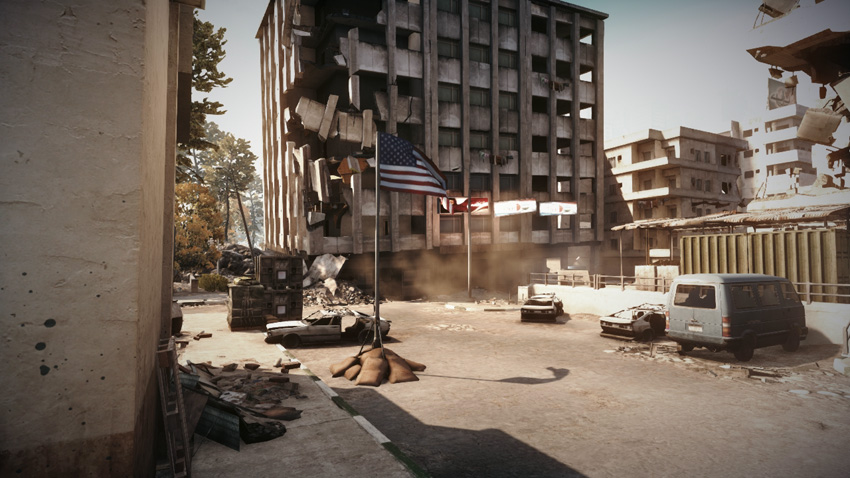
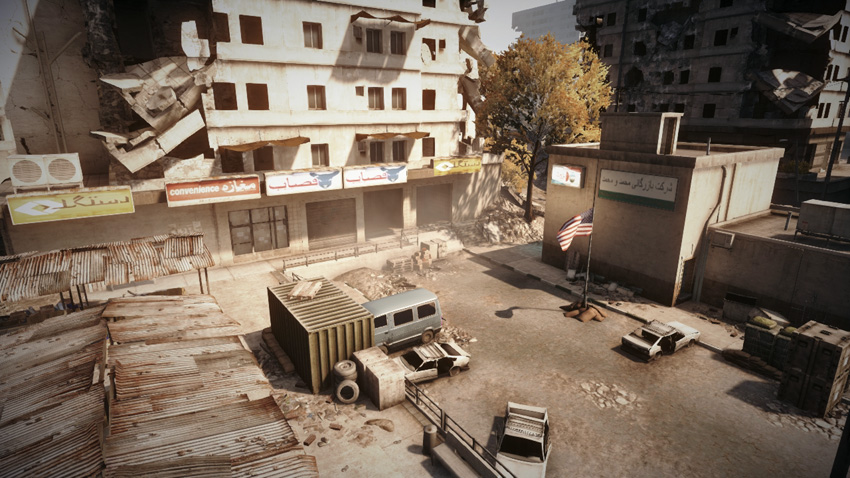
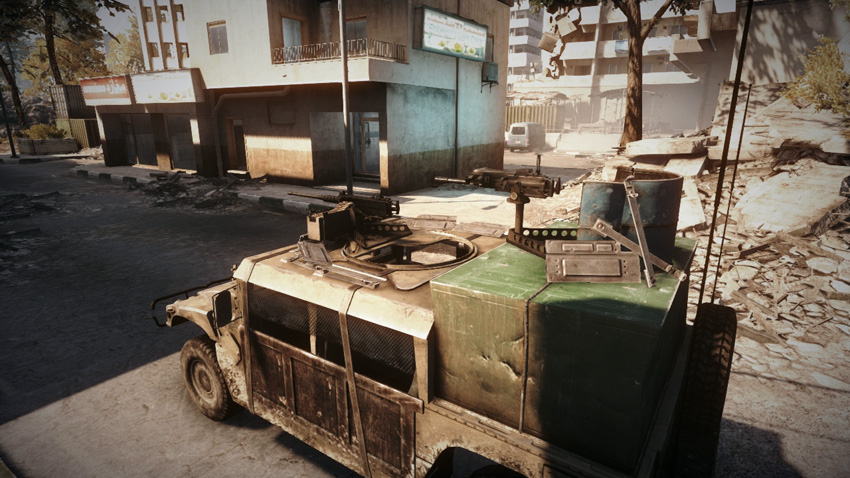
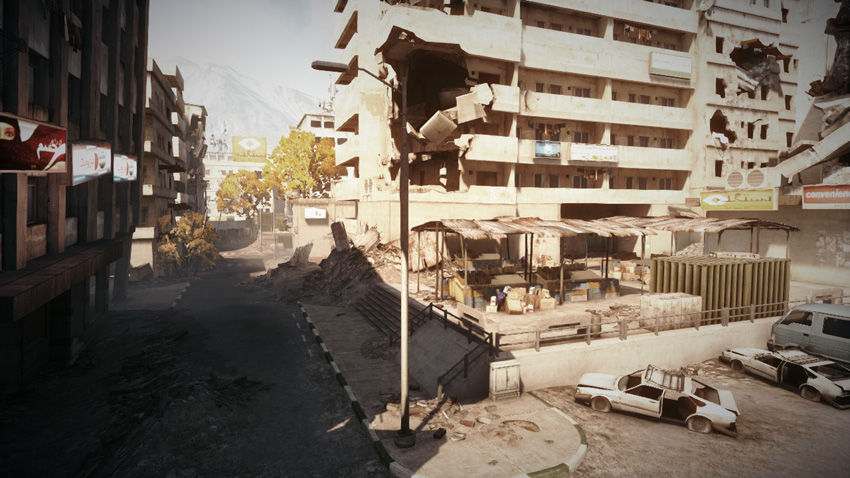
The Market (B) is located just south of the City Entrance (A) and directly east of the Downtown (C), so it’s a key piece of the control point triangle on the city’s north side. Unlike its neighboring control points, the Market (B) produces a light vehicle for each team—the US team gets a Phoenix and the RU team gains a Barsuk. Both spawn in a street to the east. The flag is located in a small parking lot on the east side of an abandoned outdoor market. With the exception of a few damaged cars, there isn’t much cover for infantry within the flag’s capture radius. While infantry can approach the flag from any direction, vehicles can only enter the parking lot from the south—defending engineers should place mines at the parking lot’s entrance. Since there aren’t too many hiding spots near the flag, defenders should watch this area from the periphery, and take up positions in the building to the east or among the market stalls to the west. Parking the Phoenix or Barsuk in the parking lot or southern street also serves as a good deterrent.
C: Downtown
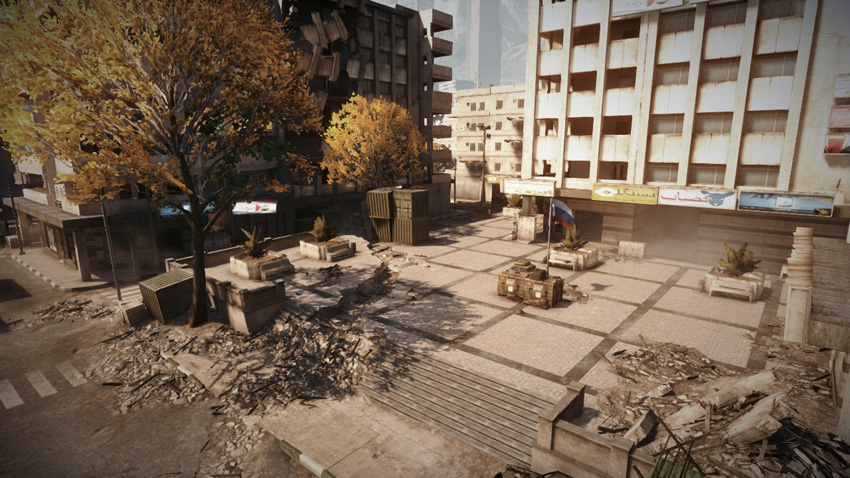
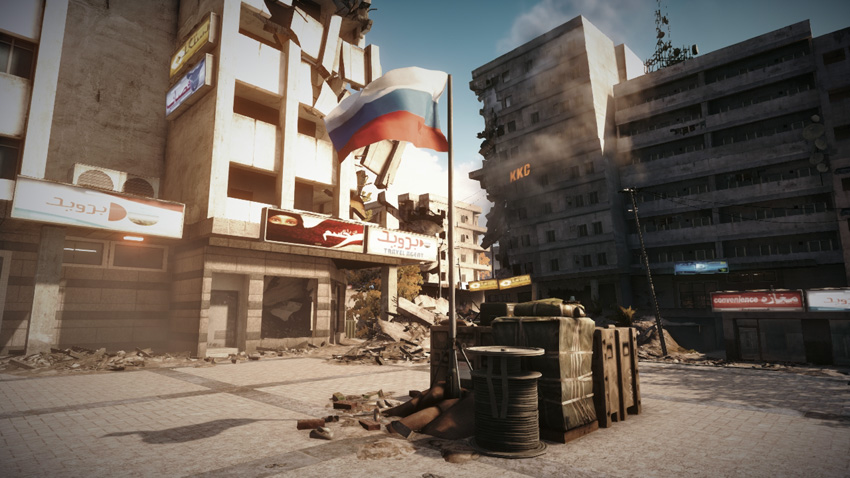
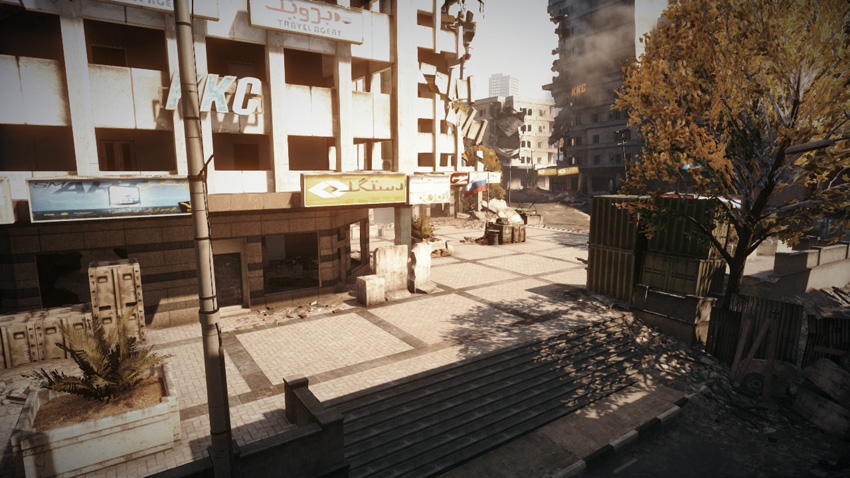
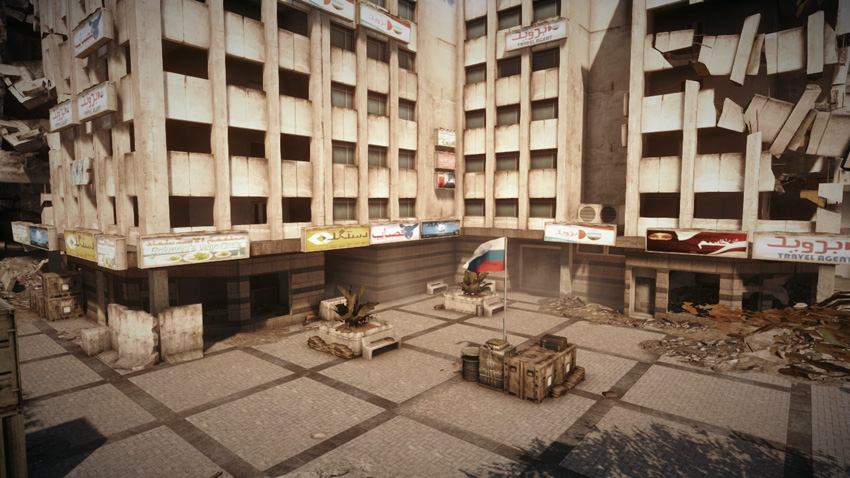
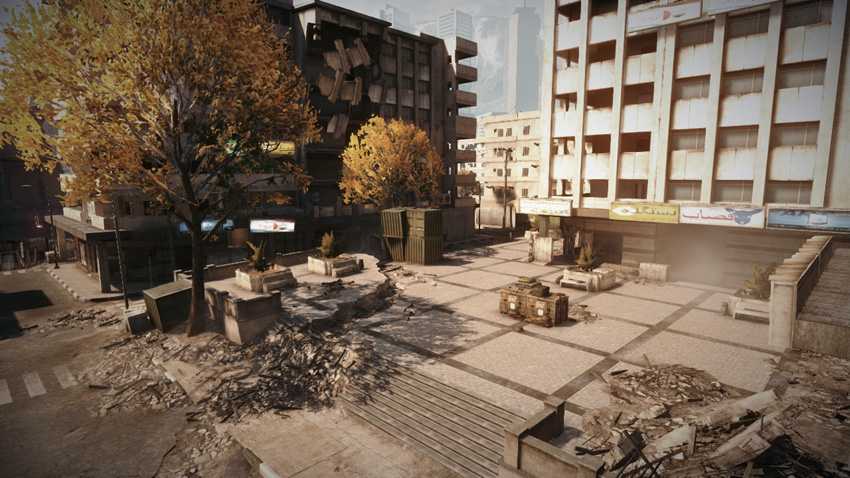
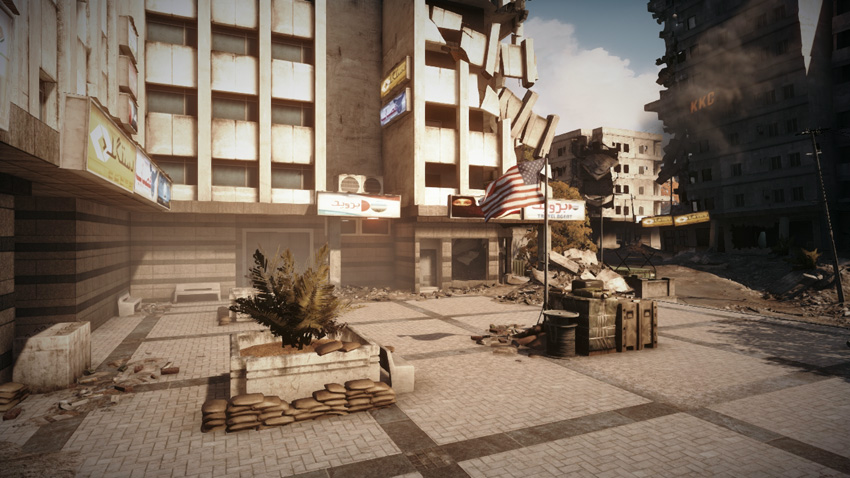
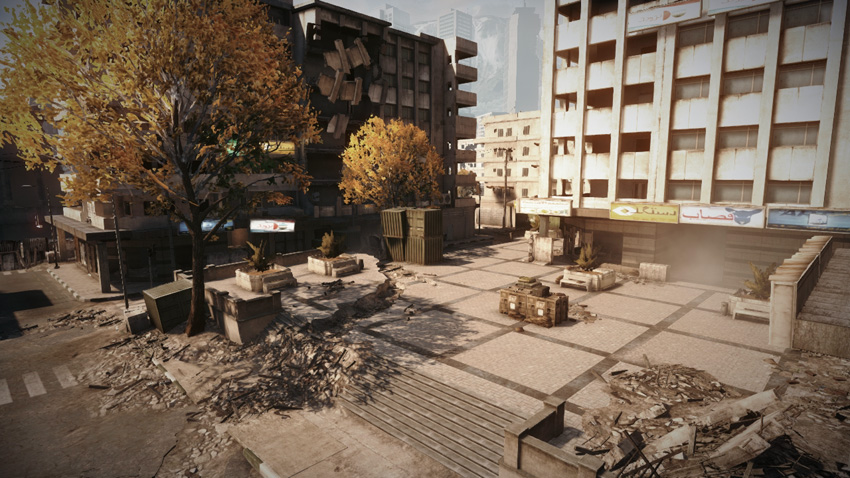
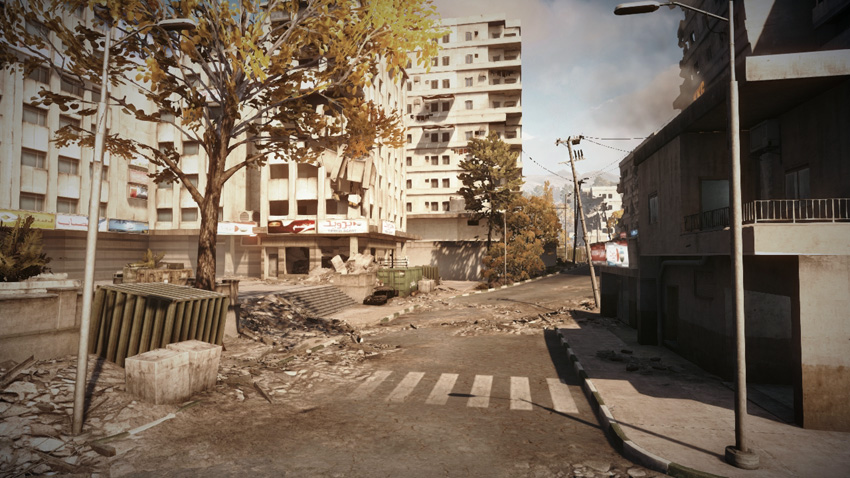
The Downtown (C) control point is one of the most contested locations on the north side of the city. This area of the map serves as a bridge linking the north side of the city to the Palace in the south. So expect heavy traffic (and fighting) in the area between the Downtown (C) and Senate (D). Both teams should rush this location at the outset of the match. Once captured, the control point is relatively easy to defend thanks to the exposed flag that stands in the middle of a large plaza. A few crates and planters serve as the only cover within the flag’s capture radius, which encompasses most of the plaza. So if you’re on foot, take cover behind one of these objects and drop prone. Given the exposed nature of the flag, its often safer to capture this control point from within the confines of an armored vehicle—the steps on the south and east sides of the plaza can be traversed by vehicles. However, defenders posted in the abandoned storefronts on the west and north sides of the plaza have a clear view of the flag, so they can engage attackers from the buildings’ dark interiors. So before racing to the flag, make an effort to secure the perimeter. Otherwise you’re likely to get caught in an ambush.
D: Senate
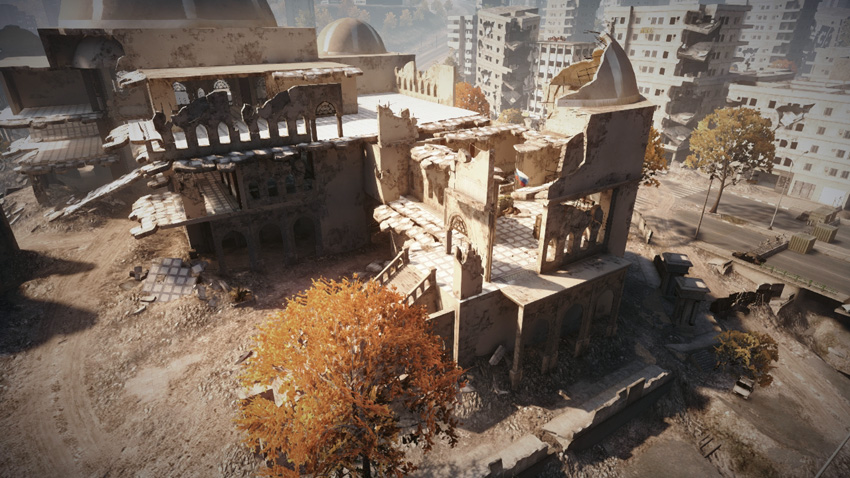
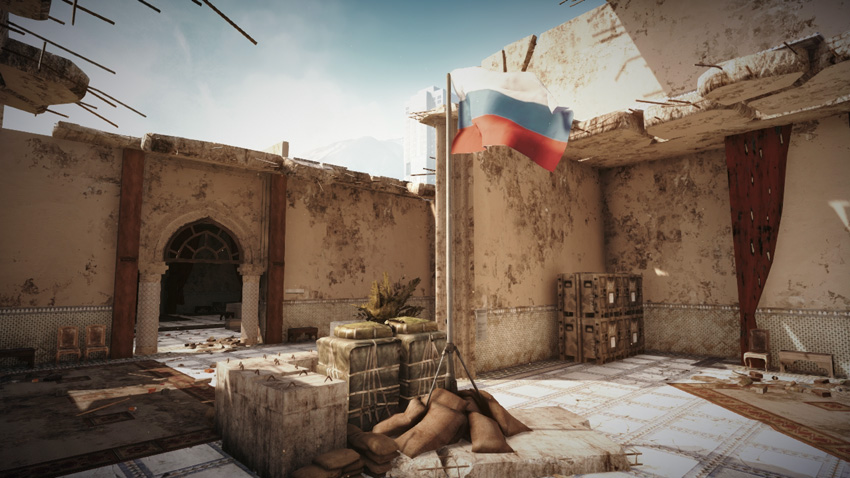
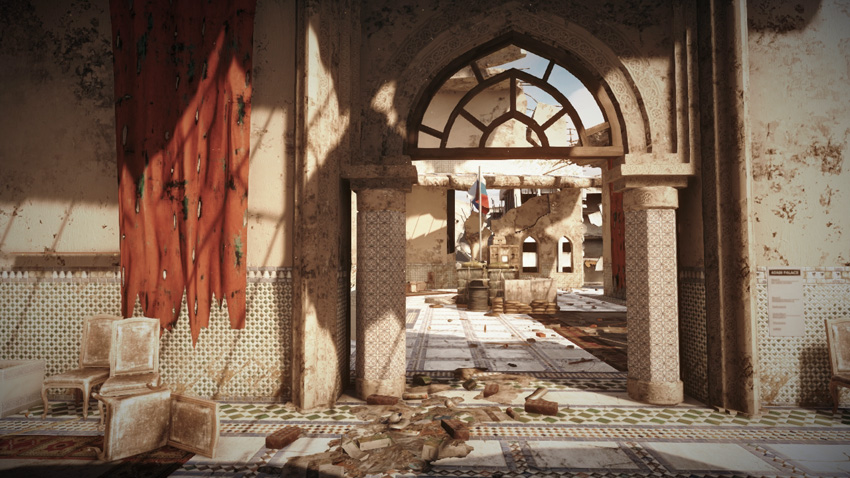
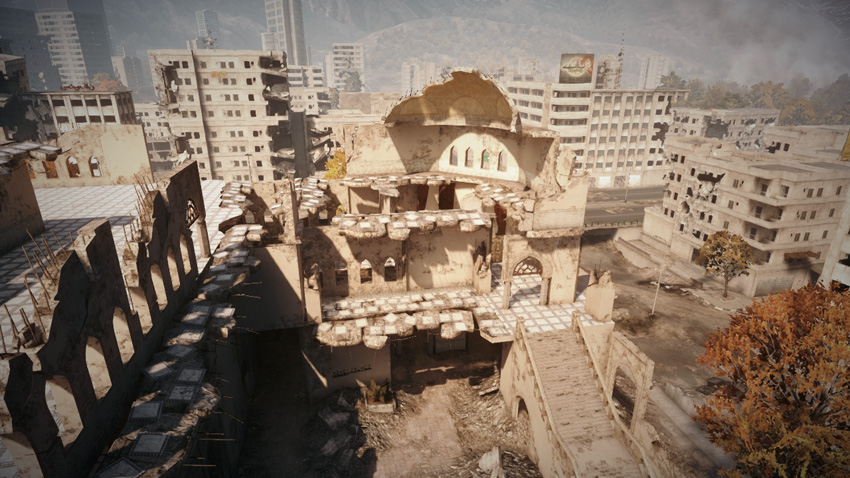
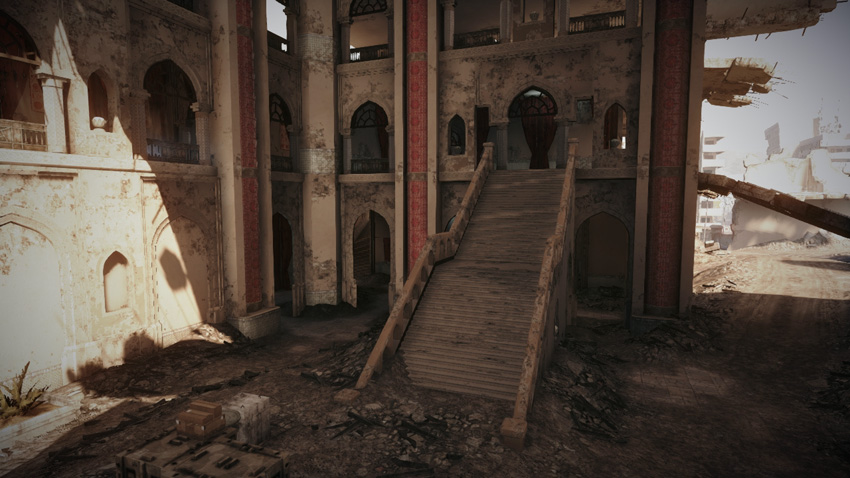
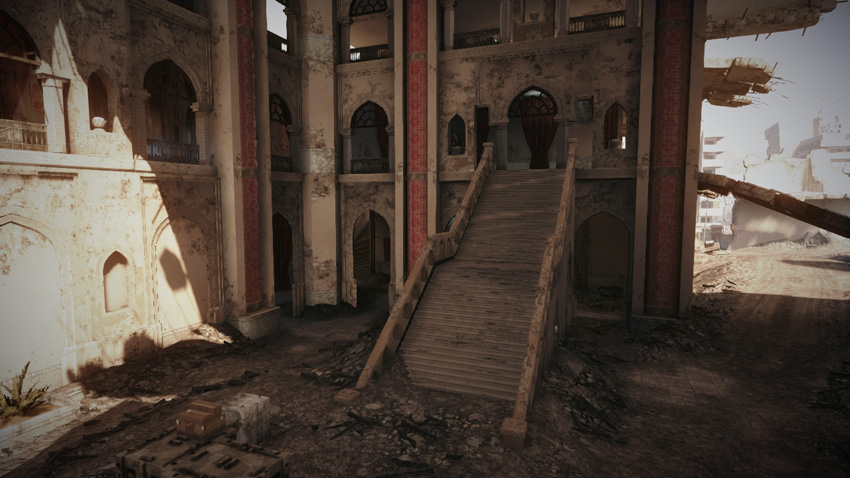
This control point is located in the moderately damaged north wing of Azadi Palace, on the second floor. What was once an ornate room frequented by politicians (and most recently tourists) has been transformed into a military outpost. The flag is positioned in the center of this small room. Therefore, expect most fighting here to take place at close range—PDWs and shotguns are well suited for these point-blank engagements. This room can only be accessed through three points: the large exterior staircase to the east, the narrow interior staircase to the south, and the arched doorway to the south. It's possible for light vehicles like the Phoenix, Barsuk, and Rhino to climb the exterior staircase to gain entry into this room. Tanks can climb the ramp on the east side of the palace, near the restaurant, and fire through the arched doorway. But the doorway is too narrow for a tank to fit in the room. While vehicle attacks are uncommon here, they're a possibility all defenders should prepare for. Once the flag is captured, one squad can adequately cover all three entry points, assisted by a T-UGS motion sensor and Claymores. When attacking here, avoid the staircases and advance from the restaurant to the south, also on the second floor. Attacking through the arched doorway on the south side of the flag is much safer than trudging up the stairs. Toss grenades and fire rockets through the doorway to soften-up any defenders near the flag before entering the room.
E: Main Floor
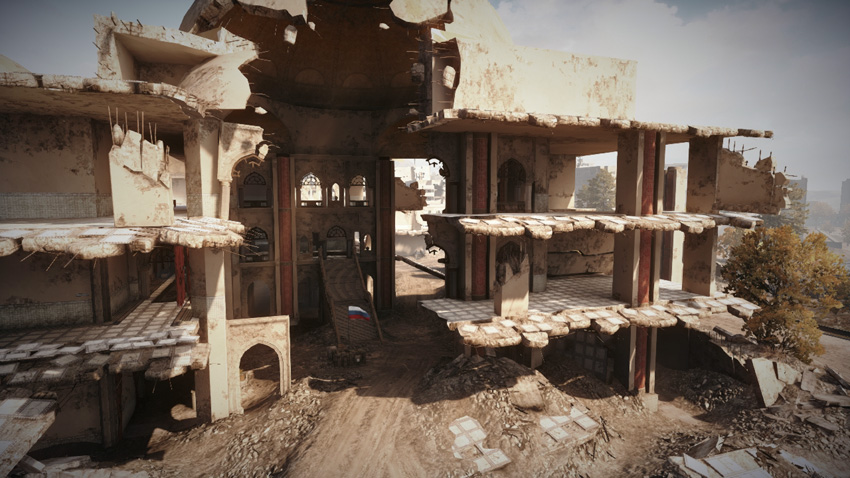
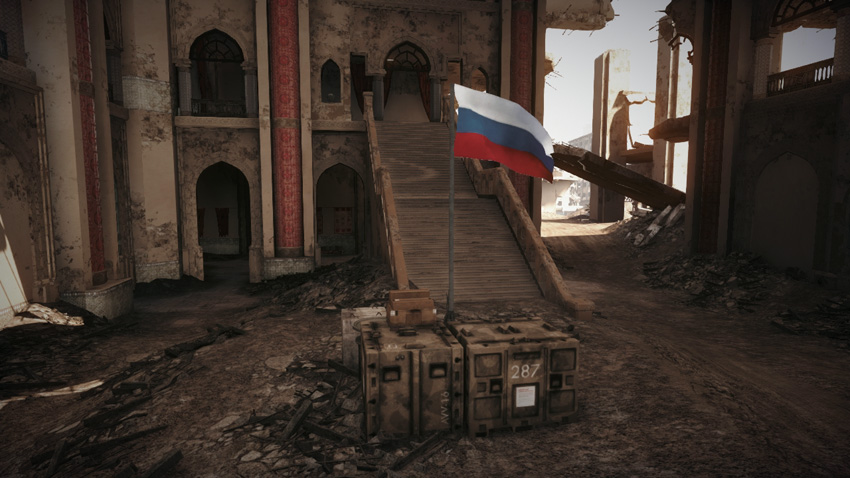
Control Point Assets
| US Control | RU Control | Respawn Time |
|---|---|---|
| Phoenix (1) | Barsuk (1) | 50 sec. |
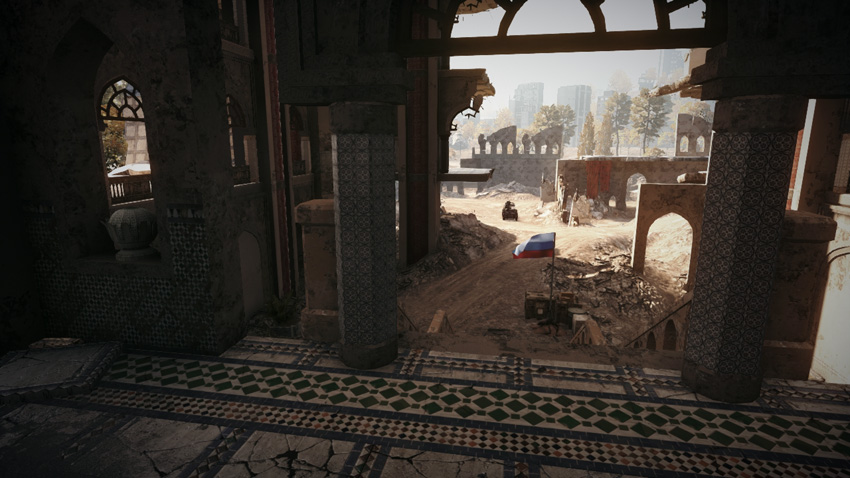
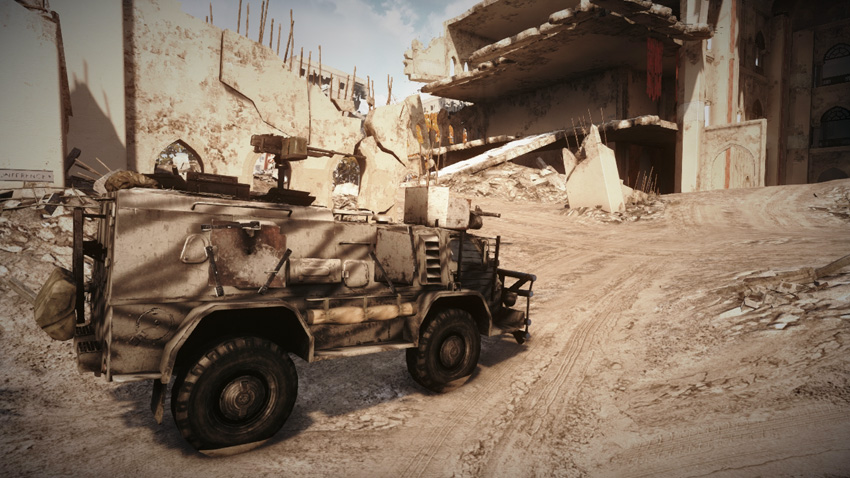
This is another control point located within Azadi Palace, on the south side of the map. Before the earthquake, this lavish foyer and its impressive domed roof greeted guests and dignitaries from around the world. But now the southern wall of the Palace has collapsed, leaving the Main Floor (E) exposed to the elements. The flag stands at the base of a large staircase leading to the second-floor promenade. With the exception of a few crates, there isn’t much cover near the flag, which leaves attackers largely exposed while gathered within the capture radius. So consider capturing this flag from within a vehicle. A narrow dirt road cuts through the middle of the foyer, connecting the south and east sides of the palace. But even vehicles run the risk of getting ambushed here by defenders posted on the second floor. The second-floor walkway to the west of the flag is a popular overwatch position for defenders. The piles of rubble and perimeter arched doorways on the ground floor also offer plenty of sneaky spots for defenders to hide. So before approaching the flag, it’s wise to secure the second floor. Although this control point is closest to the RU Base, the Main Floor (E) produces light vehicles for both teams that spawn outside the Palace to the south.
Conquest 64
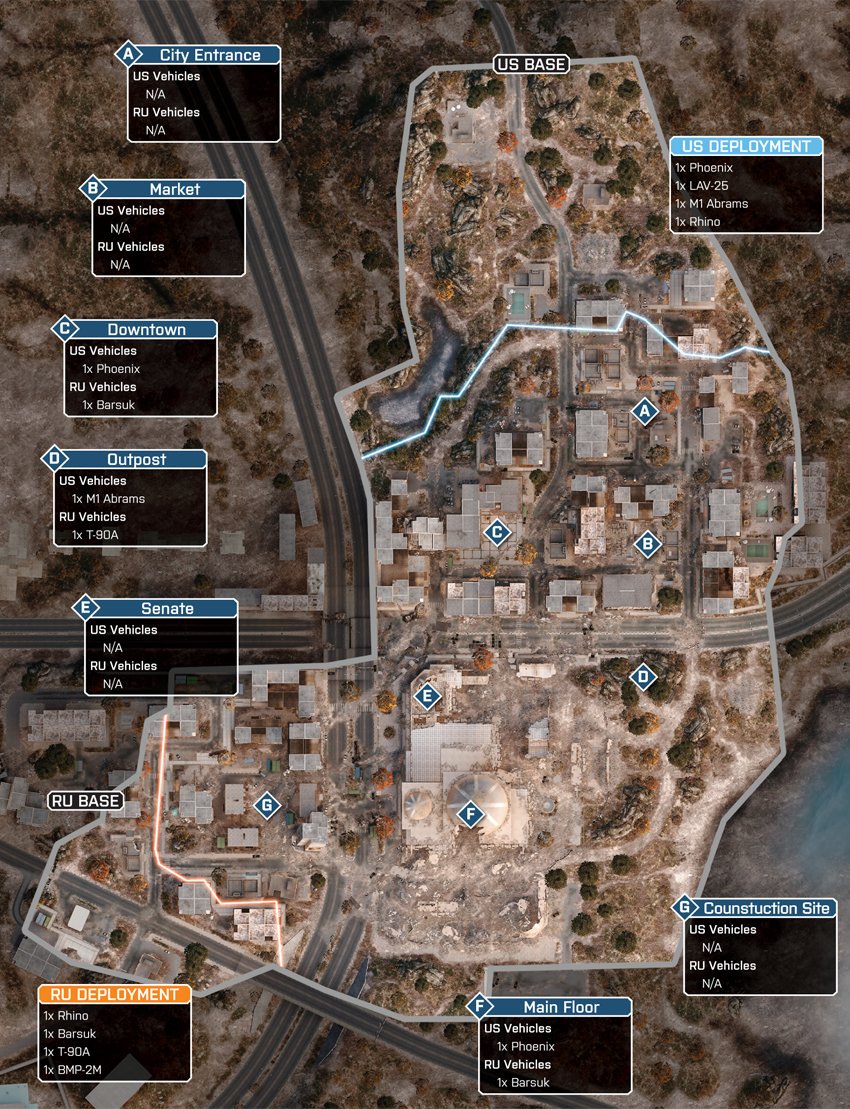
In this larger Conquest variant, the map gets even larger, with two more control points added to the south side of the map. The addition of these new control points significantly shifts the geographical balance of power in favor of the RU team. By locking down the Outpost (D), Senate (E), Main Floor (F), and Construction Site (G), the RU team can consolidate their forces on the south side of the map while draining the US team’s ticket count. The US team still stands the best chance of maintaining control of the north side of the city, but holding the City Entrance (A), Market (B), and Downtown (C) is no longer sufficient to guarantee a win. So in addition to controlling the north half of the city, the US team must take the fight to the south side, and hopefully capture at least one more control point in the process. The Outpost (D), located on the east side of the Palace, is one of the most valuable control points on the map; it produces an extra tank for both teams. Therefore both teams should make an effort to capture and hold this vital control point. With up to three tanks and two IFVs patrolling the map at any given time, each squad should have at least one engineer ready to dish out damage and conduct repairs. With the exception of the Senate (E), vehicles play a crucial role in securing and defending the control points in this battle. So don’t let the vehicles spawned back at your team’s base gather dust—move them to the front lines where they can make a difference.
US Base
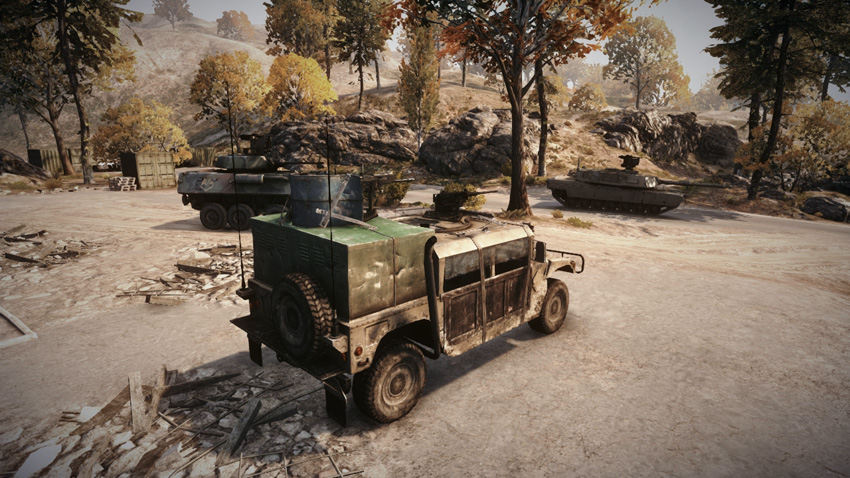
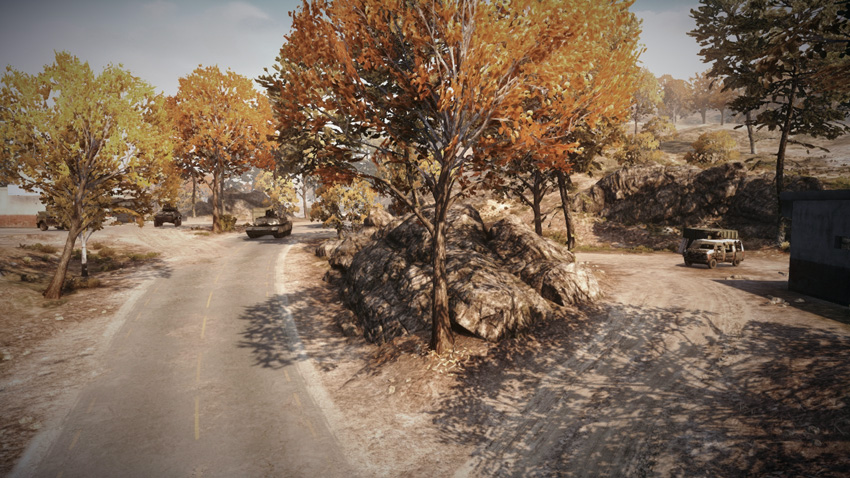
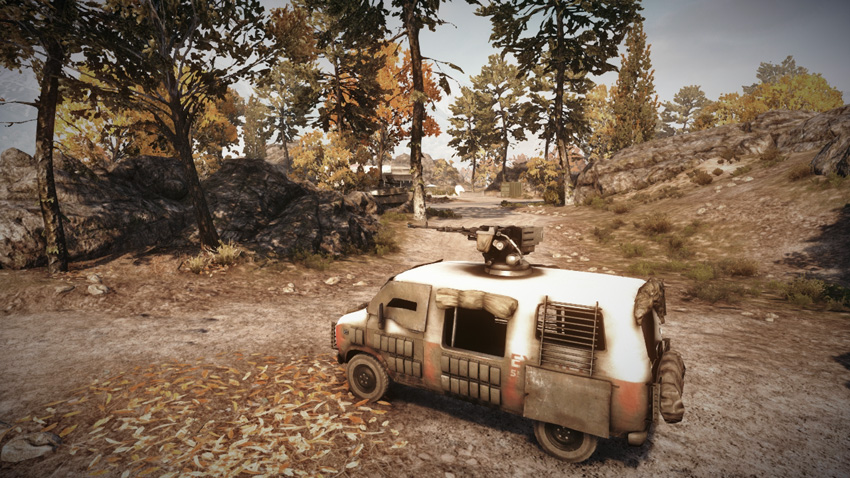
Base Assets
| Name | Rhino | Phoenix | LAV-25 | M1 Abrams |
|---|---|---|---|---|
| Quantity | 1 | 1 | 1 | 1 |
| Respawn Time | 20 sec. | 20 sec. | 50 sec. | 50 sec. |
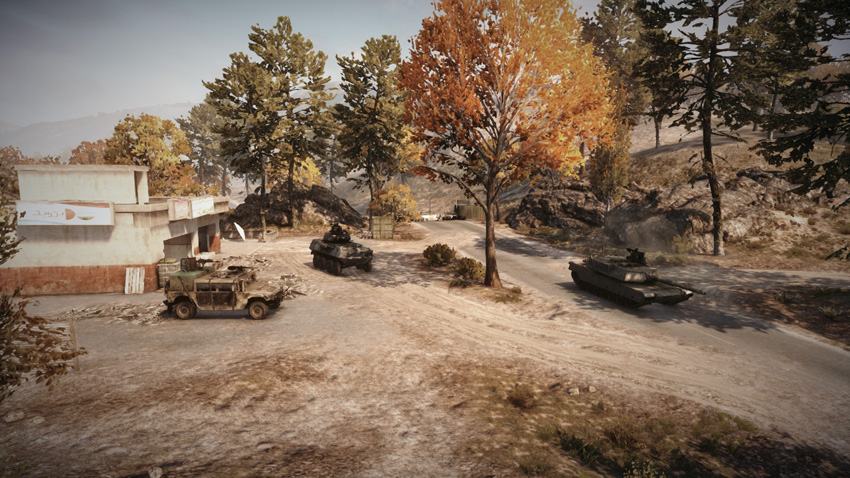
The US team deploys on the north side of the map, in the city outskirts. The vehicles spawned here play their most important role at the start of the match by serving as troop transports. Both the Rhino and Phoenix are capable of transporting three soldiers and the LAV-25 can carry six. Fill these vehicles to capacity and send the Rhino to the Market (B) while the Phoenix secures the Downtown (C) and the LAV-25 takes the Outpost (D). Meanwhile, the remaining infantry and M1 Abrams can follow these speedy vehicles into the city and capture the City Entrance (A). If the US team moves out fast, they stand a good chance of securing the three northern control points as well as the Outpost (D), thereby instantly draining the RU team’s ticket count. By holding four out of the seven flags, the US team doesn’t need to even approach the Palace. Instead, it’s better to consolidate on the north side of the city. Post at least one vehicle at each control point and dig in for the rest of the match. As vehicles are destroyed, don’t forget to spawn back at the US Base and move new vehicles to the front lines—keeping the M1 Abrams and LAV-25 in the fight is particularly important.
RU Base
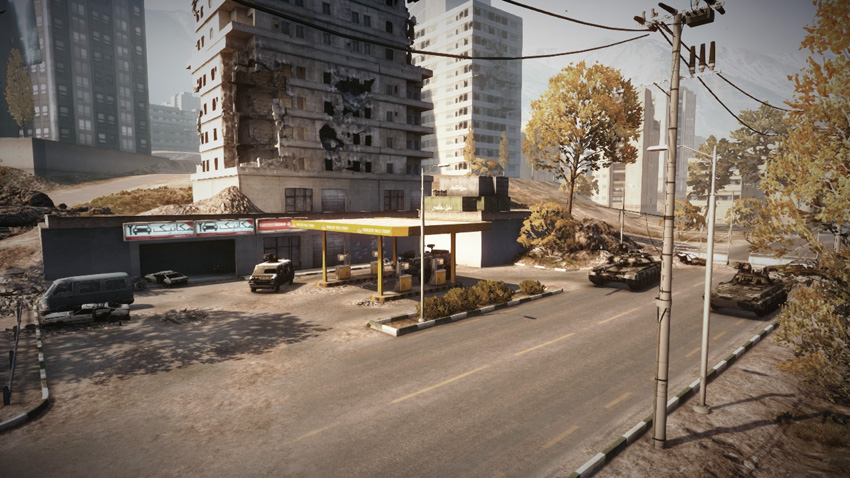
Base Assets
| Name | Rhino | Barsuk | BMP-2M | T-90A |
|---|---|---|---|---|
| Quantity | 1 | 1 | 1 | 1 |
| Respawn Time | 20 sec. | 20 sec. | 50 sec. | 50 sec. |
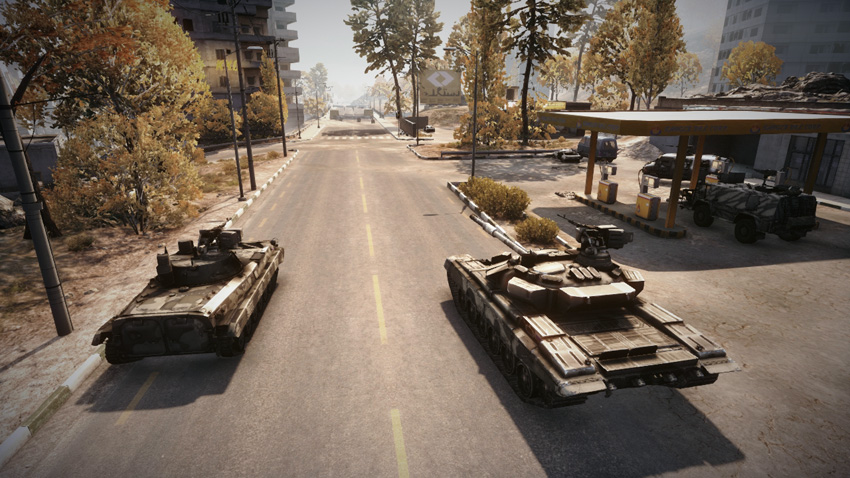
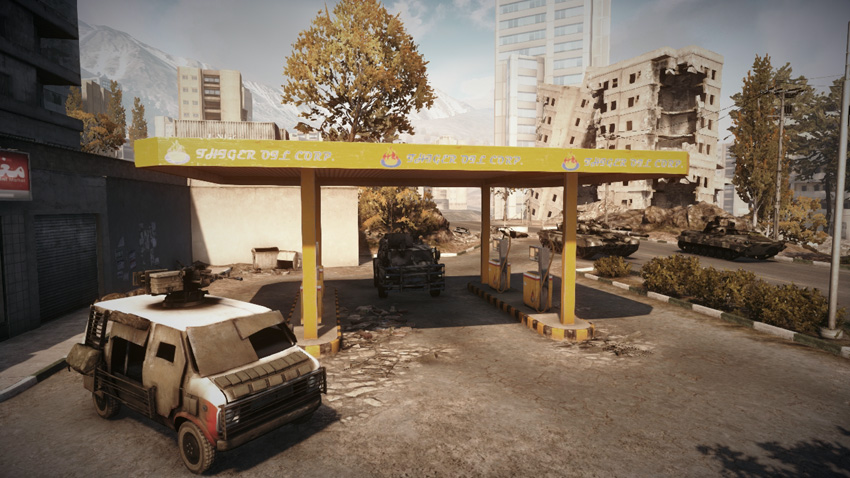
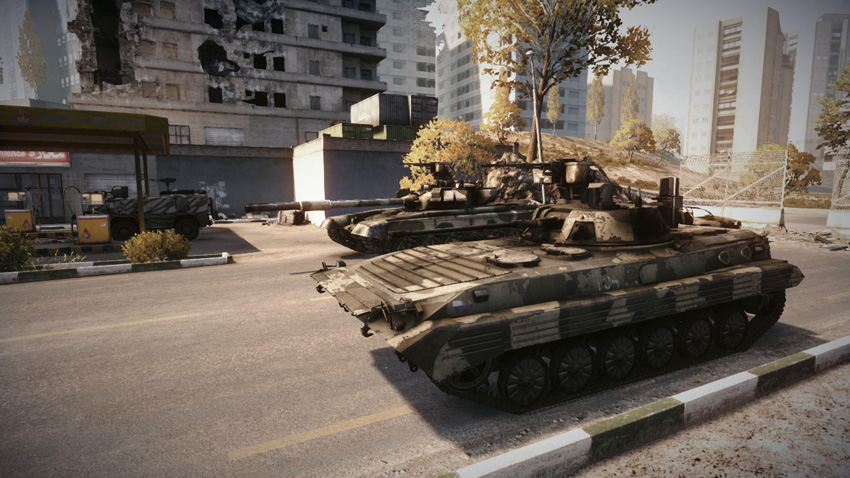
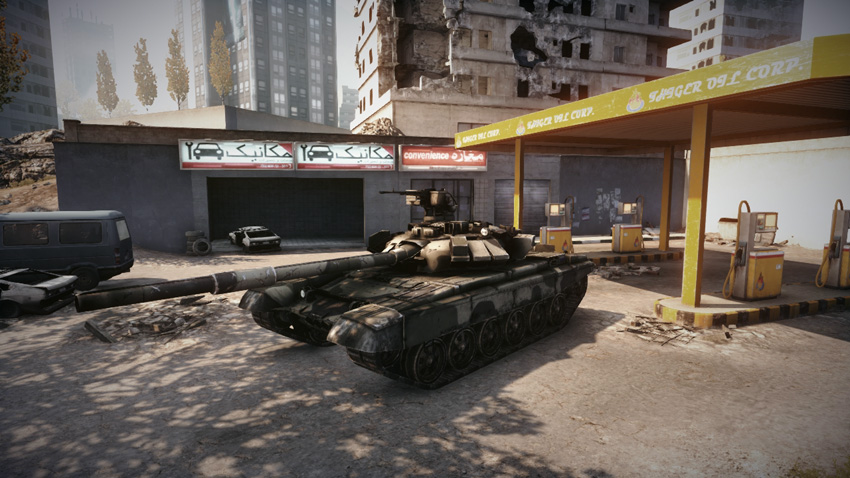
Spawning from a gas station on the southwest edge of the city, the RU team begins the battle from a slight geographic advantage. Early on, the RU team should rush to secure the four control points on the south side of the map. So at the start of the battle, while a couple of squads secure the nearby Construction Site (G), the rest of the team should make an aggressive push toward the Main Floor (F), Senate (E), and Outpost (D). Use speedy vehicles like the Rhino and Barsuk to reach the distant Outpost (D) while the BMP-2M drops off troops at the Palace to secure the Main Floor (F) and Senate (E). If the RU team moves out quickly, they stand a good chance of locking down the south side of the map while bleeding the US team’s ticket count. But don’t expect the US team to completely forfeit the southern half of the map. Keep squads posted at each of the southern control points full-time. Also, keep moving new vehicles from the base to front line positions at the Palace and Outpost (D). Use tanks and the BMP-2M to cover the street on the north side of the Palace. Treat this street as a border, and engage any US units that attempt to cross it.
A: City Entrance
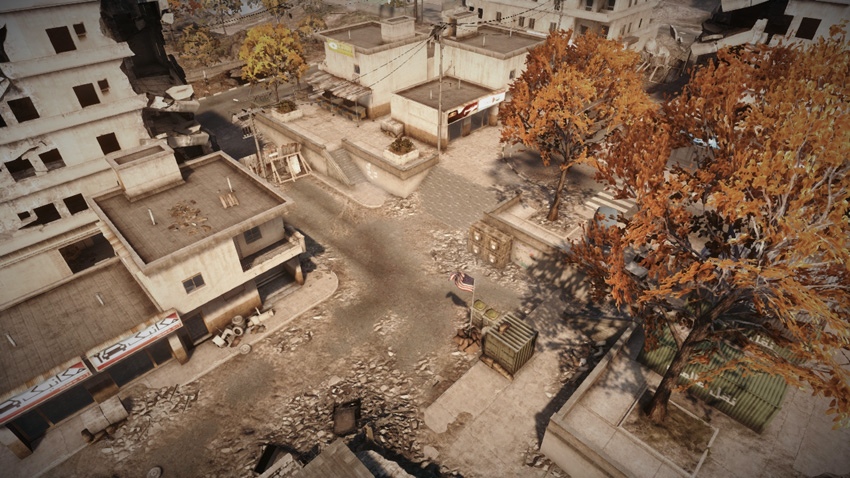
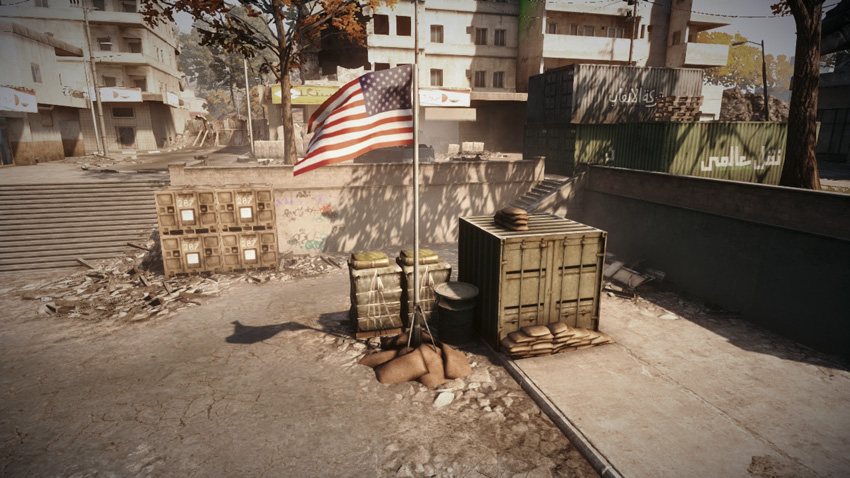
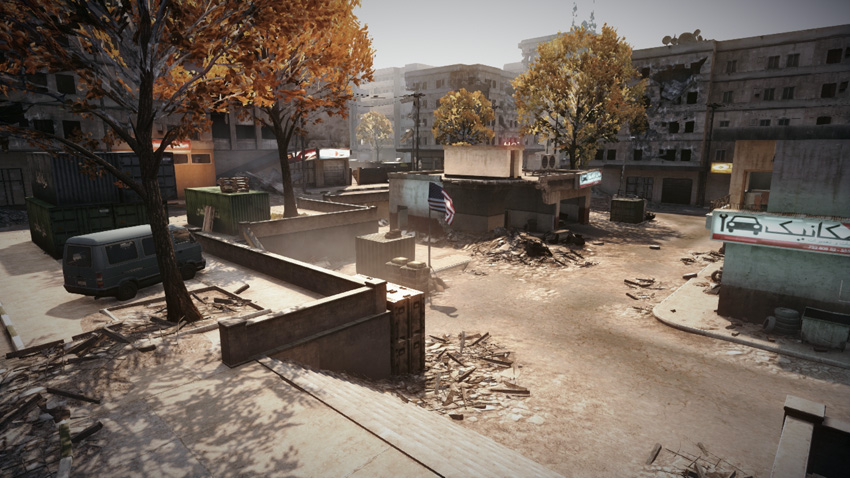
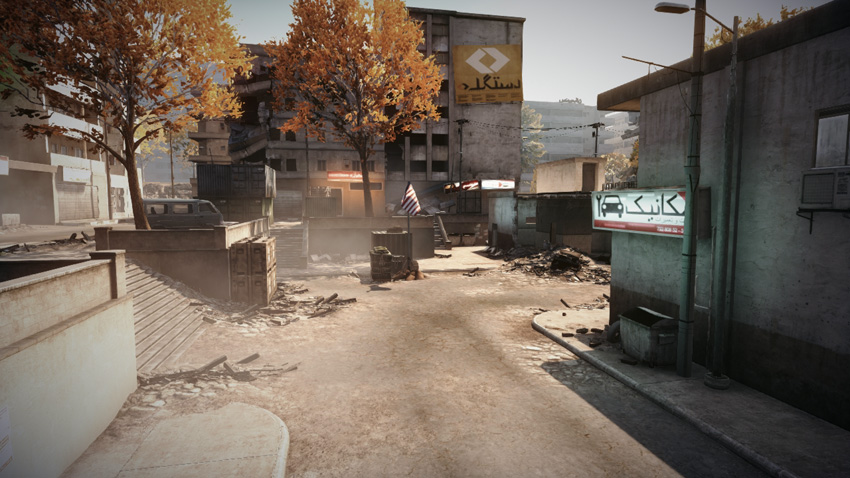
The City Entrance (A) is a small plaza located on the north side of the city, only a few meters from the US Base. The US team stands a good chance of capturing this control point at the start of the match. However, the US team often takes this flag for granted and leaves it undefended. This gives RU squads an opportunity to sneak in and capture this control point, often without ever firing a shot. The flag is positioned in a small plaza flanked by several small buildings. The crates next to the flag offer adequate cover for infantry, but attackers should always watch for defenders posted in the buildings or on rooftops nearby. This control point is easiest for vehicles to access from the south or west. But in a pinch, vehicles can also traverse the wide staircase to the north—it’s easier to drive down the stairs than it is to drive up them. Although the control point produces no vehicles for either team, it’s still a location worth holding onto, so make sure at least one squad stays behind to guard it.
B: Market
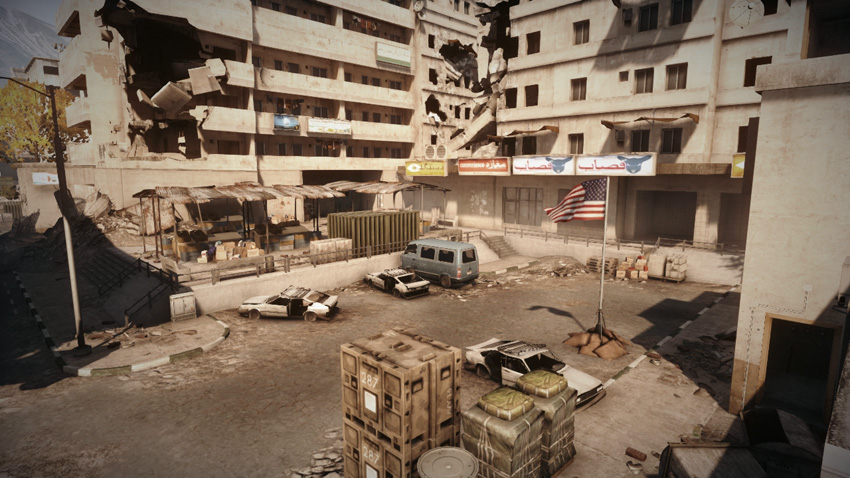
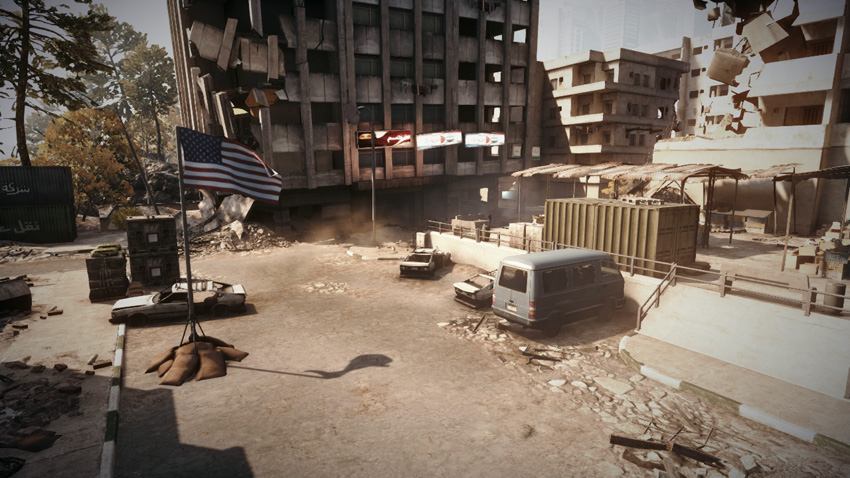
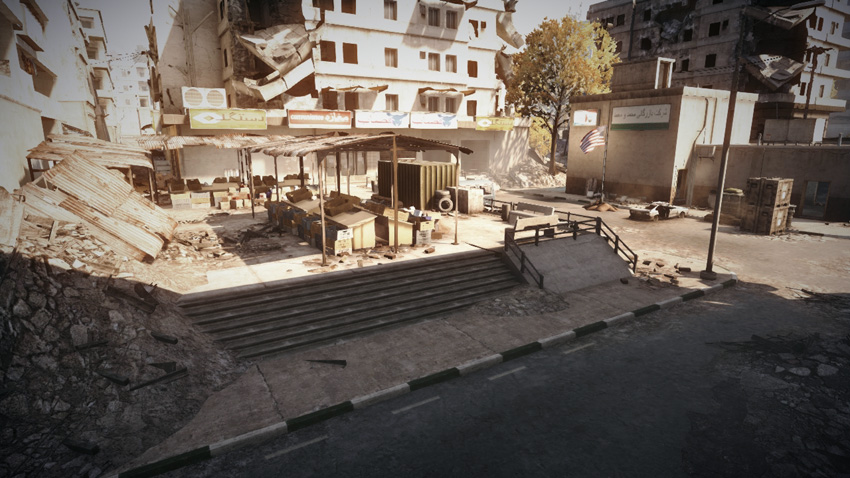
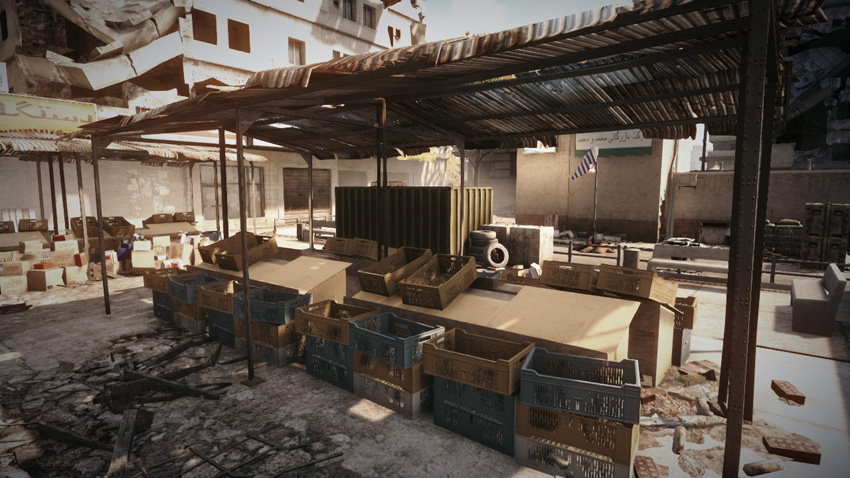
The Market (B) is located just south of the City Entrance (A) and directly east of the Downtown (C), so it’s a key piece of the control point triangle on the city’s north side. Like the City Entrance (A), the control point produces no vehicles for either team. But that shouldn’t deter either team from attempting to capture and hold this location. The flag is located in a small parking lot on the east side of an abandoned outdoor market. With the exception of a few damaged cars, there isn’t much cover for infantry within the flag’s capture radius. While infantry can approach the flag from any direction, vehicles can only enter the parking lot from the south—defending engineers should place mines at the parking lot’s entrance. Since there aren’t too many hiding spots near the flag, defenders should watch this area from the periphery, and take up positions in the building to the east or among the market stalls to the west. If the opposing team holds the Outpost (D), expect a constant flow of attacks from the south. Opponents spawning at the Outpost (D) have access to a tank, so engineers may be necessary when defending this flag.
C: Downtown
Control Point Assets
| US Control | RU Control | Respawn Time |
|---|---|---|
| Phoenix (1) | Barsuk (1) | 50 sec. |
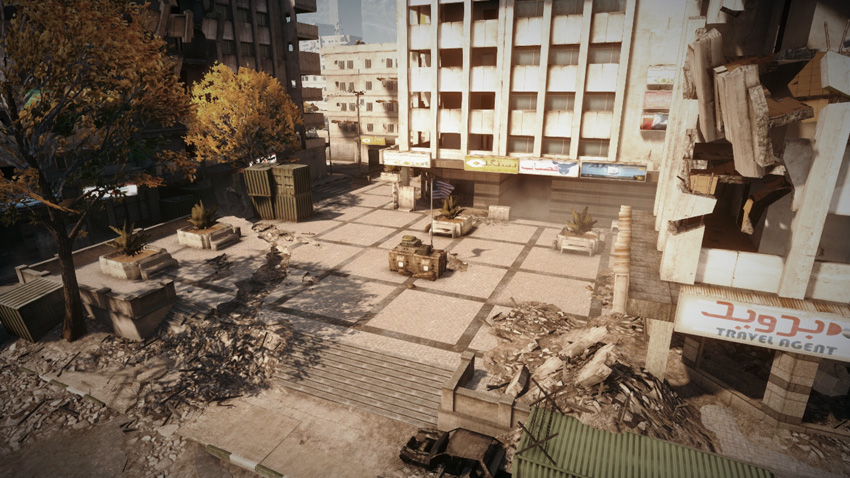
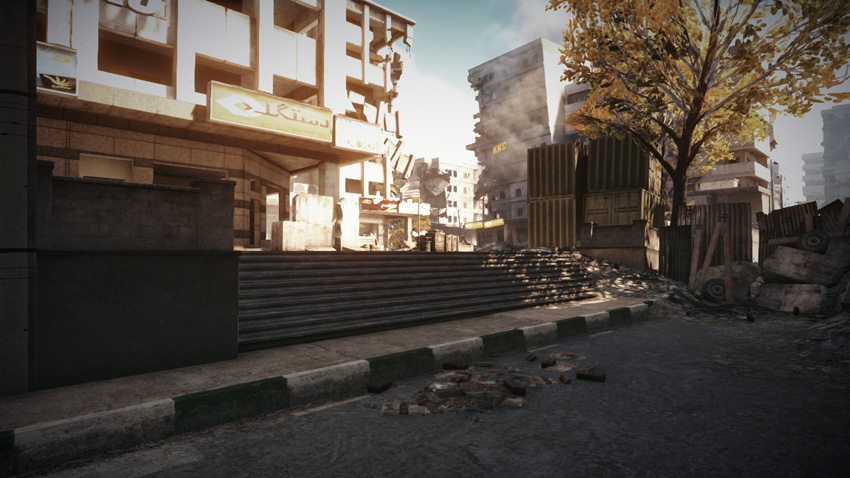
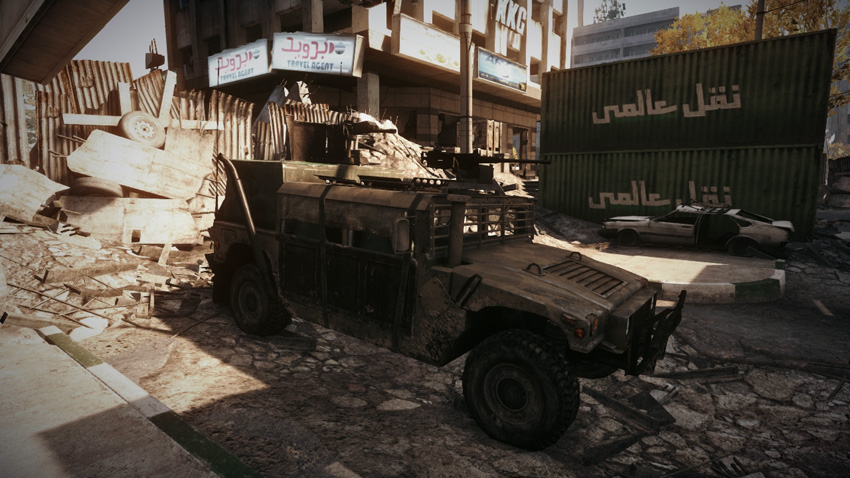
The Downtown (C) control point is one of the most contested locations on the north side of the city. This area of the map serves as a bridge linking the north side of the city to the Palace in the south. So expect heavy traffic (and fighting) in the area between the Downtown (C) and Senate (E). The US should rush this location at the outset of the match and reinforce it with their M1 Abrams. Once captured, the control point is relatively easy to defend thanks to the exposed flag, which stands in the middle of a large plaza. A few crates and planters serve as the only cover within the flag’s capture radius, which encompasses most of the plaza. So if you’re on foot, take cover behind one of these objects and drop prone. Given the exposed nature of the flag, its often safer to capture this control point from within the confines of an armored vehicle—the steps on the south and east sides of the plaza can be traversed by vehicles. However, defenders posted in the abandoned storefronts on the west and north sides of the plaza have a clear view of the flag, and they can engage attackers from the buildings’ dark interiors. So before racing to the flag, make an effort to secure the perimeter. Otherwise you’re likely to get caught in an ambush. The control point produces a light vehicle for both teams; they spawning in the barricaded street to the west.
D: Outpost
Control Point Assets
| US Control | RU Control | Respawn Time |
|---|---|---|
| M1 Abrams (1) | T-90A (1) | 50 sec. |
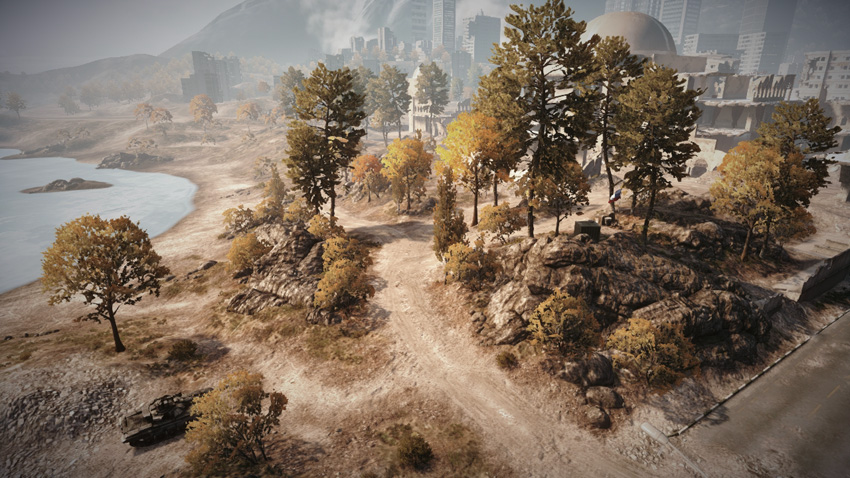
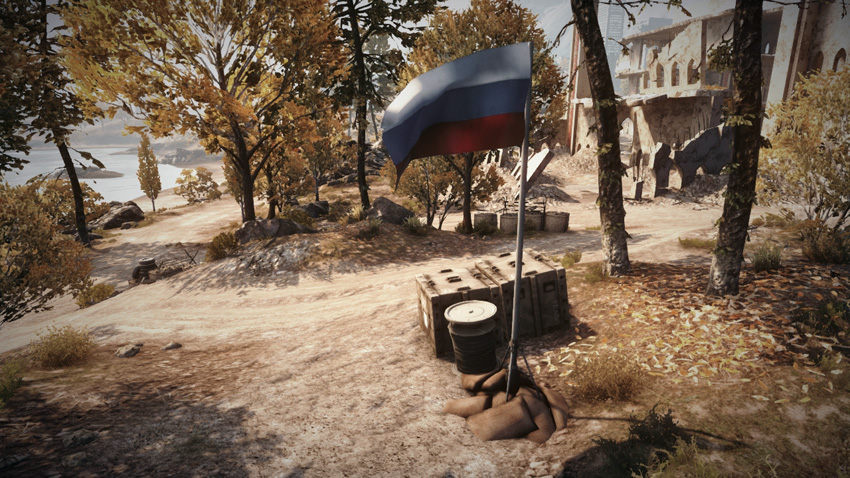
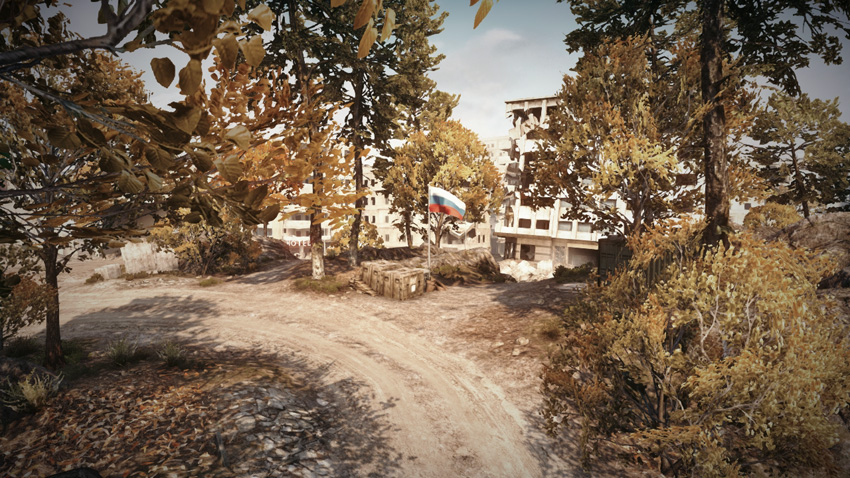
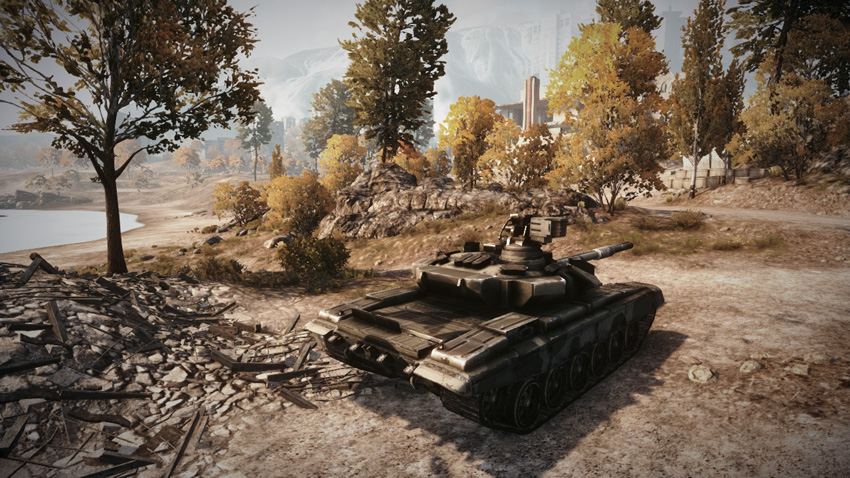
The Outpost (D) is a rocky hilltop control point located directly east of Azadi Palace. Surrounded by tall trees and adjacent to a serene lake, this undeveloped area offers a nice change of scenery, free of rubble and destruction. But the great view isn’t the only reason to secure this flag. The Outpost (D) is the only control point that produces an extra tank for each team. In a close match, gaining access to another tank can make a huge difference. So both teams should make an effort to capture and hold this location. The flag is positioned atop a rocky hill that is easily accessed by vehicles traveling along the dirt road on the south side. Although rocky, the north face of the hill features a narrow trail that infantry can climb to reach the top of the hill. The trees and a few crates clustered around the flagpole offer decent cover and concealment for infantry gathered within the flag’s capture radius. The hilltop’s elevation also makes it easy for defenders to spot incoming attacks, whether approaching from the Palace or the Market (B) to the north. If the opposing team holds the Market (B), consider taking up positions along the street to the north and ambushing the attackers as they scramble up the rocky north side of the hill.
E: Senate
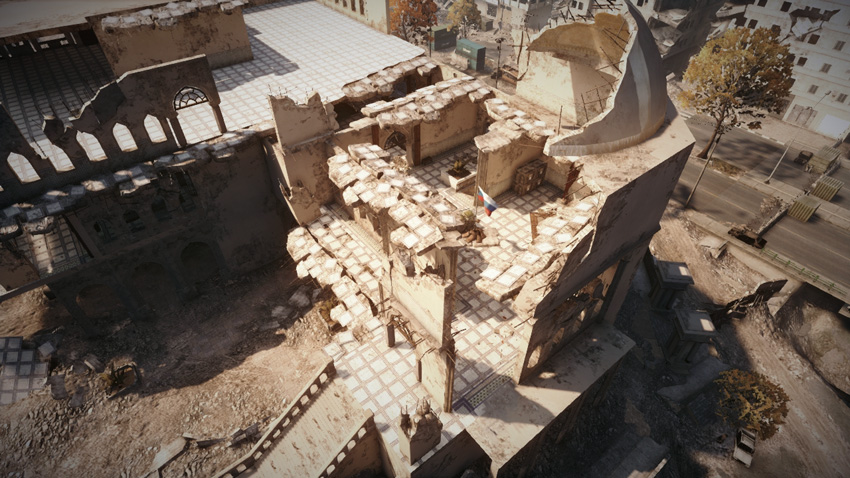
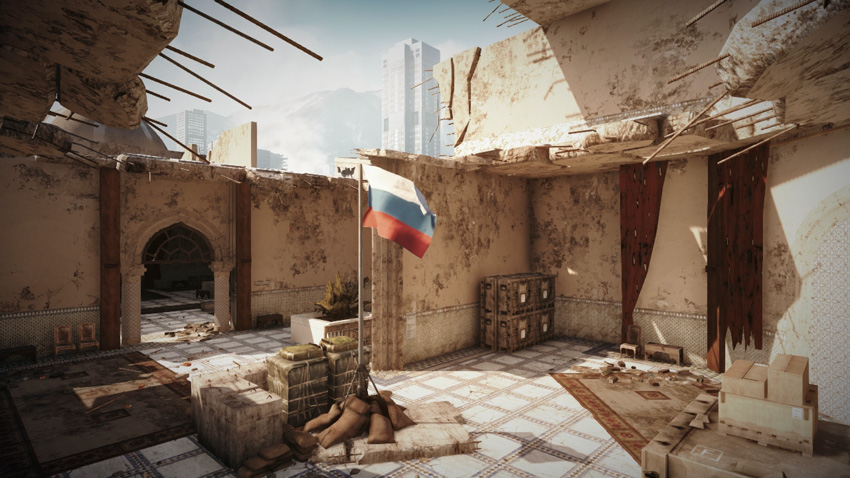
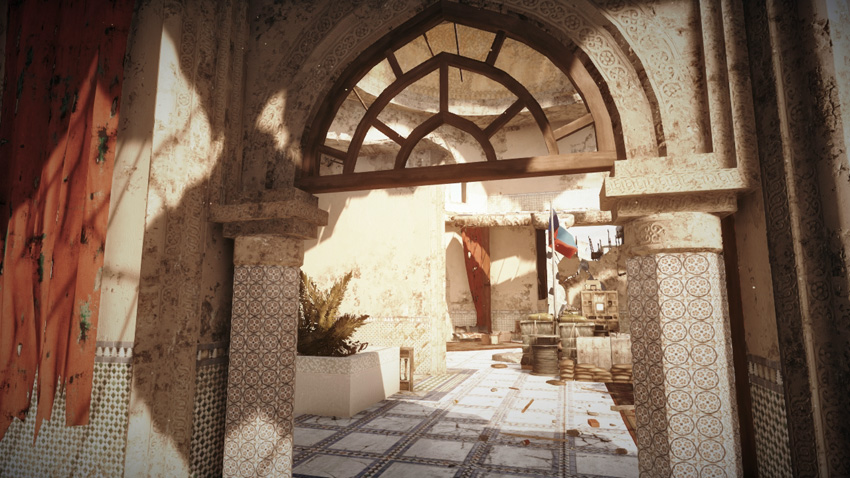
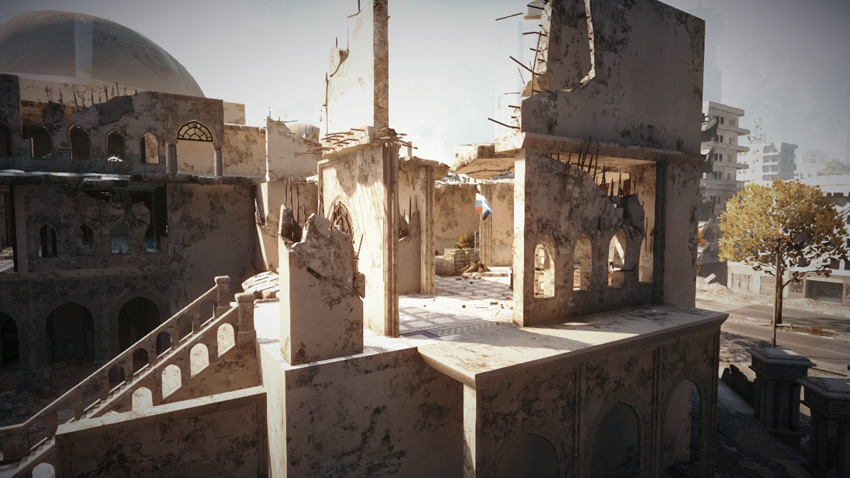
This control point is located in the moderately damaged north wing of Azadi Palace, on the second floor. What was once an ornate room frequented by politicians (and most recently tourists) has been transformed into a military outpost. The flag is positioned in the center of this small room. Therefore, expect most fighting here to take place at close range—PDWs and shotguns are well suited for these point-blank engagements. This room can only be accessed through three points: the large exterior staircase to the east, the narrow interior staircase to the south, and the arched doorway to the south. It's possible for light vehicles like the Phoenix, Barsuk, and Rhino to climb the exterior staircase to gain entry into this room. Tanks can climb the ramp on the east side of the palace, near the restaurant, and fire through the arched doorway. But the doorway is too narrow for a tank to fit in the room. While vehicle attacks are uncommon here, they're a possibility all defenders should prepare for. Once the flag is captured, one squad can adequately cover all three entry points, assisted by a T-UGS motion sensor and Claymores. When attacking here, avoid the staircases and advance from the restaurant to the south, also on the second floor. Attacking through the arched doorway on the south side of the flag is much safer than trudging up the stairs. Toss grenades and fire rockets through the doorway to soften-up any defenders near the flag before entering the room.
F: Main Floor
Control Point Assets
| US Control | RU Control | Respawn Time |
|---|---|---|
| Phoenix (1) | Barsuk (1) | 50 sec. |
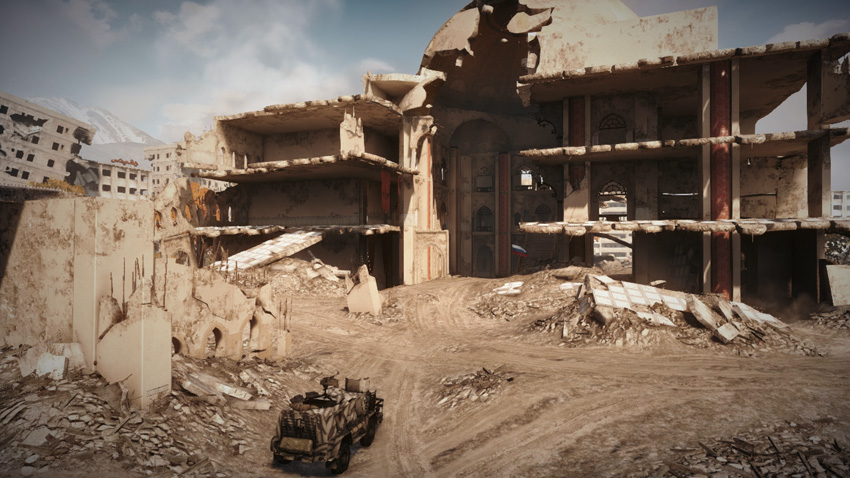
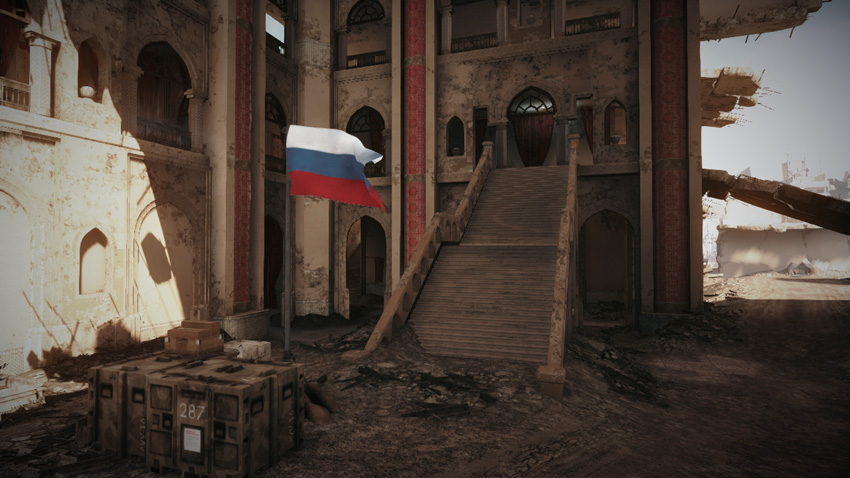
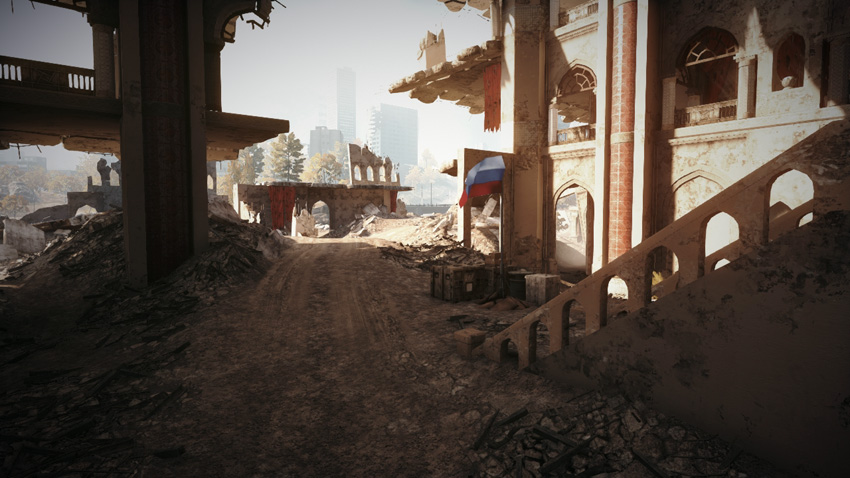
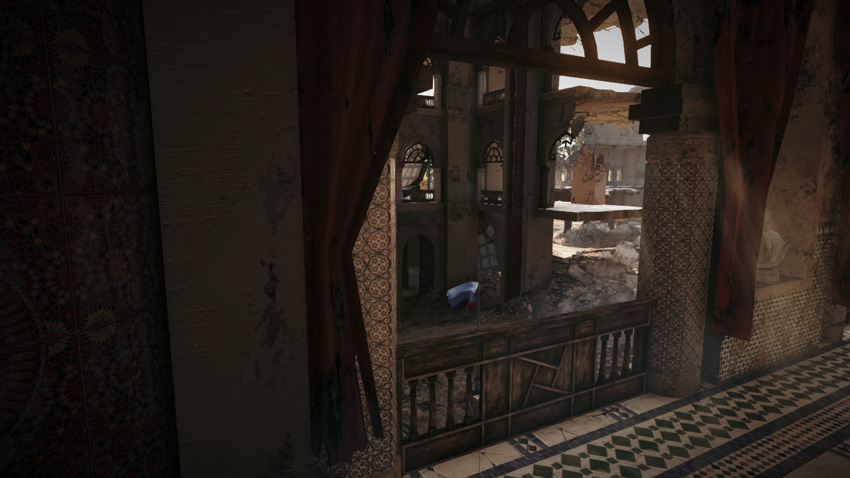
This is another control point located within Azadi Palace, on the south side of the map. Before the earthquake, this lavish foyer and its impressive domed roof greeted guests and dignitaries from around the world. But now the southern wall of the Palace has collapsed, leaving the Main Floor (F) exposed to the elements. The flag stands at the base of a large staircase leading to the second-floor promenade. With the exception of a few crates, there isn’t much cover near the flag, so attackers are largely exposed while gathered within the capture radius. So consider capturing this flag from within a vehicle. A narrow dirt road cuts through the middle of the foyer, connecting the south and east sides of the palace. But even vehicles run the risk of getting ambushed here by defenders posted on the second floor. The second-floor walkway to the west of the flag is a popular overwatch position for defenders. The piles of rubble and perimeter arched doorways on the ground floor also offer plenty of sneaky spots for defenders to hide. So before approaching the flag, it’s wise to secure the second floor. Although this control point is closest to the RU Base, the Main Floor (F) produces light vehicles for both teams; they spawn outside the Palace to the south.
G: Construction Site
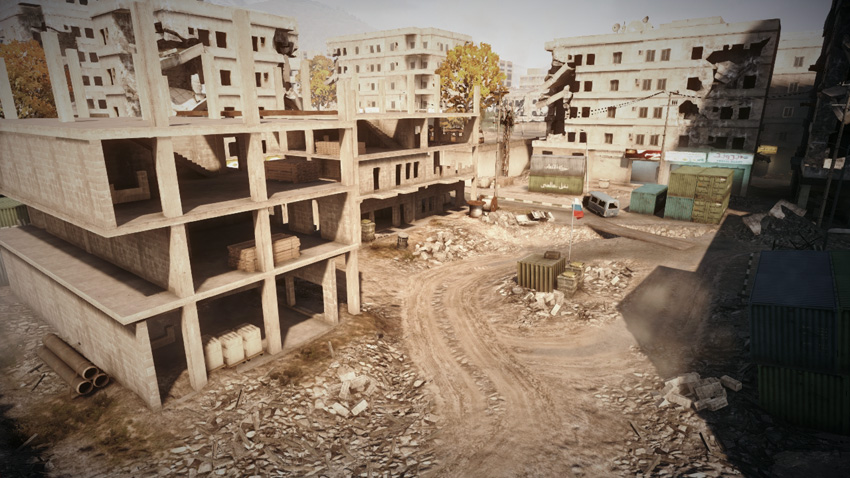
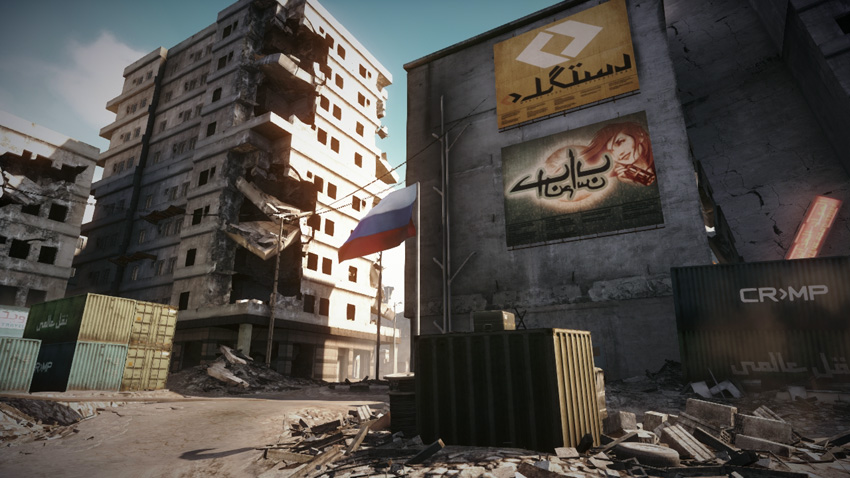
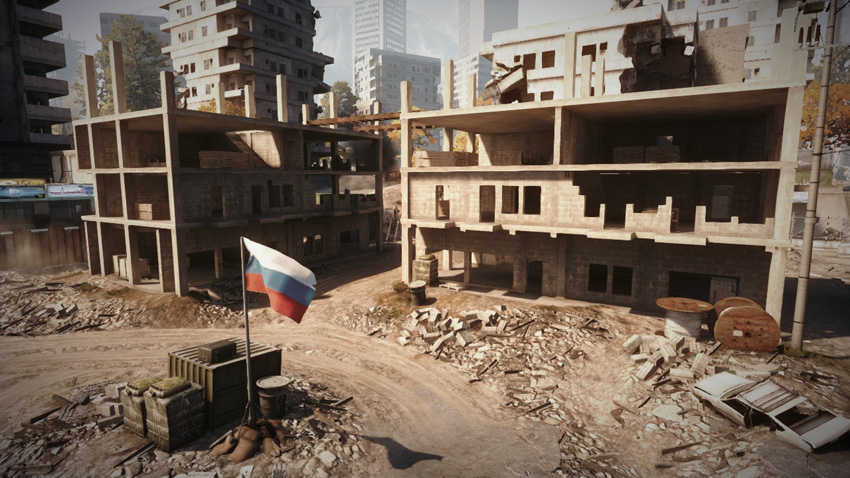
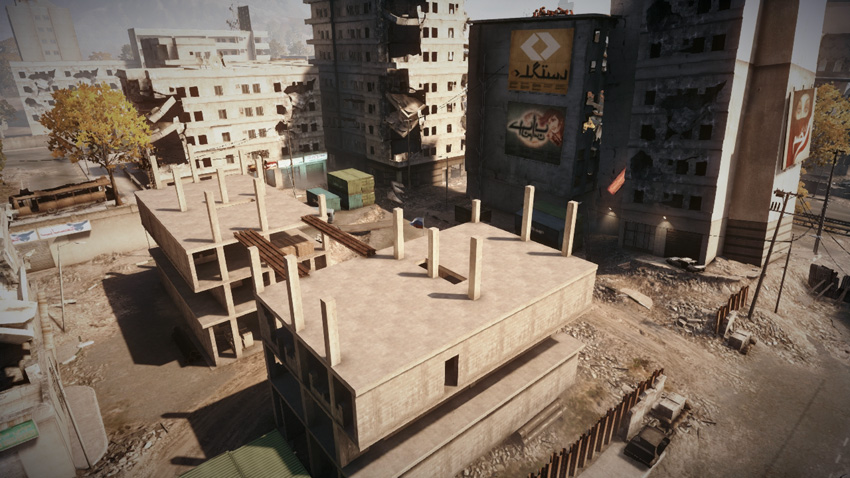
The Construction Site (G) is located in a residential area of the city directly west of the Palace. Because it is situated only a few meters from the RU Base, the RU team stands the best chance of capturing and controlling this location throughout the match. But given it’s somewhat isolated position on the western side of the map, this control point is rarely defended, so US troops have the chance to sneak in and convert the flag without facing stiff resistance. However, the US team shouldn’t expend many resources on holding this position for any significant amount of time. The Construction Site (G) produces no vehicles for either team, and given this control point’s proximity to the RU Base, it’s only a matter of time before the RU team strikes back with their tank and IFV. So, for the US team, it’s best to capture the flag and move on to another control point. However, if the US team has managed to capture all seven flags, forming a defensive line at the Construction Site (G) can be an effective way to trap the RU team at their base. The two partially constructed buildings west of the flag have fared much better than the surrounding structures, and infantry can access all three floors. With so many elevated overwatch positions within these two buildings, the flag is safest to capture from within a tank or IFV. Still, troops on the ground can find some cover within the capture radius by ducking down behind the crates next to the flag.
Rush
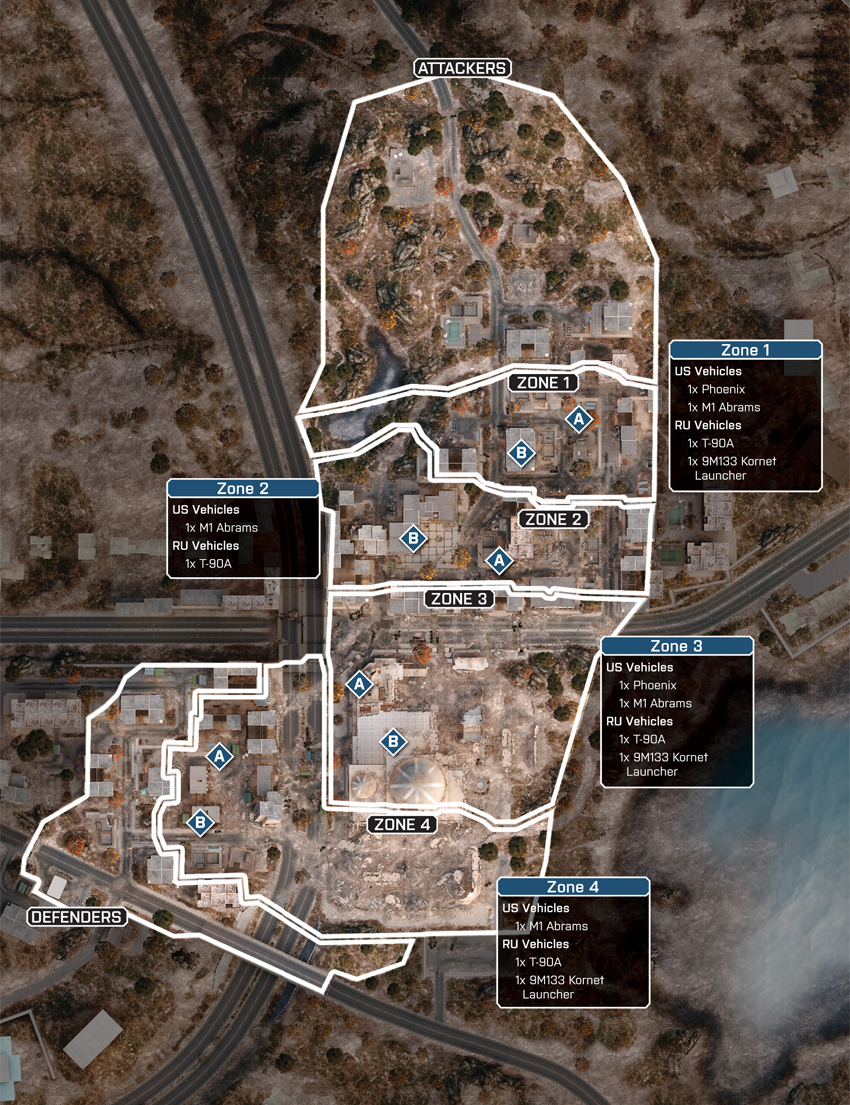
This sprawling Rush battle tests the urban combat tactics and skills of both teams as they fight for control Azadi Palace and the surrounding neighborhoods. The battle is spread across four zones, starting at the City Entrance before progressing to the Downtown, the Azadi Palace, and the Construction Site. Throughout the course of the battle each team maintains access to one tank. In most cases, these tanks cancel each other out, leaving it up to the infantry to do the heavy lifting. But a good tank crew supported by Repair Tool-toting engineers can make a big difference in this battle. So never write off the effectiveness of these powerful vehicles when it comes to holding or taking ground. Field a few of engineers to repair your team’s tank and assist in taking out the opposing team’s tank by firing rockets and placing mines. Due to the cut-up nature of the damaged city, infantry combat takes place at various ranges, depending on the zone. The versatile carbines and assault rifles are ideal for engaging threats at any range. But when the battle shifts to Azadi Palace’s interior during the third phase, consider switching to a PDW or shotgun.
Zone 1: City Entrance
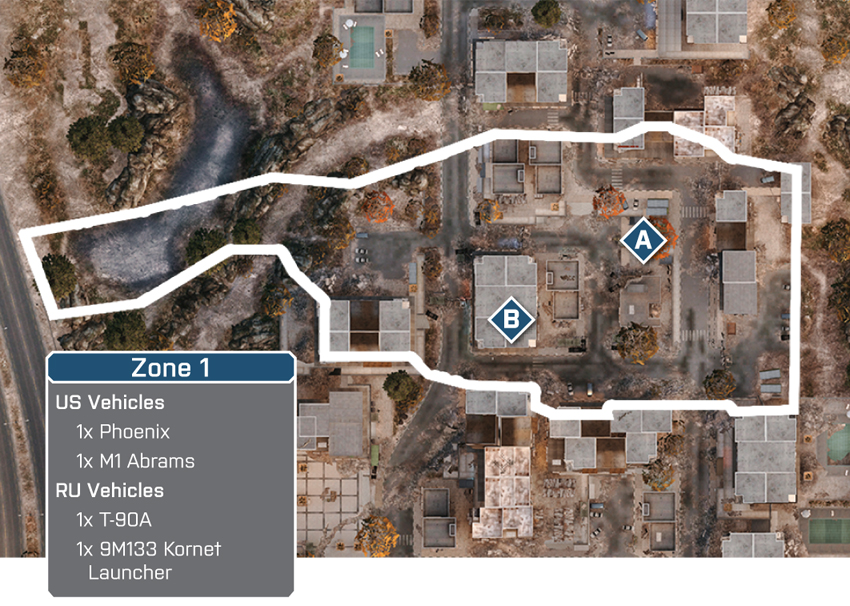
US Deployment
| Name | Phoenix | M1 Abrams |
|---|---|---|
| Quantity | 1 | 1 |
| Respawn Time | 30 sec. | 30 sec. |
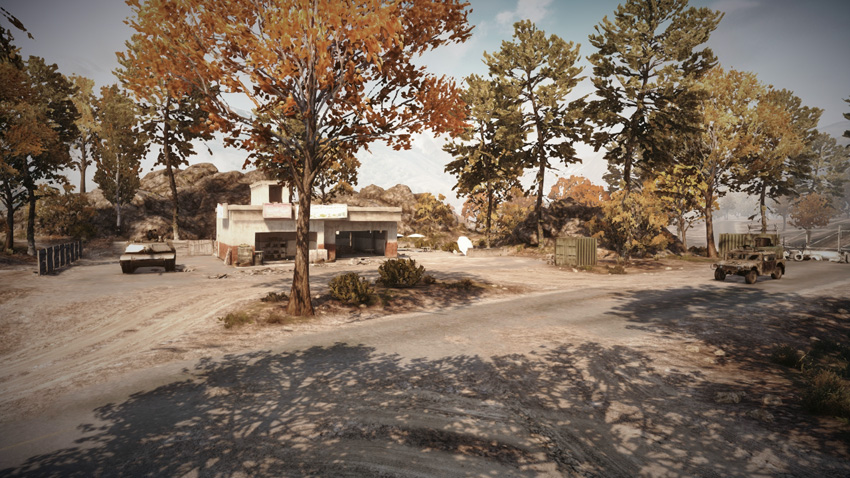
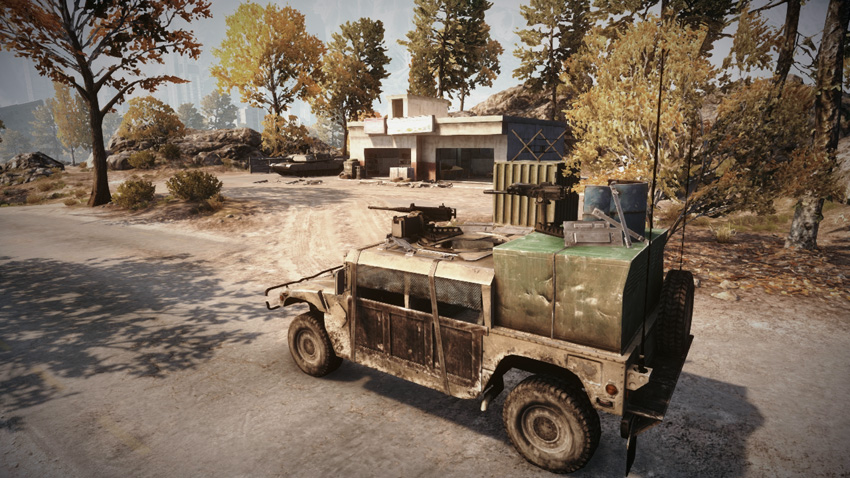
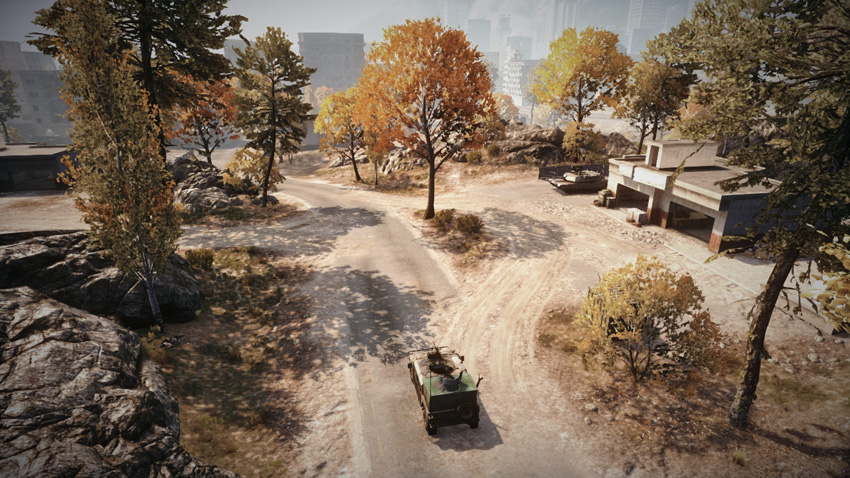
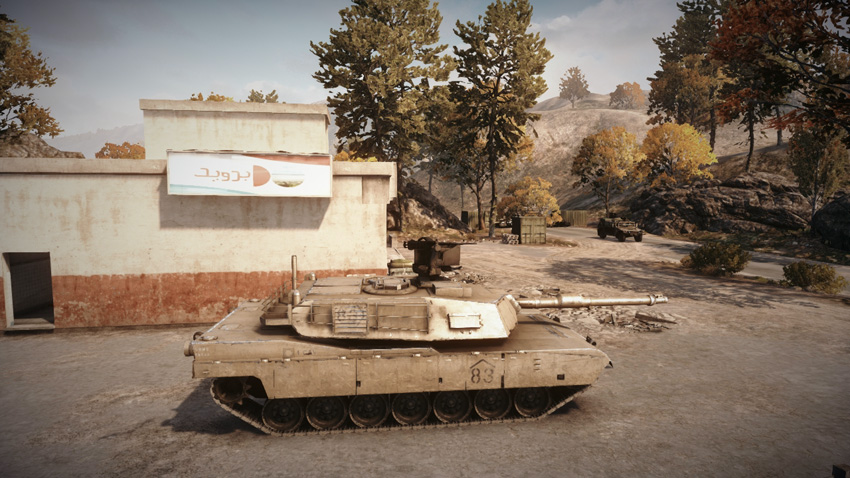
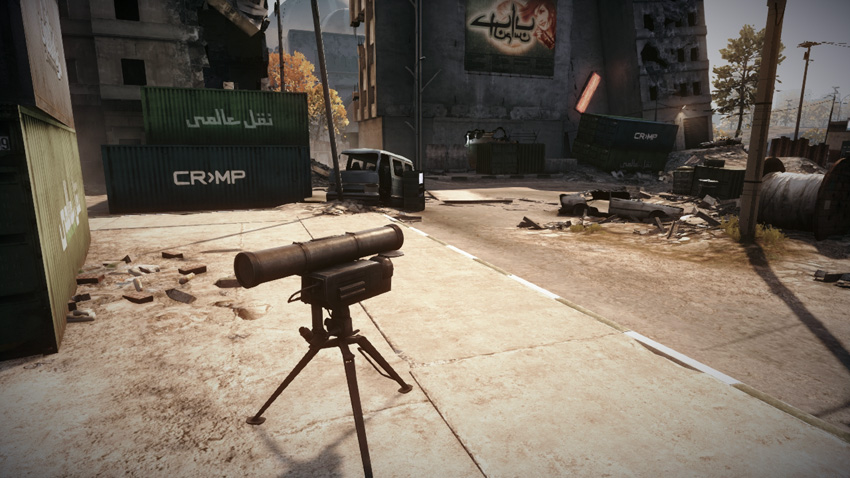
At the start of the battle the US team deploys on the north side of the city, along with a Phoenix and M1 Abrams. The distance between this deployment area and the objectives makes it tough for the US team to rush the M-COM stations at the start of the match. The Phoenix stands the best chance of swiftly transporting a few troops into the city. Consider using this vehicle to transport troops to M-COM Station B and attacking through the building from the west. But the majority of the team must attack the objective at the City Entrance on foot. Make an effort to occupy the buildings on the north and east sides of the plaza where M-COM Station A is positioned. Place Radio Beacons in these buildings to maintain a spawn point close to the objectives. The priority of the M1 Abrams is to counter the RU team’s T-90A. A few engineers can assist in this task. But when the M1 Abrams isn’t busy dueling the T-90A, use it to overwhelm defenders around M-COM Station A. Just watch out for the Kornet launcher directly south of the City Entrance.
RU Deployment
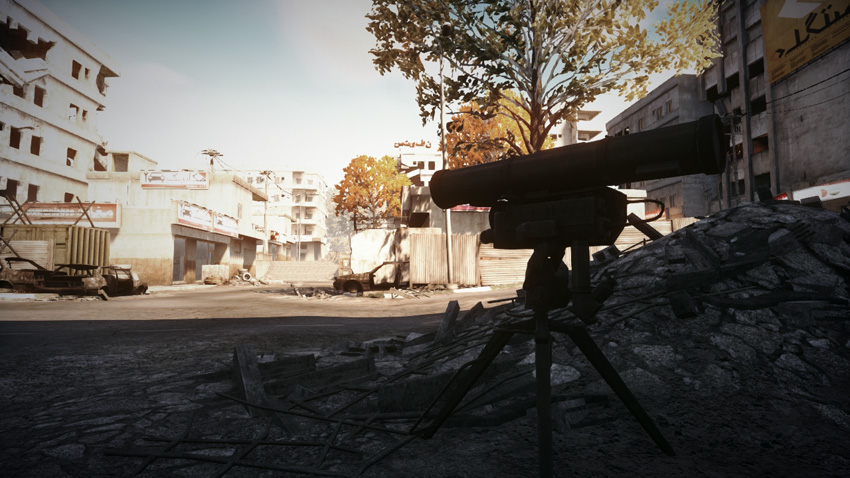
Deployment Area Assets
| Name | T-90A | 9M133 Kornet Launcher |
|---|---|---|
| Quantity | 1 | 1 |
| Respawn Time | 50 sec. | 10 sec. |
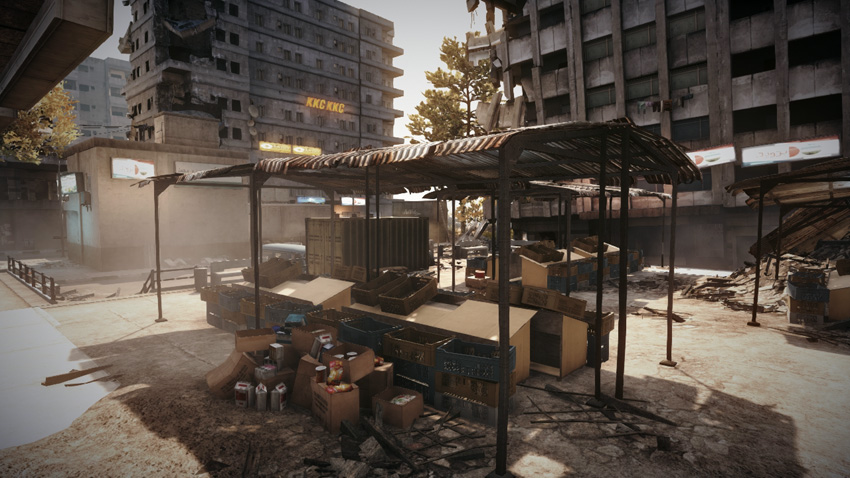
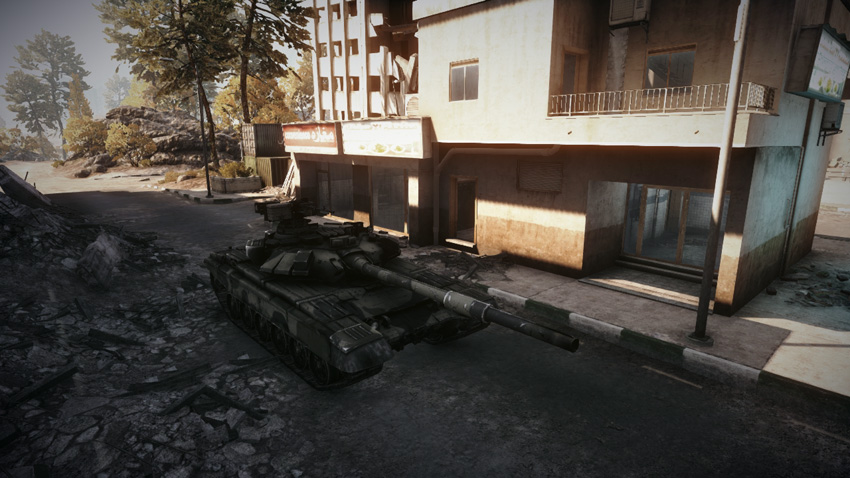
Unlike most initial phases during Rush matches, the RU defenders have a good chance of securing both objectives before the US attackers arrive. Deploying from the nearby Market to the south defenders spawning here still need to sprint north to establish their defenses. Rush to secure the buildings on the north side of the City Entrance and engage the attackers as they trickle into the city—the goal is to prevent the US team from gaining a solid foothold within the city. It’s a good idea to utilize squad spawning and Radio Beacons to maintain a presence close to the objectives. Meanwhile, get the T-90A into the action by positioning it along the road west of M-COM Station B. From here, the T-90A can ambush the US team’s M1 Abrams and Phoenix as they race into the city from the north. But make sure the T-90A is supported by a dedicated group of engineers ready to perform repairs. While blocking the US team from entering the city is a good strategy, keep at least one squad posted around each objective to counter breakthrough attacks by US infantry.
M-COM Station A
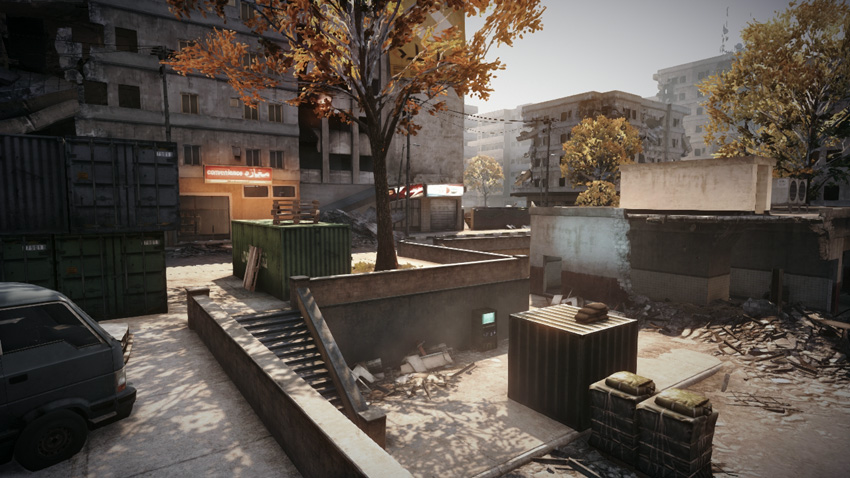
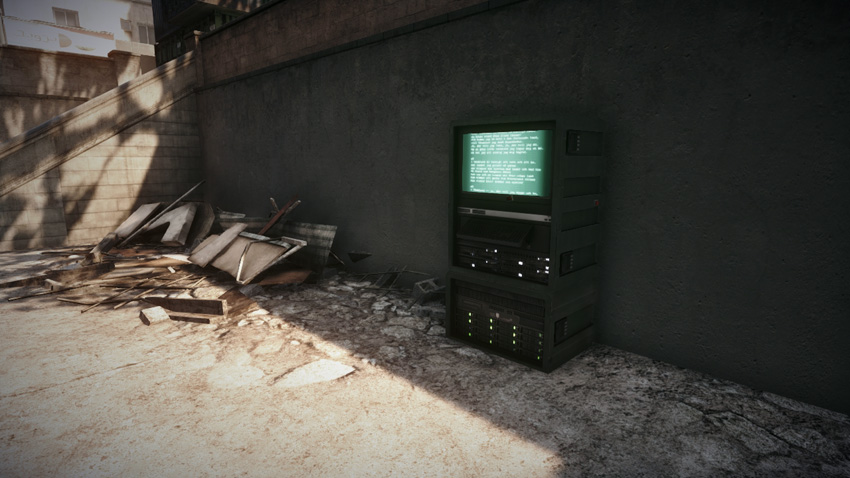
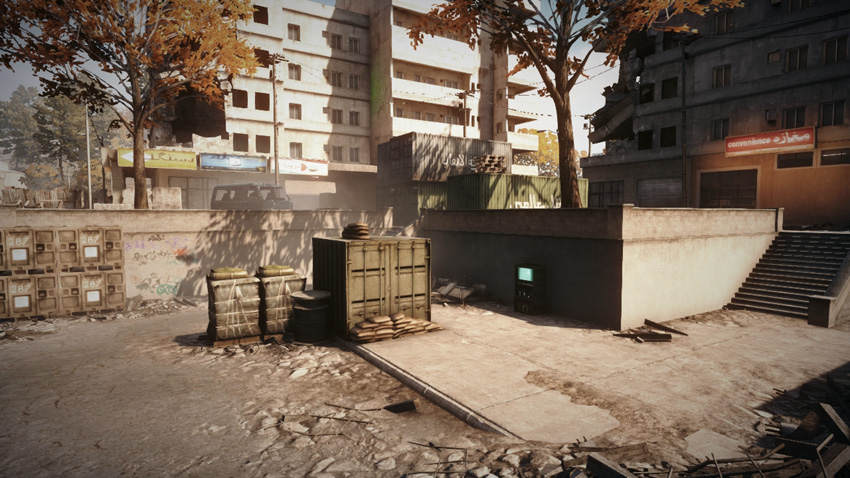
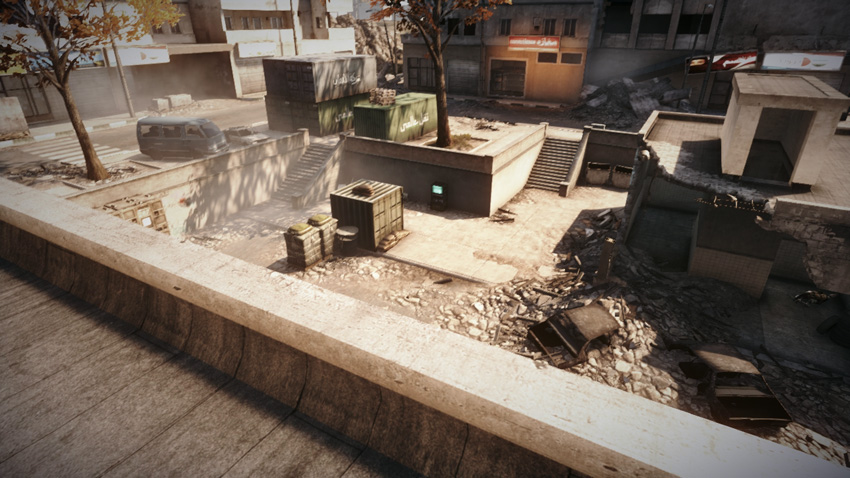
M-COM Station A is located in the small plaza at the City Entrance. Given the exposed nature of this objective, the US attackers must thoroughly secure the surrounding area before attempting to set a charge. The buildings to the south and west are popular overwatch positions for defenders—even the rooftops of these buildings are accessible and give defenders a great vantage point. Vehicles can approach the objective from the streets to the west and south, or from the wide staircase to the north. Defending engineers should consider mining the area around the objective as well as manning the Kornet launcher directly to the south. If infantry attacks fail, the US team may need to rely on their M1 Abrams to overwhelm the defenders here by bombarding the surrounding buildings. At the very least, the M1 Abrams can serve as a deterrent, giving infantry just enough time to rush in and set a charge. Whether arming or disarming a charge here, deploy smoke on the objective for some added concealment amidst the chaos.
M-COM Station B
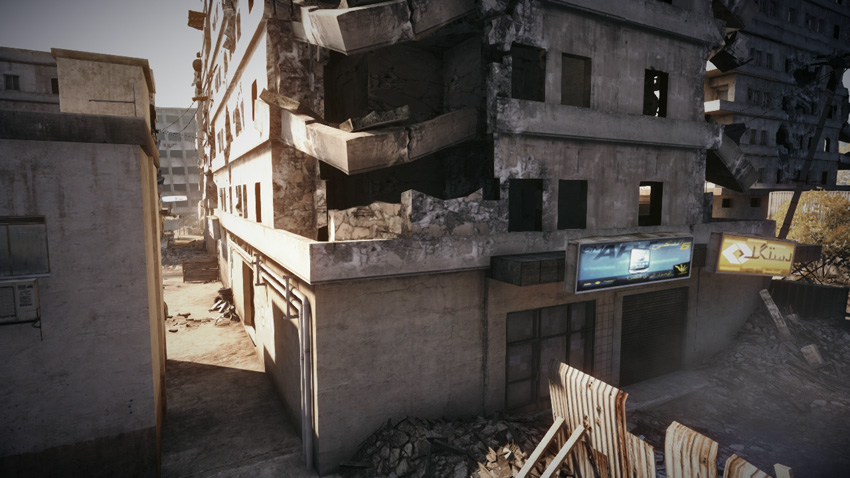
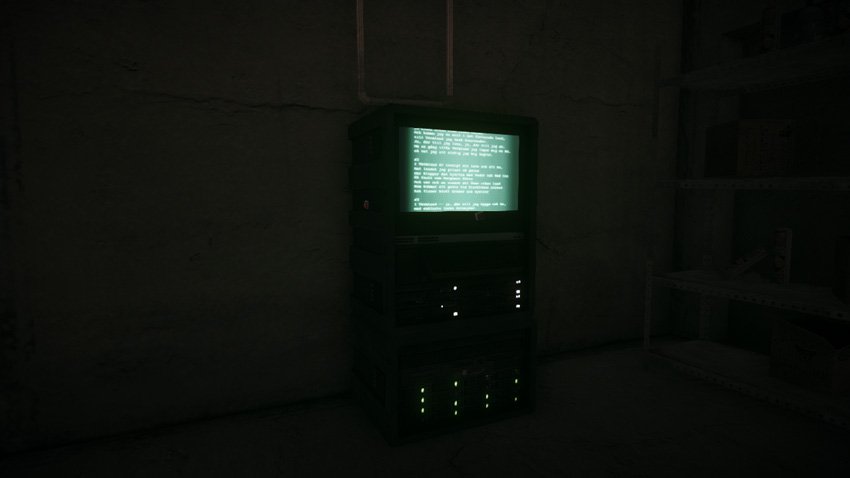
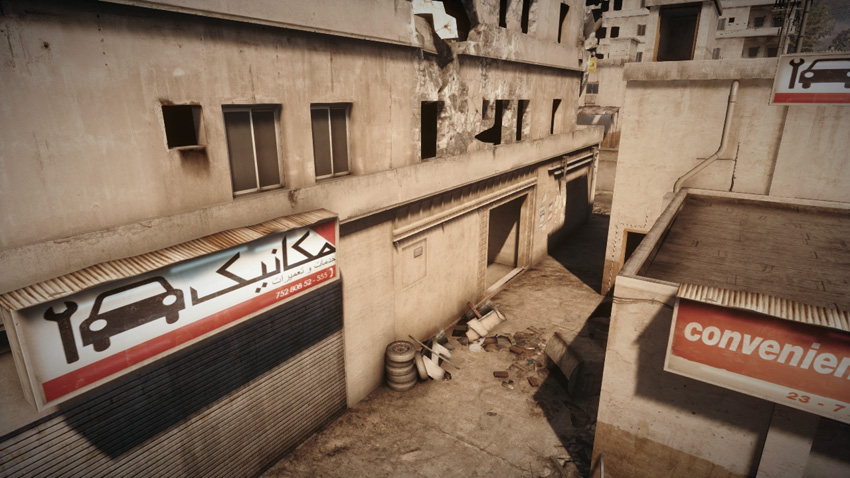
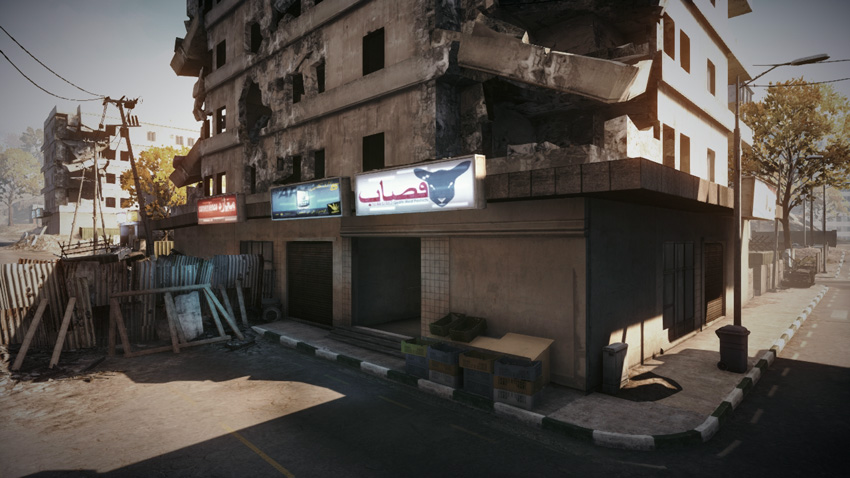
Located on the ground floor of an apartment building to the west of the City Entrance, M-COM Station B is a tough objective to attack and defend, and attempts often lead to heavy casualties for both sides. There are only two entry points into this building: on the east and west sides. For the attackers, the western entrance is the safest route, as it allows infantry to approach the objective from within the building’s interior. However, expect heavy close-quarter fighting while pushing through the narrow corridors and doorways—PDWs, shotguns, and grenades dominate here. The eastern entrance is only accessible through a narrow alley. Attackers should approach from this side only when attempting to encircle the defenders in a pincer maneuver, hitting them simultaneously from the east and west. Like the attackers, the defenders should rely on close-quarter weapons as well as booby traps and T-UGS motion sensors. It’s also important to constantly monitor the western entrance and eastern alley, preventing the attackers from gaining entry.
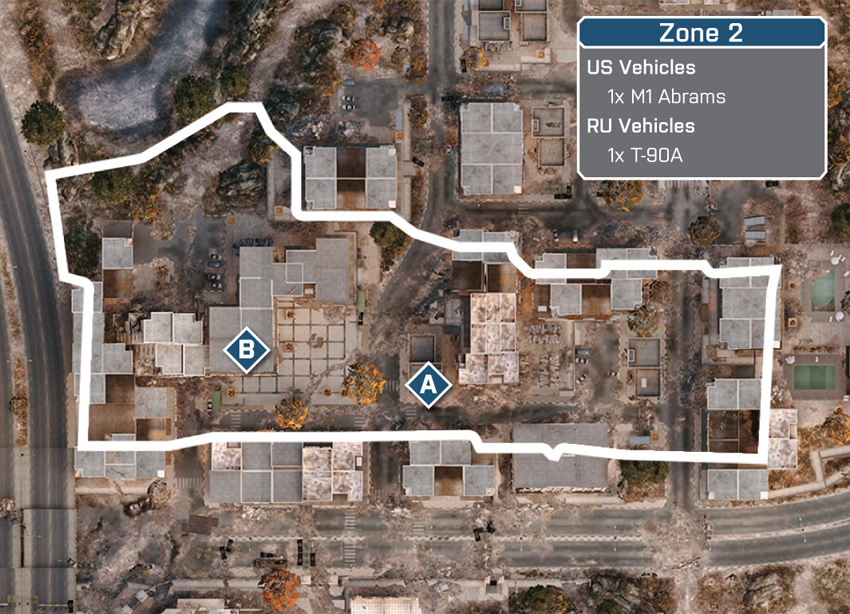
Zone 2: Downtown
US Deployment
Deployment Area Assets
| Name | M1 Abrams |
|---|---|
| Quantity | 1 |
| Respawn Time | 30 sec. |
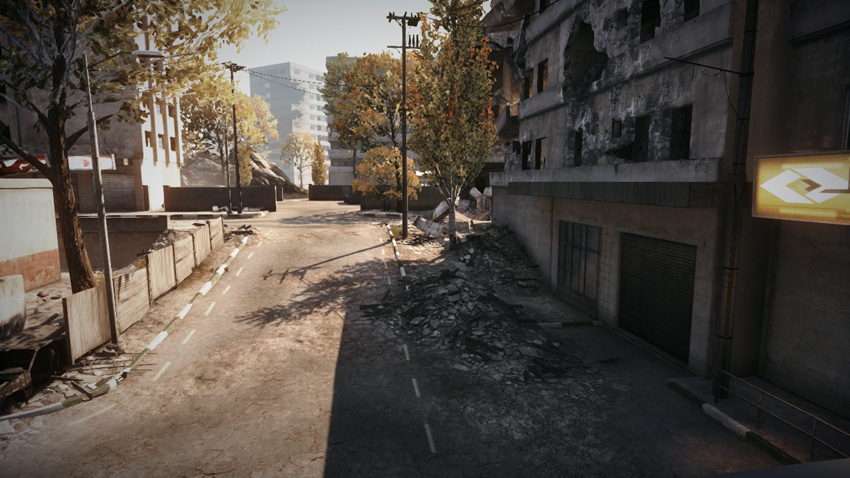
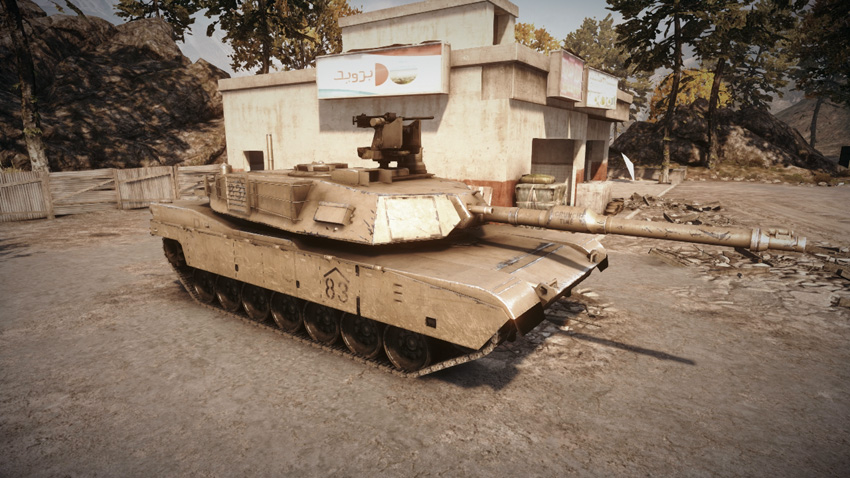
After taking out the first set of objectives, the US deployment area shifts to the City Entrance. While all infantry spawn at the City Entrance, the M1 Abrams still spawns back at the original deployment area to the north. Access this vehicle directly from the spawn screen instead of hiking back to the previous area. The next objectives are located at the Downtown area to the west. Instead of making a beeline for the M-COM station, establish a presence in the Market to south, and deploy Radio Beacons to maintain a spawn point in this area. From the Market, it’s easy to sneak up on M-COM Station A and flank it from the east. Flank attacks are also effective against M-COM Station B. Instead of sprinting across the exposed plaza, sneak in from the west side and secure the surrounding storefronts before attempting to set a charge. While infantry fight for control around both objectives, get the M1 Abrams into the fight by approaching the Downtown from the east—this is a great way to flank the RU team’s T-90A, which is usually posted in the street between the objectives.
RU Deployment
Deployment Area Assets
| Name | T-90A |
|---|---|
| Quantity | 1 |
| Respawn Time | 50 sec. |
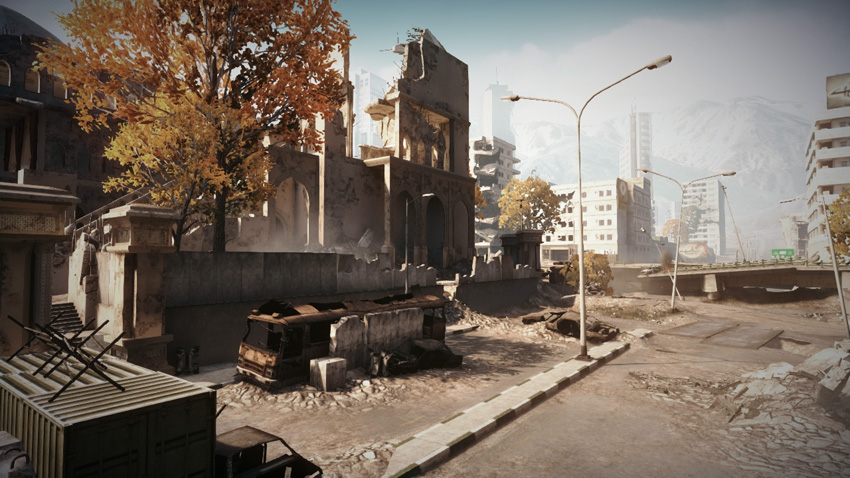
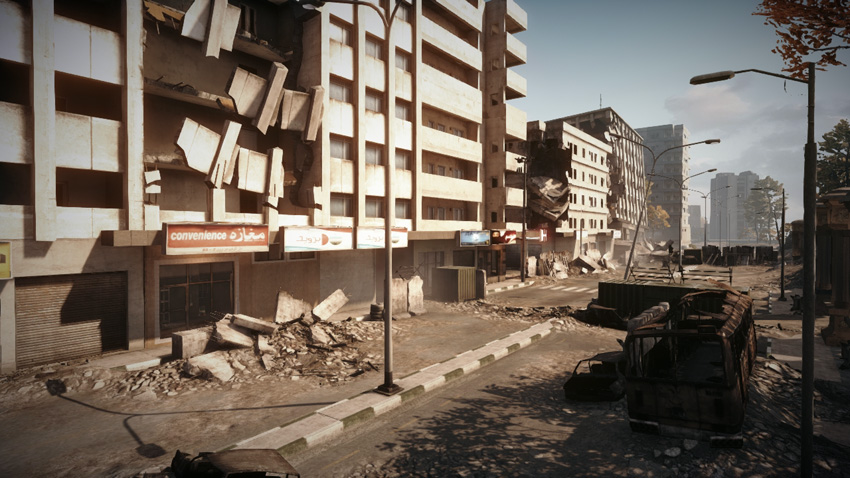
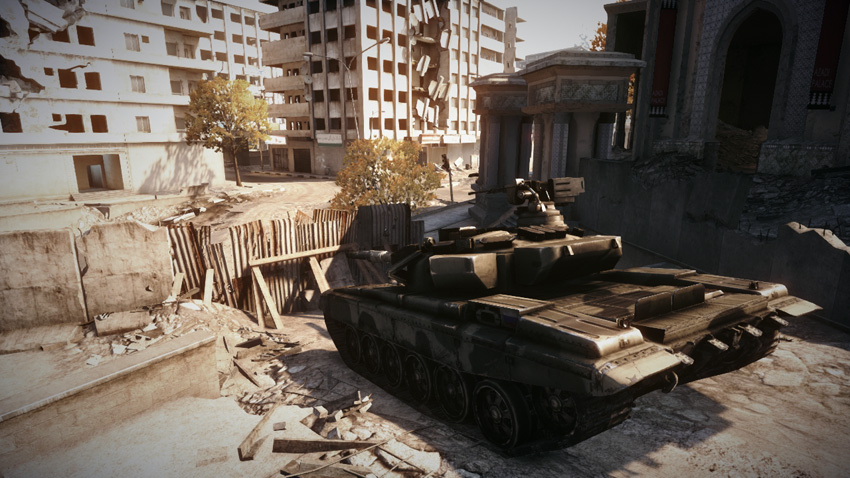
Following the loss of the objectives at the City Entrance, the RU team deploys in the street north of the Palace in preparation for the next phase of the battle. At the start of this phase, the RU team gets a few extra seconds to make their defensive preparations before the US team can enter the Downtown area. Use this time to rush troops to each objective. Given its close proximity to the US deployment area at the City Entrance, M-COM Station A is likely to come under attack first. So move infantry into the surrounding buildings and watch for enemy movement in the Market to the east. Meanwhile, secure the plaza where M-COM Station B is located by occupying the surrounding storefronts. Position the T-90A in the street between the two objectives. From here it can cover the northern approach (most likely traveled by the M1 Abrams) as well as respond to attacks on either objective. Engineers must support the T-90A by performing repairs and attacking the M1 Abrams with rocket launchers and mines. Keeping the T-90A in the fight is the key to holding out for a victory here.
M-COM Station A
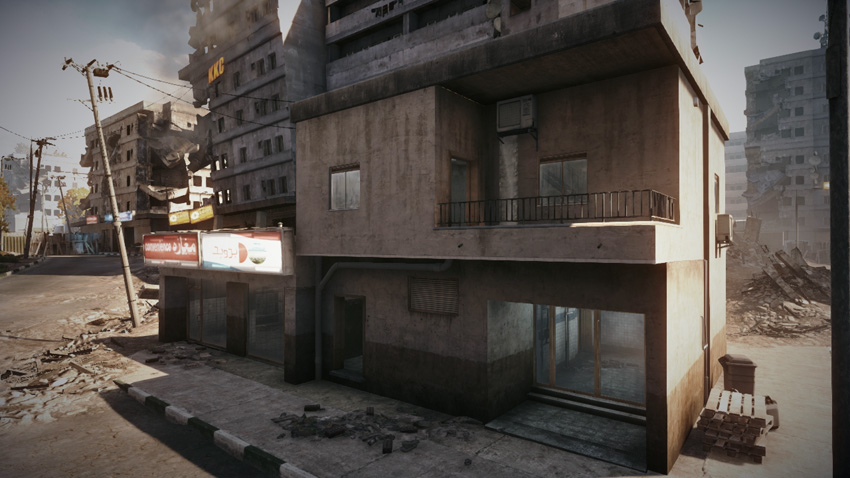
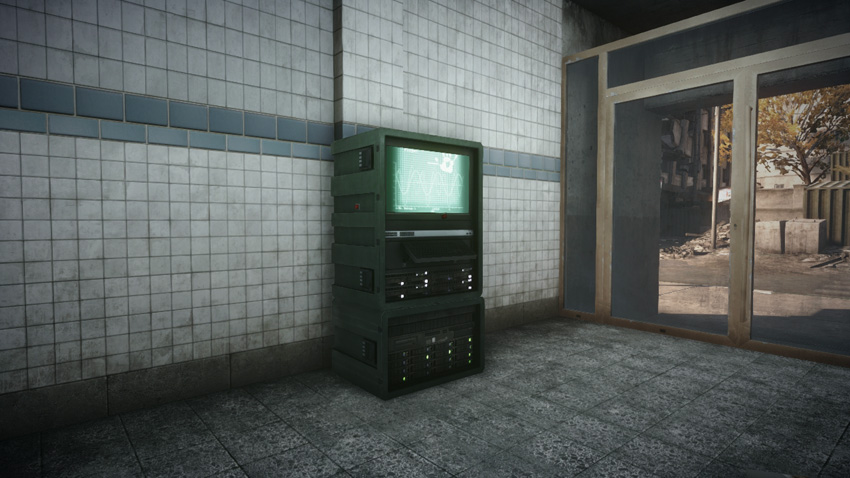
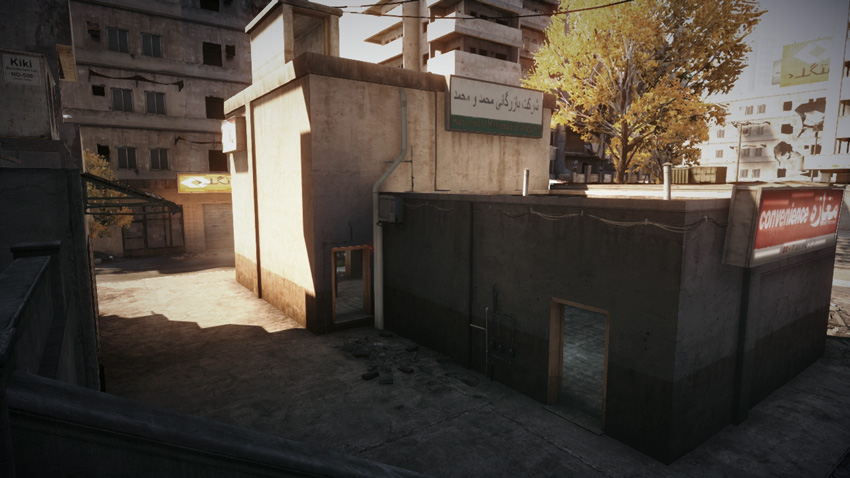
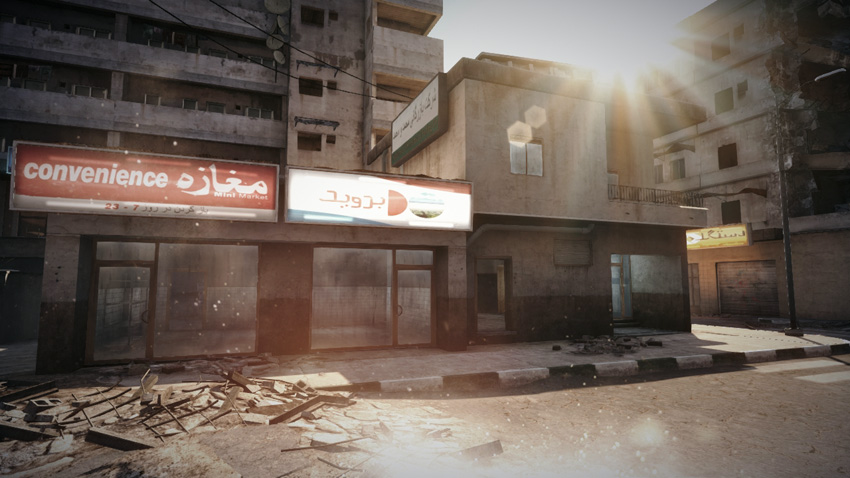
M-COM Station A is housed within the ground floor of a residence across the street from the Downtown plaza. The US attackers are likely to advance against this objective first at the start of this phase, so the RU defenders must act quickly to secure this location. The building can be accessed via doorways on the western and eastern sides. Initially, US troops are likely to approach from the eastern alley, so defending troops should cover this side, perhaps extending patrols into the Market to the east as well. But as the battle progresses, defenders should also watch for opponents approaching from the street on the west side. When arming or disarming this objective, always stay on the east side and use the actual M-COM station for cover. The glass doorway to the west leaves the objective completely exposed to opponents positioned in the plaza across the street.
M-COM Station B
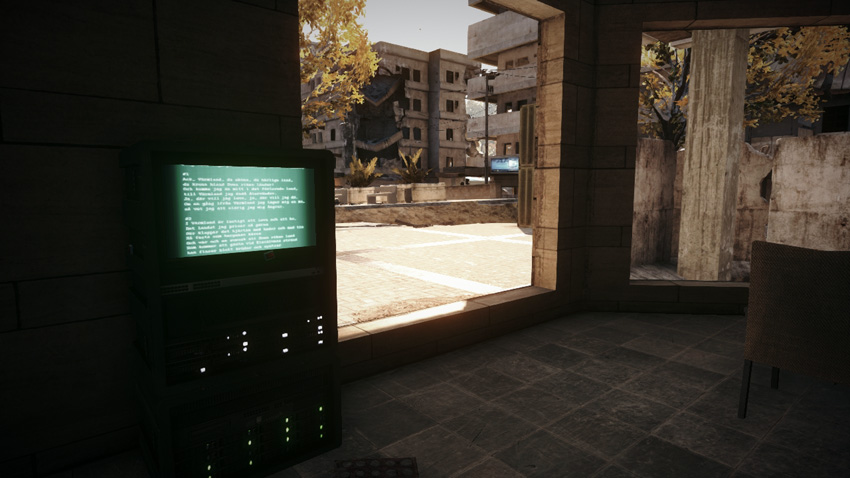
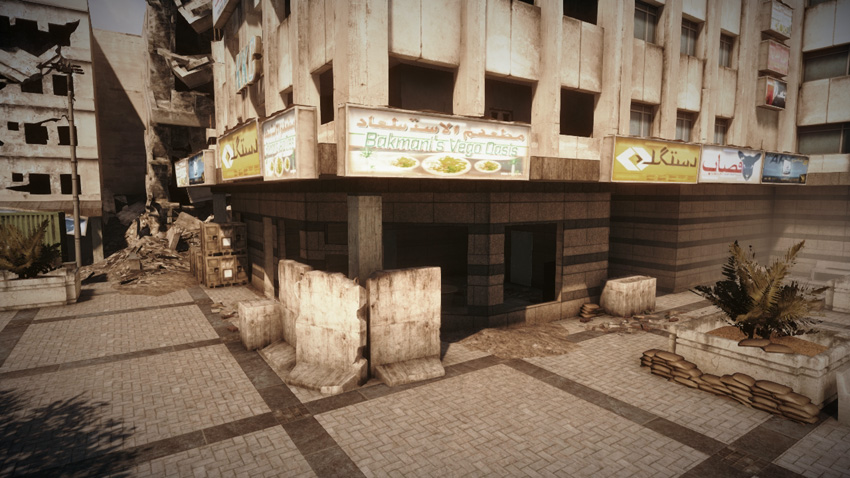
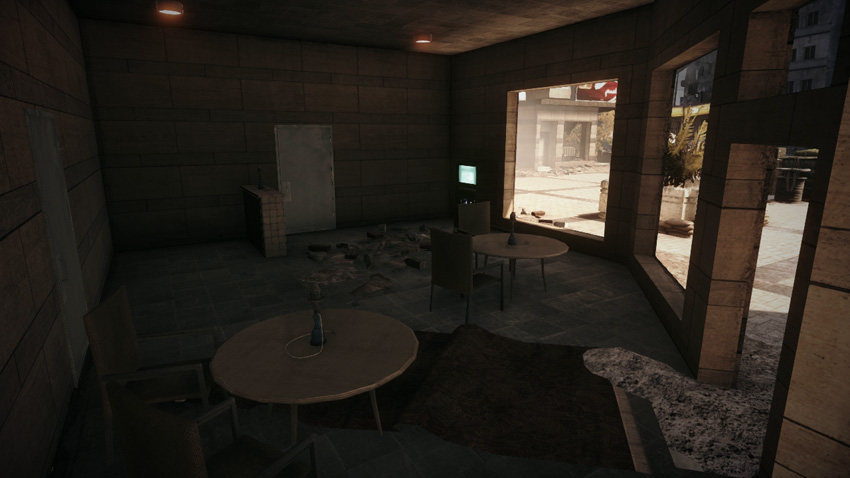
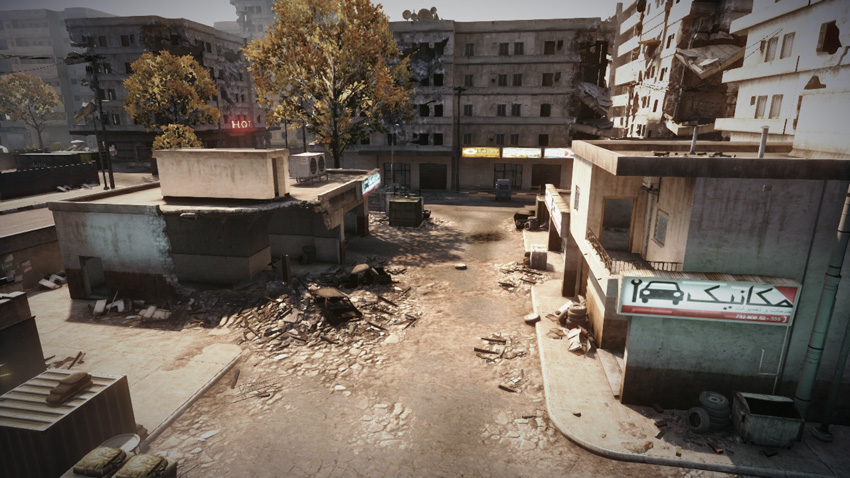
This objective is located inside the small abandoned hookah bar on the west side of the plaza. For the attackers, the biggest danger here is crossing the open plaza from the east. However, the north and west sides of the Downtown area are completely open, and they allow for safer flanking attacks. It’s best to approach from the north side, cutting through the narrow alley adjacent to the hookah bar—always toss a grenade through the window before entering to detonate any booby traps left behind by defenders. While flanking attacks from the north or west aren’t common, defenders should prepare for the possibility—place T-UGS motion sensors in the alley north of the objective to detect enemy movement in this area. Otherwise, M-COM Station B is relatively easy to defend. Position troops in the hookah bar and in the storefront on the north side of the plaza to catch attackers in a deadly crossfire.
Zone 3: Azadi Palace
US Deployment
Deployment Area Assets
| Name | Phoenix | M1 Abrams |
|---|---|---|
| Quantity | 1 | 1 |
| Respawn Time | 30 sec. | 30 sec. |
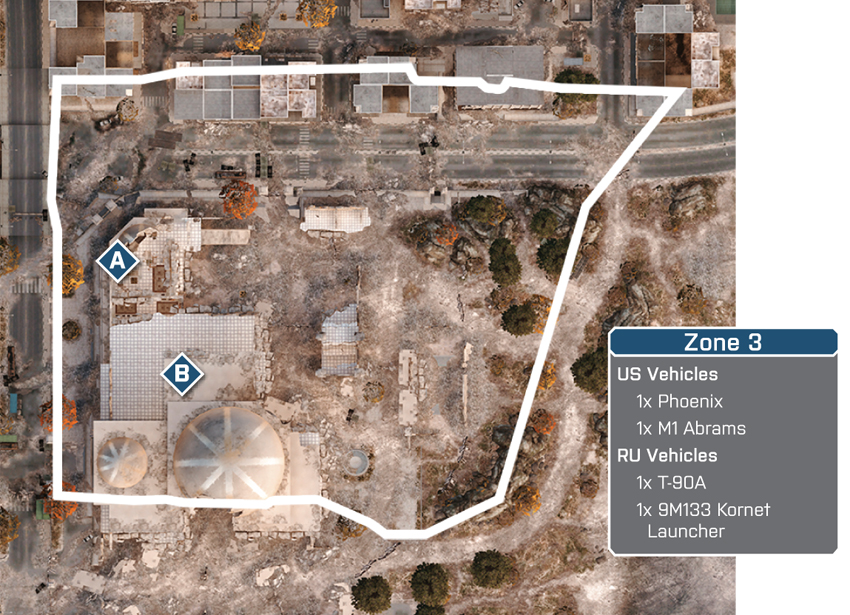
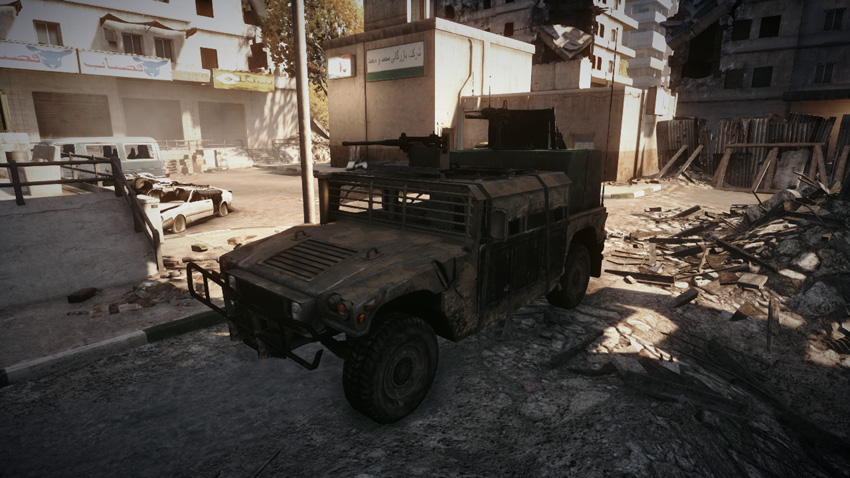
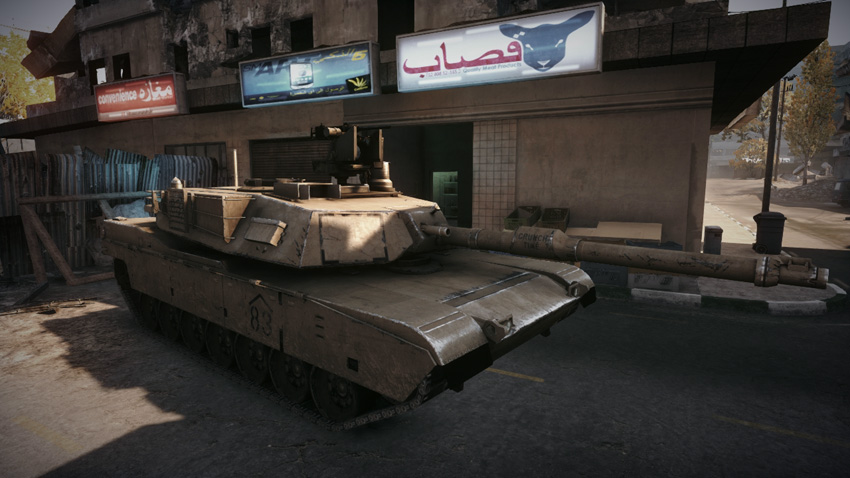
In this phase of the battle, the US team deploys from Downtown in preparation for their assault on the objectives at Azadi Palace to the south. The US team maintains access to an M1 Abrams that spawns in the street to the north, as well as a Phoenix that deploys from the street near the Marker to the east—both vehicles can be accessed directly from the spawn screen. Since both objectives are located on the second floor of the Palace, the vehicles play a limited role during this phase. However, their weapons can come in handy for securing the street on the north side of the Palace allowing troops to cross without getting picked off by defenders. As usual, the M1 Abrams should prioritize hunting down and destroying the RU team’s T-90A. If positioned near the Outpost to the east, the M1 Abrams can shell the Palace from a safe distance. Just watch out for incoming fire from the Kornet launcher posted on the east side of the Palace. While the M1 Abrams and Phoenix provide covering fire, infantry should rush into the Palace and secure a foothold in the north wing before making a move on either objective upstairs.
RU Deployment
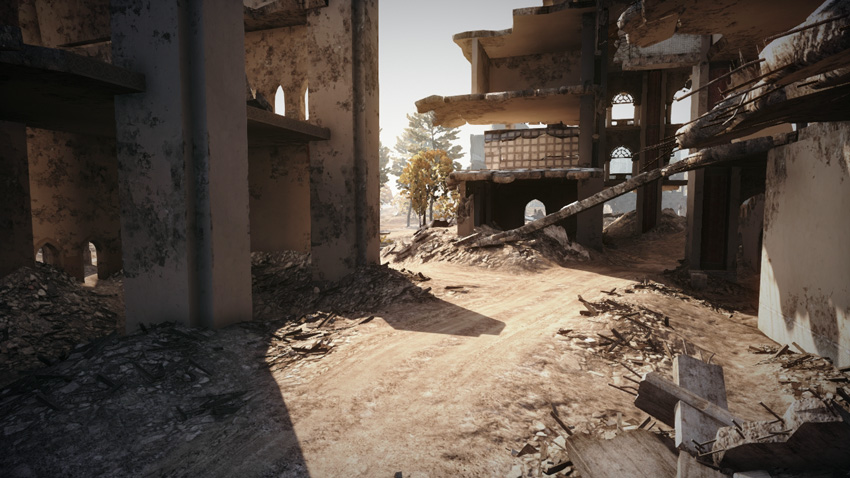
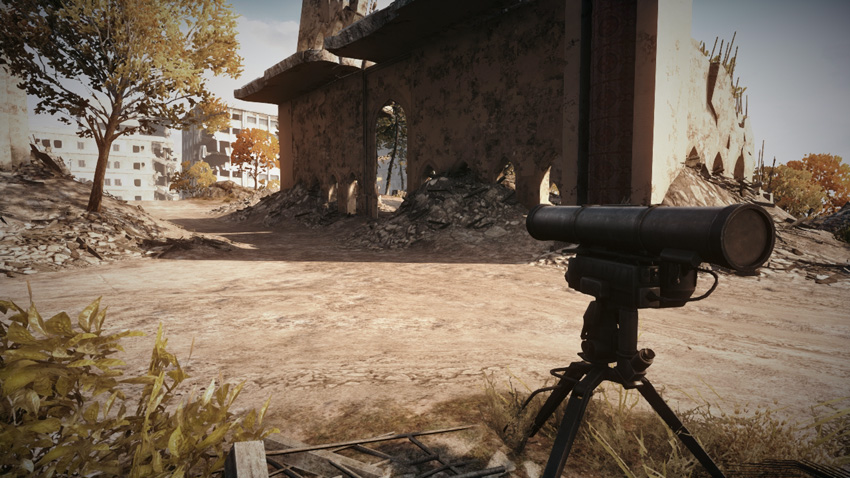
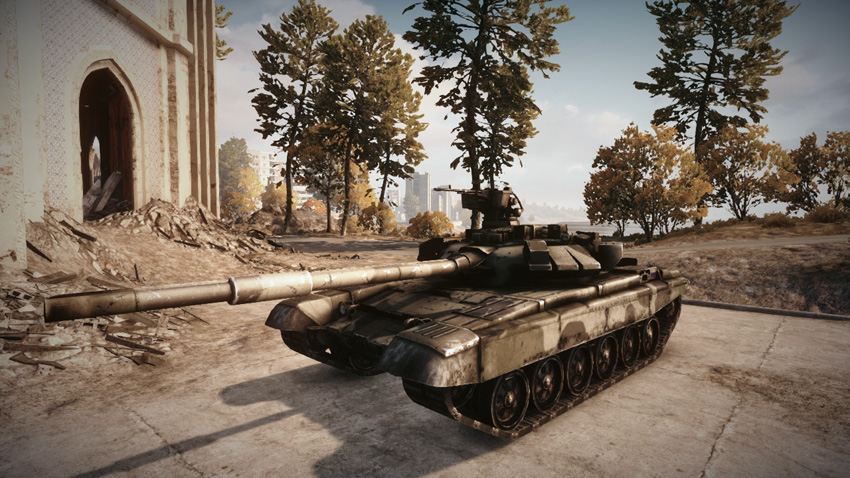
Deployment Area Assets
| Name | T-90A | 9M133 Kornet Launcher |
|---|---|---|
| Quantity | 1 | 1 |
| Respawn Time | 50 sec. | 10 sec. |
The Palace is by far the RU team’s most defensible position in this battle. Defenders have a good chance of holding out here for a win. Deploying from the heavily damaged south side of the Palace near the Main Floor, defending troops have just enough time to rush upstairs and secure the objectives before the US attackers arrive. Ideally, all that the RU team needs to do is defend the second floor. This means covering all stairways and ramps. The fighting on the second floor often takes place at close and intermediate ranges, so choose your weapons accordingly. The T-90A isn’t of much use when it comes to defending the objectives, but it can still help secure the Palace. Position it in the street on the north side of the Palace and use its weapons to engage opponents rushing in from Downtown—this street offers long sight lines, so the tank’s machine guns can pick off infantry from long range. The T-90A is also the best tool for countering the US team’s M1 Abrams and Phoenix.
M-COM Station A
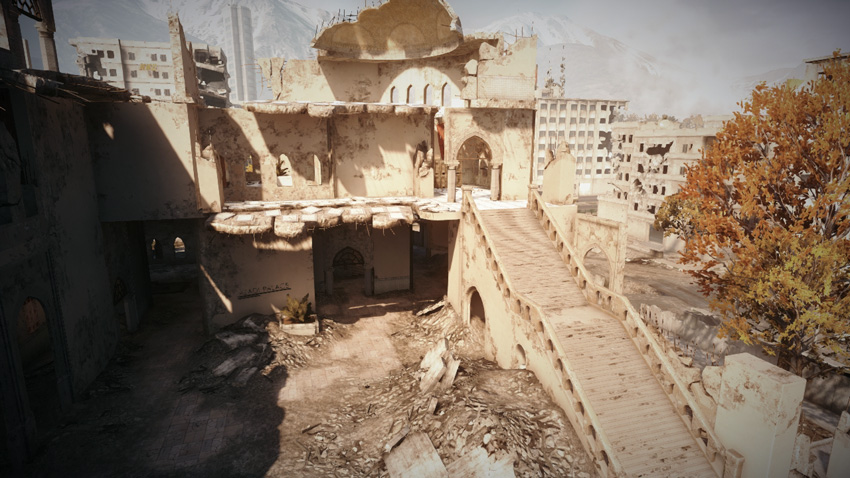
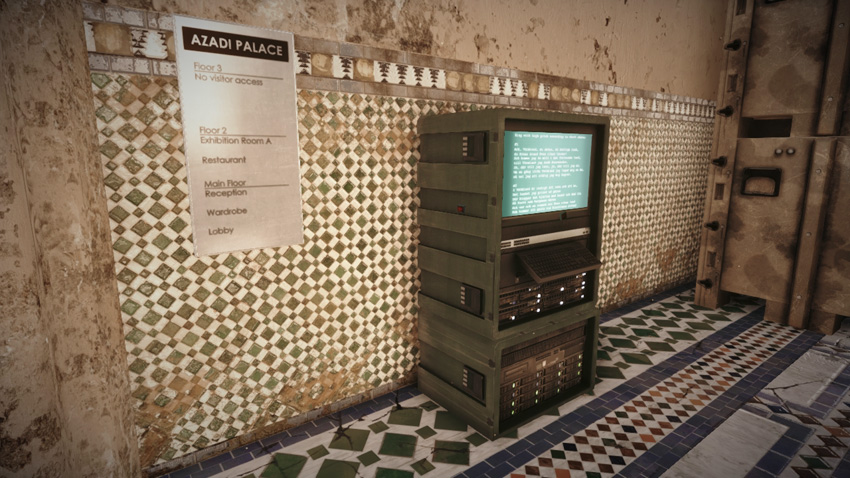
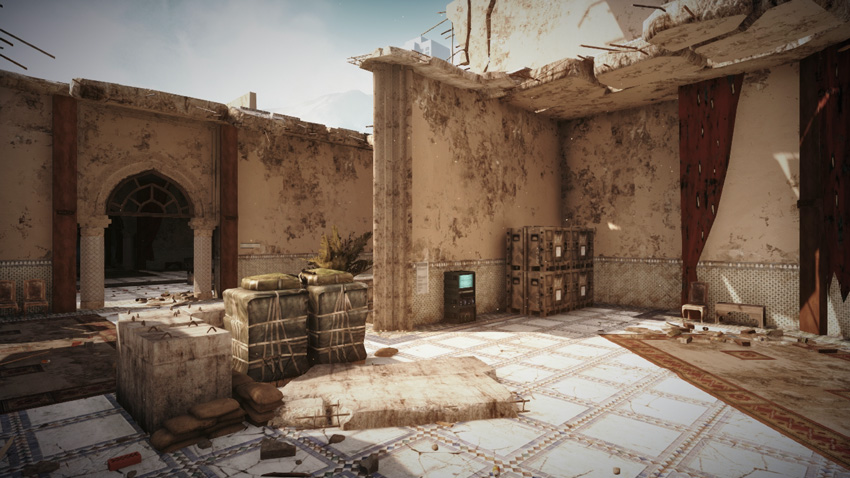
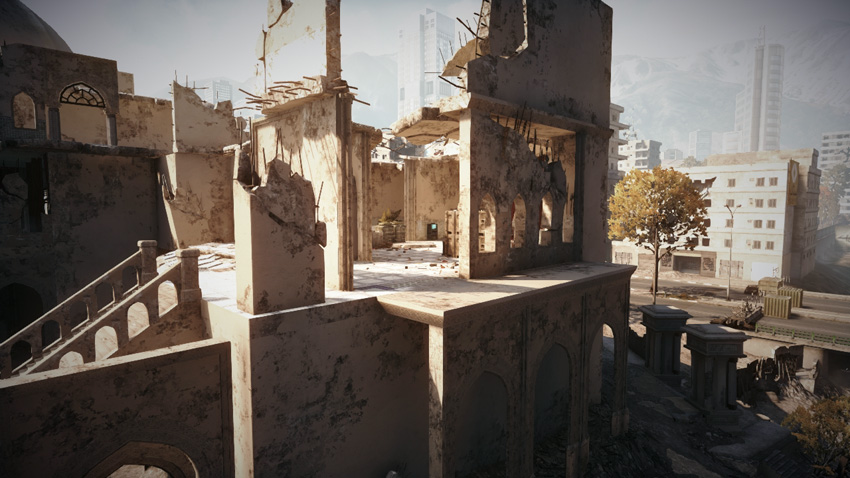
M-COM Station A is located in the Senate room, on the second floor of the Palace’s north wing. The objective is positioned against a wall in this small room, which is accessible only by infantry. Therefore, expect most fighting here to take place at close range—PDWs and shotguns are well suited for these point-blank engagements. This room can be accessed only through three points: the large exterior staircase to the east, the narrow interior staircase to the south, and the arched doorway to the south. One squad can adequately cover all three entry points, if assisted by a T-UGS motion sensor and Claymores. When attacking here, avoid the staircases and advance from the restaurant to the south, which is also on the second floor. Attacking through the arched doorway to the south is much safer than trudging up the stairs. Toss grenades and fire rockets through the doorway to soften up any defenders near the objective before entering the room.
M-COM Station B
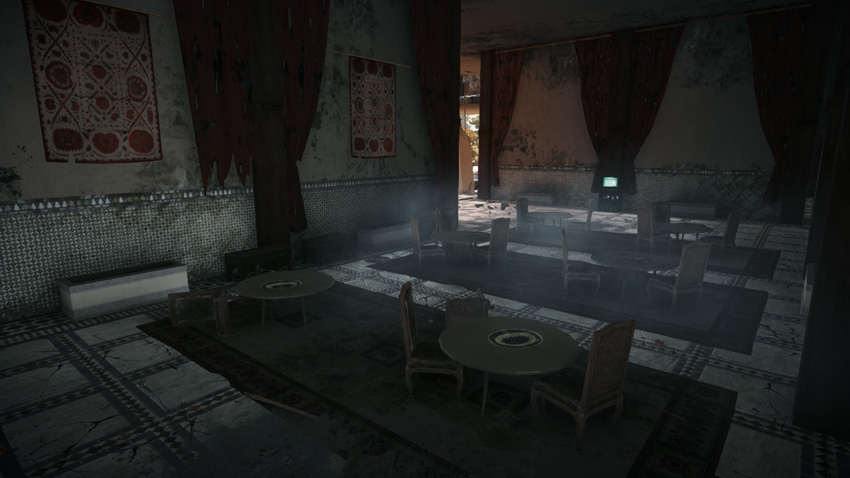
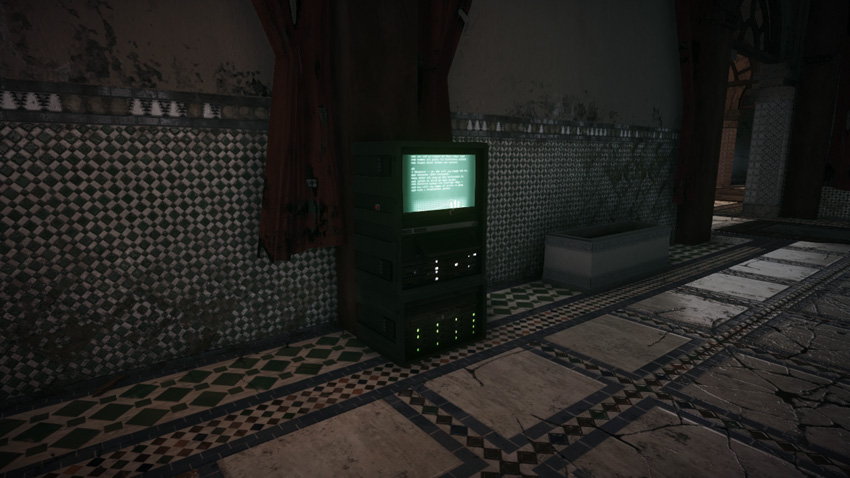
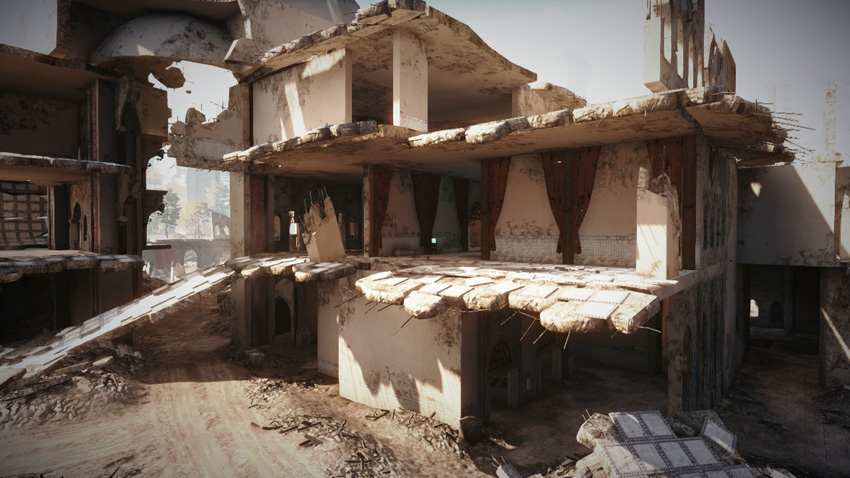
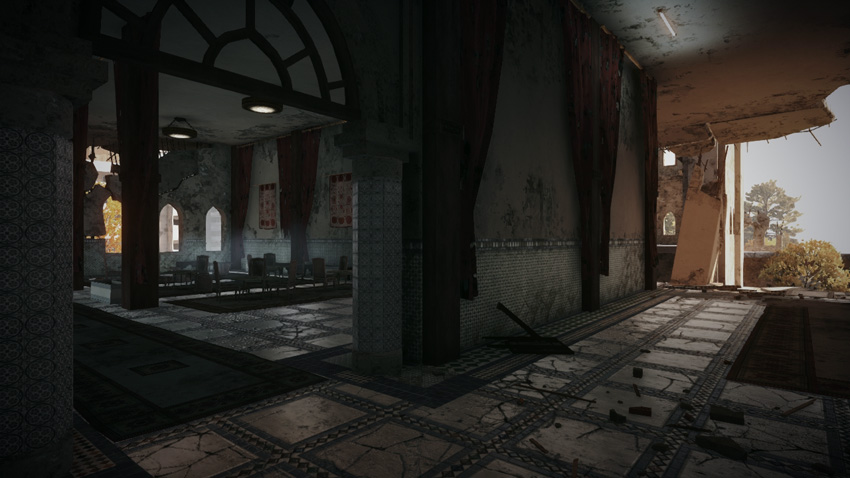
Located only a few meters south of M-COM Station A, this objective is positioned on the Palace’s second floor restaurant. Like the Senate room, the key to defending the restaurant is locking down the various staircases and ramps leading to the second floor. The earthquake has collapsed a large portion of the Palace’s eastern wing, leaving a long piece of floor to serve as a ramp on the east side—this ramp is the most direct approach to the restaurant. Instead of looking for the quickest way to reach the objective, attackers should exploit areas of the Palace that the defenders have overlooked, such as the large staircase at the Main Floor, to the south, or the various internal staircases, like the one to the north. But simply gaining access to the second floor is only part of challenge. Once inside the Palace, expect stiff resistance around the objective—Laser Sights and Tactical Lights are ideal for blinding opponents in the dimly lit restaurant and adjoining corridors.
Zone 4: Construction Site
US Deployment
Deployment Area Assets
| Name | M1 Abrams |
|---|---|
| Quantity | 1 |
| Respawn Time | 30 sec. |
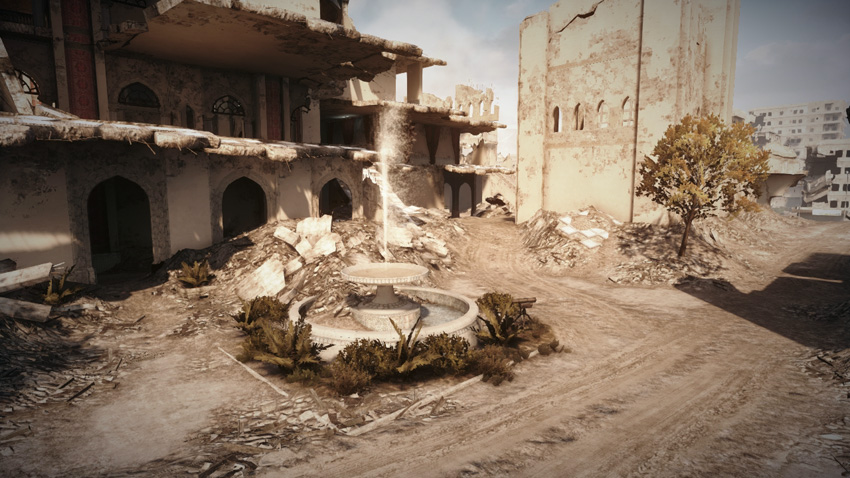
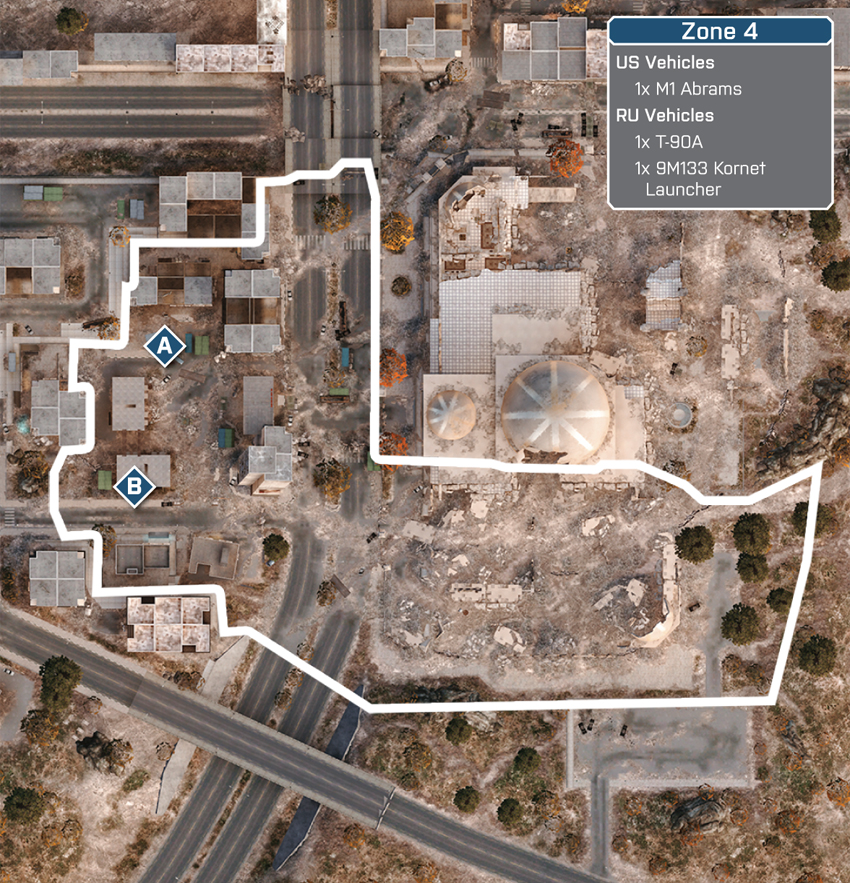
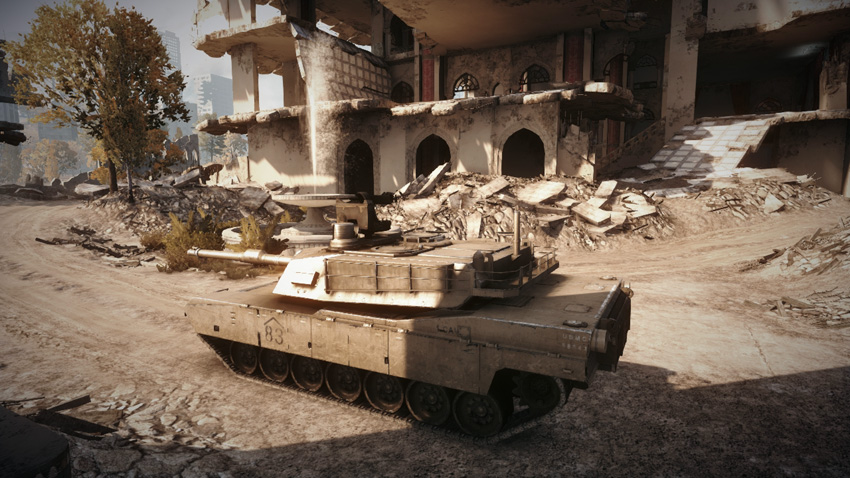
Victory is close at hand for the US team at the start of this phase. But don’t celebrate just yet—two more M-COM stations await at the Construction Site to the west. In this final phase, the US team deploys from the Palace along with one M1 Abrams that spawns on the east side near the fountain. Unlike the previous phase, the M1 Abrams once again plays a pivotal role in attacking the objectives. Before the US team’s infantry can reach the Construction Site, they must first cross the street on the west side of the Palace. Use the M1 Abrams to aid in this crossing by providing covering fire and countering the RU team’s T-90A. Once across the street, the US attackers should establish a presence on the north and south sides of the Construction Sites, and use squad spawning and Radio Beacons to apply consistent pressure against each objective. Driving the M1 Abrams into the center of the Construction Site can serve as a distraction, but don’t expect it to last long. Still, the M1 Abrams may create just enough chaos to give infantry the opportunity they need to set charges on both objectives.
RU Deployment
Deployment Area Assets
| Name | T-90A | 9M133 Kornet Launcher |
|---|---|---|
| Quantity | 1 | 1 |
| Respawn Time | 50 sec. | 10 sec. |
Defending the objectives at the Construction Site is the last chance the RU team has at holding out for a win in this battle. Fortunately, the defenders have a few extra seconds to get into position before the US team arrives. Use this time wisely and take up positions in the two partially constructed buildings on the west side of the site. The upper floors of these buildings offer a great view of the area. Place Radio Beacons on the second and third floors of these buildings to give your team a spawn point close to the objectives. In addition to covering the objectives, take the fight into the street to the east, intercepting the attackers before they can get a foothold at the Construction Site. The T-90A is particularly effective when positioned along this street—use its devastating weapons to ambush enemy troops and the M1 Abrams as they exit the Palace. Pinning the attackers at the Palace is a great way to kill the US team’s momentum. But when laying siege to the Palace, make sure at least two squads stay back and guard the two M-COM stations.
M-COM Station A
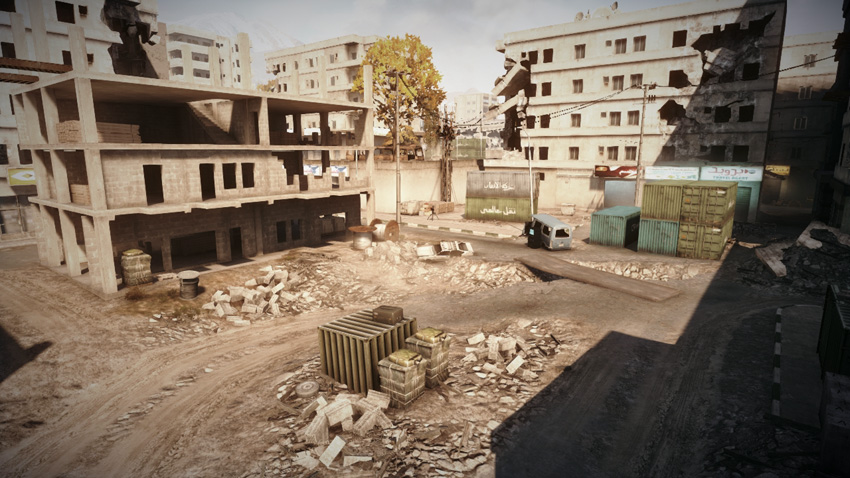
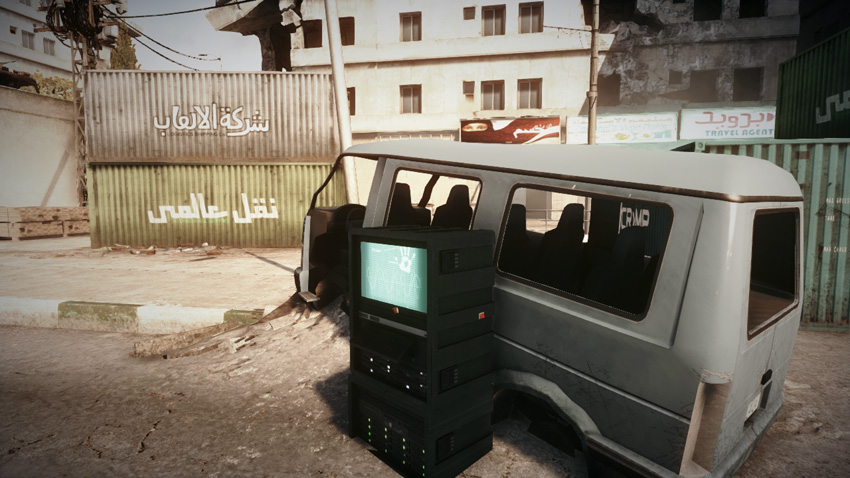
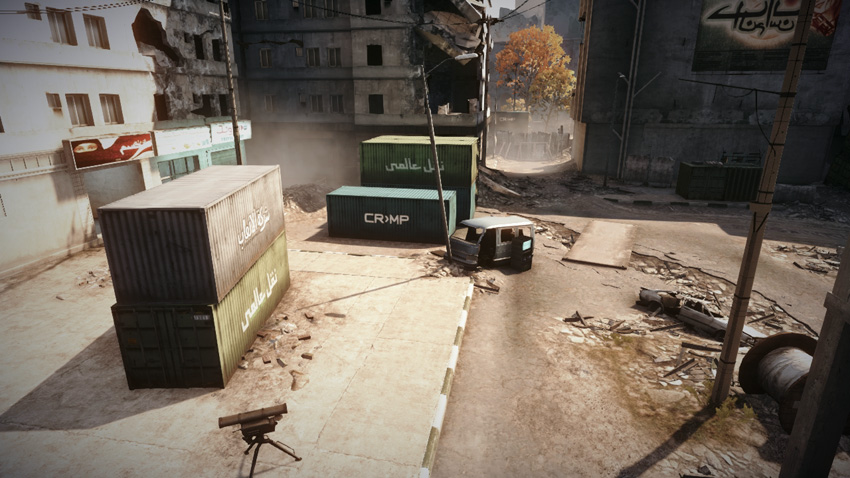
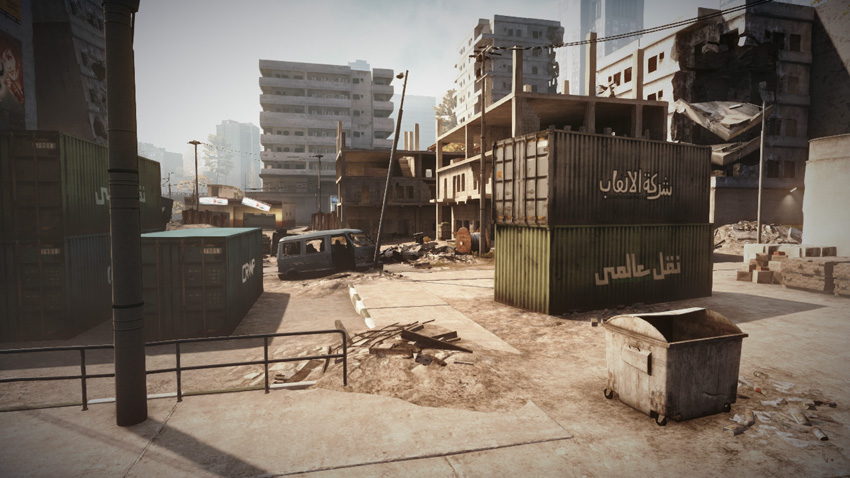
Propped against a wrecked van in the middle of the Construction Site, M-COM Station A is very exposed. So before the US attackers even consider approaching it, they should sweep the two buildings to the west. The upper floors of these two buildings offer clear sight lines of the objective, allowing defending sharpshooters to pick off anyone tampering with the M-COM station. By clearing out these two buildings, the attackers not only eliminate defenders, but they also gain a solid foothold in the Construction Site—immediately deploy Radio Beacons to maintain spawn points in the area. Given the exposed nature of this objective, also deploy smoke whether you’re attempting to arm or disarm a charge. Alternately, park a tank right next to the objective to provide some cover; use it as a mobile wall of steel. However, when driving a tank in this area, be mindful of the nearby Kornet launcher—don’t expose your tank’s weak rear armor to this stationary weapon.
M-COM Station B
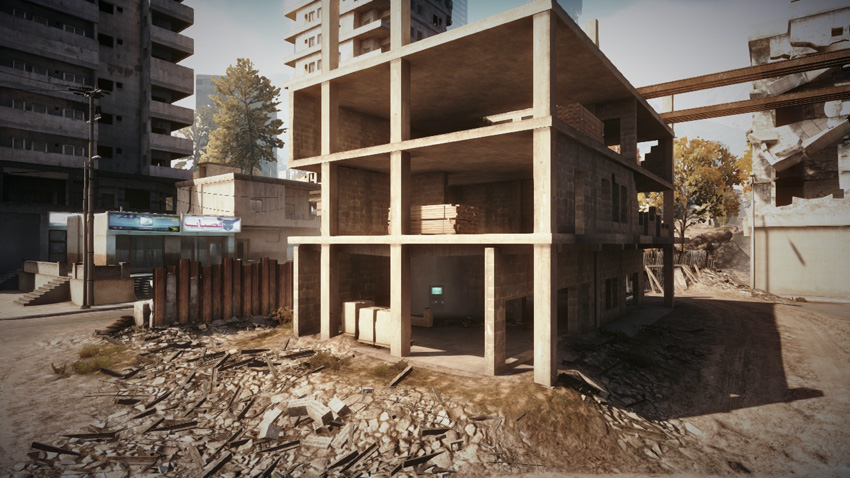
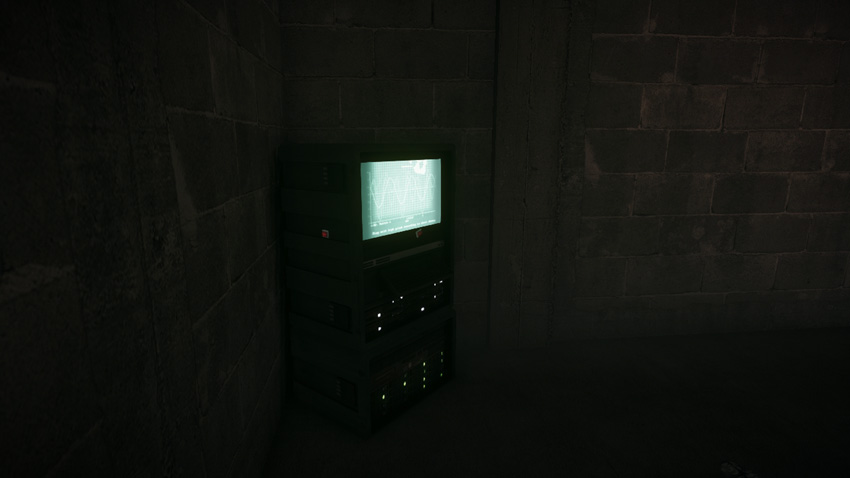
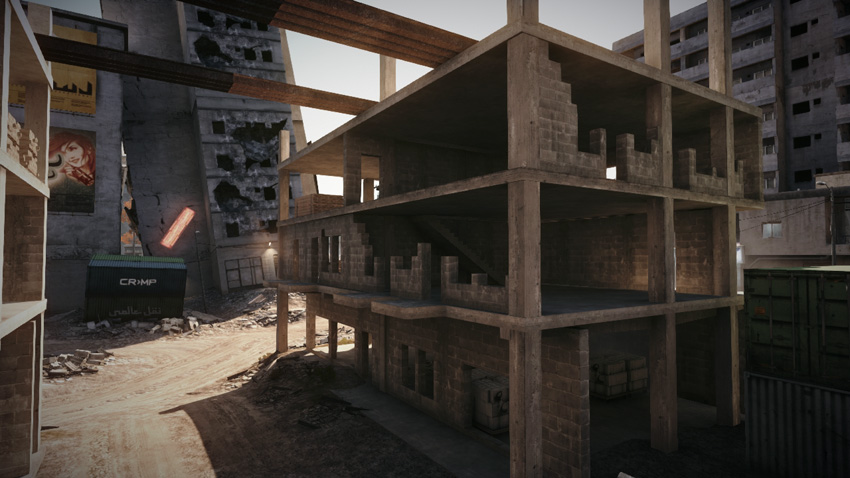
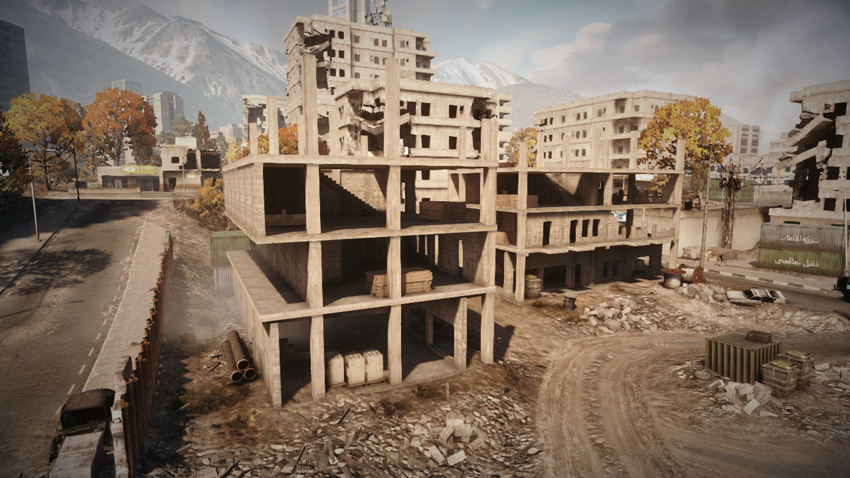
M-COM Station B is housed within in the partially constructed building on the south side of the Construction Site. Although the objective is somewhat sheltered, its position on the first floor makes it extremely vulnerable to attacks. Attackers slipping in from the south can often sneak up on this objective without being detected. Even defenders posted on the upper floors of these two buildings won’t be able to detect enemy movement down here. Therefore, the RU defenders should place T-UGS motion sensors around the objective so they can respond to such incursions. Due to the building’s lack of perimeter walls, the objective can also be monitored from multiple angles—infantry positioned on the north side of the Construction Site can easily pick off opponents tampering with the objective. So if smoke is available, deploy it on the objective before arming or disarming a charge to avoid getting hit from long range.
Squad Rush
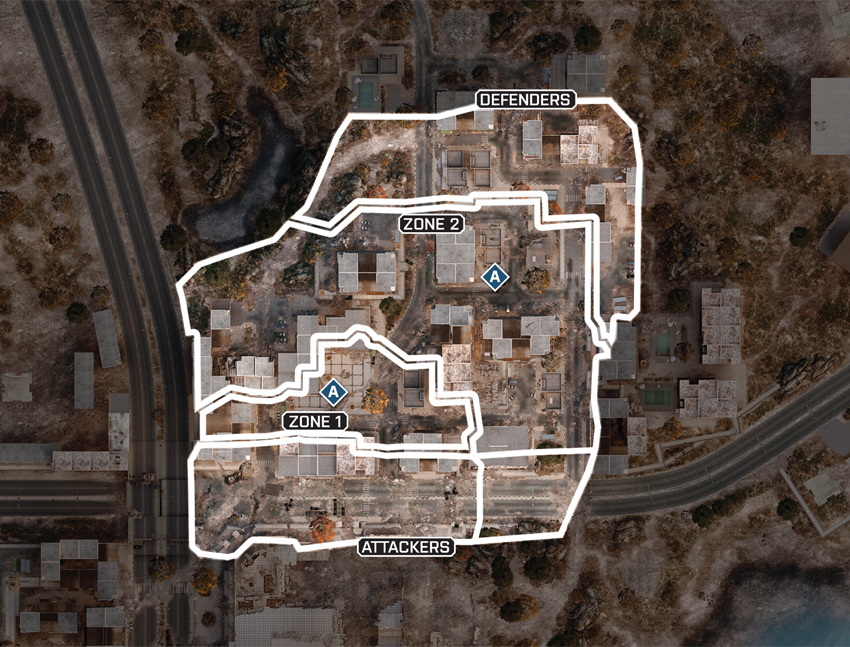
In both phases of this small-scale Rush battle, the defending squad has the definitive upper hand because they are capable of watching both objectives from a variety of top-notch overwatch positions. As a result, the attacking squad must forget about attempting a frontal assault and look for opportunities to flank. As in any Squad Rush match, gathering intel is crucial for both squads, so be ready to deploy T-UGS motion sensors and MAVs to detect your opponents and direct squad mates. Given the long sight lines at the Downtown plaza, both assault and sniper rifles are effective during the first phase. But when the battle shifts to the City Entrance, consider downsizing to carbines and PDWs.
Zone 1
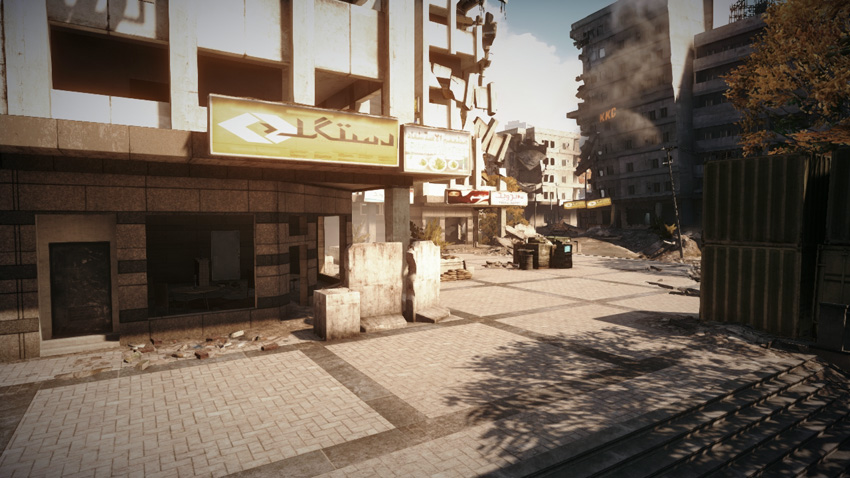
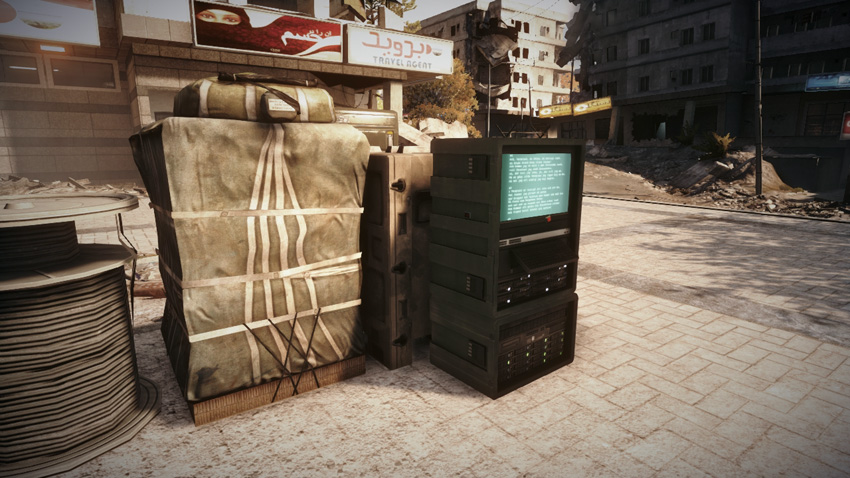
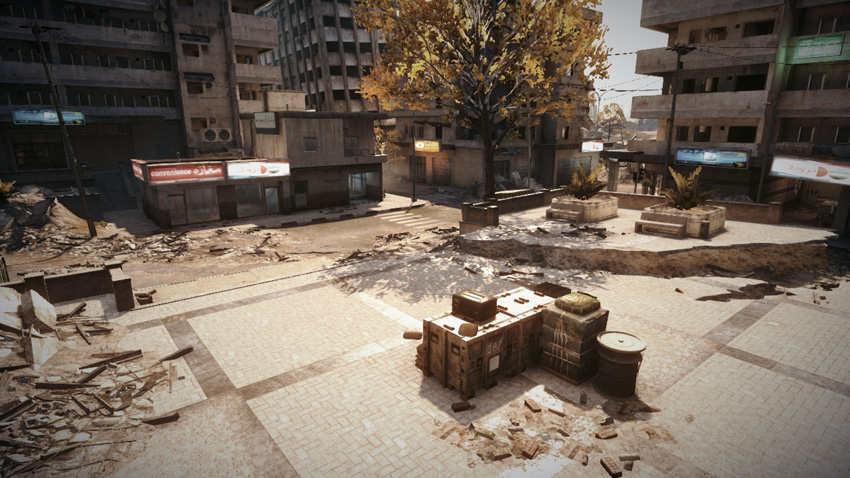
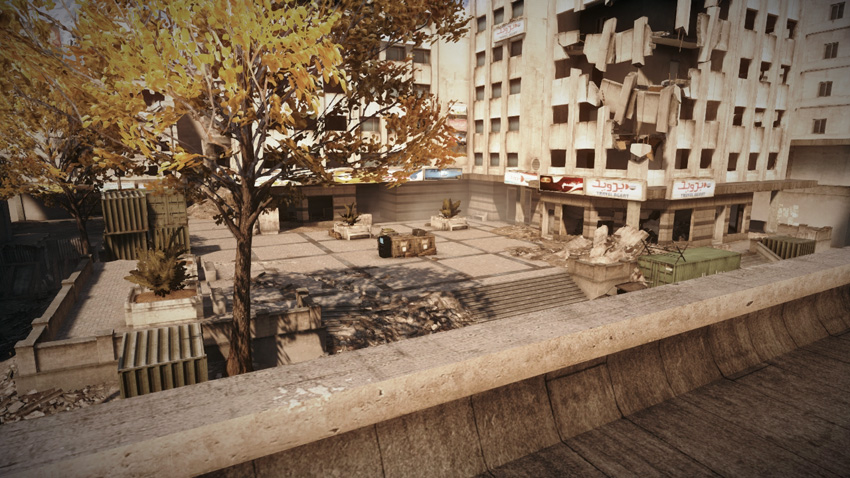
Positioned in the center of the Downtown plaza, the first objective is completely exposed, which poses a serious challenge for the attacking squad. All the defending squad has to do here is camp the objective and wait for the attackers to show up. There are several great overwatch positions on the perimeter of the plaza, including the storefronts to the north and west, as well as the rooftop across the street to the east. Take up positions at each spot to catch the attackers in a deadly crossfire. When attacking here, steer clear of the plaza until you can establish a foothold nearby, preferably within the building to the east. Securing this building not only allows you to take advantage of the rooftop overwatch position, but also the interior is a great spot to deploy a Radio Beacon to give your team a spawn point across the street from the objective. Use this building as a forward base while hunting down the remaining defenders, who are most likely hiding in the storefronts.
Zone 2
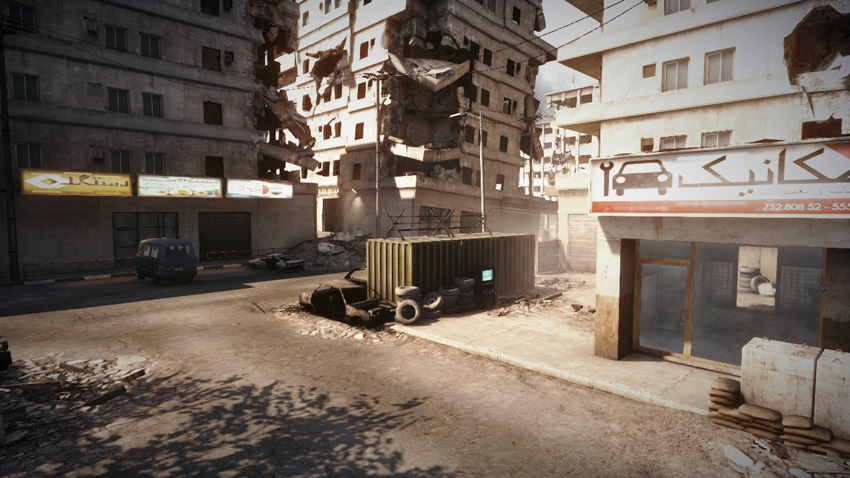
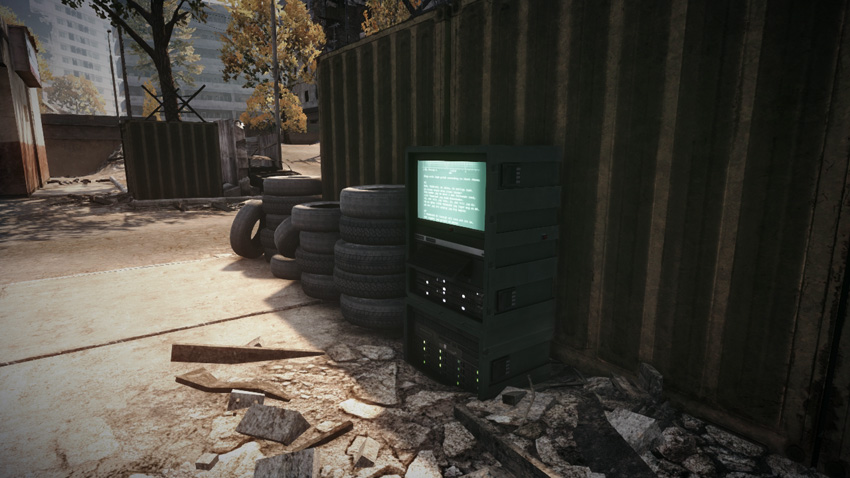
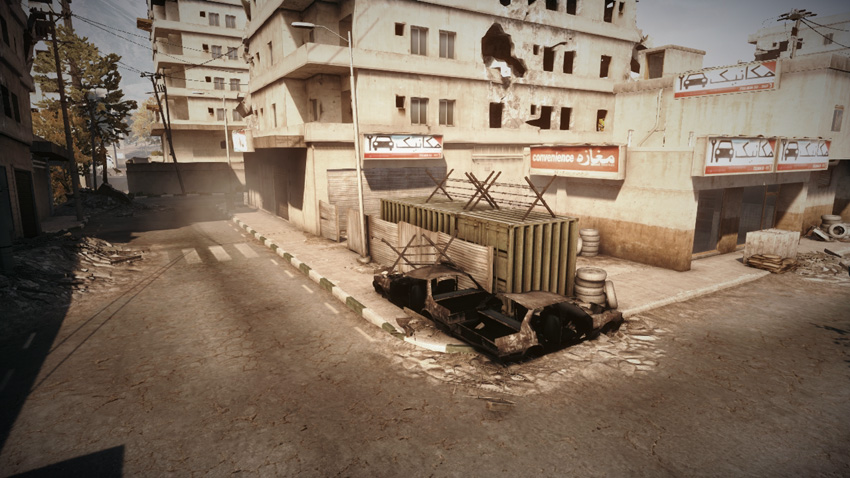
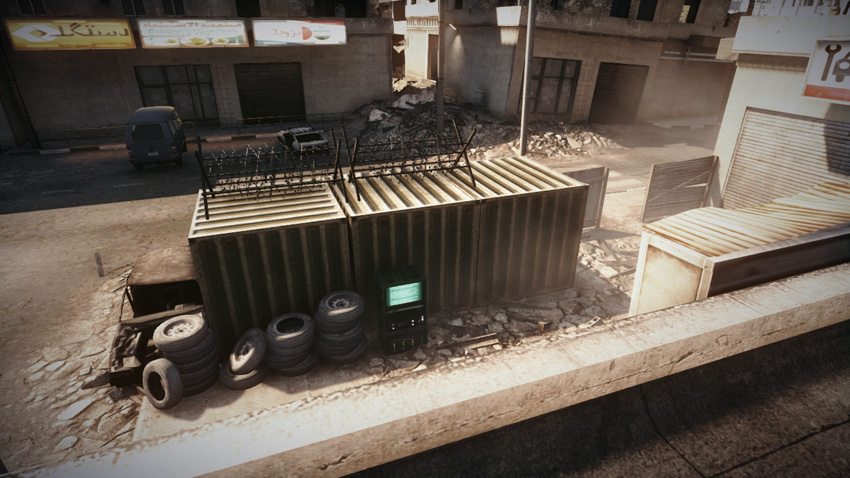
The second M-COM station is located near the City Entrance, positioned next to a large, green shipping container. The area around this objective offers a bit more cover for the attacking team. However, look for opportunities to take the defending squad by surprise. Instead of attacking from the south, flank the City Entrance from the north or west. The defending squad has the best line of sight on this objective from the two rooftops to the north and east. So infiltrate these two buildings and clear them out before making a move on the objective. If you don’t, you run the risk of walking into the defending squad’s trap. To prevent such flanking attacks, the defending squad should rely on T-UGS motion sensors or a MAV to detect the attacking squad before it’s too late.
Scavenger

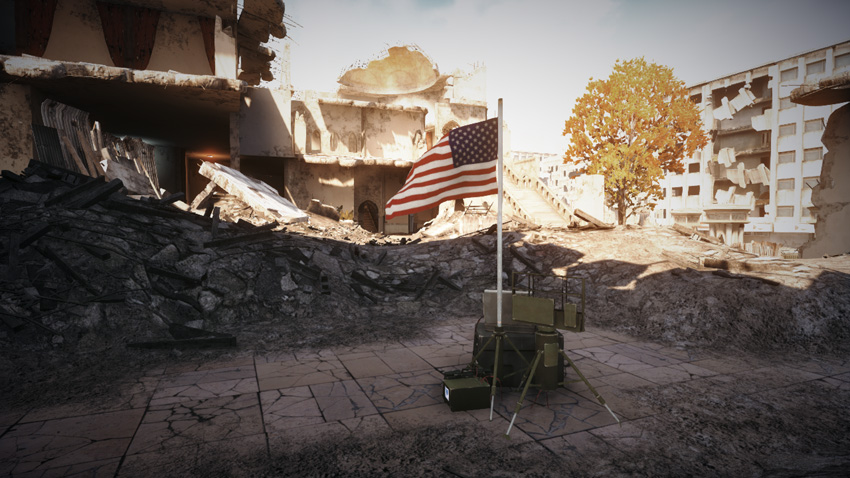
Flag A
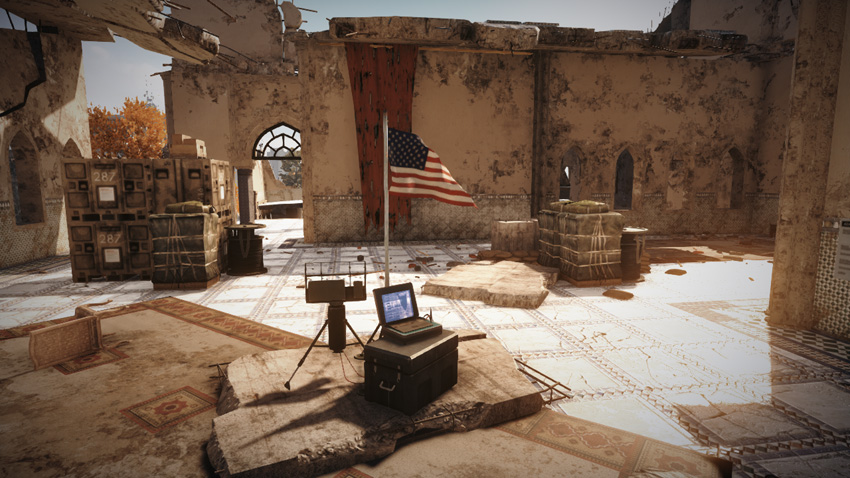
Flag B
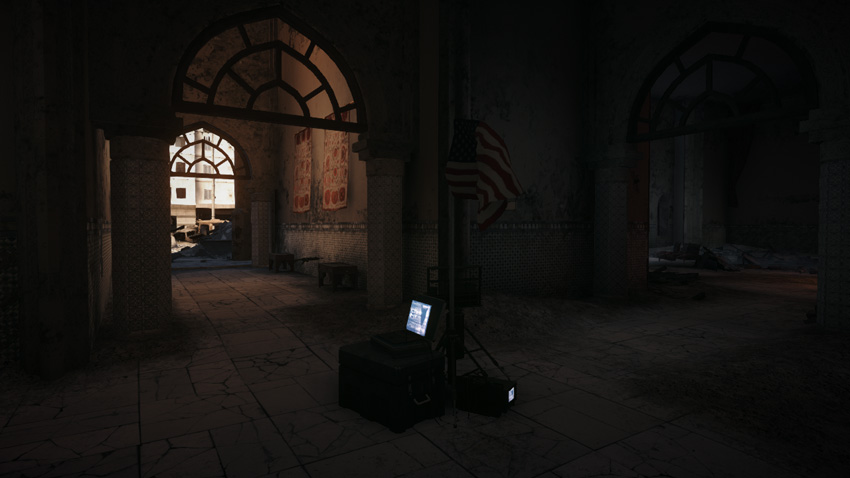
Flag C
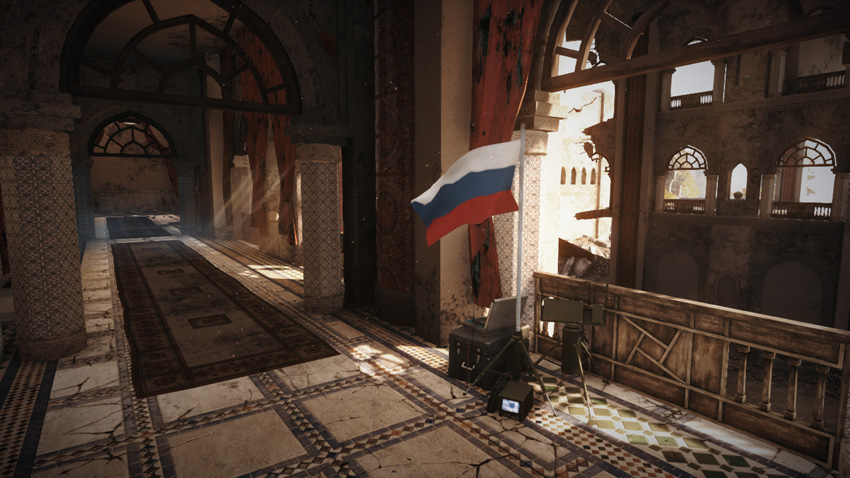
Flag D
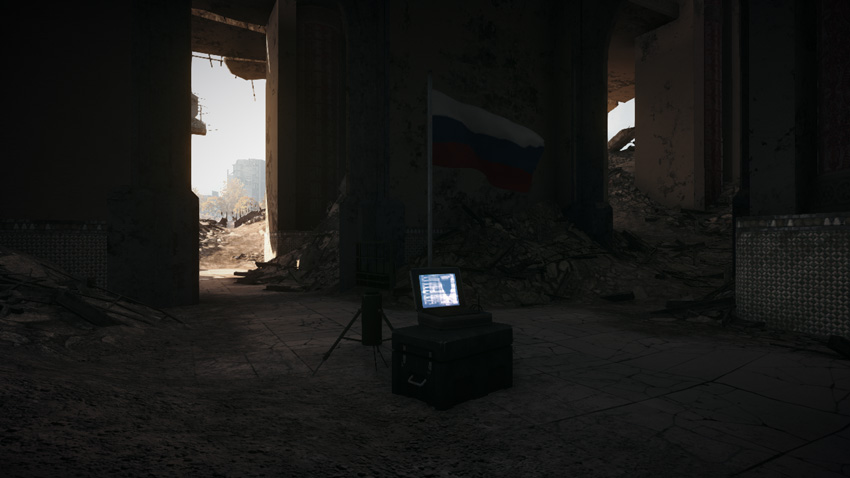
Flag E
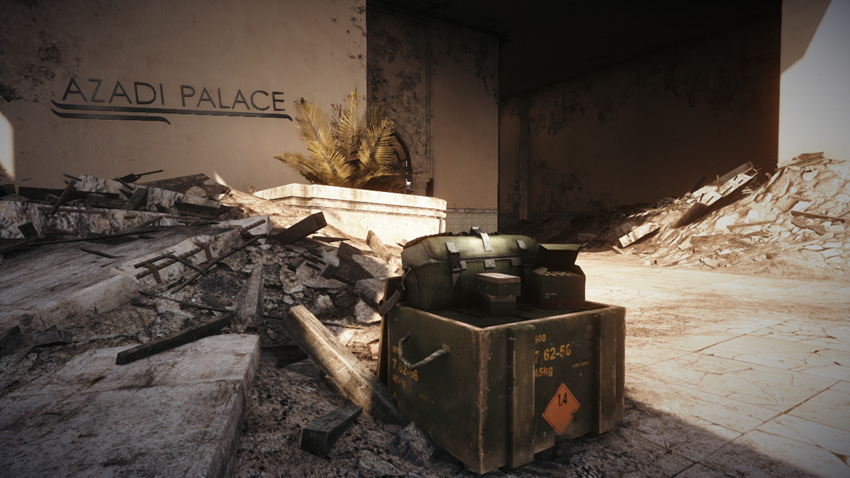
Ammo Crate
During this game mode, the action is restricted to the area around the Palace. Like any Conquest match, the goal here is to capture and hold as many flags as possible while scouring the map for weapons. Your team can impose a drain on the opposing team’s ticket count by holding three or more flags. Since most of the map’s level 2 and 3 weapons are located on the second floor of the palace, it’s a good idea to center your team’s defenses around flags B and D. Flag C, on the first floor the palace, is another worthwhile position to hold. By consolidating your forces at flags B, C, and D, you create a strong line of defense along the west side of the map. However, if you’re looking to secure the ammo crate, it’s a good idea to make a move for flag A as well. The ammo crate, west of flag A, sees plenty of traffic; it’s a popular ambush point. So exercise caution when moving through this area. Sometimes you’re better off grabbing a new weapon than trying to secure fresh magazines.
Gun Master
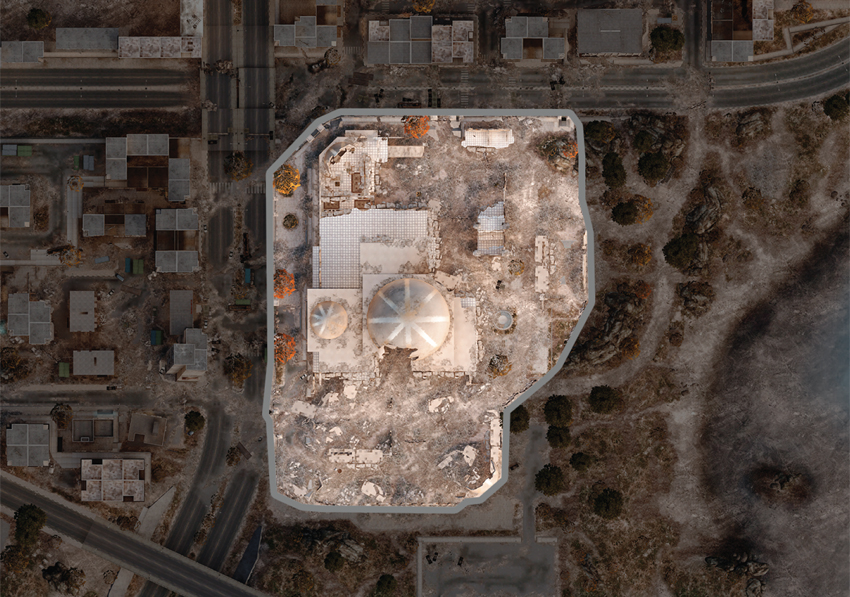
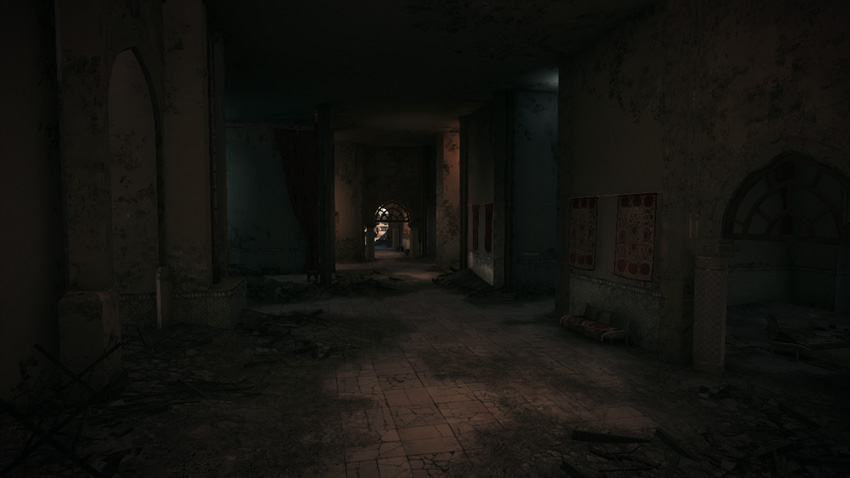
As in Scavenger mode, the action in Gun Master takes place at Azadi Palace, which offers a wide mix of interior and outdoor environments in a relatively compact area. When starting the match with pistols, any area of the map is suitable to score your first kills, including the Palace’s rubble-filled grounds outside. But as the match progresses and opponents gain access to more powerful weapons, consider moving indoors, particularly once you graduate to PDWs and shotguns—the dark, narrow corridors on the Palace’s first floor are ideal for these close-quarter weapons. Take the fight upstairs when you gain access to carbines and assault rifles. The larger rooms and wider corridors on the second floor give you more opportunities to engage opponents at intermediate ranges. When it’s time to bring out the sniper rifles, consider moving outdoors, preferably along the east side of the Palace to pick off opponents running around the middle of the map. The second floor promenade overlooking the Main Floor is also a good spot to score some long-range kills. Finally, return to the first-floor corridors when you’re tasked with scoring kills with explosives and the knife—the cramped, dim halls make it relatively easy to sneak up on opponents. Just make sure a teammate is nearby to watch your back.
Squad Deathmatch
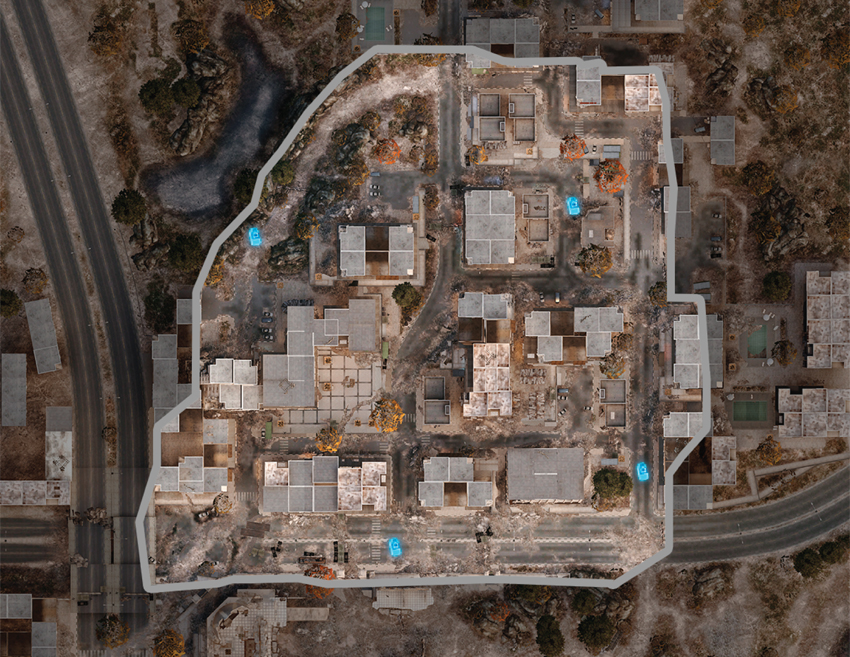
In this game mode, the fighting is centered around the north side of the city, forcing squads to traverse the debris-strewn streets and alleyways in search of prey. In the majority of matches, the fighting gravitates toward the Downtown area and nearby plaza. Depending on your squad’s skill level and comfort in a chaotic environment, the Downtown area may be a good place to avoid. Instead, patrol the area on the east side of the map, moving between the City Entrance and Market. There are several accessible buildings in this area that your squad can use as a miniature base. If you prefer to stay in one spot, consider holing up in one of these buildings and ambushing enemy squads as they pass nearby. The four potential IFV spawn points are located on the perimeter of the map, with two on the north side and two on the south side. If your squad manages to get access to an IFV, avoid charging through the city’s center. Instead, stick to the streets along the perimeter of the map. The street on the south side of the map offers some long sight lines where the IFV’s weapons are very effective. Just keep your distance from enemy squads to avoid getting hammered by incoming rockets or C4.
Team Deathmatch
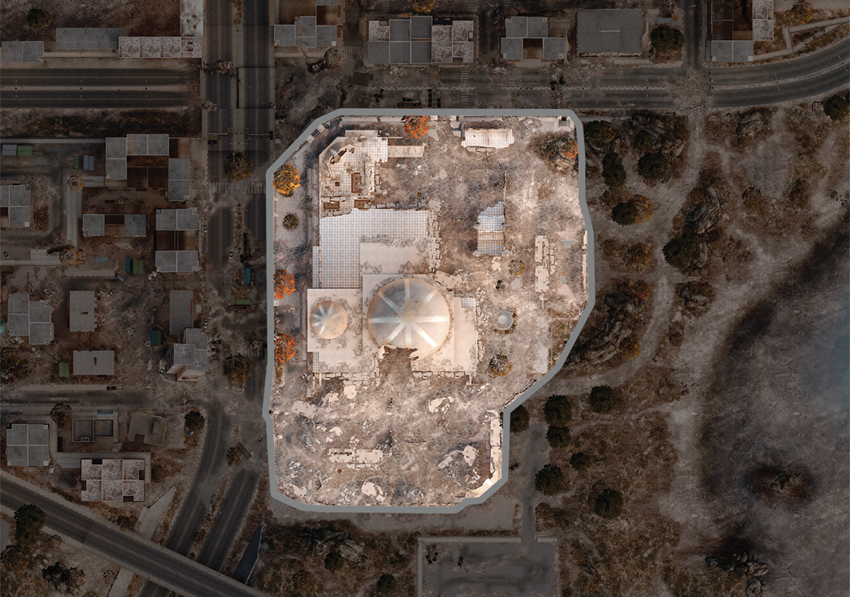
Like Scavenger and Gun Master, Team Deathmatch takes place entirely at Azadi Palace, and the locale always leads to some truly chaotic gun battles as both teams fight for dominance. The presence of a massive two-story structure often drives most players indoors. As a result, the interior gets crowded very fast, with bullets whizzing through corridors and grenades detonating all over the place. This is particularly true on the ground floor, where constant movement is necessary if you wish to stay alive longer than a few seconds. Coordinated teams have a better chance of making a stand on the second floor, where the rooms and corridors are larger and much easier to defend. The Senate room, on the north side, is one of the most popular defensive positions. With only three access points consisting of two staircases and one doorway, a handful of teammates can lock down this room with little trouble, and ambush opponents as they wander within sight. If you prefer to avoid the chaos inside the Palace, the rubble along the structure’s perimeter offers decent cover and concealment. Consider posting up on the Palace’s east side and engaging opponents racing about the exposed second floor, near the restaurant. But don’t stay in one spot for more than a few seconds unless you want to donate your dog tags to a knife-wielding foe.