
Battlefield 3 DLC Guide — Premium Maps Aftermath Battlefields
Talah Market
Talah Market
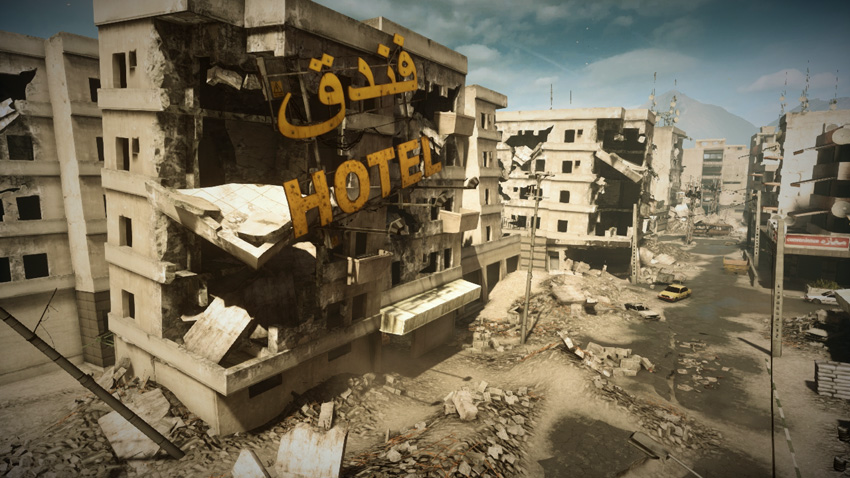
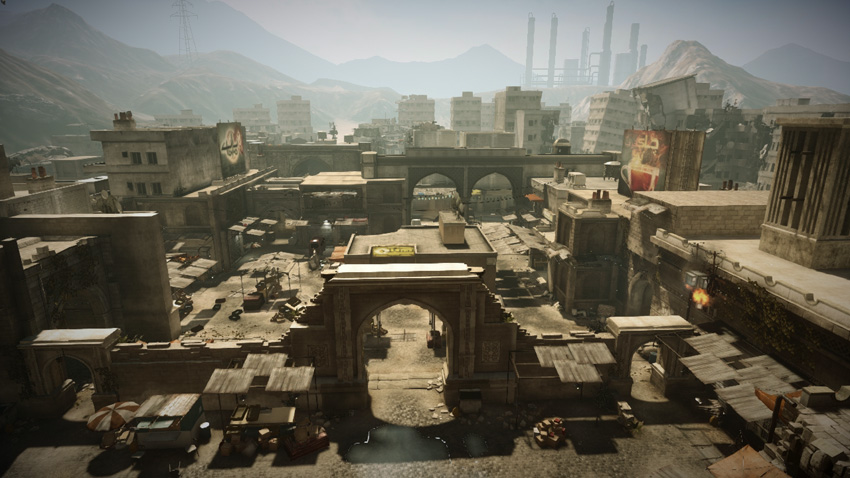
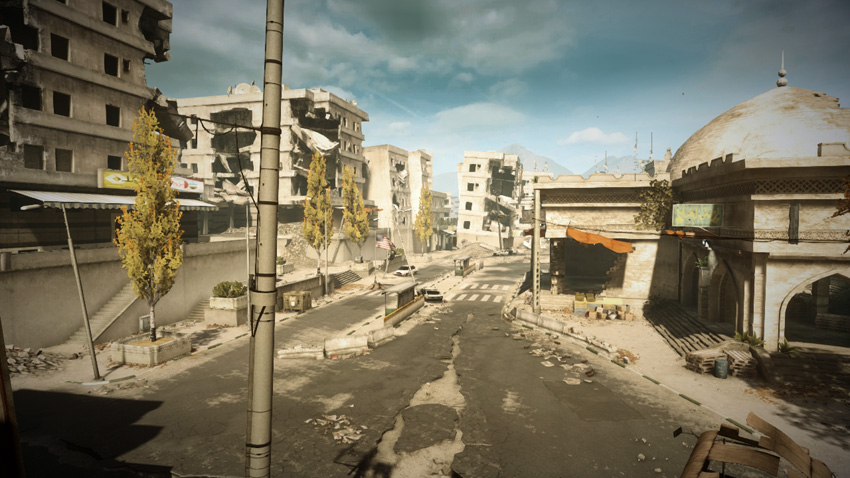
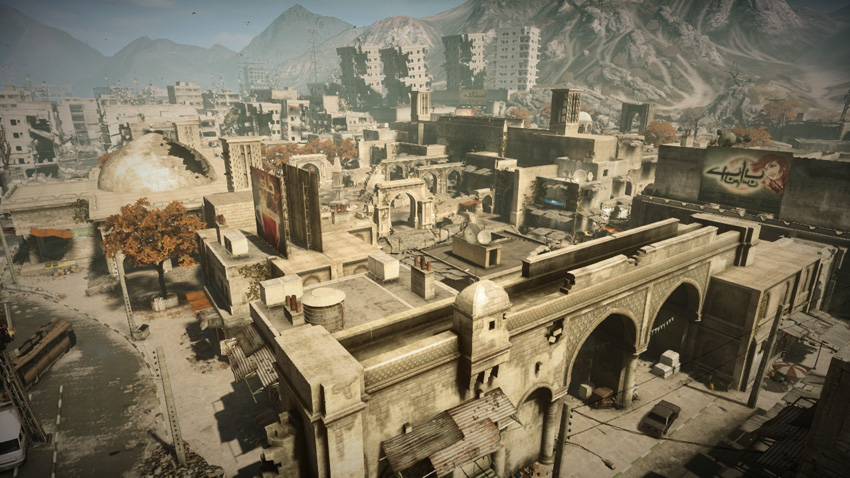
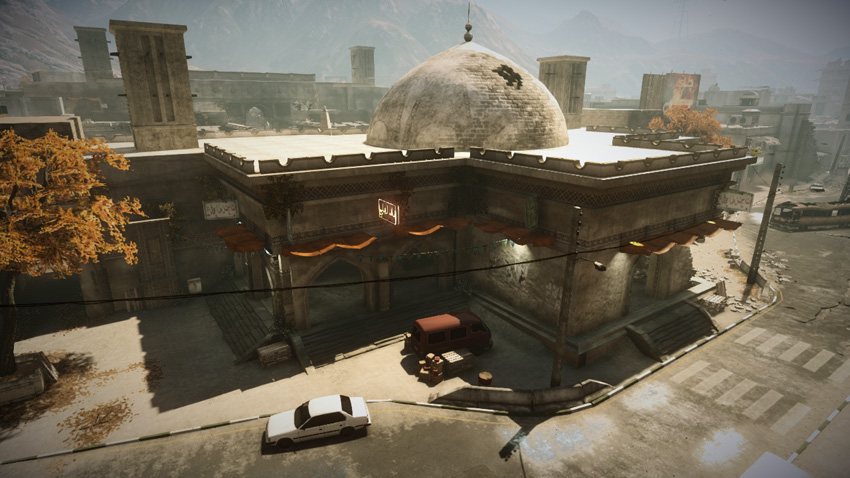
Conquest
Conquest Assault
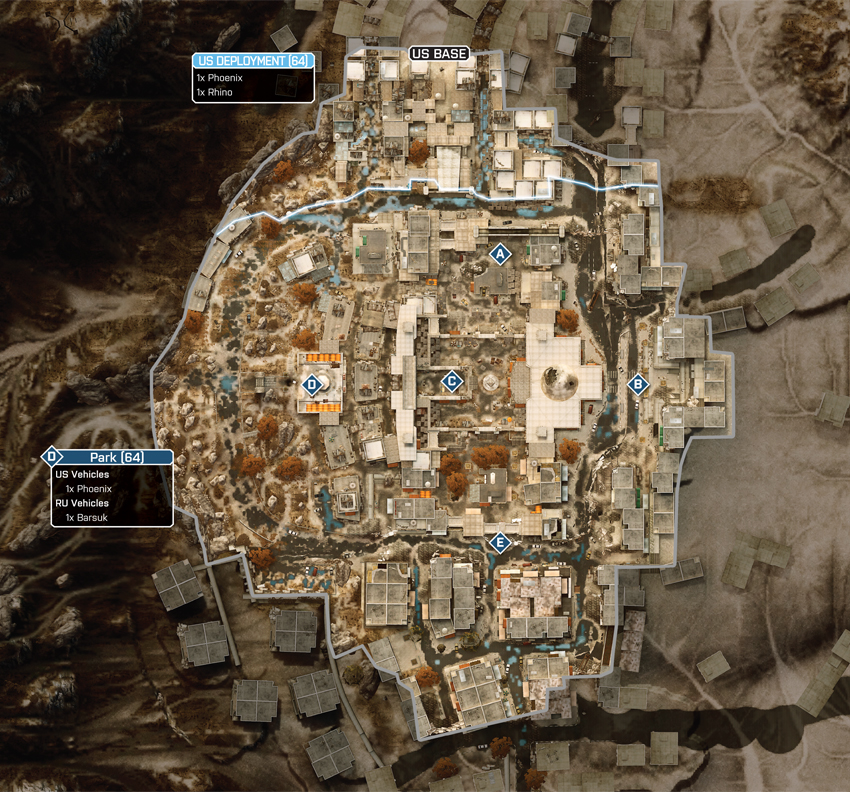
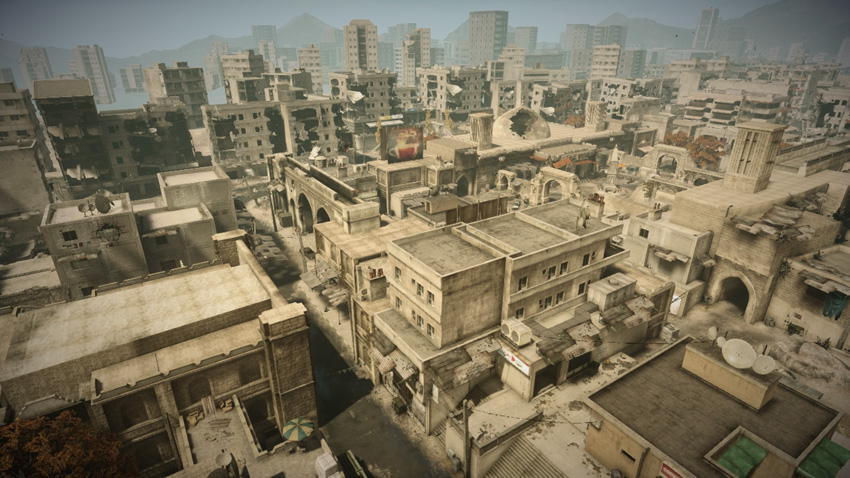
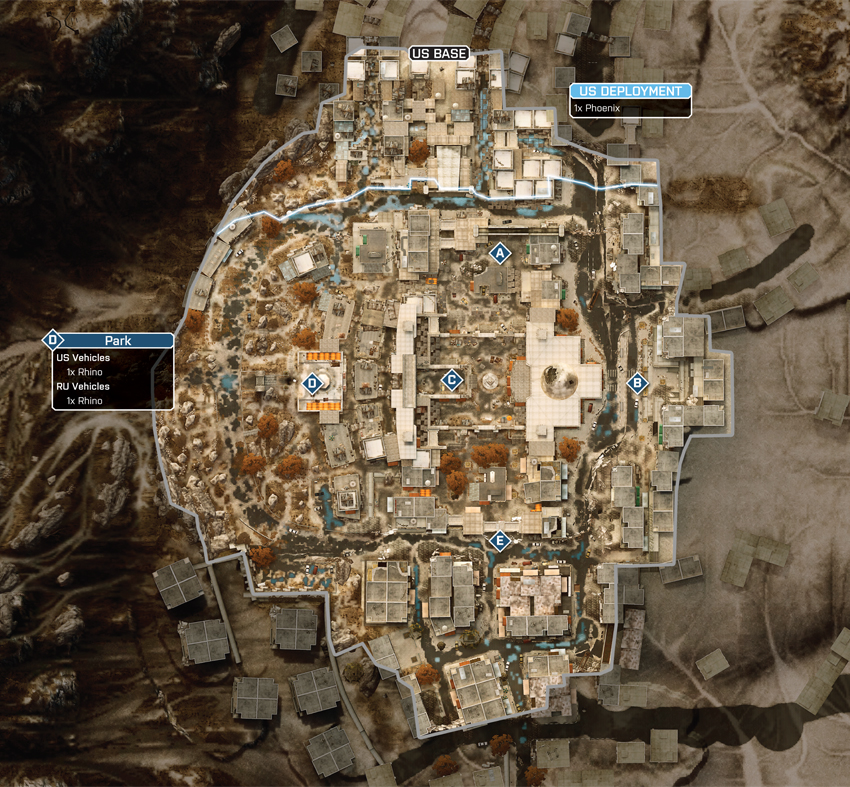
In this Conquest Assault battle the RU team are the defenders, holding all five flags from the beginning. It’s up to the US attackers to break out of their deployment area on the north side of the map and secure as many control points as possible. Since the RU team doesn’t have access to a base, they can only spawn at the control points they hold. If the US manages to capture all five flags, the RU team can only spawn on surviving squad members until a flag is captured. Without flags or a living squad member to spawn on, the RU team faces certain defeat. As a result, the RU team must emphasize defense throughout the course of the battle. With five flags up for grabs, both teams should attempt to capture and defend a minimum of three flags so they can initiate a drain on the opposing team’s ticket count. Since the US team starts with no flags, they begin the match with a slightly higher ticket count. But they also begin with a ticket drain that gives them even more incentive to wrestle three control points away from the RU team. Early on, the US team should make moves against the Main Street (B), Park (D), and Suburb (E) control points instead of grinding away at the nearby Courtyard (A), where the bulk of the RU team is likely to be waiting. With no way to predict which way the US team will go, the RU team needs to position squads at all five of the control points. Still, expect heavy resistance at the Courtyard (A). The RU team needs to hold three of the five flags to maintain the drain on the US team’s ticket count, so consider consolidating defensive efforts around three or four flags instead of spreading your forces too thin.
US Base
Base Assets
| Name | Phoenix | Rhino* |
|---|---|---|
| Quantity | 1 | 1 |
| Respawn Time | 20 sec. | 30 sec. |
* = Conquest Assault 64 only
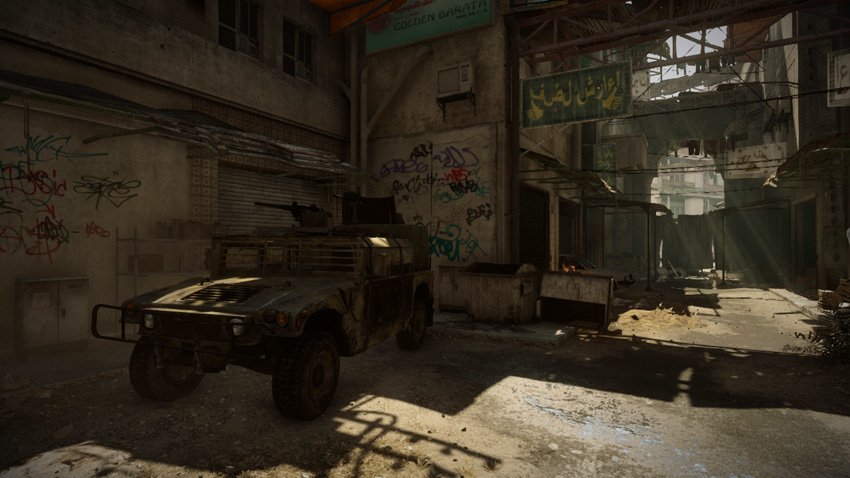
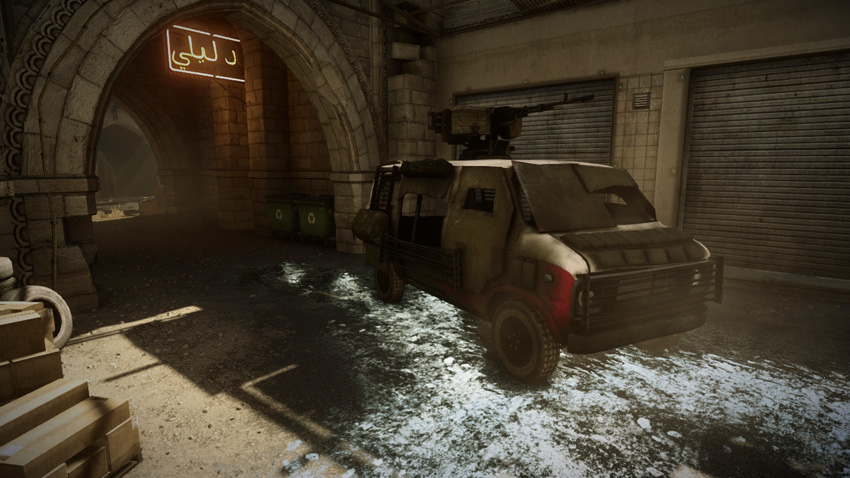
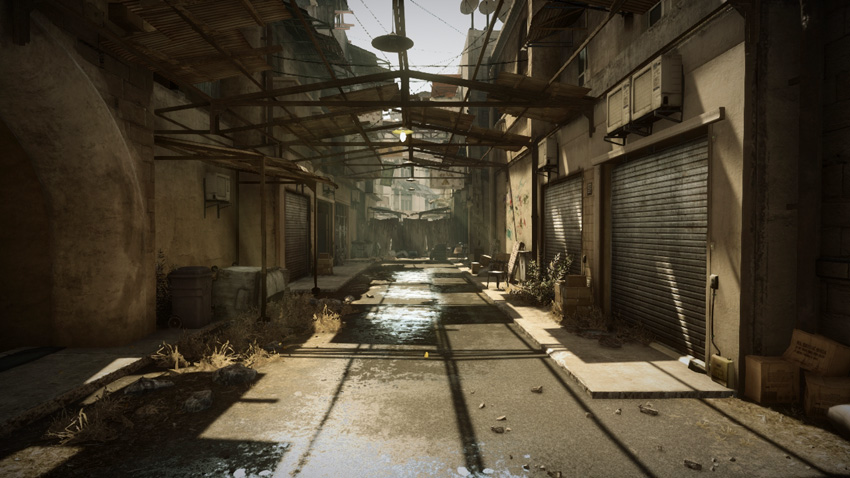
During both Conquest Assault variants, the US team deploys among the narrow streets and alleys on the north edge of the map. The US attackers always have access to a Phoenix here as well as a Rhino in the larger Conquest Assault 64 variant. Vehicles are ideal for rushing the control points on the map’s perimeter, such as the Main Street (B), Park (D), and Suburb (E). In addition to transporting troops, the weapons mounted on these vehicles can also come in handy for softening defenses at each control point—keep your distance from enemy infantry and engage at long range. Only a small number of troops can fit in the vehicles that spawn here, so that means the bulk of the US team is stuck moving out on foot. Early during the round, the bulk of the team should make an aggressive push toward the nearby Courtyard (A) control point to the south. But if the defenders won’t give up this nearby control point, remain flexible and look for other capture opportunities by moving along the western or eastern edges of the map. With five flags to defend, the RU team is likely to neglect at least one.
A: Courtyard
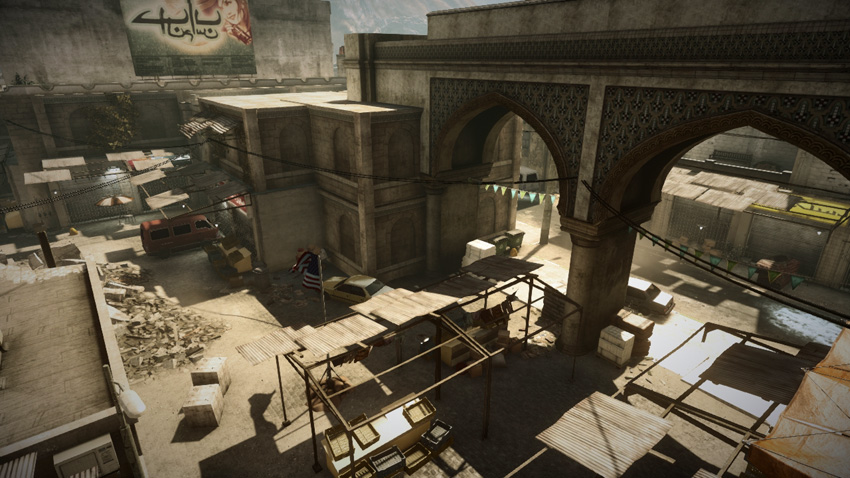
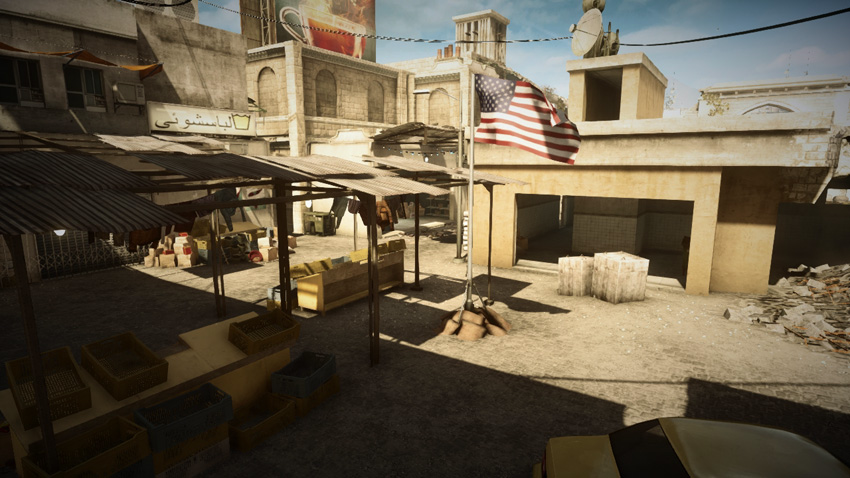
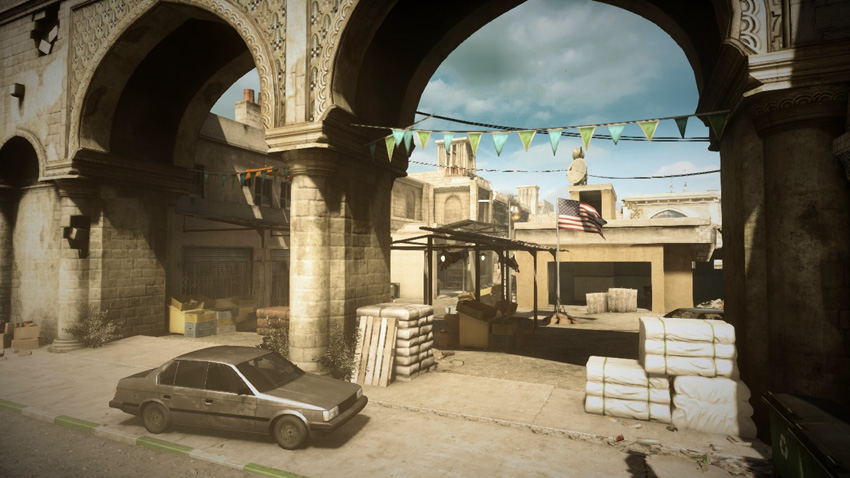
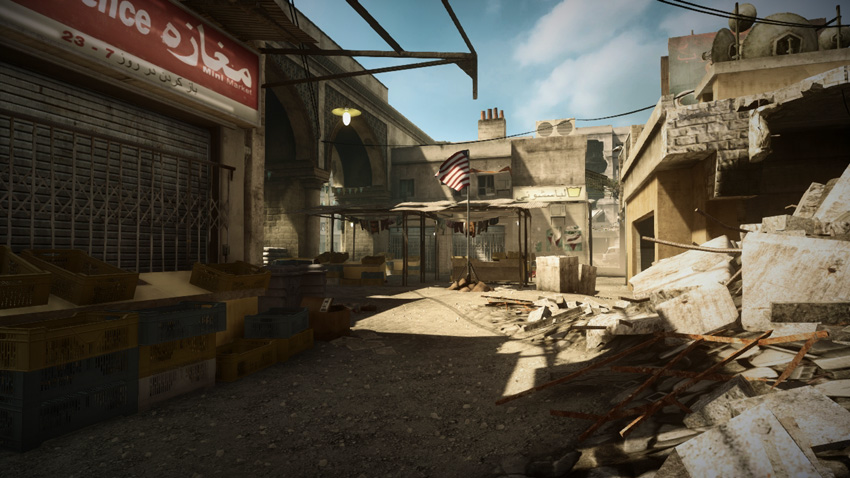
The Courtyard (A) is the frontline at the start of each match because of its close proximity to the US Base. Within the first few seconds of the match, large numbers of US troops rush to this position from the north in an attempt to secure the team’s first control point. As a result, the RU team should be ready for a massive assault on this position. Early on, most US attackers approach from the large, dual archways directly north of the flag. By taking up flanking positions along the street on the north side of the archways, defenders can intercept the attackers before they can reach the flag—this is a great way to trap the US team at their base. The small garage-like building just south of the flag is another good defensive position. When direct assaults are not successful here, the US team should consider flanking this flag from the alleys to the east or west. While most of the action occurs at this position early during the round, it’s important for the RU team to spread their defensive efforts among the other flags as well—don’t expect the US team to grind against this control point forever.
B: Main Street
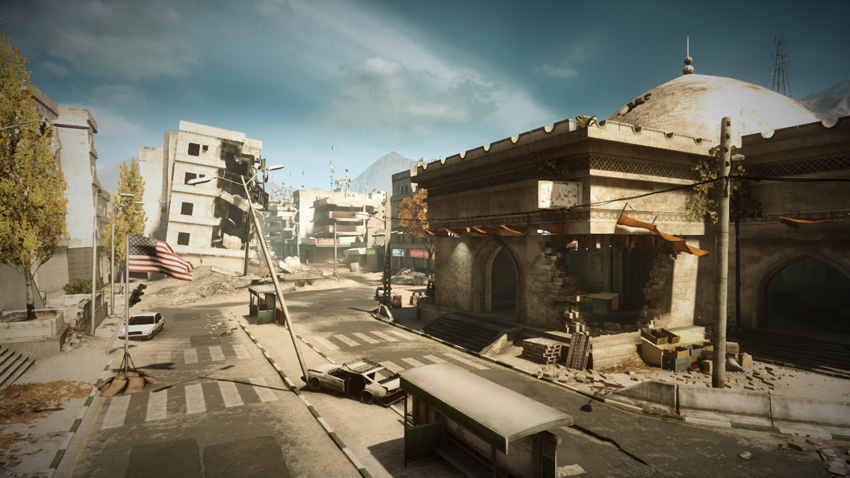
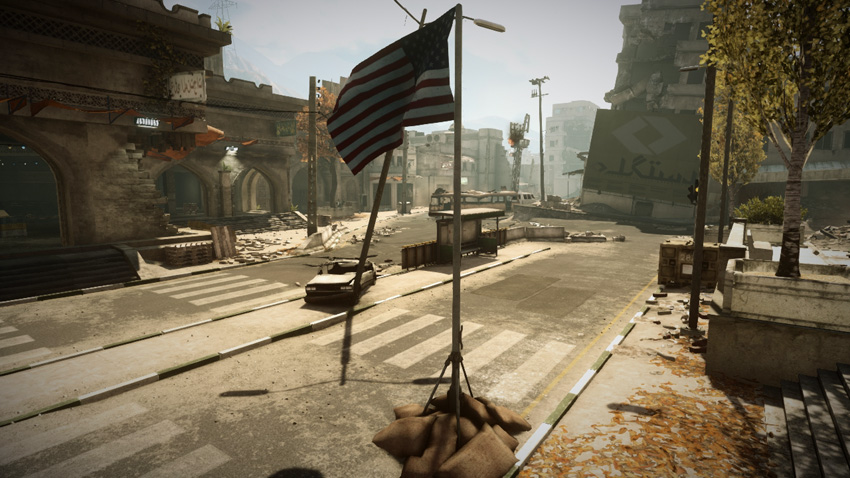
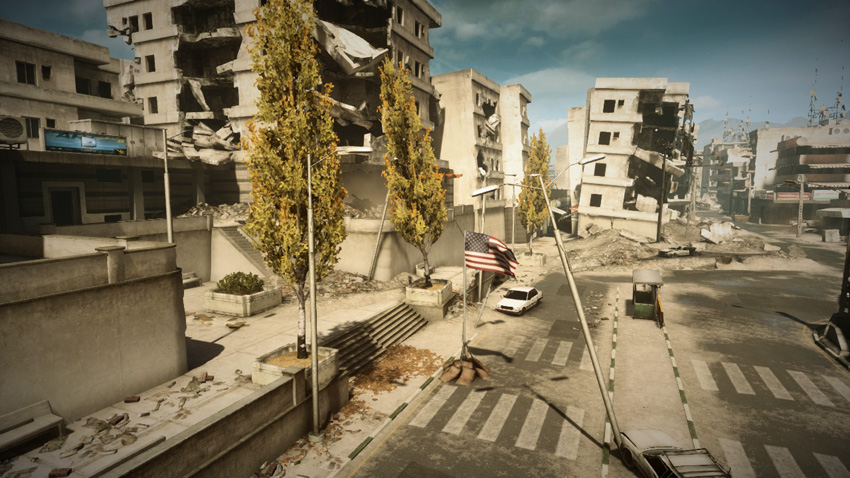
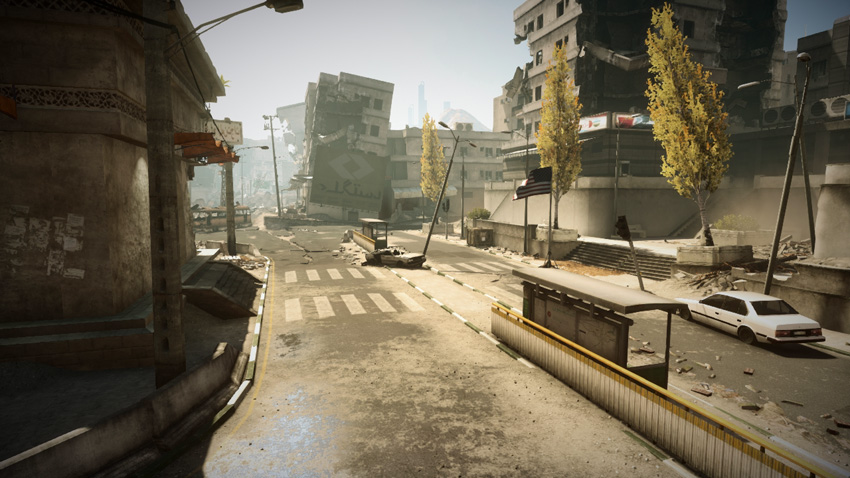
This control point is situated along the street on the east side of the map. The flag is planted next to the street’s eastern sidewalk and is thus easy for both infantry and vehicles to capture. However, the lack of cover within the flag’s capture radius can make capturing or contesting this flag dangerous. Defending snipers posted along the street to the north or south have a clear view of the flag and anyone who approaches it. The damaged buildings to the east or the abandoned souk to the west offer even more overwatch positions for defenders. Therefore consider capturing this flag from within the confines of a vehicle. At the very least, park a vehicle next to the flag and use it for cover. If no vehicles are available, saturate the flag with smoke and hope the smoke screen lasts long enough for your squad to capture the flag—once the smoke dissipates, you’re sitting ducks. Since vehicle traffic is common here, defenders should consider countering with mines and rocket launchers. Vehicle traffic arrives from the north and south while most infantry attacks originate from the Square (C) to the west.
C: Square
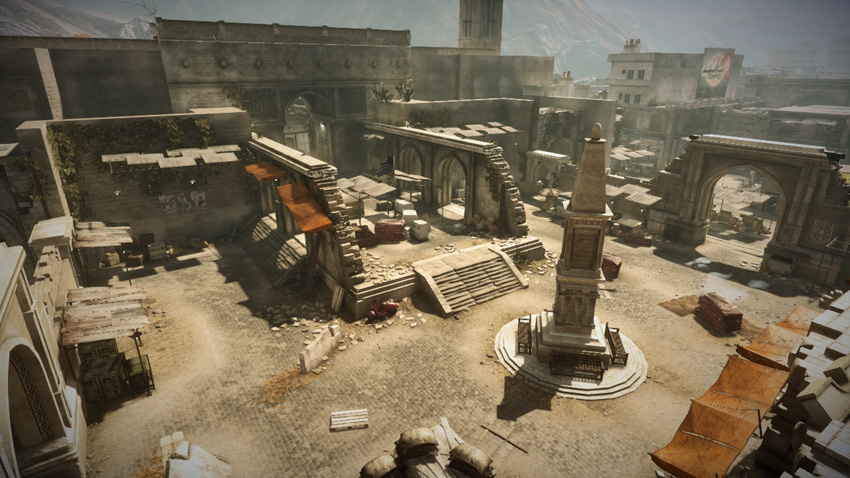
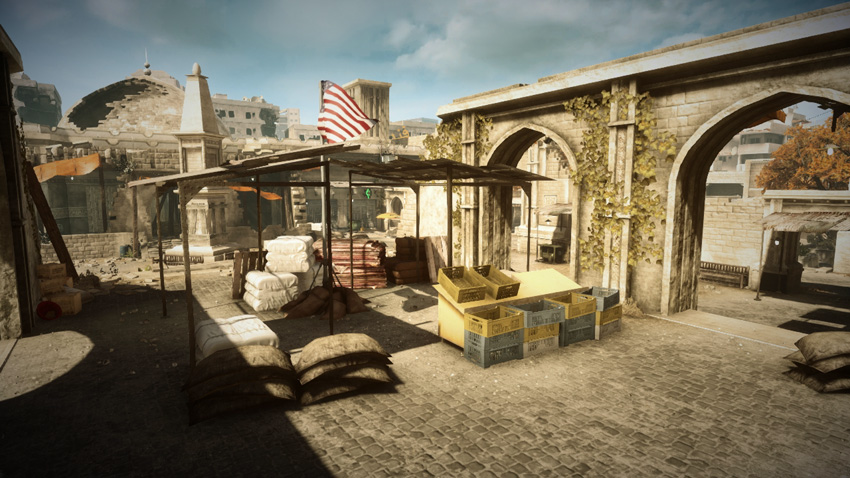
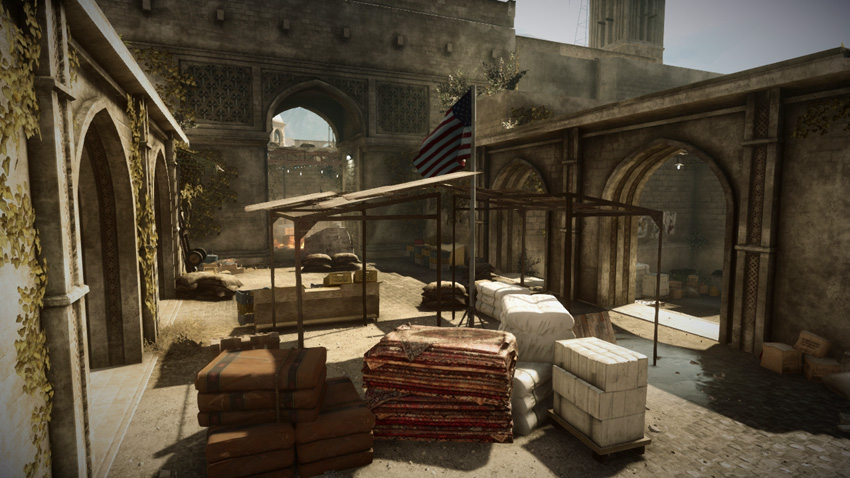
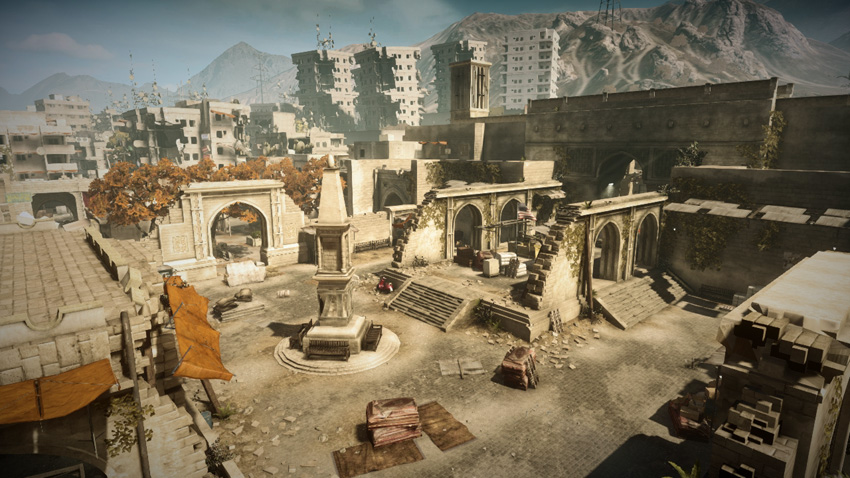
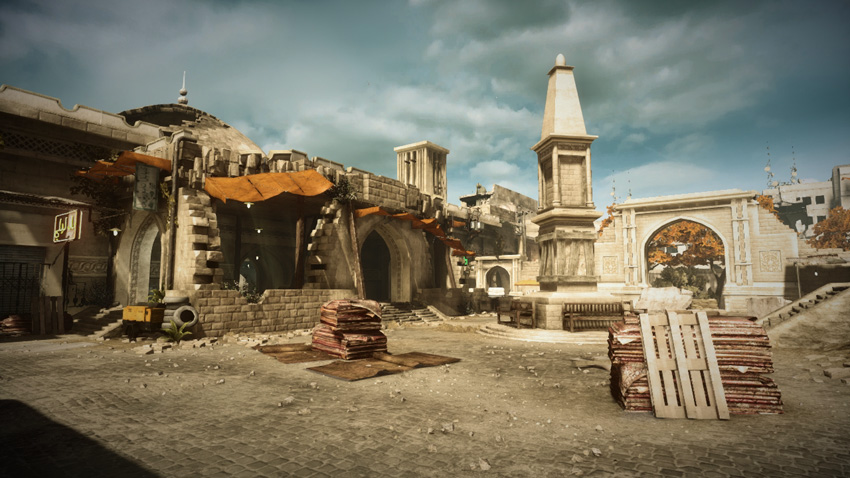
The Square (C) is situated in the dead-center of the map, so it’s one of the most contentious, high-traffic locations in every match. What was once a bustling market is now a dangerous kill zone with troops from both sides approaching the flag from all directions. The flag is near an abandoned market stall on the west side of this central plaza. Here troops can find some cover among the stacks of rugs and other goods that were left behind—crouch or drop prone behind these objects when attempting to convert the flag. The narrow alleys leading to this control point make it impossible for vehicles to approach the flag. So fighting here is conducted entirely by infantry. Since the flag can be approached from all directions, defending this position can be problematic. So pay close attention to which flags are held by the opposing team to predict which direction attackers are most likely to approach from. There are plenty of hiding spots surrounding the flag, so always approach this area with extreme caution—consider launching a MAV or deploying T-UGS motion sensors to detect enemy movement.
D: Park
Control Point Assets
| US Control | RU Control | Respawn Time |
|---|---|---|
| Rhino (1)* | Rhino (1)* | 50 sec. |
| Phoenix (1)** | Barsuk (1)** | 50 sec. |
* = Conquest Assault only
** = Conquest Assault 64 only
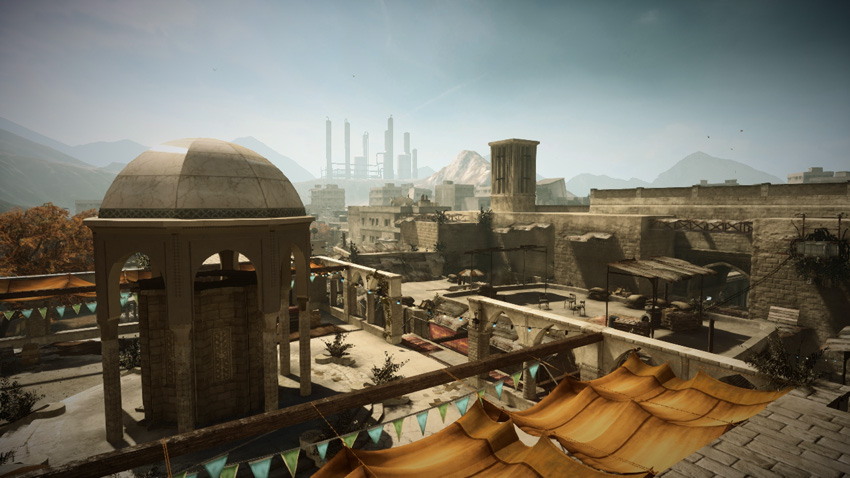
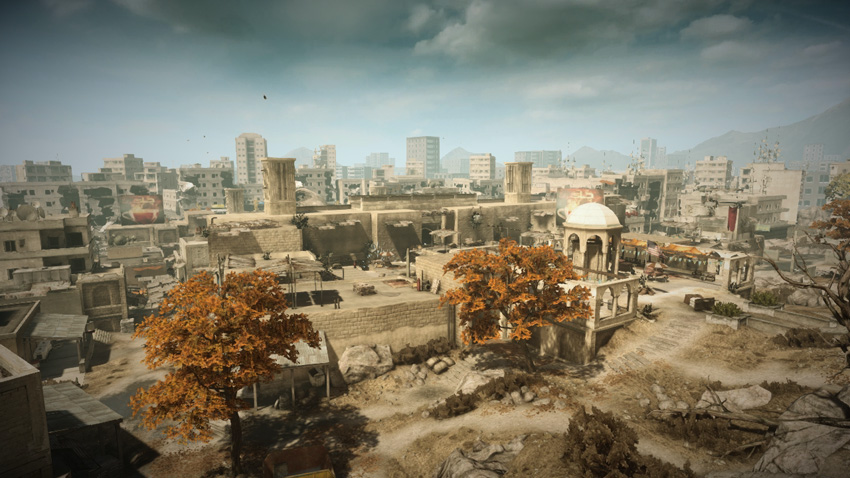
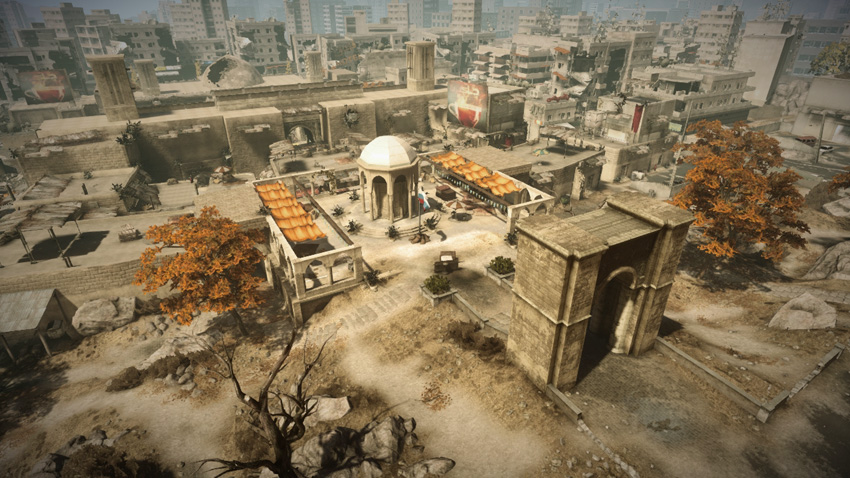
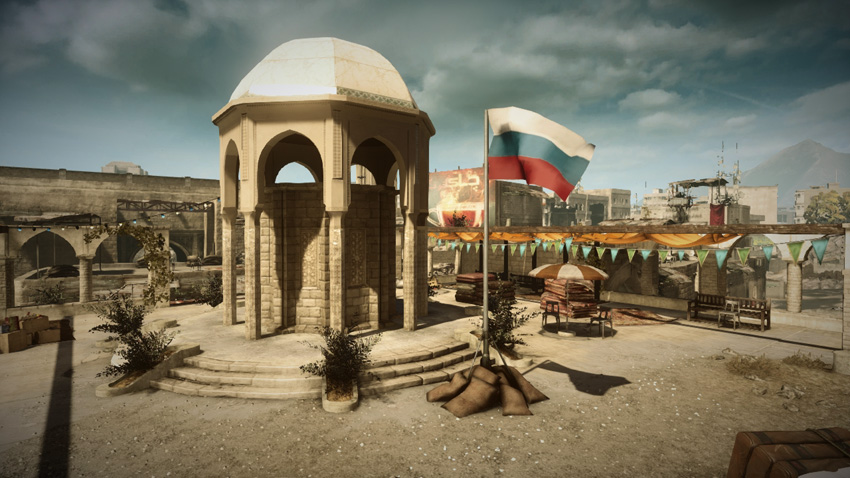
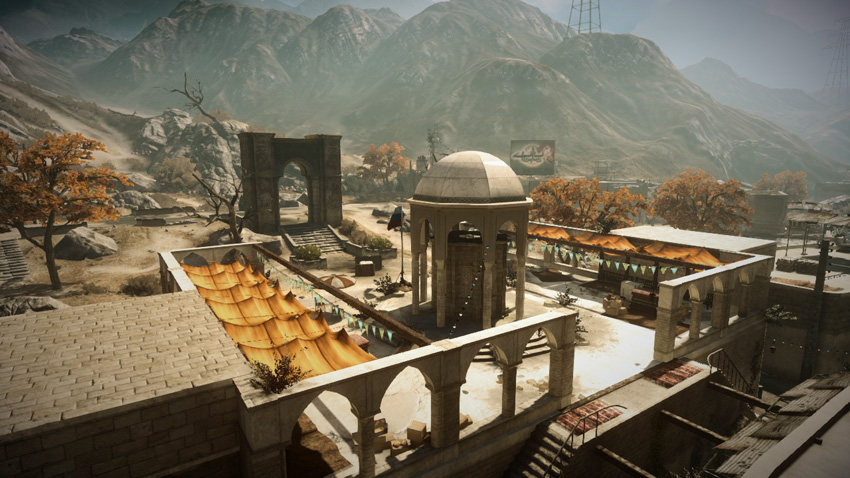
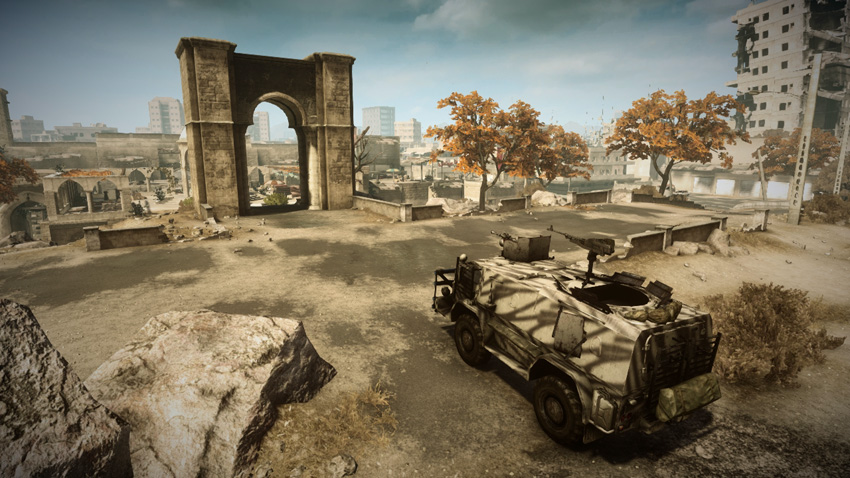
The Park (D) is located on the west side of the map and spawns a single vehicle for each team. During the small variant of this game mode, both teams gain access to a Rhino here. In the larger Conquest Assault 64 variant, this control point produces a Phoenix for the US team and a Barsuk for the RU team. In both game modes, this control point produces the only vehicle for the RU defenders. As a result, they should take extra care to defend this location. Gaining access to a vehicle makes it much easier to attack (and defend) the perimeter control points like the Courtyard (A), Main Street (B), and Suburb (E). The flag here is located in the middle of a small plaza. The domed structure similar to a gazebo on the east side of the flag serves as the only suitable form of cover within the flag’s capture radius. The Park (D) sits on raised terrain and is only accessible from the east and west sides. The narrow stairways on the east side are a popular route for infantry approaching from the Square (C)—Claymores are effective here. But attacks along the road on the west side are more common. With attackers funneling in from the east and west, defenders should watch the flag from the north or south where they’re less likely to be flanked.
E: Suburb
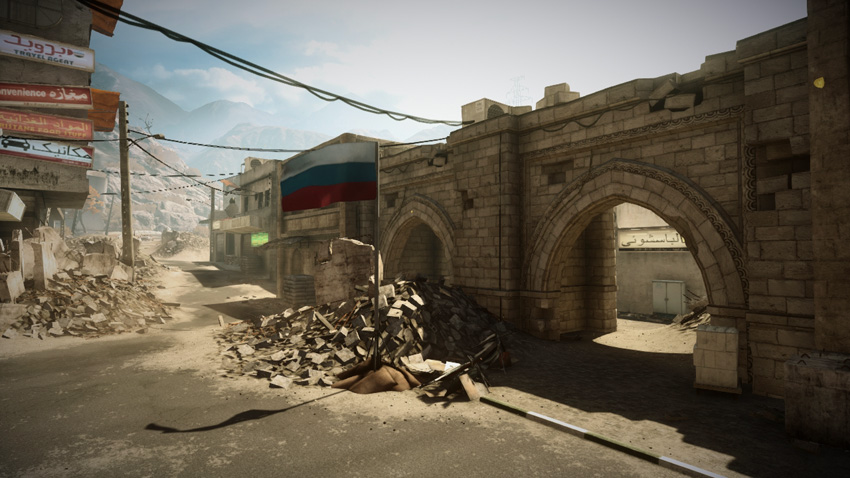
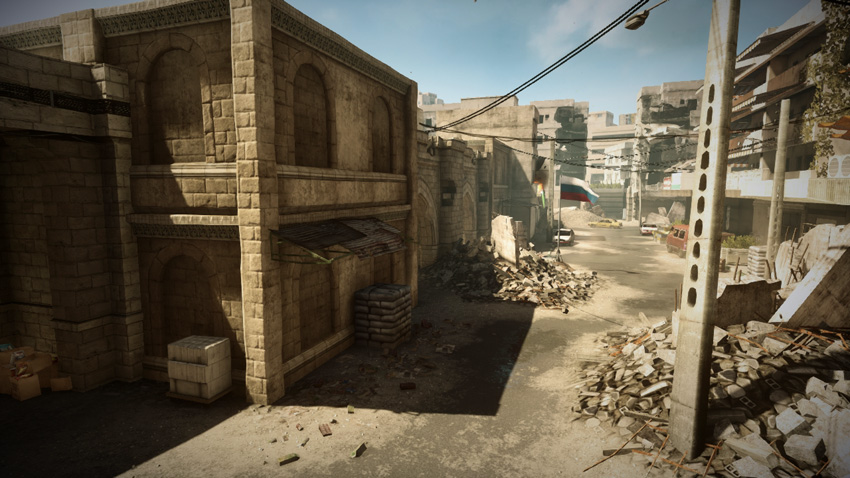
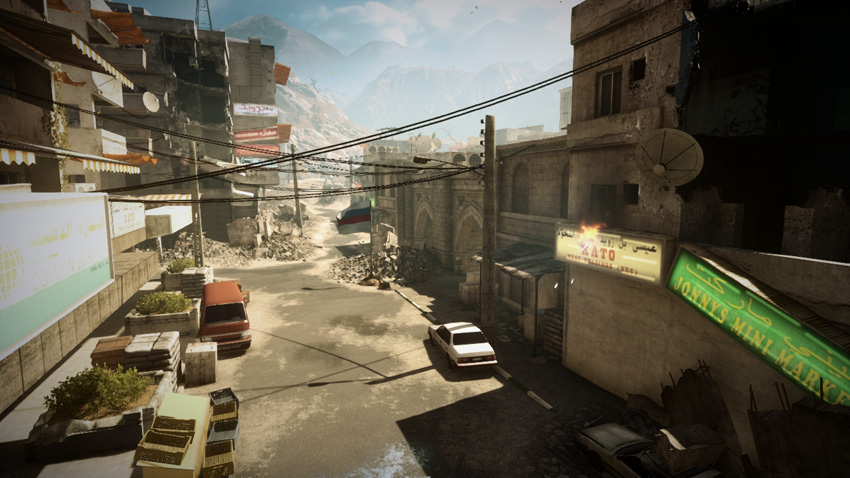
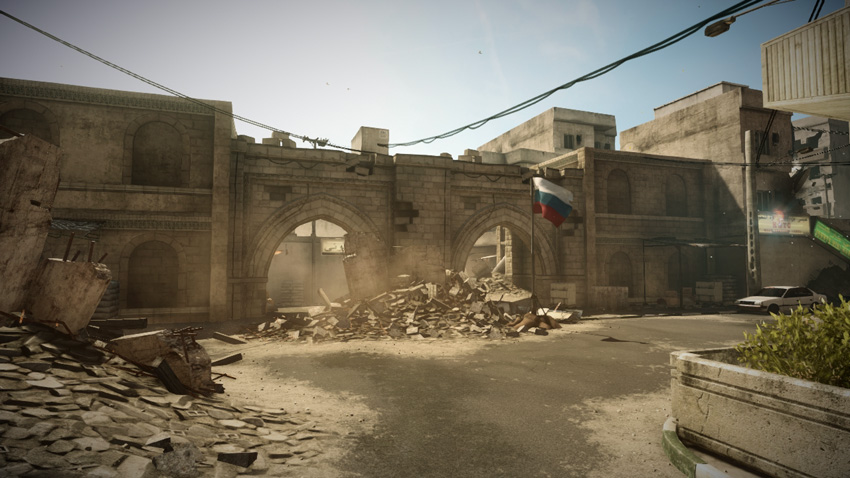
This control point is positioned along the street on the south side of the map. Just because this flag is the farthest from the US Base doesn’t mean the RU team should leave it undefended. Utilizing the vehicle(s) spawned at their base, the US team can stage early round breakout attacks against this control point and acquire a spawn point to the south. This gives them the ability to apply pressure on the remaining control points from both directions and puts the RU team at a serious disadvantage. In this sense, holding the Suburb (E) is sometimes more critical than clinging on to the Courtyard (A). So when playing as the RU team, make sure at least one squad holds down this flag at all times. Like the Main Street (B) and Park (D) control points, this flag is located next to a street so vehicle attacks are common—engineers armed with mines and rocket launchers are the best way to counter such attacks. Infantry attacks are most likely to come from the dual archways on the north side. The flag is best monitored from the east or west sides of the street. It’s also possible to defend the flag from the rubble-filled street to the south—this area is only accessible by the RU team.
Rush
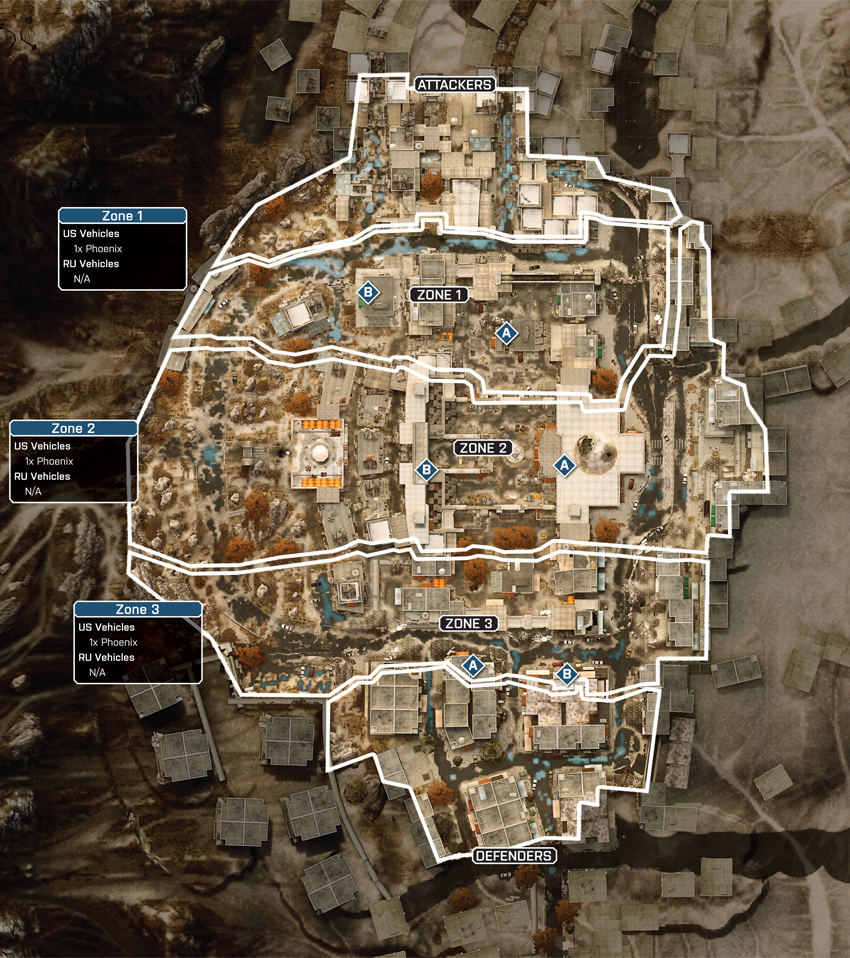
This is a relatively small-scale Rush battle, spread across three zones. With only one vehicle present on the map at any given moment, this is largely an infantry battle, as the US attackers cut a swath through the battlefield from north to south. While the battle progresses in a linear north-south fashion, most of the map is open for exploration, allowing for flanking maneuvers. This requires both teams to stay on their toes and consider alternative paths to the six M-COM stations. The attacking team is best served by fielding assault and support troops as well as a few recon soldiers equipped with MAVs. Recon troops are even more essential for the defenders given their ability to deploy T-UGS motion sensors. These sensors are ideal for detecting flanking attacks. Likewise, defenders may wish to keep some engineers on reserve to deal with the US team’s Phoenix. Most of the fighting takes place at close to intermediate range, so choose your loadout accordingly—assault rifles and carbines are the most versatile options.
Zone 1: Courtyard
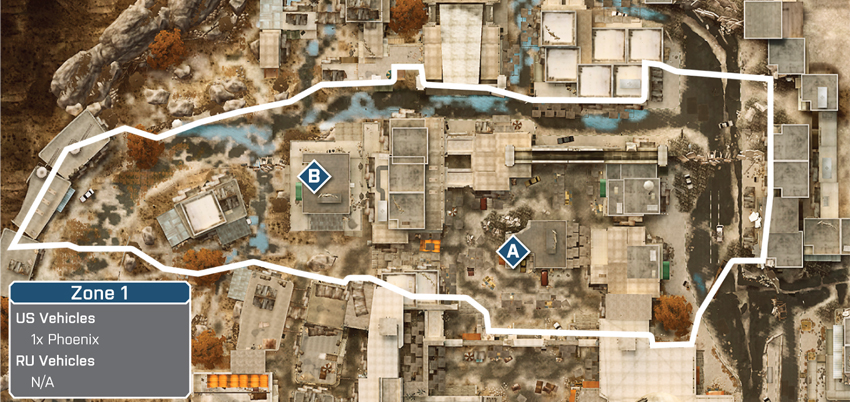
US Deployment
Deployment Area Assets
| Name | Phoenix |
|---|---|
| Quantity | 1 |
| Respawn Time | 30 sec. |
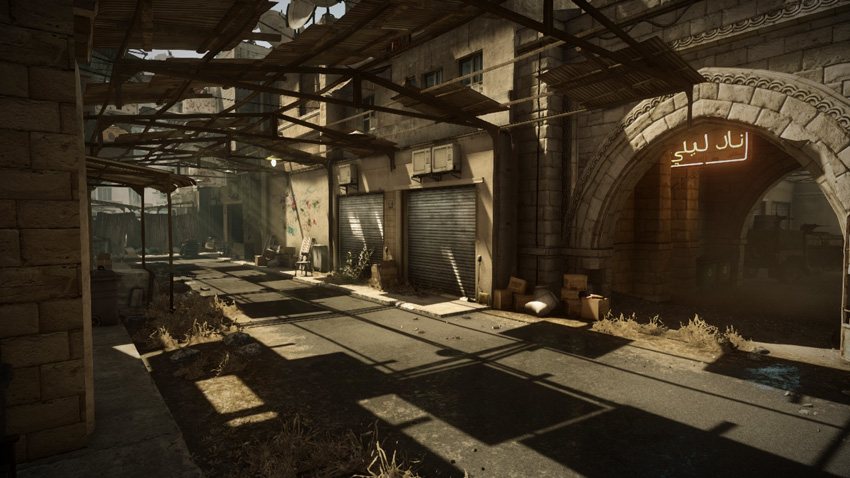
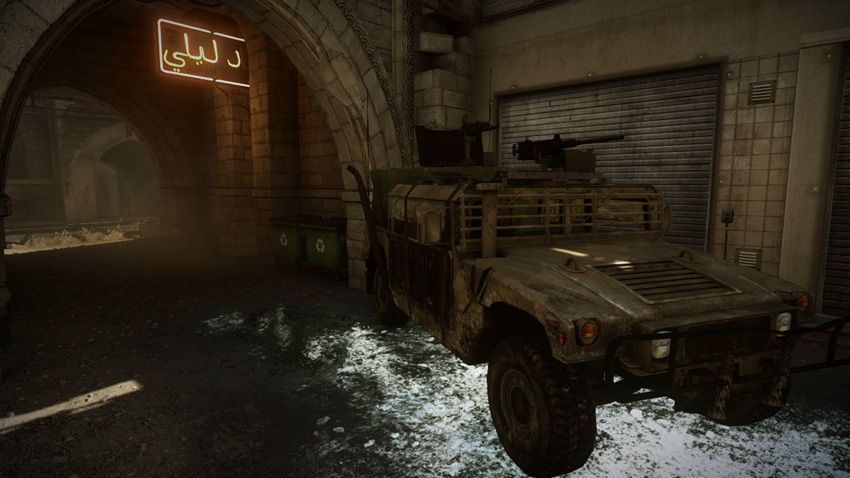
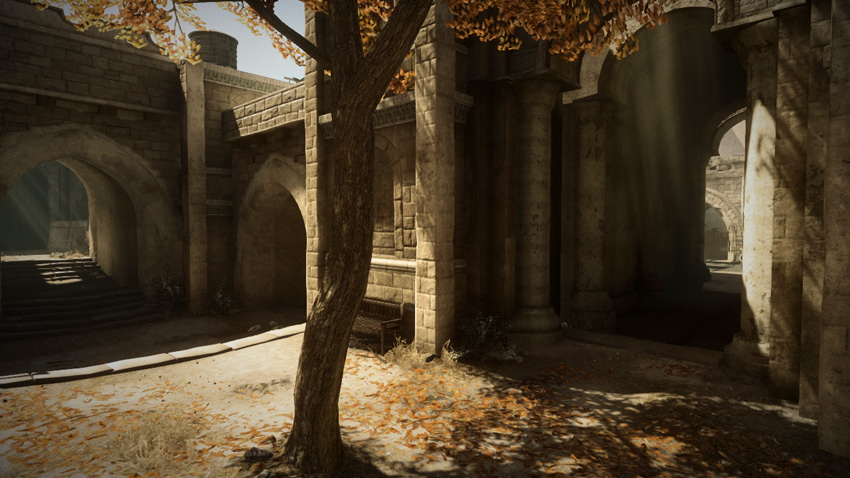
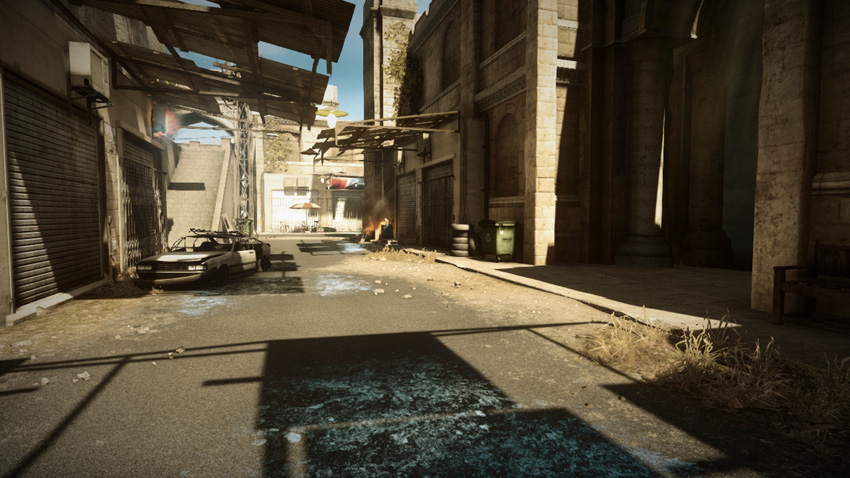
At the start of the battle the US team deploys from the narrow streets and alleyways on the north side of the map, along with a single Phoenix. The cramped, urban terrain surrounding the objectives in this zone make the Phoenix less effective as a transport vehicle. Instead, deploy it along the street, north of the objectives, and use its weapons to suppress the defenders. Providing fire support here can help friendly troops cross the street without coming under constant fire. Keep the Phoenix positioned to the east or west and avoid direct contact with enemy infantry to prevent getting taken out with rocket launchers or C4. While the Phoenix provides covering fire, the rest of the team should make an aggressive push toward the objectives early during the match, before the defenders can adequately secure them. Make a move for M-COM Station B first, then utilize Radio Beacons to maintain a presence nearby before attacking M-COM Station A.