
Battlefield 3 DLC Guide — Premium Maps Aftermath Battlefields
Markaz Monolith
Markaz Monolith
Conquest
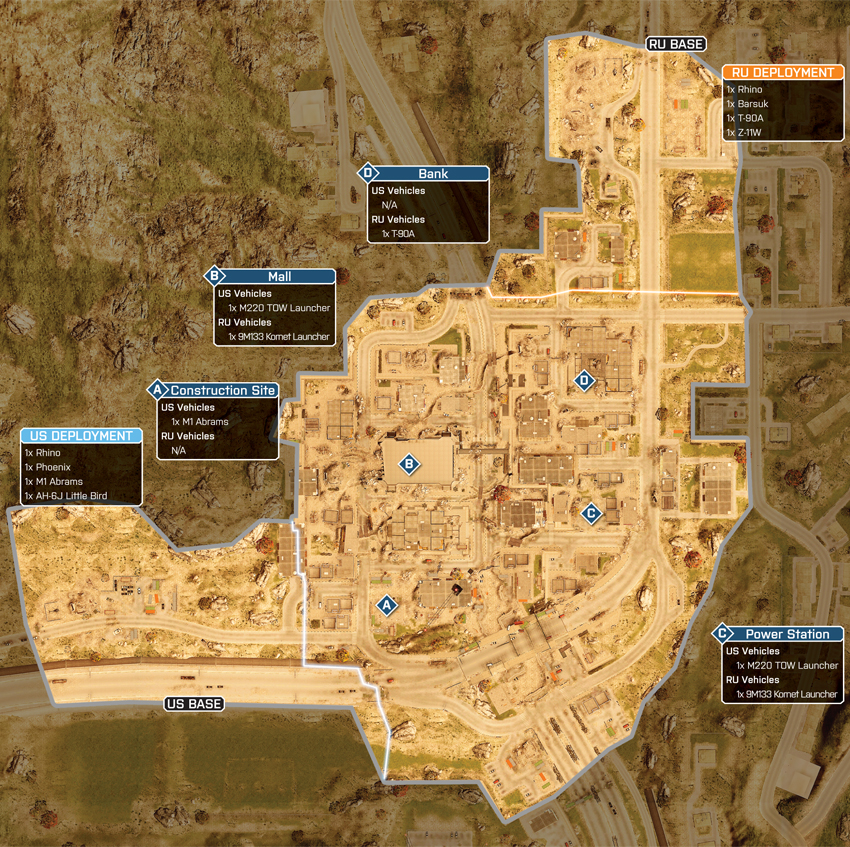
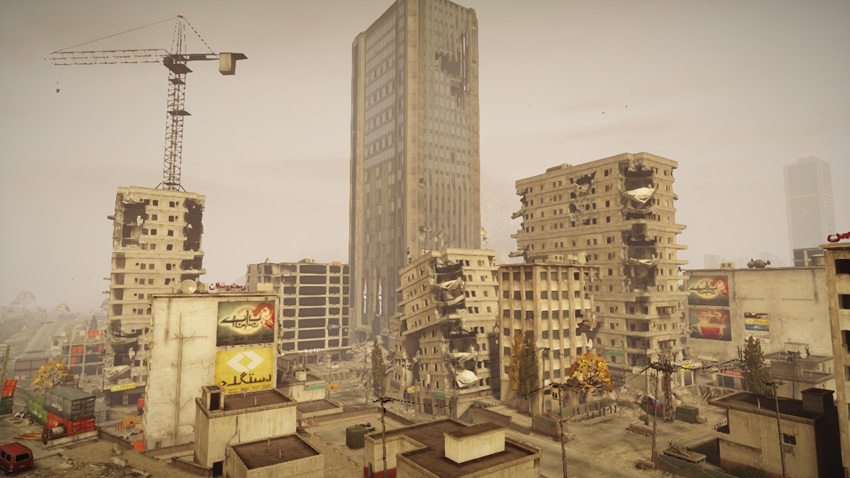
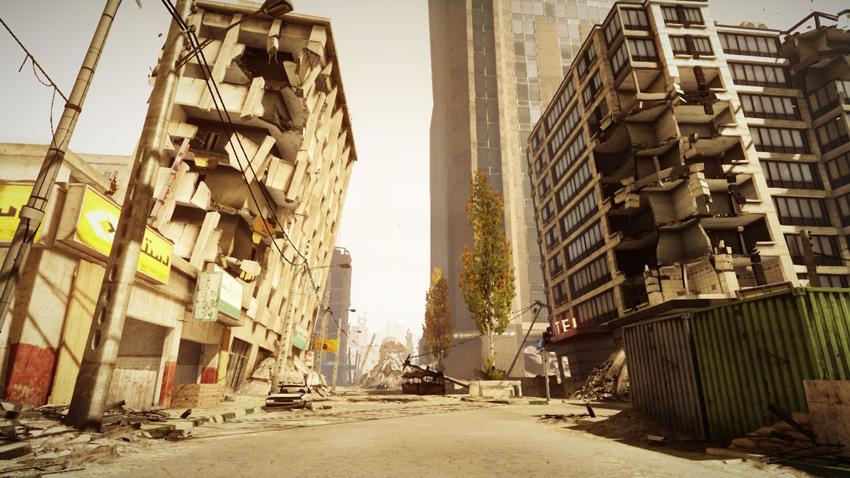
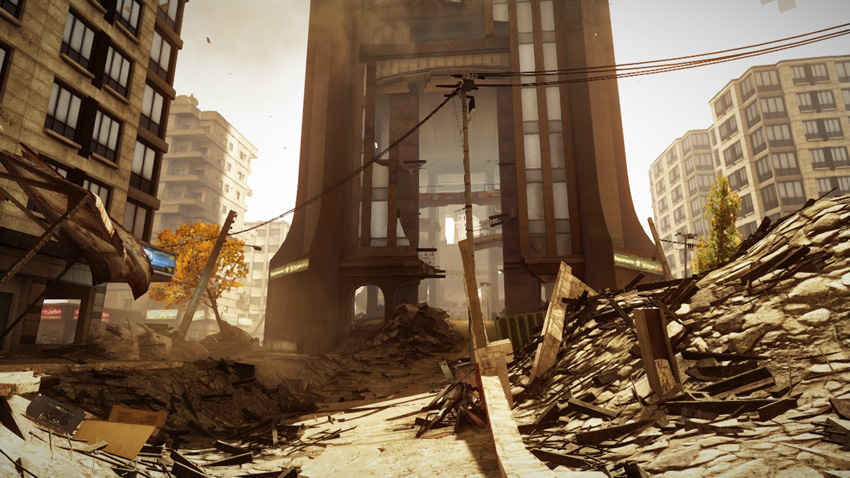
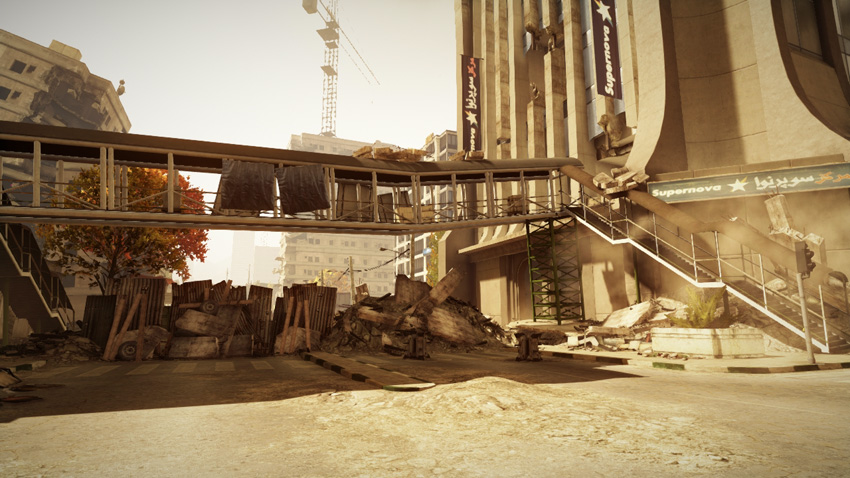
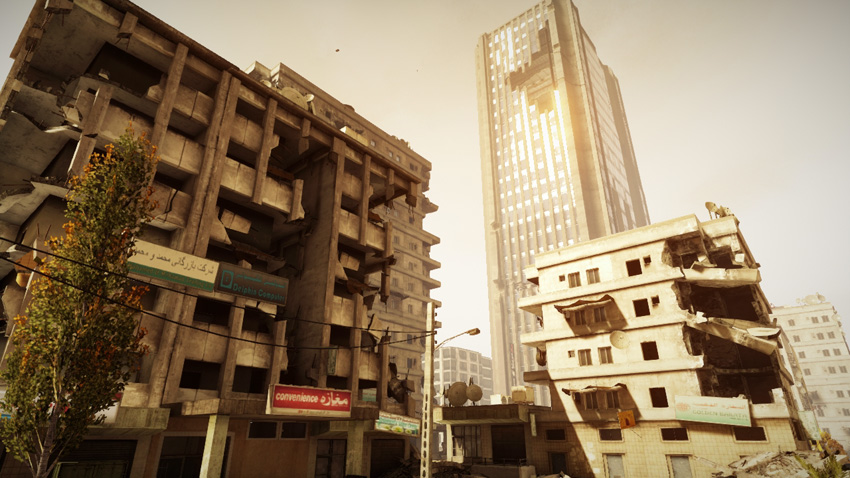
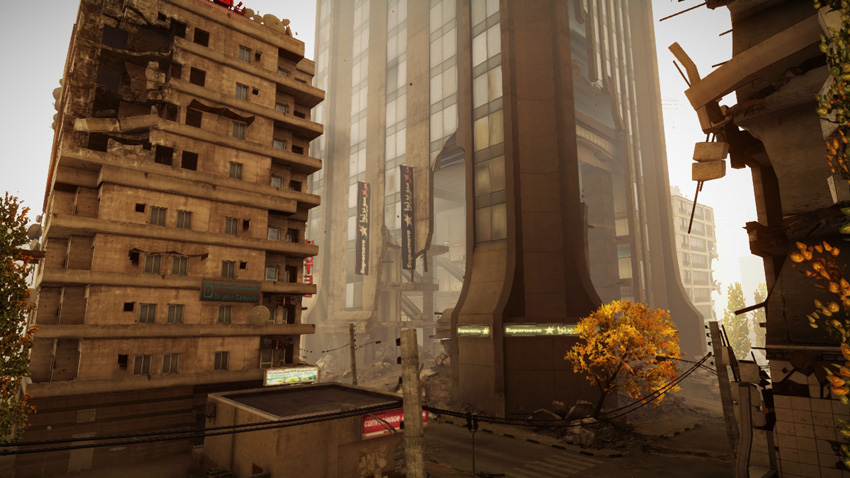
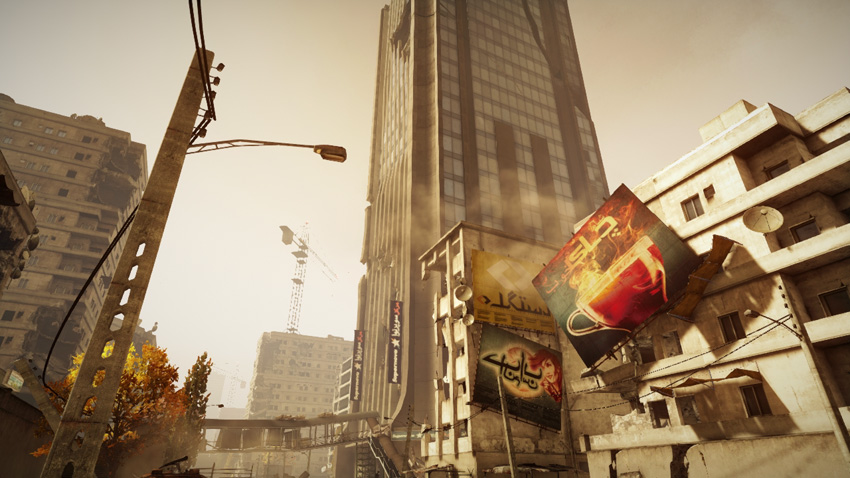
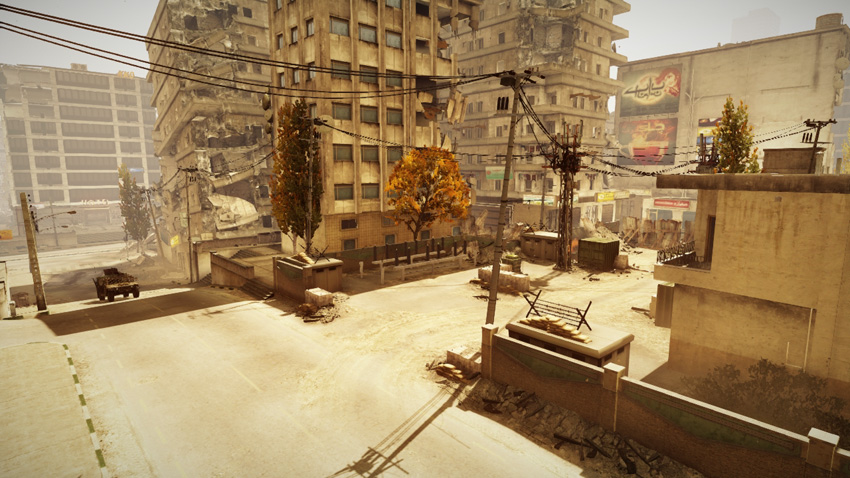
This once-bustling commercial district is now the site of an intense conflict, with the US team pushing in from the southwest while the RU team advances from the northeast. With only four flags up for grabs, the battle can sometimes result in a stalemate, with the US controlling the Construction Site (A) and Mall (B) on the west side and the RU team holding the Power Station (C) and Bank (D) on the east side. To avoid a grinding battle of attrition, both sides should attempt to capture and hold a minimum of three flags to initiate a drain on the opposing team’s ticket count. While there are plenty vehicles available on this map, the heavy lifting is usually accomplished by infantry given the flag placement and difficult, urban terrain. At any given time there can be up to four tanks roaming these city streets, so squads from both sides should field a few engineers to counter these threats. The scout helicopters are most effective as troop transports, particularly during the opening moments of the match. But these helicopters can also help knock out enemy tanks, particularly if armed with Guided Missiles.
US Base
Base Assets
| Name | Rhino | Phoenix | M1 Abrams | AH-6J Little Bird |
|---|---|---|---|---|
| Quantity | 1 | 1 | 1 | 1 |
| Respawn Time | 20 sec. | 20 sec. | 40 sec. | 50 sec. |
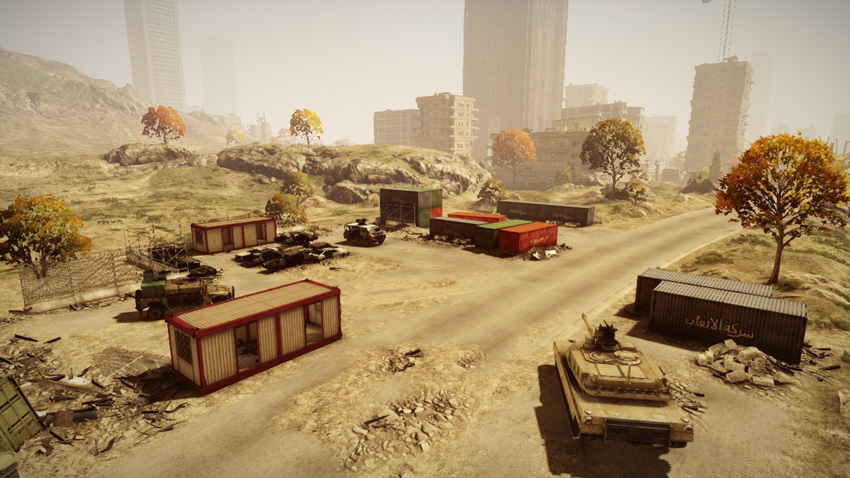
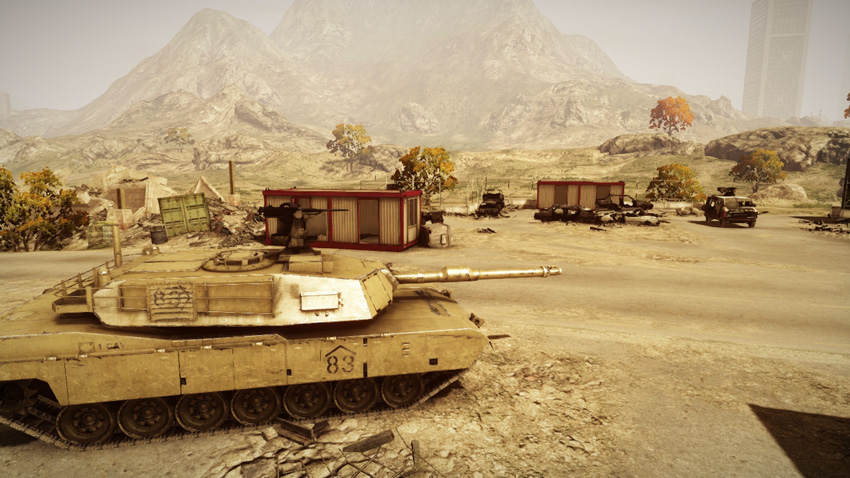
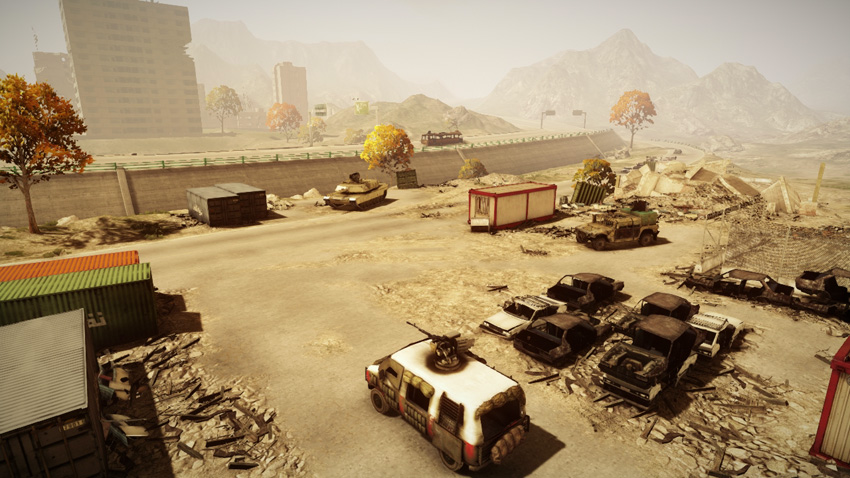
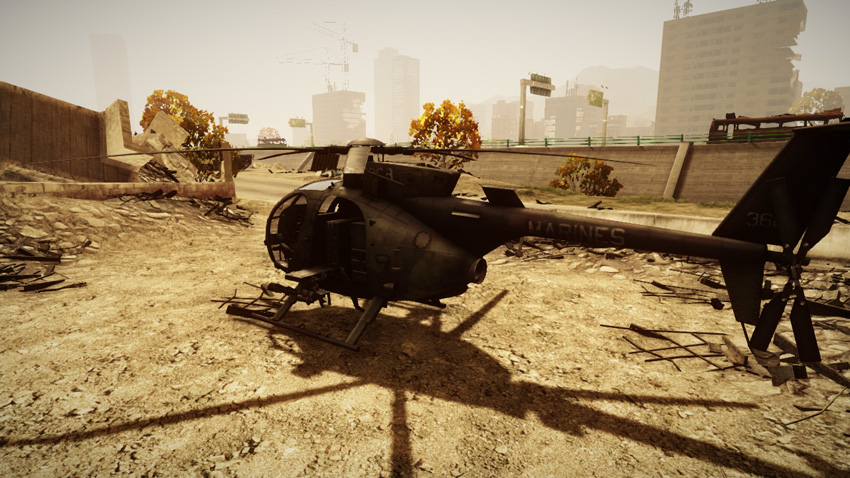
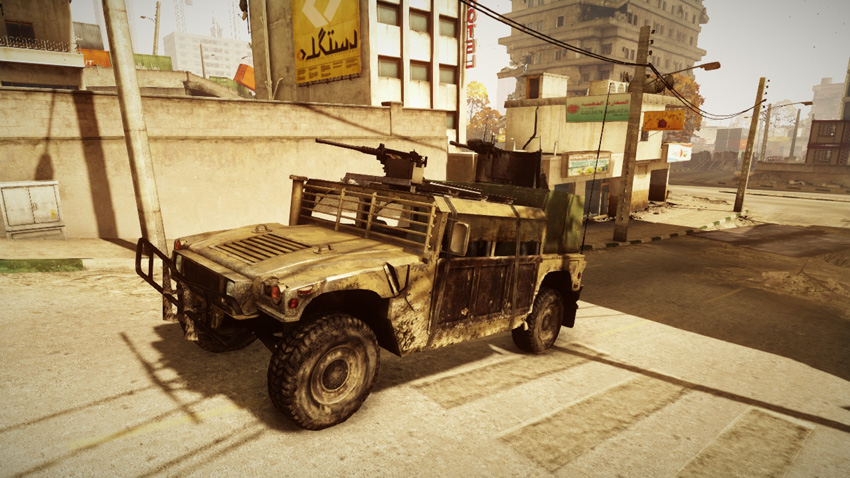
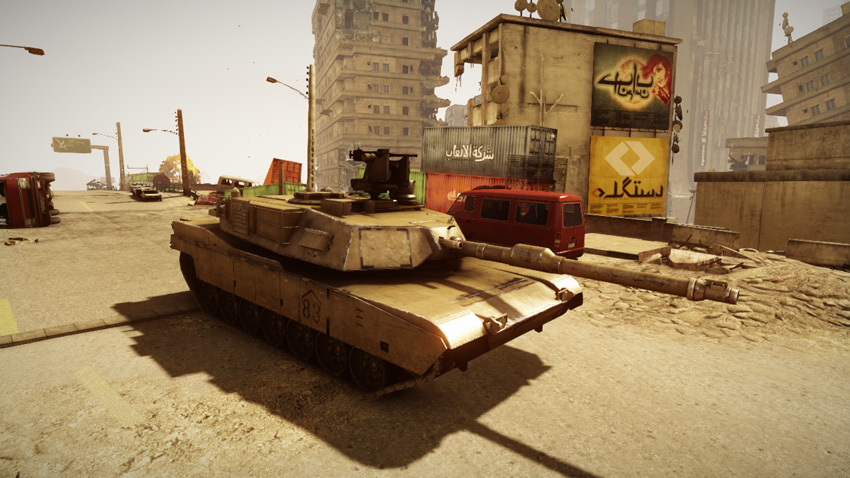
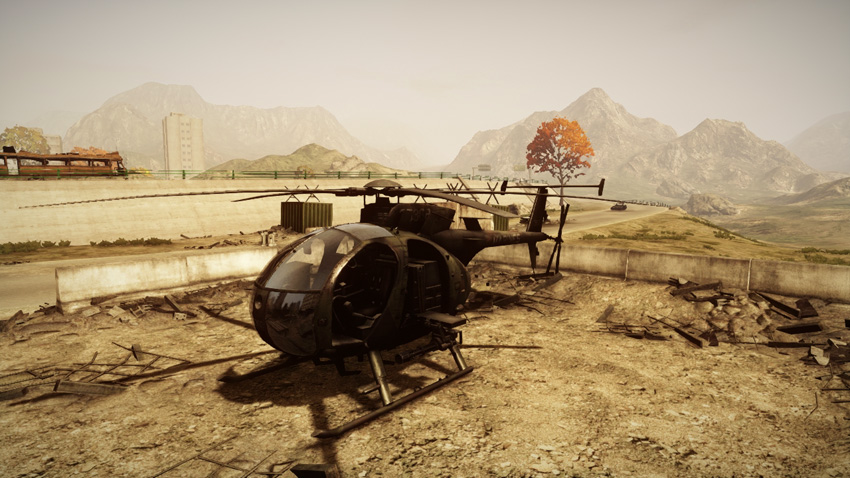
The US team deploys from the southwest corner of the map, on the city’s outskirts. When starting the match here, utilize every passenger seat in the four vehicles to transport troops into the city’s center. Use the Rhino and Phoenix to rush the Construction Site (A) and Mall (B) while the AH-6J flies troops to the distant Power Station (C). If your team can lock down three control points at the start of the battle, you can assume a defensive posture and simply guard those flags for the remainder of the match while bleeding the RU team’s ticket count. While the US Base is off limits to the RU team’s ground forces, watch for attacks by their Z-11W scout helicopter. This location spawns the bulk of the US team’s vehicles making them tempting strafing targets for enemy pilots. The machine guns mounted on the Phoenix, Rhino, and M1 Abrams are all capable of dishing out some damage against these airborne threats. But engineers armed with Stinger missiles are even more effective for deterring such attacks.
RU Base
Base Assets
| Name | Rhino | Barsuk | T-90A | Z-11W |
|---|---|---|---|---|
| Quantity | 1 | 1 | 1 | 1 |
| Respawn Time | 20 sec. | 20 sec. | 40 sec. | 50 sec. |
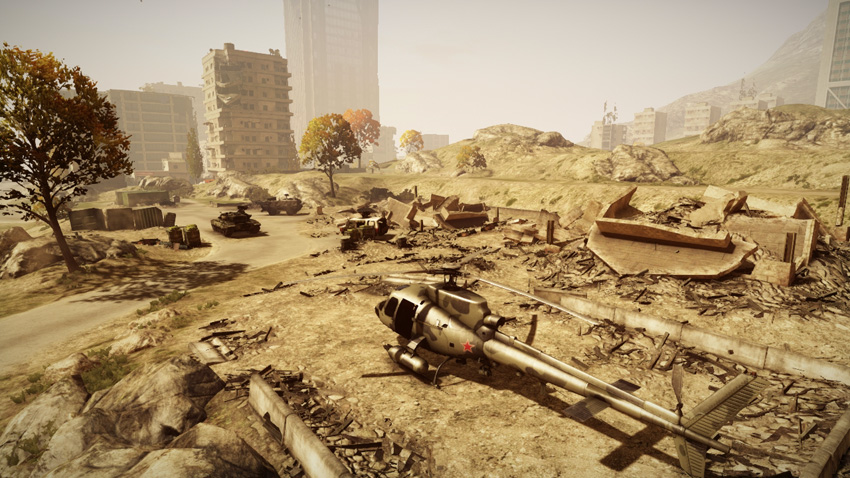
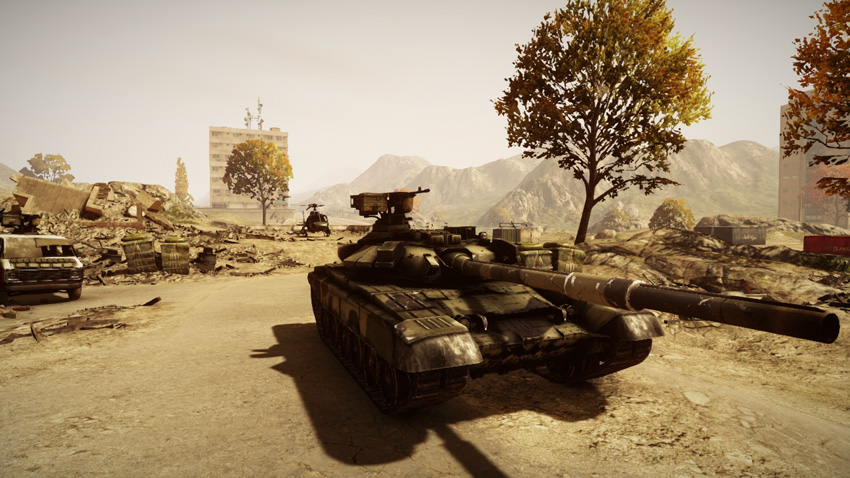
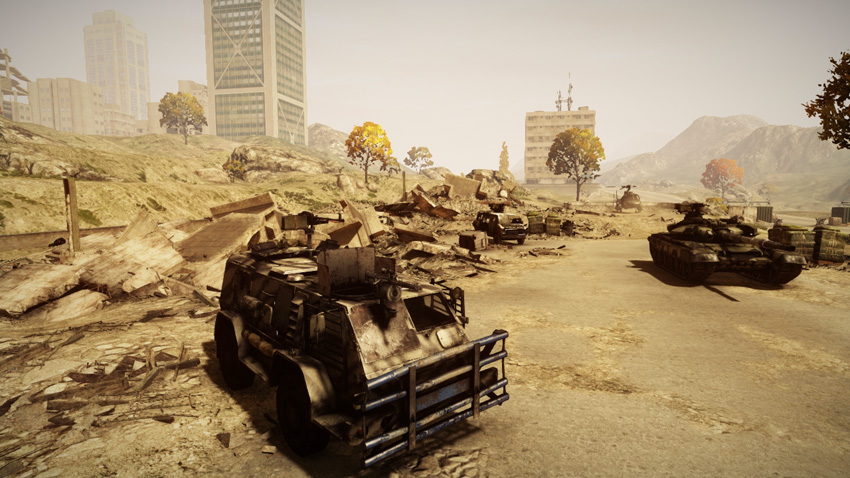
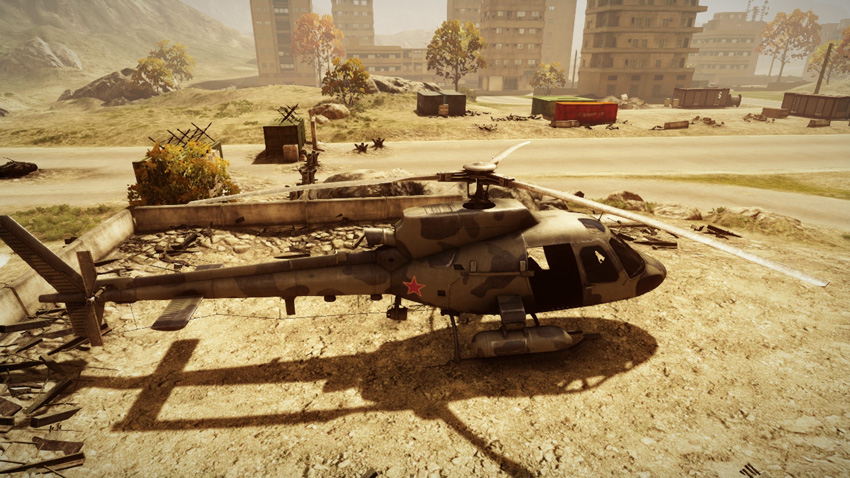
The RU team’s base is located in the northeast corner of the map and spawns a wide mix of vehicles that are ideal for rushing neutral control points at the start of the match. Like the US team, the RU team must make the most of their vehicle occupancies to transport the team into the city. So don’t race off into the city until all the seats in your vehicle are filled. The Rhino and Barsuk are perfect for moving troops to the Bank (D) and Power Station (C). Meanwhile, load the Z-11W scout helicopter with infantry and drop them off at the Mall (B) before the US team can take control of this critical control point. Given the large number of vehicles spawned at the RU Base, it’s a potential target for US helicopter pilots. While it’s not worthwhile to post defenders here full-time, be prepared for the possibility of strafing attacks when spawning here. Even with this looming threat, it’s still important to deploy here so you can transport vehicles into the city, such as the T-90A. These vehicles won’t do your team any good collecting dust back at your base, so make an effort to spawn here and move them to the front lines.
A: Construction Site
Control Point Assets
| US Control | RU Control | Respawn Time |
|---|---|---|
| M1 Abrams (1) | — | 50 sec. |
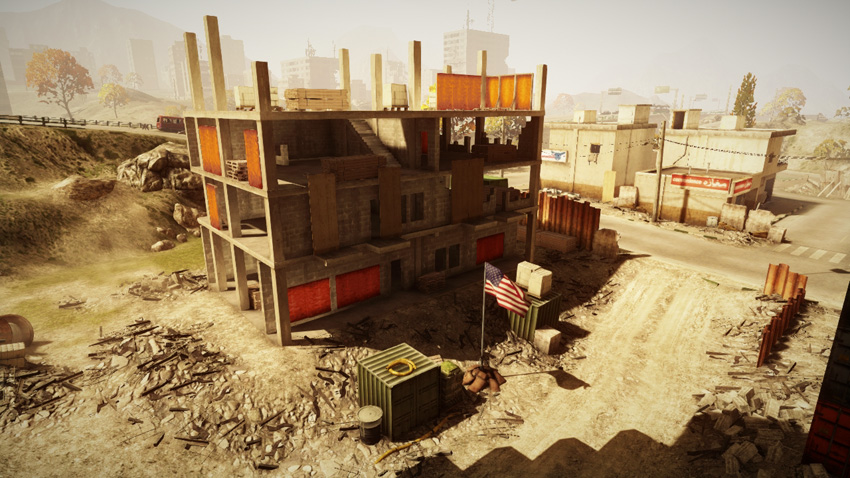
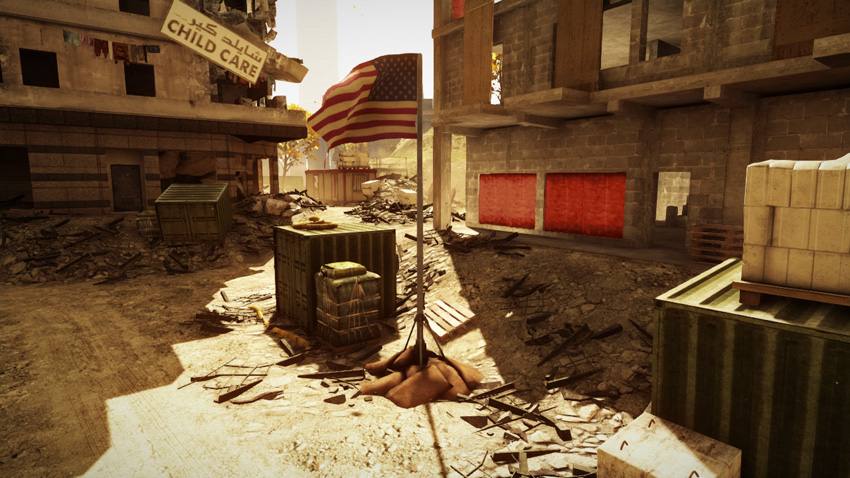
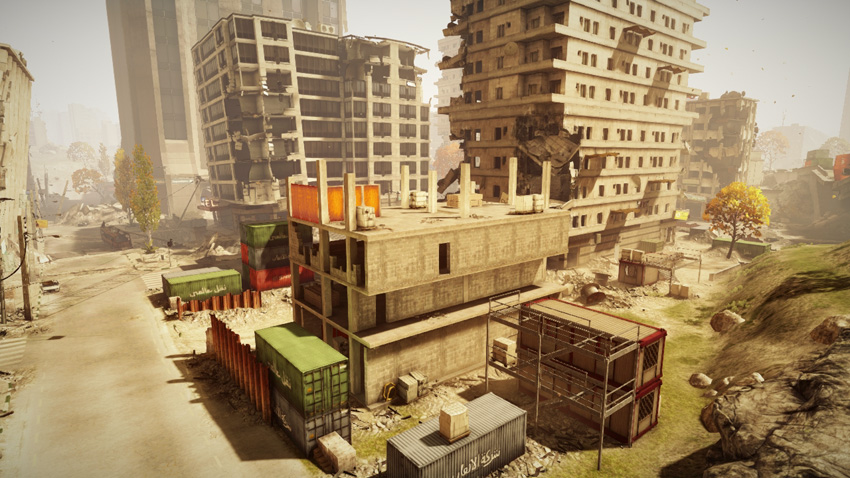
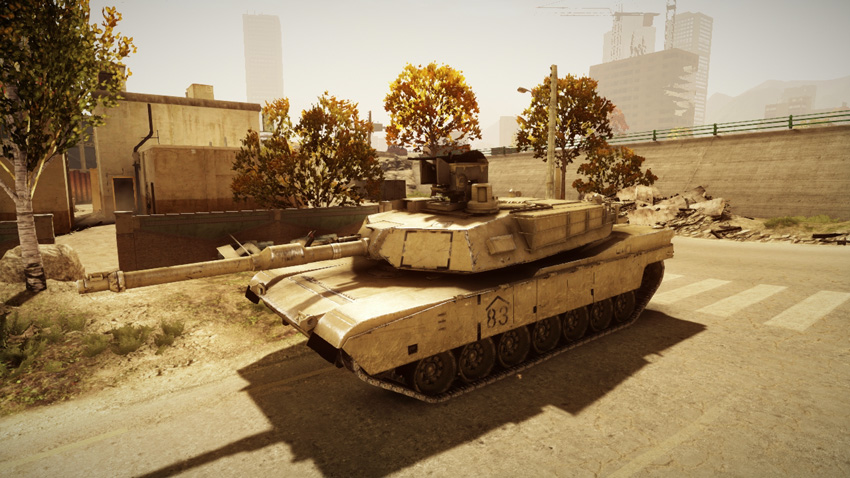
Located only a few meters from the US Base on the west side of the map, the Construction Site (A) serves as a gateway into the city for the US team. Given its close proximity to the US Base, this control point is likely to be captured and controlled by the US team throughout the battle. But the US team shouldn’t take this flag for granted since it produces an extra M1 Abrams that spawns in the street to the west—the control point produces no vehicles for the RU team. The flag here is positioned along a dirt road that cuts through the site, so it’s easy for both infantry and vehicles to capture. The green, cube-shaped shipping containers flanking the flag offer plenty of cover for infantry. However, the partially constructed building on the south side of the flag is a popular hiding spot for defenders. So when attacking here, consider making a quick sweep of this structure before attempting to convert the flag. Recon troops should consider dropping a Radio Beacon inside this building in an effort to maintain a presence at this location, even if the flag falls into enemy hands.
B: Mall
Control Point Assets
| US Control | RU Control | Respawn Time |
|---|---|---|
| M220 TOW Launcher (1) | 9M133 Kornet Launcher (1) | 10 sec. |
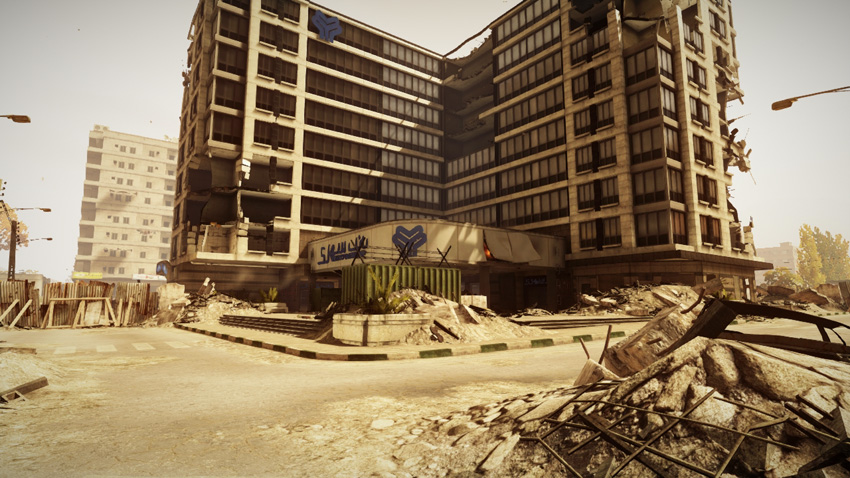
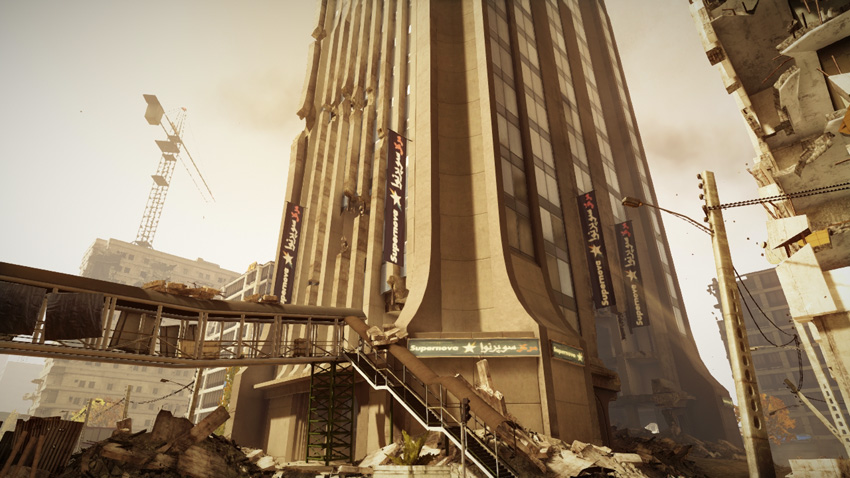
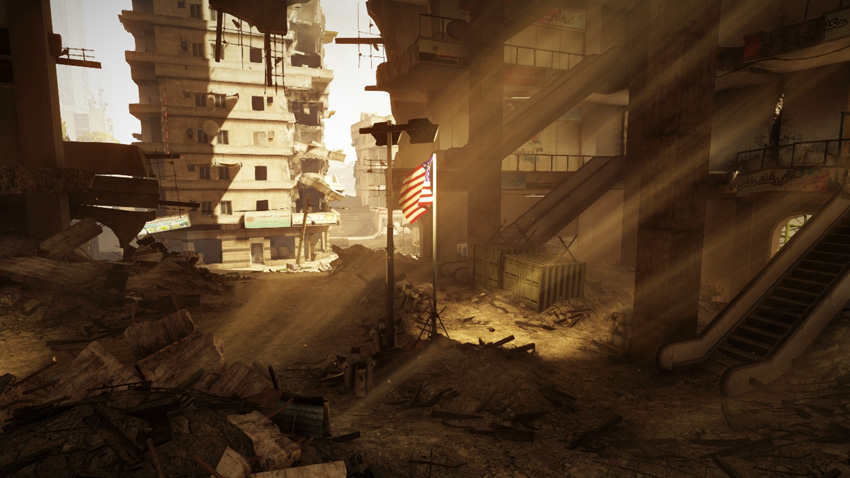
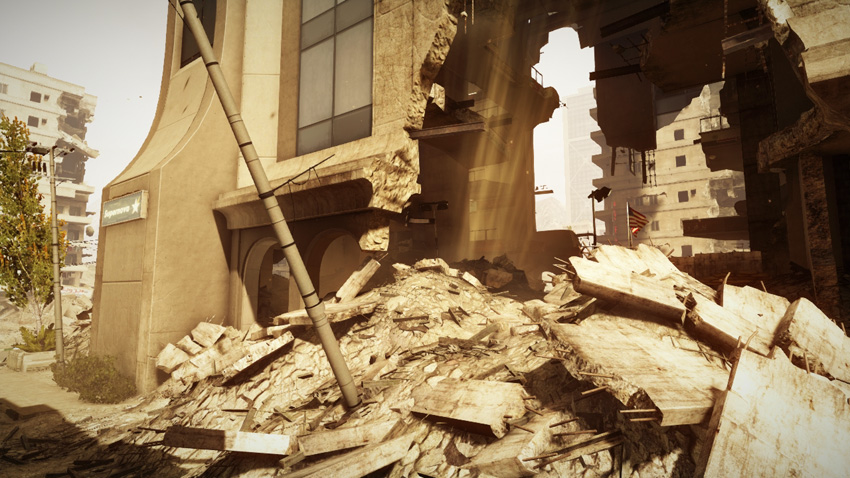
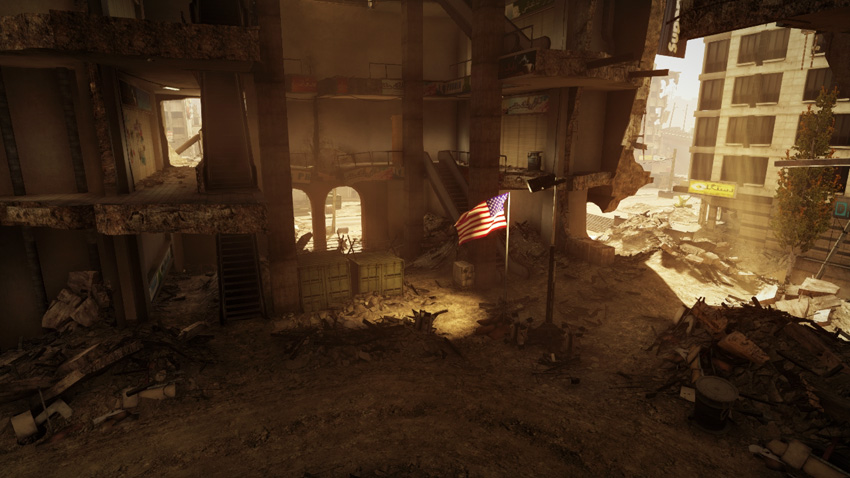
The map gets its name for this monolithic shopping mall on the city’s west side. This structure dwarfs all other buildings in the neighborhood, so it’s easy to spot no matter where you are on the map. Unfortunately, the earthquake has heavily damaged this source of local pride, leaving gaping holes in each of the four perimeter walls. This makes it possible to access the building’s interior from any direction. A makeshift dirt road has also been carved through the center of the building and it allows vehicle access from the north and west sides. With so many entry points, the flag, located on the ground floor, is easily accessed by infantry and vehicles. The capture radius of the flag is quite large, and even allows troops on the second floor promenade to capture and contest it. The second, third, and fourth floors of the structure are accessible to infantry. But damage to these floors restricts movement to the east side. Still, these elevated perches are ideal for monitoring enemy traffic around the flag below. So when attacking here, consider approaching from the exterior sky bridge on the east side of the building. The sky bridge leads directly to the second floor, allowing you to capture the flag without stepping onto the ground floor. In this mode, the Mall (B) produces only an anti-tank launcher located on the east side.
C: Power Station
Control Point Assets
| US Control | RU Control | Respawn Time |
|---|---|---|
| M220 TOW Launcher (1) | 9M133 Kornet Launcher (1) | 10 sec. |
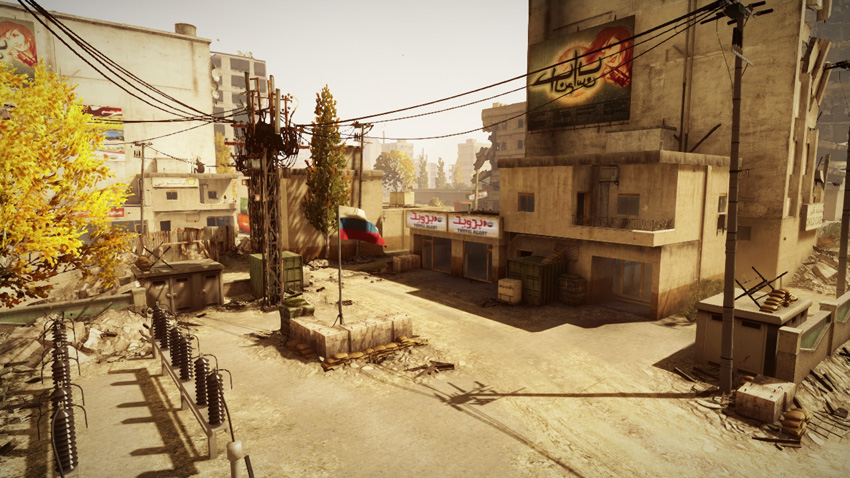
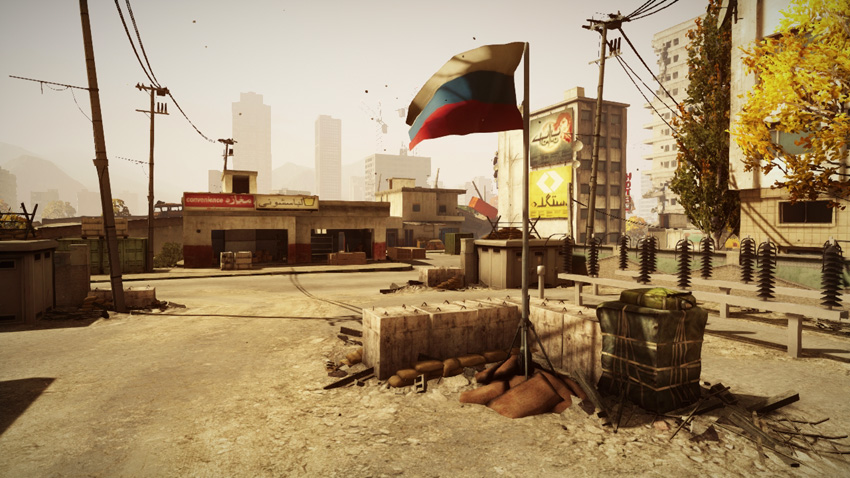
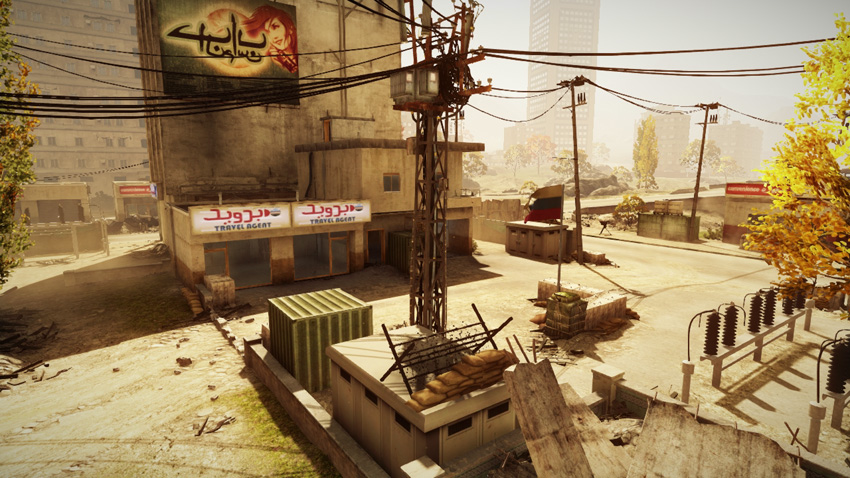
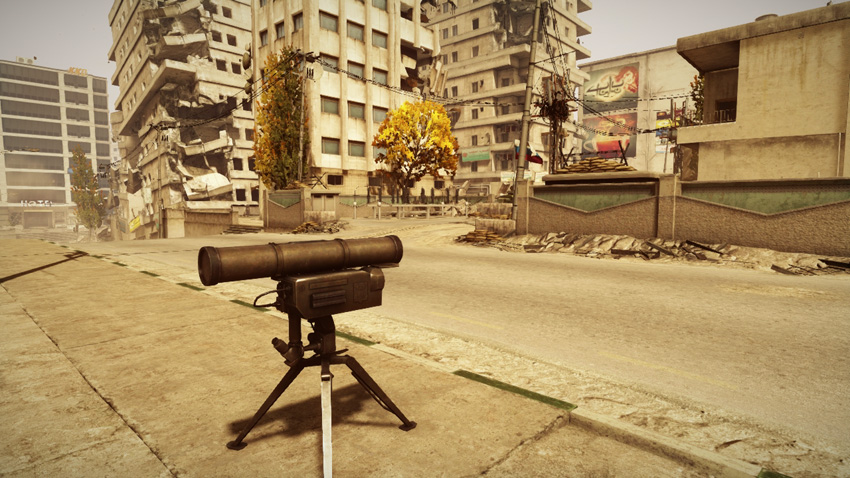
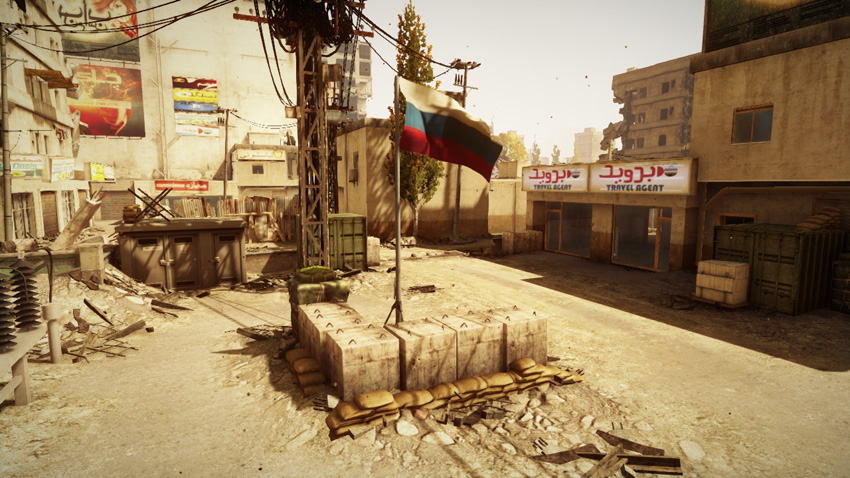
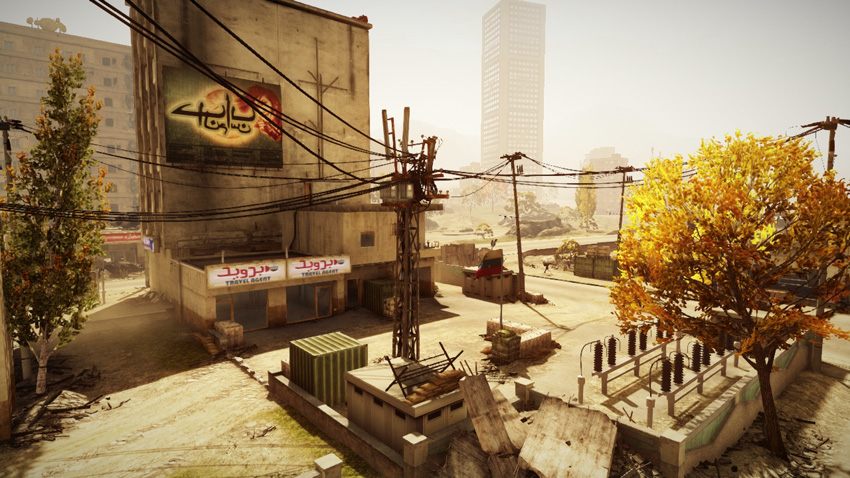
This makeshift electrical substation is located in the parking lot of an abandoned travel agency, along with the control point’s flag. Only producing an anti-tank missile launcher for each team, this control point is sometimes overlooked. But with only four flags on the map, the Power Station (C) is always worth capturing and defending. The flag is somewhat exposed in the center of the parking lot, but the adjacent concrete blocks offer some cover for infantry—just stay low. The travel agency building on the east side of the parking lot offers even more protection for defenders monitoring the flag—consider hiding a Radio Beacon inside this building to give your squad a spawn point within the city’s center. While infantry attacks can trickle in from all directions, vehicles can only access the flag from the southern street. To deter vehicle attacks, defending engineers should place mines on the south side of the parking lot. The TOW or Kornet launcher, located to the south, is also well positioned to counter vehicle attacks.
D: Bank
Control Point Assets
| US Control | RU Control | Respawn Time |
|---|---|---|
| — | T-90A | 50 sec. |
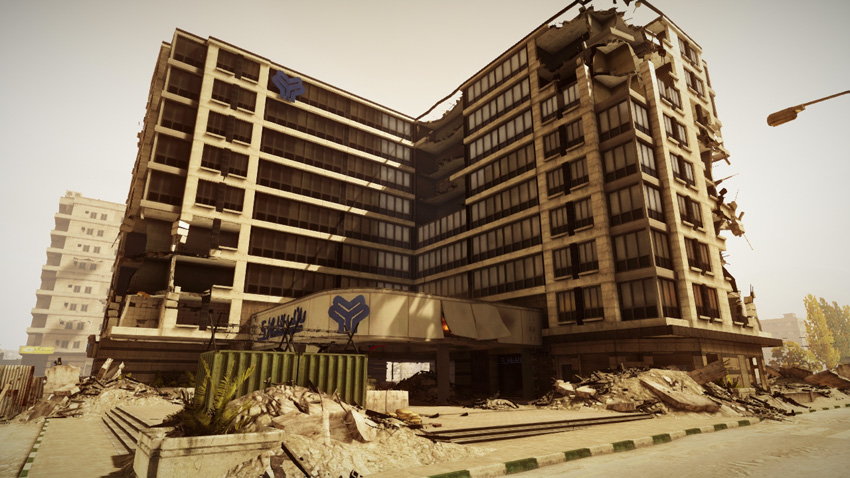
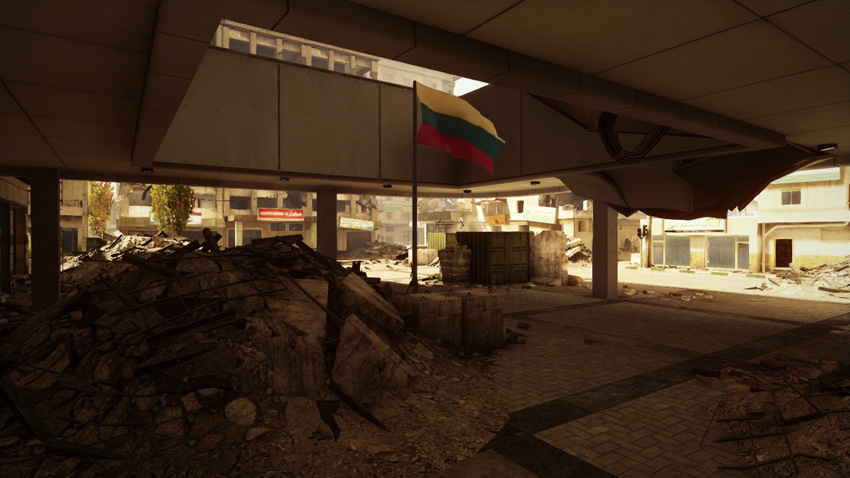
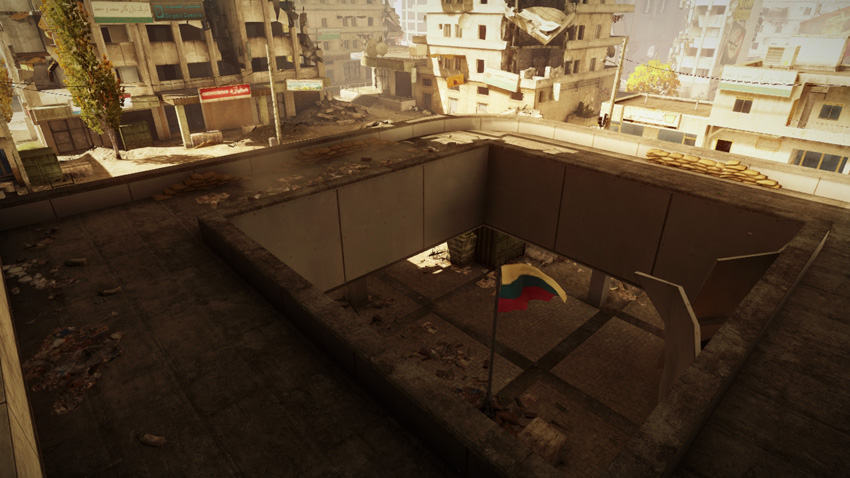
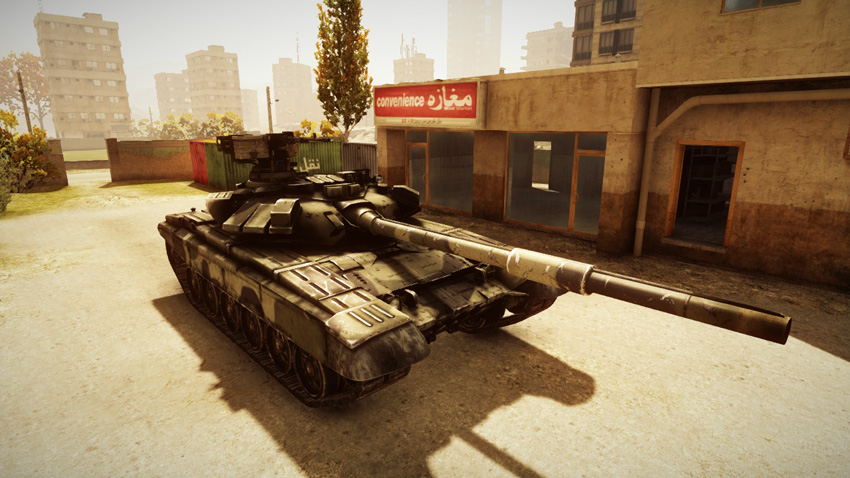
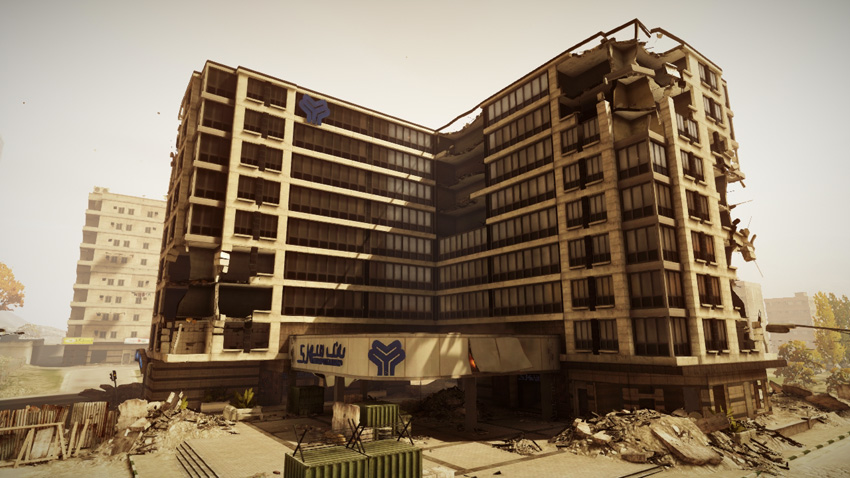
Directly south of the RU Base, the Bank (D) is always within the RU team’s reach. As a result, the RU team is likely to capture and control this flag throughout the match. But the RU team can’t be complacent and leave this control point undefended. The Bank (D) produces a T-90A tank (that spawns to the north) for the RU team, providing them with some heavy firepower that is ideal for locking down this location or assaulting nearby control points. The US team gains no assets by holding this control point. The flag is located in a covered entryway on the building’s southwest corner. While it’s possible for vehicles to drive into the cramped entryway, this flag is best captured by infantry. However, before rushing toward the flag, watch for defenders posted on the ring-like rooftop above. This small rooftop area can be accessed via ladders on the west and south sides. From this elevated position its possible to fire down on enemies gathered near the flag. This rooftop position is also an ideal sniper perch for recon troops monitoring the western and southern approaches.
Conquest 64
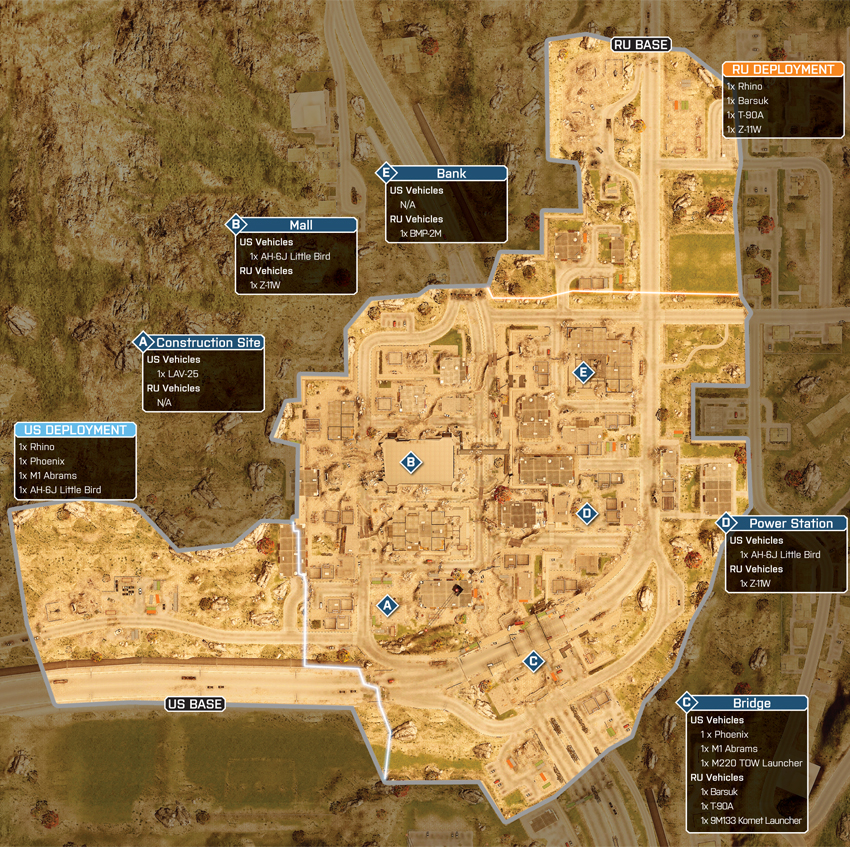
In this larger scale variant of Conquest the map expands to include the Bridge (C) control point on the southern edge. There is also a significant increase in air traffic thanks to the additional scout helicopters spawned at the Mall (B) and Power Station (D). With a total of five flags on the map, both teams should try to capture and hold at least three of them in order to drain the opposing team’s tickets. For the US team it makes the most sense to center their efforts around the Construction Site (A), Mall (B), and Bridge (C) to give them a solid footing on the west side of the map. Meanwhile, the RU team should focus their efforts at the Bank (E), Power Station (D), and Bridge (C) to consolidate their influence on the city’s eastern side. Of course, if manpower allows, look for opportunities to capture more than three flags. But given each team’s access to scout helicopters, it’s important to keep defenders posted at each control point that your team holds. The scout helicopters make it easy to stage breakout attacks by air-dropping troops at any point on the map. So even if your team captures all five flags, don’t expect to lay siege to the opposing team’s base unless you have a way to shoot down their scout helicopter.
US Base
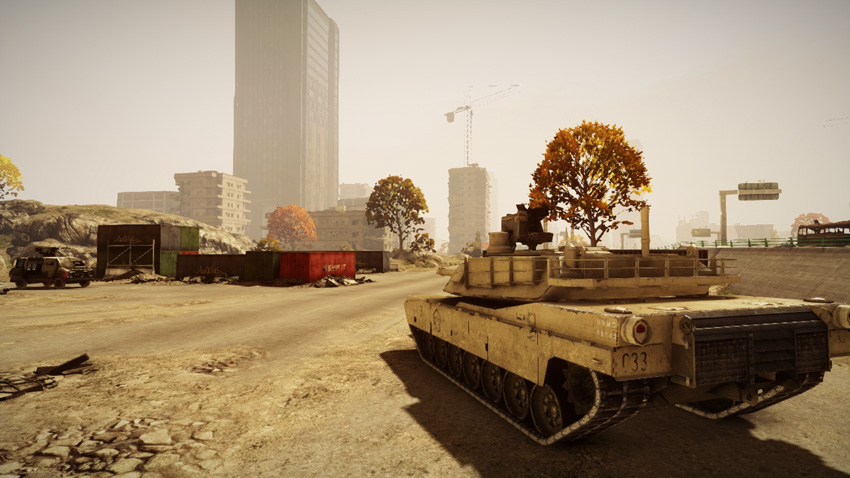
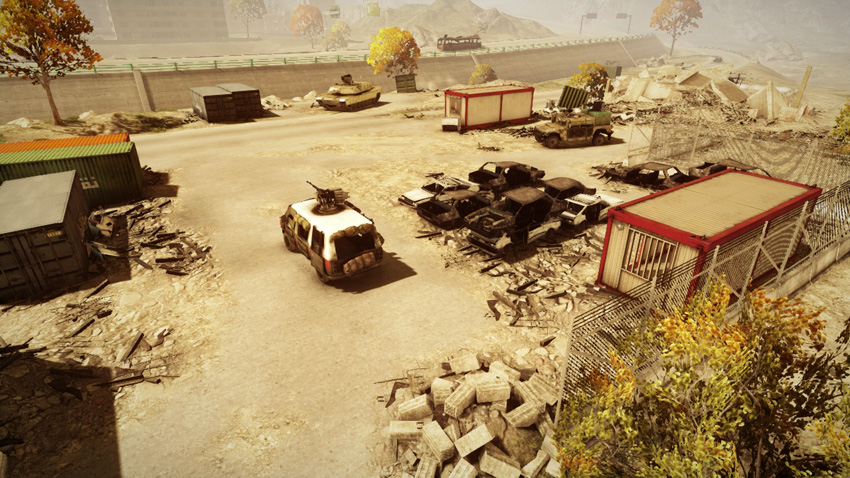
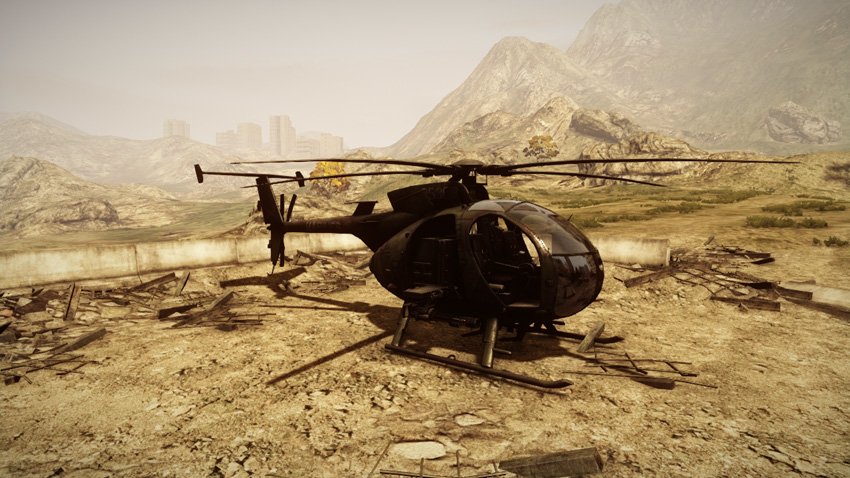
Base Assets
| Name | Rhino | Phoenix | M1 Abrams | AH-6J Little Bird |
|---|---|---|---|---|
| Quantity | 1 | 1 | 1 | 1 |
| Respawn Time | 20 sec. | 20 sec. | 40 sec. | 50 sec. |
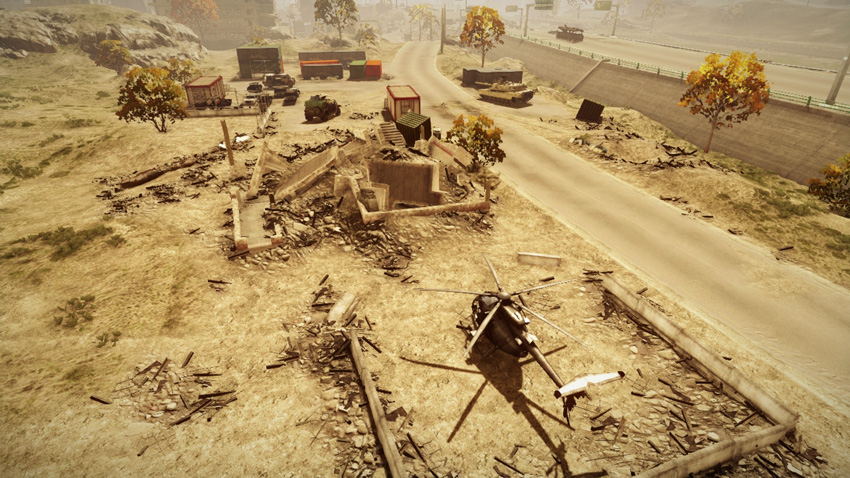
As in the smaller variant, the US team deploys from the southwest corner of the map, on the city’s outskirts. When starting the match here, utilize every passenger seat in the four vehicles to transport troops into the city’s center. Use the Rhino and Phoenix to rush the Construction Site (A) and Mall (B) while the AH-6J flies troops to the distant Bridge (C) or Power Station (D). If your team can lock down three control points at the start of the battle, you can assume a defensive posture and simply guard those flags for the remainder of the match while bleeding the RU team’s ticket count. While the US Base is off limits to the RU team’s ground forces, watch for attacks by their Z-11W scout helicopters. This location spawns the bulk of the US team’s vehicles, and they are tempting strafing targets for enemy pilots. The machine guns mounted on the Phoenix, Rhino, and M1 Abrams are all capable of dishing out some damage against these airborne threats. But engineers armed with Stinger missiles are even more effective for deterring such attacks.
RU Base
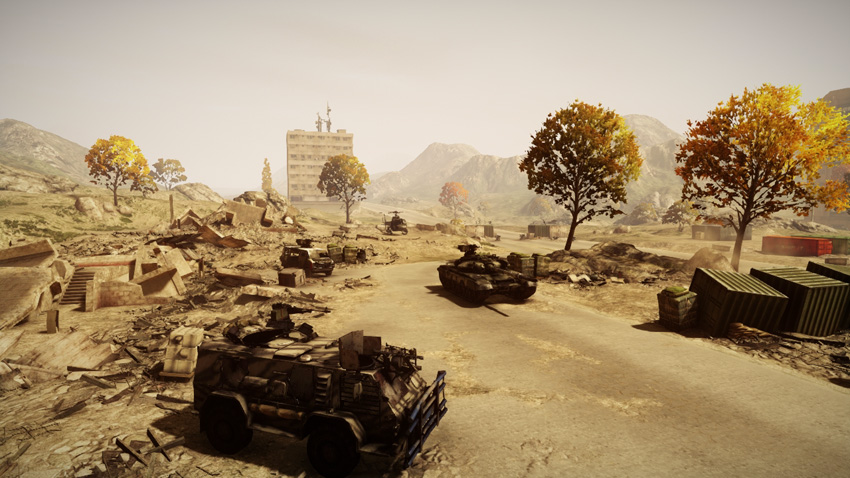
Base Assets
| Name | Rhino | Barsuk | T-90A | Z-11W |
|---|---|---|---|---|
| Quantity | 1 | 1 | 1 | 1 |
| Respawn Time | 20 sec. | 20 sec. | 40 sec. | 50 sec. |
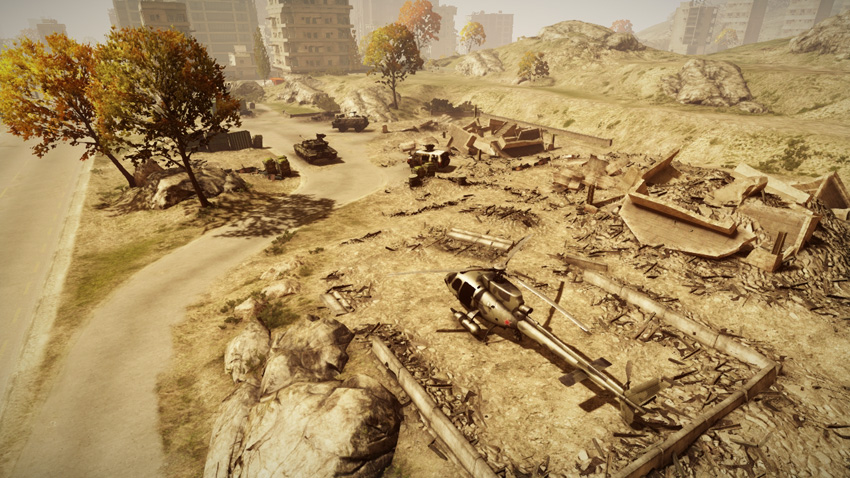
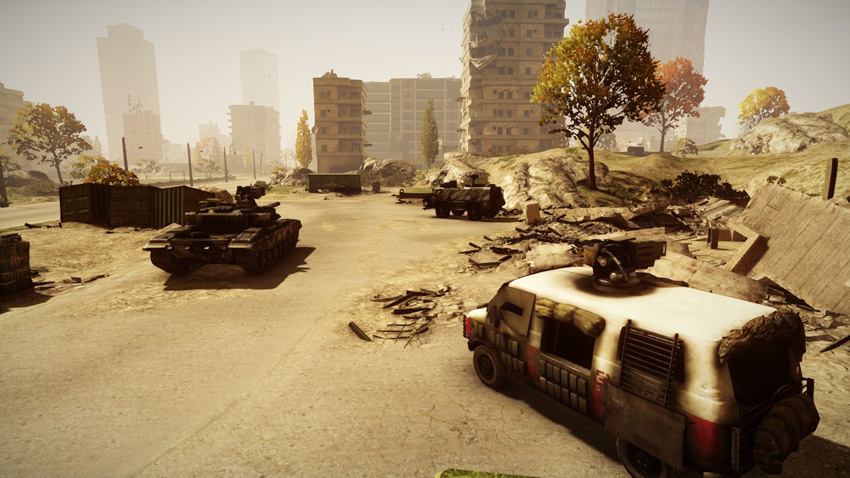
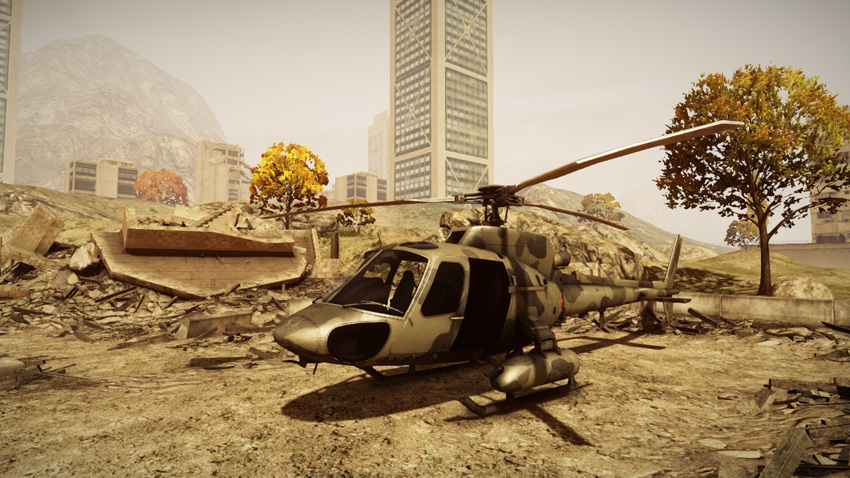
The RU team’s base is located in the northeast corner of the map and it spawns a wide mix of vehicles that are ideal for rushing neutral control points at the start of the match. Like the US team, the RU must make the most of their vehicle occupancies to transport the team into the city. So don’t race off into the city until all the seats in your vehicle are filled. The Rhino and Barsuk are perfect for moving troops to the Bank (E) and Power Station (D). Meanwhile, load the Z-11W scout helicopter with infantry and drop them off at the Mall (B) and Bridge (C) before the US team can take control of these critical control points. Given the large number of vehicles spawned at the RU Base, it’s a potential target for US helicopter pilots. While it’s not worthwhile to post defenders here full-time, be prepared for the possibility of strafing attacks when spawning here. Even with this looming threat, it’s still important to deploy here so you can transport vehicles into the city, such as the T-90A. These vehicles won’t do your team any good collecting dust back at your base so make an effort to spawn here and move them to the front lines.
A: Construction Site
Control Point Assets
| US Control | RU Control | Respawn Time |
|---|---|---|
| LAV-25 (1) | — | 50 sec. |
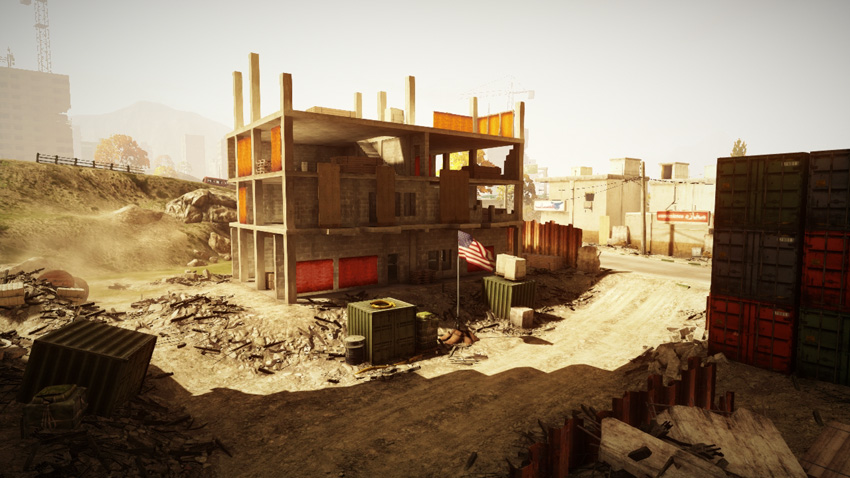
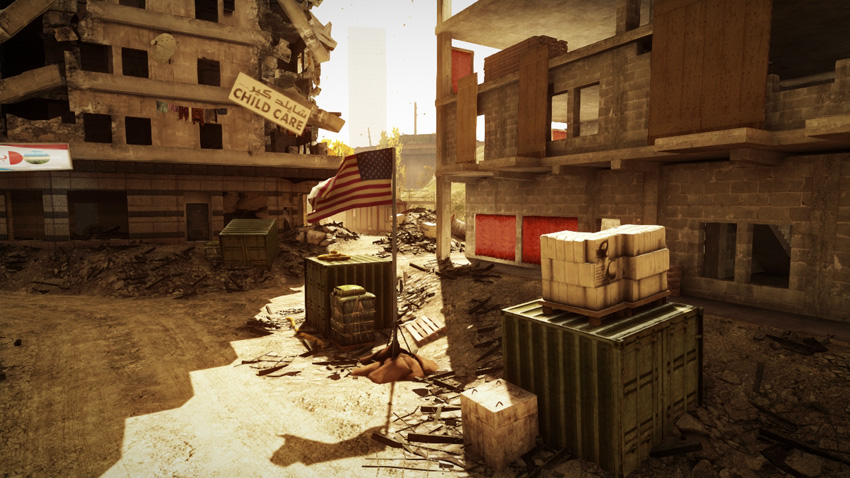
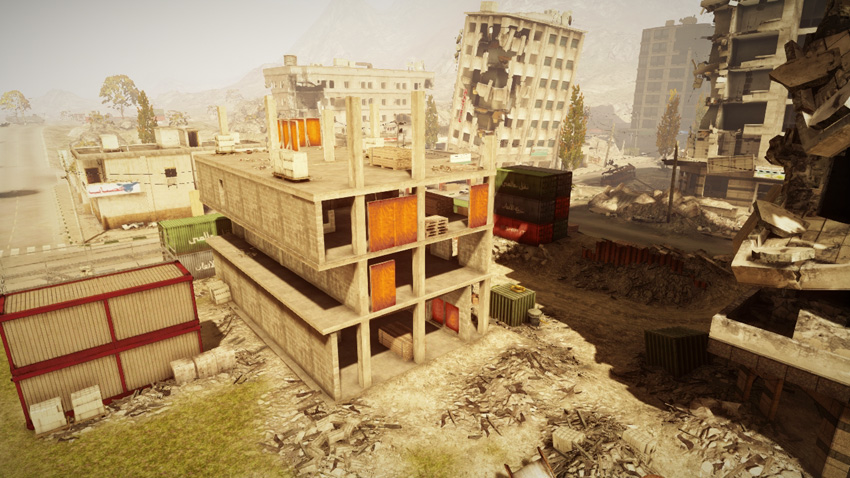
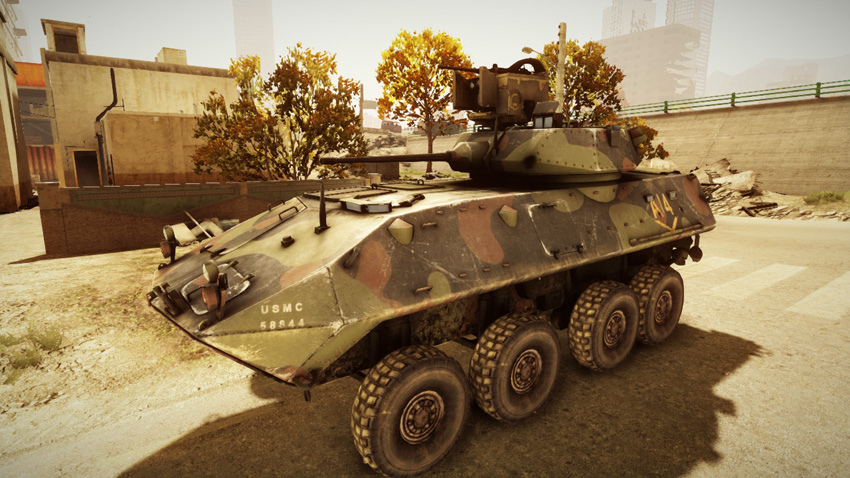
Located only a few meters from the US Base on the west side of the map, the Construction Site (A) serves as a gateway into the city for the US team. Given its close proximity to the US Base, this control point is likely to be captured and controlled by the US team throughout the course of the battle. But the US team shouldn’t take this flag for granted since it produces an LAV-25, spawning in the street to the west—the control point produces no vehicles for the RU team. The flag here is positioned along a dirt road that cuts through the site, making it easy for both infantry and vehicles to capture. The green, cube-shaped shipping containers flanking the flag offer plenty of cover for infantry. However, the partially constructed building on the south side of the flag is a popular hiding spot for defenders. So when attacking here, consider making a quick sweep of this structure before attempting to convert the flag. Recon troops should consider dropping a Radio Beacon inside this building in an effort to maintain a presence at this location, even if the flag falls into enemy hands.
B: Mall
Control Point Assets
| US Control | RU Control | Respawn Time |
|---|---|---|
| AH-6J Little Bird (1) | Z-11W (1) | 60 sec. |
| M220 TOW Launcher (1) | 9M133 Kornet Launcher (1) | 10 sec. |
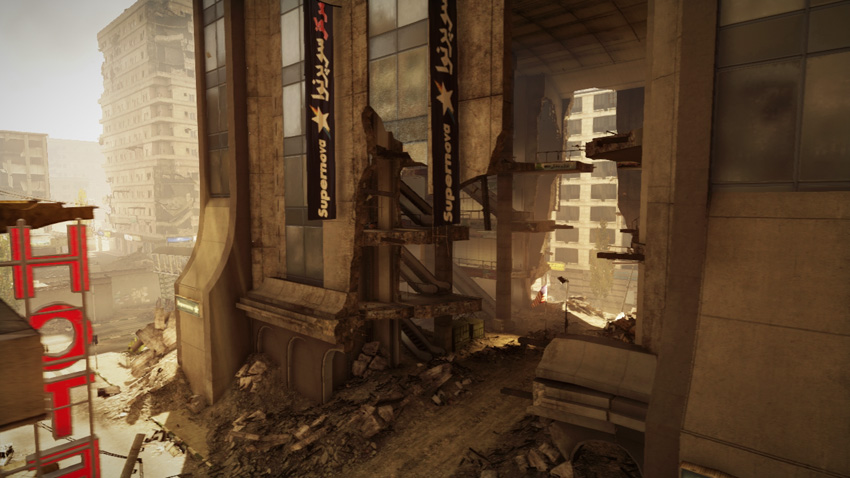
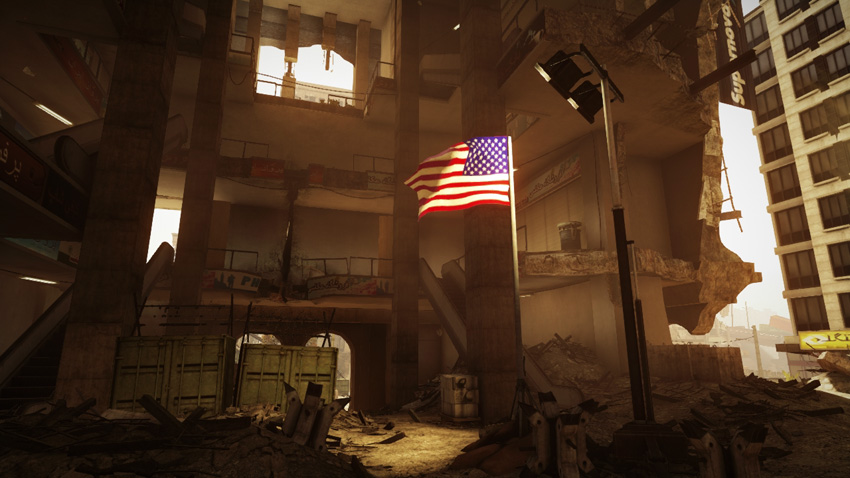
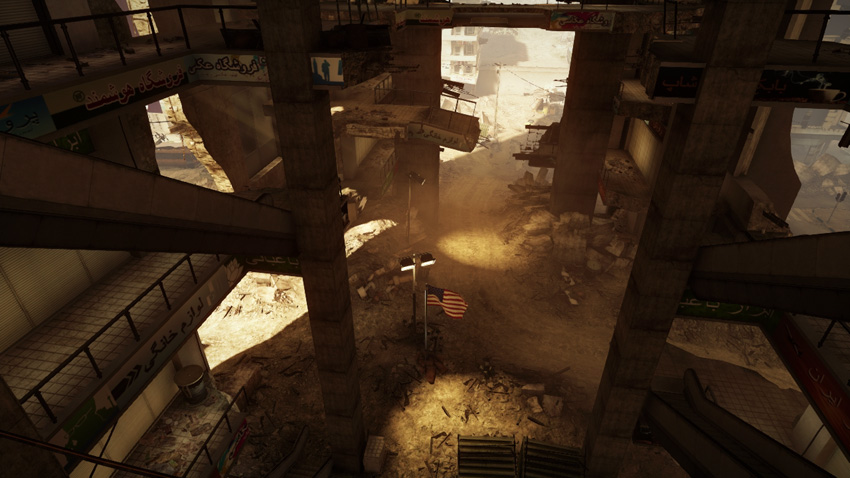
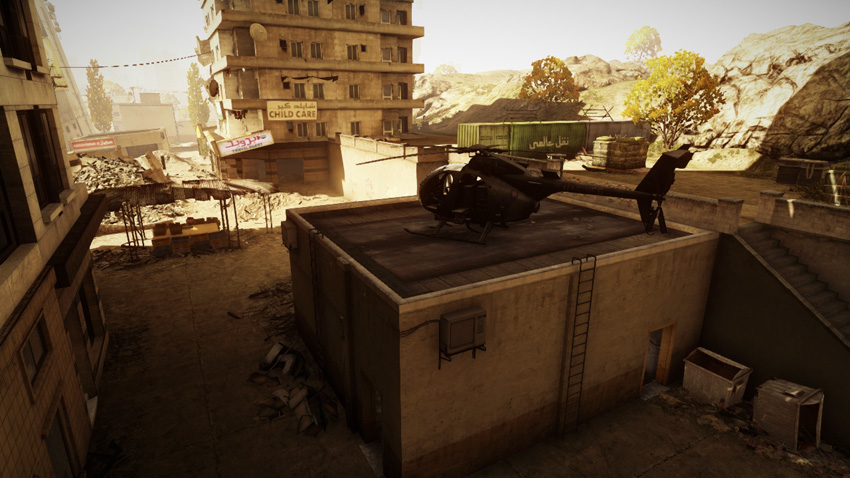
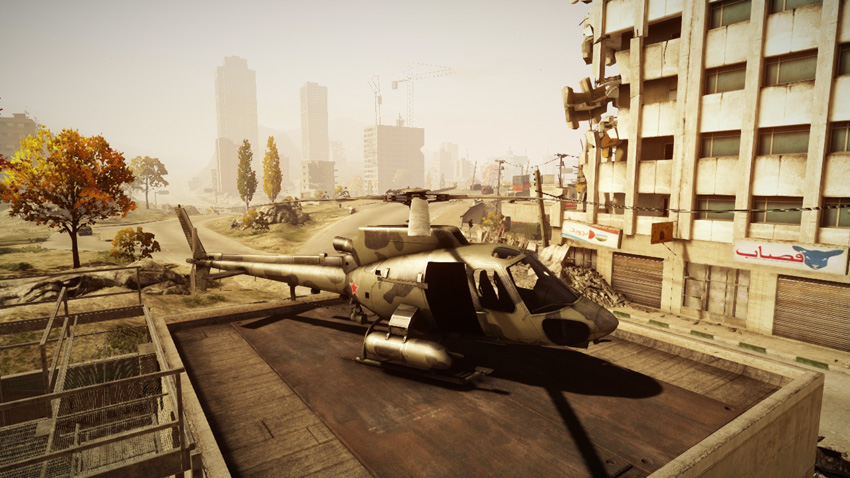
The map gets its name for this monolithic shopping mall on the city’s west side. This structure dwarfs all the other buildings in the neighborhood, so it’s easy to spot no matter where you are on the map. Unfortunately, the earthquake has heavily damaged this source of local pride, leaving gaping holes in each of the four perimeter walls. This makes it possible to access the building’s interior from any direction. A makeshift dirt road has also been carved through the center of the building and it allows vehicle access from the north and west sides. With so many entry points, the flag, located on the ground floor, is easily accessed by infantry and vehicles. The capture radius of the flag is quite large, and even allows troops on the second floor promenade to capture and contest it. The second, third, and fourth floors of the structure are accessible to infantry. But damage to these floors restricts movement to the east side. Still, these elevated perches are ideal for monitoring enemy traffic around the flag below. So when attacking here, consider approaching from the exterior sky bridge on the east side of the building. The sky bridge leads directly to the second floor, so you can capture the flag without stepping onto the ground floor. The team who controls this flag gains access to an extra scout helicopter thatspawns on a rooftop to the west. Since this helicopter spawns so far from the flag, it can easily be captured (or booby trapped) by enemies.
C: Bridge
Control Point Assets
| US Control | RU Control | Respawn Time |
|---|---|---|
| Phoenix (1) | Barsuk (1) | 50 sec. |
| M1 Abrams (1) | T-90A (1) | 50 sec. |
| M220 TOW Launcher (1) | 9M133 Kornet Launcher (1) | 10 sec. |
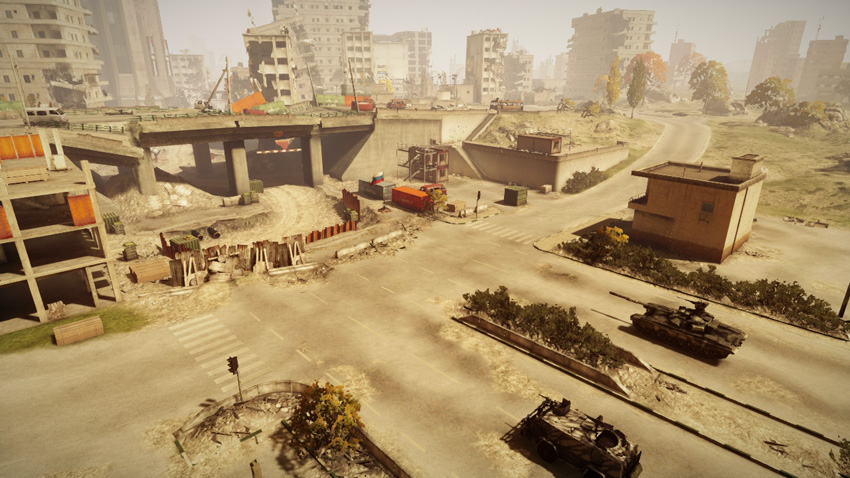
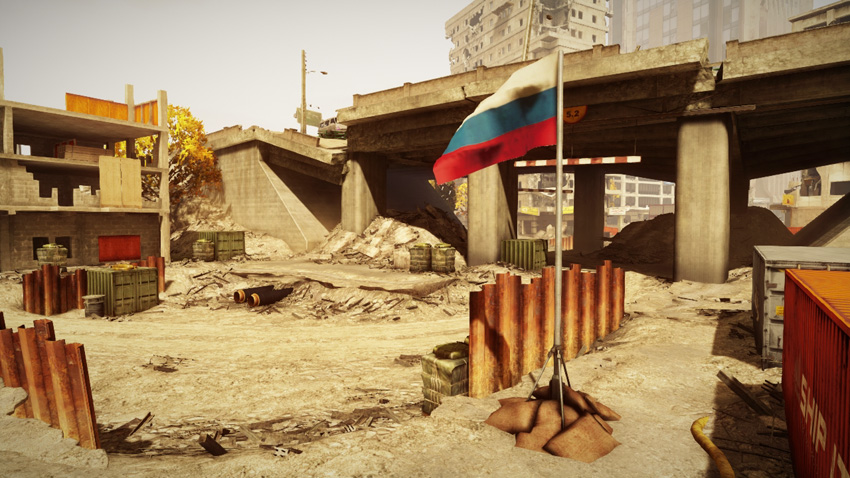
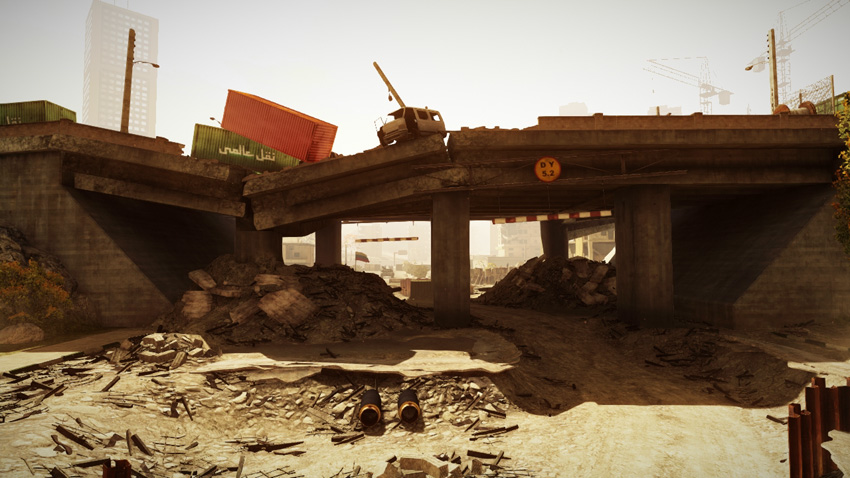
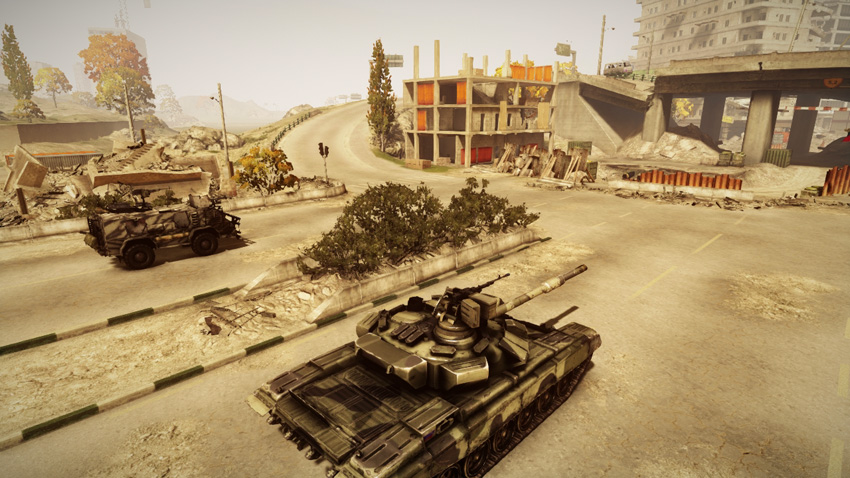
Tucked away on the southern edge of the map, the Bridge (C) is somewhat isolated from the heavy fighting occurring in the city’s center. But the lure of gaining two more vehicles, including a tank, should make capturing and holding this flag a priority for both teams. The flag and its spawned assets are located on the south side of the heavily damaged span from which the control point gets its name. There isn’t much cover near the flag itself, so consider capturing this flag from within an armored vehicle such as a tank or IFV. Several streets lead to this location, but attacks from the Construction Site (A) to the west, and the Power Station (D) to the east are the most common. When defending here, deploy as an engineer and drop mines near the flag while taking up an overwatch position in the partially constructed building to the west or on the bridge itself to the north. From these elevated positions, it’s easy to engage enemy infantry and vehicles gathered near the flag. In addition to watching the flag, keep an eye on the vehicles spawned to the south—don’t let the enemy steal your tank!
D: Power Station
Control Point Assets
| US Control | RU Control | Respawn Time |
|---|---|---|
| AH-6J Little Bird (1) | Z-11W (1) | 60 sec. |
| M220 TOW Launcher (1) | 9M133 Kornet Launcher (1) | 10 sec. |
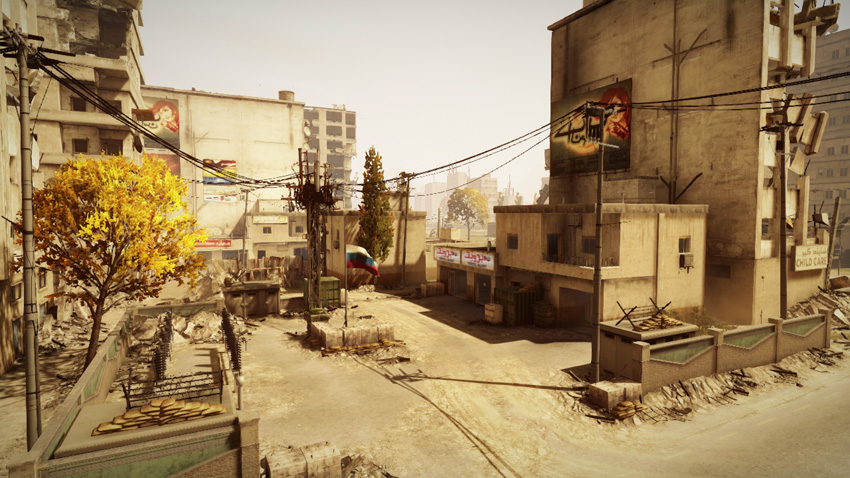
This makeshift electrical substation is located in the parking lot of an abandoned travel agency, along with the control point’s flag. Like the Mall (B), this control point produces a scout helicopter for each team, which makes it a very popular control point. But this helicopter spawns far from the flag, on a rooftop to the east. This makes the helicopter relatively easy for the opposing team to steal or sabotage, so don’t let it sit idle too long. Get it into the air and help out your team by transporting troops or strafing enemy infantry and tanks. The flag here is somewhat exposed in the center of the parking lot, but the adjacent concrete blocks offer some cover for infantry—just stay low. The travel agency building on the east side of the parking lot offers even more protection for defenders monitoring the flag—consider hiding a Radio Beacon inside this building to give your squad a spawn point within the city’s center. While infantry attacks can trickle in from all directions, vehicles can only access the flag from the southern street. To deter vehicle attacks, defending engineers should place mines on the south side of the parking lot. The TOW or Kornet launcher, located to the south, is also well positioned to counter vehicle attacks.
E: Bank
Control Point Assets
| US Control | RU Control | Respawn Time |
|---|---|---|
| — | BMP-2M (1) | 50 sec. |
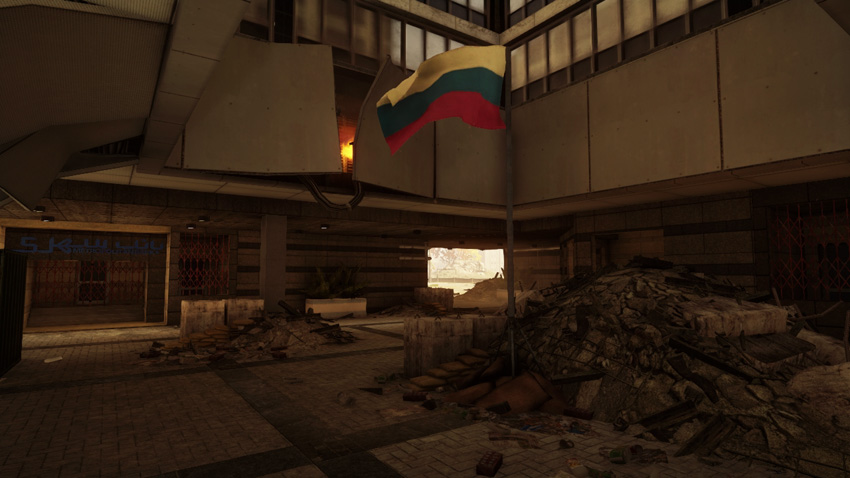
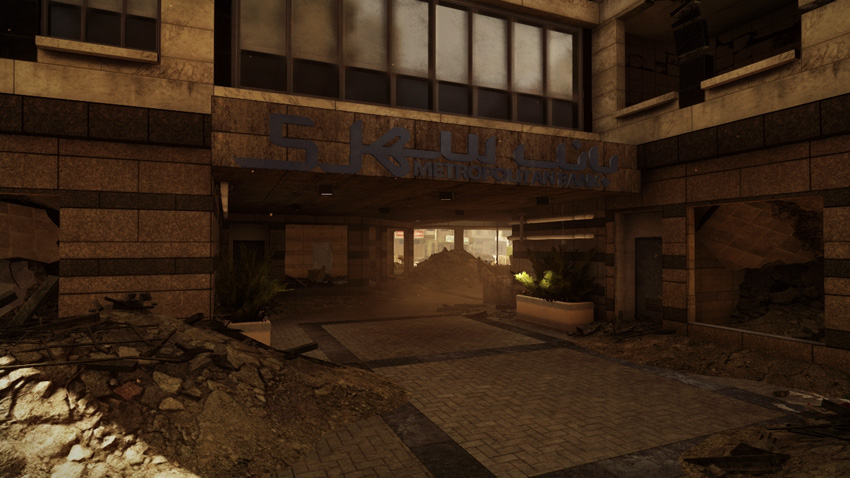
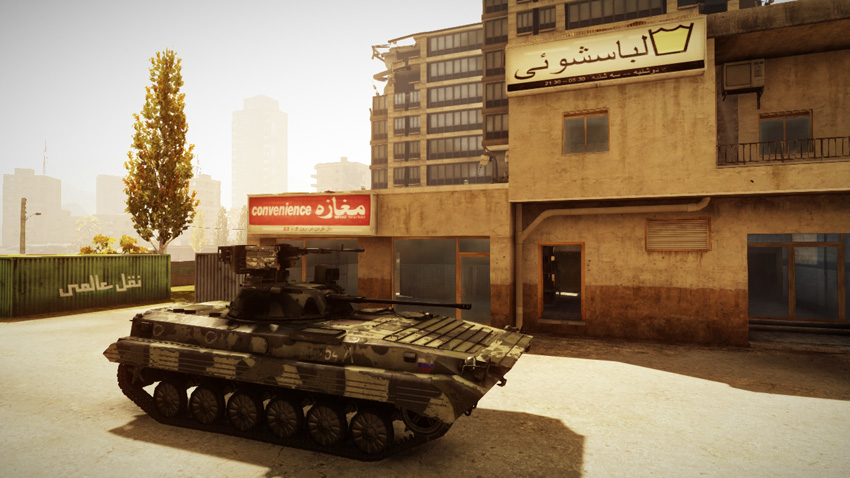
Located directly south of the RU Base, the Bank (E) is always within the RU team’s reach. As a result, the RU team is likely to capture and control this flag throughout the match. But the RU team can’t be complacent and leave this control point undefended. The Bank (E) produces a BMP-2M IFV (spawned to the north) for the RU team, providing them with some heavy firepower that is ideal for locking down this location or assaulting nearby control points—the US team gains no assets by holding this control point. The flag is located in a covered entryway on the building’s southwest corner. While it’s possible for vehicles to drive into the cramped entryway, this flag is best captured by infantry. However, before rushing toward the flag, watch for defenders posted on the ring-like rooftop above. This small rooftop area can be accessed via ladders on the west and south sides. From this elevated position its possible to fire down on enemies gathered near the flag. This rooftop position is also an ideal sniper perch for recon troops monitoring the western and southern approaches.
Rush
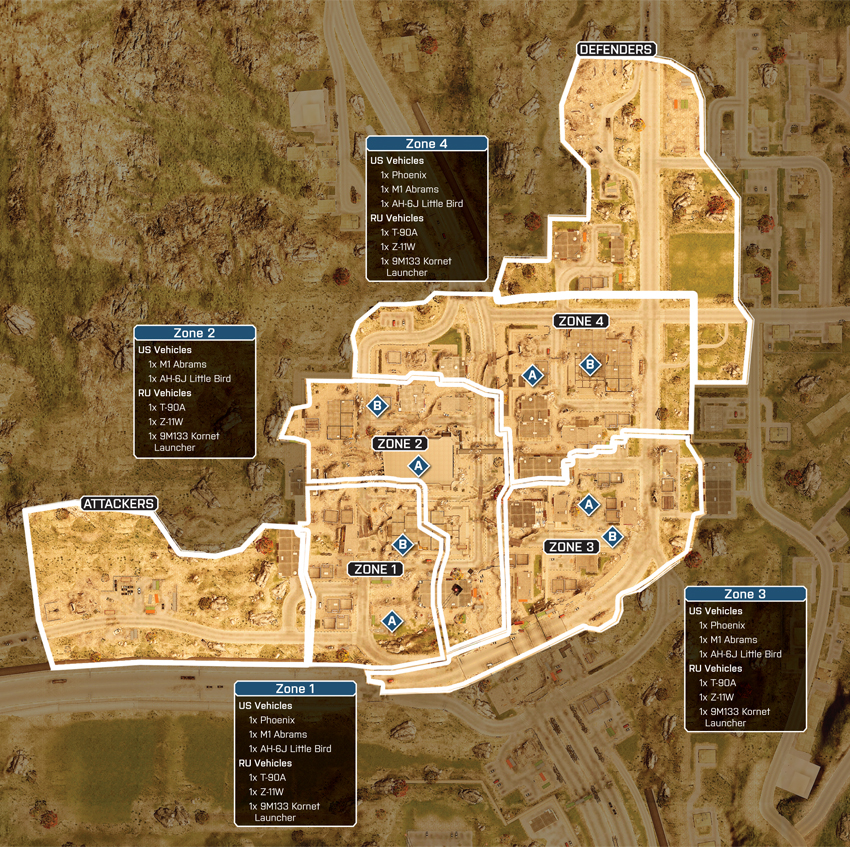
During this Rush battle, both teams have access to tanks and scout helicopters, providing an added sense of urgency and danger to each phase. The battle is spread across four zones, starting out at the Construction Site and then moving on to the Mall, Power Station, and Bank. While infantry combat dominates the fight over each objective, both sides should be prepared to counter the threats posed by the tanks and helicopters. In close matches, these vehicles often cancel each other out. But neither team can rely on their own vehicles to win each tank vs. tank or helicopter vs. helicopter duel. That’s where engineers come in. In addition to repairing these critical vehicles, engineers can also dish out some serious damage through the deployment of mines and the firing of anti-tank and anti-aircraft missiles. The team that manages to field engineers in the most effective manner stands a good chance of walking away with a win. But don’t forget to get keep your vehicles in the fight as well. Once destroyed, vehicles often spawn far from the action. Still, they can all be accessed directly from the spawn screen, which makes it easy to get them back in the fight.
Zone 1: Construction Site
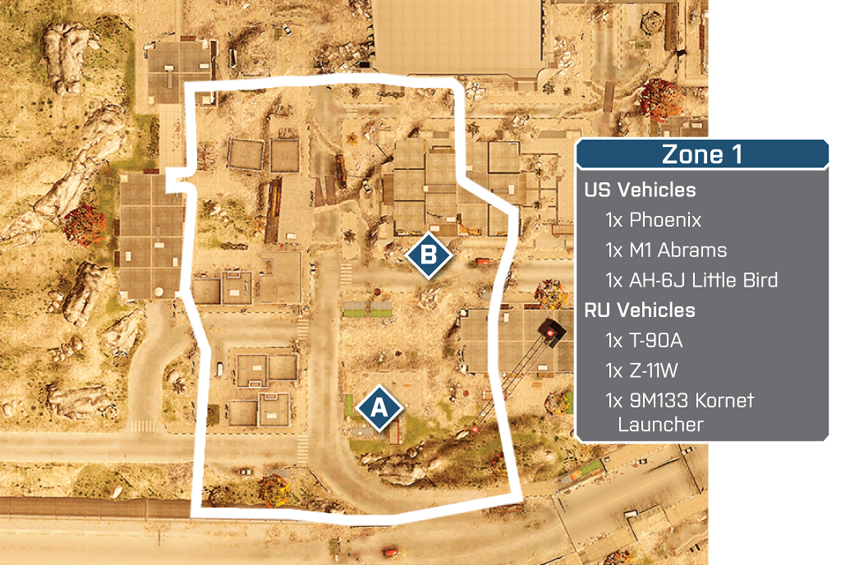
US Deployment
Deployment Area Assets
| Name | Phoenix | M1 Abrams | AH-6J Little Bird |
|---|---|---|---|
| Quantity | 1 | 1 | 1 |
| Respawn Time | 30 sec. | 30 sec. | 60 sec. |
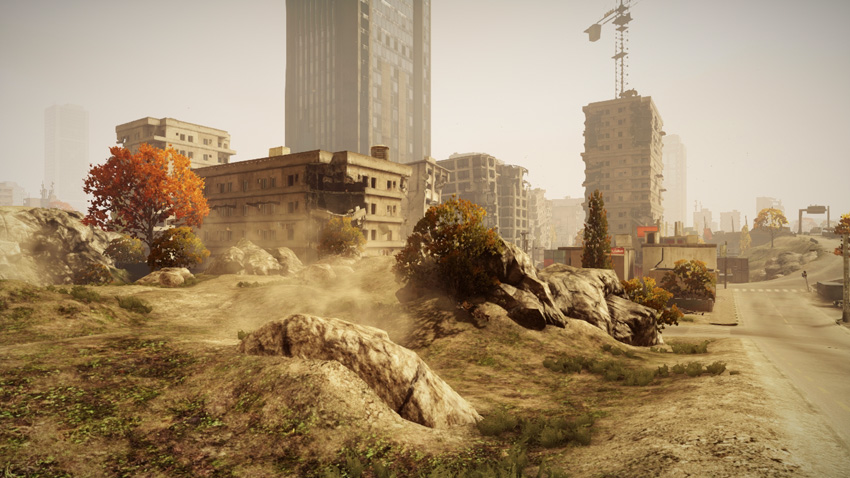
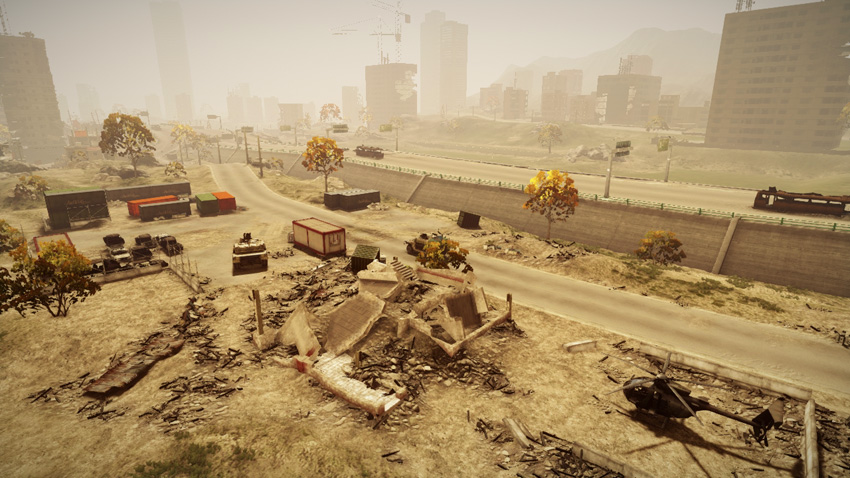
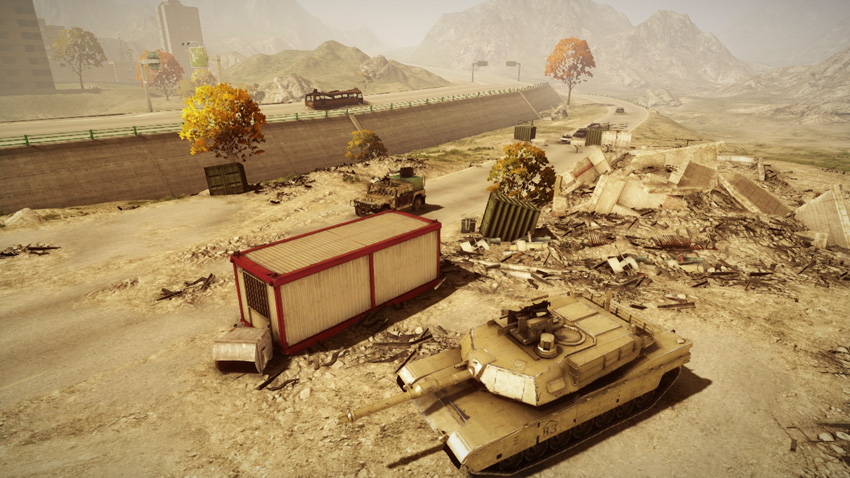
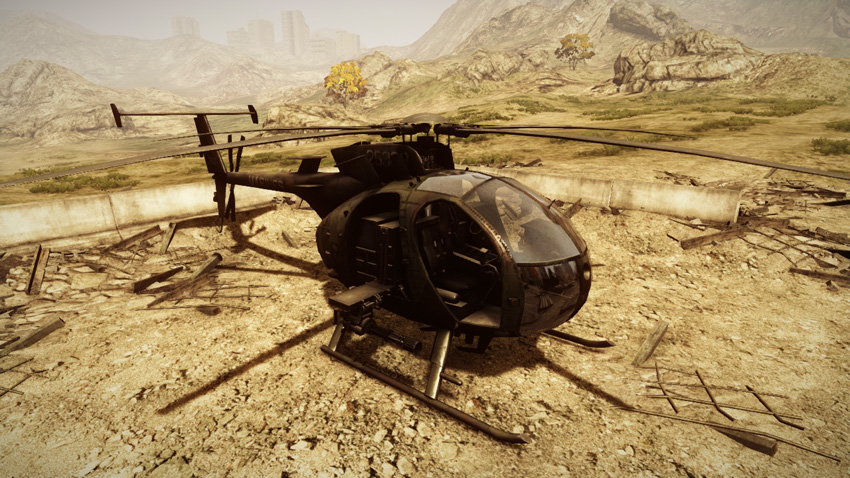
At the start of this Rush battle, the US team deploys from the west side of the map. There are two initial deployment areas for the team. Infantry spawn just outside the city while the vehicles spawn in the area to the west, similar to the US Base during Conquest. If you want one of the vehicles, spawn directly into it from the spawn screen instead of hiking back to the west. Since the infantry spawn close to the city, this puts them within early-round striking distance of both objectives. So if you spawn here, sprint to the east in an effort to reach the objectives before the RU team can secure them. Alternately, use the Phoenix and Little Bird to rush troops to the front lines. However, be mindful of the RU team’s T-90A and Z-11W scout helicopter—the M1 Abrams and Little Bird are best suited for dealing with these threats. But in the event that friendly vehicles aren’t available, make sure your team has plenty of engineers armed with rocket launchers and Stingers to knock out the RU team’s tank and helicopter.
RU Deployment
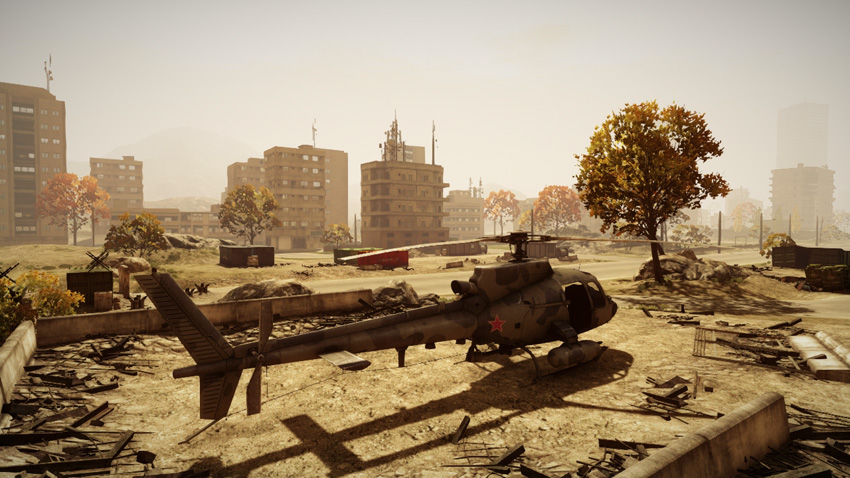
Deployment Area Assets
| Name | T-90A | Z-11W | 9M133 Kornet Launcher |
|---|---|---|---|
| Quantity | 1 | 1 | 1 |
| Respawn Time | 50 sec. | 60 sec. | 10 sec. |
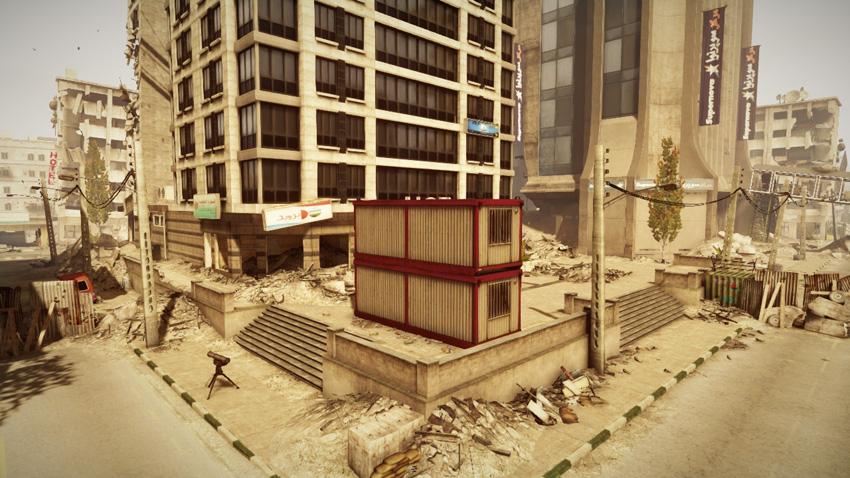
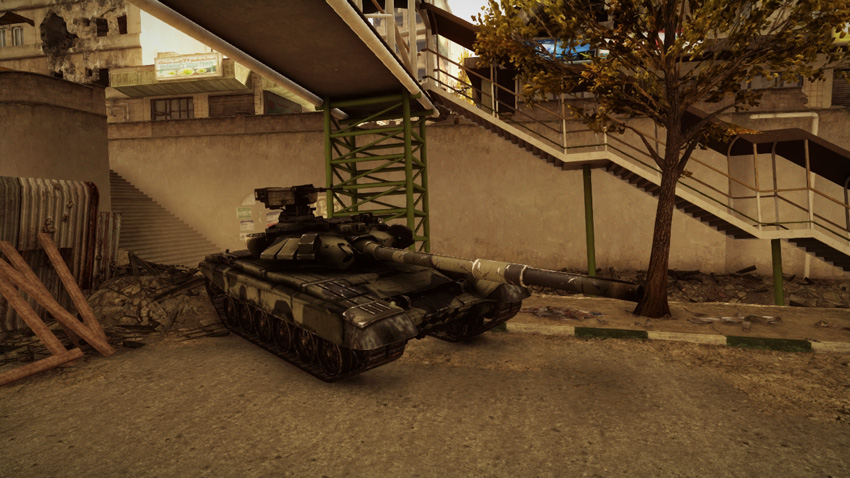
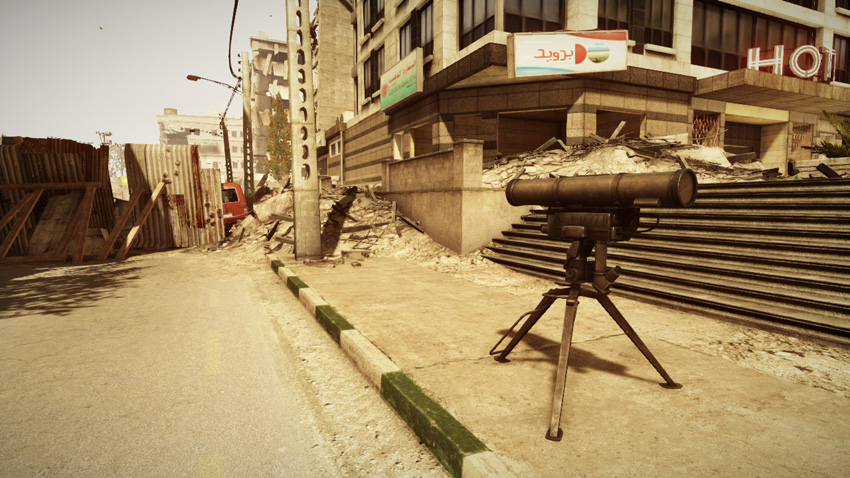
The race is on at the start of this battle, and the RU team has little time to waste. Most of the RU team deploys on the east side of the hotel, putting them close to M-COM Station B. However, reaching M-COM Station A at the Construction Site before the US attackers arrive can be tough. Infantry spawning near the hotel should make a beeline for the Construction Site. Meanwhile, get the T-90A to the front lines, too, and deploy it along the street between the two objectives—try to position the tank so it can ambush the incoming traffic from the west. Instead of relying on the Z-11W scout helicopter to transport troops, use it to attack the US team’s Little Bird, preferably with Heat Seekers. When the US air threat is eliminated, use this helicopter to support defensive efforts on the ground by strafing the M1 Abrams and Phoenix. If the RU team can survive the initial assault, the Z-11W is perfect for strafing the US team near their deployment area on the west side of the map. A good helicopter pilot can make all the difference in this fight.
M-COM Station A
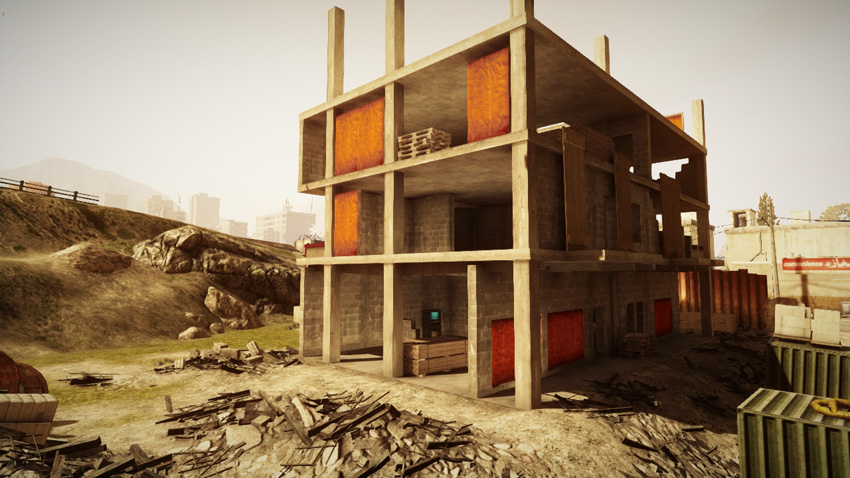
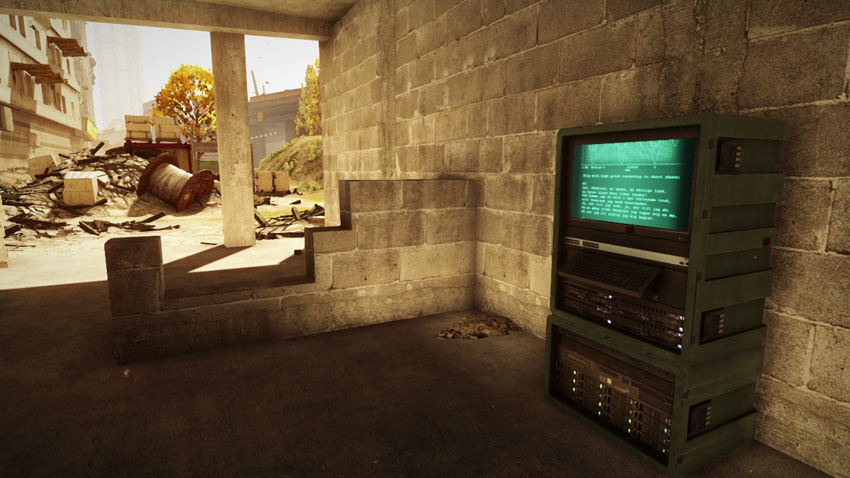
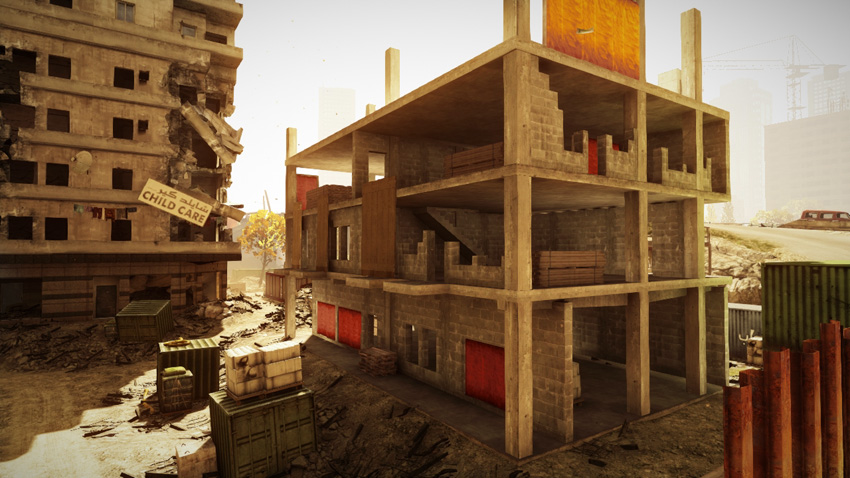
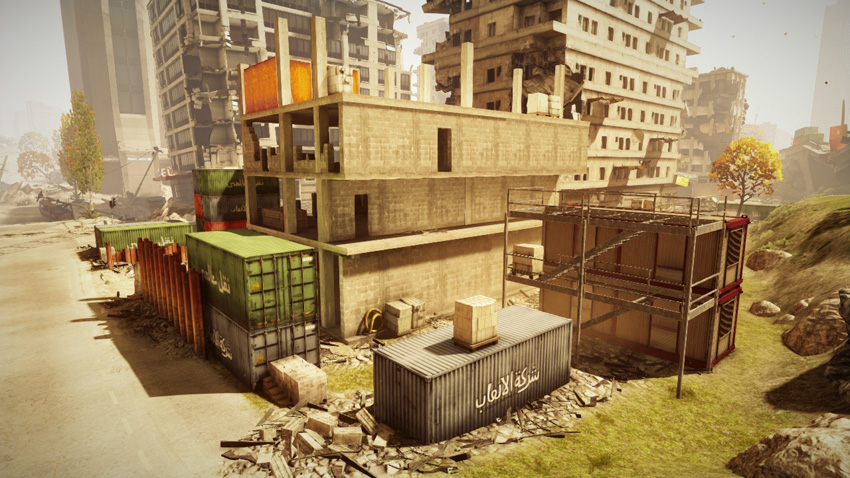
M-COM Station A is on the ground floor of the partially constructed building at the Construction Site. This objective is likely to come under attack first given its close proximity to the US team’s deployment area to the west. Therefore, the RU defenders must sprint here if they wish to prevent an early-round attack. The objective is completely exposed on the east side of the building. Infantry hiding among the rubble to the east have a clear line of sight on the objective. As a result, the attackers should consider securing this side of the building before attempting to plant a charge—if necessary, park the M1 Abrams here to serve as a makeshift wall. Both sides stand the best chance of securing this objective if they can maintain a presence nearby. Therefore recon troops should consider placing Radio Beacons in the upper floors of this building to serve as forward spawn points. Whether attacking or defending, spawning on the upper floors of this building is a great way to stay near the action.
M-COM Station B
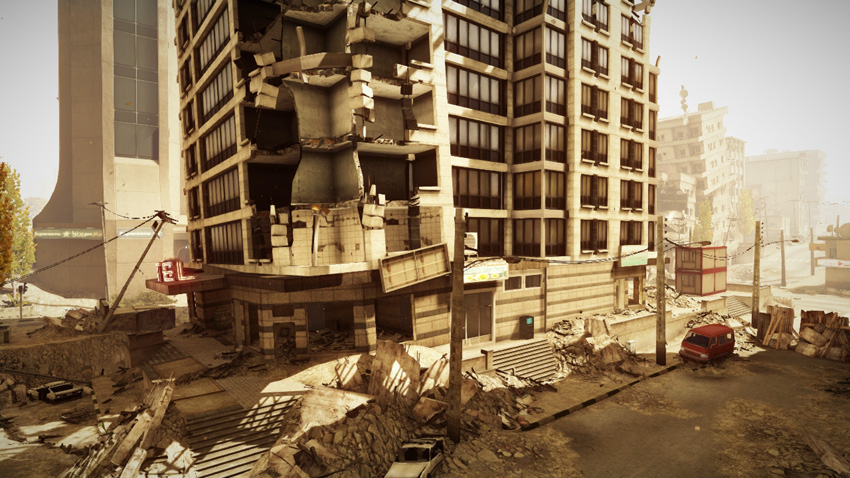
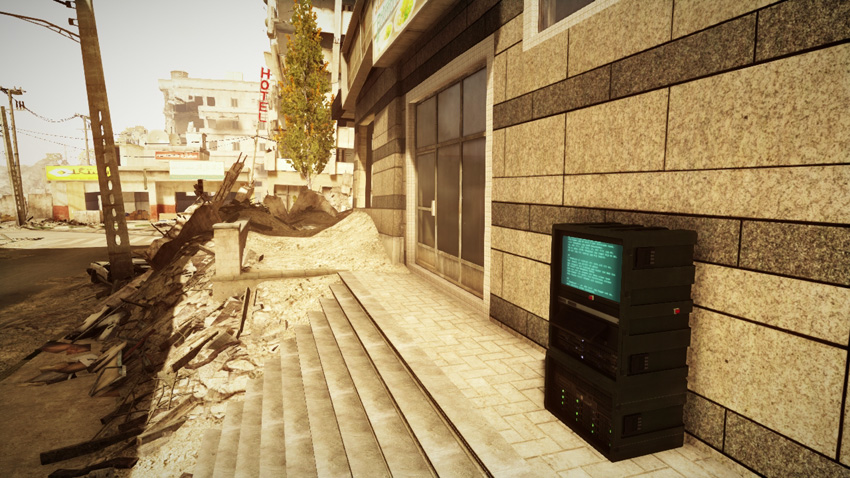
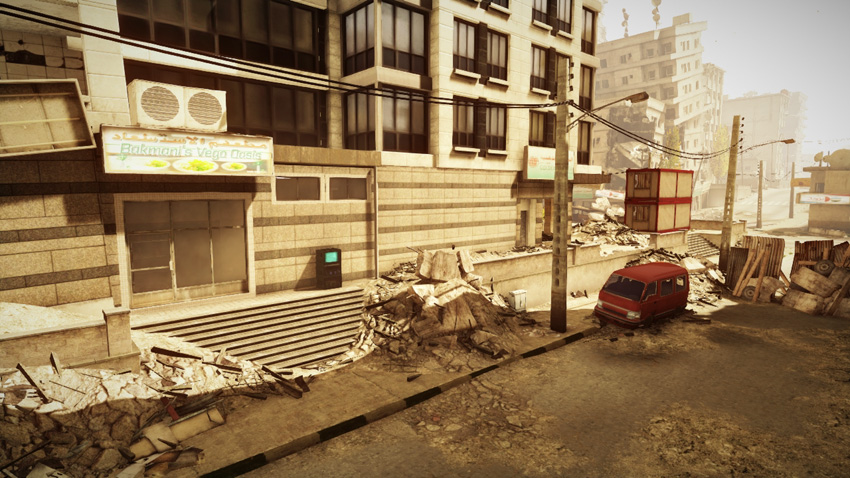
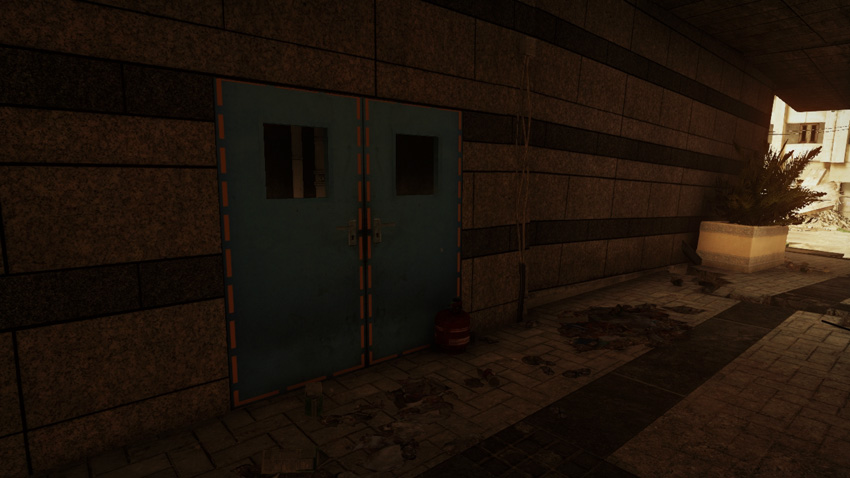
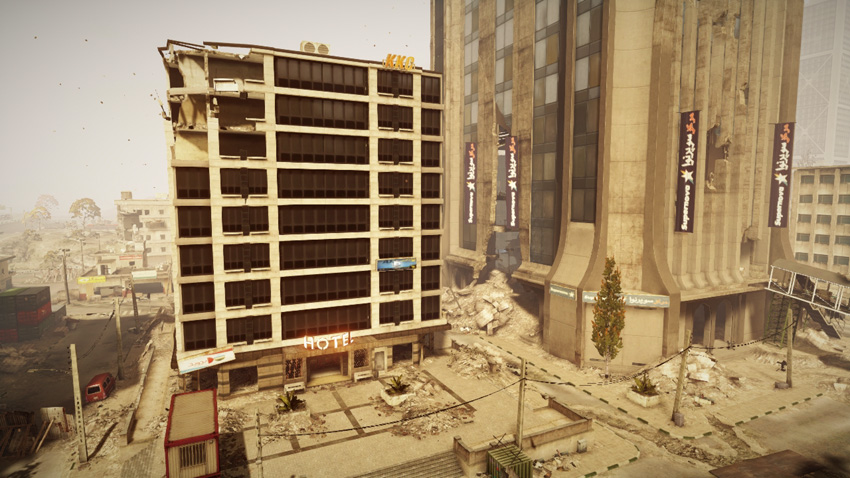
This objective is completely exposed, positioned alongside the southern exterior wall of the hotel, directly across the street from the Construction Site. The objective is visible from multiple angles, as well as from the upper floors above M-COM Station A. This makes the objective extremely dangerous for the attackers to approach without the aid of vehicles. In an effort to deter early-round attacks, the defenders should move their T-90A into the street adjacent to the objective. Instead of attacking along the street, attacking infantry can sneak up on the objective by accessing a hidden shortcut in the hotel. Locate the blue double doors within the hotel entryway and shoot red gas tank nearby to clear a path. Beyond the doors is a passage leading to the restaurant adjacent to the objective—place a Radio Beacon inside this building. From here infantry can rush out of the restaurant and plant a charge on the objective, minimizing their exposure in the street. Still, it’s a good idea to obscure the objective in smoke before attempting to plant a charge. At the very least, park the M1 Abrams nearby to offer some protection and covering fire.
Zone 2: Mall
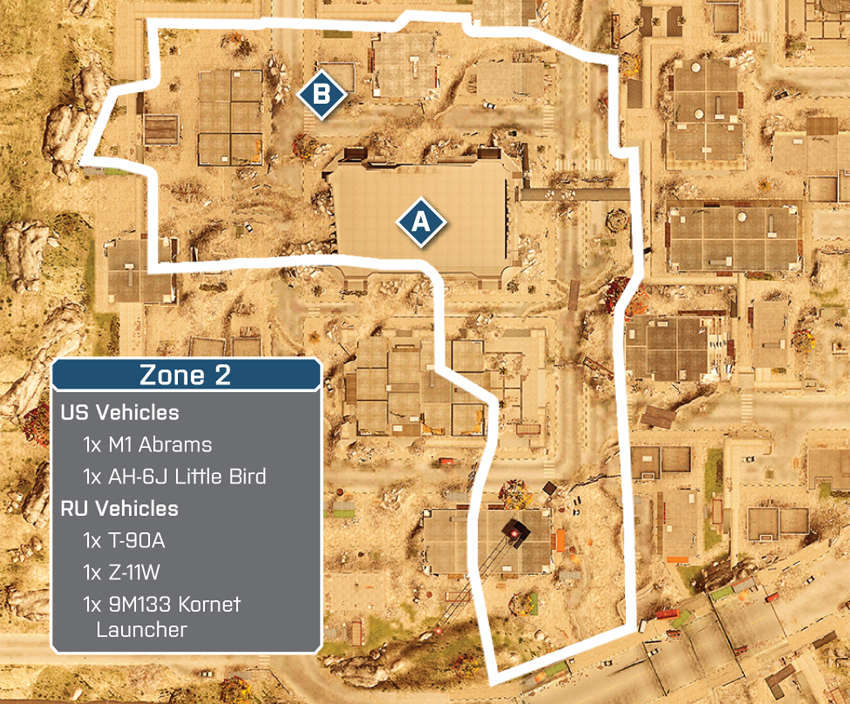
US Deployment
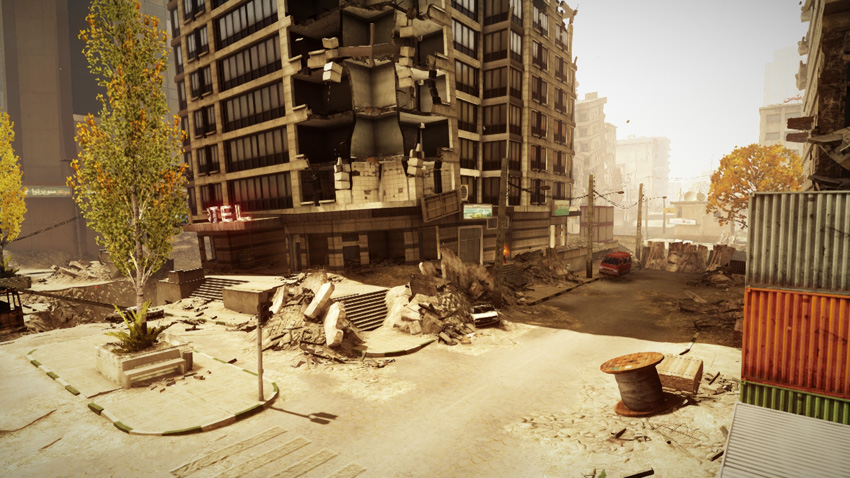
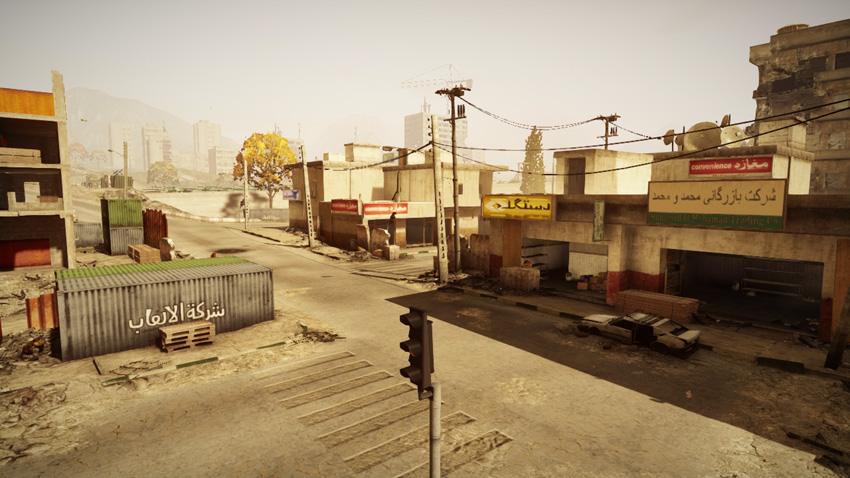
Deployment Area Assets
| Name | M1 Abrams | AH-6J Little Bird |
|---|---|---|
| Quantity | 1 | 1 |
| Respawn Time | 30 sec. | 60 sec. |
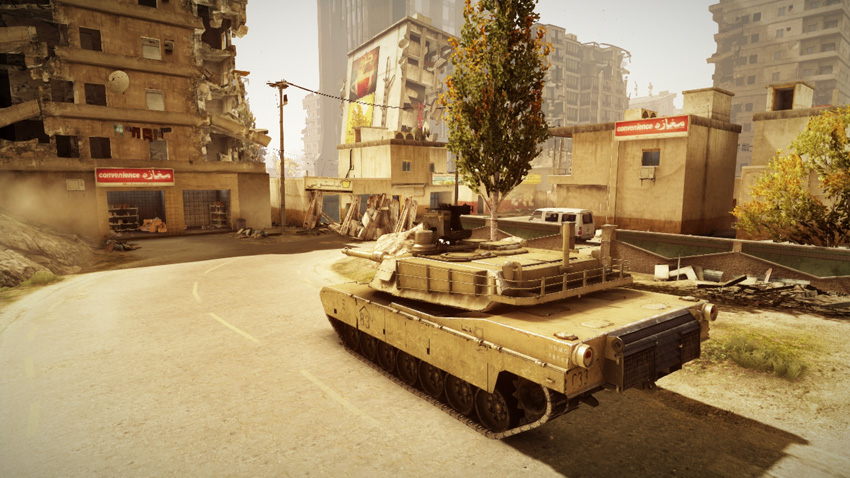
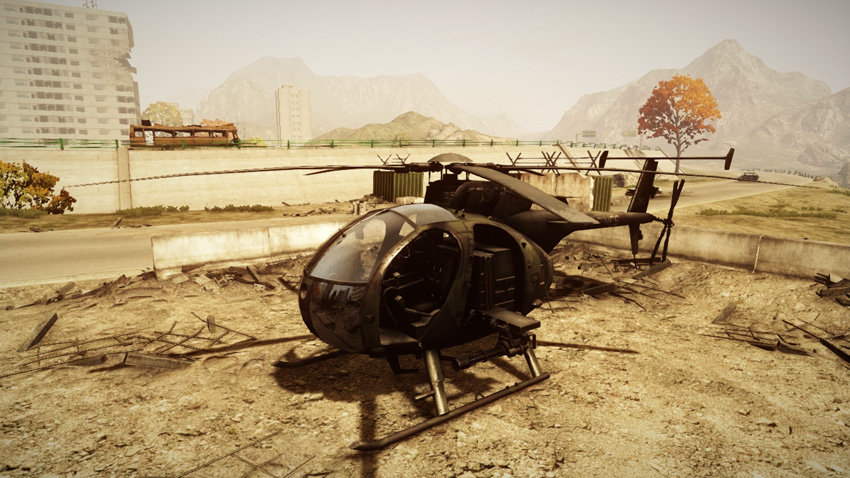
Following the destruction of the M-COM stations at the Construction Site, the US team’s deployment area shifts into the city. US infantry now deploy at the intersection by the Construction Site and hotel. The team’s M1 Abrams spawns in the street, a block west of the Construction Site, and the AH-6J Little Bird still spawns back at the original deployment area to the far west—both vehicles can be accessed directly through the spawn screen. As in the previous phase, the vehicles provided to the US team are essential for countering the RU team’s T-90A and Z-11W. In addition to hunting down the enemy vehicles, the Little Bird is effective for scattering troops around the map—this is a great way to stage early-round sneak attacks on the distant M-COM Station B. Expect the heaviest fighting inside the Mall while attempting to set a charge on M-COM Station A. Consider driving the M1 Abrams into the Mall to provide cover and fire support while teammates attack the objective.
RU Deployment
Deployment Area Assets
| Name | T-90A | Z-11W | 9M133 Kornet Launcher |
|---|---|---|---|
| Quantity | 1 | 1 | 1 |
| Respawn Time | 50 sec. | 60 sec. | 10 sec. |
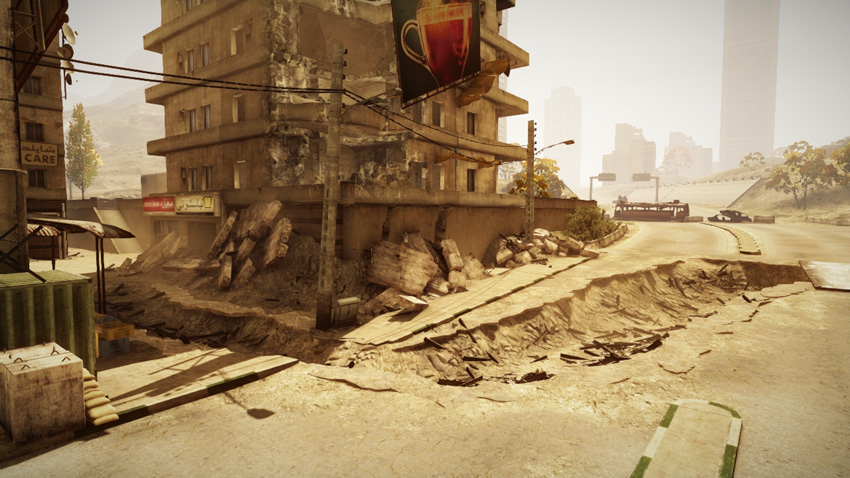
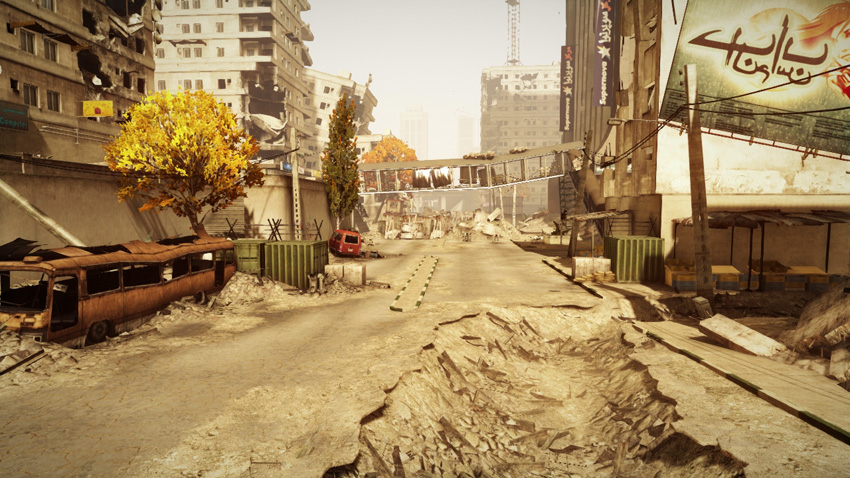
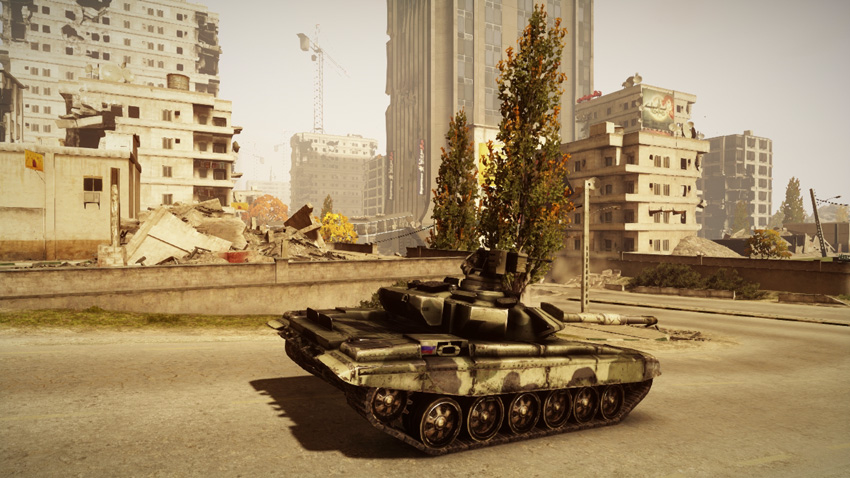
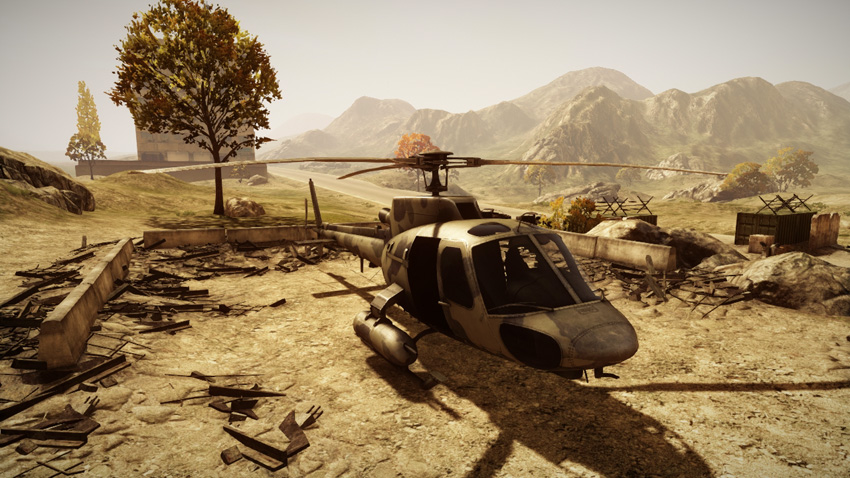
After losing ground at the Construction Site, the RU team is pushed back deeper into the city, and deploy in the street northeast of the Mall. Unlike the previous phase, this time the RU team has a few extra seconds to prepare their defenses around the two objectives. First, get troops into the Mall and establish a perimeter around M-COM Station A, utilizing the upper floors as overwatch positions. Simultaneously move troops to M-COM Station B and watch for enemy traffic along the street to the south—use the nearby Kornet launcher to target the US team’s M1 Abrams. Park the T-90A at the southwest corner of the Mall and hammer US troops near their deployment area to the south. If necessary, retreat to conduct repairs or whenever you need to respond to flanking attacks. Finally, attack aggressively with the Z-11W, engaging both the Little Bird and M1 Abrams—use Heat Seekers and cannon fire to shoot down the Little Bird, then perform strafing runs on the US team’s tank.
M-COM Station A
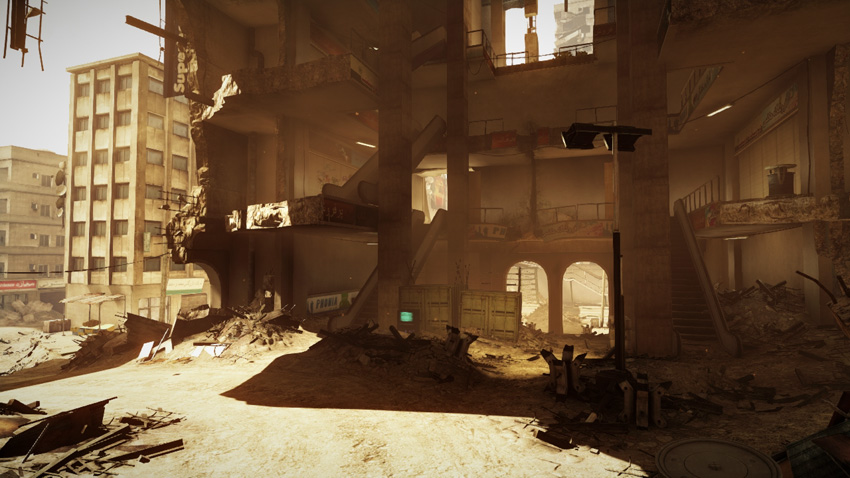
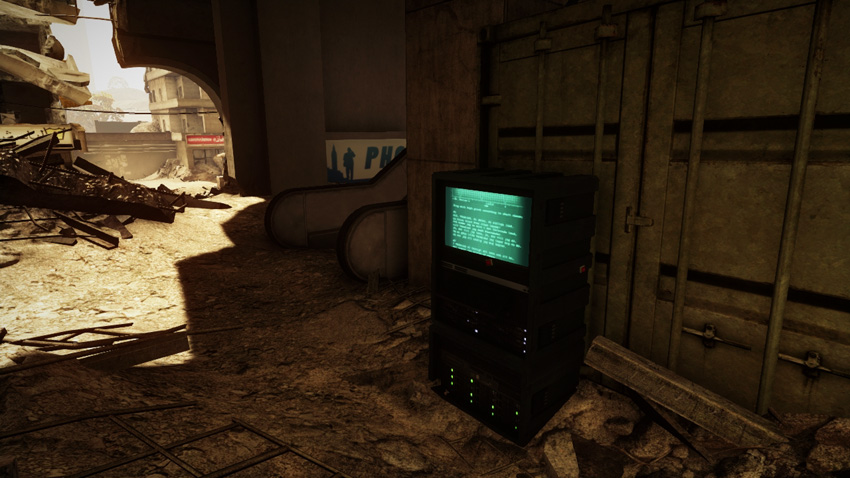
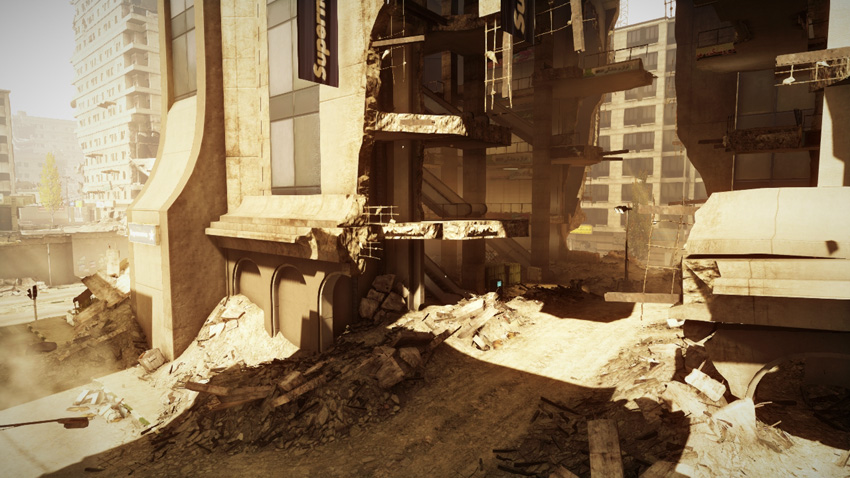
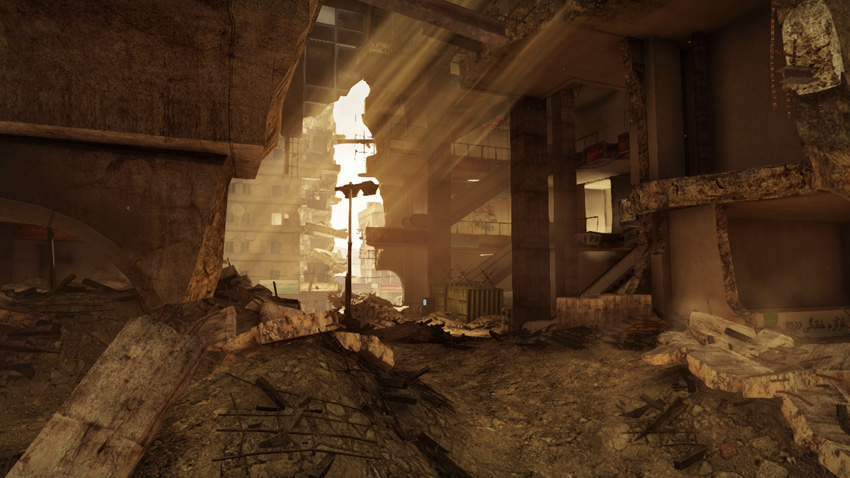
M-COM Station A is located on the Mall’s ground floor, which makes it an extremely dangerous objective to attack given the numerous sight lines focused on this position. The second, third, and fourth floors of the Mall are all accessible and they give the defenders plenty of elevated overwatch positions from which to cover the objective. In addition to watching the objective, defending engineers should place mines along the northern and western entry points to prevent the US team’s M1 Abrams from charging into the Mall. Before racing to the objective, the US team should work to secure the Mall’s upper floors. Infiltrate the Mall from the sky bridge on the east side and sneak up on the defenders from behind. However, watch the sky bridge for Claymores and other booby traps—the sky bridge is a narrow choke point that the defenders can leverage to score some easy kills. Both teams should place Radio Beacons on the Mall’s upper floors to maintain a presence close to this objective.
M-COM Station B
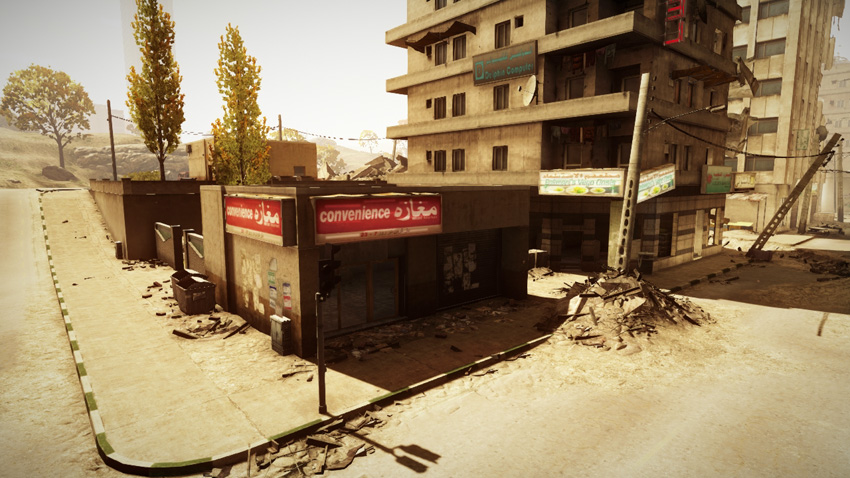
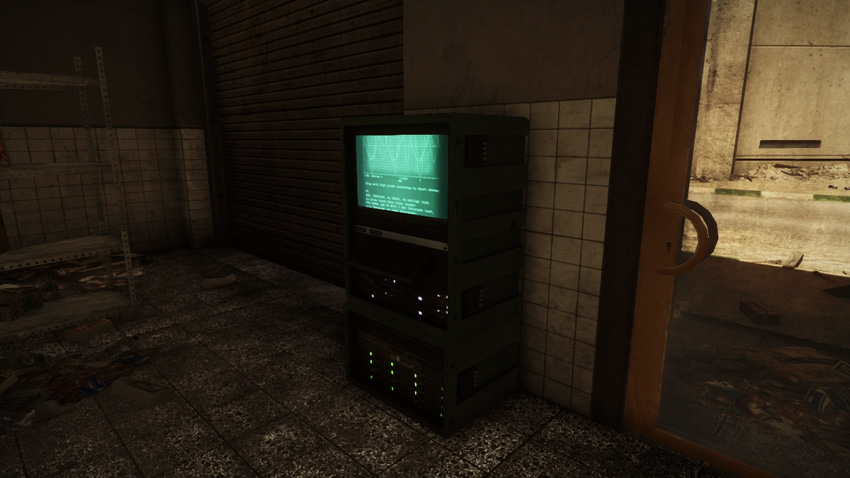
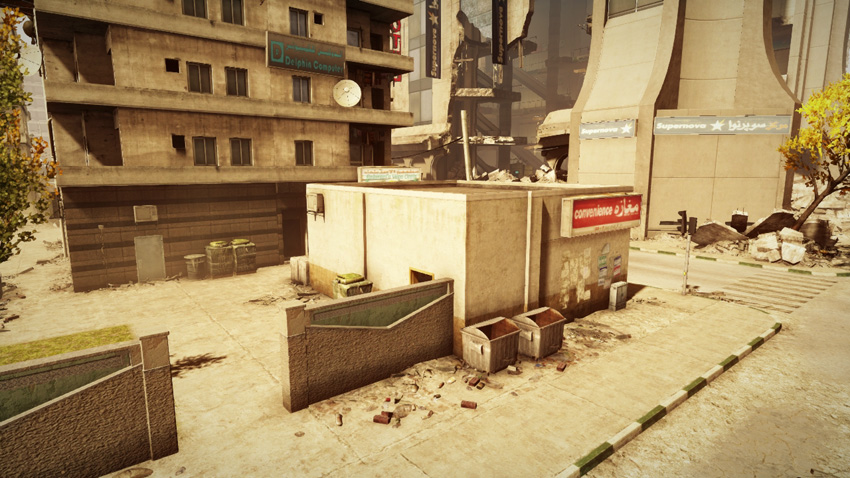
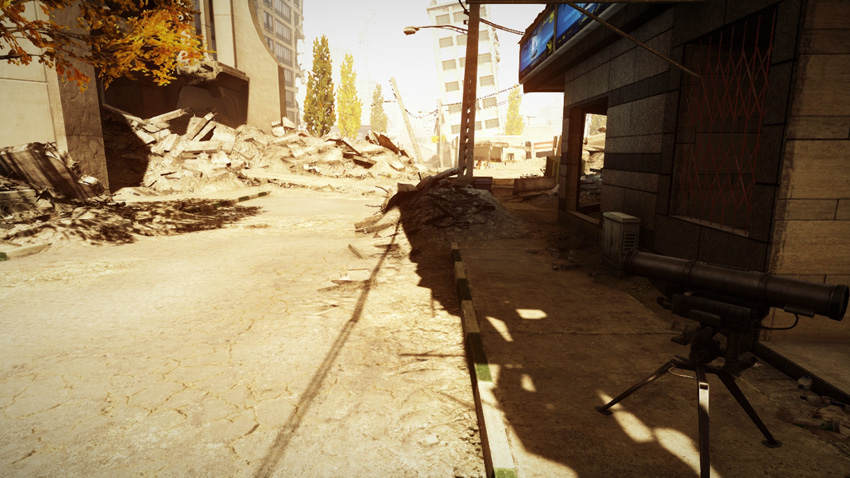
This objective is housed within the small convenience store across the street from the Mall. The store’s interior can be accessed through doorways on the north and south sides of the structure. However, the perimeter walls of the building are destructible, so attackers can make their own doorway with explosive weaponry. Instead of camping inside this small building, defenders should focus their efforts on the perimeter, hiding among the surrounding alleys and rubble to ambush enemy troops rushing toward the store. The long sight lines offered by the nearby streets make this a popular area for snipers, so be ready to dive behind cover, whether attacking or defending. A Kornet launcher is positioned across the street to the west, and it’s ideal for engaging the M1 Abrams—attackers can use this same launcher to attack the T-90A or to punch holes in the convenience store.
Zone 3: Power Station
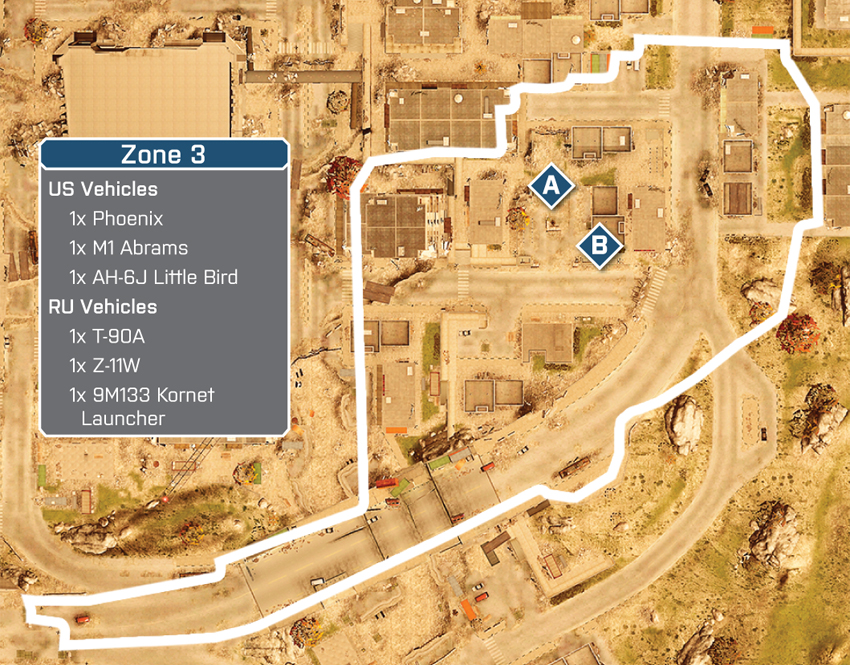
US Deployment
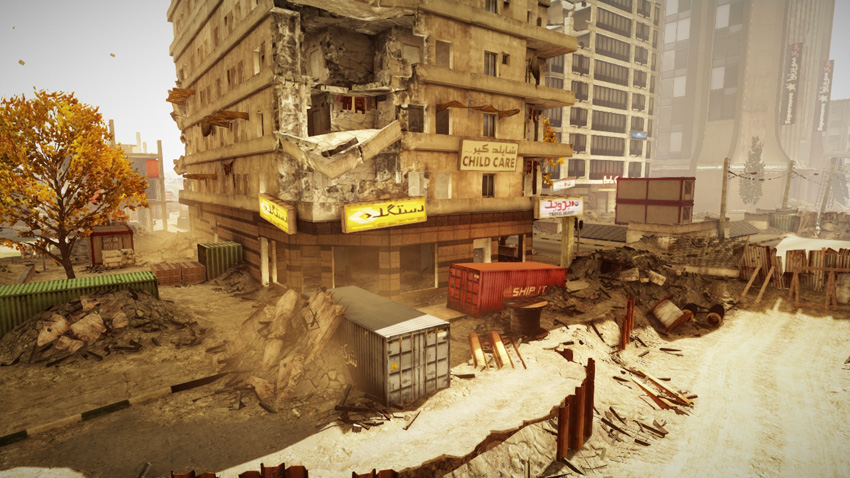
Deployment Area Assets
| Name | Phoenix | M1 Abrams | AH-6J Little Bird |
|---|---|---|---|
| Quantity | 1 | 1 | 1 |
| Respawn Time | 30 sec. | 30 sec. | 60 sec. |
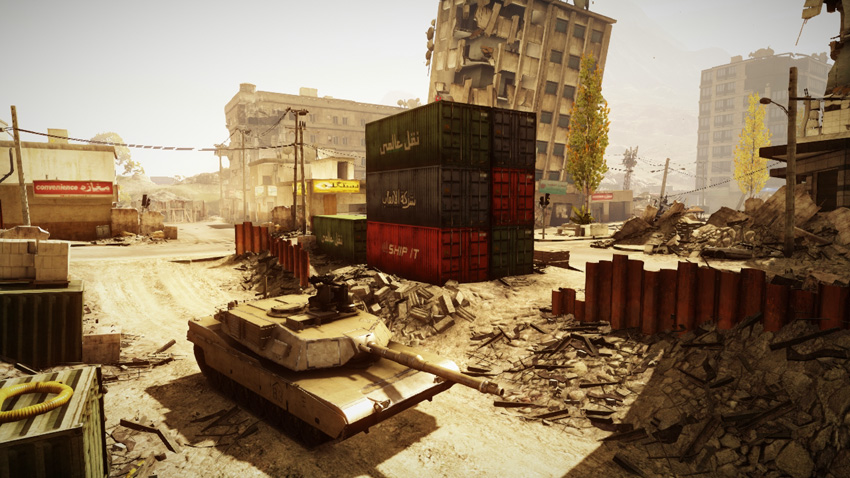
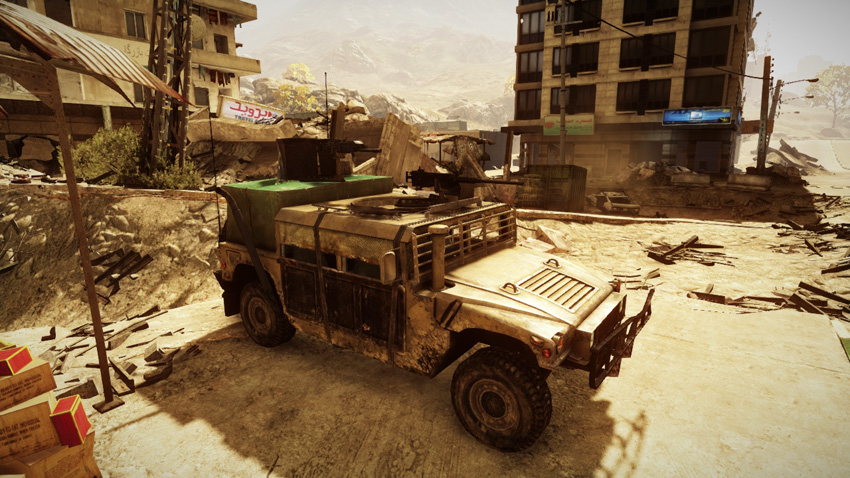
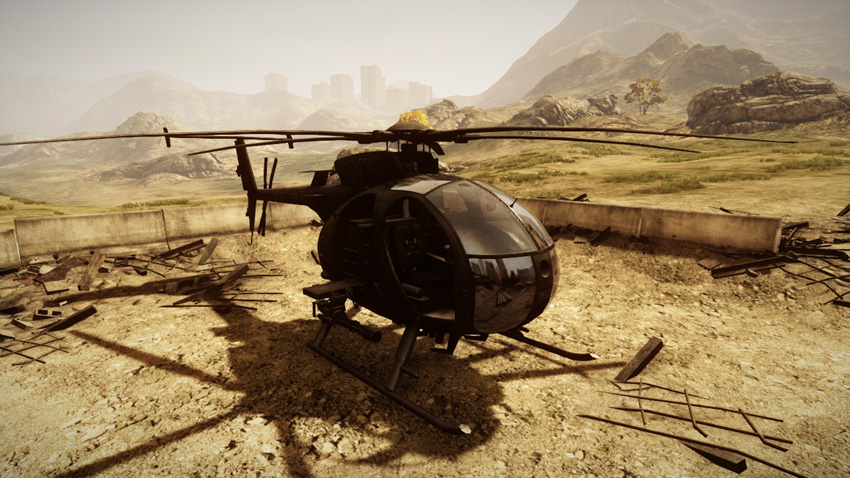
In this phase of the battle, the US team’s deployment area shifts slightly to the west in preparation for their assault on the objectives at the Power Station. Infantry spawn in the street just south of the hotel while the M1 Abrams and Phoenix are deployed to the west—the AH-6J Little Bird still spawns at the original deployment area on the city’s western outskirts. Since the next set of objectives are clustered in a small area, punching through the RU team’s consolidated defenses can be tough. Therefore the team needs to coordinate a simultaneous attack on the Power Station, hitting both objectives at once. The M1 Abrams and Phoenix are most successful advancing along the Bridge, flanking the Power Station from the south. Meanwhile, use the Little Bird to counter the RU team’s Z-11W and T-90A. Infantry should take up positions among the buildings on the west and south side of the Power Station, utilizing Radio Beacons and squad spawning to apply consistent pressure against the objectives.
RU Deployment
Deployment Area Assets
| Name | T-90A | Z-11W | 9M133 Kornet Launcher |
|---|---|---|---|
| Quantity | 1 | 1 | 1 |
| Respawn Time | 50 sec. | 60 sec. | 10 sec. |
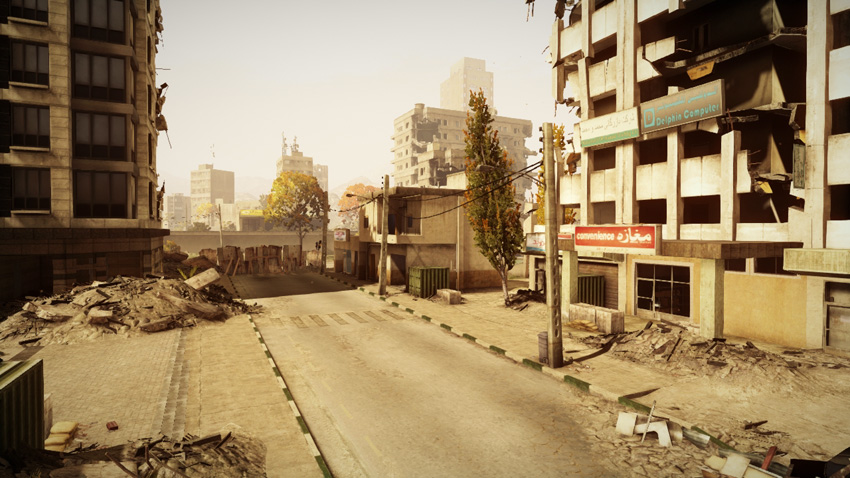
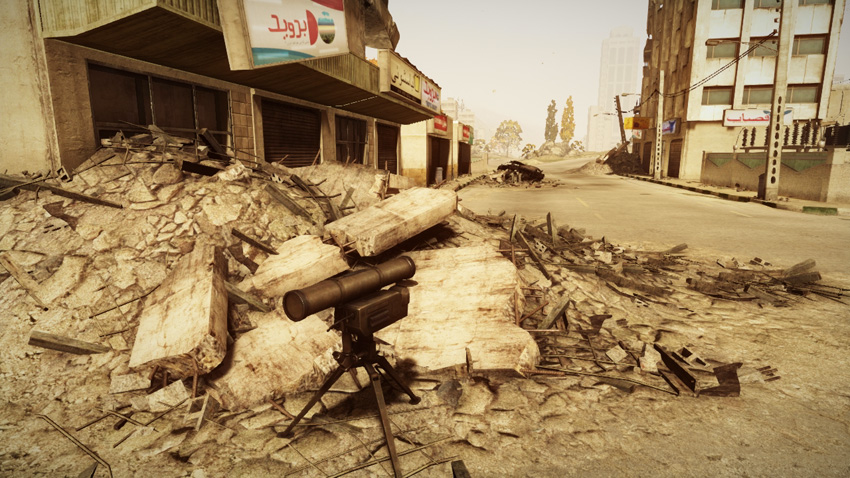
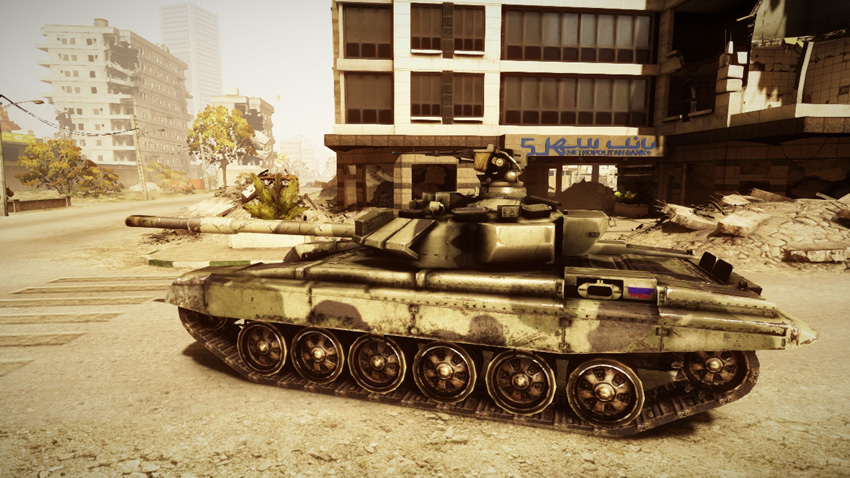
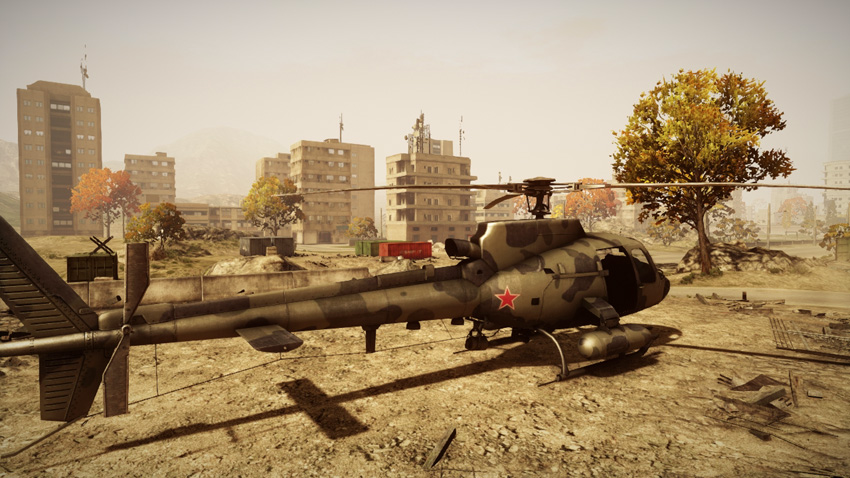
Immediately following the loss of the two objectives at the Mall, don’t waste any time securing the next set of objectives at the Power Station. With both objectives placed only a few meters from each other, the defenders can consolidate their forces at one location. The defending infantry deploy in the street just north of the Power Station, along with the T-90A. The Z-11W spawns back at the original helipad to the far north. As usual, the US team’s vehicles pose the biggest threat, so use the T-90A and Z-11W to counter the incoming M1 Abrams, Phoenix, and Little Bird. Engineers can assist by placing mines and firing rocket launchers and IGLAs. While most attackers advance along the street to the west, prepare for flanking attacks crossing the Bridge to the south—consider posting a squad on the Bridge to detect and ambush opponents here. To avoid losing control of the Power Station, each defending squad should post a Radio Beacon near the objectives, preferably within the abandoned travel agency building. If the RU team can maintain a presence here, they stand a good chance of holding out for a win.
M-COM Station A
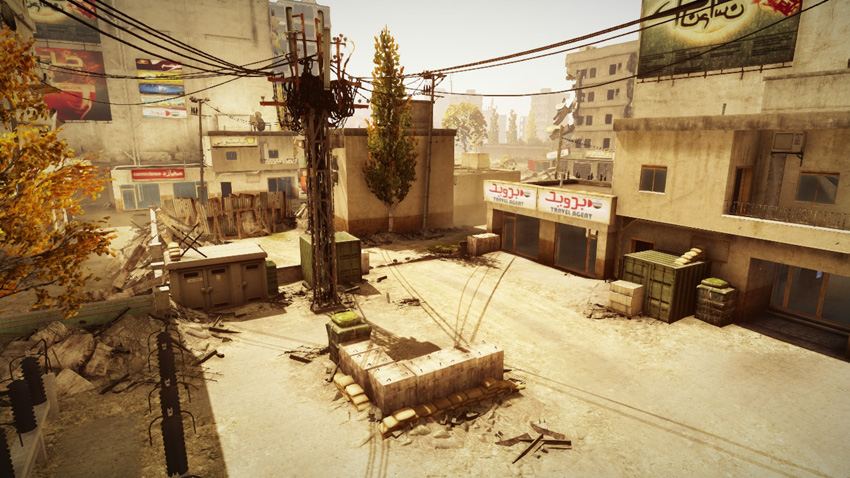
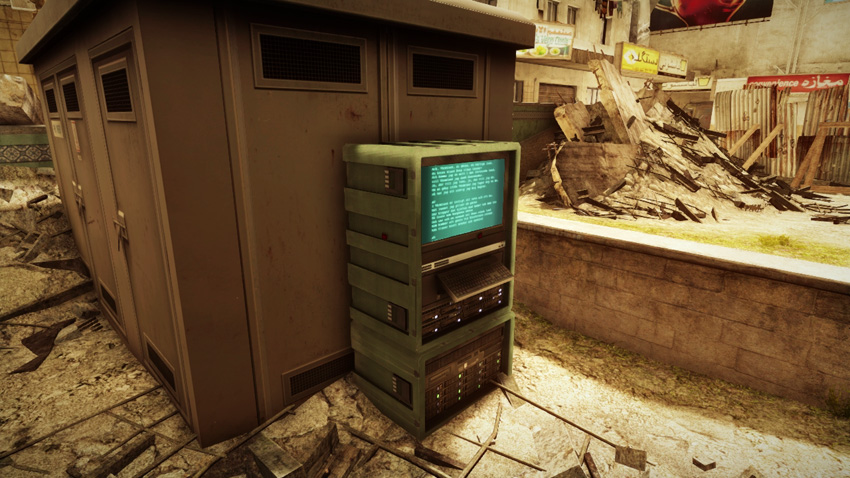
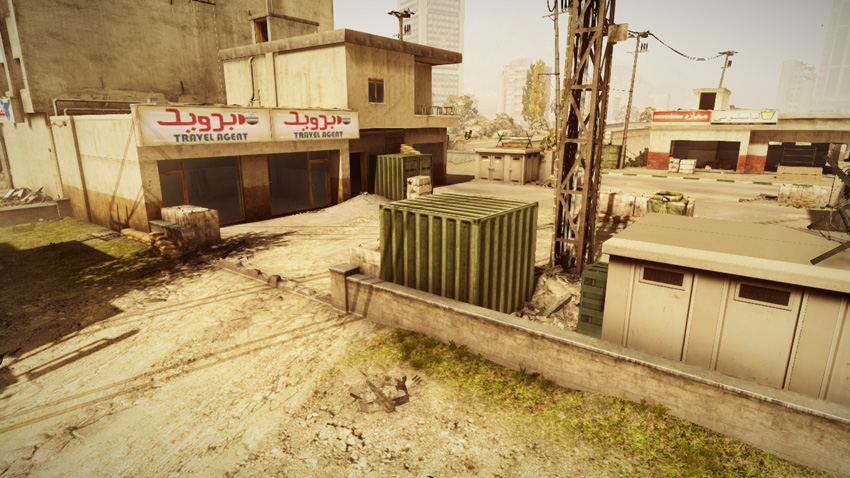
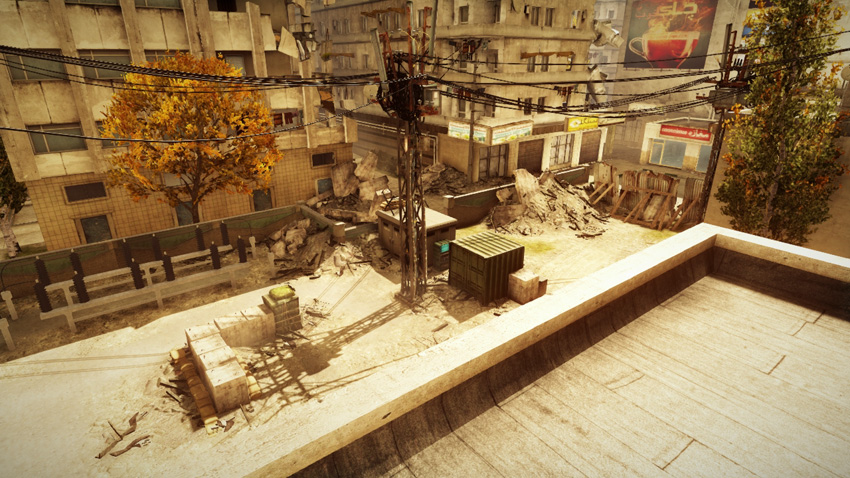
M-COM Station A is located at the Power Station, tucked between a gray transformer box and a green, cube-shaped shipping container. The cramped, narrow space between the transformer and shipping container is the perfect spot for Claymores and C4, so attackers should always toss a grenade into this space before rushing in to set a charge. The parking lot in which the objective is located is relatively open and offers very little cover. Therefore, attackers should saturate the area around the objective with smoke before stepping into this likely kill zone. Defenders are usually posted in the travel agency building to the east—the rooftop of this building is also accessible and offers a great view of the Power Station. Attacking infantry have the best chance of sneaking up on this objective through the rubble-filled alley to the west, under the cover of smoke.
M-COM Station B
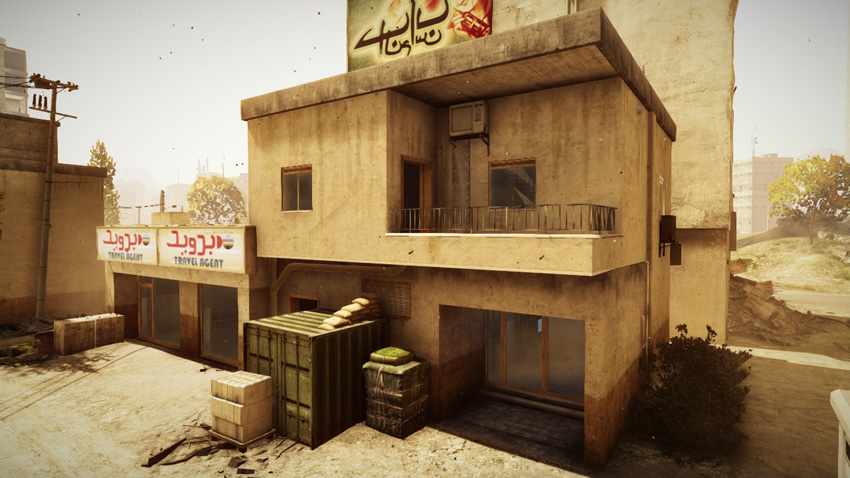
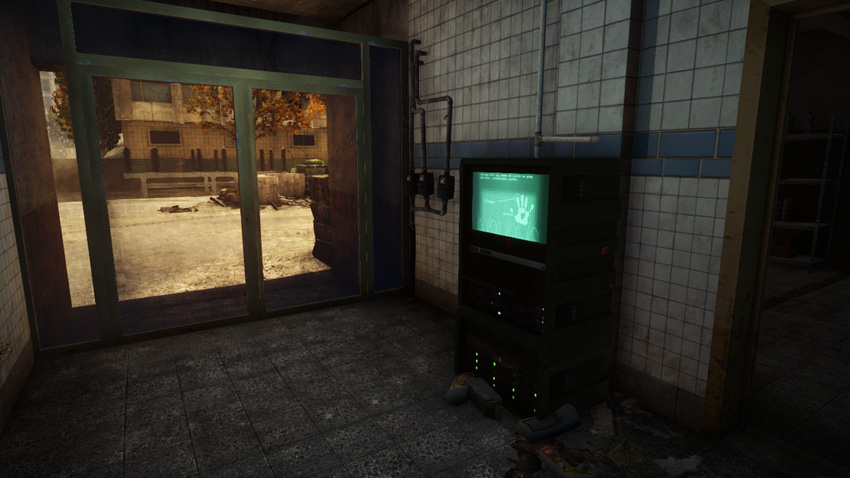
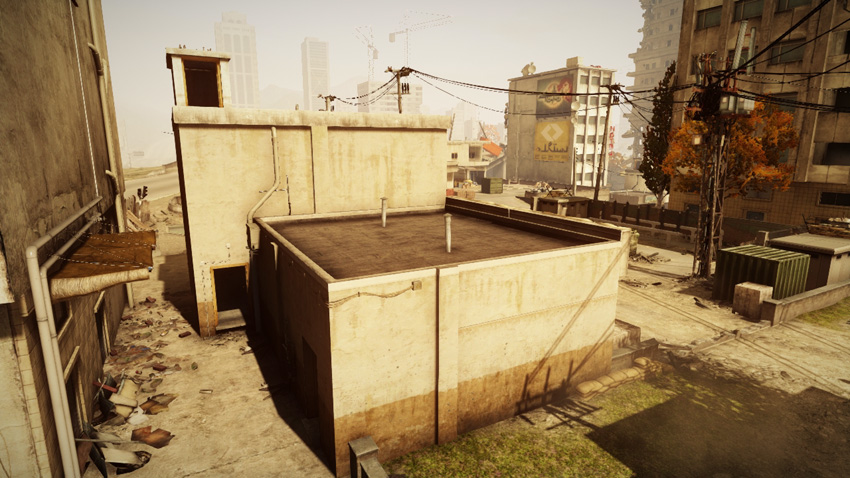
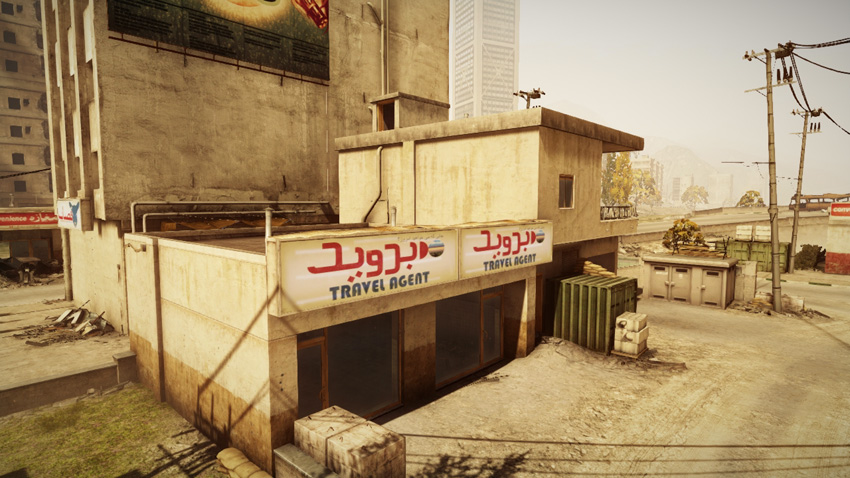
Located only a few meters from M-COM Station A, this objective is housed within the ground floor of residence adjoined to the travel agency. Doorways on the east and west sides of the building allow easy access to the objective. The perimeter walls of the building are also destructible, which gives the attackers the opportunity to create their own entry points. On the east side of the objective is a staircase leading to the building’s second floor. The second floor of this building serves as a good base of operations for both teams—drop Radio Beacons here to maintain a spawn point close to the objectives. The rooftop of this building is also accessible, and it offers a good vantage point of the surrounding area. Attackers flanking from the Bridge to the south can sometimes sneak up on this objective without being noticed.Enter through the doorway on the east side of the building to avoid being detected.
Zone 4: Bank
US Deployment
Deployment Area Assets
| Name | Phoenix | M1 Abrams | AH-6J Little Bird |
|---|---|---|---|
| Quantity | 1 | 1 | 1 |
| Respawn Time | 30 sec. | 30 sec. | 60 sec. |
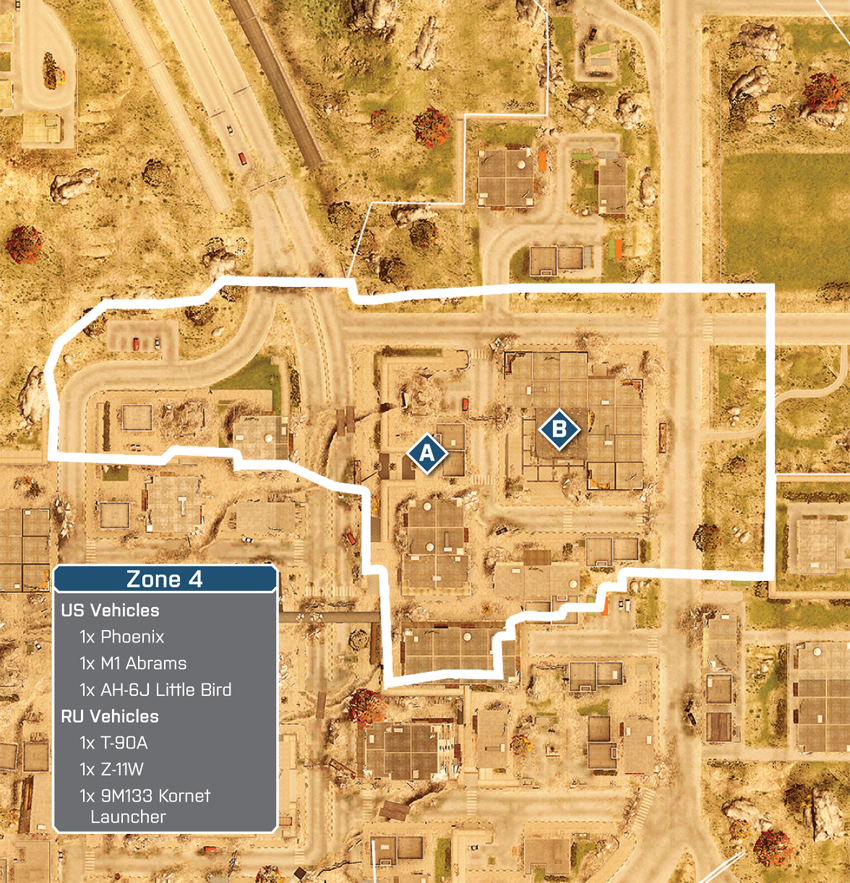
Having successfully taken out six M-COM stations up to this point, the US team only needs to destroy two more objectives to secure a win in this battle. This time the US team’s infantry and Phoenix spawn near the Power Station—the M1 Abrams spawns on the Bridge to the south and the Little Bird deploys from the original deployment area to the distant west. The next objectives are located near the Bank to the north. The best way to secure this area is by taking control of the streets on the south and west side of the Bank building. The M1 Abrams and Phoenix are well suited for engaging opponents along this street—just watch out for the RU team’s T-90A and infantry manning the Kornet launcher on the west side of the bank. While the vehicles make a push along the streets, infantry should advance from the south, securing M-COM Station B before making a move on M-COM Station A. The Little Bird is still a useful air asset but should prioritize maintaining air superiority by shooting down the RU team’s Z-11W.
RU Deployment
Deployment Area Assets
| Name | T-90A | Z-11W | 9M133 Kornet Launcher |
|---|---|---|---|
| Quantity | 1 | 1 | 1 |
| Respawn Time | 50 sec. | 60 sec. | 10 sec. |
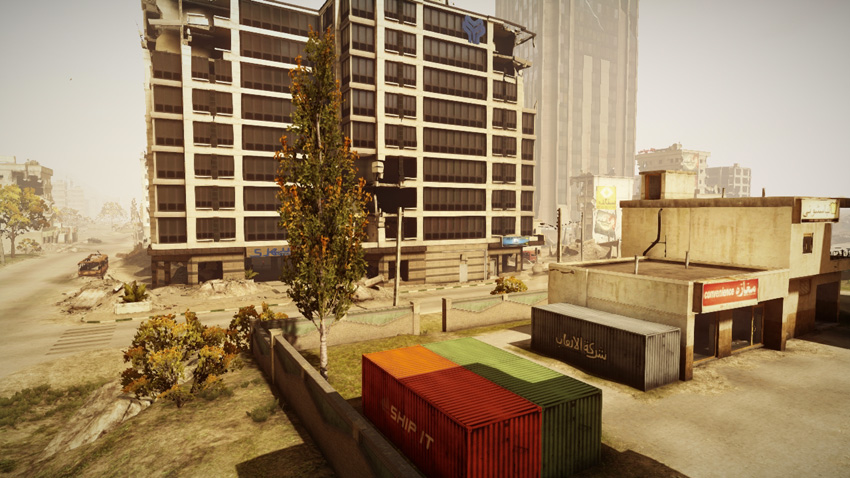
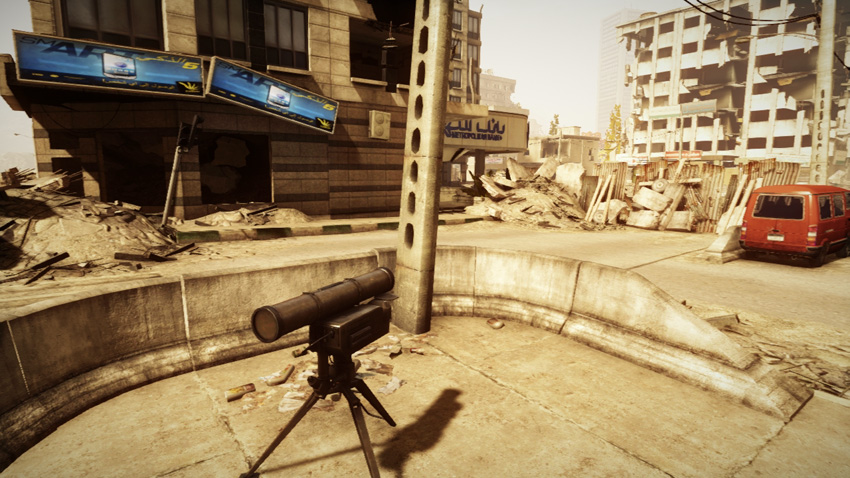
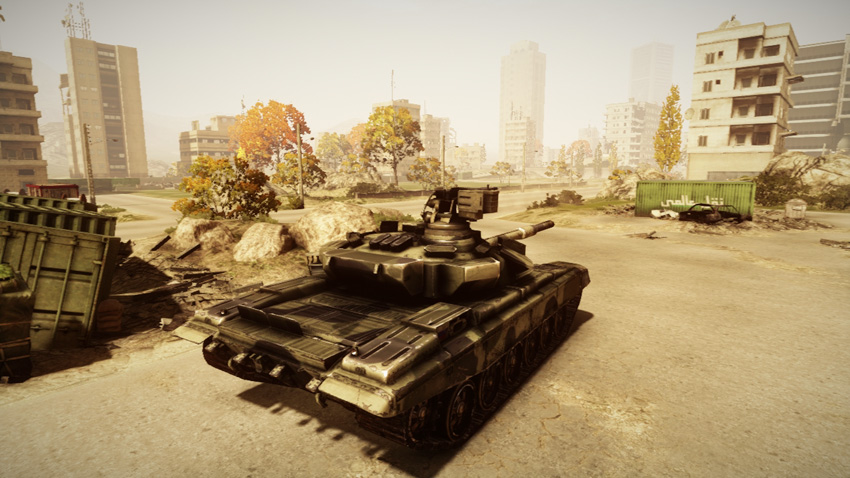
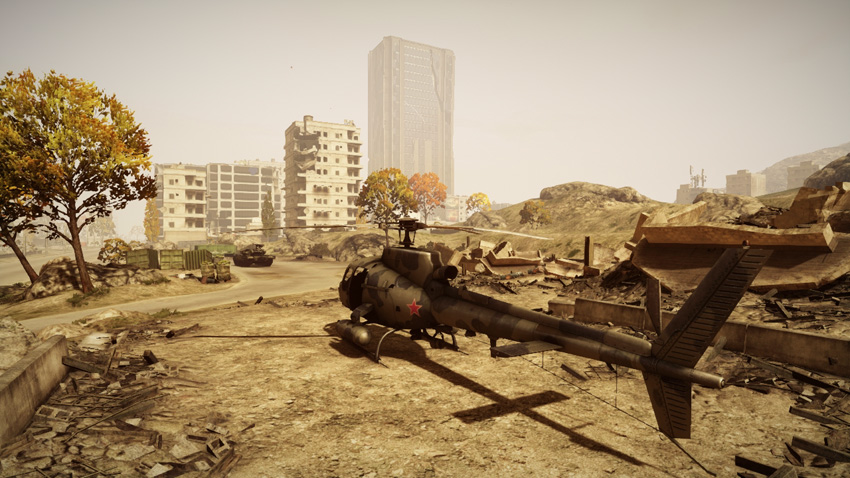
This is the RU team’s last chance of holding out for an upset. If your team hasn’t managed to halt the US advance at this point, redouble your efforts to keep the T-90A and Z-11W in the battle as long as possible. This requires support from engineers to provide repairs. If the T-90A takes heavy damage, retreat to a safe location and perform repairs immediately. Engineers riding in the Z-11W as a passenger can conduct repairs on the fly, helping keep the helicopter airborne for long periods of time. It’s equally important to keep troops clustered around the objectives at all times. Instead of constantly spawning on the north side of the Bank, use squad spawning and Radio Beacons to keep your team close to the action. The street on the west side of the bank is likely to see heavy action since it runs between the two objectives. Focus the majority of your team here so they can respond to attacks on either M-COM station. But also watch for flanking attacks from the east or west—T-UGS motion sensors are ideal for detecting such maneuvers.
M-COM Station A
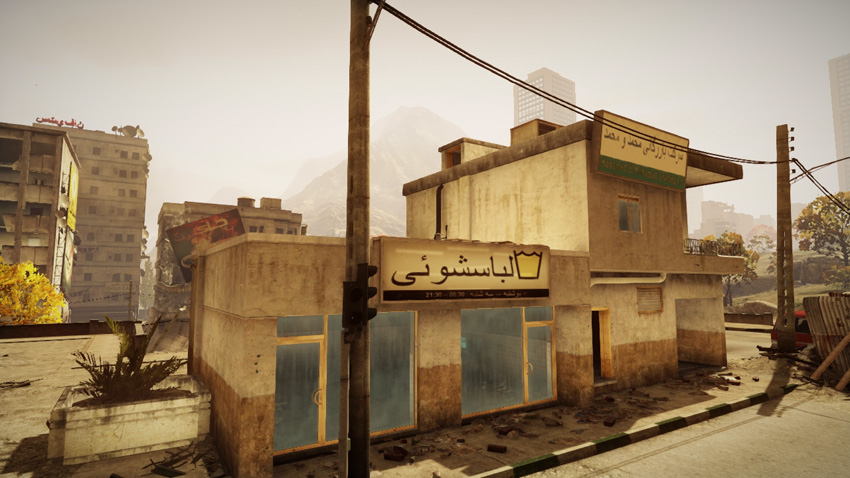
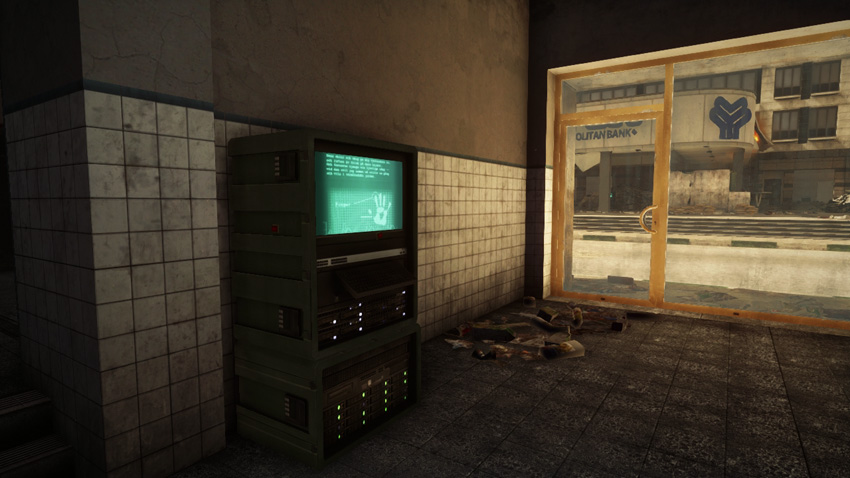
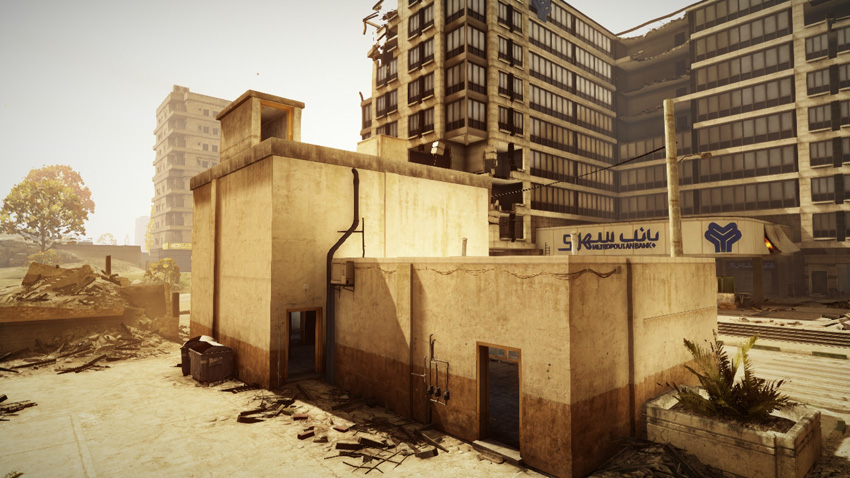
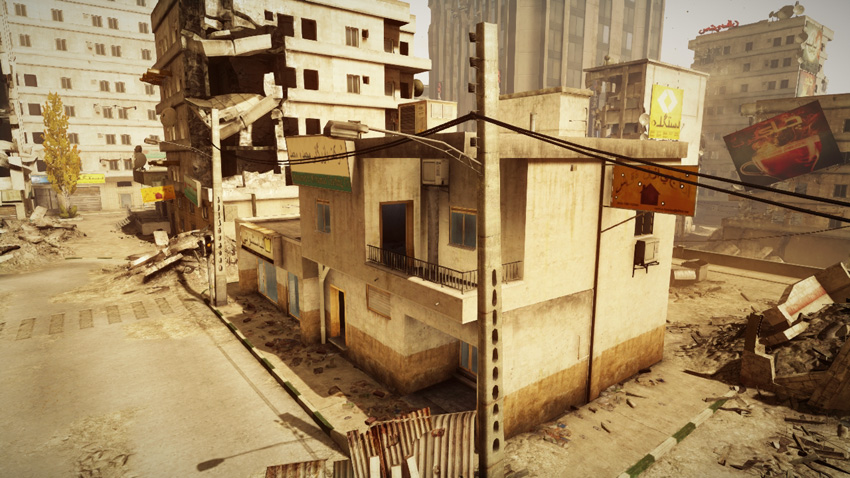
M-COM Station A is housed within an abandoned convenience store across the street from the bank. Given the heavy traffic along the adjoining street, this building is likely to take heavy damage from tanks that reduce the perimeter walls to dust. As a result, attackers shouldn’t have too many problems finding a suitable entry point. The east side of the store is mostly glass, giving defenders posted at the Bank a clear view of the objective. This angle can also benefit the attackers if they manage to take out M-COM Station B first and use the Bank as a forward base. So whether attempting to set a charge or disarming one, prepare to take incoming fire from the Bank. Snipers posted on the Bank’s rooftop pose a serious threat. To avoid exposing yourself to incoming fire, approach the objective from the west side, using the M-COM station for cover.
M-COM Station B
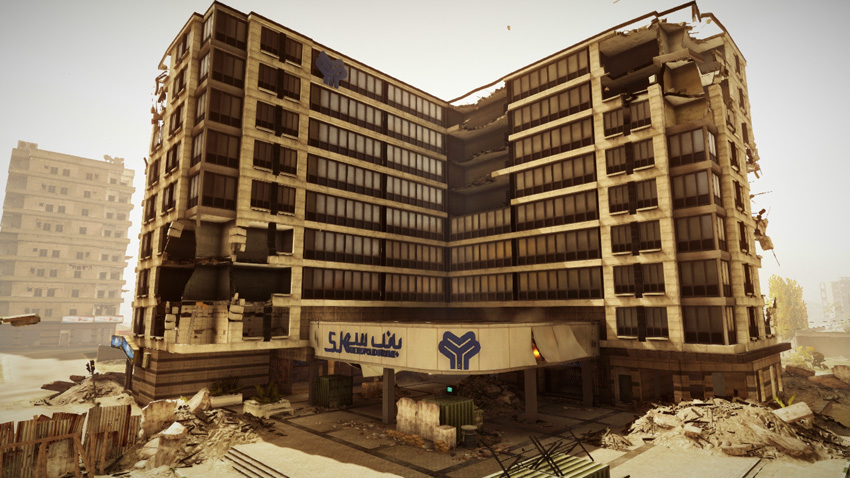
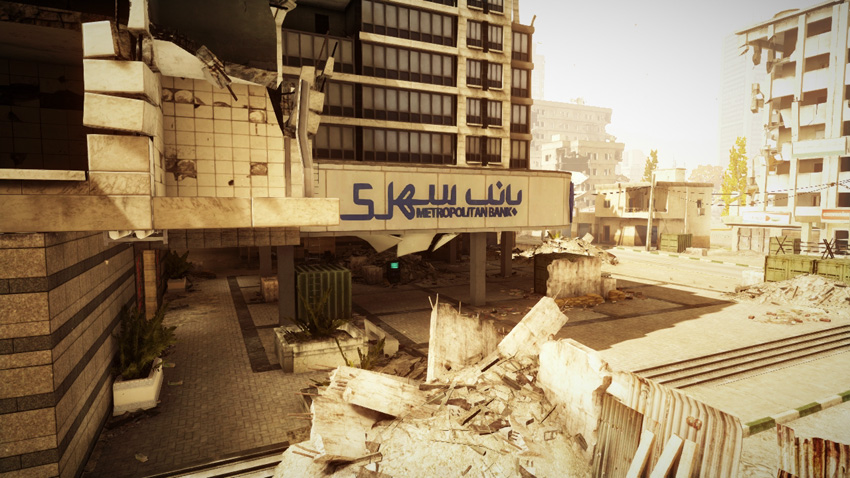
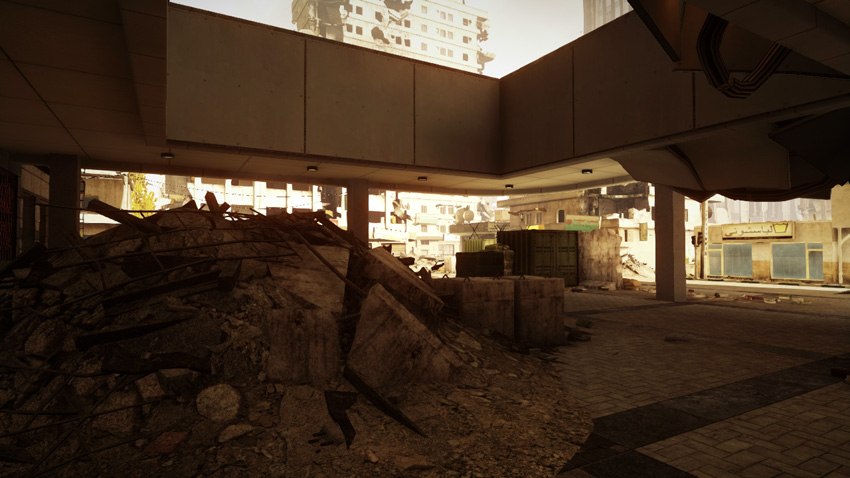
This objective is located at the Bank’s entryway, in the same position as the flag during Conquest matches. While this M-COM station looks relatively sheltered, it can be monitored from multiple directions, including from the convenience store across the street—snipers posted on this rooftop have a great view of this area. The entryway’s ring-shaped rooftop, directly above the objective, is another possible overwatch position. There are also multiple hiding spots around the objective itself, so watch for campers positioned behind the various planters, shipping containers, and rubble. When attacking here, it’s best to approach from the east side, avoiding the chaos in the western street. It’s possible to drive a vehicle next to the objective, but maneuvering in this cramped space can be difficult. Still, if all else fails, driving a tank next to the objective may give infantry just enough time to arm or disarm a charge.
Squad Rush
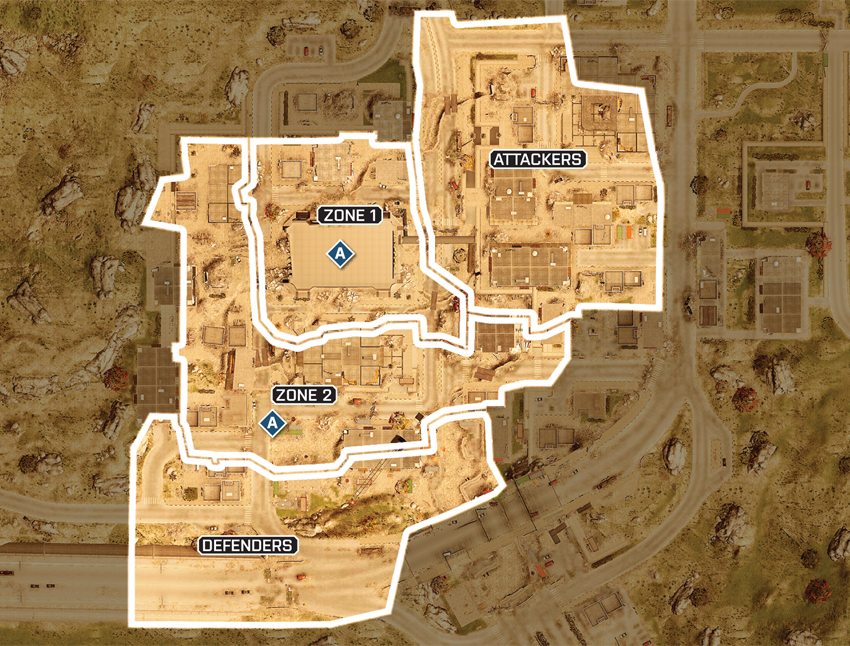
During this small-scale Rush battle, both objectives are situated in very exposed locations, adding a degree of difficulty for the attacking squad. The areas around the Mall and Construction Site offer long sight lines, so prepare to engage opponents at intermediate and long range—sniper rifles and assault rifles are ideal. To avoid walking into a trap, the attacking squad should carefully survey each location with a MAV before approaching either objective. Likewise, the defending squad should rely on a MAV of their own (or T-UGS motion sensors) to locate the attackers. Given the lack of cover around each objective, always deploy smoke to provide some concealment when attempting to arm or disarm a charge.
Zone 1
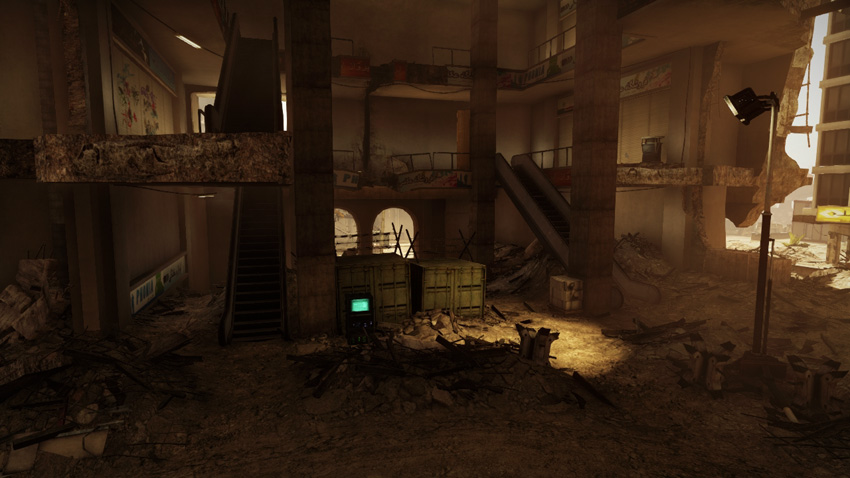
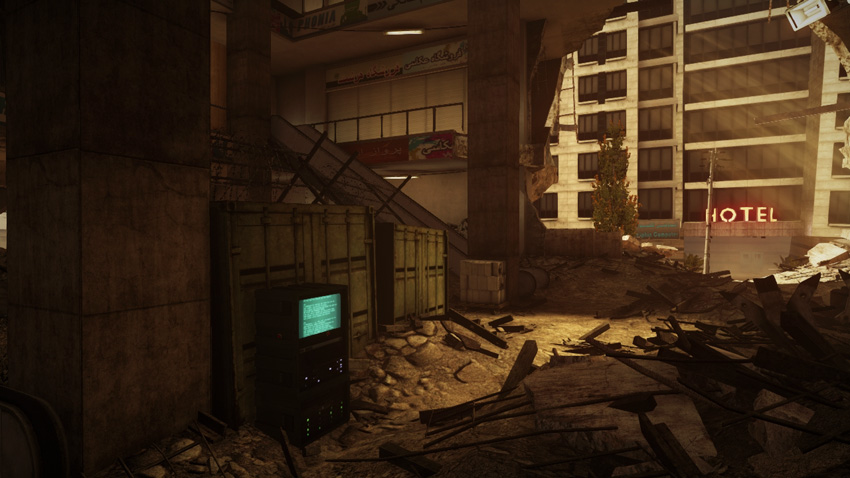
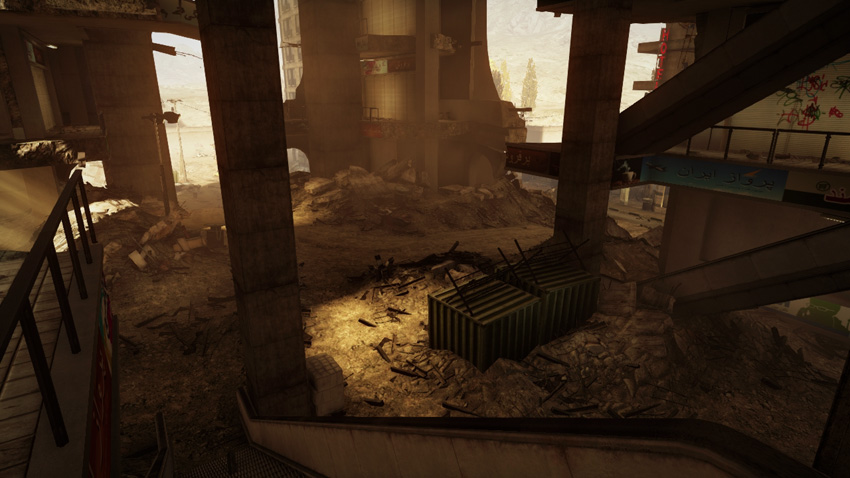
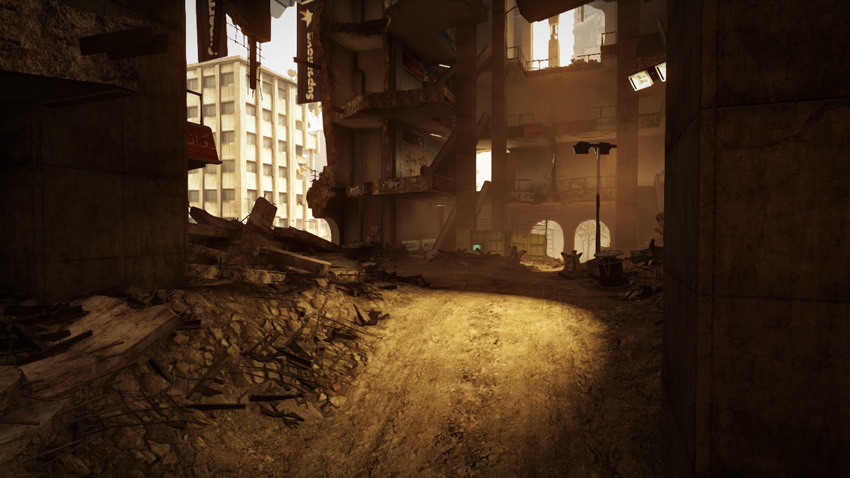
The first M-COM station is located on the ground floor of the Mall. With so many potential entry points, this massive structure is extremely difficult for only one squad to lock down. So instead of trying to hunt down the attacking squad in the surrounding streets, the defenders are better off camping within the Mall and staking out positions where they have a clear view of the objective. Instead of attacking from one of the street-level breach points, the attacking squad should access the Mall’s interior from the sky bridge on the east side. This path provides access to the Mall’s second floor promenade, an ideal overwatch position. However, the sky bridge is an obvious path, and may be watched or booby trapped by the defenders. Therefore, deploy a MAV and fly it into the Mall to locate the defenders. This may reveal weaknesses in their defenses, allowing your squad to find an alternate path. Whether arming or disarming a charge, use grenade launchers to mask the objective in smoke.
Zone 2
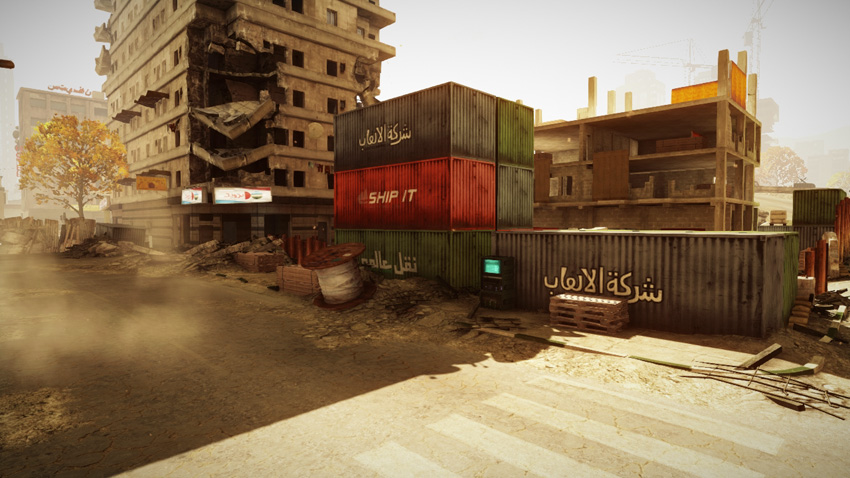
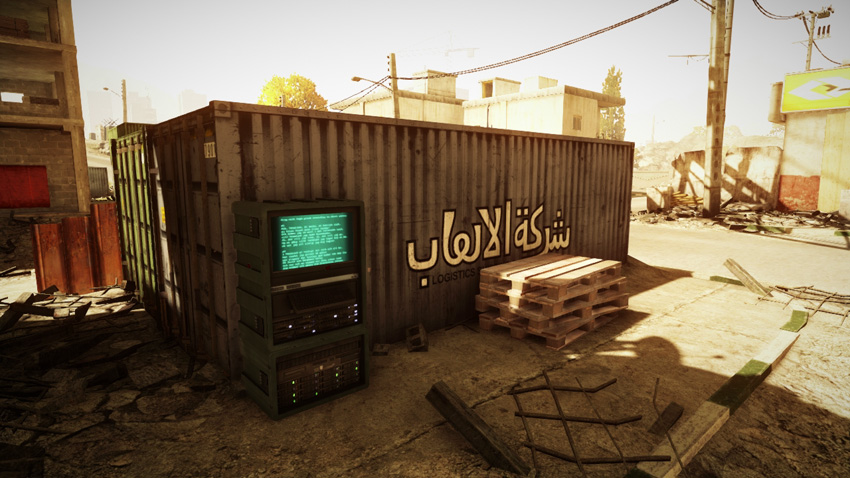
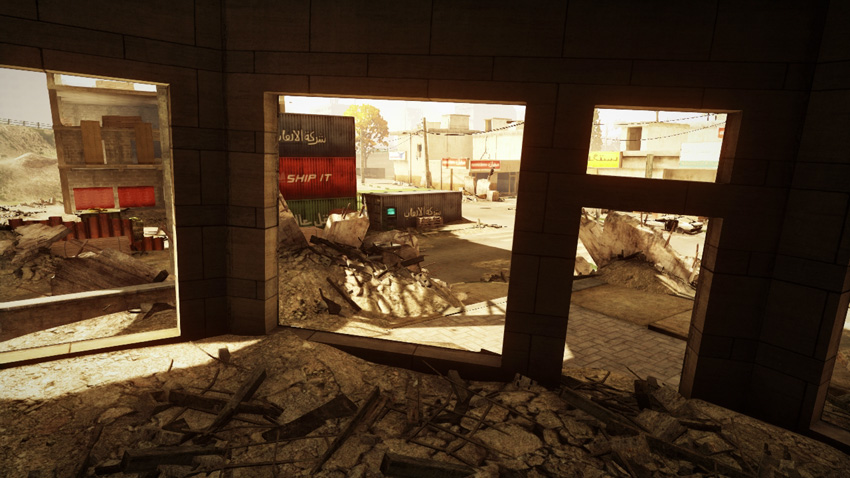
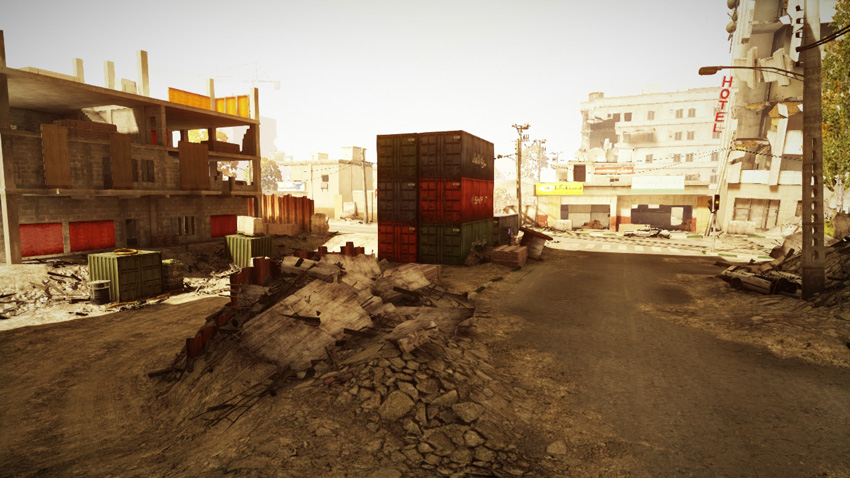
The second M-COM Station is located along the street near the Construction Site and across the street from the hotel. This objective is completely exposed, giving the attacking squad another challenge. The defending squad can monitor the objective from multiple vantage points, including the rooftop to the west as well as from within the storefront on the hotel’s southwest corner. Instead of charging down the adjoining streets, the attacking squad should cut through the hotel and establish a presence to the north of the objective—place a Radio Beacon within the hotel to maintain a spawn point nearby. Short of completely eliminating the defending squad, there’s no safe or easy way to approach the objective. So use grenade launchers to saturate the area with smoke then elect one squad member to rush into the smoke screen and set the charge. The defending squad should be prepared to use similar tactics when attempting to disarm the charge.
Scavenger
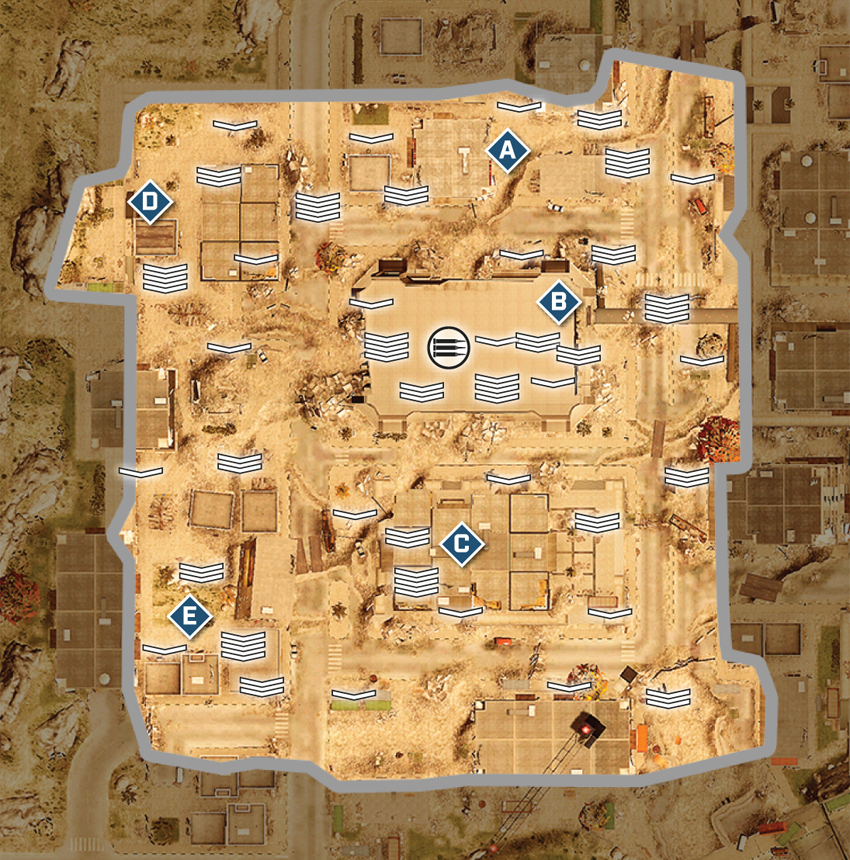
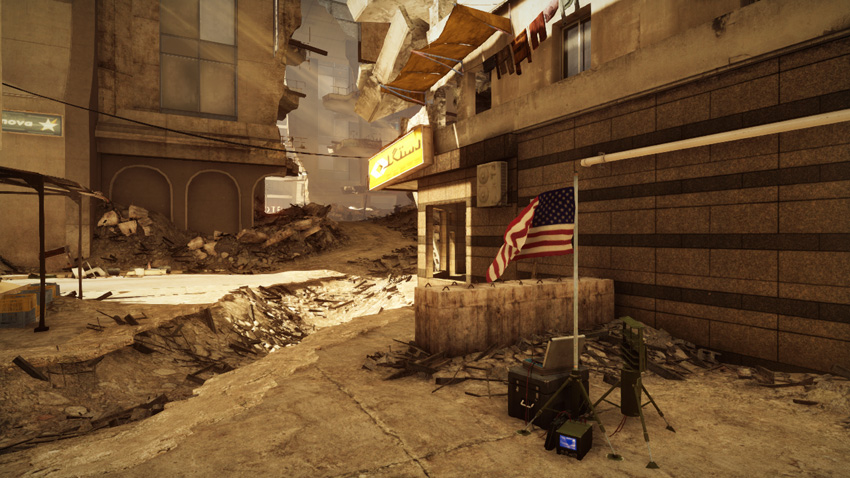
Flag A
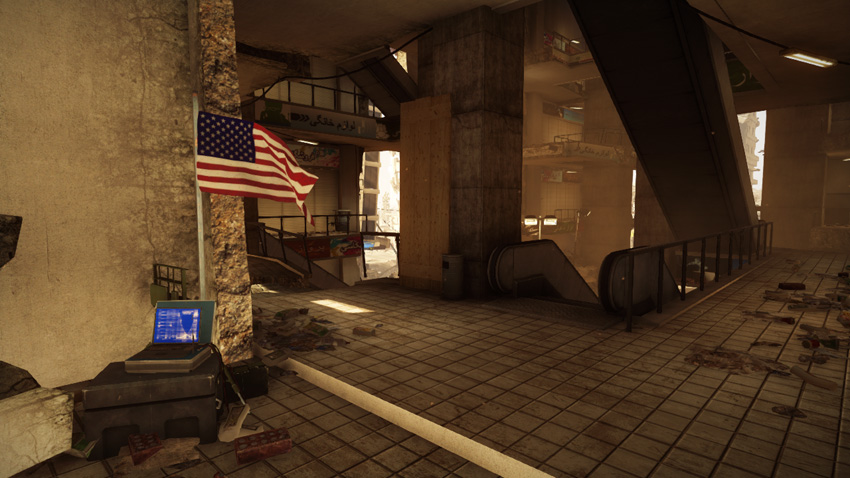
Flag B
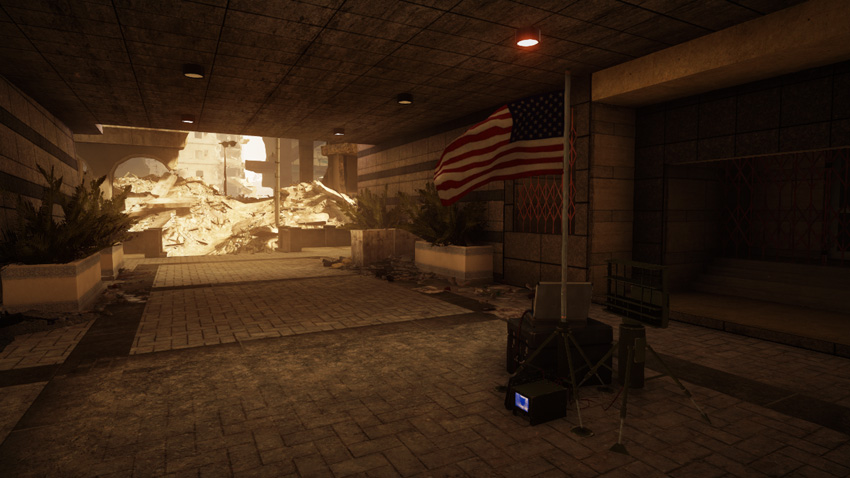
Flag C
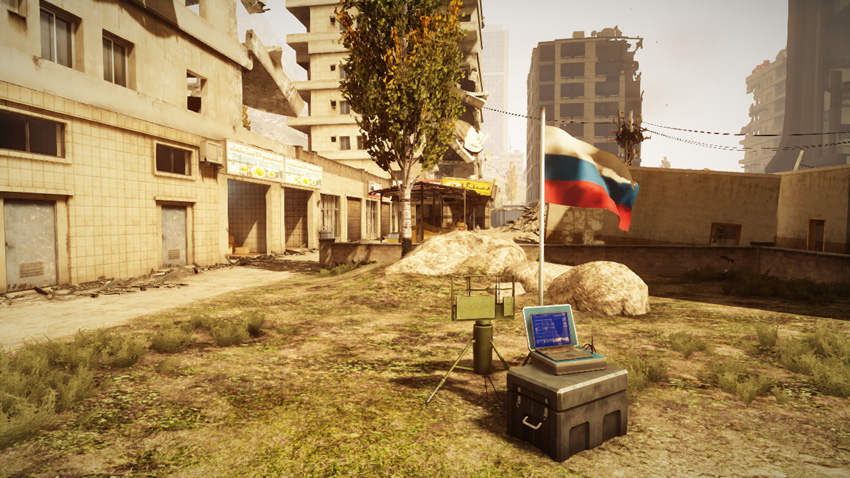
Flag D
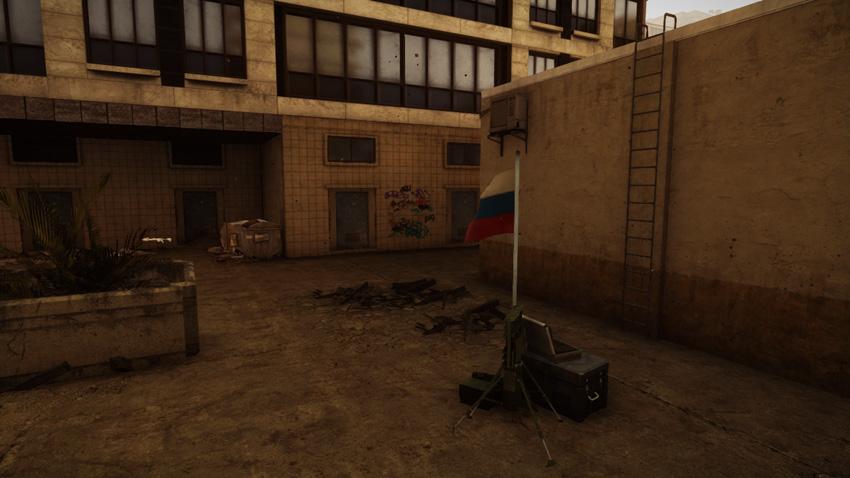
Flag E
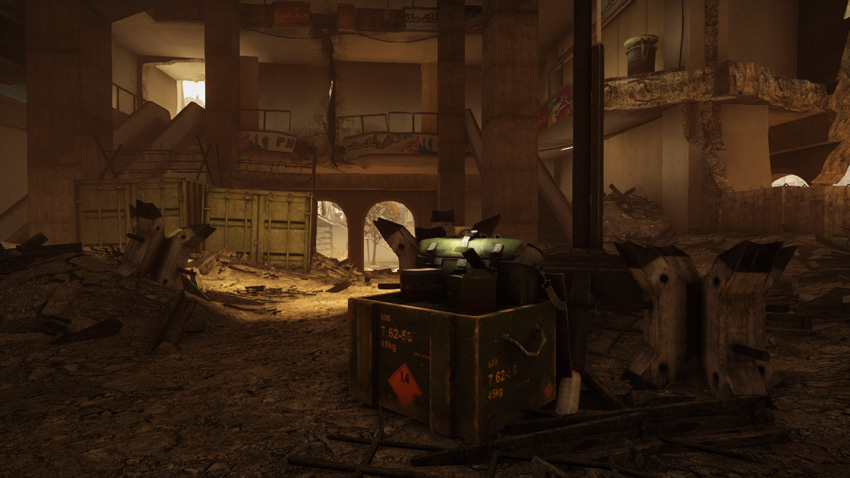
Ammo Crate
The action on this small-scale map is largely centered around the Mall. Don’t get caught up in the chaos of this battle; try to stay focused on the objectives. Like Conquest, the goal is to capture and hold a majority of the five flags—capture a minimum of three flags to initiate a drain on the opposing team’s ticket count. Flag B, on the Mall’s second floor, is one of the most popular points on the map due to its elevation advantage and the level 2 and 3 weapons nearby. The ammo crate is also located on the floor of the Mall, making this a high-traffic area that is ideal for staging ambushes. Consider making flag B the centerpiece of your team’s defensive effort.Add flag A and B to your team’s holdings to secure a solid defensive line along the east side of the map. If your team doesn’t hold flag B, think twice about visiting the ammo crate on the floor of the Mall; you’re probably better off finding a new weapon elsewhere.
Gun Master
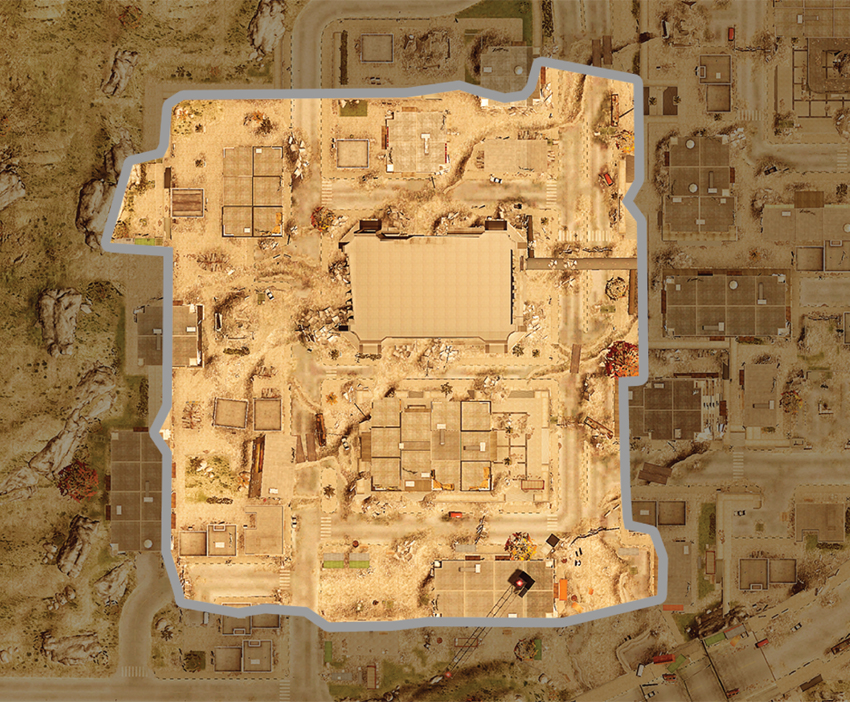
Like Scavenger mode, in Gun Master the fighting is restricted to the area around the Mall and hotel, and it offers a variety of environments to scour for prey. But instead of randomly wandering the map looking for victims, carefully choose areas to patrol based on what weapon you’re currently carrying. The ground floor interiors of the Mall and hotel are great places to score your first pistol kills early in the round. However, as the match progresses, make an effort to avoid the Mall until you gain access to longer-range weapons like carbines, assault rifles, or sniper rifles. Other close-quarter weapons like PDWs and shotguns are equally effective when moving about the buildings and alleyways on the west side of the map. The streets surrounding the Mall and hotel are broken up into small spans due to piles of rubble and makeshift barricades. These objects limit sight lines to a degree, but the streets remain the preferred kill zones for long-range weapons like assault and sniper rifles. When it’s time to score kills with explosives or the knife, consider scouring the upper floors of the Mall for victims. Infiltrate the Mall from the sky bridge, on the east side, and sneak up on opponents camping the upper levels.
Squad Deathmatch
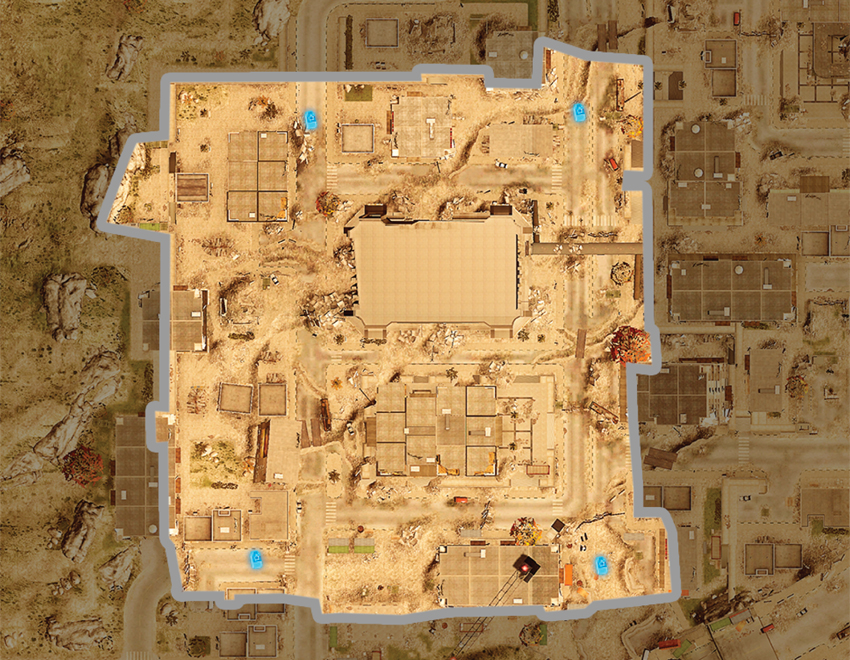
Once again, the city center is the site of this Squad Deathmatch battle, with most fighting taking place around the Mall and hotel. In these matches, most squads automatically gravitate toward the Mall, hoping to secure the upper floors and use the structure as a base of operations. However, the Mall is far too large for a four-player squad to adequately secure—there are simply too many entry points to cover. As a result, the fighting inside the Mall is a chaotic free-for-all, where individual skill often trumps any sense of tactics. If you prefer an arena-style gun battle, by all means, lead your squad into the Mall. However, it’s much safer (and wiser) to stay clear of the Mall’s interior. Instead, patrol the northern, western, and eastern perimeter of the map—avoid the street on the east side as it’s often watched by sharpshooters or patrolled by an IFV. By moving along the perimeter of the map, your squad can rack up plenty of kills by targeting opponents rushing through the center. The perimeter is also where the four possible IFV spawn points are located, so being there increases your squad’s chances of gaining access to one of these devastating vehicles. But even if your squad acquires an IFV, stick to the perimeter streets and avoid the Mall’s interior at all costs.
Team Deathmatch
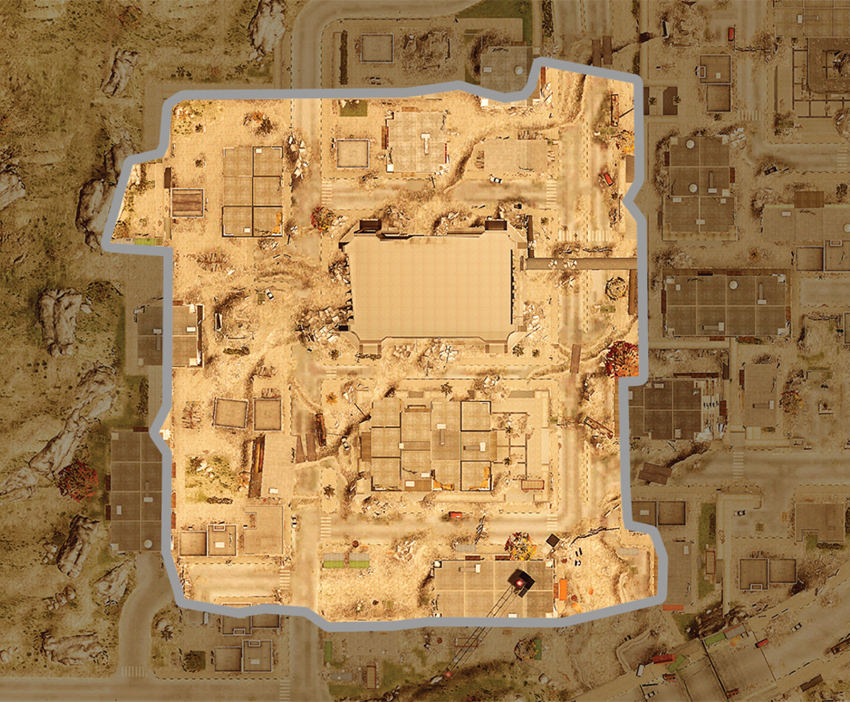
During Team Deathmatch expect more fighting around the Mall and hotel in the center of the city. This is one game mode where it makes sense to make a stand inside the Mall, using it as your team’s Alamo. This game mode gives your team the manpower necessary to adequately lock down the location, but only if the team carefully coordinates the defenses. Since the Mall’s ground floor is extremely porous, focus on holding the upper floors, and use the elevated promenades and escalators to fire down on opponents. Here the escalators become deadly choke points your team can booby-trap with Claymores and C4. But don’t forget to cover the sky bridge on the east side. If it is left undefended, opponents can sneak onto the second floor and engage your team at close range. Some Claymores and an LMG aimed at the sky bridge should be enough to deter such sneak attacks. If you’re looking to boost your score while aiding your teammates, plant a T-UGS motion sensor on the floor of the Mall to rack up Motion Sensor Assists. If playing a quick pickup game, with no communication with teammates, it’s best to avoid the Mall entirely. Instead, find a few teammates to patrol the map with and patrol the perimeter.