Battlefield 3 DLC Guide — Premium Maps End Game Battlefields
Nebandan Flats
Conquest
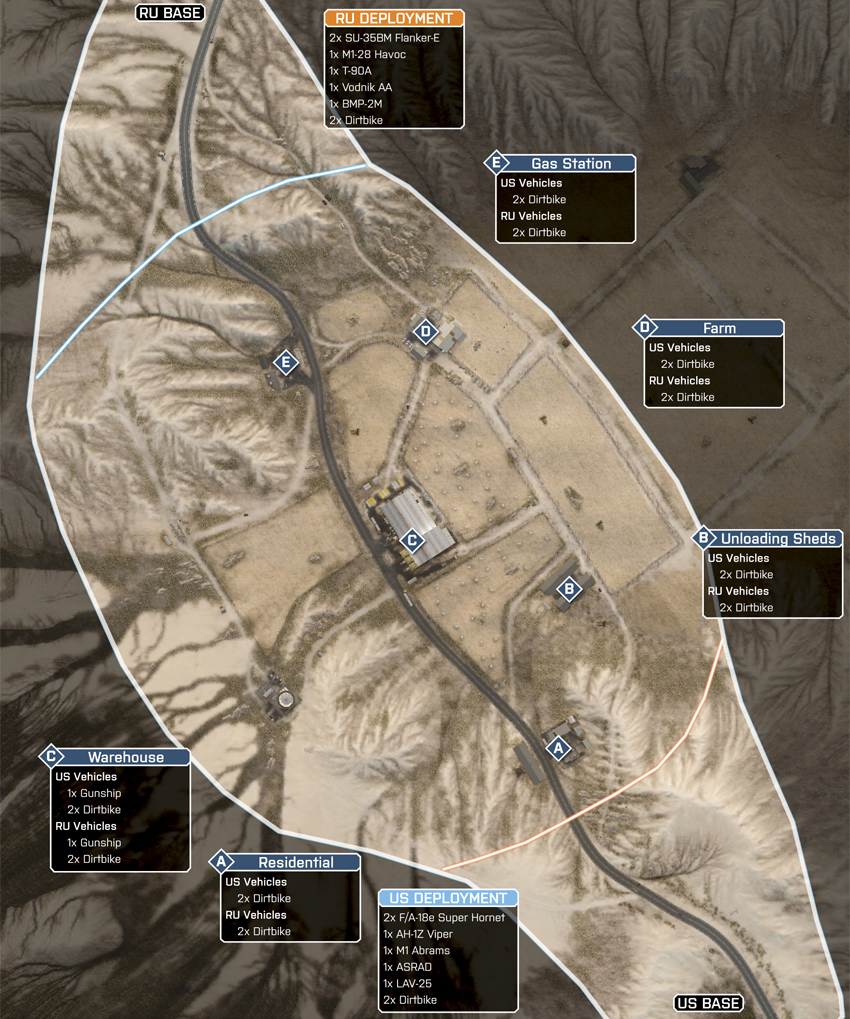
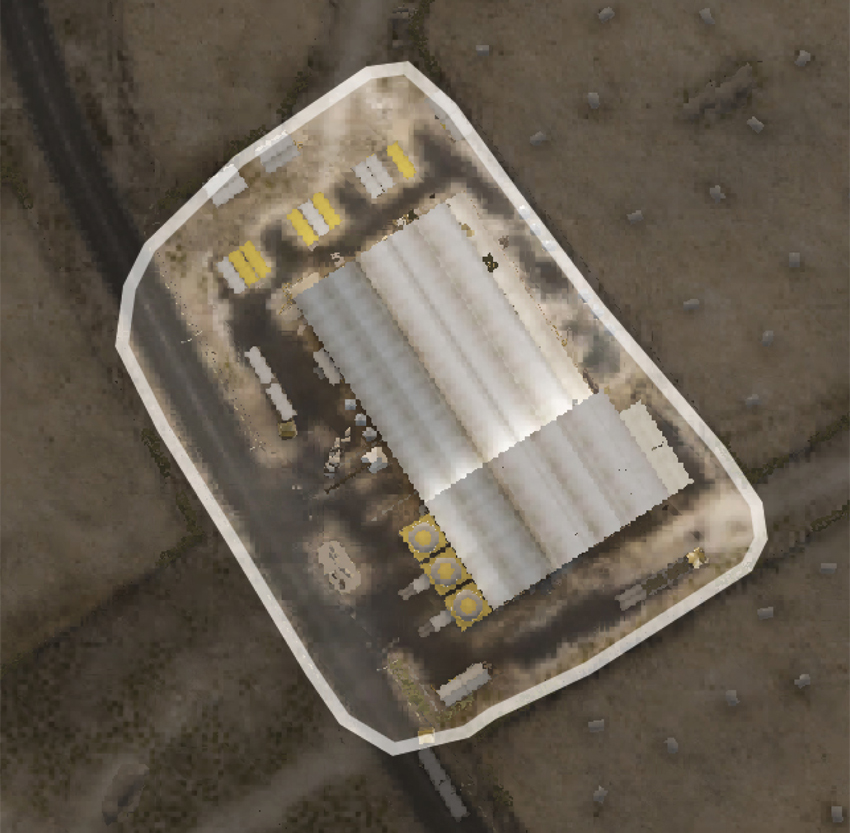
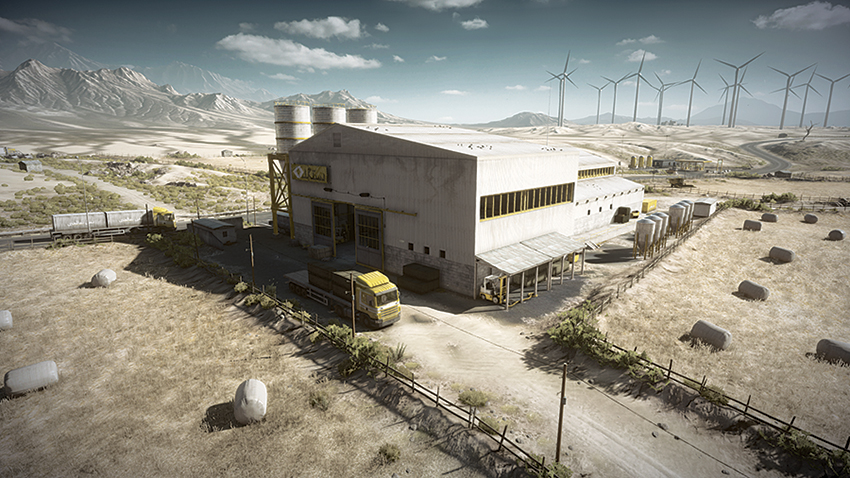
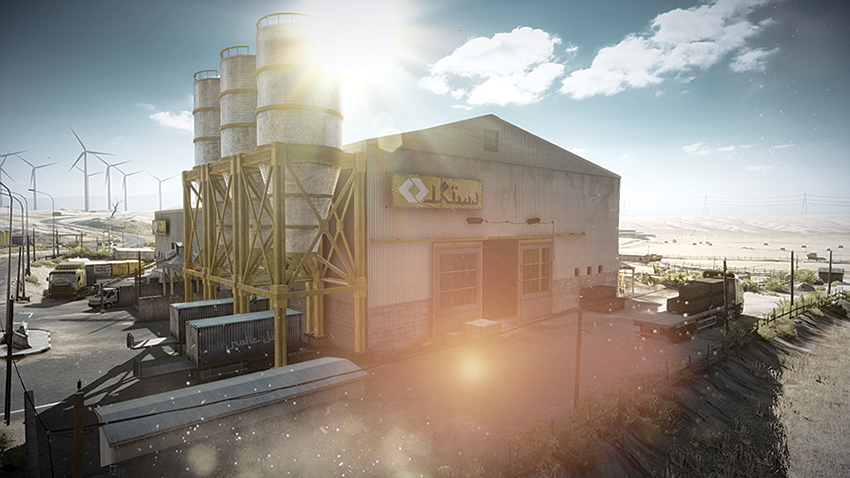
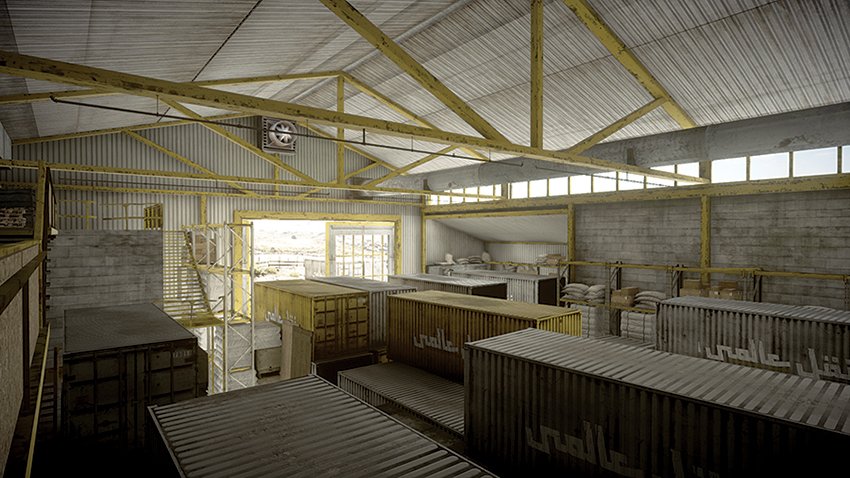
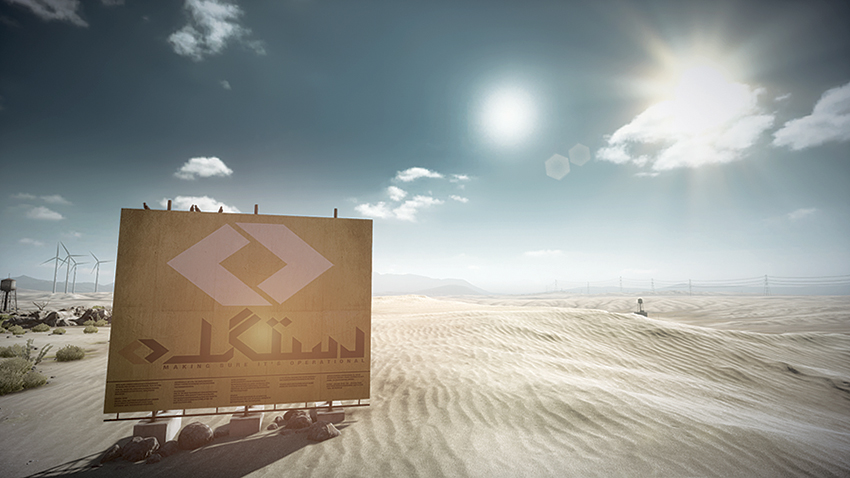
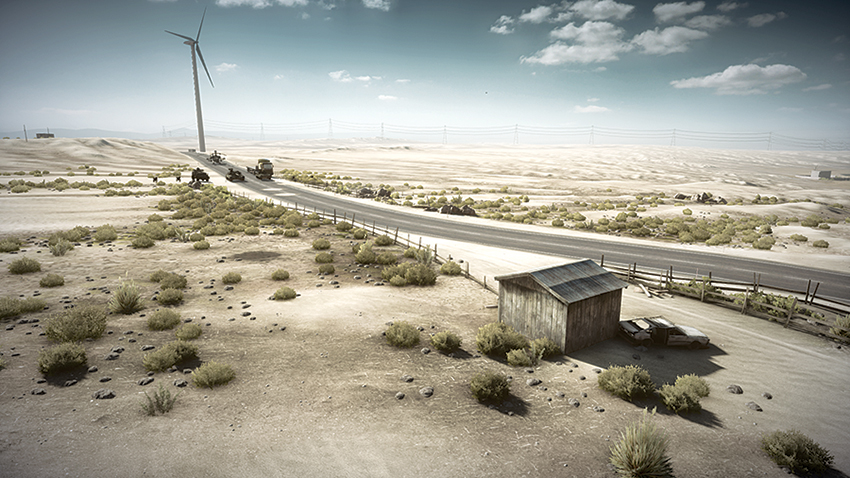
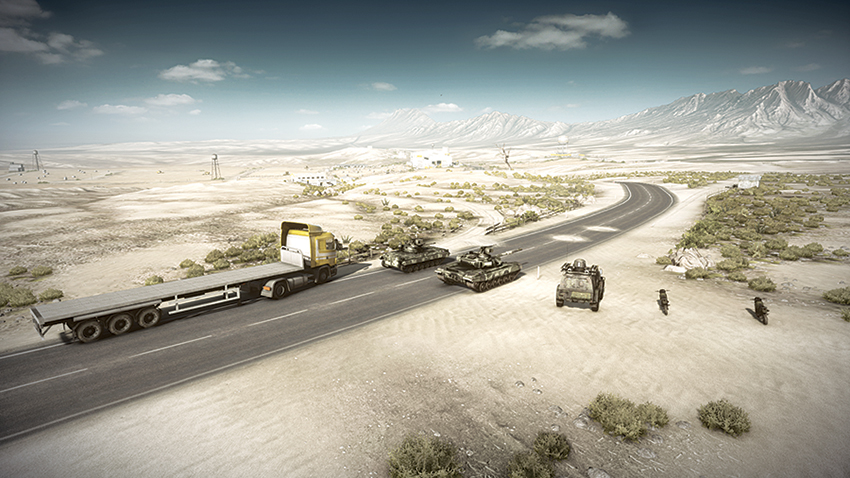
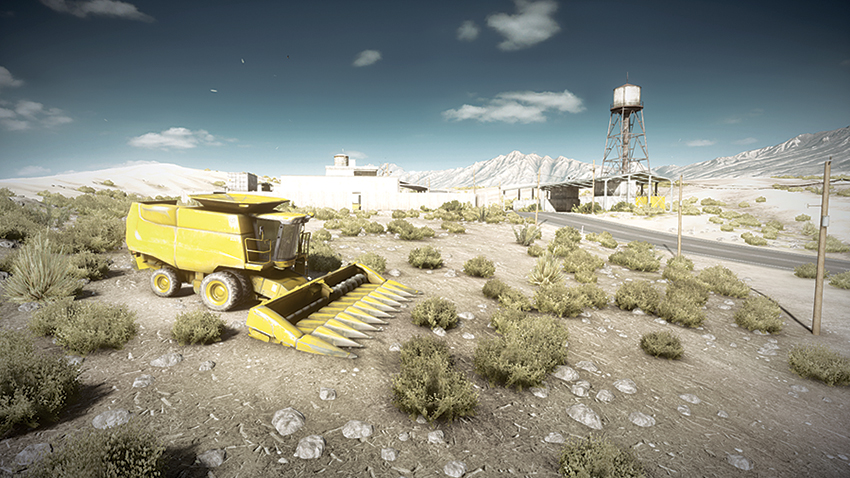
The Nebandan Flats are dusty windswept plains that have recently peaked the interest of a large agricultural firm. With methods of desert farming proving successful in other dry climates such as those present in Australia, Israel, and California’s Imperial Valley, desert farming can be a lucrative investment for regions that lack exportable goods. Of course, this is only a cover story to conceal the much more lucrative business of the supply and storage of weapons within the warehouse located on the plot of land where the farming operation is taking place. Two opposing forces will engage each other on this desolate landscape—with the victor reaping the spoils. Five control points are contested during this game mode. The US team makes their approach from the southeast, and they will quickly have control of the Residential (A) control point and the Unloading Sheds (B) to the northeast. The RU team enters the fray from the northwest, and therefore the Gas Station (E) and the Farm (D) east of it will quickly be under the control of the RU team. At this point, the battle will turn to the Warehouse (C) which is central on the map. The flag is positioned inside of the Warehouse (C), and combination of the building’s multitiered interior and the multitude of shipping containers stored within result in vicious close-quarters combat when engaging the enemy. Because the interior is as confined as it is, teams should focus on entering from multiple sides of the Warehouse (C) to overpower and flush out any hostiles that may be within.
US Base
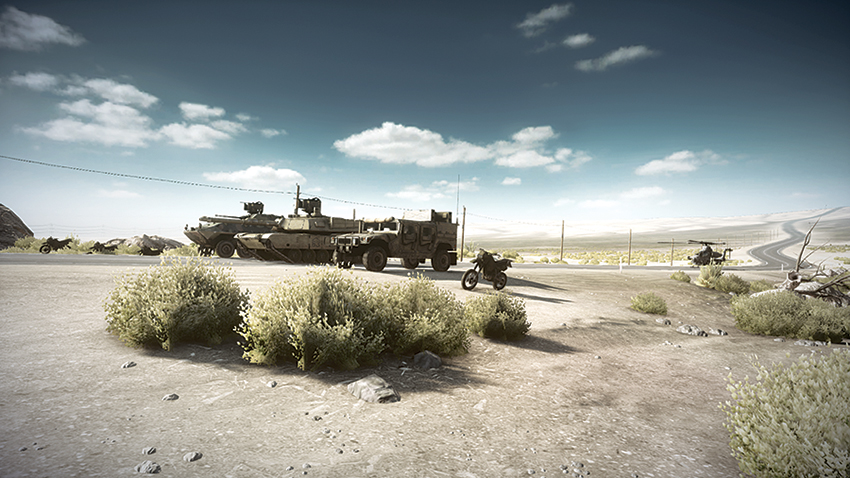
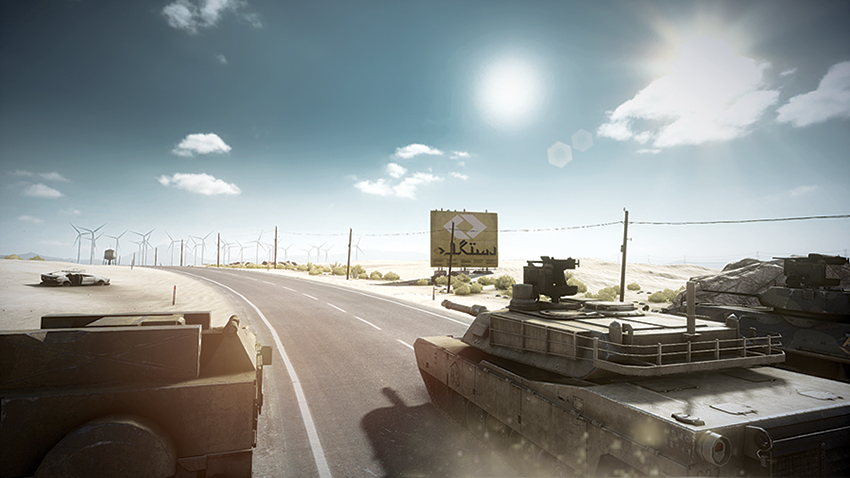
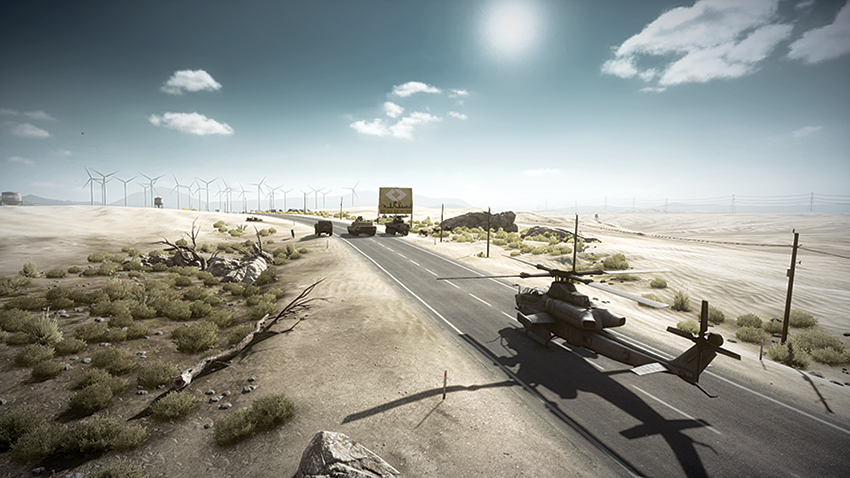
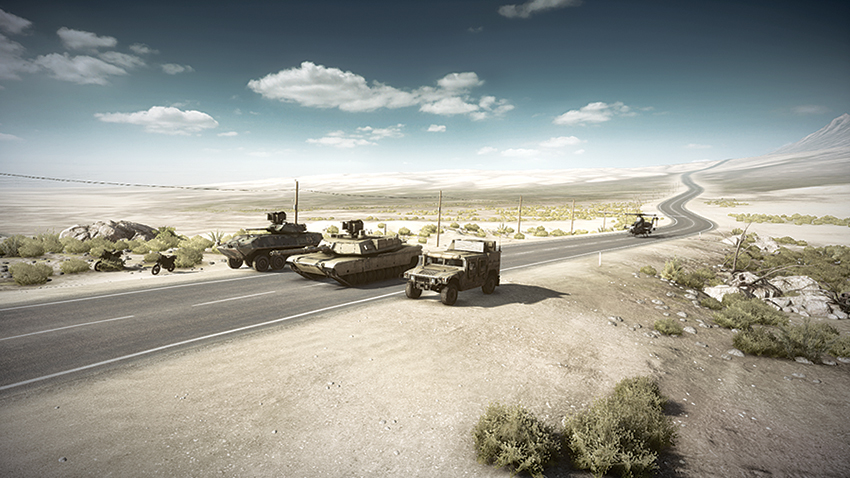
Deploying from the southeast end of the map, the US team can quickly secure the Residential (A) control point and Unloading Sheds (B). From here, the team can advance to the Warehouse (C) and claim the point to gain control of the dropship. Since it is very likely that the RU team will be advancing to the Warehouse (C) at this time, a good strategy is to maintain a presence at the Unloading Sheds (B) to protect the area south, then proceed to and capture the Farm (D) instead of the Warehouse (C). Once the Farm (D) is captured, it is likely to splinter the RU team away from attacking the attractive Warehouse (C) control point. Once the RU team is further fragmented, the US team can advance from the Unloading Sheds (B) and capture the Warehouse (C), and now with the dropship under allied control, the aircraft can be used to bombard the enemy during their attempt to reclaim the Farm (D). Through most of the battle, the Gas Station (E) will likely be held by the RU team, but considering the relative distance from most other control points, this does not pose any immediate threat to the US team.
RU Base
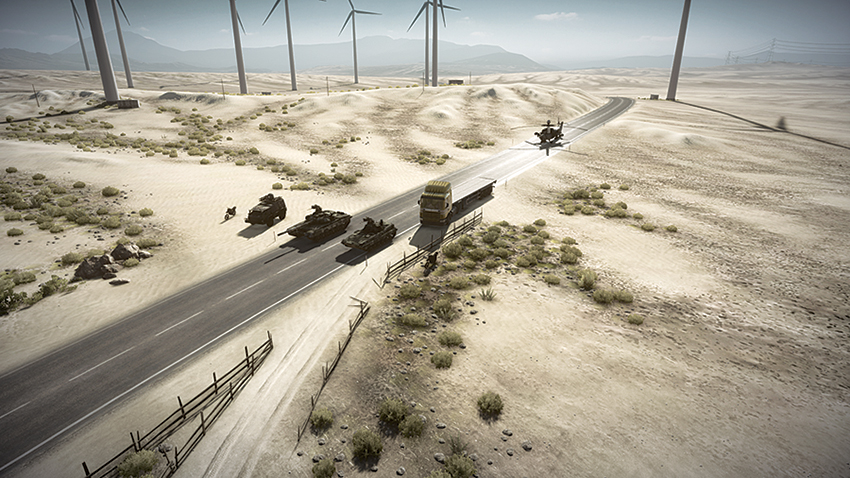
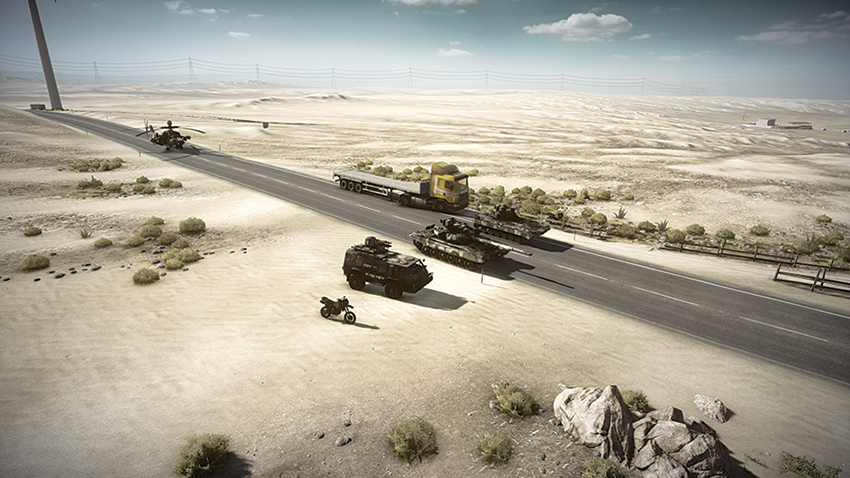
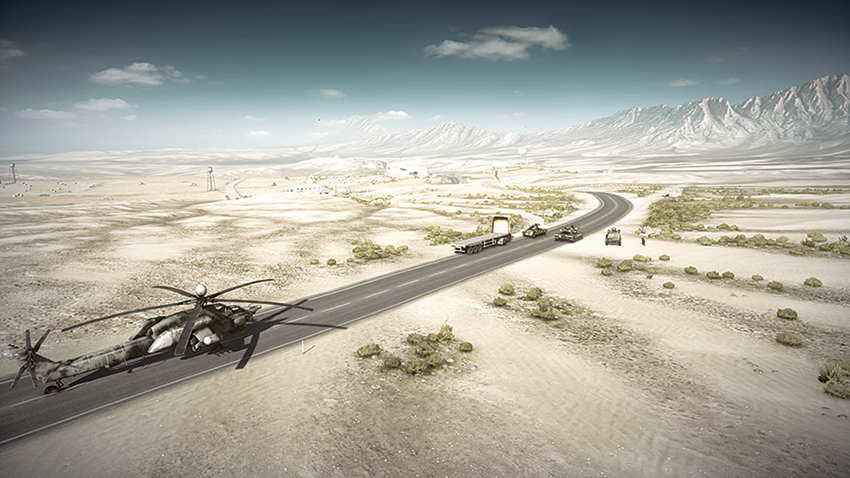
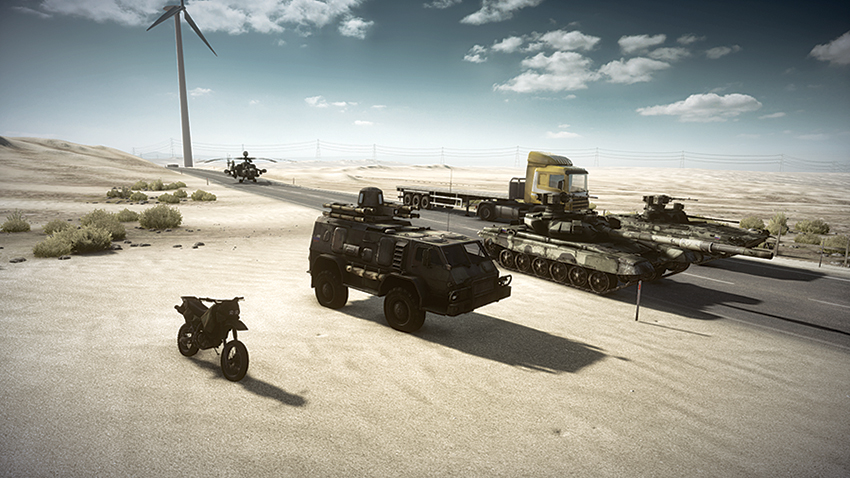
With their deployment being from the northwest, the RU team is set to quickly claim the control points at the Gas Station (E), with the Farm (D) to follow soon after. Both of these points are equal in distance to the next control point, the Warehouse (C). When capturing this point, one squad should proceed into the building via the large hangar door on the north side, while another squad climbs to the top of the building by way of the ladder on the building’s east side. From the roof, the squad can observe the approach of any hostiles that may be coming from the south. Should the RU team as a whole attempt to capture the Unloading Sheds (B) or the Residential (A), expect US forces to attempt to capitalize on the move south to flank and gain control of the Warehouse (C). Helicopters and dirtbikes are the most useful vehicles for getting in close to these points without sacrificing position at the northern control points.
Residential
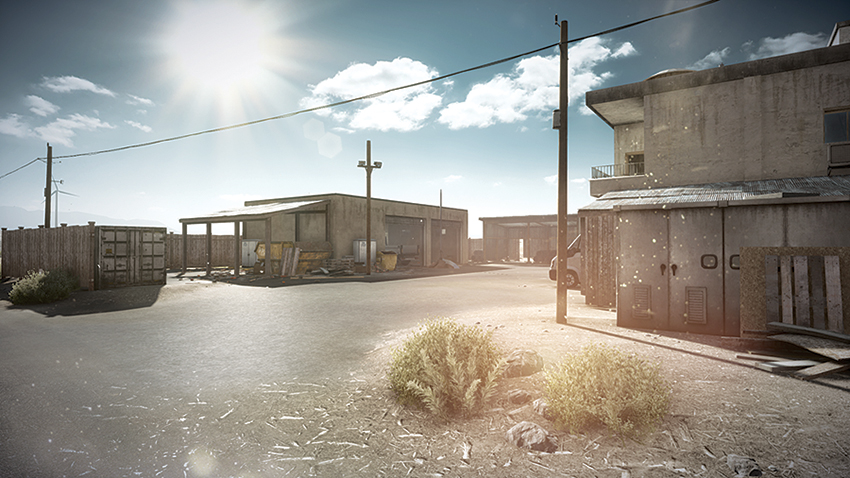
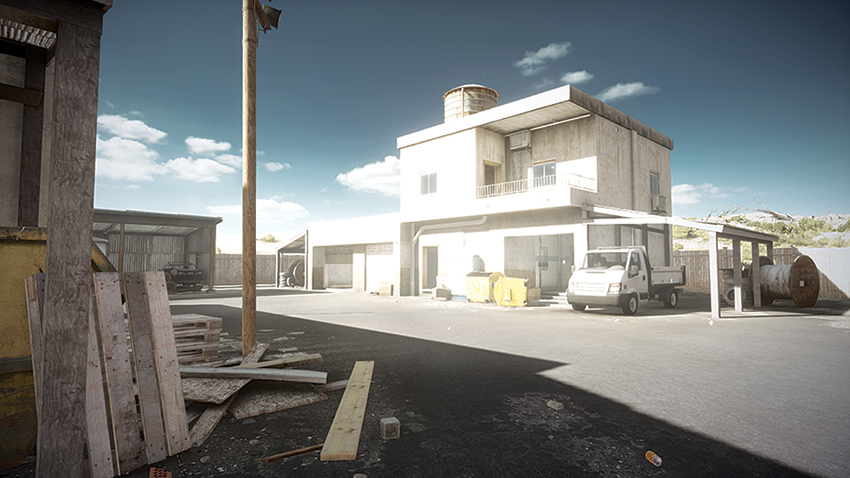
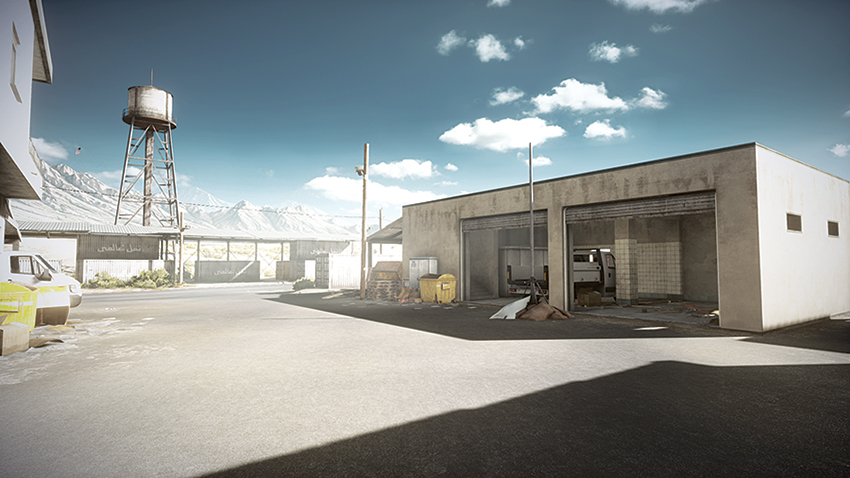
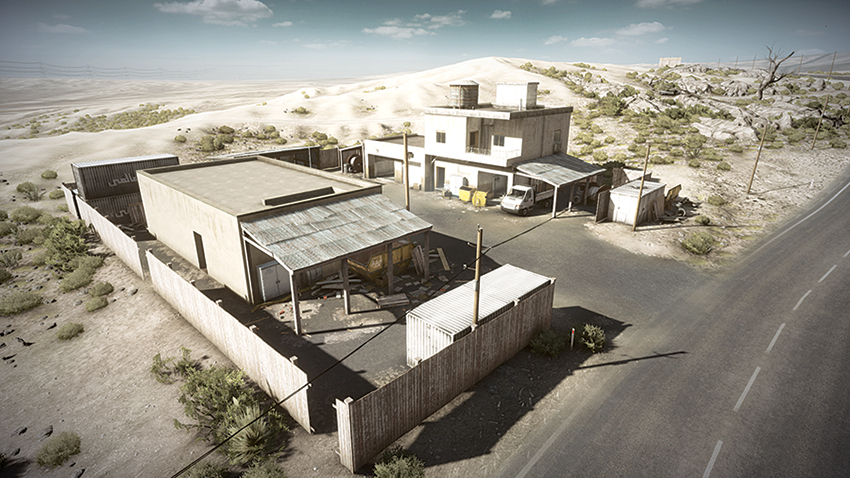
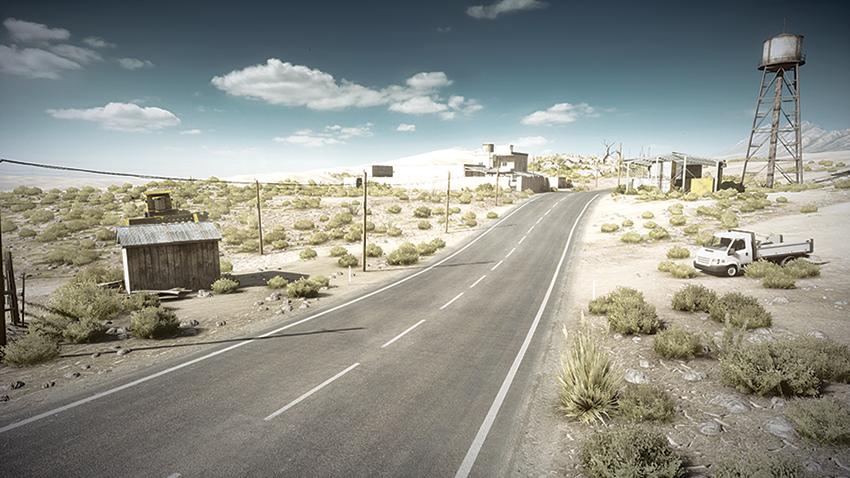
Because it is at the far south end of the map, this point will likely be under the control of the US team for most of the match. Most of the conflict will occur from the west of the point, as the road that runs through the length of the map is on this side. This point is of more value to the US team, though, as having the enemy control this point can cut off the supply of vehicles that deploy from their base. When guarding this point against attack, it is best to avoid the balcony overlooking the flag. Instead, opt to use the nearby window to spot approaching enemies and then rain down fire upon them. Another location to spot from is the covered area on the west side of the road, as the shipping containers provide ample cover should the squad be spotted.
Unloading Sheds
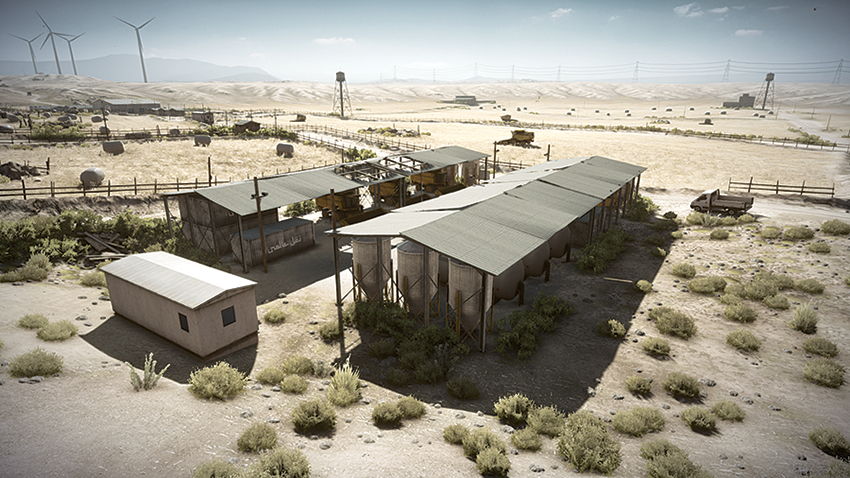
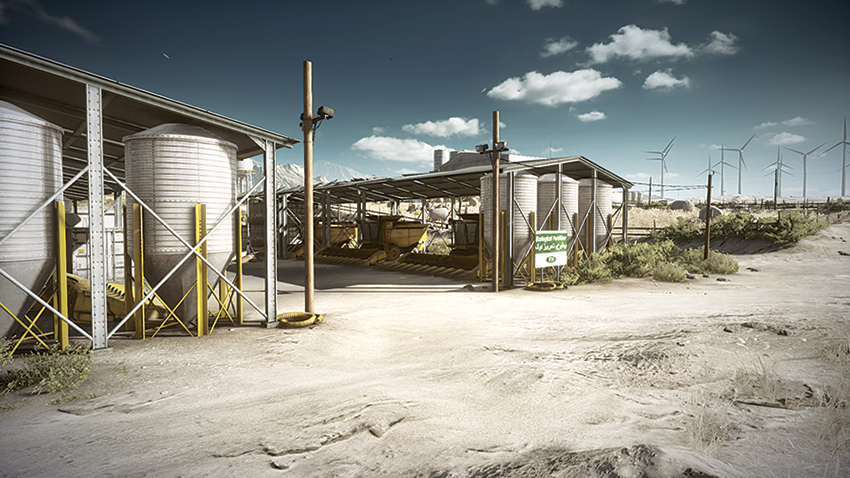
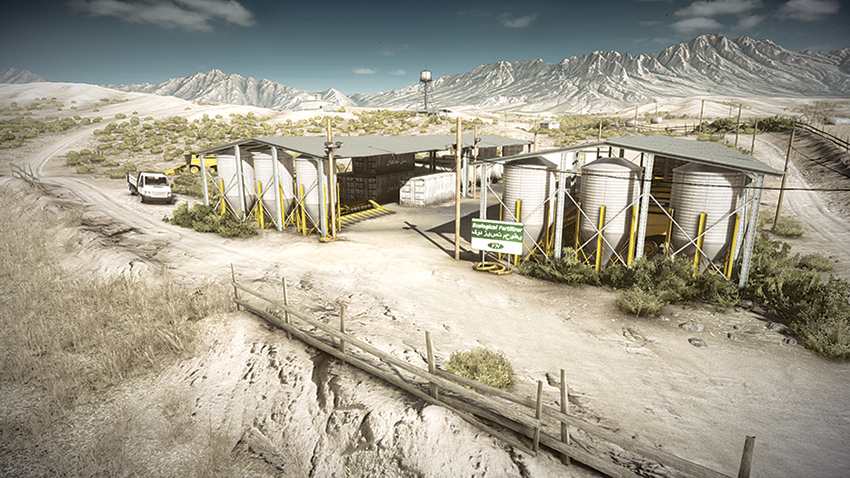
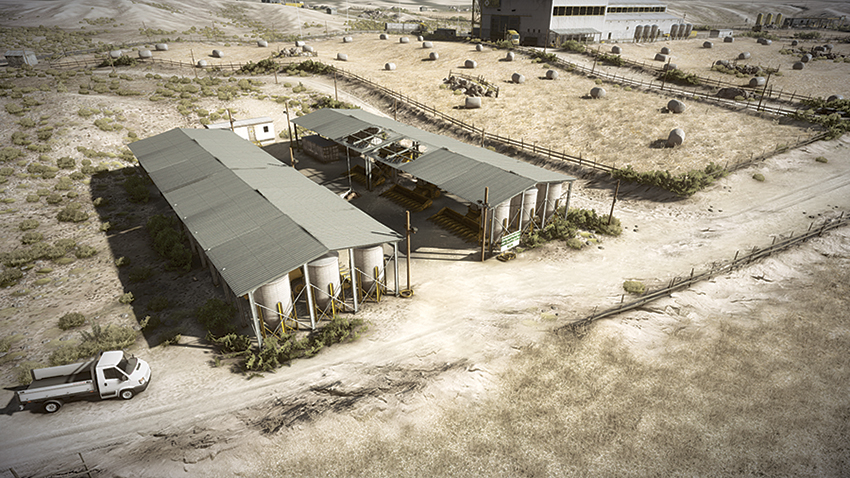
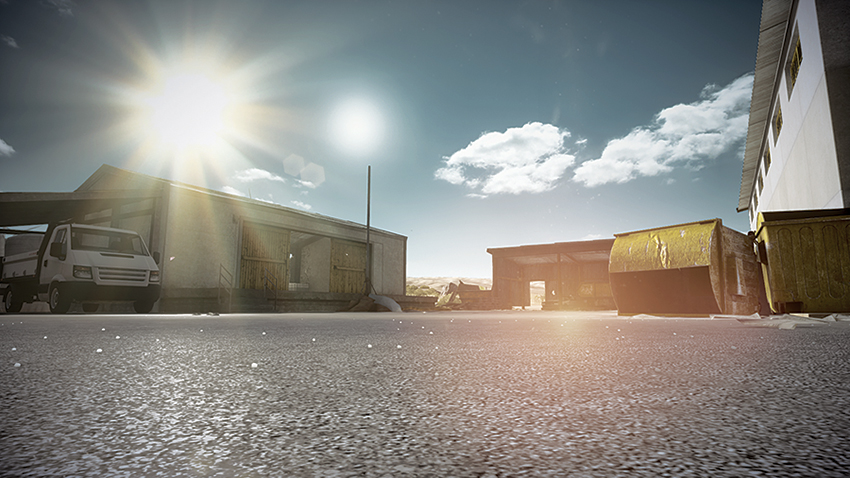
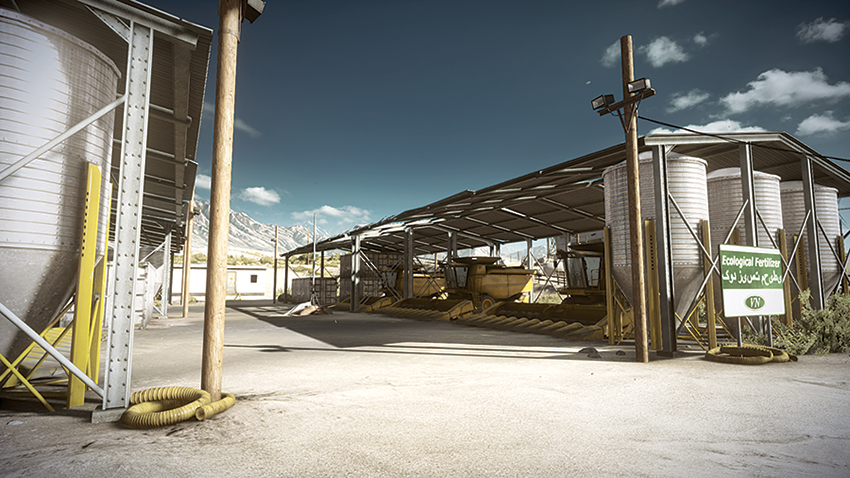
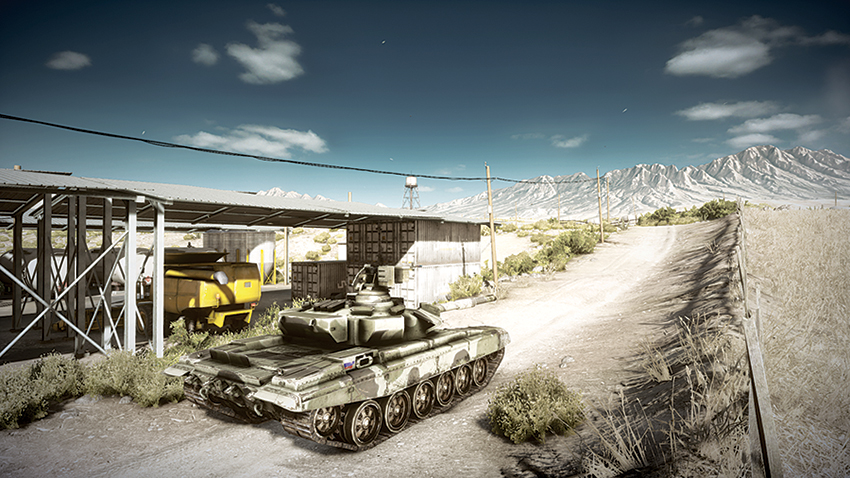
The Unloading Sheds (B) are a covered depot where the farm vehicles are parked when they are not in use. This point is located east of the Warehouse (C) and may seem open to attack, but the heavy machinery and shipping containers provide a good amount of cover, obscuring units that may be present there. Although this point is likely to be held by the US team, it is a wild card given the proximity of the base to the Warehouse (C), where most of the combat will be taking place. When attempting to capture this location, teams should be aware of the small office located at the west side of the area. This office can be accessed by shooting the door down. Larger vehicles should avoid entering the area between the covered vehicles, as a quick escape from a squad wielding explosives can be nearly impossible without suffering damage. On the other hand, dirtbikes are well suited to attacking this point, as they can enter quickly and escape if the need arises via the tight confines between the shipping containers.
Warehouse
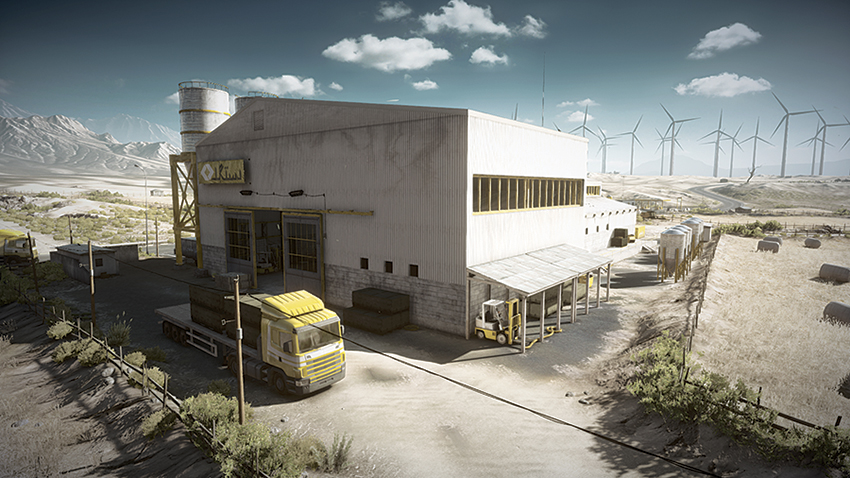
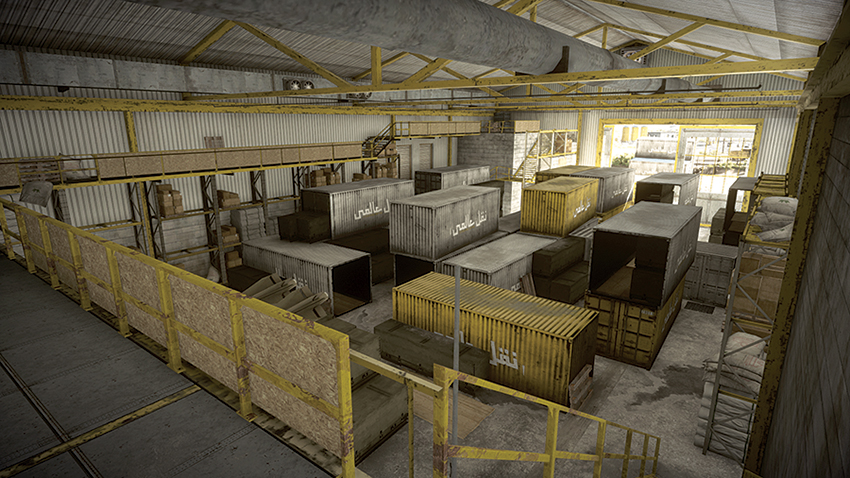
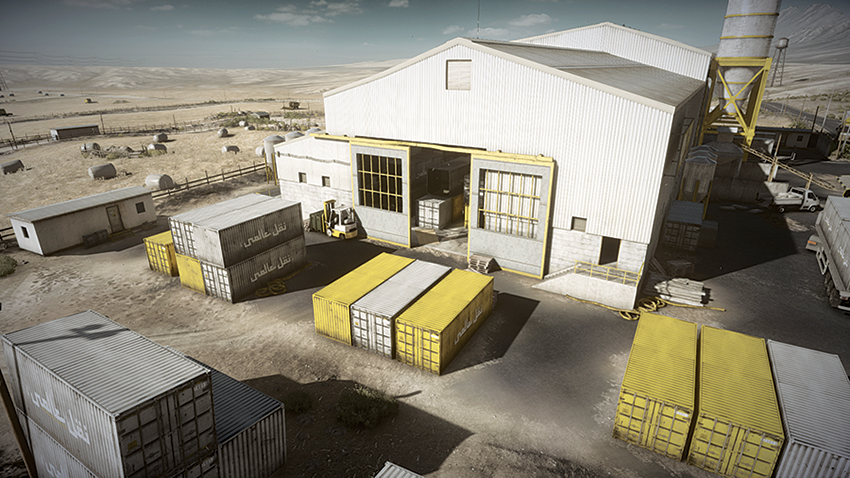
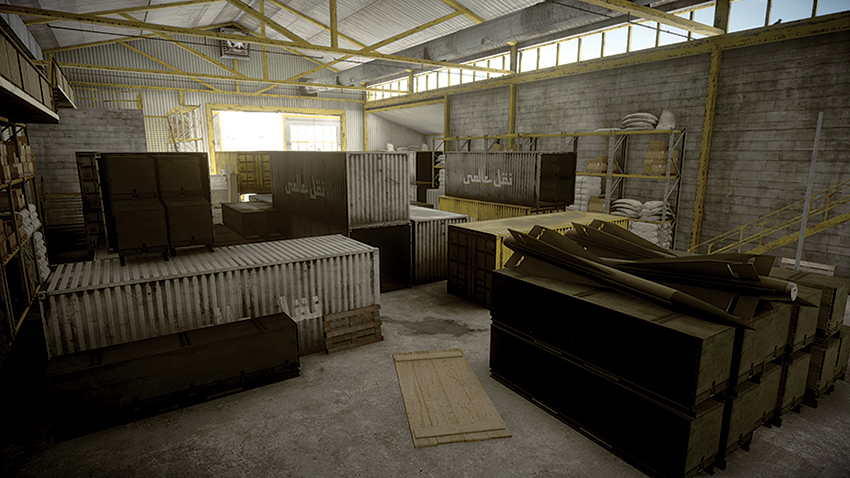
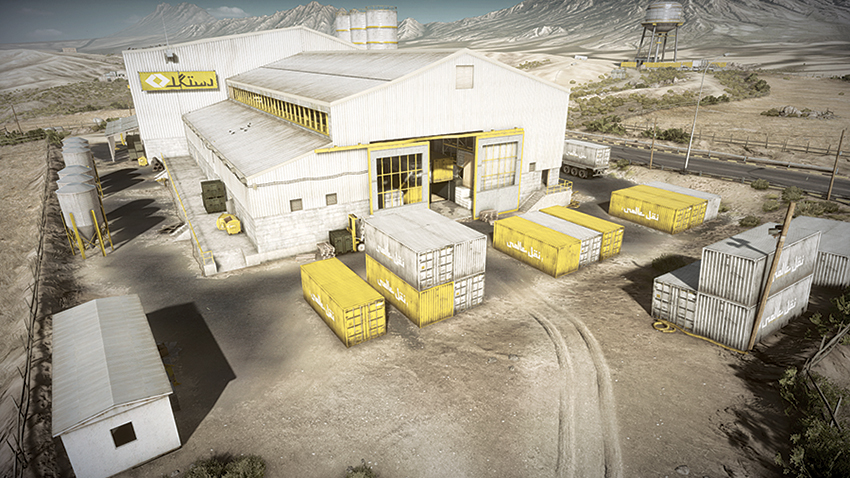
The most contested point in the battle, the Warehouse (C) is a large central structure surrounded by open fields. The flag itself is located inside the building, in a large room that houses shipping containers. Considering that the Warehouse is accessible via the two large hangar doors on the building’s north and south sides, as well as by a small doorway near the ladder on the east side, the best place to be within the flag space is on the catwalks overlooking the shipping containers. These catwalks provide an opportunity to observe any hostiles that may be entering from the large hangar door to the north and the small doorway to the east. But hanging out in here too long could prove fatal, as routes of escape can be easily cut off. Another option to monitor activity inside of the Warehouse (C) is through the yellow windows on the roof. These windows can be observed by climbing the ladder on the building’s east side, and they give a view of the interior. Another advantage of climbing onto the roof is that troops can ascend to the highest level of the roof by using a second and third ladder, which results in a bird’s-eye view of all directions surrounding the Warehouse (C).
Farm
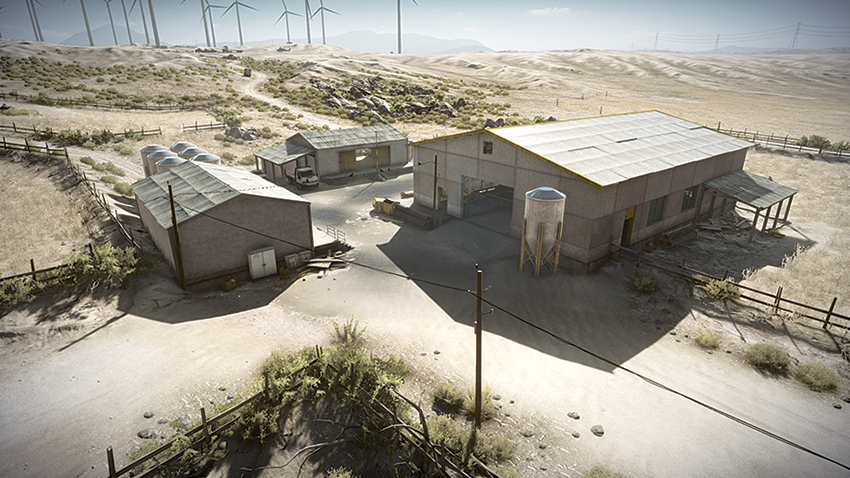
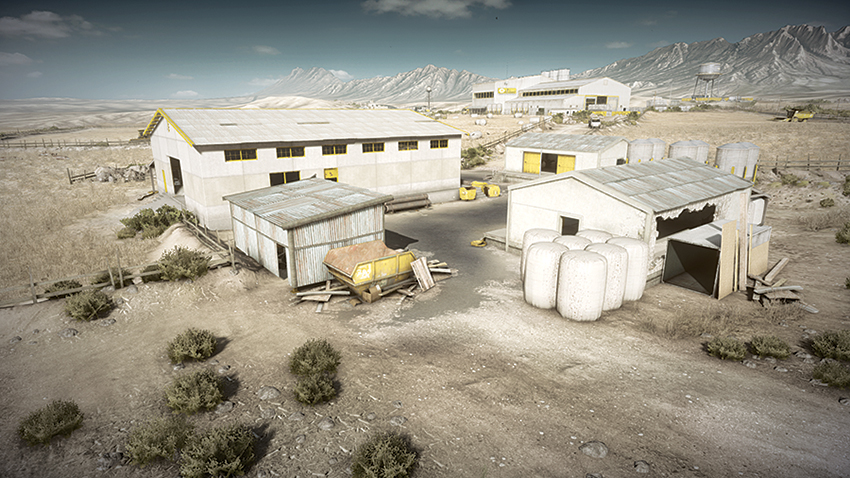
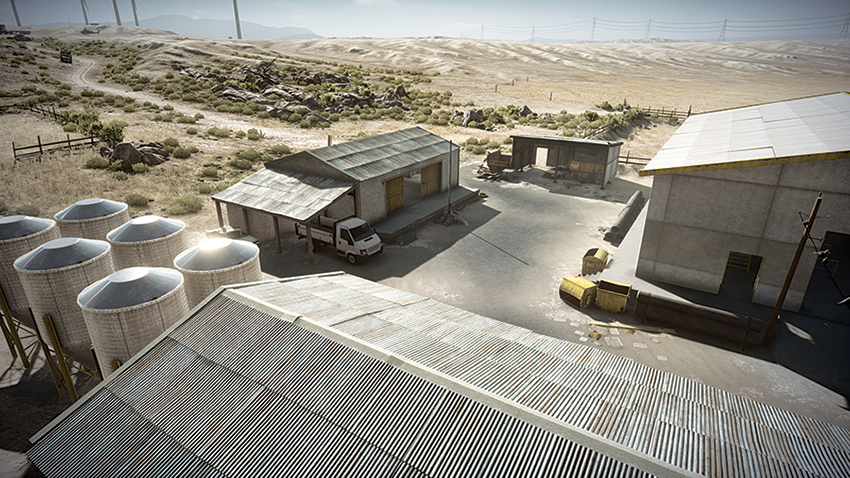
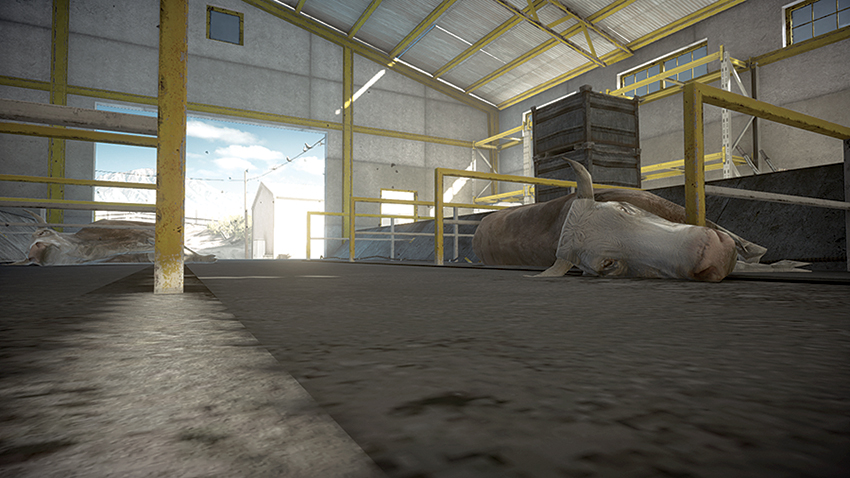
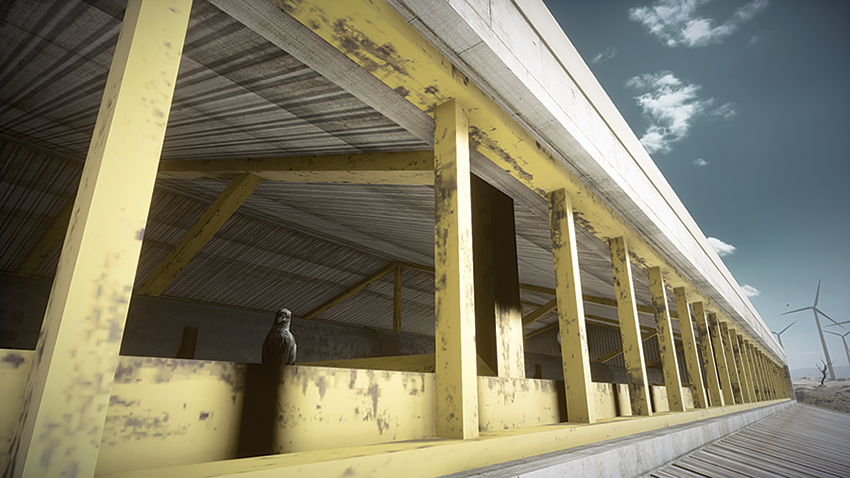
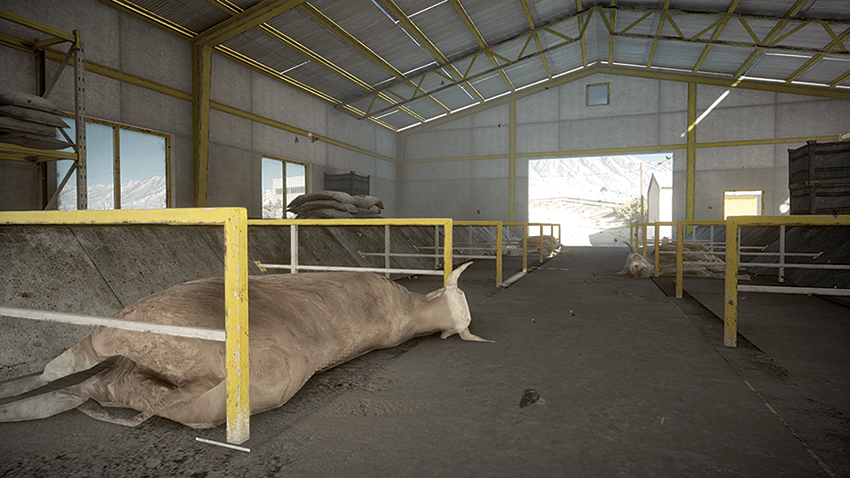
Located on the north side of the map and east of the Gas Station, the Farm (D) is a dilapidated stable flanked by two carports and a makeshift office building. The flag is between these buildings, so capturing it can be precarious. The stables allow for ambushing any enemy soldiers that are attempting to capture the flag, as there are entrances on each side of the building as well as windows on the north and south sides. Staying inside of the stables can be dangerous, though, as there is little cover from enemy fire aside from the cattle carcasses inside. Given the Farm’s proximity to the RU team’s deployment, they most likely will capture this point early on in the match. However, they are likely to move on due to its distance from other control points. This is the opportunity for the US team to advance and capture the point as their own. Note that the point is accessible from the north and the south by larger vehicles, but if there are mines in place, this can put these large and awkward vehicles in peril. Instead of rushing the point with these larger vehicles, teams should allow dirtbikes to enter the capture area, while providing heavy armored support from afar.
Gas Station
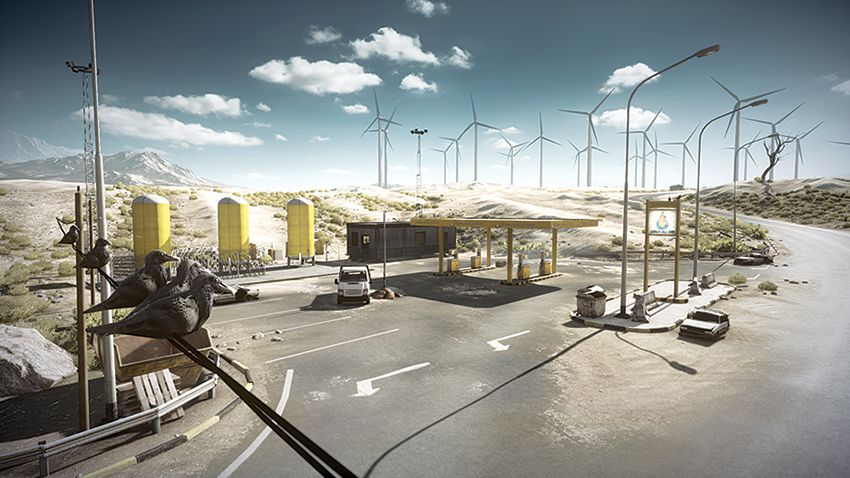
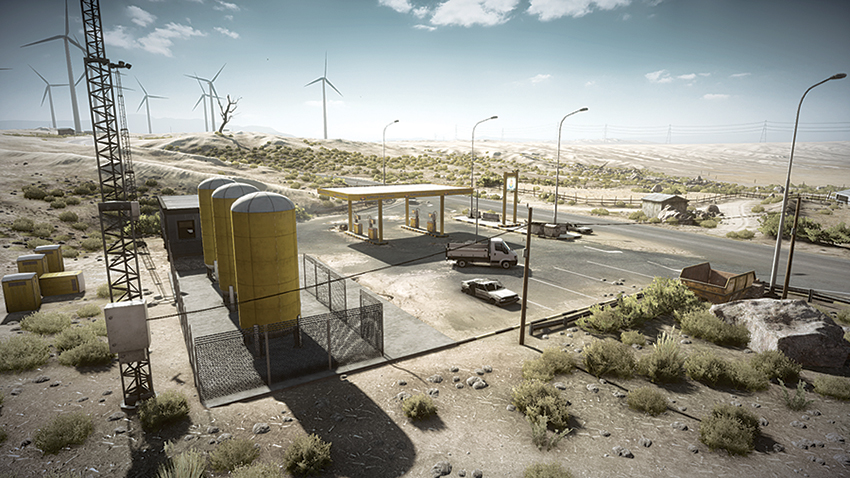
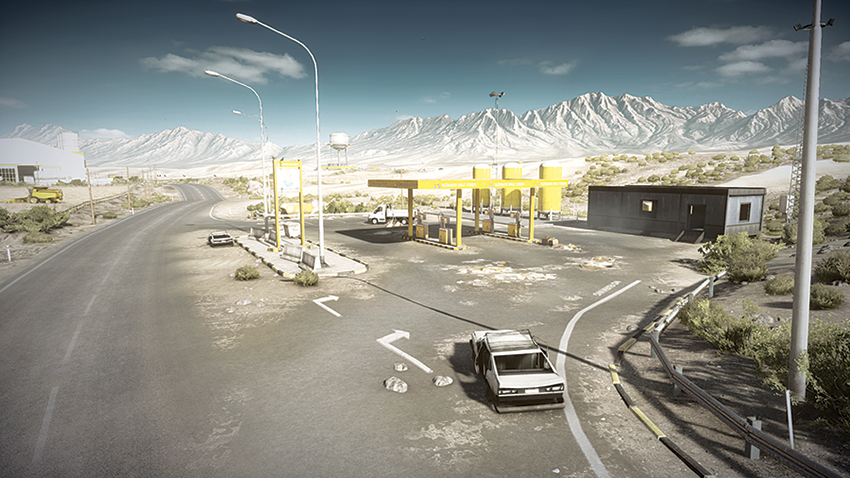
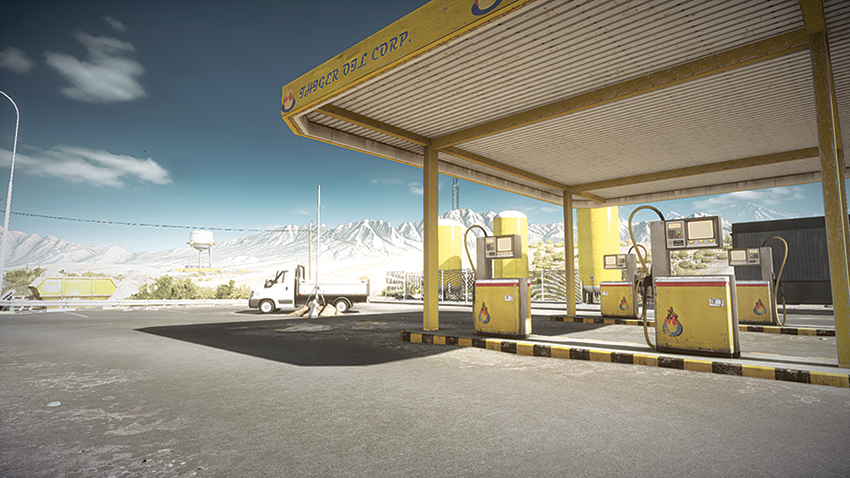
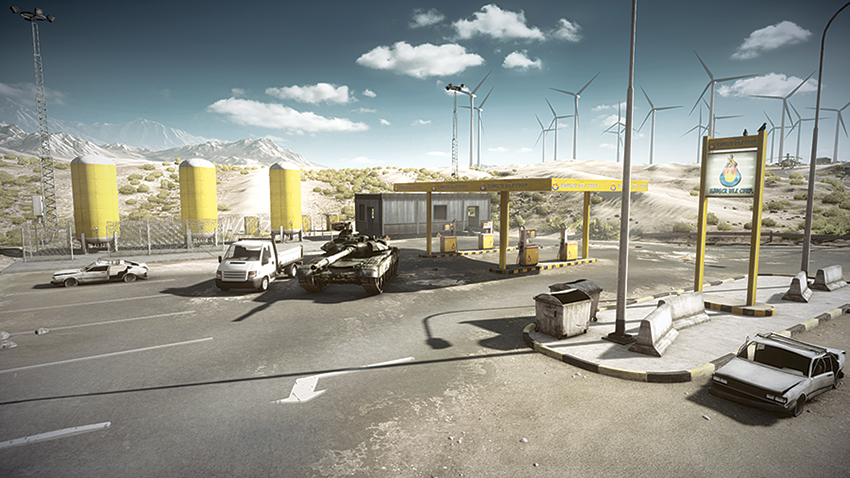
The Gas Station (E) is located to the northwest of the Warehouse (C) and because it is so close to the RU team’s deployment, will be held by them early on. The flag is positioned near a white truck parked near the gas pumps. Although the team might hesitate when approaching because of possible occupants of the white office building on site, the real danger is that it is possible for enemies to be on the west side of the building and go prone to observe the gas pumps. Lying prone on the west side of the building is ideal for lying in wait until the enemy attempts to capture the control point, as you will see your enemy before they ever see you. The position of the Gas Station (E) on the map, centralized in the north, allows for a spawn point that can easily access southern control points such as the Warehouse (C), as it is set upon the road that cuts through the map. The road provides a quick escape route as well, should the need arise.
Conquest 64
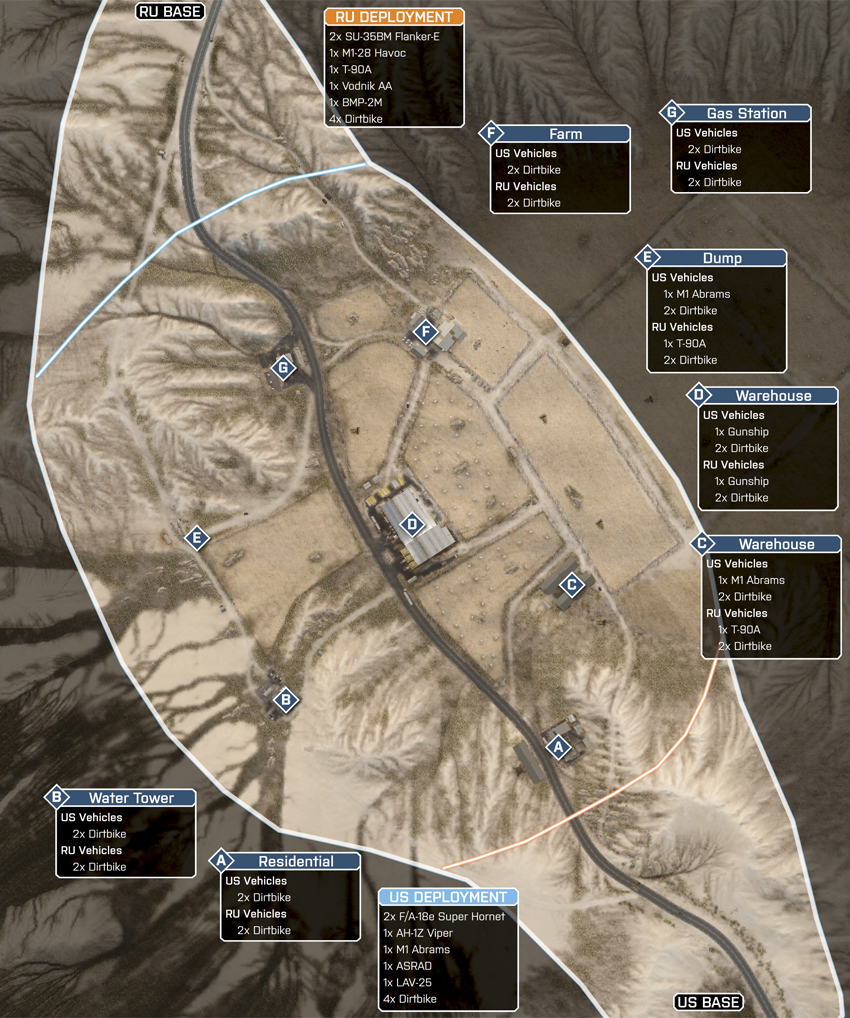
The Conquest 64 version of Nebandan Flats expands the map territory to include two additional control points to the west. These are the Water Tower (B) to the southwest and the Dump (E) to the northwest. The addition of these points shifts the balance to the favor of the RU team, as the north end of the map has the Dump (E), Farm (F), and Gas Station (G) in close proximity to one another, which provides a quick deployment to the Warehouse (D) from these spawn points. That’s not to say that the US team was left without a bonus though, as the Water Tower (B), which is west of Warehouse (D), provides a lookout point over the Gas Station (G), the Dump (E), Warehouse (D), Unloading Sheds (C), and Residential (A), should a recon class soldier be airdropped onto the balcony surrounding the Water Tower (B). Given the increased size of this map, be sure to make use of the dirtbikes, as well as other vehicles when traversing the arid landscape to quickly get the jump on control points before the enemy has a chance to do so.
US Base
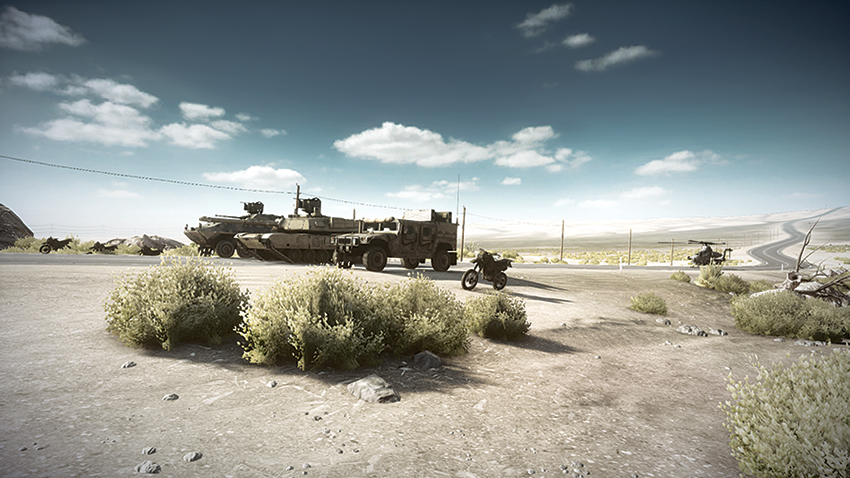
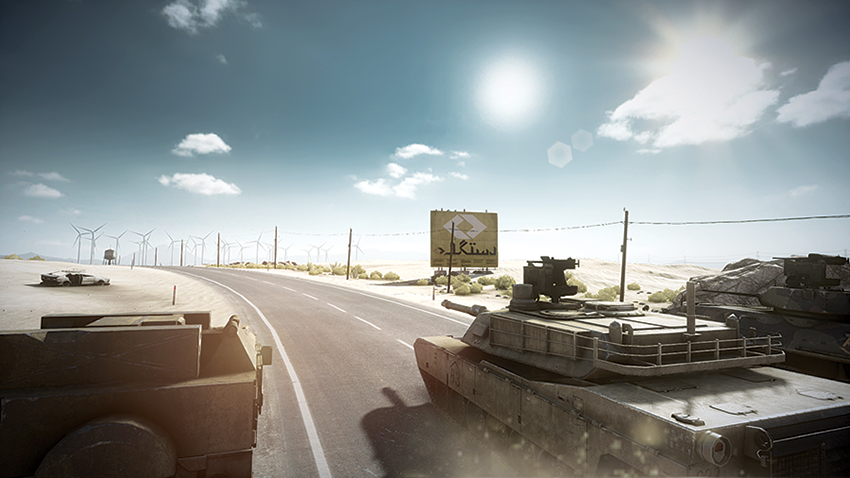
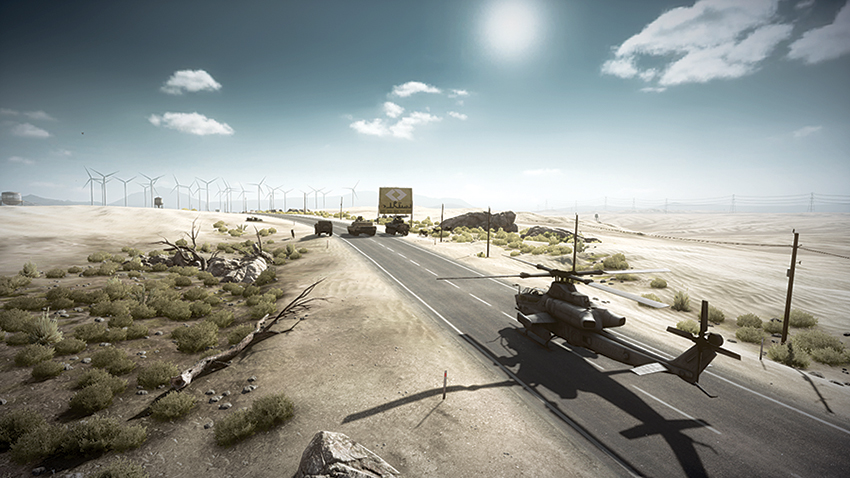
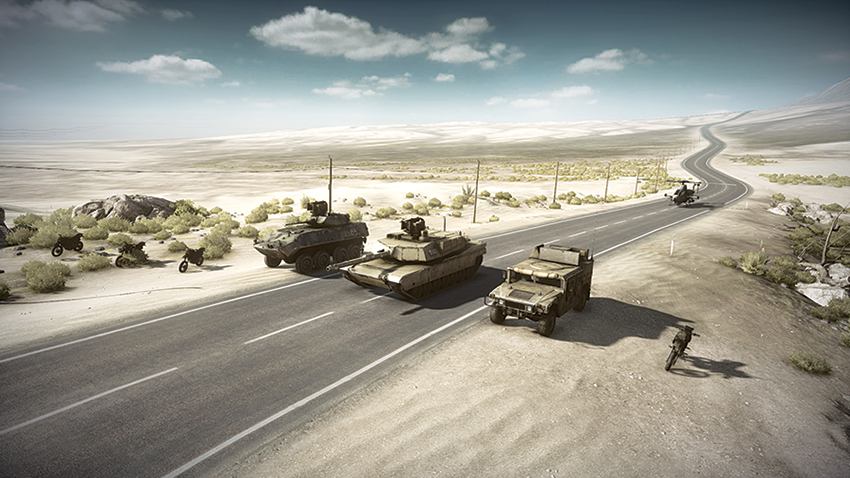
Deploying from the southeast end of the map, the US team is able to quickly secure the Residential (A) control point and Unloading Sheds (C). From here, the team can advance to the Warehouse (D) and claim the point to gain control of the dropship. Since it is very likely that the RU team will be advancing to the Warehouse (D) at this time, a good strategy is to maintain a presence at the Water Tower (B) to protect the area south, then proceed to and capture the Farm (F) instead of the Warehouse (C). Once the Farm (F) is captured, it is likely to splinter the RU team away from attacking the attractive Warehouse (D) control point. Once the RU team is further fragmented, the US team can advance from the Unloading Sheds (C) and capture the Warehouse (D), and now with the dropship under allied control, the aircraft can be used to bombard the enemy during their attempt to reclaim the Farm (F). Through most of the battle, the Gas Station (G) and the Dump (E) will likely be held by the RU team, but considering the relative distance from most other control points, this does not pose any immediate threat to the US team.
RU Base
With their deployment being from the northwest, the RU team is set to quickly claim the control points at the Gas Station (G) and the Farm (F), with the Dump (E) to follow soon after. Both the Gas Station (G) and the Farm (F) are nearly equal in distance to the next control point, the Warehouse (C). When capturing this point, one squad should proceed into the building via the large hangar door on the north side, while another squad should climb to the top of the building by way of the ladder on the building’s east side. From the roof, the squad can observe the approach of any hostiles that may be coming from the south. When attempting to acquire the Water Tower (B), Unloading Sheds (C), or the Residential (A), the team should expect US forces to attempt to gain control of the Warehouse (D). Helicopters and dirtbikes are the most useful vehicles for getting in close to these points without sacrificing position at the northern control points.
Residential
Because it is at the far south end of the map, this point will likely be under the control of the US team for most of the match. Most of the conflict will occur from the west of the point, as the road that runs through the length of the map is on this side. This point is of more value to the US team, though, as having the enemy control this point can cut off the supply of vehicles that deploy from their base. When guarding this point against attack, it is best to avoid the balcony overlooking the flag. Instead, opt to use the nearby window to spot approaching enemies and then rain down fire upon them. Another location to spot from is the covered area on the west side of the road, as the shipping containers provide ample cover should the squad be spotted.
Water Tower
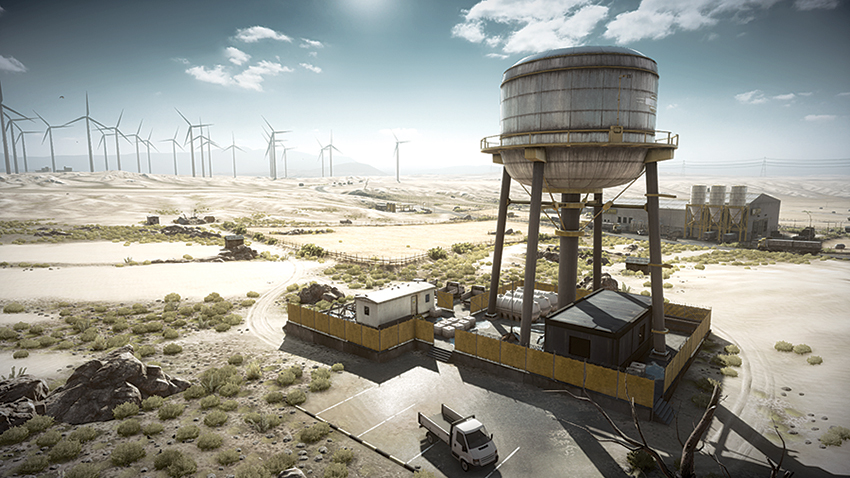
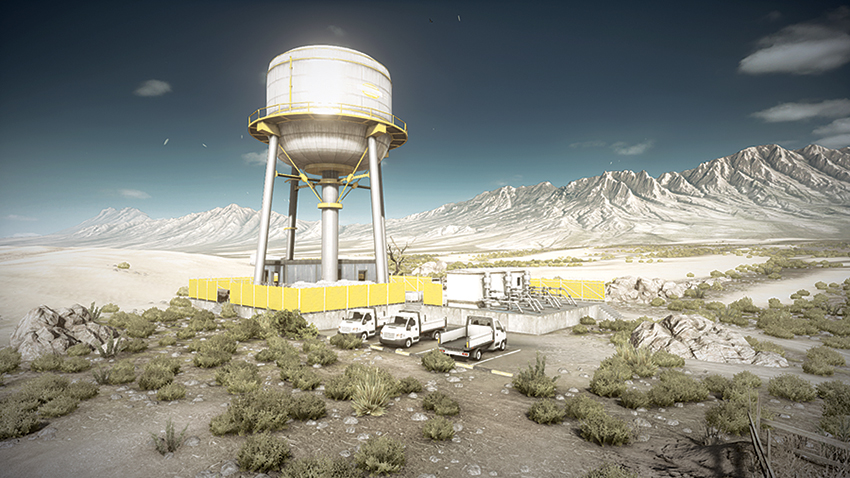
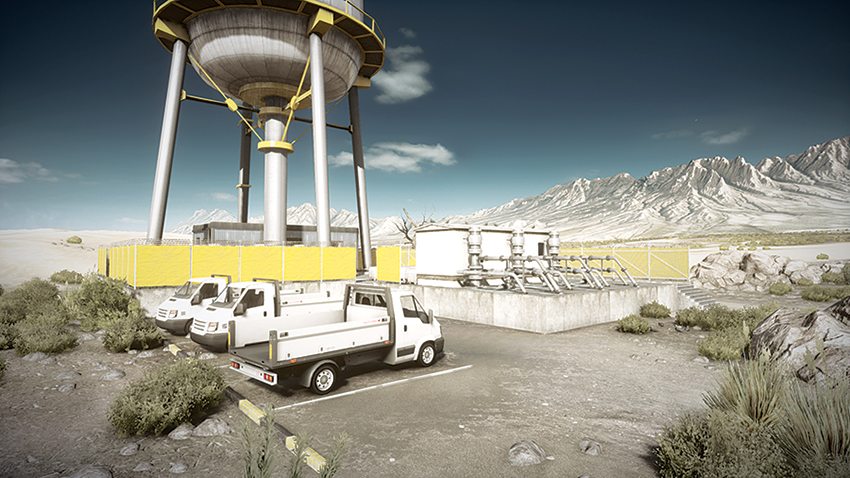
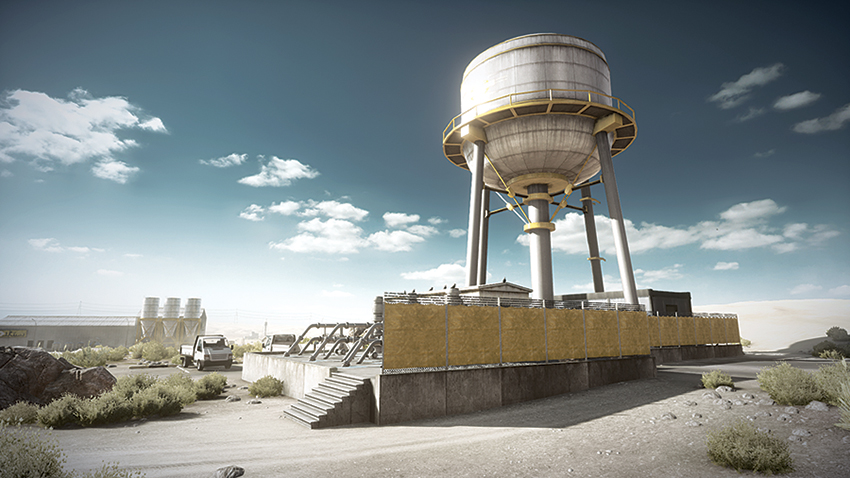
The Water Tower (B) is located west of the Warehouse (D). This tall structure can be seen from most parts of the map west of the Warehouse (D). One strategic advantage to holding this point is gained by airdropping a recon soldier onto the balcony that wraps around the tower. From this vantage point, the soldier can monitor the Gas Station (G), the Dump (E), Warehouse (D), Unloading Sheds (C), and Residential (A). This can provide an early warning of troop movements around the map and assist in getting the jump on the enemy. The immediate area surrounding the Water Tower (B) is full of cover and prone to units camping in this location. When attempting to capture this unimposing control point from the enemy, be sure to approach indirectly in case enemy soldiers are present.
Unloading Sheds
The Unloading Sheds (C) are a covered depot where the farm vehicles are parked when they are not in use. This point is located east of the Warehouse (D) and may seem open to attack, but the heavy machinery and shipping containers provide a good amount of cover, obscuring units that may be present there. Although this point is likely to be held by the US team, it is a wild card given the proximity of the base to the Warehouse (D), where most of the combat will be taking place. When attempting to capture this location, teams should be aware of the small office located at the west side of the area. This office can be accessed by shooting the door down. Larger vehicles should avoid entering the area between the covered vehicles, as a quick escape from a squad wielding explosives can be nearly impossible without suffering damage. On the other hand, dirtbikes are well suited to attacking this point, as they can enter quickly and escape if the need arises via the tight confines between the shipping containers.
Warehouse
The most contested point in the battle, the Warehouse (D) is a large central structure surrounded by open fields. The flag itself is located inside of the building, in a large room that houses shipping containers. Considering that the Warehouse is accessible via the two large hangar doors located on the building’s north and south sides, as well as by a small doorway near the ladder on the east side, the best place to be within the flag space is on the catwalks overlooking the shipping containers. These catwalks provide an opportunity to observe any hostiles that may be entering from the large hangar door to the north and the small doorway to the east. But hanging out in here too long could prove fatal, as routes of escape can be easily cut off. Another option to monitor activity inside the Warehouse (D) is through the yellow windows that are on the roof. These windows can be accessed by climbing the ladder on the building’s east side of the building, and they giving a view of the interior of the Warehouse (D). Another advantage of climbing onto the roof is that troops can ascend to the highest level of the roof by using a second and third ladder, which results in a bird’s-eye view of all directions surrounding the Warehouse (D).
Dump
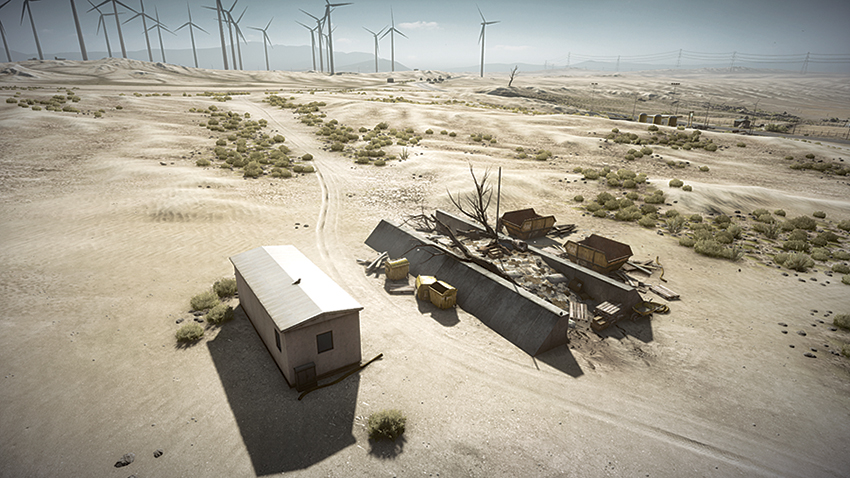
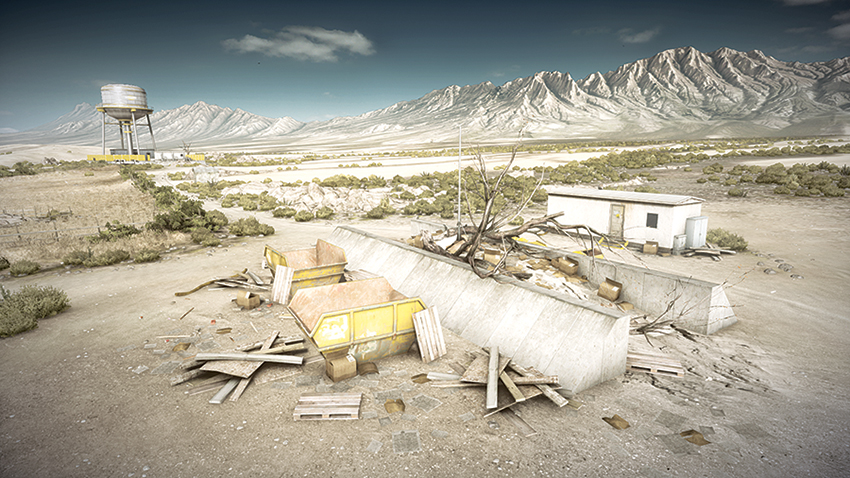
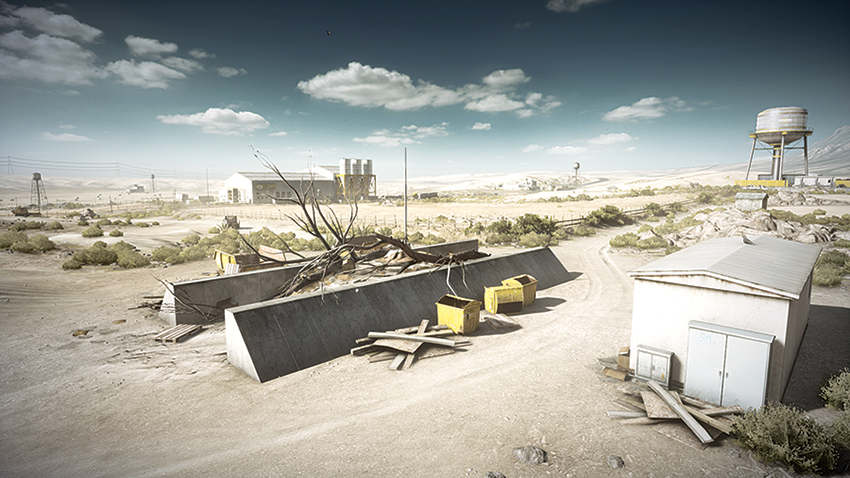
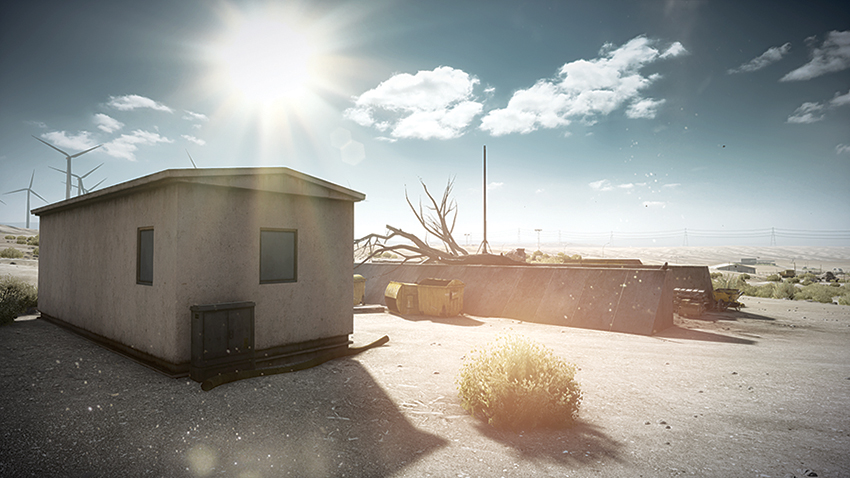
An exposed and seemingly uninteresting patch of land in the northwest corner of the map, the Dump (E) will most likely be held by the RU team early on due to its position due west of the Gas Station (G). Although barren and serving no immediate strategic purpose, this point does spawn a tank for the team that captures it. This tank can be useful to deploy to assault the Warehouse (D) as well as the Water Tower (B), which is immediately south of the Dump (E). This is a point best captured by dirtbike or helicopter, as these vehicles provide the means for a quick escape from the area should enemy forces overpower the squad attempting capture. Aside from the white office, this point has little to no cover if a firefight breaks out here.
Farm
Located on the north side of the map and east of the Gas Station, the Farm (F) is a dilapidated stable flanked by two carports and a makeshift office building. The flag is centralized between these buildings, so capturing it can be precarious. The stables allow for ambushing any enemy soldiers that are attempting to capture the flag, as there are entrances on each side of the building as well as windows on the north and south sides. Staying inside of the stables can be dangerous, though, as there is little cover from enemy fire aside from the cattle carcasses inside. Given the Farm’s proximity to the RU team’s deployment, they most likely will capture this point early on in the match. However, they are likely to move on due to its distance from other control points. This is the opportunity for the US team to advance and capture the point as their own. Note that the point is accessible from the north and the south by larger vehicles, but if there are mines in place, this can put this large and awkward vehicles in peril. Instead of rushing the point with these larger vehicles, teams should allow dirtbikes to enter the capture area, while providing heavy armored support from afar.
Gas Station
The Gas Station (G) is located to the northwest of the Warehouse (D) and because it is so close to the RU team’s deployment, it will be held by them early on. The flag is positioned near a white truck parked near the gas pumps. Although the team might hesitate when approaching because of possible occupants of the white office building on site, the real danger is that it is possible to be on the west side of the building and go prone to observe the gas pumps. Of course, this makes for a good trap using C4 strapped to the gas pumps, which can be triggered once enemies or their vehicles arrive to capture the point. Detonating the gas pumps or the large white propane tanks results in a massive explosion and should be taken into consideration. The position of the Gas Station (G) on the map, centralized in the north, allows for a spawn point that can easily access southern control points such as the Warehouse (D), as it is set upon the road that cuts through the map. This road provides a quick escape route as well should the need arise.
Capture the Flag
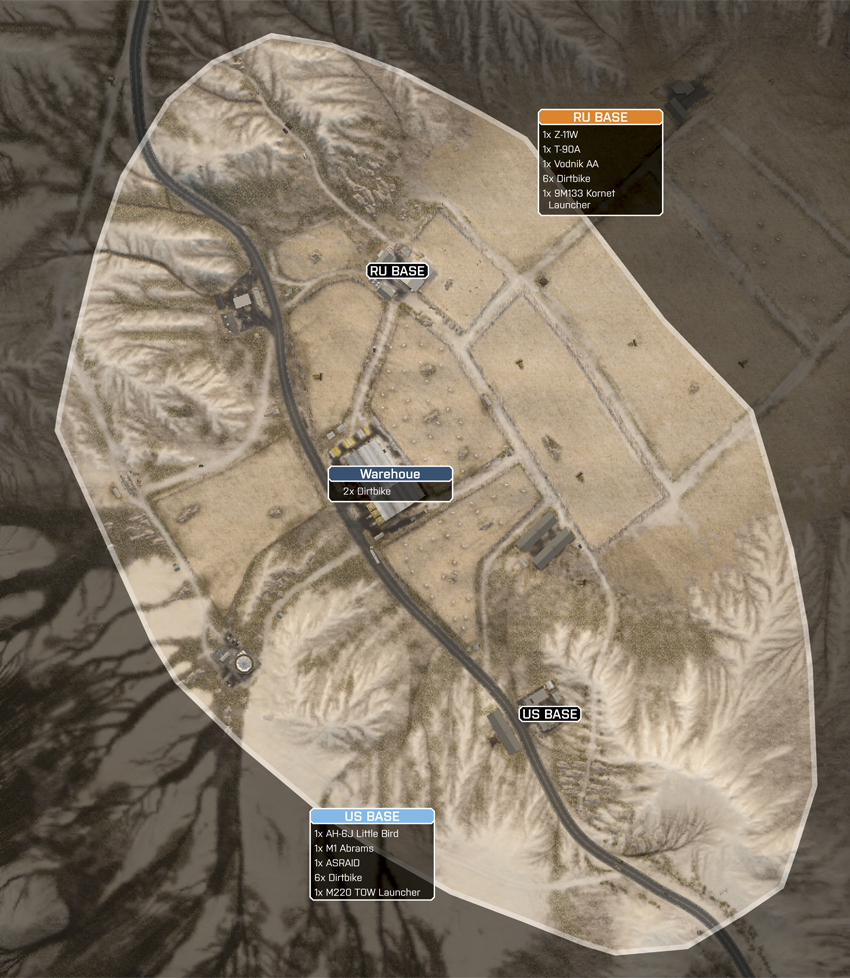
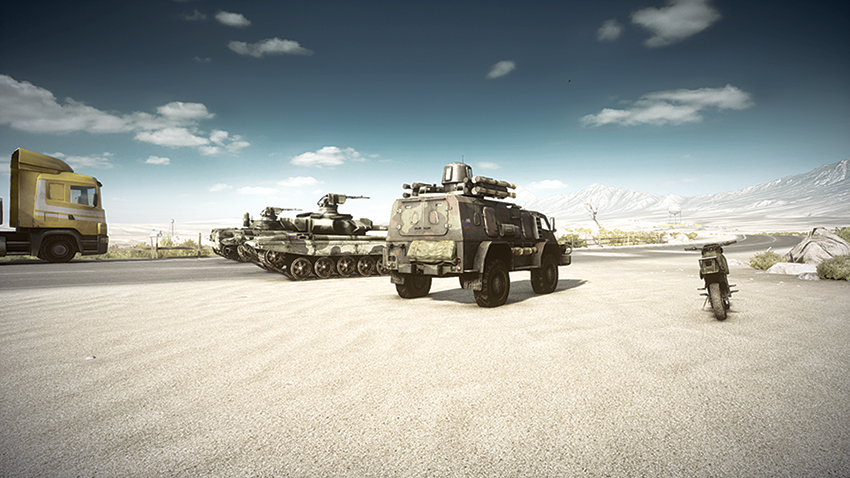
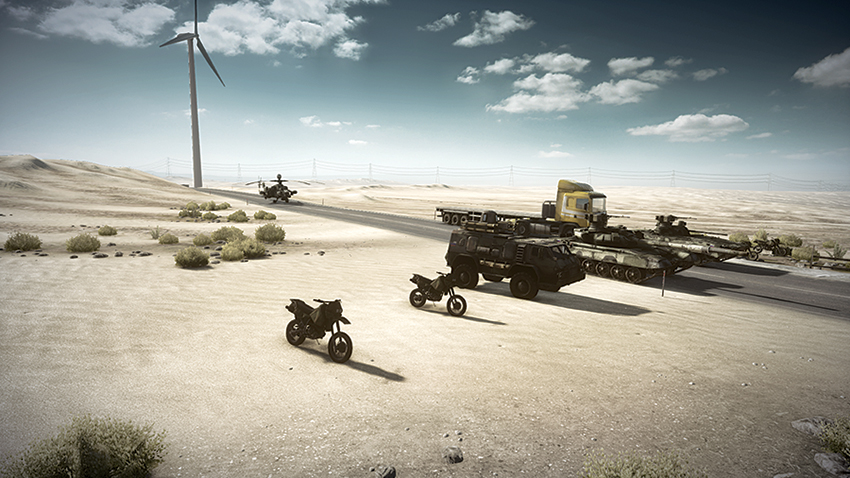
During Capture the Flag, the map boundaries of Nebandan Flats are slightly wider than in the Conquest modes. Although the map is wider than its Conquest counterpart, the flags are positioned nearly directly north and south of one another. The US flag is located within the Residential area and the team deploys slightly south along the road. On the opposite side of the map, the RU flag is located at the Farm; the RU team deploys to the north along the main road. Both teams have an assortment of vehicles, with quite a few dirtbikes. In addition to these vehicles, the teams can also acquire two extra dirtbikes located on the north side of the Warehouse, which is in the center of the map.
US Base
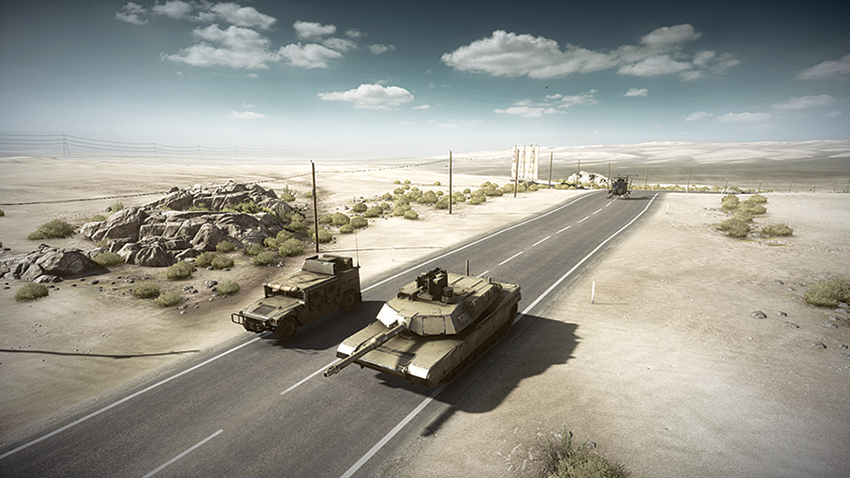
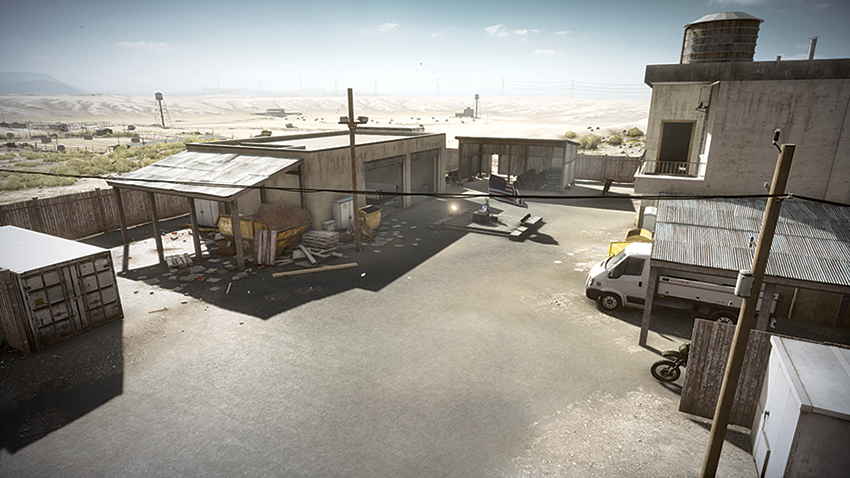
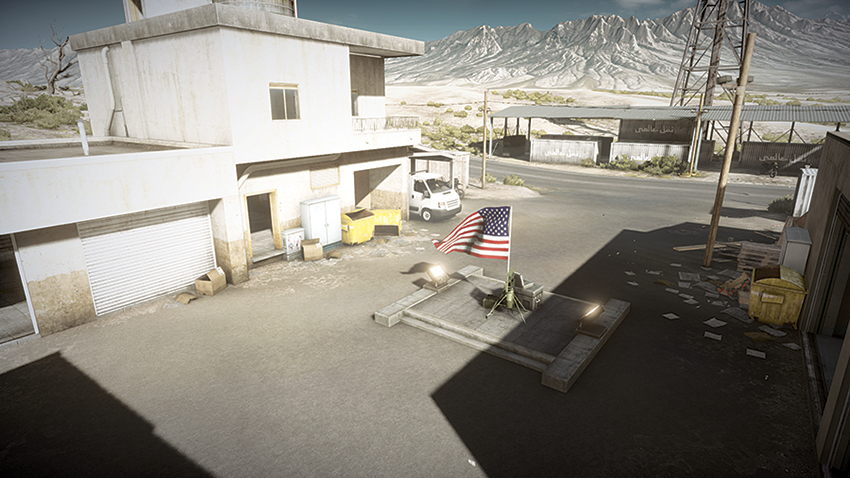
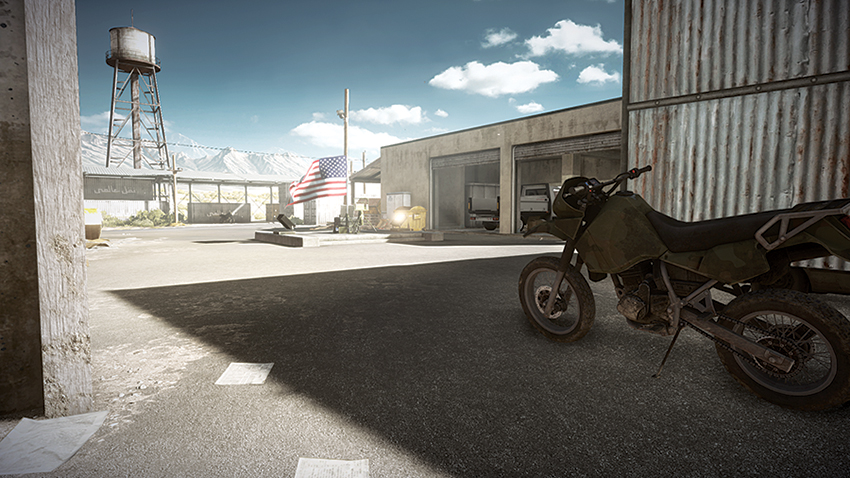
Positioned at the Residential area, the US Flag is located in the center of the buildings. While the flag may appear to be vulnerable only from the west side of the complex via the road that runs through the map, be aware that the wooden fence surrounding the complex can easily be breached by vehicles. When guarding the flag, make use of the M220 TOW Launcher on the west side of the complex to guard the road from vehicles. The real concern should be breaches of the fence line on the complex’s north and east sides. Utilize the ASRAD to defend against attacks from these directions. One advantage to placing the ASRAD at the northeast corner outside of the complex is that it can also be used to defend against the RU team’s helicopter, which can be expected to be used to transport an enemy flag carrier. Setting mines near possible points of entry near the fence line can prevent vehicles from approaching the flag after smashing through the fence.
RU Base
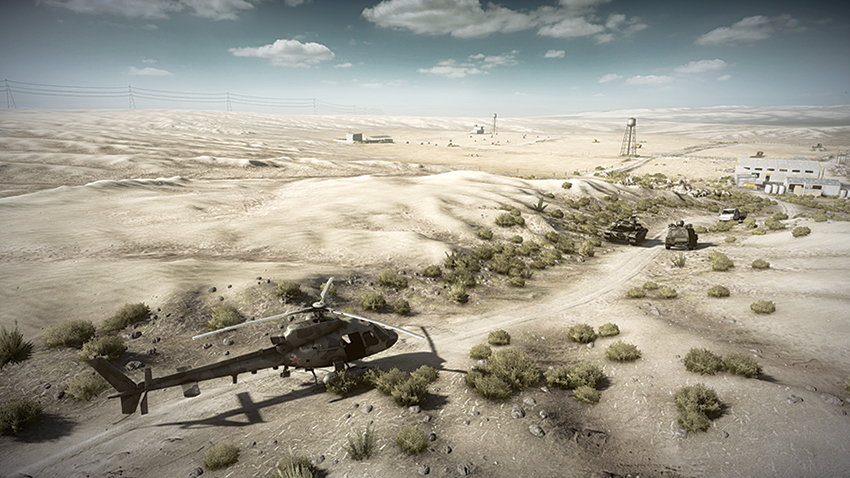
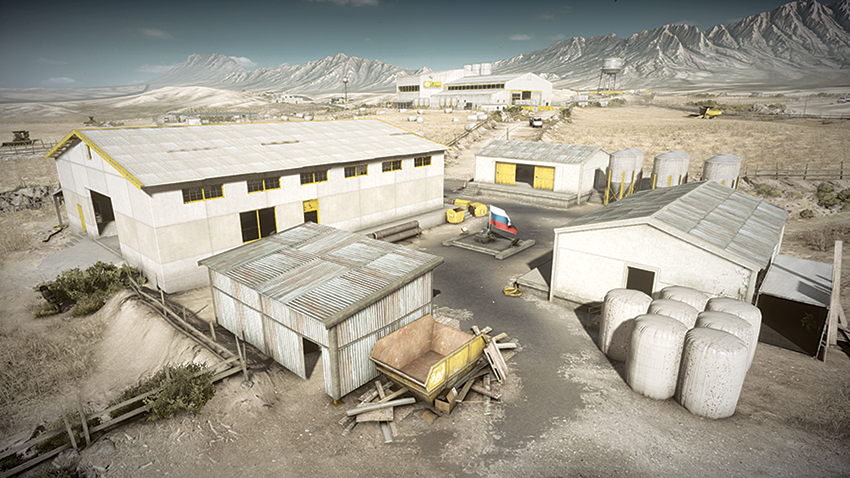
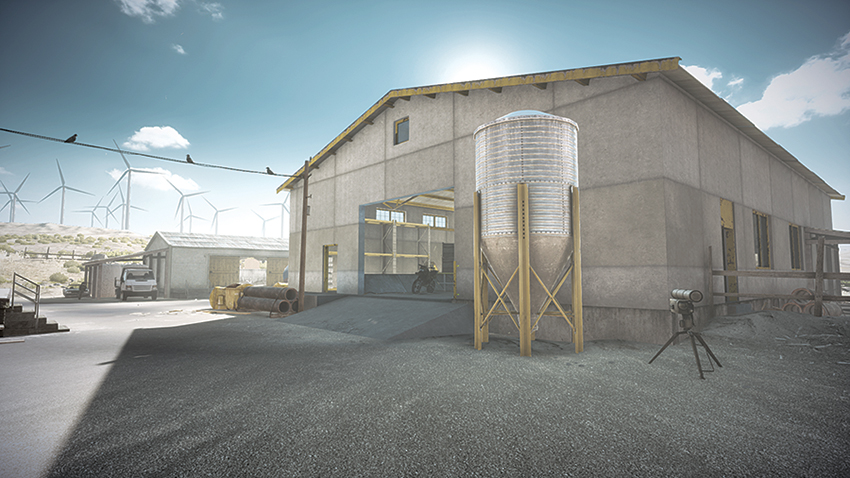
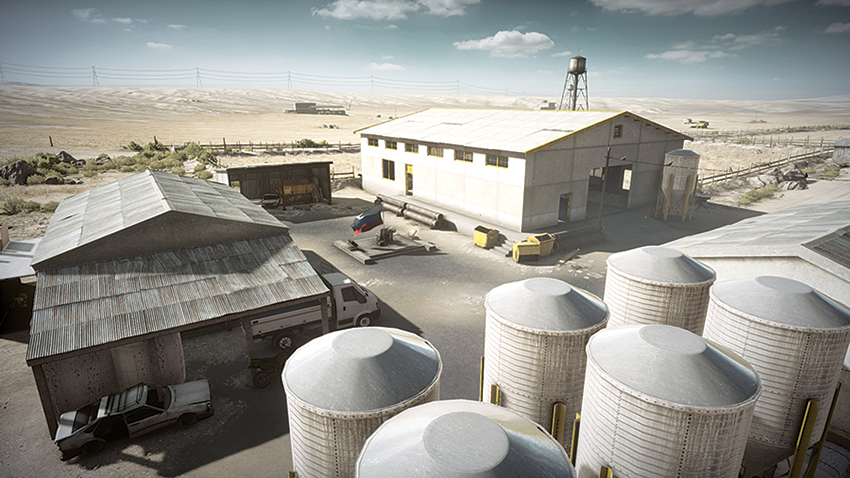
Located at the Farm, the RU Flag is susceptible to attack from multiple angles. When defending the flag, make use of the 9M133 Kornet Launcher to stave off vehicles approaching from the south. Watch for dirtbikes that attempt to capture the flag from the east, as the open path between the stable and the nearby carport allow for a quick capture and run. The Vodnik AA is a great option for defending the flag, as its weapon is more versatile than the T-90A’s weaponry and more maneuverable as well. Keeping the Vodnik AA positioned on the north side of the complex near the silos allows the vehicle to fire on any target that enters the flag area. The T-90A should stay within the proximity of the Farm area, patrolling the fields south of the Farm, adjacent to the Warehouse. Placement of mines around the flag is useful in defending against dirtbikes, as their speed means they are unable to notice mines before it’s too late.
Rush
The Rush battle for Nebandan Flats is a fast-paced and fierce one. Beginning at the Residential area and pushing back through the Warehouse until eventually concluding at the Farm, the battle ranges over a sprawling landscape. This arid land offers little cover for attackers as they approach the M-COM Stations, which makes the combat a battle for inches every step of the way. Throughout the course of the battle, each team will have access to one attack helicopter, and for the team with an experienced pilot, this can be used to turn the tide of battle. The attackers will have the advantage in this battle, due to each zone offering an ASRAD, which can be used to eliminate the defender’s attack helicopter. The defenders are not without some heavy firepower of their own, however, as each zone affords them the deployment of a T-90A. In the hands of a skilled tank operator, it can make quick work of the attackers’ helicopter presence. Due to the long sight lines offered by this map, defenders that have skilled recon soldiers will find them essential in pushing back attackers as they approach.
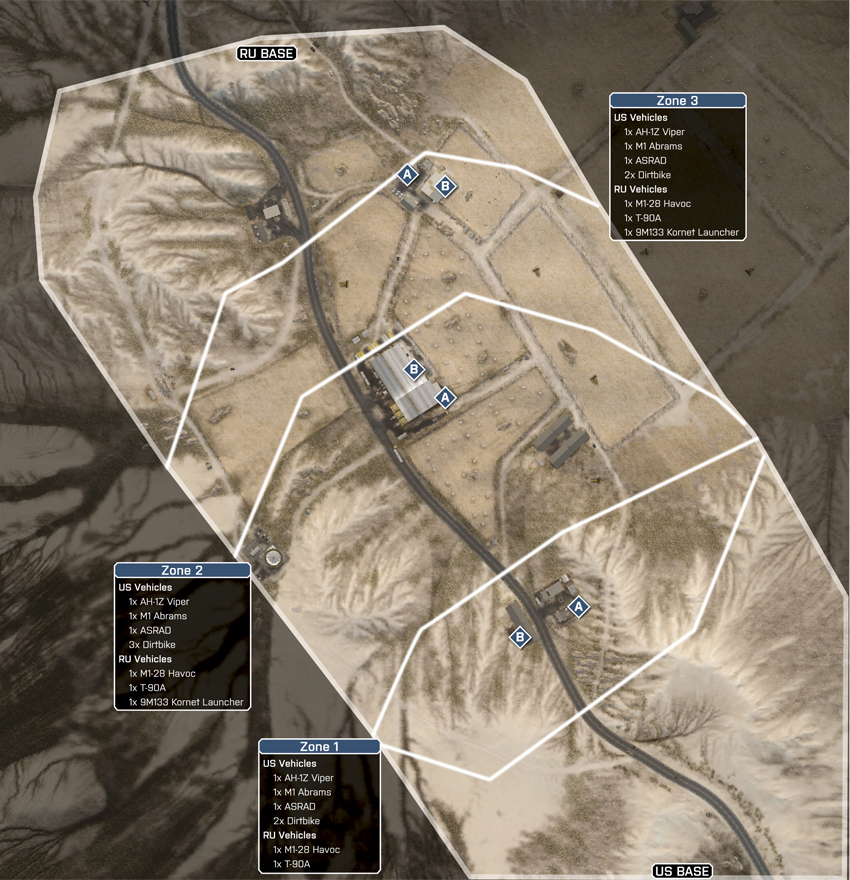
Zone 1: Residential
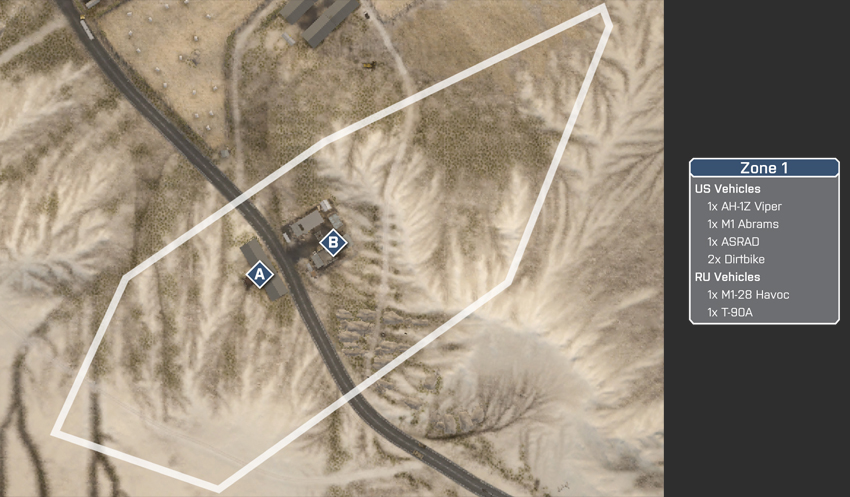
US Deployment
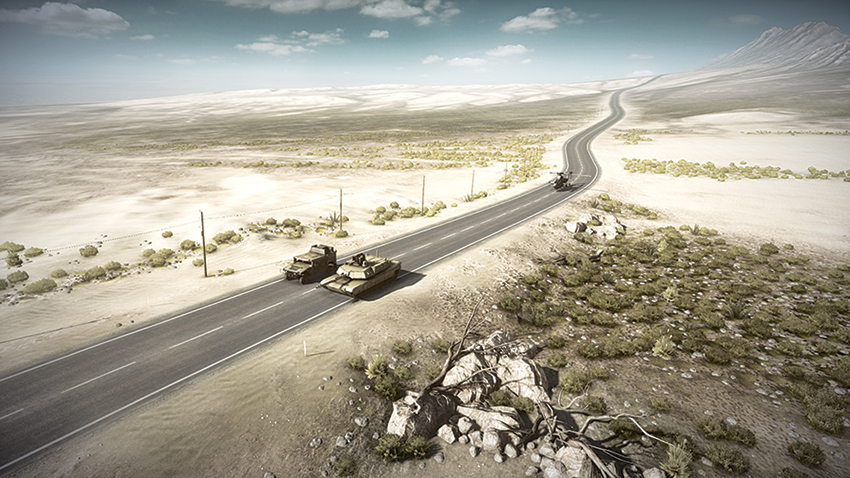
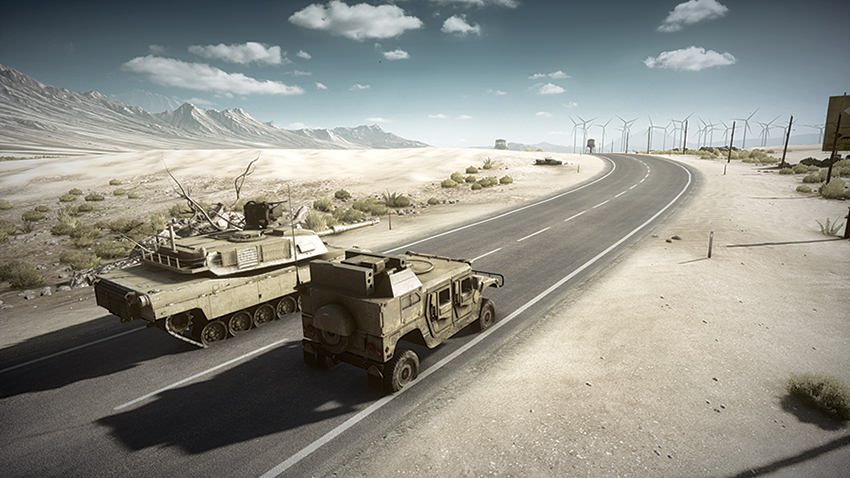
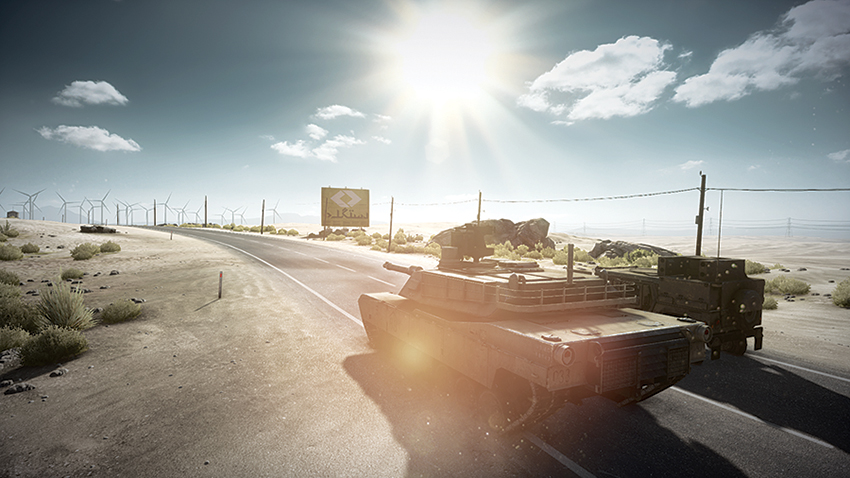
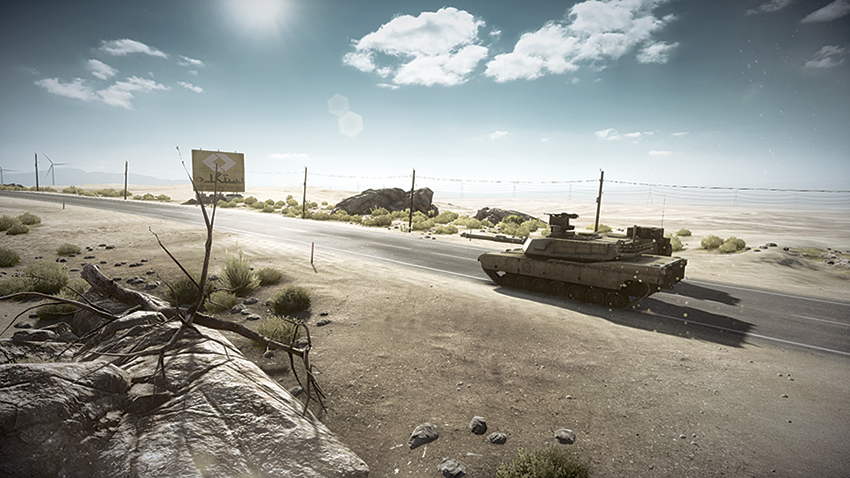
Deploying from the south, the US team has a significant advantage due to the vehicles afforded them. Attackers should keep in mind that the map’s long sight lines result in a not-so-stealthy approach to the objectives. With this in mind, sending the AH-1Z Viper ahead to scout ahead and clear the objectives of camping defenders is an efficient tactic to use during the approach. Another essential vehicle is the ASRAD, which can keep the sky clear and provide safety for the AH-1Z Viper as it focuses its firepower on land enemies. The M1 Abrams should be used to primarily counter the defenders’ T-90A throughout the battle, as well as eliminate the fence line surrounding M-COM Station A, thus allowing dirtbikes to attack from multiple angles.
RU Deployment
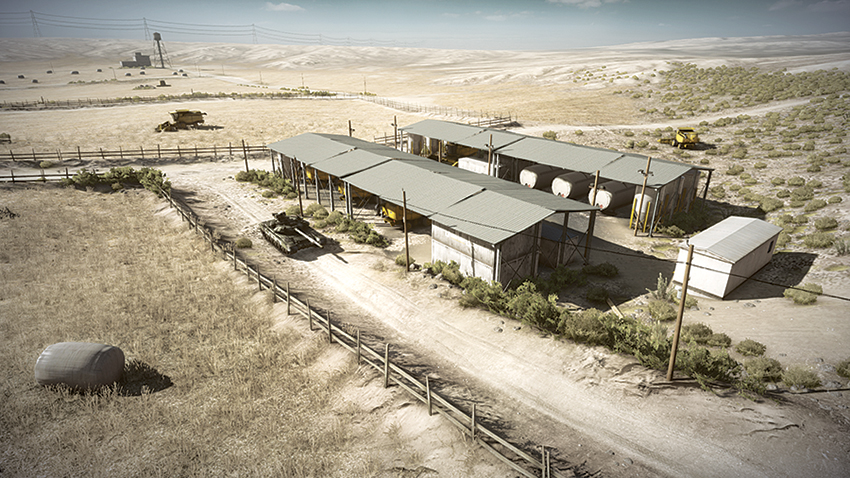
Deploying north of the Residential area, the defenders will find themselves at a disadvantage. Due to a small number of vehicles they get, making use of mines around the Residential area will be useful in pushing back attackers that quickly flood the area surrounding the objectives. Making use of engineers will help even the playing field by keeping the attackers’ heavy vehicles at bay. The T-90A should focus on patrolling the Residential area and attempt to destroy the attackers’ ASRAD and AH-1Z Viper, two vehicles that pose the greatest threat in defense of the objectives. Although the T-90A deploys from the Unloading Sheds area, the vehicle should proceed south, past the Residential area to flank the attackers’ tank and ASRAD as that team approaches the Residential area, keeping its distance to avoid the attention of the attackers’ helicopter that is circling the objective overhead.
M-COM Station A
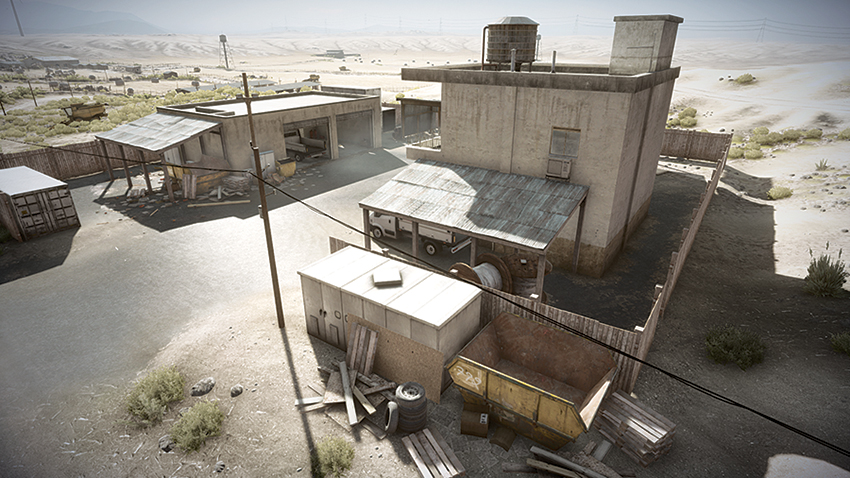
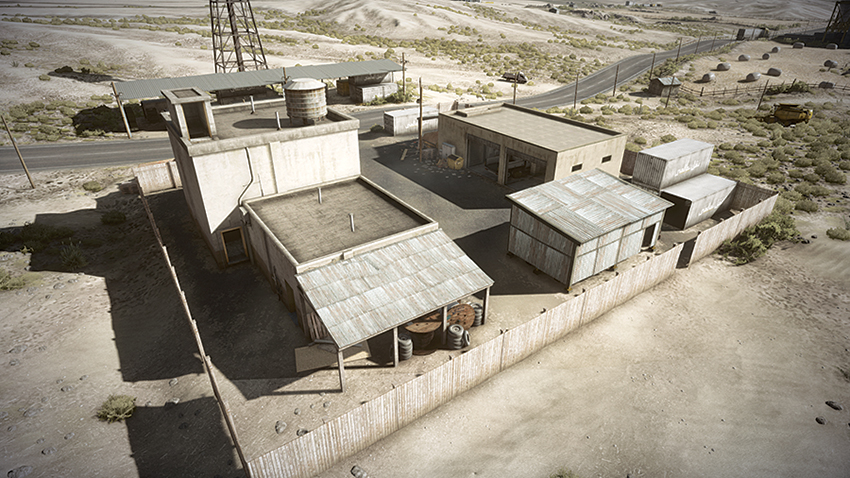
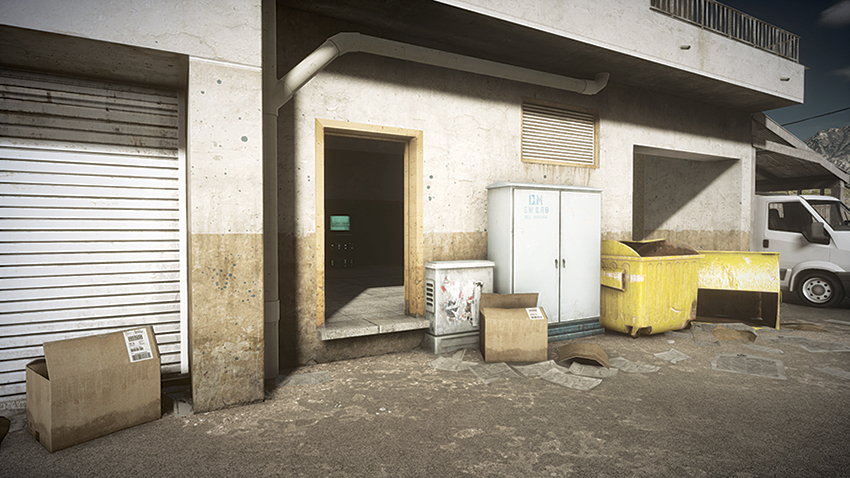
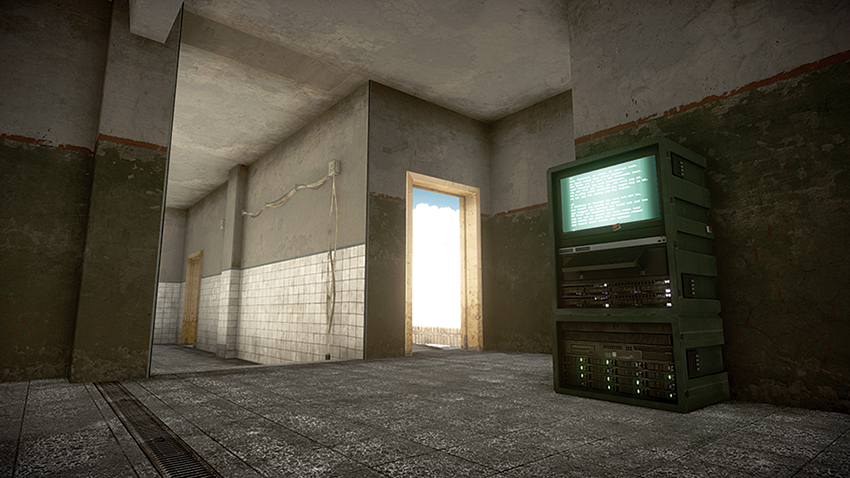
Located within the south building of the Residential area, this M-COM Station is less vulnerable to attack than its M-COM Station B counterpart. Defenders should not take the inside placement of this objective lightly, though, as the room that houses the objective is accessible by four separate doorways. The most dangerous of these is the doorway on the south side of the building, as this can be accessed once the fence line is breached and can allow for streams of attackers to flood in and overwhelm defenders. Attackers should have the AH-1Z Viper circling the objective to monitor defender positions and engage the enemy as they approach the objective, as well as eliminate campers in the garage on the north side of the Residential area.
M-COM Station B
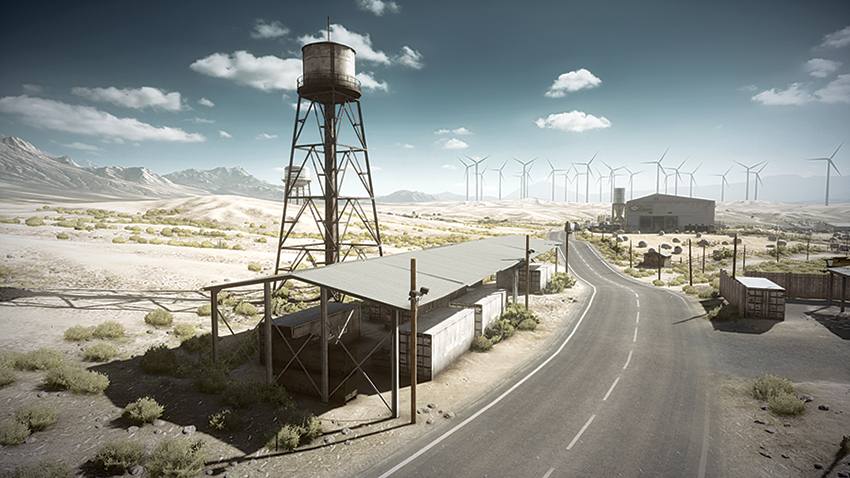
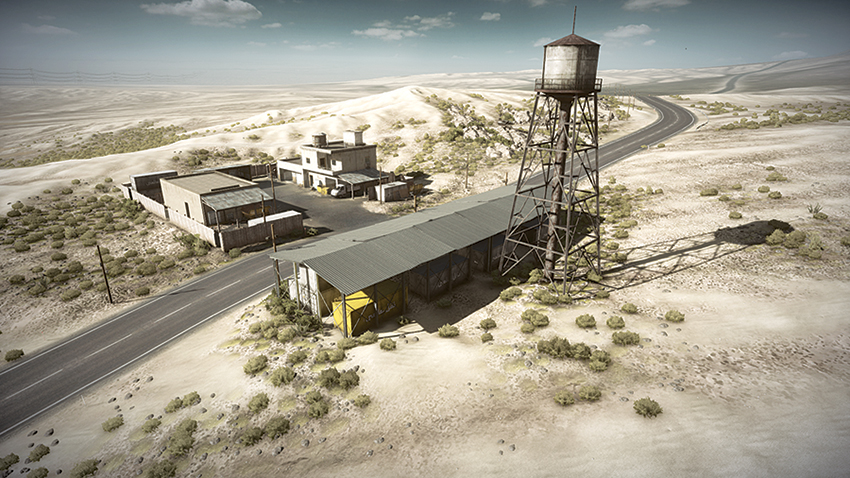
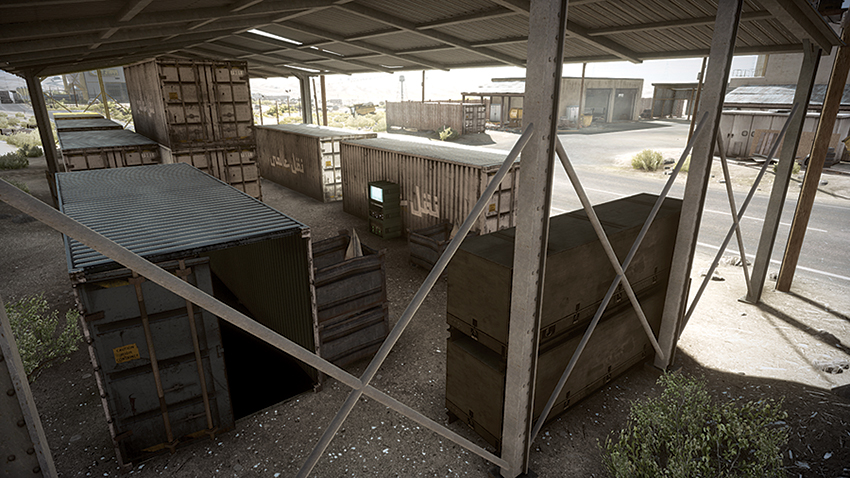
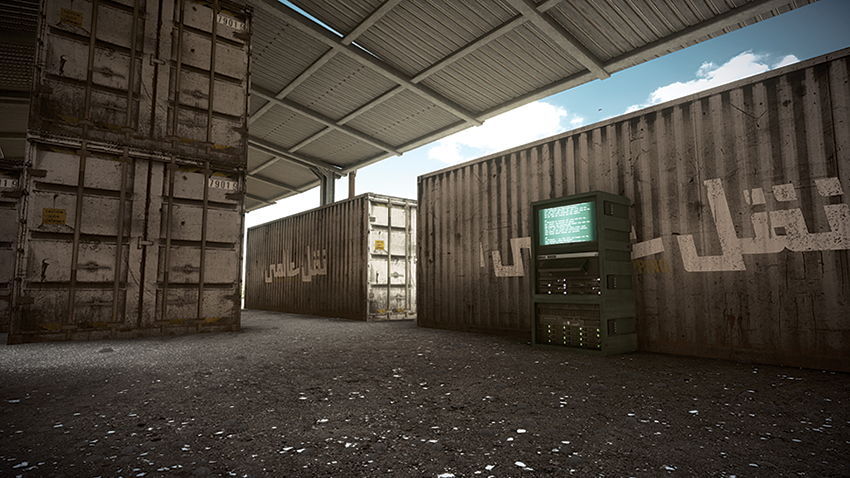
M-COM Station B is between shipping containers that are housed within a covered storage area west of the Residential. Although more exposed than M-COM Station A, attackers will still face heavy resistance from defenders that have taken root among the shipping containers, which results in close-quarters combat when attackers attempt to plant a charge. Defenders will benefit from maintaining their distance west of M-COM Station B, as attackers can be fired upon while they attempt to plant the charge. Attackers that attempt to approach the area on anything other than a dirtbike will find that doing so leaves their vehicles open to attack by the MI-28 Havoc that is patrolling the skies above. Teams should make use of a T-UGS motion sensor when around the shipping containers to prevent the likelihood of being the victim of a surprise assault while attempting to maintain control of the objective area.
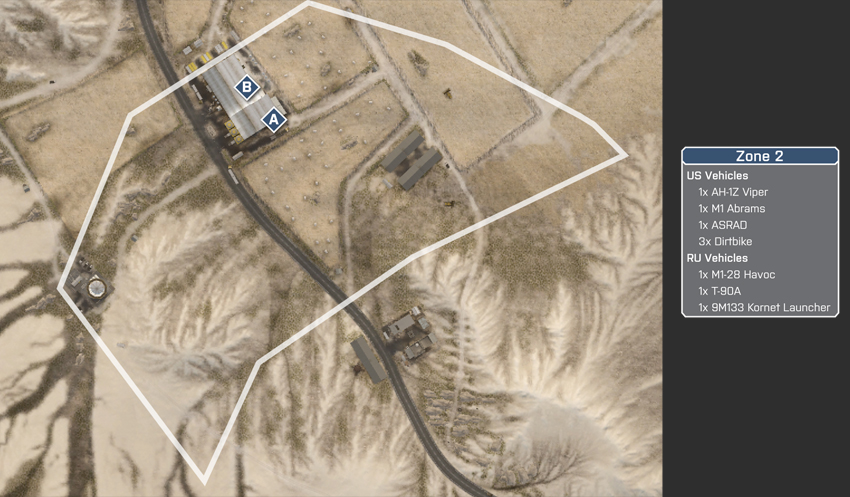
Zone 2: Warehouse
US Deployment
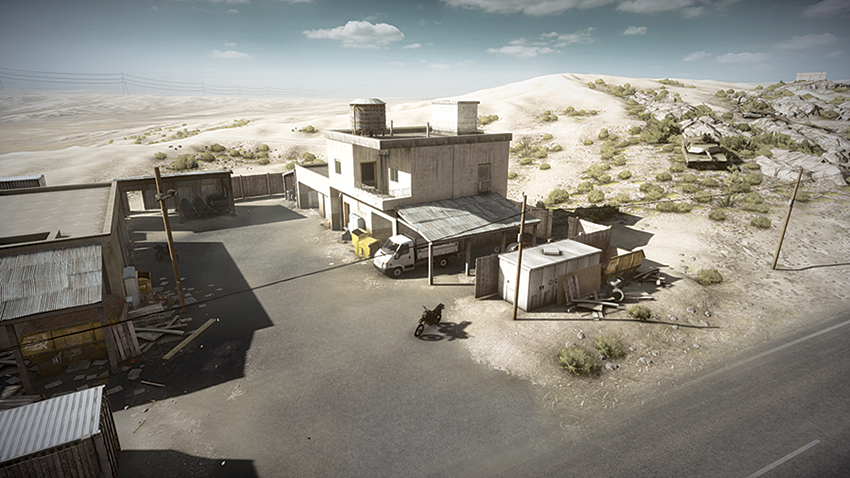
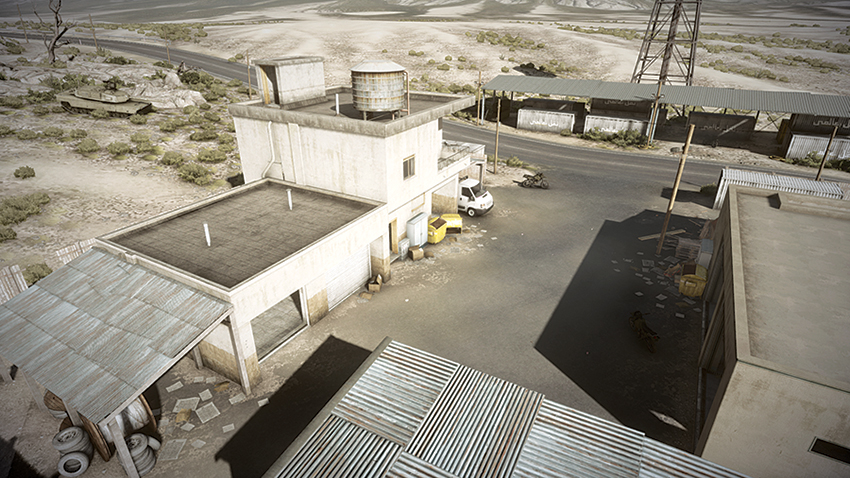
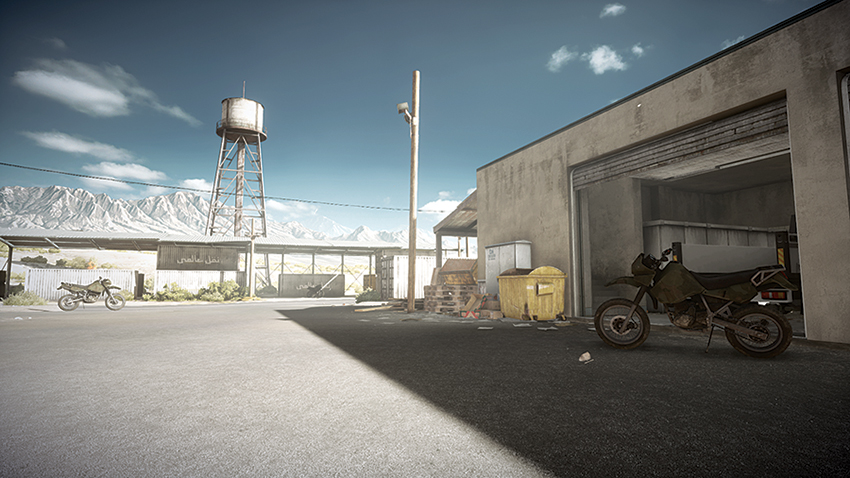
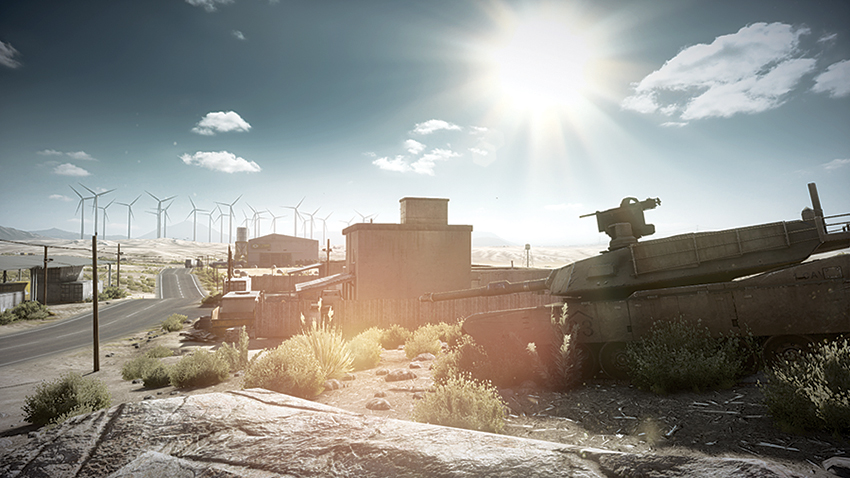
Deploying from the Residential area, the US team has the ability to capitalize on the deployment position of the RU team here. Since most defenders will move through the Warehouse and camp within the room housing M-COM Station B early on, this leaves the large hangar where M-COM Station A is found exposed to assault. Another advantage to attacking M-COM Station A is that the large hangar space allows for the M1 Abrams to approach the hangar doors and fire into the room and eliminate any defenders that may be taking position among the defunct AA turrets housed within. The AH-1Z Viper, on the other hand, should monitor the west side of the Warehouse and its rooftop for defenders attempting to fire upon attackers that are making their approach.
RU Deployment
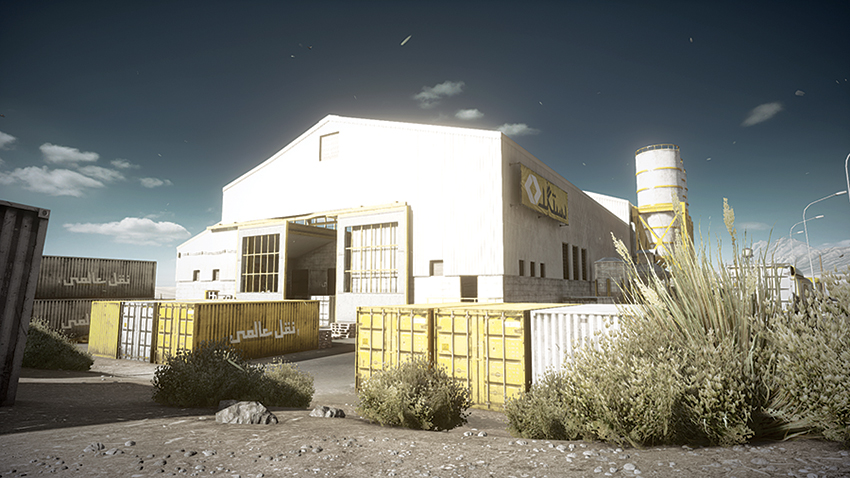
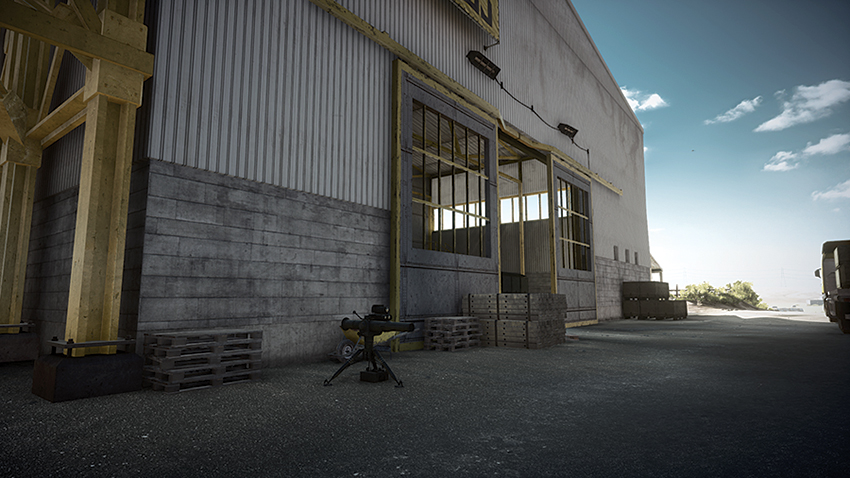
Deploying on the north side of the Warehouse, defending squads should work to secure both the hangar that houses M-COM Station A and the rooftop of the Warehouse (accessible via the ladder on the Warehouse building’s east side) early on. Once in position atop the Warehouse’s roof, engineers can target attackers’ vehicles with a Javelin or RPG as they approach from the south. While this defense is taking place, the squad that has taken position within the Warehouse should be laying claymores throughout the interior —in particular, the catwalks of both rooms should be booby-trapped to prevent attackers from exploiting the elevated position in their attempt to destroy the objectives.
M-COM Station A
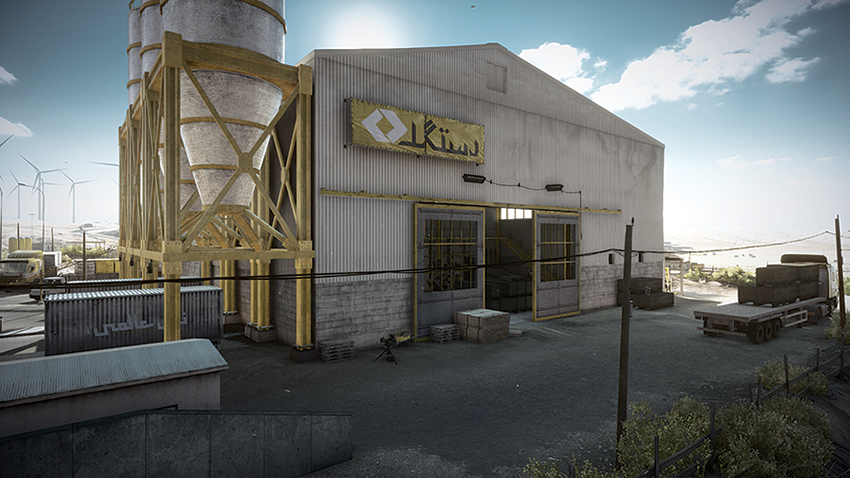
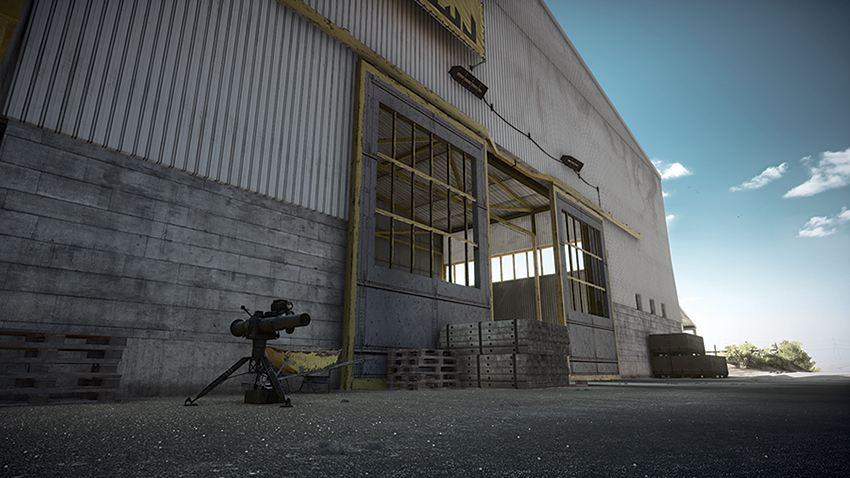
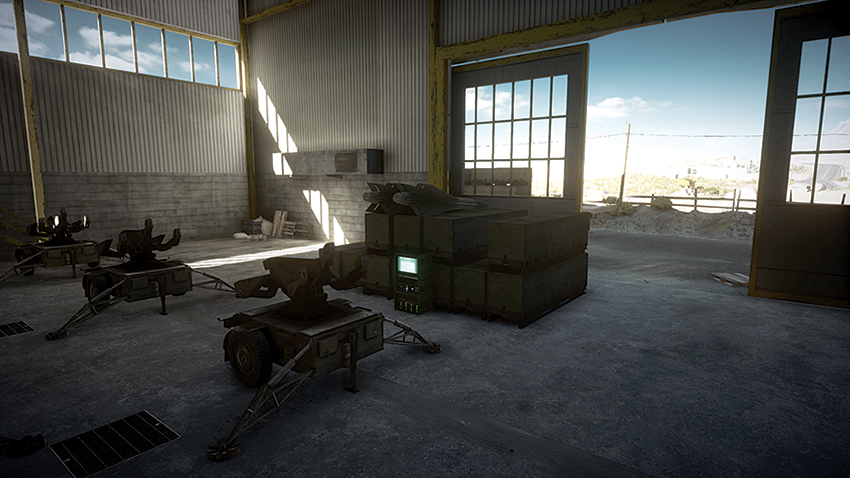
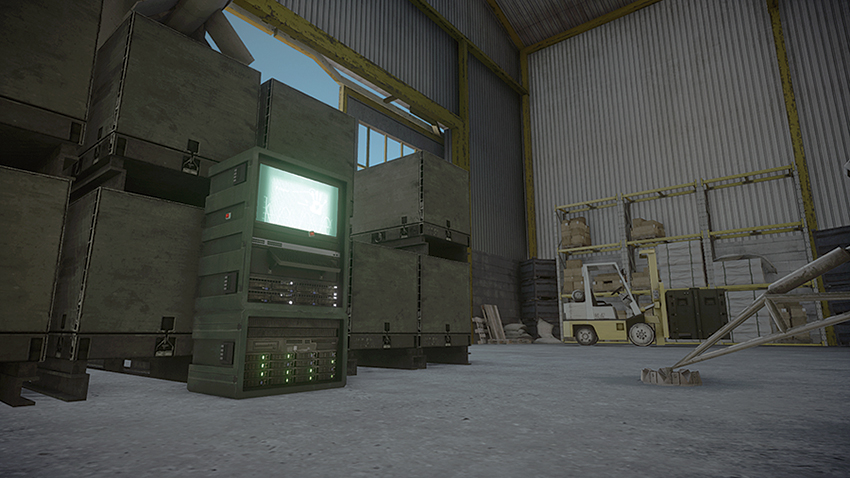
Positioned against crates of missiles, M-COM Station A requires attackers to enter the large hangar located on the south side of the Warehouse. This leaves attackers vulnerable to being overwhelmed by the defenders that are camping on the catwalk overlooking the objective. Attackers should make use of the M1 Abrams or the ASRAD to bombard the catwalk within and eliminate or suppress defenders while their squad mates flood the room and plant the charge. Defenders are not left without a means to defend this objective, though, as the 9M133 Kornet Launcher immediately outside of the hangar doors can be used to hold back the attackers’ heavy vehicles. But dirtbikes will pose a threat to the Kornet’s operator, as their speed makes for a difficult target. When defending the objective, placing claymores near the objective will help to eliminate large numbers of attackers with relative ease.
M-COM Station B
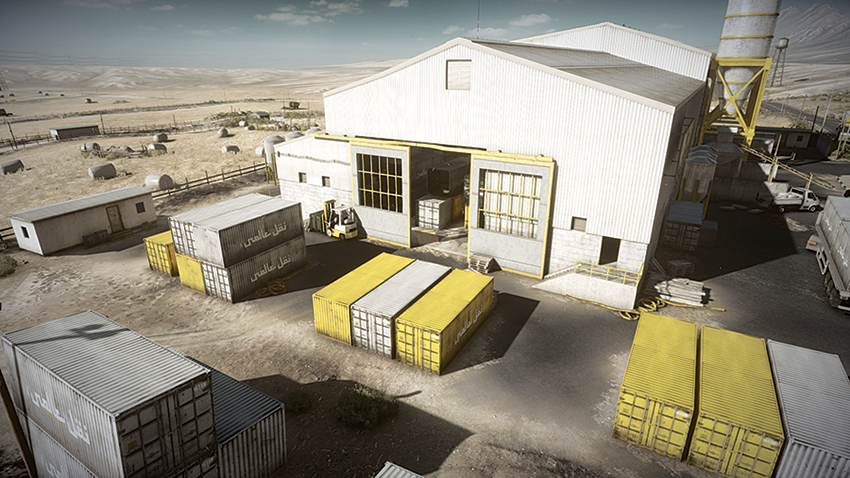
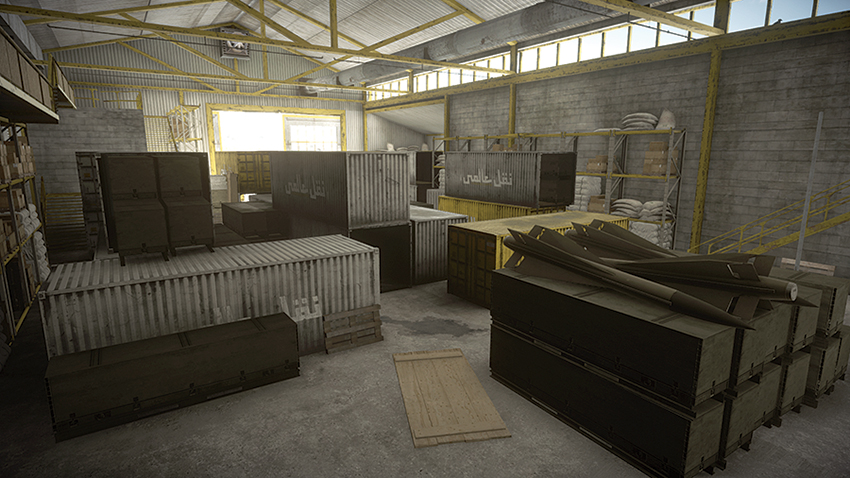
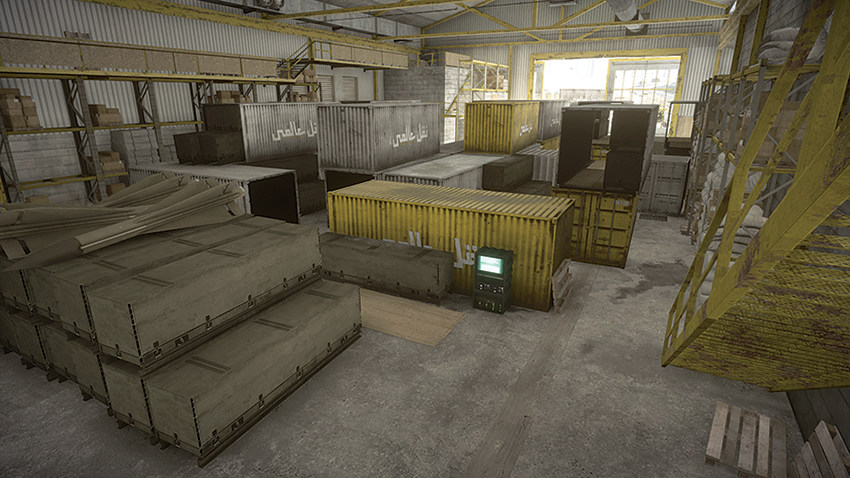
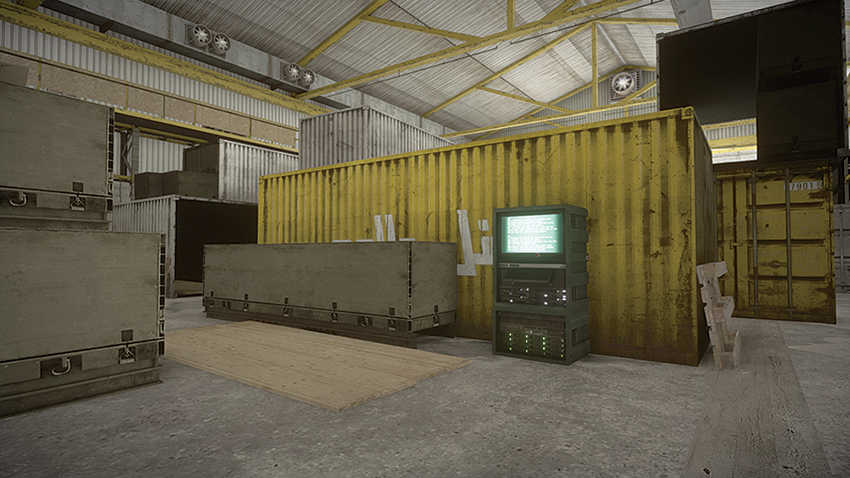
M-COM Station B is positioned within the Warehouse in its north side room, which houses a significant number of shipping containers. The fight that ensues around this objective will be an intense close-quarters battle. Although the space can be accessed by dirtbikes, bringing one of these vehicles inside this space is only a novelty; the tight quarters will prevent a dirtbike from continuing at high speeds. Defenders will find the catwalk surrounding the area useful in maintaining control of the objective, but they should place claymores near the entrances to the rooms to prevent being flanked here. Attackers looking to gain the advantage should make use of shotguns, PDWs, and grenades to overpower the defenders that have taken hold here. Although M-COM Station B is accessible via the doorway on the east side of the Warehouse, attackers approaching from this side should climb the ladder and make use of the windows to eliminate threats by using grenades or the M320 GL before their squads enter the room.
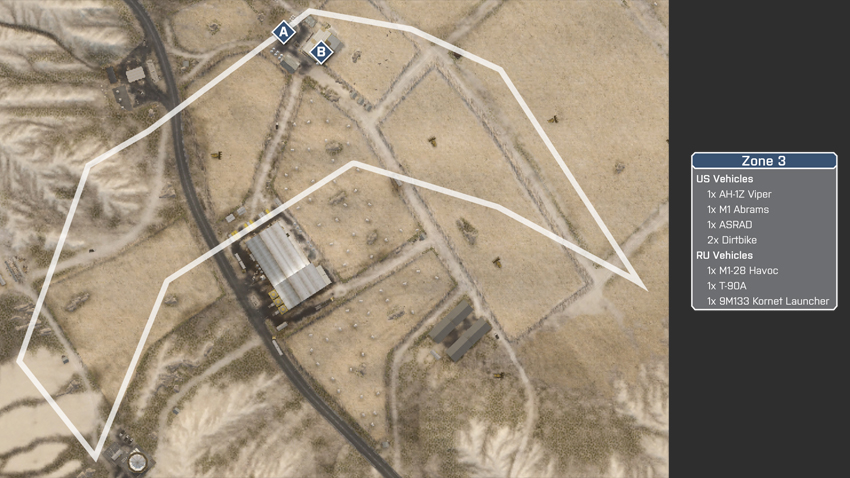
Zone 3: Farm
US Deployment
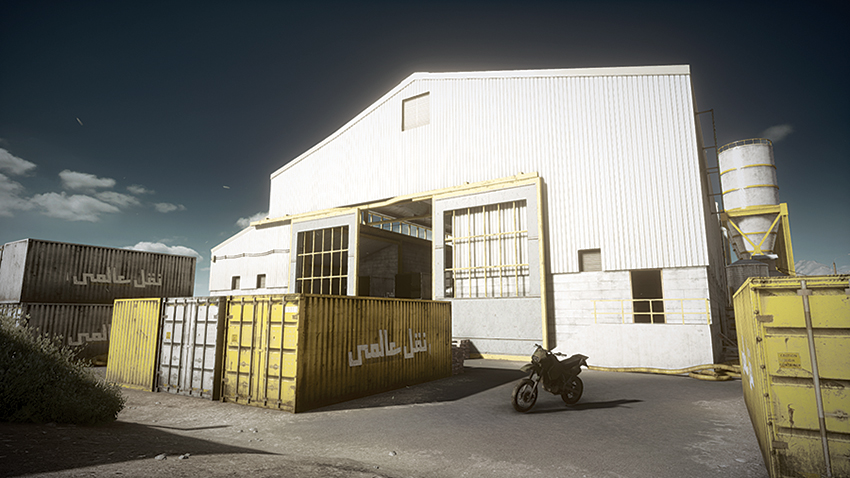
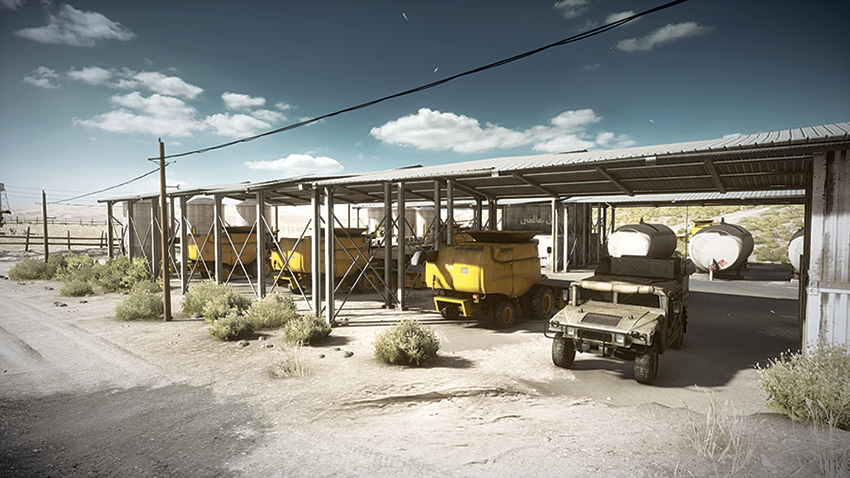
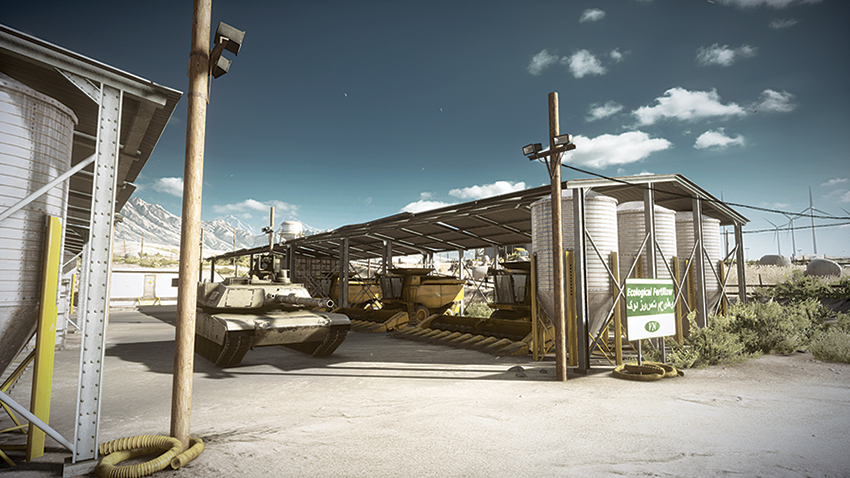
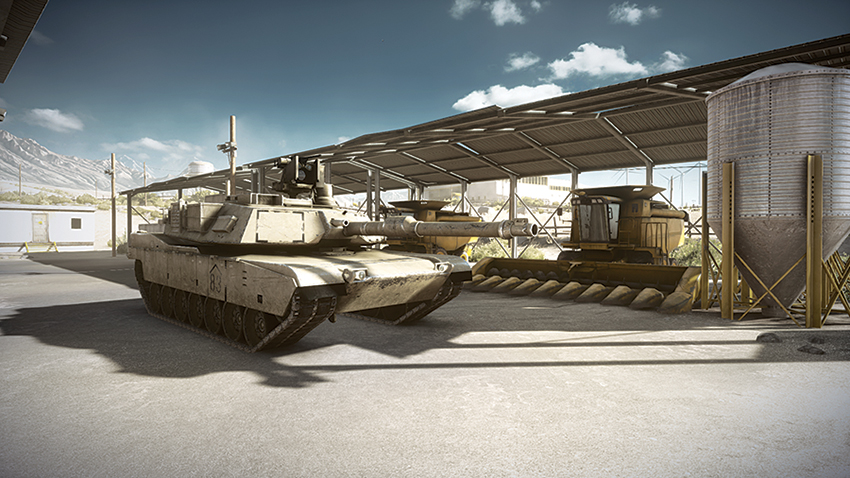
This last stage of the battle sees the US team deploying from the Warehouse. With the objectives located northeast of the Warehouse at the Farm, the US team should allow the charge to be led by the AH-1Z Viper and M1 Abrams, which can assault the Farm and push back defenders within the area. While this assault is taking place, the ASRAD and dirtbikes should be attempting their assault from the east of the Farm, splitting up to attack both the stables and north side of the farm where M-COM Station A is found. When approaching the Farm, the M1 Abrams should be aware of the 9M133 Kornet Launcher on the south side of the stables and fire upon it from afar to ensure that any operator present is dealt with before getting within range.
RU Deployment
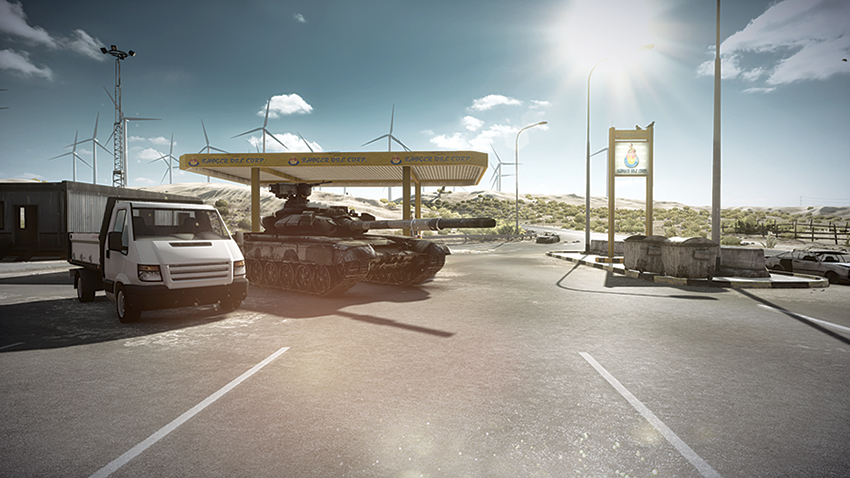
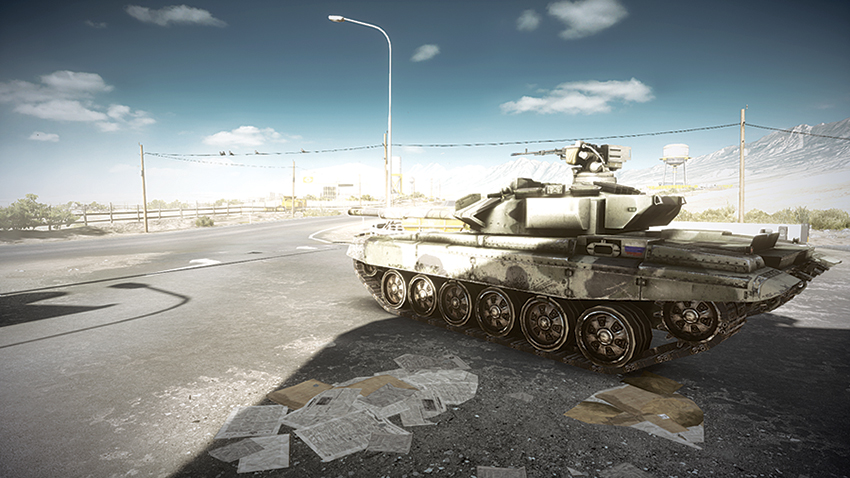
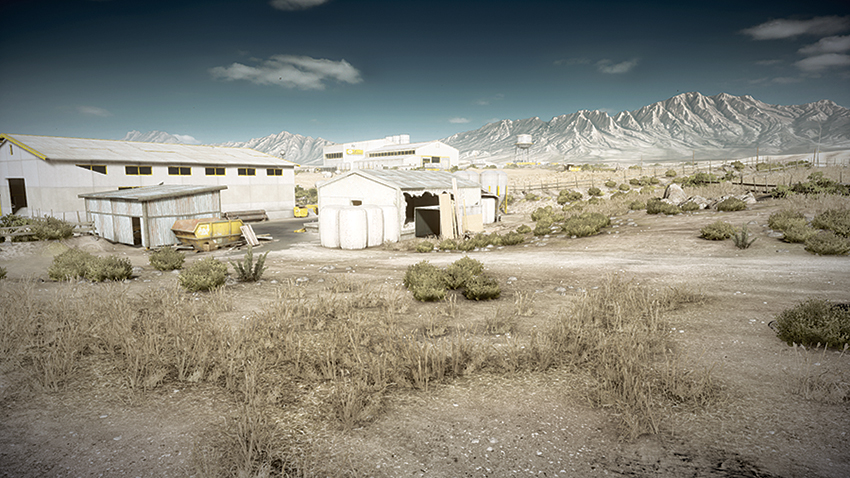
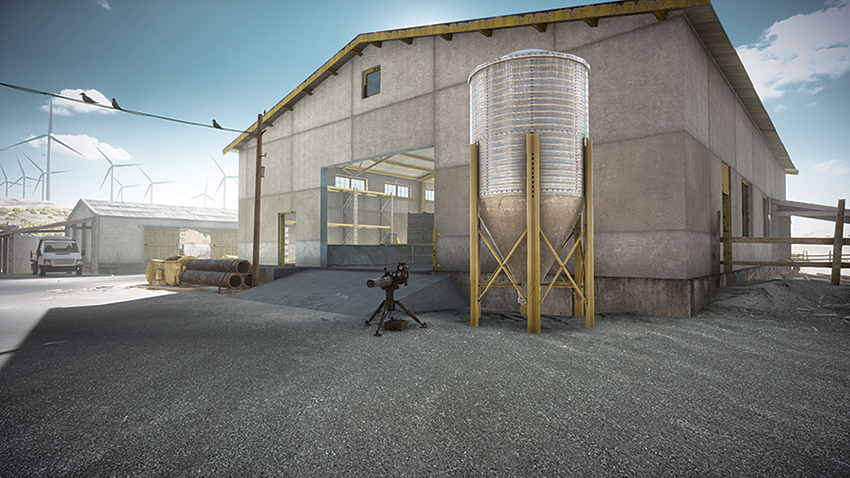
Deploying northeast of the Farm, the RU team should work on placing claymores near M-COM Station A quickly, as their T-90A makes its approach from the Gas Station to the west to defend the objectives. While the T-90A makes its approach, the MI-28 Havoc should take to the air and suppress the advance of attackers that are trying to plant the charge within the stables. Defenders should place a T-UGS motion sensor within the stables, as monitoring the approach of attackers can be difficult here. The T-90A should avoid being within the Farm lot itself, as movement within this tight space makes it vulnerable to attack from the US team’s AH-1Z Viper and C4-toting support soldiers. Instead, the T-90A should patrol the perimeter of the Farm and bombard enemies with cannon fire as they attempt to take cover among the carport and vehicles present.
M-COM Station A
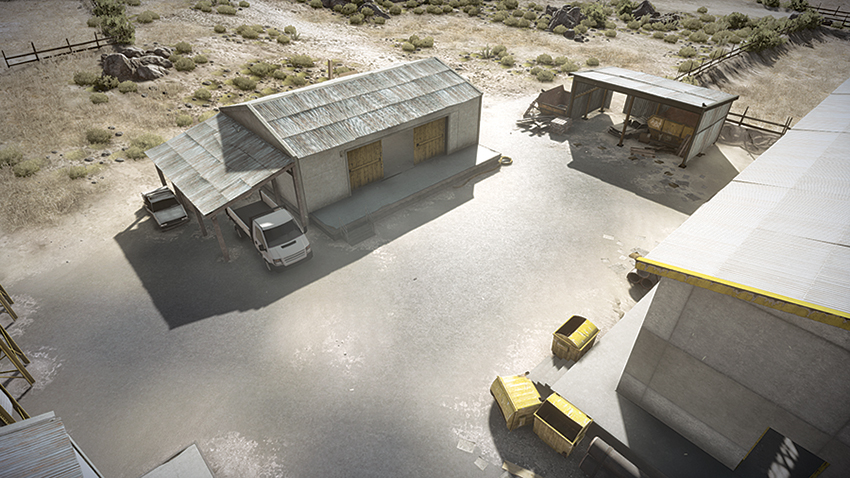
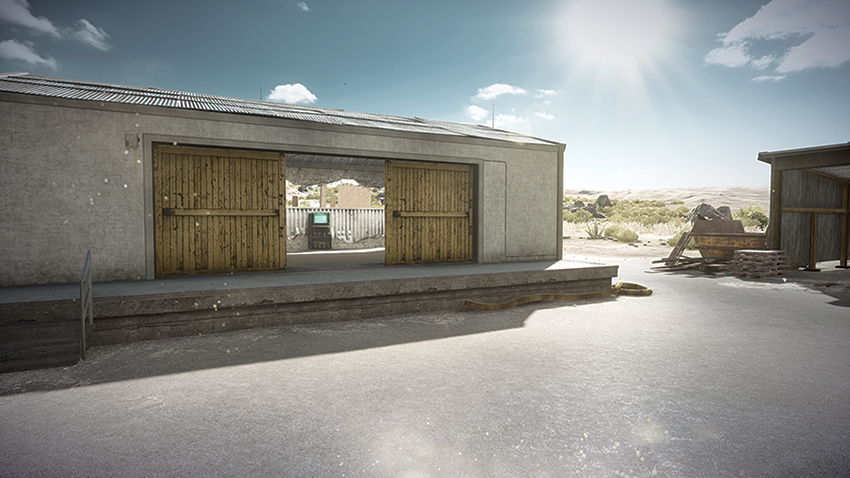
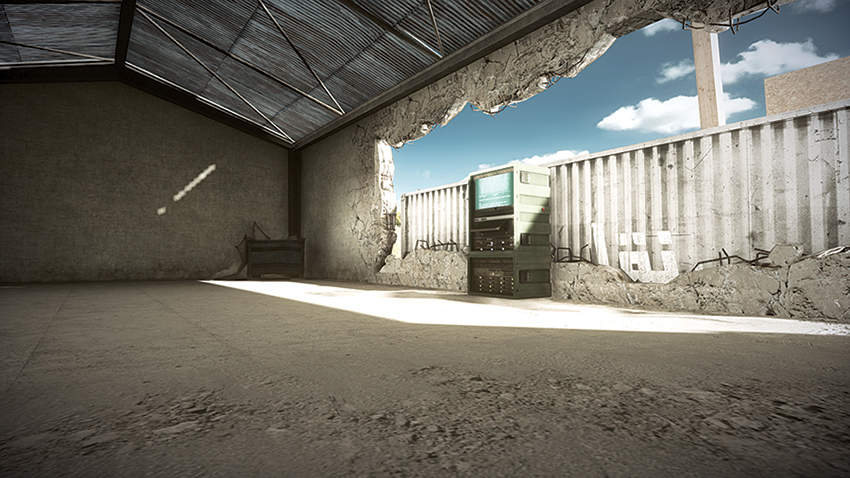
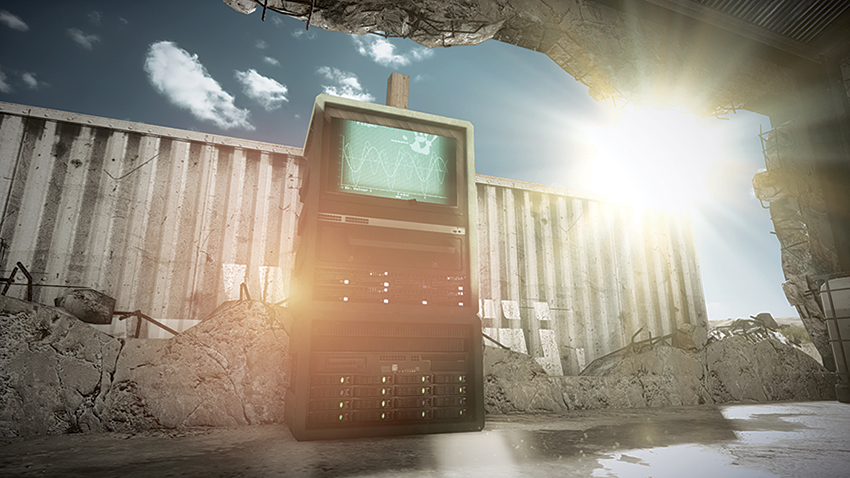
Concealed within a building on the north side of the Farm, M-COM Station A is not very exposed to attack. Defenders would benefit from the placement of claymores within the building, capitalizing on the confined space to eliminate a high number of attackers with a single explosion. Attackers will find that dirtbikes are the best vehicles for approaching the building that houses the objective, as their high speed allows for squad mates to be dropped off before escaping the area, drawing the fire of nearby defenders. When attacking, making use of the AH-1Z Viper to patrol the area and prevent defenders from disarming the charge is critical to maintaining control of the objective. Monitoring the east side of the stables is critical in controlling the flow of attackers into this area. Deploying a MAV will help to maintain an overview of the chaotic combat this area tends to invite.
M-COM Station B
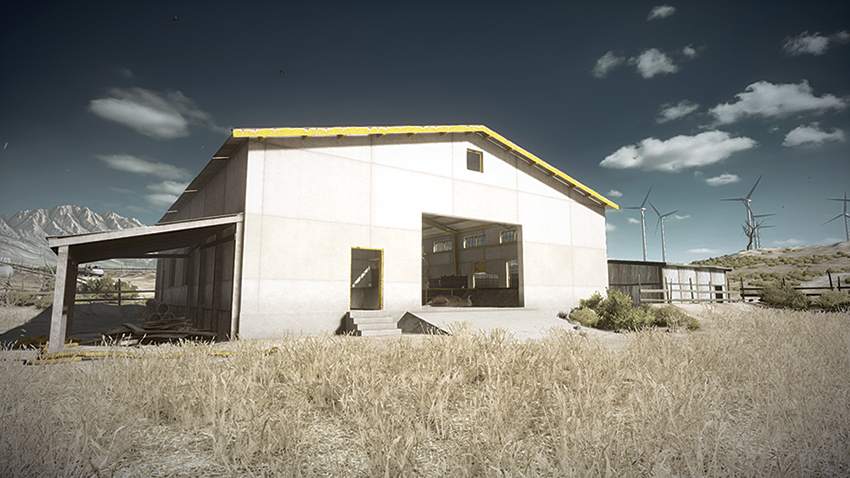
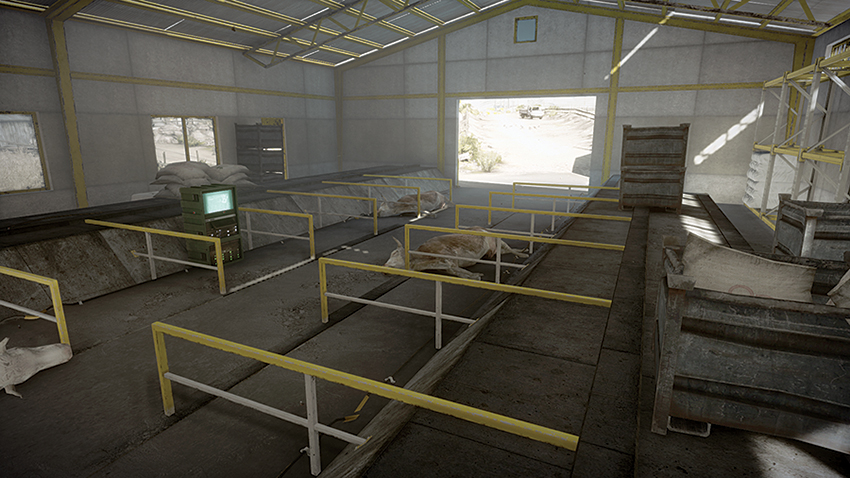
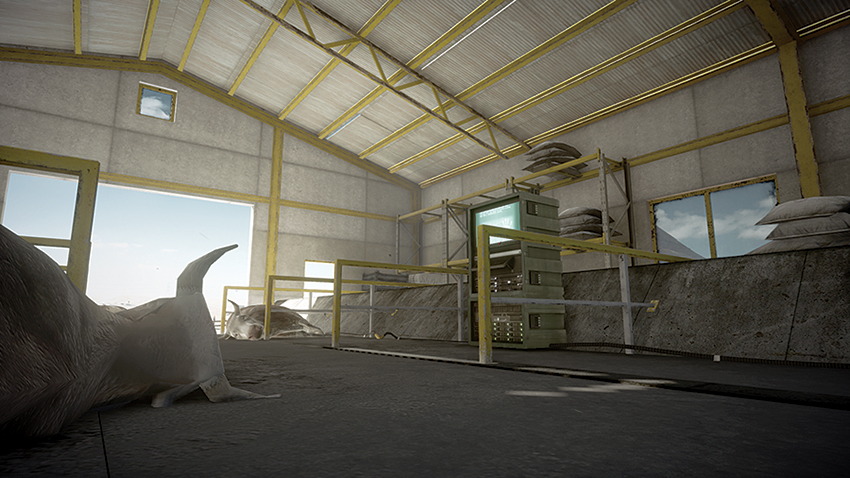
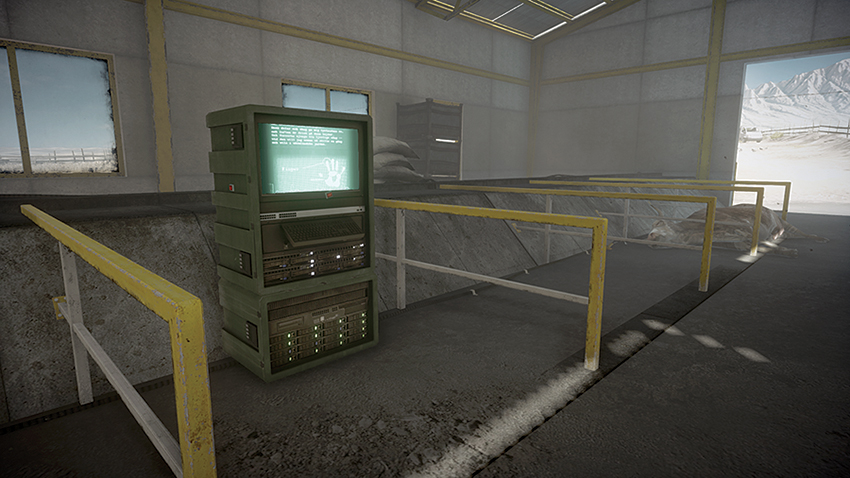
Placed among cattle carcasses within the stables, M-COM Station B is particularly prone to attack. With both the west and east sides of the stables wide open, as well as little cover within the structure, this space will be prone to close-quarters battles. Attackers will have to clear the interior of defenders and, through the use of the M1 Abrams and ASRAD on each side of the stables, prevent defenders from reentering the space, thereby allowing squad mates to descend upon the objective. Defenders should defend the interior of the stables with claymores, while their MI-28 Havoc circles the Farm area, firing upon vehicles that enter the vicinity. Planting a T-UGS motion sensor early on will help monitor traffic within the stables as well, preventing defenders from being overwhelmed by attackers flooding through both entrances.
Squad Rush
Focusing combat around the Warehouse, defenders will find the advantage during this small-scale Rush battle. With the objective of both zones being located within the Warehouse, attackers will be faced with close-quarters combat that can quickly bleed tickets. Attackers are not left without options though, as the Warehouse is susceptible to multiple points of entry. Both teams should make use of T-UGS motion sensors and MAVs to monitor the movement of their enemy, as this is critical to avoid being flanked throughout the battle. Within the Warehouse, teams should be aware of the catwalks that overlook the interior, directing squad mates into place and defending these elevated positions with claymores.
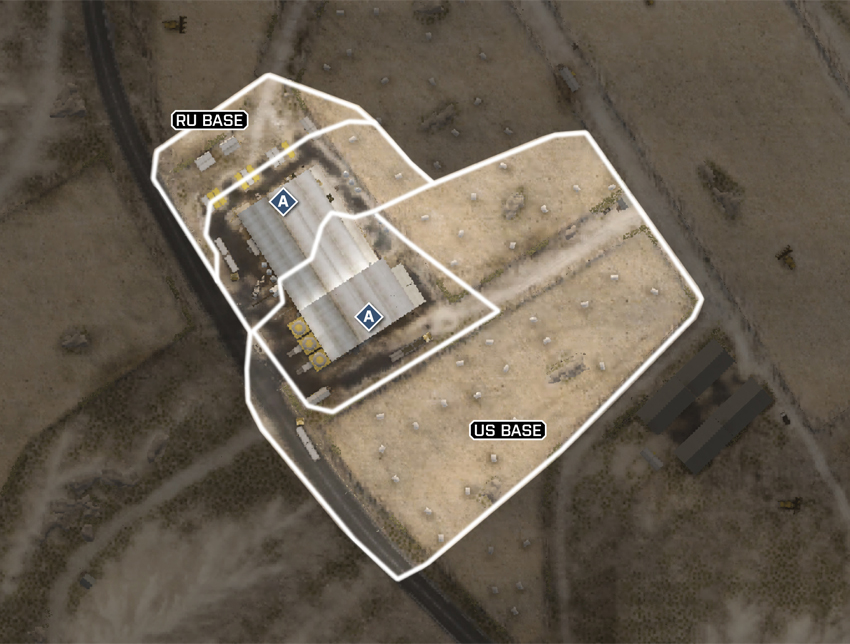
Zone 1
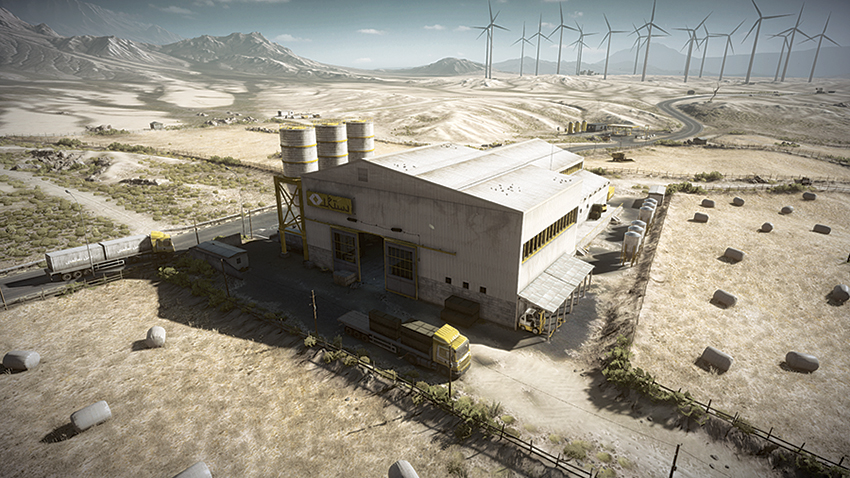
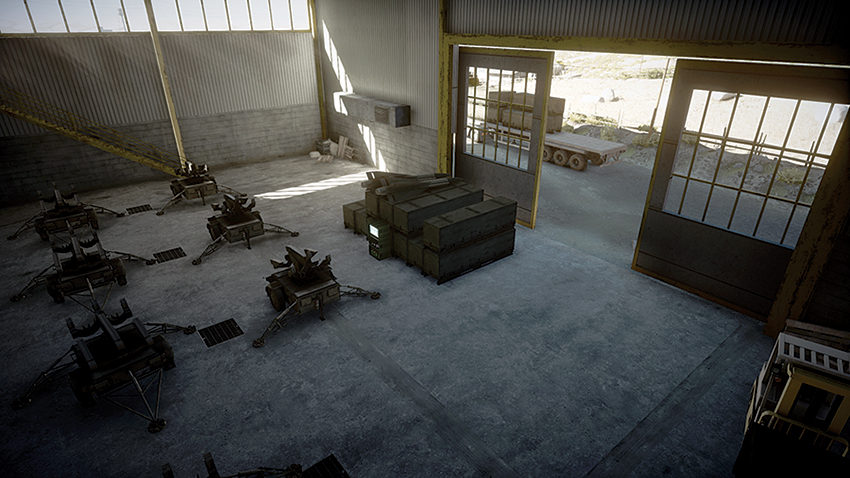
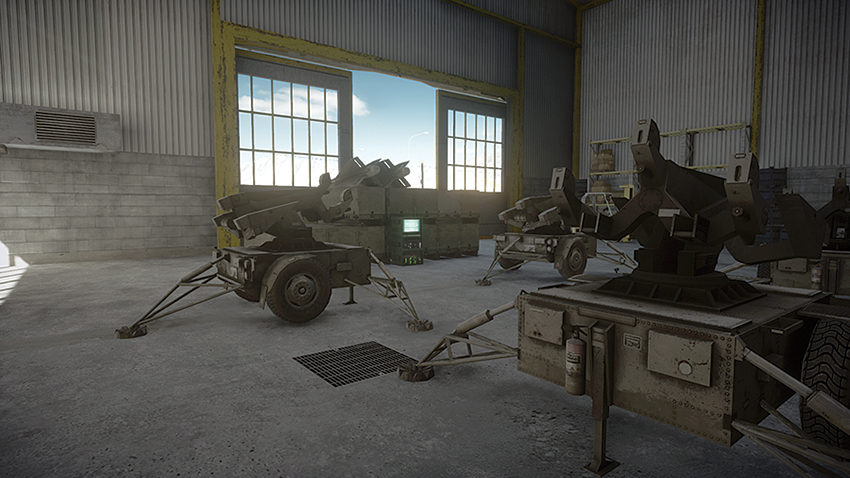
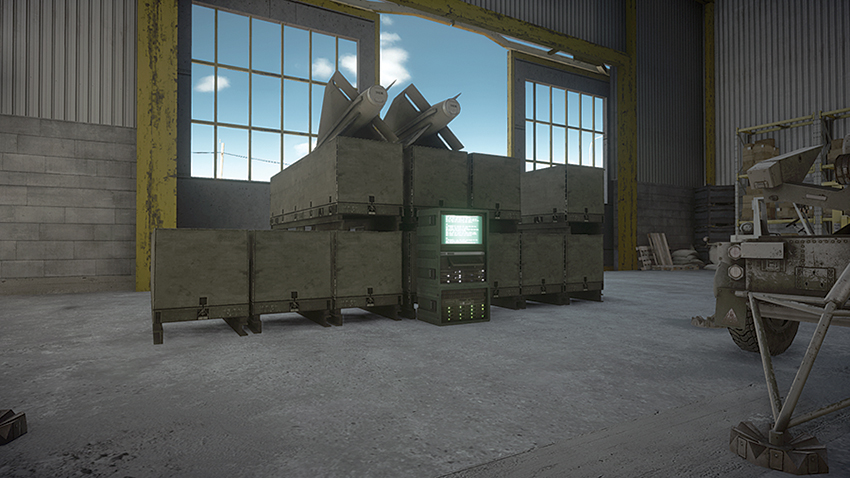
With the M-COM Station being located within the hangar on the south side of the Warehouse, attackers will have the option to enter from either the large hangar doors or by way of the door on the east side of the Warehouse, which will enable them to flank defenders that have taken hold inside the building. Defenders will find that the catwalk above the objective provides them with an opportunity to suppress attackers entering the building, but they would be wise to booby-trap the stairs that access these perches or else risk being stabbed in the back. For attackers, deploying a MAV into the hangar is a helpful tactic when flushing out entrenched defenders within this small space.
Zone 2
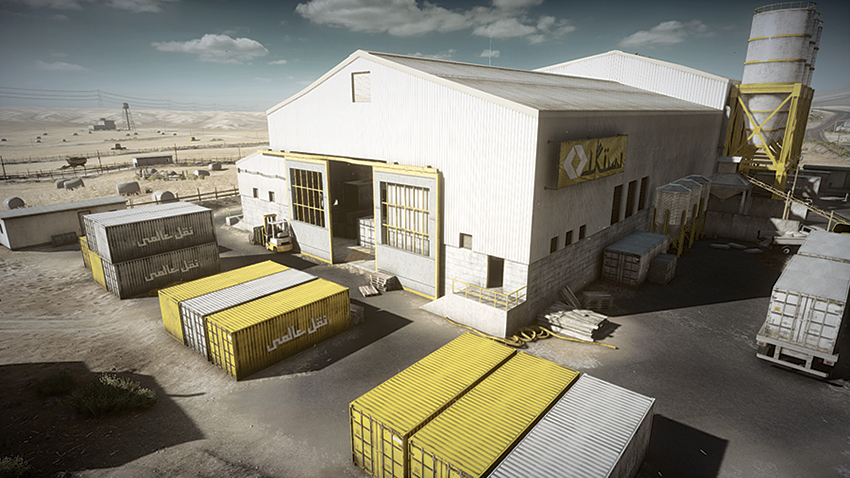
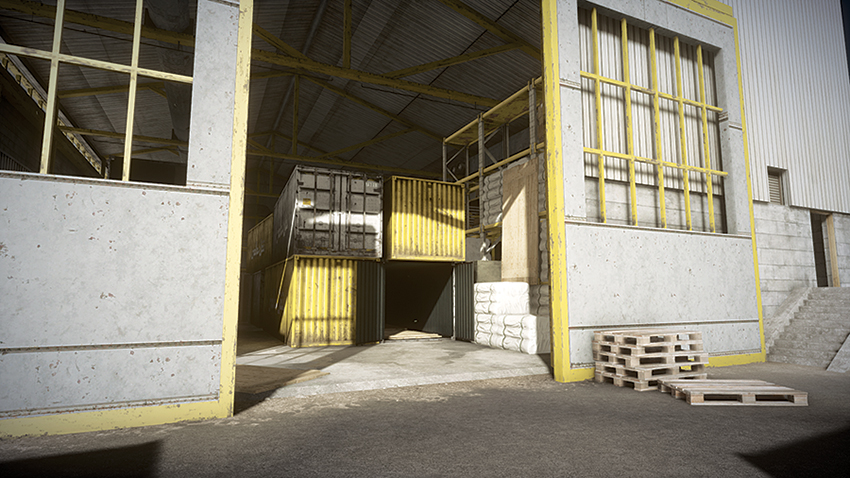
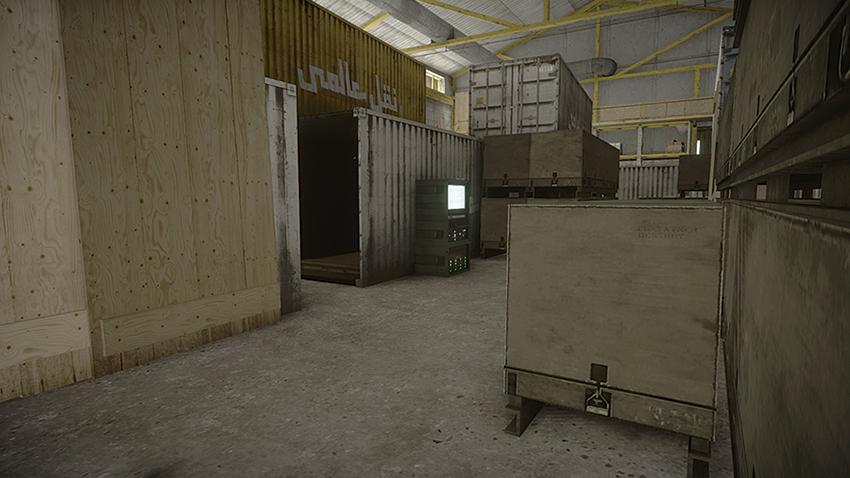
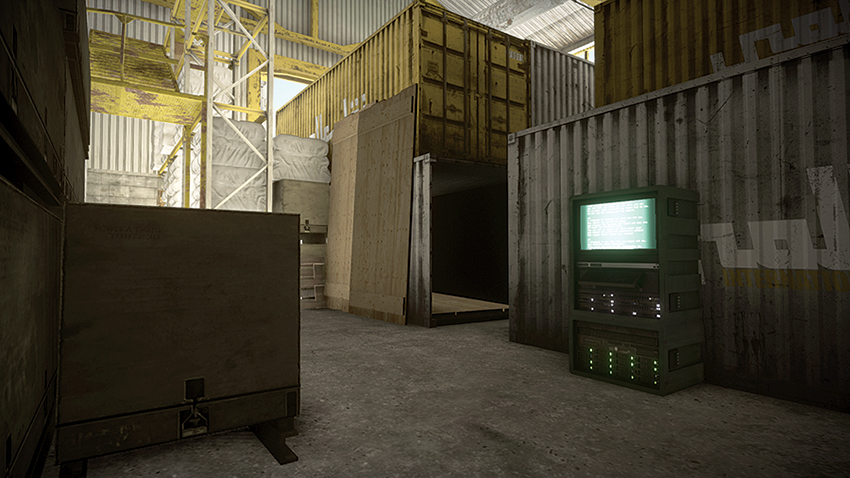
The M-COM Station is positioned among the shipping containers on the Warehouse’s north side. Both teams will find shotguns and grenades useful here. Attackers entering the area should not only pay attention to the catwalks above, but also keep an eye out for defenders that are positioned atop the shipping containers. Both teams can benefit from placing T-UGS motion sensors here to keep an eye on enemy positions. Another tactic that can benefit both teams is the placement of claymores in and around the shipping containers, thereby preventing hostile soldiers from sneaking up from behind. While grenades are efficient weapons for the tight confines of this area, care should be taken when throwing them, so as not to kill nearby friendlies.
Air Superiority
Taking place in the skies over the windmill farm of Nebandan Flats, Air Superiority combat pits two teams of fighter pilots against each other for control of three objectives in the form of white airships. Pilots should modify their loadout to make use of air radar and the fire extinguisher. The latter is essential to repair their aircraft, given the inability to land and make repairs during this game mode. The battle to control the skies of Nebandan Flats is as fierce as any, but one advantage to pilots here is the landscape. Many times during the battle, pilots may find themselves with a bogey on their six that they are unable to shake. Skilled pilots can fly low between the windmills here and either shake the tailing aircraft or even cause it to crash into the windmills. Aside from maintaining possession of control points, teams will also want to prevent deaths, as each redeployment strips their team of one ticket.
Jet Unlock Progression
| Image | Name | Loadout Slot | Points | Description |
|---|---|---|---|---|

|
IR Flares | Gadget | 300 | Infrared flare launchers that when launched will distract incoming missiles and cause them to miss their locked target. |

|
Heat Seekers | Weapon | 700 | Heat-seeking missiles launched by the pilot that lock on to and track enemy aircraft. |

|
Stealth | Upgrade | 1,500 | Engine tuning and fuselage coating materials disguise your vehicle’s infrared signature, thereby increasing enemy locking and tracking difficulty and decreasing the time you are revealed to the enemy when spotted. |

|
Belt Speed | Upgrade | 2,700 | An enhanced mechanism that decreases the minimum time between firing bursts with your main weapon. |

|
Proximity Scan | Upgrade | 4,200 | External sensors detect and reveal enemy units on your minimap. |

|
Rocket Pods | Weapon | 6,200 | A set of unguided FFAR Rocket Pods mounted under the wings. |

|
Air Radar | Upgrade | 8,600 | The range of your minimap increases greatly and reveals all friendly and enemy aircraft. |

|
Extinguisher | Gadget | 11,600 | A controlled air pressure release in the engine compartment will extinguish engine fires when activated, helping a disabled aircraft return to normal operation and recover from damage. |

|
Below Radar | Upgrade | 15,000 | When flying at low altitudes, your heat signature is decreased, hiding you from enemy radar and preventing enemy air-to-air missile systems from locking on to you. |

|
Maintenance | Upgrade | 19,000 | Preventative maintenance procedures improve your vehicles recovery from damage. |

|
Guided Missile | Weapon | 24,000 | Laser-guided missiles launched by the pilot which lock on to and track enemy land vehicles and can acquire laser-designated targets even if they are out of line of sight. |

|
Beam Scanning | Upgrade | 29,000 | A computer upgrade for advanced weapon systems that helps you lock on to enemy targets faster when using heat-seeking or laser-guided missiles. |

|
ECM Jammer | Gadget | 35,000 | Electronic countermeasures including chaff launchers and deceptive transmitters prevent your aircraft from being locked on to by enemy weapon systems for a short time when activated. |
Squad Deathmatch
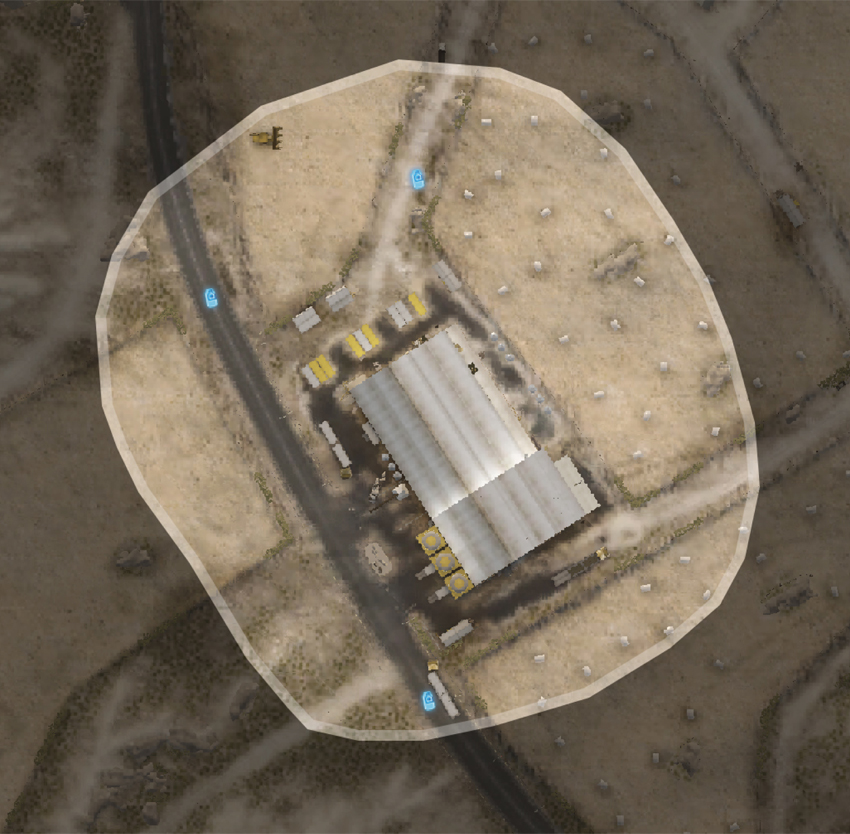
In this mode, the conflict is centered on the Warehouse and the surrounding fields. Although the randomly spawning IFV is present on this map, many of its battles will take place within the Warehouse itself. The confines of the north side of the Warehouse are the home of frantic squad-based combat. Crafty squads will make use of the windows on the building’s east side to eliminate enemy squads through the use of grenades and the M320 GL. Given the nature of the combat among the shipping containers on the building’s north side, squads looking to avoid direct combat should run through this area, deploying claymores as they proceed through the building. When engaging enemies within the fields, squads should make use of the large hay bales scattered throughout the fields for cover—just don’t rely on these to defend against the heavy-weight IFV and its turret. Deploying a MAV can inform a squad of the enemies’ positions, and more importantly, the position of the IFV should it not be in your squad’s possession. Without many sight lines, recon soldiers are best equipped with shotguns or PDWs, as well as support items like the T-UGS motion sensors and MAVs.
Team Deathmatch
Like its Squad Deathmatch counterpart, Team Deathmatch is restricted to the Warehouse. This time, the field is out of bounds to the teams, and so the combat is almost exclusively indoors. This makes for a fast and frantic match, with both teams constantly engaging each other within the tight confines of the Warehouse’s interior. Coordinated teams stand a much better chance at dominating this battle. With most of the combat occurring around the shipping containers of the building’s north side, teams should equip a squad to take advantage of the windows on the building’s east side, which can toss in grenades while another squad draws hostiles through to the south side, placing claymores and C4 in their wake. More experienced teams will avoid the shipping containers, as the possibility of claymores being present in these tight quarters is likely and these can quickly wipe out entire squads. Instead, these teams will take to the catwalks and maintain these elevated positions throughout the match.