
Battlefield 3 DLC Guide — Premium Maps Armored Kill Battlefields
Death Valley
Death Valley
Conquest
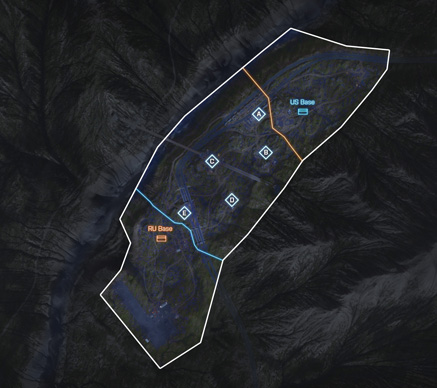
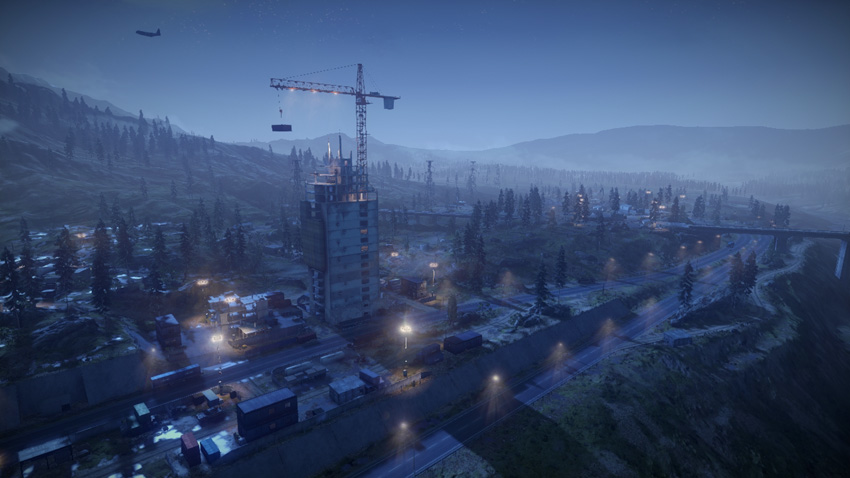
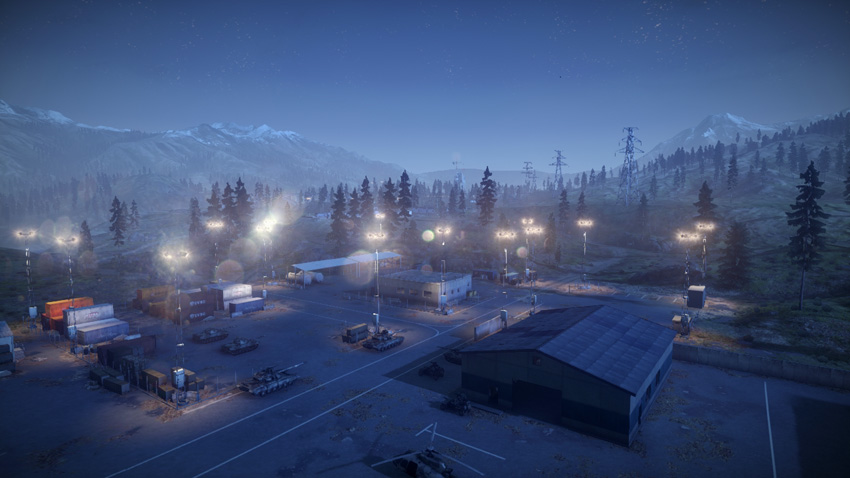
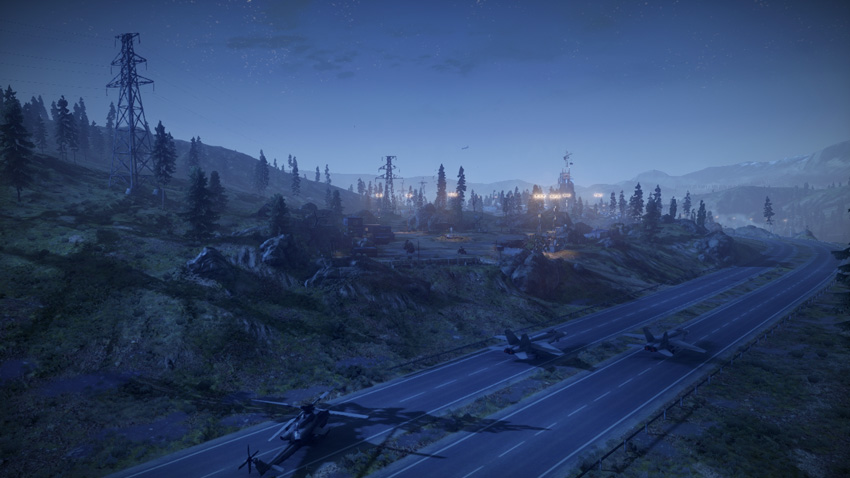
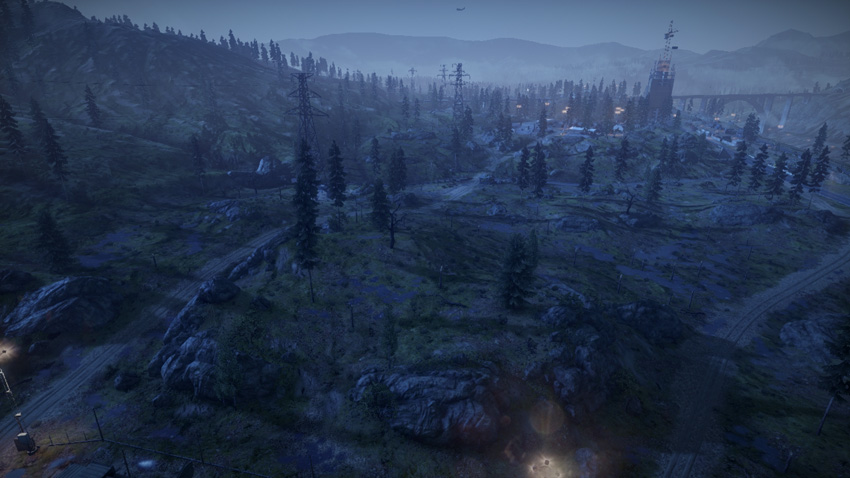
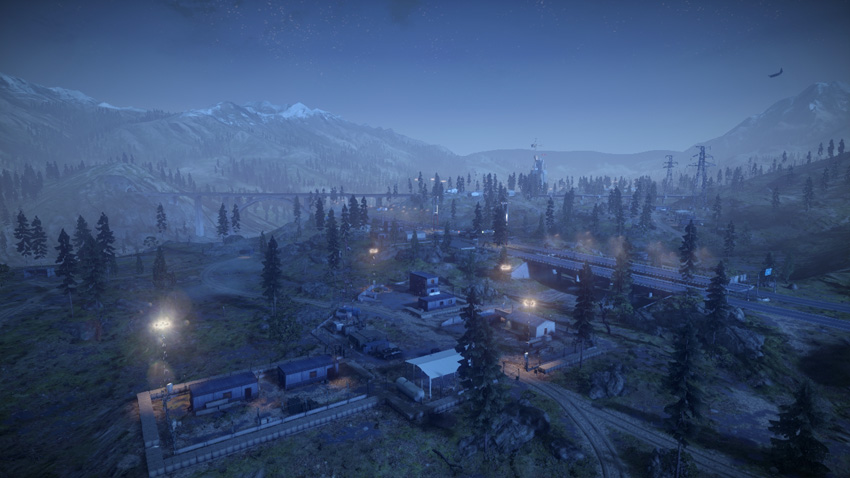
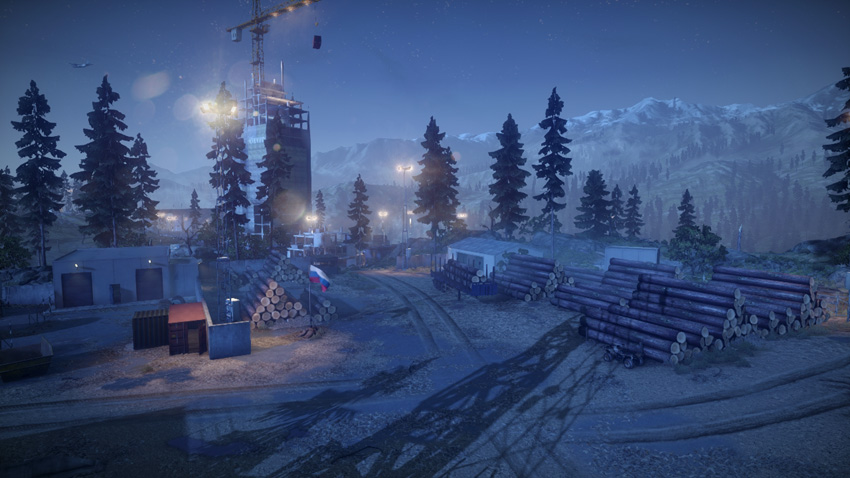
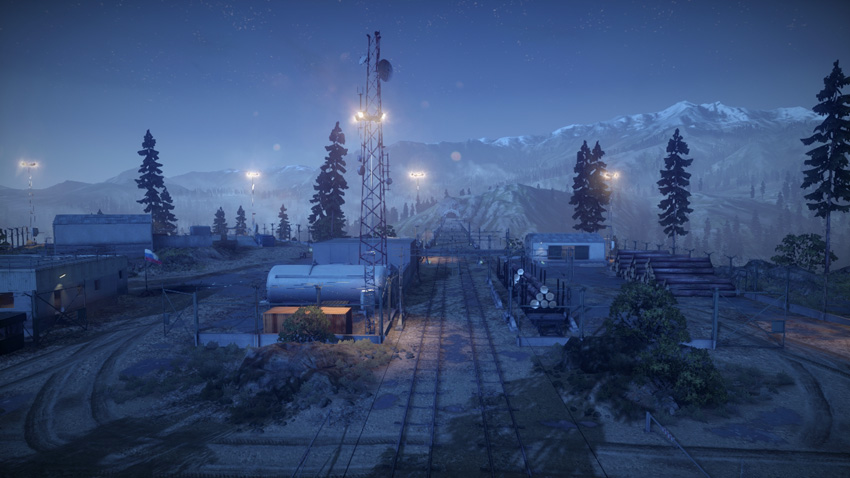
In this nighttime Conquest battle the US and RU teams fight for control of a narrow valley. At the center of the valley is the train yard (C), a key flag that grants either captor access to a powerful gunship. As a result, expect most fighting to occur around the train yard (C). But with five flags up for grabs, both teams need to focus on capturing and defending at least two other flags as well. For the US, approaching from the north, it makes most sense to take the construction site (A) and power station (B) in addition to the train yard (C). This helps the US consolidate their forces on the north end of the valley, where they can better reinforce these flags with vehicles produced at their base. Approaching from the south, the RU team should focus on capturing and defending the anti-air site (D) and highway control (E) in addition to the train yard (C). Holding these three southern points allows for a stronger defense on the south side of the valley. At the bare minimum both sides should try to hold at least three flags throughout the course of the battle. This will initiate a drain on the opposing team’s ticket count, greatly increasing the chances of achieving victory.
US Base
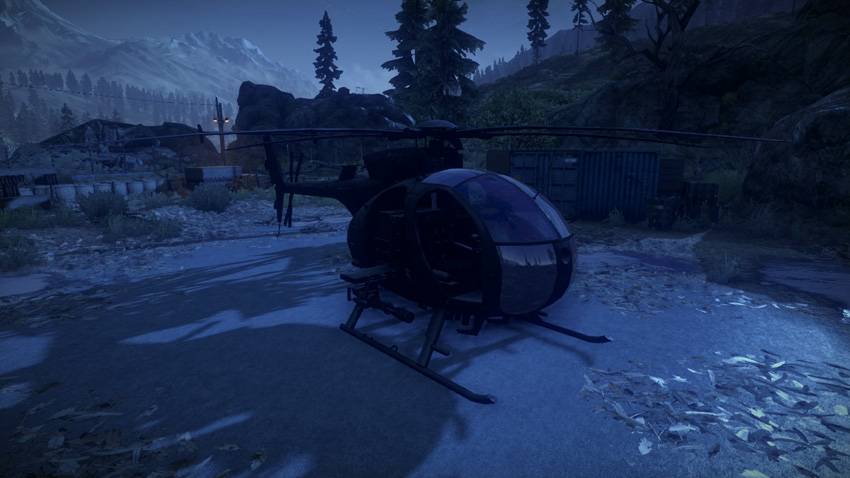
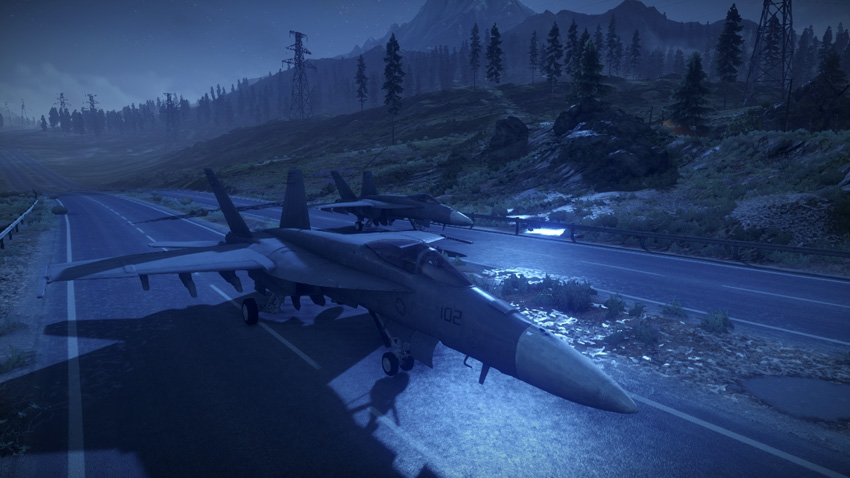
Base Assets
| Name | Quad Bike | M1128 | AH-6J Little Bird | F/A-18E Super Hornet |
|---|---|---|---|---|
| Quantity | 1 | 2 | 1 | 2 |
| Respawn Time | 5 sec. | 20 sec. | 60 sec. | 40 sec. |
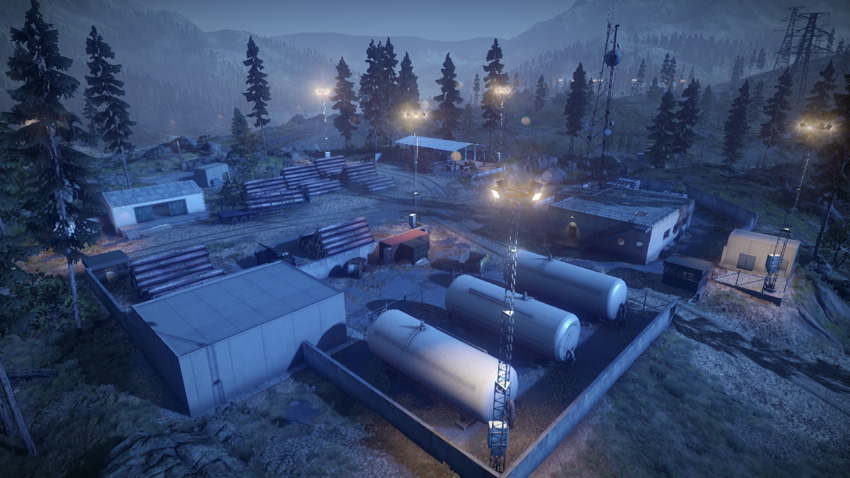
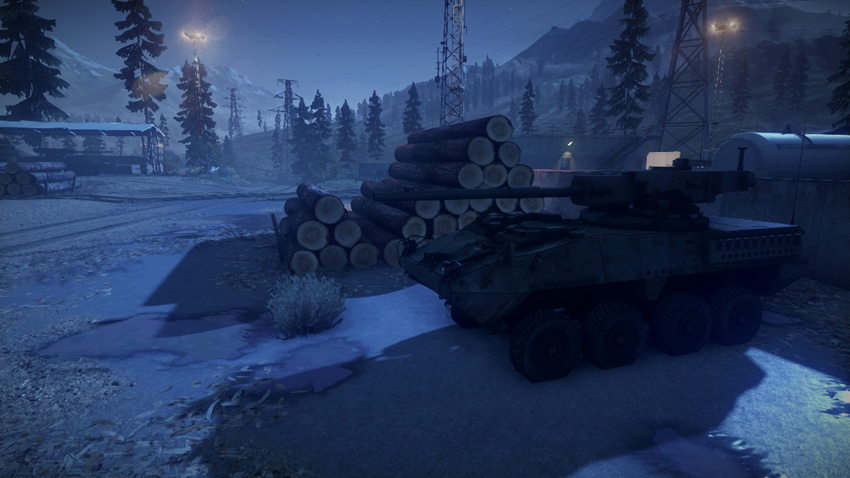
In this small-scale variant of Conquest, the logging camp serves as the US base, giving the US team a firm foothold on the north side of the valley. A quad bike and two M1128 tank destroyers spawn here, ideal for rushing the nearby construction site (A) and power station (B) early during the battle. But as usual, be mindful of your teammates before racing away from the base—pause long enough to offer your comrades a ride. Stranding teammates at the US base will not help your team. If you want to take to the air in the AH-6J Little Bird or one of the F/A-18E Super Hornets, spawn directly into these vehicles from the Spawn screen. These air assets spawn far to the north of the US base, making the Spawn screen the quickest way to jump into a pilot’s seat. With no air defenses on the map, the US jets are necessary to counter the RU team’s SU-35BMs. While the AH-6J Little Bird is a capable ground-attack helicopter, it’s most effective for transporting troops to distant control points. Consider using this chopper to rush the train yard (C) early during the battle.
RU Base
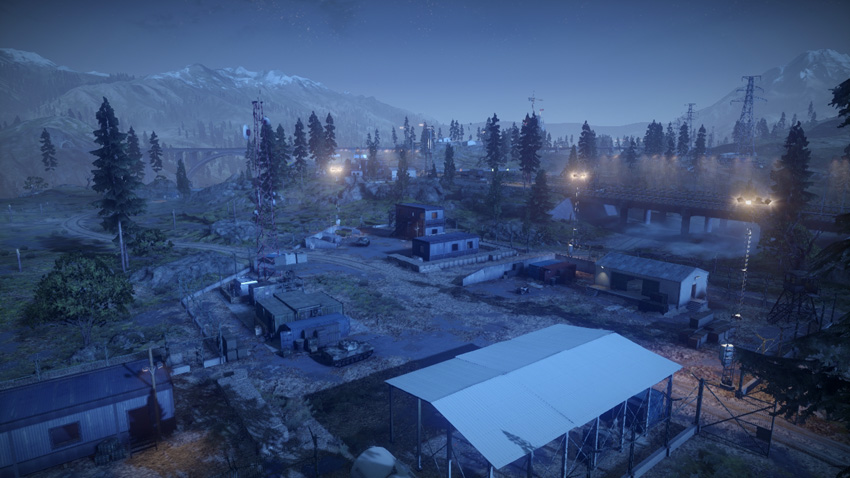
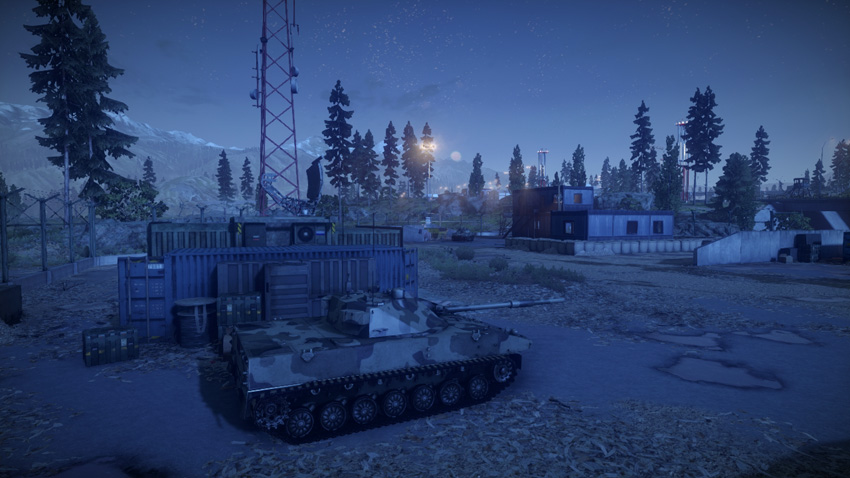
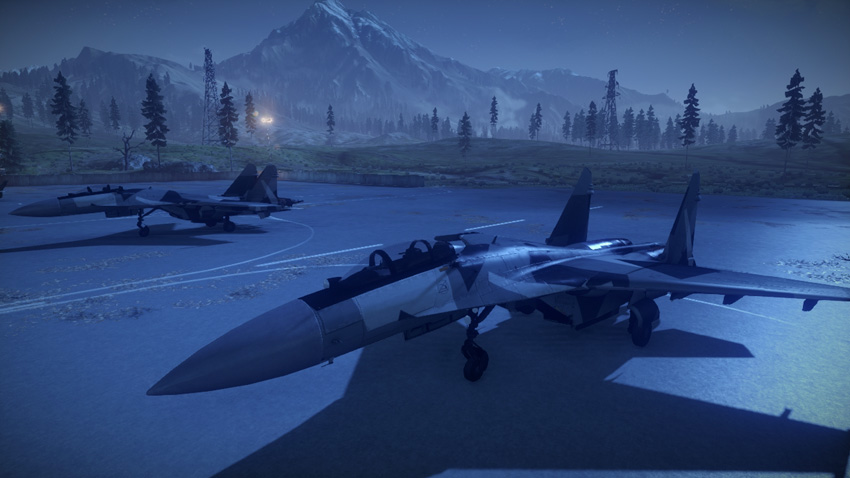
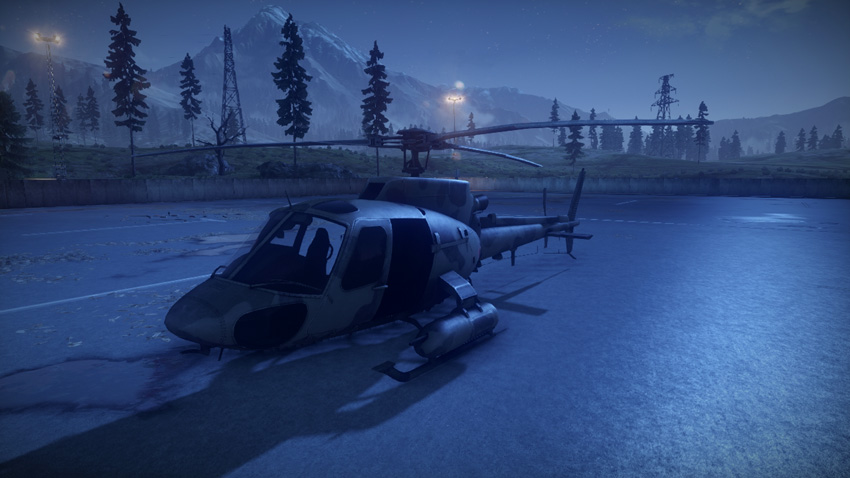
Base Assets
| Name | Quad Bike | SPRUT-SD | Z-11W | SU-35BM Flanker-E |
|---|---|---|---|---|
| Quantity | 1 | 2 | 1 | 2 |
| Respawn Time | 5 sec. | 20 sec. | 60 sec. | 40 sec. |
The communication station on the south side of the valley is home to the RU base. Here ground troops can access a quad bike and two SPRUT-SD tank destroyers. These ground vehicles are perfect for capturing the nearby anti-air site (D) and highway control (E) control points. Remember, the tank destroyers can carry several teammates, so don’t leave the base until all empty seats are filled. The more teammates you transport into the valley, the easier time you’ll have capturing and defending flags. The RU team’s air assets spawn at the airfield to the south. Always spawn directly into these vehicles if you want to take flight. Get the SU-35BMs into the air as soon as possible to counter the US team’s jets. Once air superiority is established, the SU-35BMs can assist friendly ground forces by strafing US vehicles. The Z-11W is also useful for close air support but is even more effective as a transport helicopter. Use it to stage break-out attacks, helping capture distant US-held control points. The Z-11W is quickest way to secure the train yard (C) during the opening moments of the battle.
A: Construction Site
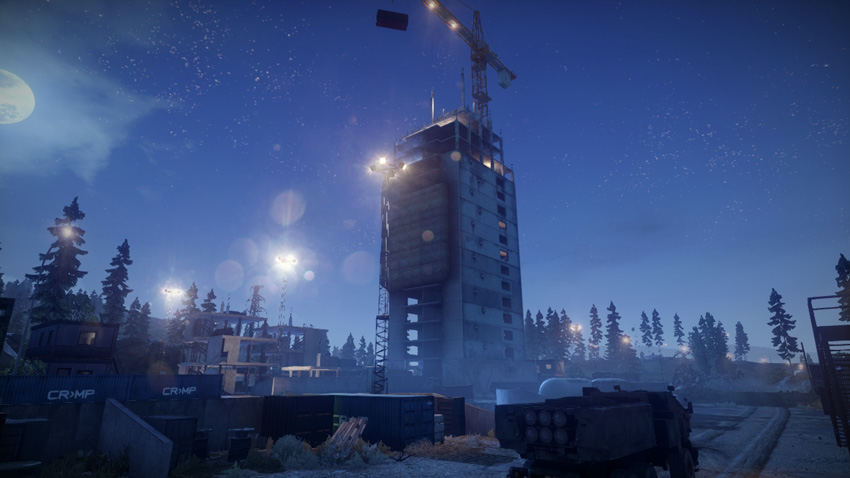
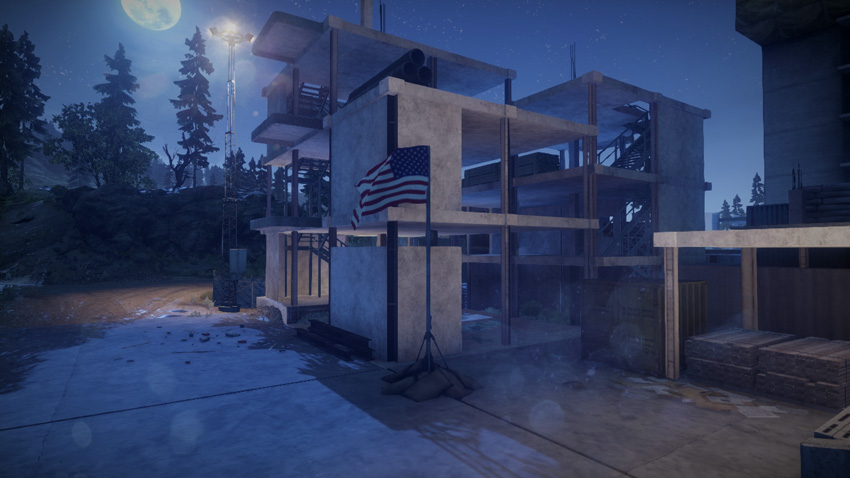
Control Point Assets
| US Control | RU Control | Respawn Time |
|---|---|---|
| Quad Bike (1) | Quad Bike (1) | 5 sec. |
| M142 (1) | BM-23 (1) | 60 sec. |
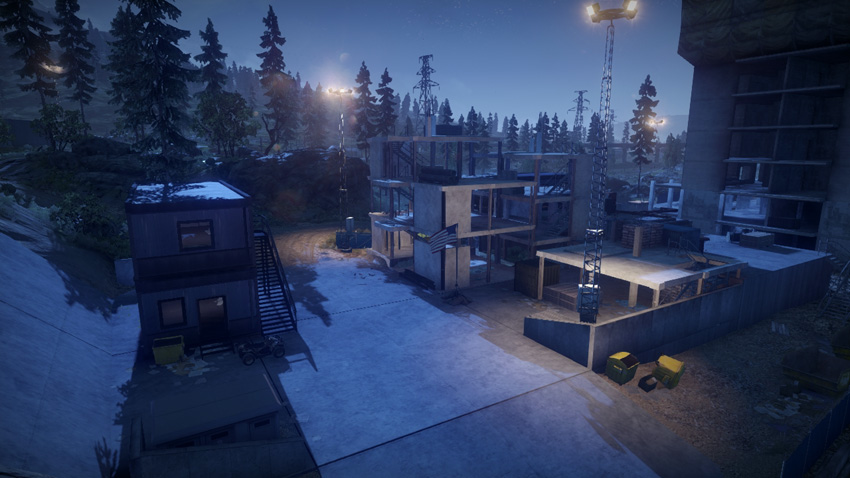
This control point is home to the tallest structure on the map, making it easy to spot regardless of where you are. The towering skyscraper on the south side of this control point is a popular sniping perch for recon troops. However, if you want to reach the top, get a ride from a helicopter or parachute down from the gunship—there are no ladders. Planting a SOFLAM on top of this building is a great way to laser-designate enemy targets for your teammates equipped with laser-guided weapons. The flagpole is located at the base of a much smaller three-story structure to the north. The wide capture radius allows troops hiding within the building and among the nearby equipment to capture or contest the flag. In addition to a quad bike, the construction site (A) also spawns a mobile artillery vehicle for both teams. Both the M142 and BM-23 artillery units are valuable additions well-suited for bombarding enemy-held control points during attacks. In the event of an RU capture of the construction site (A), the BM-23’s rockets can also be turned north to engage US ground units approaching from the US base. The only other artillery units produced on the map are spawned at the highway control (E) to the south. So holding this control point is important to both teams if they want to exert control over the nearby power station (B) and train yard (C).
B: Power Station
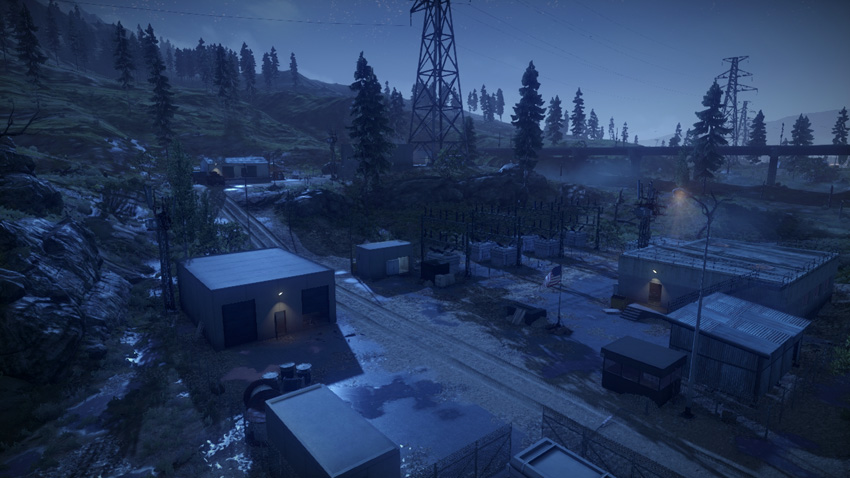
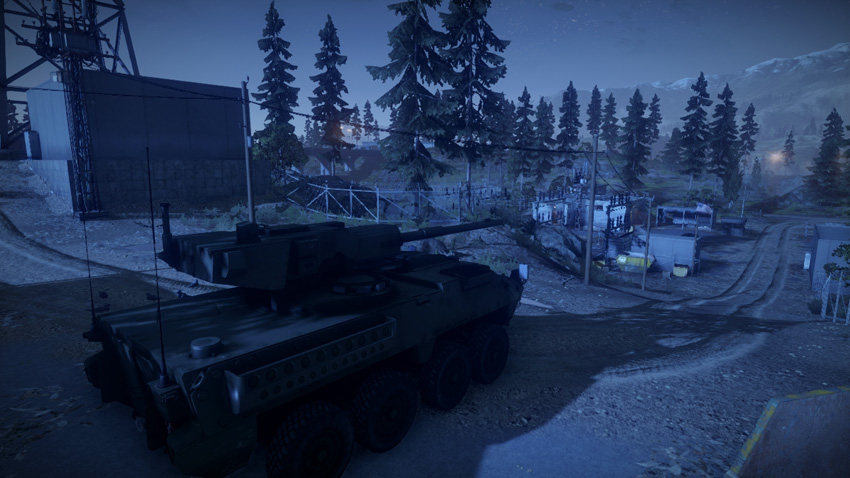
Control Point Assets
| US Control | RU Control | Respawn Time |
|---|---|---|
| M1128 (1) | SPRUT-SD (1) | 20 sec. |
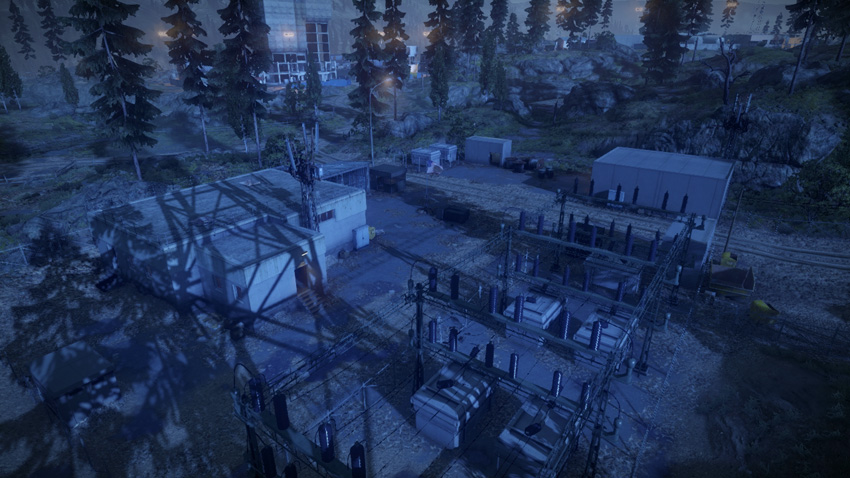
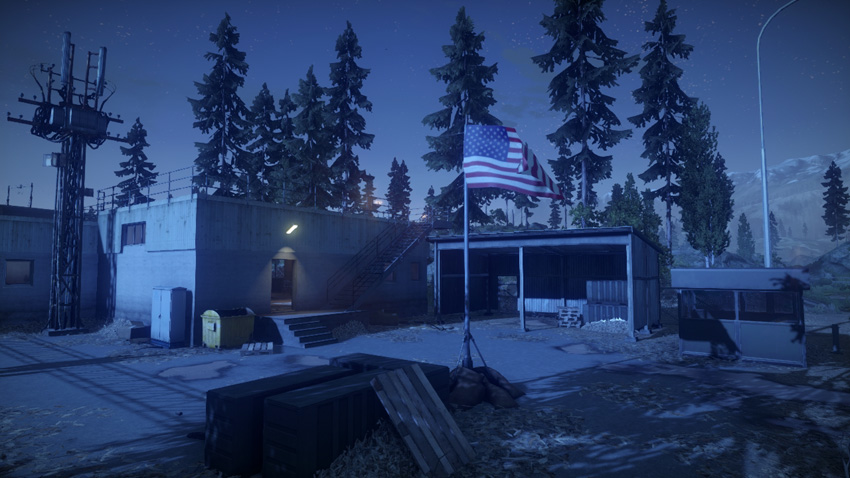
The power station (B) is on the north side of the valley, not far from the US base and the construction site (A). As the southernmost control point in this northern cluster, it’s likely to see heavy traffic by both teams. The flag is near the center of the facility and can easily be captured or contested by vehicles or infantry. Defenders can find plenty of hiding spots among the nearby structures and should prepare for enemy vehicle attacks by placing mines along the dirt road adjacent to the flag. The control point produces a tank destroyer for each team. These vehicles are ideal for raiding the train yard (C), the hotly contested control point to the southwest. But be careful not to leave this control point undefended. Make sure at least one squad stays back and guards the flag. As a central control point, the power station (B) sees plenty of action. Even in a match with 24 players, defenders here will have plenty of enemy encounters to keep them occupied. Engineers armed with mines and rocket launchers are most effective for holding back attackers. The tank destroyer here spawns on the hill to the east—don’t let attackers sneak in and steal it.
C: Train Yard
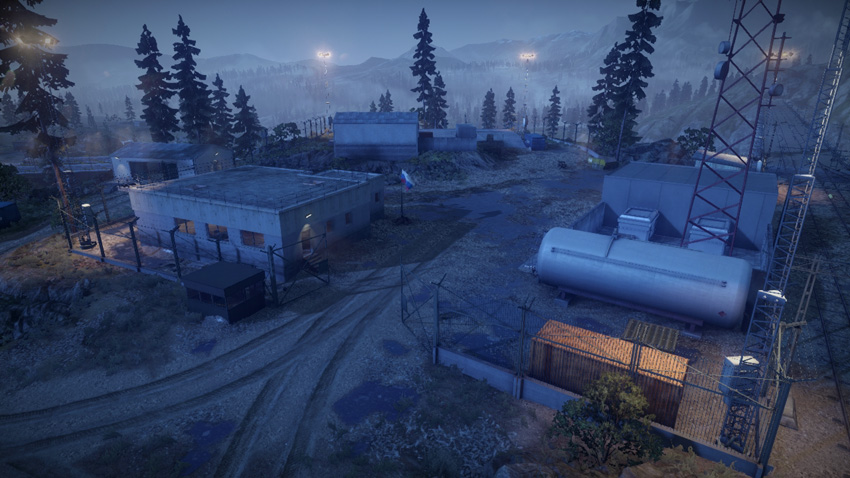
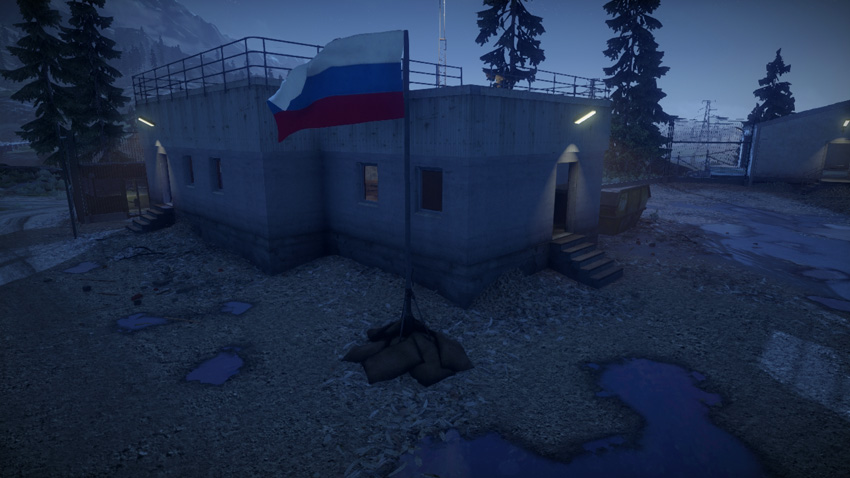
Control Point Assets
| US Control | RU Control | Respawn Time |
|---|---|---|
| Quad Bike (1) | Quad Bike (1) | 5 sec. |
| Gunship (1) | Gunship (1) | 60 sec. |
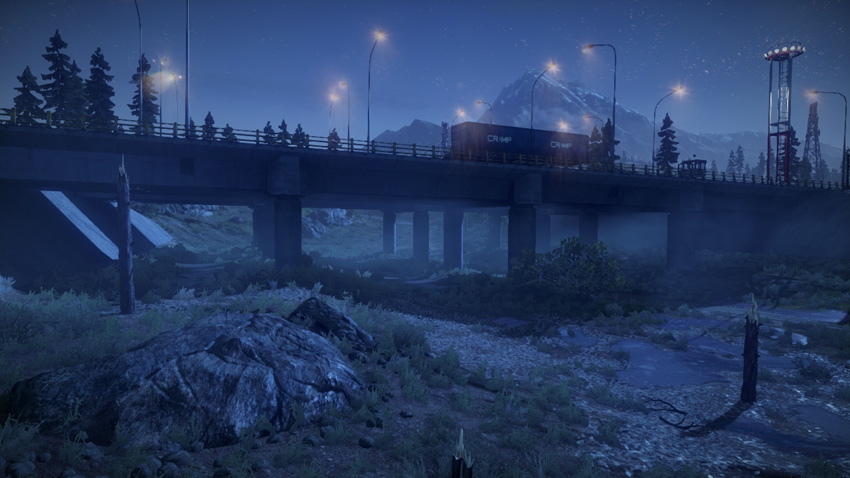
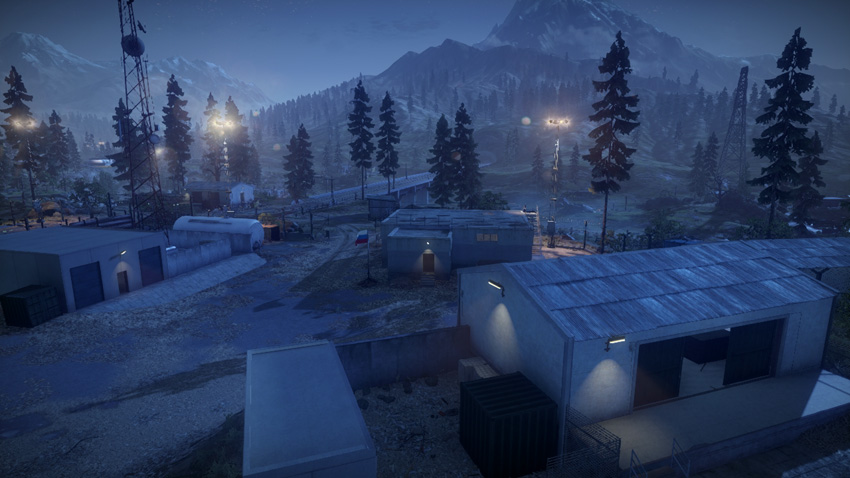
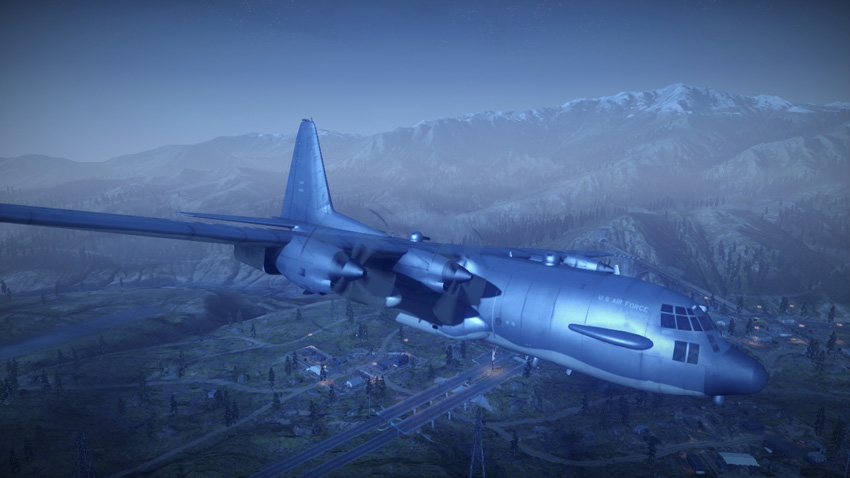
This control point is located directly in the center of the map, making it a crucial location in the tug-of-war fight for control of this valley. The train yard (C) is situated on a slight hill on the west side of the valley. From this hill it’s possible to gain access to the railway bridge cutting across the valley from east to west. But think twice before driving a tank destroyer or other vehicle onto this bridge—you’ll be a sitting duck for strafing helicopters and jets. In addition to providing each team with an extra quad bike, the control point supplies the captor with access to the gunship orbiting around the map. Gaining access to the gunship can be a game changer given its powerful weapons and ability to air drop troops over any control point on the map. As a result, expect heavy fighting to occur here. The flag is at the center of this sprawling facility and is easily accessed via the adjacent dirt roads. Defenders should expect attackers arriving on anything from quad bikes to tank destroyers. Infantry often attempt to capture or contest the flag by hiding within the nearby concrete building. So be ready to conduct a thorough search of the surrounding structures if you suspect enemy troops are present. If necessary, reinforce the train yard (C) with tank destroyers. Infantry alone will have a difficult time holding this position for any significant span of time.
D: Anti-Air Site
Control Point Assets
| US Control | RU Control | Respawn Time |
|---|---|---|
| M1128 (1) | SPRUT-SD (1) | 20 sec. |
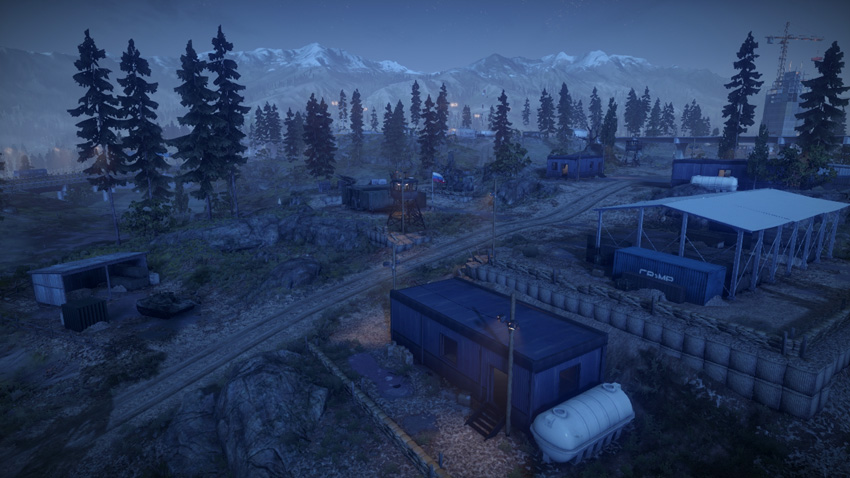
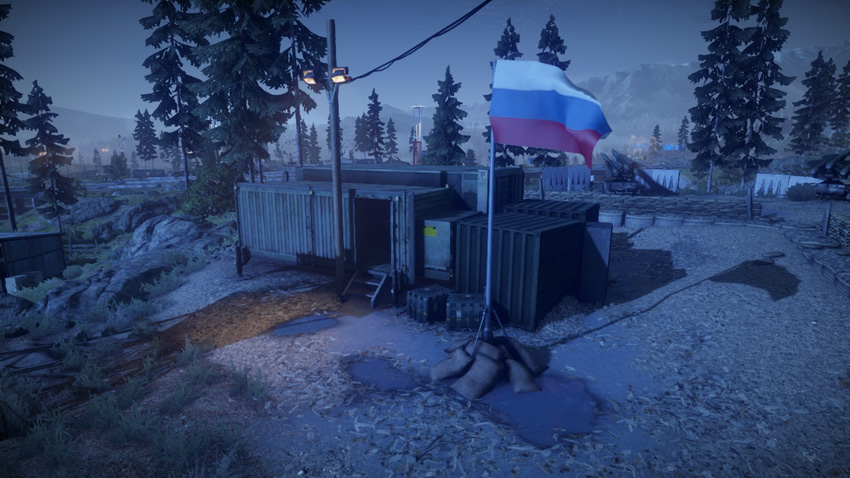
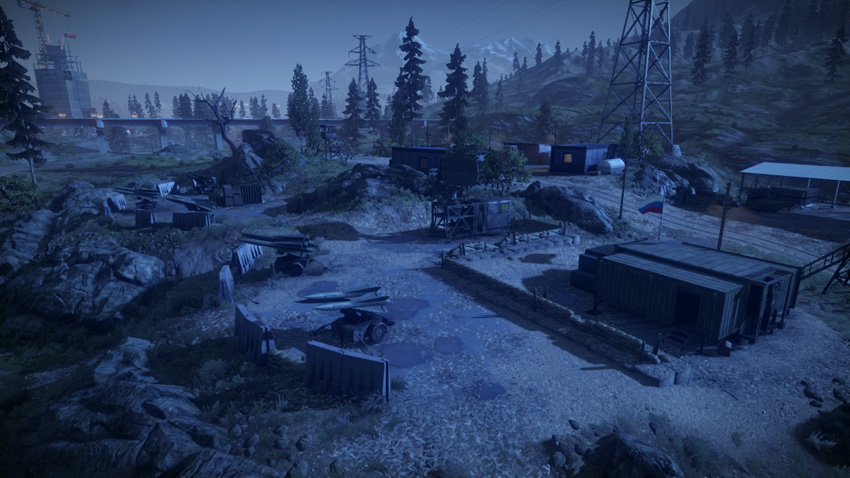
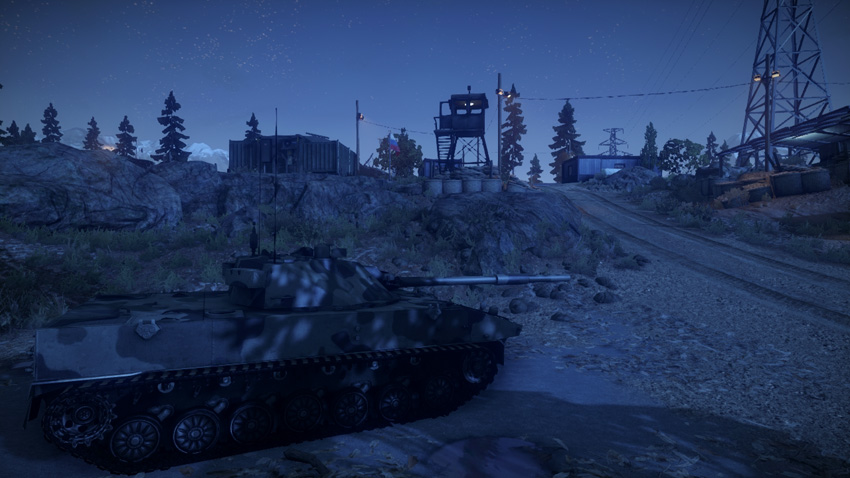
Don’t let the name of this control point fool you—there are no interactive anti-aircraft assets here. The missile batteries here are merely aesthetic. This control point on the south side of the valley supplies each team with a tank destroyer. The anti-air site’s (D) close proximity to the train yard (C) makes it a relatively high-traffic area as both teams attempt to control the flags in the center of the map. While the RU team stands the best chance of capturing this control point early, if left undefended it can easily slip into the US team’s hands. The dirt road cutting through the center of the facility offers easy access to vehicles approaching from the north or south. Controlling traffic along this dirt road is easiest accomplished by placing mines. Unless it’s needed elsewhere, keeping a tank destroyer on guard detail is also a wise decision. The flag is next to a green, metal communication structure. Infantry hiding inside this structure can capture and contest the flag. Defenders may wish to booby-trap the interior of this structure with C4 or claymores to prevent such sneaky capture attempts.
E: Highway Control
Control Point Assets
| US Control | RU Control | Respawn Time |
|---|---|---|
| Quad Bike (1) | Quad Bike (1) | 5 sec. |
| M142 (1) | BM-23 (1) | 60 sec. |
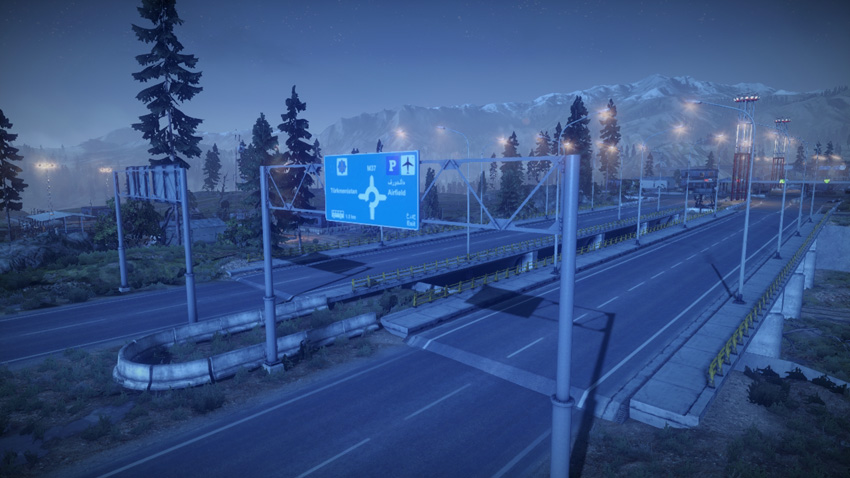
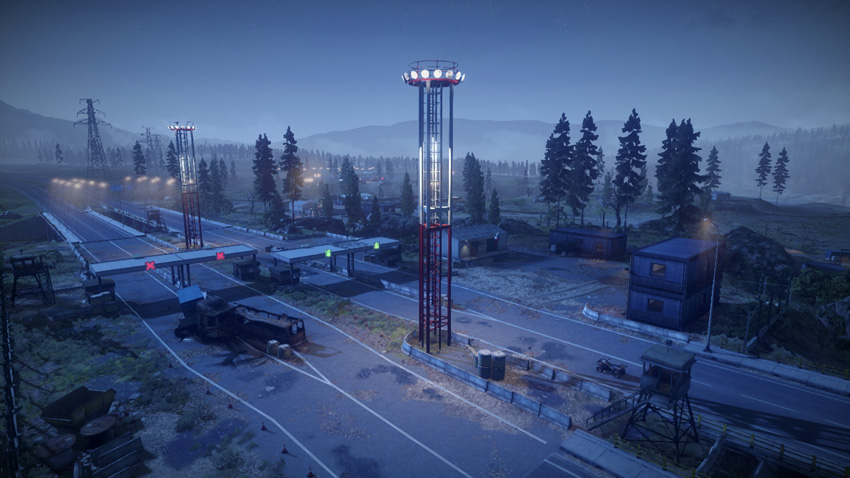
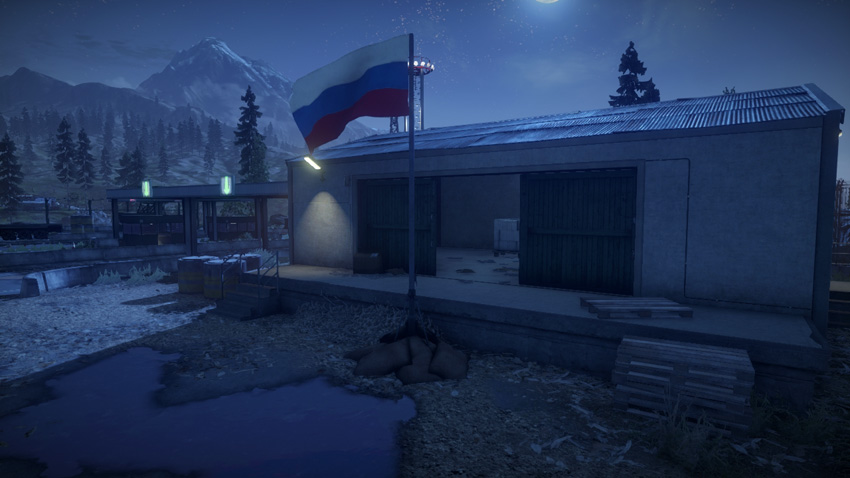
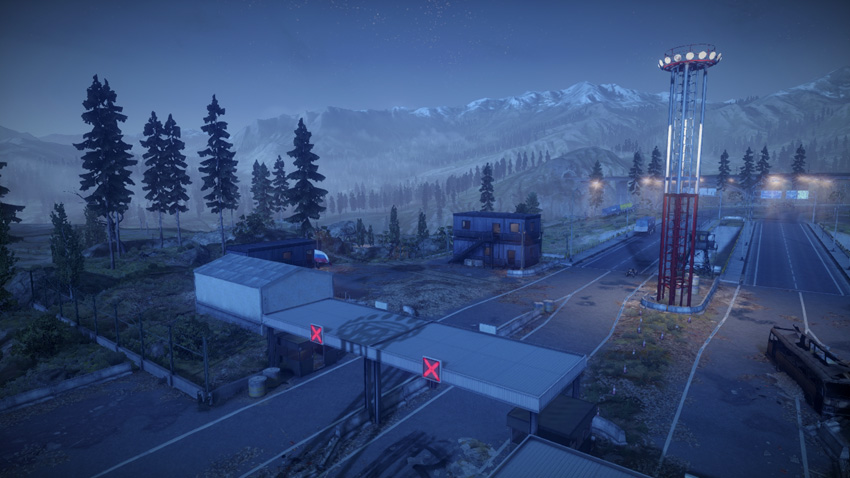
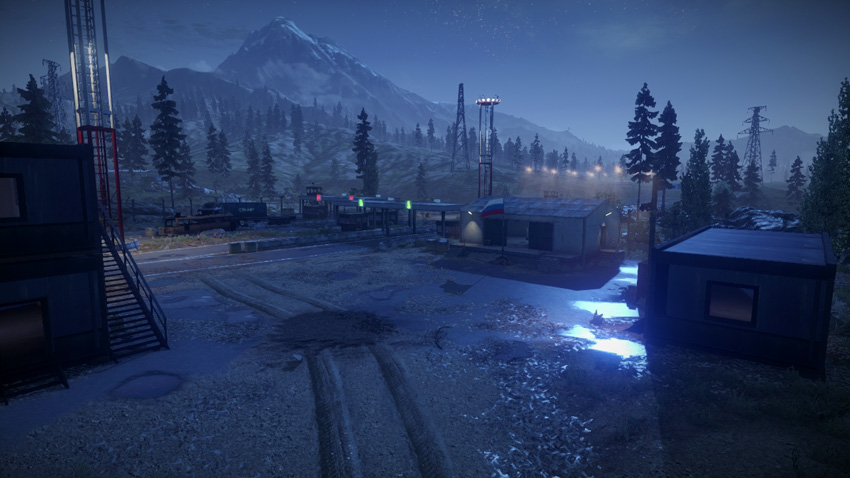
Highway control (E) is one of two control points located in the southern half of the valley, making it a critical flag for the RU team to hold. The flag is along the west side of the highway, next to a small concrete building. Due to its proximity to the highway, the flag is often rushed by vehicles approaching from the north or southeast. The highway is a major thoroughfare stretching as far north as the US base before veering east in the southern half of the valley. While the highway offers a quick way to travel through the valley, there is very little cover, making vehicles vulnerable to attacks by aircraft. It’s often better to approach this control point by utilizing the various dirt roads on the periphery. As with the construction site (A) to the north, whichever team controls this flag gains a mobile artillery vehicle in the form of a BM-23 or M142. The mobile artillery units spawned here allow for devastating bombardments of the surrounding control points, ideal for suppressing defenders. If the US captures this point, they can even aim their rockets south and pound RU vehicles approaching from the RU base.
Conquest 64
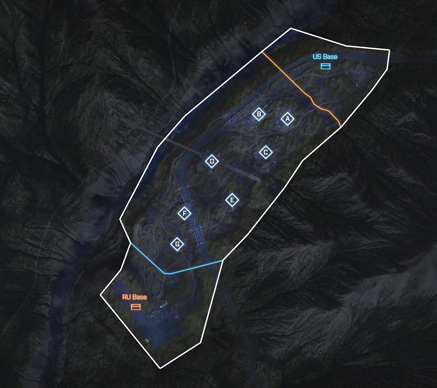
To secure a victory in this elongated valley, both teams need to take a disciplined approach when it comes to defending and allocating resources. There are seven flags up for grabs, grouped in three separate zones. On the north side of the valley the logging camp (A), construction site (B), and power station (C) form a tight cluster of control points well within the US team’s sphere of influence given their proximity to the US base. In the southern half of the valley, the RU team often exerts control over the anti-air site (E), highway control (F), and communication station (G) control points. That leaves the train yard (D) in a sort of no-man’s land in the center of the map. In close matches, the train yard (D) ends up being the fulcrum on which the balance of power tilts as both teams seek a four-flag majority. Adding more incentive, whichever team controls the train yard (D) also gains access to a gunship, giving the controlling team even more firepower and airborne deployment options. So instead of spreading forces thin throughout the map, each team should try to control their respective side of the valley (north or south) as well as the train yard (D) in the center. With four flags in your team’s possession, the enemy ticket count will begin to drain. Hold tight at four control points until your team has at least a 100 ticket advantage before attempting to capture any more flags.
US Base
Base Assets
| Name | Growler ITV | M1128 | M1 Abrams | AH-6J Little Bird | AH-1Z Viper | F/A-18E Super Hornet |
|---|---|---|---|---|---|---|
| Quantity | 2 | 3 | 2 | 1 | 1 | 2 |
| Respawn Time | 20 sec. | 40 sec. | 60 sec. | 60 sec. | 60 sec. | 40 sec. |
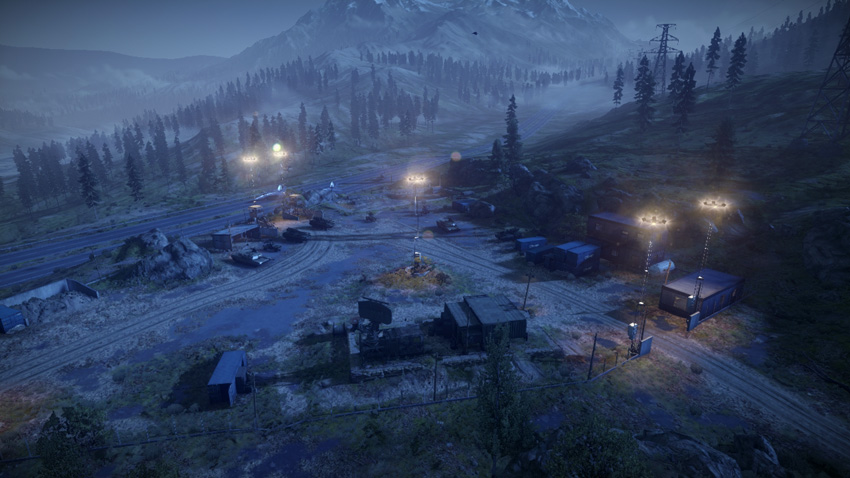
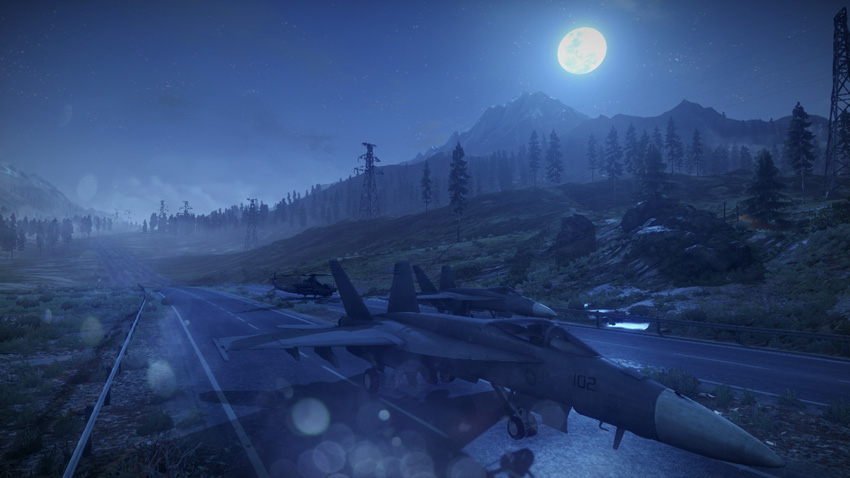
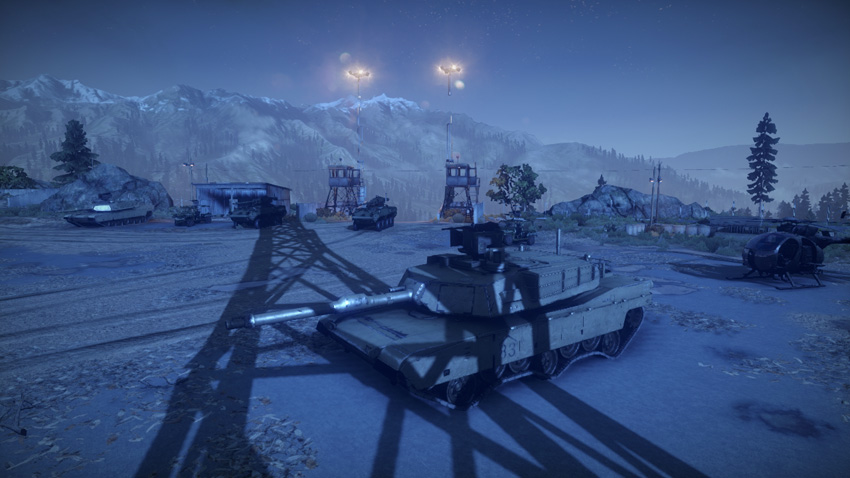
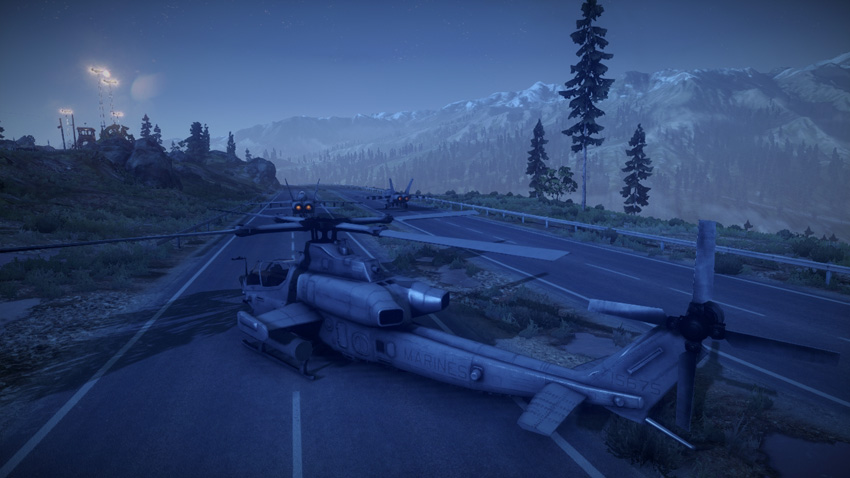
The US team deploys from their base on the north edge of the valley. The distance between the US base and the nearest control points is significant, so don’t try to hike in on foot. Instead, drive or hitch a ride on one of the many vehicles provided at this base. Securing control points at the start of the match is crucial. The fastest ground vehicles provided are the Growler ITVs and the M1128 tank destroyers. These vehicles are well suited for capturing the nearby logging camp (A), construction site (B), and power station (C). Meanwhile, use the AH-6J Little Bird to transport a squad to the train yard (D) near the center of the map. The primary role of the F/A-18E Super Hornets is to provide air superiority, protecting friendly ground units from attacks by the RU team’s jets and helicopters. The US jets must also protect assets spawning at the base. The US helicopters can also assist in shooting down enemy aircraft but are better suited for close air support, knocking out enemy tanks and tank destroyers.
RU Base
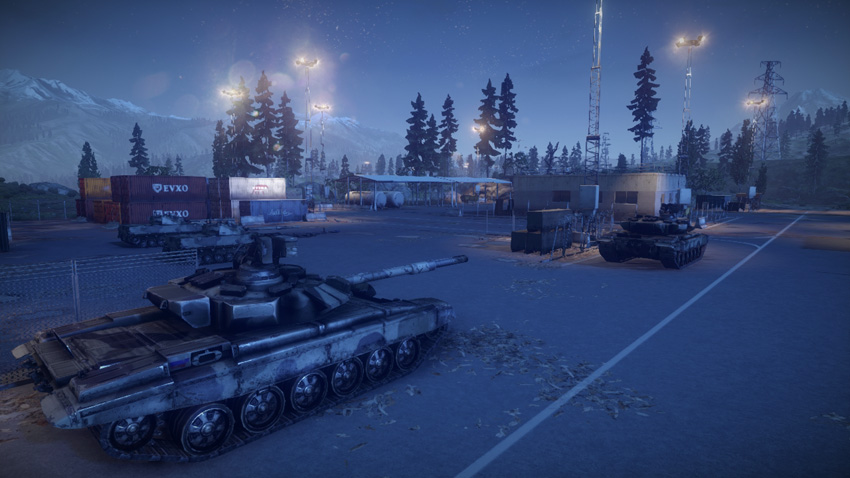
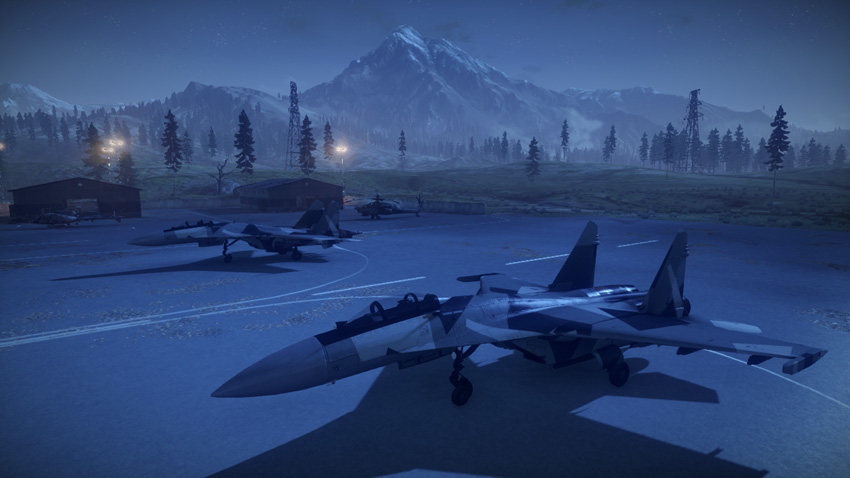
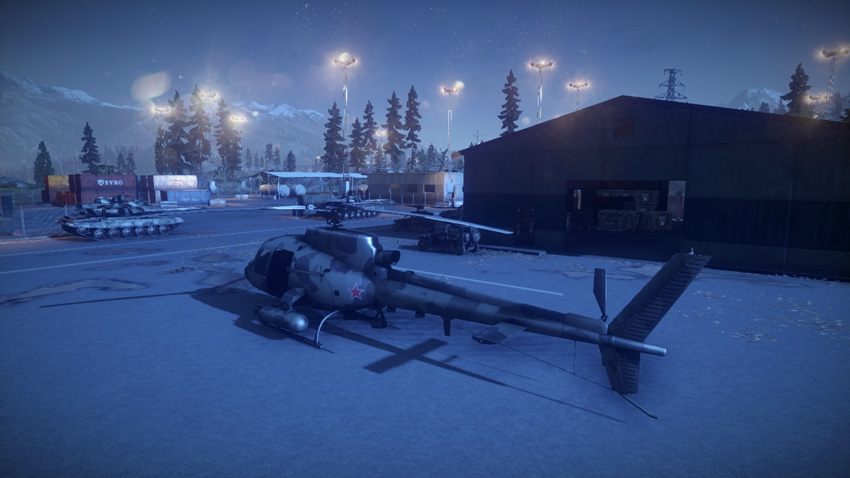
Base Assets
| Name | VDV Buggy | SPRUT-SD | T-90A | Z-11W | Mi-28 Havoc | SU-35BM Flanker-E |
|---|---|---|---|---|---|---|
| Quantity | 2 | 3 | 2 | 1 | 1 | 2 |
| Respawn Time | 20 sec. | 40 sec. | 60 sec. | 60 sec. | 60 sec. | 40 sec. |
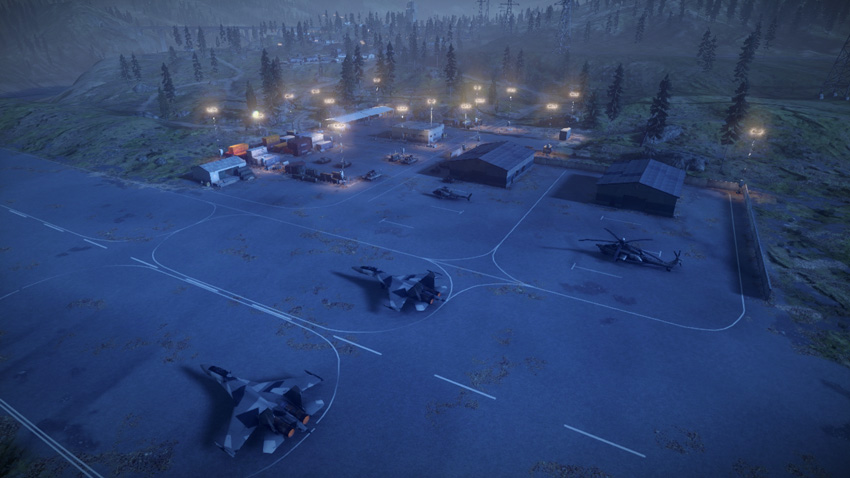
The RU team starts the battle from their base on the south side of the valley. When spawning here always look for a vehicle before moving out. Likewise, when driving or piloting a vehicle, wait a few extra seconds before taking off so your teammates have a chance to climb aboard. Transporting troops to the map’s center is a crucial part of securing the central control points. Early on, use the VDV Buggies and the SPRUT-SD tank destroyers to capture the communication station (G), highway control (F), and anti-air site (E). The Z-11W is ideal for moving troops to the more distant control points, like the train yard (D). The US team’s aircraft pose a constant threat to ground units both at the RU team’s base and at control points. So get the SU-35BMs in the air as fast as possible in an effort to counter attacks by the US jets and helicopters. The Z-11W and Mi-28 can be fitted with anti-air missiles as well, helping achieve air superiority. But these helicopters are also effective air-to-ground weapons platforms. Talented RU helicopter pilots can dish out some heavy damage to the wide variety of US vehicles scattered across the map—guided missiles are very effective.
A: Logging Camp
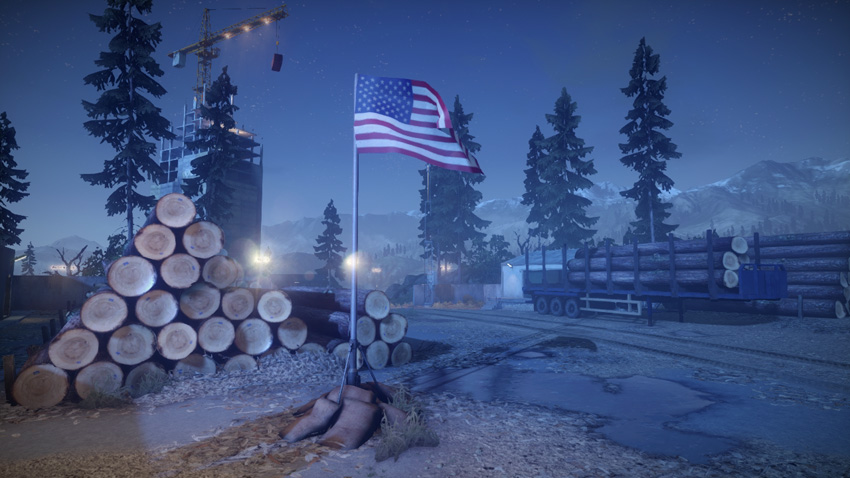
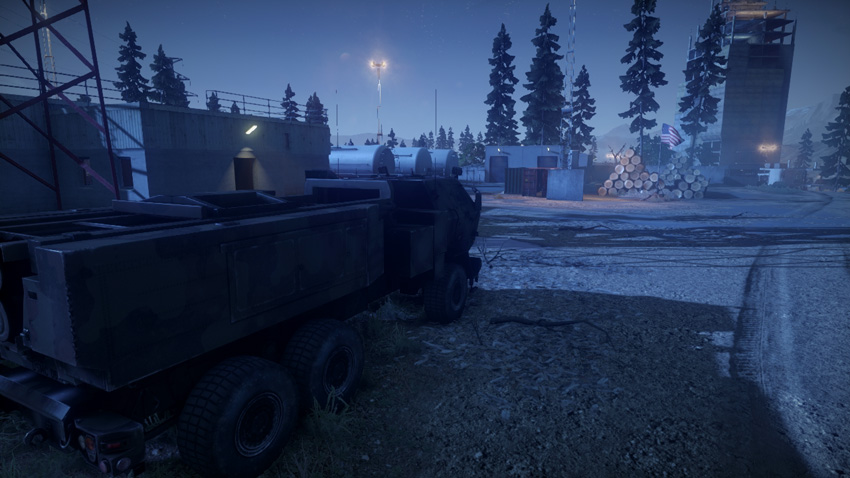
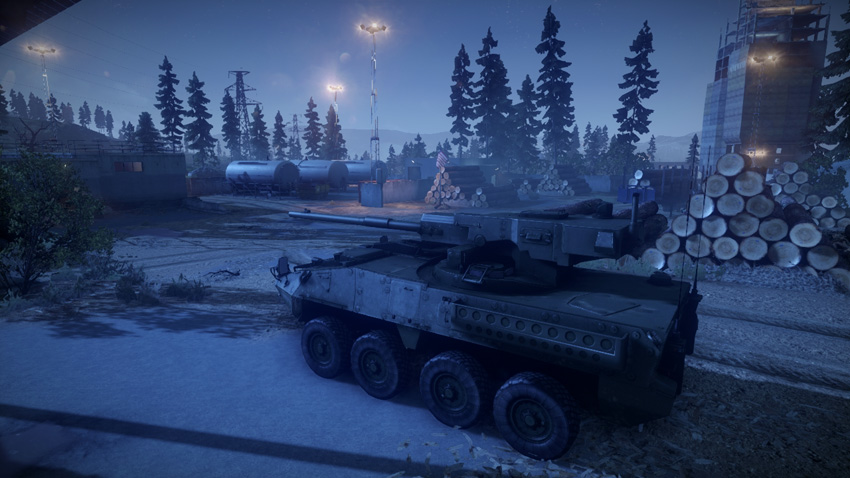
Control Point Assets
| US Control | RU Control | Respawn Time |
|---|---|---|
| Quad Bike (1) | Quad Bike (1) | 5 sec. |
| M1128 (1) | SPRUT-SD (1) | 60 sec. |
| M142 (1) | BM-23 (1) | 50 sec. |
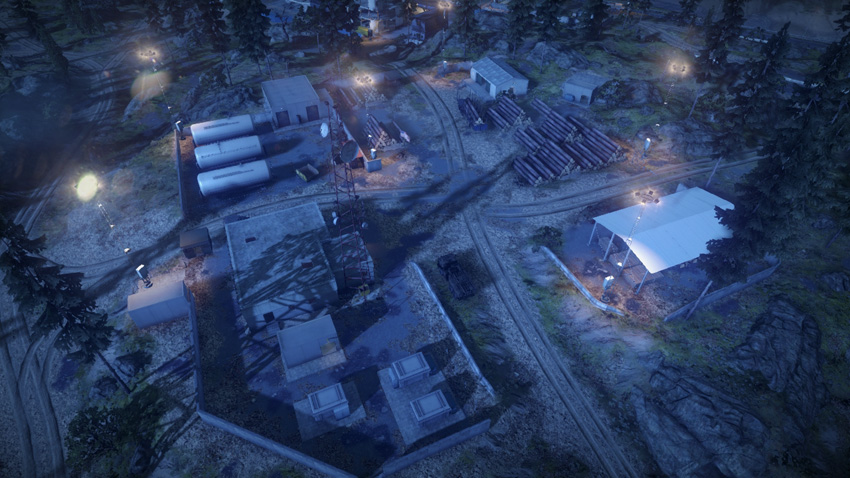
The logging camp (A) is the northernmost control point, putting it well within the US team’s sphere of influence. Because of its proximity to the US base, the logging camp (A) is likely to remain under US control for most of the match. But the vehicles spawned here also benefit the RU team. The control point produces a quad bike, tank destroyer, and mobile artillery unit for each team. Both the M142 and BM-23 artillery units are valuable additions well-suited for bombarding enemy-held control points during attacks. In the event of an RU capture of the logging camp (A), the BM-23’s rockets can also be turned north to engage US ground units approaching from the US base. The only other artillery units produced on the map are spawned at the communication station (G) to the south. So holding this control point is important to both teams if they want to exert control over the nearby construction site (B) and power station (C). The flag here is located in the middle of the facility and can be easily accessed via the adjacent dirt roads—defenders should consider mining the area around the flag. If you’re not in an armored vehicle and attempting to convert or contest this flag, look for cover among the stacks of logs within the flag’s capture radius. This is a large facility with many hiding spots for defenders, so keep your head on a swivel.
B: Construction Site
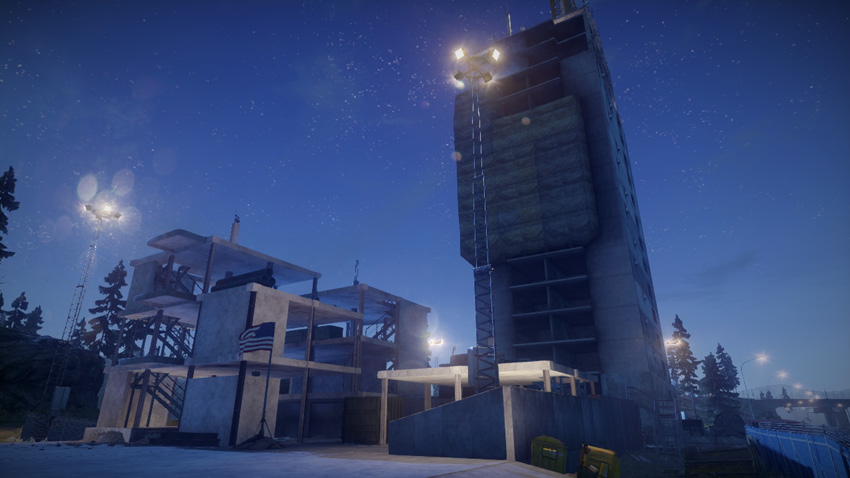
Control Point Assets
| US Control | RU Control | Respawn Time |
|---|---|---|
| Quad Bike (1) | Quad Bike (1) | 5 sec. |
| LAV-AD (1) | 9K22 Tunguska-M (1) | 40 sec. |
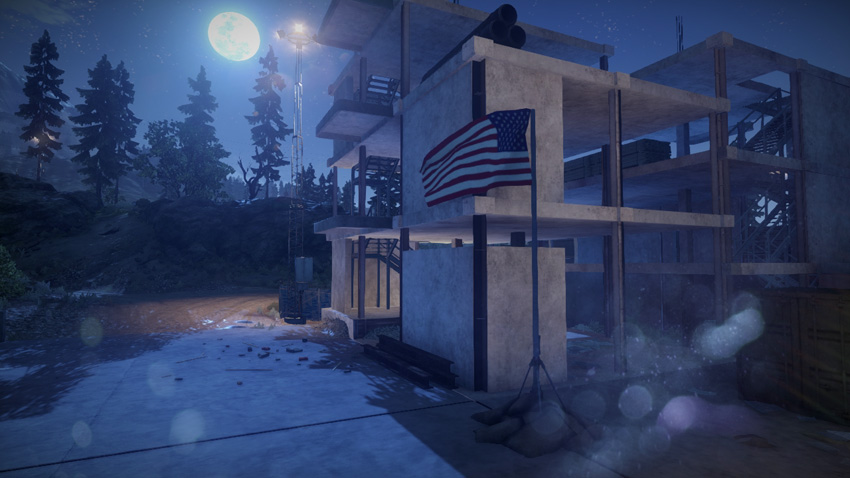
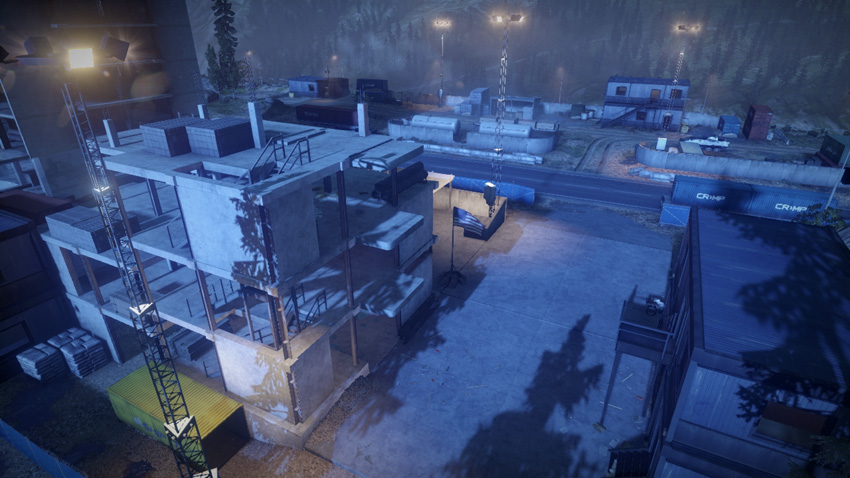
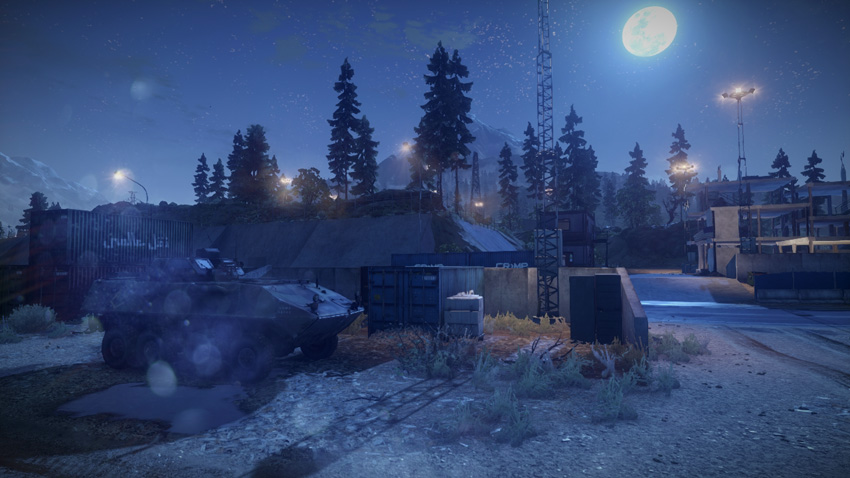
This control point is home to the tallest structure on the map, making it easy to spot regardless of where you are. The towering skyscraper on the south side of this control point is a popular sniping perch for recon troops. However, if you want to reach the top, get a ride from a helicopter or parachute down from the gunship—there are no ladders. Planting a SOFLAM on top of this building is a great way to laser-designate enemy targets for your teammates equipped with laser-guided weapons. The flagpole is located at the base of a much smaller three-story structure to the north. The wide capture radius allows troops hiding within the building and among the nearby equipment to capture or contest the flag. In addition to a quad bike, the construction site (B) also spawns a mobile anti-aircraft vehicle for both teams. Given the high air traffic streaking over this map, the addition of an LAV-AD or 9K22 Tunguska-M is a welcome sight. Consider driving this vehicle to a remote part of the map (preferably to the north) where it’s less likely to come in direct contact with enemy tanks and tank destroyers. The only other mobile anti-aircraft units are produced by the highway control (F) to the south.
C: Power Station
Control Point Assets
| US Control | RU Control | Respawn Time |
|---|---|---|
| Quad Bike (1) | Quad Bike (1) | 5 sec. |
| M1128 (1) | SPRUT-SD (1) | 60 sec. |
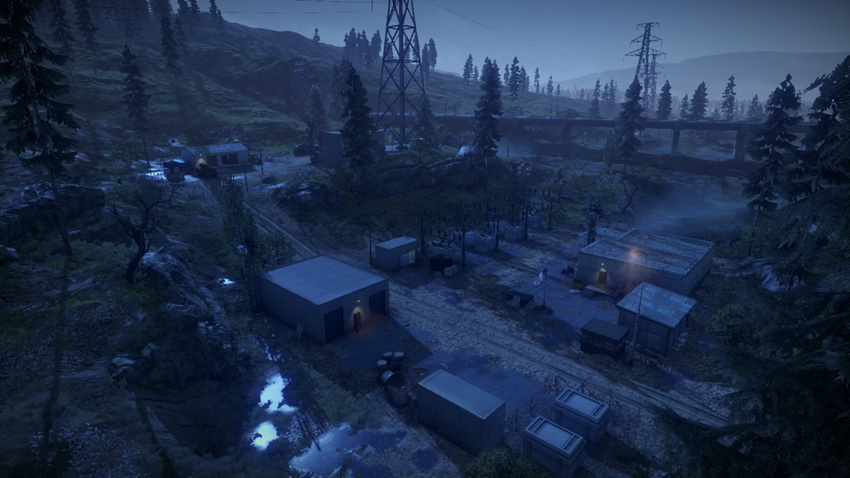
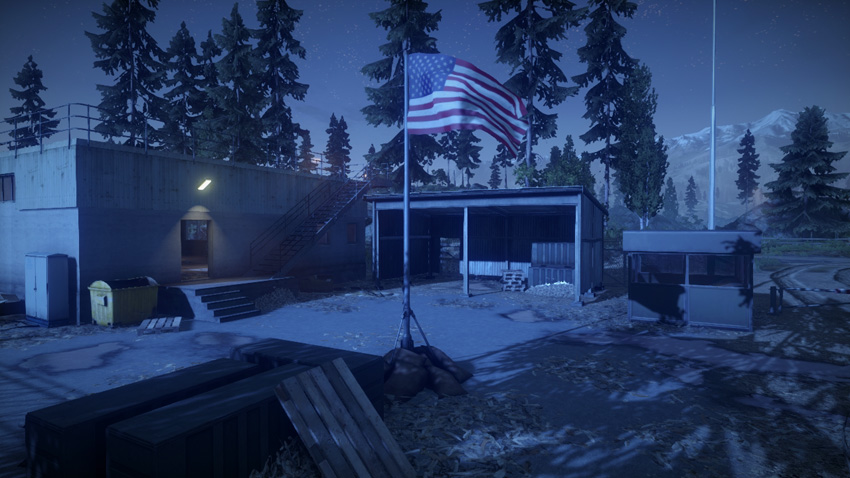
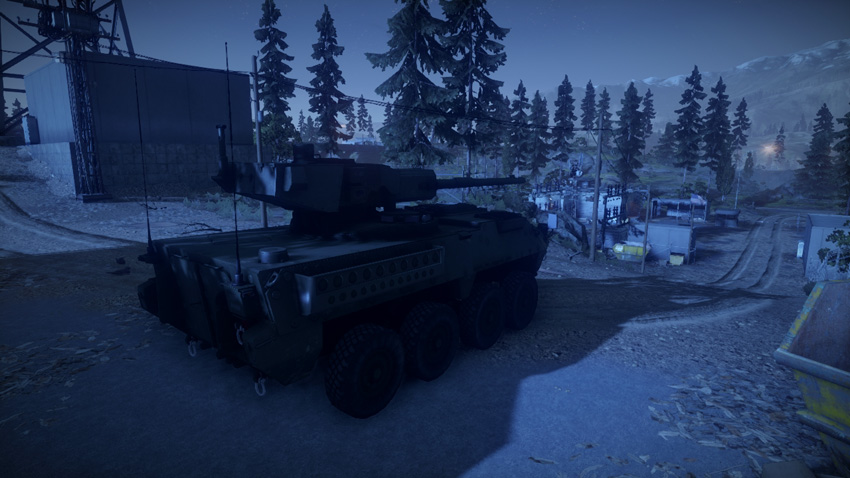
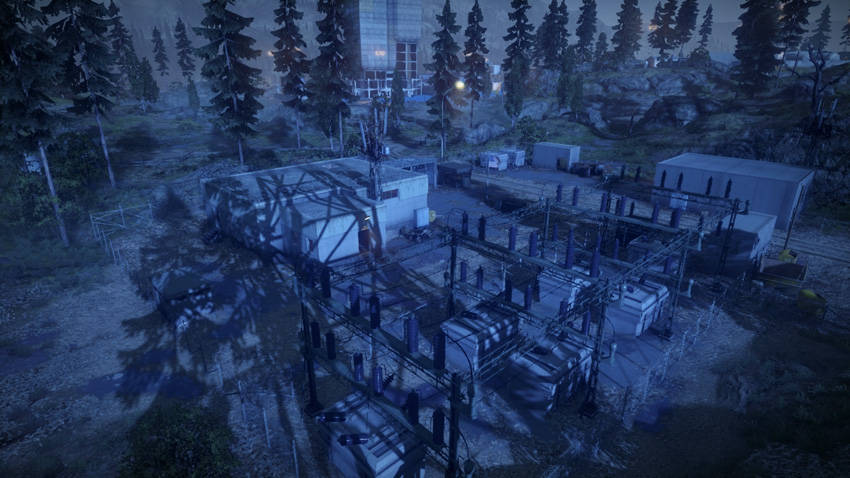
The power station (C) is on the north side of the valley, not far from the logging camp (A) and construction site (B). As the southernmost control point in this northern cluster, it’s likely to see heavy traffic by both teams. The flag is located near the center of the facility and can easily be captured or contested by vehicles or infantry. Defenders can find plenty of hiding spots among the nearby structures and should prepare for enemy vehicle attacks by placing mines along the dirt road adjacent to the flag. The control point produces a quad bike and tank destroyer for each team. These vehicles are ideal for raiding the train yard (D), the hotly contested control point to the southwest. But be careful not to leave this control point undefended. Make sure at least one squad stays back and guards the flag. As a central control point, the power station (C) sees plenty of action. In a match with 64 players, defenders here will have plenty of enemy encounters to keep them occupied. Engineers armed with mines and rocket launchers are most effective for holding back attackers. The tank destroyer here spawns on the hill to the east—don’t let attackers sneak in and steal it.
D: Train Yard
Control Point Assets
| US Control | RU Control | Respawn Time |
|---|---|---|
| Quad Bike (1) | Quad Bike (1) | 5 sec. |
| Gunship (1) | Gunship (1) | 60 sec. |
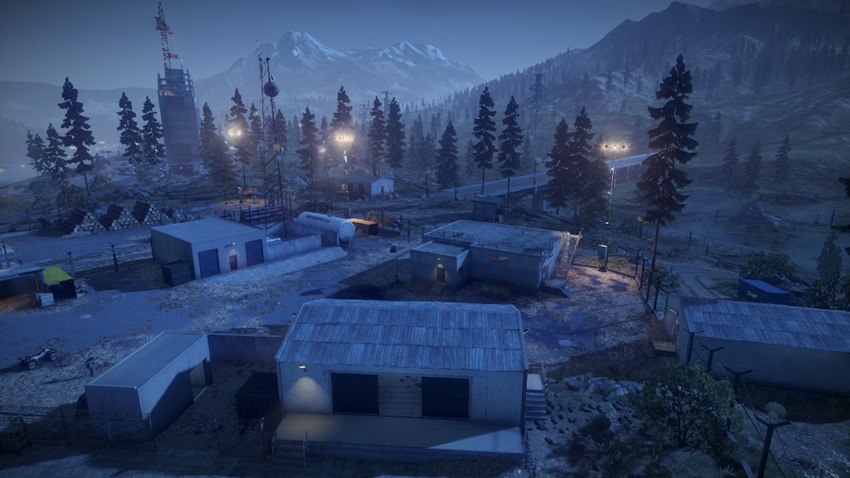
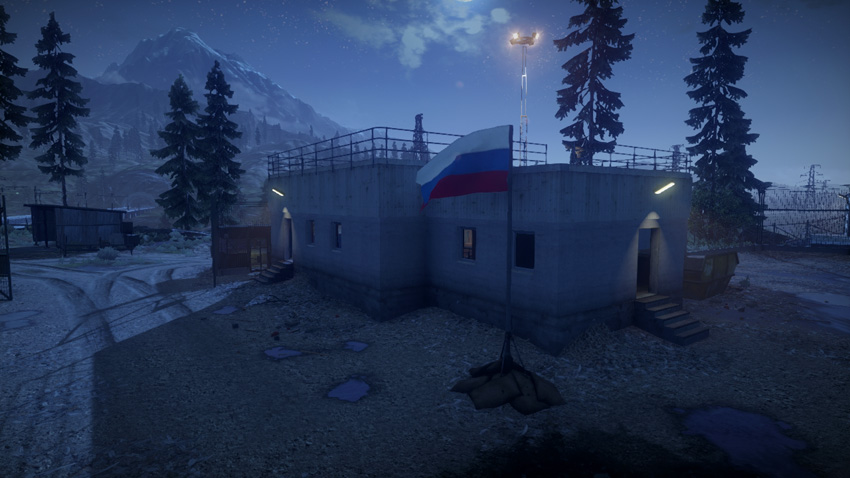
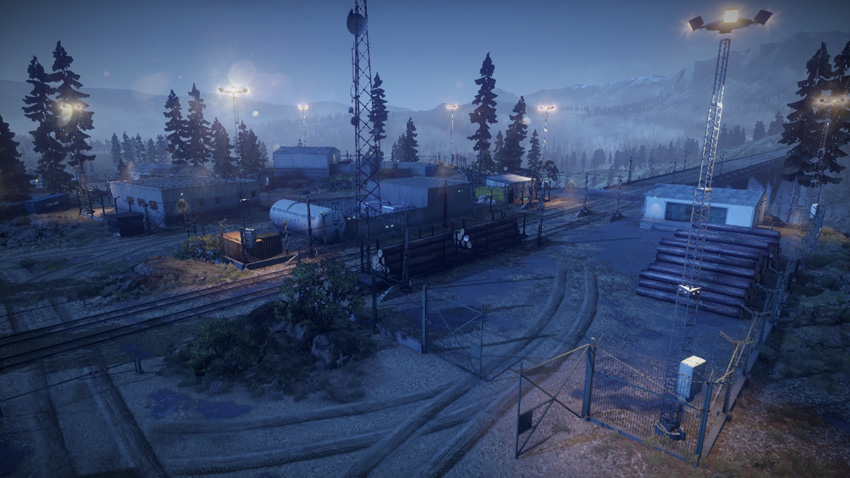
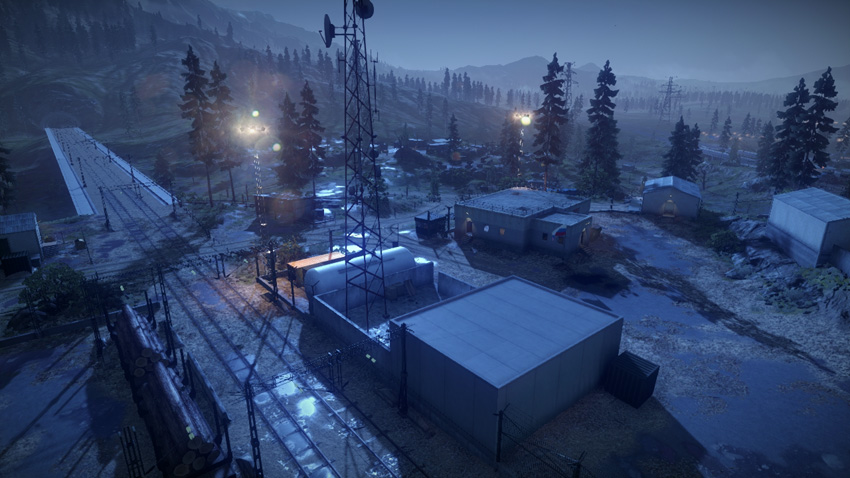
This control point is located directly in the center of the map, making it a crucial location in the tug-of-war fight for control of this valley. The train yard (D) is situated on a slight hill on the west side of the valley. From this hill it’s possible to gain access to the railway bridge cutting across the valley from east to west. But think twice before driving a tank or other vehicle onto this bridge—you’ll be a sitting duck for strafing helicopters and jets. In addition to providing each team with an extra quad bike, the control point supplies the captor with access to the gunship orbiting around the map. Gaining access to the gunship can be a game changer given its powerful weapons and ability to air-drop troops over any control point on the map. As a result, expect heavy fighting to occur here. The flag is at the center of this sprawling facility and is easily accessed via the adjacent dirt roads. Defenders should expect attackers arriving on anything from quad bikes to tanks. Infantry often attempt to capture or contest the flag by hiding within the nearby concrete building. So be ready to conduct a thorough search of the surrounding structures if you suspect enemy troops are present. If necessary, reinforce the train yard (D) with tank destroyers or tanks. Infantry alone will have a difficult time holding this position for any significant span of time.
E: Anti-Air Site
Control Point Assets
| US Control | RU Control | Respawn Time |
|---|---|---|
| Quad Bike (1) | Quad Bike (1) | 5 sec. |
| M1128 (1) | SPRUT-SD (1) | 60 sec. |
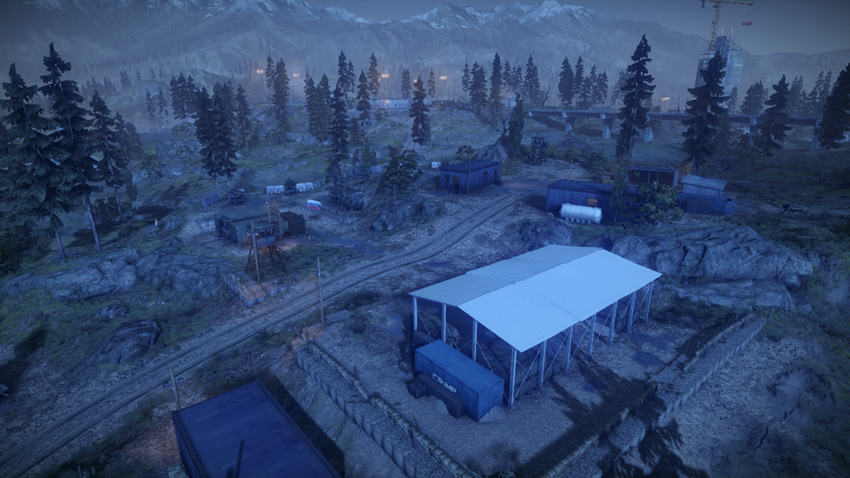
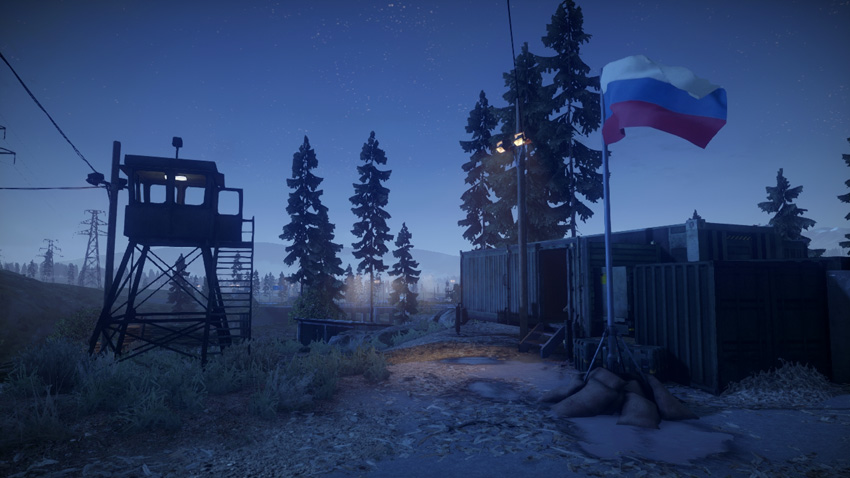
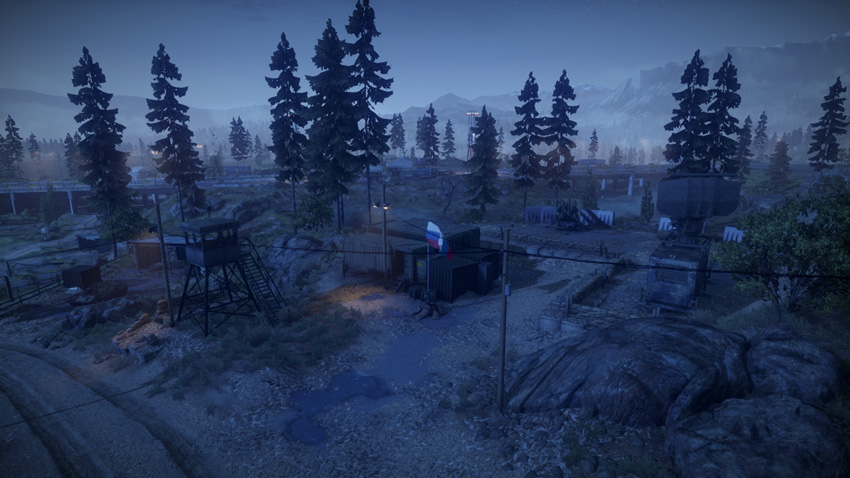
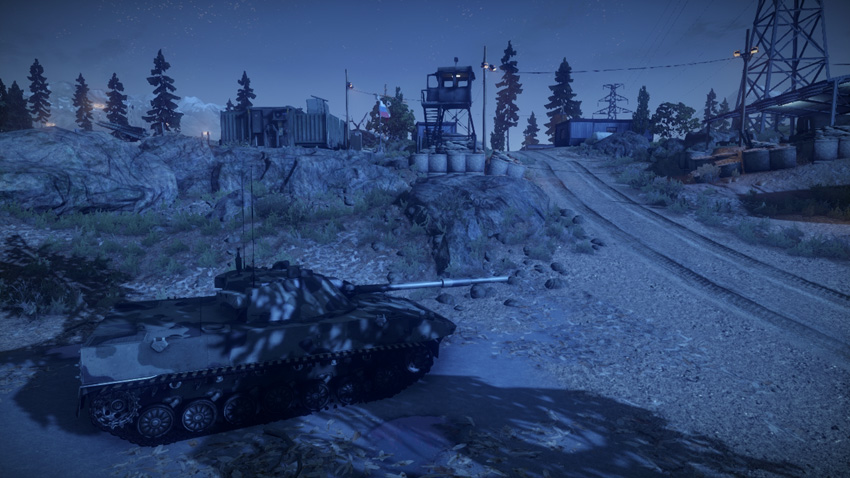
Don’t let the name of this control point fool you—there are no interactive anti-aircraft assets here. The missile batteries here are merely aesthetic. This control point on the south side of the valley supplies each team with a quad bike and a tank destroyer. The anti-air site’s (E) proximity to the train yard (D) makes it a relatively high-traffic area as both teams attempt to control the flags in the center of the map. While the RU team stands the best chance of capturing this control point early, if left undefended it can easily slip into the US team’s hands. The dirt road cutting through the center of the facility offers easy access to vehicles approaching from the north or south. Controlling traffic along this dirt road is easiest accomplished by placing mines. Unless it’s needed elsewhere, keeping a tank destroyer on guard detail is also a wise decision. The flag is located next to a green, metal communication structure. Infantry hiding inside this structure can capture and contest the flag. Defenders may wish to booby-trap the interior of this structure with C4 or claymores to prevent such sneaky capture attempts.
F: Highway Control
Control Point Assets
| US Control | RU Control | Respawn Time |
|---|---|---|
| Quad Bike (1) | Quad Bike (1) | 5 sec. |
| LAV-AD (1) | 9K22 Tunguska-M (1) | 40 sec. |
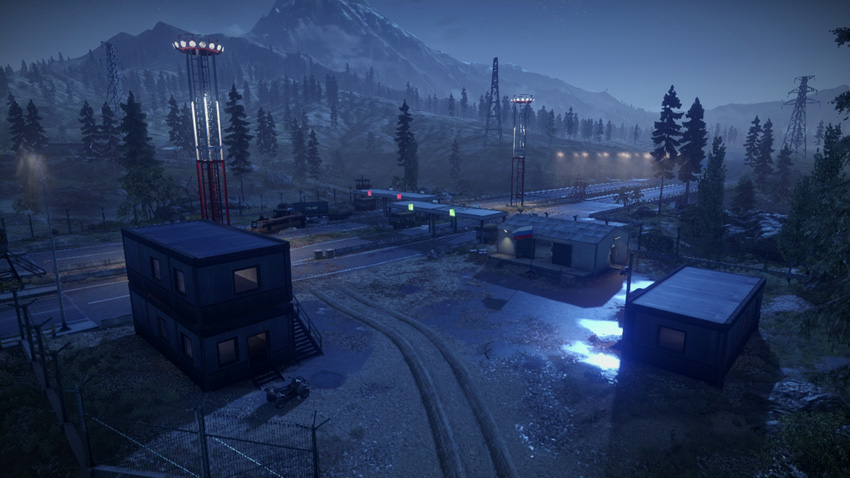
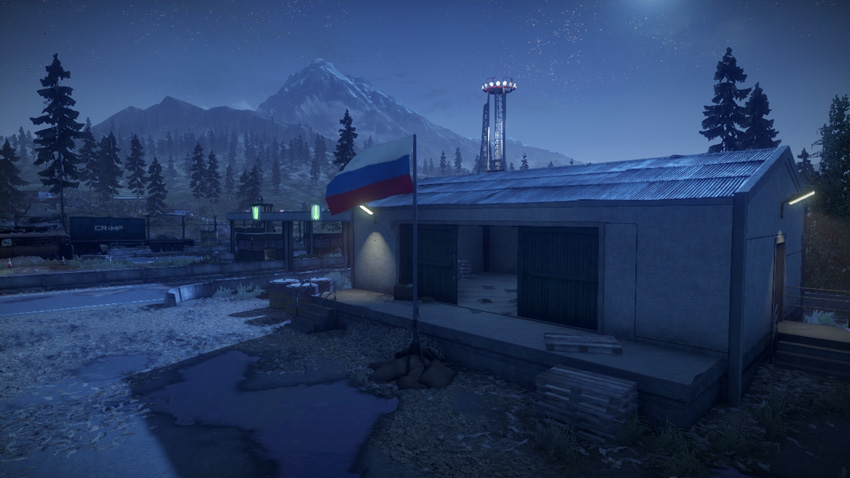
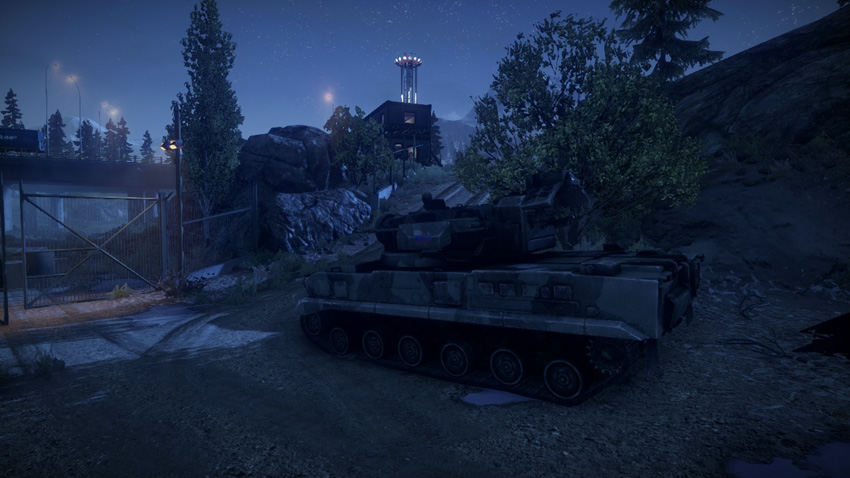
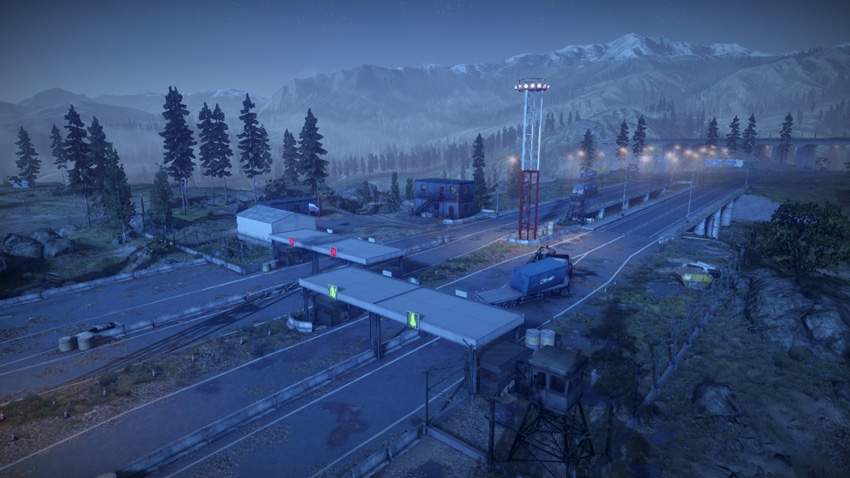
Highway control (F) is one of three control points located in the southern half of the valley, making it a critical flag for the RU team to hold. The flag is along the west side of the highway, next to a small concrete building. Because of its proximity to the highway, the flag is often rushed by vehicles approaching from the north or southeast. The highway is a major thoroughfare stretching as far north as the US base before veering east in the southern half of the valley. While the highway offers a quick way to travel through the valley, there is very little cover, making vehicles vulnerable to attacks by aircraft. It’s often better to approach this control point by utilizing the various dirt roads on the periphery. As with the construction site (B) to the north, whichever team controls this flag gains a mobile anti-aircraft vehicle in the form of an LAV-AD or 9K22 Tunguska-M. With all of the air traffic on this map, these vehicles are very valuable and can help shoot down enemy jets and helicopters. In a pinch, they’re powerful weapons can also lay waste to speedy quad bikes. But avoid close contact with enemy tanks and tank destroyers. Consider moving the mobile anti-aircraft vehicle to a remote location away from the flags, where it can focus on shooting down enemy aircraft.
G: Communication Station
Control Point Assets
| US Control | RU Control | Respawn Time |
|---|---|---|
| Quad Bike (1) | Quad Bike (1) | 5 sec. |
| M1128 (1) | SPRUT-SD (1) | 60 sec. |
| M142 (1) | BM-23 (1) | 50 sec. |
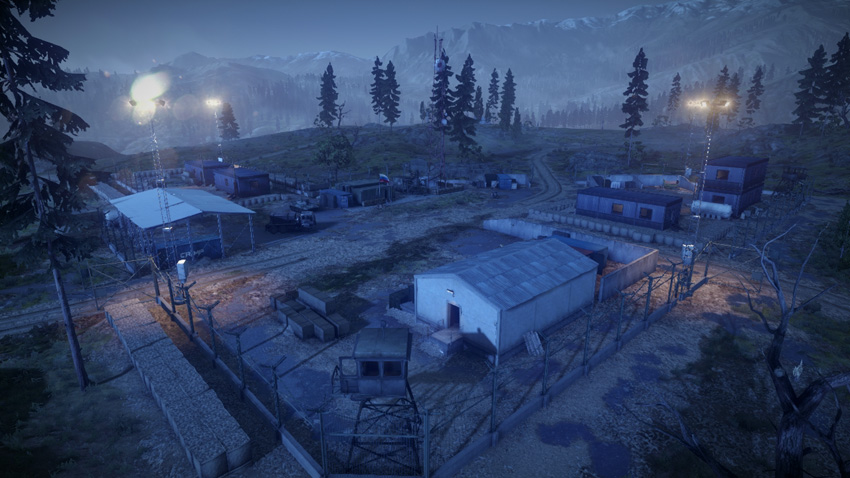
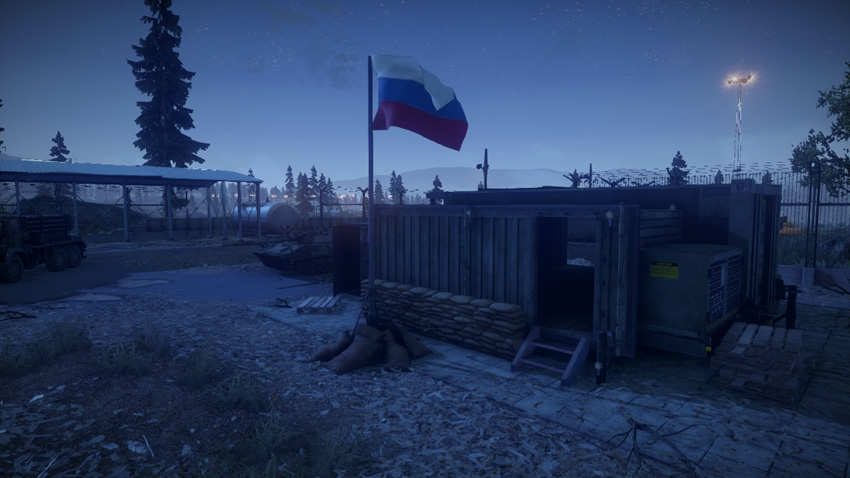
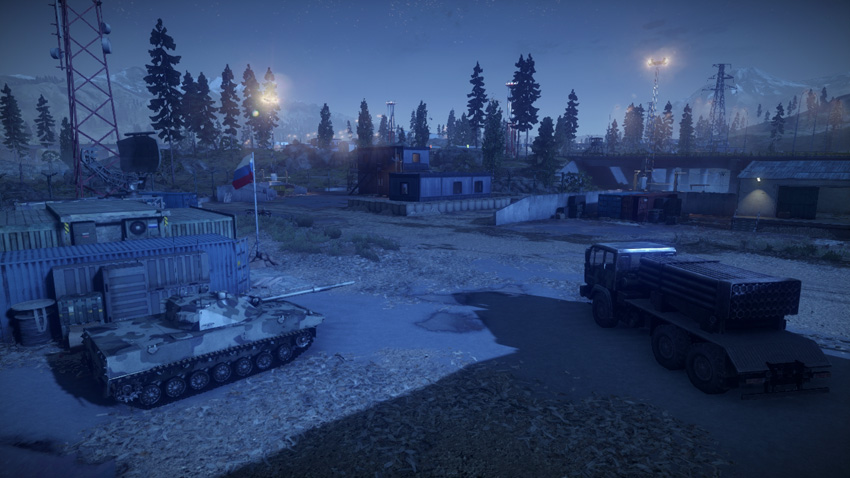
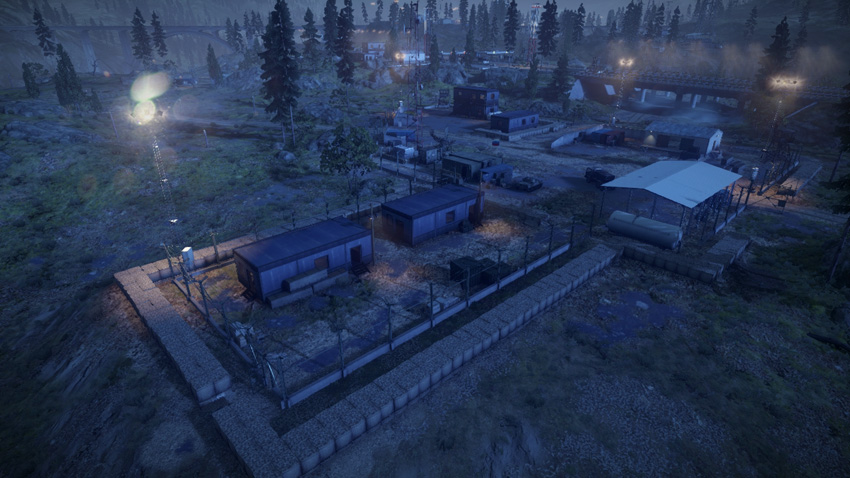
The communication station (G) is on the southern end of the valley, not far from the RU base. As a result, the RU team stands the best chance of capturing this control point and holding onto it for the duration of the match. However, the vehicles spawned here act as a strong incentive for both teams to capture this flag. The M142 and BM-23 mobile artillery units spawned here allow for devastating bombardments of the surrounding control points, ideal for suppressing defenders. If the US captures this point, they can even aim their rockets south and pound RU vehicles approaching from the RU Base. The control point also spawns a tank destroyer for both teams, adding even more firepower to the already crowded battlefield. The dirt road cutting through the center of the facility is the quickest way to gain access to the flag. So defenders should consider mining this road to prevent rush vehicle attacks on the flag. Infantry can also capture this flag without raising much suspicion. The portable communications structure right next to the flagpole provides shelter for troops capturing or contesting the flag. The are a number of other structures and hiding spots in this facility. Consider planting a radio beacon in one of the buildings to maintain a presence here, even if the flag falls into enemy hands.
Rush
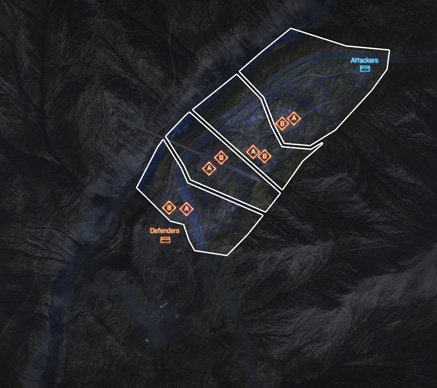
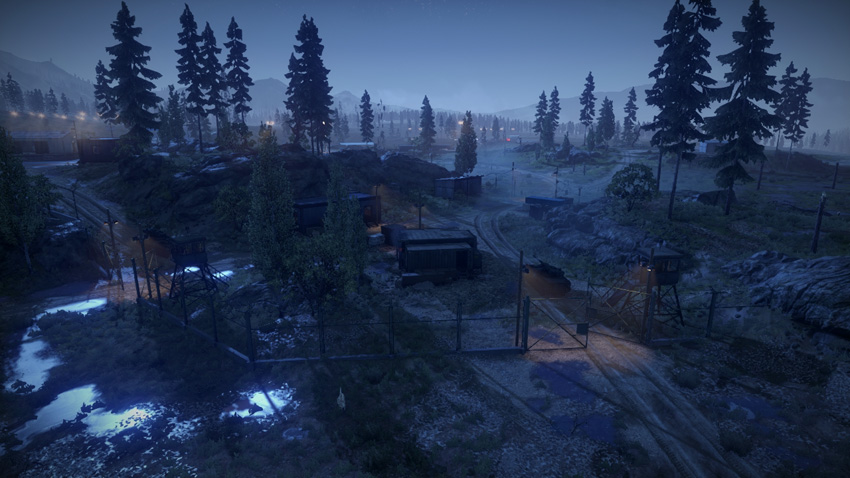
This is an epic Rush battle spread across five zones, requiring the US attackers to knock out 10 M-COM stations for the win. Fortunately for the US, they have a significant vehicle advantage throughout the battle, deploying a mix of quad bikes and M1128 tank destroyers in addition to the orbiting gunship. The RU team, on the other hand, is stuck with only one SPRUT-SD tank destroyer throughout the entire battle. As a result, the RU team must brush up on engineer tactics if they want to hold back the US attackers. A defending team primarily comprising engineers can help turn the tide, using mines, rocket launchers, and anti-air missiles to counter the threat posed by the US team’s vehicles. Since the battle occurs at night, consider equipping IRNV (IR 1x) scopes for your weapons and thermal optics for your tank destroyers. Whether attacking or defending, spotting the enemy through the darkness can give your team a significant advantage.
Zone 1: Logging Camp
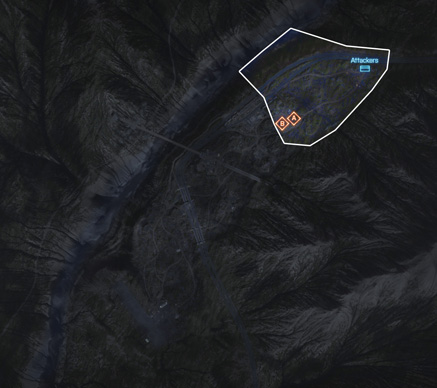
US Deployment
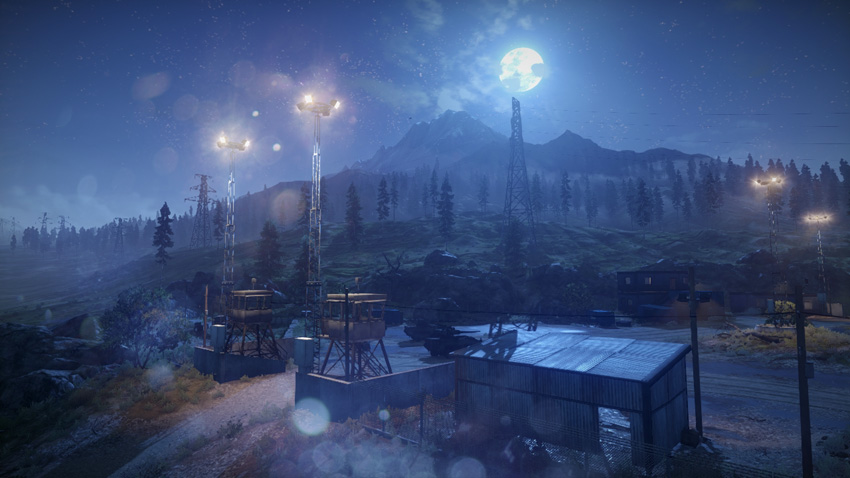
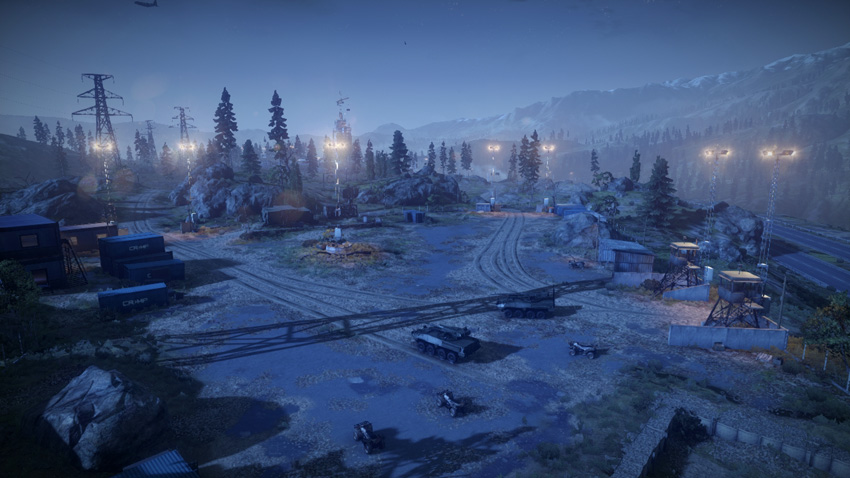
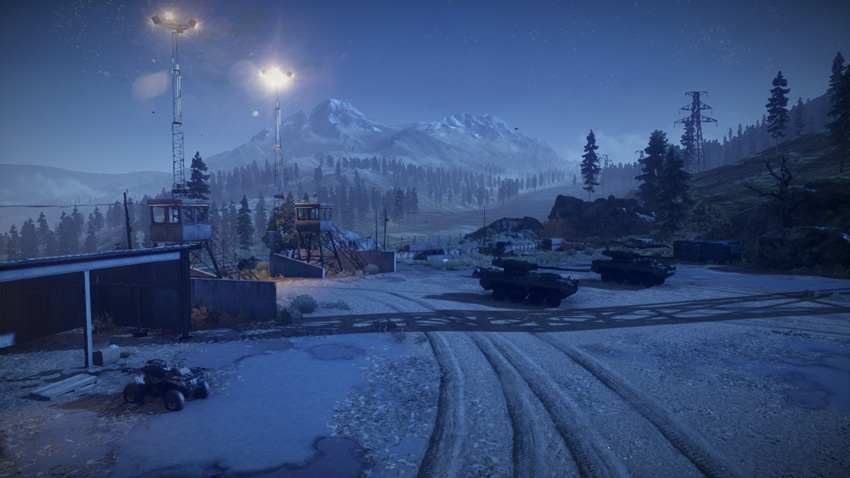
Deployment Area Assets
| Name | Quad Bike | M1128 | Gunship |
|---|---|---|---|
| Quantity | 4 | 2 | 1 |
| Respawn Time | 5 sec. | 20 sec. | 120 sec. |
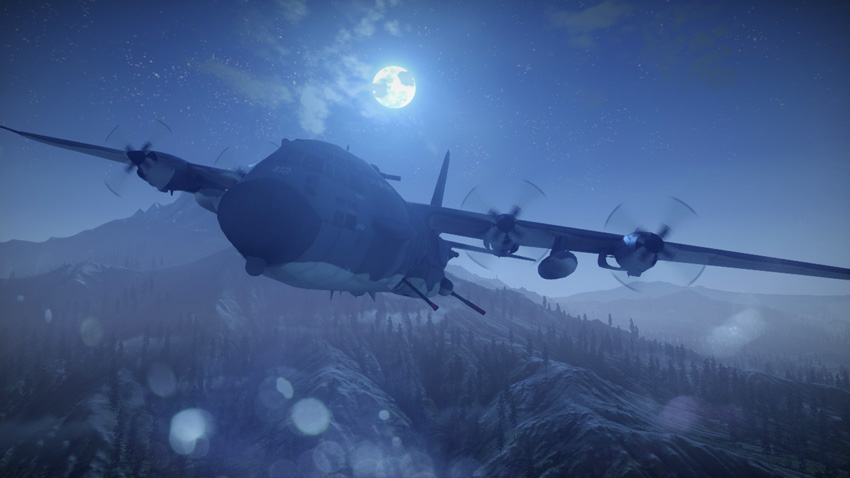
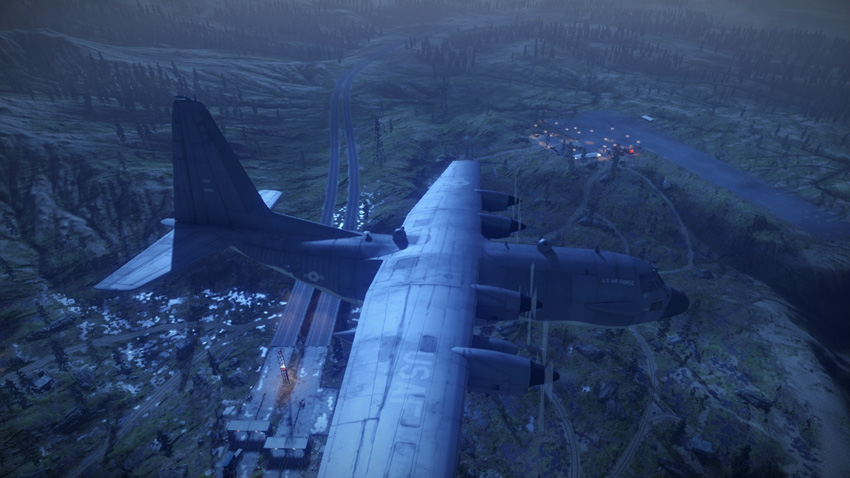
For the US team, speed is the key to destroying the first pair of objectives, located south of the US deployment area. Fortunately, the US has plenty of options for reaching the target area. Parachuting out of the gunship is the quickest way to reach the M-COM stations before the RU team has a chance to dig in. The quad bikes spawned at the deployment area are also a great way to rush toward the objectives. But don’t forget to bring the M1128 tank destroyers forward too. Their powerful guns can come in handy for pounding defenders as well as the RU team’s SPRUT-SD. Meanwhile, use the gunship’s powerful weapons to suppress defenders camped around the objectives. Once within the logging camp, deploy radio beacons to maintain a presence within the area.
RU Deployment
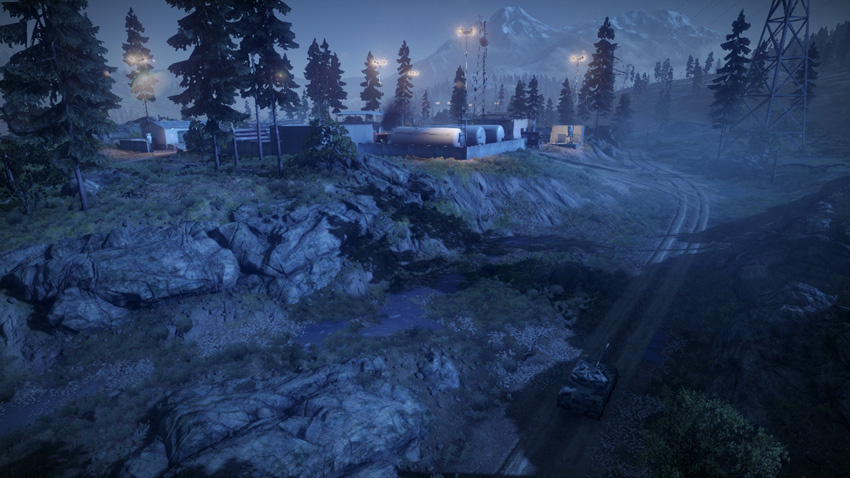
Deployment Area Assets
| Name | SPRUT-SD |
|---|---|
| Quantity | 1 |
| Respawn Time | 40 sec. |
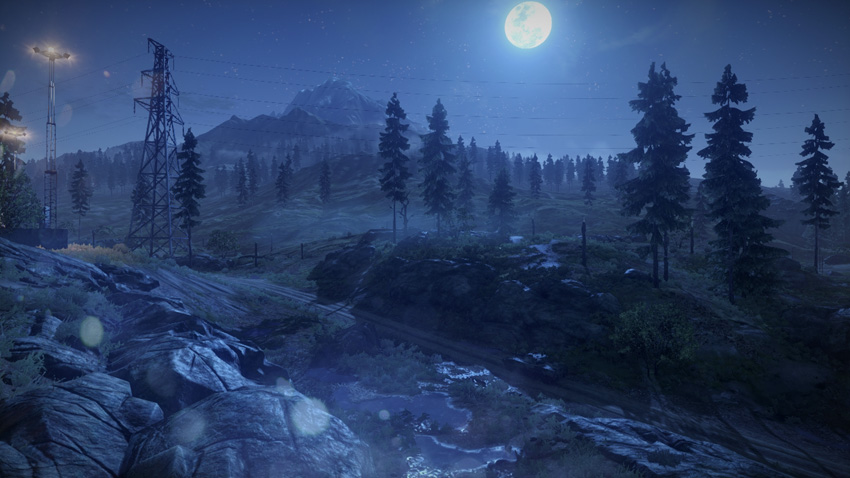
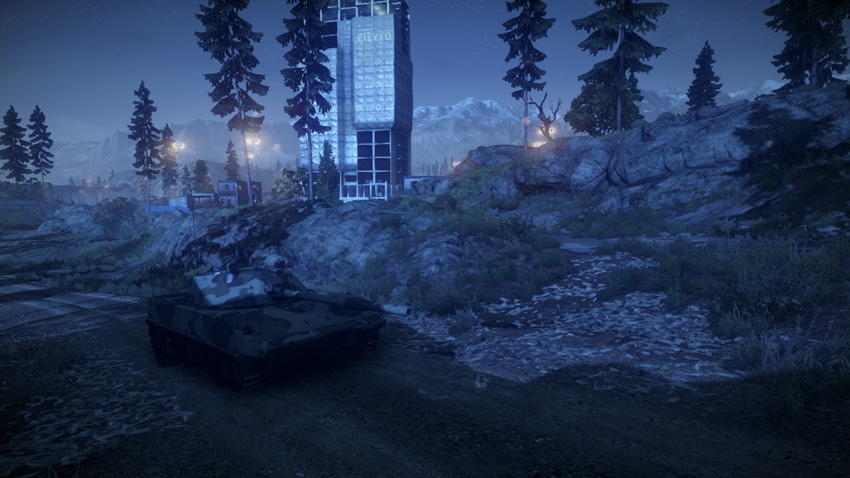
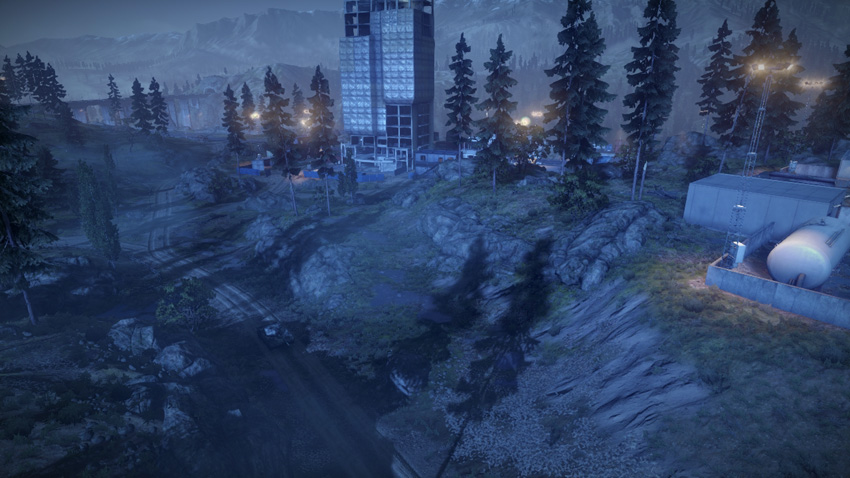
With only a single SPRUT-SD in their possession, the RU team has their work cut out for them in this challenging Rush battle. At the start of the battle expect the US team to rush the objectives with everything they have. As a result, the RU troops must sprint toward the logging camp and engage the steady stream of attackers approaching from the north and from the gunship. With no anti-air assets, the RU team must rely on engineers armed with IGLA anti-air missiles to counter the threat posed by the gunship. A team of two or three engineers equipped with IGLA launchers should have no problem shooting down the gunship. But the bulk of the team needs to focus on the ground forces approaching from the north. Once again, engineers are crucial for knocking out the US tank destroyers as well as keeping the SPRUT-SD repaired.
M-COM Station A
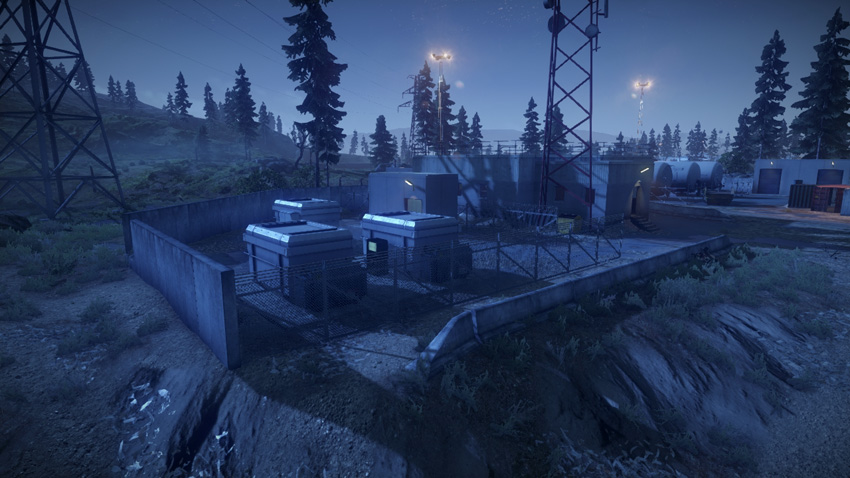
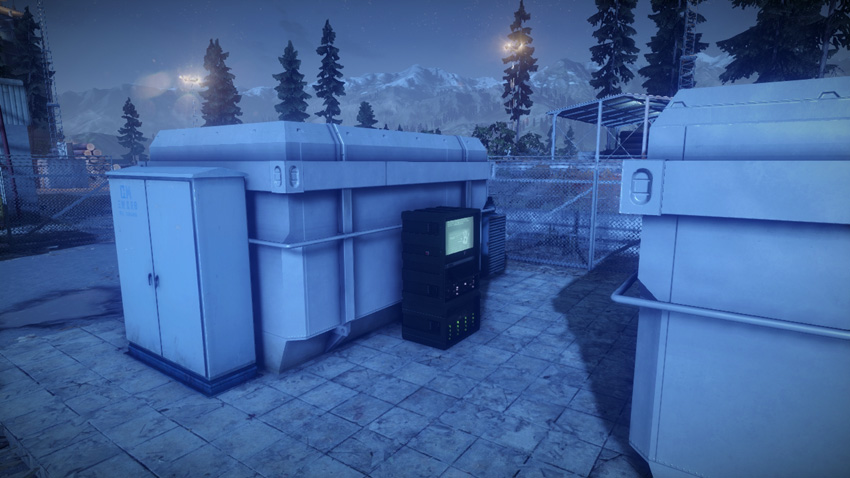
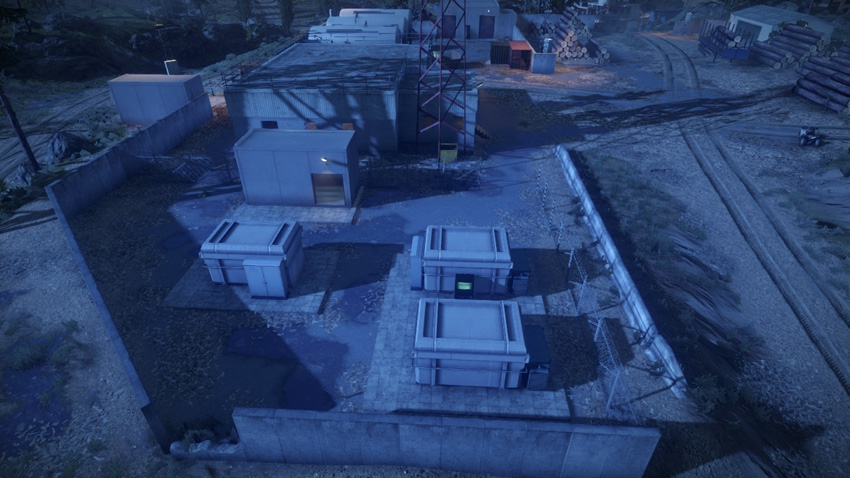
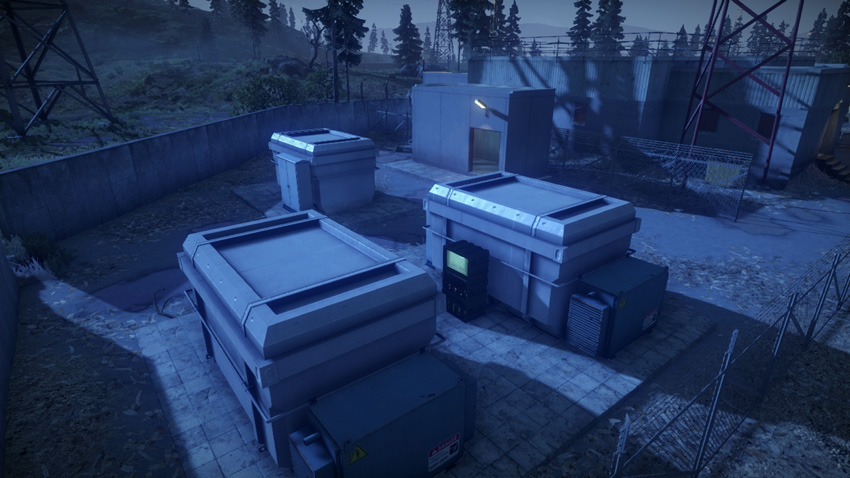
M-COM Station A is on the north end of the logging camp, often making it the first target of the attackers rushing in on quad bikes from the US deployment area. The objective is nestled between two large transformers on the camp’s northeast corner. While the terrain outside the camp is wide open, the transformers, perimeter wall, and structures limit visibility in this area. As a result, be prepared for close-quarters encounters when operating around this objective—PDWs and shotguns are great for engaging opponents in this tight space. Attackers should rely on the gunship to spot and engage defenders around the objective prior to setting a charge. The RU team has a tough time reaching this objective at the outset of the battle, so the attackers should try to take it out as quickly as possible.
M-COM Station B
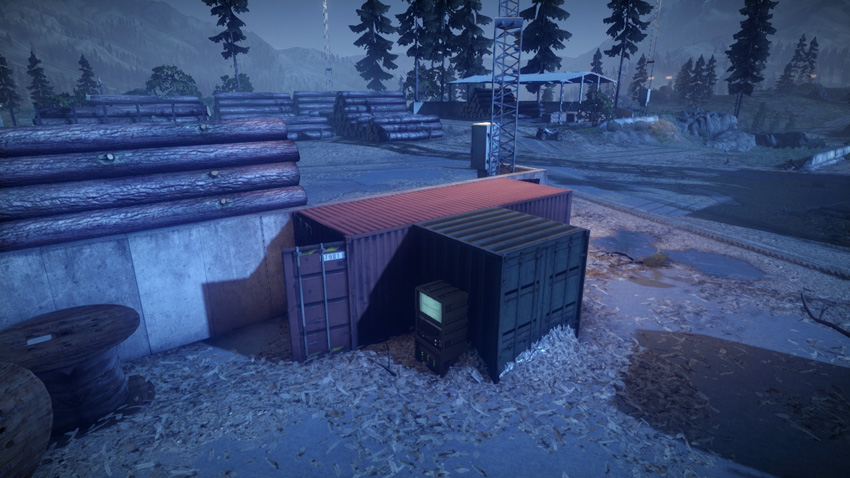
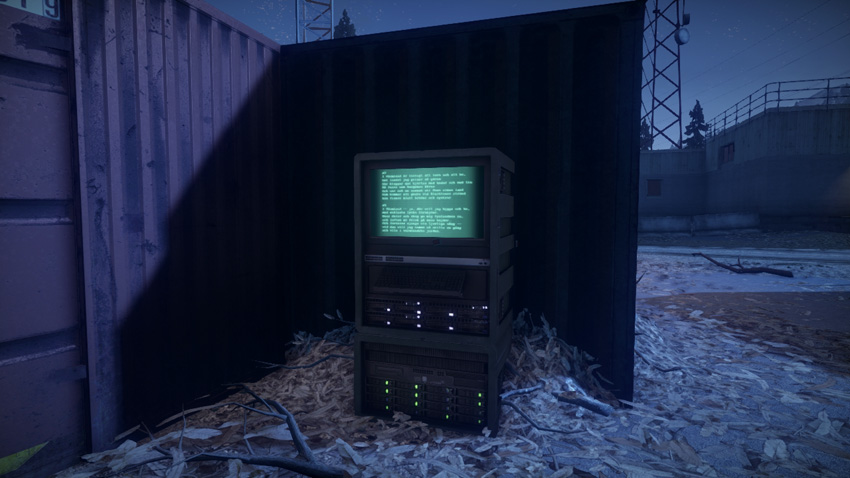
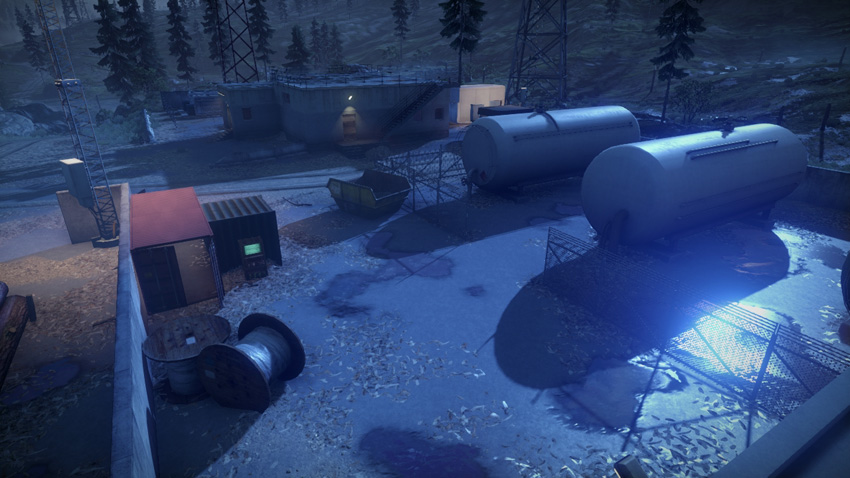
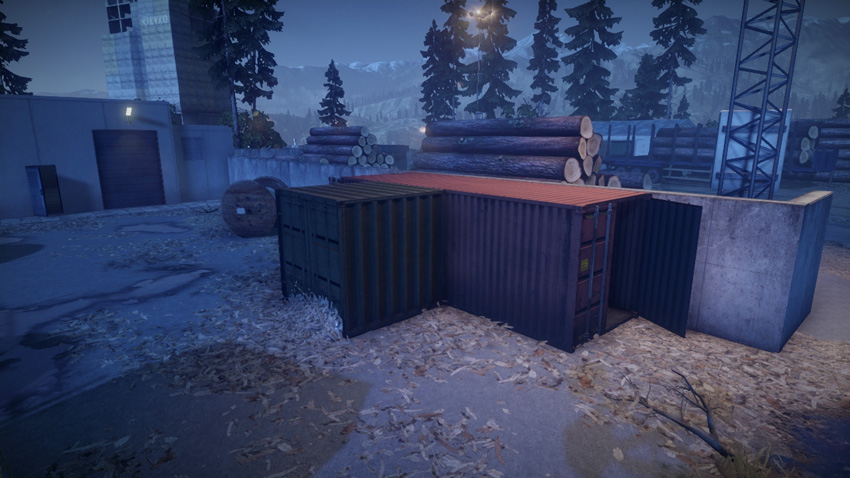
This objective is located deeper within the logging camp, giving the RU defenders a slightly better chance of securing it during the frantic opening moments of the battle. However, defenders should be mindful of the large cylindrical propane tanks on the east side of the objective. If these tanks are intact, avoid hiding near them as they’re likely to be destroyed by bombardment from the US gunship. Instead of driving through the center of the logging camp, attackers should attempt to flank this objective from the east, using explosives to breach the camp’s perimeter wall. Once again, coordinated close air support provided by the gunship is essential when setting the charge here. If the fight for this objective persists, both teams should deploy radio beacons nearby in an attempt to maintain a steady presence within the logging camp.
Zone 2: Power Station
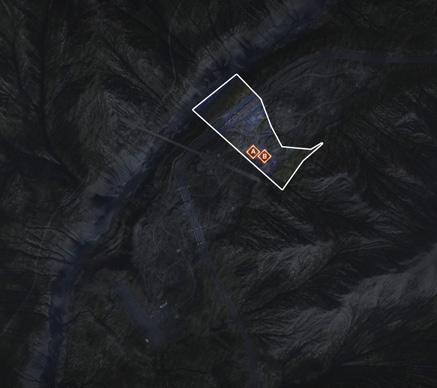
US Deployment
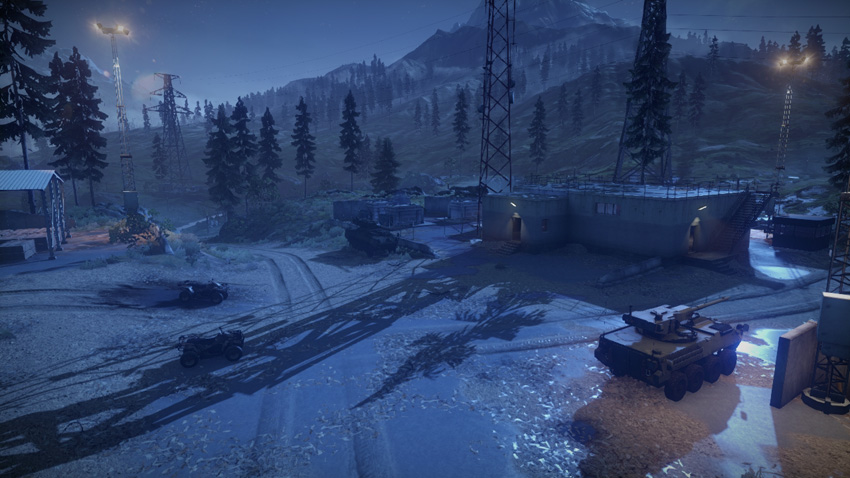
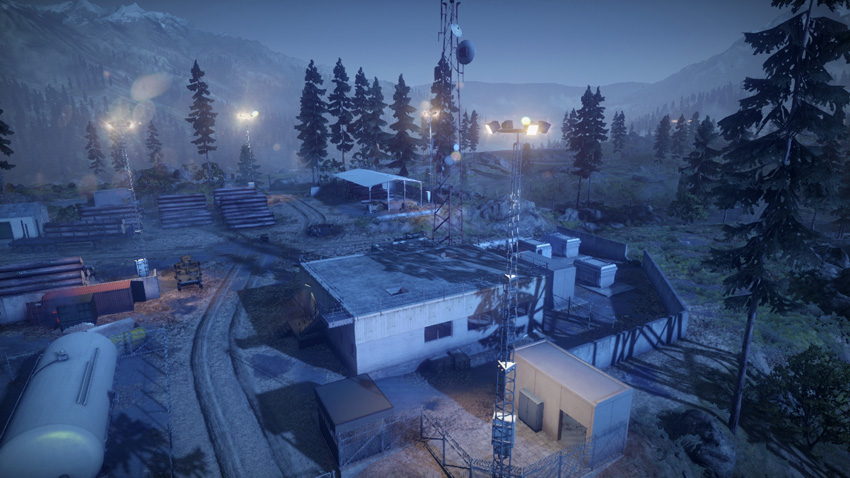
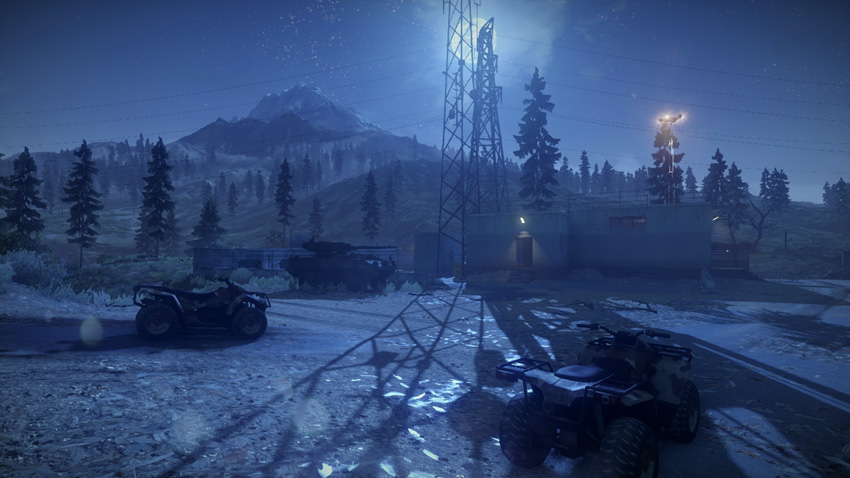
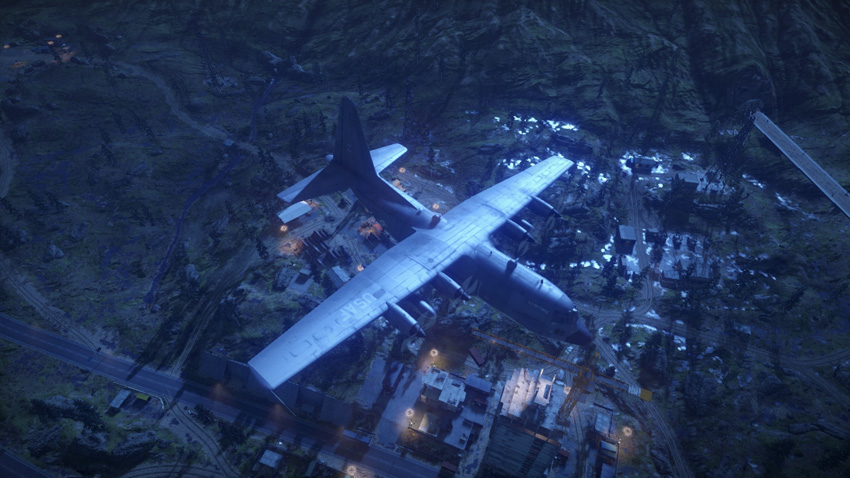
Deployment Area Assets
| Name | Quad Bike | M1128 | Gunship |
|---|---|---|---|
| Quantity | 2 | 2 | 1 |
| Respawn Time | 5 sec. | 20 sec. | 120 sec. |
Once the US takes out the first two objectives, the logging camp becomes their new deployment area. For this next phase of the battle the US team maintains the same mix of vehicles, minus a couple of quad bikes. So when spawning here, take a good look around for teammates in need of a ride before peeling out in a quad bike or M1128. This time the RU team has a chance to consolidate forces around the objectives, so a coordinated push is necessary to drive the defenders back. Consider holding back at the deployment area until you have a sizable task force, then push forward simultaneously in an effort to overwhelm the defenders. A coordinated ground attack supported from the air by the gunship is the best way to reach the power station and knock out the next pair of M-COM stations.
RU Deployment
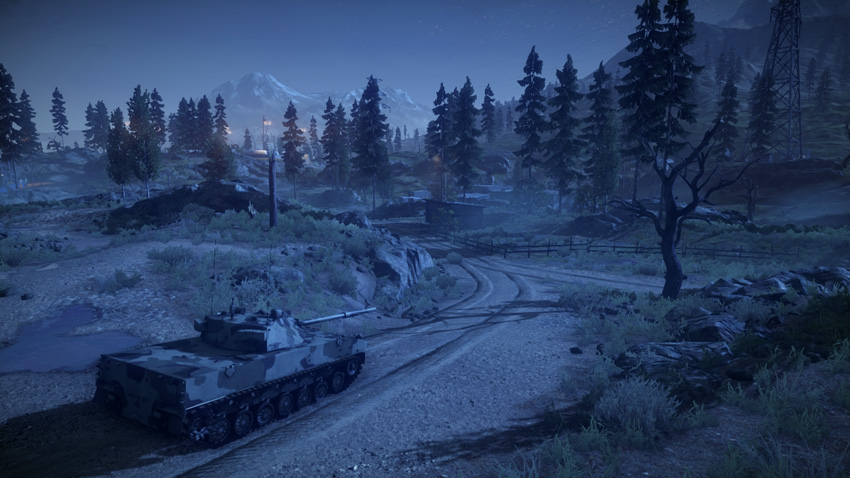
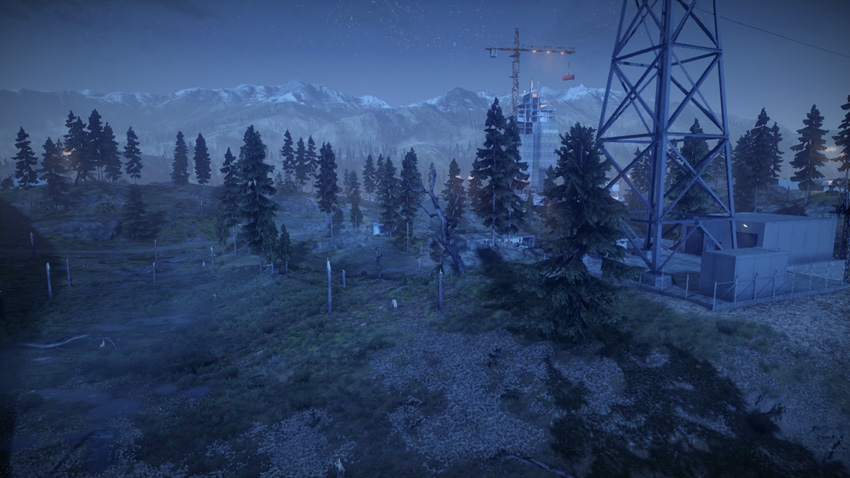
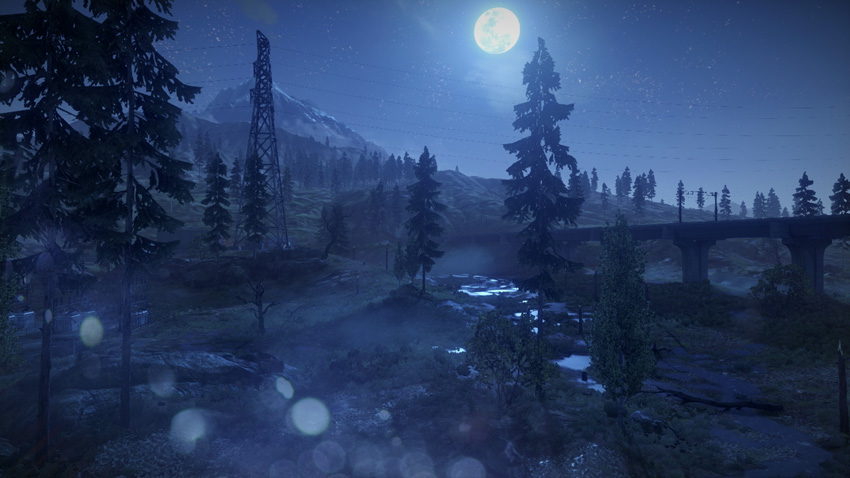
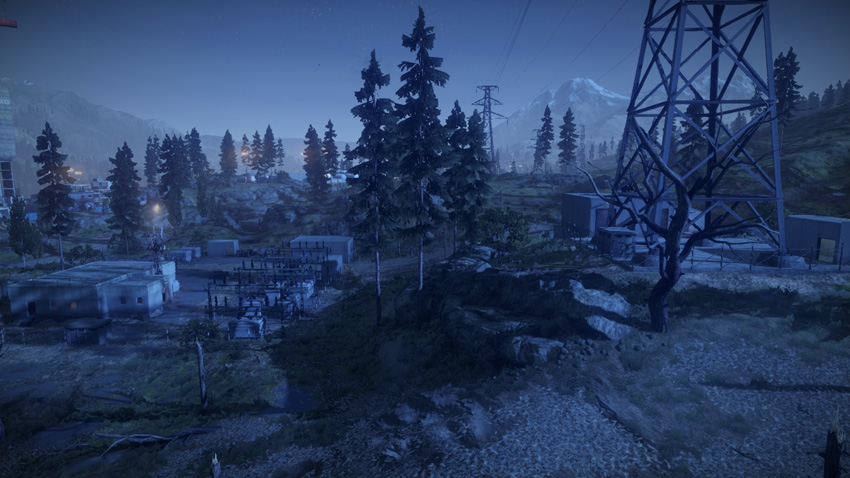
Deployment Area Assets
| Name | SPRUT-SD |
|---|---|
| Quantity | 1 |
The battle doesn’t get much easier for the RU defenders in this phase, benefiting only from a single SPRUT-SD with which to turn back the attackers. But unlike in the first phase, the RU team has a few seconds to consolidate their forces around the power station before the US attackers arrive. Get the SPRUT-SD to the north side of the power station so it can pound attackers rushing in from the logging camp. It’s important to keep the SPRUT-SD repaired, so surround it with engineers. Once again, engineers are also vital for engaging the pesky US gunship circling above. Since you lack serious anti-air defense, the shoulder-fired IGLA anti-air missiles are your best bet for countering this threat. But don’t get too distracted by the gunship. Expect the bulk of the attackers to approach from the logging camp to the north.
M-COM Station A
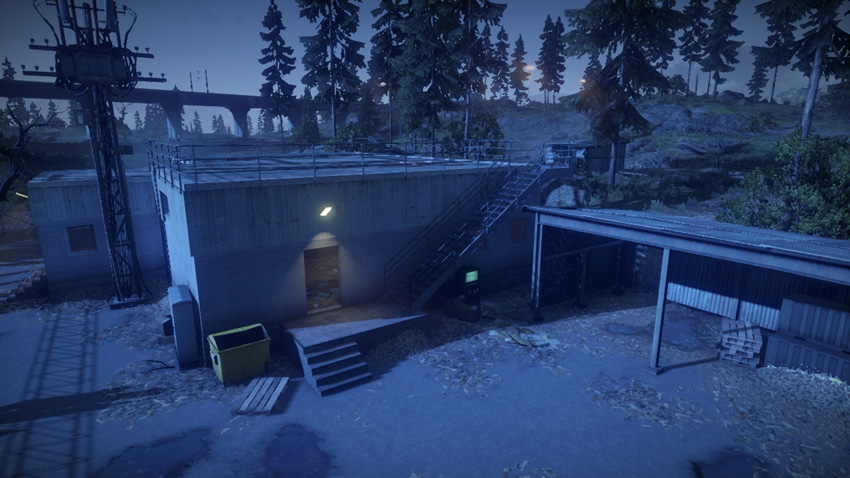
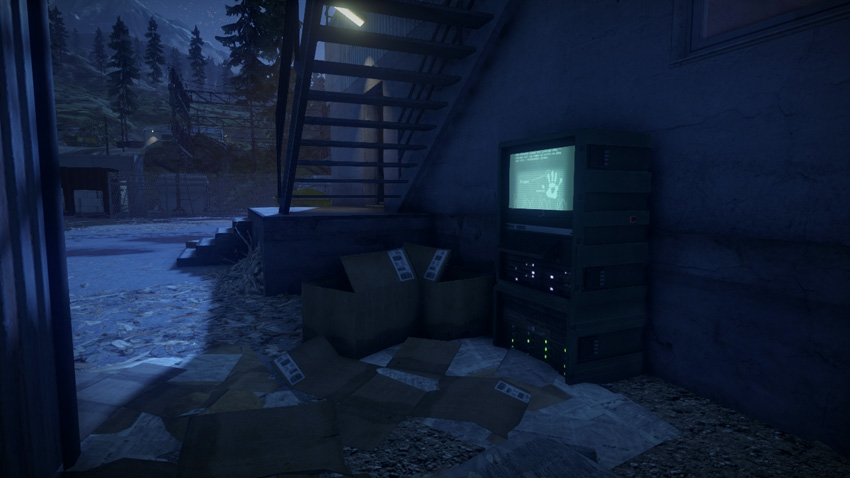
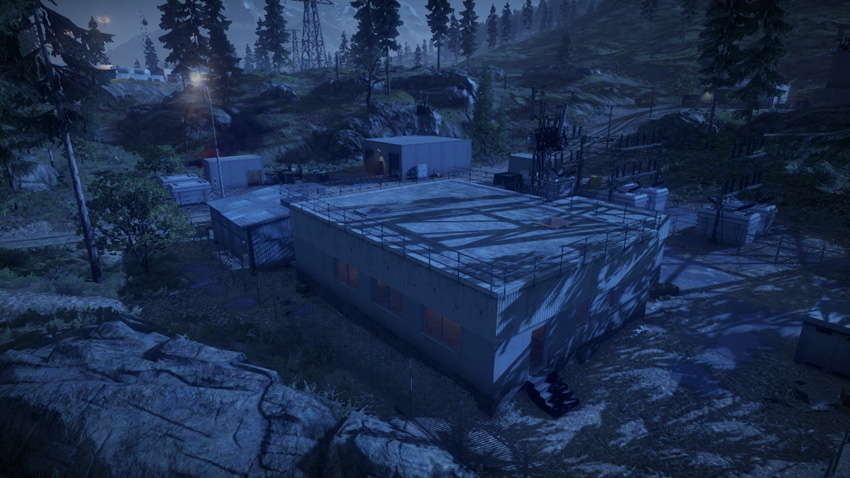
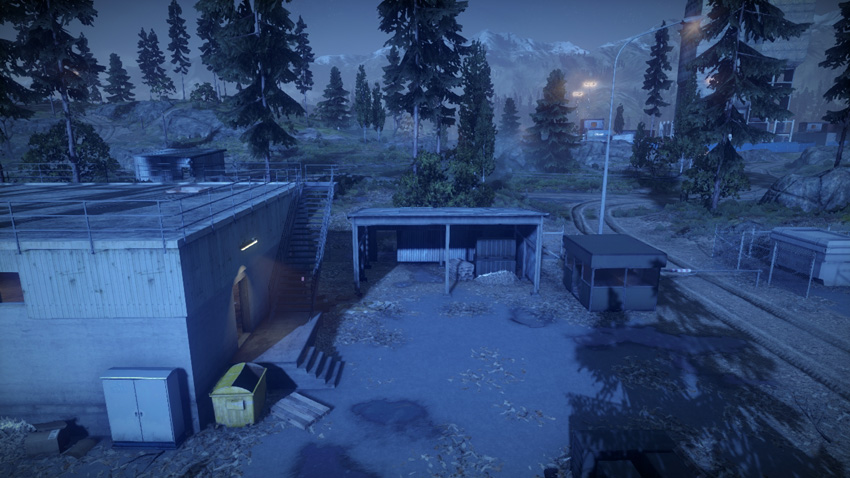
M-COM Station A is positioned outside a concrete building on the west side of the power station. This perimeter location makes it particularly vulnerable to flanking attacks from the west. The perimeter chain-link fence isn’t much of an obstacle for knife-wielding attackers seeking to plant a charge on the objective without being noticed. As a result, the RU team should post a squad along this western flank to watch for such sneak attacks. At the very least, consider booby-trapping the short alley between the concrete building and the metal shed—both claymores and C4 work well here. If you’re planning on hiding in the nearby concrete building, pay attention to how much damage it takes. The structure will collapse after sustaining significant damage.
M-COM Station B
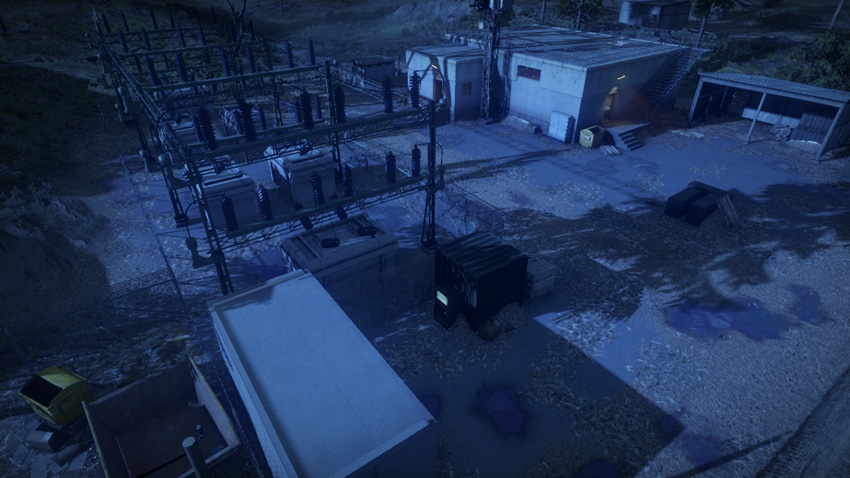
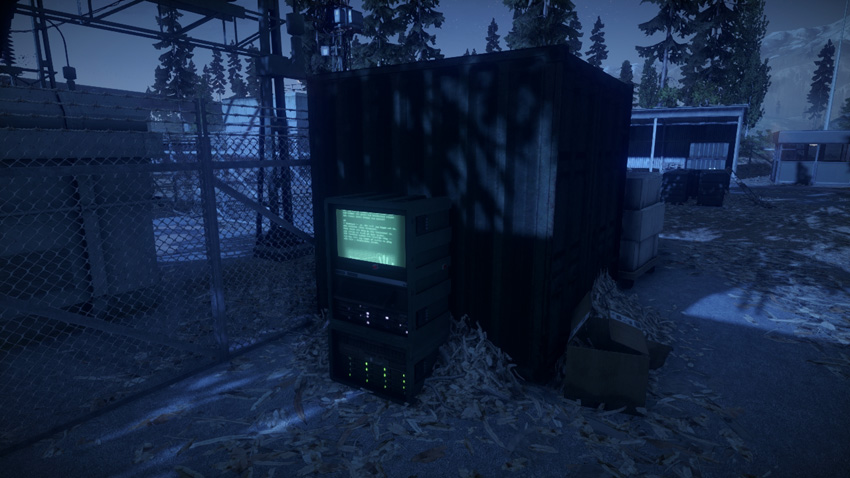
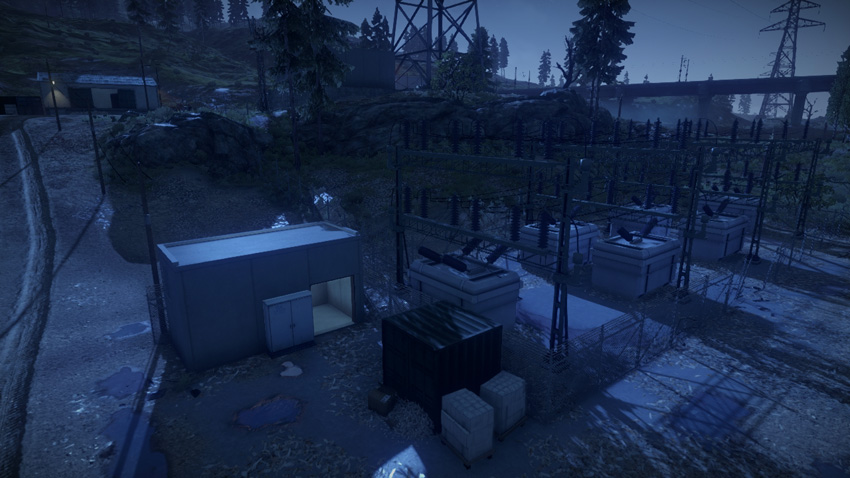
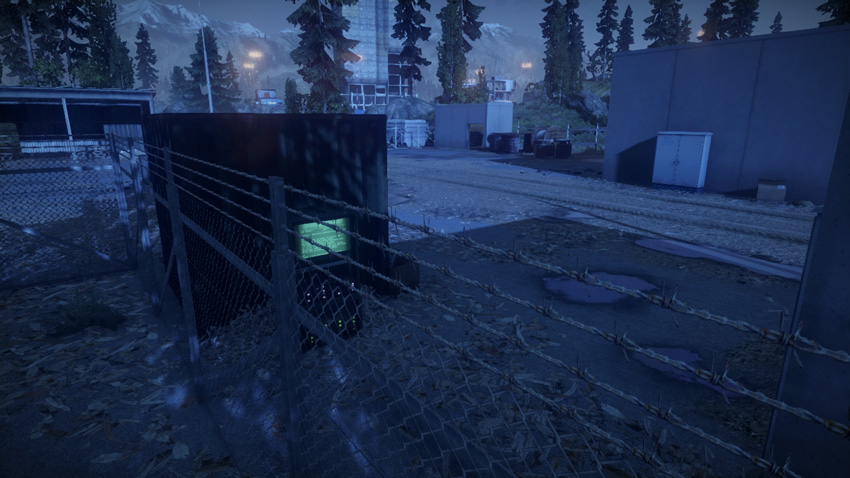
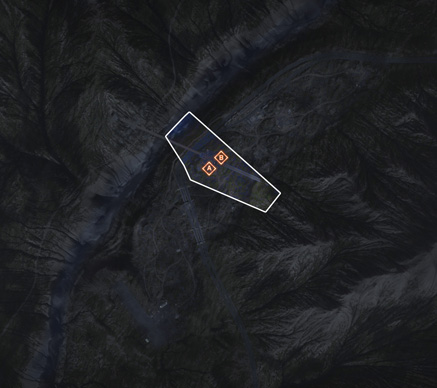
This objective is outside the large bank of transformers on the east side of the power station. The dirt road running east and west through the power station passes right by M-COM Station B, making it vulnerable to attacks by vehicles. Defenders should watch for quad bikes rushing in from the east or west. Booby-trapping this road with mines is a surefire way to safeguard this objective from speedy vehicle attacks. There aren’t too many objects or structures obscuring the view of this objective, making it relatively easy for defenders to watch from long range. As a result, attackers should consider bombarding the area using the gunship’s powerful weapons before attempting to set a charge. Popping smoke on the objective is also a good idea whether arming or disarming a charge.
Zone 3: Train Yard
US Deployment
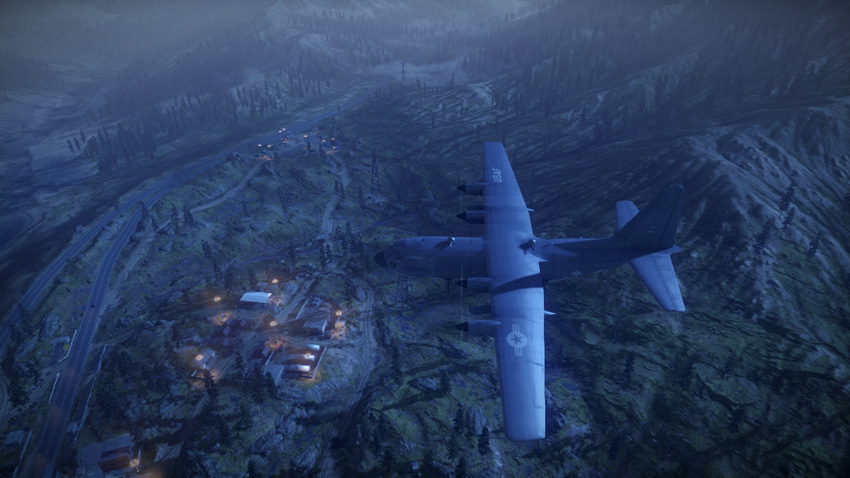
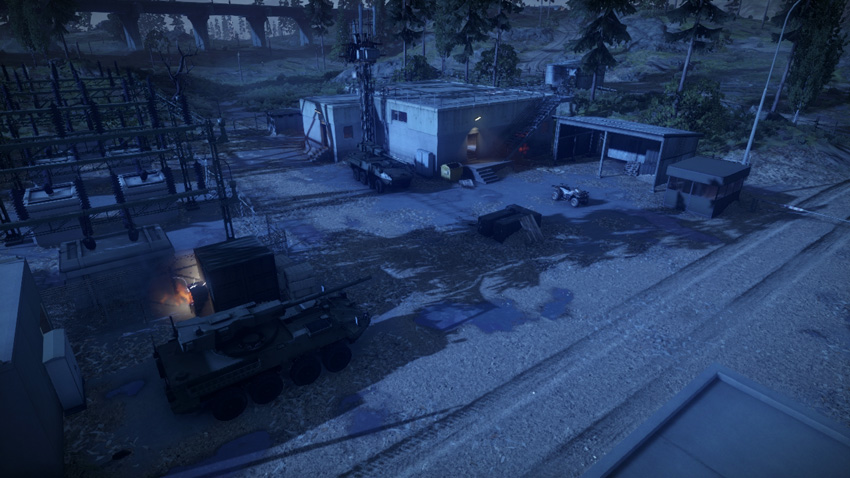
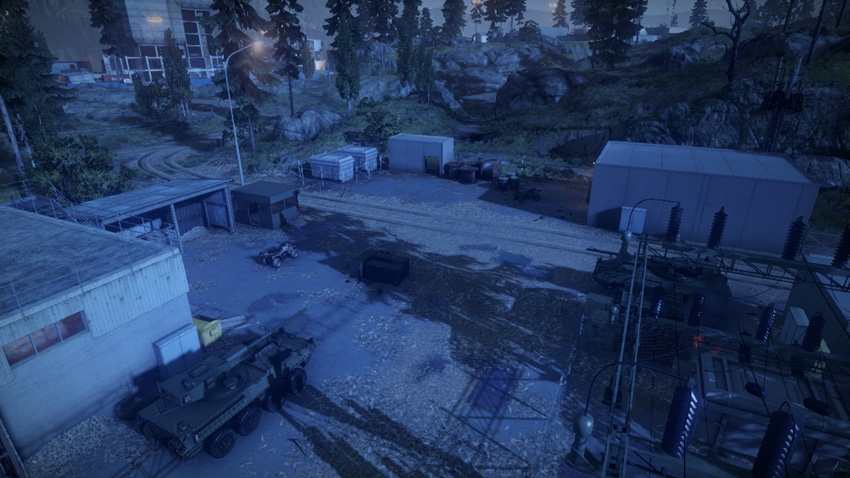
Deployment Area Assets
| Name | Quad Bike | M1128 | Gunship |
|---|---|---|---|
| Quantity | 2 | 2 | 1 |
| Respawn Time | 5 sec. | 20 sec. | 120 sec. |
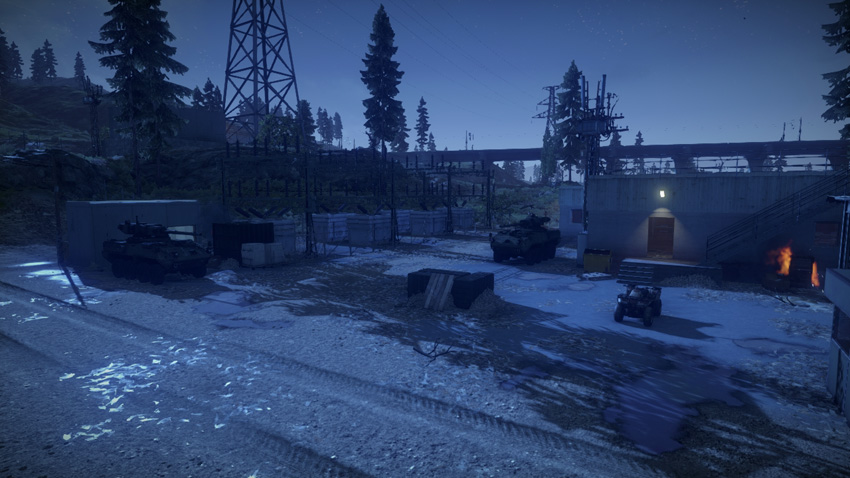
As the RU team falls back to defend the train yard, the US team gains control of the power station. In this phase of the battle the US maintains the same type and number of vehicles as they did in the previous zone. Before rushing toward the train yard, assume the RU defenders have had ample time to secure the area. Instead of racing directly toward the objectives, use the quad bikes and M1128s to transport teammates toward the train yard and establish a presence on the perimeter. The dirt roads and rail bridge leading into the train yard are most likely guarded and mined. So instead, consider moving in on foot, preferably flanking from the east. Meanwhile, work to keep the gunship orbiting above the battlefield. In addition to providing close air support, the gunship is ideal for spotting opponents, giving friendly troops on the ground fair warning of enemy presence.
RU Deployment
Deployment Area Assets
| Name | SPRUT-SD |
|---|---|
| Quantity | 1 |
| Respawn Time | 40 sec. |
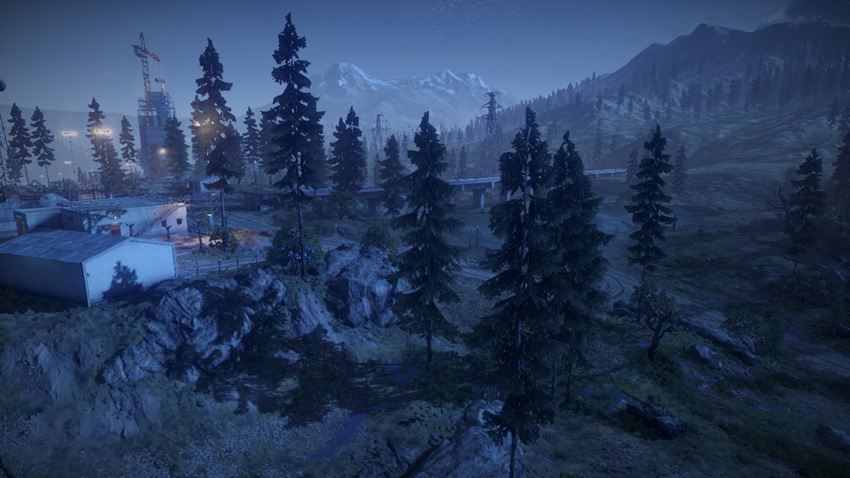
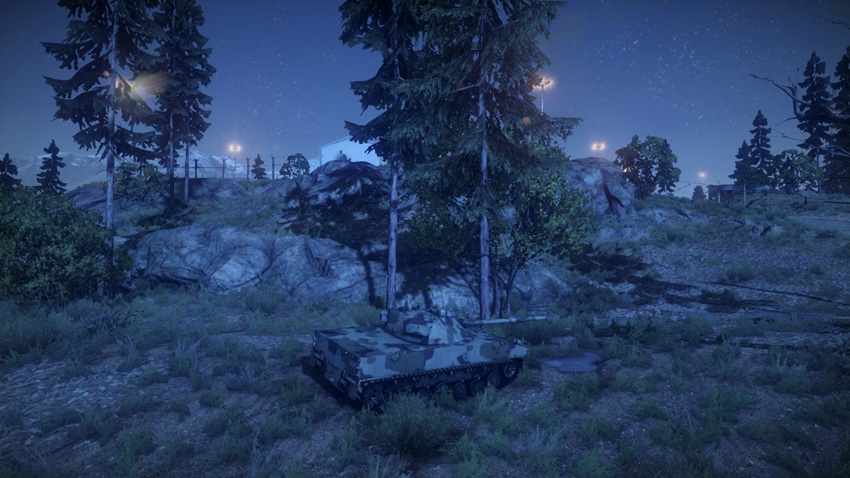
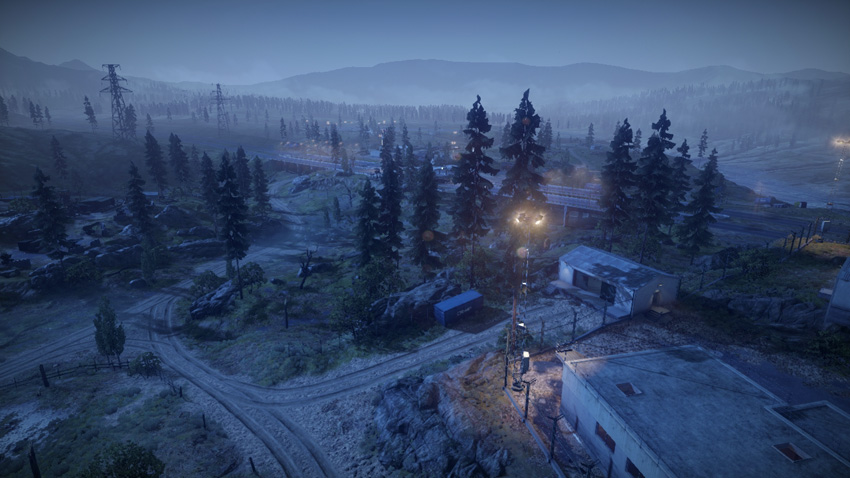
Although the RU team doesn’t gain any extra support in the form of vehicles, the train yard is a relatively solid defensible area, giving the RU team a chance of stopping the US advance. The train yard sits on a slight hill southwest of the power station. Be ready to engage US traffic along the dirt roads leading up the hill. These roads are choke points and should be mined to prevent vehicle rush attacks. While traffic along the rail bridge is possible, it isn’t likely. Move the SPRUT-SD to the north side of the train yard so it can engage approaching vehicles and infantry pouring out of the power station. As usual, support the SPRUT-SD with plenty of engineers so they can provide repairs as needed. Also, don’t neglect the gunship orbiting above. If the US ground forces are stopped, watch out for enemy troops parachuting in from above. Spot and hunt down every parachuting soldier before they can establish a presence within the train yard.
M-COM Station A
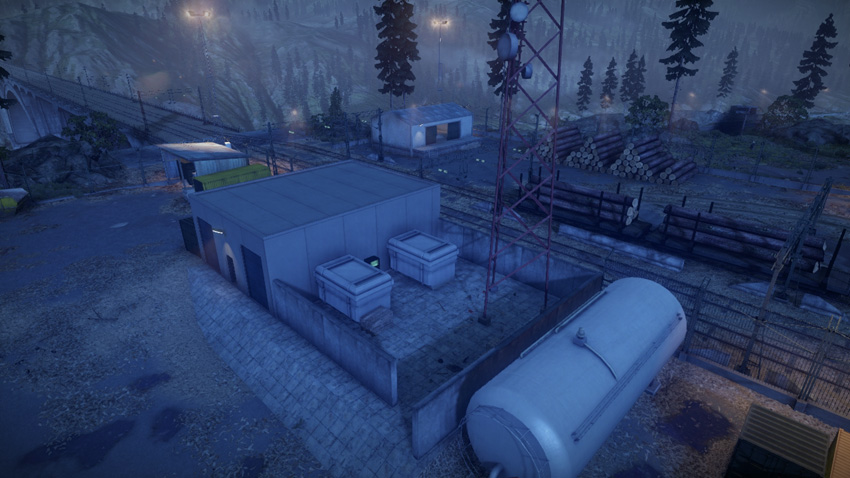
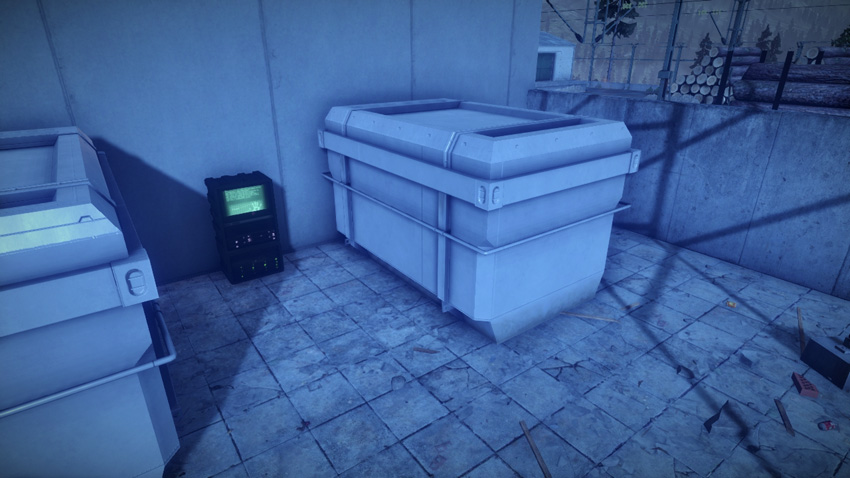
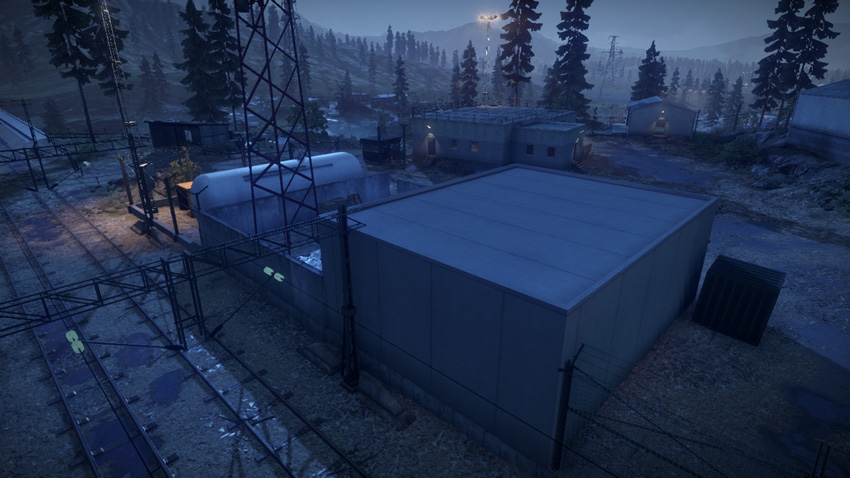
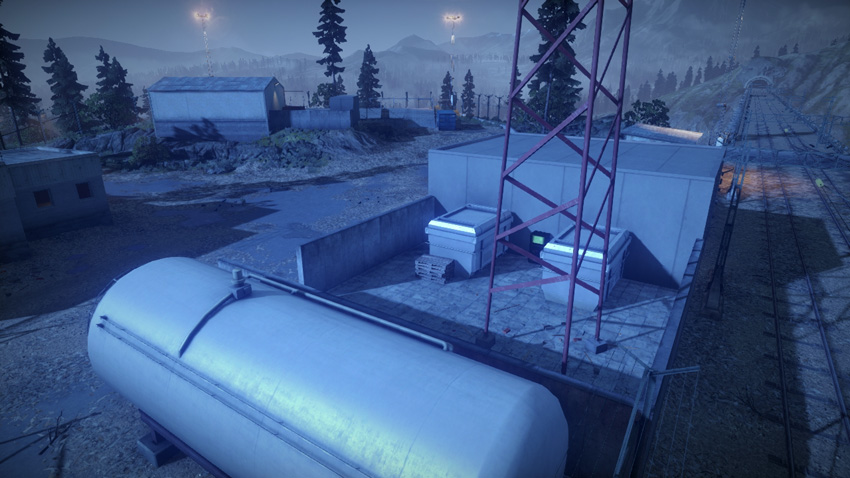
M-COM Station A is tucked between two transformers near the center of the train yard. The surrounding walls and structures help insulate the objective from the chaos erupting on the periphery. Defenders have an easy time ambushing attackers here, hitting them at close range with shotguns and PDWs. The lack of long-range sight lines on the objective makes it difficult for defenders to watch from close range. So when defending, always keep a squad close to this objective. Instead of channeling through the only entry point on the south side, attackers should breach the perimeter wall in an effort to take defenders by surprise. The building directly behind the objective is also accessible. Consider taking out the wall directly behind the objective and attacking from the west.
M-COM Station B
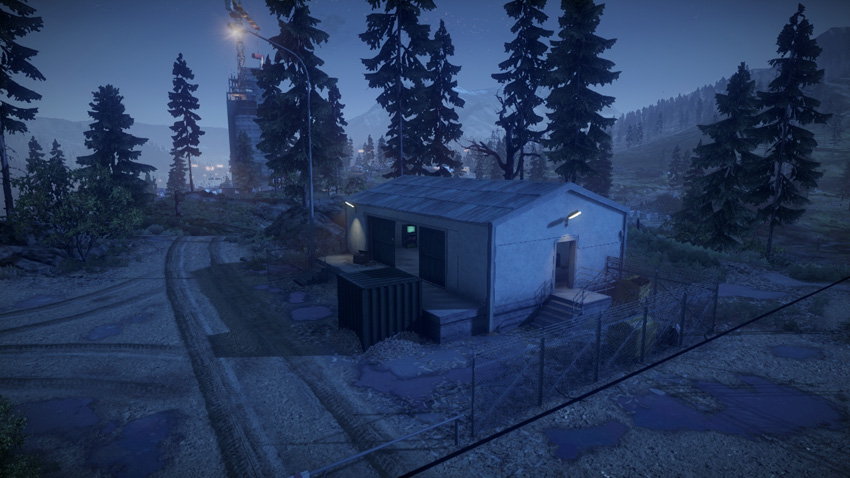
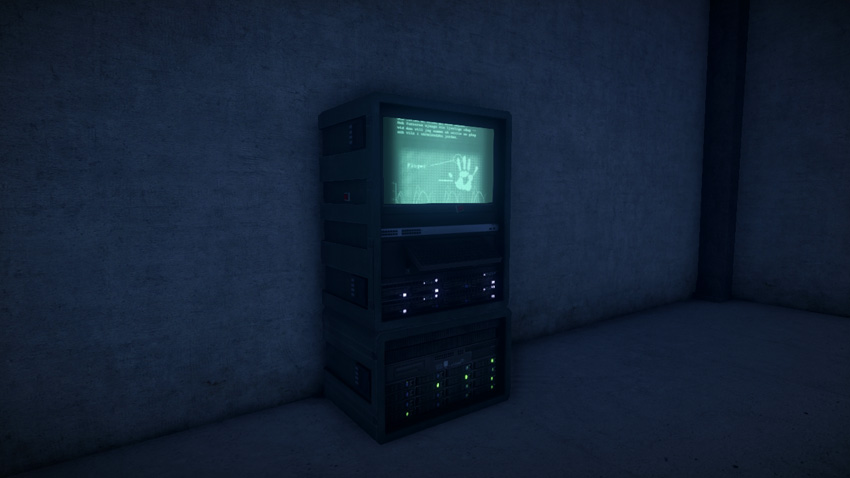
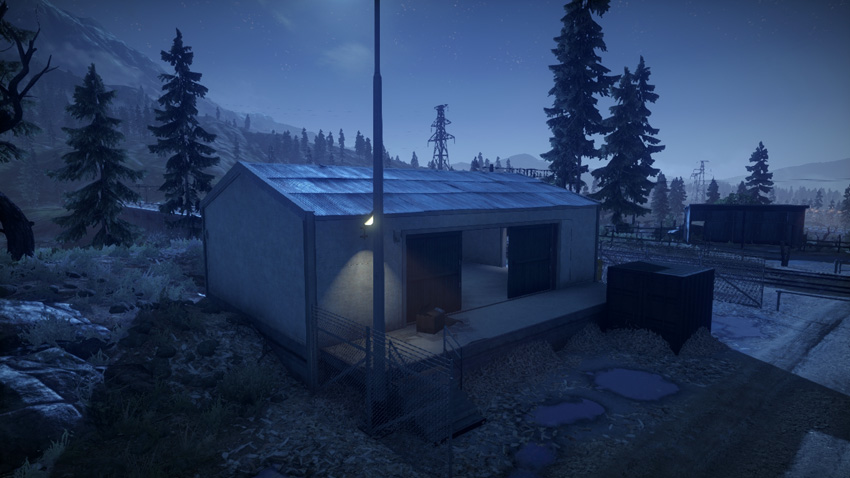
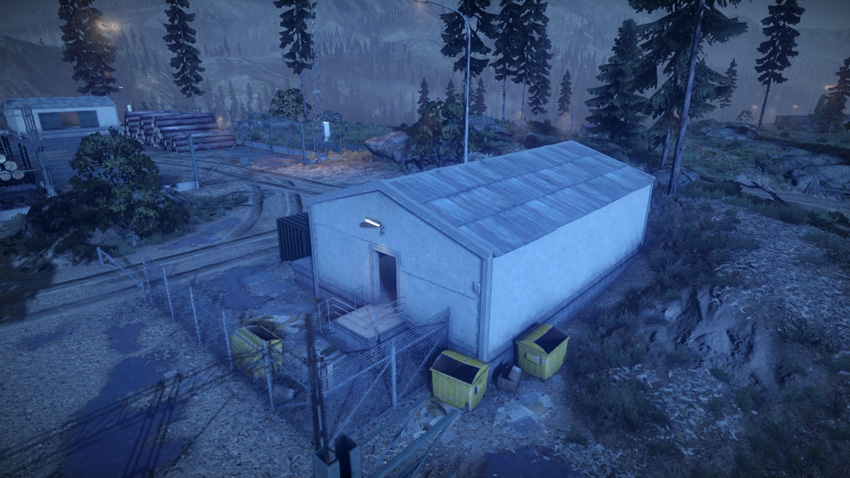
This objective is within a small concrete building on the north edge of the train yard. Early during this phase, the RU defenders should rush troops to this position to prepare for rush attacks by the US. Given its proximity to the power station, this M-COM station is most likely to be targeted first. The nearby dirt road allows quick vehicle access, something defenders should always be prepared for. Parking the SPRUT-SD on this dirt road is one way to deter vehicle access. But defending engineers can bolster defenses by mining this road as well. If it can’t be destroyed early, attackers should approach this objective cautiously, preferably on foot. The building’s exterior walls can all be breached by explosives, so consider alternative entry points before approaching the M-COM station.
Zone 4: Highway Control
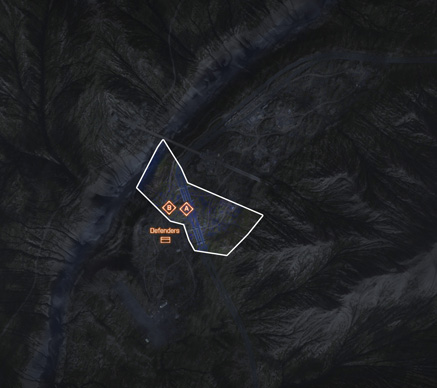
US Deployment
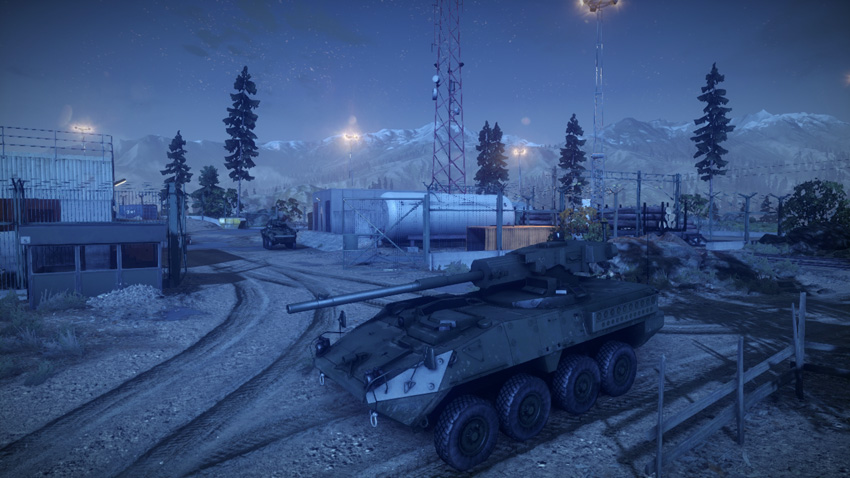
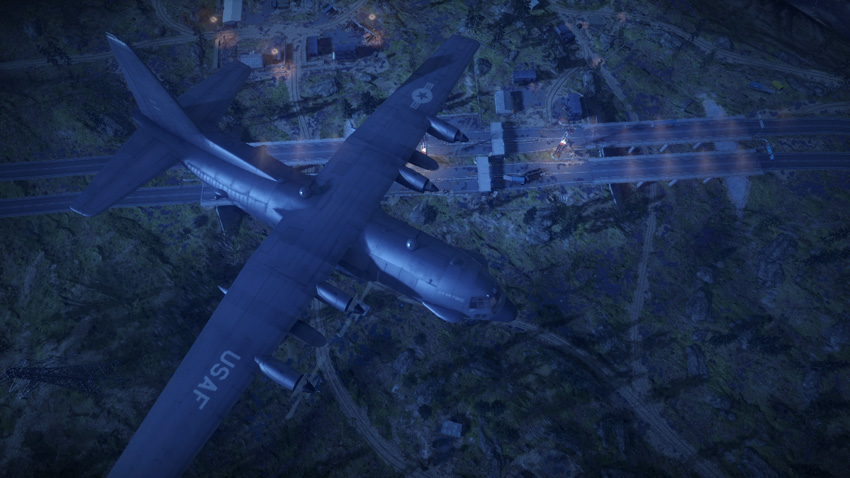
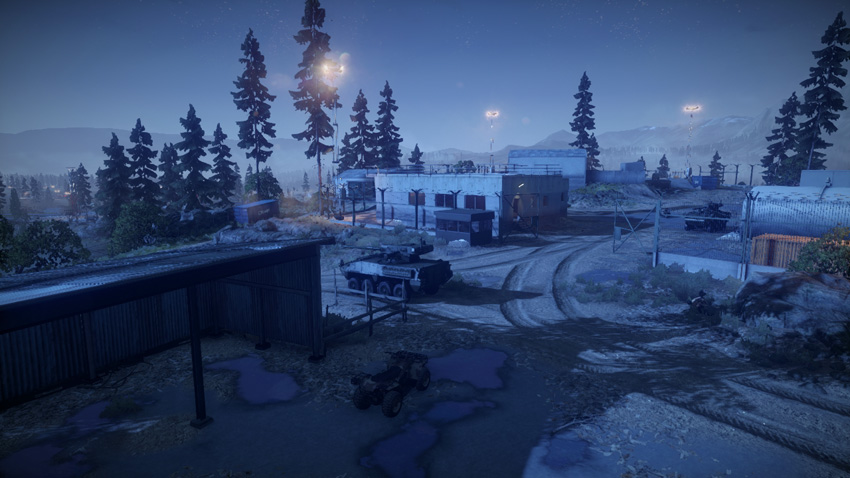
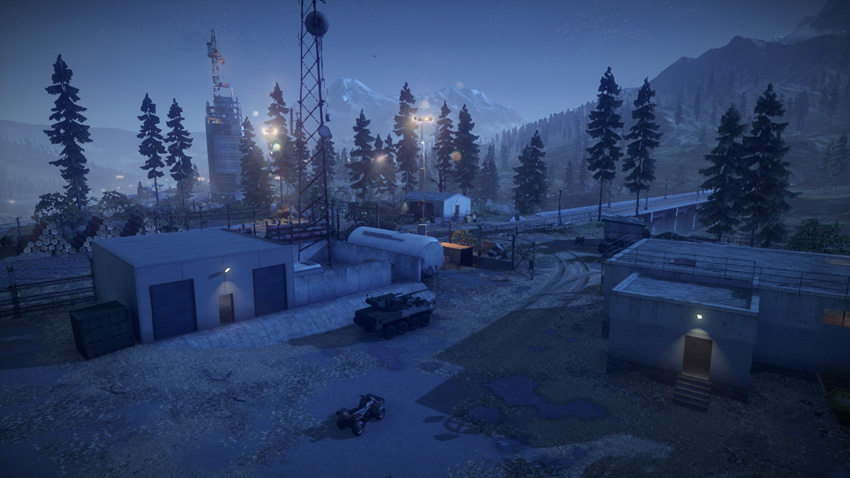
Deployment Area Assets
| Name | Quad Bike | M1128 | Gunship |
|---|---|---|---|
| Quantity | 2 | 2 | 1 |
| Respawn Time | 5 sec. | 20 sec. | 120 sec. |
In preparation for the next phase of the attack, the US team deploys from the train yard. Once again, vehicle selection is rather limited, so be mindful of teammates looking for a ride before leaving this area on a quad bike or in an M1128—moving through the valley on foot is not recommended. While a frontal assault may be effective if conducted with the assistance of teammates in other vehicles and the gunship, it’s best to look for flanking opportunities when approaching the highway control area. Consider hooking around from the west, where the defenders are less likely to expect an assault. Such sneak attacks are a great way to gain access into the facility and take out M-COM Station B in the process.
RU Deployment
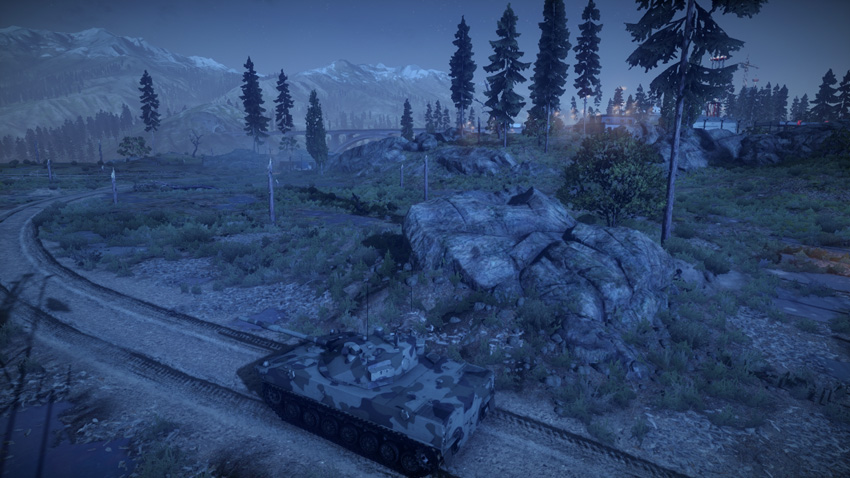
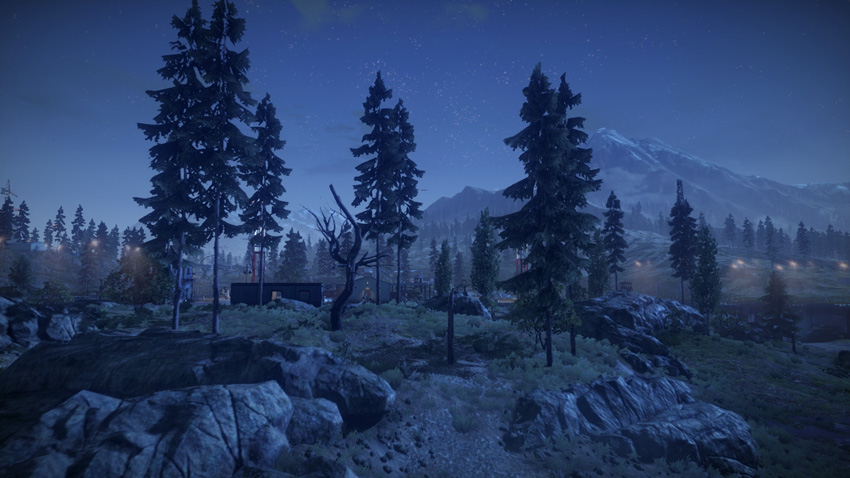
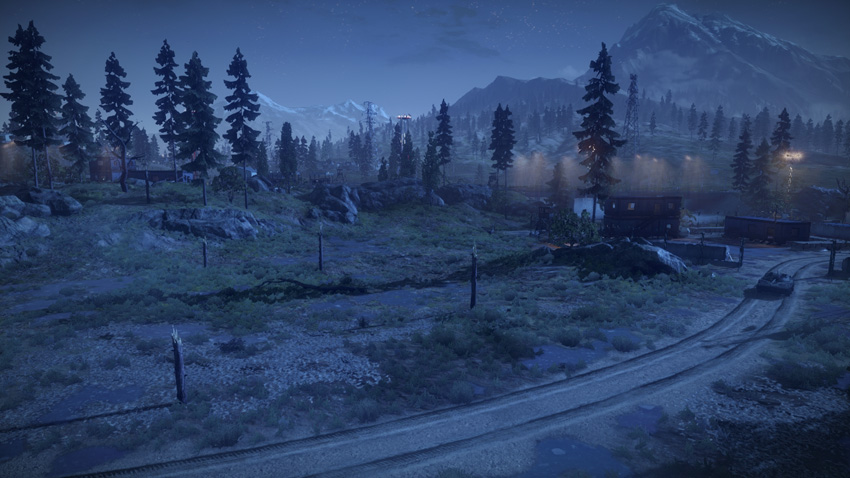
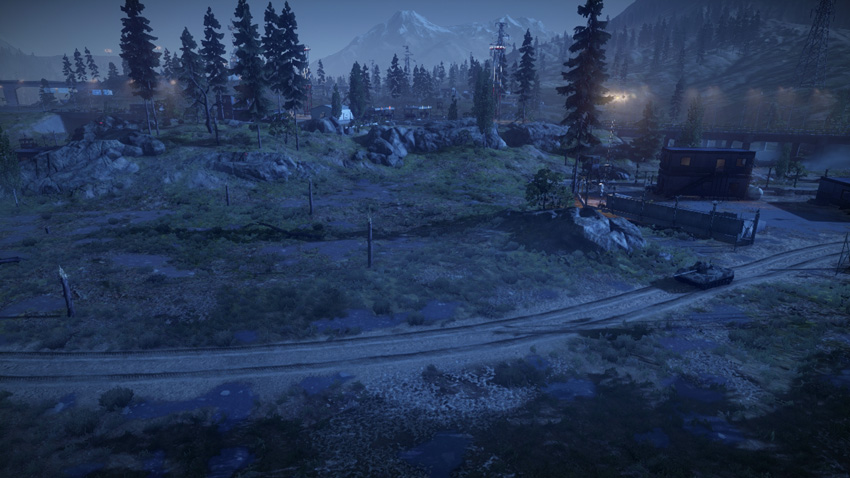
Deployment Area Assets
| Name | SPRUT-SD |
|---|---|
| Quantity | 1 |
| Respawn Time | 40 sec. |
During this phase of the battle the RU team deploys just outside the highway control area, giving them only a few precious seconds to establish a perimeter around the next objectives before the US team arrives. Both teams have access to the same vehicles this time, so expect similar tactics from the US team. While frontal attacks by the M1128 tank destroyers and parachute drops from the gunship are common, pay close attention to flanking attacks staged by US troops on quad bikes. Post squads on the eastern and western flanks to watch for sneak attacks on the objectives. The SPRUT-SD spawns far to the south, so don’t forget to bring it forward—you’ll need the firepower to deal with the US team’s M1128 tank destroyers.
M-COM Station A
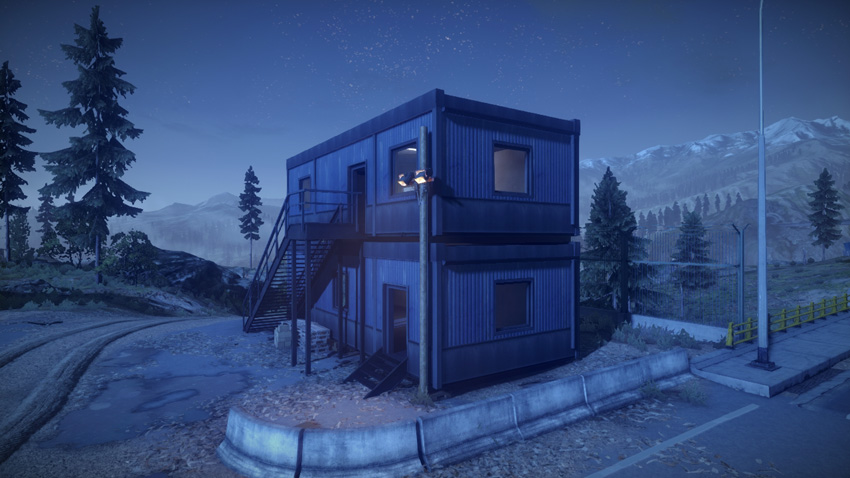
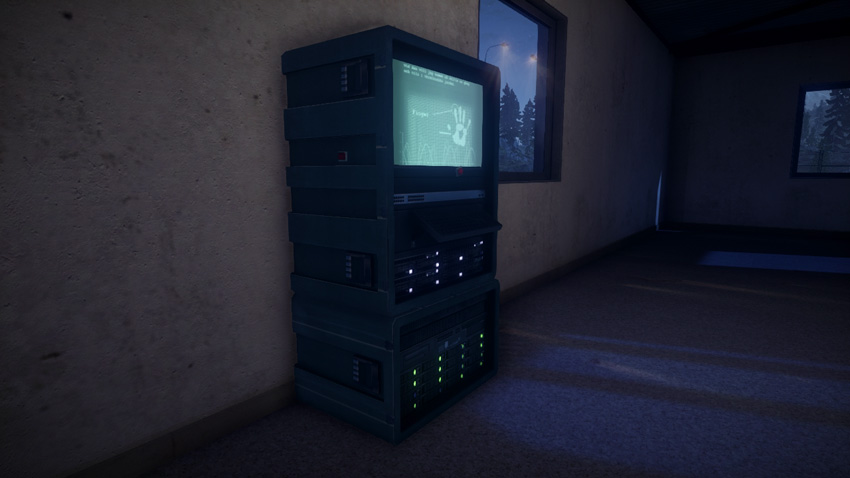
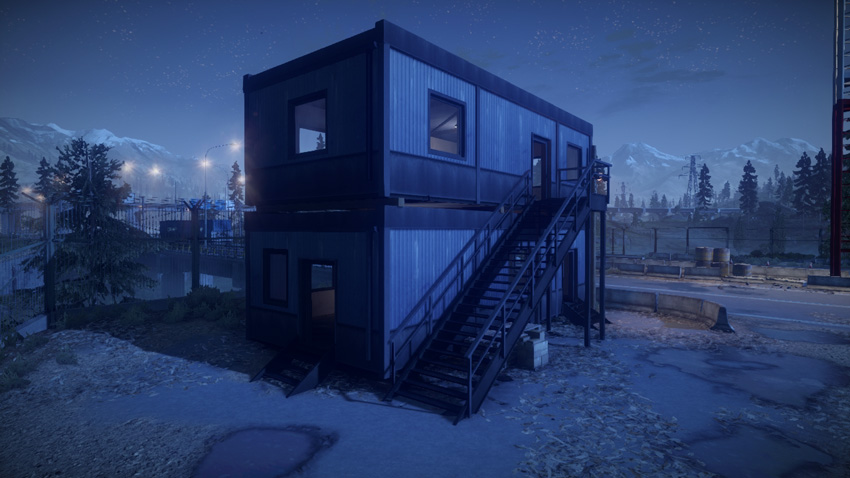
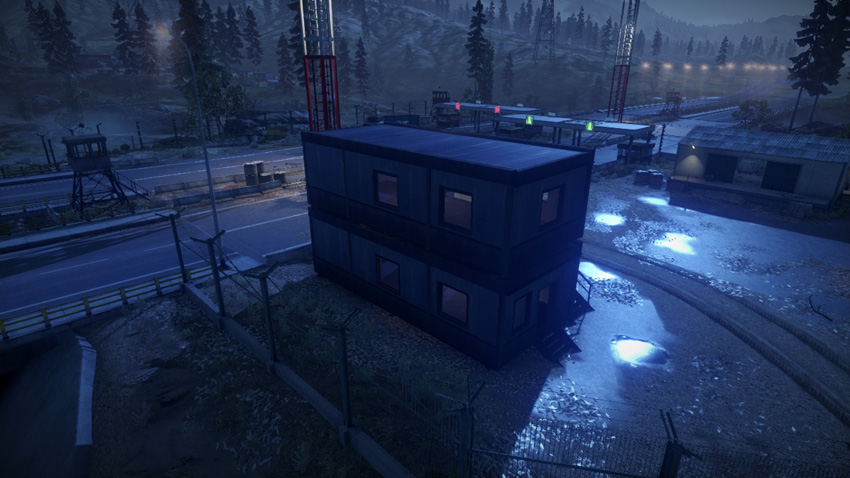
M-COM Station A is in a small prefabricated structure on the north edge of the highway control area. Defenders may wish to blow out the flimsy exterior walls of this small structure to provide better visibility of the objective. This makes it difficult for attackers to approach the M-COM station without being spotted. If the walls are destroyed, attackers must rely on smoke or the protection of tank destroyers to provide cover and concealment while planting a charge on the objective. Given its close proximity to the highway, defenders should watch for US vehicles rushing in from the north. Consider mining the highway and parking the SPRUT-SD nearby to provide fire support. Attackers are better off sneaking in from the west on foot.
M-COM Station B
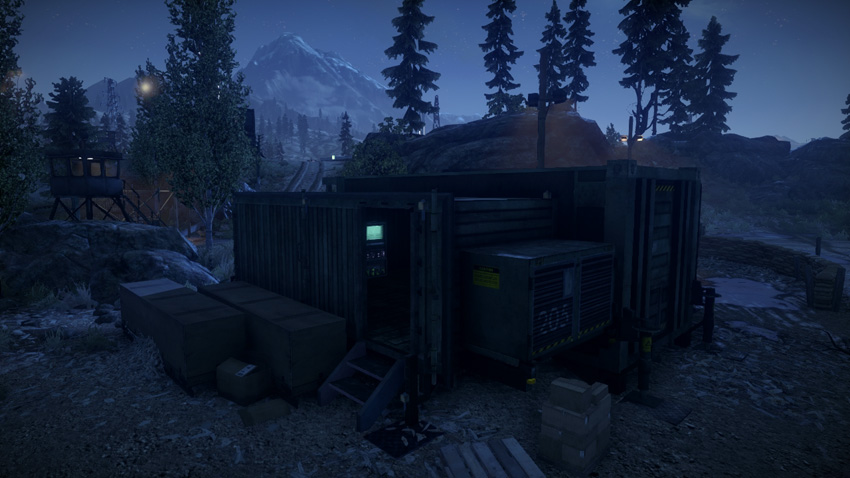
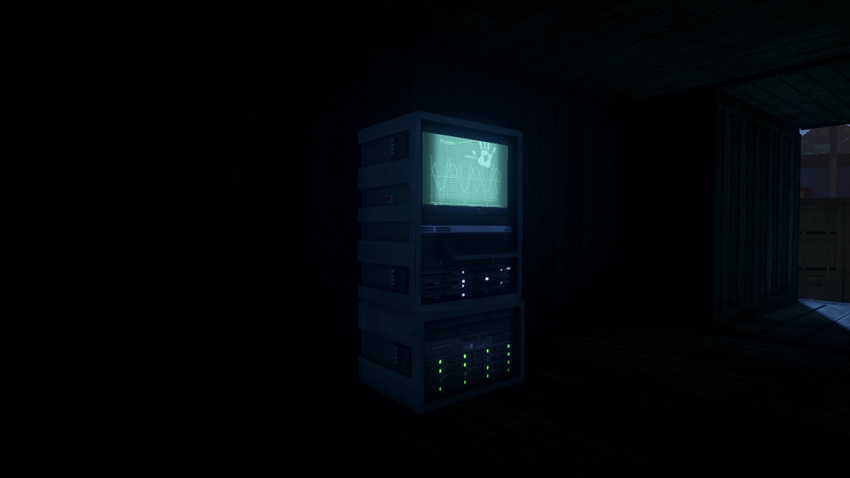
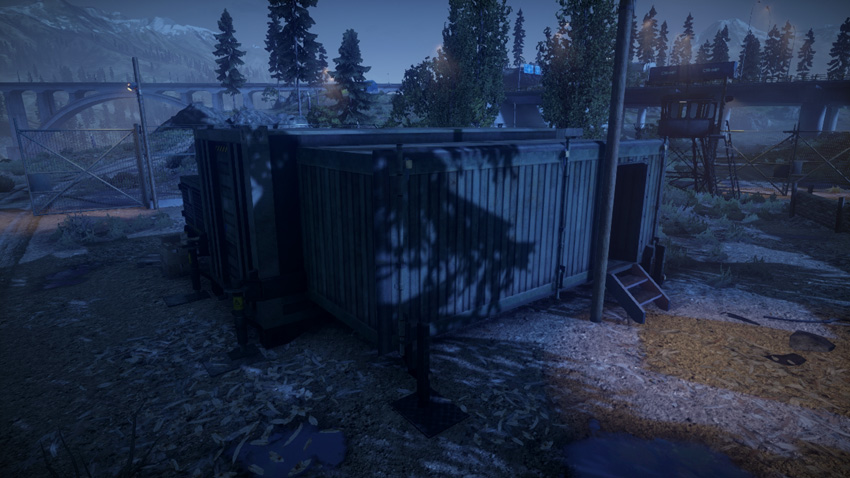
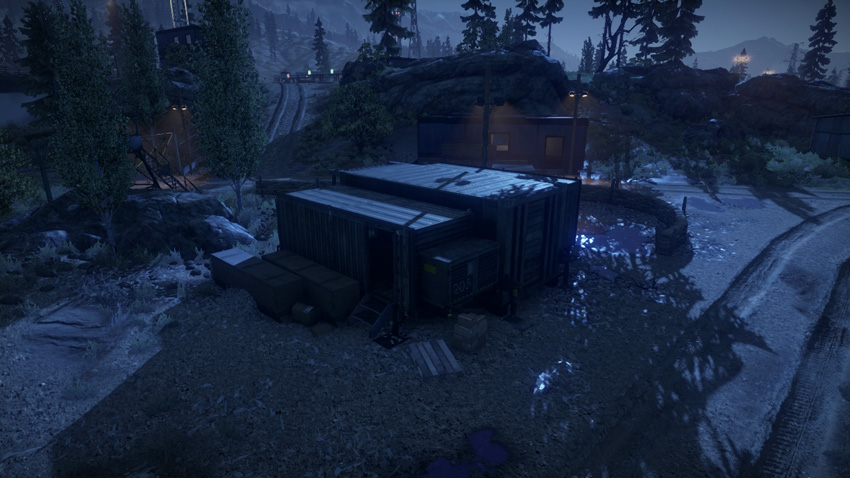
Unlike M-COM Station A, this objective is housed within a sturdy mobile communications structure positioned on the west side of the highway control area. Only two doorways lead into this small structure, and the walls cannot be destroyed. Therefore, each doorway is a critical choke point and should be approached with extreme caution. Attackers should always assume the interior is booby-trapped with claymores or C4. So before entering, always toss a grenade through the doorway to detonate any booby traps. Grenades are also a great way to flush out defenders hiding inside. Instead of hiding inside, defenders should form a perimeter around the structure, keeping eyes on the two entry points at all times.
Zone 5: Communication Station
zone5_map
US Deployment
Deployment Area Assets
| Name | Quad Bike | M1128 | Gunship |
|---|---|---|---|
| Quantity | 2 | 2 | 1 |
| Respawn Time | 5 sec. | 20 sec. | 120 sec. |
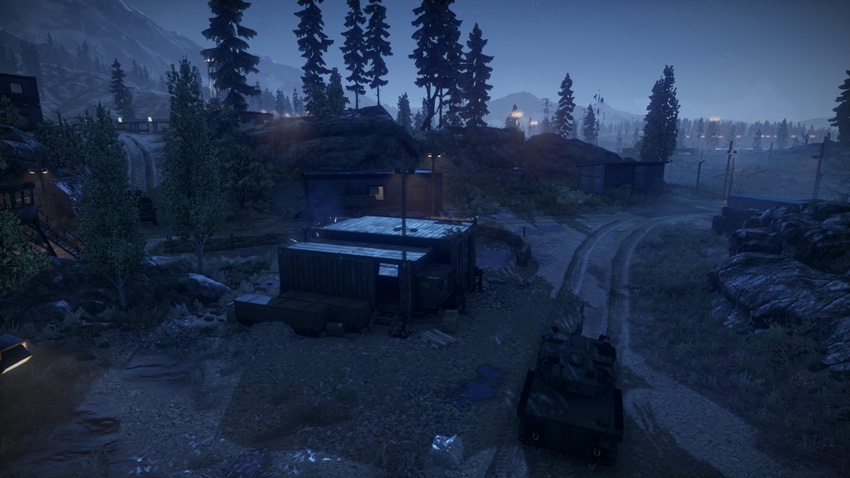
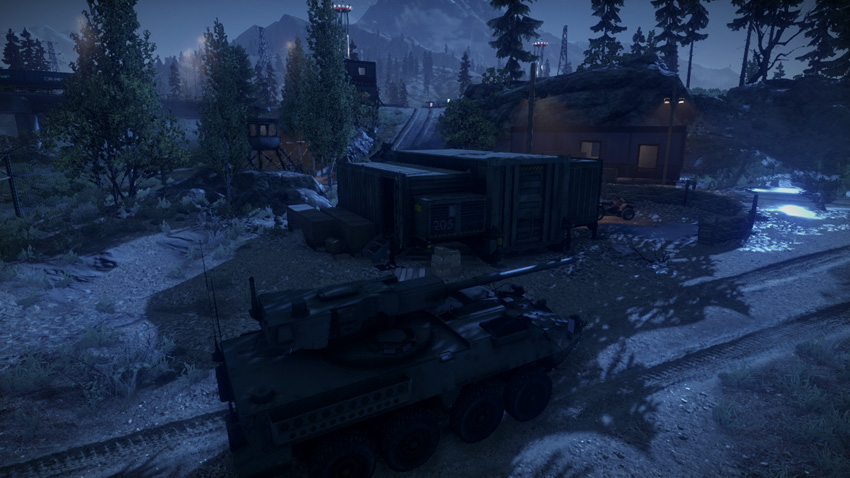
For the final phase of this epic battle the US team deploys near the highway control area in preparation for the final attack on the last M-COM stations located at the communication station to the southeast. While the deployment area has shifted, the vehicles available to the US team remain the same. The communication station is a large facility, potentially posing problems for the defenders. Instead of racing directly for the objectives, focus on infiltrating the facility first, placing radio beacons nearby to maintain a presence in the area. With infantry in place, soften up the defenders with aggressive attacks from the gunship and M1128 tank destroyers. Such distractions are helpful in drawing defenders away from the objectives, leaving them vulnerable to attack by friendly infantry.
RU Deployment
Deployment Area Assets
| Name | SPRUT-SD |
|---|---|
| Quantity | 1 |
| Respawn Time | 40 sec. |
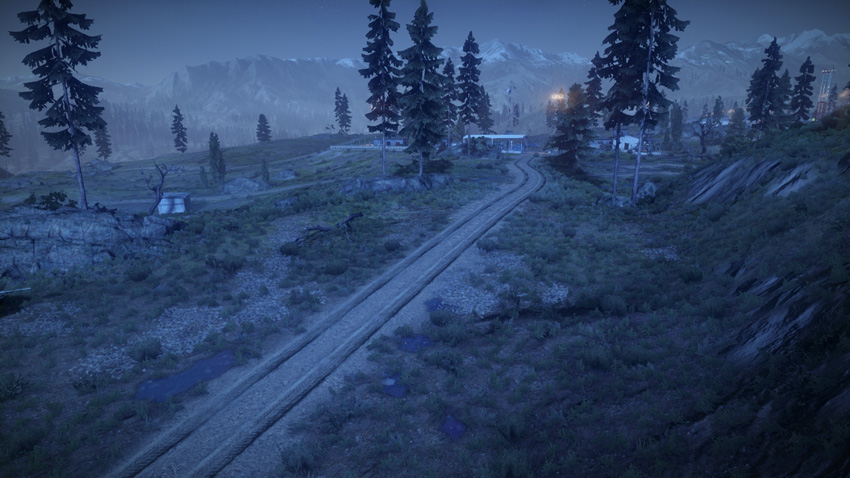
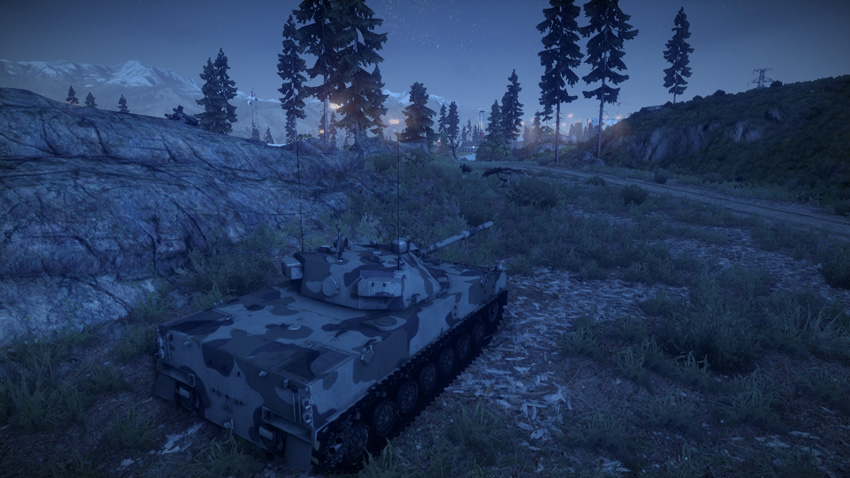
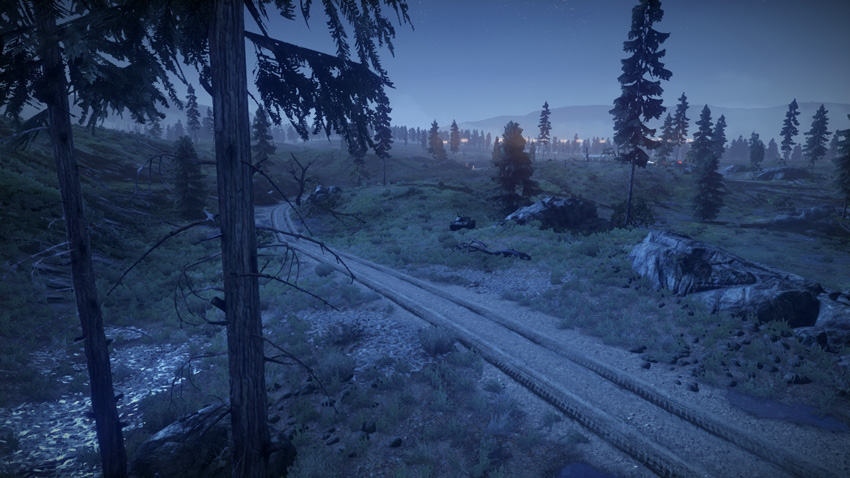
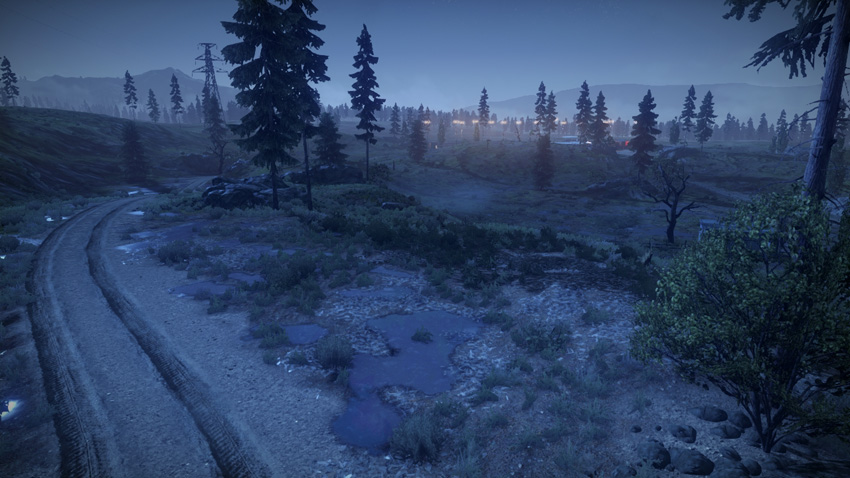
The communication station is the last stand for the RU team. Instead of trying to lock down the entire facility, focus your team’s defenses around the objectives. Initially the RU team deploys to the east of the communication station, along with the SPRUT-SD. Use radio beacons and squad spawning to maintain a constant presence within the communication station. Any slight lapse in coverage leaves the objectives open to attack by the US team. While most attacks are likely to come from the northwest, don’t forget to look up for paratroopers dropping in from the US team’s gunship. Once again, engineers armed with IGLA anti-air missiles are your best chance at shooting down this pesky airborne spawn point and weapons platform. With the gunship out of the picture, the RU team has a better chance of holding out for an upset victory.
M-COM Station A
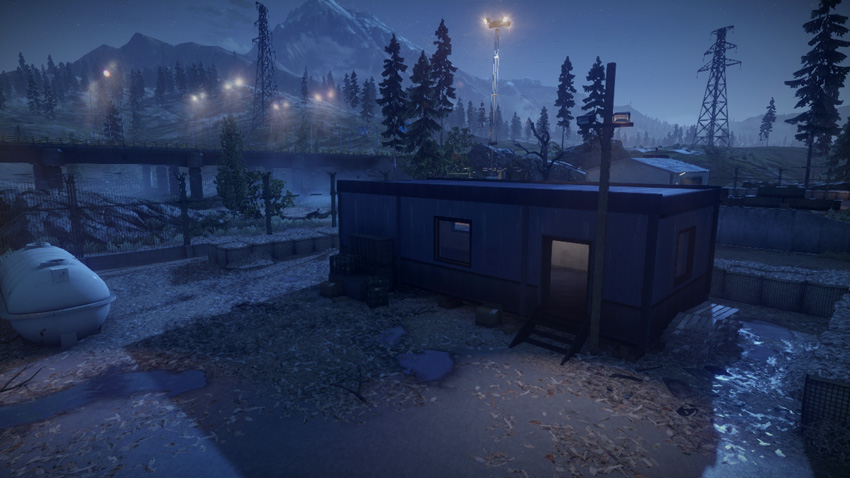
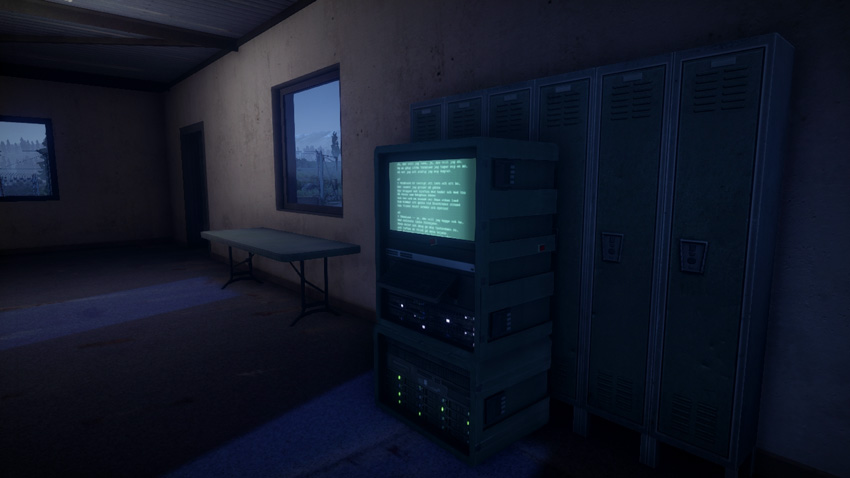
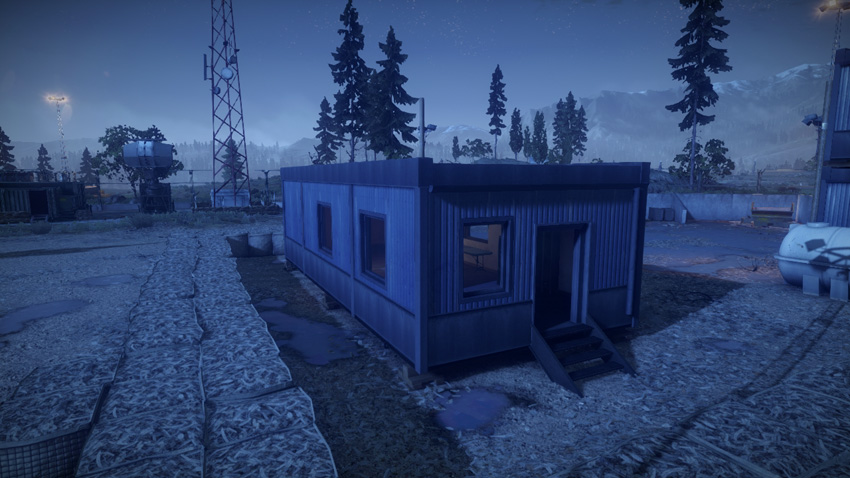
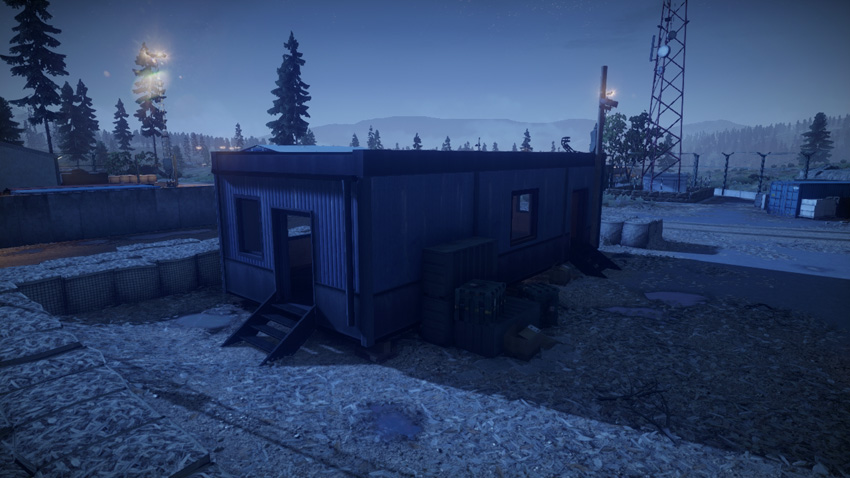
M-COM Station A is housed within a prefabricated structure on the north side of the communication station. For greater visibility of the objective, the structure’s exterior walls can be destroyed. Initially, this benefits the defenders, allowing them to spot any attackers sneaking up on the objective. But the tables are turned when the defenders must disarm the objective. So carefully weigh the pros and cons of destroying the exterior walls of this structure before cutting loose with explosives. Located at the intersection of two dirt roads, this objective is easily accessed by vehicles. As a result, defenders should consider mining the road while watching for approaching vehicles to the north and west. Parking the SPRUT-SD near this intersection can also serve as good deterrent while helping reinforce both objectives.
M-COM Station B
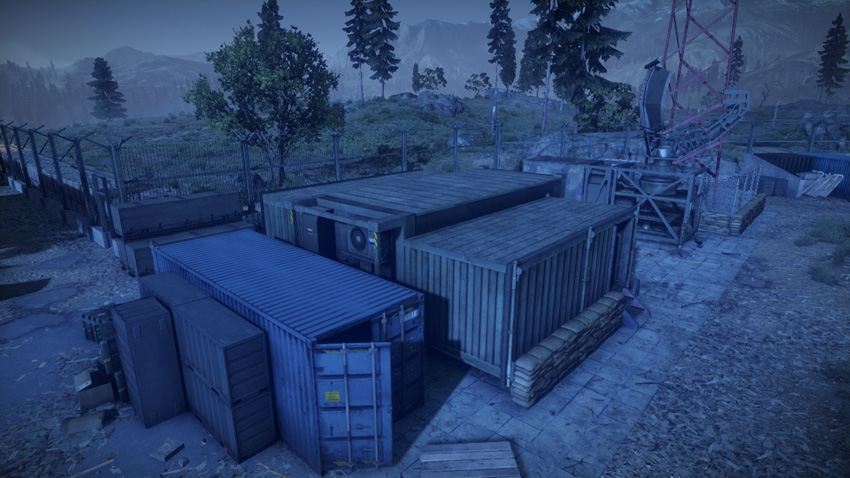
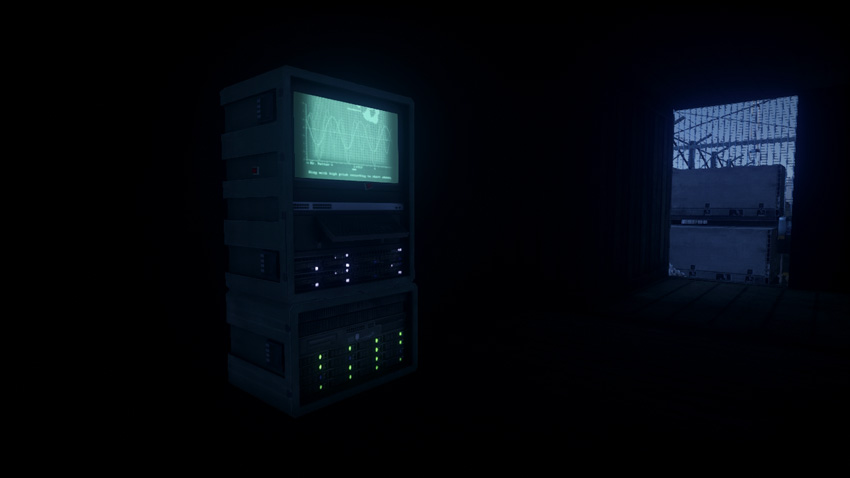
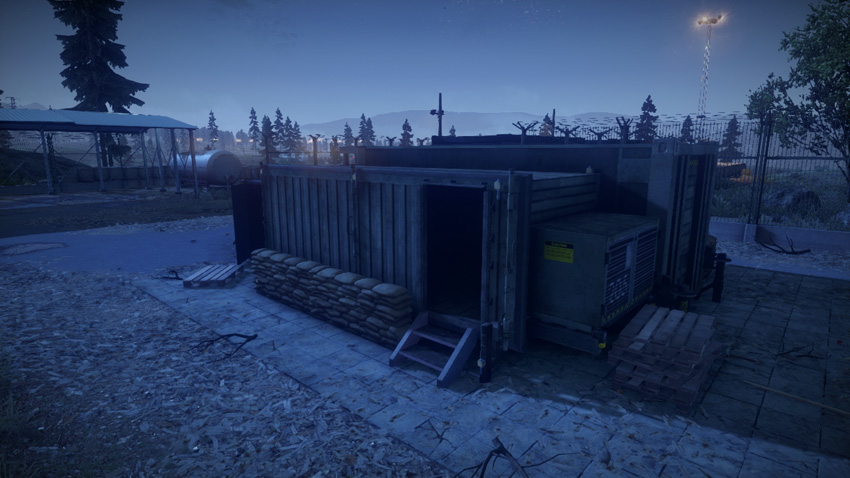
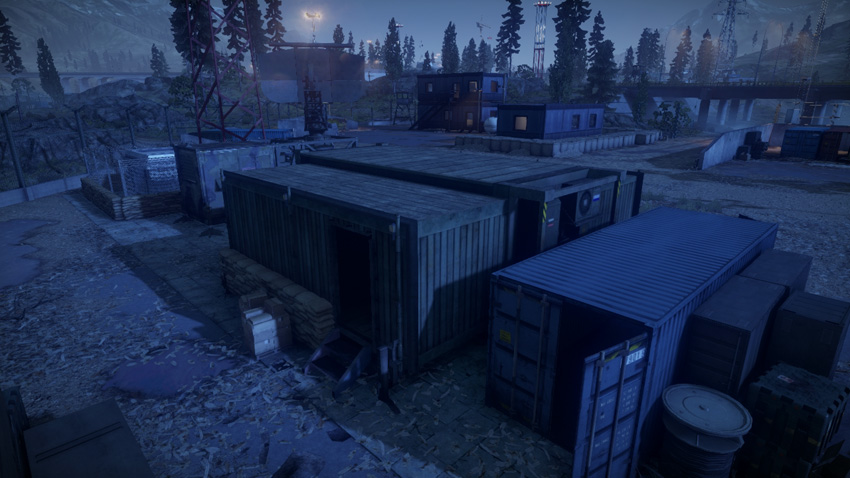
This objective is housed within a sturdy mobile communications structure located near the center of the communication station. Defending this M-COM station comes down to watching the structure’s two narrow doorways. Placing booby traps such as claymores or C4 within the structure is also effective. However, any booby traps can be detonated with a hand grenade prior to entry—something all attackers should consider before racing toward the objective. While the walls and roof of this sturdy structure can’t be destroyed, vehicles are still valuable when it comes to controlling traffic around the structure. Both teams can benefit from moving their tank destroyers nearby while infantry plant or disarm a charge. For the US, the gunship is extremely useful for suppressing defenders posted around the structure’s perimeter.
Squad Rush
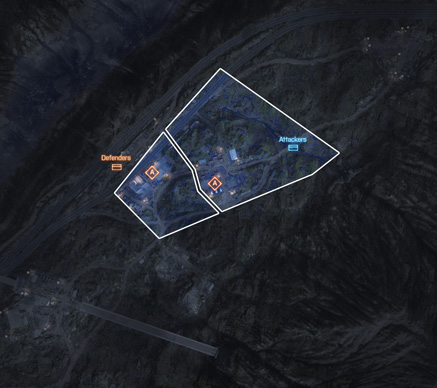
Advancing under the cover of darkness gives the attackers a slight advantage during this Squad Rush battle. Still, the attackers must approach the objectives at the logging camp and construction site with extreme caution. There are plenty of hiding spots at both locations, giving the defenders the upper hand. Both team should rely on recon troops to gather intelligence, either with T-UGS motion sensors or MAVs. IRNV (IR 1x) scopes are also effective, helping you spot the heat signatures of your opponents. Placing a radio beacon near each objective is also a good idea, whether attacking or defending. Maintaining a spawn point close to the objective is the best way to exert control over each location.
Zone 1
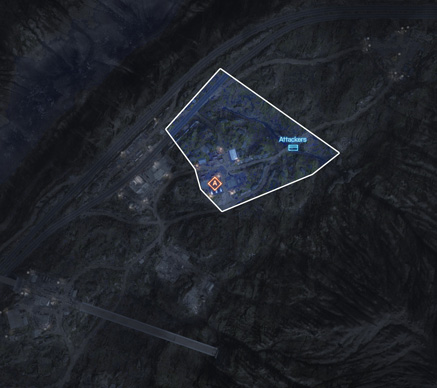
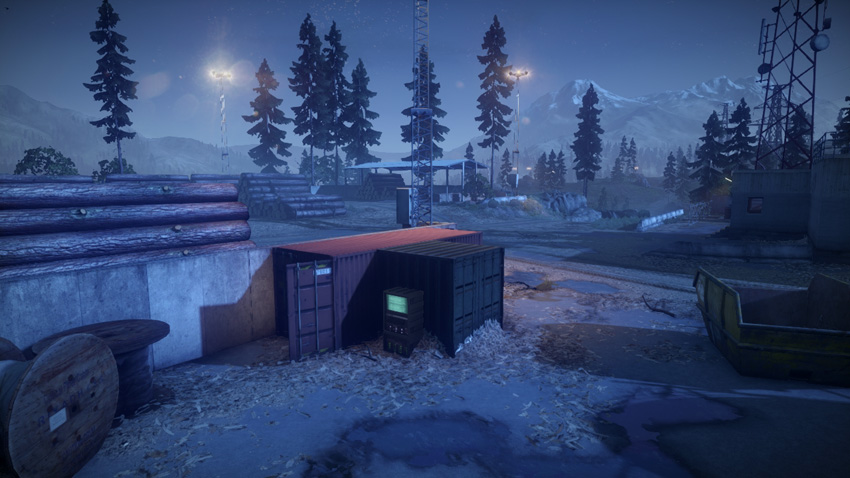
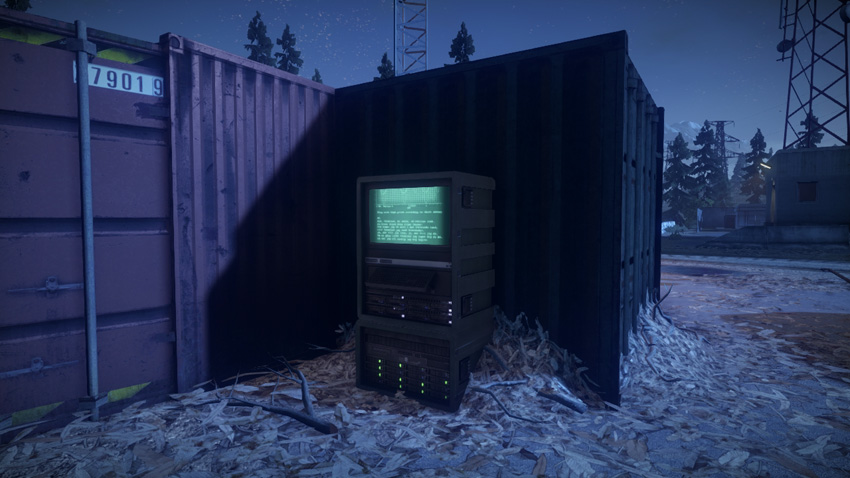
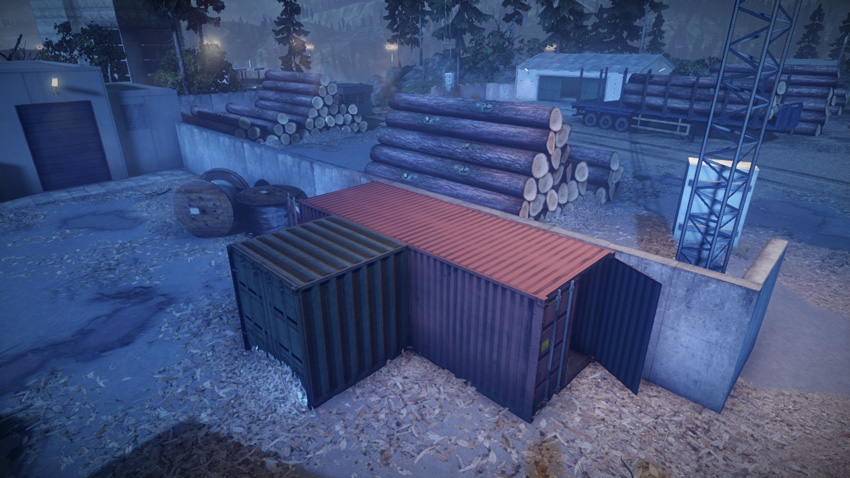
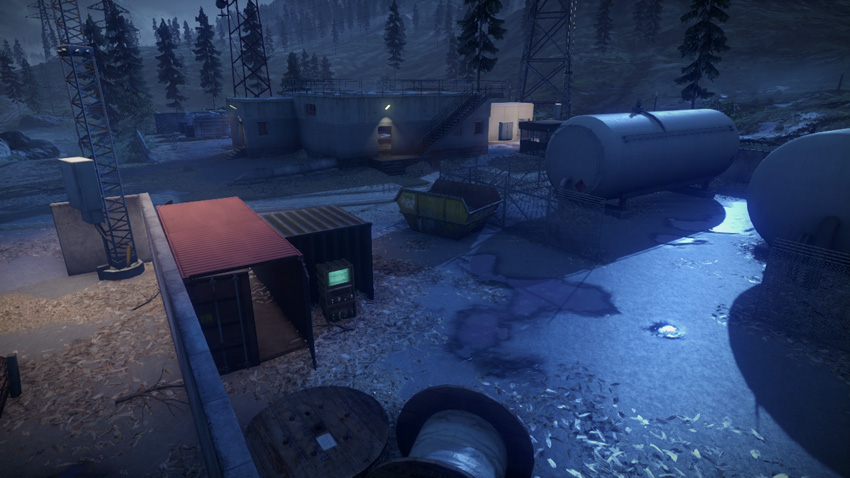
The first M-COM station is located at the logging camp, nestled against a large green crate and red shipping container. The logging camp is a large facility for one squad to effectively lock down, so the defenders should stay focused on the objective. The concrete building south of the objective is a good hiding spot for defenders. From the doorway it’s possible to see the M-COM station and anyone who approaches it. Attackers should always expect defenders to be hiding nearby, particularly in the shipping container. Launching a MAV ahead of the attack is a good way to locate the defenders and neutralize them before approaching the M-COM station. But even a MAV won’t spot defenders hiding within the surrounding buildings, so always approach this area with caution.
Zone 2
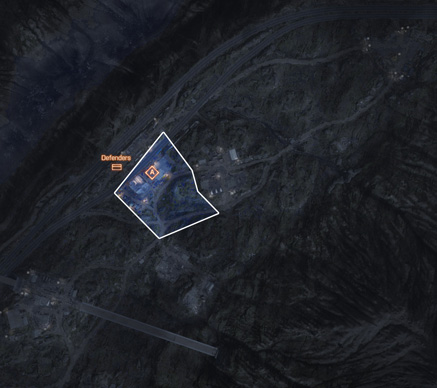
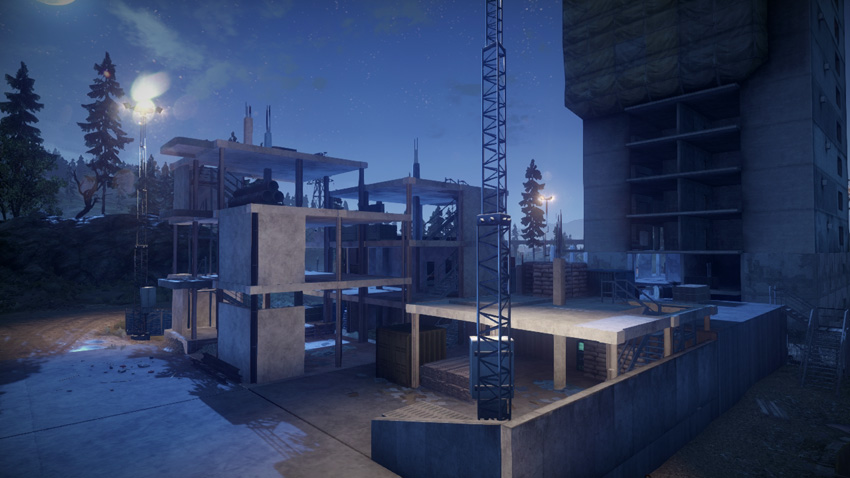
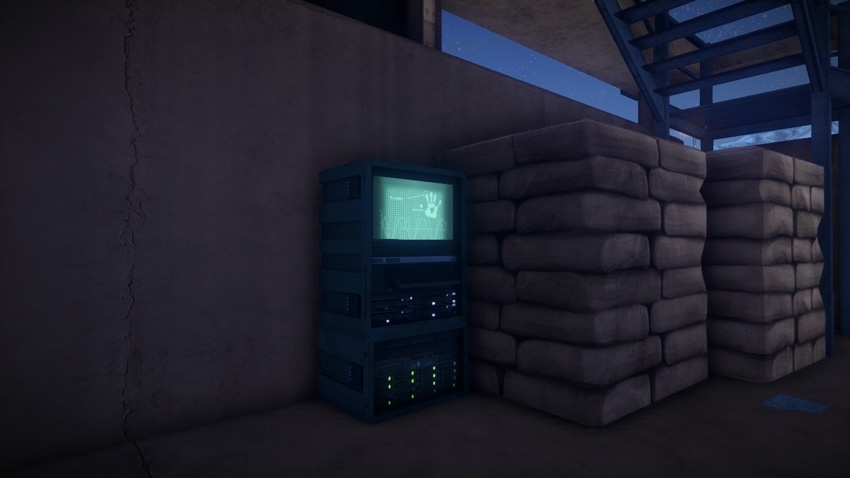
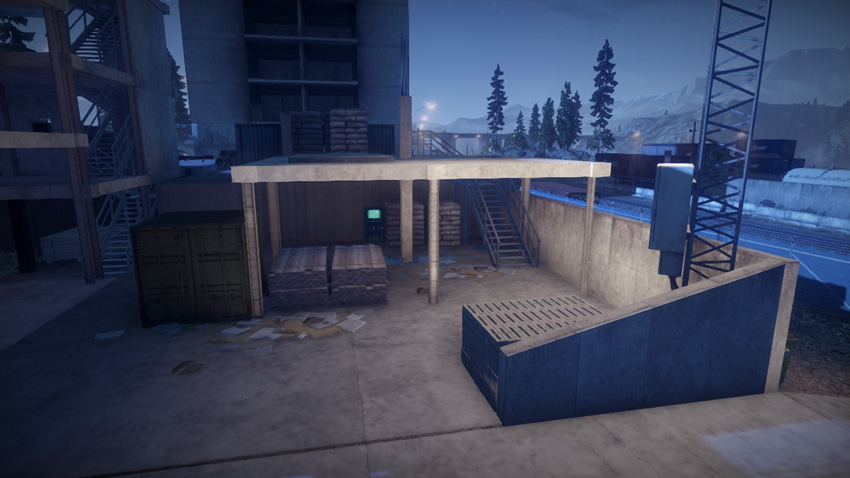
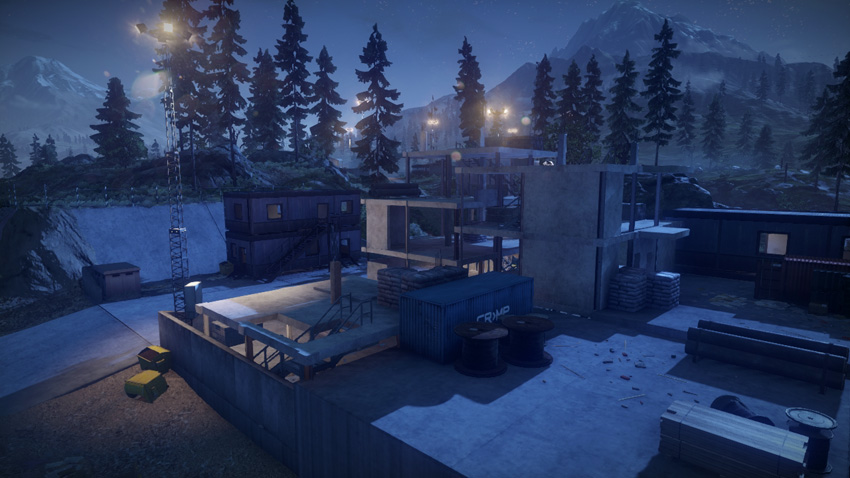
The second and final M-COM station is located at the construction site on the ground floor of a partially completed building. There are numerous hiding spots for defenders here, making it a very difficult objective to attack. Defenders seeking high ground can climb to the top of the structure to the east in an attempt to spot attackers approaching the area. The trailer to the north is also a popular cover point, allowing troops from either team to keep their eyes on the M-COM station. If the defenders cannot be spotted with a MAV, the attackers should rely on smoke to cover their advance—deploy smoke with a mortar or grenade launcher. Consider flanking from the west and breaching the concrete wall with explosives to sneak up on the objective.
Team Deathmatch
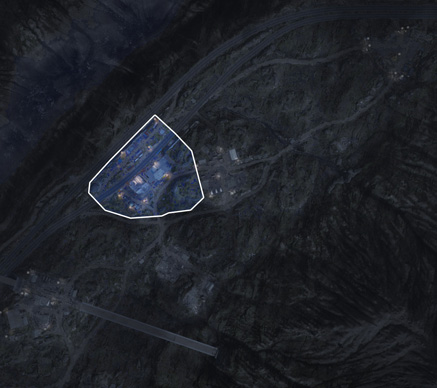
This intense infantry battle is focused entirely around the construction site. Teams often gravitate toward the structures in the middle of the map, attempting to take the high ground. But the elevated floors and rooftops of the partially constructed buildings are exposed, making a sedentary strategy risky unless supported by the whole team. Don’t bother camping on one of the elevated floors unless you have a teammate (or claymore) at the top of the stairs. Most fighting at the construction site takes place at close range, making shotguns and PDWs most effective. Instead of defending one point at the contentious center of the map, consider patrolling the perimeter while engaging opponents in the middle. From the perimeter it’s possible to engage opponents holed up in the buildings at the construction site without drawing too much attention to yourself. But don’t bother bringing along a sniper rifle—assault rifles are more than adequate at this range, plus you’ll want the versatility of an automatic weapon on this chaotic map.
Squad Deathmatch
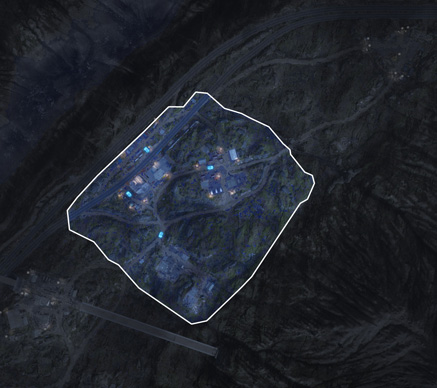
In this game mode the map is restricted to the north side of the valley, with fighting focused around the logging camp, construction site, and power station. Two of the four possible IFV spawn points are located near the construction site, so make an effort to control the west side of the map in an effort to secure an IFV. Once your team has gained access to a BMP-2M, stay clear of the three main facilities, as they offer plenty of hiding spots for opponents armed with rocket launchers and other IFV-killing weapons. Instead consider driving to the east side of the map and engaging opponents at long range with the BMP-2M’s weapons. While driving the BMP-2M, the thermal optics upgrade can come in handy for spotting opponents rushing through the darkness, so consider making this adjustment before spawning into the match. If you don’t have access to the IFV, consider staying on the east side of the map where traffic is much lighter. By patrolling the area between the power station and logging camp you can still rack up plenty of kills without exposing yourself to the chaos near the construction site.
Tank Superiority
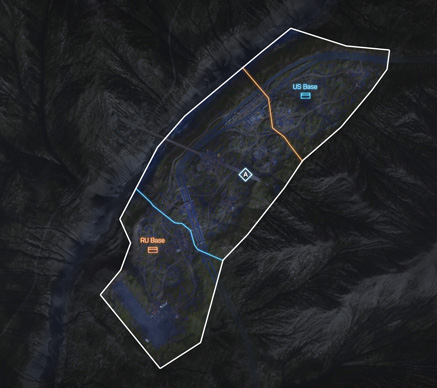
Superiority Flag
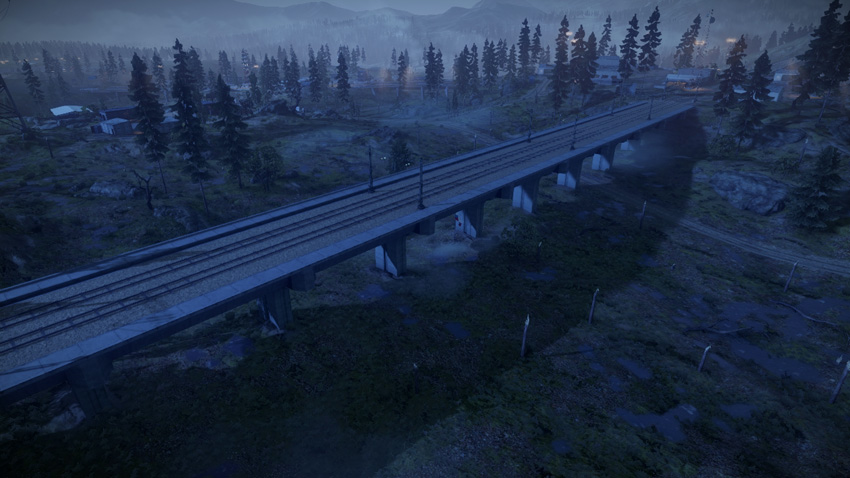
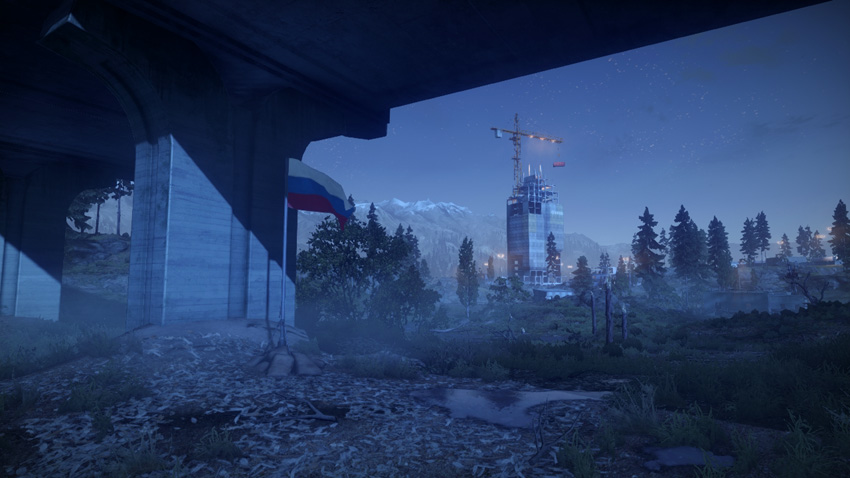
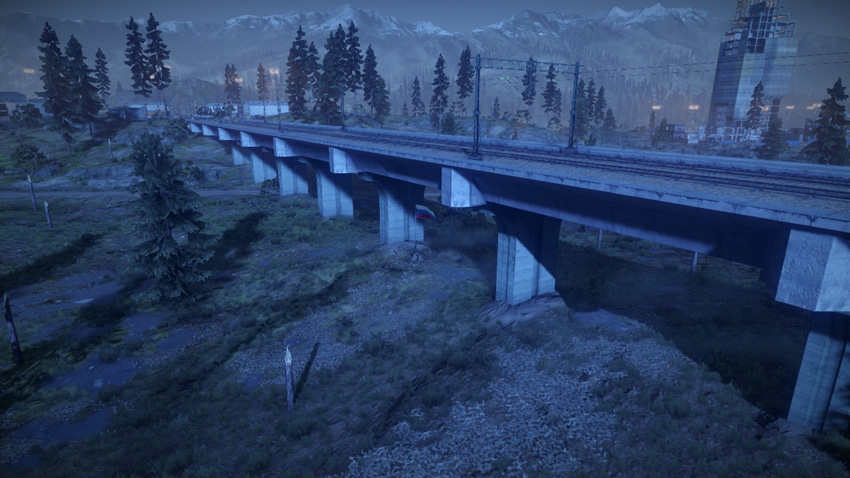
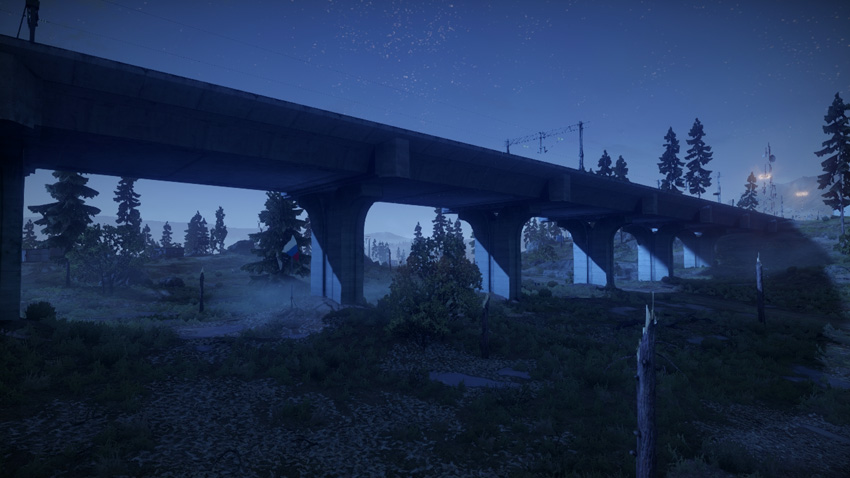
In this epic tank battle the flag is in the center of the valley beneath the railway bridge. The US team deploys from the logging camp on the north side of the map while the RU team deploys from the communication station to the south. Each team has access to the same number of tanks and tank destroyers, making it a fair race to the flag. The faster tank destroyers should lead the way while the tanks bring up the rear. But not all vehicles should rush toward the flag. The flag sits in a bowl-like depression surrounded by higher terrain to the east and west. Once the flag is captured, consider backing off and defending the valley from the eastern and western flanks. Avoid driving onto the railway bridge as it offers little room to maneuver and makes your vehicle easy to spot and target. Since this battle occurs at night, consider equipping thermal optics to help you spot enemy vehicles and infantry moving through the valley. Amid the chaos of the battle, engineers can make themselves useful by targeting enemy vehicles with Javelins. Recon troops can also lend a hand by planting SOFLAMs around the valley’s perimeter, ideal for laser-designating targets for laser-guided munitions.