
New Super Mario Bros. U Guide Walkthrough Worlds
Superstar Road
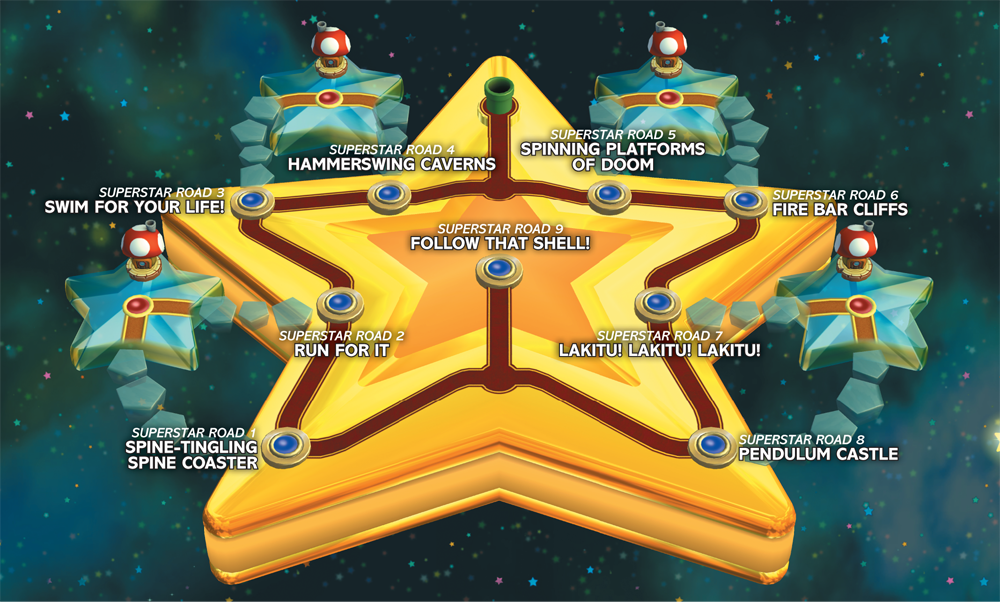
Locations
| Levels | Toad Houses | Map Enemies | Boss |
|---|---|---|---|
| 9 | 4 | None | None |
Superstar Road 1
Spine-Tingling Spine Coaster
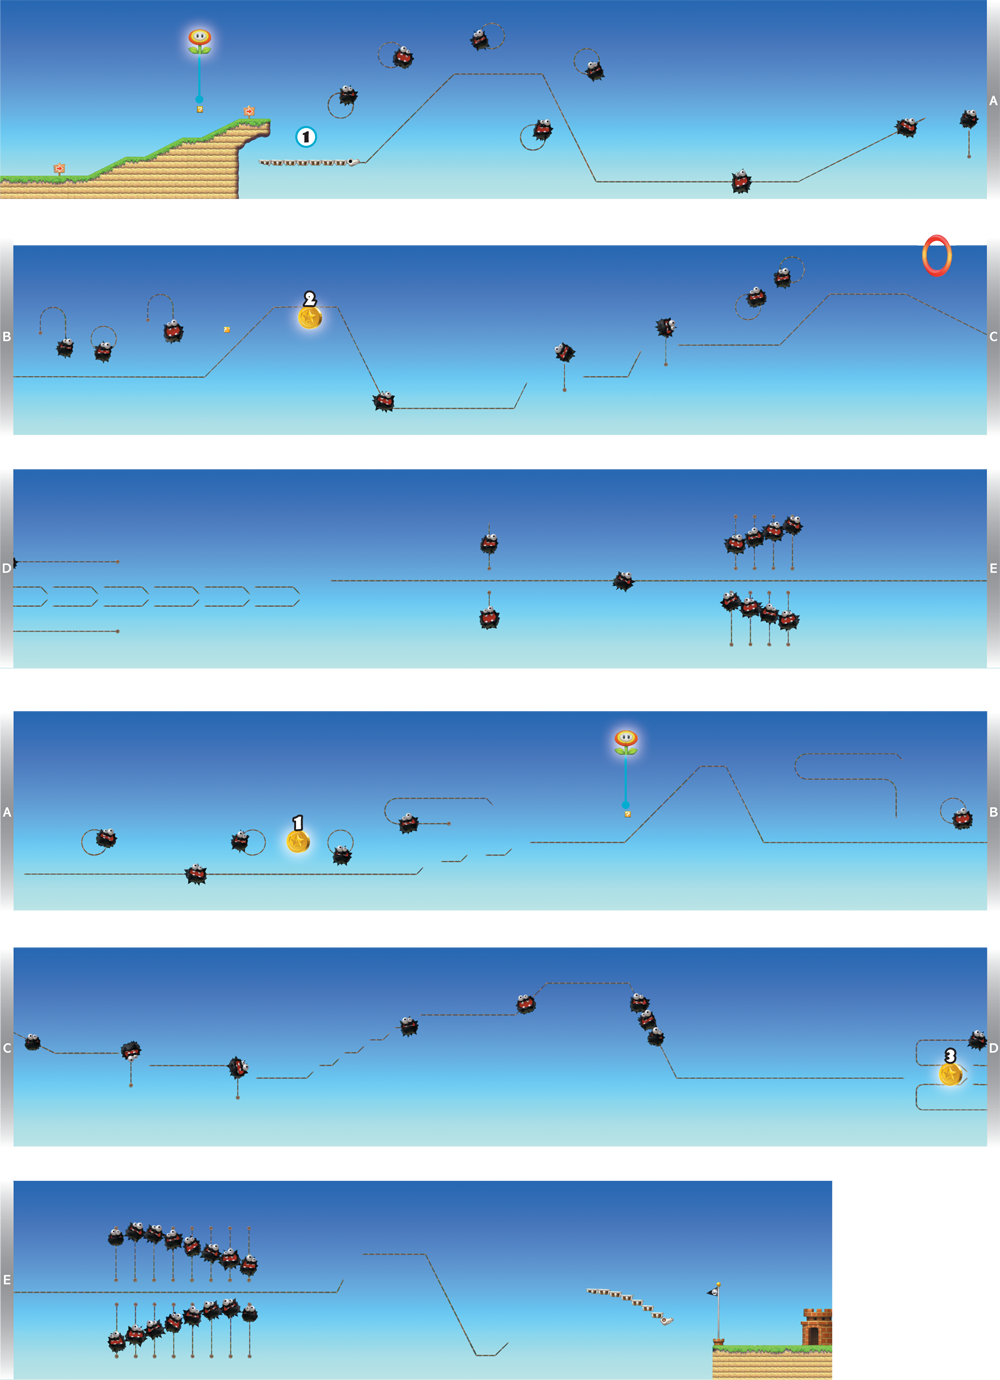
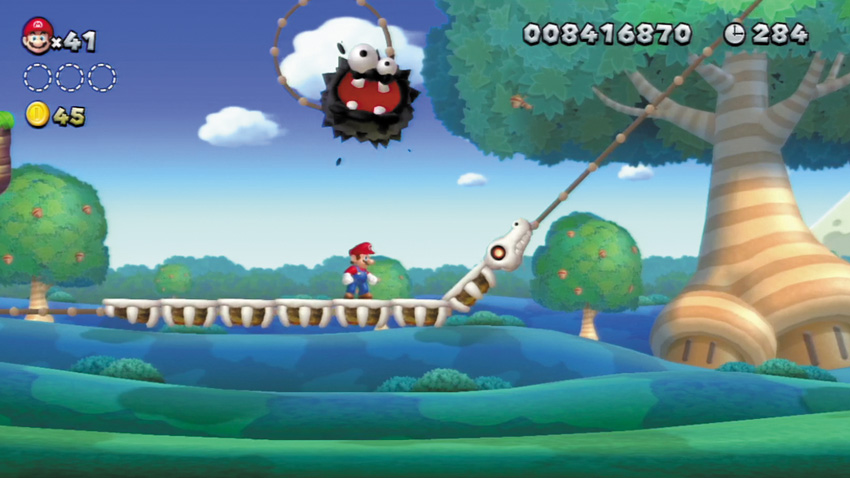
The Spine Coaster makes its triumphant return! Hop aboard right here, and get ready for a wild ride!

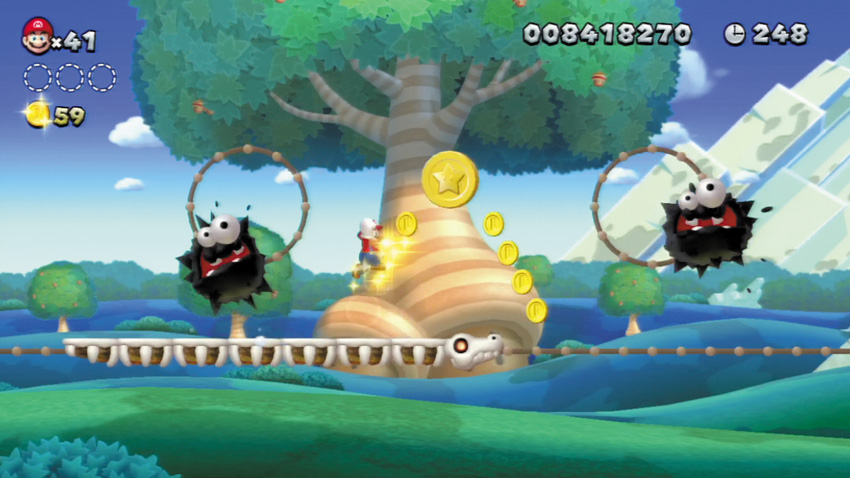
There’s nothing special involved in collecting the first Star Coin—just jump up between a pair of Fuzzies and grab it as you speed past.

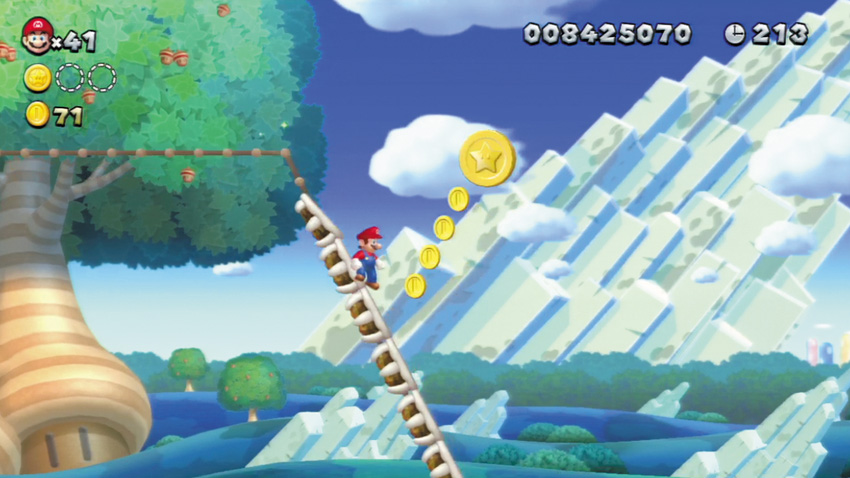
Don’t be fooled by the second Star Coin—you can’t reach it at first. Ride past the Star Coin. As the Spine Coaster descends the next slope, the Star Coin will move to a new position. Jump up and grab it while you have the chance!

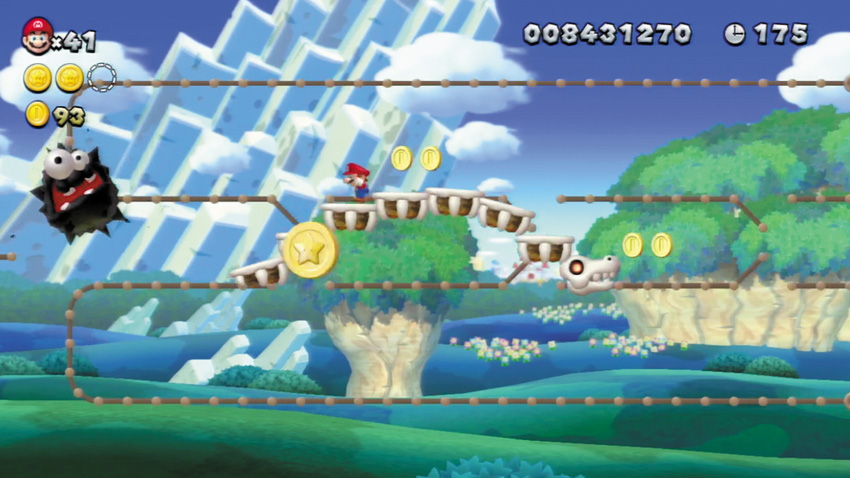
The third Star Coin moves along a track behind the Spine Coaster here. Simply stand near the back of the Spine Coaster and collect the Star Coin before it flies away.
Superstar Road 2
Run for It
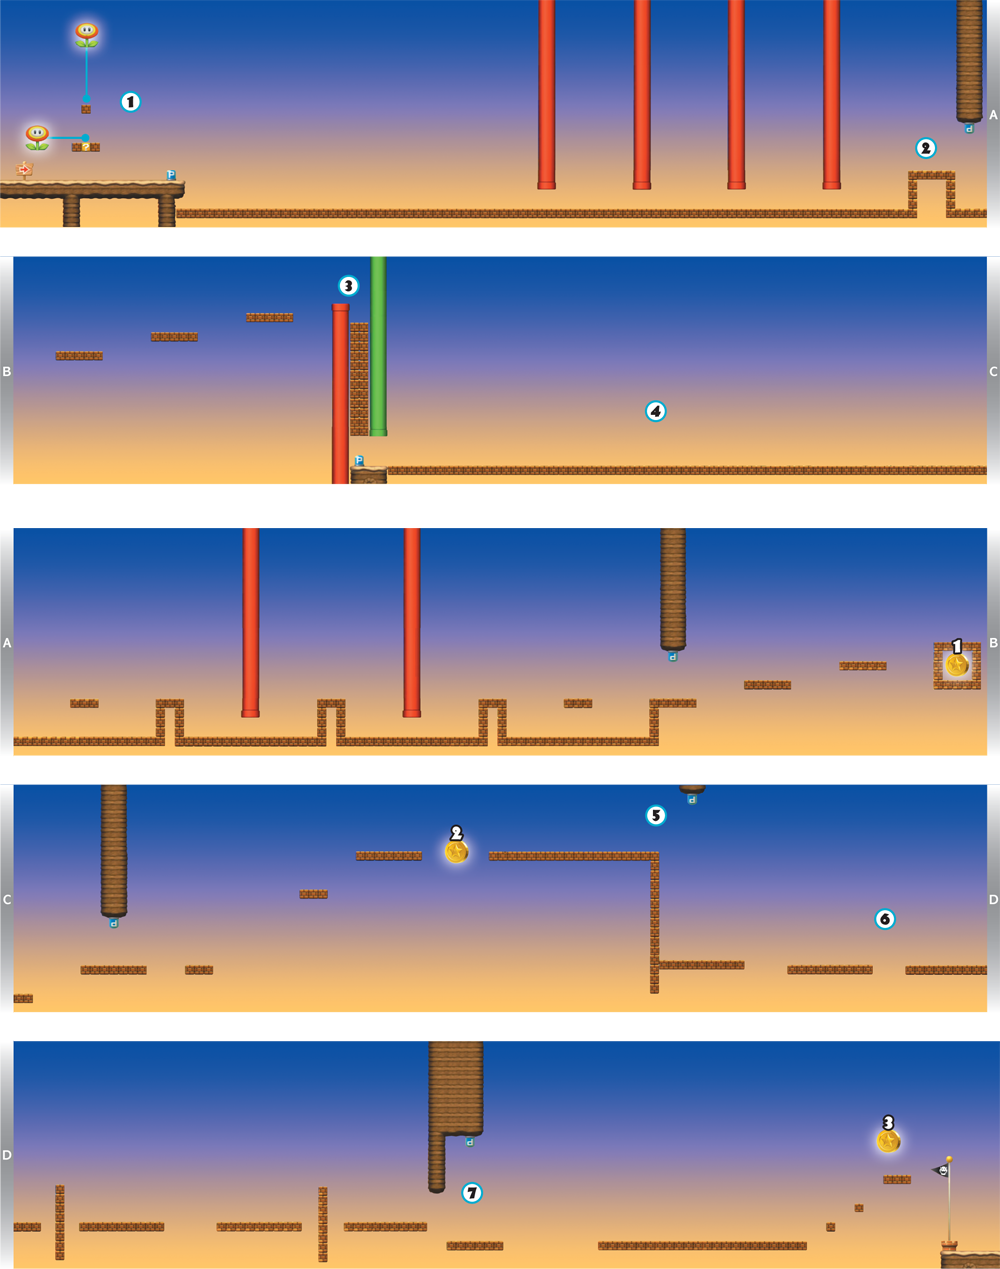
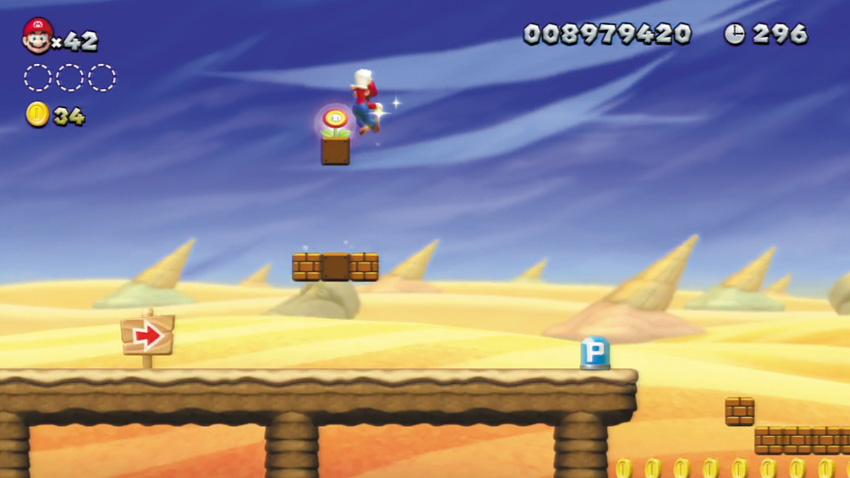
Jump up and bump a hidden Block above the ? Block here to score a Fire Flower. Now hit the nearby P Switch and begin your mad dash through this crazy stage!
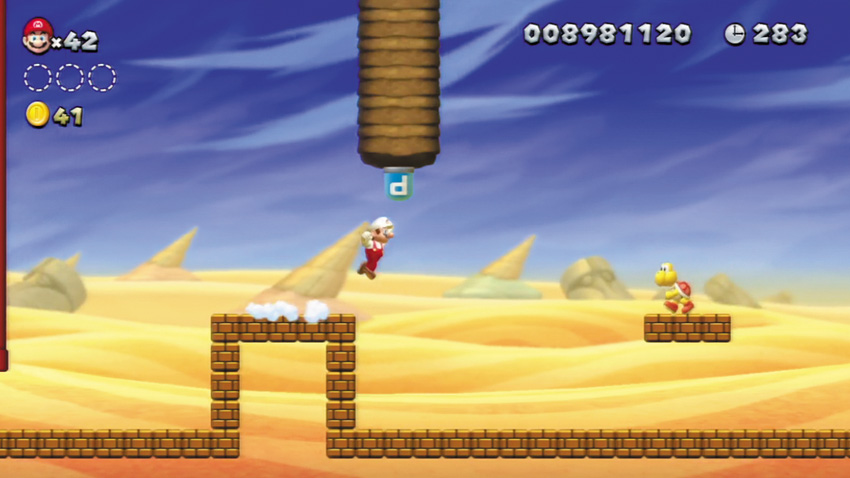
Dash straight past the Piranha Plants as you speed toward the second P Switch, which is located here. Jump up and hit the P Switch without breaking stride.
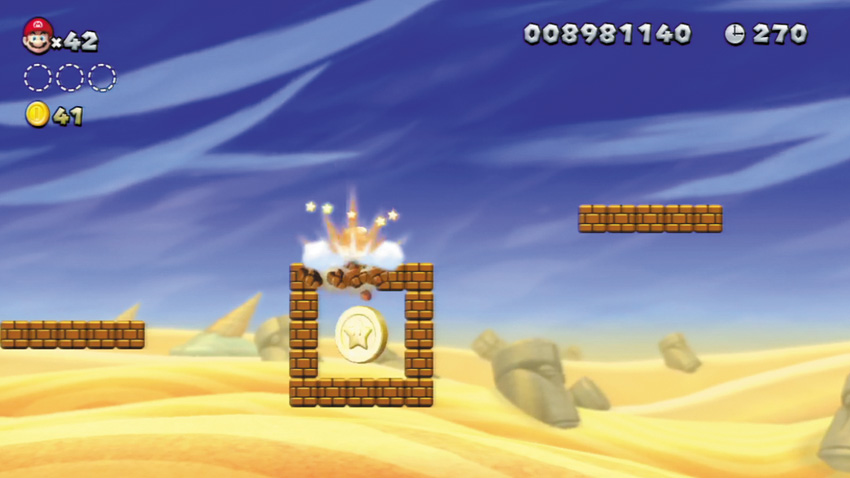
Leap up the Brick Blocks after hitting the third P Switch. As you jump over the Star Coin here, perform a ground pound and smash through the Brick Blocks to claim the Coin. Immediately jump out and continue leaping up the Brick Blocks.
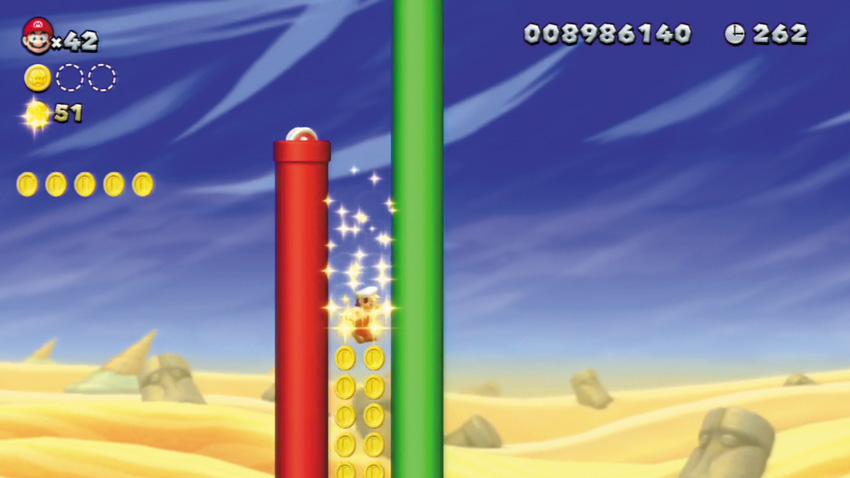
Leap over the Piranha Plant here, then stand atop the tall stack of Brick Blocks. Allow the Brick Blocks to revert back to Coins, and you’ll drop all the way down to another P Switch. Resume dashing the moment you land!
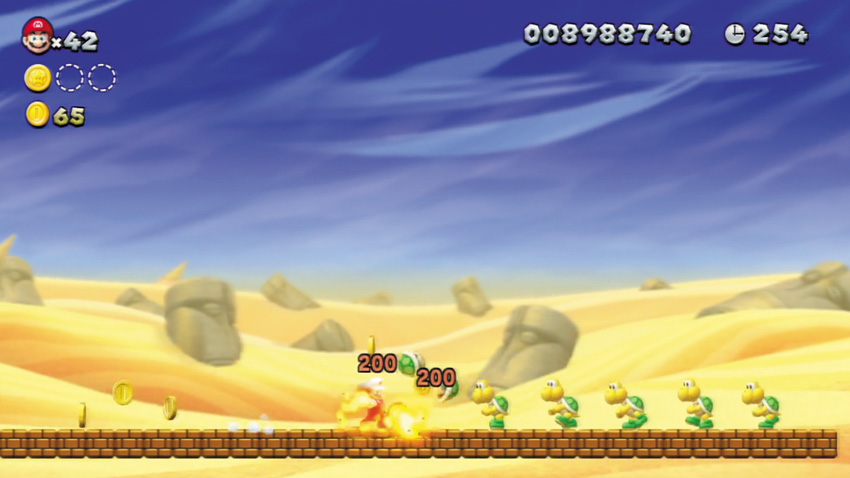
Either stomp and kick the first Koopa here to send its shell flying at the many Koopas ahead, or rapidly tap the dash button to toss fireballs and defeat all of the Koopas as you sprint ever onward. Kicking the Koopa shell takes a little more time, but you’ll score a few 1-Ups in trade!
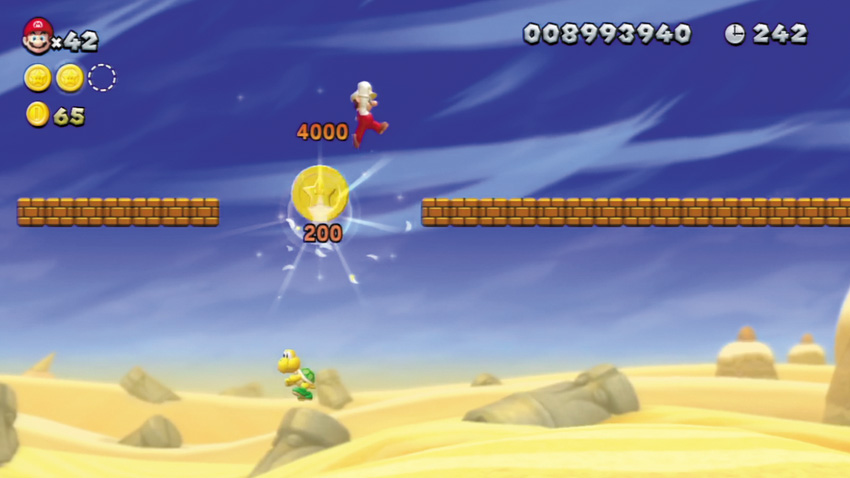
If necessary, pause near the second Star Coin and wait until the Koopa Paratroopa below the Star Coin is flying upward. Then jump out and collect the Star Coin. Hold the jump button so that you bounce off the Paratroopa after collecting the Star Coin and bound over to the Brick Blocks on the right.
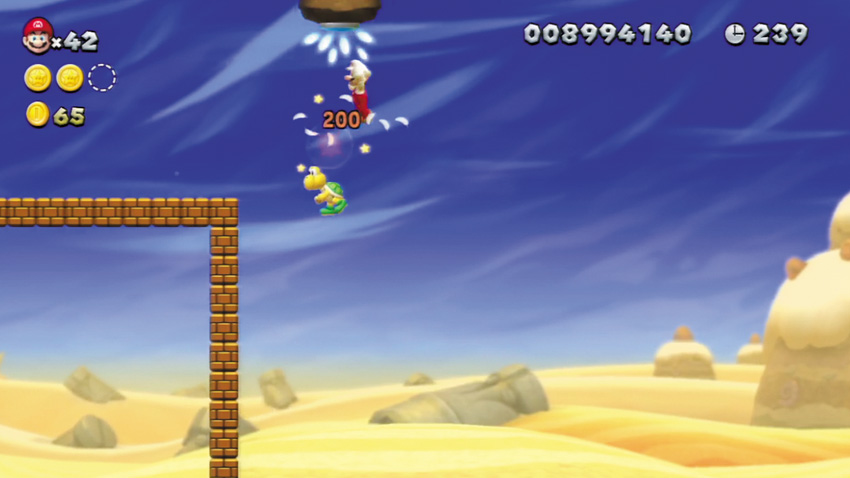
Bounce off another Koopa Paratroopa here to hit the overhead P Switch.
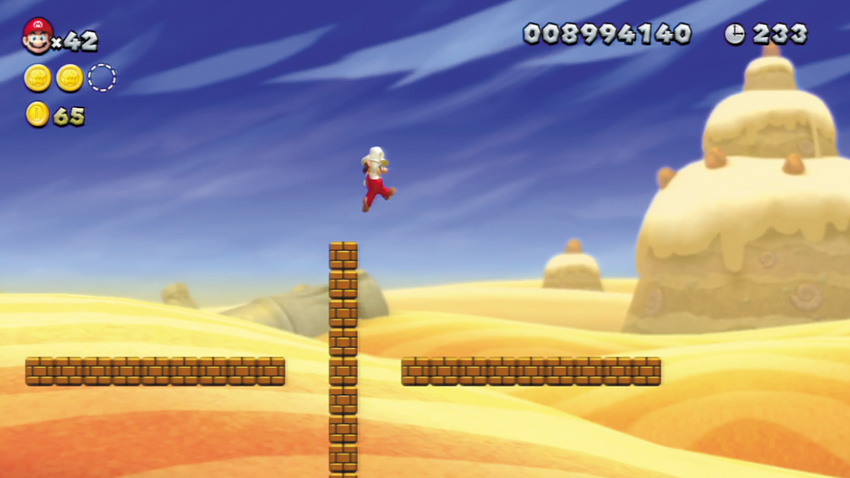
The moving Brick Blocks here make this segment quite challenging. Dash along them without breaking stride after hitting the P Switch at Point 5. Jump from the very end of each platform to clear the gaps and land on the next platform ahead.
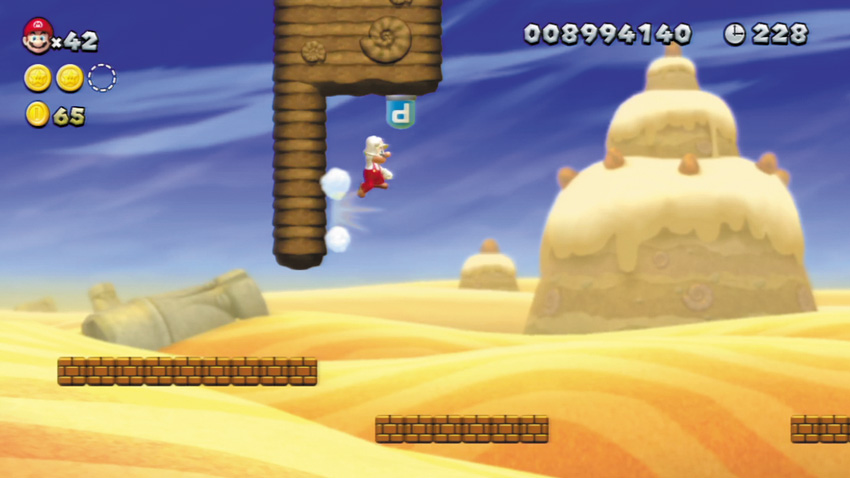
Hit the brakes and wall jump up to the high overhead P Switch here. Nice work—the Goal Pole is just ahead!
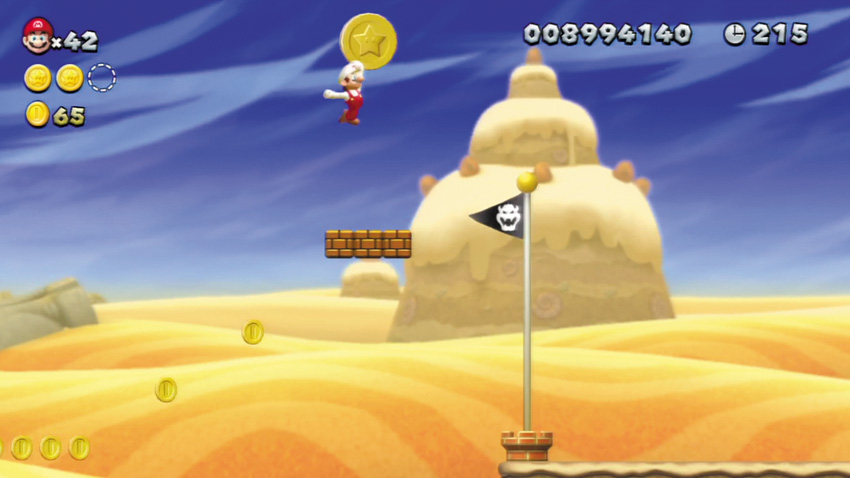
Pause on the final Brick Block before the Goal Pole and listen to the sound of the P Switch music. Jump from the Brick Block just as the music is about to end, so that you land on the Coins ahead when they revert back to Brick Blocks. Now jump up and claim that final Star Coin!
Superstar Road 3
Swim for Your Life!
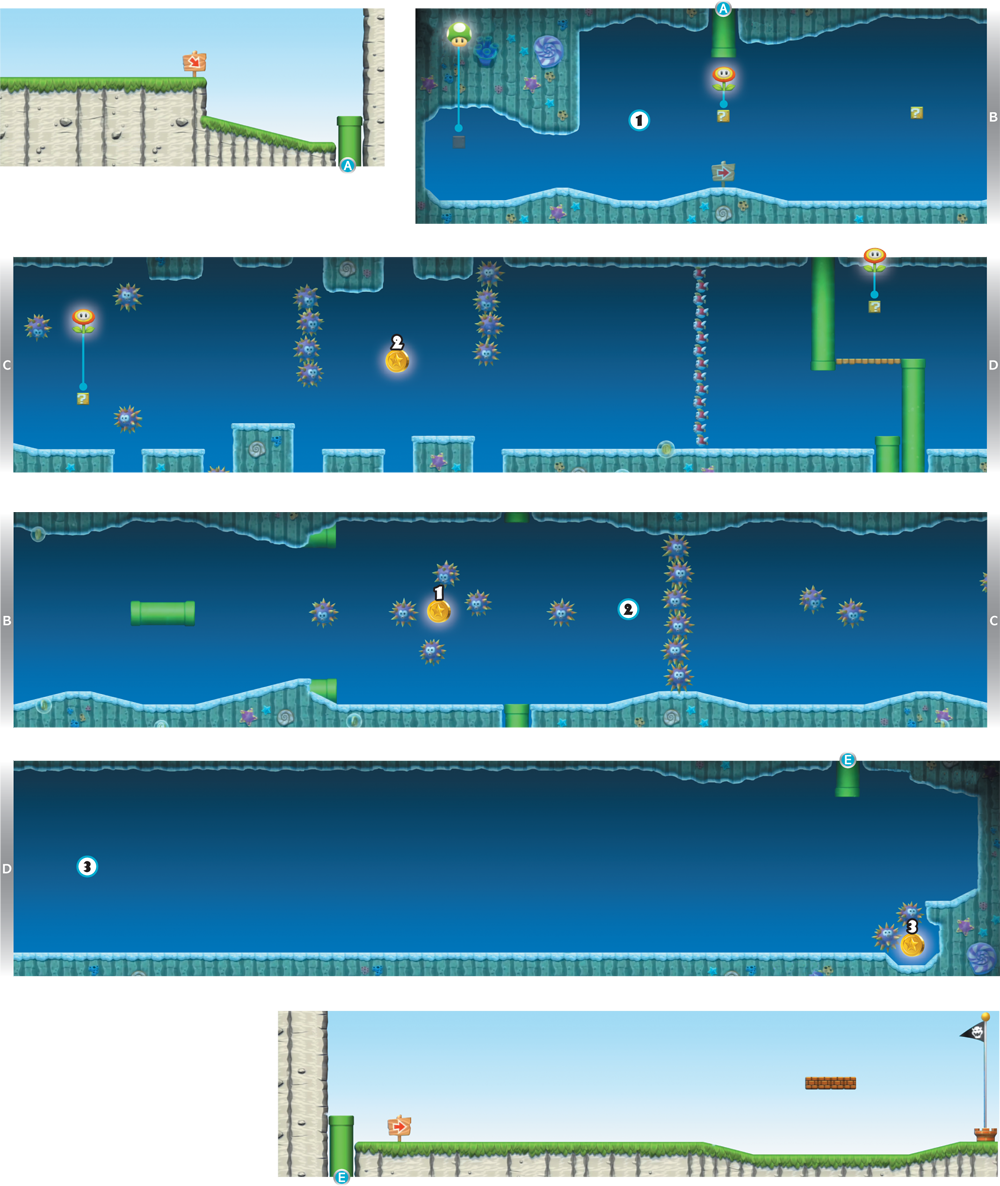
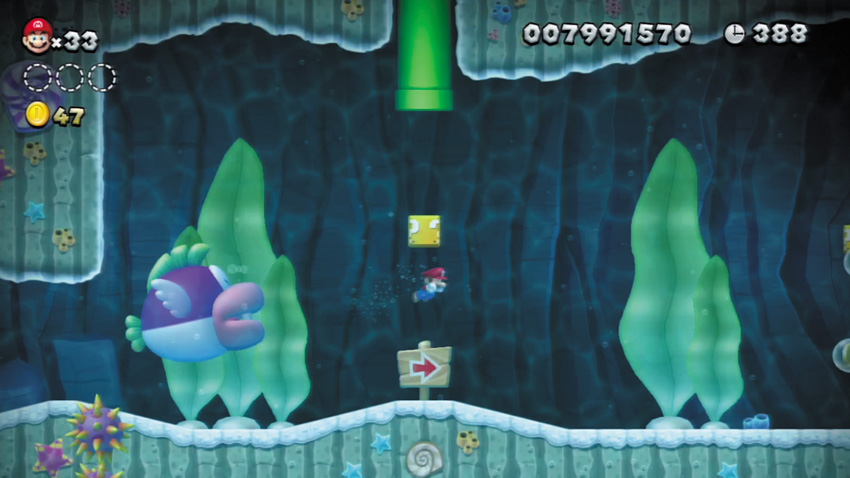
A fat fish named Cheep Chomp emerges from the cave here, hungry for heroes. Cheep Chomp chases you throughout this stage and can gobble you up in one gulp, so keep away from those chompers! If you’re brave enough to slip into Cheep Chomp’s cave, you can discover a hidden Block that contains a 1-Up Mushroom.
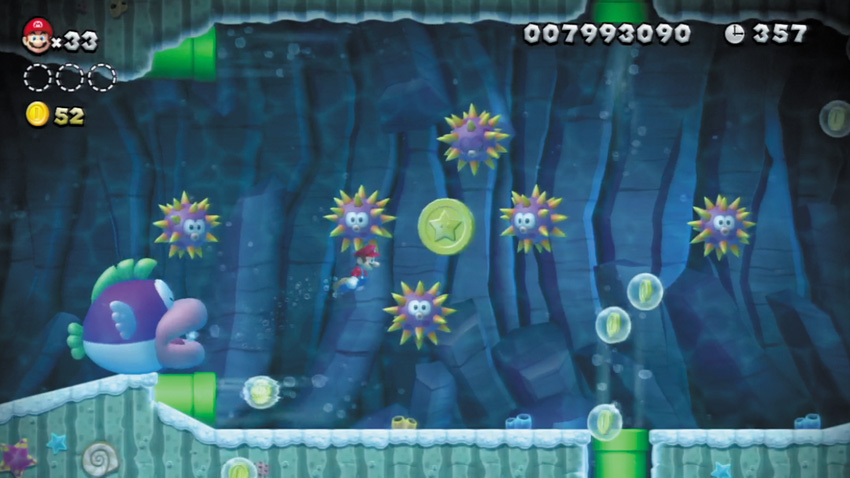
A quartet of Urchins guards the first Star Coin. Defeat them with fireballs, or lure Cheep Chomp into swimming into them for you—the big fish will defeat any enemy it touches! You can also try to swim between the Urchins, but it’s far more challenging.
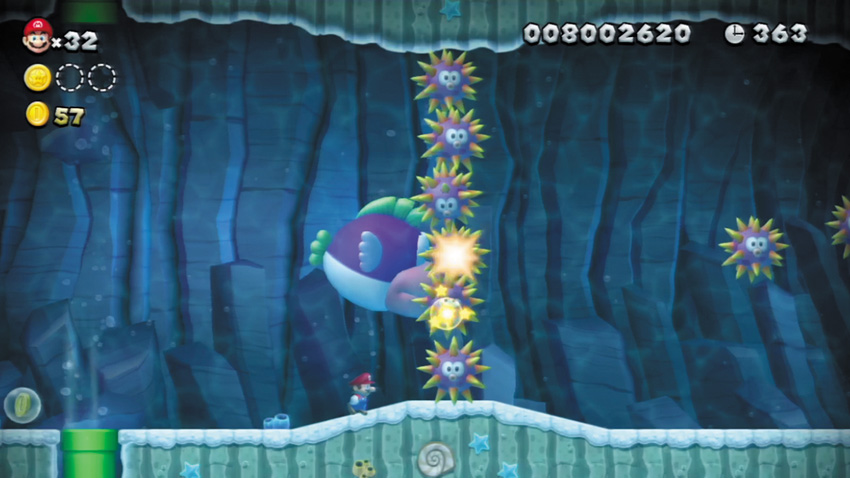
Trick Cheep Chomp into defeating some of the Urchins that have formed a wall here so that you may swim past. Or simply scorch the Urchins with a few fireballs and clear your own way through. Use these same tricks to get through the wall of Cheep Cheeps that you encounter a short distance beyond this Point.
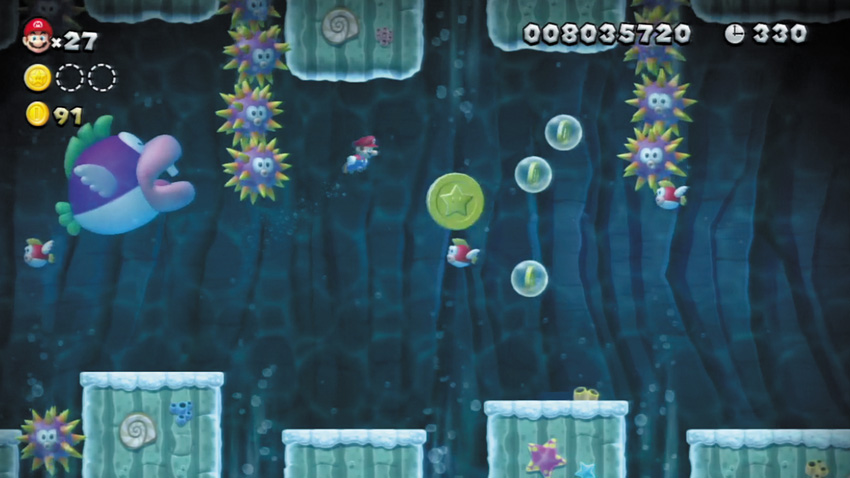
The second Star Coin floats up and down across the stage here. Carefully collect the Star Coin as you avoid Cheep Chomp and the nearby Urchins.
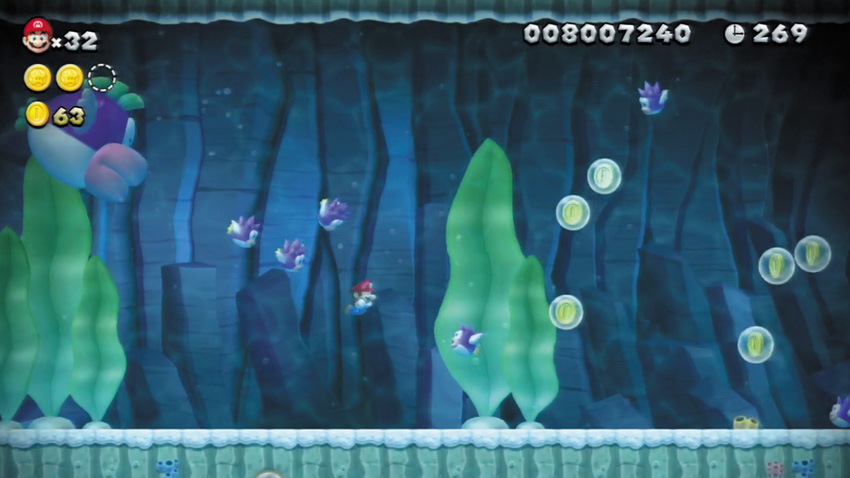
Beware! A school of Spiny Cheep-Cheeps swims toward you when you reach this Point! These little fish will chase you just like Cheep Chomp, so do your best to avoid them, or defeat them quickly with fireballs.
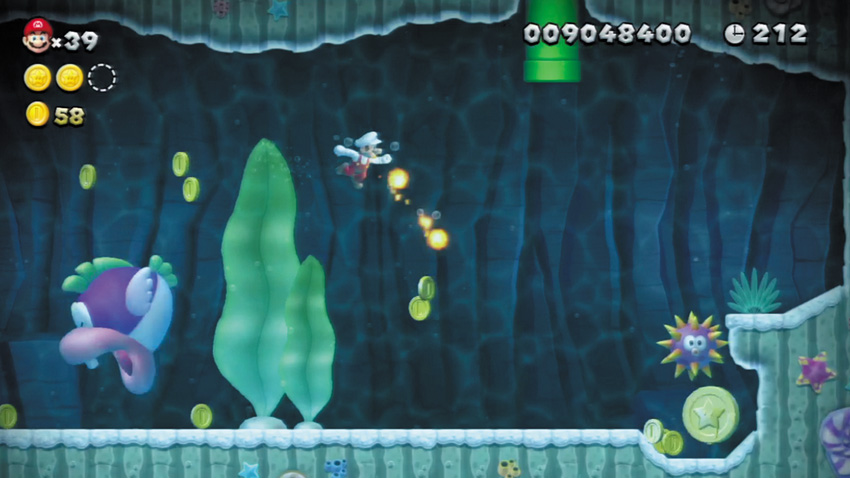
Take out the two Urchins that guard this final Star Coin with fireballs, or trick Cheep Chomp into gobbling them up. Then simply swim over and grab the Star Coin.
Superstar Road 4
Hammerswing Caverns
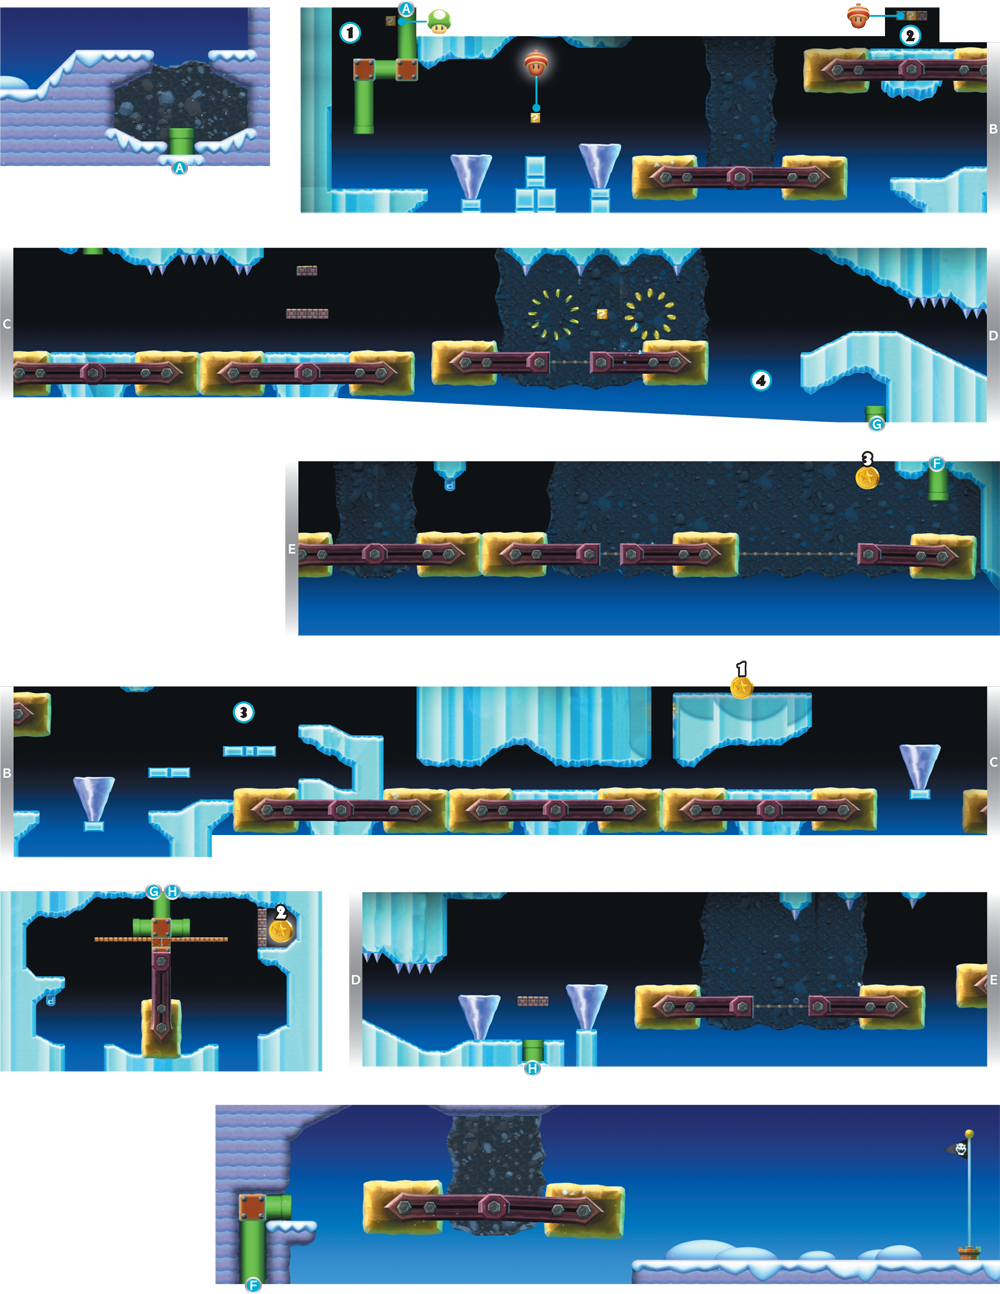
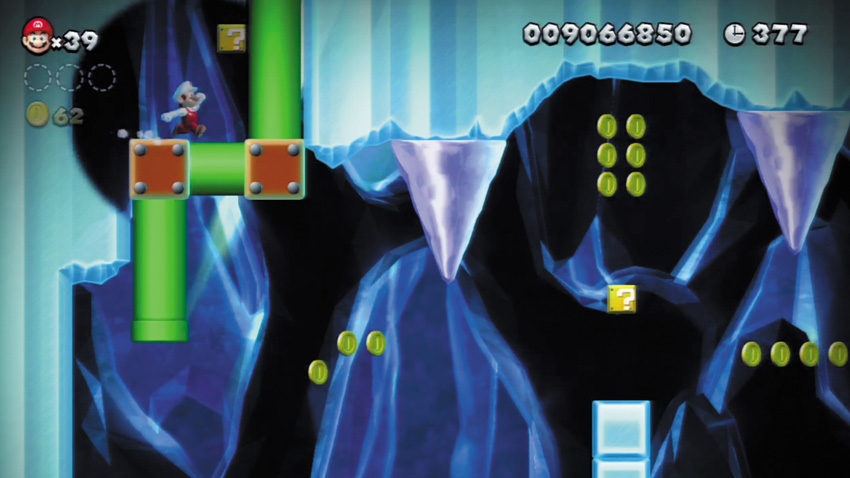
Wall jump up to this hidden area and collect a 1-Up Mushroom from the ? Block you discover here.
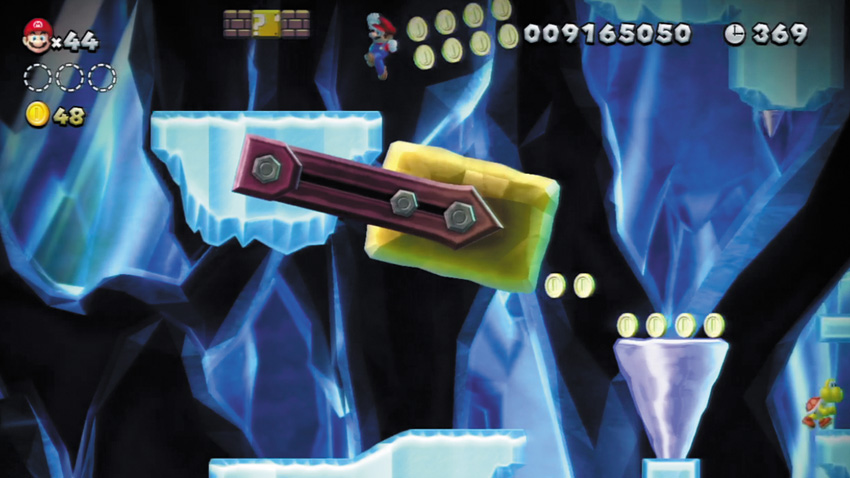
Use a flying squirrel jump to reach the Brick Blocks up here. You can also jump onto the swinging Swinging Hammer below the Blocks to reach this area, but it’s riskier.
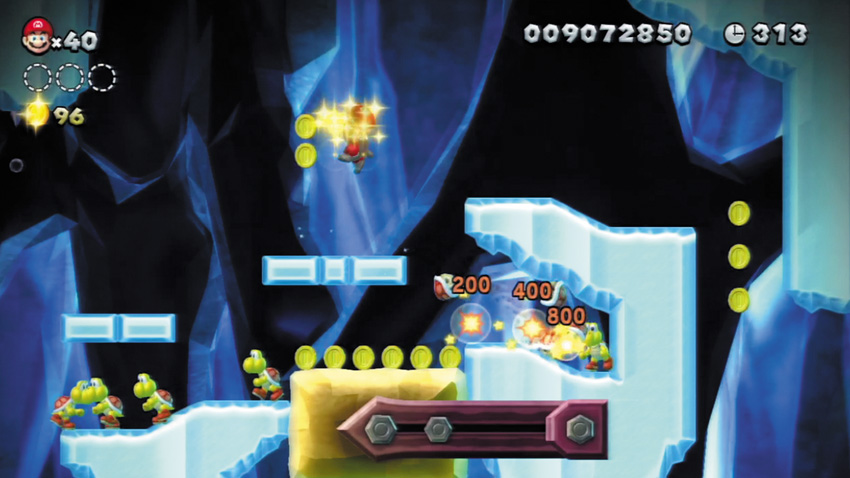
Stun the Koopa on the ice here, then toss its shell to the right while the Swinging Hammer below is swinging to the left. If you time it just right, the shell will defeat all of the Koopas below, scoring you a 1-Up!
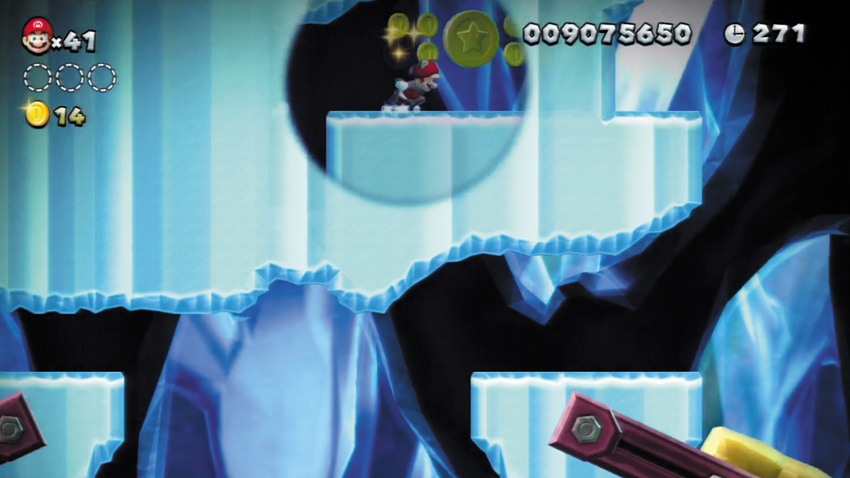
The first Star Coin is hidden behind the ice up here. Wall jump between the Swinging Hammers below to slip behind the ice and reach the Star Coin.
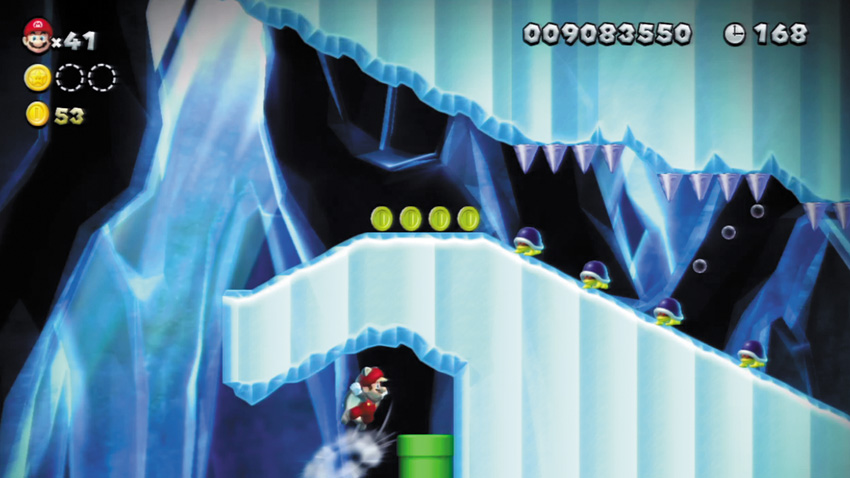
As Flying Squirrel Mario, drop and glide over to the low Warp Pipe here. Use a flying squirrel jump to land atop the Warp Pipe, then head inside.
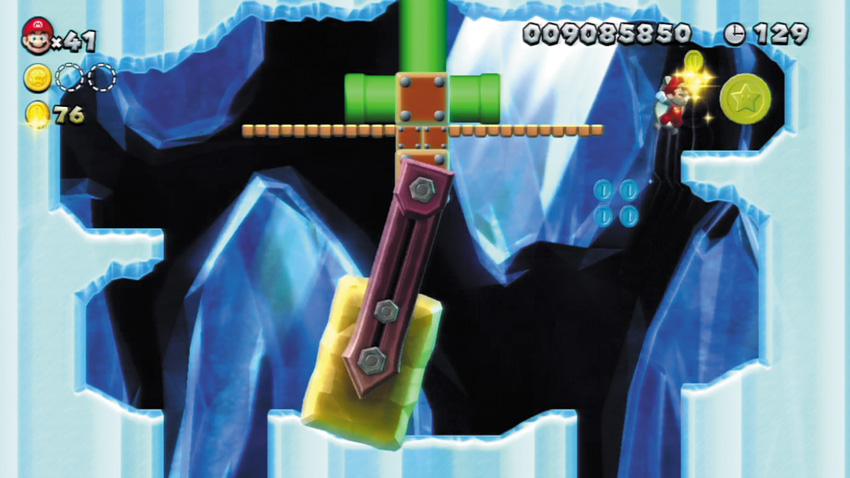
Enter the Warp Pipe at Point 4 to reach the secret cavern where the second Star Coin is stashed. Hit the P Switch down here while the Swinging Hammer is swinging to the left, then quickly cross the cavern and use a flying squirrel jump to reach the high Star Coin before the Coins near the Star Coin turn back into Brick Blocks.
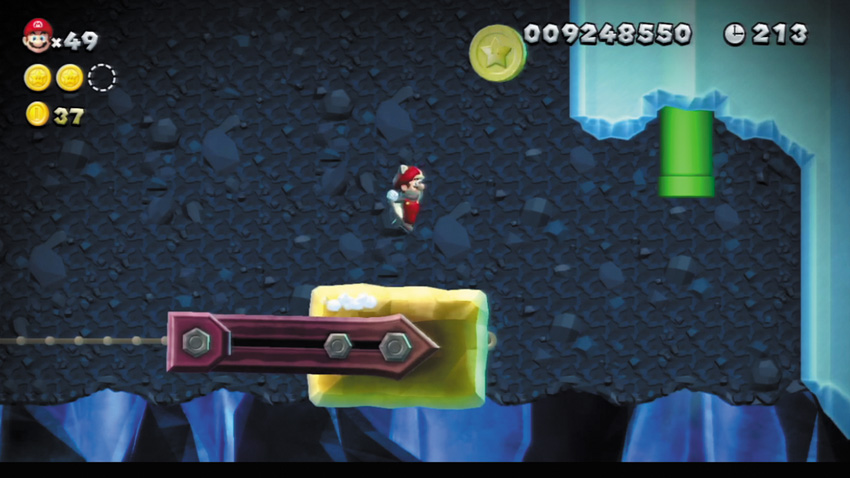
Use a flying squirrel jump to reach the final Star Coin, which hovers way up high near the fi nal Warp Pipe. Land on the Swinging Hammer below after you collect the Star Coin and use it to reach the nearby Warp Pipe, which leads to the 4 level’s exit.
Superstar Road 5
Spinning Platforms of Doom
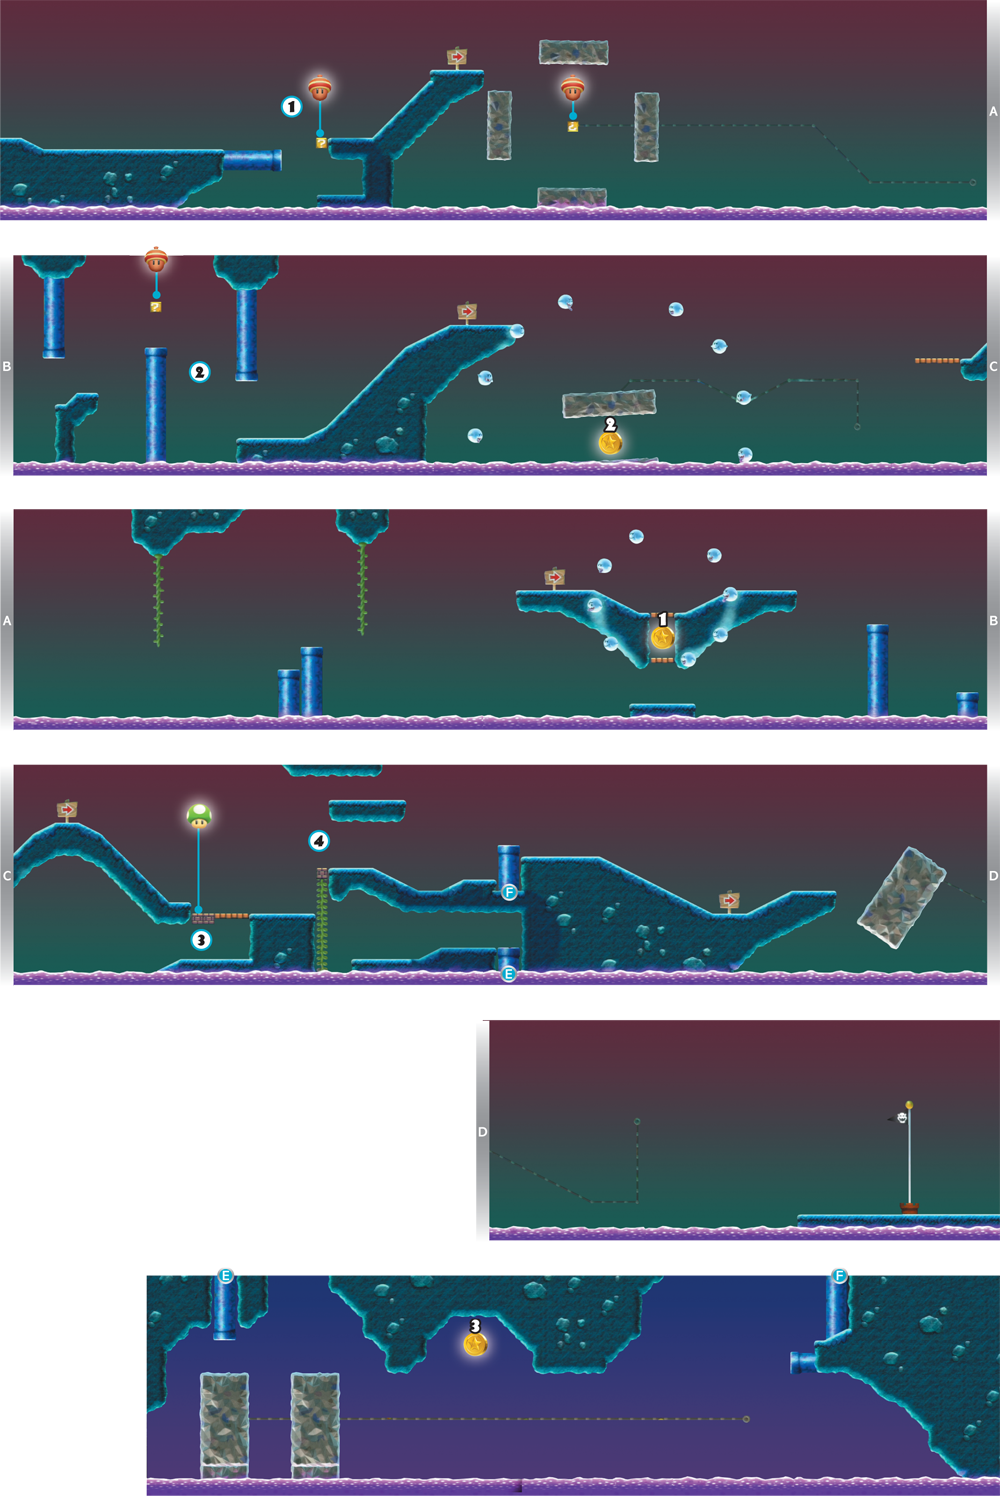
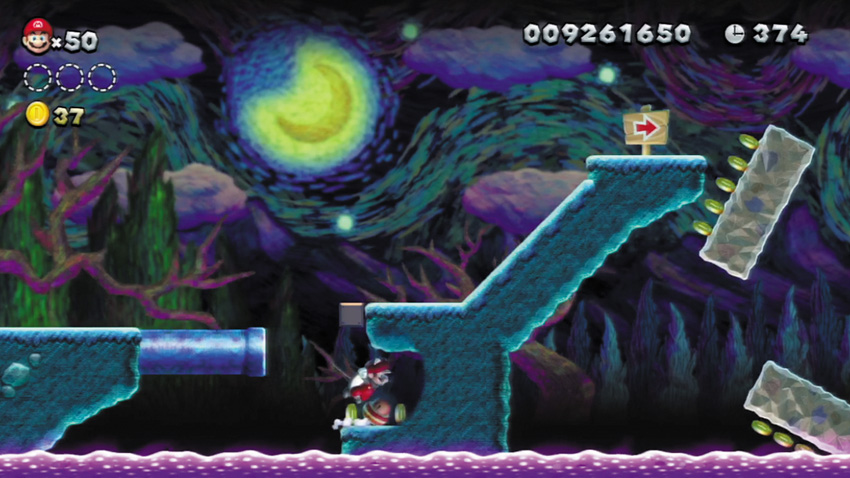
Drop down below the ? Block here and gather the coins in the hidden cave. Then hit the ? Block and get the Power-Up as it rolls up the hill.
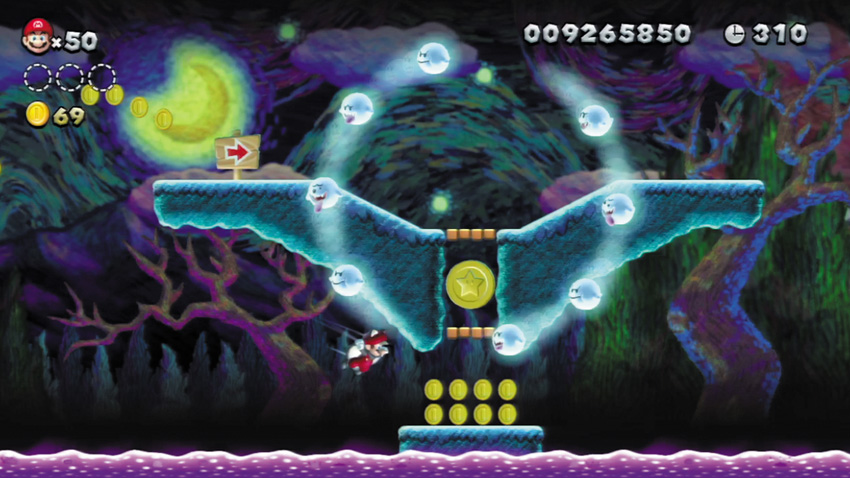
As Flying Squirrel Mario, glide to the low ledge beneath the first Star Coin. Be careful not to hit the circling Boos when you land, then jump up through a gap in the Boo circle and grab the Star Coin.
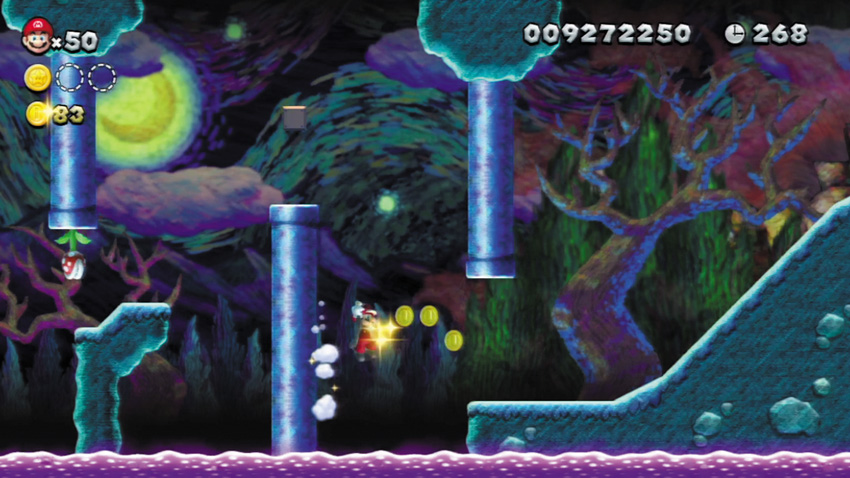
Slide down the Pipe here, collecting Coins as you go. Wall jump to the right, passing the overhead Pipe while the Piranha Plant isn’t poking out.
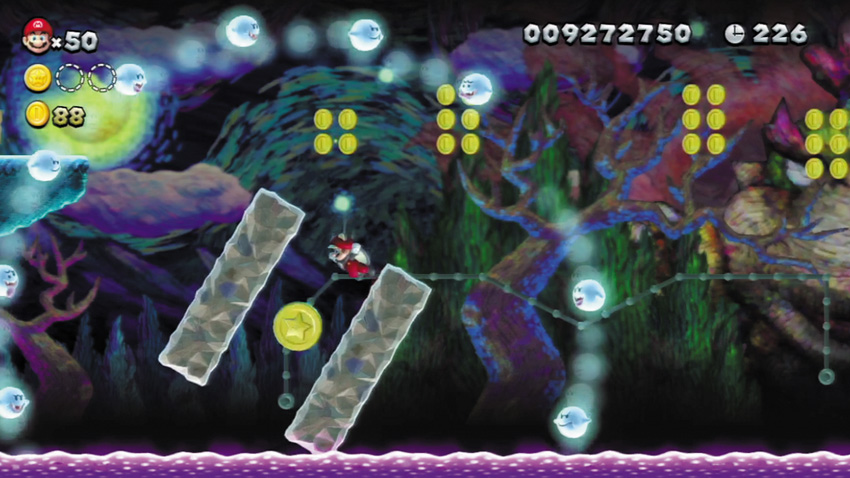
Carefully jump through a gap in the Boos that encircle the second Star Coin, aiming to land on the spinning platforms near the Star Coin. Collect the Star Coin without falling from the platforms, then jump and wall jump between them as needed while you’re slowly ferried along the track to the right.
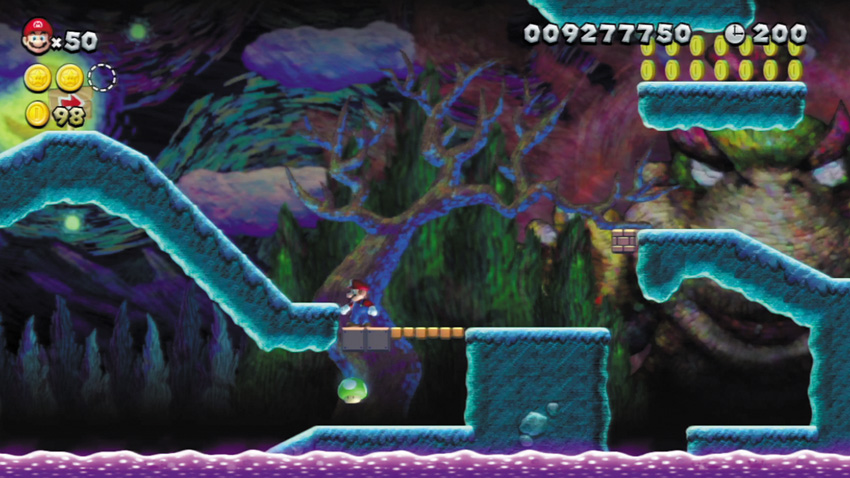
Glide from the circling platforms that surround the second Star Coin to reach the low ground here. Then jump up and hit the overhead Brick Blocks to discover a hidden 1-Up Mushroom!
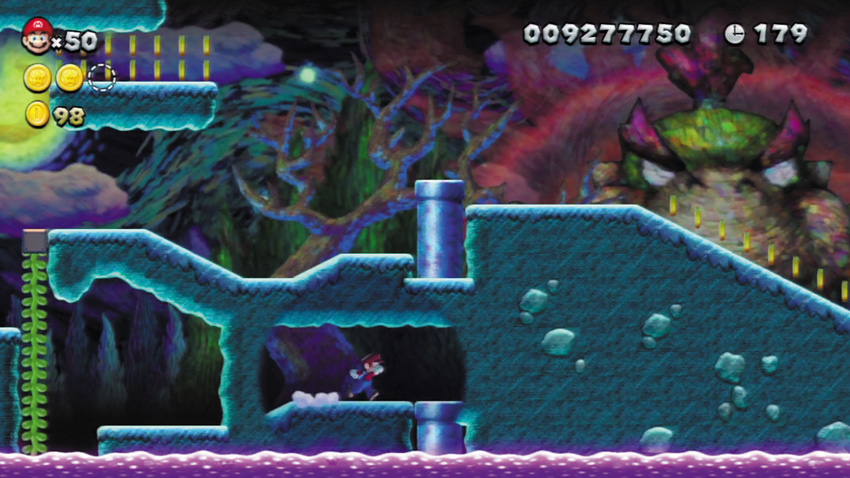
Ground pound the Brick Block here to make a Beanstalk grow downward into the Poison Bog. Climb down the Beanstalk and leap to the right to pass through a false wall and discover a hidden Warp Pipe!
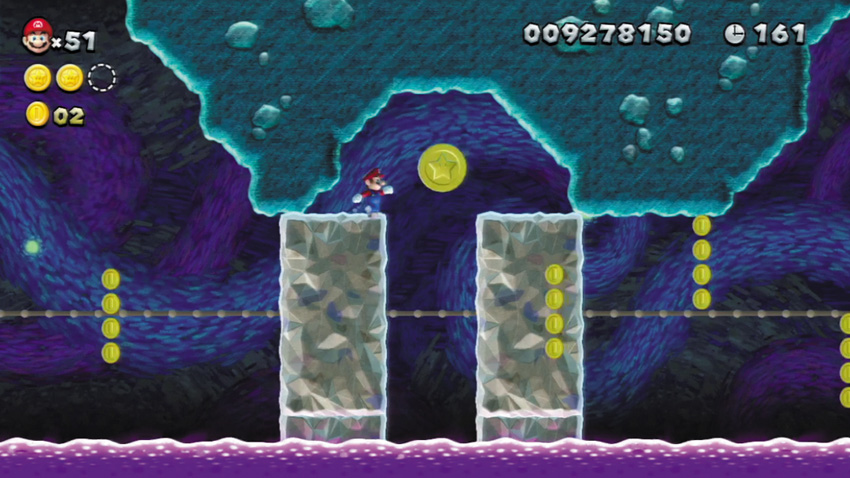
The final Star Coin is kept in an underground cavern—enter the hidden Warp Pipe at Point 4 to get here. Wall jump between the large blocks as they slide along the track, leaping up to grab the Star Coin as you pass by.
Superstar Road 6
Fire Bar Cliffs
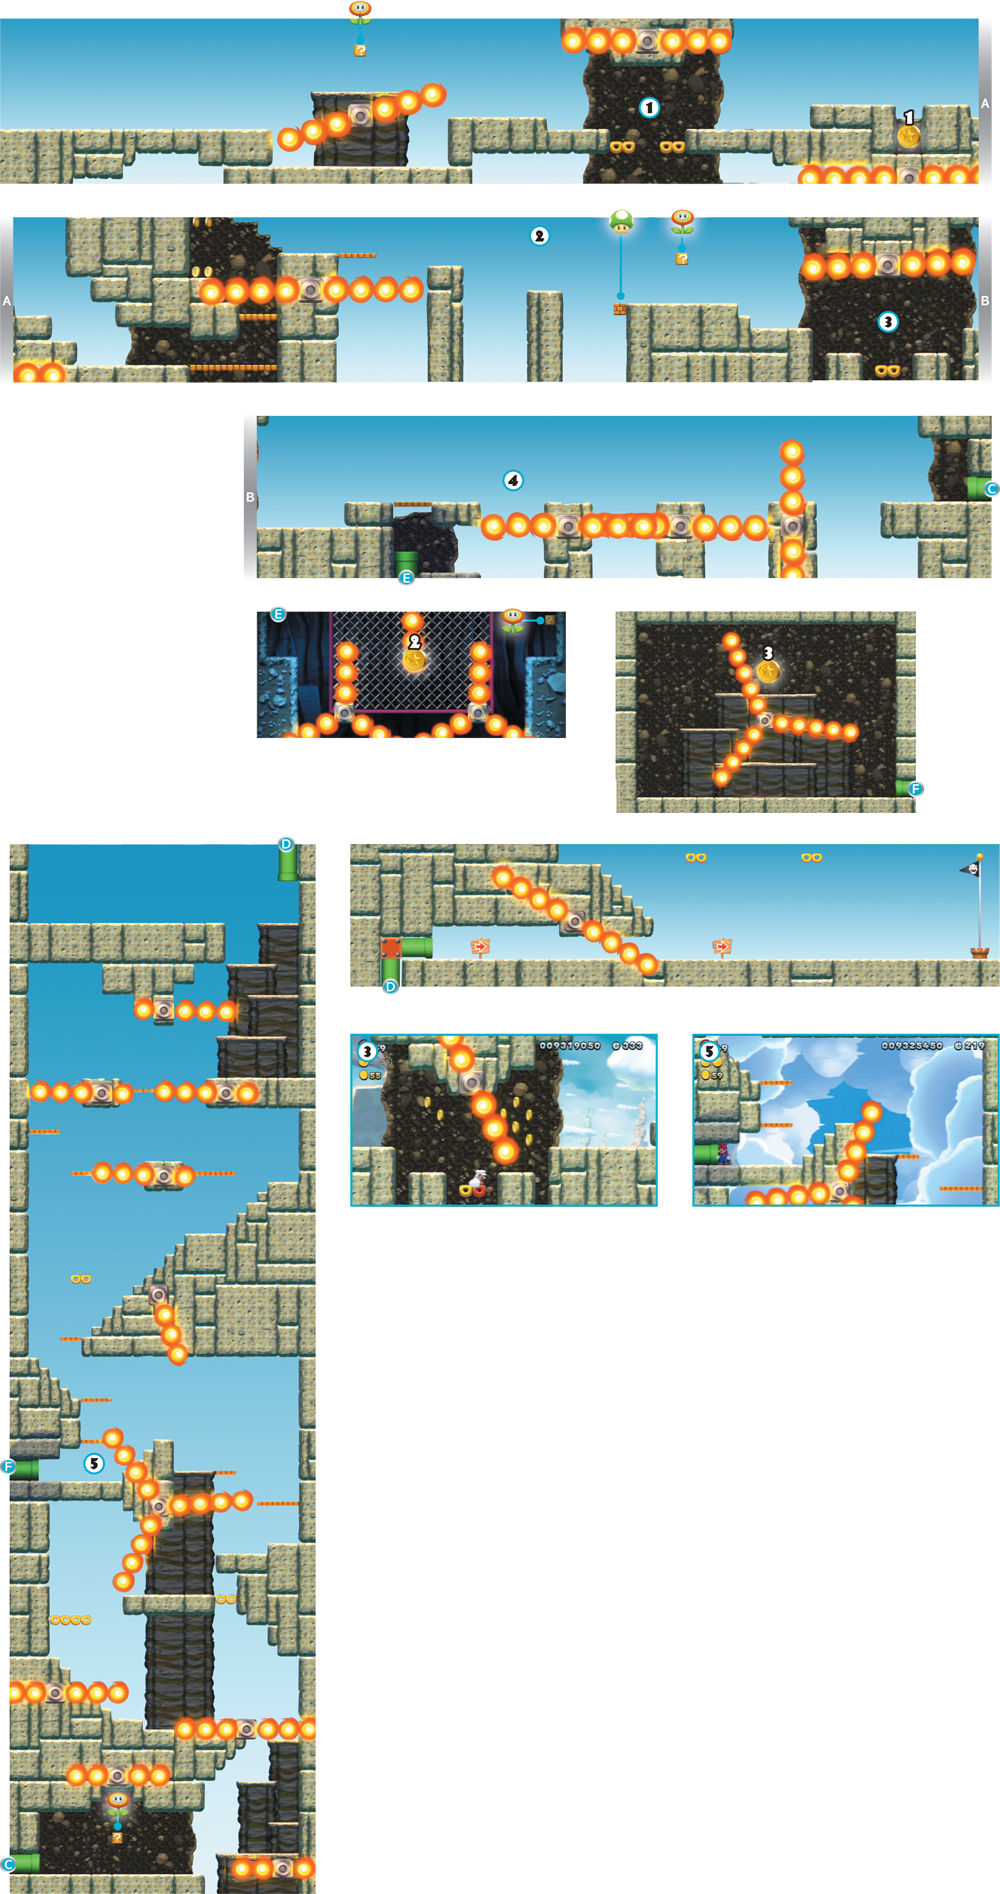
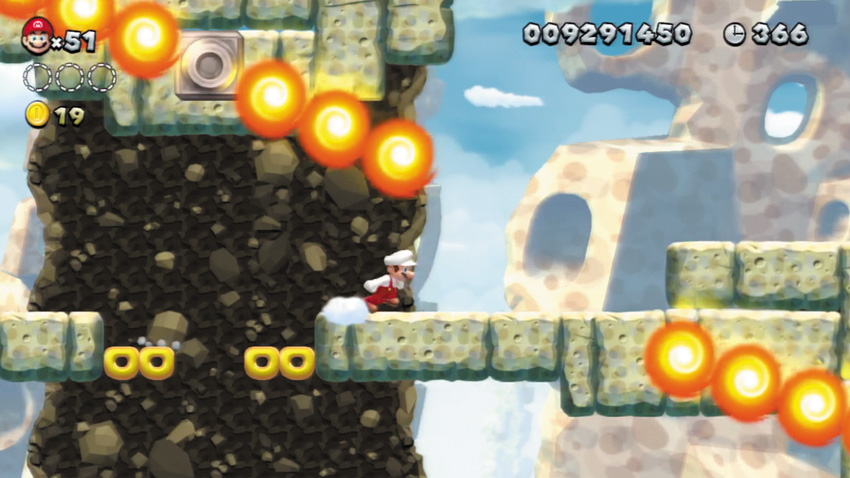
Either dash past the Huge Fire Bar here after it has swung past, or stand on a Donut Block until it falls and then quickly jump from the Donut Block to reach solid ground.
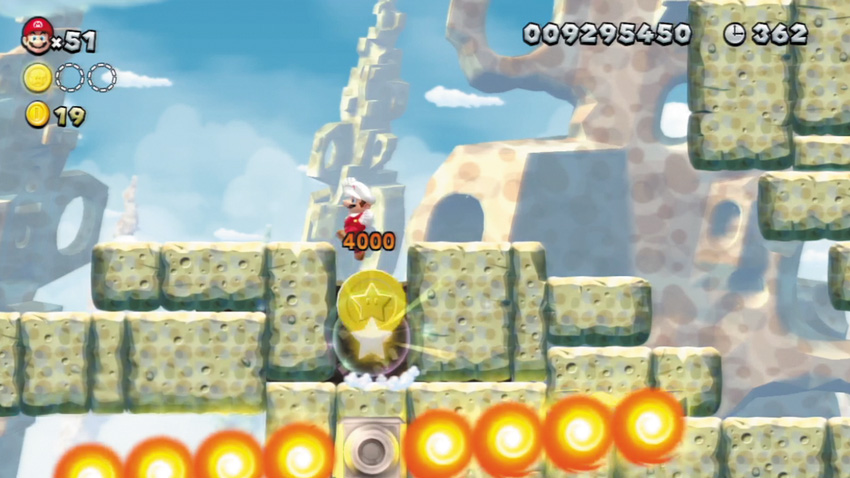
A Huge Fire Bar swings around the first Star Coin. Jump over the Huge Fire Bar and grab the Star Coin, then quickly jump out of the pit before you’re burned.
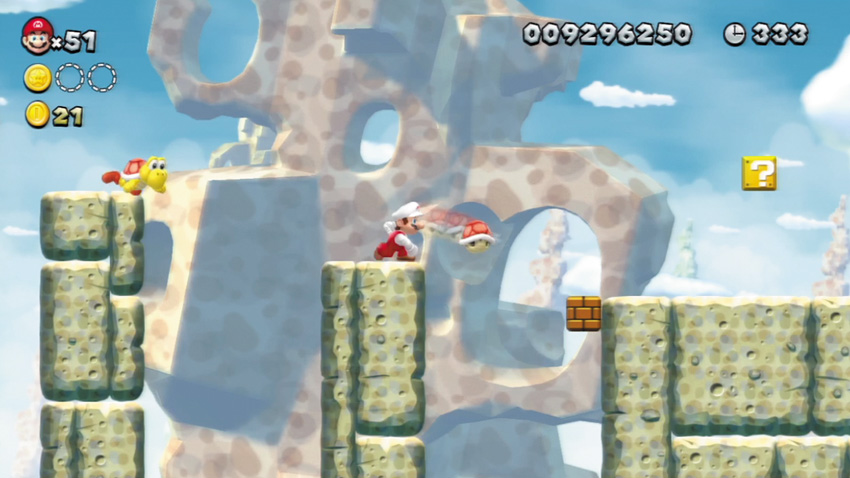
Stun a Koopa here and toss its shell at the Brick Block to the right to make a 1-Up Mushroom pop out. Nice!
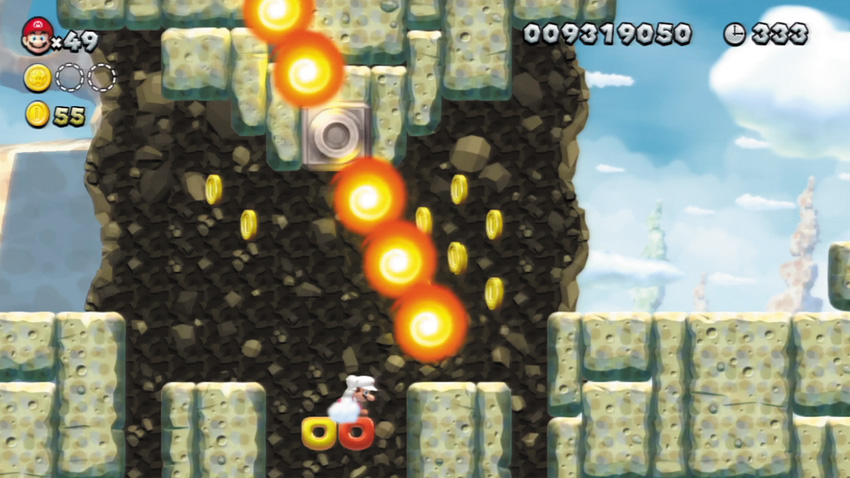
Crouch on the Donut Blocks here while the Huge Fire Bar swings past, then quickly jump up and out of the pit before you fall.
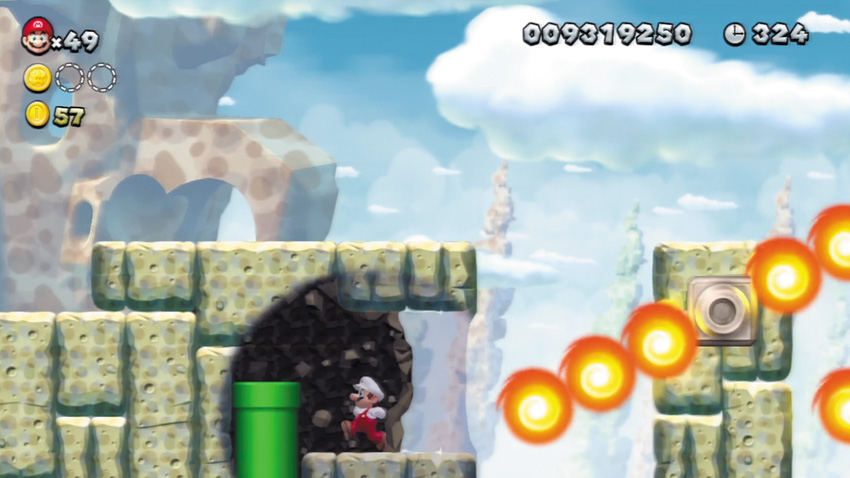
Jump into the pit here and fall so that you pass through the false wall on the left. You’ll land inside a hidden cave that houses a Warp Pipe.
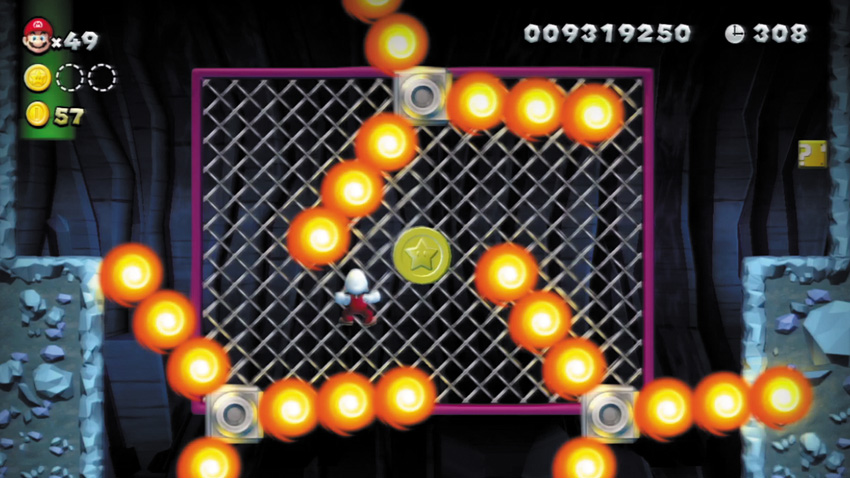
Enter the Warp Pipe at Point 4 to reach this secret cavern, where the second Star Coin is kept. Jump onto the central fence, then climb around to avoid the rotating Huge Fire Bars as you move toward the Star Coin.
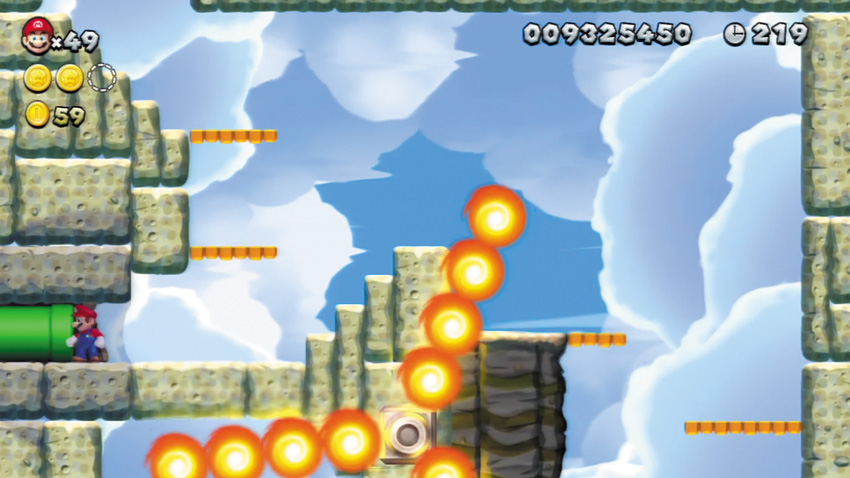
Run through a false wall here to discover a hidden Warp Pipe that leads to a secret area.
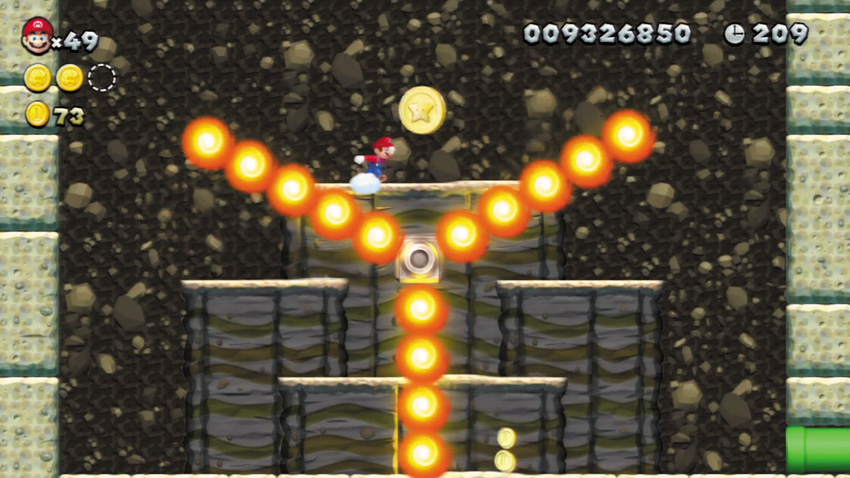
Enter the hidden Warp Pipe at Point 5 to discover this secret cavern, where the third Star Coin is kept. Run along the ground floor, following the clockwise rotation of the central Huge Fire Bars as you jump up to the Star Coin.
Superstar Road 7
Lakitu! Lakitu! Lakitu!
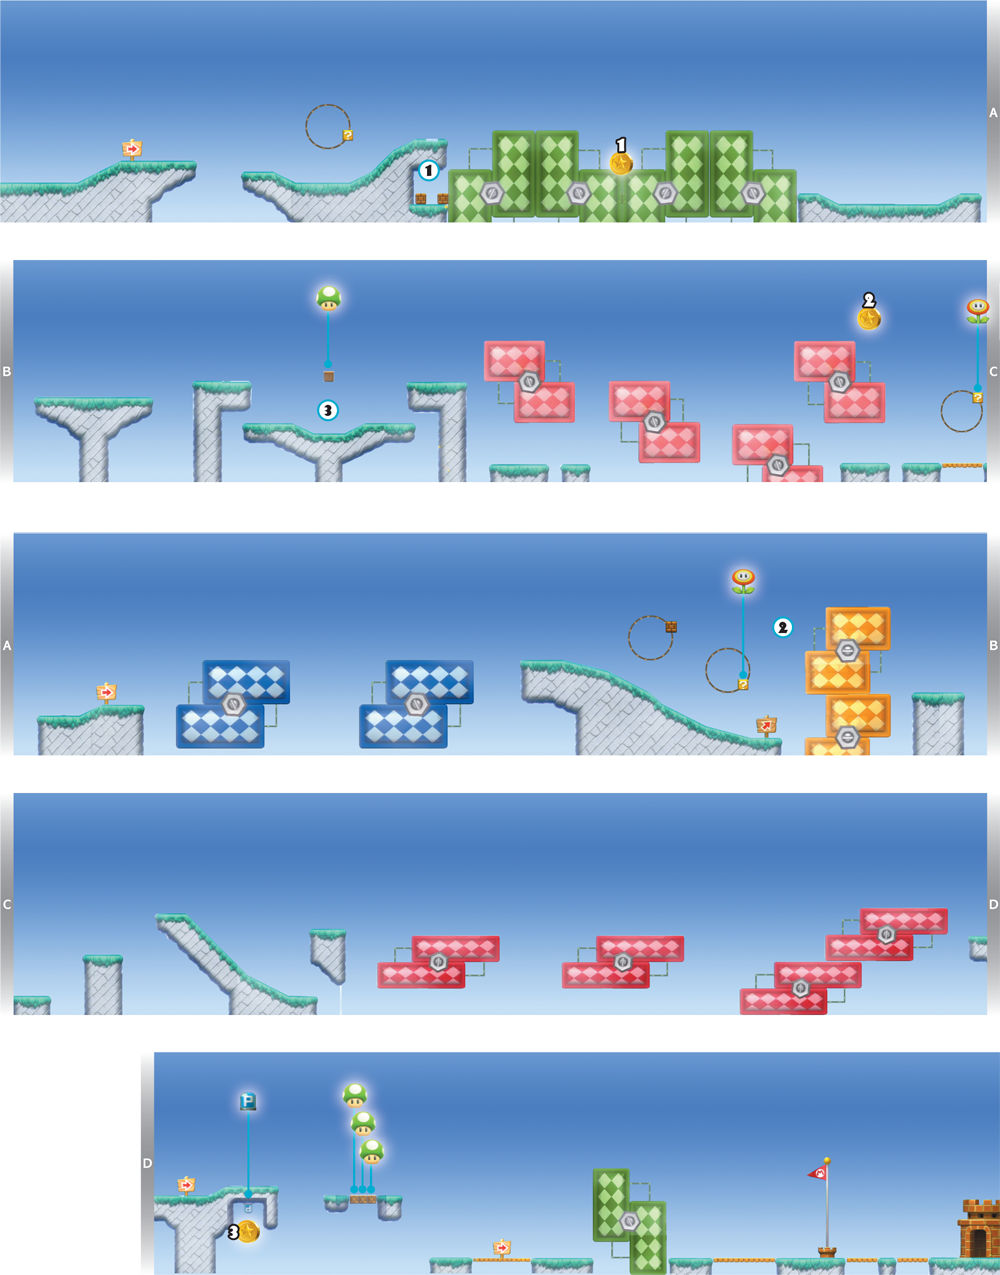
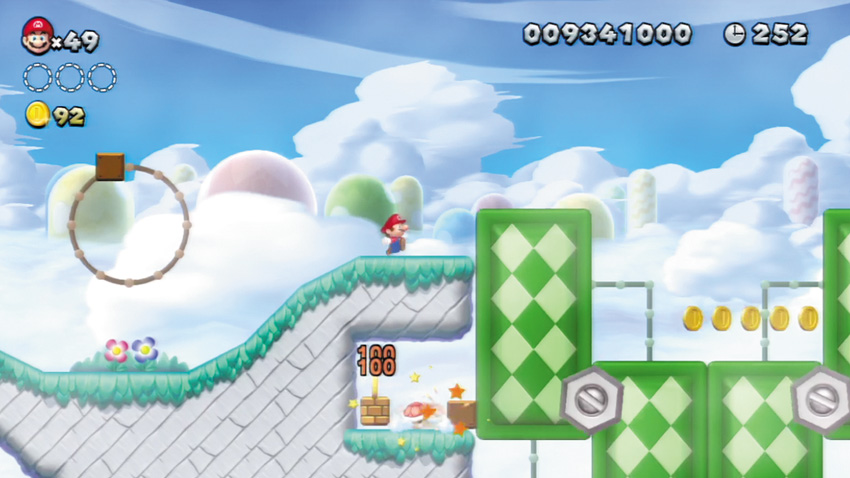
Stun a Koopa and toss its shell so that it bounces between the two Brick Blocks here. You’ll score a bunch of Coins. You can also simply ground pound the Brick Blocks, and hold the ground pound pose when you land on the left Brick Block to rack up the Coins without using a shell.
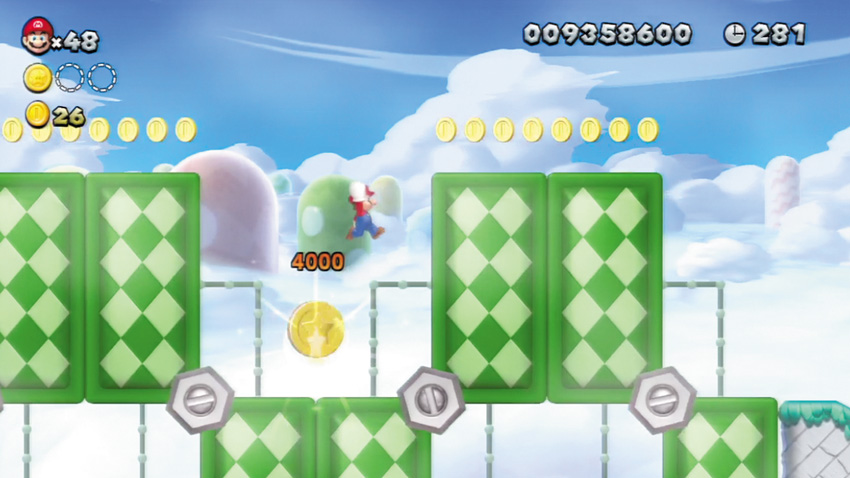
Carefully drop and collect this low Star Coin, then wall jump between the Slide Lifts to escape before they squash you.
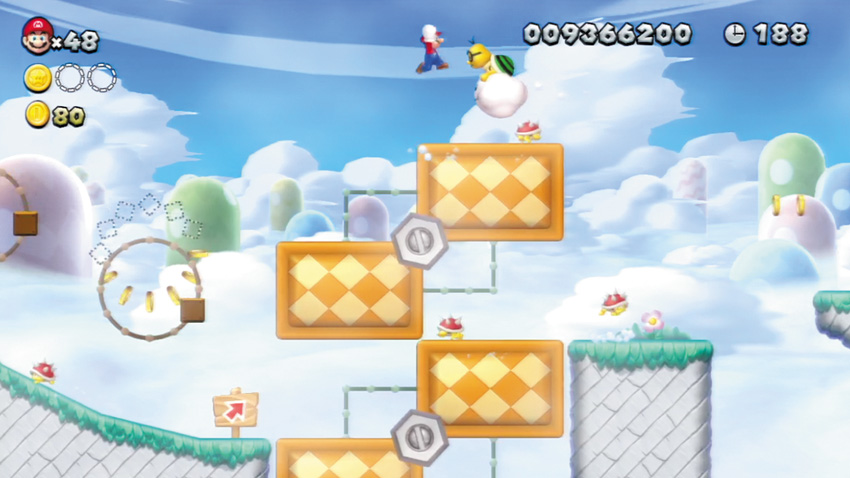
Lakitu arrives as you near this Point. Jump up the orange Slide Lifts to the right so that you can stomp Lakitu and commandeer his cloud!
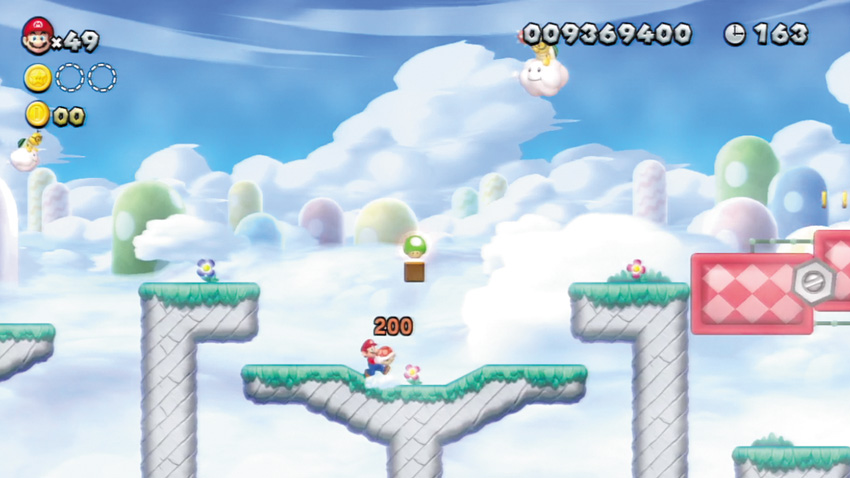
Bump a hidden Block here to score a secret 1-Up Mushroom. Sweet!
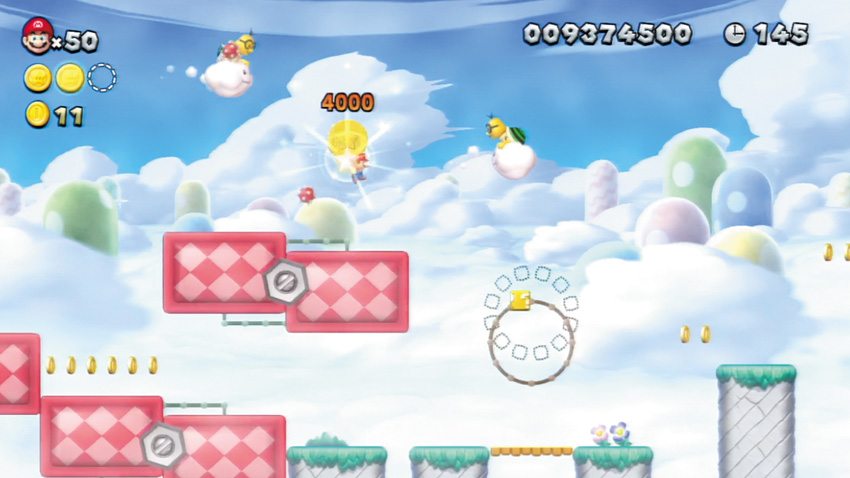
Hop across the pink Slide Lifts to claim the second Star Coin, but beware of those pesky Lakitus! It’s easier to claim this Star Coin by simply floating over to it in a stolen Lakitu cloud.
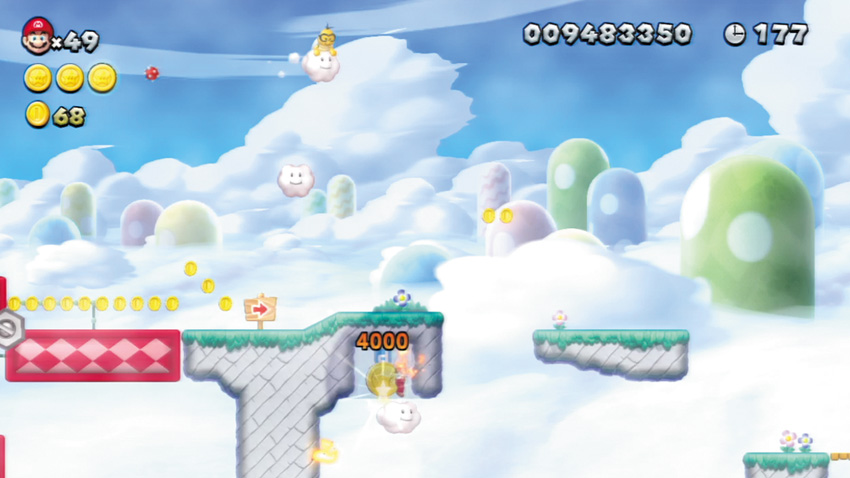
The third Star Coin is partially concealed within a false wall here—you can just barely see the bottom of it poking out. Steal a Lakitu cloud and swoop down to snag this final prize.
Superstar Road 8
Pendulum Castle
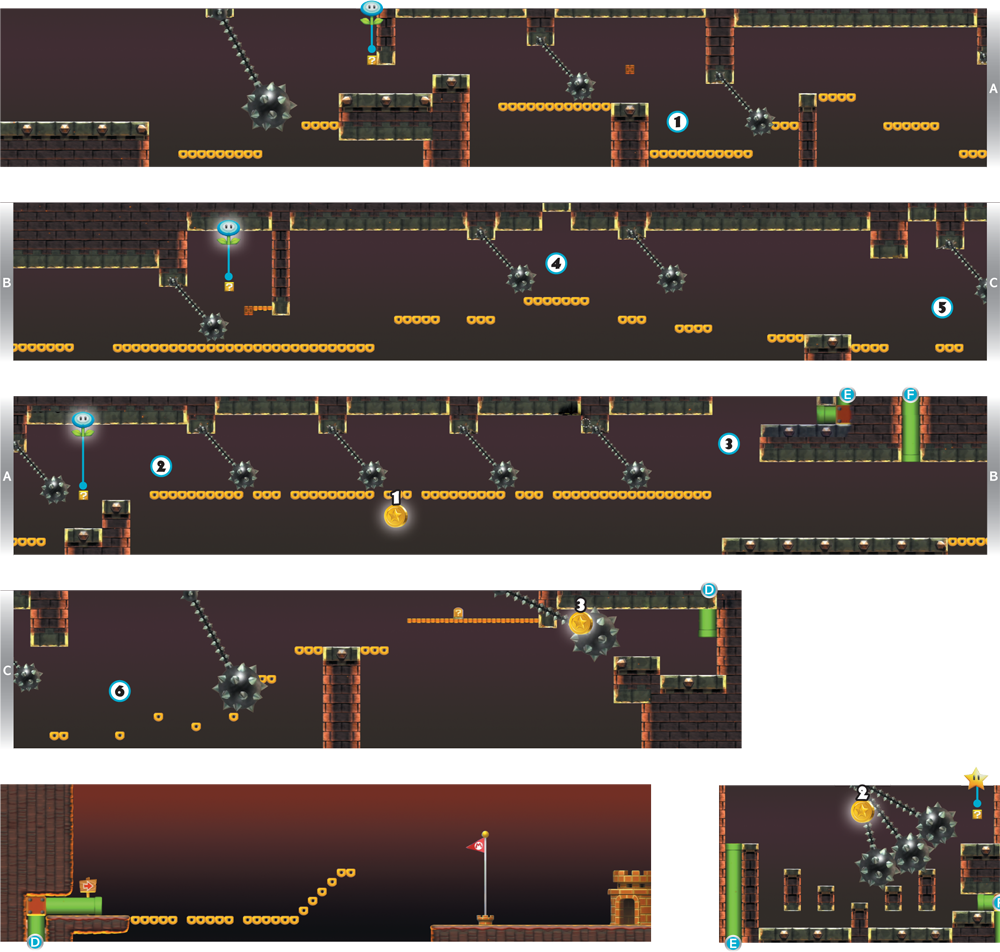
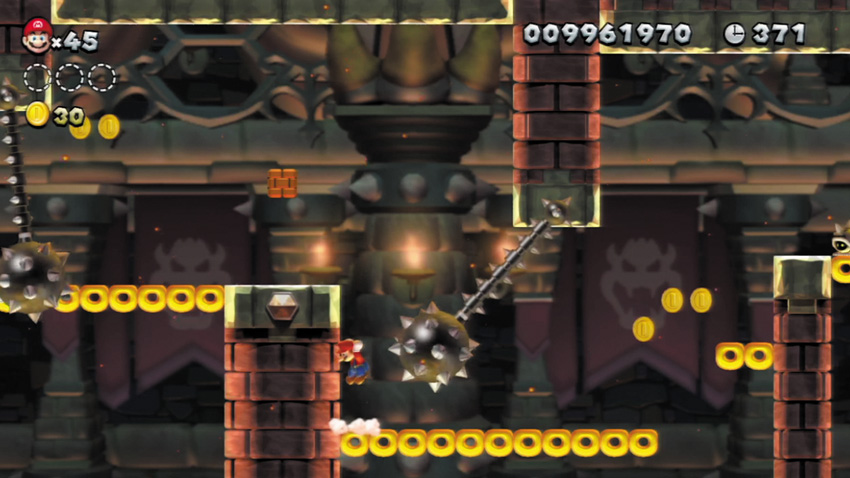
This is one of the most challenging stages in the game, requiring expert timing. Dash past the first two Spinners to arrive at this Point. Jump atop the far-left Donut Block here to keep it from falling as you wait for the nearby Spinner to swing to the left, then quickly dash past and jump up the Donut Blocks to the right.
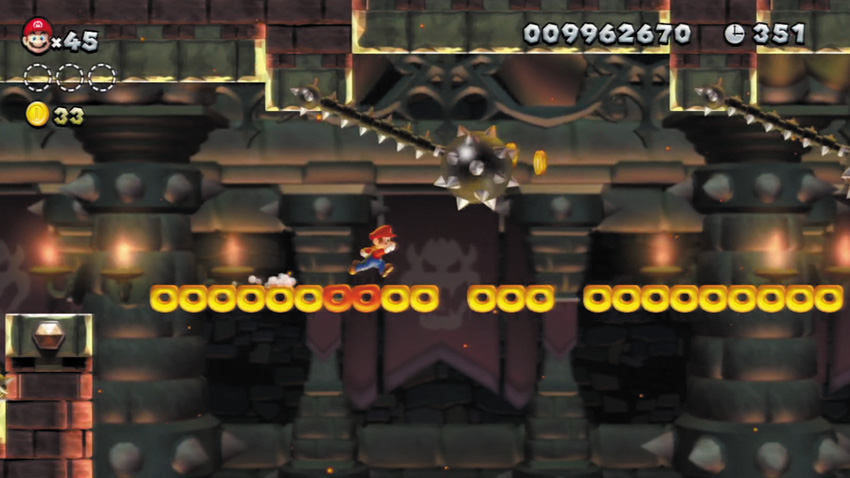
Do the following to survive this treacherous stretch of Spinners:
- Dash past the first Spinner while it’s swinging to the right.
- Run back toward the first Spinner to avoid the second Spinner as it swings to the left.
- Dash past the second Spinner while it swings to the right.
- Run back toward the second Spinner to avoid the third Spinner as it swings to the left.
- At this point, you can try for the first Star Coin (see that section for details).
- Dash past the third Spinner just before it changes direction and swings back to the right. (You can dash straight across the tiny gaps between the Donut Blocks here.)
- Pause before you reach the final Spinner (if necessary) and dash past it after it has swung to the right.
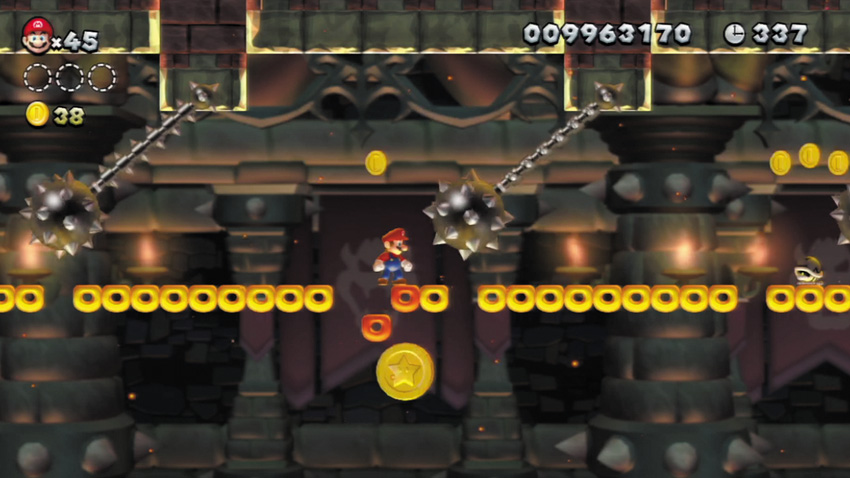
There are three Donut Blocks above the first Star Coin. Stand on the left Donut Block and the nearby Spinners won’t touch you. Allow the left Donut Block to fall so that you collect the Star Coin, then quickly jump off the falling Donut Block before you fall too far.
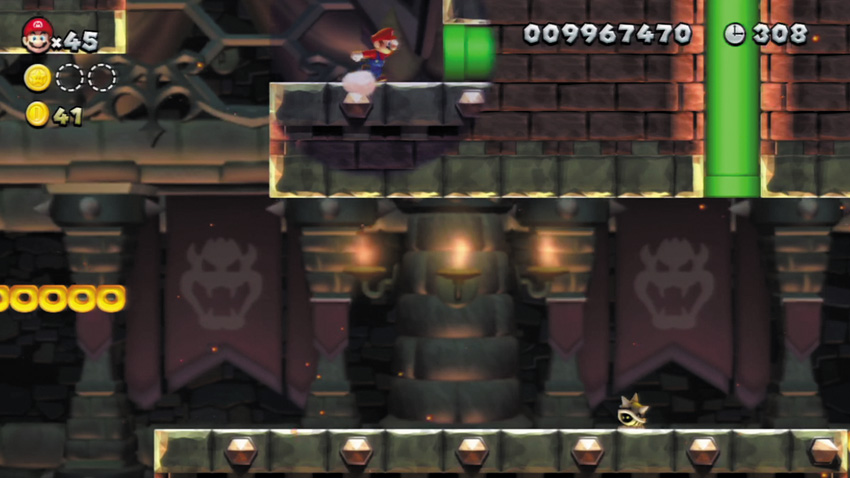
Leap from the Donut Blocks here and wall jump up through the opening in the ceiling to discover a secret room!
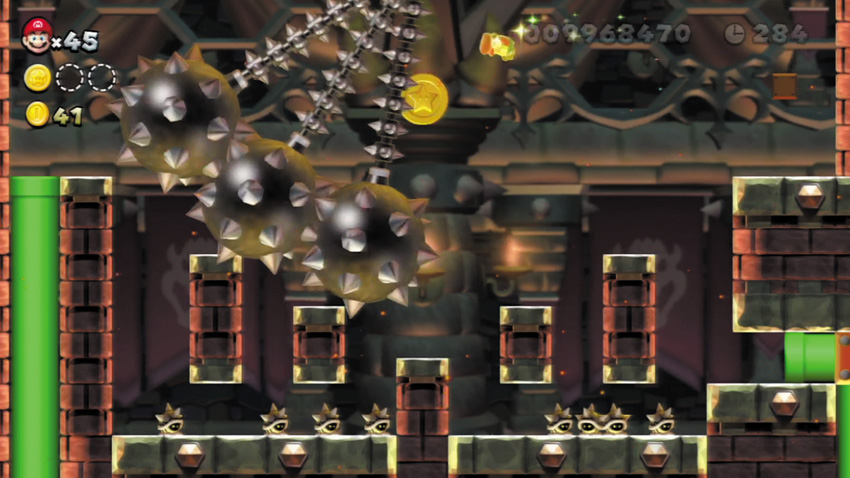
The second Star Coin is kept in a secret room—wall jump through the ceiling at Point 3 to get here. Wait for the Spinners to swing to the right, then quickly move toward the center of the room. Pause on the left side of the central platform while the Spinners swing by, then jump onto the central platform and crouch. Wait until the Spinners swing to the left again, then quickly jump up to the ? Block on the room’s right side. Collect the Super Star from the ? Block, then leap over and grab the central Star Coin.
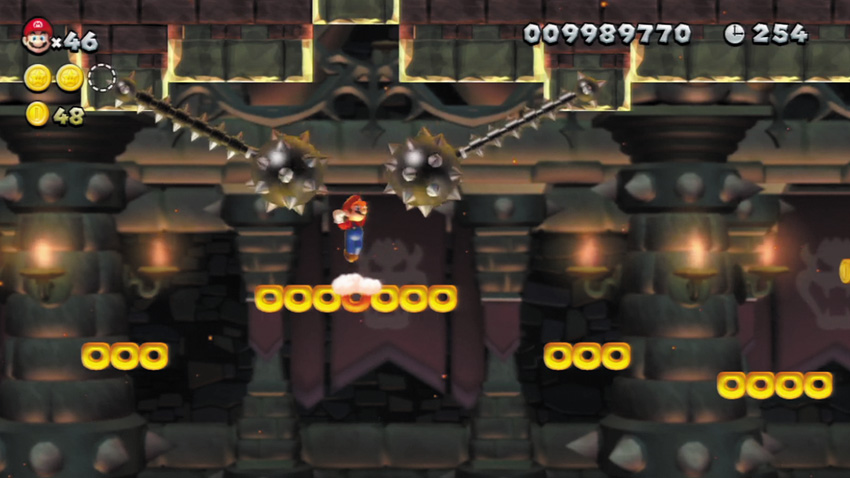
Two Spinners present a dangerous obstacle here. Leap past the left Spinner after it has swung to the left. Pause on the highest row of Donut Blocks and jump in place atop the middle Donut Block while the Spinners swing close. Advance after the right Spinner swings to the right.
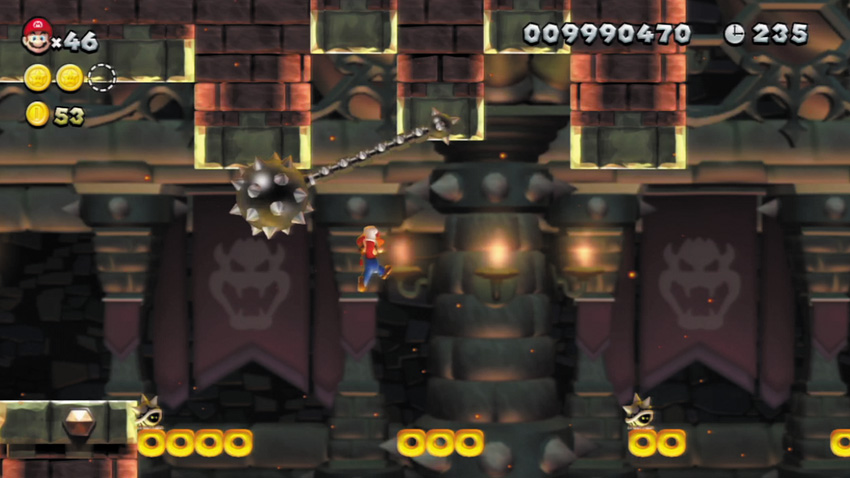
Jump past the Spinner here after it has swung to the left. It helps to stun or defeat the nearby Bony Beetle while you wait for your chance to jump.
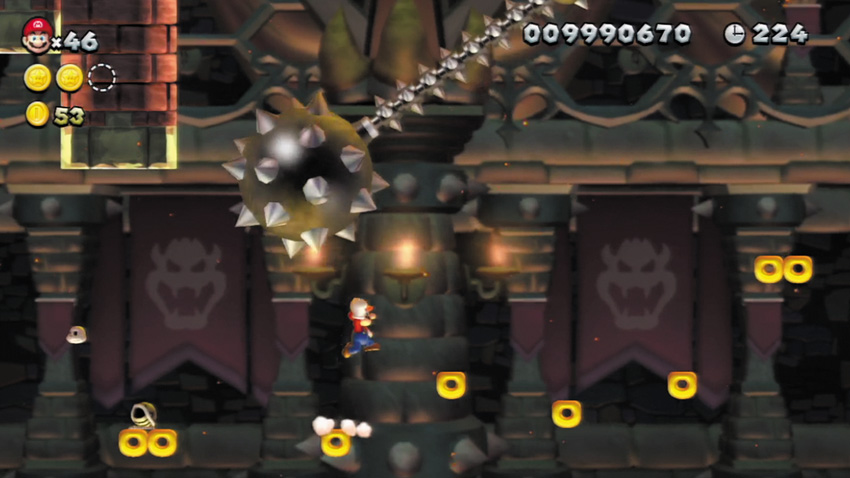
Getting past this giant Spinner is no easy feat. Jump atop the first lone Donut Block to the left of the Spinner, and wait for the Spinner to swing by to the left. Immediately jump up the Donut Blocks to the right after the Spinner swings by, heading for higher ground.
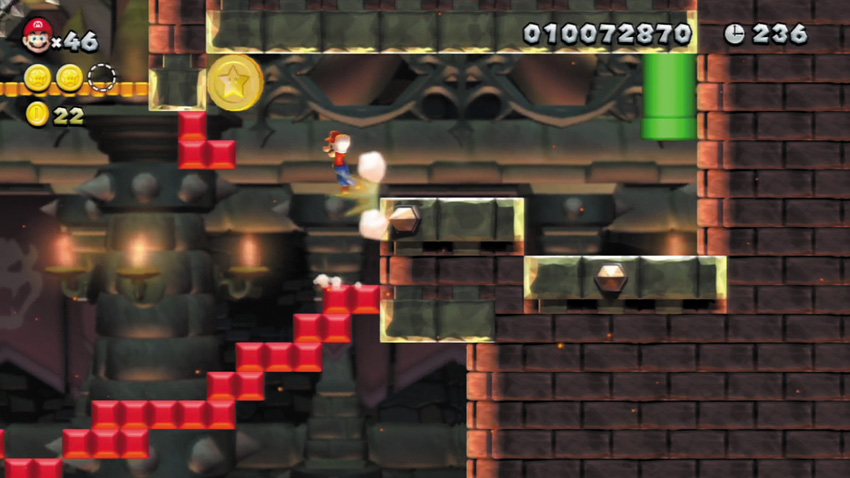
Wait until the final Spinner swings to the right, then quickly jump over and hit the high ? Switch to make a curved floor of pink blocks appear below. Drop onto the pink blocks and dash to the right, crouching at the bottom of the curve to avoid the Spinner as it swings past to the left. Then quickly jump up the pink blocks, and wall jump off the solid ledge they lead to. You’ll bound up to the Star Coin—now hurry and leap to solid ground!
Superstar Road 9
Follow that Shell!
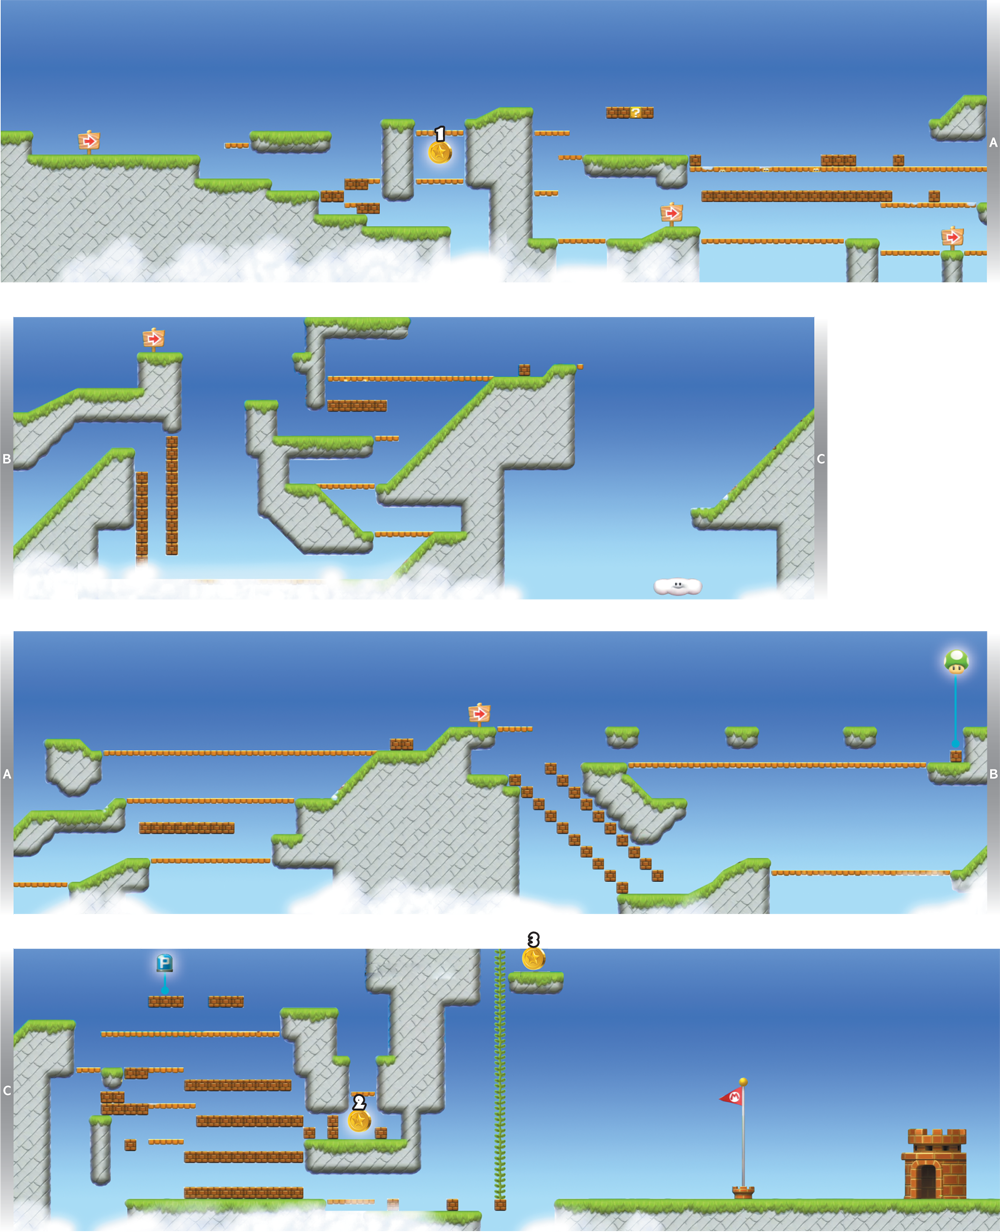
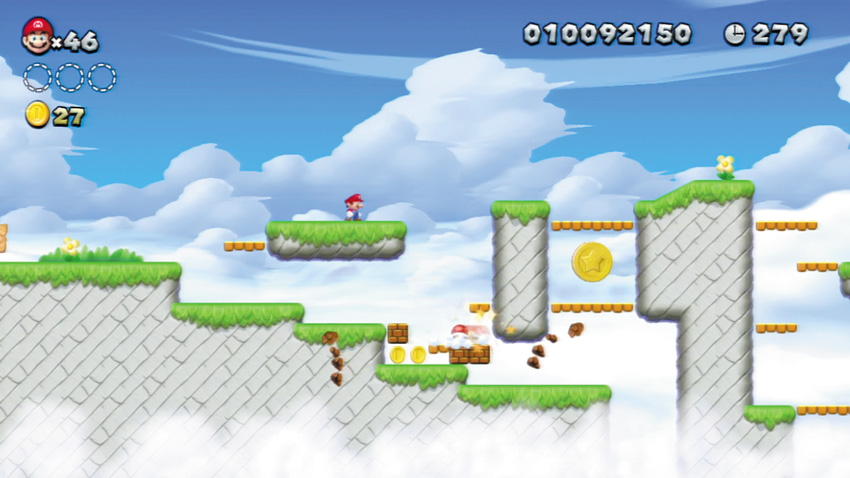
Stun this stage’s very first Koopa, then kick its shell. The shell will defeat the Goombas below, and will also smash through the Brick Blocks, clearing a path toward the first Star Coin.
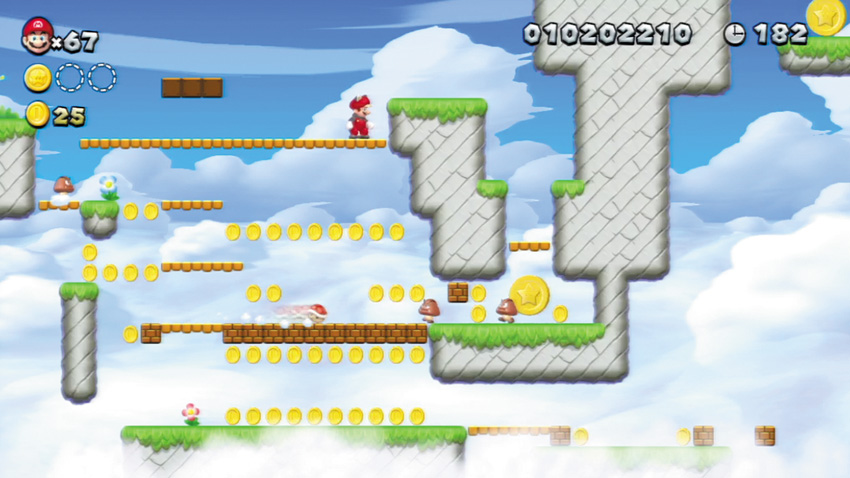
Send a Koopa shell flying around the area near the second Star Coin. Bump the top Brick Blocks to discover a P Switch, then hit the P Switch to turn the surrounding Brick Blocks into Coins, and vice versa. If you time it right, the shell will smash through the lower of the two Brick Blocks that wall off the Star Coin. Then dash toward the Star Coin, and crouch to slip past the remaining Brick Block and collect the Star Coin. (Small Mario can simply run through the opening.)
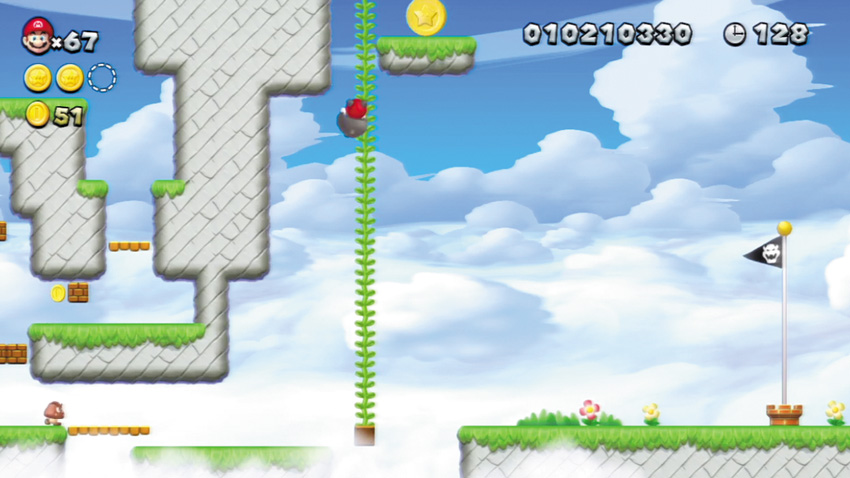
The third Star Coin seems unreachable on its lofty ledge, but of course, there’s a clever way to reach it! Use a Koopa shell to smash the Brick Blocks found far below the Star Coin. A Beanstalk will sprout up from the Brick Block on the right. Savor the moment as you climb the Beanstalk and collect your final Star Coin!