
New Super Mario Bros. U Guide Walkthrough Worlds
Rock-Candy Mines
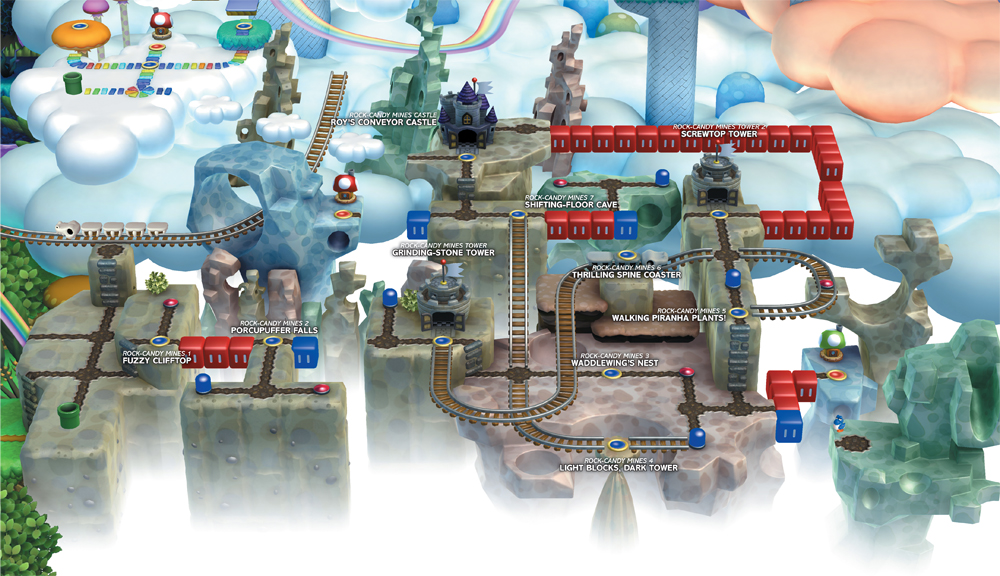
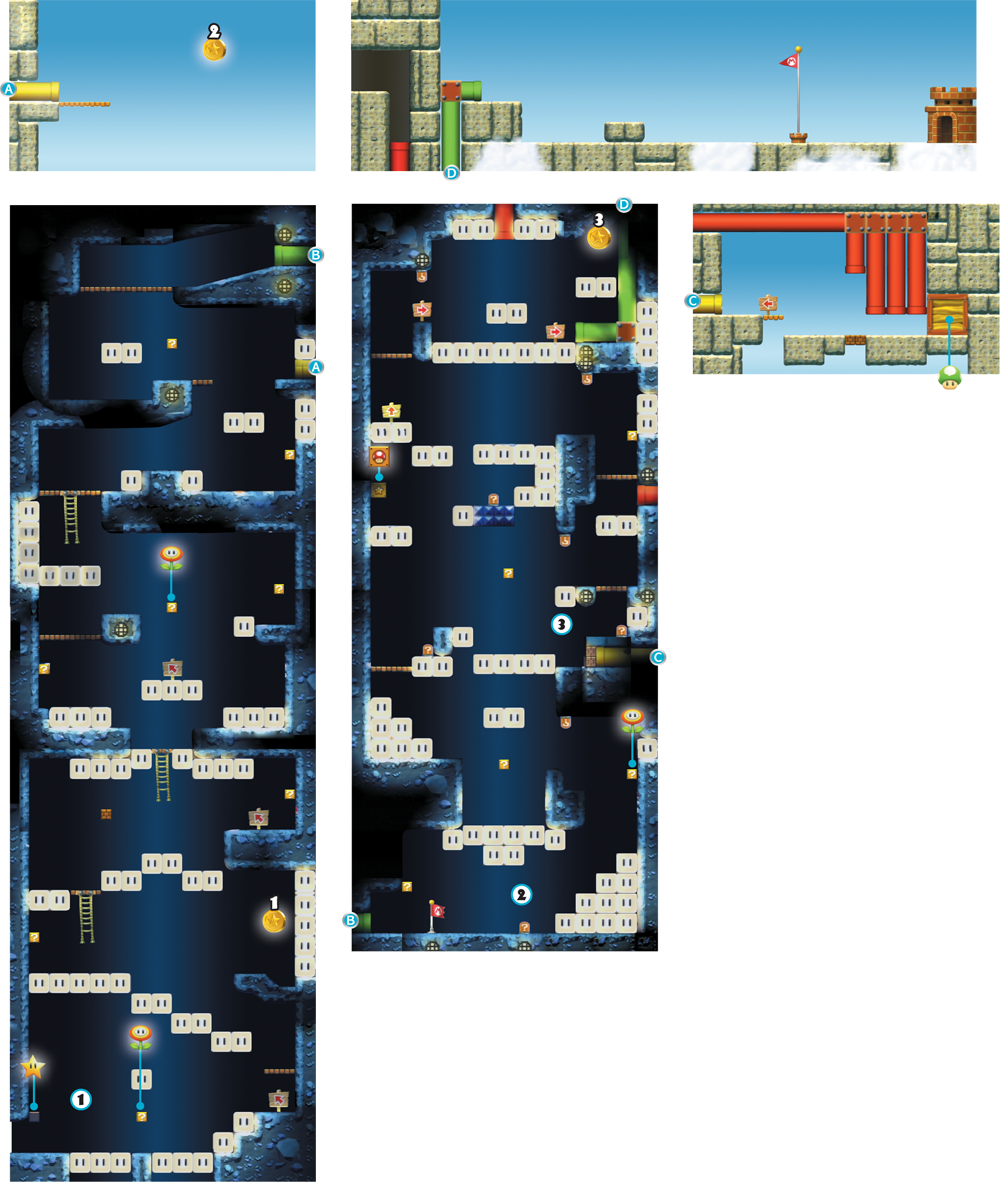
Locations
| Levels | Toad Houses | Map Enemies | Boss |
|---|---|---|---|
| 10 | 2 | None | Roy |
Rock-Candy Mines 1
Fuzzy Clifftop
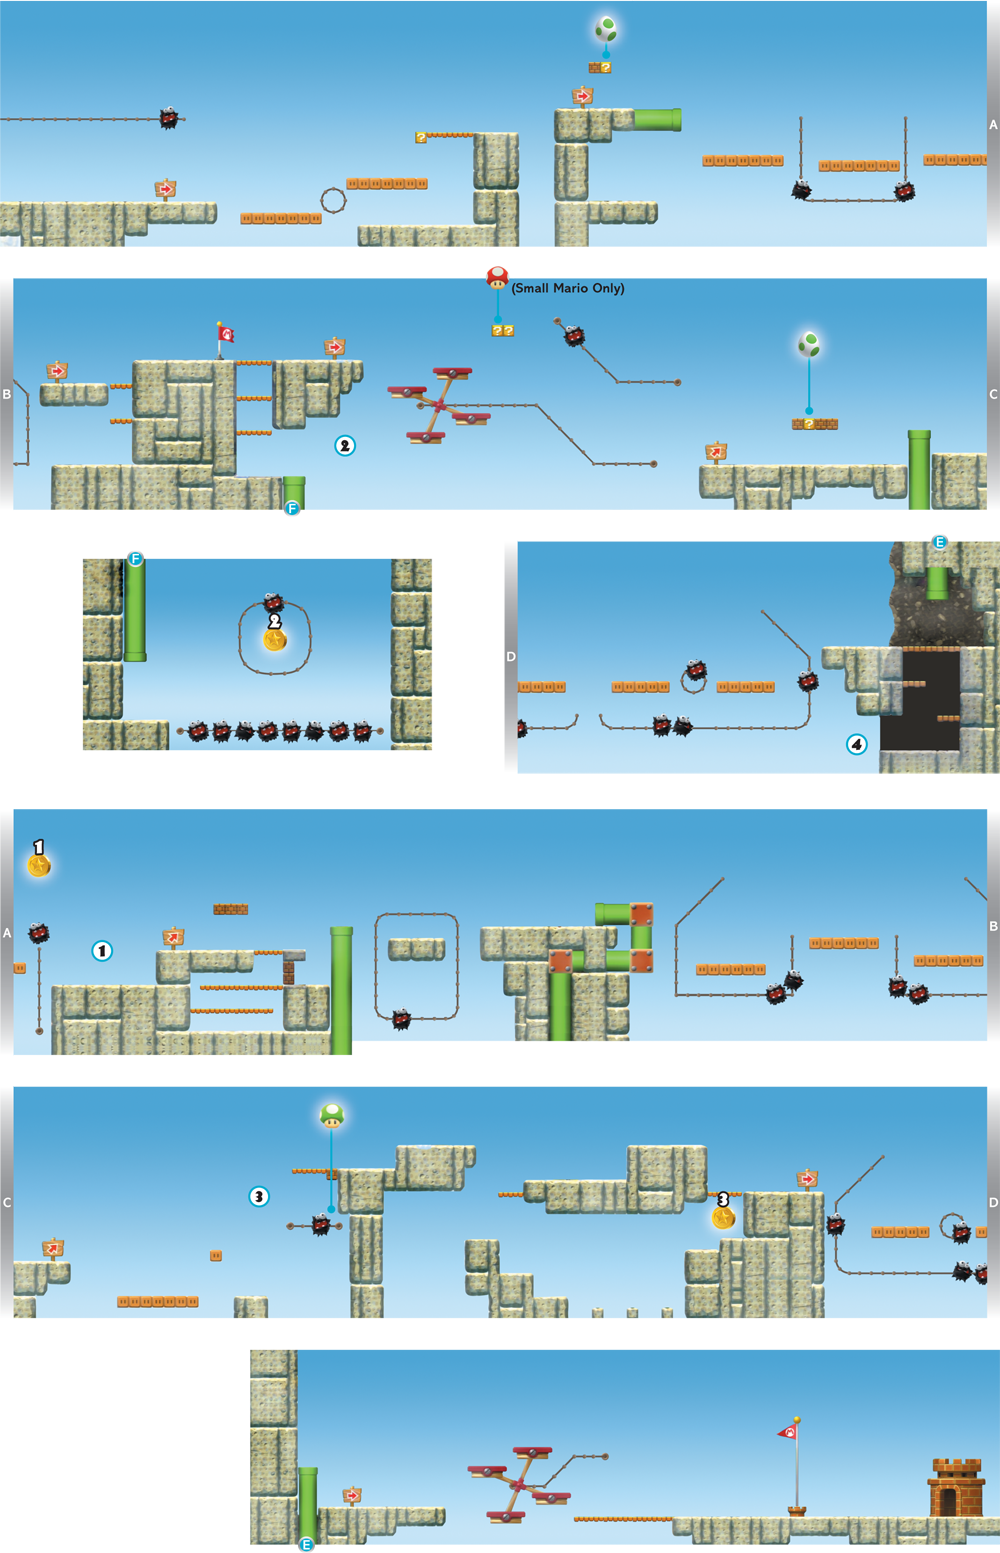

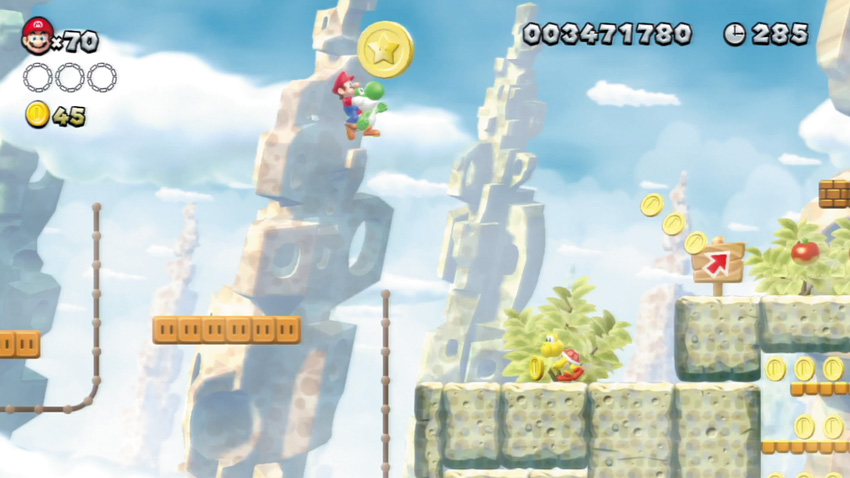
Allow the Stretch Blocks to the left of the first Star Coin to lift you up, then use Yoshi’s flutter jump ability to leap over and collect the Star Coin. It’s much easier to reach this Star Coin while riding Yoshi!
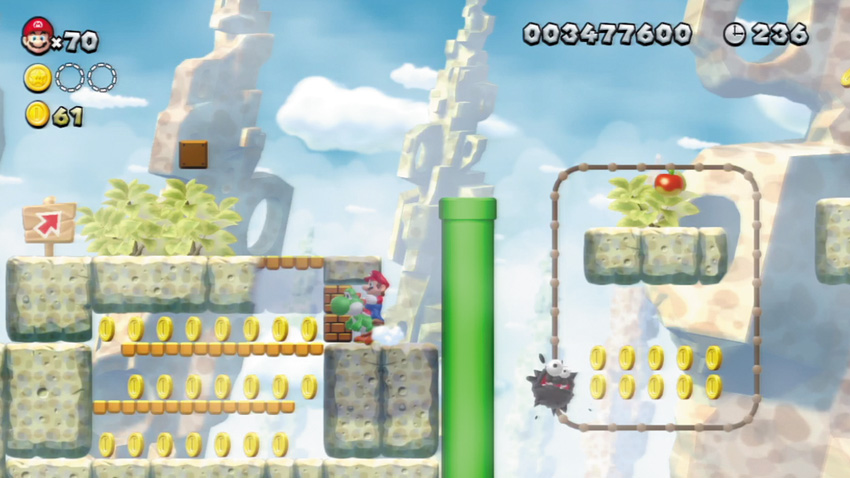
Stun the Koopa on this ledge, then carry its shell up to the ledge above. Throw the shell to the right, so that it bounces off the Pipe. The shell then smashes through some hidden Blocks and collects the Coins beyond for you!
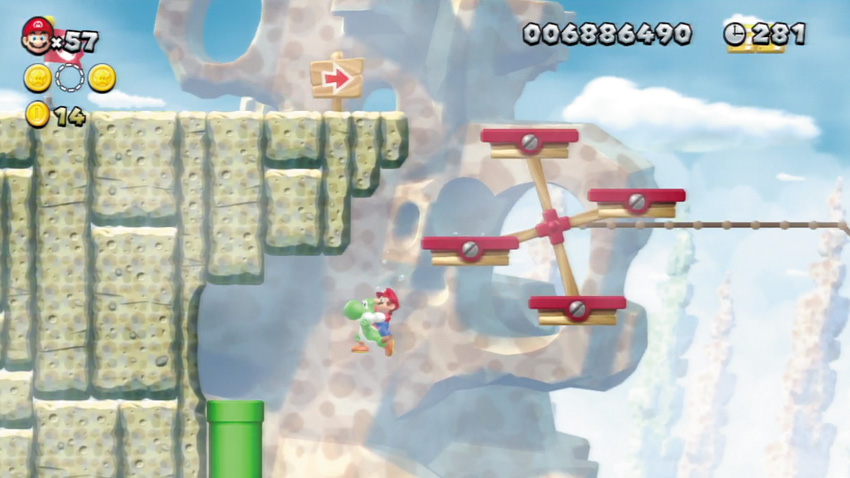
While riding Yoshi, leap from the bottom of the Paddle Platform here. Use Yoshi’s flutter jump ability to reach the Warp Pipe to the left. Enter the Warp Pipe to discover the second Star Coin, and when you emerge, move through the false wall on the left of the Warp Pipe so that you may jump back up to the main path.

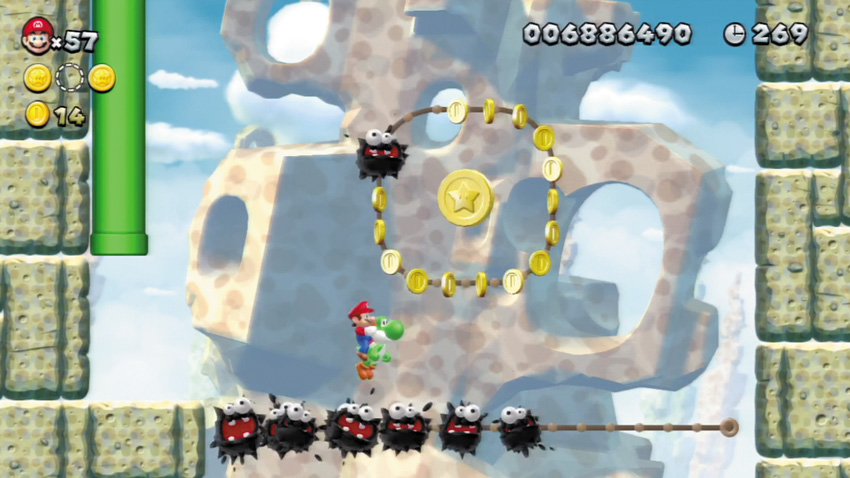
Use Yoshi to enter the Warp Pipe at Point 2 to reach this underground area, where the second Star Coin is guarded by a bunch of Fuzzies. Simply bounce along the Fuzzies while riding Yoshi, then leap up and grab the Star Coin above!
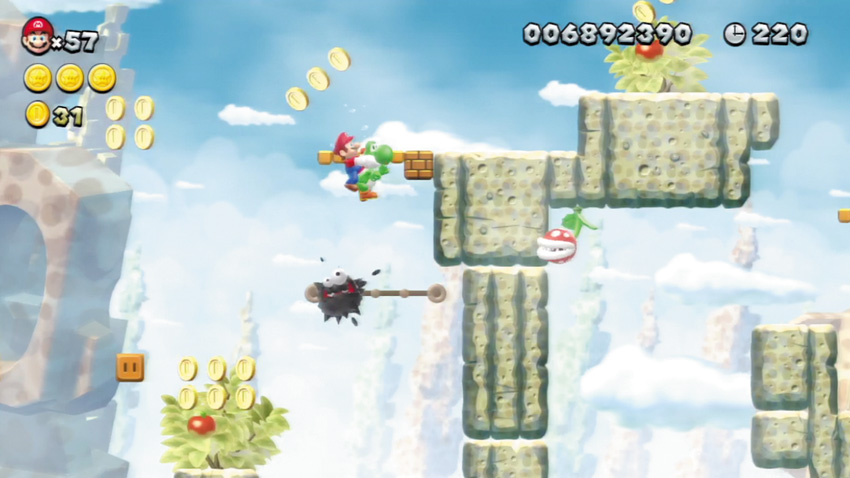
While riding Yoshi, jump onto the Fuzzy here, then jump up and hit the overhead Brick Block. Out pops a 1-Up Mushroom!

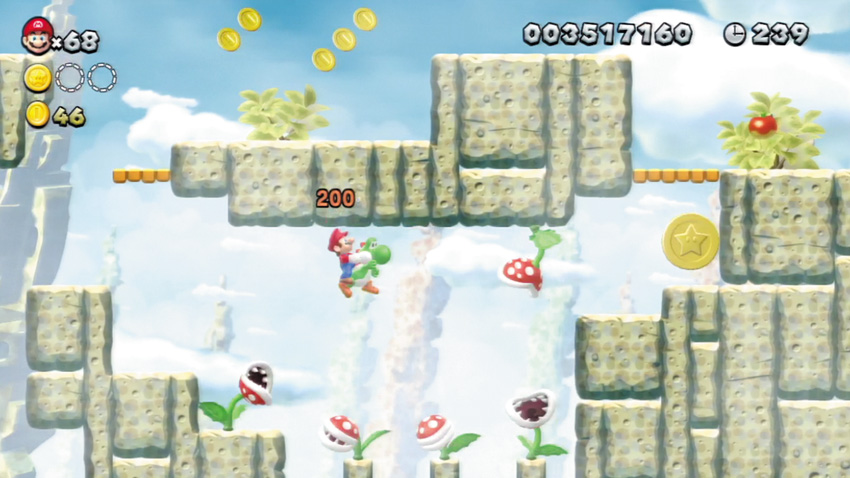
A crop of Piranha Plants guard the final Star Coin. Use Yoshi to gobble up the overhead Piranha Plants as you hop across the lower Piranha Plants on your way to the Coin.
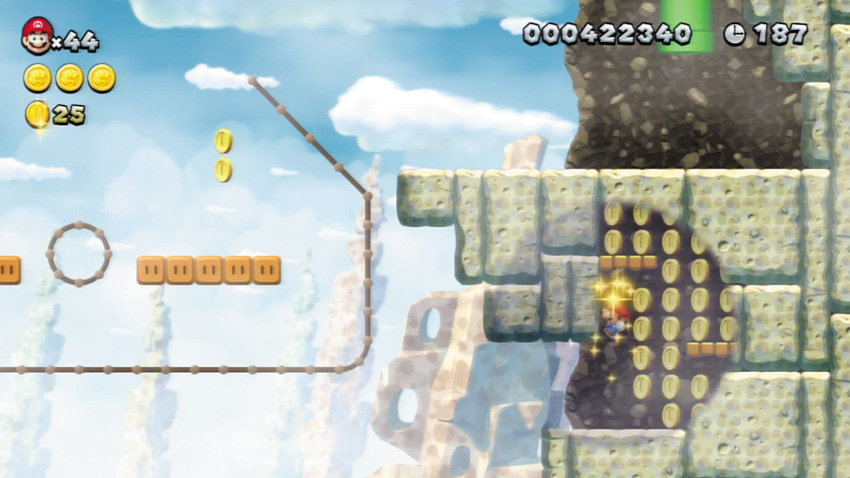
While riding Yoshi, carefully leap from the final Stretch Platform and use Yoshi’s flutter jump to enter a hidden, Coin-filled cave beneath the Warp Pipe that leads to the Goal Pole.
Rock-Candy Mines 2
Porcupuffer Falls
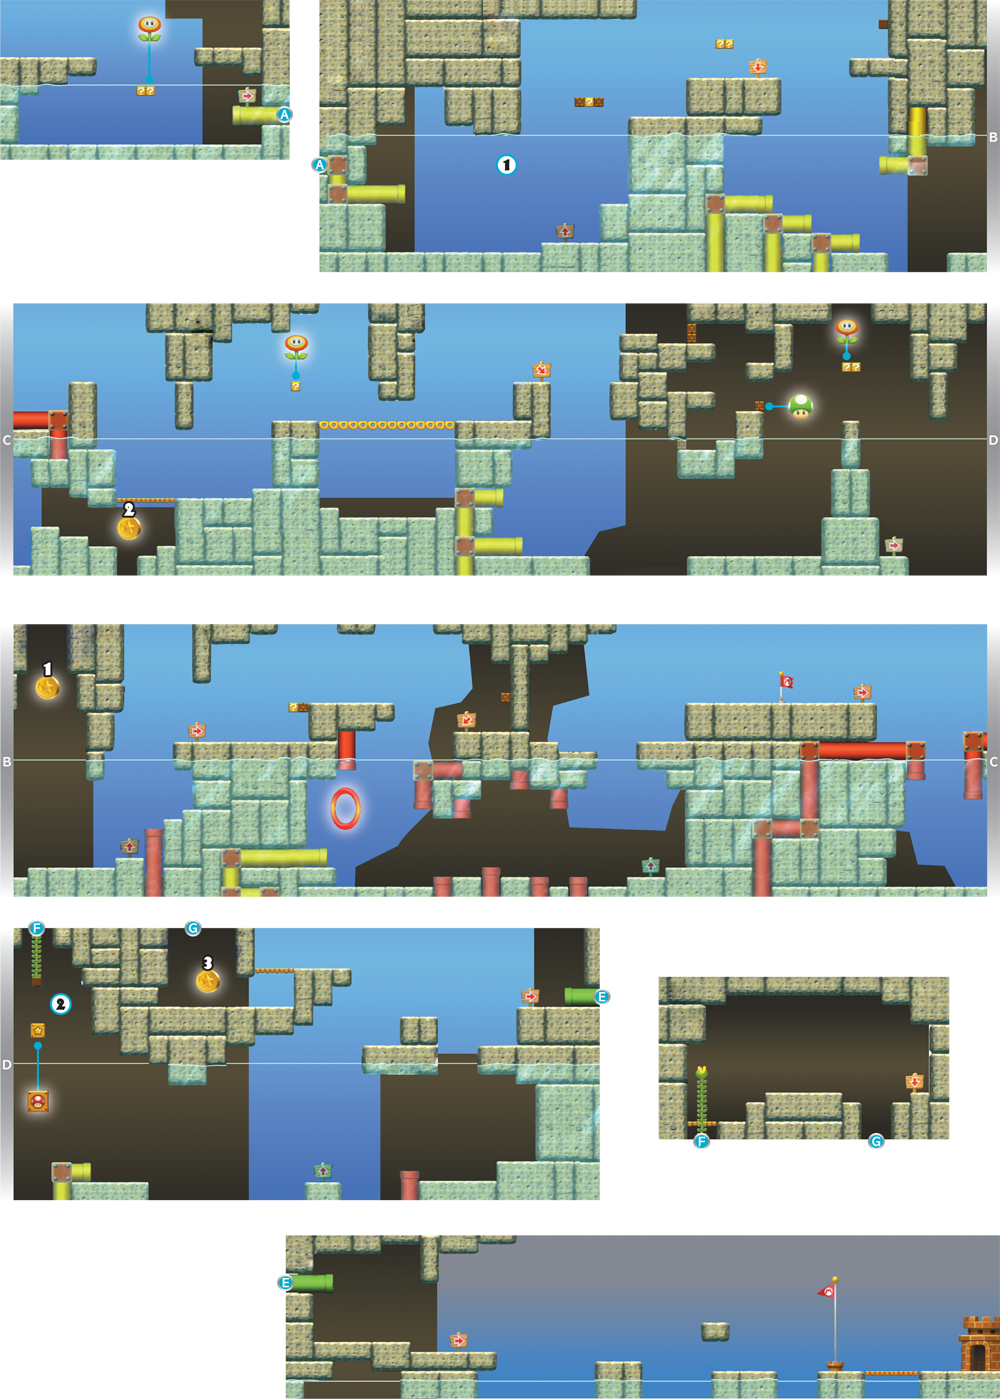
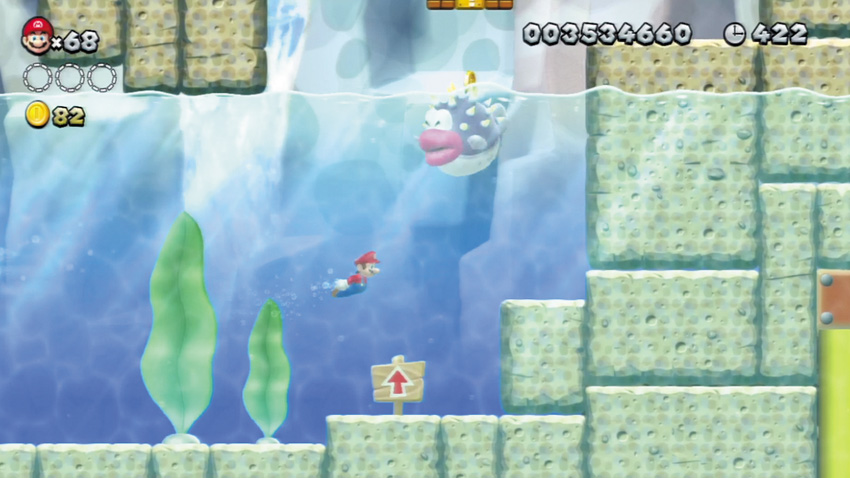
A fat fish named Porcupuffer swims onto the scene when you reach this Point. Porcupuffer is a constant threat throughout this stage—keep your distance, and try to sink Porcupuffer with fireballs.
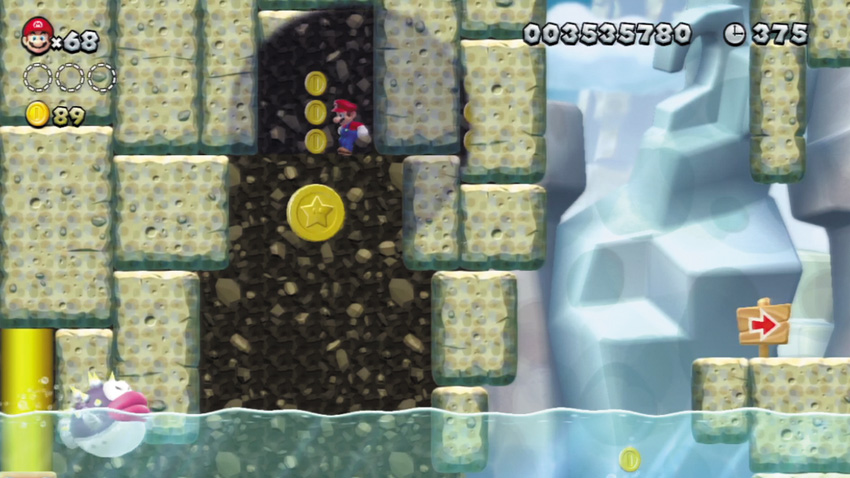
Leap onto the ledge that lies to the left of this Star Coin, then jump up and bump a hidden Block. Jump from the hidden Block to reach a secret overhead path, then run to the right. You’ll fall through a hole and collect the Star Coin.
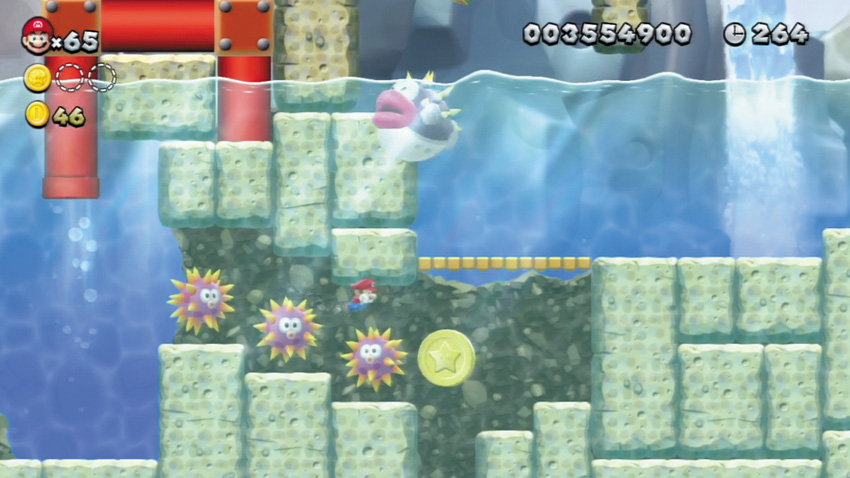
Defeat the Urchins that guard the second Star Coin with fireballs, then simply swim through and collect your reward. It’s also possible to slip past the Urchins if you stay high and swim hard, but this is far more risky.
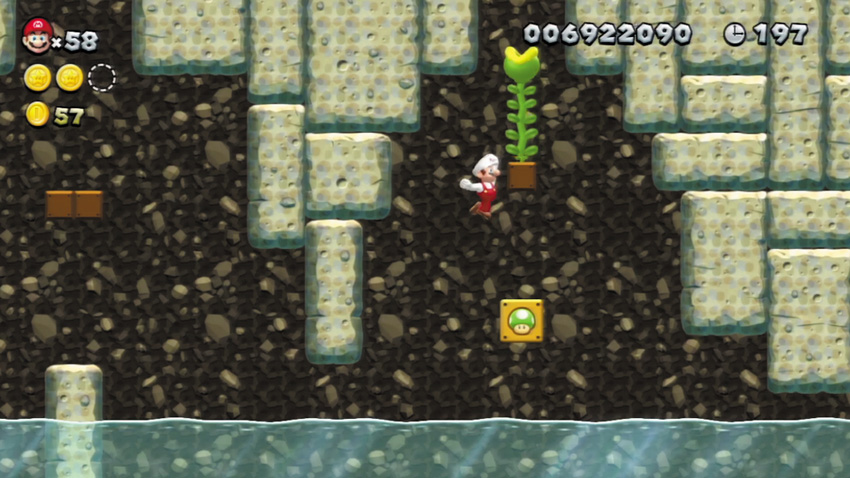
Wall jump onto the Roulette Block here, then jump up and bump a hidden Block above. A Beanstalk grows up from the hidden Block—wall jump onto the Beanstalk, and climb up to reach a secret cavern.
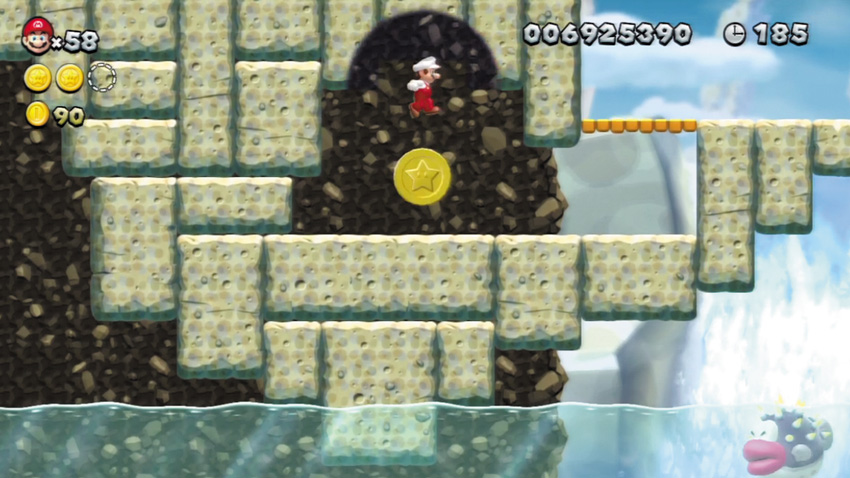
To reach this final Star Coin, fi rst climb the hidden Beanstalk at Point 2 to access a secret cavern. Pass through the cavern and drop through the far hole. You’ll fall right onto the third Star Coin when you land.
Rock-Candy Mines Tower
Grinding-Stone Tower
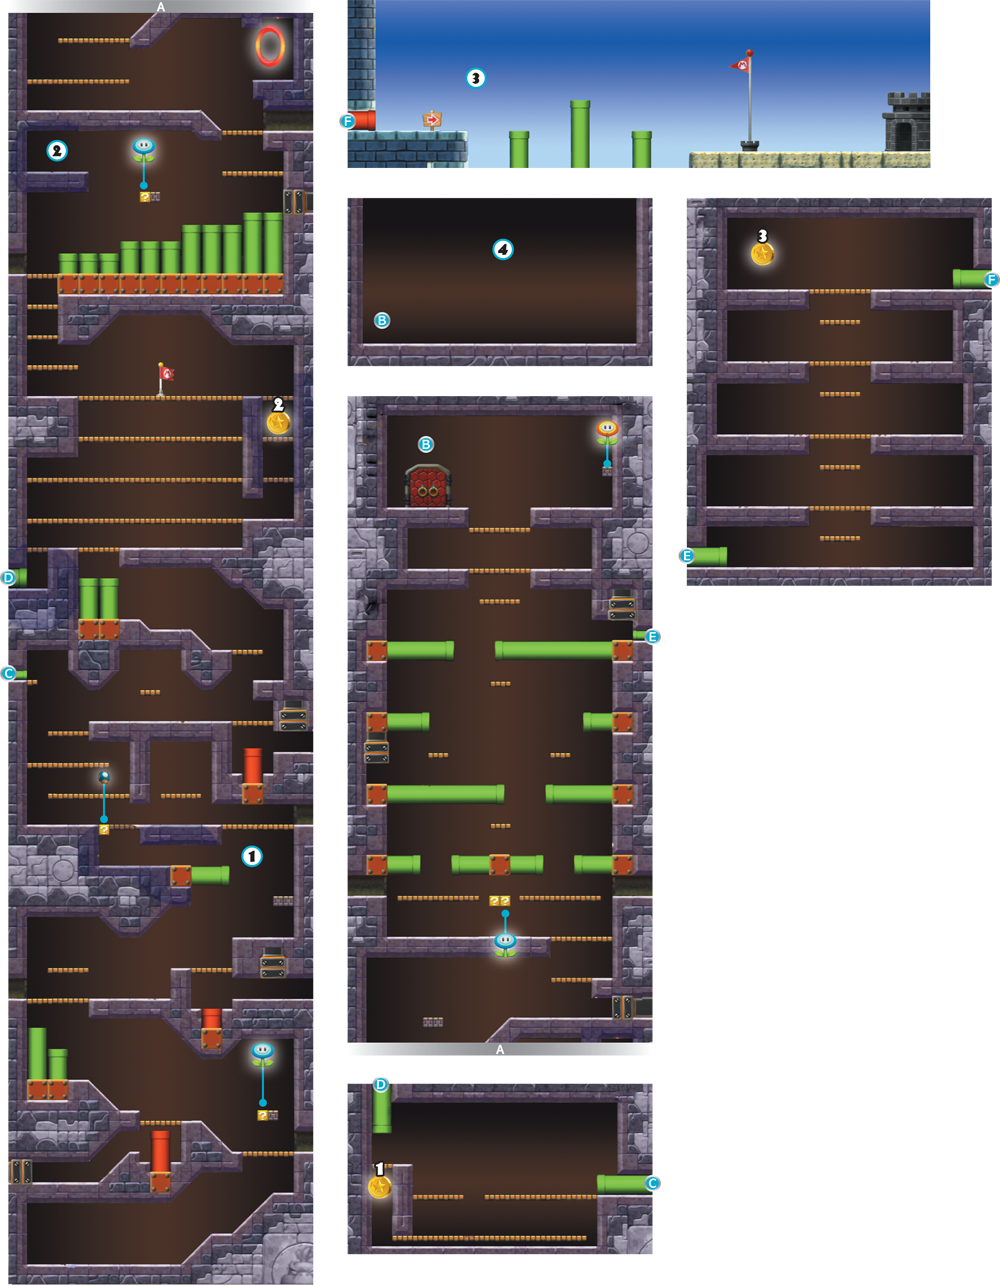
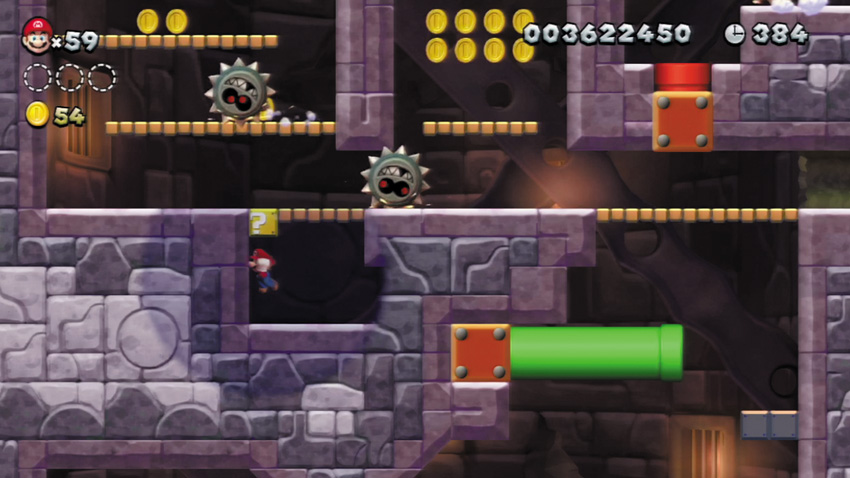
Jump onto the Pipe here, then run through the false wall to the left to discover a hidden ? Block. Bump the ? Block to obtain a rare Mini Mushroom!
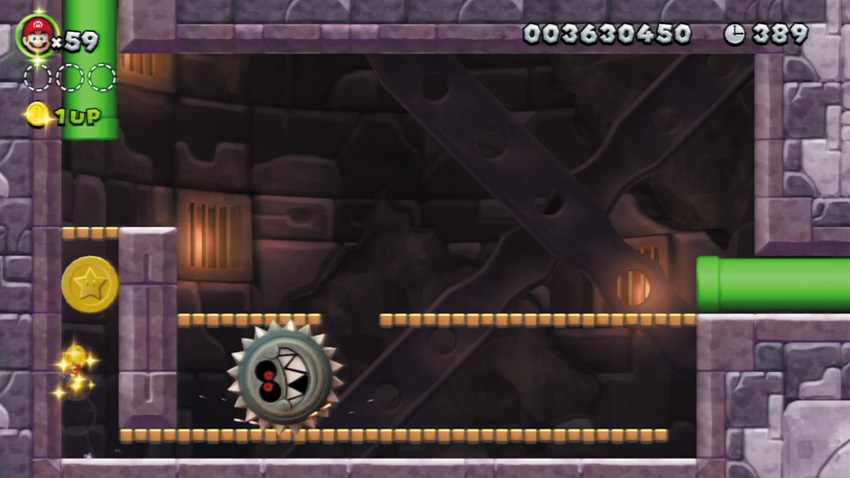
Collect the Mini Mushroom at Point 1 to transform into Mini Mario, and then you’ll be able to enter the tiny Warp Pipe that leads to this side room, where the first Star Coin is kept. Drop into the hole in the floor when the Grrrol rolls by to the left, then quickly run to the right and drop through another hole to reach the room’s bottom. Now simply dash to the left and sprint up the wall to collect the Star Coin.
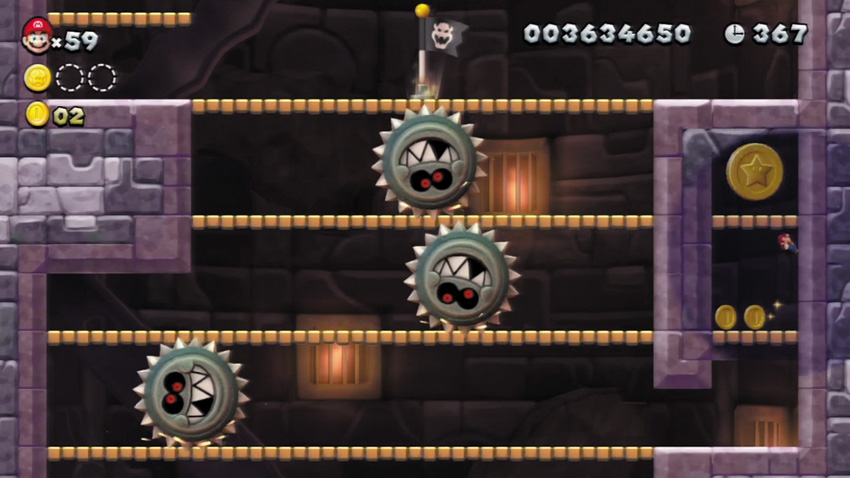
The second Star Coin is hidden behind a false wall here. Simply pass through the wall and jump up to collect the Coin.
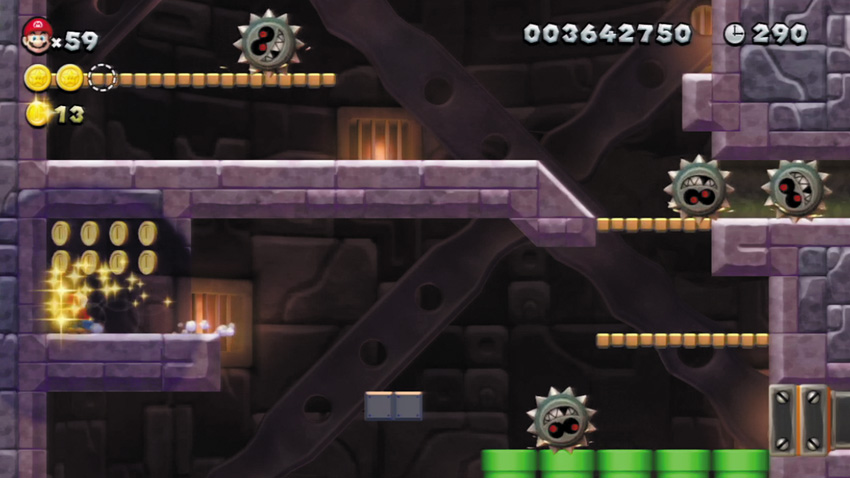
Jump from the Brick Blocks near this Point to enter the hidden nook here, where some bonus Coins are stashed.
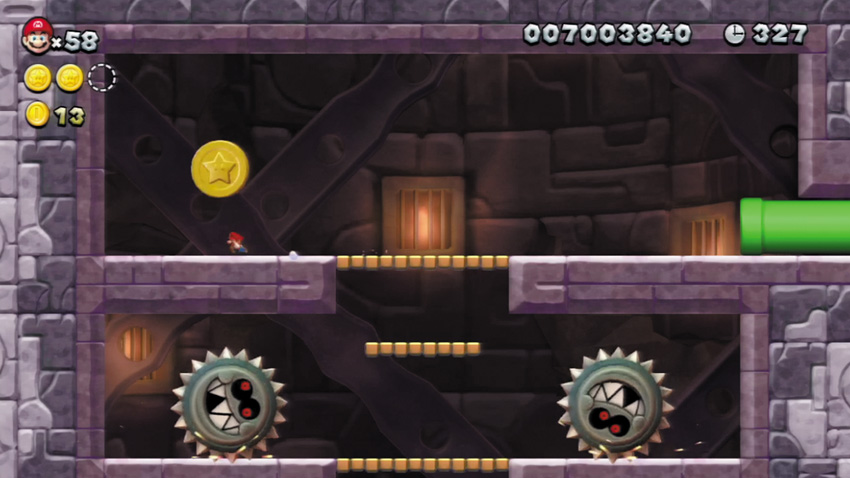
Make it to the top of the tower as Mini Mario and then enter the tiny Warp Pipe that leads to this side chamber, where the final Star Coin is kept. Simply scale the room by jumping past the rolling Grrrols, then collect the Star Coin at the top.
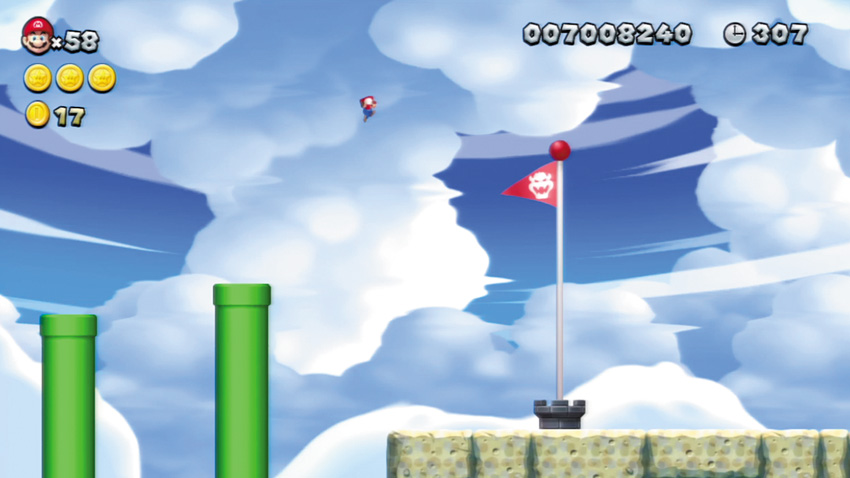
After you collect the third Star Coin, you’ll have no choice but to visit the stage’s secret exit. Complete the stage using this secret exit, and you’ll unlock a World Map shortcut to Rock-Candy Mines 6—Thrilling Spine Coaster!
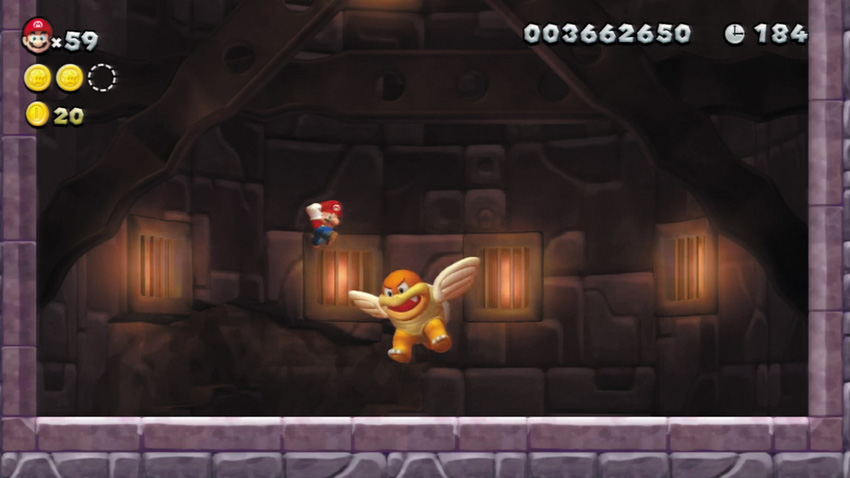
When you reach the top of the tower, you discover that Magikoopa has a whole new enchantment for Boom Boom. This time, the mini-boss is given the gift of flight! Boom Boom flaps around near the ceiling, periodically swooping down with a dive-bomb attack. Dodge Boom Boom’s dive-bomb, then quickly jump up and stomp his head. Stomp Boom Boom three times to clip this mini-boss’s wings!
Rock-Candy Mines 3
Waddlewing’s Nest
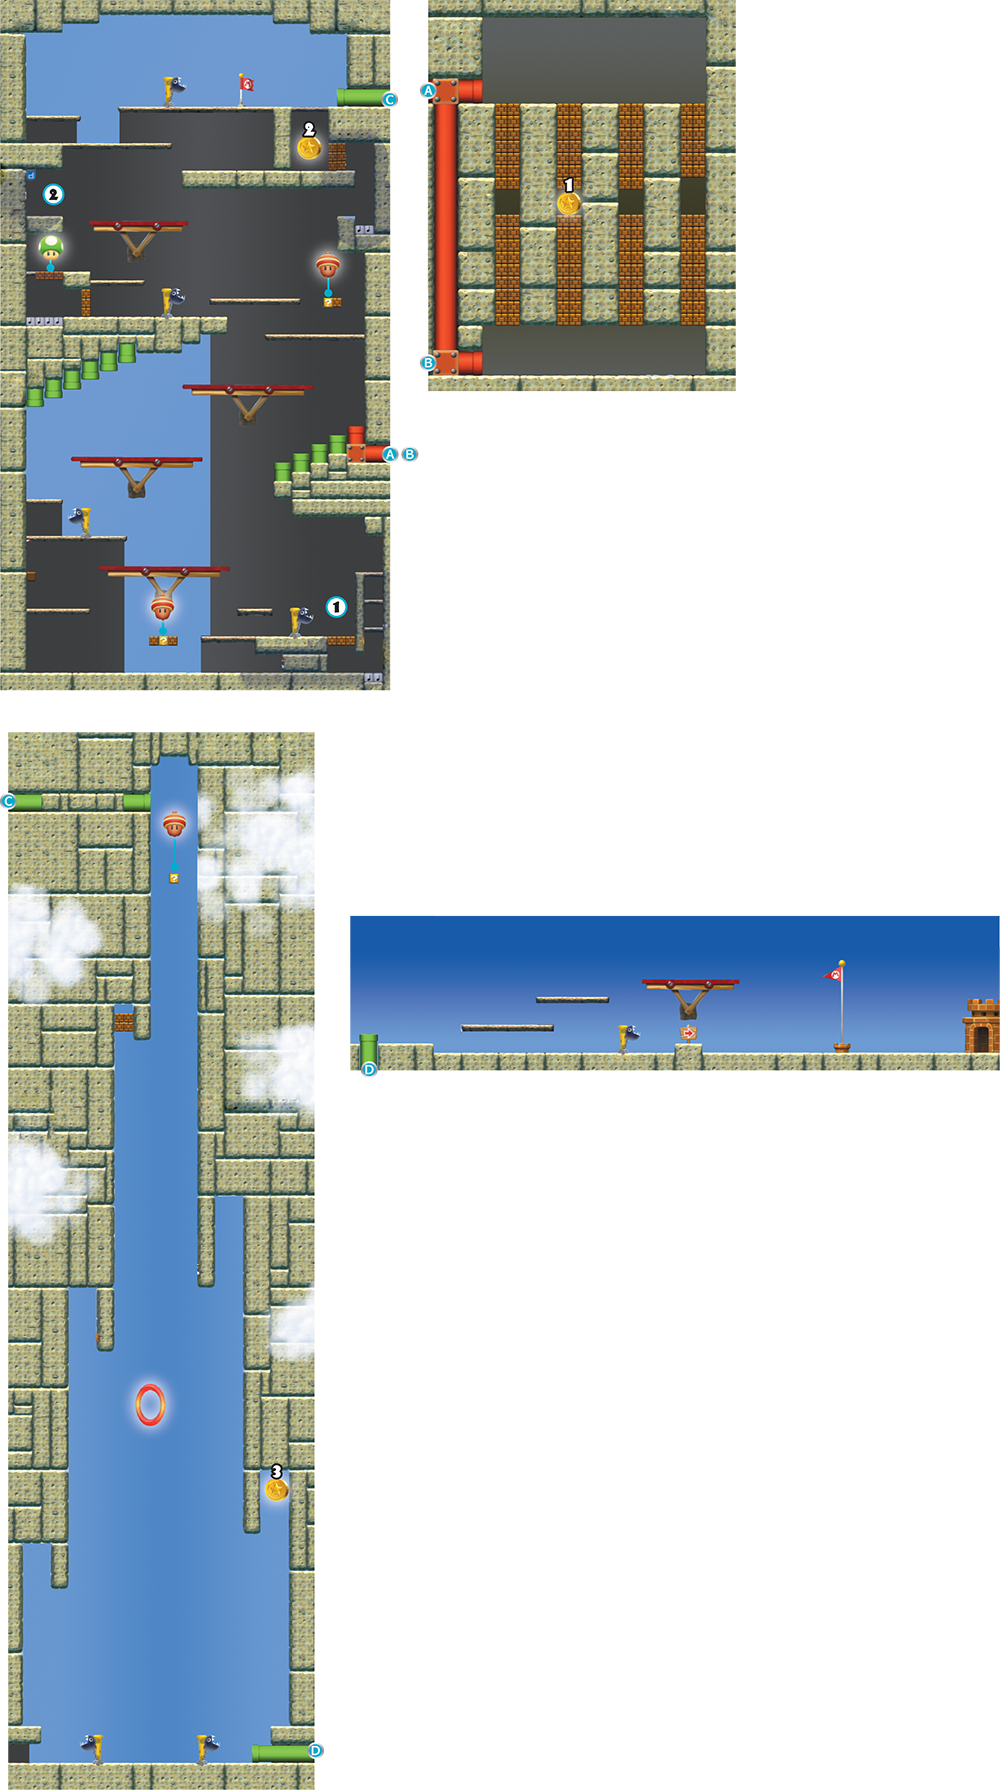
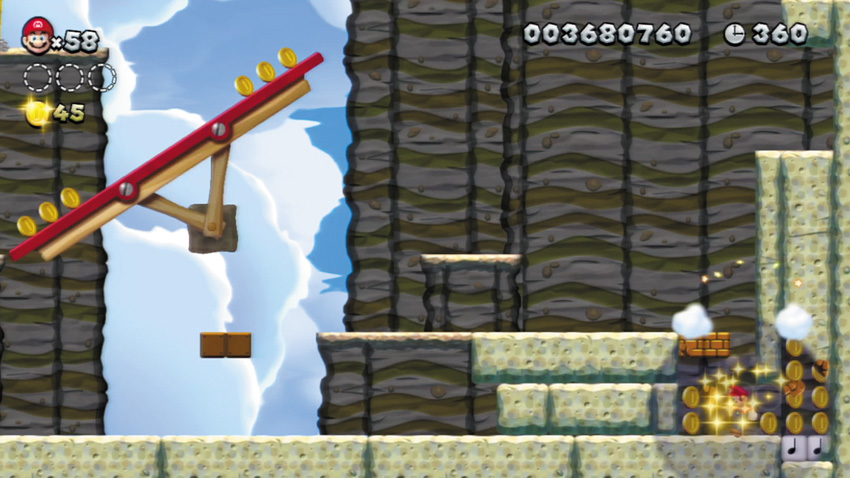
Ground pound through the Brick Blocks here, and you’ll land in a hidden, Coin-filled area. Bounce off the Note Blocks here to soar up and grab even more bonus Coins.
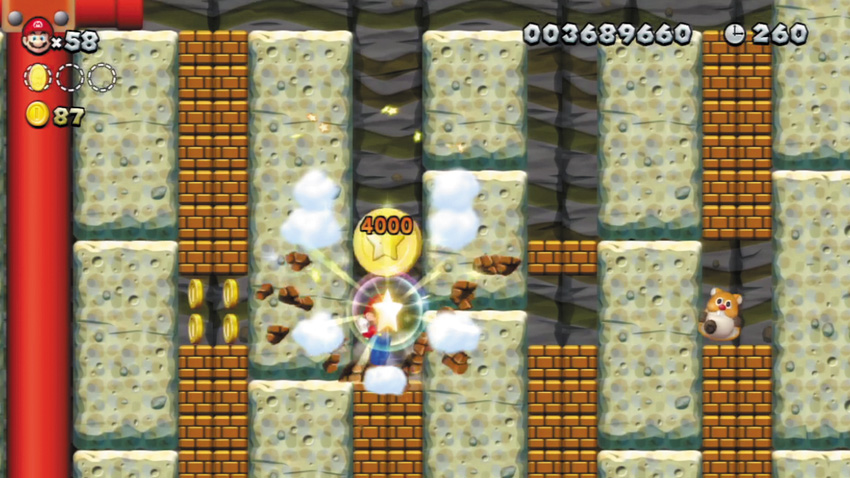
Enter a red Warp Pipe to reach this side room, where the first Star Coin is stashed. Simply ground pound through the middle-left stack of Brick Blocks to smash your way to the Star Coin. Small Mario and Mini Mario can’t smash through Brick Blocks, so he can’t collect this Star Coin.
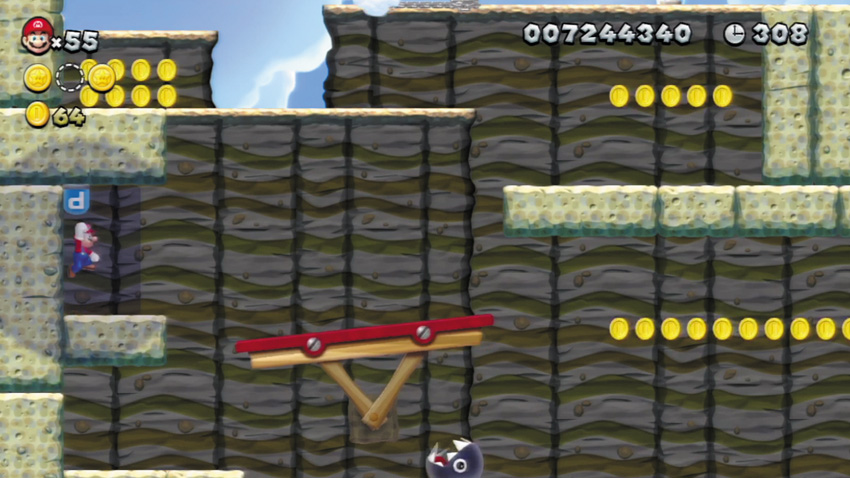
Jump through the false wall here to discover a hidden P Switch. Jump up and hit the P Switch, and the row of Coins to the right will turn into Brick Blocks. Quickly leap over to the Brick Blocks and dash through the false wall to the right, making your way toward the second Star Coin.
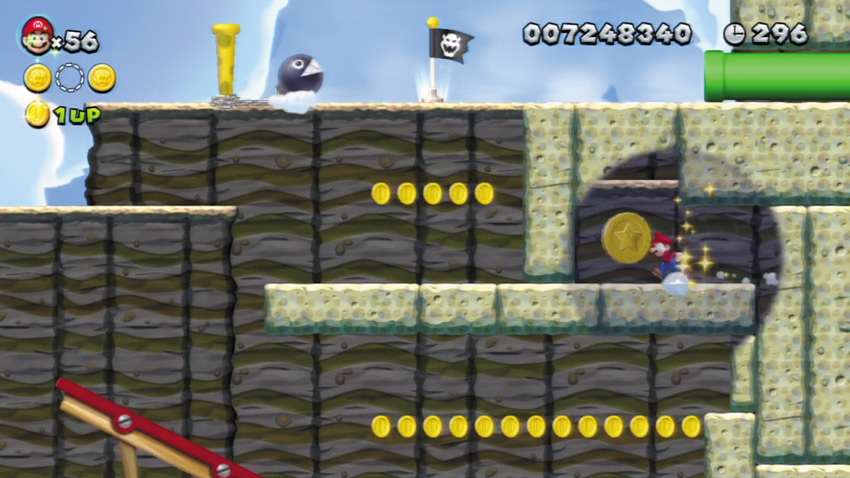
Hit the hidden P Switch at Point 2, and the line of Coins to the right will become Brick Blocks. Hurry across the Brick Blocks to reach a hidden nook, then bounce from the nook’s Note Blocks and pass through the Coins above. The Star Coin is found just beyond the Coins, but you’ve got to be quick—for those Coins will become solid Brick Blocks when the P Switch’s effects wear off!
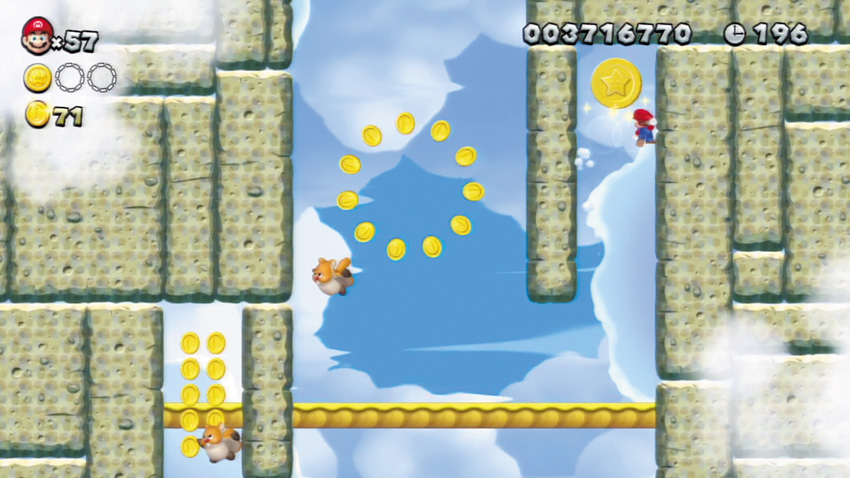
Look for the third Star Coin as you ride an elevator down this tall area—you’ll spot it in a nook to the right. Hurry and wall jump up to the Star Coin before the elevator lowers too far, or you’ll miss your chance to grab it!
Rock-Candy Mines 4
Light Blocks, Dark Tower
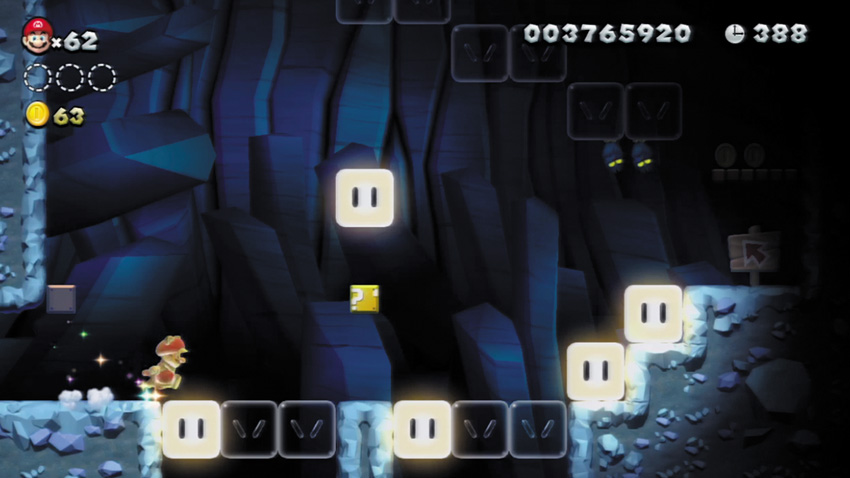
This dark stage becomes fully illuminated while you’re powered by a Super Star, so hit the very first ? Block to receive one. Now rush up the stage and hit other ? Blocks to receive more Super Stars and keep the lights on! If your Star power fades, however, you won’t receive additional Super Stars from ? Blocks.
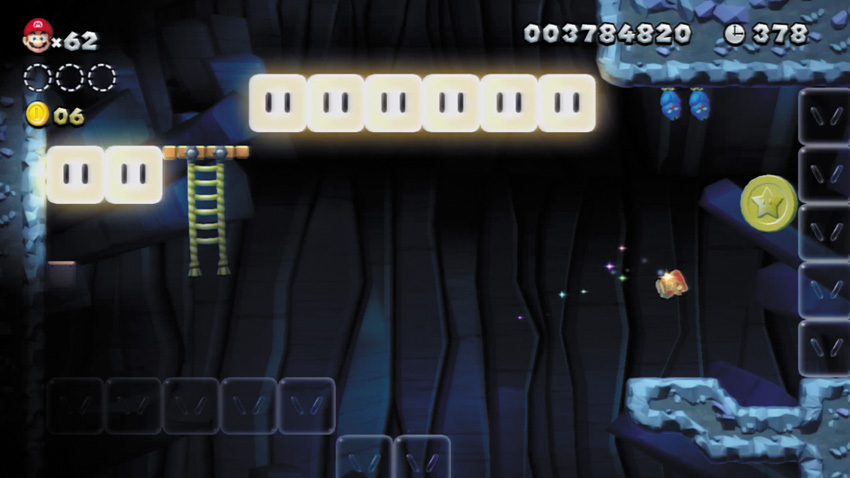
The first Star Coin floats near a group of Light Blocks here. Simply jump up and grab it, but beware of those overhead Swoopers!
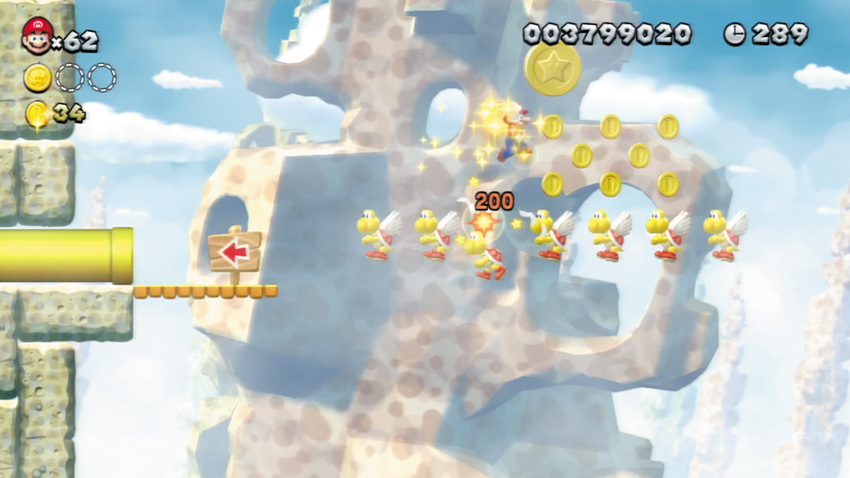
Enter the yellow Warp Pipe to reach this outdoor area, where a gang of Koopa Paratroopas flies up and down beneath a hovering Star Coin. Make a long leap over to the middle of the Paratroopa pack, and hold the jump button to bounce off the Koopa Paratroopas so that you may collect the Coin. Continue bouncing on the Paratroopas, working your way back over to the left while you wait for the them to fl oat up high enough for you to bound back over to the Warp Pipe.
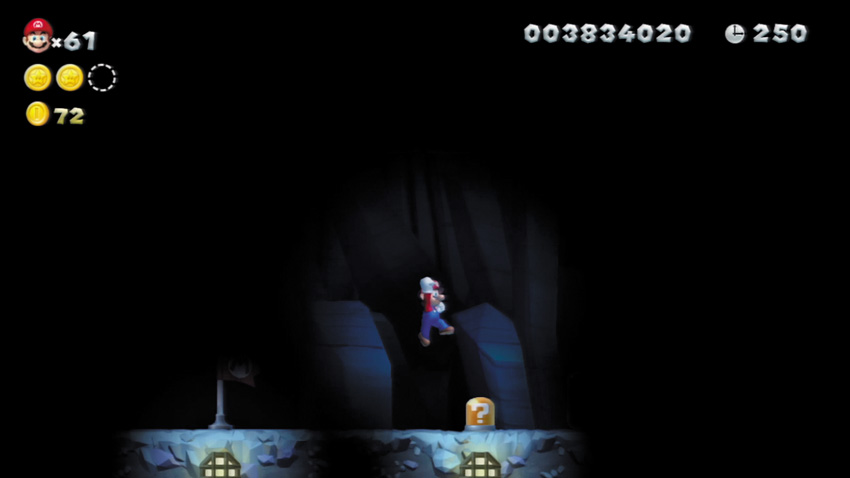
Hit the ? Switch here to make all of the Light Blocks in this area light up. Look for other ? Switches as you scale the area and hit them as well to relight those Light Blocks
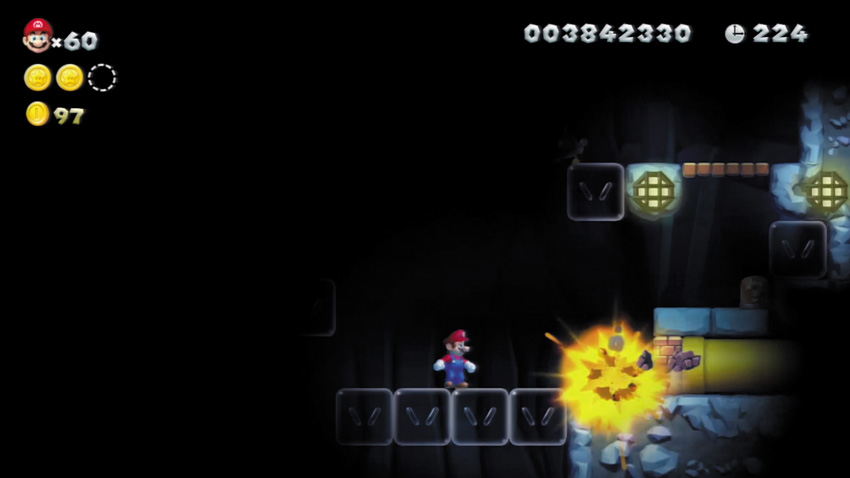
Stun a Bob-omb and toss it at the Brick Blocks that are covering a yellow Warp Pipe here. Head through the Warp Pipe afterward to reach a secret side area, then stun and throw another Bob-omb to destroy the far crate. A 1-Up Mushroom will be your reward!
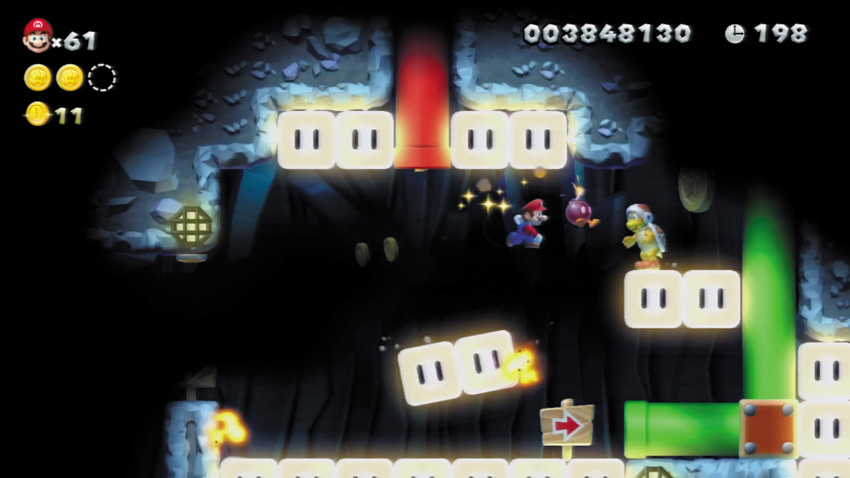
The final Star Coin floats above the Light Blocks here, and is guarded by a Fire Bro. Give the Fire Bro a taste of his own medicine by jumping up and scorching him with a fireball, or stun a Bob-omb and toss it at the Fire Bro to blast him to bits. Either way, that Star Coin will be yours!
Rock-Candy Mines 5
Walking Piranha Plants
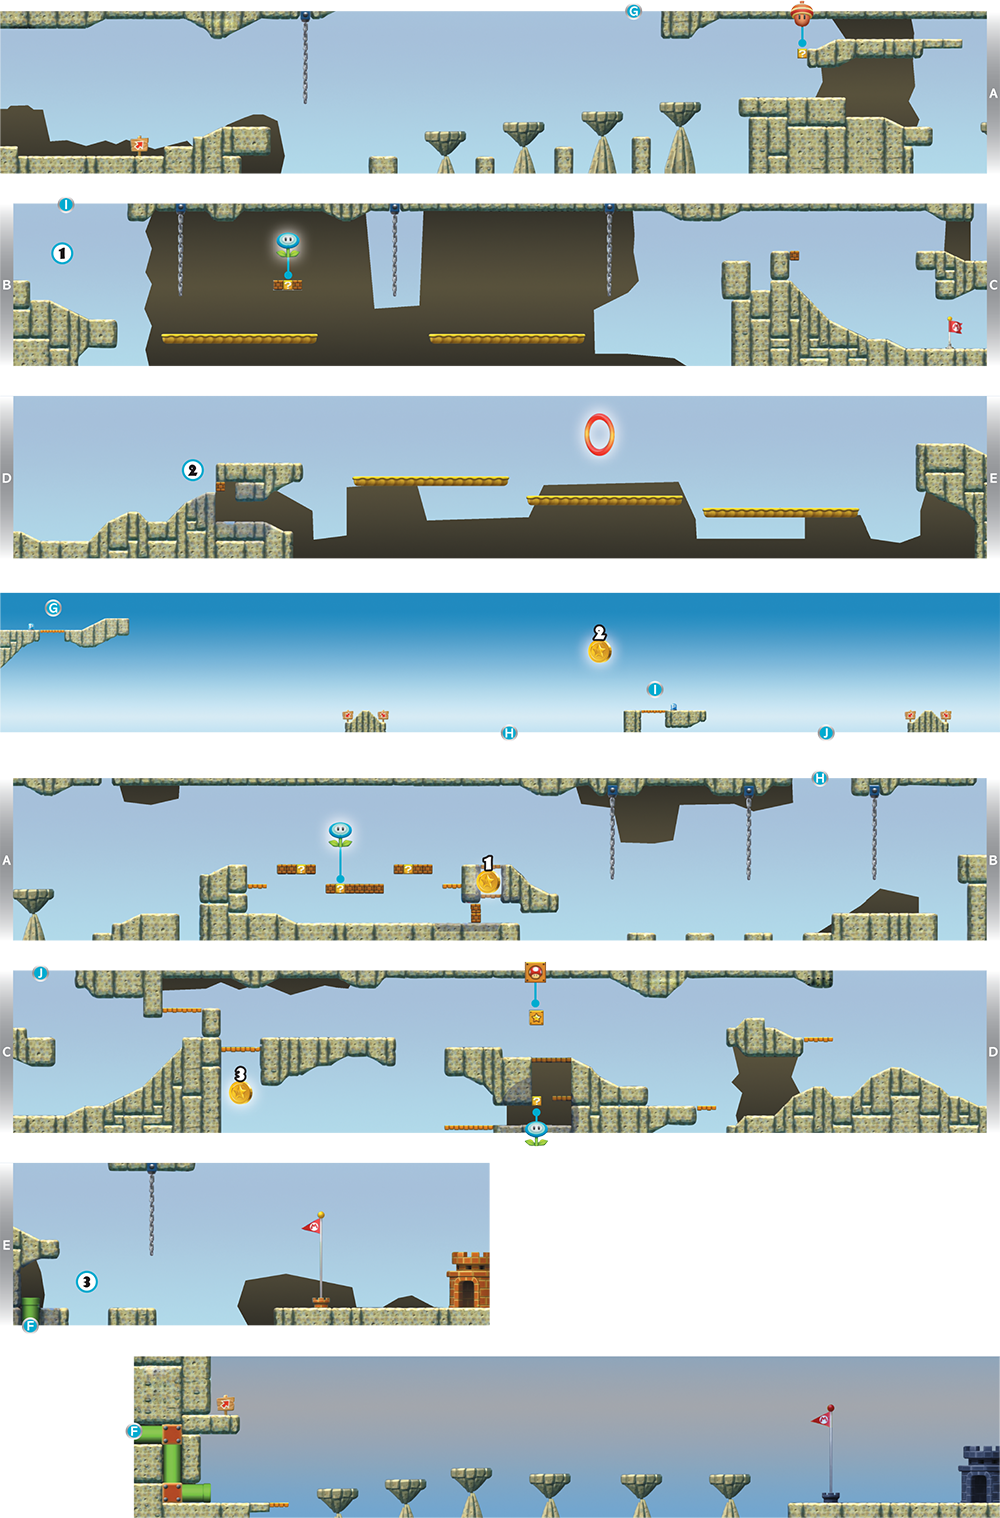
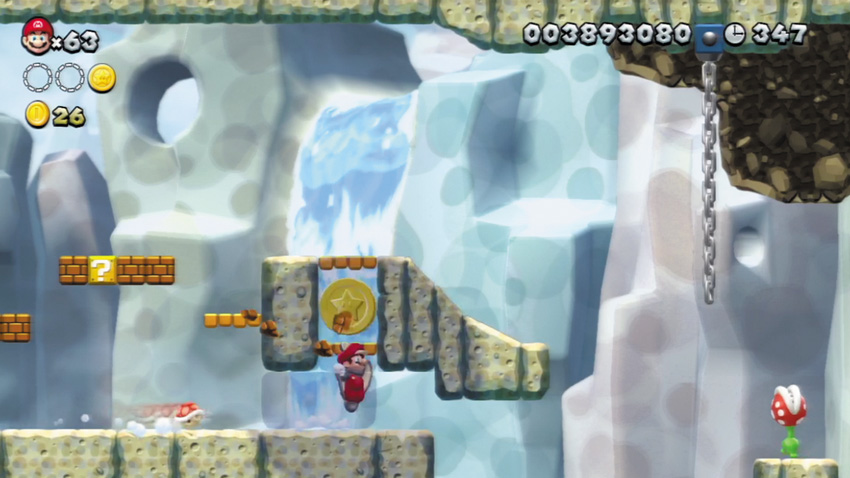
Stun the Koopa here and then kick its shell. It bounces around and defeats the nearby Stalking Piranha Plants. The shell will also smash a hidden Block at the base of the right cliff—run and crouch to slide through the cliff and into a secret nook, where the first Star Coin is cleverly hidden.
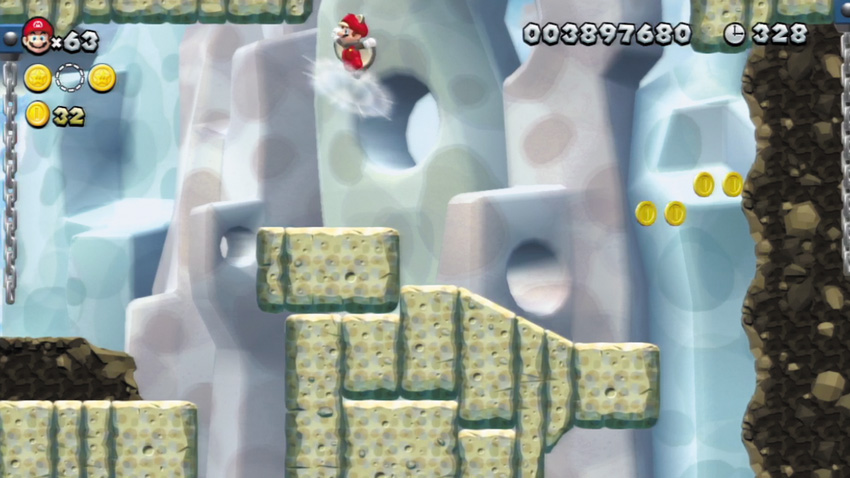
Flying Squirrel Mario can perform a flying squirrel jump here and soar up through the wide opening in the ceiling to discover a secret area above!
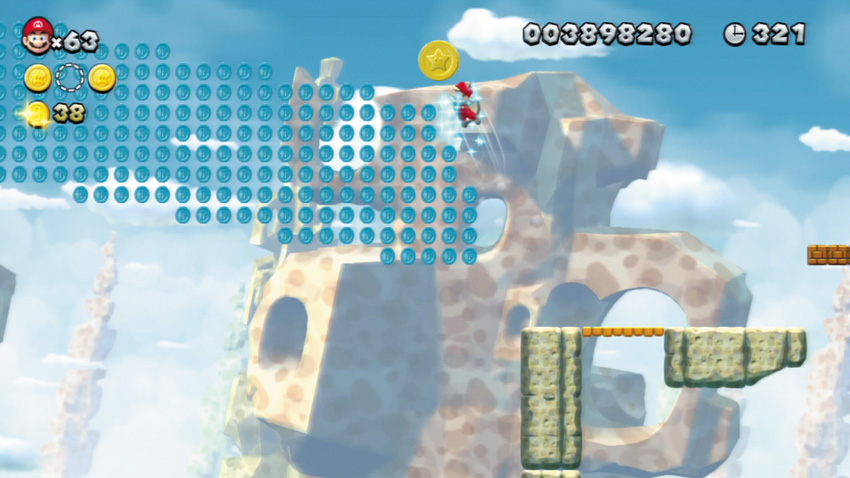
The second Star Coin floats way up high in this secret area—perform a flying squirrel jump at Point 1 to get here. Hit the P Switch to make a bunch of Blue Coins appear, and grab as many as you can as you use another flying squirrel jump to reach the high-hovering Star Coin.
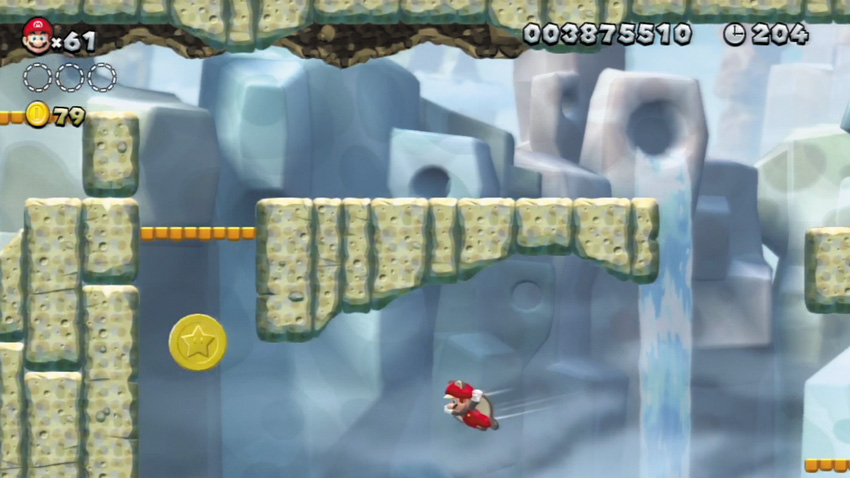
Only Flying Squirrel Mario is able to collect the third Star Coin. First, drop to the ledge on the right, which leads into a hidden cave. Ignore the Ice Flower that you can obtain from the cave’s Brick Block, and glide toward the Star Coin instead. Perform a fl ying squirrel jump to gain the extra height you need to grab the Star Coin, then wall jump up to solid ground. Nice flying!
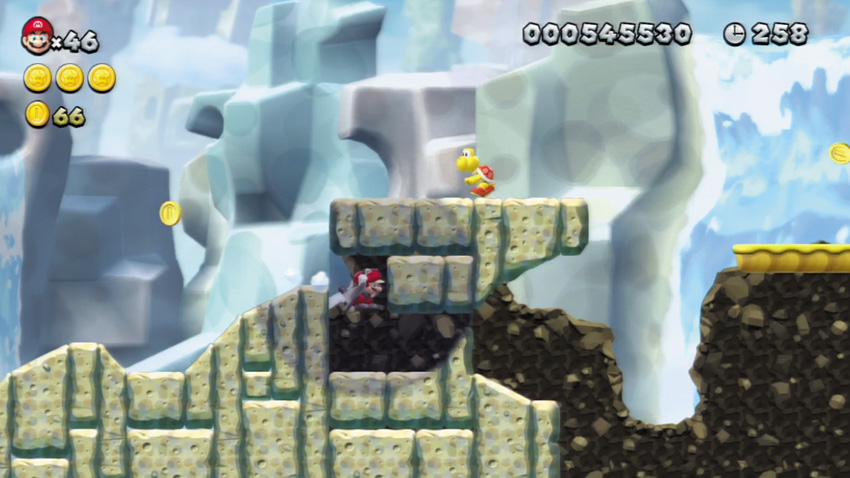
Throw a Koopa shell at the wall before the three floating platforms here, and it will smash a hidden Block. Run and slide into the wall where the Block broke, and you’ll enter a hidden area. Coins will then appear to the right, leading you across the floating platforms. Jump across the platforms and collect these Coins, and a red Pipe will appear on the far ledge and pump out even more Coins!
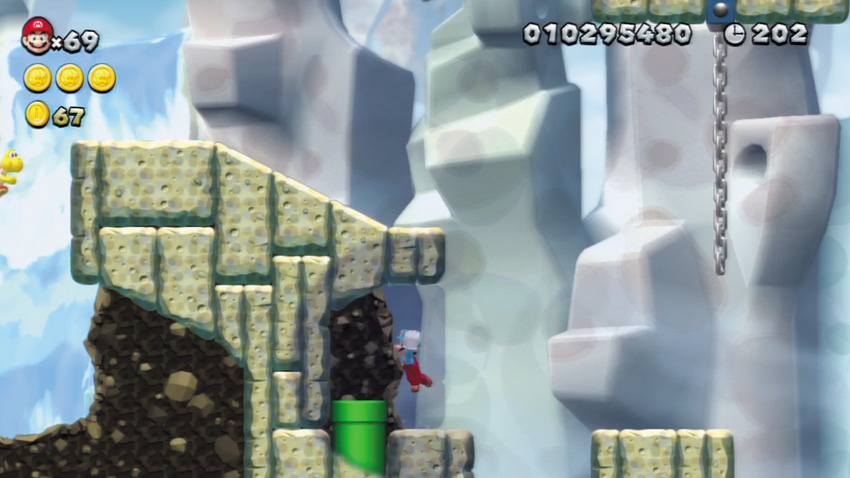
Leap through a false wall here to discover a hidden Warp Pipe that leads to this stage’s secret exit. Complete the stage using this secret exit to open a secret World Map path that leads to a Red Switch. This Red Switch will come in handy, as it can be used to help you sneak into Roy’s Conveyor Castle later on!
Rock-Candy Mines Tower
Screwtop Tower
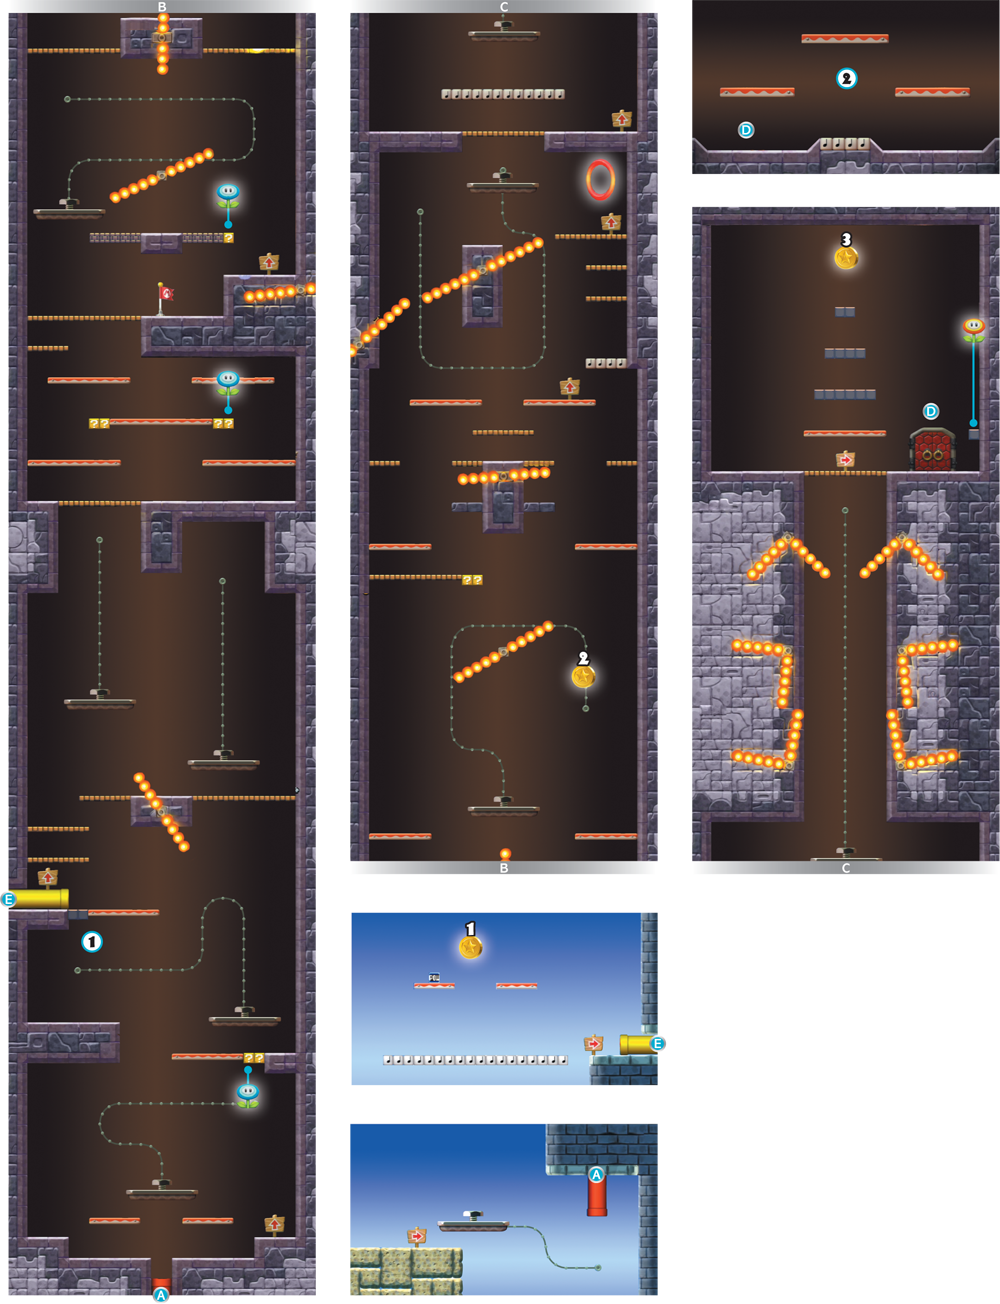
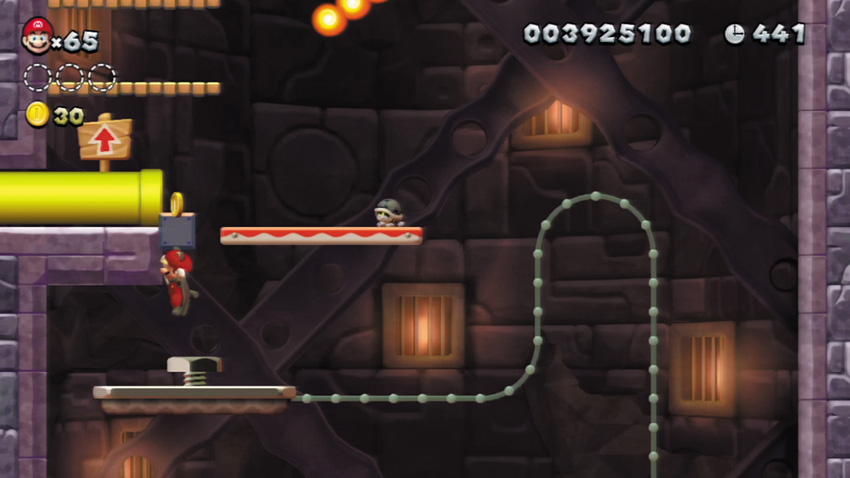
Ride this stage’s second Screwtop Lift to the end of its line. It will ferry you close to a yellow Warp Pipe. Jump up when you reach the end of the line, and bump a couple of hidden Blocks at the mouth of the Warp Pipe. Now you can enter the Warp Pipe and visit a side area!
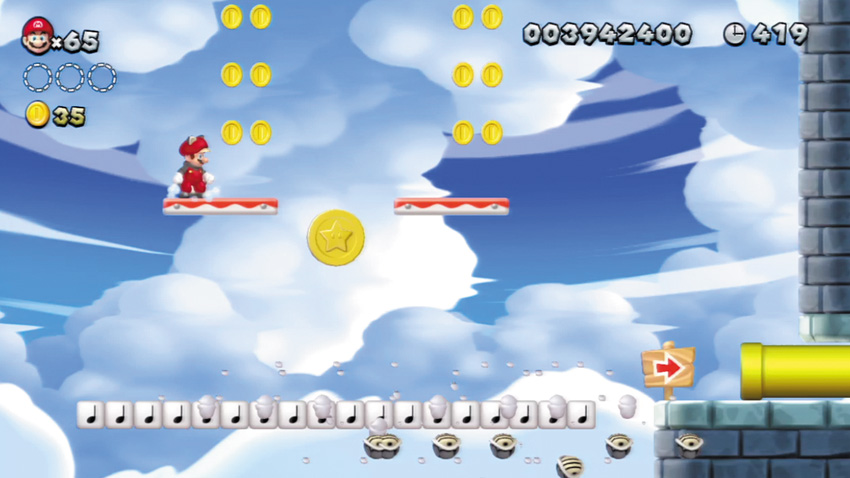
Enter the yellow Warp Pipe at Point 1 to reach this secret outdoor area. Carefully avoid the Bony Beetles here as you bounce off the Note Blocks to hit the POW Block above. This will defeat all of the Bony Beetles and cause the first Star Coin to fall from the sky! You can also reach the POW Block by wall jumping off the right wall and using a midair spin to reach the high platforms, or with a flying squirrel jump.
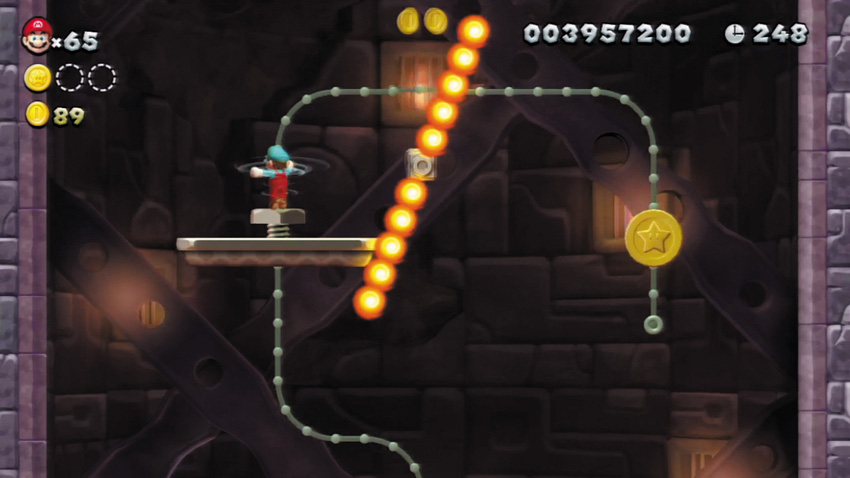
Higher up the tower, the second Star Coin lies at the end of a Screwtop Lift’s track. Carefully avoid the spinning Fire Bar as you ride the Screwtop Lift over to the Coin.
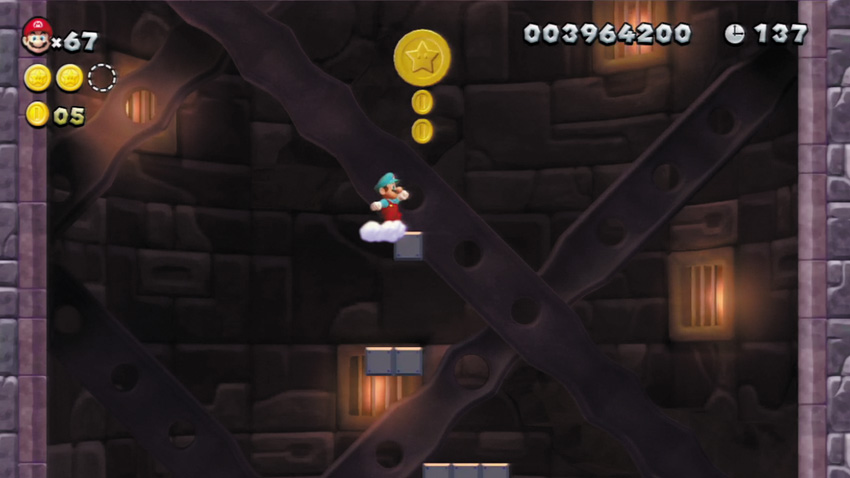
Before entering the Boss Door, jump up and bump some hidden blocks above the platform to the left. Keep hitting hidden Blocks as you work your way up to the final Star Coin!
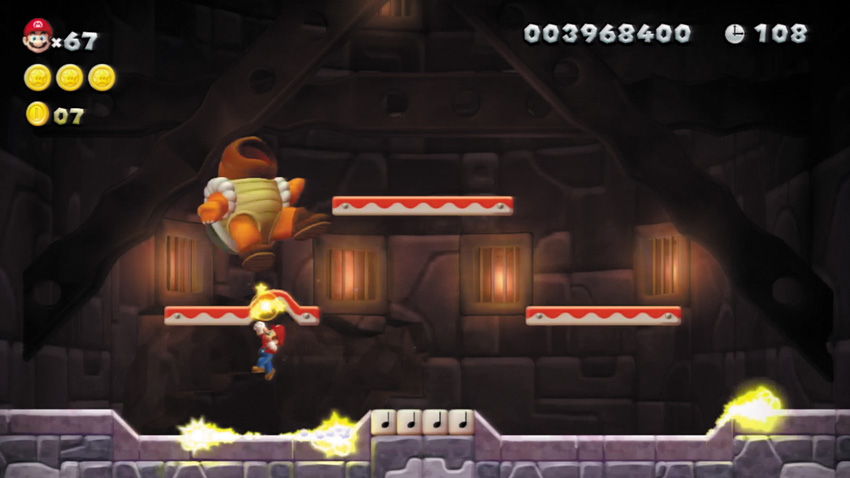
Having failed to defeat Mario far too many times, Boom Boom is replaced by an even more challenging adversary: Boss Sumo Bro! Avoid this big baddy’s electrical attacks as you seek to stun him by jumping up and bumping him from below. Quickly jump up and stomp Boss Sumo Bro while he’s stunned, and stomp the big brute three times to put him down for the count!
Rock-Candy Mines 6
Thrilling Spine Coaster
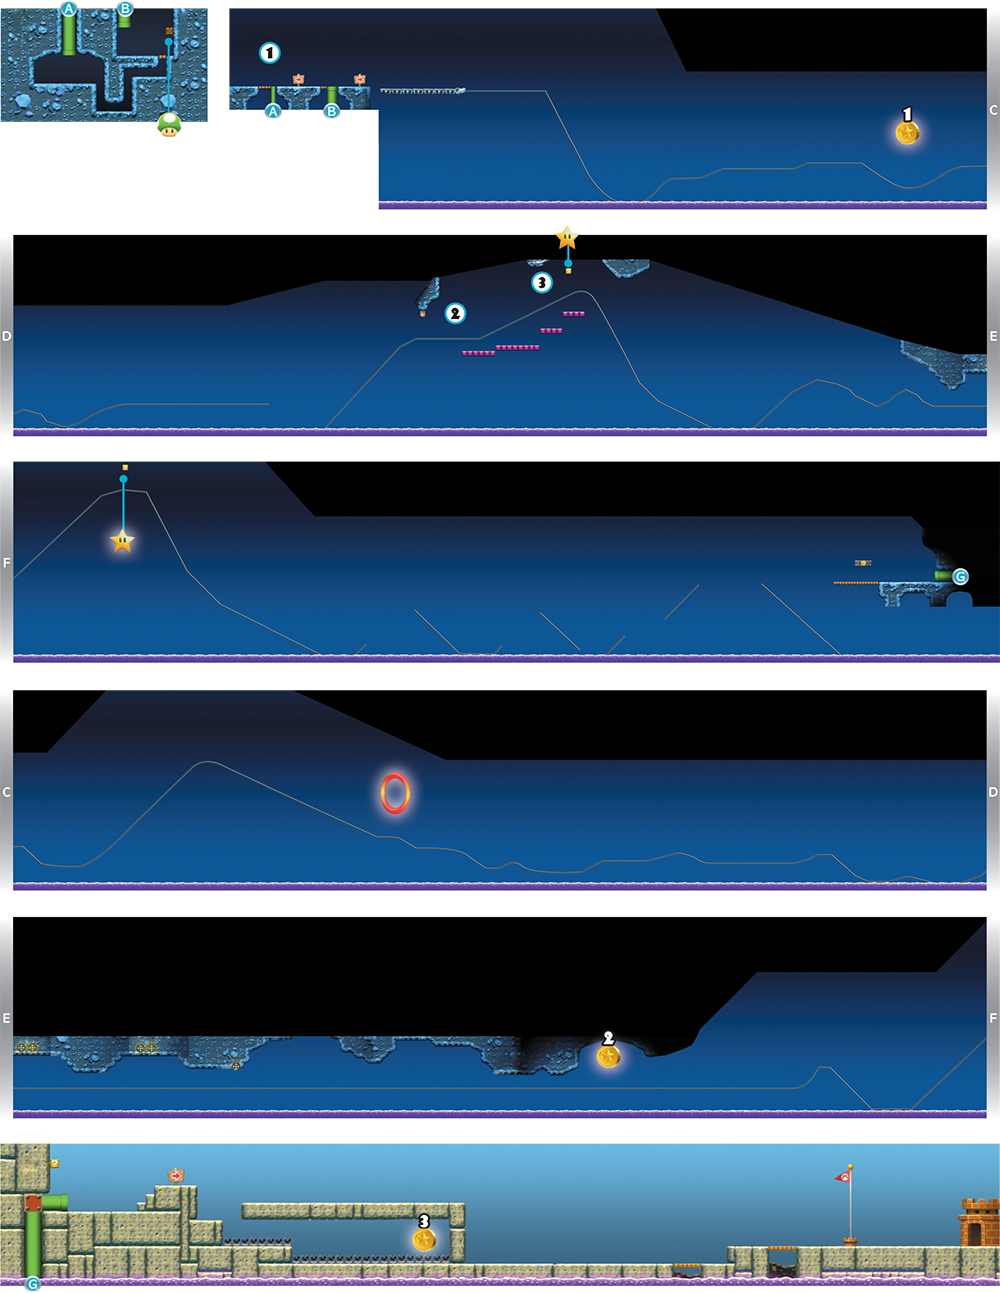
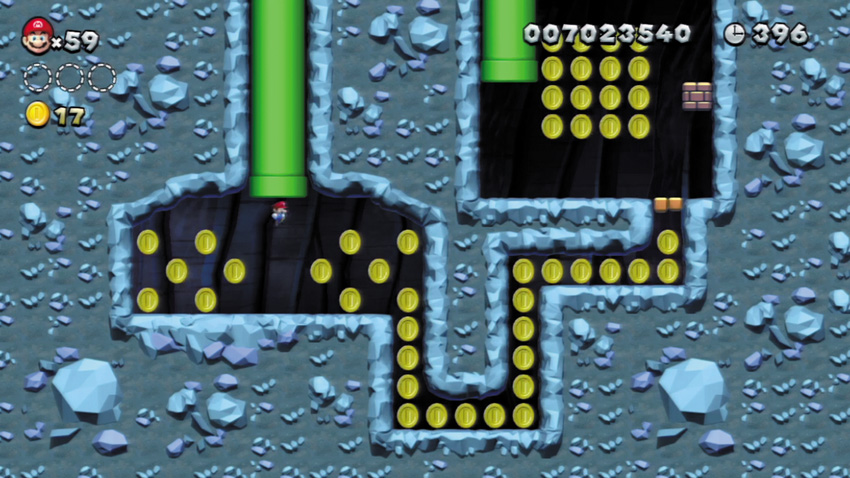
Visit this stage as Mini Mario and enter the tiny Warp Pipe at the start to explore a Coin-filled cavern. Hit the Brick Block down here and grab the 1-Up Mushroom that pops out before returning to the surface.
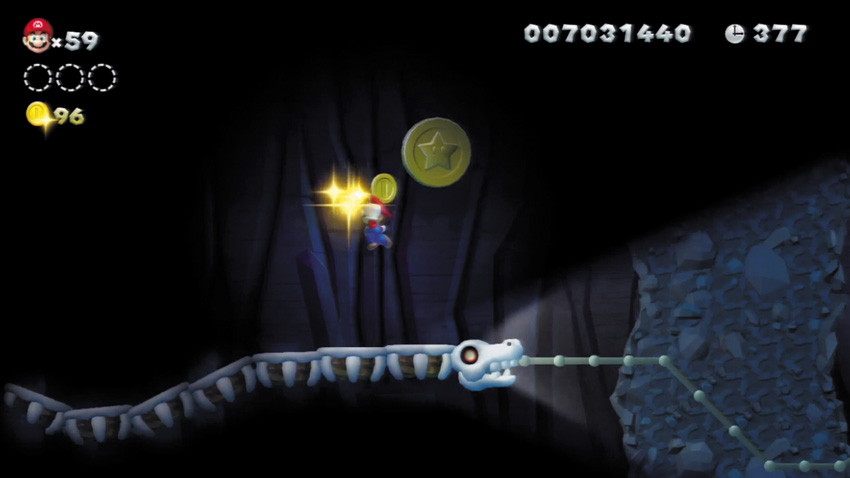
Jump up and grab the first Star Coin here as the Spine Coaster zips along its track. Two to go!
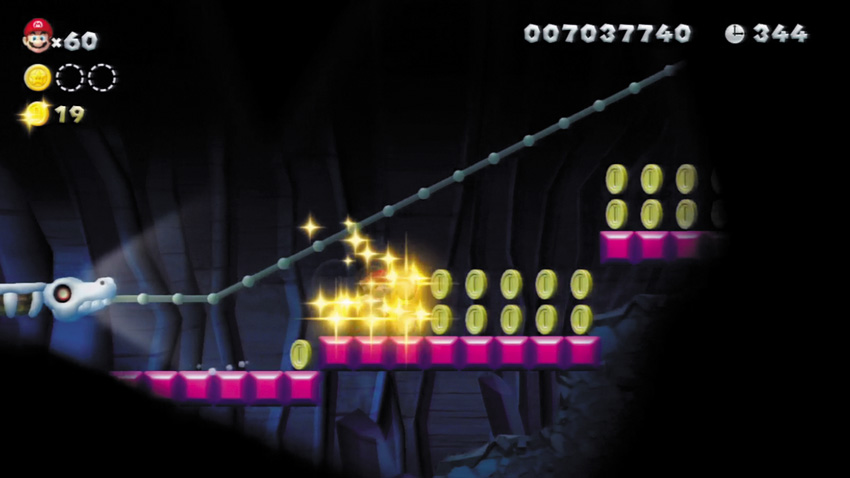
Hit the overhead ? Switch here to make some pink blocks appear to the right. Run along the blocks and collect some extra Coins while the Spine Coaster slowly ascends the track.
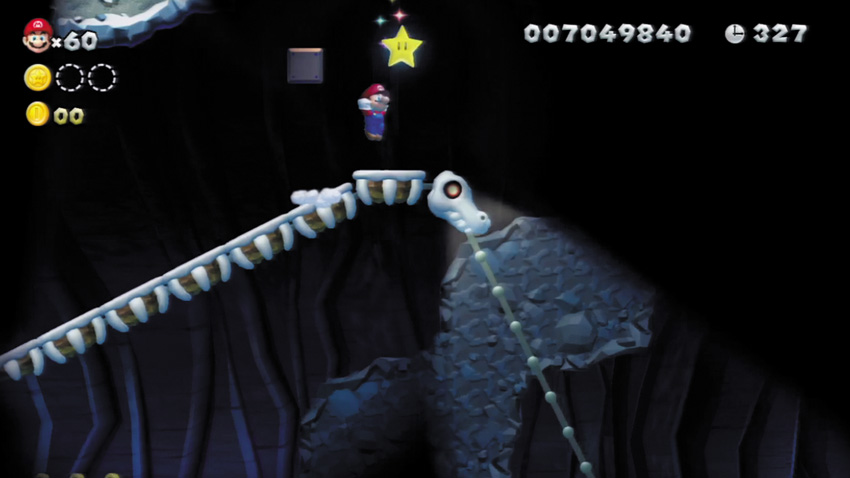
Hit the ? Block here to obtain a Super Star, then jump up and defeat the overhead Spike Tops as you speed along the next stretch of track. Defeat all of those Spike Tops with Super Star power to score a 1-Up!
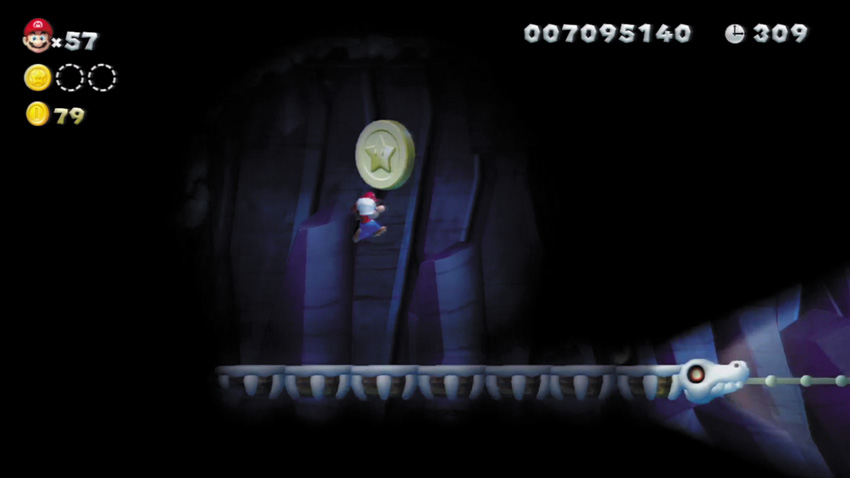
The second Star Coin lies just beyond the Spike Tops, and it can be tough to spot as you speed past. Count three patches of normal Coins after you pass the Spike Tops, then leap up and collect the Star Coin as you whiz by. This Star Coin is much easier to see when you collect the Super Star at Point 3.
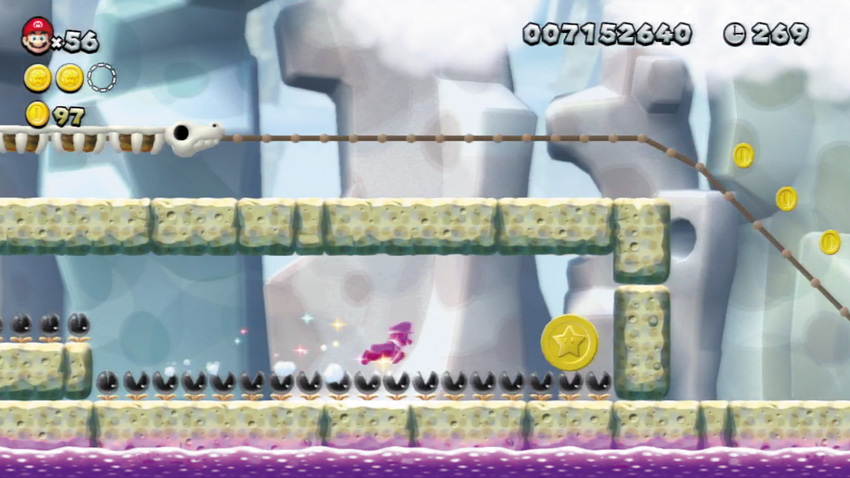
You must preserve Super Star power through the end of the stage if you wish to collect the final Star Coin. Hit the overhead ? Block after you emerge from the ending Warp Pipe, and you’ll receive a Super Star—but only if you’re supercharged by Star power when you hit the ? Block! While powered by a Super Star, you can safely dash across the Munchers that guard the final Star Coin.
Rock-Candy Mines 7
Shifting-Floor Cave
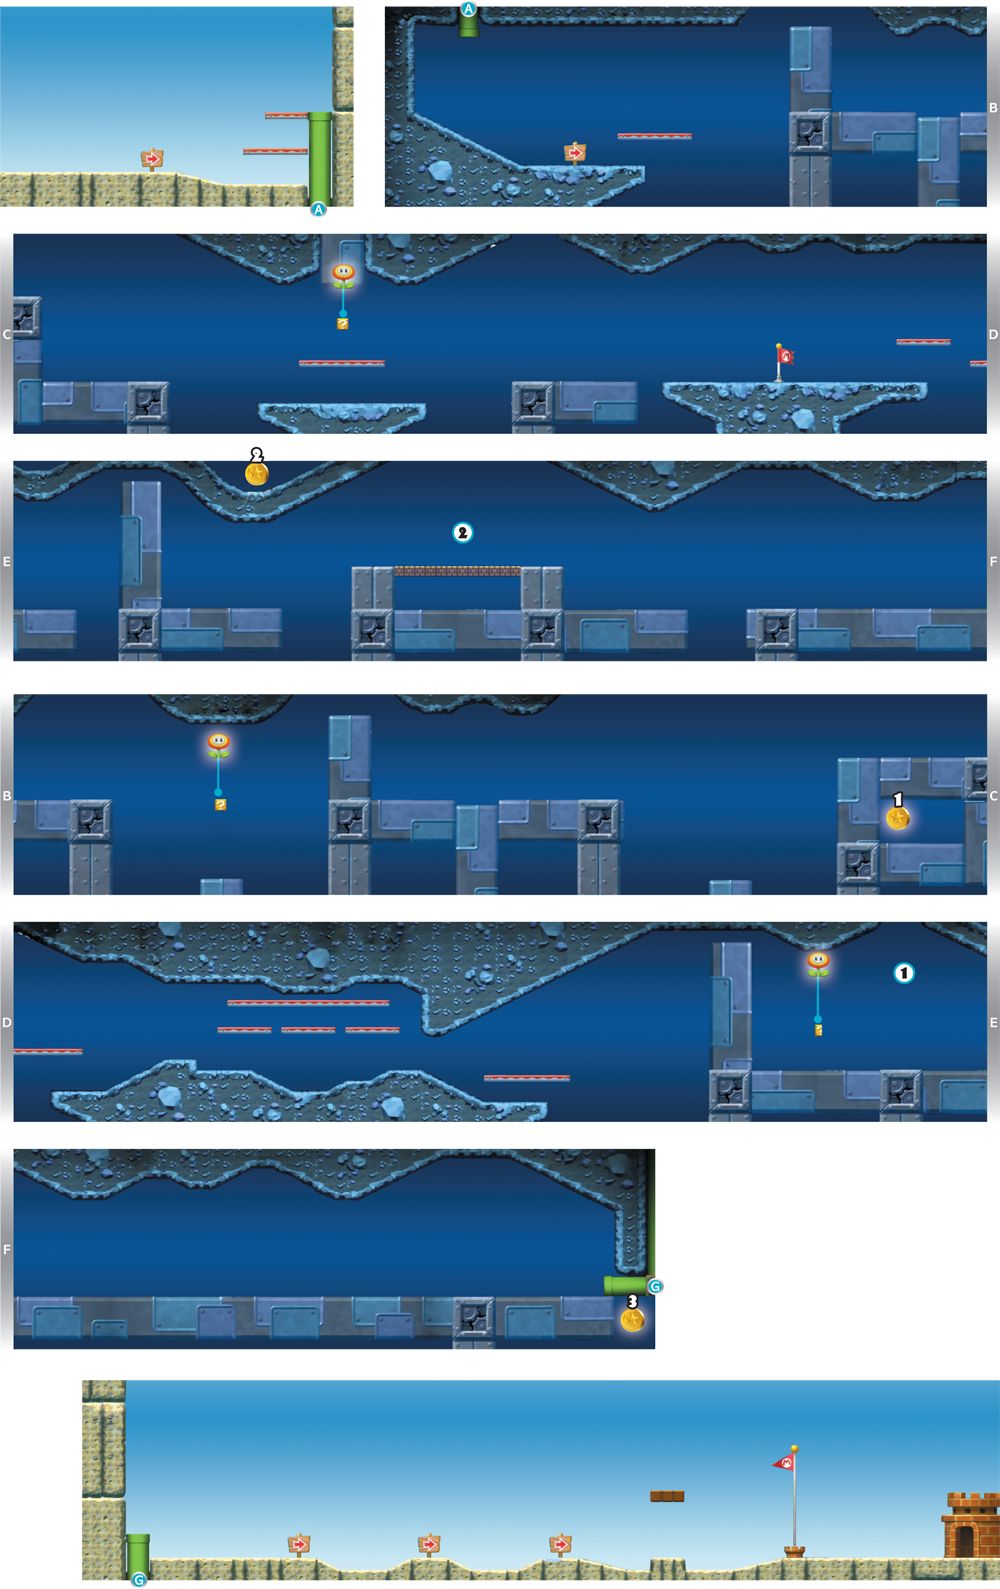
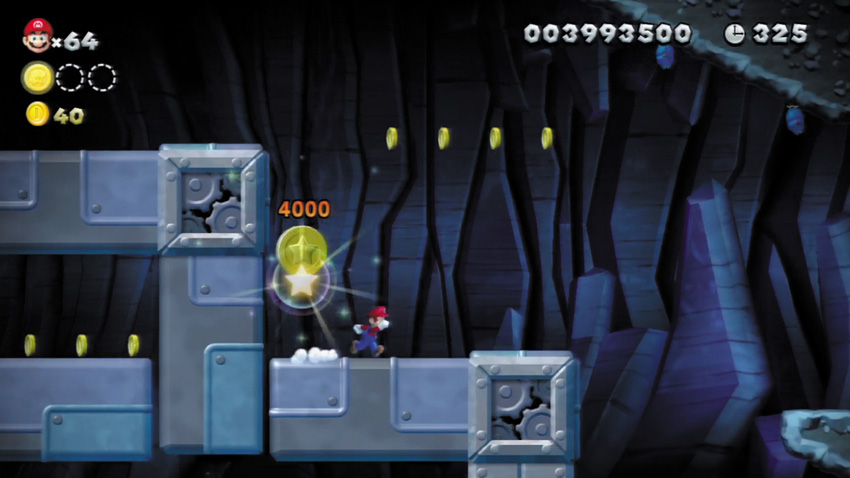
Stand on the vertical Cross Lift above the first Star Coin, and wait for the Cross Lift below the Star Coin to extend. Drop and collect the Star Coin while the lower Cross Lift is extended, then hurry to safety.
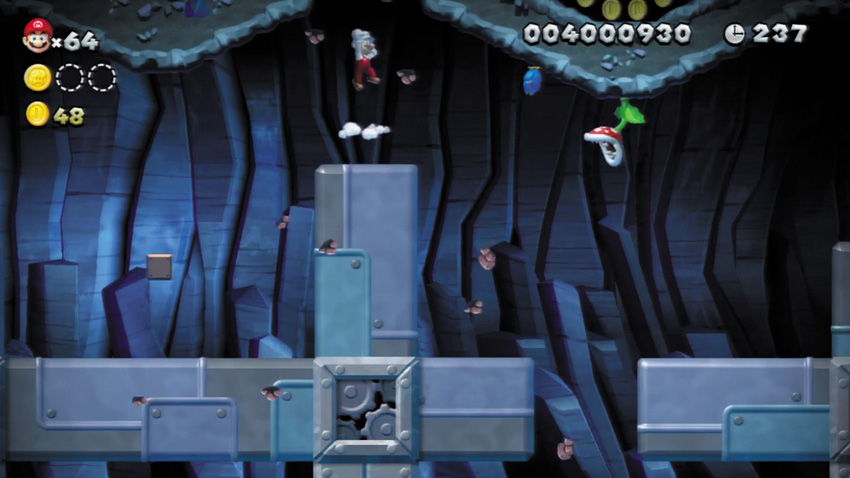
Allow a vertical Cross Lift to hoist you up to this hole in the ceiling, then jump up to reach a secret path that runs along the roof. Dash to the right, collecting Coins as you go.
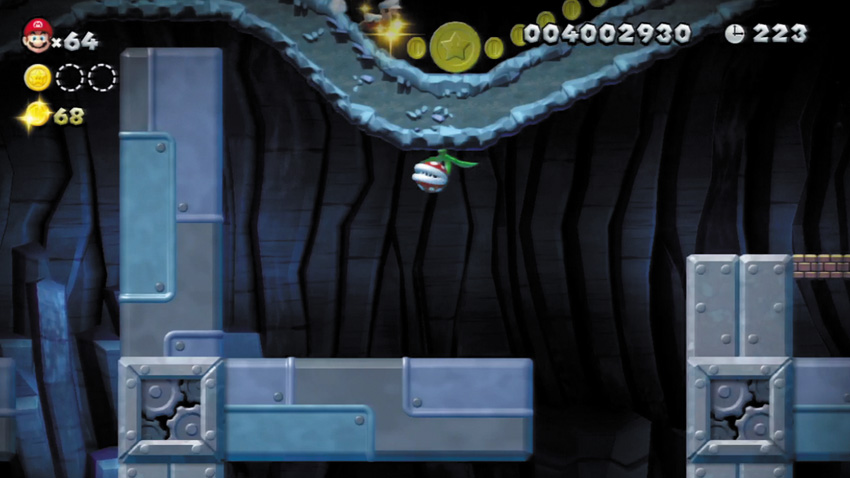
Leap through the ceiling at Point 1 to reach a hidden rooftop path that leads to the second Star Coin. Score!
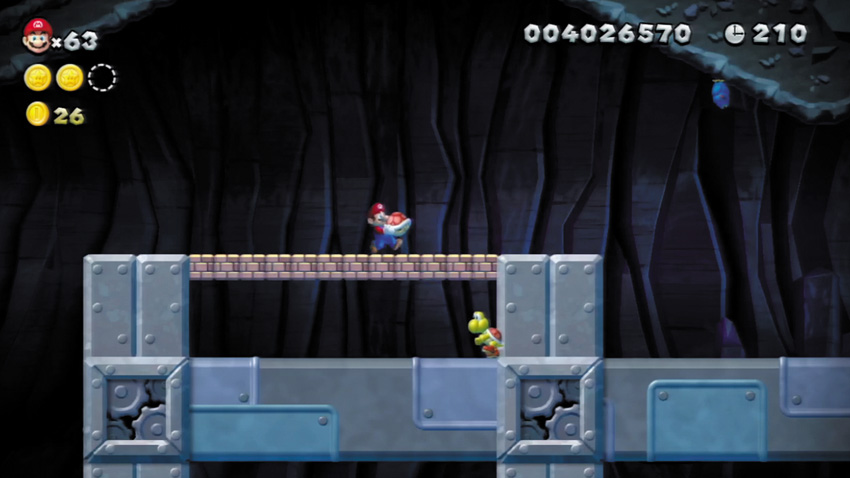
If you wish to obtain the final Star Coin, stun one of the two Koopas here and carry its shell across the long series of Cross Lifts to the right. Hurry across the Cross Lifts before the Koopa you’re carrying recovers!
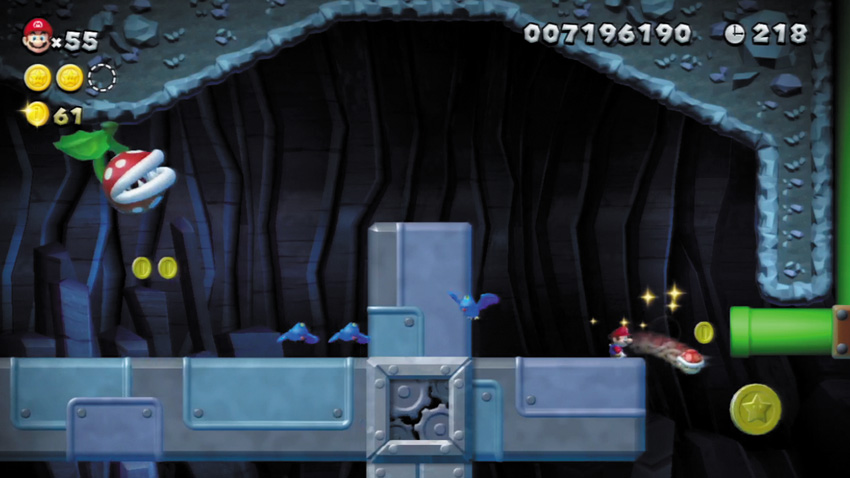
Claim a Koopa shell at Point 2, then quickly carry it over to this final Star Coin. Toss the shell while the final Cross Lift is extending toward the Star Coin so that the shell slides off the edge and collects the Coin for you. What a throw!
Rock-Candy Mines Castle
Roy’s Conveyor Castle
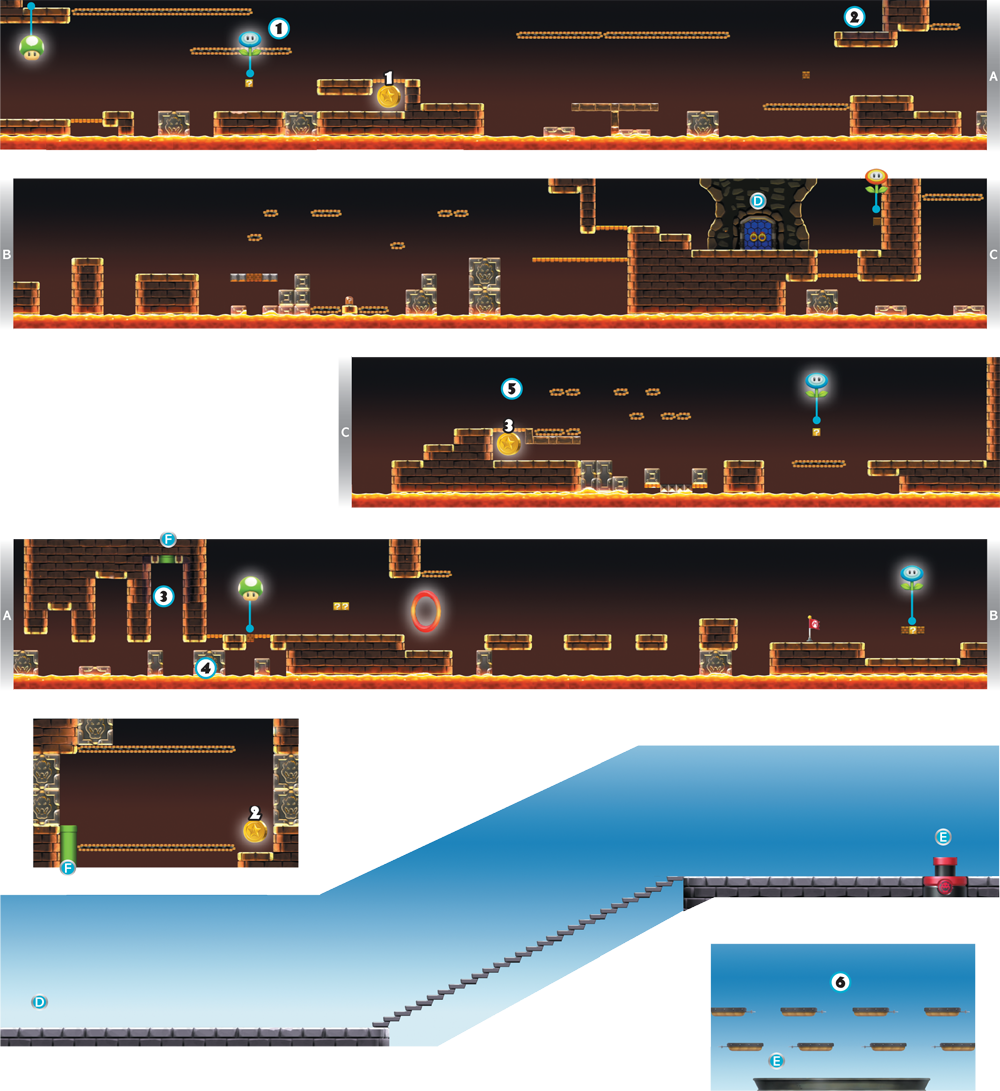
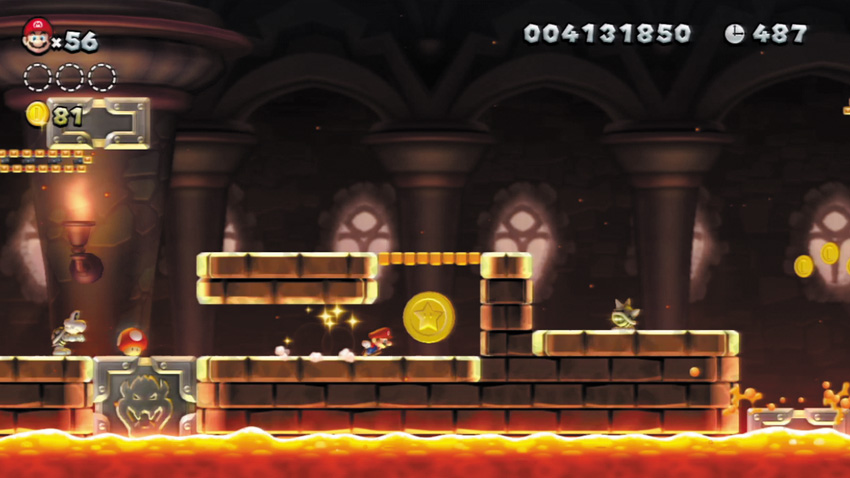
Hurry over to this first Star Coin, or you’ll miss your chance to grab it. Allow one Iron Block to fall and cover the lava pit to the left of the Star Coin, then quickly dash across before a second Iron Block falls and prevents you from reaching the Coin.
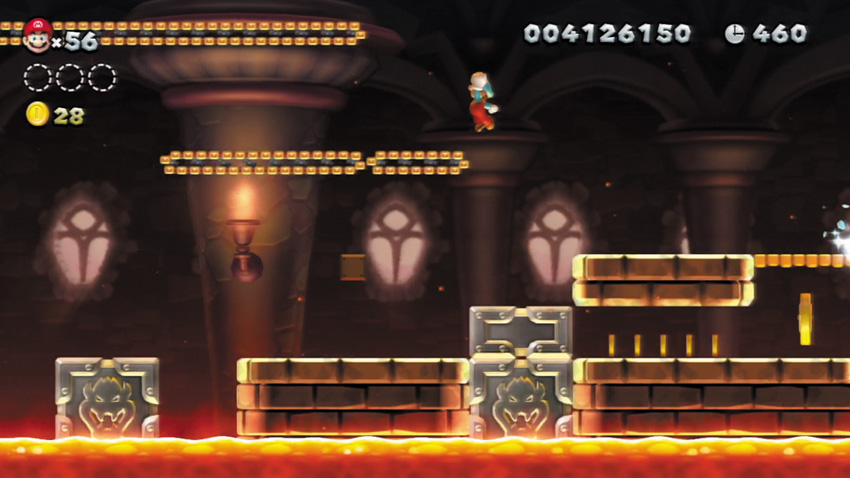
Leap across the conveyor belts above the starting point to claim some extra Coins. Stand near the far wall and jump up, and you’ll also bump an out-of-sight Brick Block that pumps out a 1-Up Mushroom!
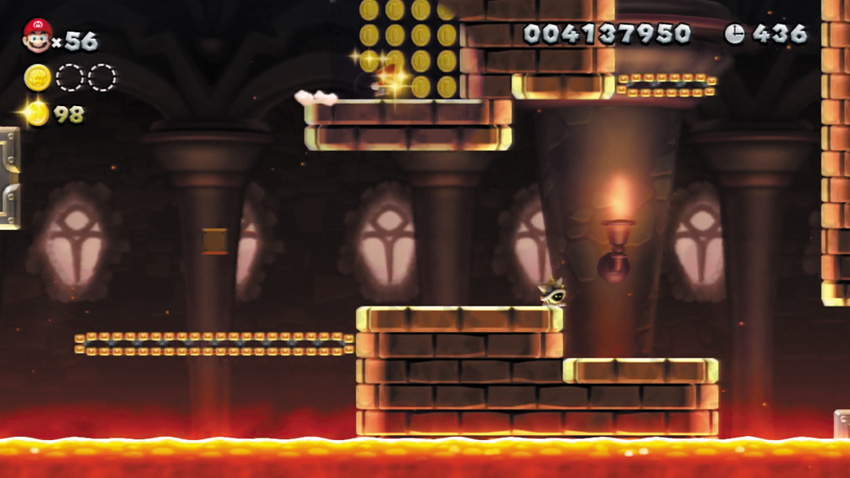
Jump from the 10-Coin Block here to reach a hidden nook above, where more bonus Coins are stashed.
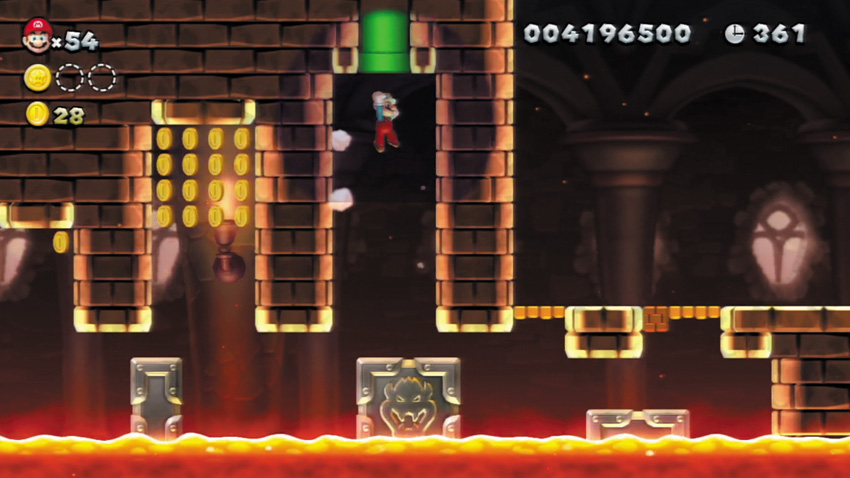
While riding an Iron Block across the lava here, wall jump up to a hidden overhead Warp Pipe.
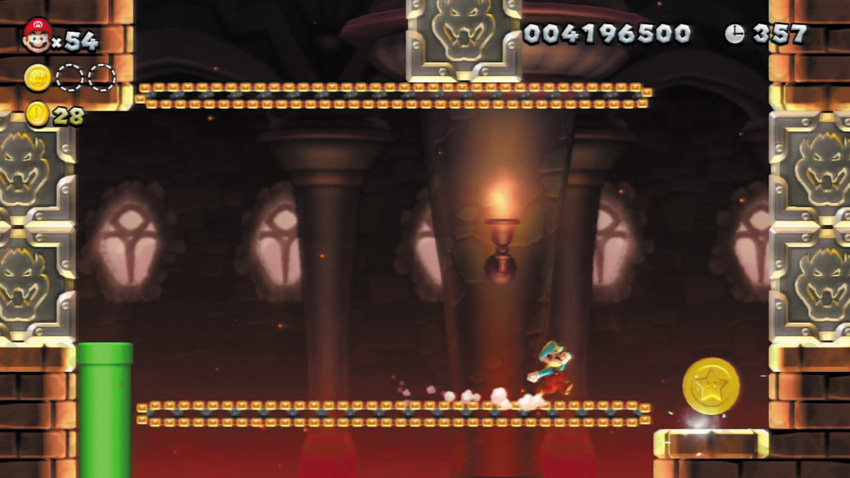
The second Star Coin is kept in a secret side room—enter the Warp Pipe at Point 3 to get here. Hurry and dash over to the Star Coin before an overhead Iron Block falls and covers it up!
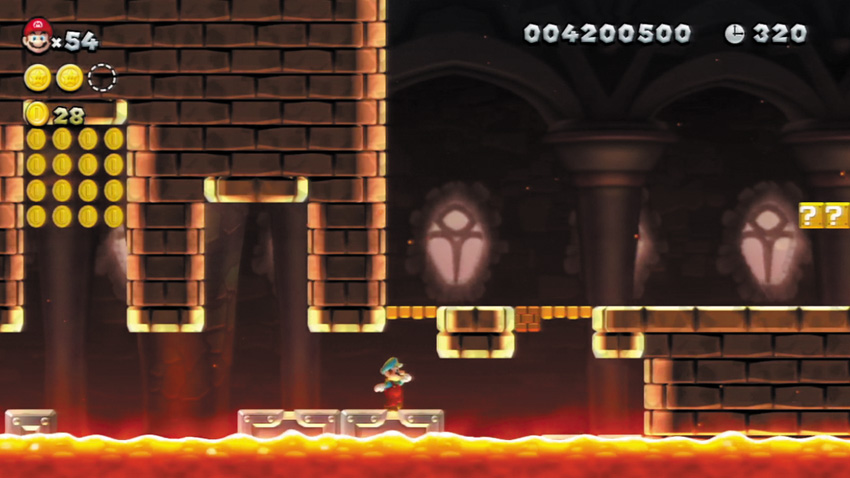
Ride a short Iron Block over to the Brick Block here, then bump it from below to make a 1-Up Mushroom emerge. Good stuff!
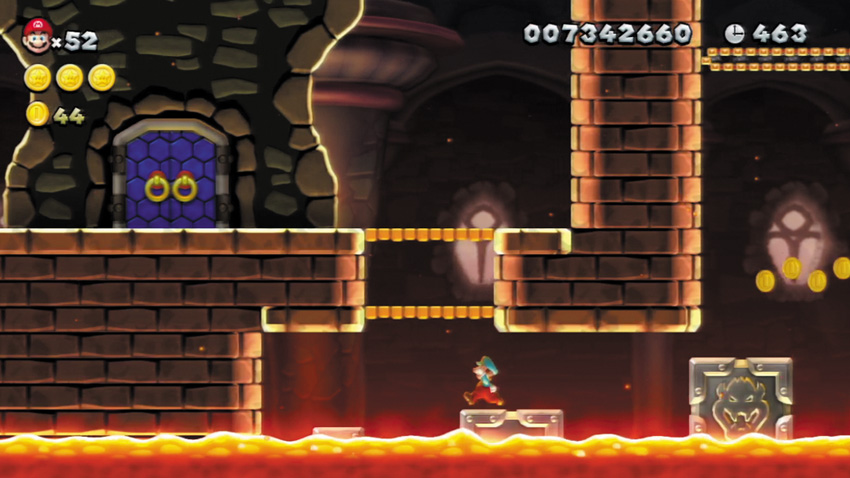
To reach this section of the castle, you must manipulate the World Map’s Red Switches in order to reveal a path that leads to the back of the castle. One way to do this is to discover the secret exit in Rock-Candy Mines 5—Walking Piranha Plants! Discovering the secret exit there opens a World Map path that leads to a Red Switch, which you may use to create the passage that leads to the back of the castle.
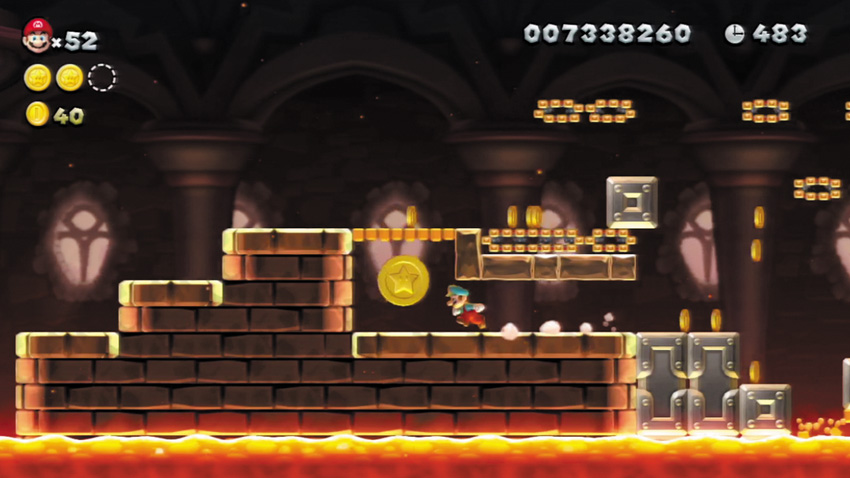
This stage’s final Star Coin can be collected only when you sneak into Roy’s castle using its secret back entrance, as detailed at Point 5. Hit the ? Switch here to make a bunch of Iron Blocks fall from the overhead conveyor belts, then quickly dash across the crates before the last one falls and seals off the Star Coin.
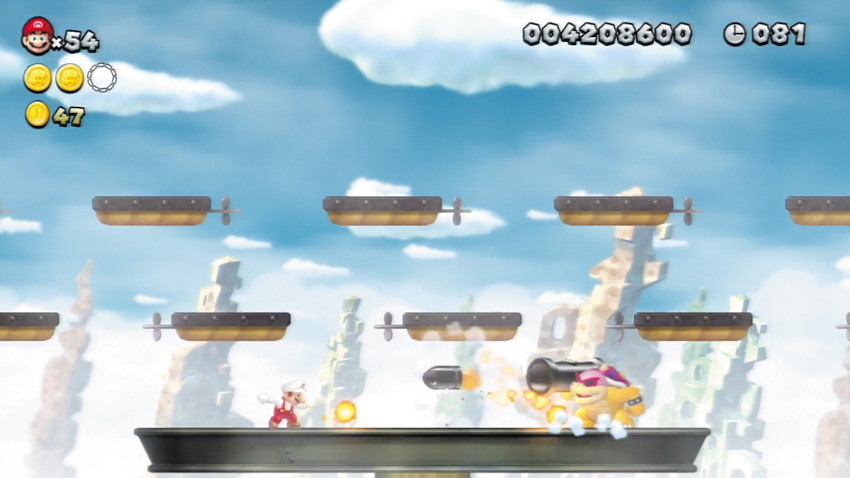
Regardless of which route you take through his castle, Roy will be ready to face you aboard his airship. This crazy Koopa carries a cannon that fires Bullet Bills, so be on your guard! After firing, Roy often jumps to a new platform, which makes him tough to catch. Stay mobile as you seek to stomp Roy three times to defeat him!
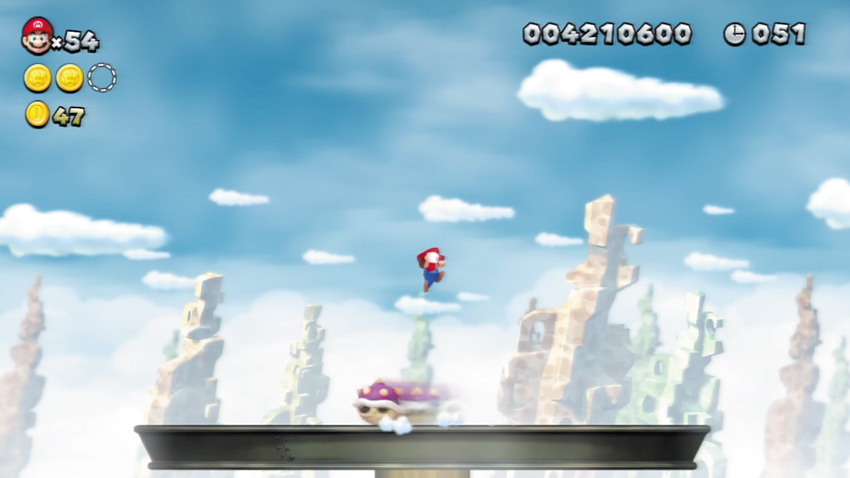
Like most other bosses you’ve battled, Roy turtles up and spins back and forth in his spikey shell after each stomp. The overhead platforms vanish during this time, so there’s nowhere to hide! Leap over Roy each time he zooms past, and try to stomp him again the moment he pops out of his shell.