
New Super Mario Bros. U Guide Walkthrough Worlds
Meringue Clouds
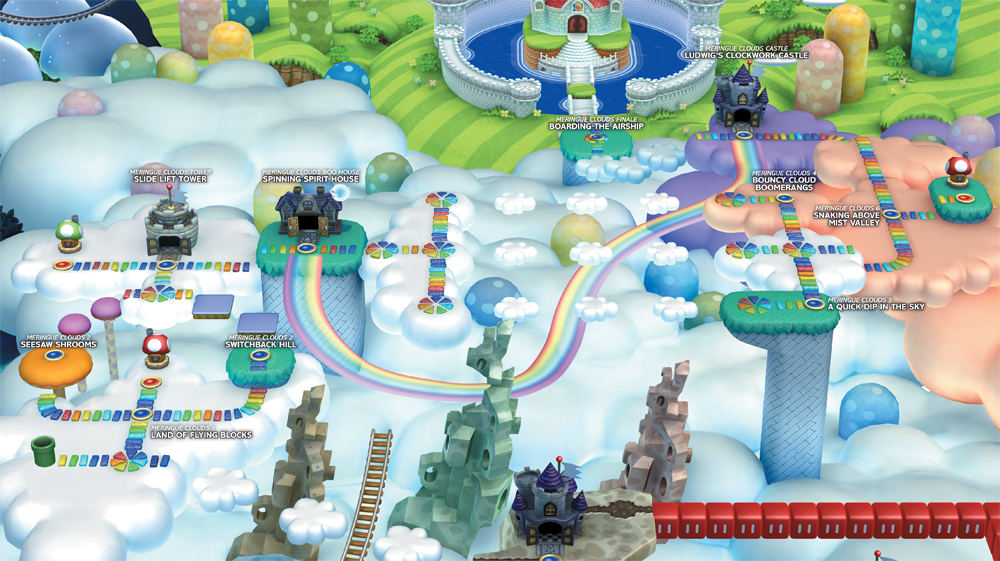
Locations
| Levels | Toad Houses | Map Enemies | Boss |
|---|---|---|---|
| 10 | 3 | None | Ludwig/Bowser Jr. |
Meringue Clouds 1
Land of Flying Blocks
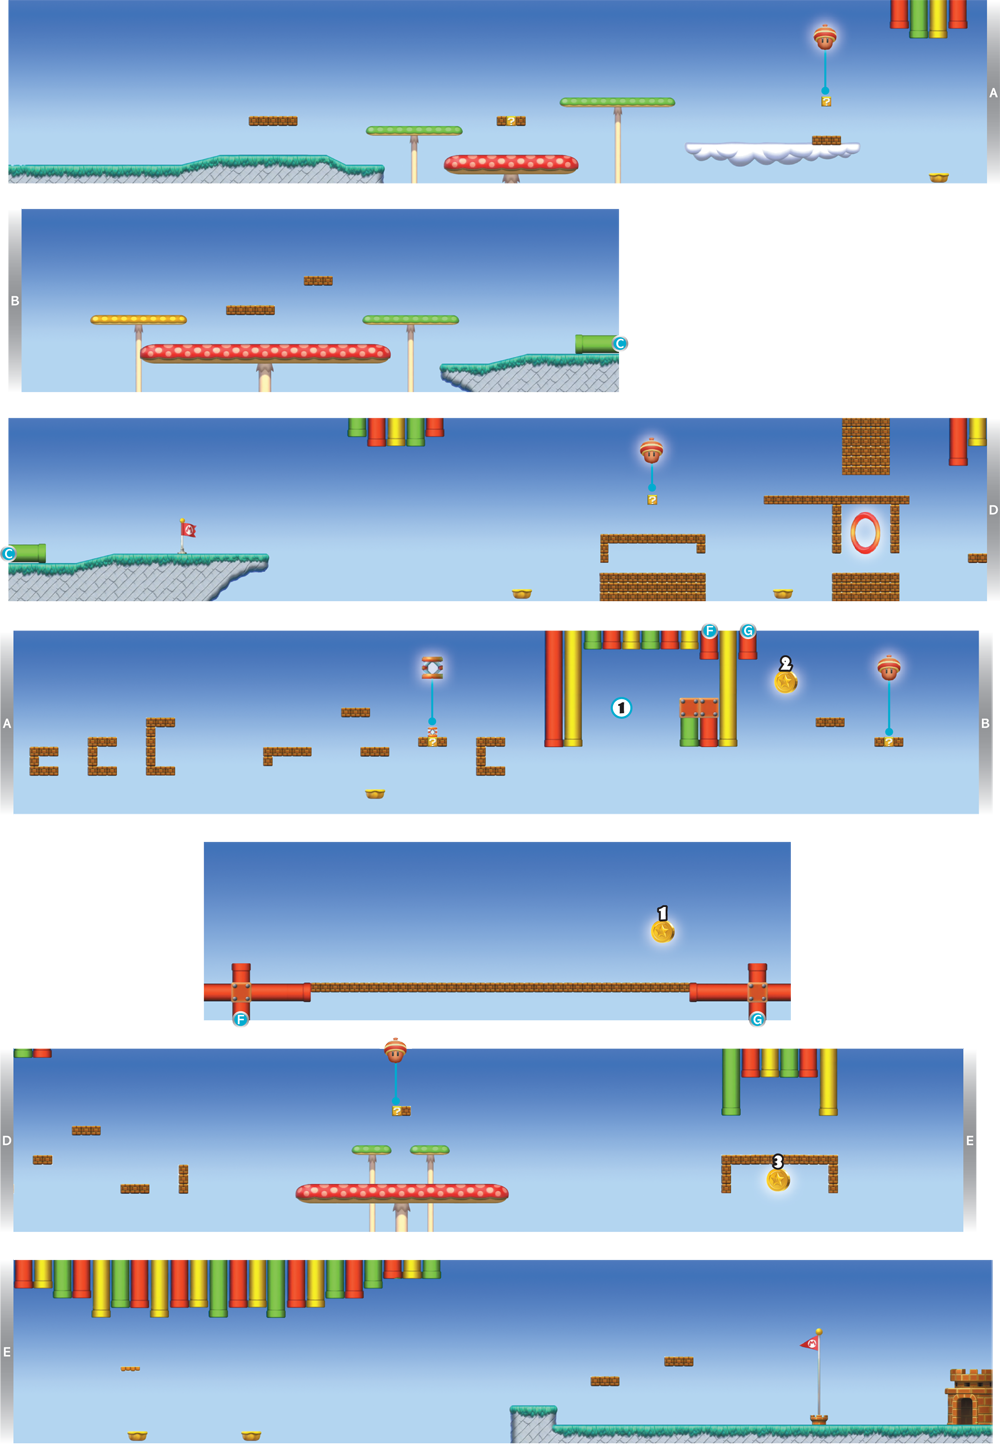
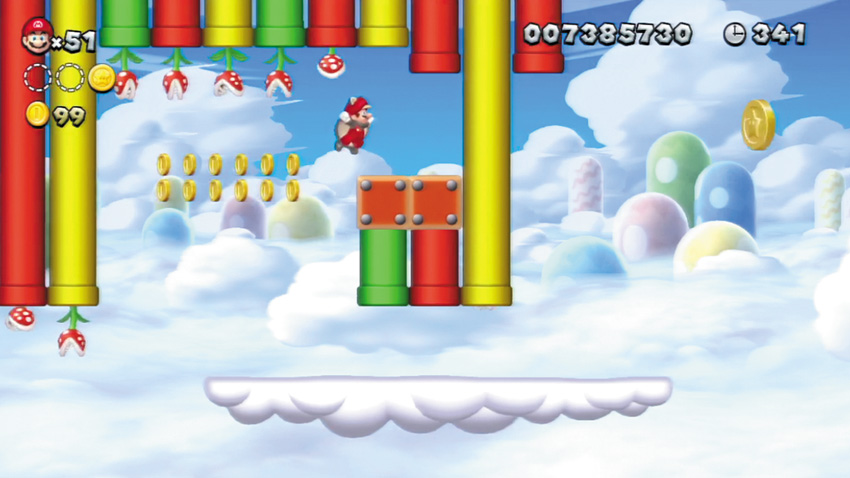
Hit the ? Block to the left of this Point to obtain a rare Trampoline. Quickly carry the Trampoline onto the Cloud Lift that carries you through this stage, then bounce off the Trampoline to reach the high red Warp Pipe here, which leads to a secret area. Just beware of the many Piranha Plants that pop out of the other nearby Warp Pipes! Flying Squirrel Mario can also reach this Warp Pipe with less hassle by using a flying squirrel jump.

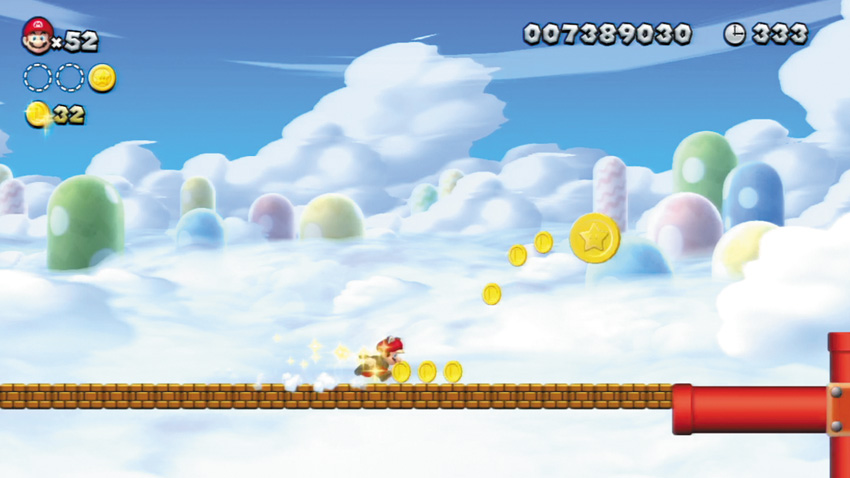
Enter the overhead red Warp Pipe at Point 1 to visit this secret area. Dash along the long row of Brick Blocks that appear to the right, then jump up and collect the Star Coin at the end of the run.

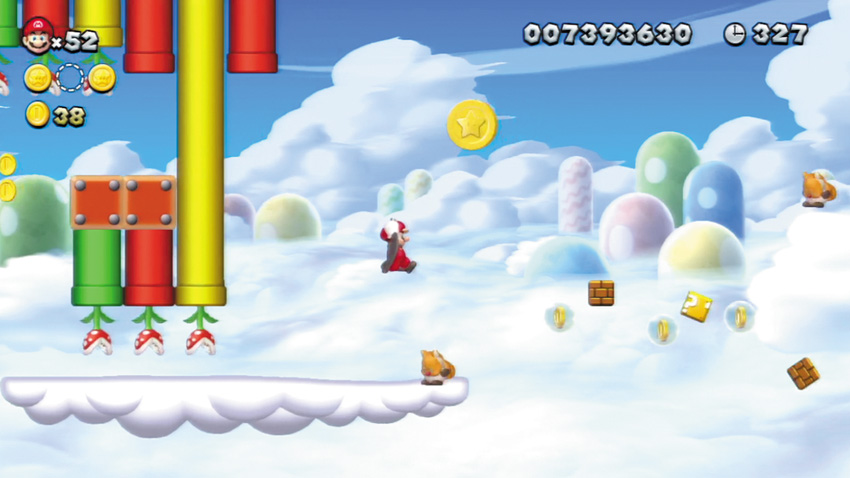
There are several ways to reach the second Star Coin. You can use the Trampoline found at Point 1 to bound up to it, or simply soar up and grab it with a flying squirrel jump. You can also leap up to the Coin without any special tricks if you jump along the Brick Blocks that fly up from below—but you must hurry and make it back to the Cloud Lift before those Brick Blocks fly away!

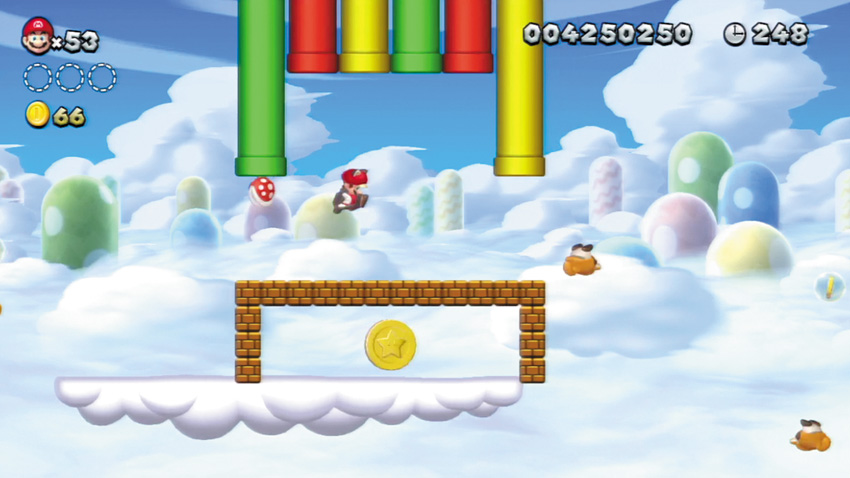
Jump onto the Brick Blocks that fly up and surround the third Star Coin, then ground pound through the Brick Blocks and claim the Star Coin before the Cloud Lift drifts away.
Meringue Clouds 2
Seesaw Shrooms
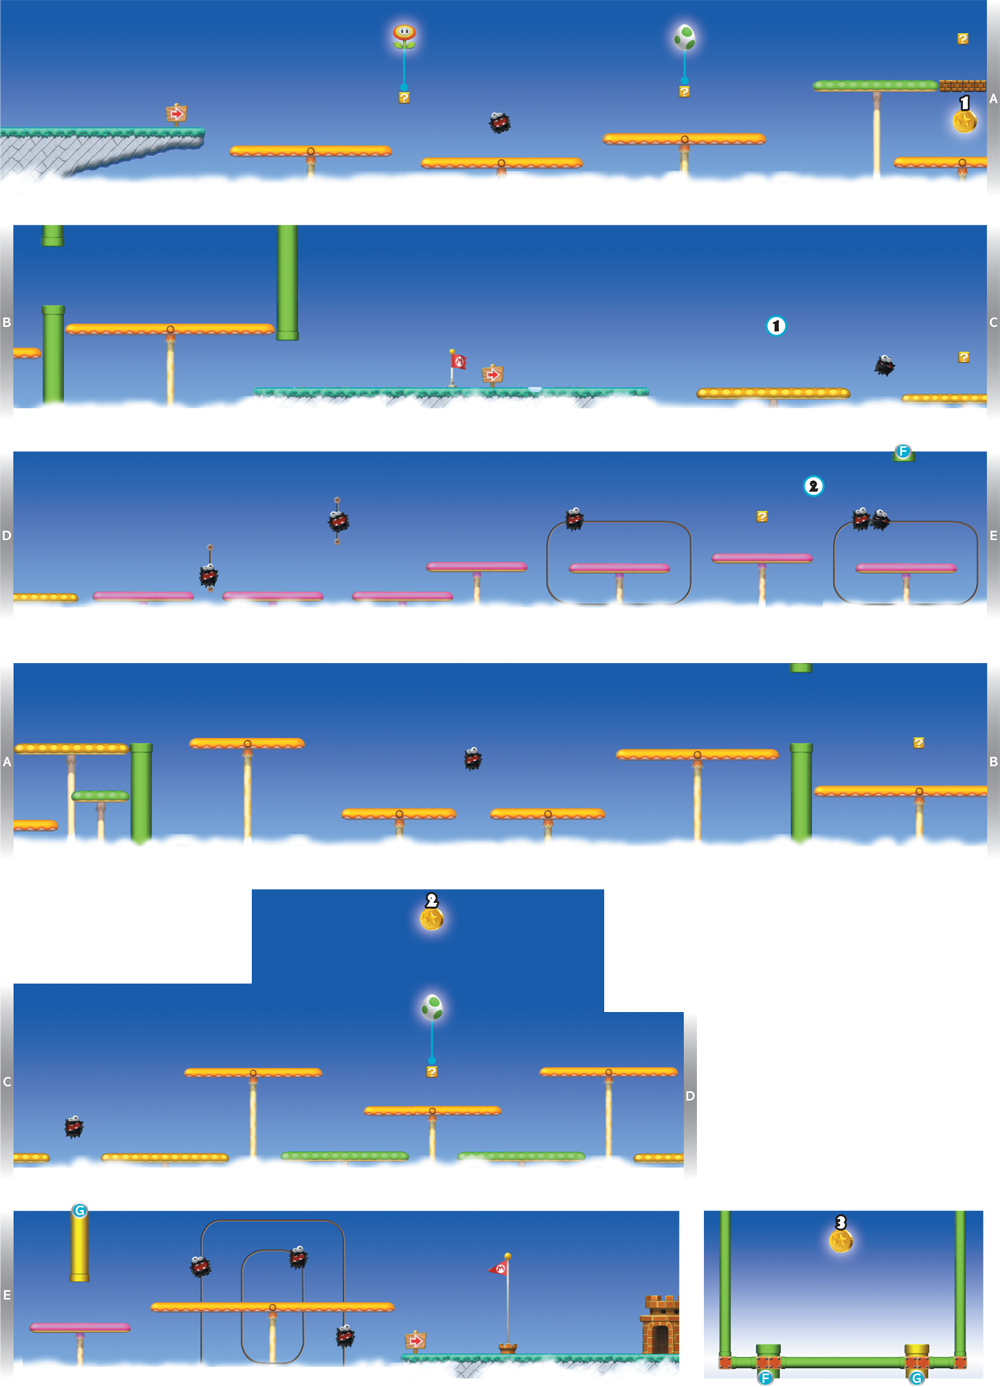
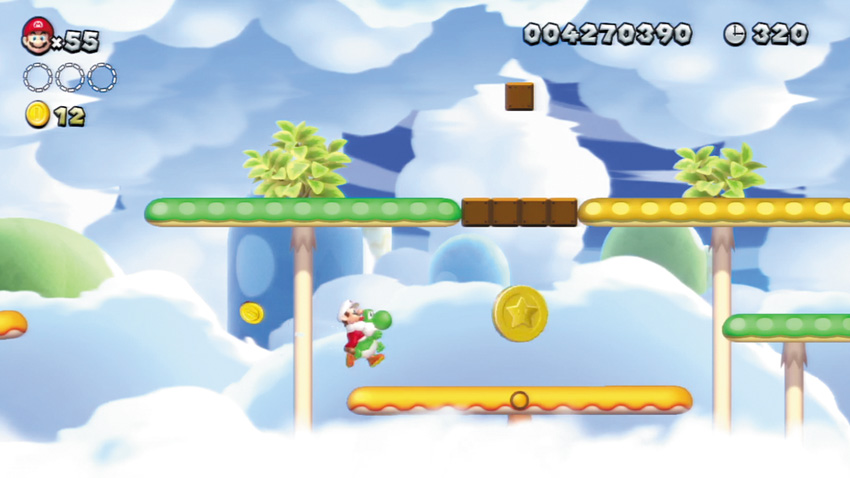
Stand on the right side of the Seesaw Shroom that lies to the left of this first Star Coin. When the Seesaw Shroom’s right side dips low, jump over to the Star Coin with the help of Yoshi, or glide over to it as Flying Squirrel Mario.
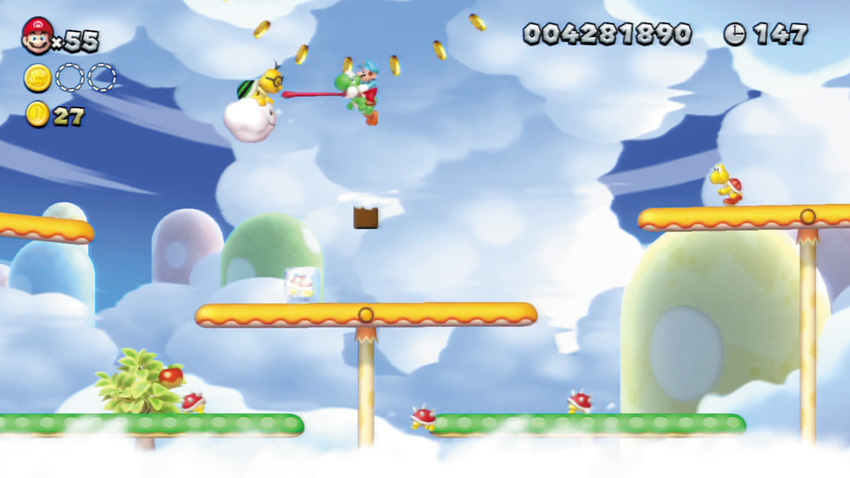
Look out—Lakitu arrives when you come near this Point! Leap up the tall Seesaw Shrooms to the right and try to defeat Lakitu with a fireball, stomp, or by gobbling him up with Yoshi. Then commandeer his cloud and take to the skies!
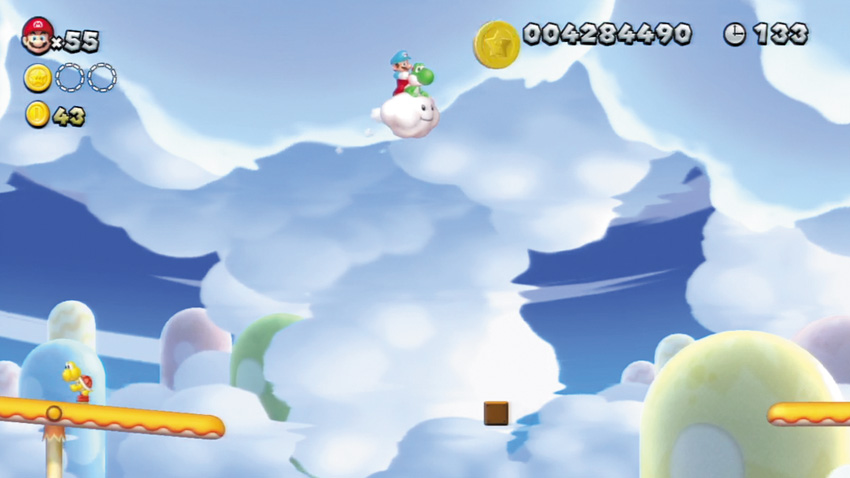
Steal Lakitu’s cloud, then soar up and snag this super-high Star Coin. Sweet!
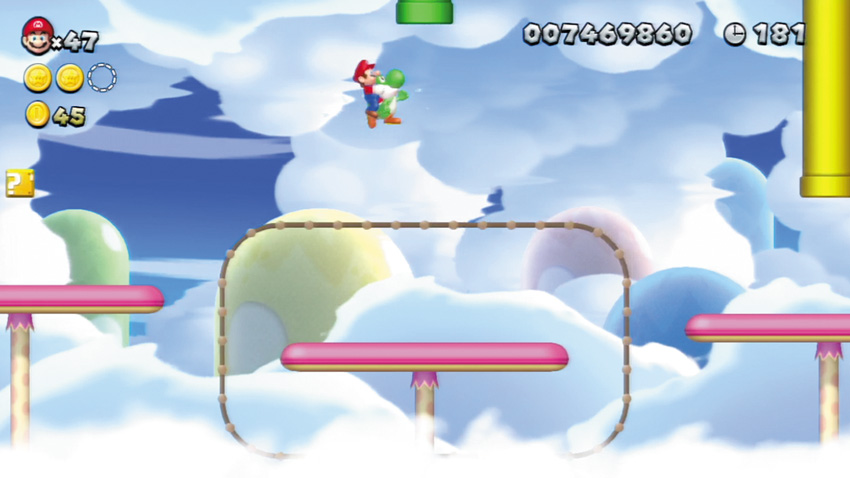
While riding Yoshi, leap from the taller Stretch Shroom near this point, and aim to enter the overhead Warp Pipe. You’ll need to dismount Yoshi by performing a spin to slip inside the Warp Pipe.
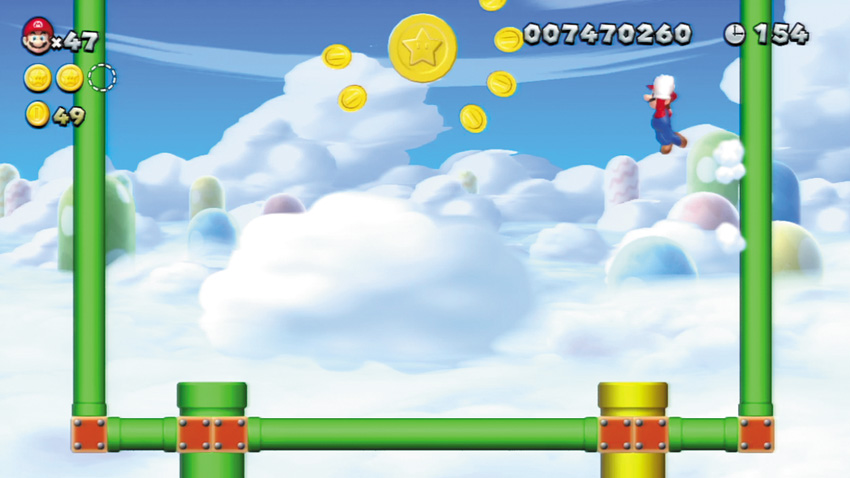
The final Star Coin floats on high in this secret area—enter the Warp Pipe at Point 2 to get here. Stand on one of the Warp Pipes up here, then make a big wall jump toward the Star Coin. Perform a spin as you near the Star Coin to preserve your height and grab it. Nice moves!
Meringue Clouds 3
Switchback Hill
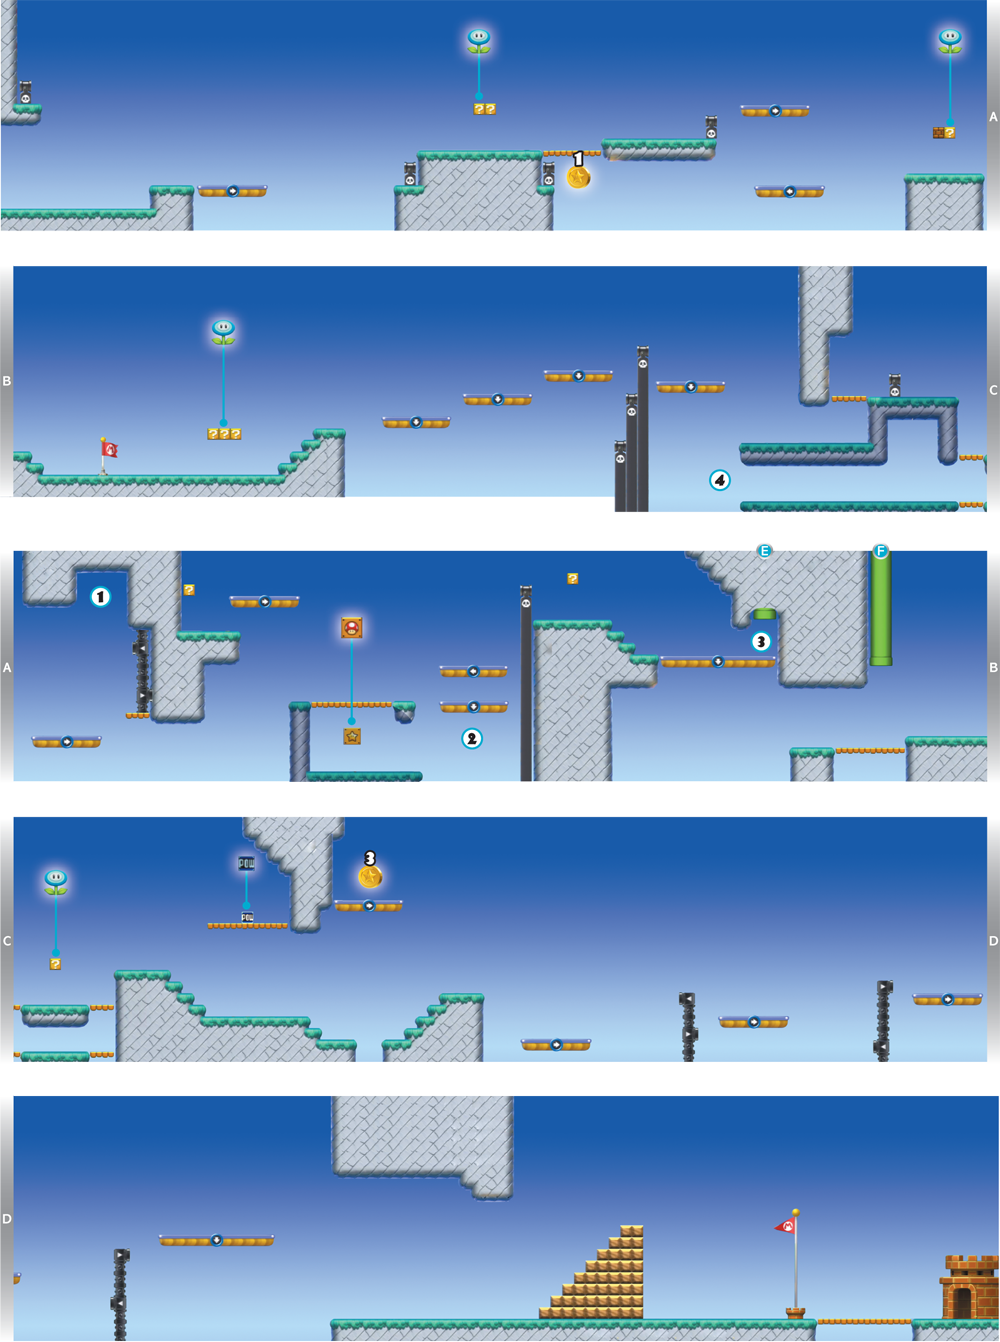
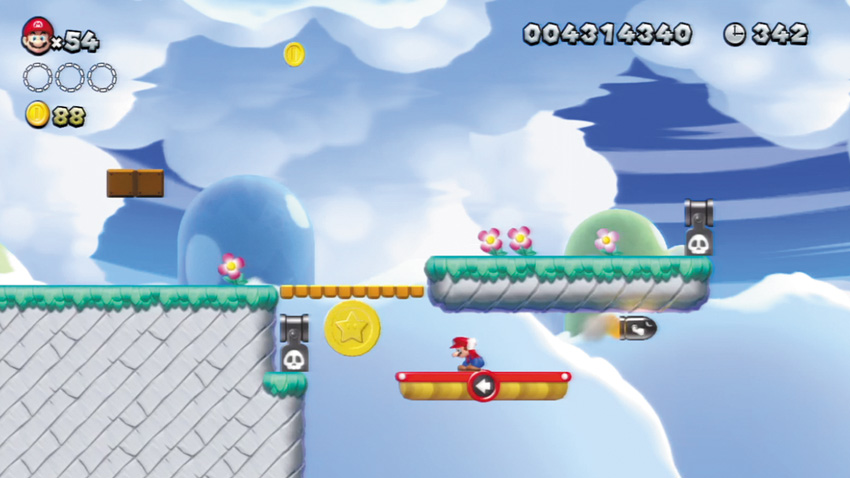
Drop from this stage’s second arrow lift and land on the arrow lift below. Crouch as you ride the lower arrow lift to the left, so that no Bullet Bills will hit you as you travel toward the first Star Coin.
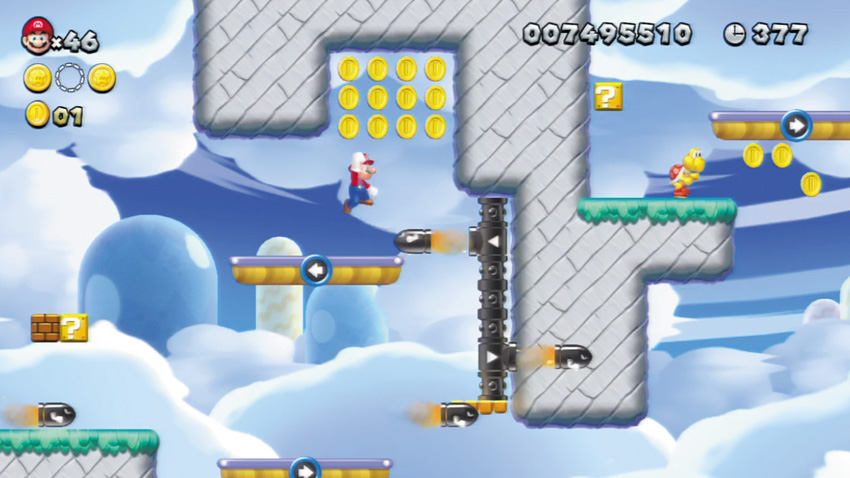
Coin collectors can bounce off Bullet Bills to reach the floating Coins way up here. You can also ride a arrow lift over and wall jump up to the Coins.
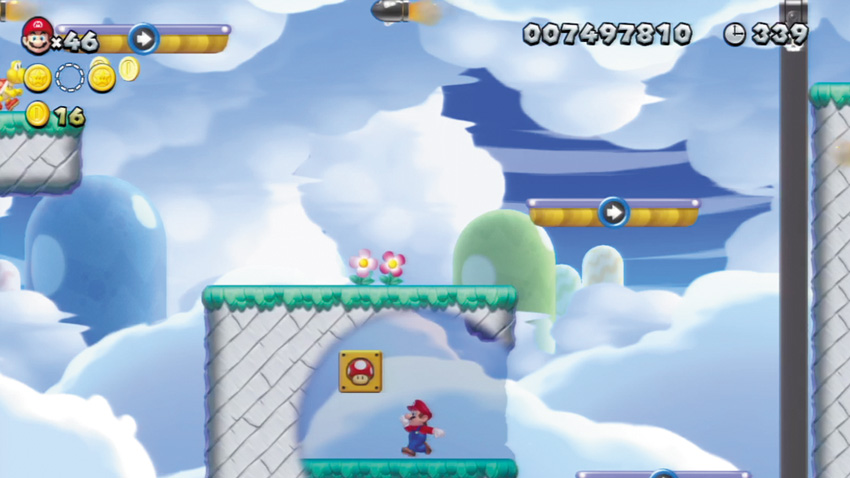
Hop onto the low arrow lift here. It will ferry you downward. Jump into the left cliff, and you’ll pass through a false wall, discovering a hidden Roulette Block!
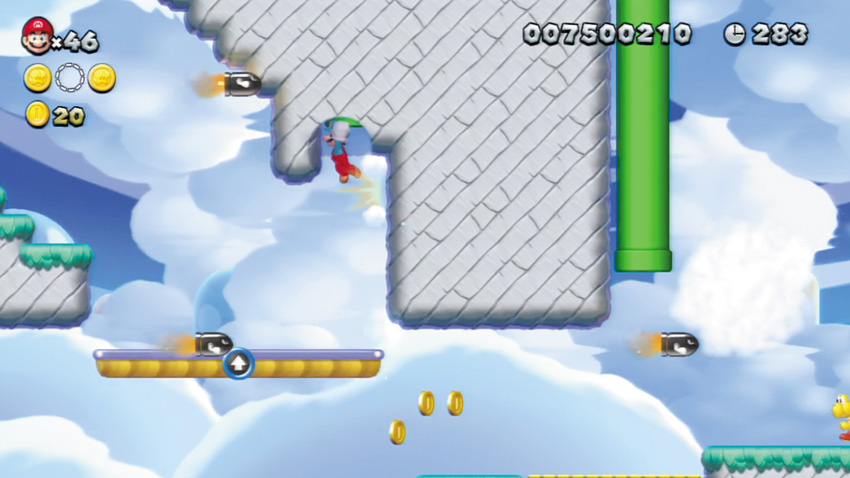
Wall jump up the cliff here to discover a hidden overhead Warp Pipe. Slip inside to visit a secret area!
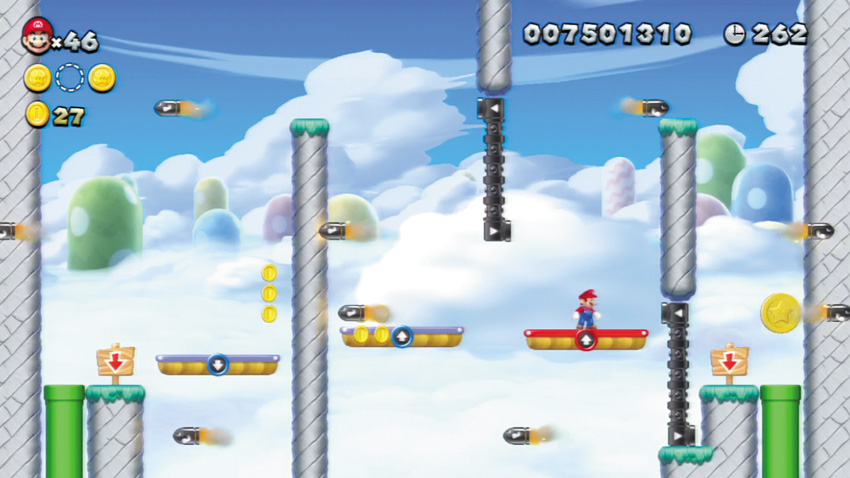
The second Star Coin is kept in a secret area—enter the Warp Pipe at Point 3 to discover it. Ride the arrow lifts toward the Star Coin, jumping and crouching as needed to dodge the many Bullet Bills along the way.
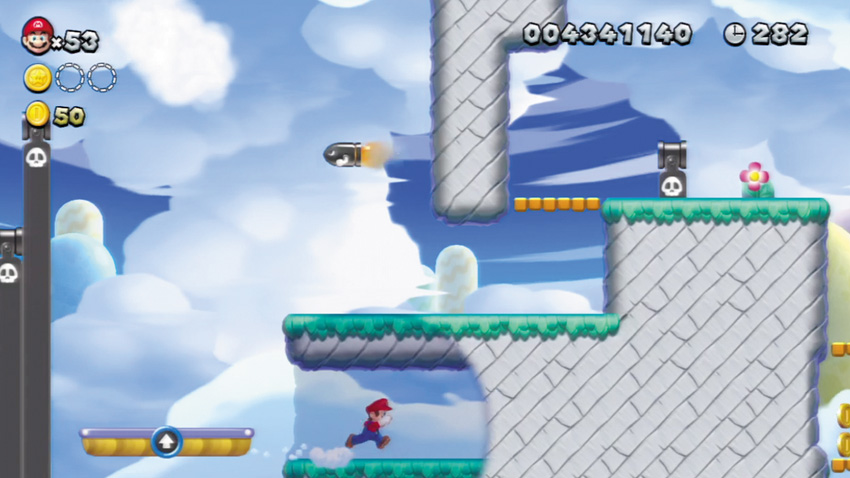
Ride the arrow lift here all the way down, then jump into the side of the low cliff to the right. You’ll pass through a false wall, discovering a hidden passage that leads to a cluster of Coins!
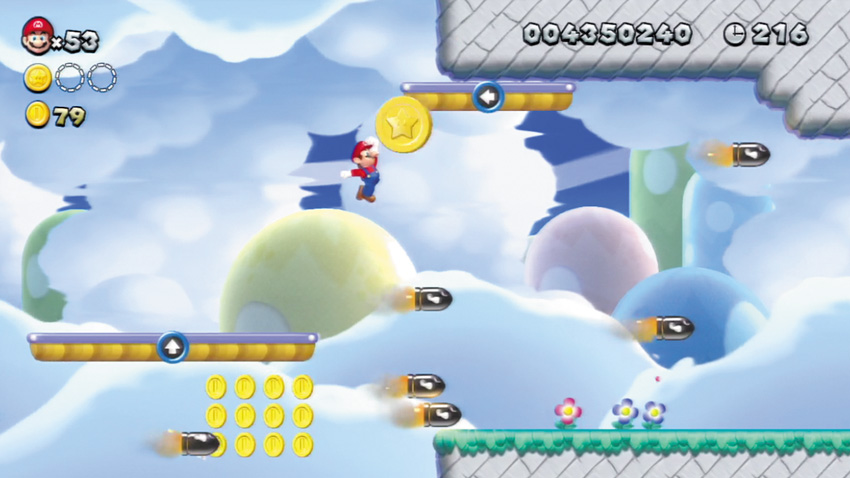
Toss a POW Block to cause this Star Coin to drop onto a high arrow lift. Hurry and chase after the Star Coin—when it reaches the far cliff, it will be knocked down into a pit. Make sure you arrive in time to grab it!
Meringue Clouds Tower
Slide Lift Tower
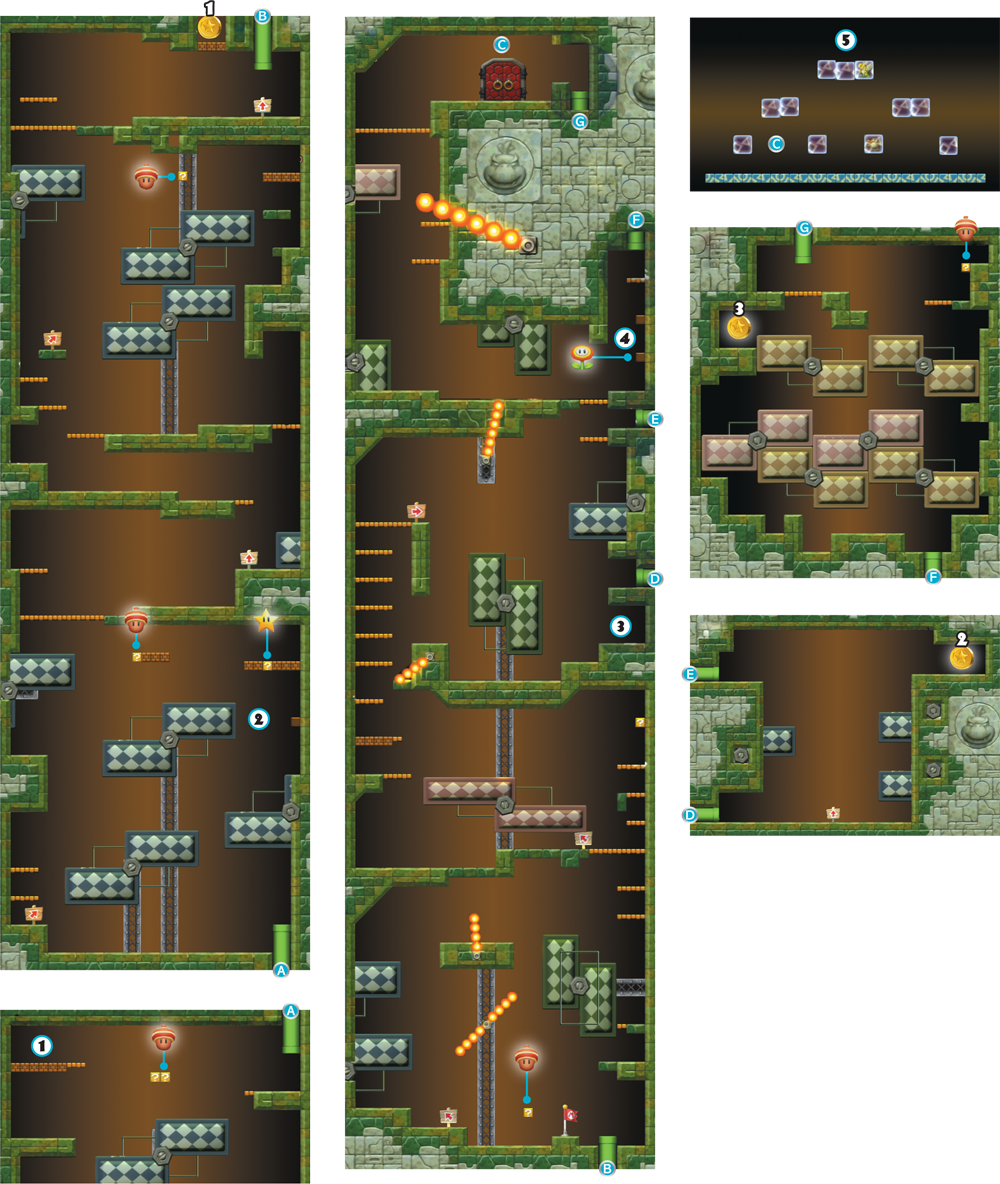
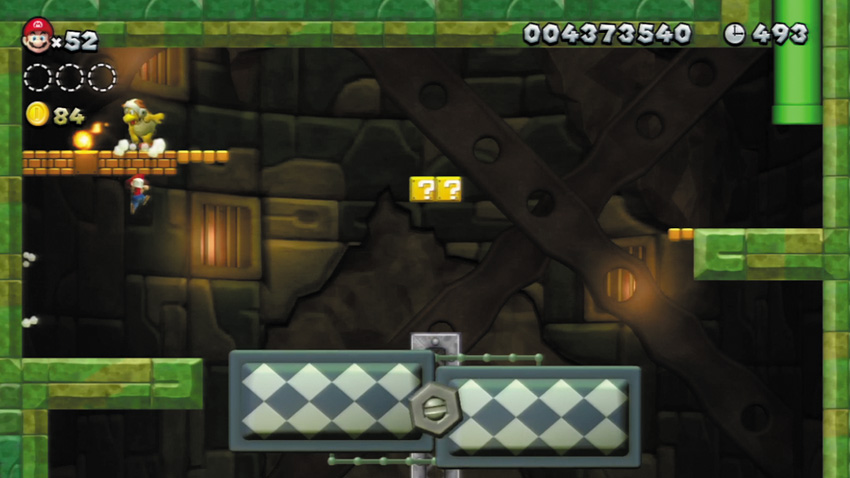
Bump the Brick Blocks below this first chamber’s Fire Bro to defeat him. Crossing the central Slide Lifts is much easier when you don’t have to dodge fireballs!
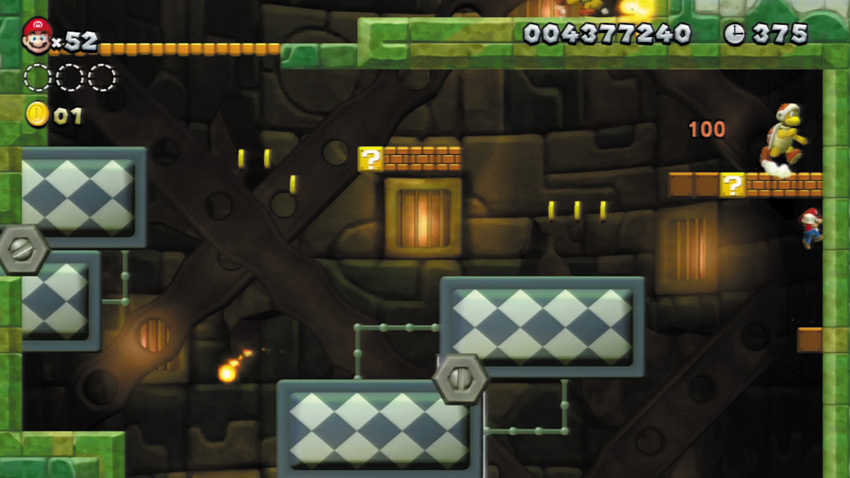
Jump up and bump a hidden Block here, then jump from the hidden Block and bump the Brick Blocks below the overhead Fire Bro to defeat him. That takes care of that!
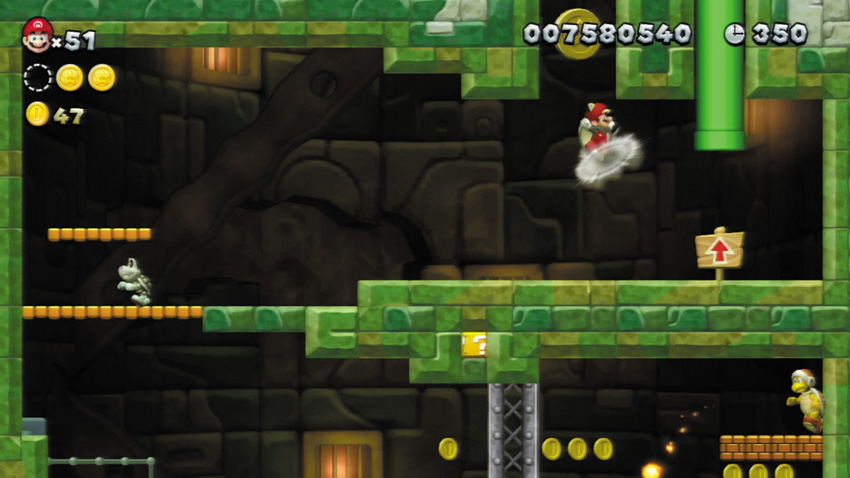
Flying Squirrel Mario has the easiest time of collecting the first Star Coin. Use his flying squirrel jump to soar up, smash through the overhead Brick Blocks, and claim the Coin. It’s also possible to bounce off the Fire Bro and collect the Star Coin, but you must first perform a double jump over the Fire Bro to bash the Brick Blocks. Even if you defeat the Fire Bro, it’s still possible to bash through the Brick Blocks and collect the Star Coin if you triple jump just right.
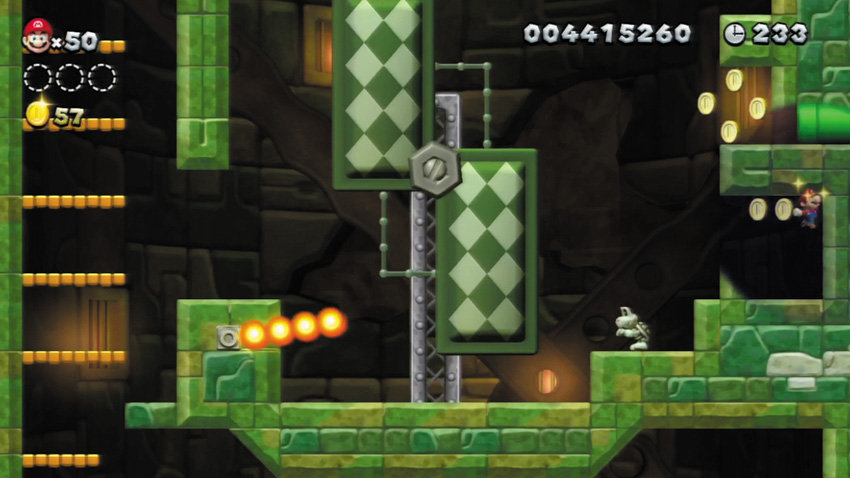
Find some Coins behind a false wall here. There’s also a Warp Pipe hidden behind another false wall just above—head through that hidden Warp Pipe to visit a secret area.
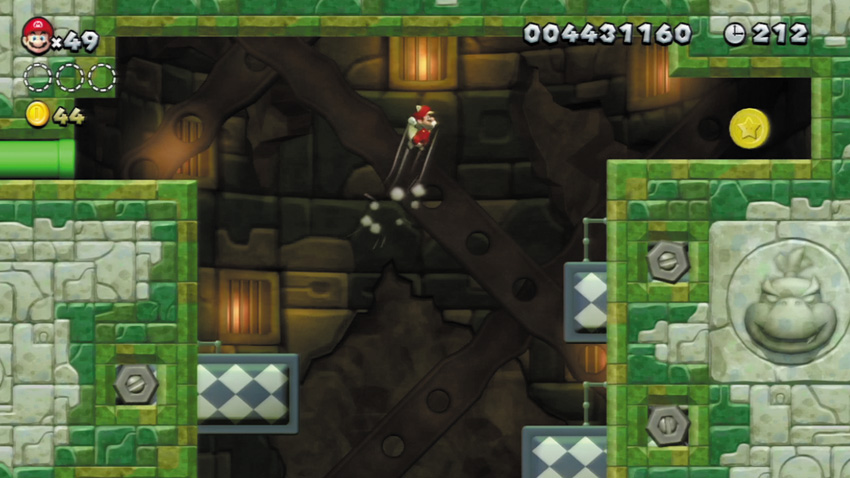
Only Flying Squirrel Mario can traverse the Slide Lifts in this secret room and claim the Star Coin above. Wall jump off the lowest set of Slide Lifts, then glide over to the Slide Lifts on the left. Land and then quickly perform a flying squirrel jump upward, aiming to land on the same set of Slide Lifts when the top Slide Lift emerges from the left wall. From this height, you can leap over and perform another flying squirrel jump to reach the Star Coin. Of course, the top-right Slide Lifts are always there if you need them!
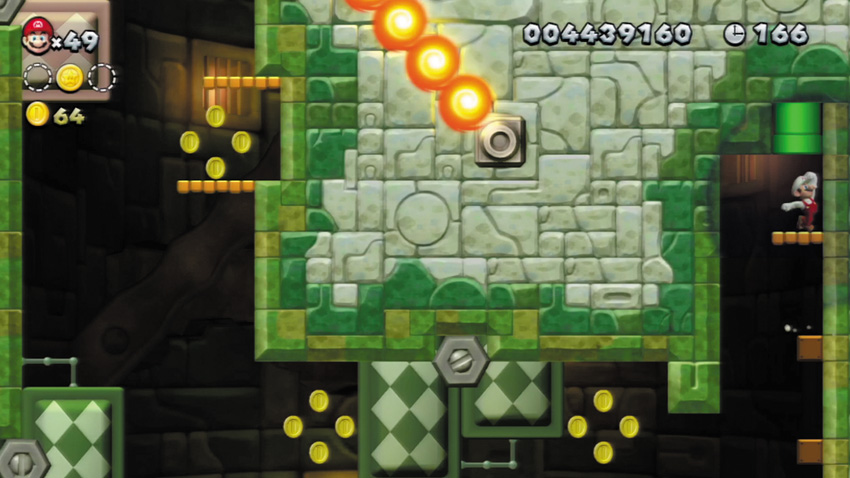
Jump up and hit a hidden Block here, then jump from the hidden Block to bump another hidden Block above. Jump from the top Block to pass through a false ceiling and discover an overhead Warp Pipe.
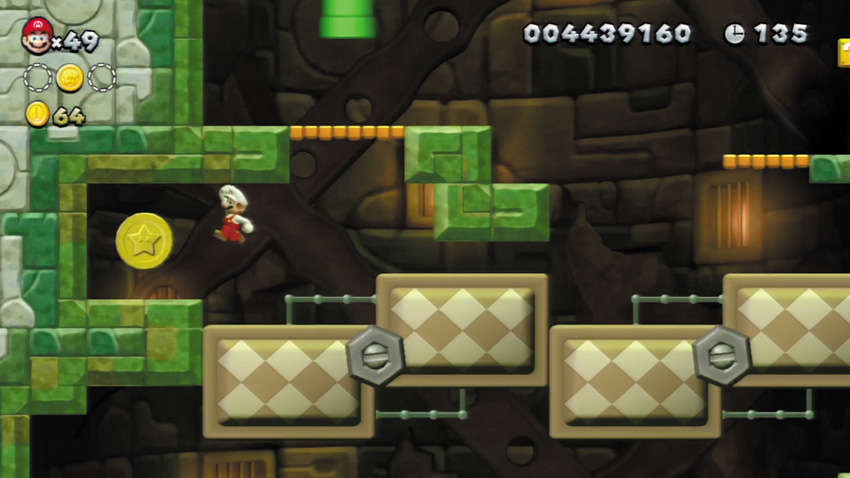
Enter the hidden Warp Pipe at Point 4 to reach this secret area, where the final Star Coin is kept. Carefully make your way up to the Star Coin without being squashed by the Slide Lifts and claim this final prize.
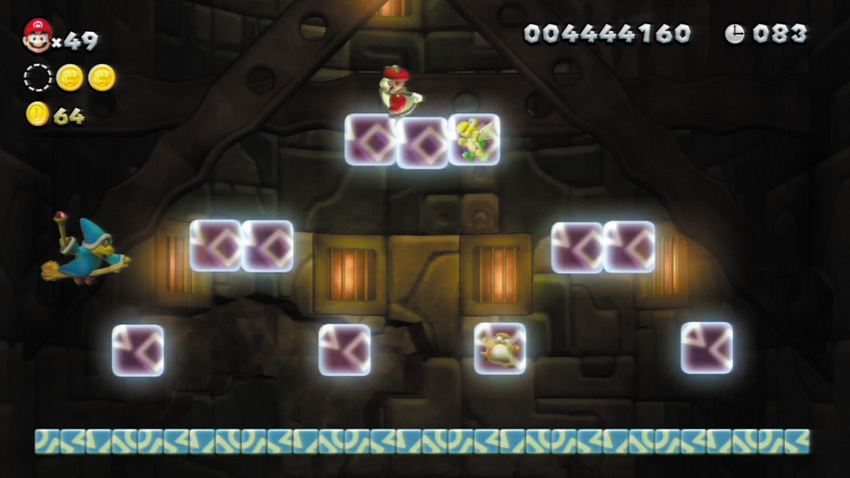
Having run out of flunkies to enchant, the great Magikoopa himself must battle Mario atop the tower. Magikoopa flies around and summons a number of magical platforms, some of which contain imprisoned enemies. Quickly jump up the platforms, seeking to stomp Magikoopa when the mini-boss teleports into view.
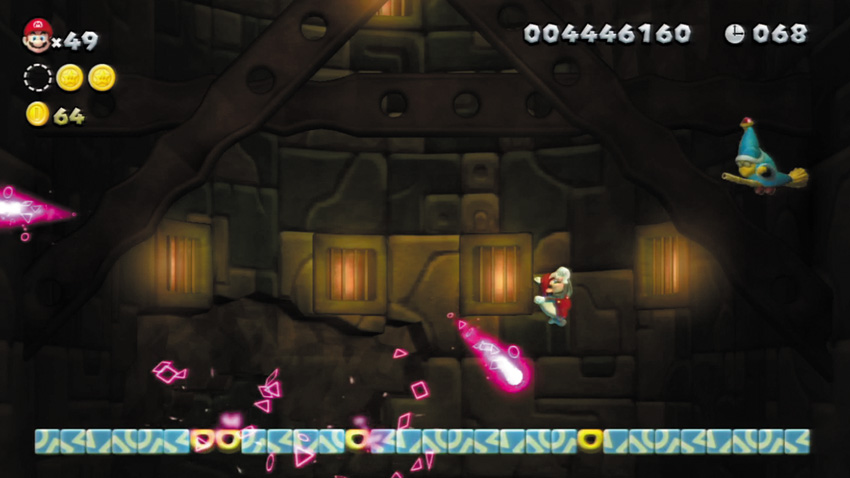
After you stomp Magikoopa, he’ll begin to cast evil spells. Dodge his spells, but beware: When the spells strike the ground, they’ll cause Donut Blocks to appear! Stomp him three times to defeat him!
Meringue Clouds Boo House
Spinning Spirit House
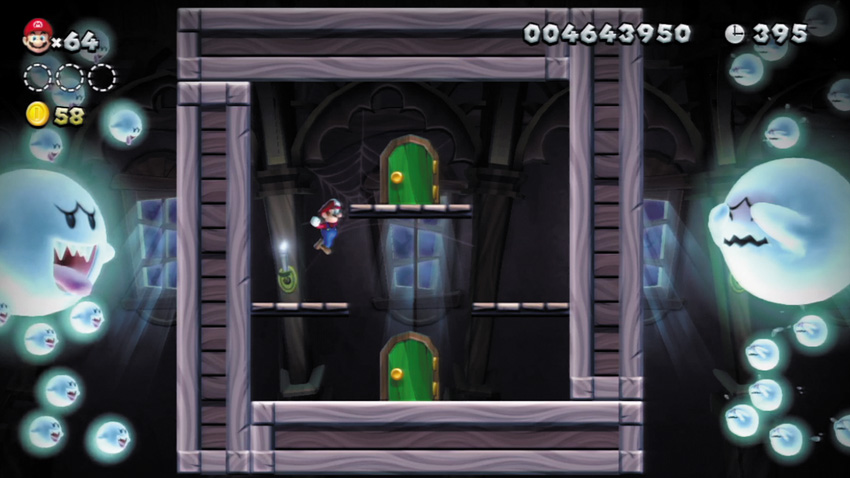
In need of extra lives? Use a Super Star before entering this stage, then allow the plentiful Boos in the very first room to swarm in. Defeat as many as you can before your Star power fades—you’re sure to score plenty of 1-Ups before the Boos get you!
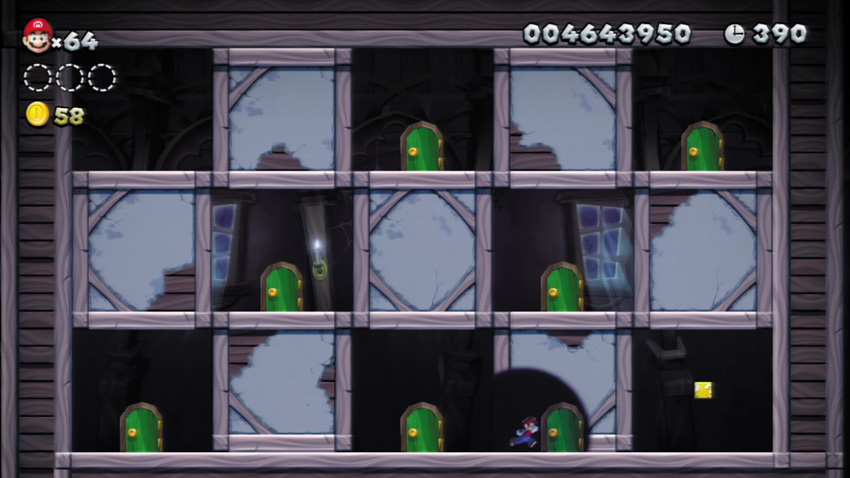
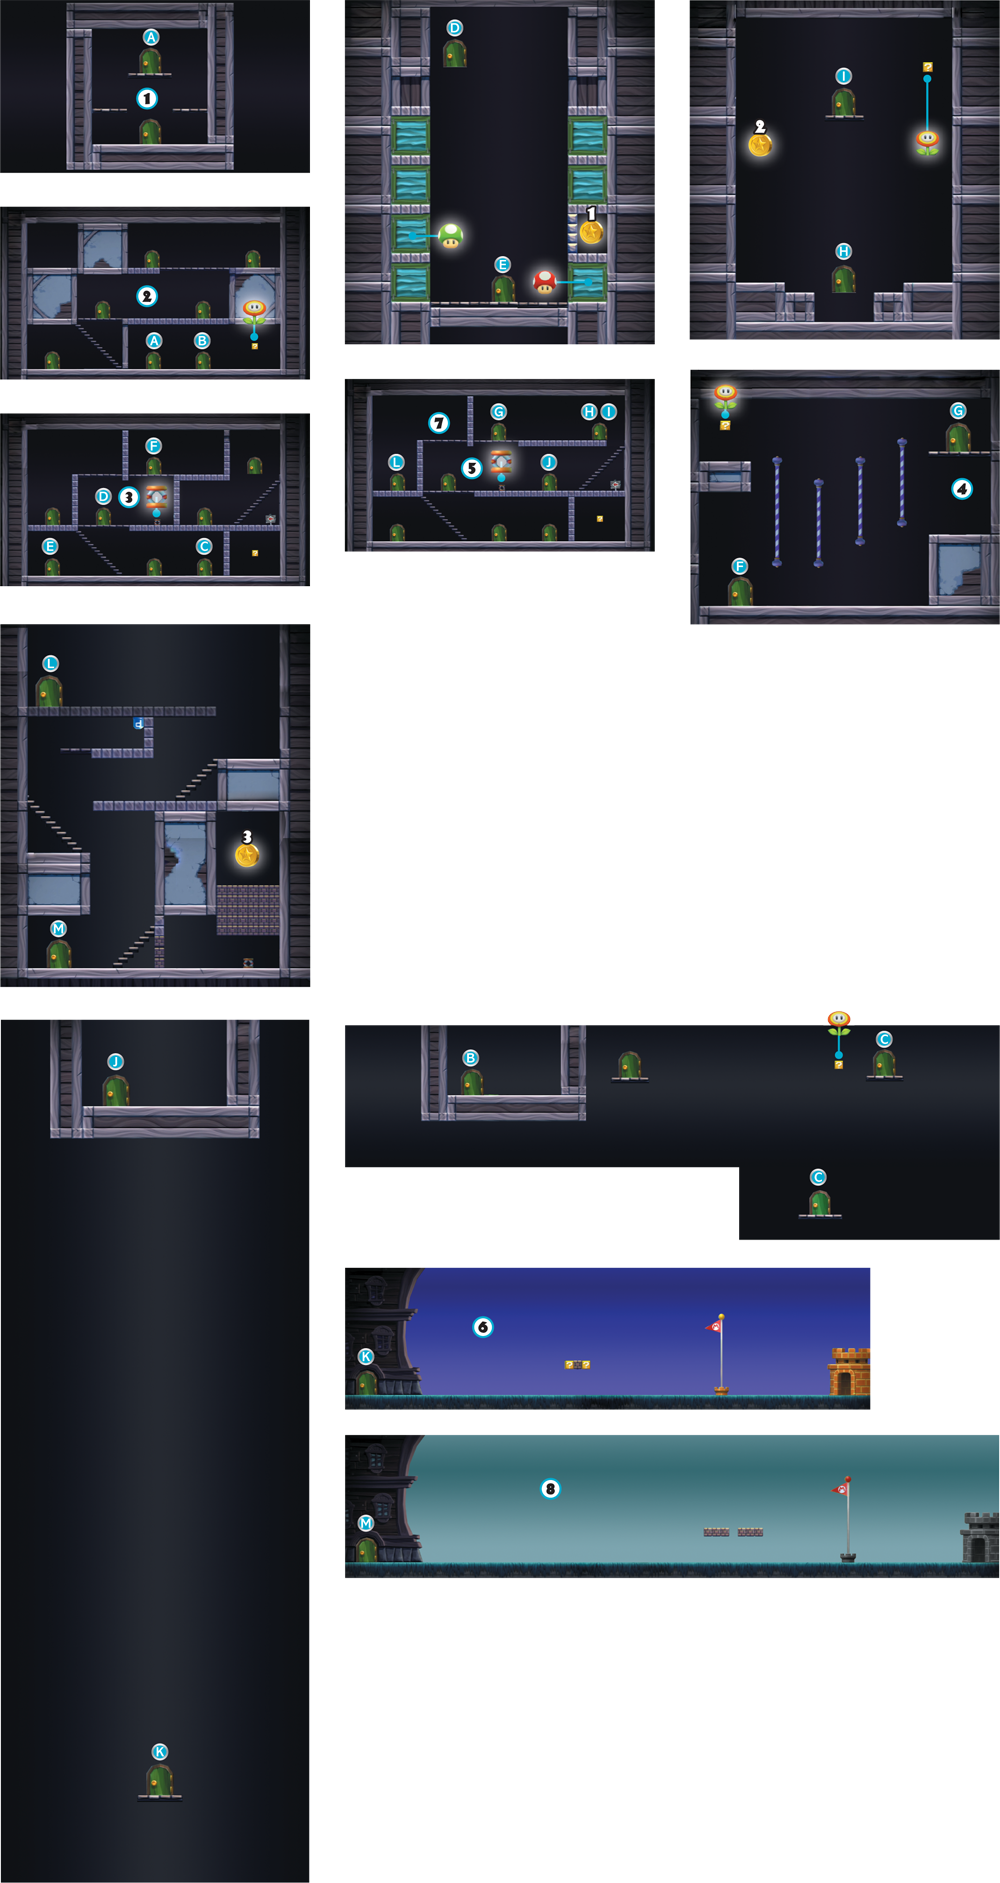
This room presents you with a number of doors, but on your first visit, you can enter only the one that’s hidden behind a false wall on the bottom floor. Don’t worry, you’ll be back!
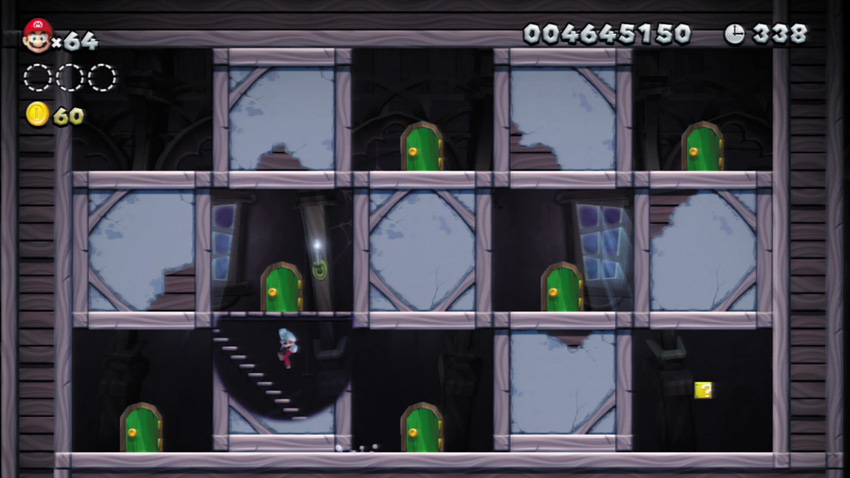
Believe it or not, this is actually an entirely different room than the one you visited at Point 2. Study the maps closely, and you’ll see the differences!
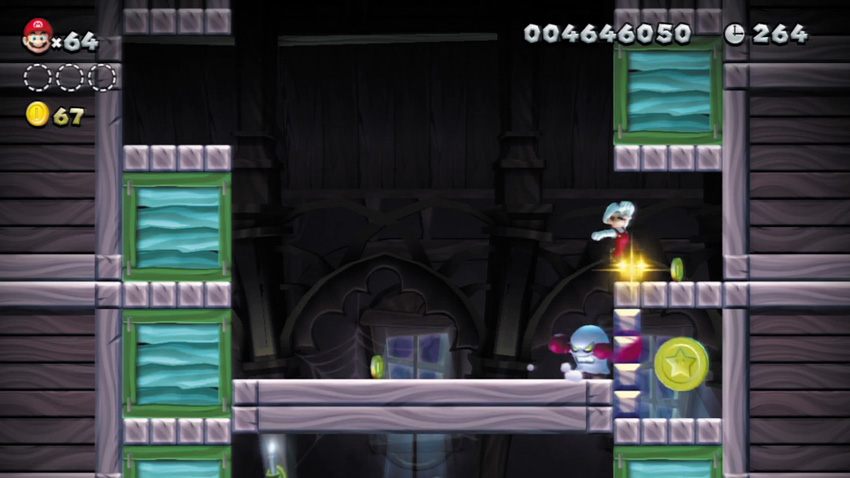
Lure a Broozer into bashing through the wall that blocks access to this first Star Coin, then simply stroll over and collect it. Trick Broozer into bashing through this room’s crates as well, to score bonus Coins and items. The third crate on the left contains a 1-Up Mushroom, while the bottom-right crate contains a power-up.
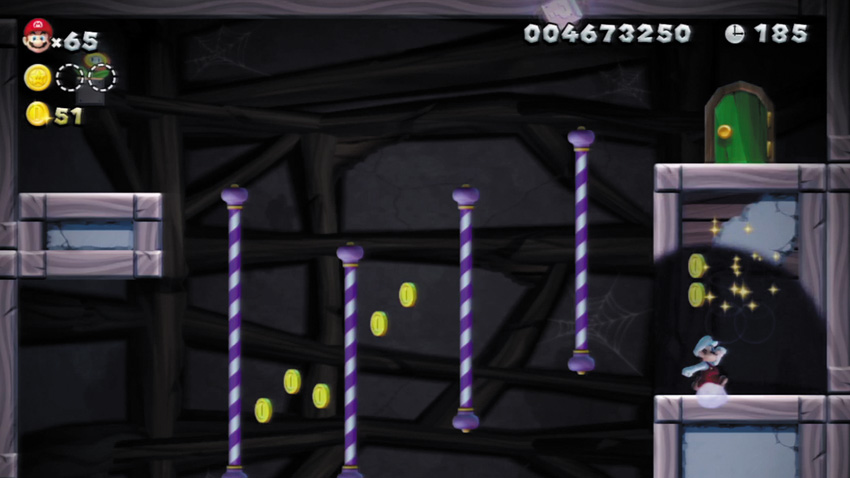
Pass through a false wall in this room to discover a stash of Coins. Sweet!
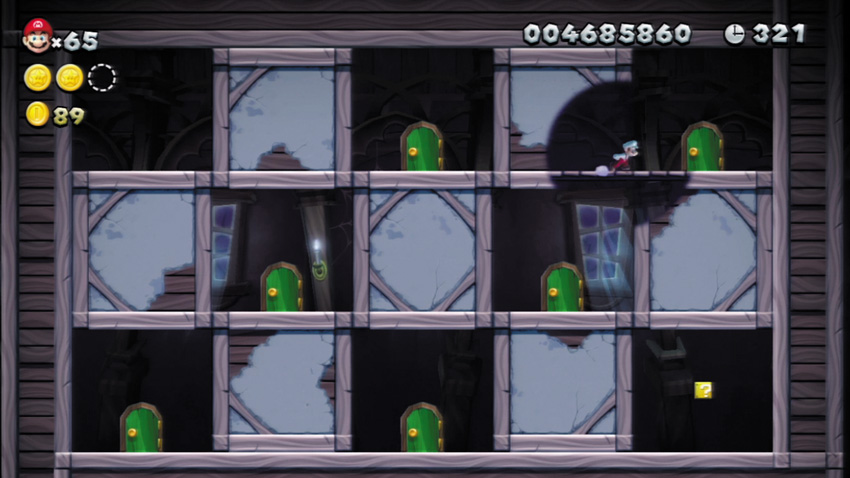
Guess what? This is the third version of the multi-door room! Are you confused yet? Don’t be—just let the maps guide you through!
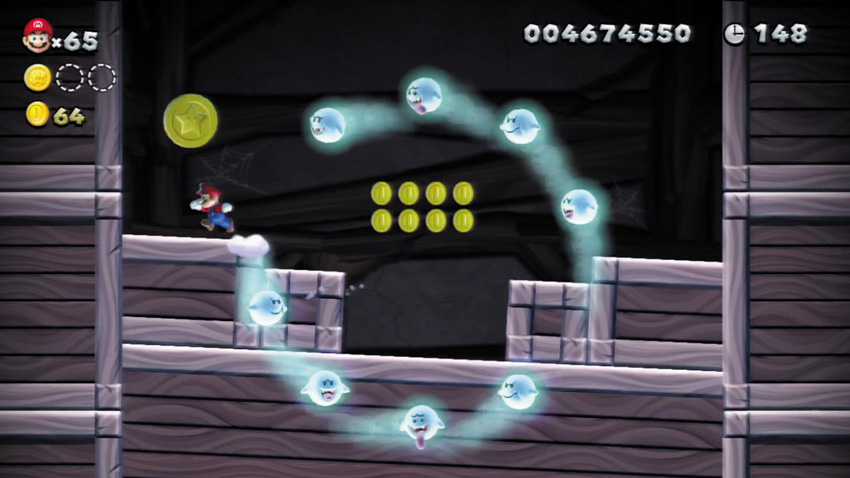
This tricky Star Coin swoops from one side of the room to the other as you’re elevated upward. Carefully slip through the circling Boos as you seek to collect the Star Coin. You can’t collect the Star Coin until it swoops over to the left.
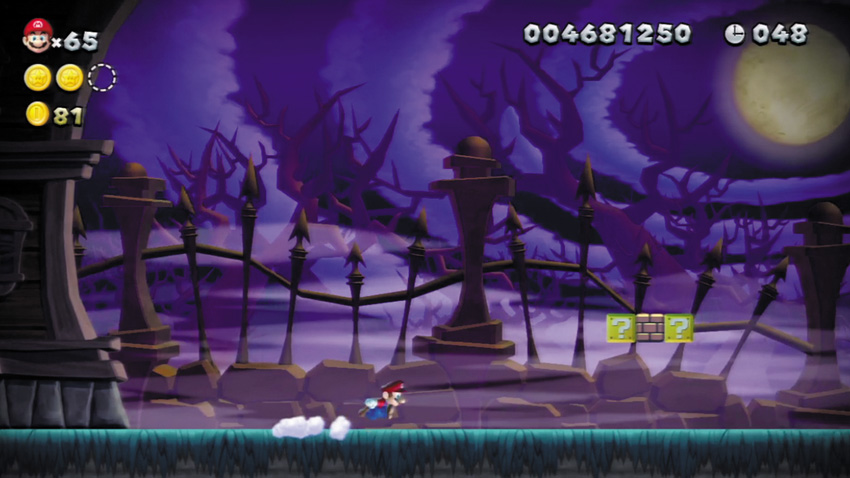
The Swinging Spirit House has two exits. This is the main one—head through after collecting the first two Star Coins. You’ll need to return for the third Star Coin and to discover the stage’s secret exit.
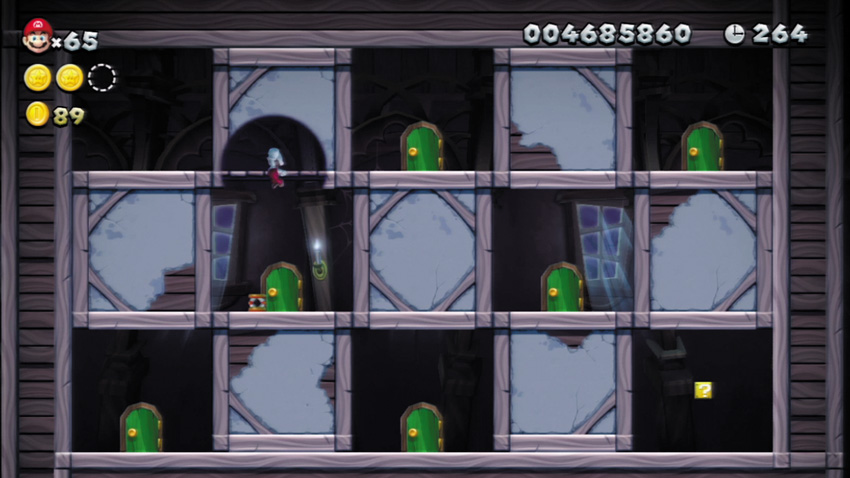
Carry this room’s central Trampoline over to the door on the left, then bounce off the Trampoline to pass through the false floor above. Now you can enter a hidden door on the left!
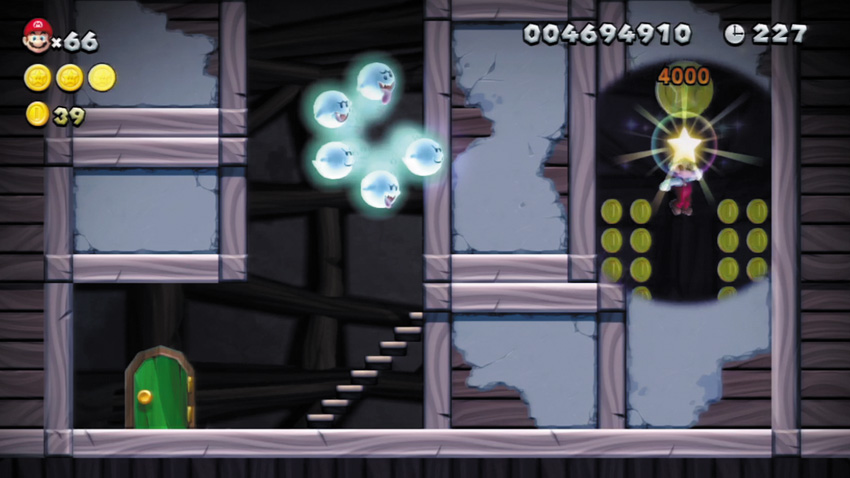
The final Star Coin is hidden behind a false wall here. Hit the hidden P Switch at the top of the room, then quickly drop to the ground floor and pass through the false wall on the right before the Coins within the wall revert back to Brick Blocks. Wait patiently for the Brick Blocks beyond the false wall to revert back to Coins, then use the provided Trampoline to spring up and snag the high Star Coin (or simply wall jump up to it).
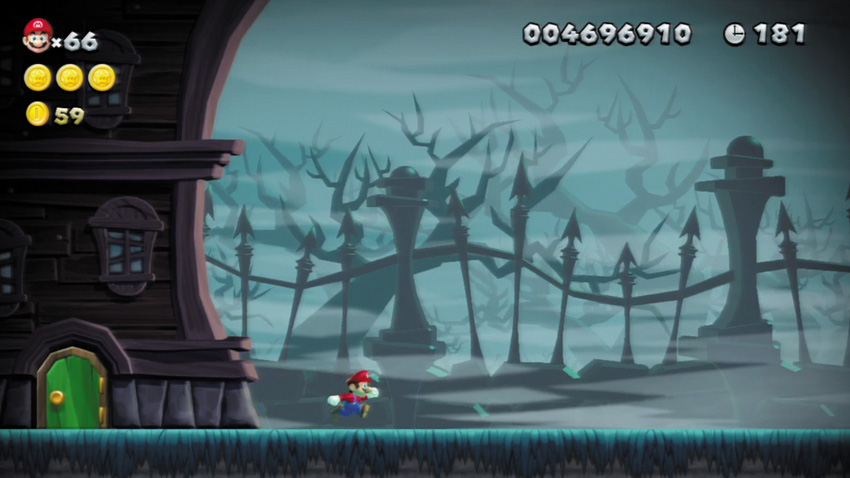
After collecting the third Star Coin, you’ll naturally end up discovering this secret exit. Finish the stage using this secret exit to unlock a shortcut path on the World Map that leads straight to Ludwig’s Clockwork Castle!
Meringue Clouds 4
Bouncy Cloud Boomerangs
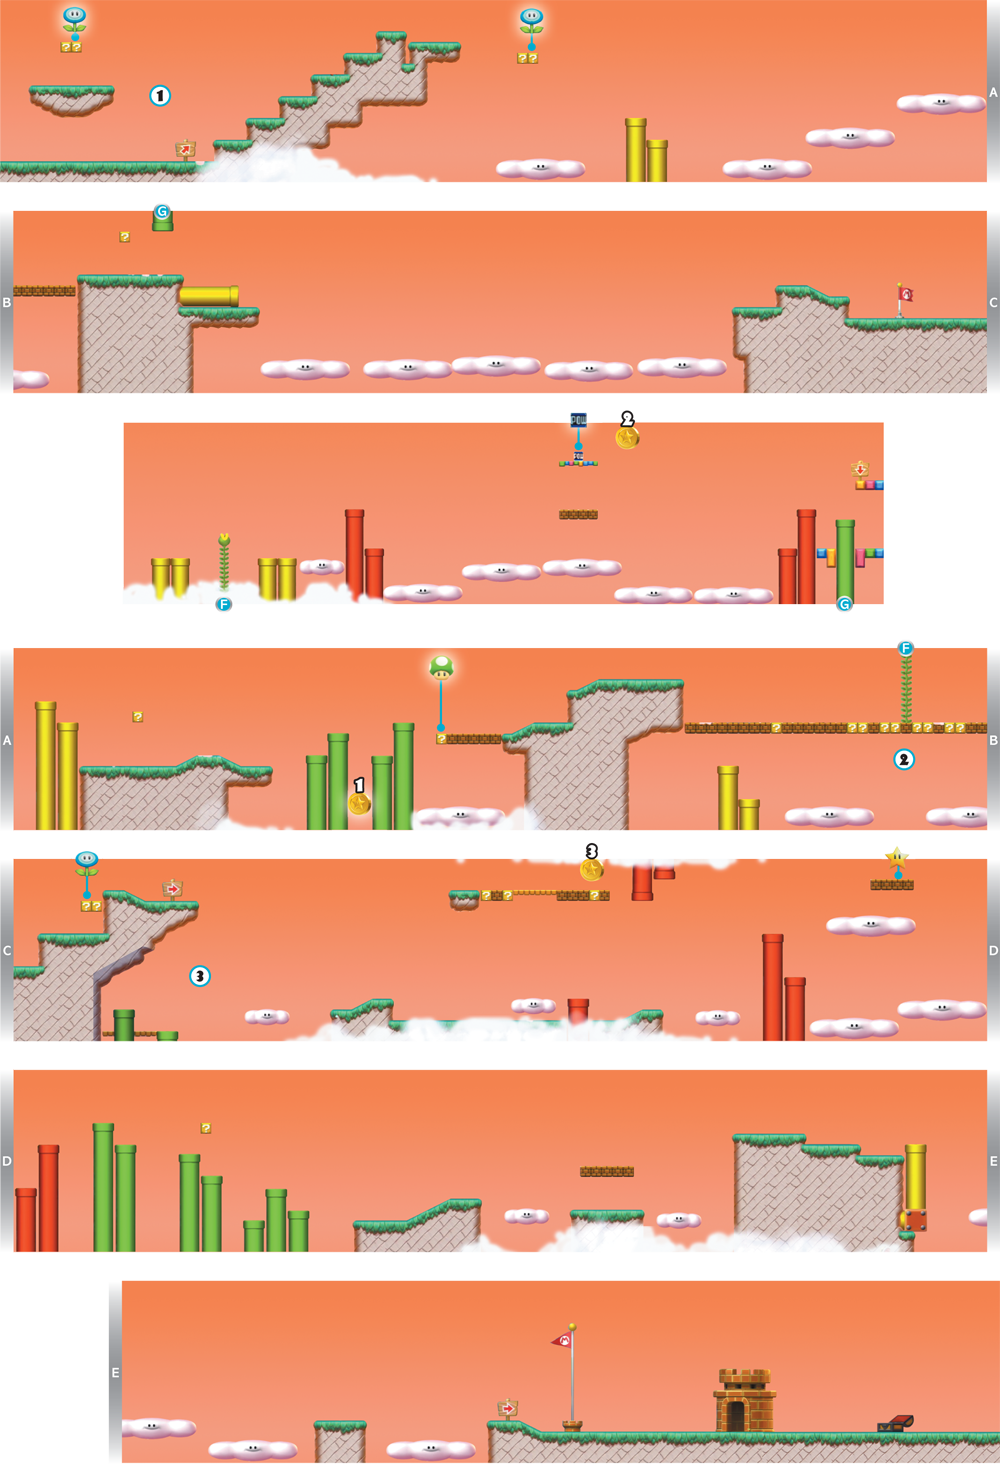
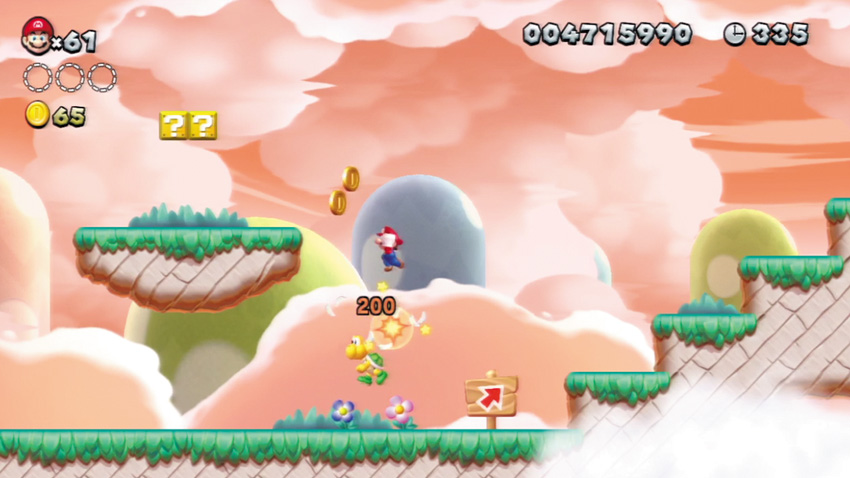
Bounce off a Koopa Paratroopa to reach these high ? Blocks near the start. One of them contains a power-up!
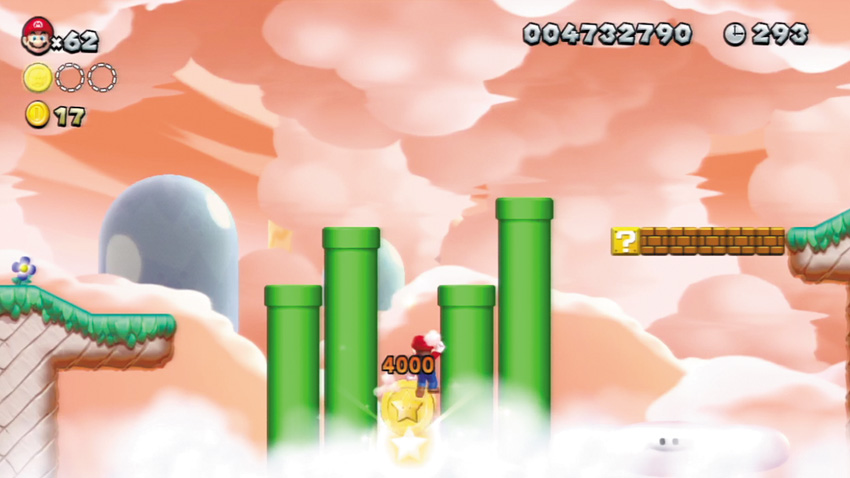
The first Star Coin is concealed behind some low clouds here. Drop between the Pipes to collect it, then quickly wall jump back up to safety before you fall.
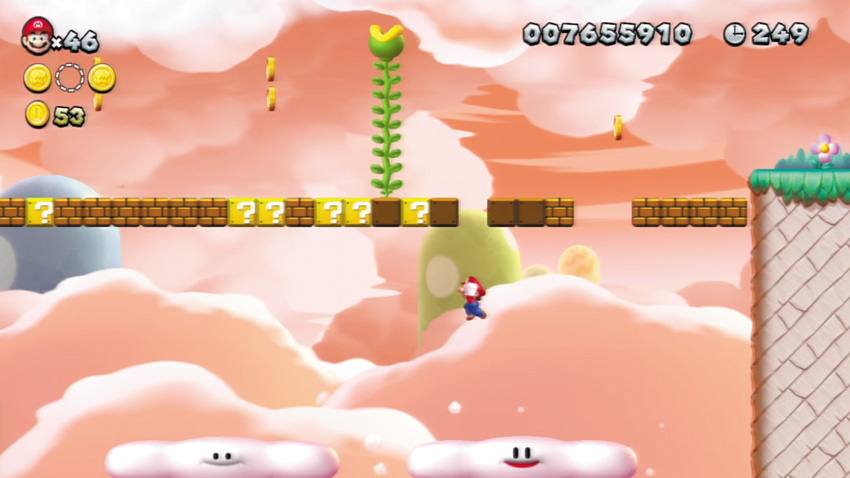
Ground pound through the Brick Blocks here to reach the Bouncy Clouds below. Bound up and bump the Brick Block in the middle to extend a Beanstalk up into the sky. Bounce back up to the Brick Blocks, then climb the Beanstalk to reach a secret area.
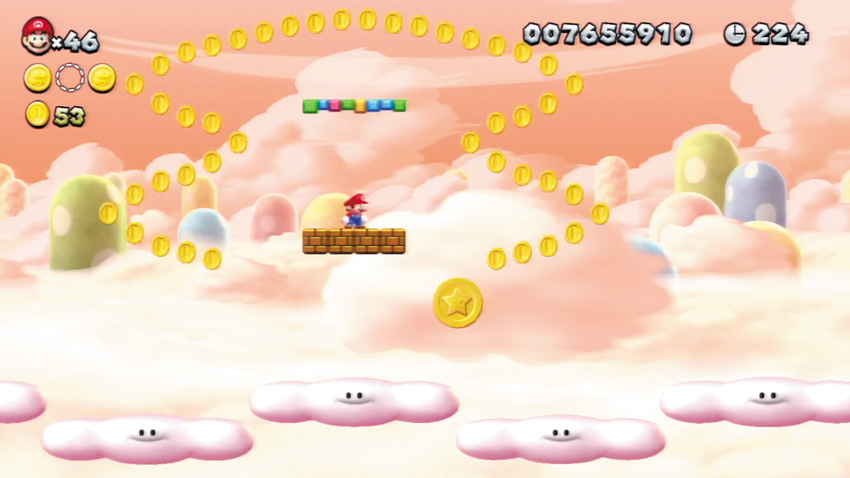
Climb the Beanstalk at Point 2 to reach this secret area above the clouds. Make your way to the right and use the Bouncy Clouds to reach the high POW Block. Bump the POW Block from below, and a shower of Coins will rain down around you—including the second Star Coin!
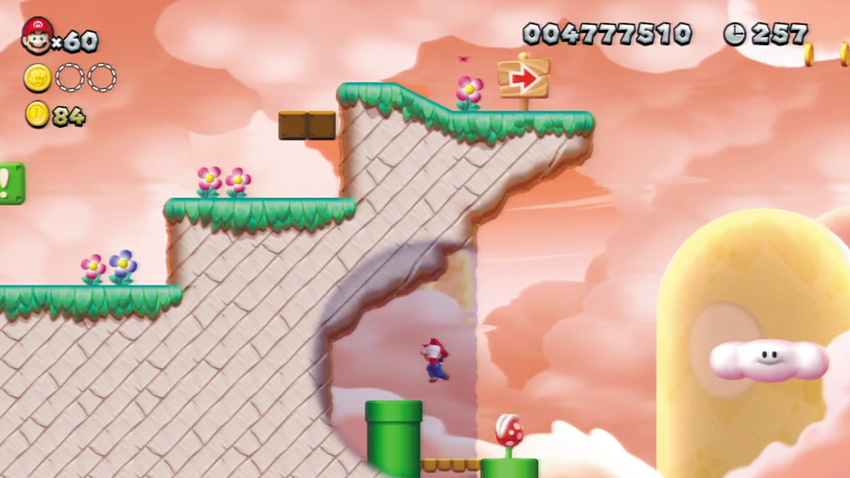
Bound on the Bouncy Cloud here, and carefully sail over to the low Pipe to the left when the Piranha Plant isn’t poking up its head. (If possible, freeze the Piranha Plant first with an iceball.) Pass through the false wall to the left of the Pipe to discover a hidden Pipe Cannon that rockets you to the right. If you time it just right, you’ll bounce off a Bouncy Cloud and sail up to a Star Coin!
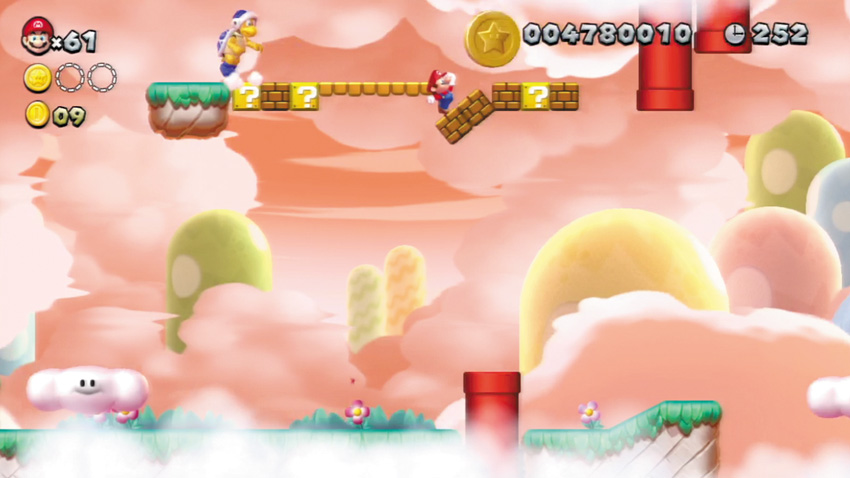
The final Star Coin sits atop these high Brick Blocks. Either use the Pipe Cannon at Point 3 to fly up here, or simply bound up from the Bouncy Cloud below to reach the Coin. It helps to bump the Boomerang Bro from below before bounding up to the Star Coin.
Meringue Clouds 5
A Quick Dip in the Sky
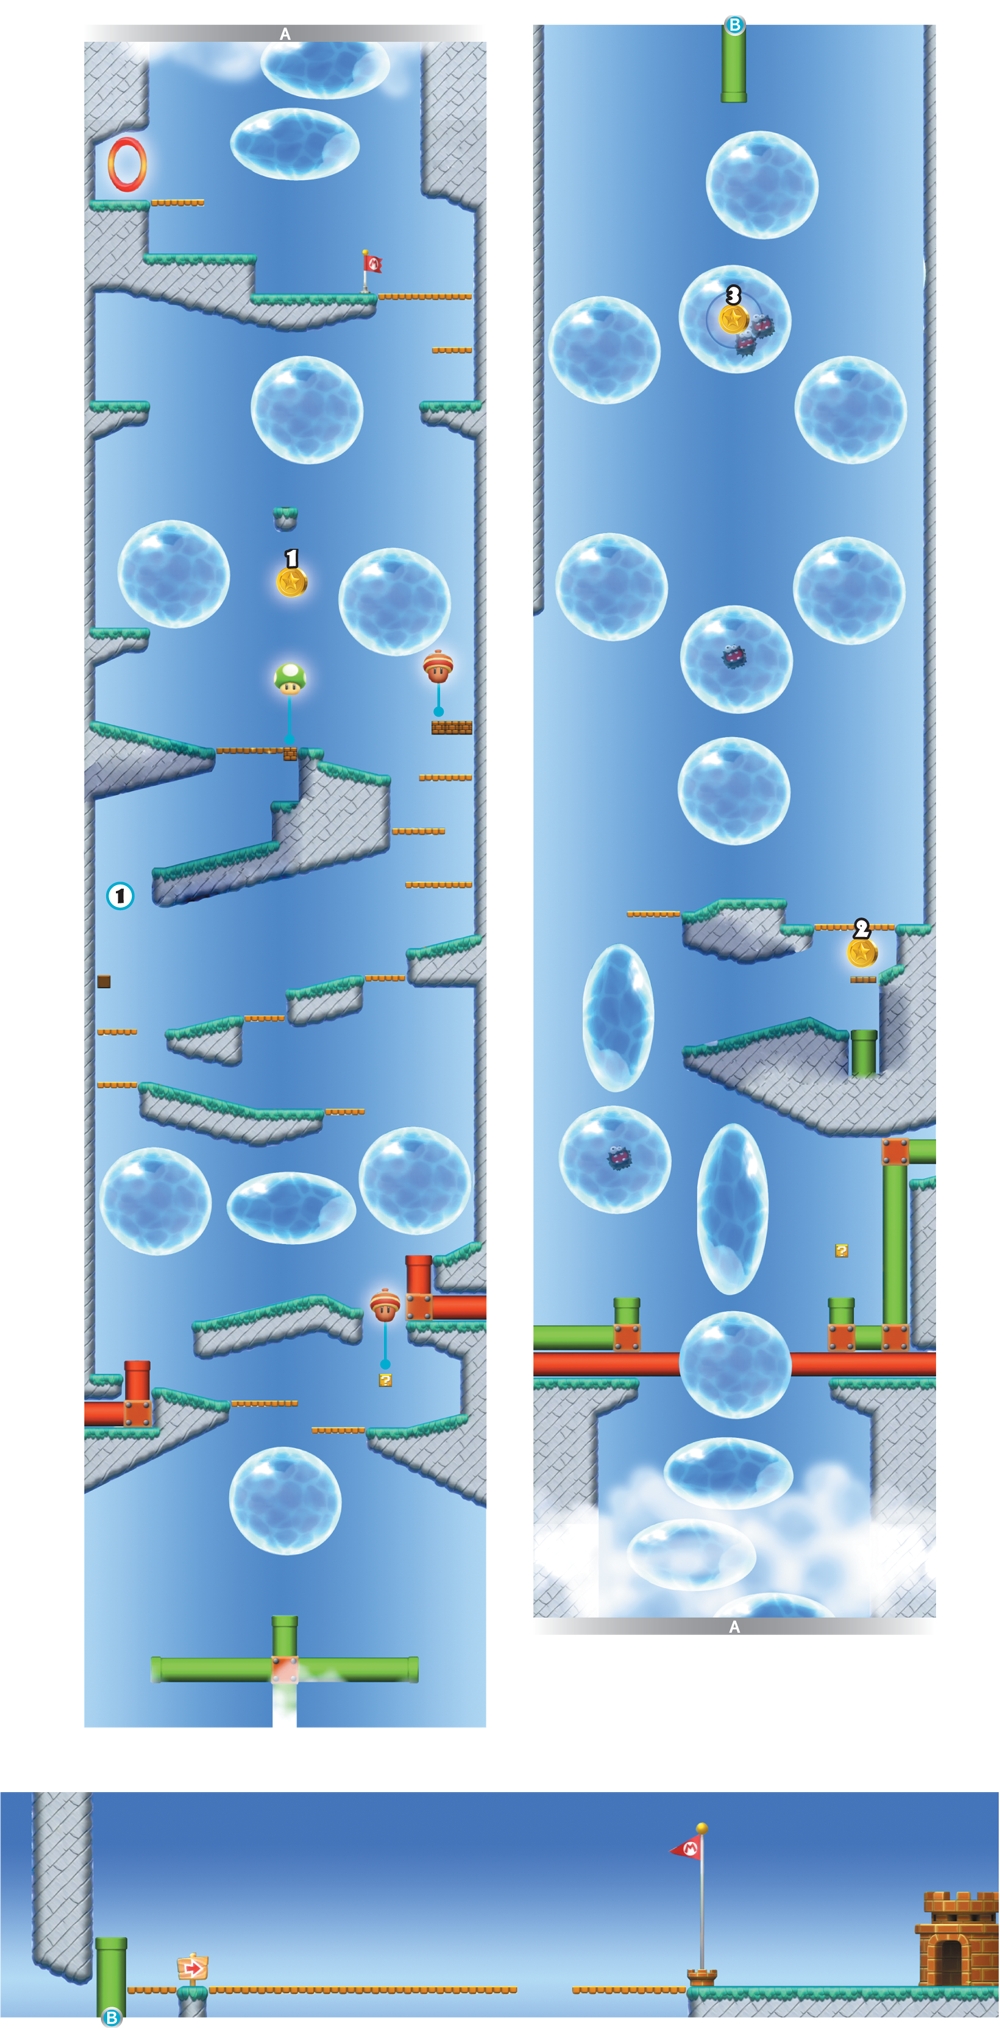
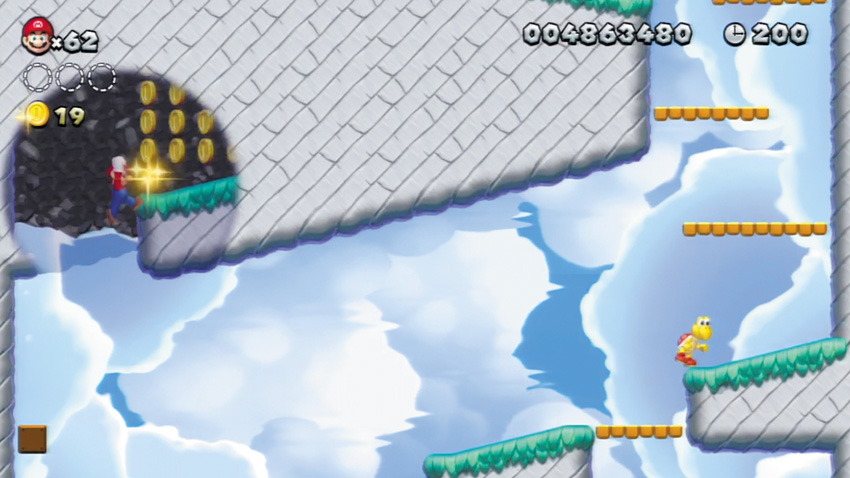
Jump up and hit a hidden Block here, then wall jump up and explore the hidden interior of the ledge above. There are loads of Coins inside the ledge, and the Brick Block at the top contains a 1-Up Mushroom!
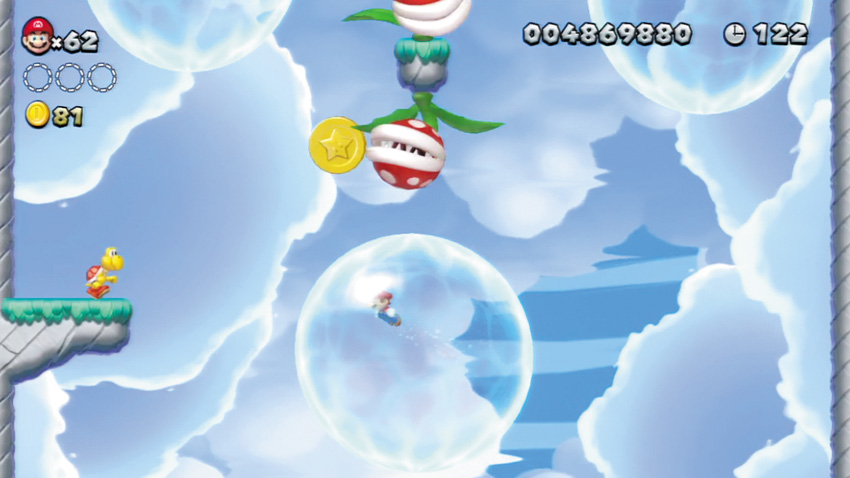
Swim inside the Water Balls that surround the first Star Coin, being careful to avoid the Big Piranha Plants. Try to snag the Star Coin while it’s traveling on the right or left side of the Big Piranha Plants. You can do this either by jumping up from a Water Ball, or by dropping from a Water Ball and grabbing the Star Coin as you fall.
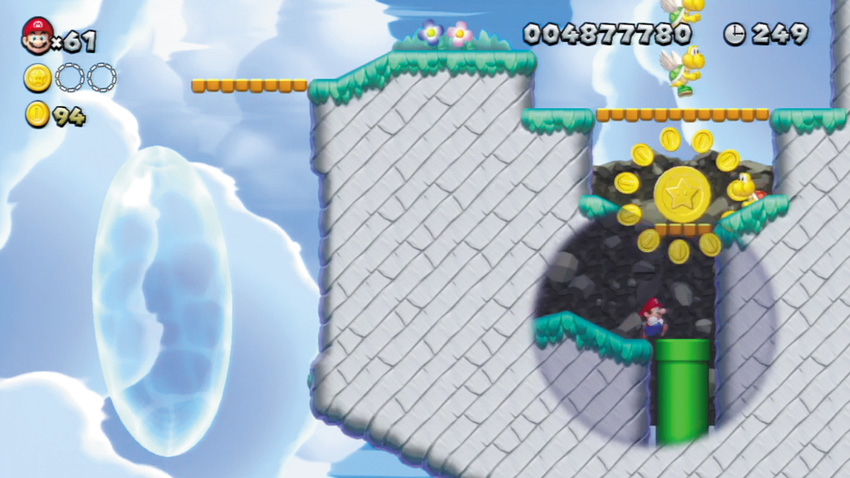
Jump from the Water Ball to the left of the second Star Coin, and you’ll pass through the ledge on the right and discover its hidden interior. Hop into the Pipe Cannon here, and you’ll be rocketed up to the Star Coin.
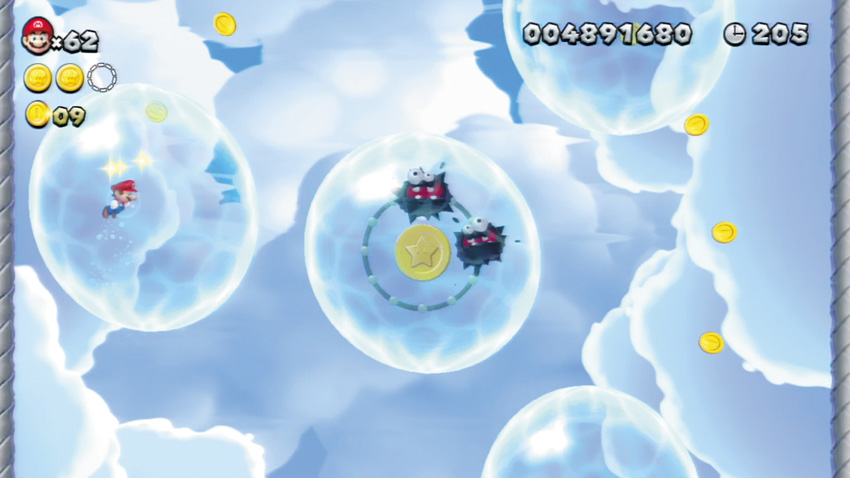
The third Star Coin floats within a Water Ball here, and is guarded by a couple of Fuzzies. Carefully enter the Water Ball without touching the Fuzzies, then look for your chance to swim between the Fuzzies and collect the Coin. Nice work—now you just have to escape!
Meringue Clouds 6
Snaking above Mist Valley
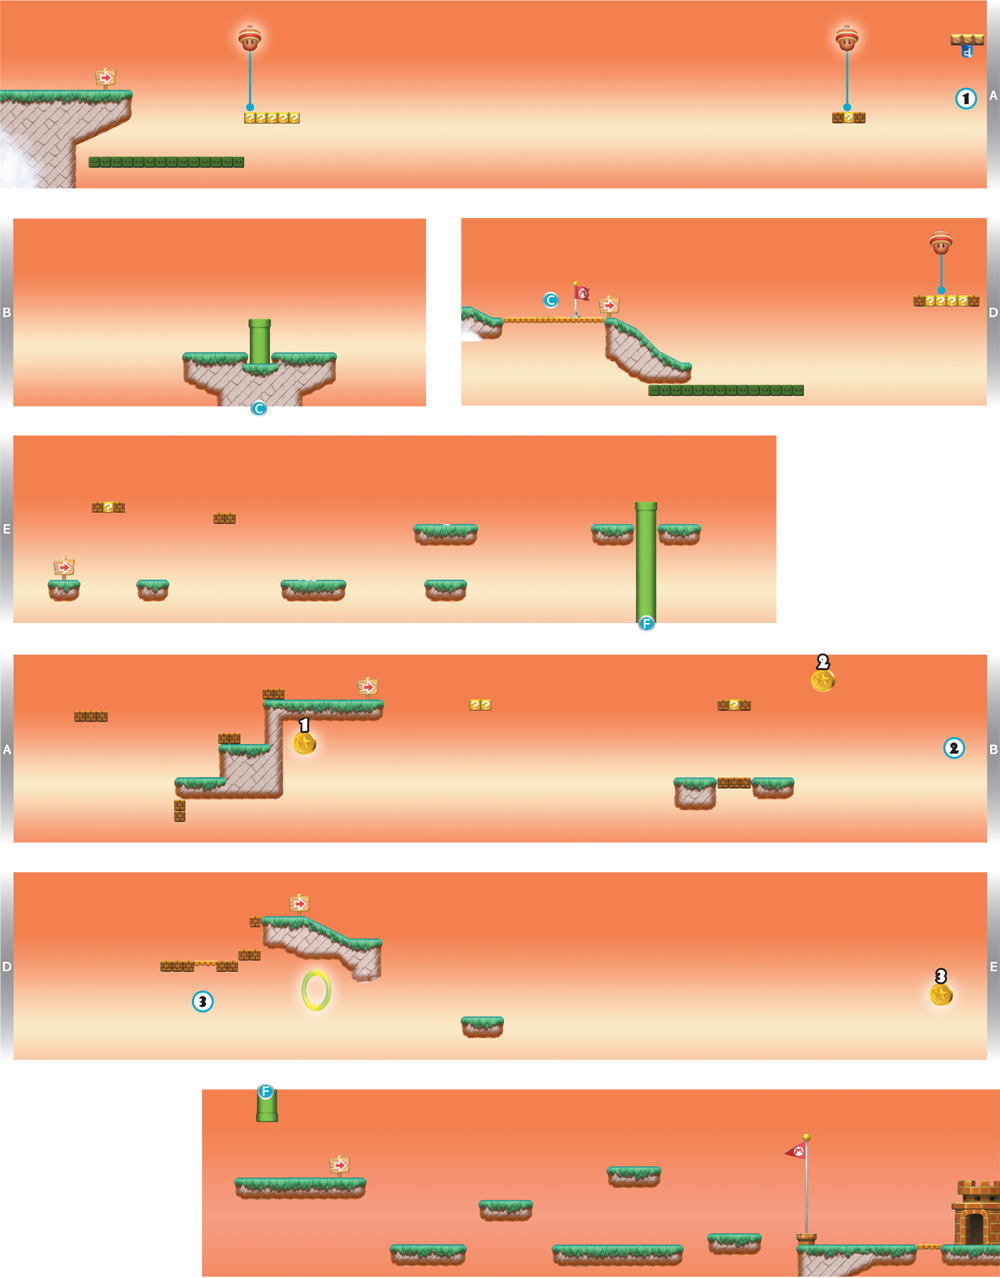
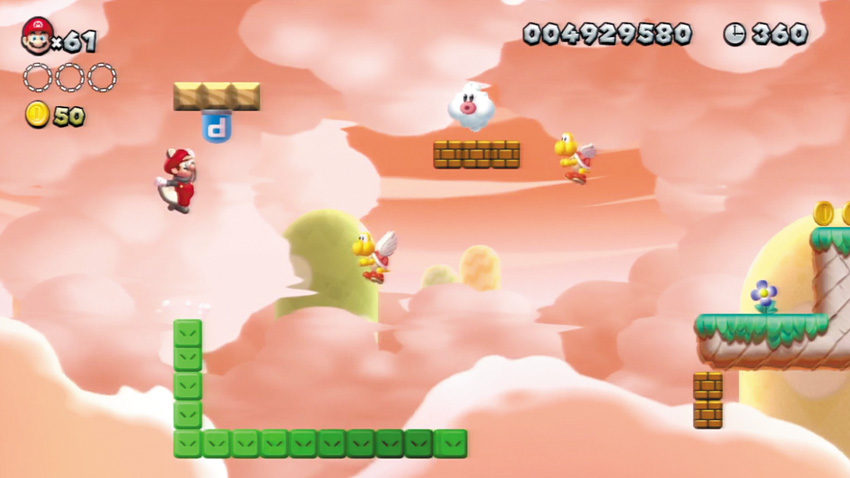
Perform a flying squirrel jump to hit the overhead P Switch here. A line of Blue Coins will appear. Simply ride the Snake Block to collect the Blue Coins. You can also hit this P Switch with a normal running jump, but it’s a little more challenging!
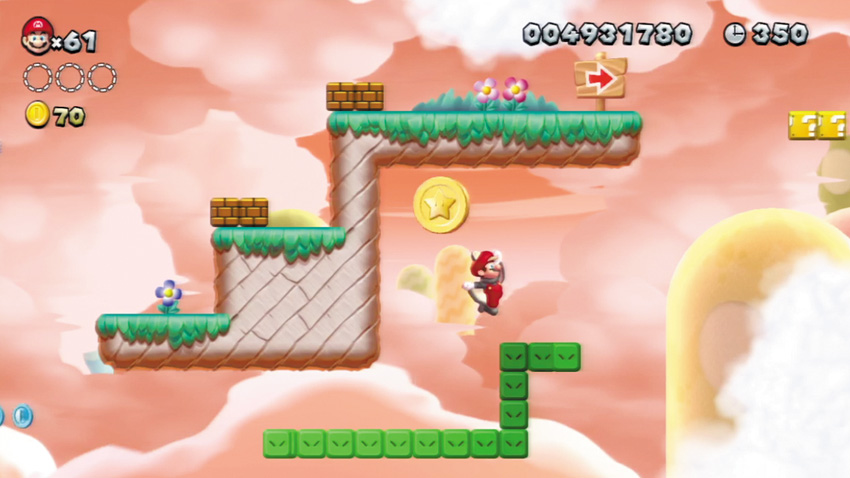
To collect the first Star Coin, you must hit the P Switch at Point 1. This turns the Brick Blocks near the bottom of the ledge that surrounds the Star Coin into Coins, allowing you to ride the Snake Block underneath the ledge and then jump up to collect the Star Coin as you pass by.
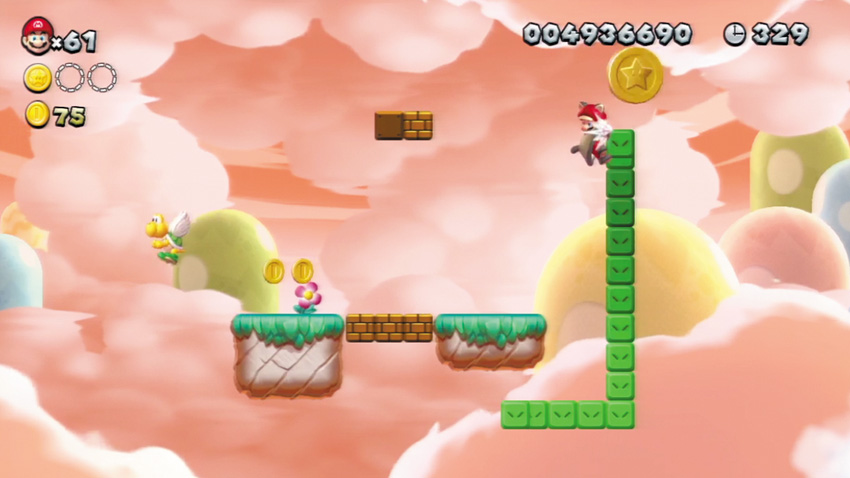
Jump onto the front of the Snake Block as it rises up toward the second Star Coin, and it will carry you up to the Star Coin. You can also wall jump off the Snake Block to reach the nearby floating Brick Blocks, and then jump over to the Star Coin.
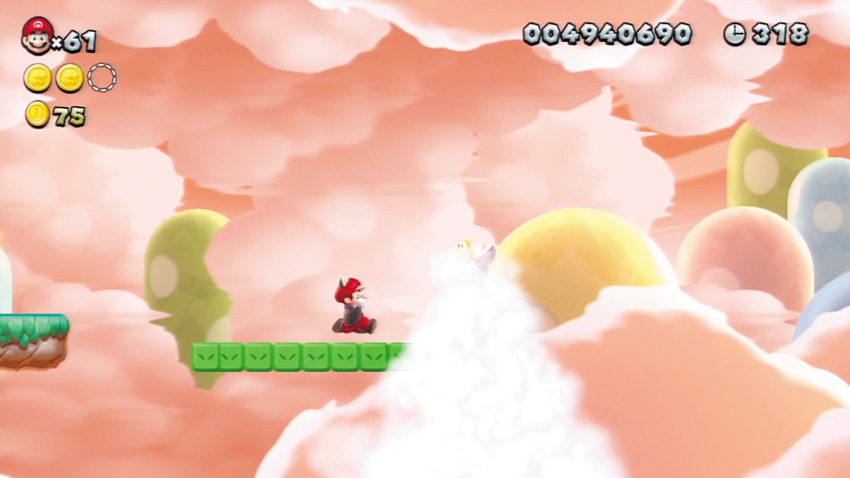
Careful—the Snake Block shrinks as it enters the cloud here. Perform a spin to blow away the cloud so you can see the Snake Block and avoid falling. Keep this little trick in mind when the Snake Block slips behind other clouds in this stage!
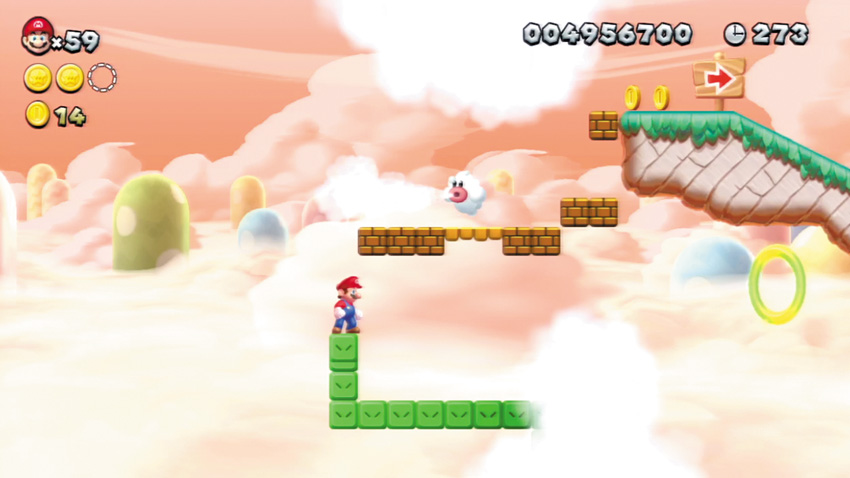
As you approach the Green Ring near this Point, hang out on the tail of Snake Block as it moves upward and then back down. Remain on the Snake Block’s tail to be ferried underneath the nearby Brick Blocks and over to the Green Ring.
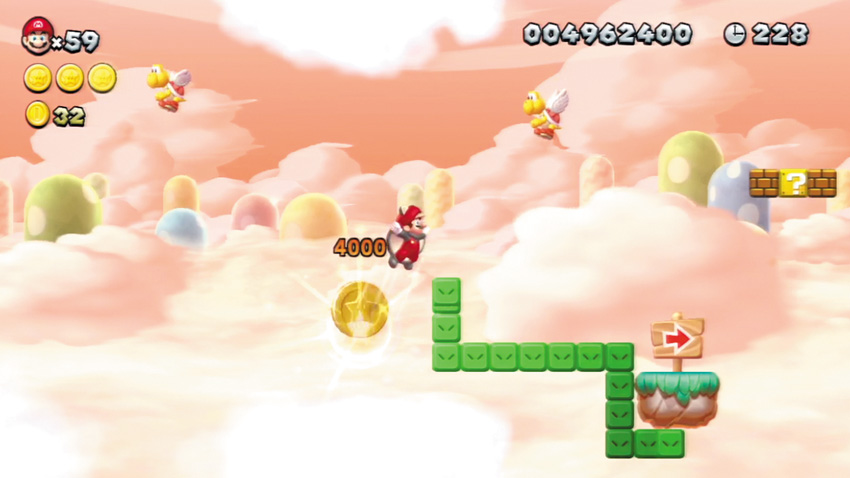
As Flying Squirrel Mario, ride the Snake Block as it passes over the final Star Coin. Drop from the Snake Block and collect the Coin, then perform a flying squirrel jump to boost back up and return to the Snake Block before you fall too far.
Meringue Clouds Castle
Ludwig’s Clockwork Castle
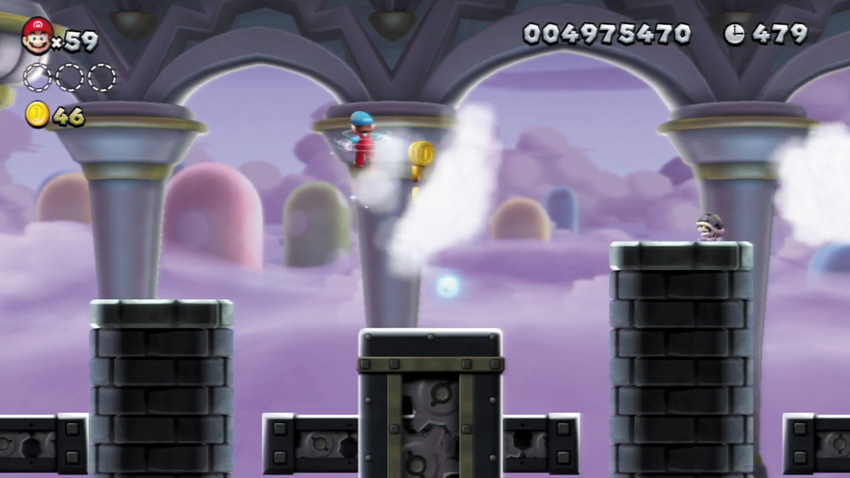
Spin to blow away the clouds here and make some bonus Coins rain down. Keep this trick in mind when you see other clouds in the castle!
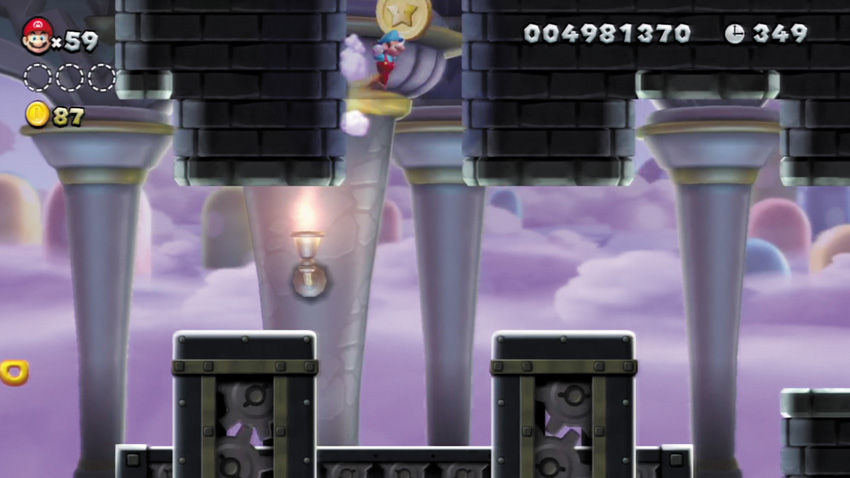
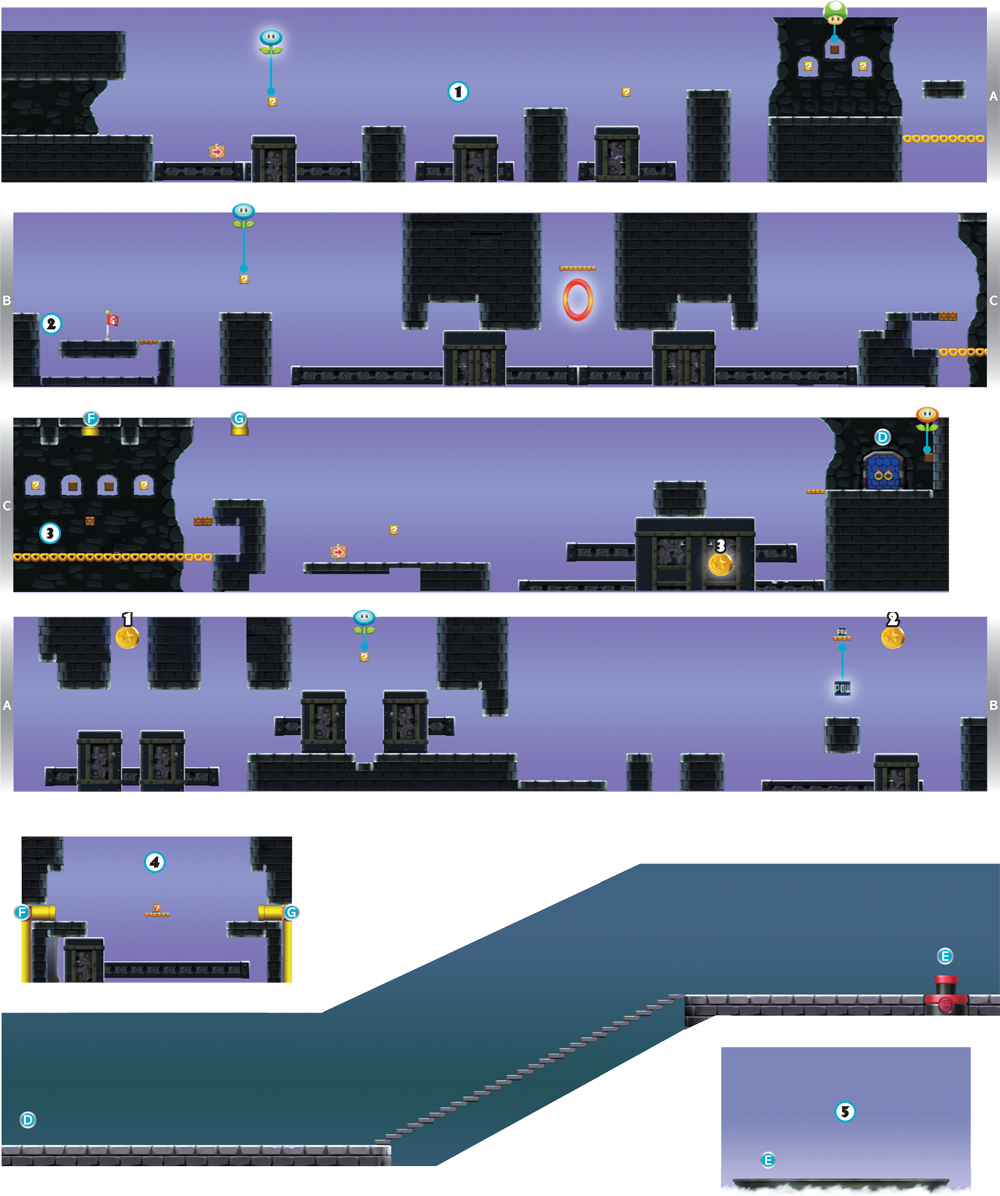
The first Star Coin is hidden here behind a false section of ceiling. Simply wall jump up and collect it. You’ll find some bonus Coins hidden behind another false ceiling to the right, which can also be claimed by wall jumping.
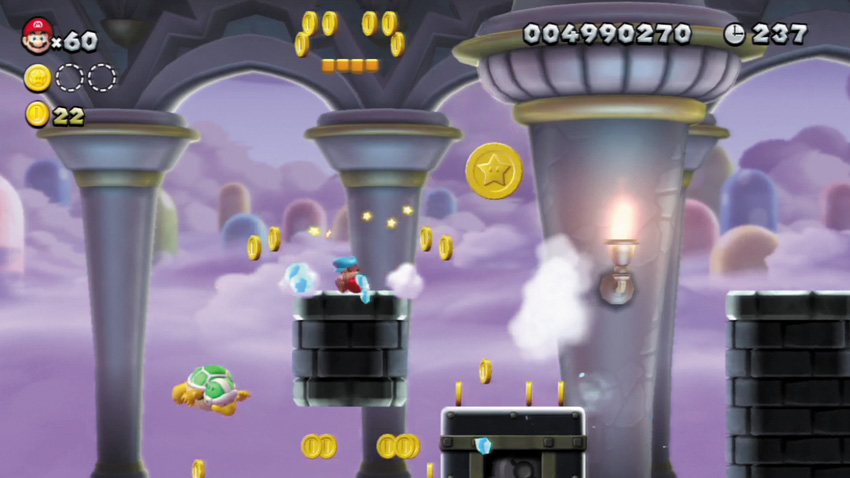
The second Star Coin hovers up high here, above a POW Block and a Sledge Bro. Freeze the Sledge Bro with an iceball, then use him as a platform so you may jump up and bump the POW Block from below. A shower of Coins will then rain down, including the second Star Coin!
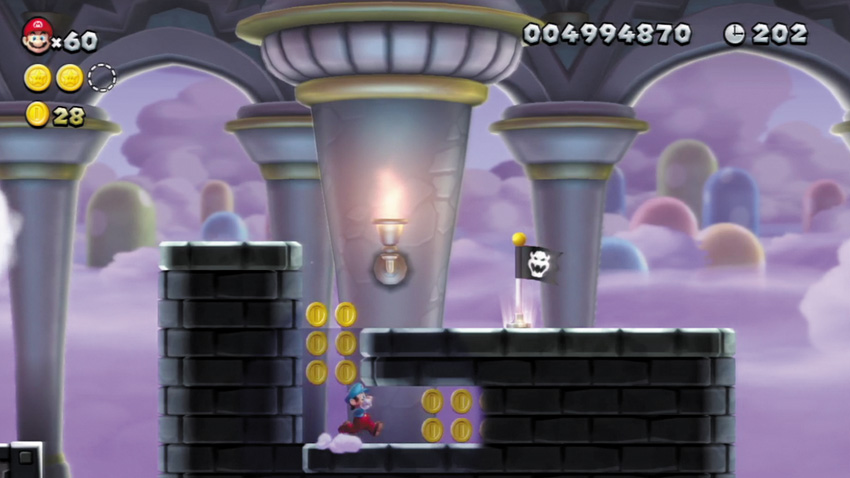
Fall through the false floor to the left of the Checkpoint Flag. You’ll land in a hidden, Coin-filled passage. Cha-ching!
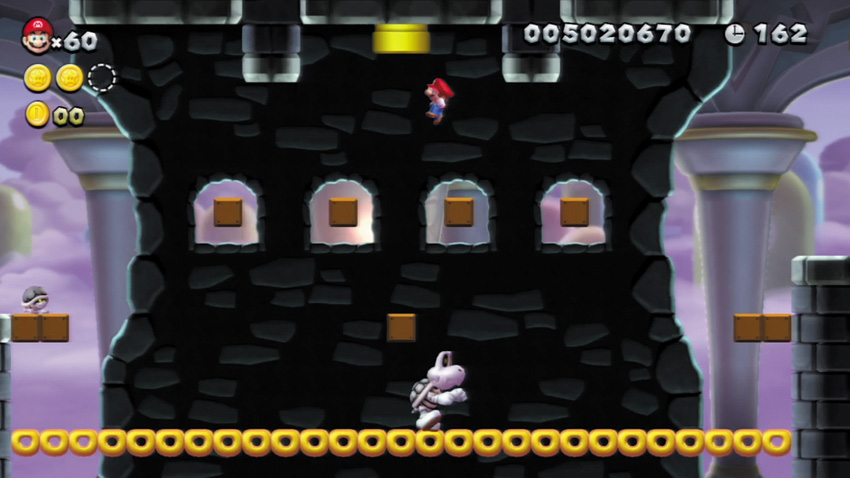
Notice the four windows in the background here. Jump from the Brick Block below the windows and bump two hidden Blocks, one in each of the middle windows. Now you can jump from either of the hidden Blocks and enter the Warp Pipe above!
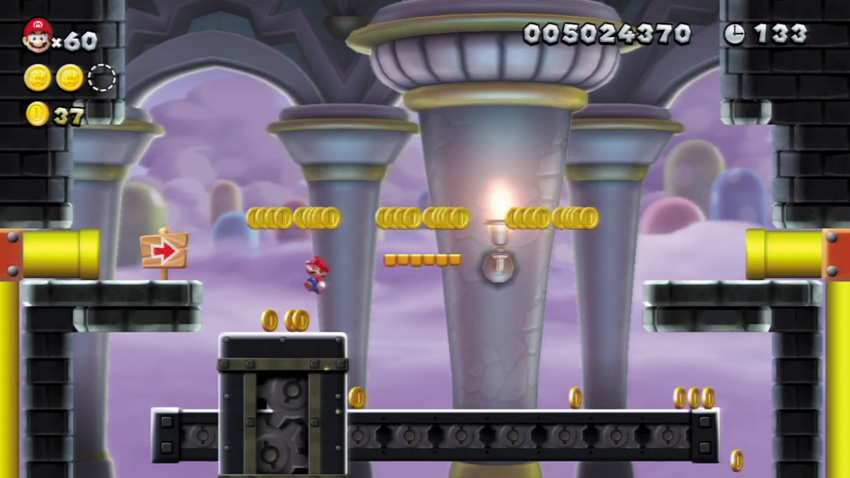
Enter the overhead Warp Pipe at Point 3 to visit this secret area. Hit the ? Switch here to make a multitude of Coins fall down from above. Collect as many Coins as you can before the moving platform shoves them into the pits!
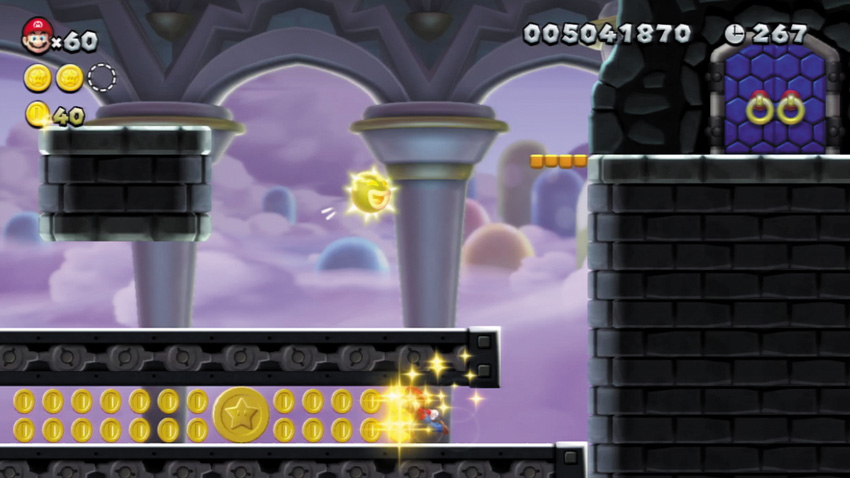
The final Star Coin sits in a low passage near the end of the castle. Enter the passage from the right when the nearby moving platform is sliding to the left, then dash for the Star Coin. Immediately turn and dash back out of the passage after collecting the Star Coin, and escape by wall jumping onto the moving platform just before it squashes you.
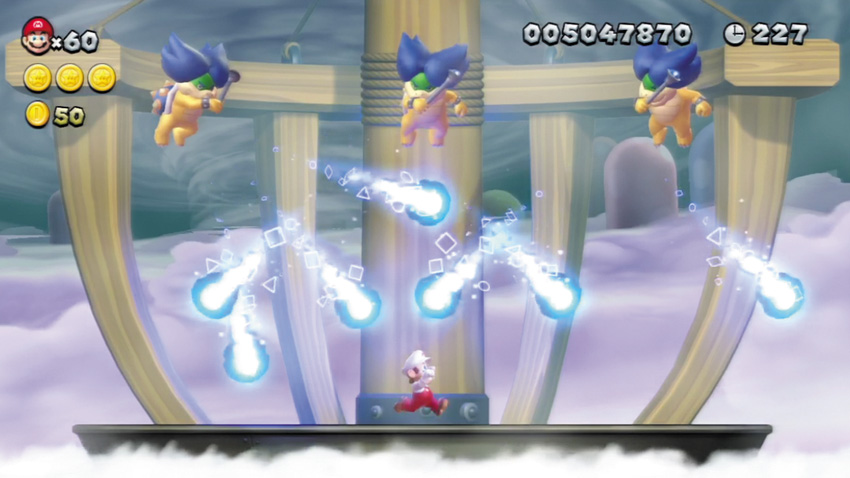
Ludwig lurks atop his airship’s lookout, livid at Mario’s intrusion. This tricky boss flies up high and splits into three duplicates, then fires a spread of sizzling spells down at you. Dodge Ludwig’s spells, then give him a good stomp after he lands!
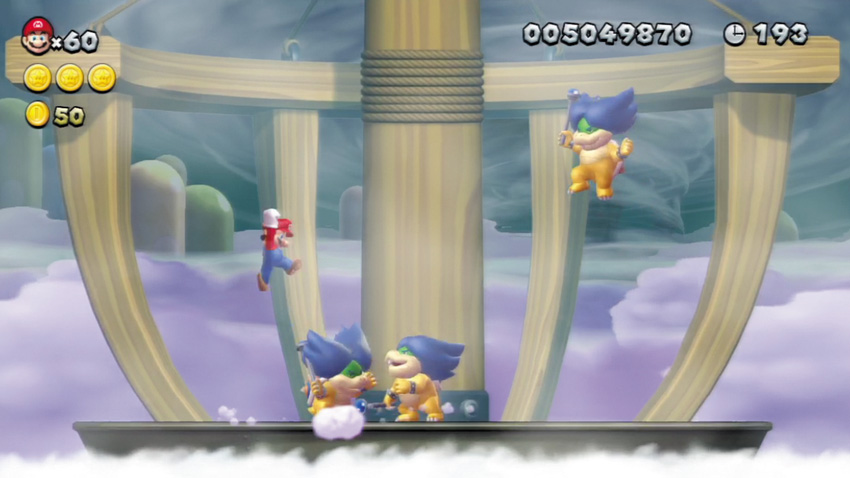
Jump around and dodge Ludwig’s spinning shell after you stomp him, then watch as he takes to the air again. This time, Ludwig and his clones will all land after casting their spells, forcing you to fight all three. The real Ludwig is the one that fires three spells while hovering on high. As with other bosses, you must stomp Ludwig three times to defeat him.
Meringue Clouds Finale
Boarding the Airship
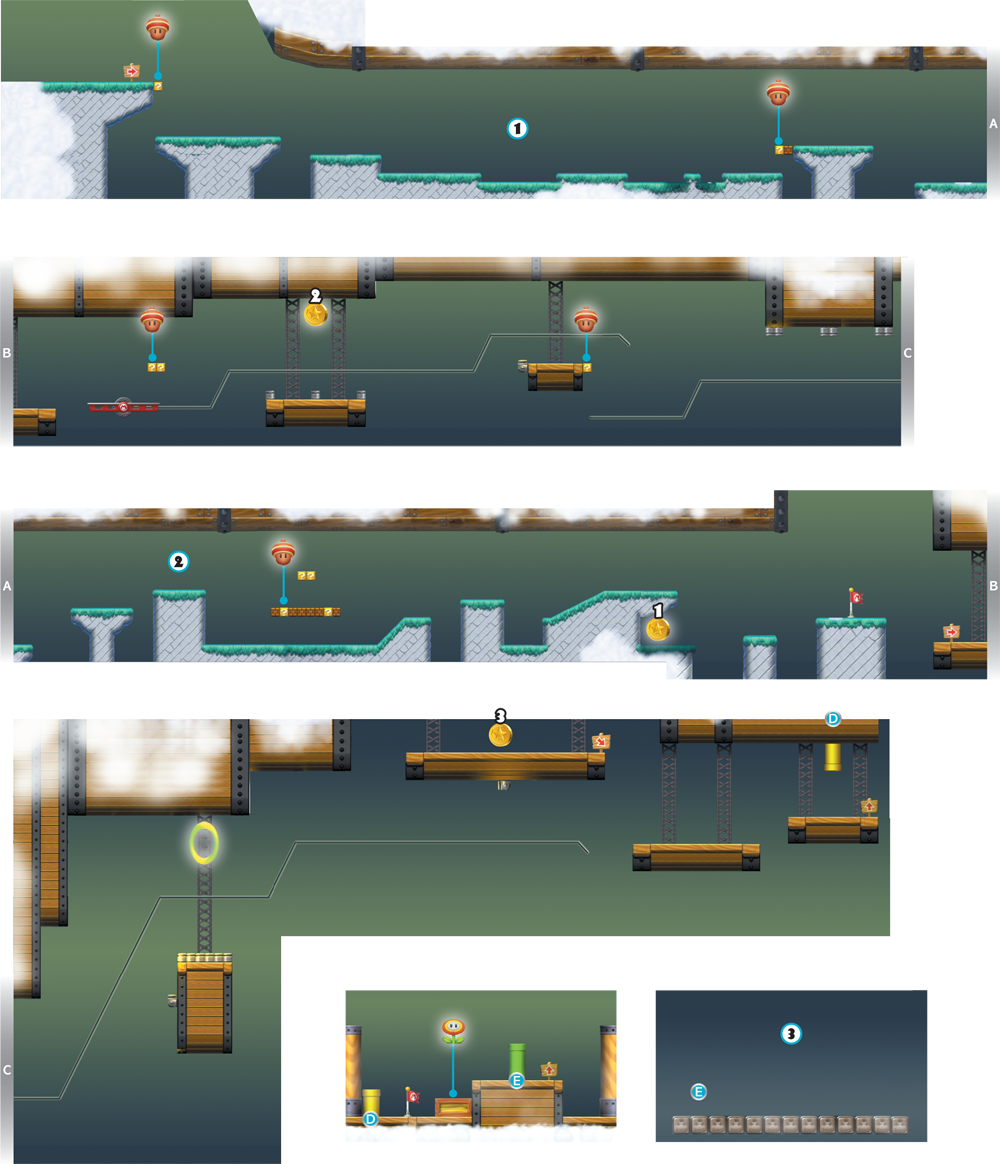
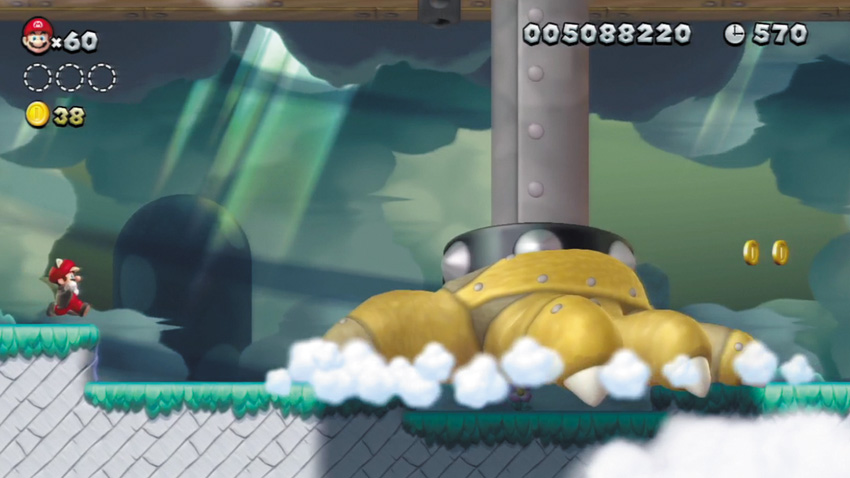
Look out—Bowser’s mighty Mecha Hand slams down when you near this Point. Make sure you aren’t caught beneath the Mecha Hand when it falls, or you’ll be squashed!
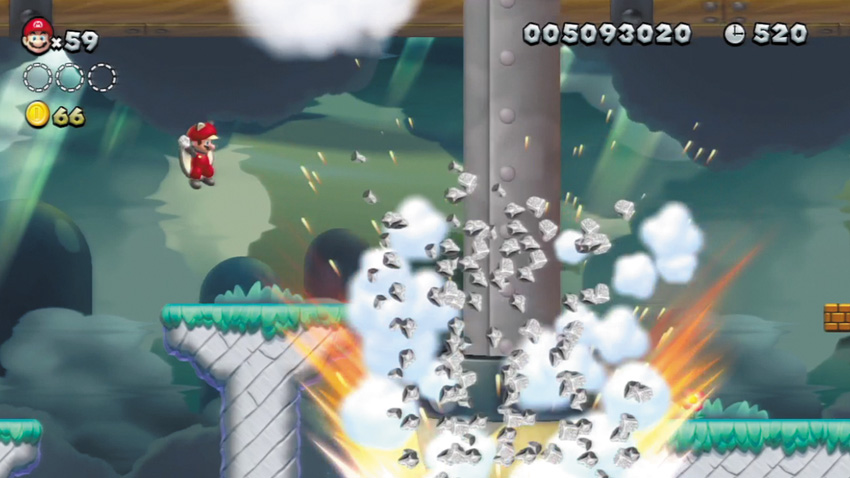
The Mecha Hand curls up into a ball at this Point, then punches straight downward and smashes through the ledge below. Not cool!
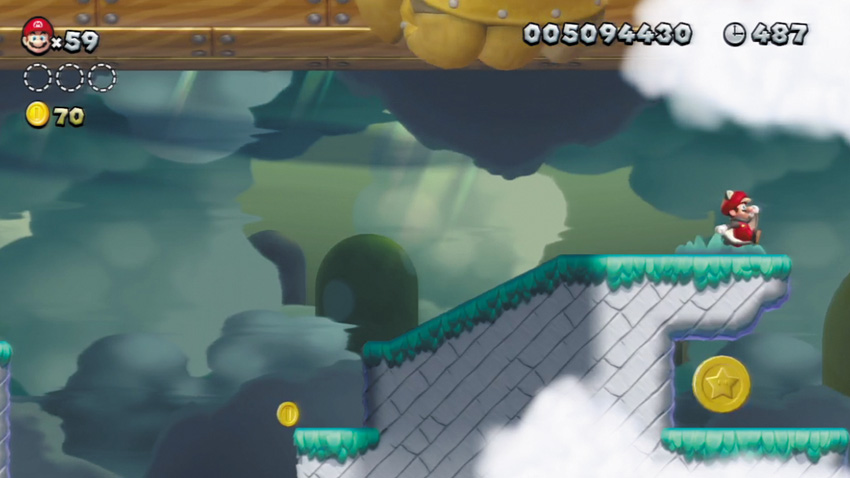
The moment you see the first Star Coin, hurry and drop to its ledge. You’ve got to collect it before that Mecha Hand smashes the ground to bits!
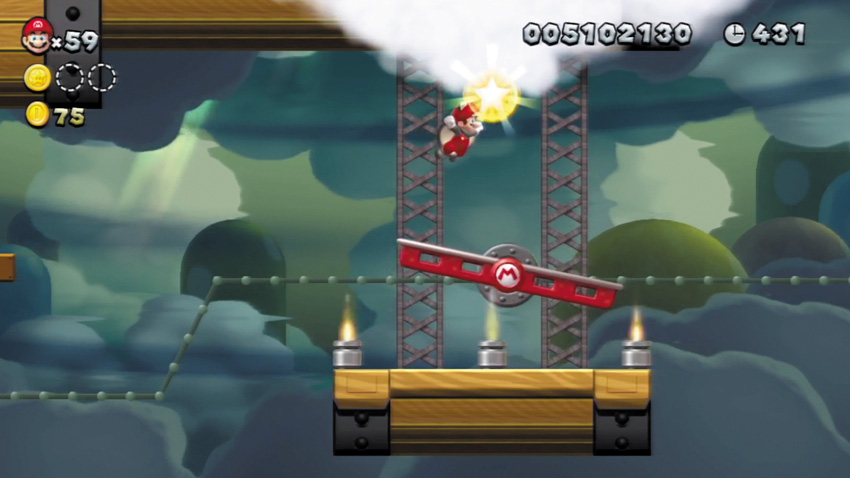
As you ride along the Remote-Control Platform, jump up and collect the second Star Coin. Just be careful to avoid the Burners below!
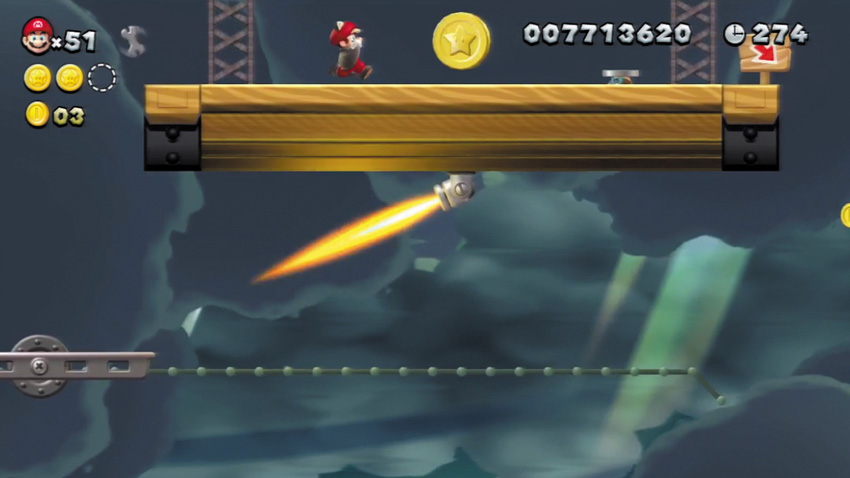
Perform a flying squirrel jump from the Remote-Control Platform to reach the final Star Coin’s high perch. If you’re in need of a Super Acorn, score one by touching the Green Ring that lies before the third Star Coin, and then grab all of the Green Coins that appear.
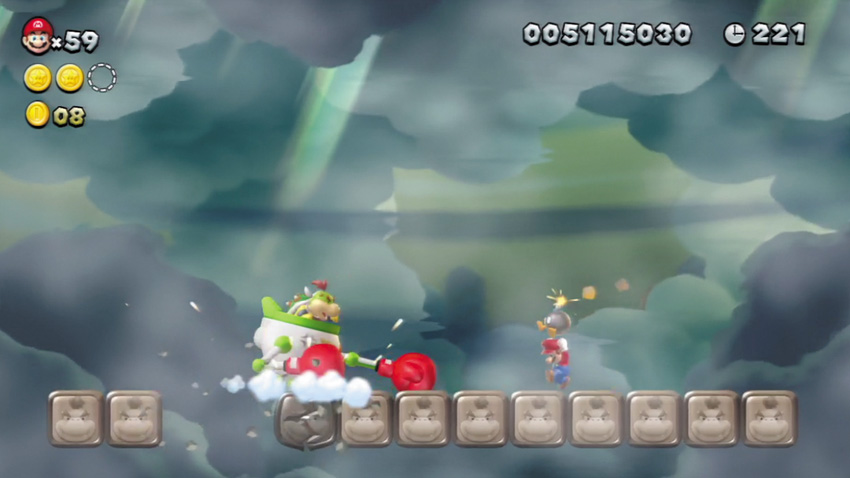
Bowser Jr. must be battled high above the airship. The bite-sized brat tosses Bob-ombs from his flying Clown Car, then flies low and punches the big blocks that you’re standing on. Every block that Bowser Jr. bashes with his boxing gloves will crack—if a Bob-omb explodes over a cracked block, it will be temporarily destroyed!
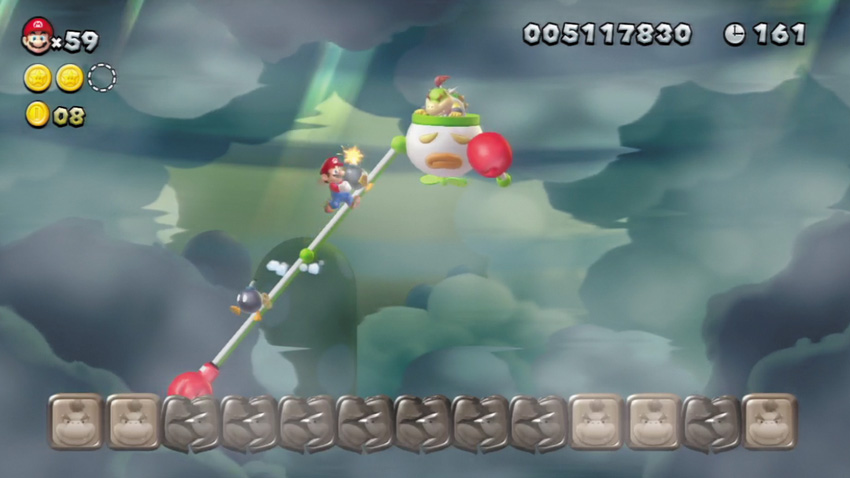
Sooner or later, Bowser Jr. will extend one of his mechanical arms to punch at Mario from a high vantage. Avoid the blow, then bolt up the arm and give Bowser Jr. a good stomp! Just beware of the Bob-ombs that he throws while his arm is extended. Stomp Bowser Jr. three times to score the knockout!