
New Super Mario Bros. U Guide Walkthrough Worlds
Frosted Glacier
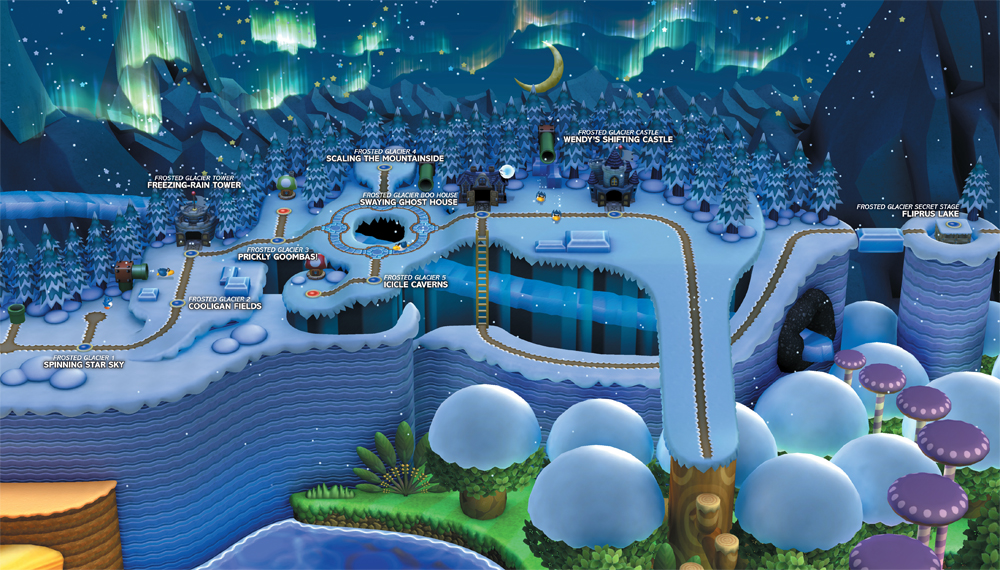
Locations
| Levels | Toad Houses | Map Enemies | Boss |
|---|---|---|---|
| 9 | 2 | 4 | Wendy |
Frosted Glacier 1
Spinning-Star Sky
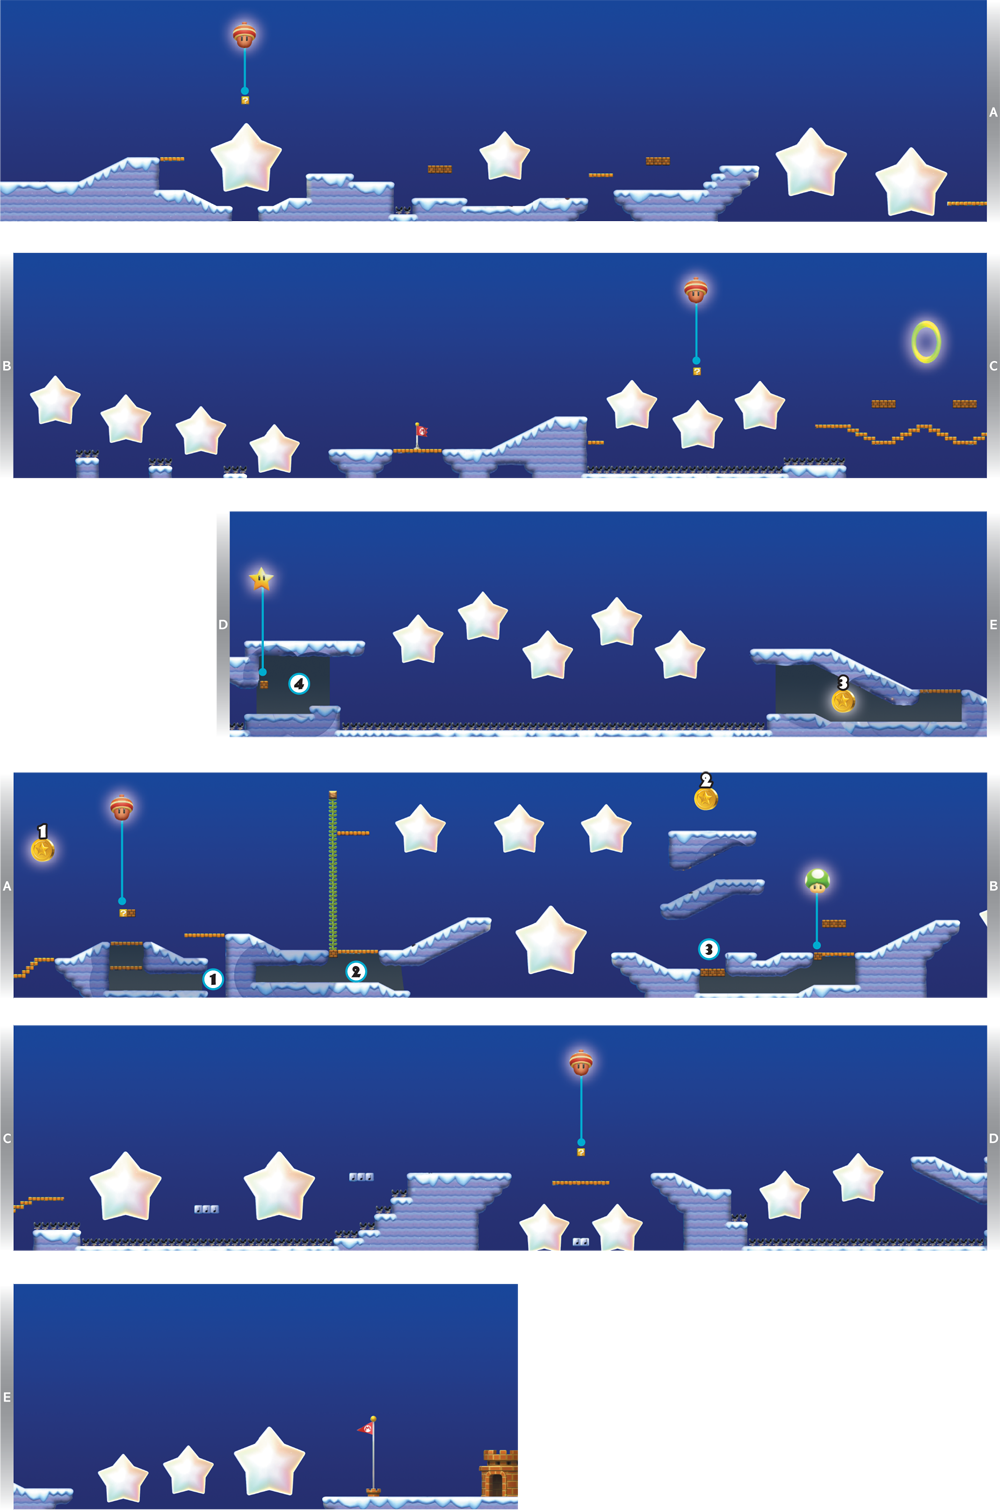

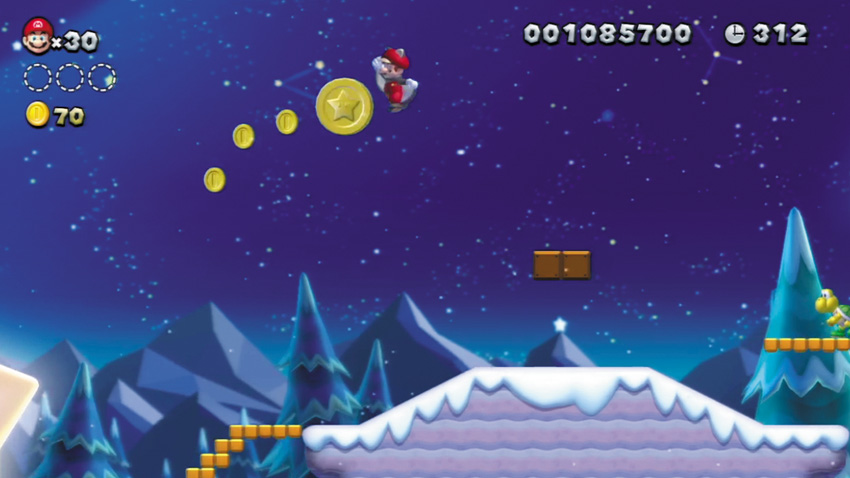
Flying Squirrel Mario can simply soar up and grab this stage’s first Star Coin, but it’s also possible to bounce off the nearby Koopa Paratroopa and bound up to the Star Coin. A dashing jump from the nearby Brick Blocks can carry Mario up to the Star Coin as well. You’ve got options!
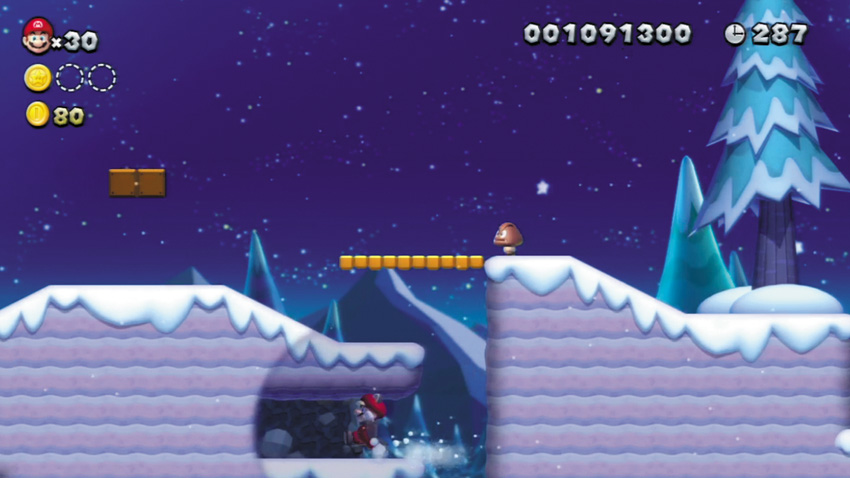
Drop into this pit and wall jump through the left false wall to discover a hidden cave, where bonus Coins are kept.
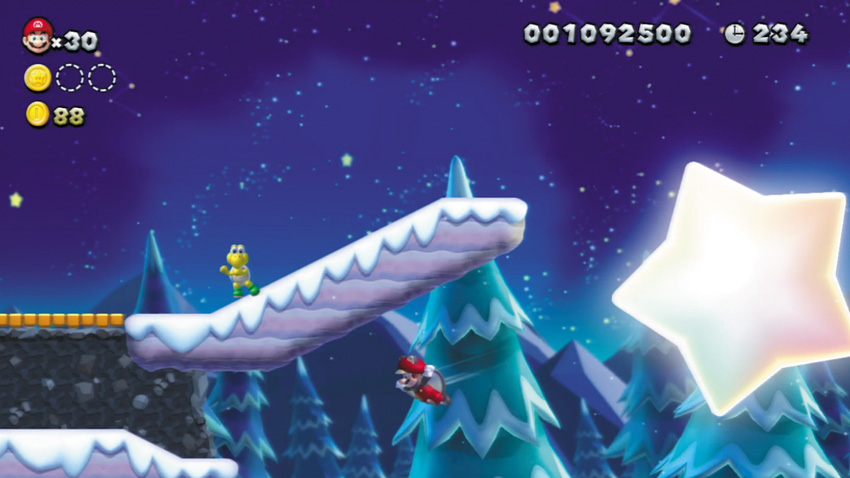
Flying Squirrel Mario can enter this cave by dropping from the Star Lift to the right and then gliding inside. Jump up and strike the Brick Block here to extend a Beanstalk up to the sky. Before jumping up and scaling the Beanstalk, run through the false wall to the left and claim some hidden Coins from a secret cave.

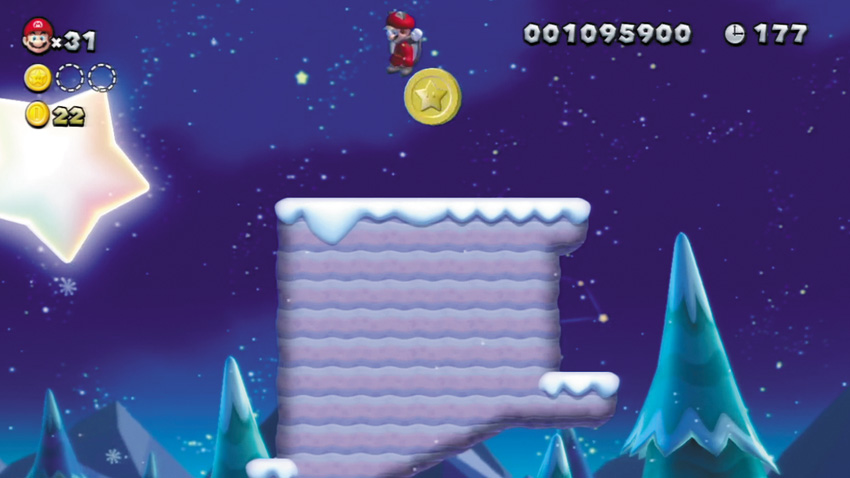
Extend the Beanstalk at Point 2, then climb up to reach a row of high Star Lifts that lead to this Star Coin. After claiming the Star Coin, drop and explore the hidden cave below to score some more bonus Coins. Cha-ching!
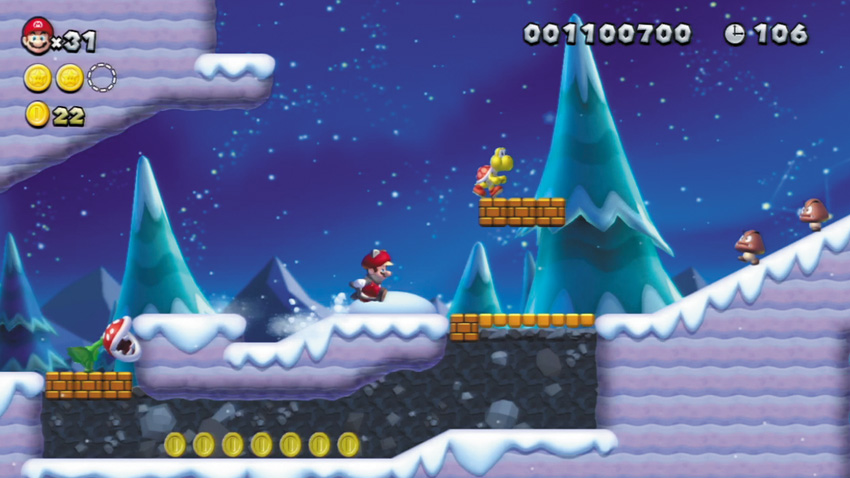
Defeat the Piranha Plant here by whacking it with the shell of the Koopa that patrols the nearby Brick Blocks to the right. With the Piranha Plant out of the picture, ground pound through the Brick Blocks it was guarding and grab the Coins in the cave below. Then strike the Brick Block at the end of the cave to discover a 1-Up Mushroom!
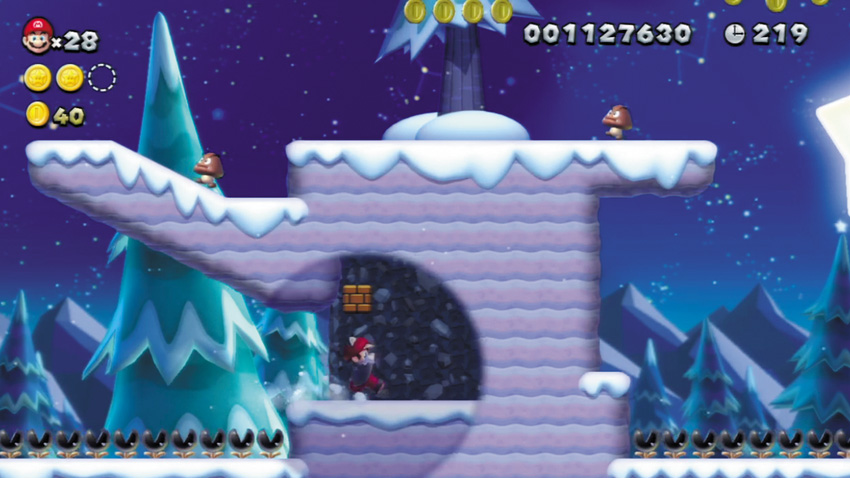
Flying Squirrel Mario has the best chance of entering this hidden cave unscathed. Glide through the false wall, then bump the cave’s Brick Block to score a Super Star. Once the Star is collected, a row of Coins appears across the Munchers to the right. Simply sprint across the Munchers, snagging Coins on your way to yet another hidden cave.

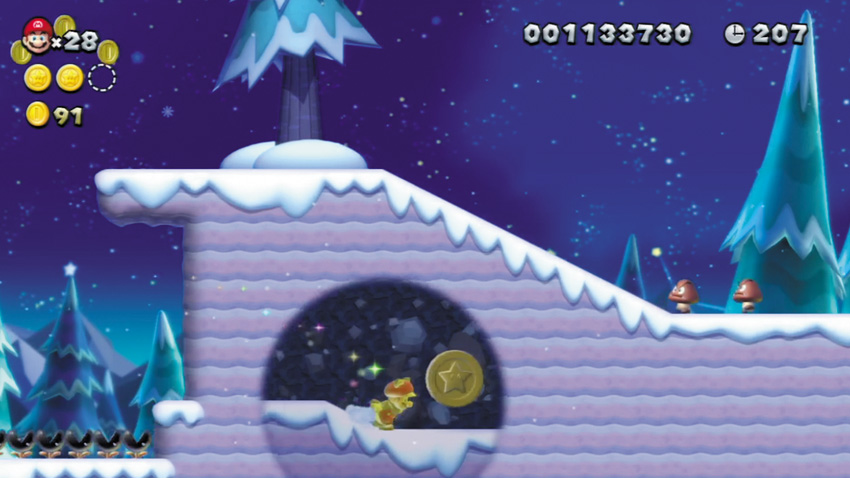
Grab the Super Star at Point 4, then simply dash across the Munchers and enter this hidden cave, where the fi nal Star Coin is kept. Flying Squirrel Mario can also glide into this cave from the nearby Star Lift, if you like.
Frosted Glacier 2
Cooligan Fields
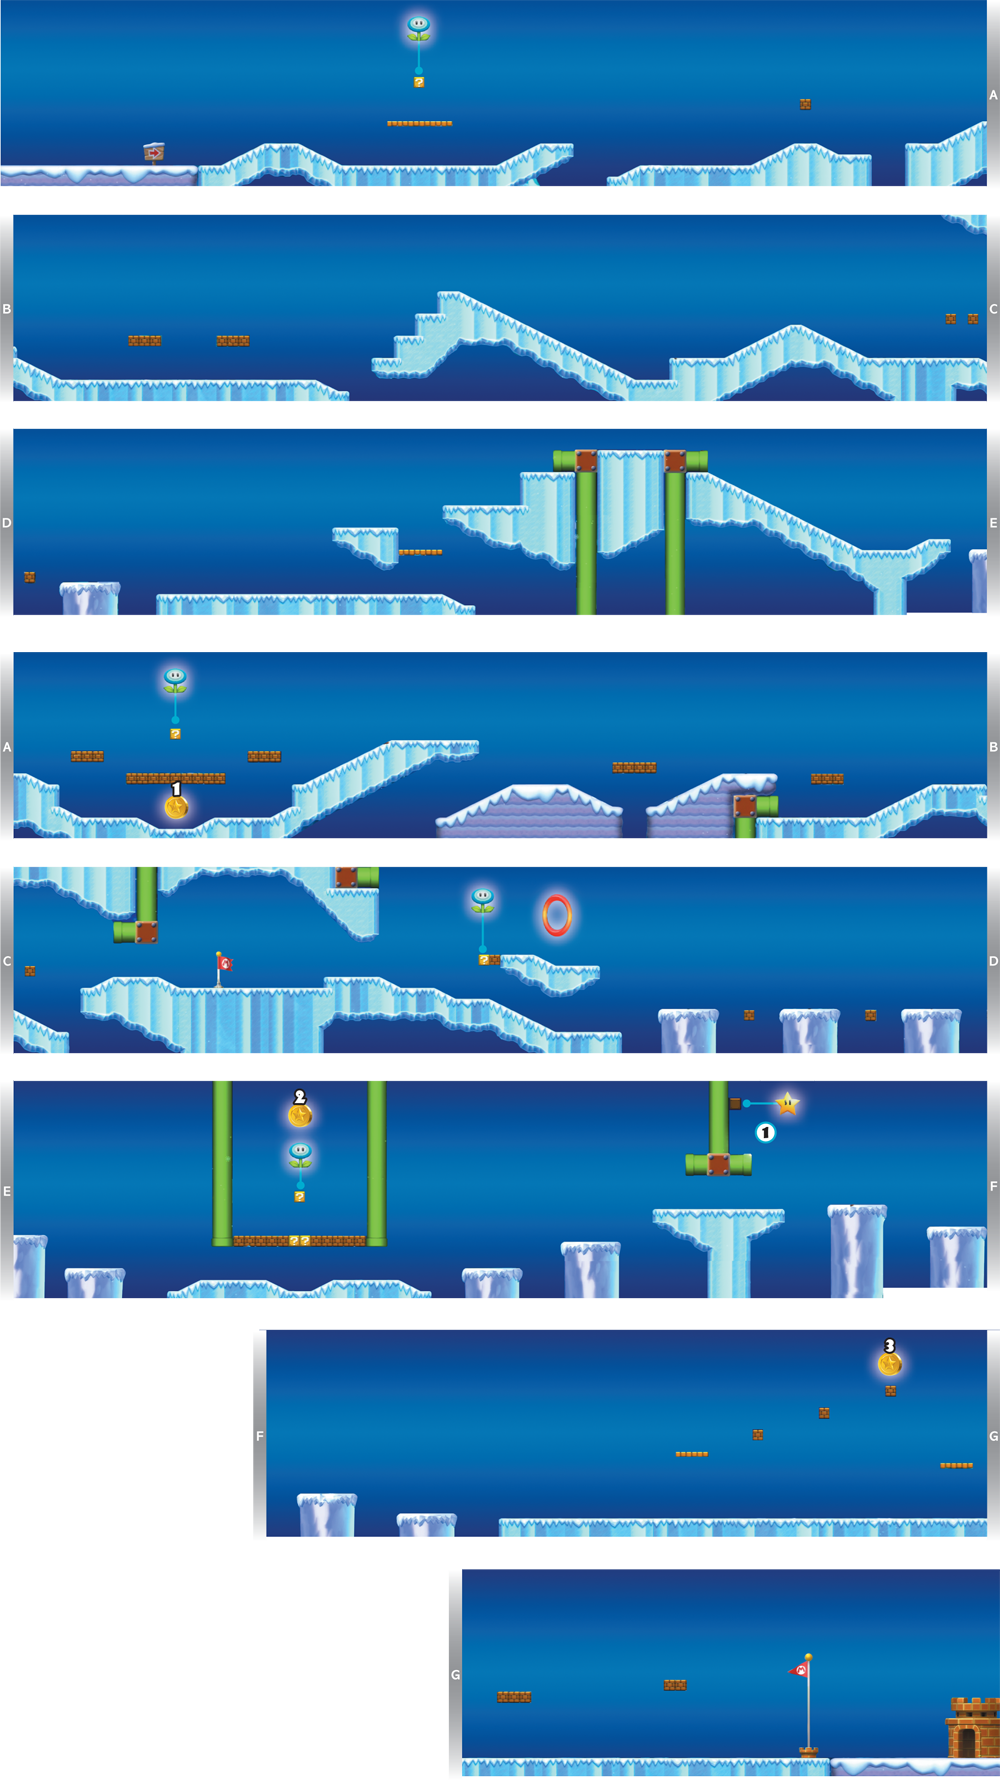
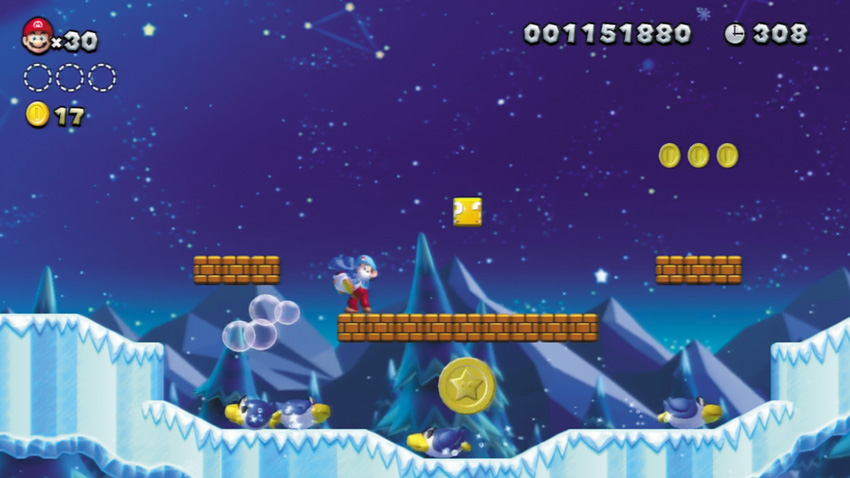
Beware: A gang of Cooligans comes sliding along the ice as you move to collect this first Star Coin. Retreat to the tops of the nearby Brick Blocks, then jump down and stomp the Cooligans, clearing the way to the Star Coin.
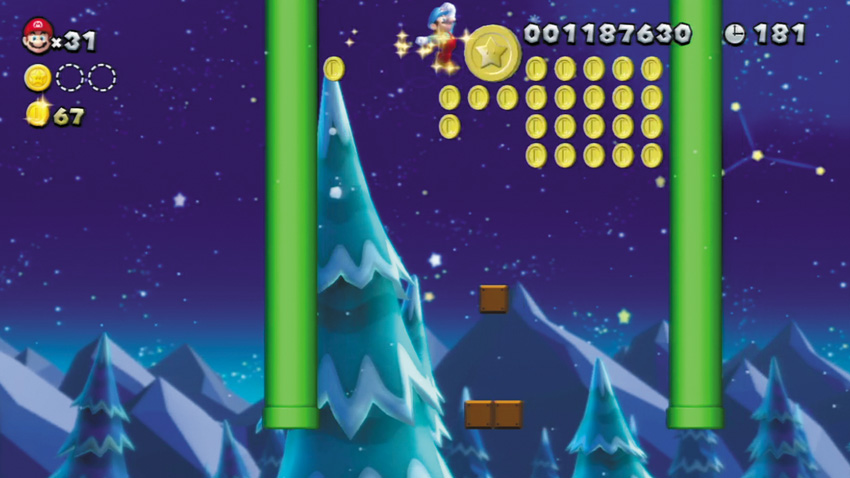
Smash through the Brick Blocks below the second Star Coin, then leap from the top of the empty ? Block to the green Pipe to wall jump to the second Star Coin. Nice moves!
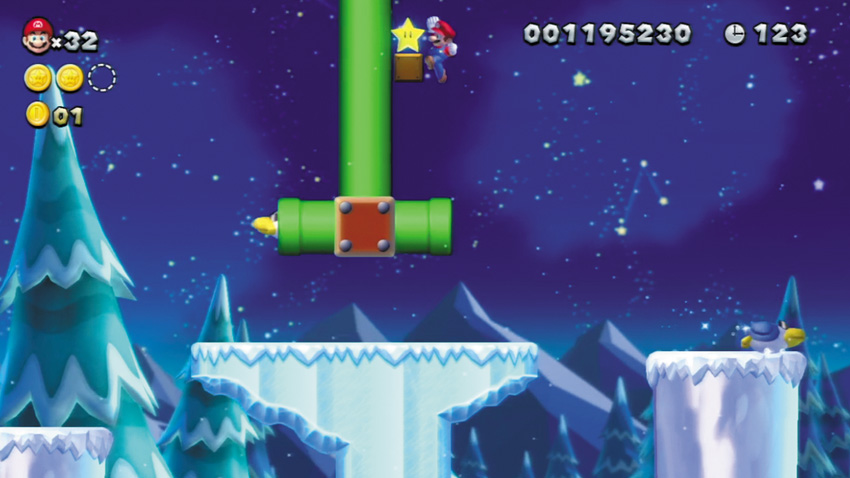
Carefully jump onto this Pipe, making sure to avoid the Cooligans that regularly emerge. Then jump up and strike a hidden Block above the Pipe to make a Super Star pop out. This should make your final dash much easier!
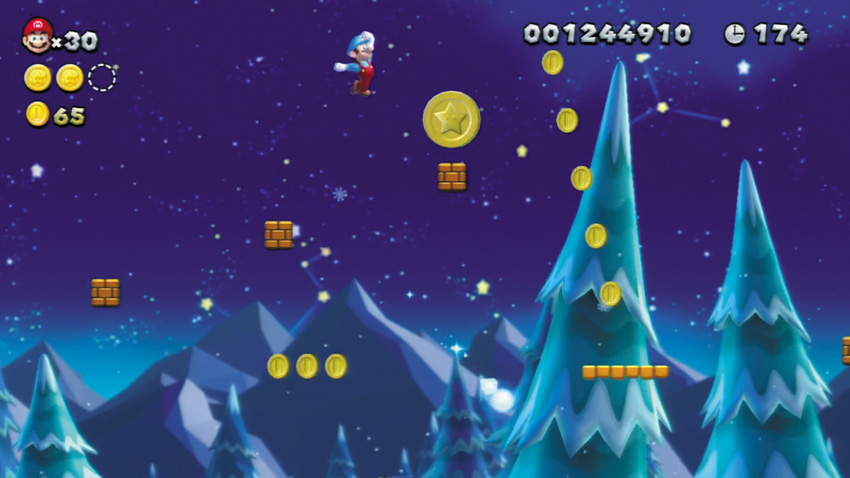
Hold the jump button as you bounce off a passing Cooligan, and you’ll gain the extra height you need to reach the platform to the left of this final Star Coin. Now simply jump up the nearby Brick Blocks and claim the Star Coin!
Frosted Glacier Tower
Freezing-Rain Tower
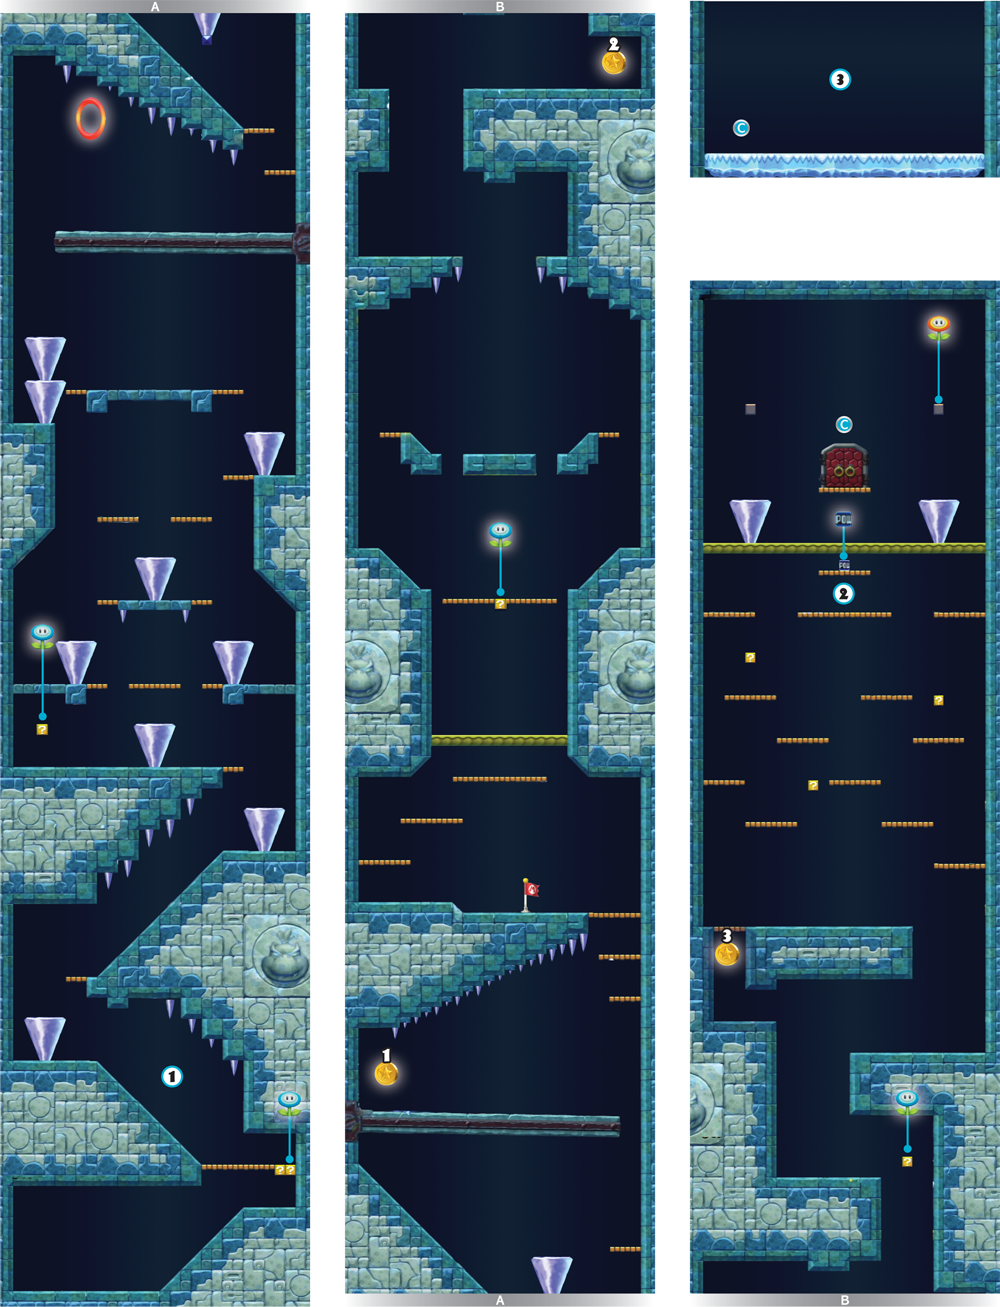
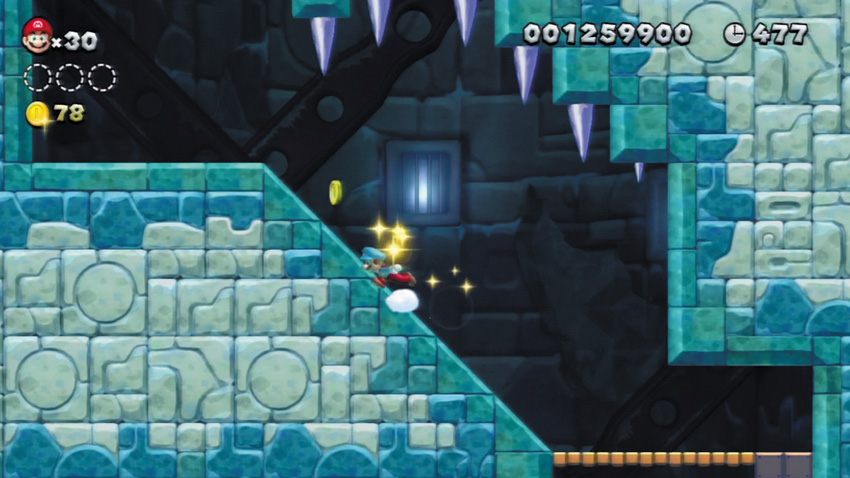
Be careful to avoid the Icicles that fall from the ceiling as you jump up this slope. There are many more Icicles throughout this stage, including Huge Icicles that remain imbedded in the floor after they drop. Whenever you see raindrops trickling down, you know that Icicles are above you!
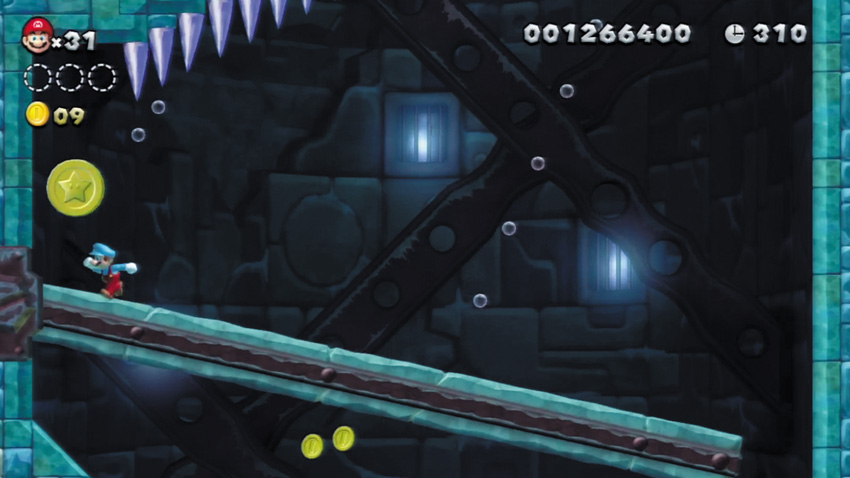
The first Star Coin is an easy grab—just dash along the tilting platform and collect it. No Icicles will fall where the Star Coin sits, so you’re safe there!
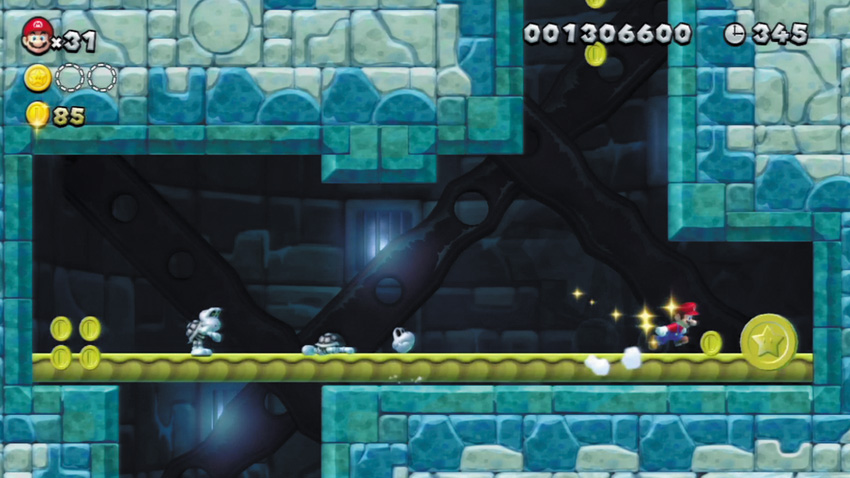
You’ve got to be quick when going for the second Star Coin, or the elevator will carry you past it. Simply dash over and grab the Star Coin before you’re hoisted too high.
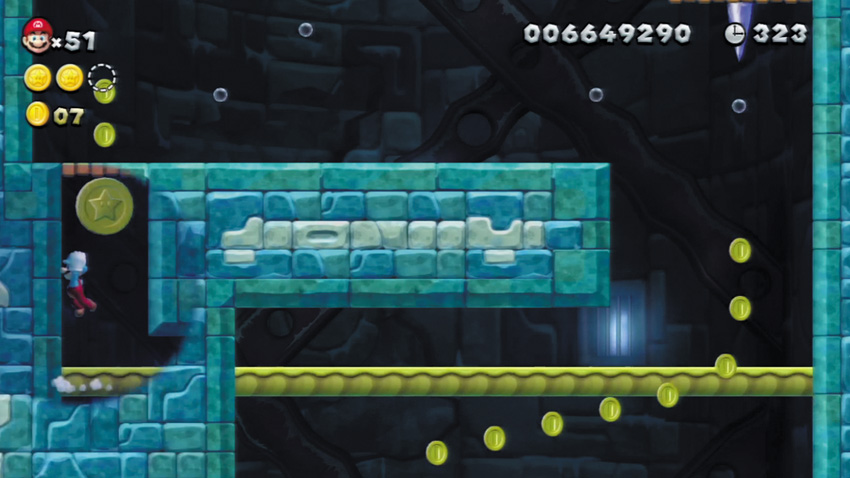
While riding the elevator, slip through a false wall on the tower’s left side and claim this stage’s final Star Coin. Now you’ve just got to reach the top!
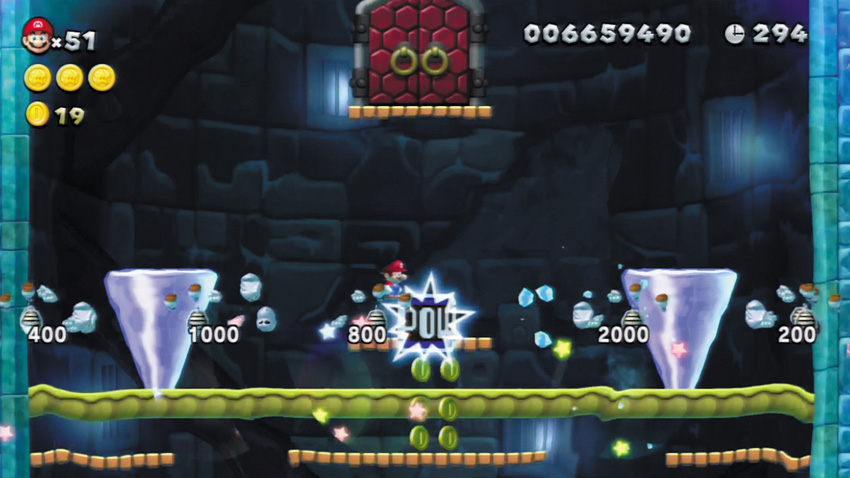
Hurl the POW Block near the tower’s apex, and you’ll shatter all of the surrounding Dry Bones—and potentially score several 1-Ups in the process!
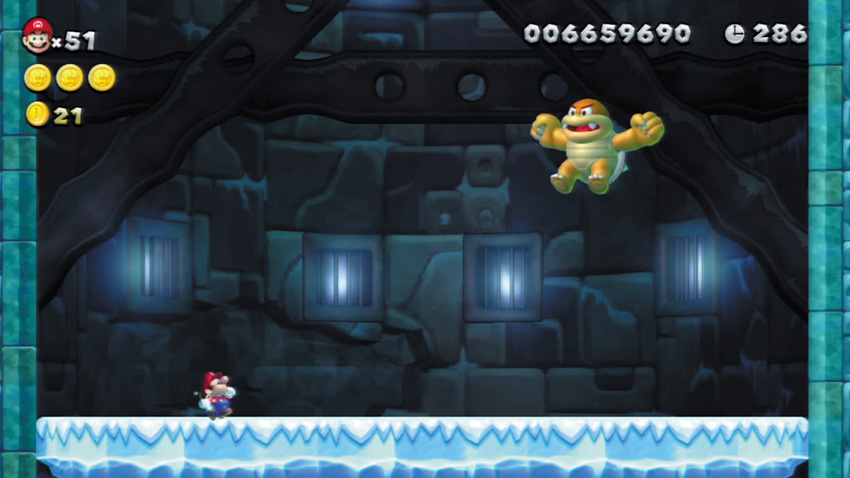
The tower’s final baddy, Boom Boom, awaits you in the highest chamber. Magikoopa’s nefarious wizardry grants Boom Boom the ability to jump extraordinarily high during this battle—try to stomp Boom Boom just as he lands after leaping. Flatten Boom Boom with a trio of stomps to secure your victory!
Frosted Glacier 3
Prickly Goombas!
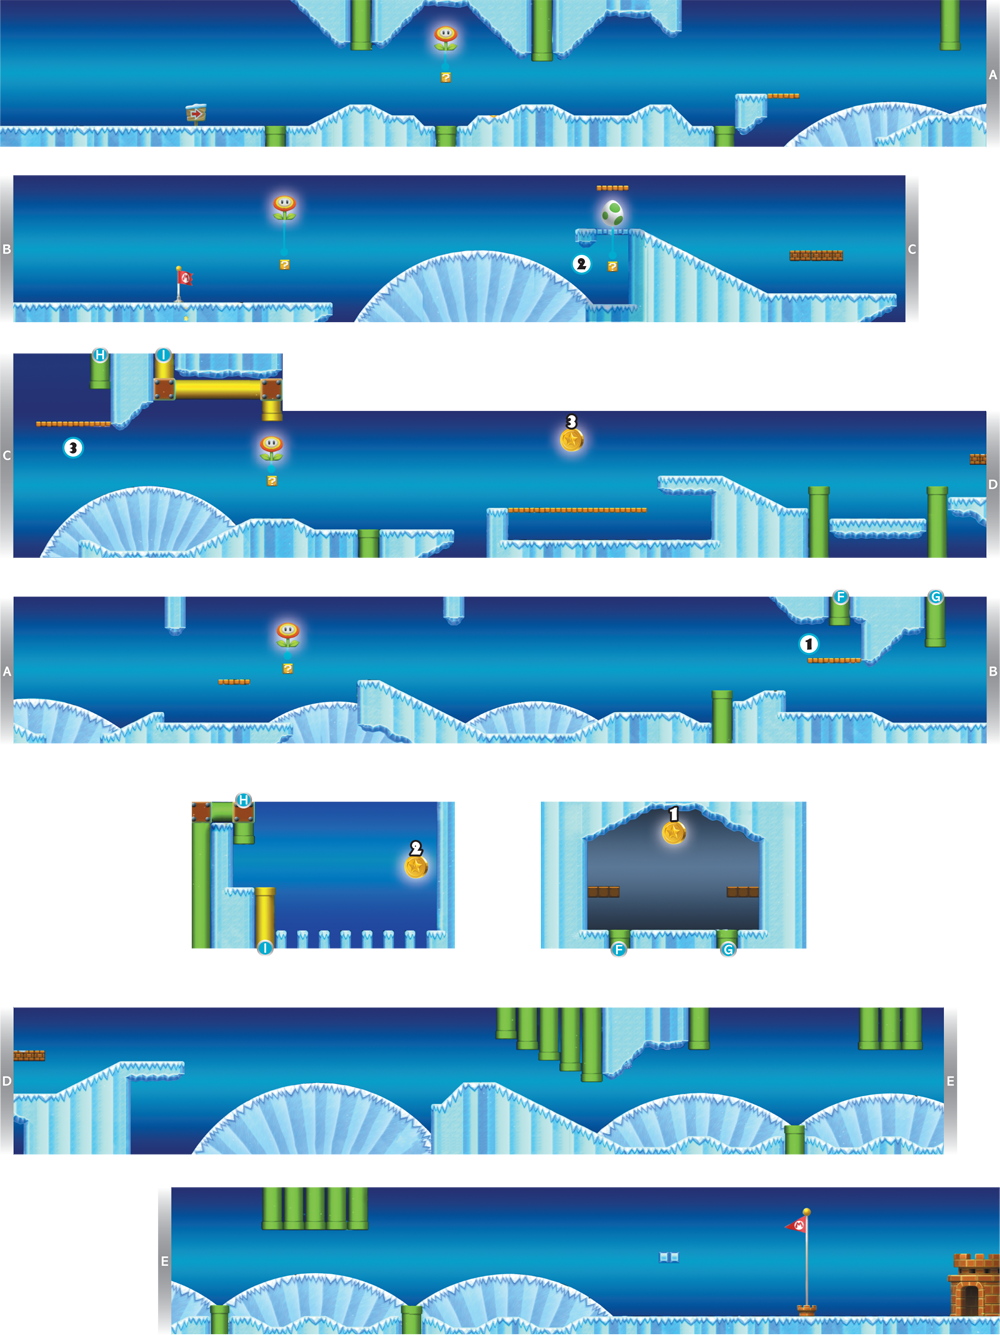
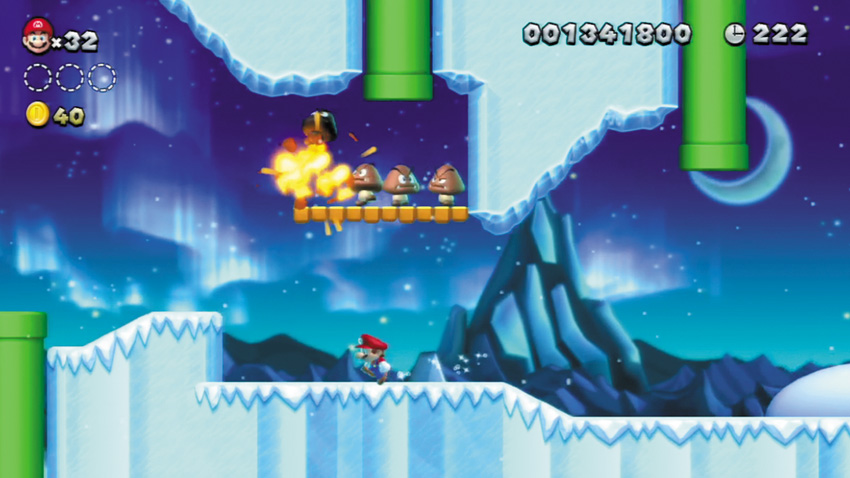
Lure a Fire Piranha Plant into spitting a fireball at the Prickly Goomba that stands atop this ledge (or simply sear the Prickly Goomba with a fireball of your own). After its shell has been burned away, the Goomba will walk off the ledge, and his nearby buddies will follow. Now you can safely leap up to the ledge and enter the overhead Warp Pipe!
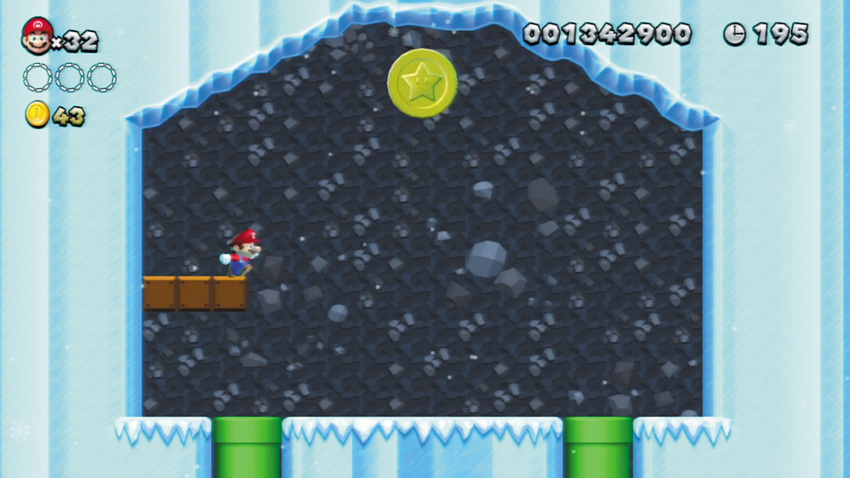
The first Star Coin is kept in a secret ice cavern—enter the Warp Pipe at Point 1 to get here. Jump near the cavern’s walls to discover some hidden Blocks, then leap from the Blocks to reach the highhovering Star Coin.
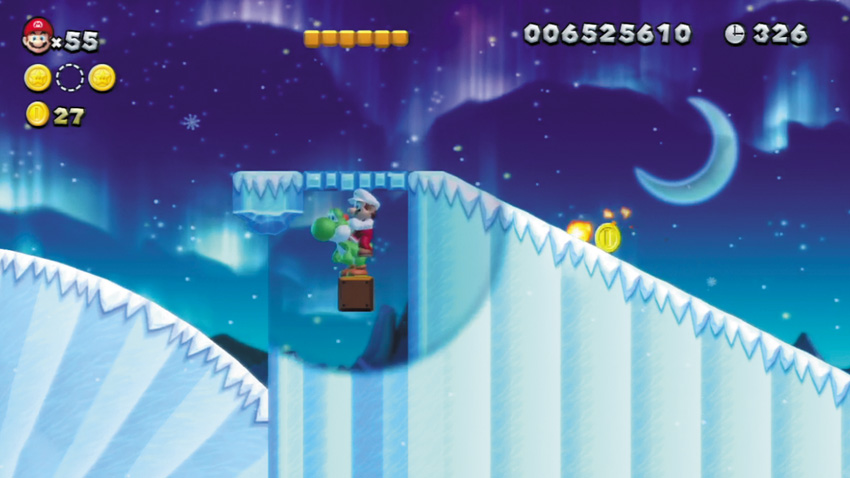
Run through a false wall here to enter a small, secret cave. Bump the ? Block here to bust out Mario’s trusty buddy, Yoshi!
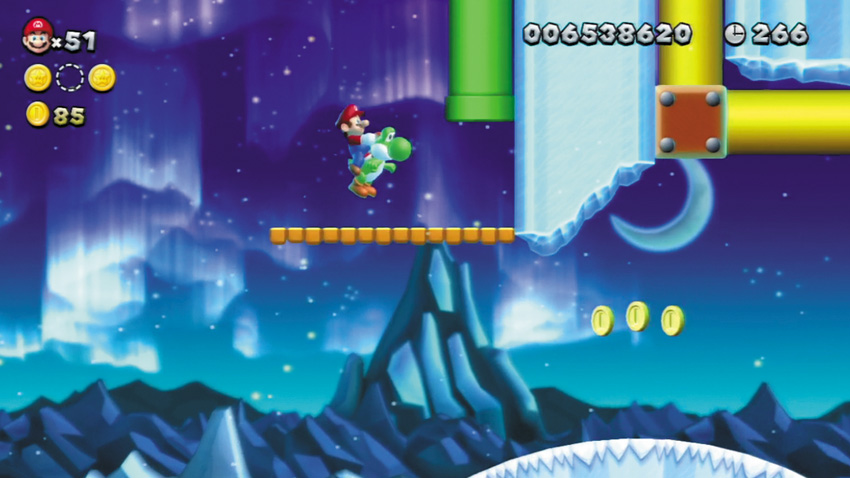
Use Yoshi to reach this high platform, or burn away a Prickly Goomba’s shell with a fireball and then bounce off the Goomba to bound up here. Either way, enter the platform’s Warp Pipe to visit another secret side area.
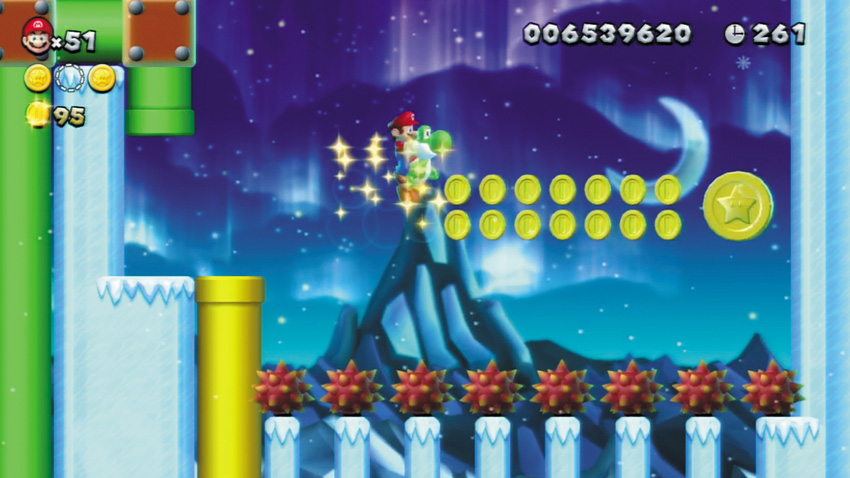
Step into the Warp Pipe at Point 2 to enter this second side area, where the second Star Coin is kept. Yoshi can simply hop across the row of Prickly Goombas here, while Fire Mario can burn them up. Either way, that Star Coin is sure to be yours!
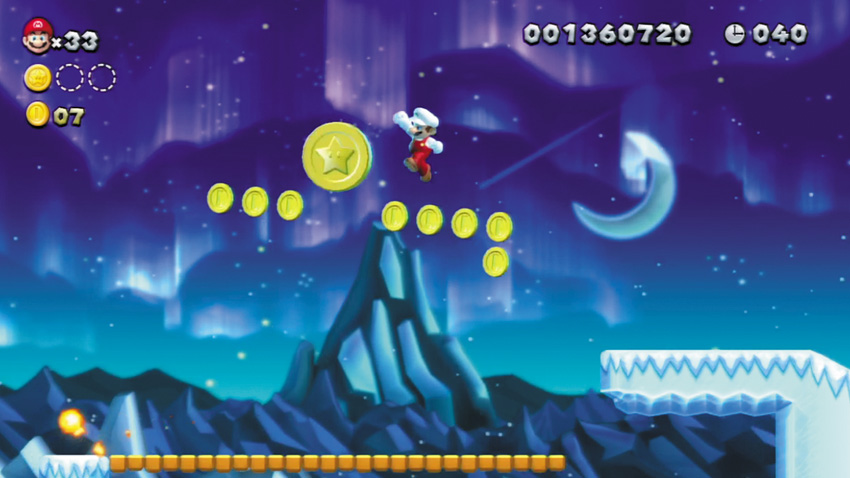
A good, long jump is all you need to nab this stage’s final Star Coin, which hovers up high here. Just watch out for the Prickly Goombas below—the nearby Fire Bro will toast them, causing the Goombas to bound up toward you!
Frosted Glacier 4
Scaling the Mountainside
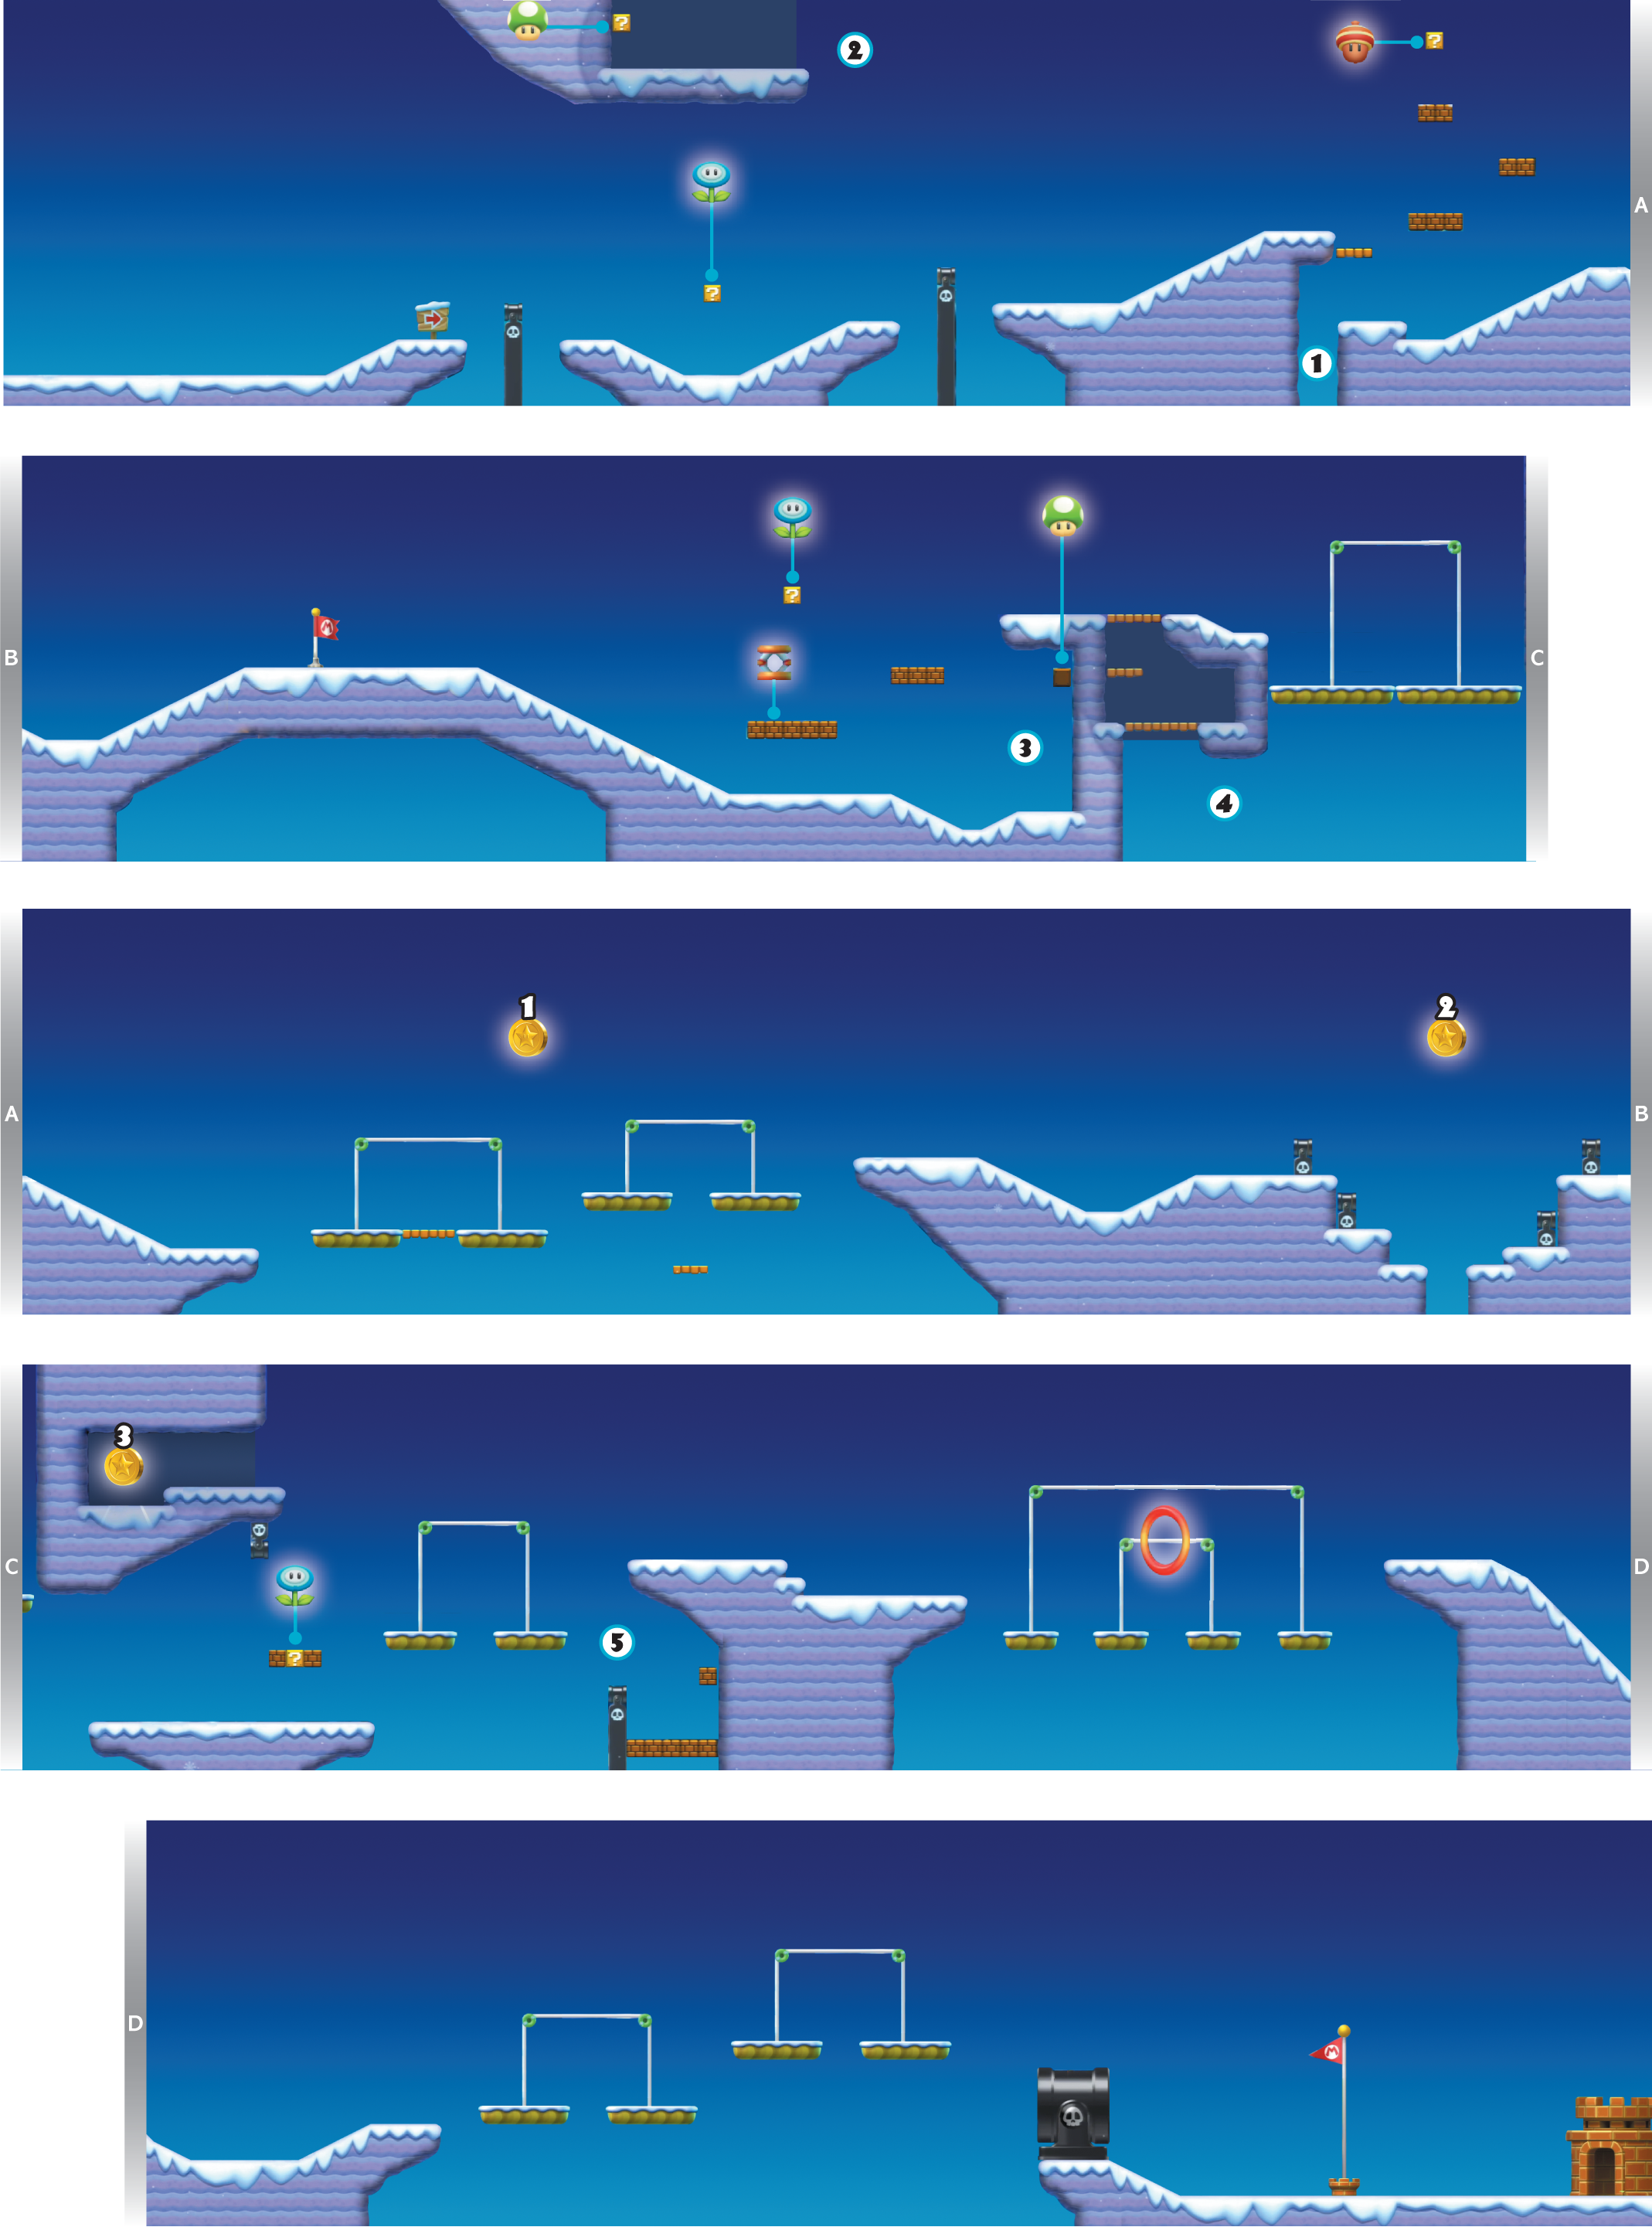
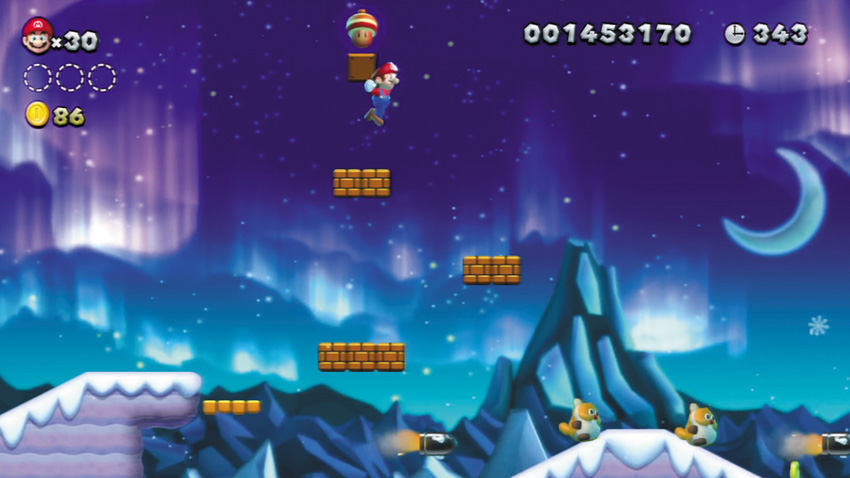
Carefully slide down the wall, Brick Blocks will appear as Mario wall jump’s out of the pit. Jump up the Brick Blocks to reach a high ? Block that contains a Super Acorn!
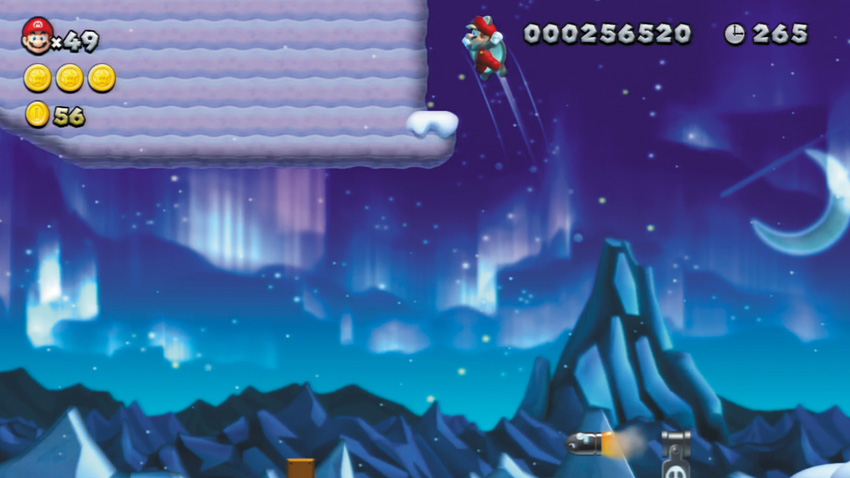
After claiming the Super Acorn at Point 1, glide to the left to discover this high ledge, where bonus Coins and a 1-Up Mushroom are stashed behind a flase wall! Perform a flying squirrel jump to land on the ledge as you glide near.
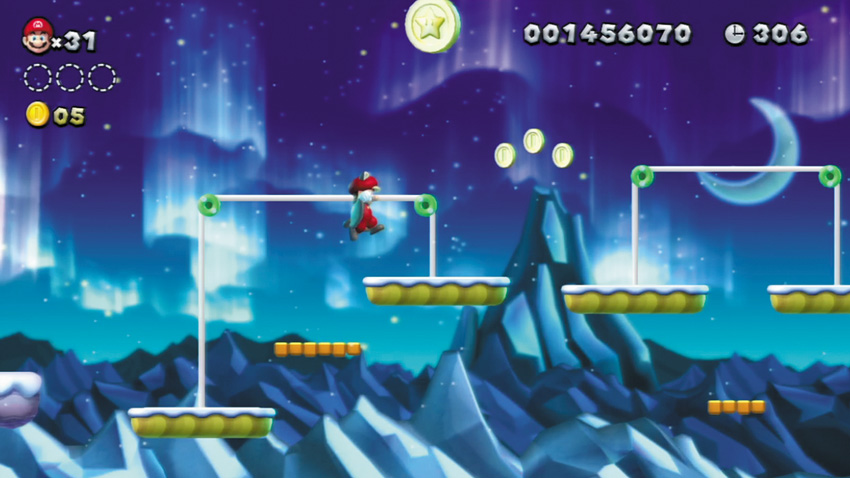
Tip the Scale Platforms below this Star Coin in your favor by standing on the left platform to make the right platform rise. Leap up to the high right platform, then quickly jump up and claim the Star Coin.
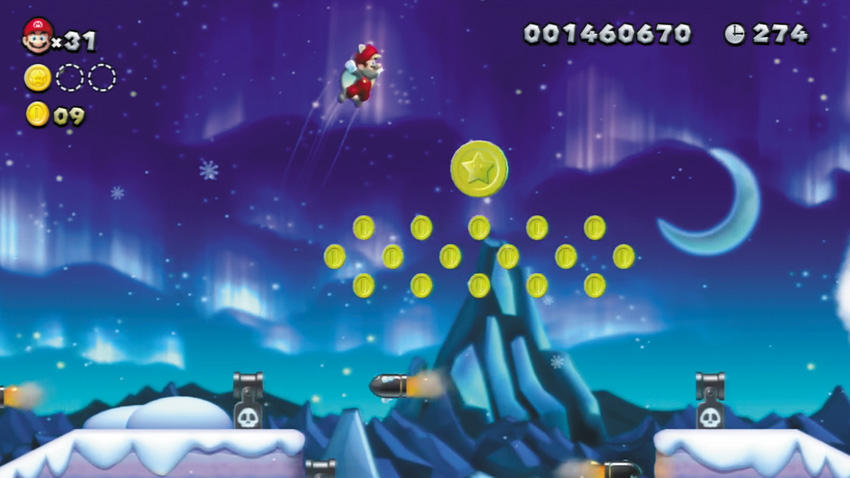
Normally, bouncing off a Bullet Bill is your best bet for collecting the second Star Coin—but Flying Squirrel Mario can simply soar up and snag it!
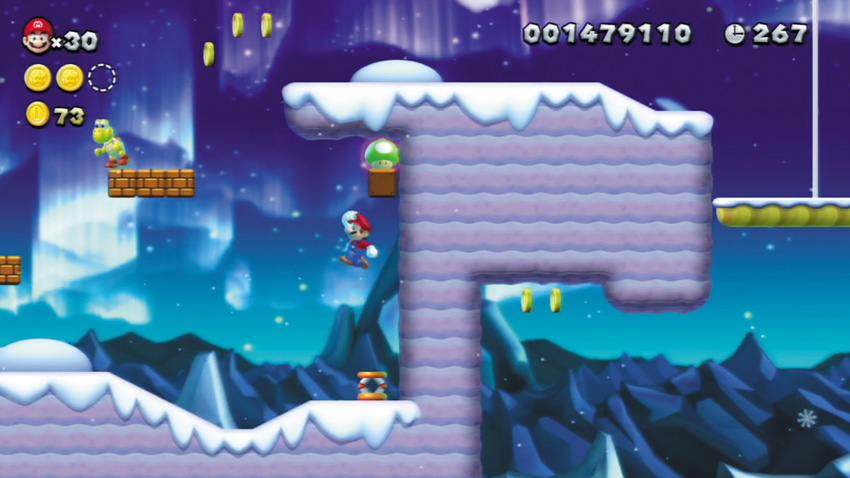
Bump a Brick Block here to obtain a rare Trampoline. Pick up the Trampoline and place it near the wall to the right, then bounce off of the Trampoline. You’ll bump a hidden Block and knock free a 1-Up Mushroom!
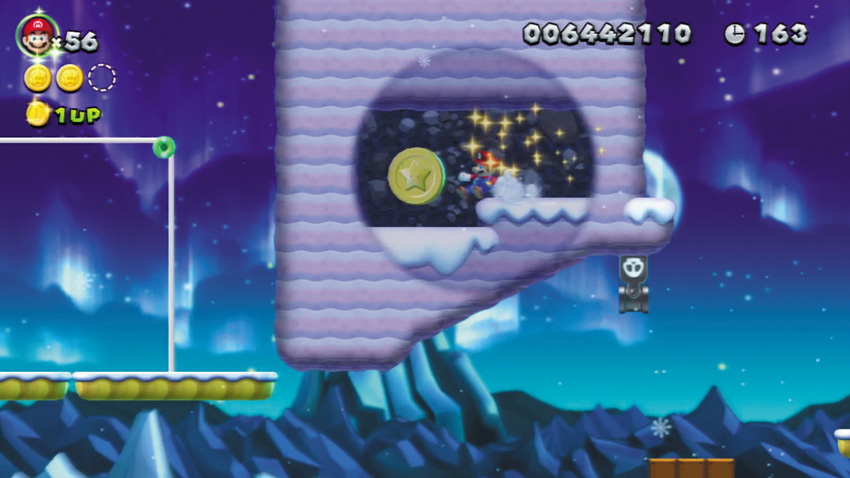
The final Star Coin is hidden inside this secret cave. Soar into the cave as Flying Squirrel Mario, or bounce off a Bullet Bill to get here instead. You may find it easier to leap from the snowy ledge to the right and bounce off a Bullet Bill than to jump up from that shifty Scale Platform.
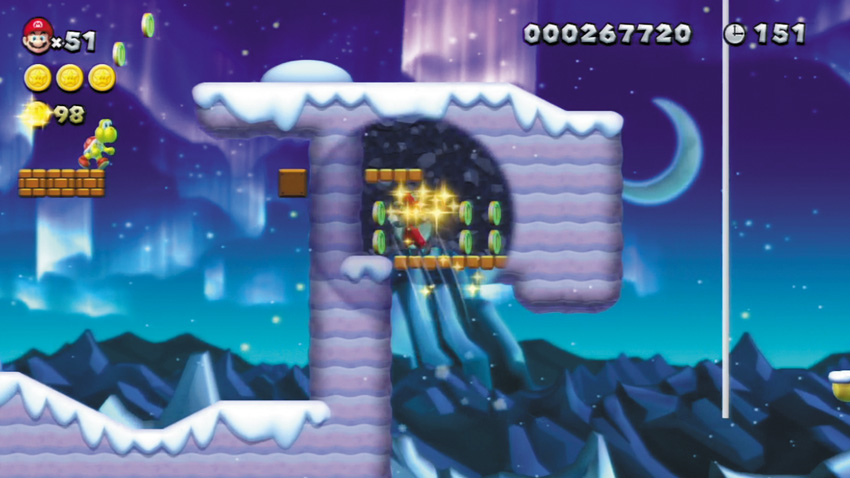
Enter a hidden cave here by riding down the nearby Scale Platform, then gliding over and performing a flying squirrel jump to soar up into the cave from below.
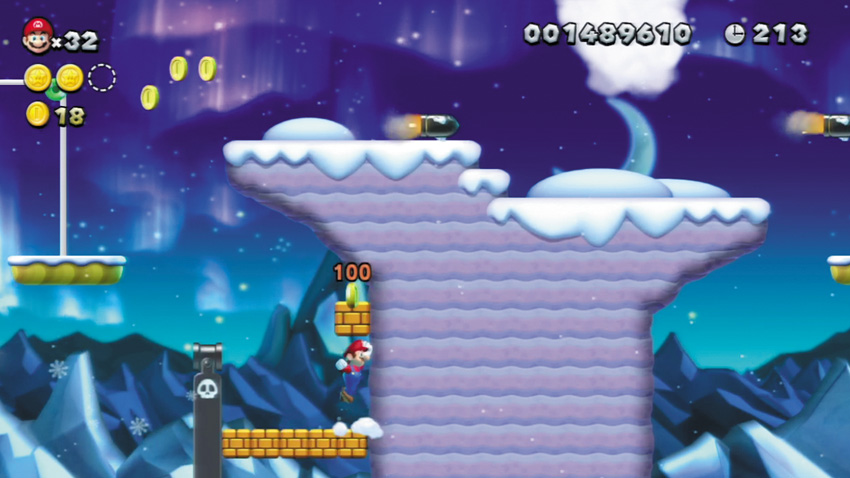
Land atop the Bill Blaster here, and a row of Brick Blocks will appear over the pit to the right. Now you can safely drop down and claim Coins from the nearby 10-Coin Block!
Frosted Glacier 5
Icicle Caverns
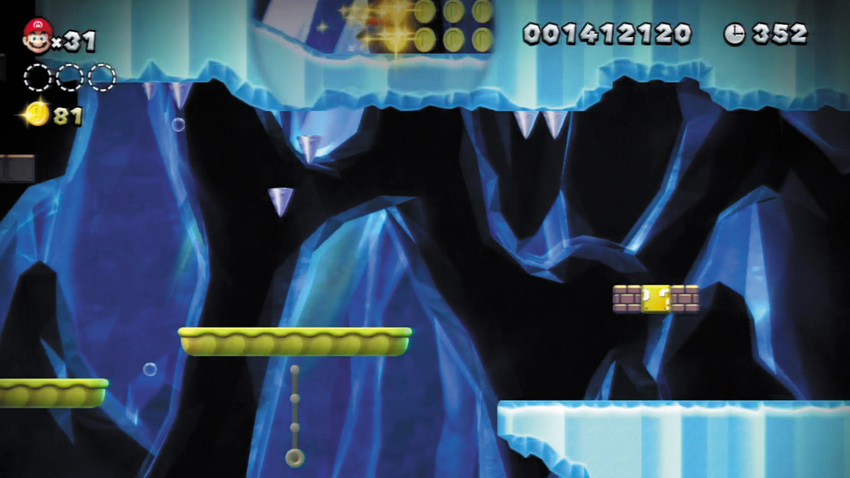
Jump from the top of the Brick Blocks here to discover a hidden Block above them. Leap from the hidden Block to reach the roof of the cavern, where a cluster of Coins are hidden.
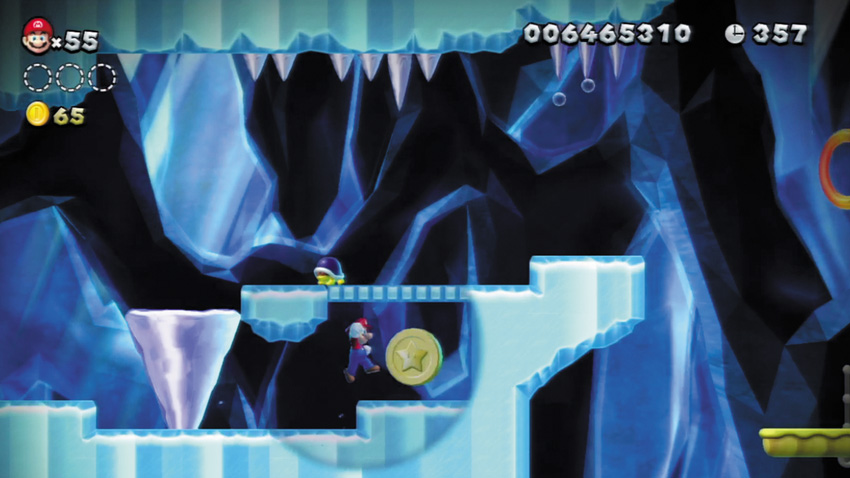
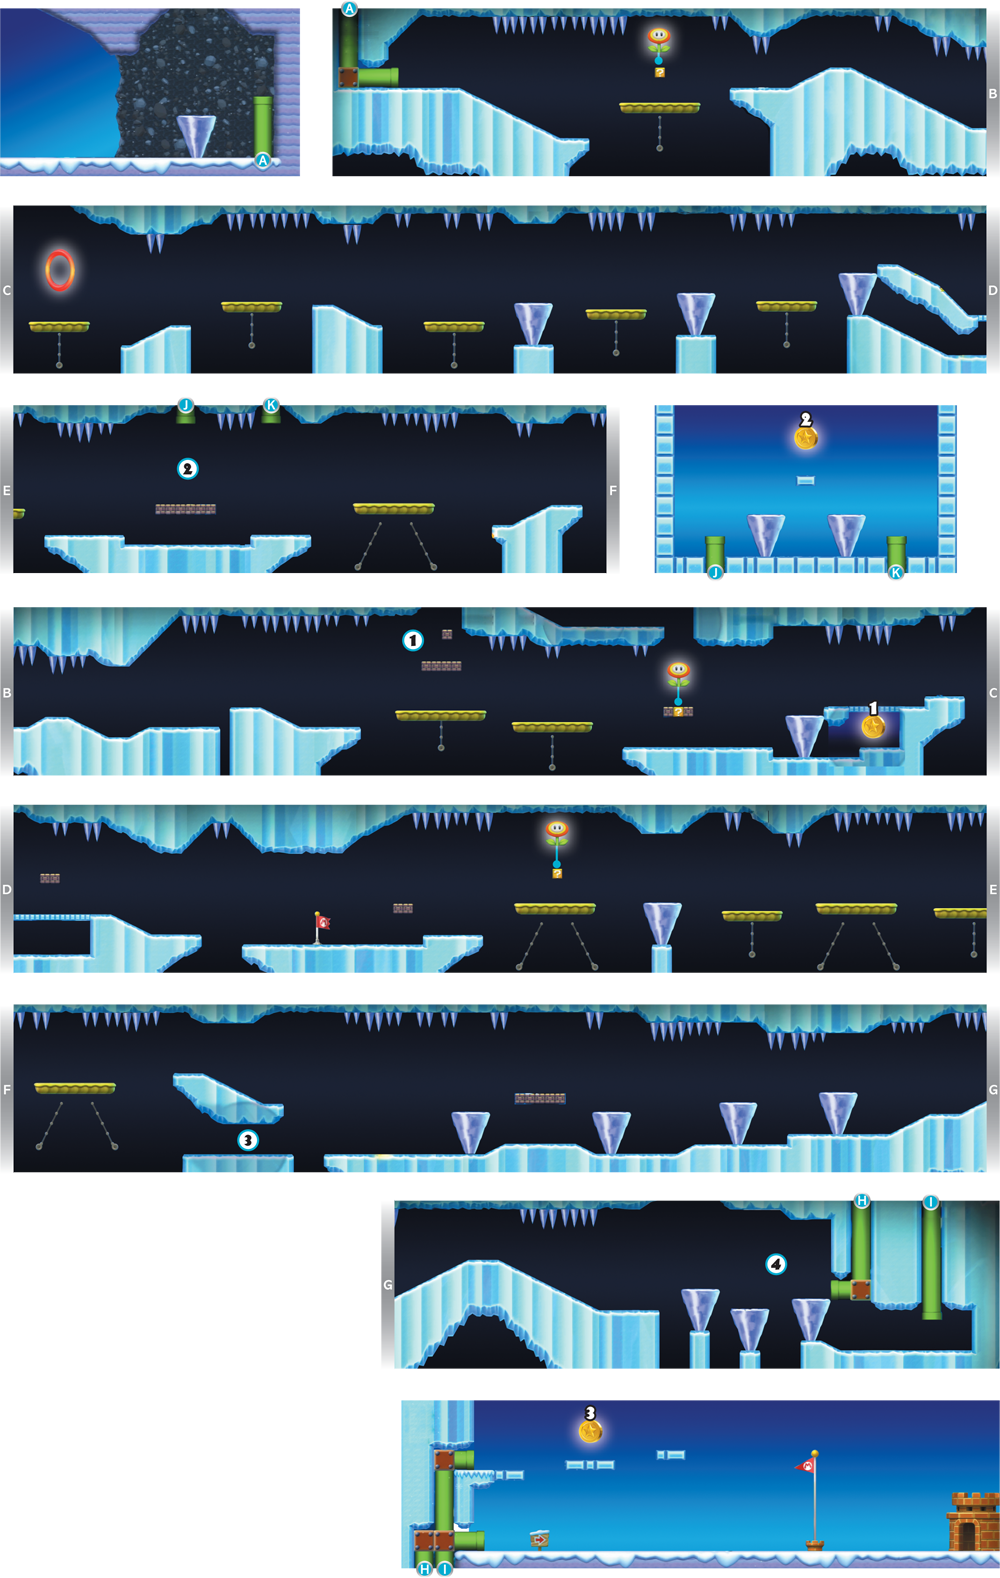
The first Star Coin is hidden here, within a secret cave. Dash through the false wall before the Huge Icicle above falls, or else it’ll block the cave. Not cool!
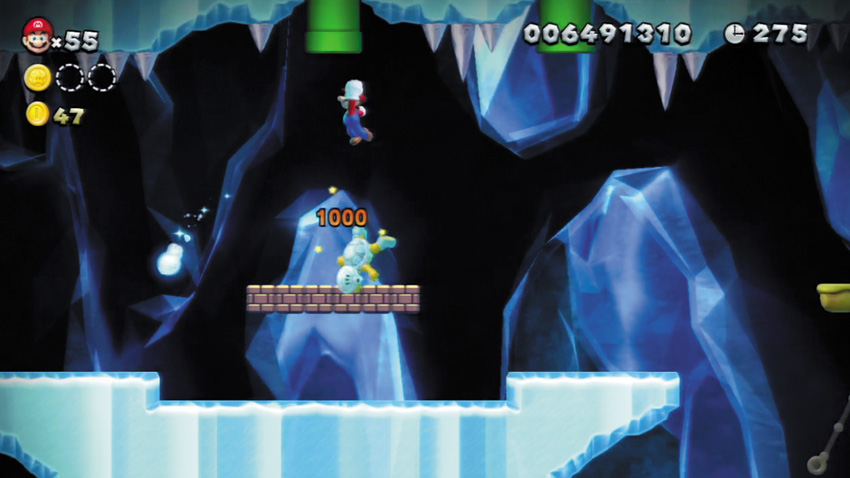
Bounce off the Ice Bro that stands atop the Brick Blocks here, and then you can enter the overhead Warp Pipe.
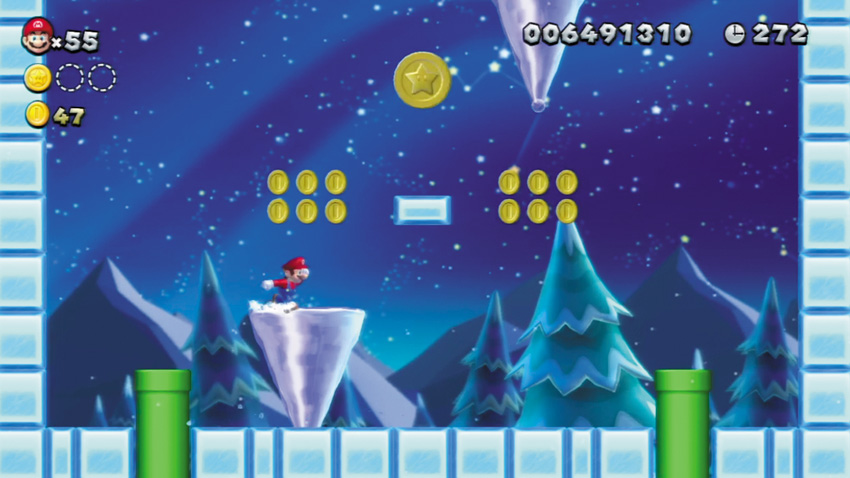
Enter the overhead Warp Pipe at Point 2 to visit this small outdoor area, where the second Star Coin hovers up high. Allow the Huge Icicles to fall, then use them as platforms to help you claim the Star Coin.
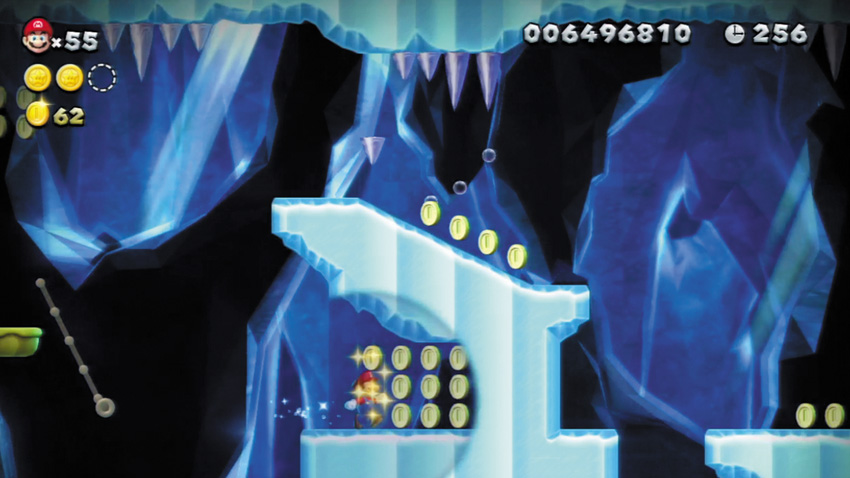
Snag a few bonus Coins by exploring the hidden cave here. Bonus!
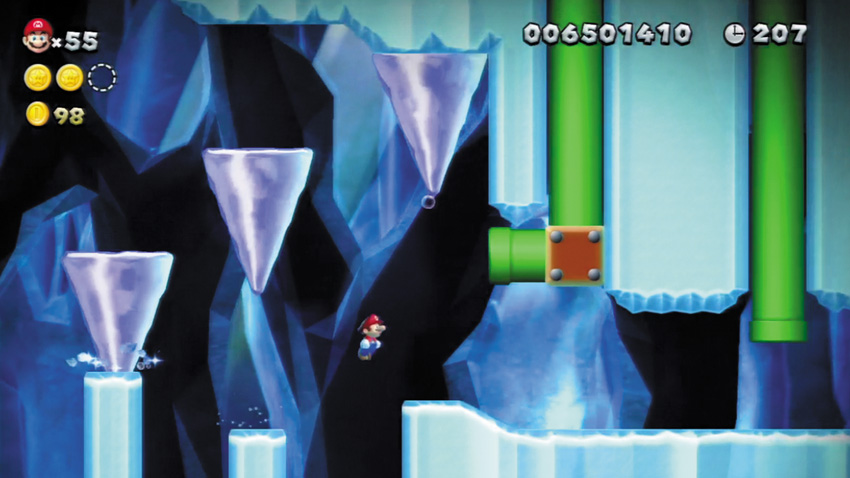
Hurry to get past these Huge Icicles before they fall—if you’re too slow, the final Icicle will seal off the passage that leads to the far Warp Pipe, which you must enter if you wish to claim the final Star Coin.
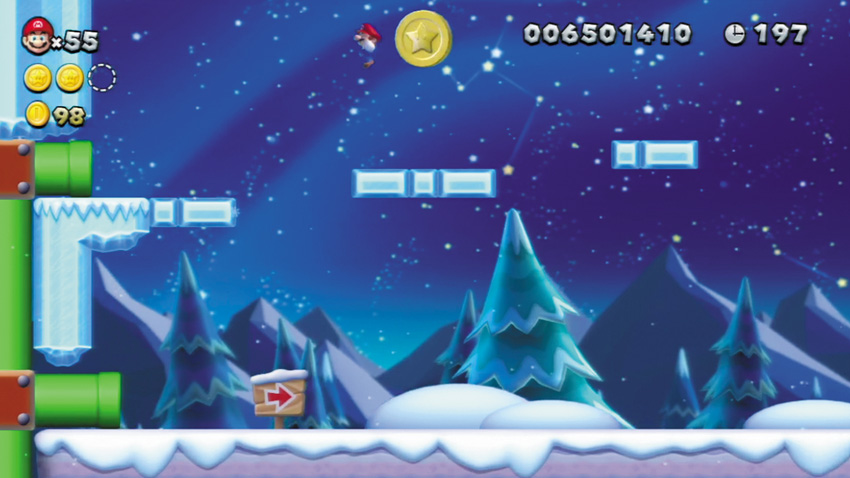
Speed past the Huge Icicles at Point 4 and enter the far Warp Pipe to emerge within reach of the stage’s last Star Coin. Hop across the high platforms to grab it, then go for the top of the flag pole!
Frosted Glacier Boo House
Swaying Ghost House
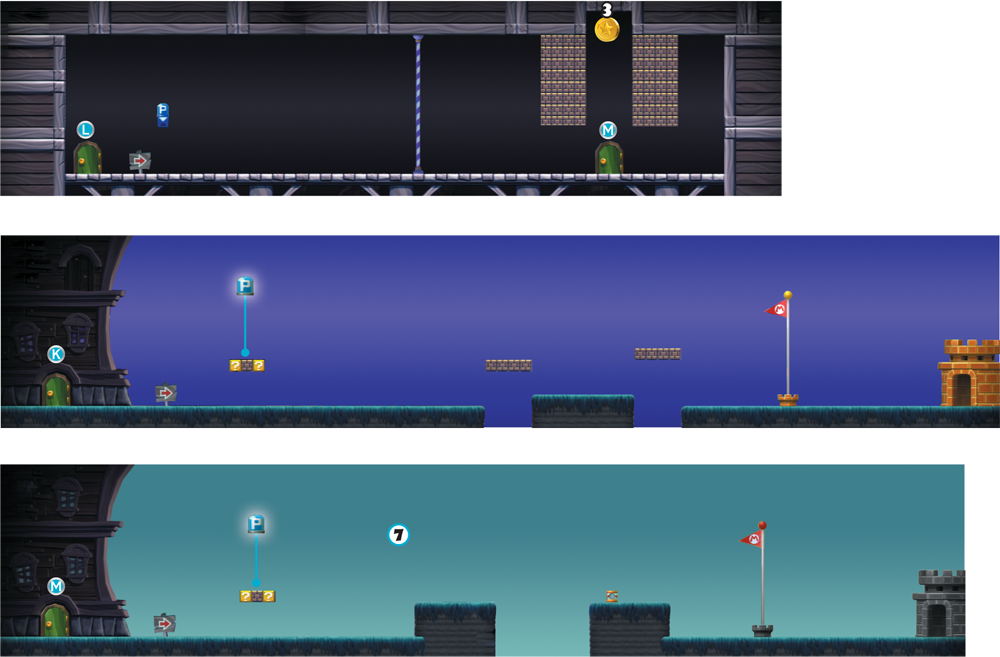
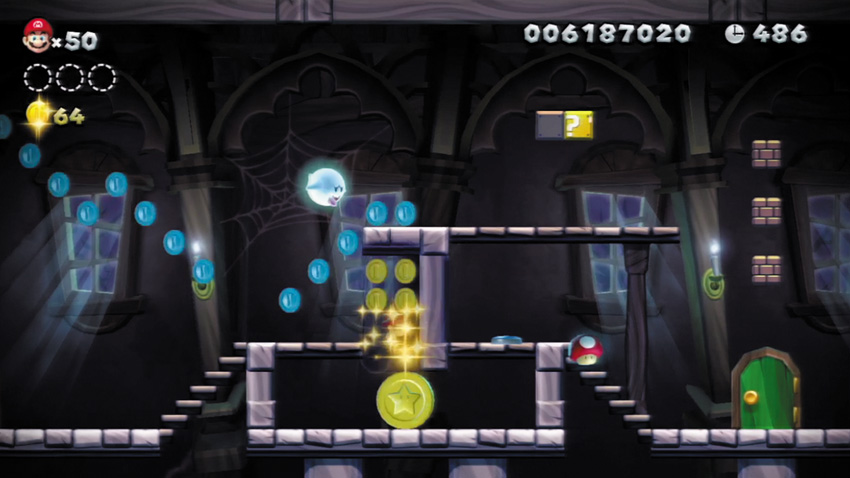
Hit the P Switch in the very first room, and all of its Brick Blocks will transform into Coins. Quickly jump over toward the tall stack of Coins to the left, but before you head through, run up the stairs and drop through the false wall to claim the fi rst Star Coin. You can only reach this Star Coin after the P Switch has been hit, for there are Brick Blocks hidden within that false wall!
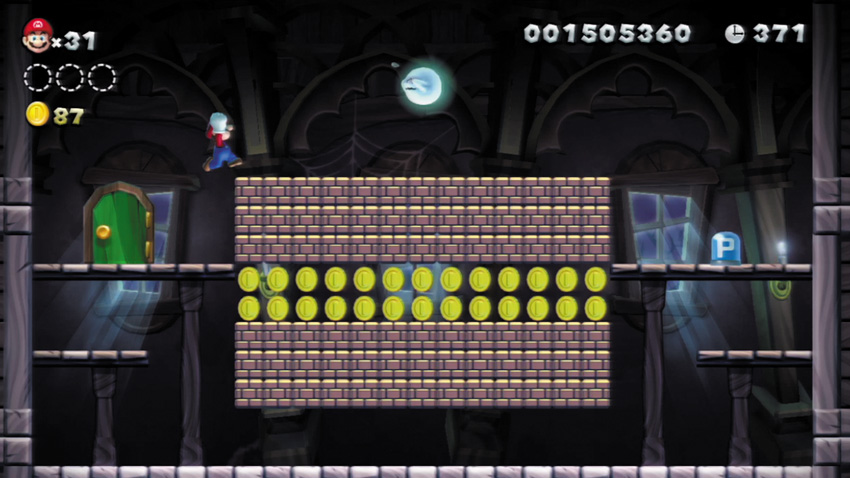
Coin collectors should pay a quick visit to this room, where a P Switch can be hit to cause a hoard of Coins to appear. Glorious!
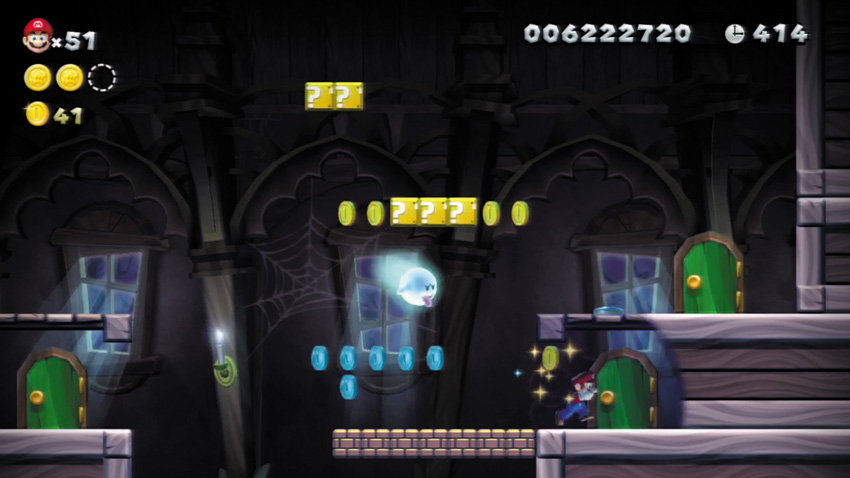
Hit the P Switch in this room to transform the bottom row of Coins into Brick Blocks. Drop down to the bottom row of Coins, then either run and jump over to the lower door on the left, or pass through the false wall on the right to discover a secret door. The left door leads toward the second Star Coin; the secret door on the right takes you deeper into the Ghost House.
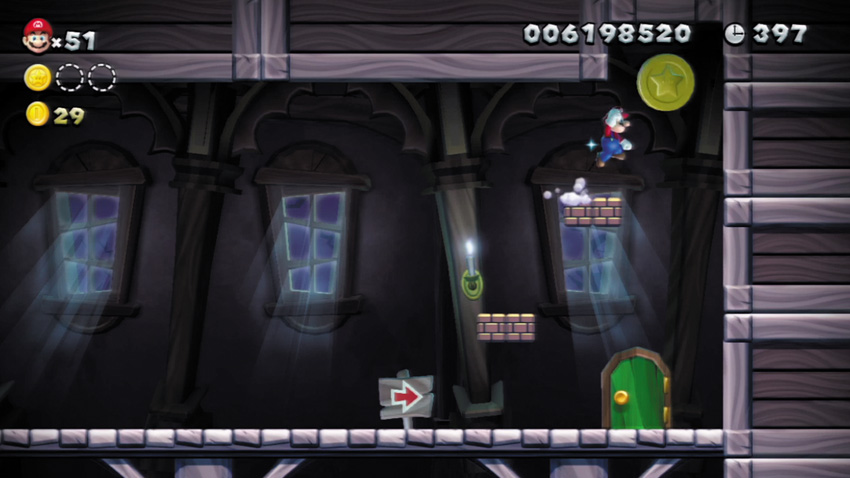
Hit the P Switch as you dash along this hall, and the four Coins that remain ahead of you will briefly transform into Brick Blocks. Sprint to the end of the hall before the time runs out, and you can leap up those temporary Brick Blocks and snag the second Star Coin!
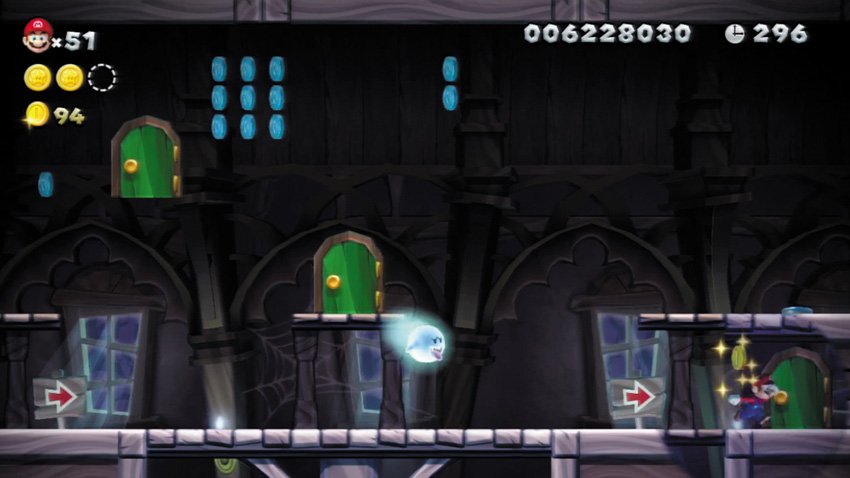
Brick Blocks hidden behind false walls conceal a ? Switch and a secret door in this room. First, press the P Switch to change all of these hidden Brick Blocks into Coins (and all of the room’s Coins into Brick Blocks). You may now move through the left wall to discover the ? Switch. Hit the ? Switch, and a couple of signs will appear, pointing toward the secret door. Hit the P Switch again if need be, so that you may pass through the lower-right false wall and discover the secret door.
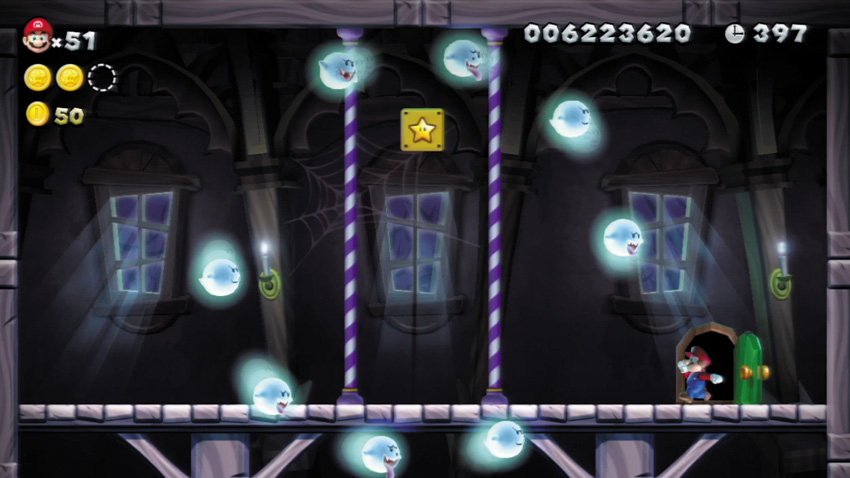
Hit the P Switch at Point 3, then take the upper-left door to visit this optional side room, where a ring of Boos encircles a Roulette Block. Carefully leap through the Boos, then climb one of the poles and hit the Roulette Block to score a random item! Backtrack through the door afterward to return to Point 3.
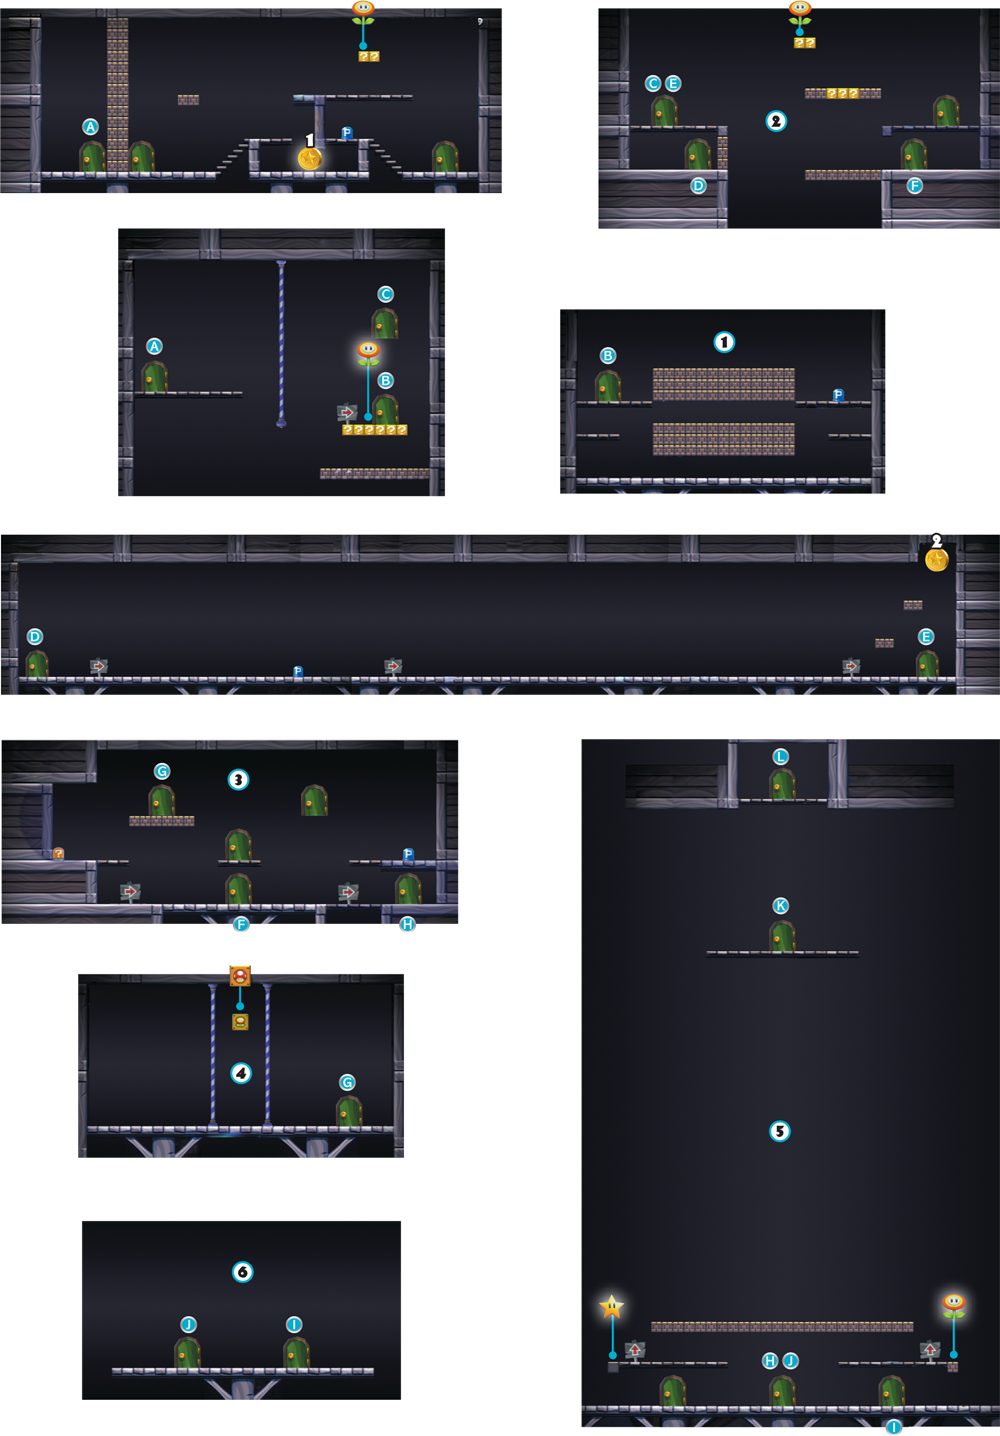
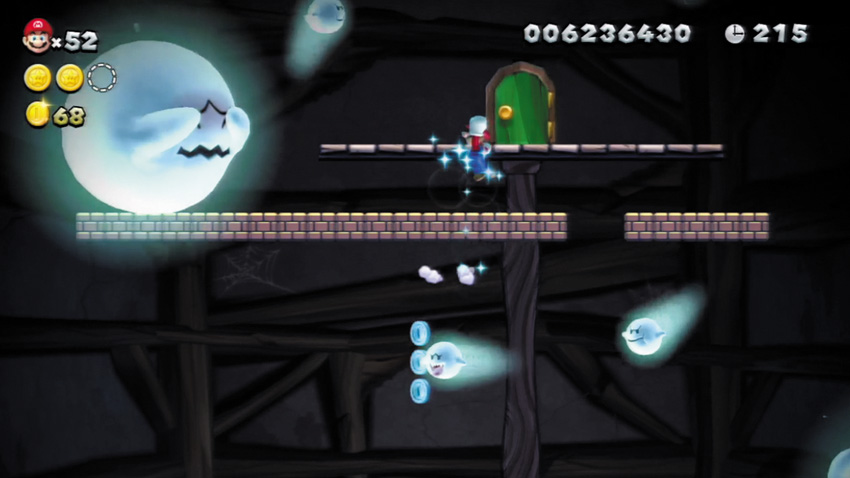
Strike a hidden Block near the left side of this room to score a Super Star, then bolt over and hit the P Switch to transform the overhead row of Coins into Brick Blocks. Jump onto the Brick Blocks, and then just keep jumping upward to travel up the tall room. You’ll defeat any Boos that touch you while your Super Star power is active, so jump fast and reach the top of the room before the Super Star’s and P Switch’s effects wear off!
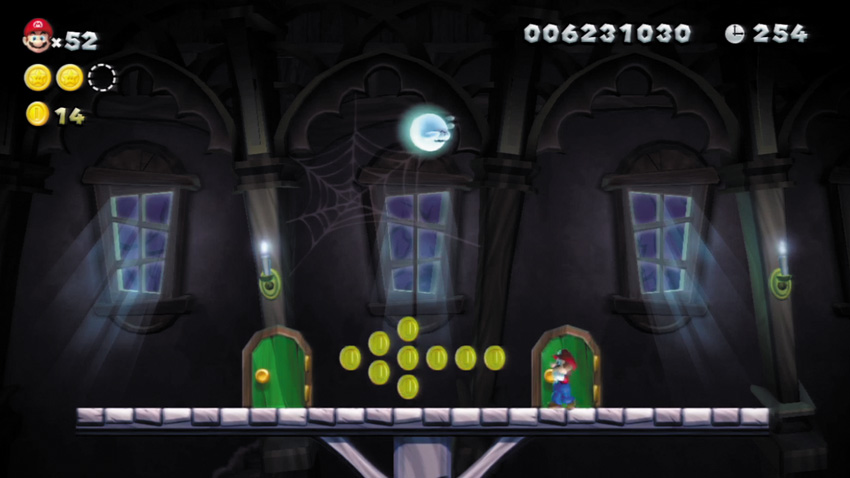
The lower-right door at Point 5 leads to this small room. Collect the Coins here before returning to Point 5. Passing through this room causes the Coins at the Point 5 room to reappear.
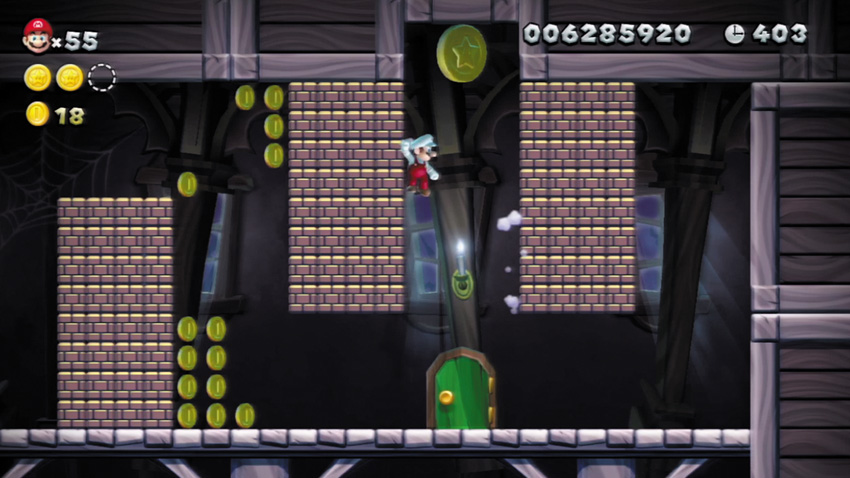
The final Star Coin is hidden in this secret room—get here by scaling the room at Point 5 with such speed that you’re able to reach the secret door that’s hidden above the false ceiling. Hit this room’s P Switch, to turn the Coins into Brick Blocks and Brick Blocks into Coins. Navigate your way through the maze collecting as many Coins as you can, once you reach the end wall jump up and collect the fi nal Star Coin for this level!
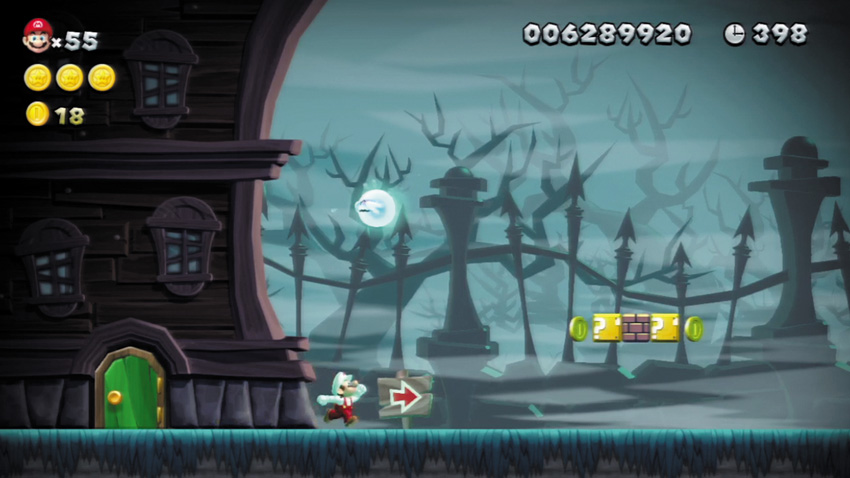
Reaching the secret room at Point 6 allows you to leave this confounding Boo House by way of secret exit. Simply head through the door after collecting the third and final Star Coin, and you’ll emerge out here. Finish the stage by using this secret exit, and you’ll unlock Frosted Glacier’s secret stage!
Frosted Glacier Castle
Wendy’s Shifting Castle
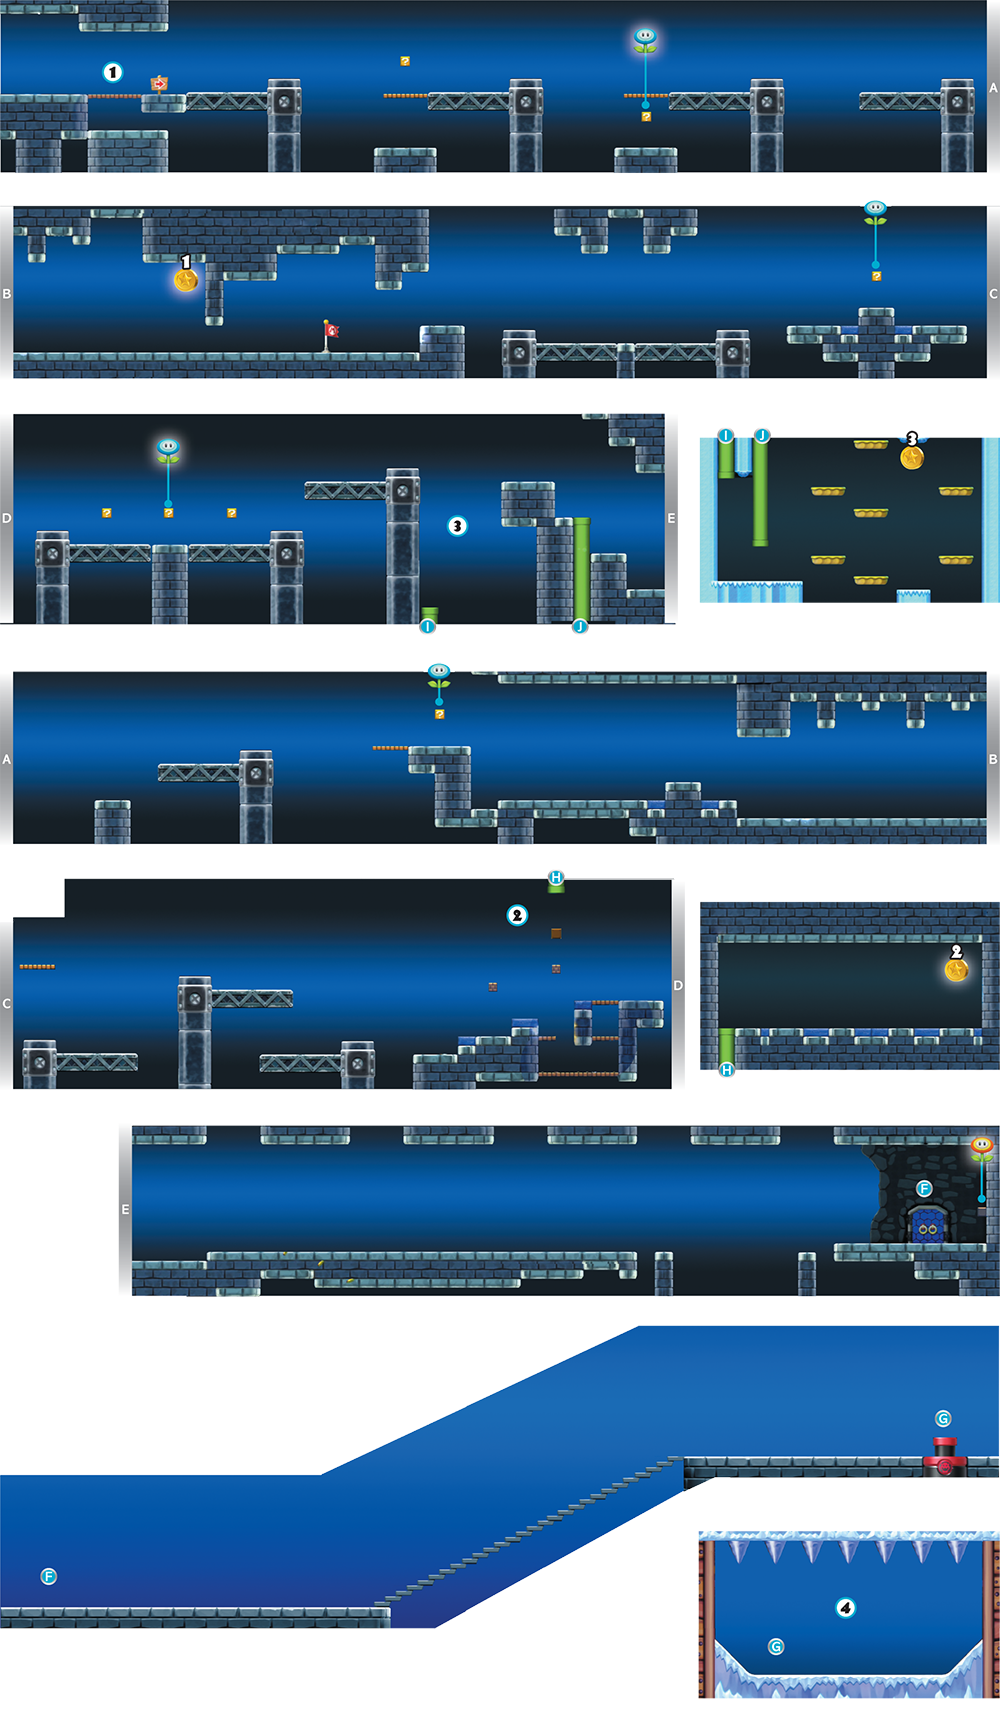
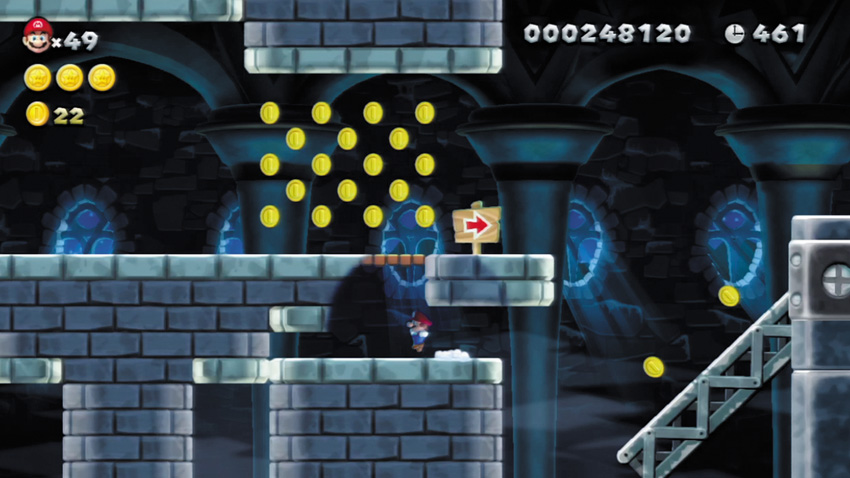
Run and jump from the first moving platform to enter a hidden path here, and a bunch of bonus Coins will appear above.
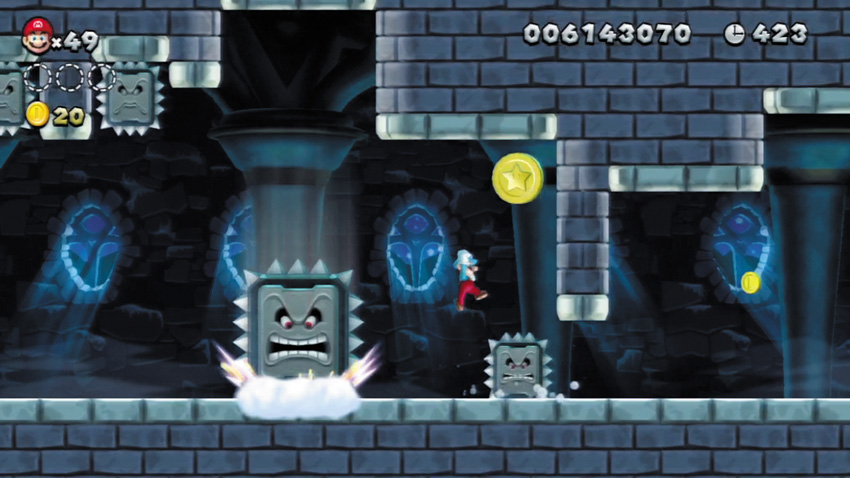
The first Star Coin is hidden here, behind a Thwomp. Entice the Thwomp into falling by moving underneath it, then quickly evade the Thwomp and wall jump up to collect the Star Coin.
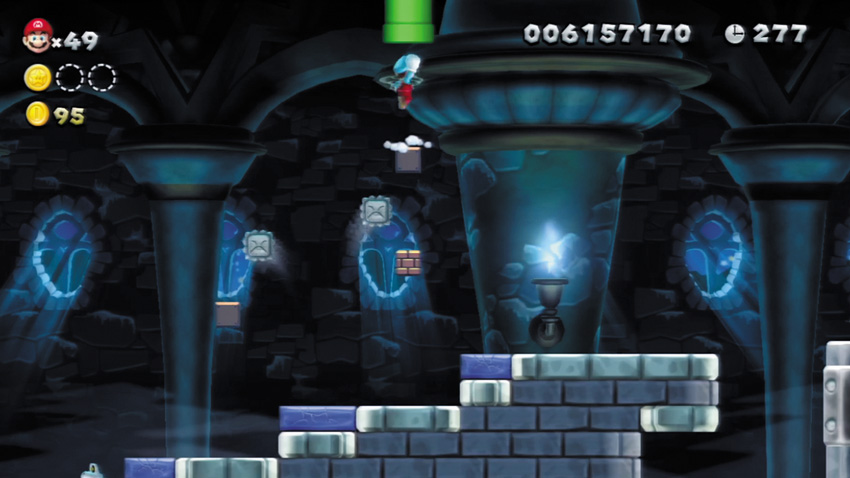
Jump up and strike a hidden Block here, then use the Block to help you reach the overhead Warp Pipe.
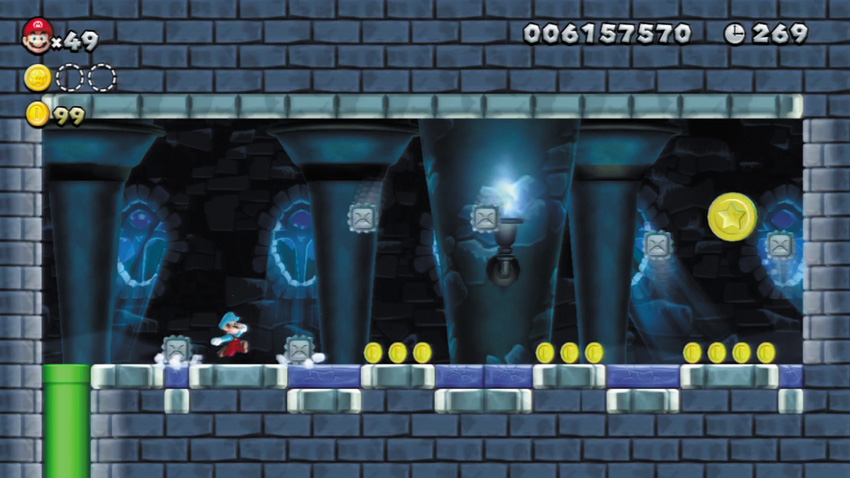
A sextet of Thwimps guards the second Star Coin. Enter the overhead Warp Pipe at Point 1 to reach this secret side room, then carefully avoid the Thwimps as you move to claim the Star Coin.
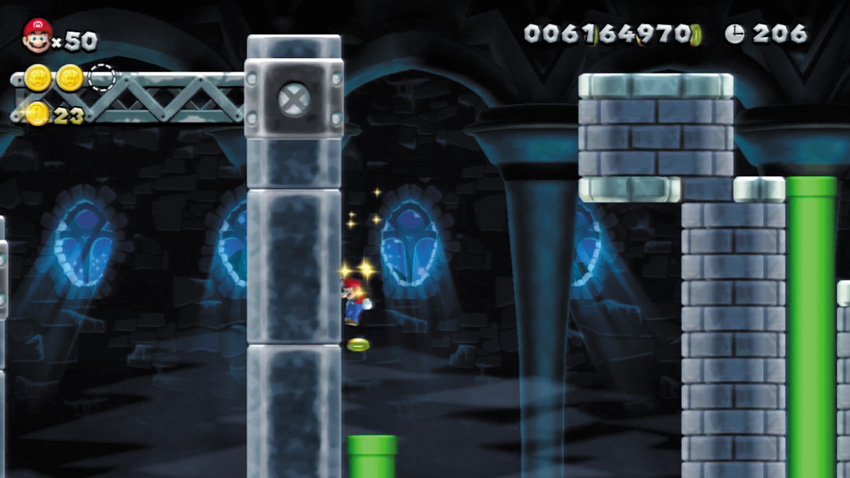
Take a daring plunge into this pit and land atop the low Warp Pipe. Duck inside the Warp Pipe to visit a secret underground area!
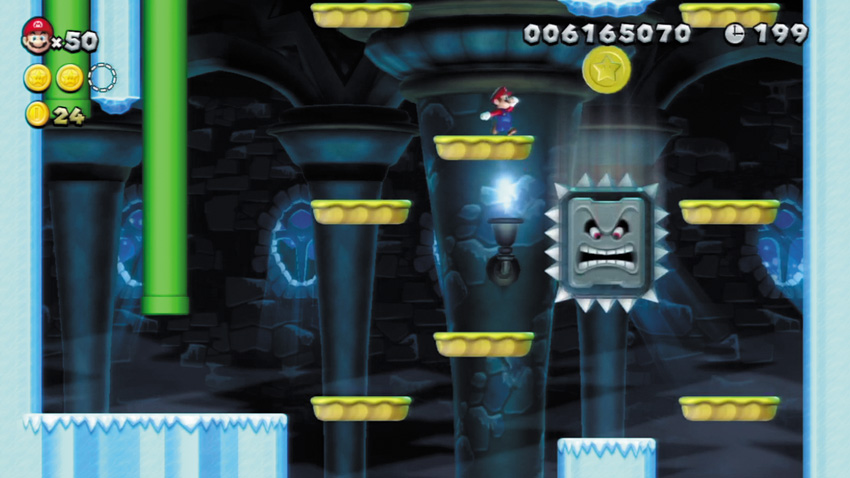
The final Star Coin is guarded by a Big Thwomp in this small, underground room. Lure the Big Thwomp into crashing down by moving underneath it, then quickly escape before you’re crushed. Hurry and ride one of the nearby platforms, heading up to claim the Star Coin before the Big Thwomp returns.
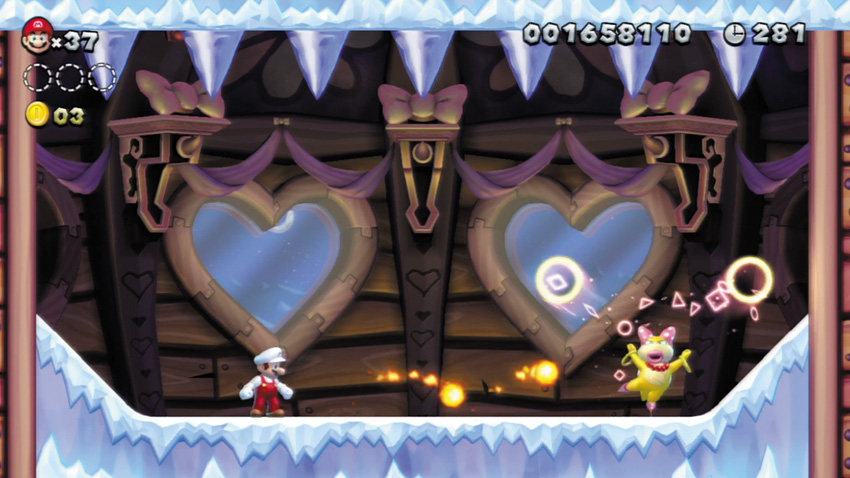
The wicked Wendy is ready to do battle aboard her frigid airship. Wendy begins each round of this fight by tossing out a number of energy rings that strike the overhead Icicles and cause them to fall. Make sure you’re not impaled by these hazards as you seek to stomp Wendy. Stomp this boss three times to chill her out!
Frosted Glacier Secret Stage
Fliprus Lake
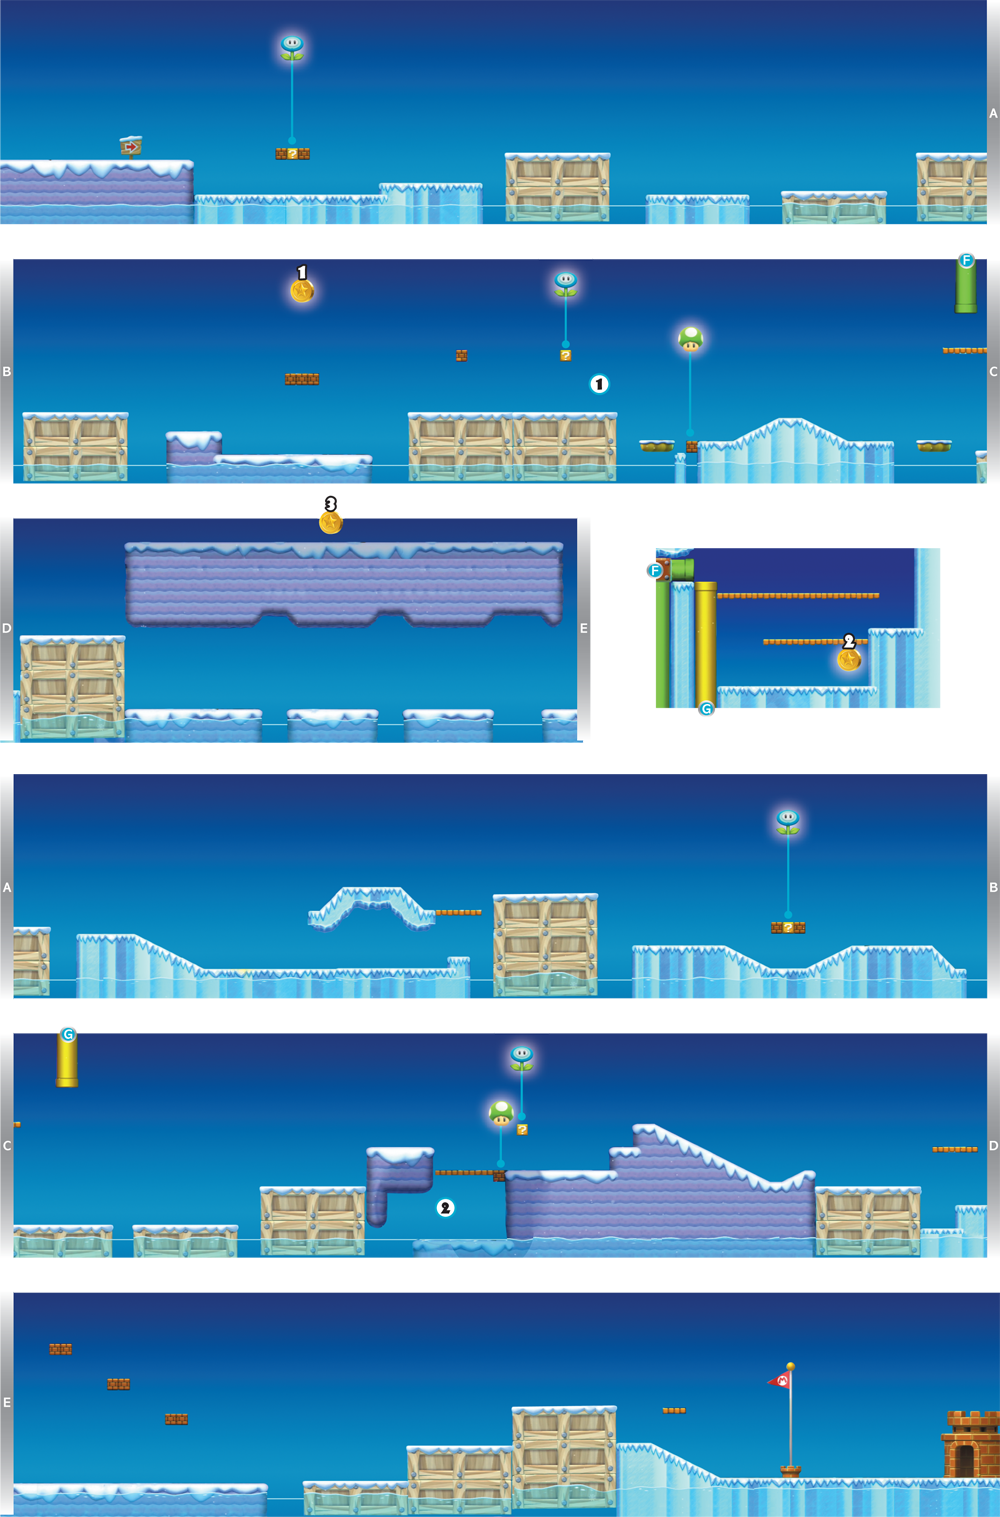
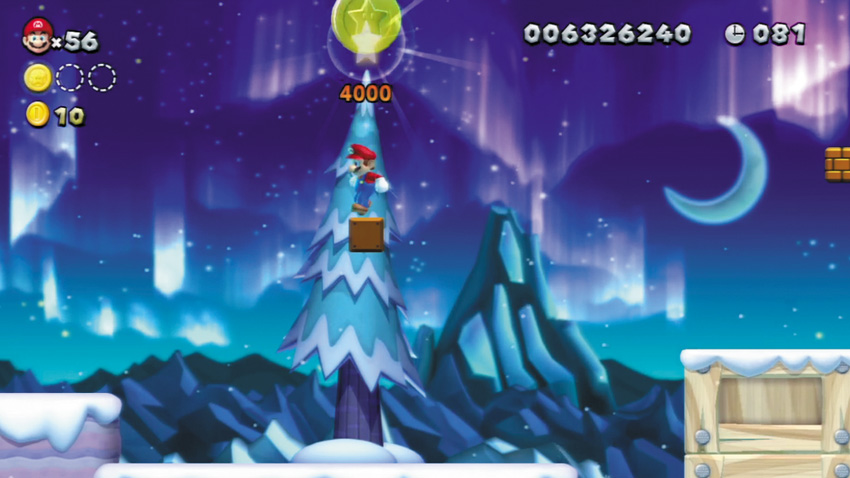
Defeat the Koopa that strolls along the Brick Blocks beneath this high Star Coin, then simply jump from the Brick Blocks and collect the Star Coin.
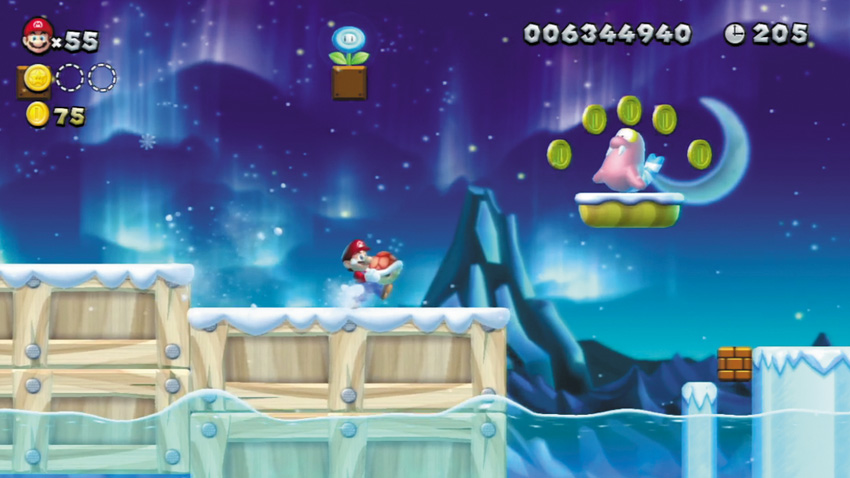
Stun one of the many Koopas in this stage, then carry its shell over to this crate. Toss the shell at the Brick Block that’s close to the water to the right. If you time it right, the shell will slide across the nearby moving platform and strike the Brick Block, causing a 1-Up Mushroom to emerge!
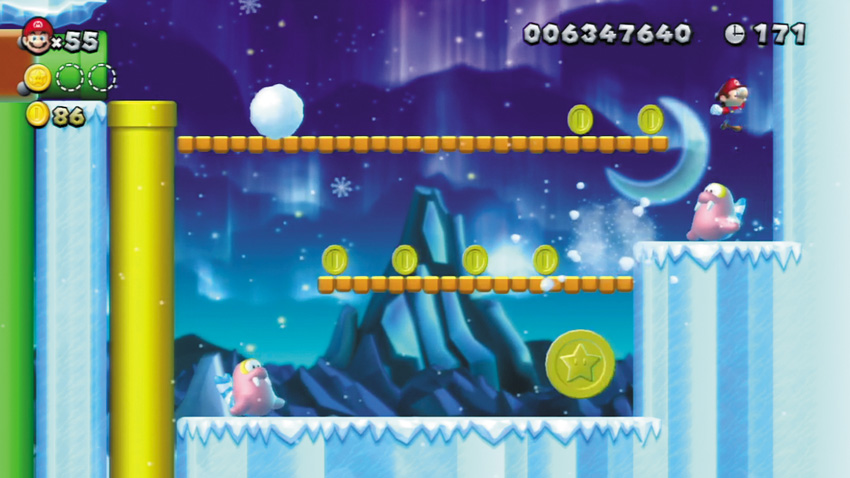
A pair of Flipruses guard the second Star Coin. Enter an overhead Warp Pipe to reach the Star Coin’s side area. Carefully stomp each Fliprus as you navigate the snaking passage. Be careful to avoid their snowballs.
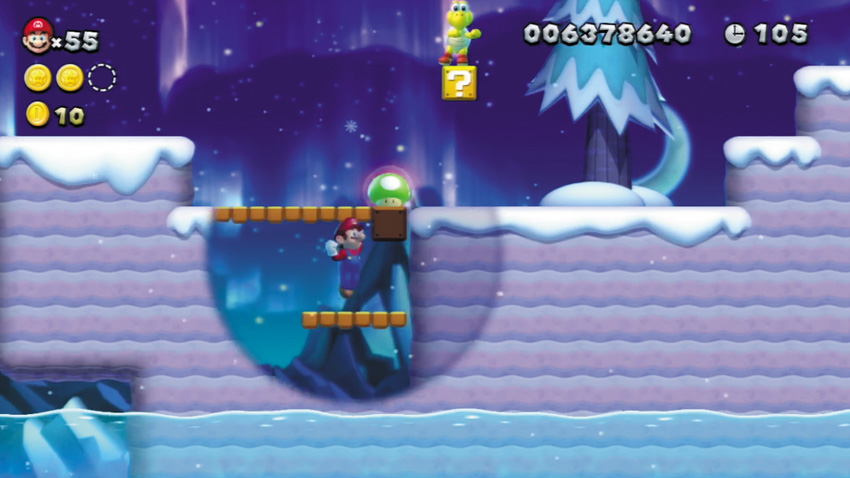
Ground pound the floating crate to the left of this Point. The crate will sink into the water. Quickly move to the right and pass through a false wall to enter a hidden cave. Bump the cave’s Brick Block to discover another 1-Up Mushroom!
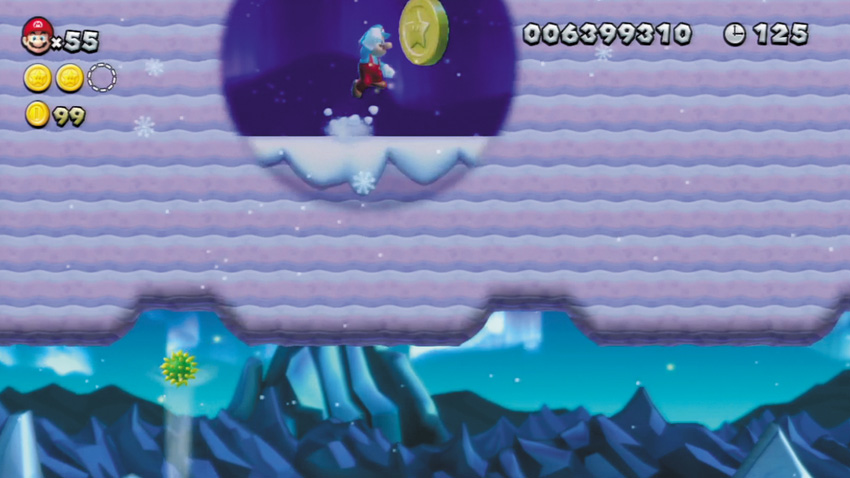
The final Star Coin is hidden here, on a high, secret path. To reach it, jump from the floating crate to the left and move through the false wall to land on the secret path. Now simply run over and collect this stage’s final prize.
The final Star Coin is hidden here, on a high, secret path. To reach it, jump from the floating crate to the left and move through the false wall to land on the secret path. Now simply run over and collect this stage’s final prize.