
New Super Mario Bros. U Guide Walkthrough Worlds
Peach’s Castle
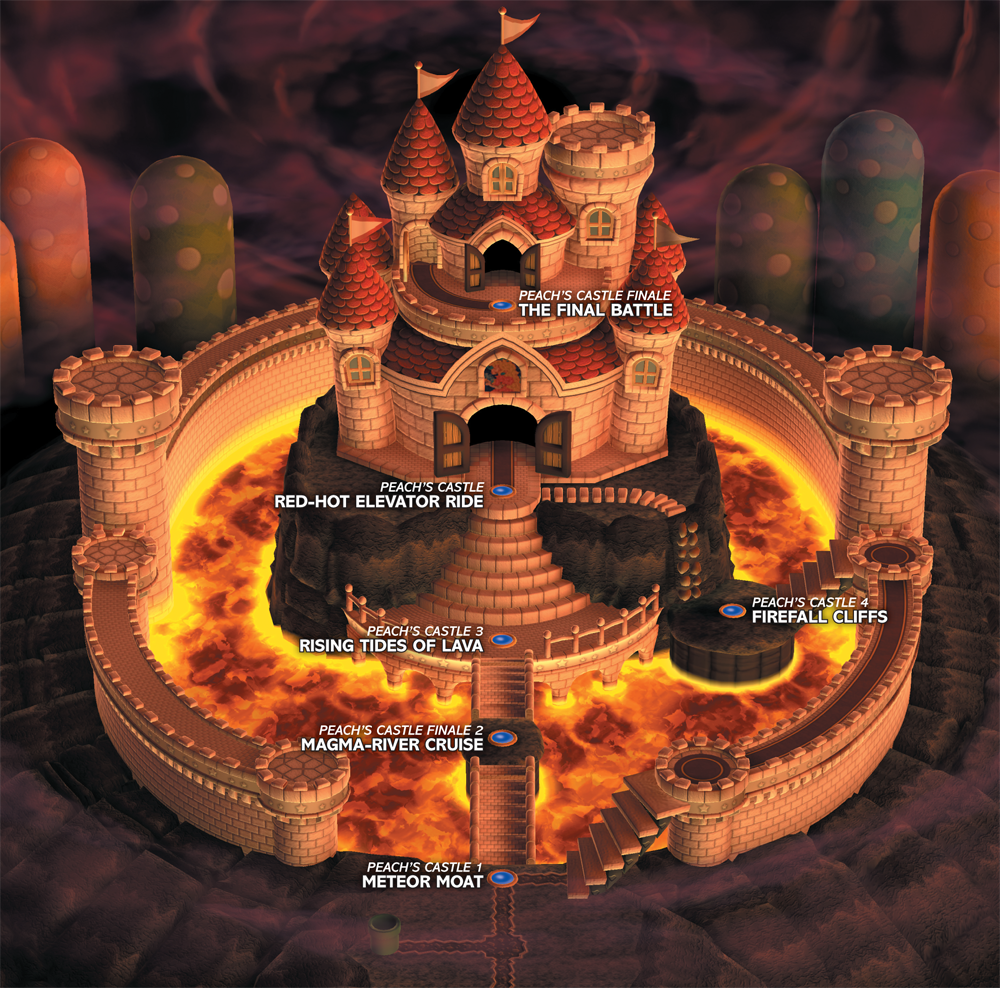
Locations
| Levels | Toad Houses | Map Enemies | Boss |
|---|---|---|---|
| 6 | None | None | Bowser |
Peach’s Castle 1
Meteor Moat
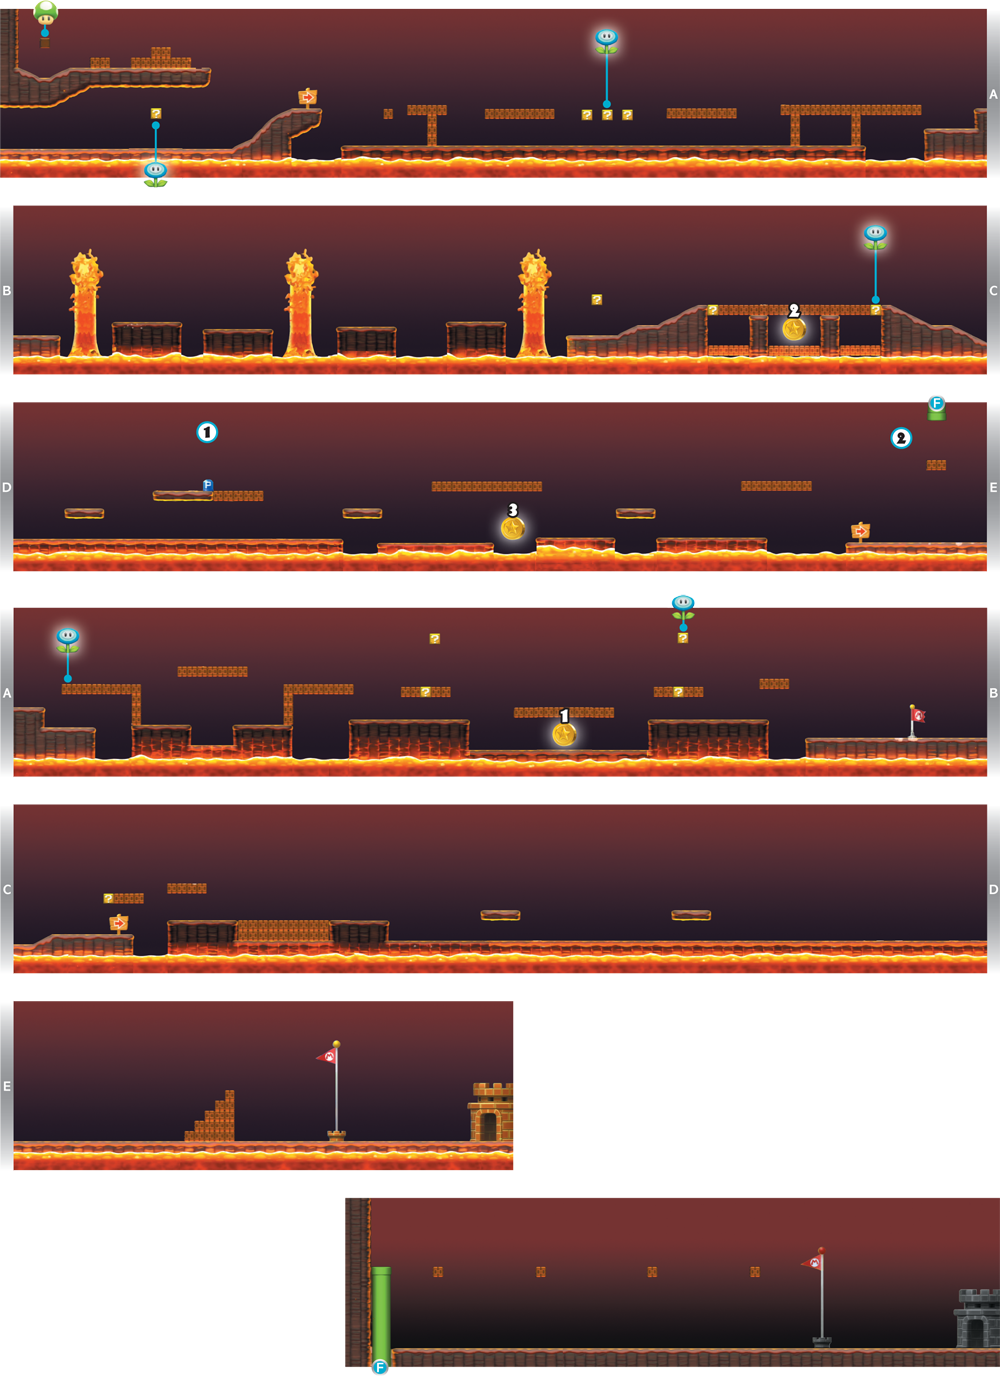

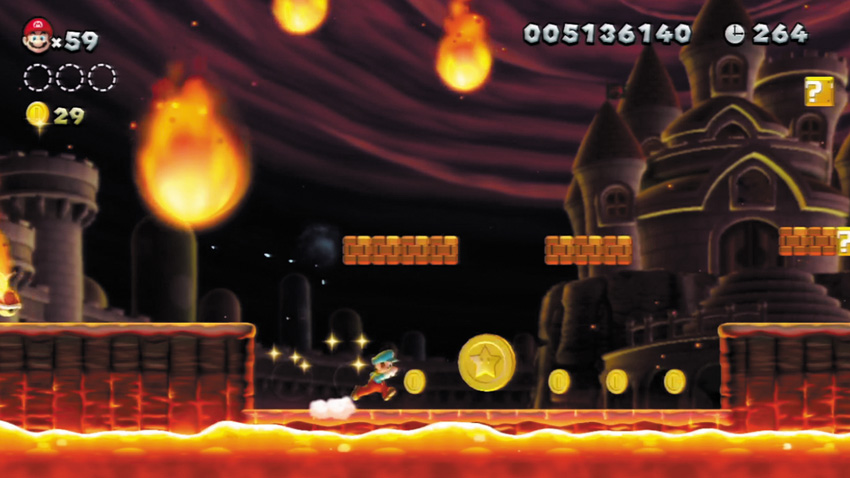
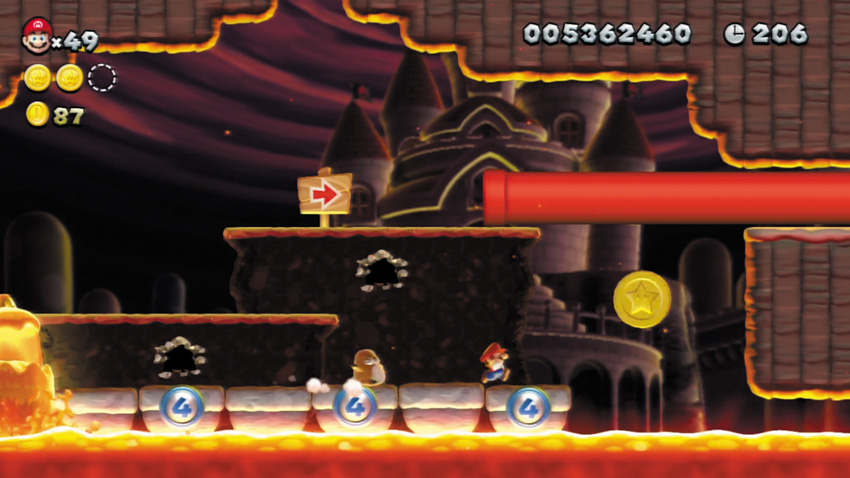
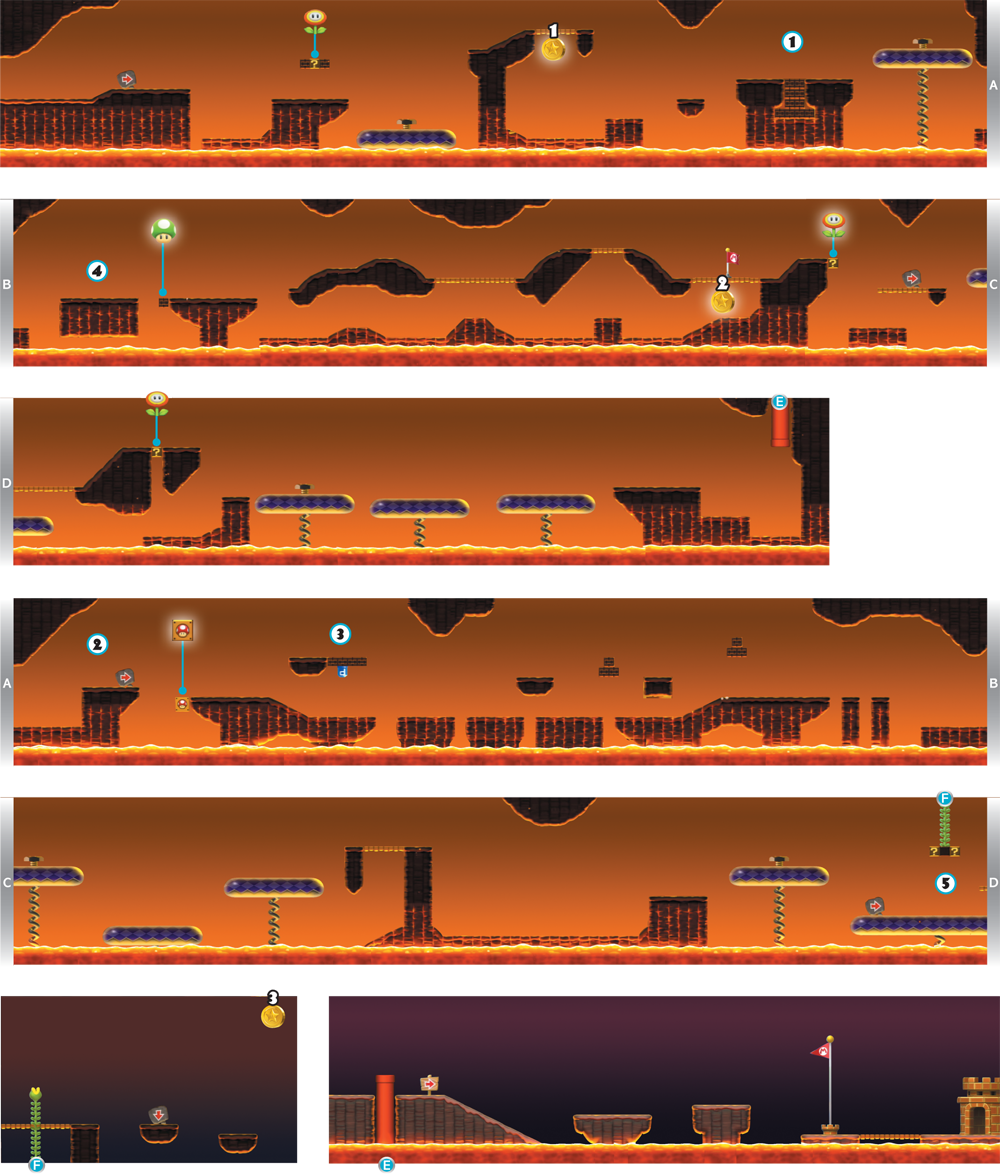
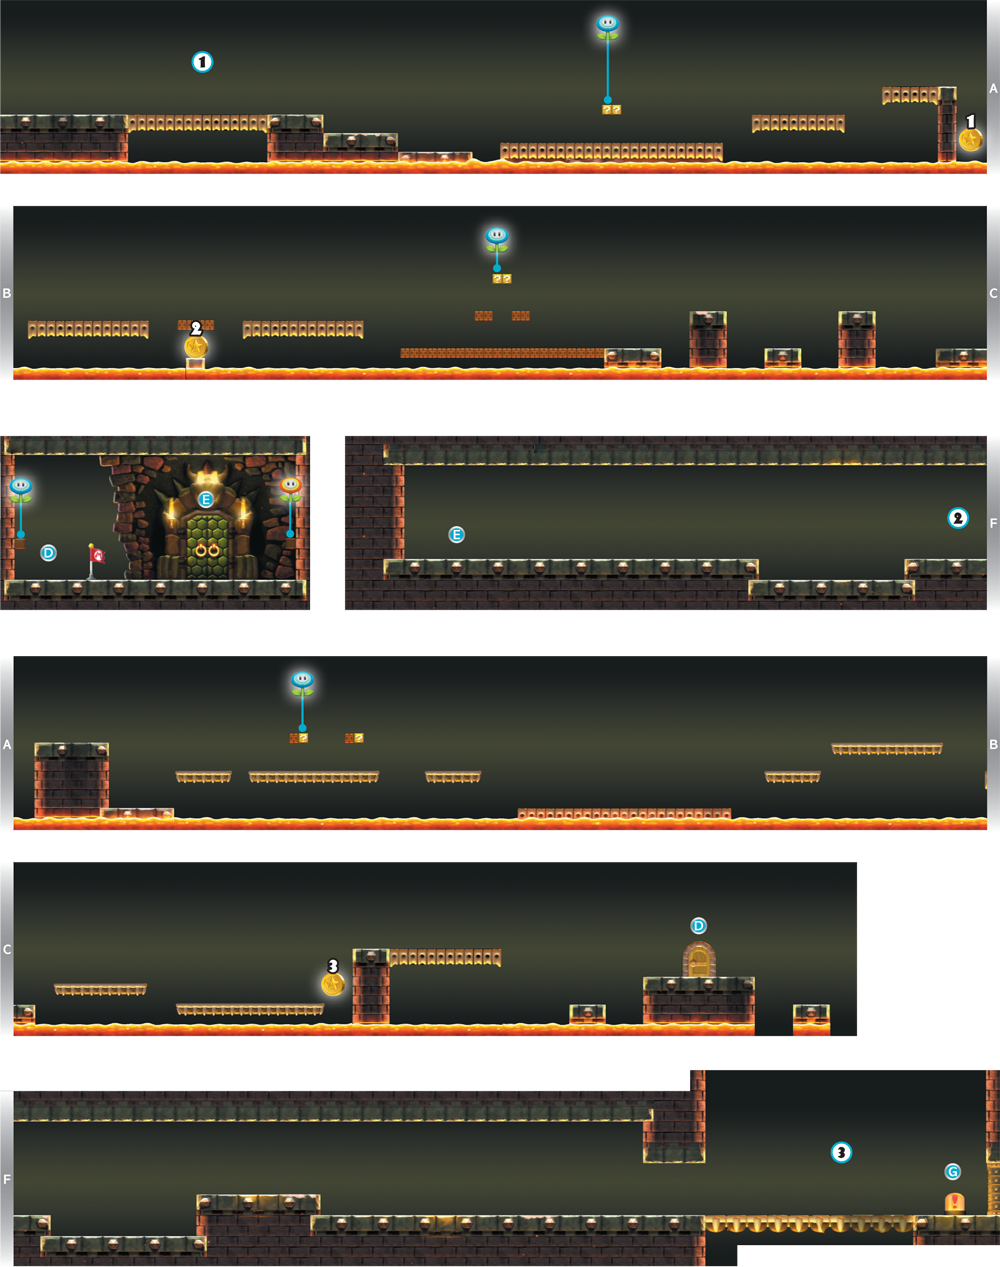
The first Star Coin sits on the low ground here, and is regularly dunked under the lava when the ledge lowers. Wait for the ledge to rise, then quickly dash across and collect the Star Coin before it sinks again.

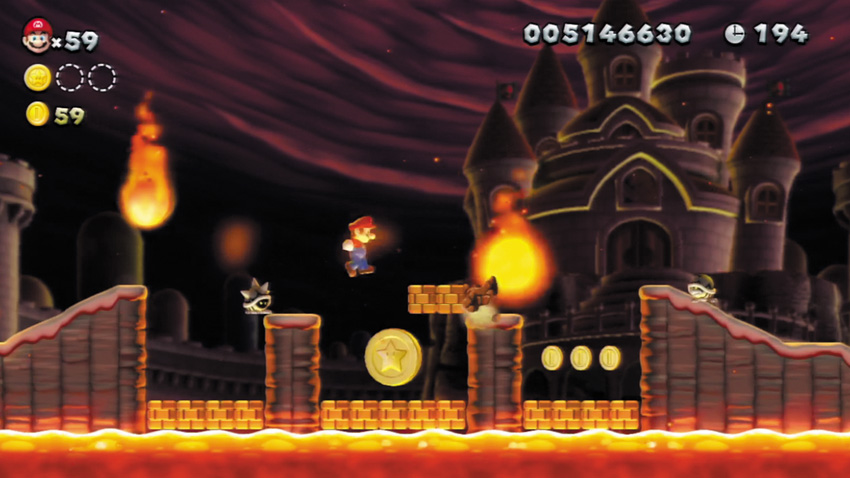
The second Star Coin is surrounded by Brick Blocks. Ground pound through the top Brick Blocks to reach it, or simply wait for a Bowser’s Flame to fall and destroy them. Quickly collect the Star Coin before another Bowser’s Flame falls and destroys the lower Brick Blocks, or else the Star Coin will be much harder to collect!
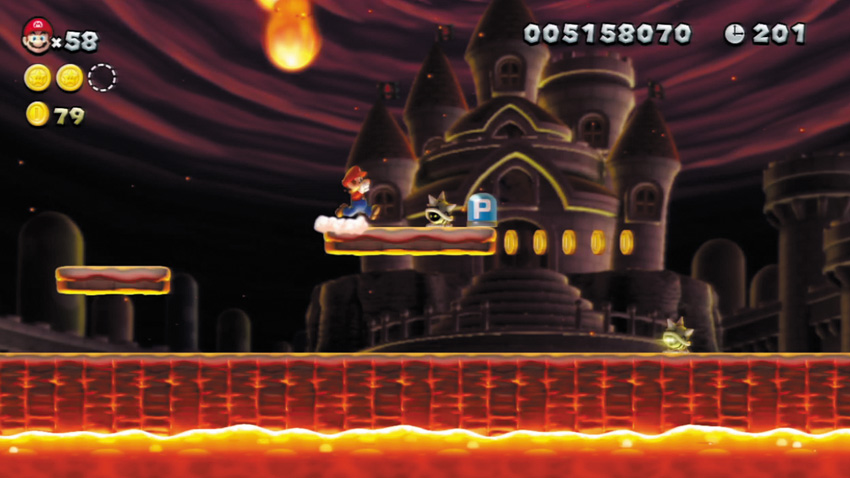
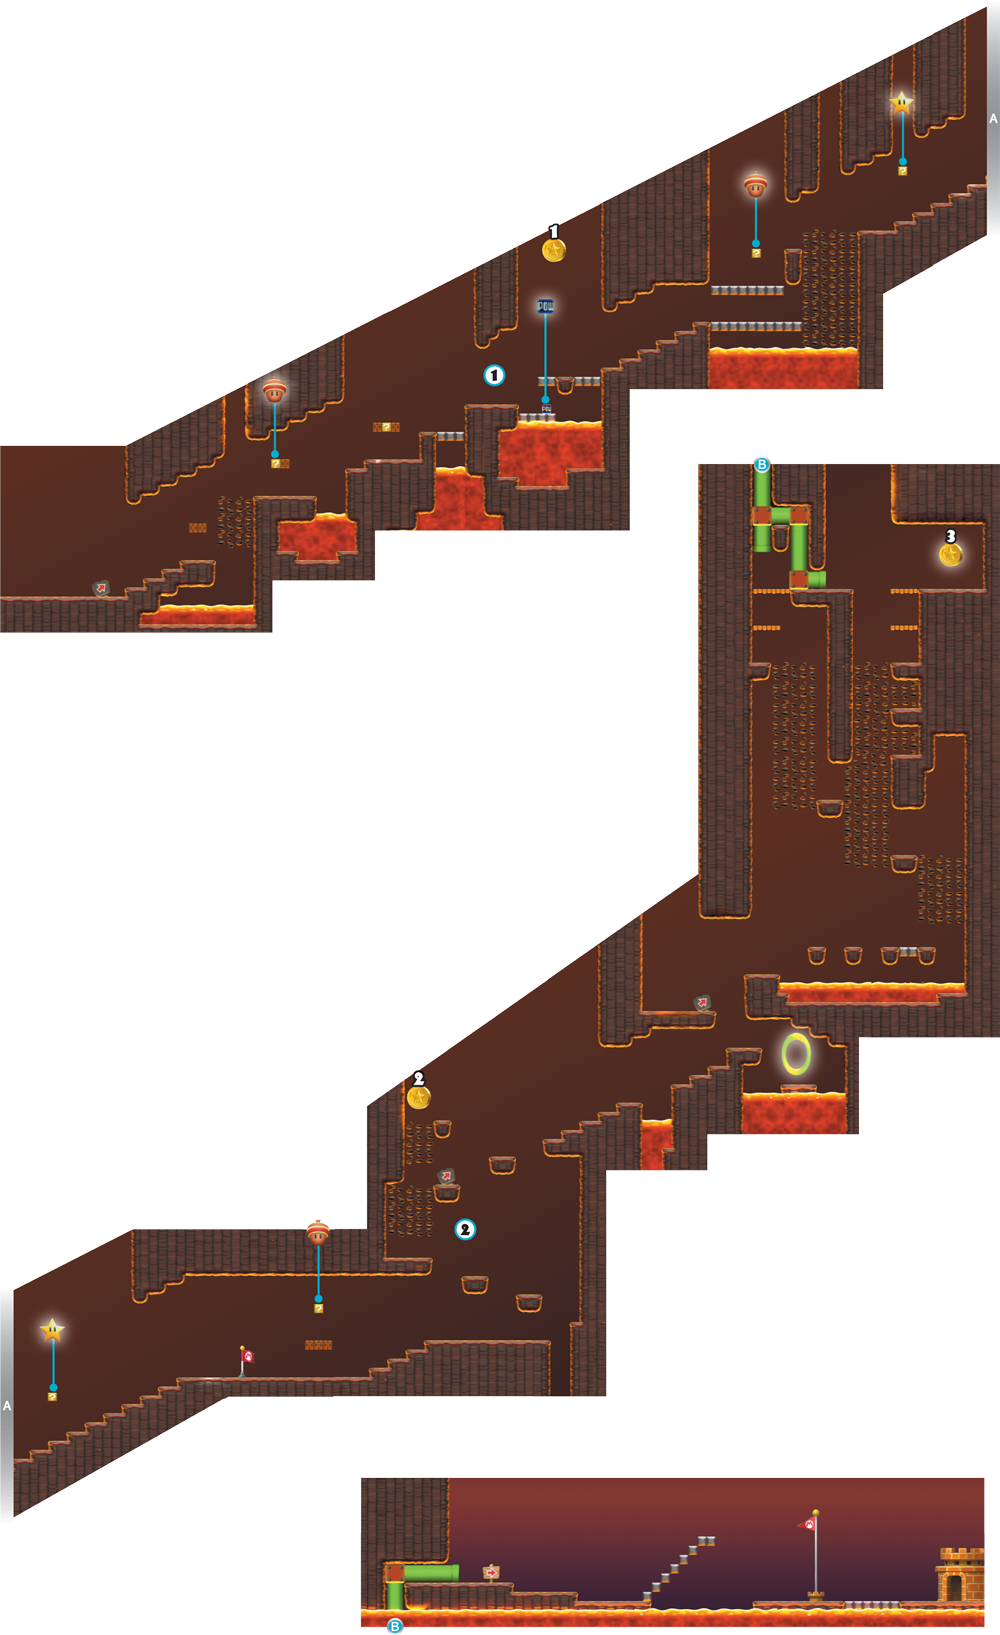
Hit the P Switch here, and the Coins ahead will briefly become Brick Blocks. Dash and jump along these Brick Blocks, and you’ll be able to keep to the high ground and avoid being dunked into the lava below when the ledge lowers.

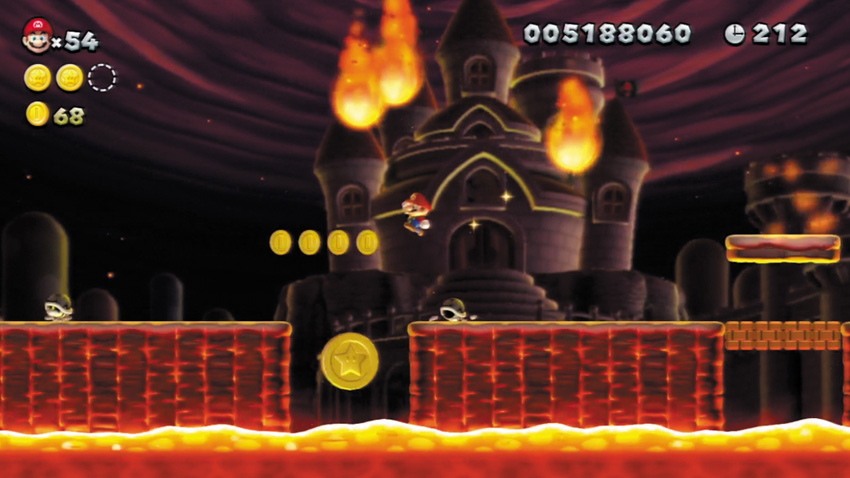
The final Star Coin is precariously placed here, in a shallow pit above the lava. Dropping into the pit to collect the Star Coin is risky—try freezing a Bony Beetle and throwing it at the Star Coin to collect it.
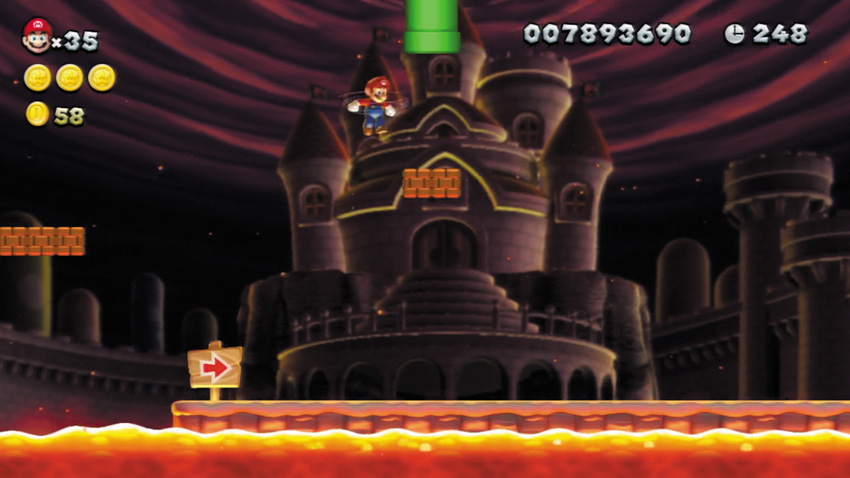
Hit the P Switch at Point 1, then make a long dash to this overhead Warp Pipe. You must leap along the temporary Brick Blocks and reach the Warp Pipe before the P Switch’s effects wear off and the Brick Blocks revert back to Coins. It isn’t easy, but reaching this Warp Pipe is worth the effort—it leads to this stage’s secret exit!
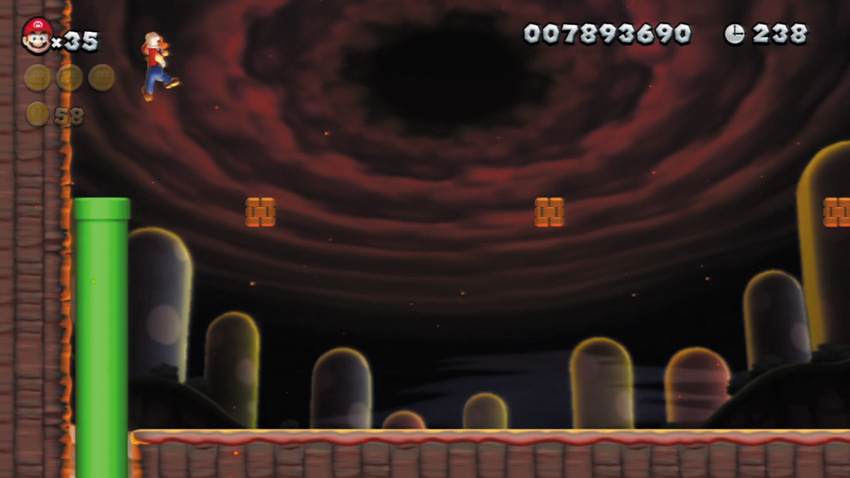
Enter the overhead Warp Pipe at Point 2 to reach this secret exit. Complete this stage using this secret exit, and you’ll unlock Peach’s Castle’s hidden stage!
Peach’s Castle 2
Magma-River Cruise
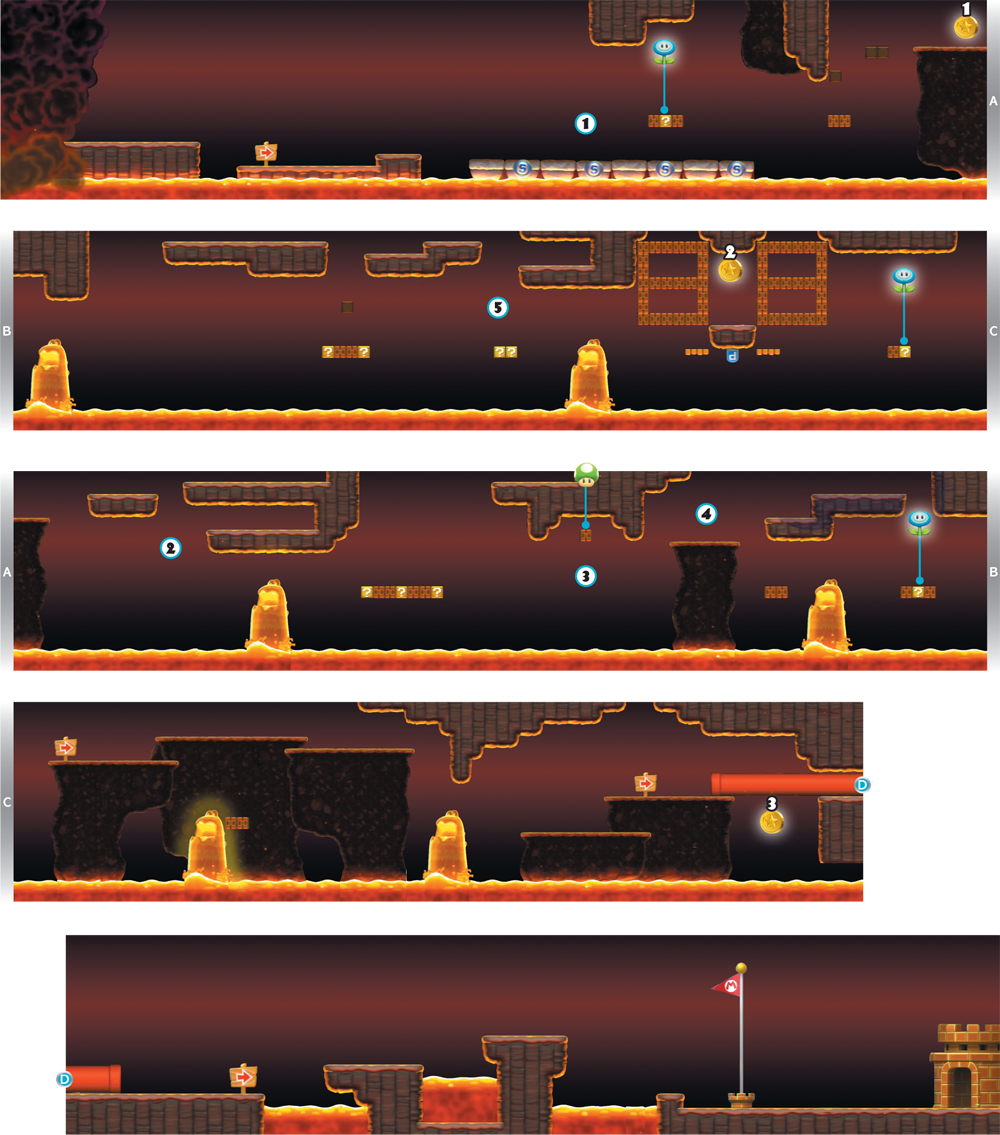
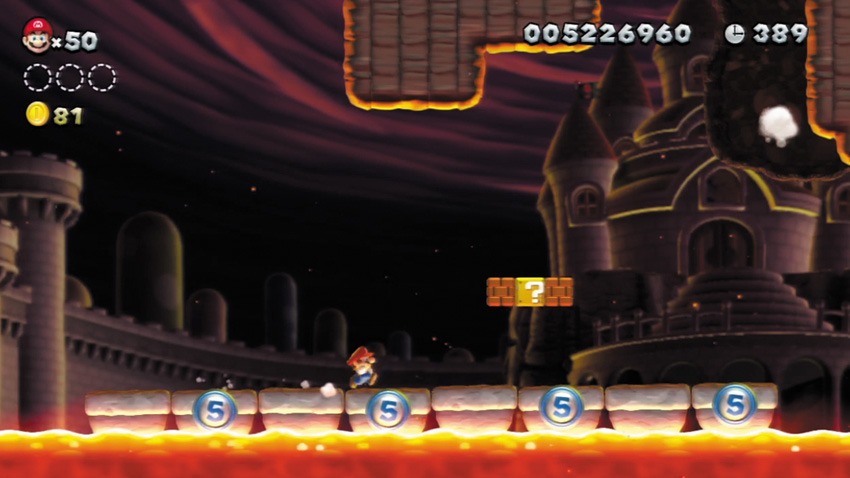
A thick cloud of hazardous ash chases you throughout this hectic stage, so waste no time in dashing onto the capacity lift here. The raft will ferry you forward through the stage, but only if there aren’t too many passengers. Defeat enemies that land on the raft quickly, or it will come to a halt!
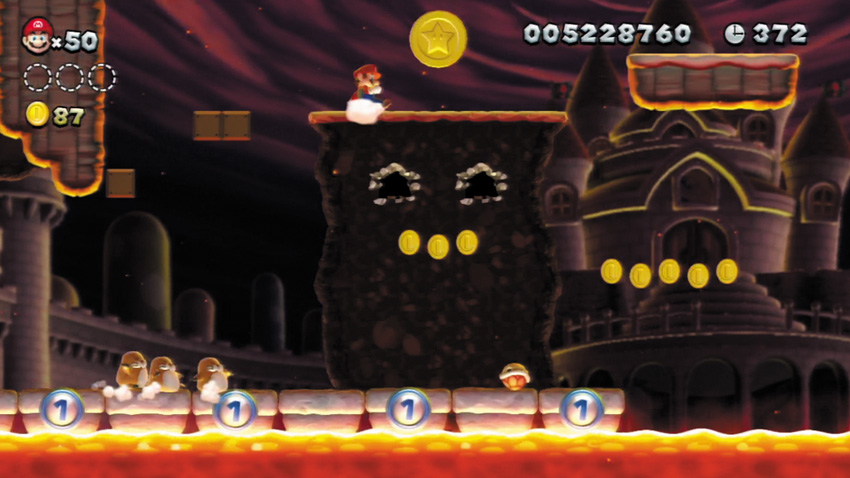
Jump onto the two Brick Blocks to the left of this first Star Coin, then jump up and bump a hidden Block above. Jump onto the hidden Block, and the two lower Brick Blocks will float upward, allowing you to leap across them and reach the Star Coin.
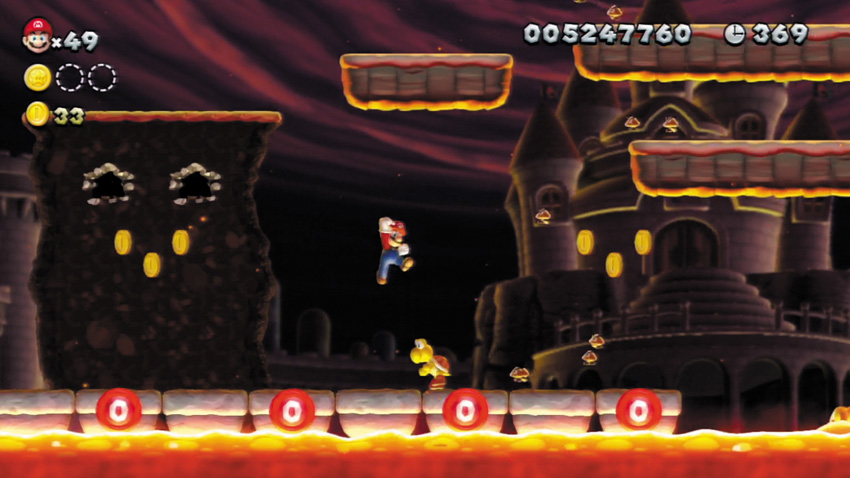
Beware! A whole troop of Mini Goombas falls onto the raft here, and each one counts as a passenger! Mini Goombas can’t harm Mario, but they’ll gang up on him and hamper his movements. Whenever Mini Goombas climb onto Mario, jump around and spin jump to quickly defeat them! A ground pound will also take care of those Mini Goombas.
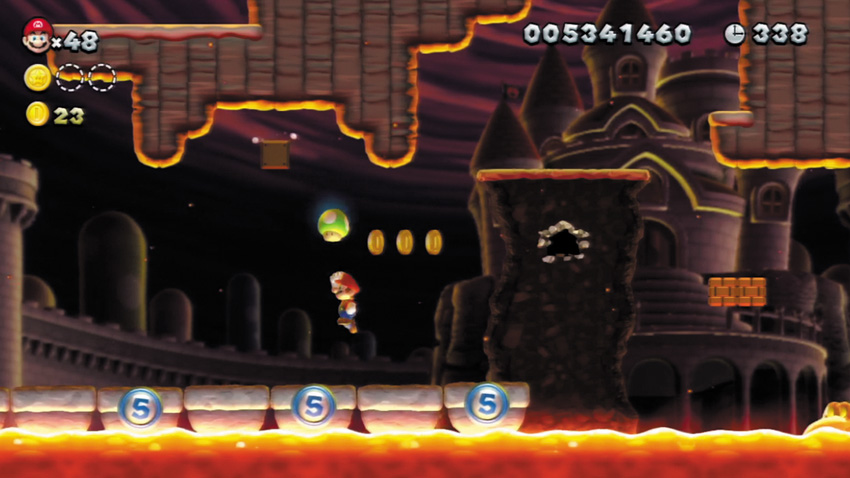
Bounce off a raft passenger to bump the high Brick Block here, which coughs up a 1-Up Mushroom.
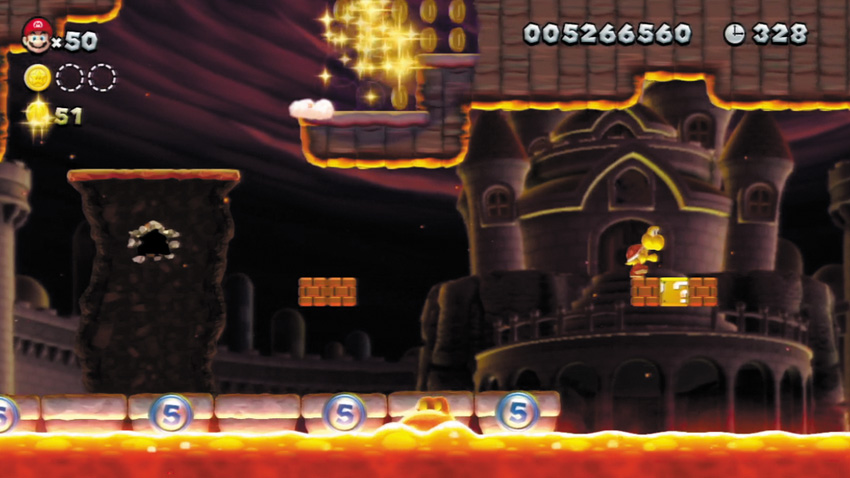
Leap up to the ledge here, then jump through the false wall on the right to discover a high passage that’s crammed with Coins. Follow the passage to its end and drop through the hole to land near the advancing raft.
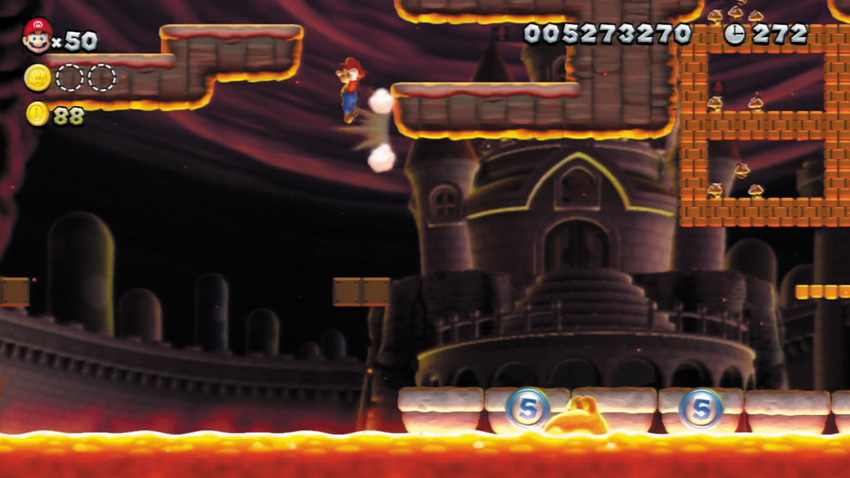
Stand on the ? Blocks here and then wall jump between the small ledges above. You’ll be able to bound up to a secret overhead path that leads toward the second Star Coin.
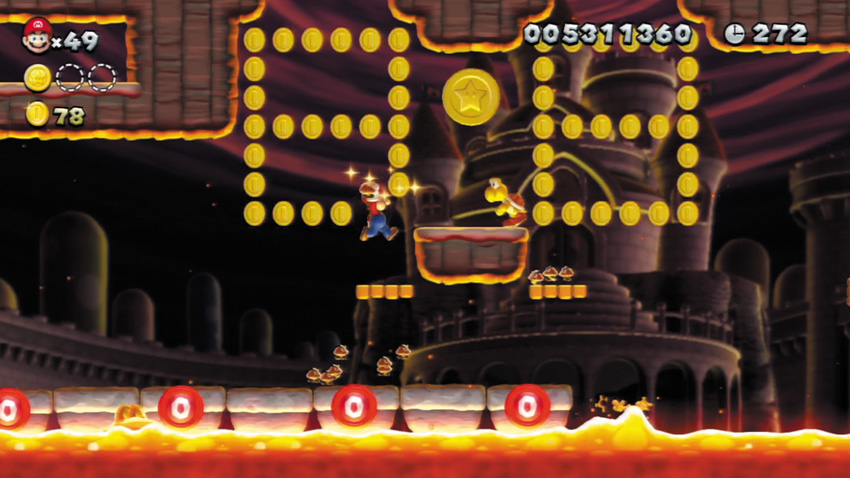
Hit the P Switch below the second Star Coin, and the Brick Blocks that surround it will briefly become Coins. Quickly jump up through the Coins and grab the Star Coin. If you wall jumped up to the secret path at Point 5, then you’ll need to ground pound through the Brick Blocks to reach the P Switch instead.
Ride the raft to the end of the river to claim this final Star Coin. Hopefully that ash cloud isn’t too close—you still need to jump up and escape through the Warp Pipe above!
Peach’s Castle 3
Rising Tides of Lava
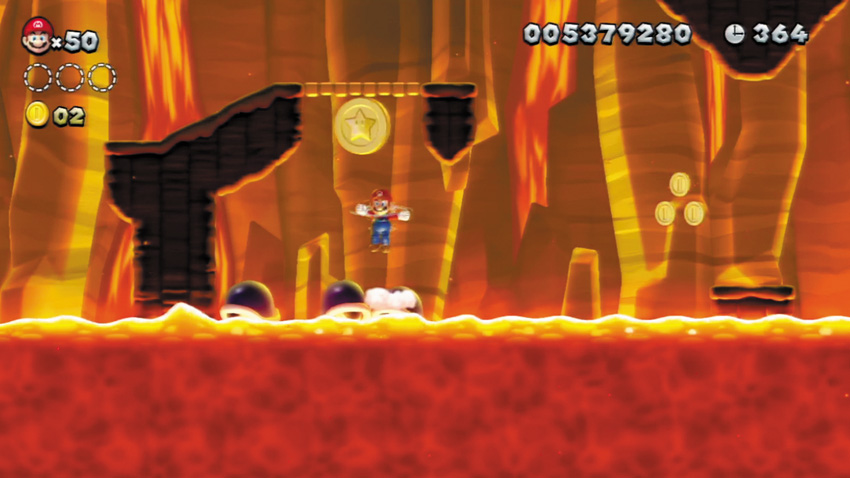
Wait for the lava to begin to rise below the first Star Coin, then hop onto the Buzzy Beetles that are milling about underneath the Star Coin. As long as they’re floating atop the lava, you can ride on Buzzy Beetles as if they were platforms. Jump up and grab the Star Coin when the lava rises high enough.
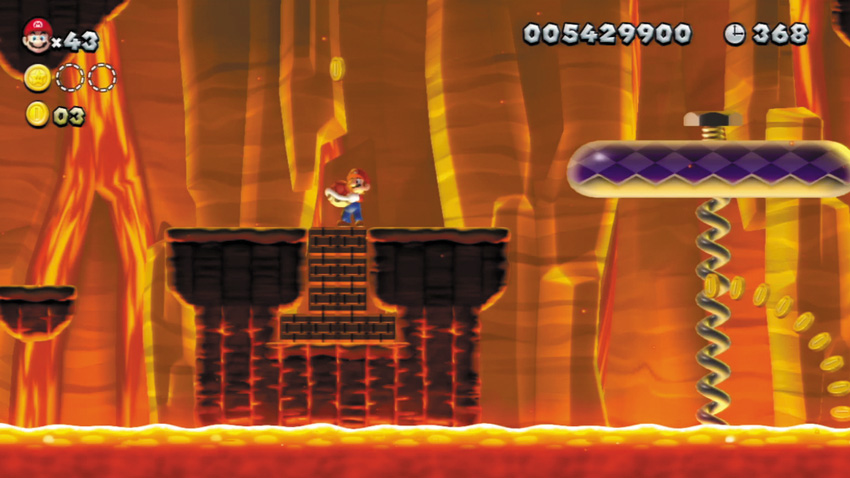
Leave the Koopa on the ledge here alone and ground pound through the central Brick Blocks while the lava is low. Jump out of the pit after smashing the Brick Blocks, then stun the Koopa and kick its shell into the pit, again waiting until the lava is low. The shell will bounce between the two remaining Brick Blocks, scoring you a whole bunch of Coins!
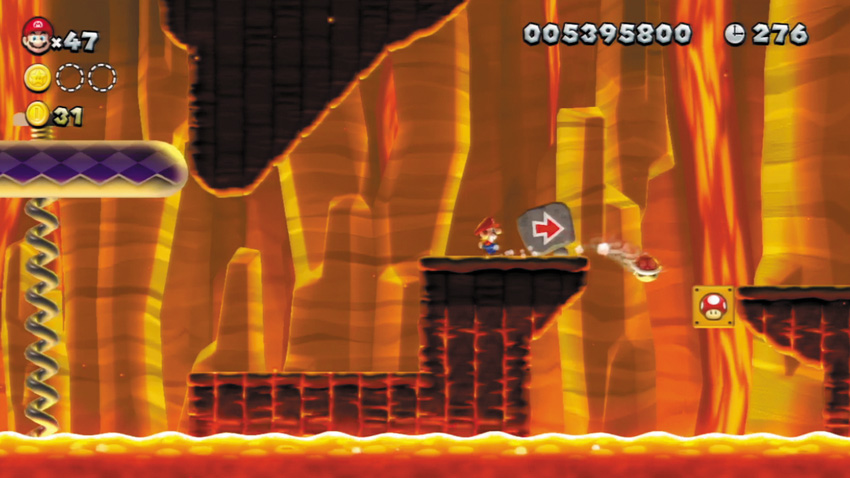
Stun the Koopa on this ledge, then toss its shell at the nearby Roulette Block to claim a random item.
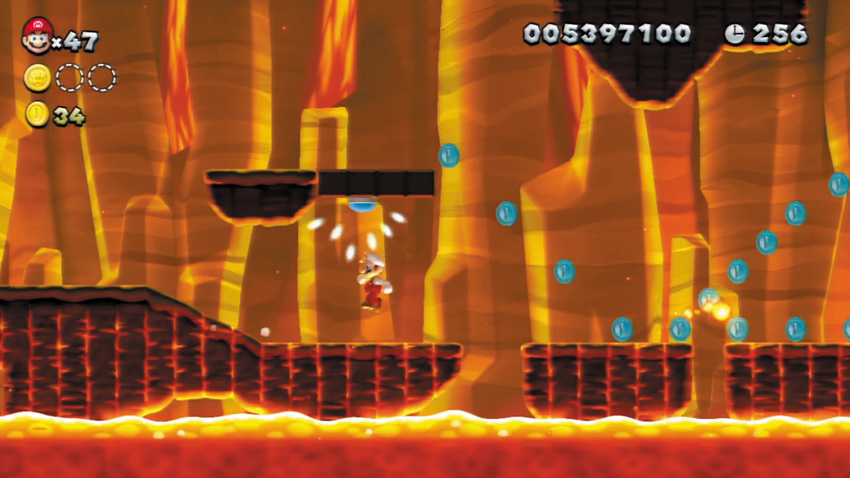
Bump the Brick Blocks here to discover a P Switch, then hit the switch to make a bunch of Blue Coins appear—and also turn the normal Coins to the right into Brick Blocks. Leap up the Brick Blocks as you follow the Blue Coins to the right, then dash across the small gaps beyond to speed through this area before the Brick Blocks revert back to Coins.
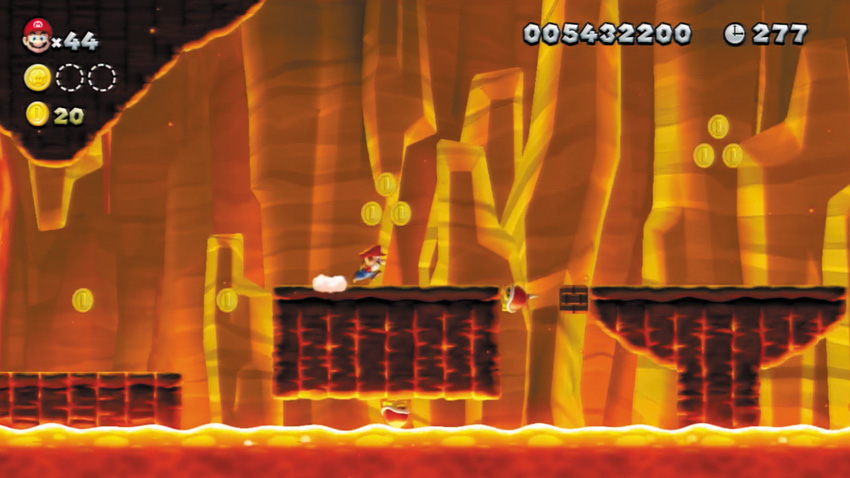
Stun the Koopa near the P Switch at Point 3, hit the P Switch, and then carry the Koopa shell all the way over to the Brick Block here. Hit the Brick Block with the shell to make a 1-Up Mushroom pop out!
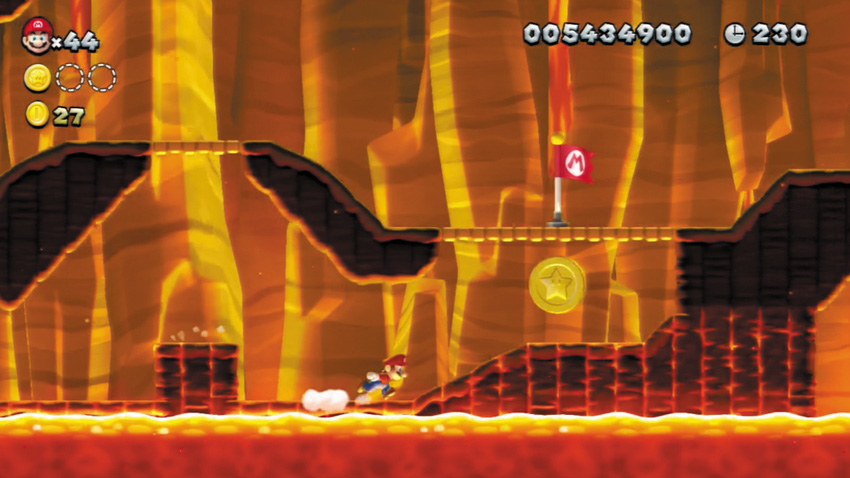
You’ve got no time to waste while going after this Star Coin. The moment the lava lowers, drop into the low passage that leads to the Star Coin and dash toward the Star Coin with all speed. Jump over every obstacle on your way to the Star Coin—you can’t afford to slow down!
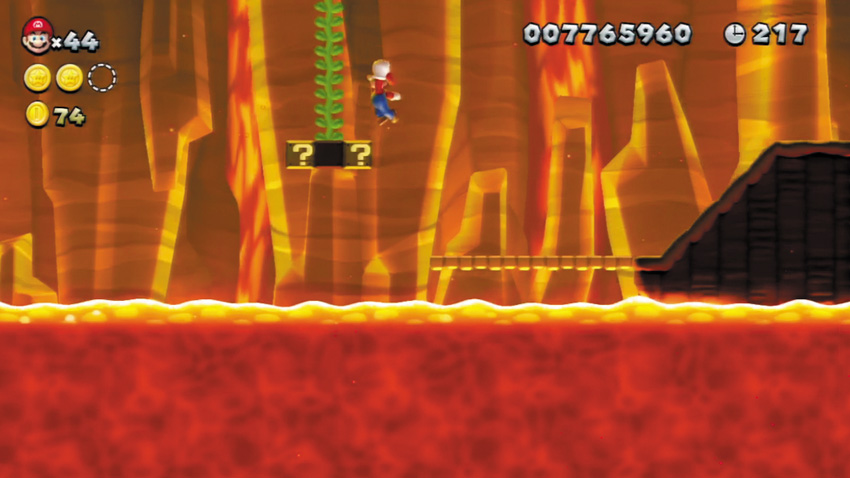
Jump up and strike the hidden Block that lies between the two ? Blocks here. A Beanstalk will sprout up to the sky. Scale that Beanstalk to reach a secret area!
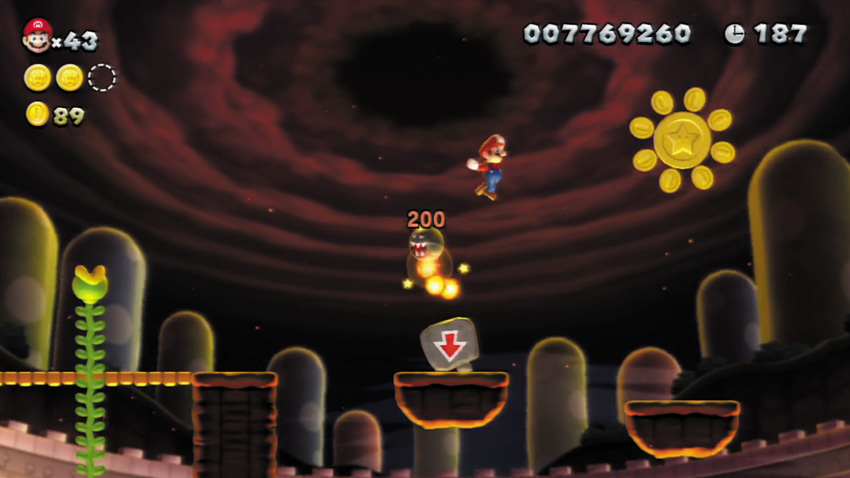
The final Star Coin is hidden in this high area—climb the Beanstalk at Point 5 to get here. Run, jump, and bounce off the Flame Chomp up here while it pauses to spit out a fi reball. If you time it just right, you’ll bounce off the Flame Chomp and sail over to the Star Coin in one smooth move!
Peach’s Castle 4
FireFall Cliffs
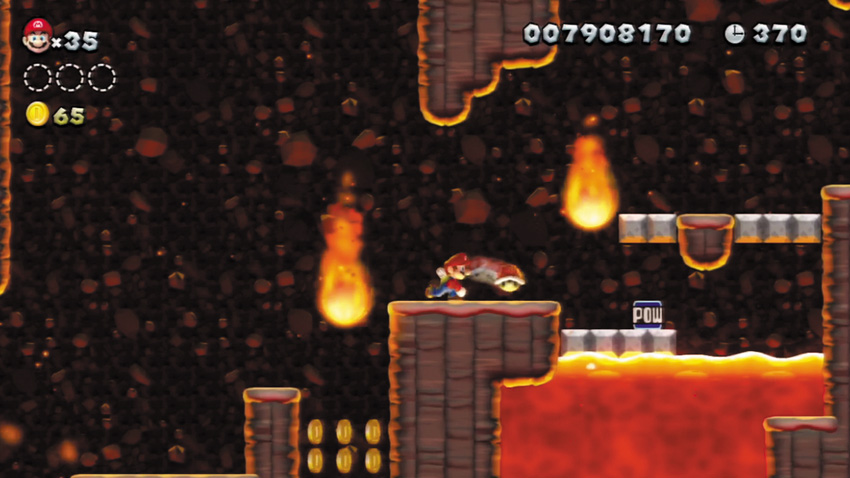
You’ve got to keep moving as you climb this crazy stage! Stun the Koopa here and toss its shell at the nearby POW Block. The first Star Coin will fall within easy reach.
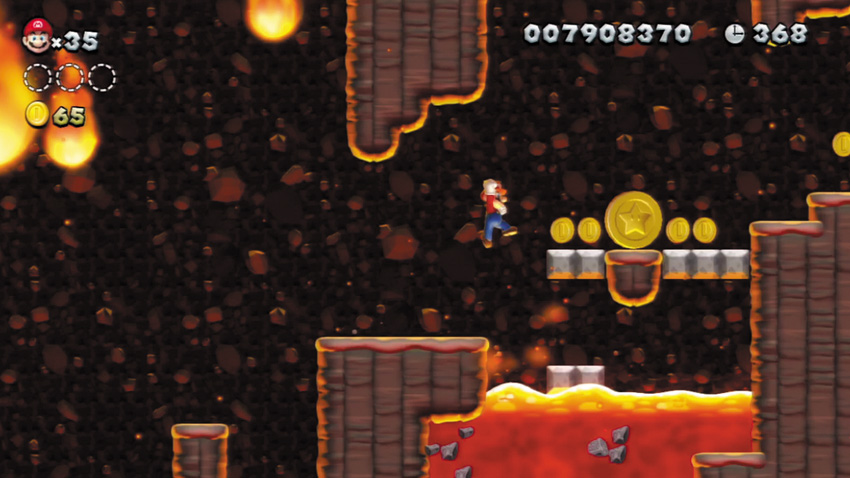
Hit the POW Block near Point 1 to make the first Star Coin drop nearby. Just leap up and grab it!
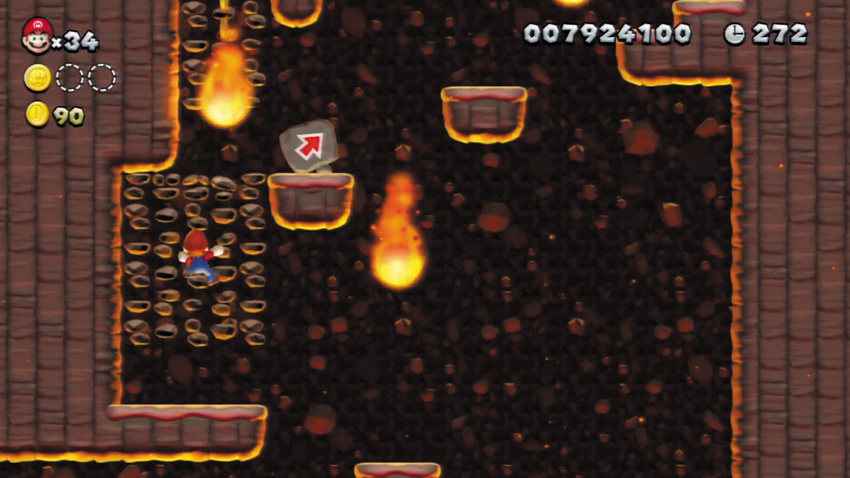
Climb the rocky walls here to continue your ascent, but watch out for those falling Bowser’s Flames!
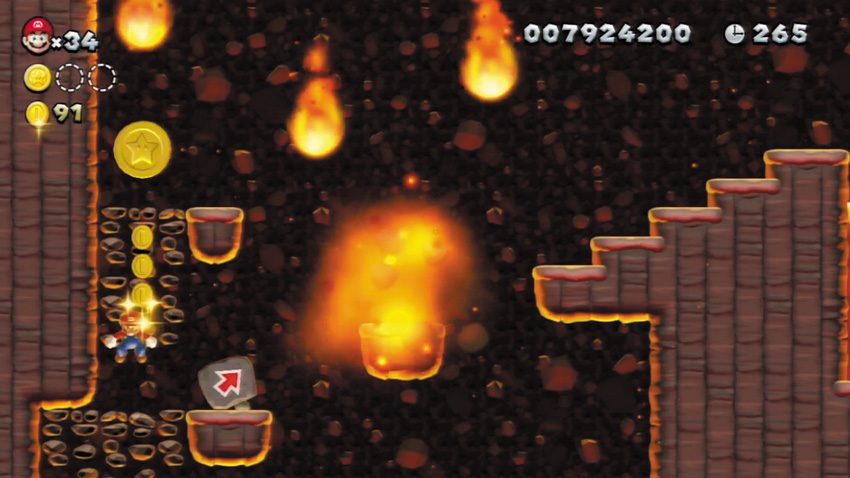
The second Star Coin lies above the climbable wall here. Dodge Bowser’s Flames as you maneuver up to the Star Coin.
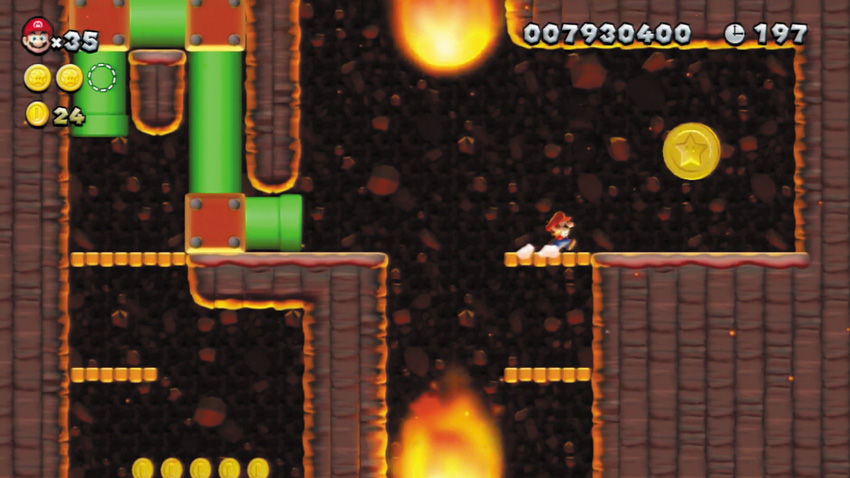
The third Star Coin lies at the top of the cliffs. You must climb the central rock wall to reach this final prize. When big Bowser’s Flames come falling at you during this climb, duck into the side nooks for safety.
Peach’s Castle
Red-Hot Elevator Ride
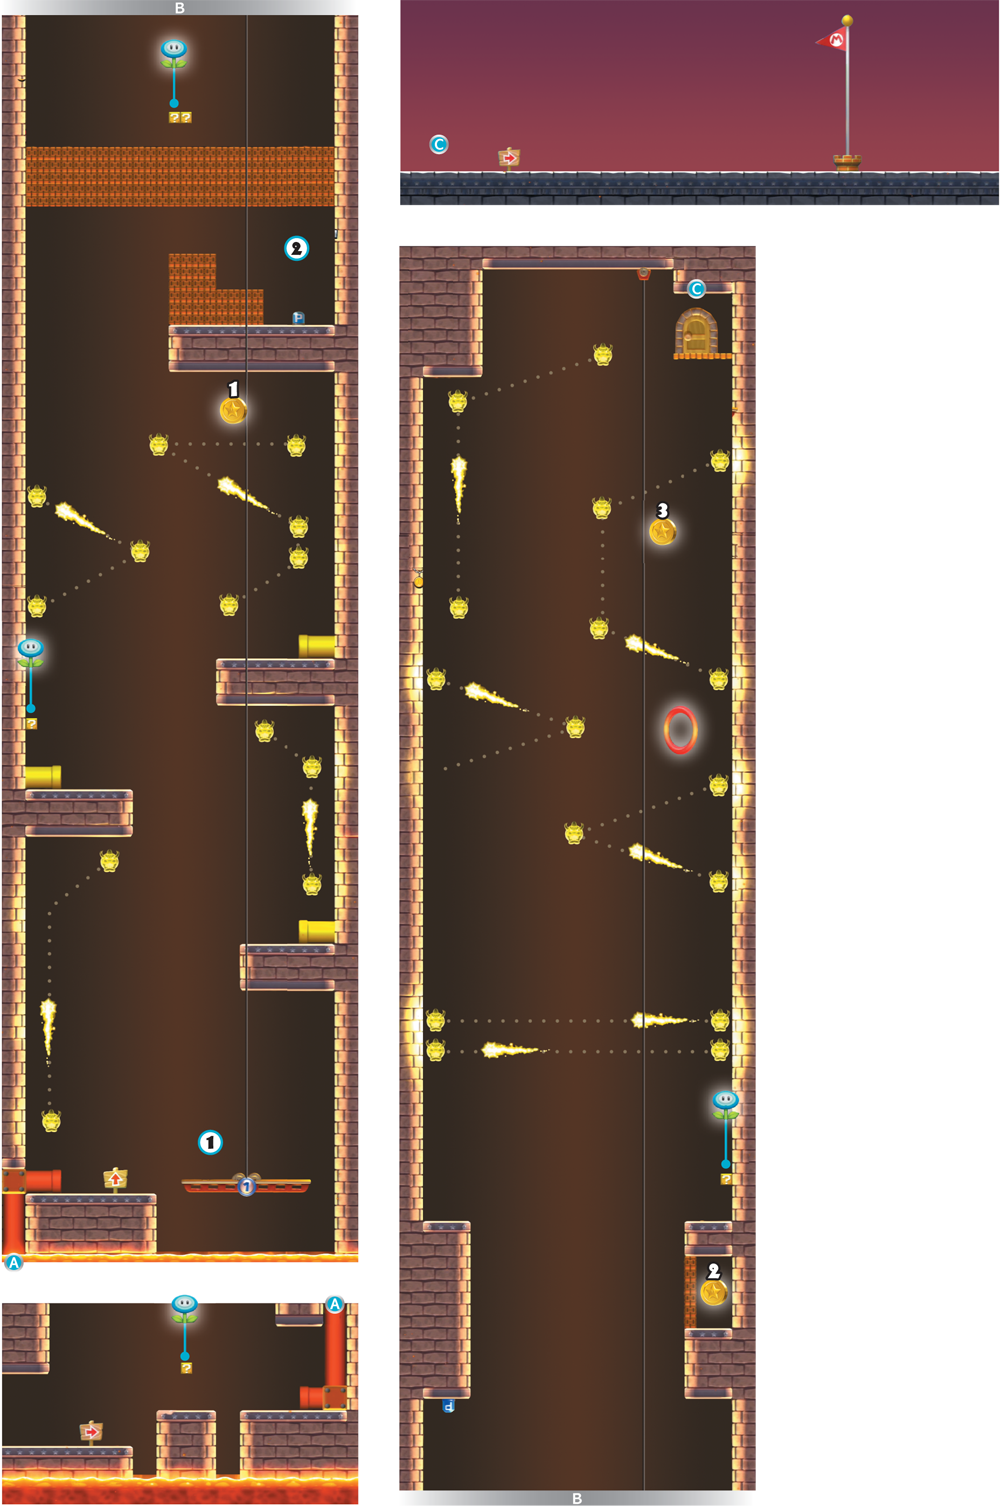
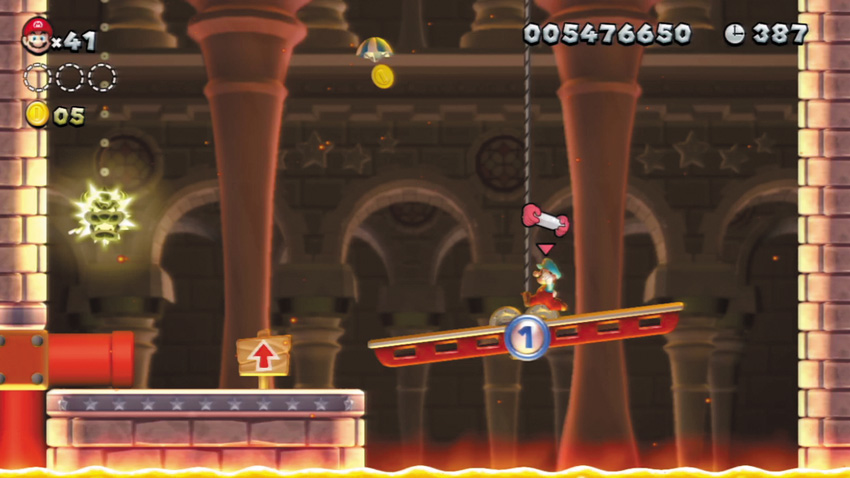
The lava just keeps rising as you make your final climb up Peach’s Castle! Hurry and hop onto the Limited Lift here, and you’ll be hoisted ever upward. Don’t allow any enemies, Coins, or items to land on the lift—too much weight will make it stop!
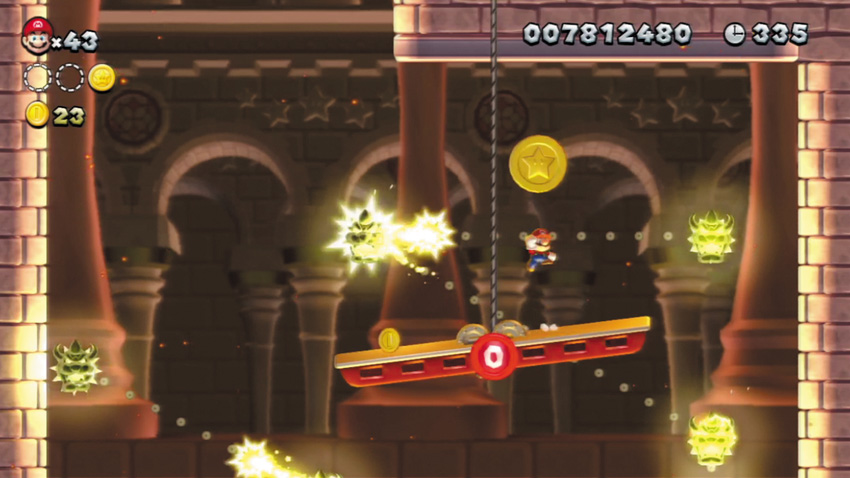
Carefully avoid the electric shocks produced by the Bowser Stunners near the first Star Coin. Crouch or jump as needed to dodge them while you rise toward the Star Coin.
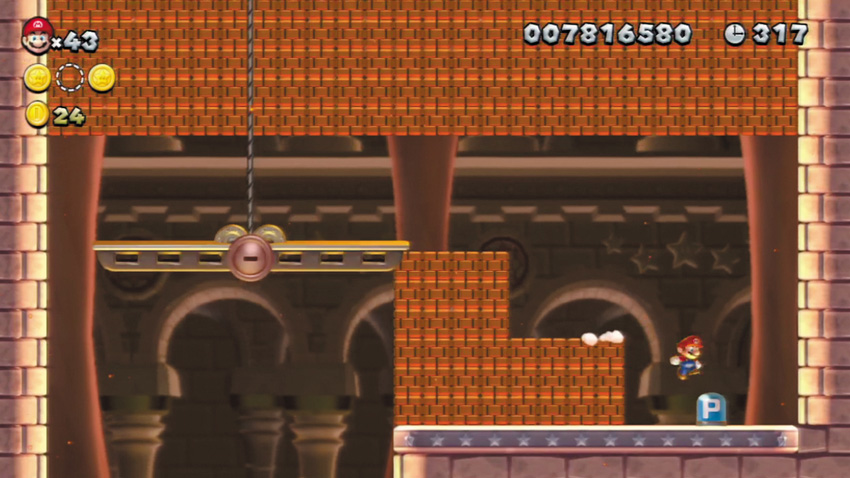
Dash over and hit the P Switch here to turn all the Brick Blocks above you into Coins. If you’ve been reduced to Small Mario, this is the only way to get past those pesky Brick Blocks!
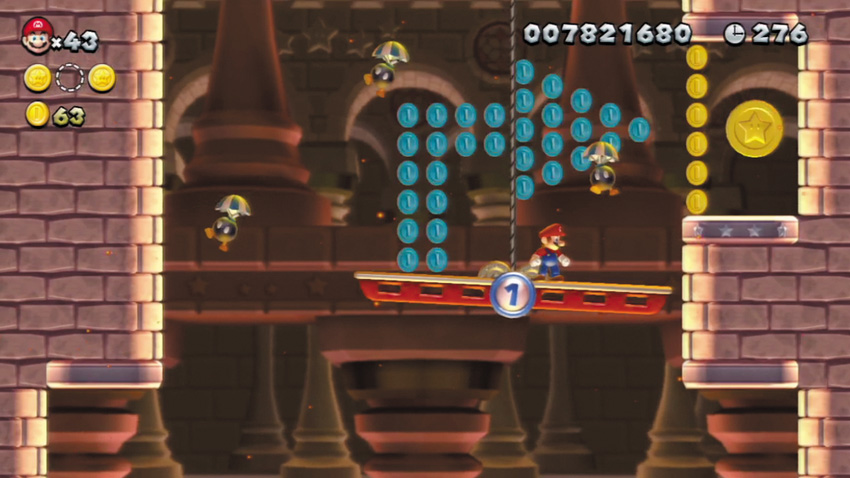
The second Star Coin is sealed off by a wall of Brick Blocks. Hit the P Switch on the opposite side of the tower to turn the Brick Blocks into Coins, then quickly head over and collect the Star Coin.
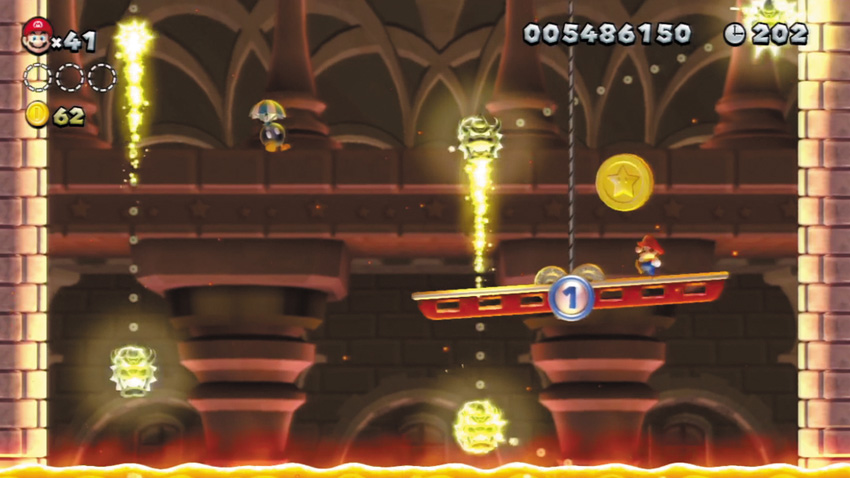
There’s no trick involved in collecting the final Star Coin—just be careful to avoid those Bowser Stunners as you ride up to it.
Peach’s Castle Finale
The Final Battle
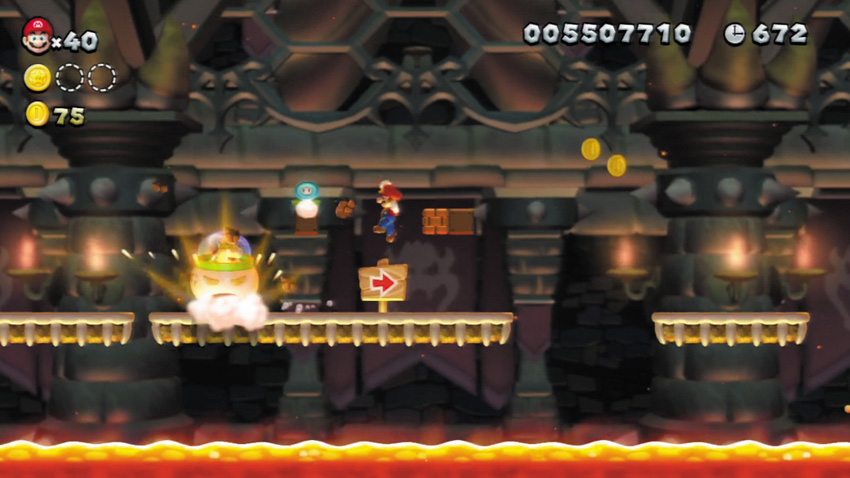
Beware! Bowser Jr. pursues you throughout this final stage, and will periodically try to slam you with his flying Clown Car. The little brat can destroy useful Brick Blocks when he slams down, or cause platforms to fall. The impact will also buckle this stage’s bridges, potentially sending Mario flying if he’s caught in the shock wave!
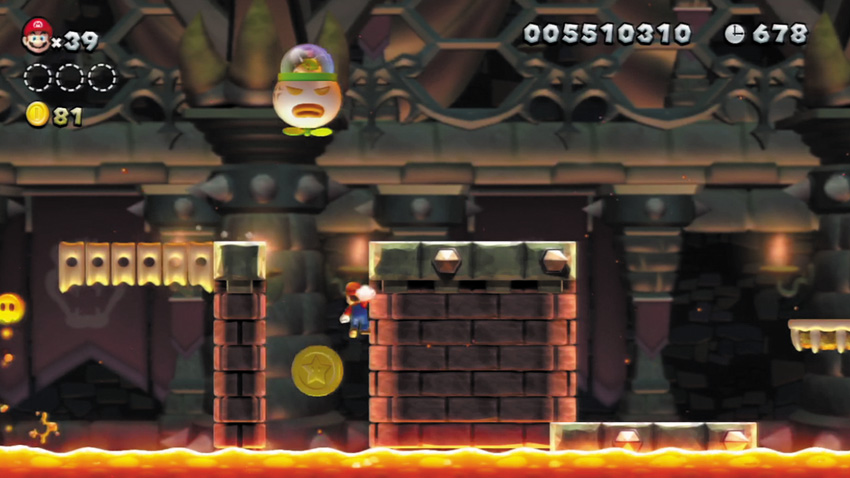
Drop into a pit to claim this first Star Coin, then quickly wall jump up to safety before you hit the lava below.
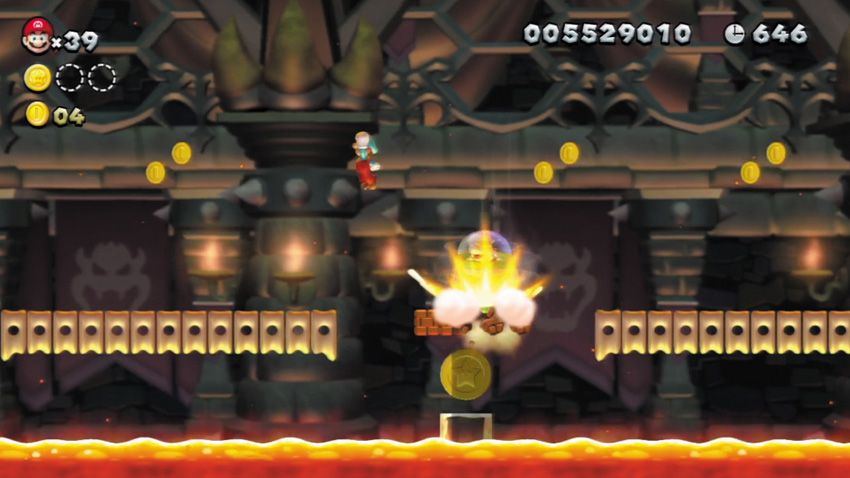
Trick Bowser Jr. into smashing through the Brick Blocks above the second Star Coin, then quickly drop down and snag it.
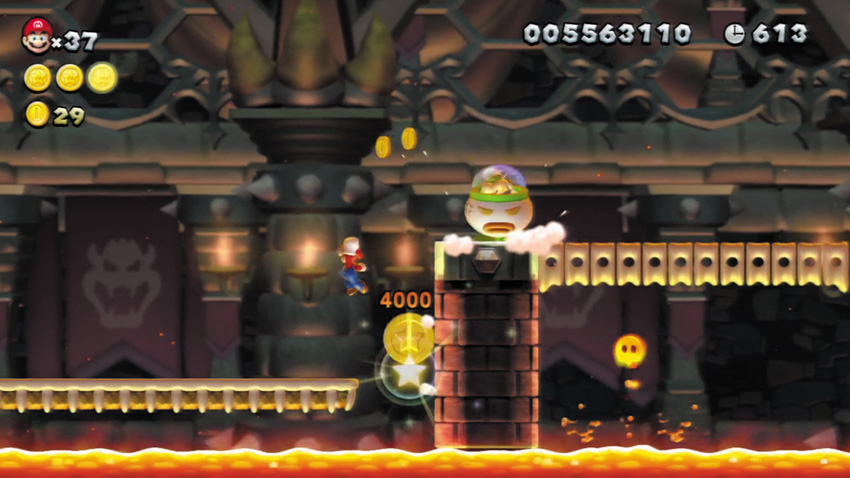
Jump into the wall near this final Star Coin, and slide down to collect it. Immediately wall jump to safety afterward— assuming Bowser Jr. hasn’t knocked the nearby platform into the lava!
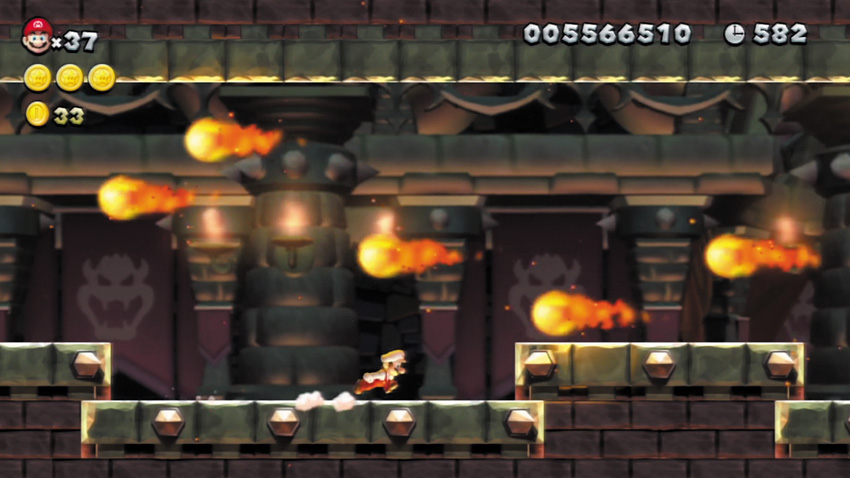
Dodge the huge, roaring fireballs as you sprint down this long hall. The final battle is at hand!
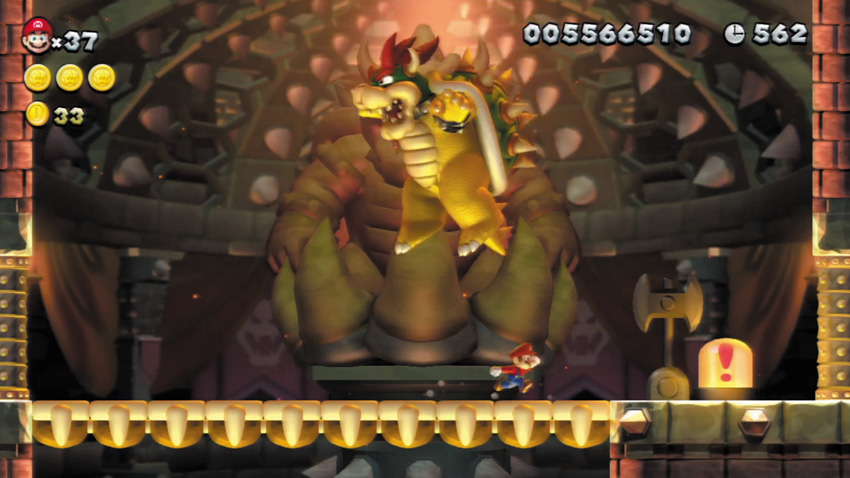
The King of all Koopas, Bowser, awaits Mario here. Dodge Bowser’s fireballs during this classic battle, and wait for the tyrant to leap into the air. Dash past Bowser the moment he becomes airborne, then jump on to the giant ! Switch behind him to knock out the bridge and send the great Koopa falling to his doom!
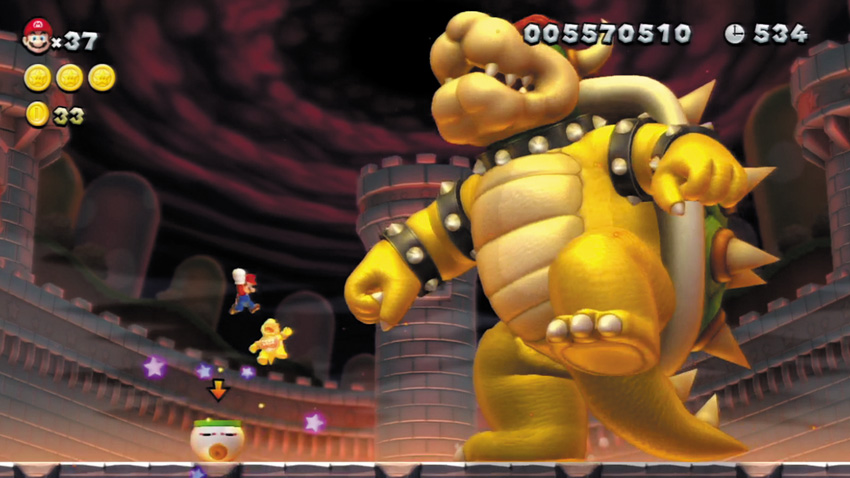
But wait, it’s not over yet! Bowser becomes enchanted by Magikoopa, growing truly monstrous in size! Continue to dodge his giant fireballs as you wait for Bowser Jr. to appear and slam down toward you in his flying Clown Car. Stomp Bowser Jr. after he slams down, then commandeer his ride!
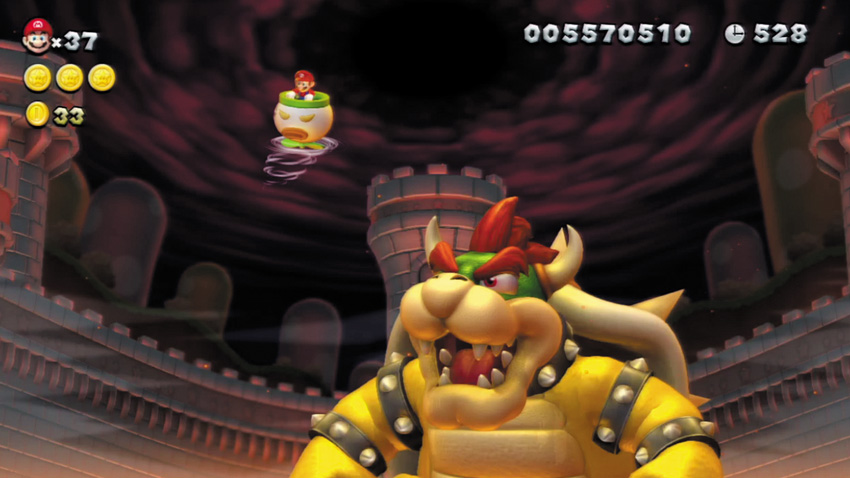
Soar up high in Bowser Jr.’s Clown Car, then fly over Bowser and slam him by pressing the ZR Button (or by shaking your Wii Remote). Take that!
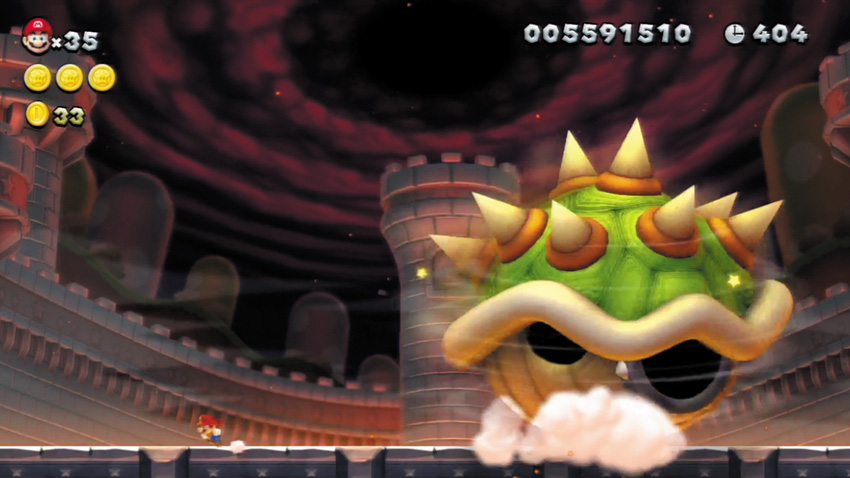
Bowser turtles up after being slammed and begins to spin after you. Dash all the way to the left, then turn around and dash to the right, slipping past the Koopa King’s shell when it leaps into the air. Keep running to the right until Bowser’s shell skips into the air again, then change direction and dash past it again while it’s airborne. Bowser will then emerge from his shell, angrier than ever!
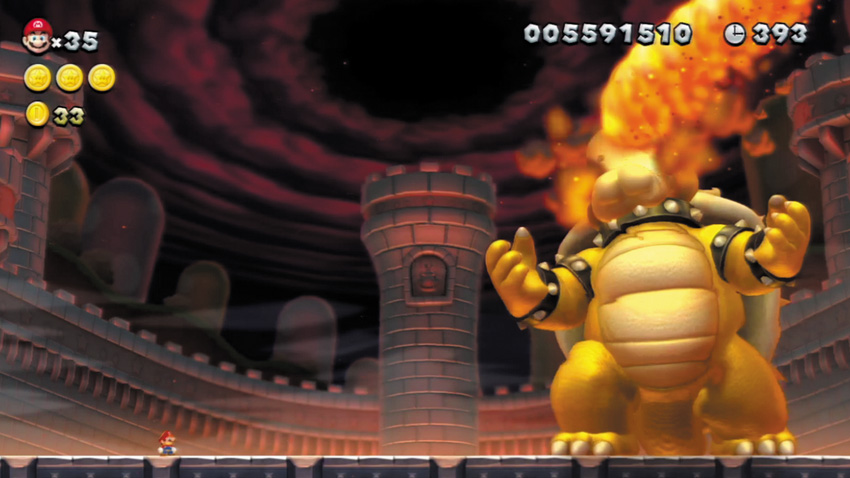
Bowser spews fireballs up into the sky after emerging from his shell—make sure you aren’t burned by any when they come crashing back down! Dodge the falling fireballs as you wait for Bowser Jr. to reappear, then look to stomp him again and steal his Clown Car as you did before. Slam Bowser three times with Bowser Jr.’s Clown Car, and the Koopa King will at last be clobbered!