
New Super Mario Bros. U Guide Walkthrough Worlds
Acorn Plains
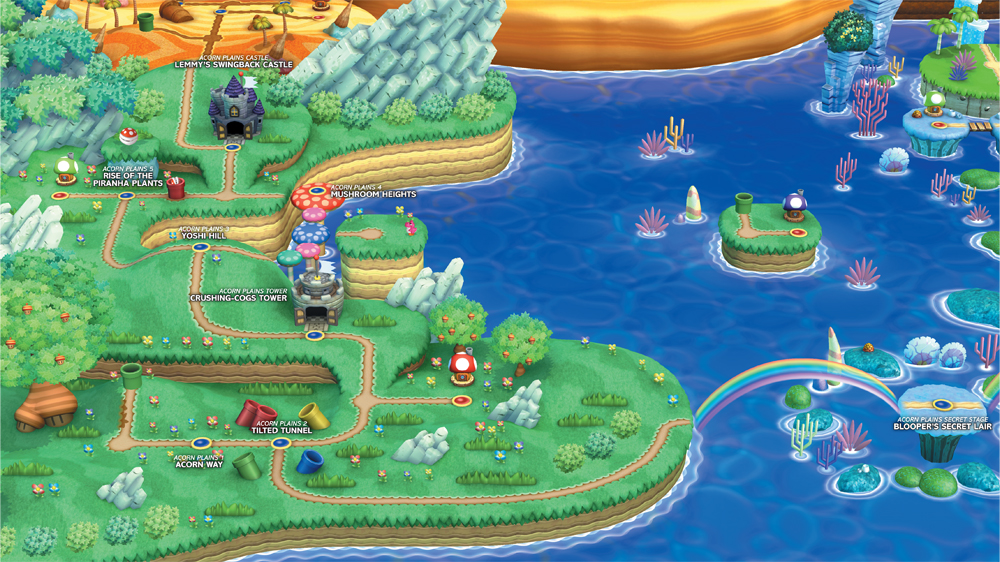
| Levels | Toad Houses | Map Enemies | Boss |
|---|---|---|---|
| 8 | 2 | 1 | Lemmy |
Acorn Plains 1
Acorn Plains Way
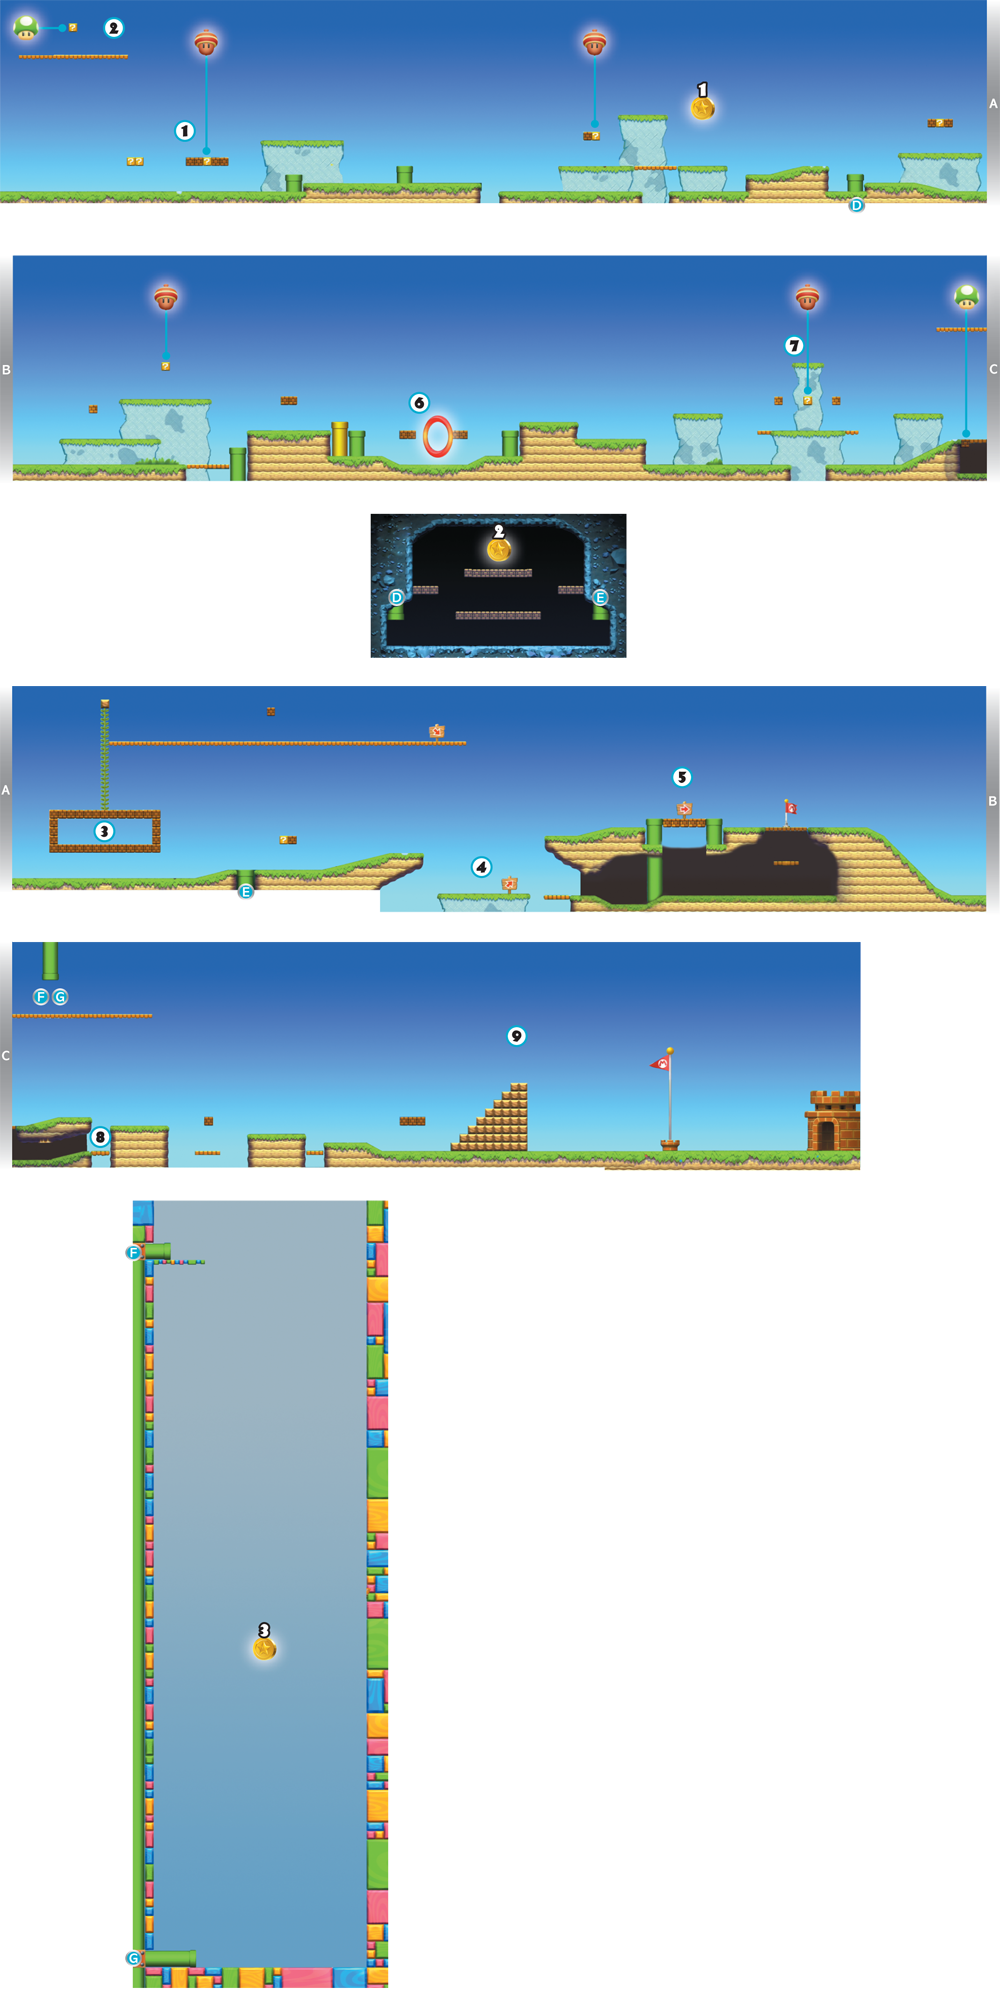
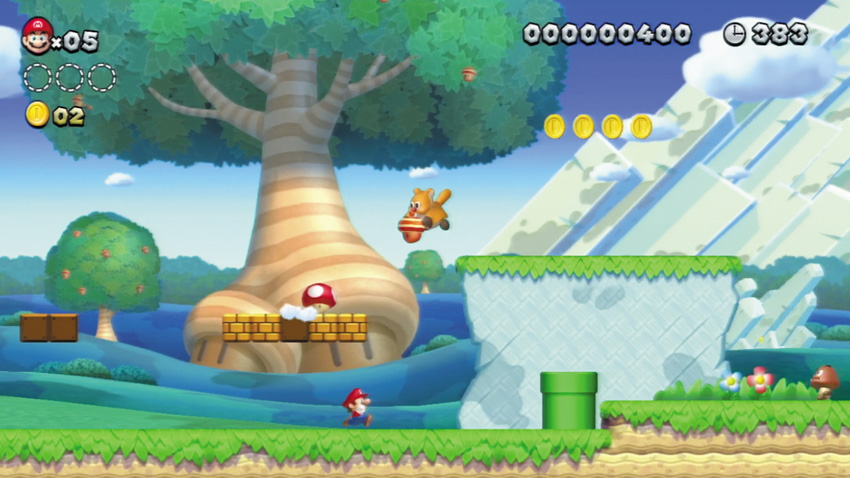
Defeat the first Waddlewing you see to free a Super Acorn. Collect the Acorn to transform into Flying Squirrel Mario!
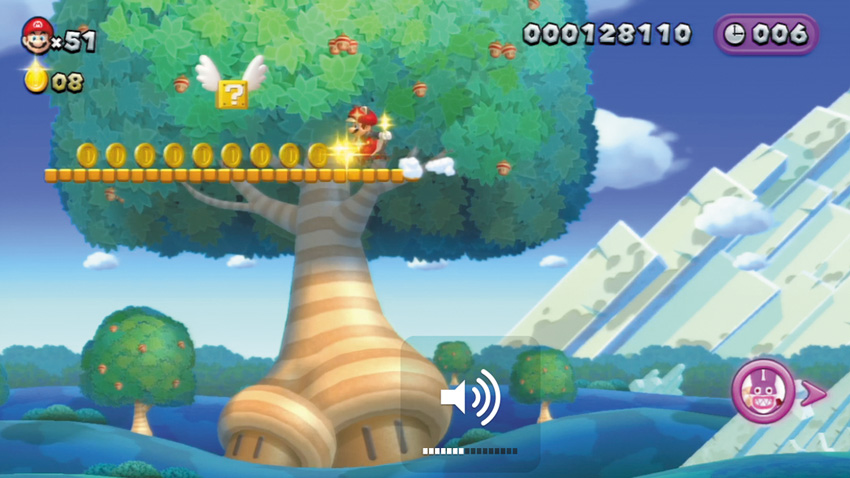
Flying Squirrel Mario can reach this high platform with a flying squirrel jump. Bump the winged ? Block up here to score a 1-Up Mushroom!

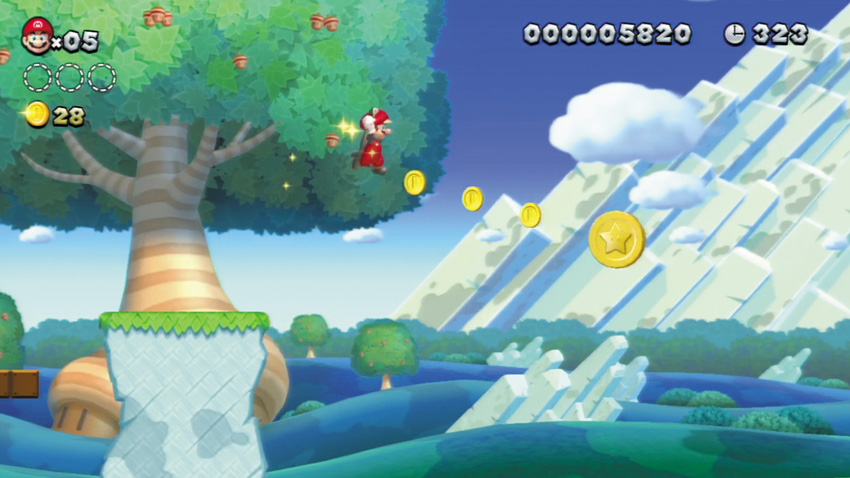
As Flying Squirrel Mario, jump and hold the jump button to glide over to the first Star Coin. You can also jump up and press the ZR Button to soar upward and grab the Star Coin from below.

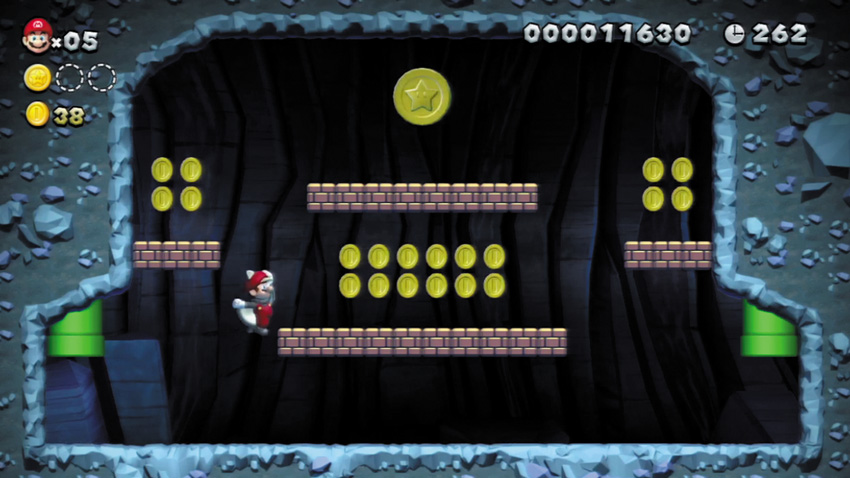
Enter the Warp Pipe beyond the first Star Coin to visit a small cavern, where the second Star Coin is found.
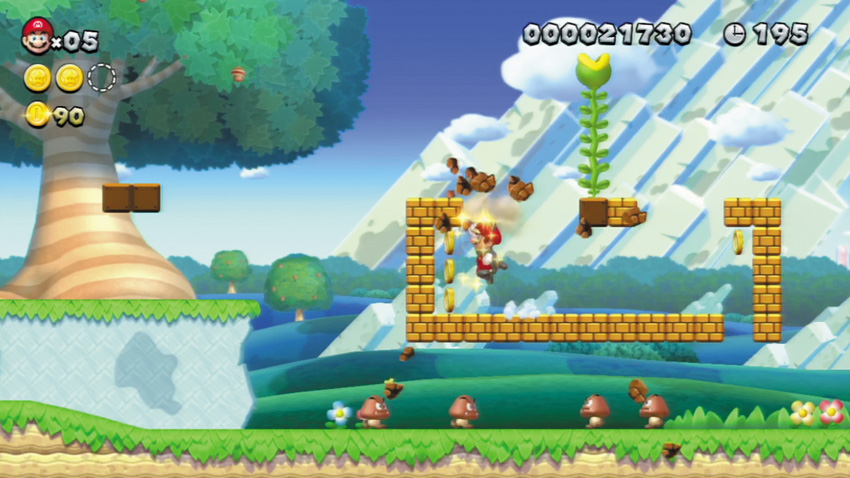
Jump and smash the Brick Blocks here to extend a Beanstalk up into the sky, where you find plenty of Coins.
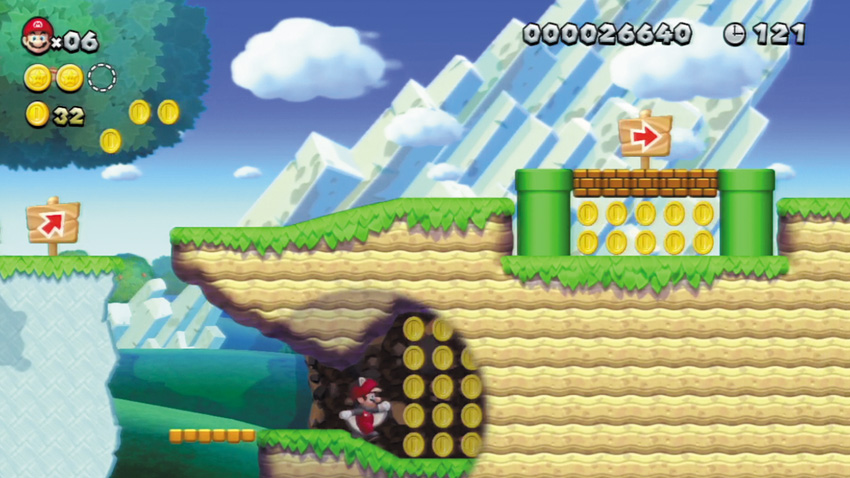
Wait for the ledge to lower here, then jump toward the cliff to the right to discover a hidden cave filled with Coins!
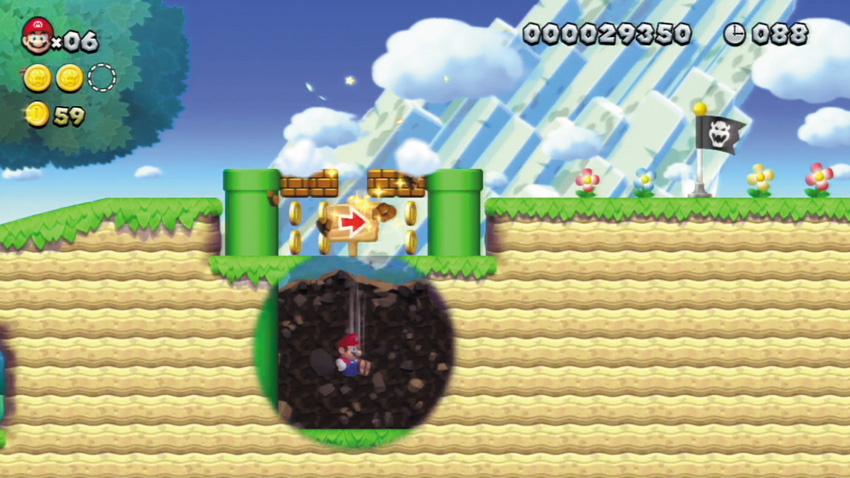
Ground pound through the Brick Blocks between these two pipes to drop into another hidden cave, where even more Coins await.
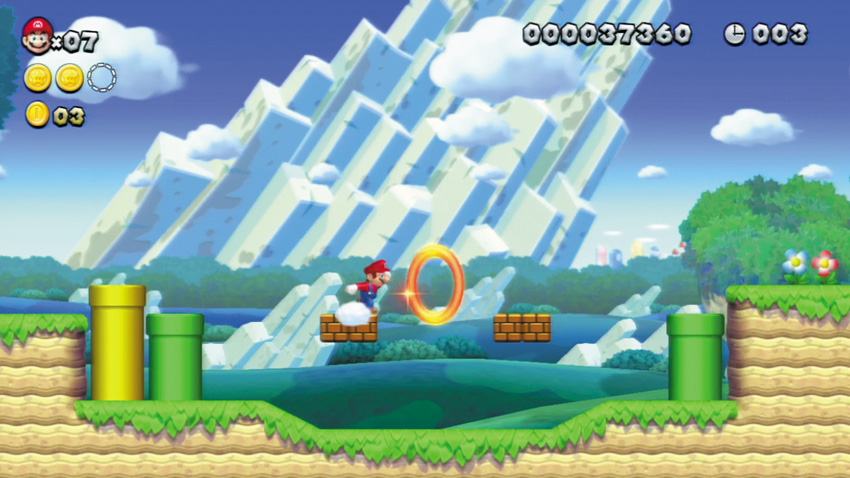
Touch a Red Ring here to cause eight Red Coins to appear nearby. Score an item by collecting all eight Red Coins before they disappear!
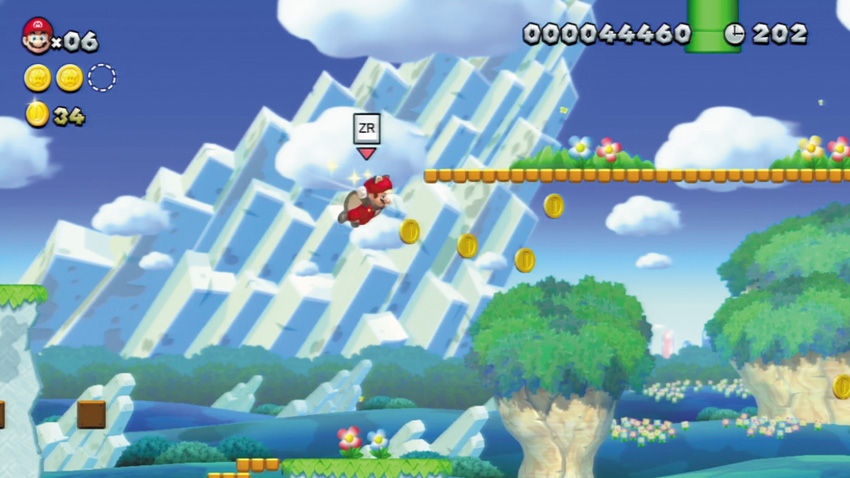
As Flying Squirrel Mario, leap from the top of this cliff and glide to the right, following a trail of Coins. flying squirrel jump upward at the end of the trail to reach a high platform, then enter the overhead Warp Pipe to visit a special side area.

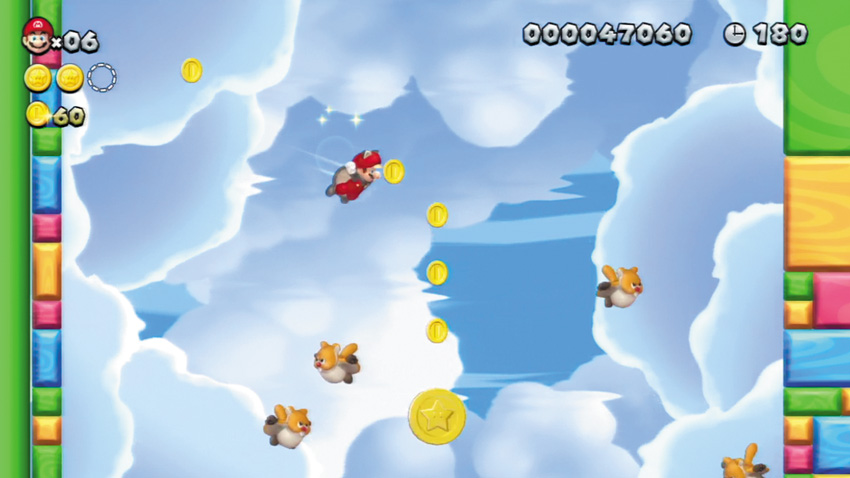
Glide back and forth as you descend this tall room. Stomp or avoid those pesky Waddlewings as you follow a long trail of Coins toward this stage’s third and final Star Coin.
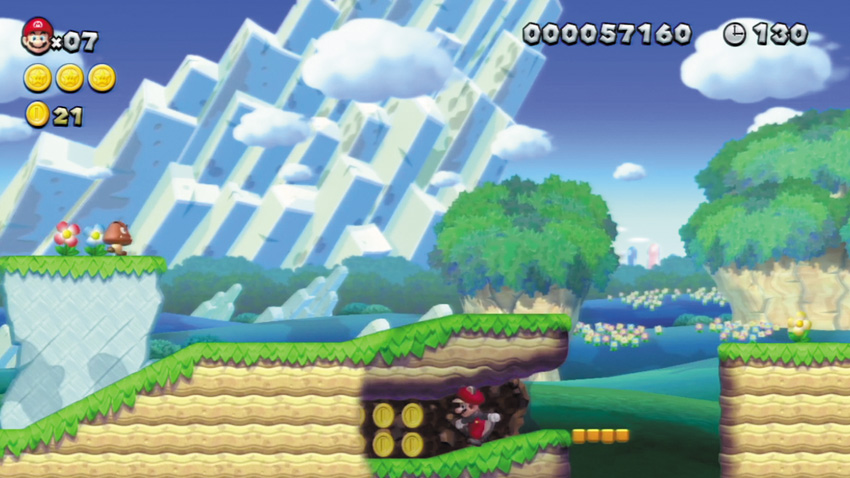
Land on this small lip and walk left, into the cliff, to enter another hidden cave. Grab Coins here and then smash the Brick Block at the end to expose a 1-Up Mushroom!
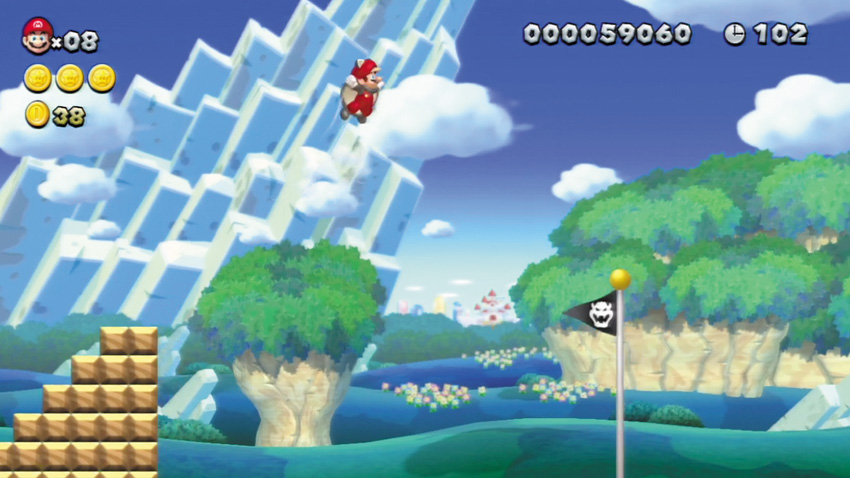
As Flying Squirrel Mario, leap and glide from the top of these final stairs. flying squirrel jump upward and then land on top of the Goal Pole to score a 1-Up and finish the stage in style!
Acorn Plains 2
Tilted Tunnel
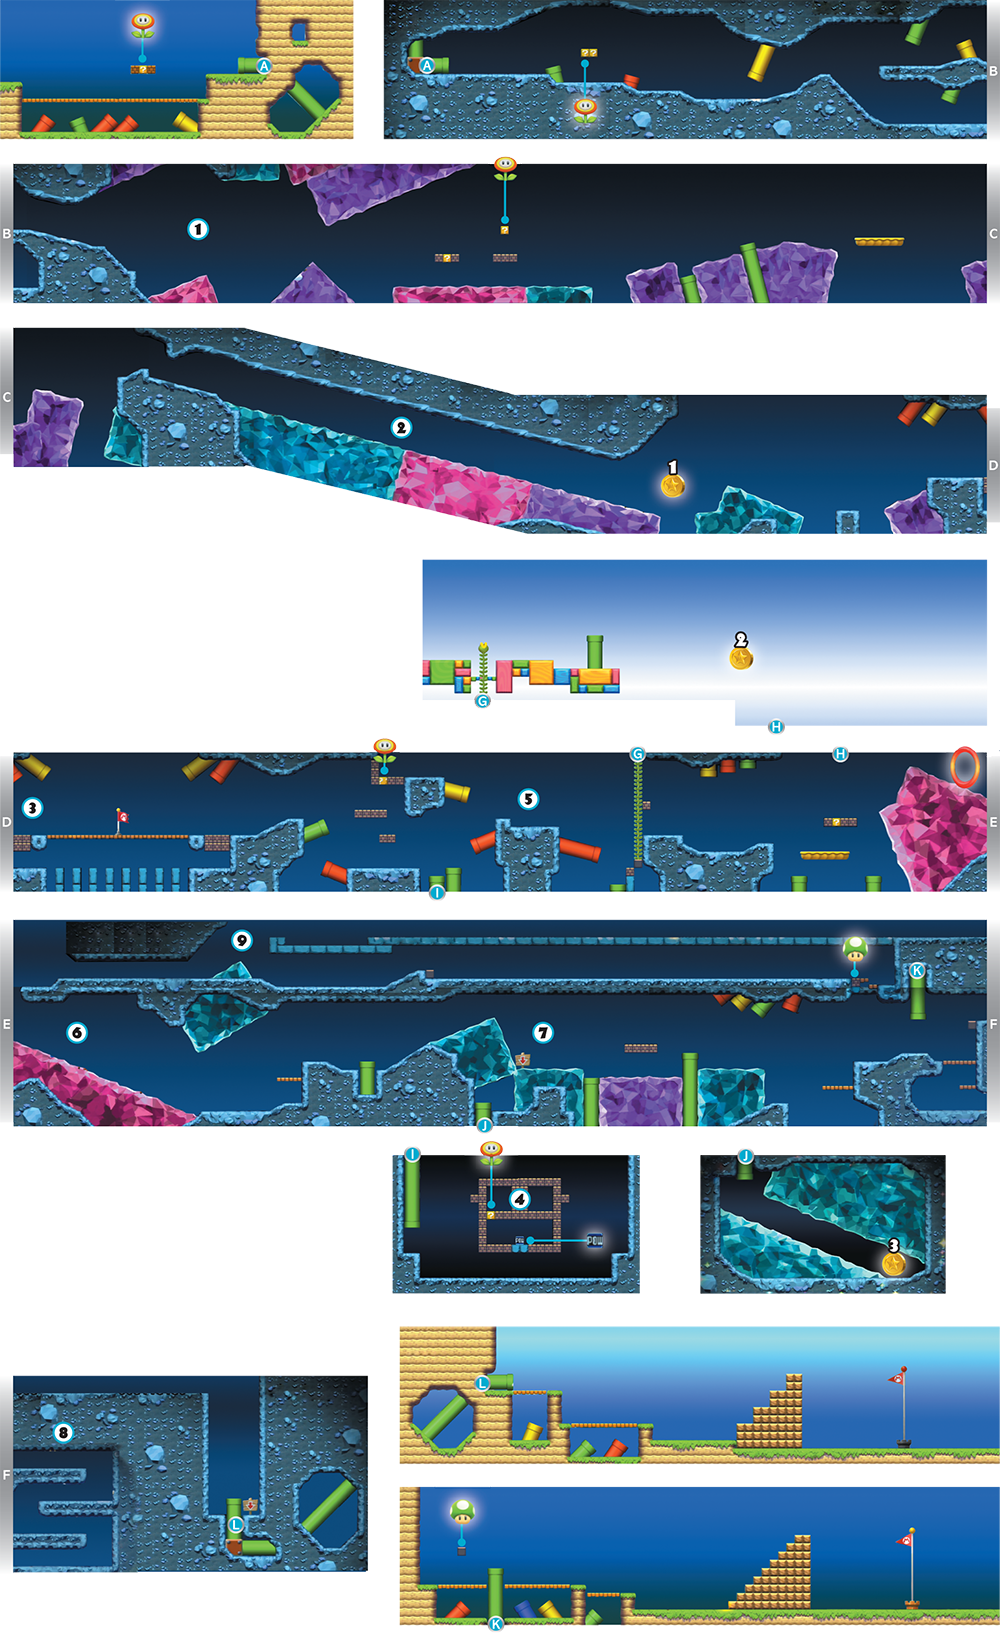
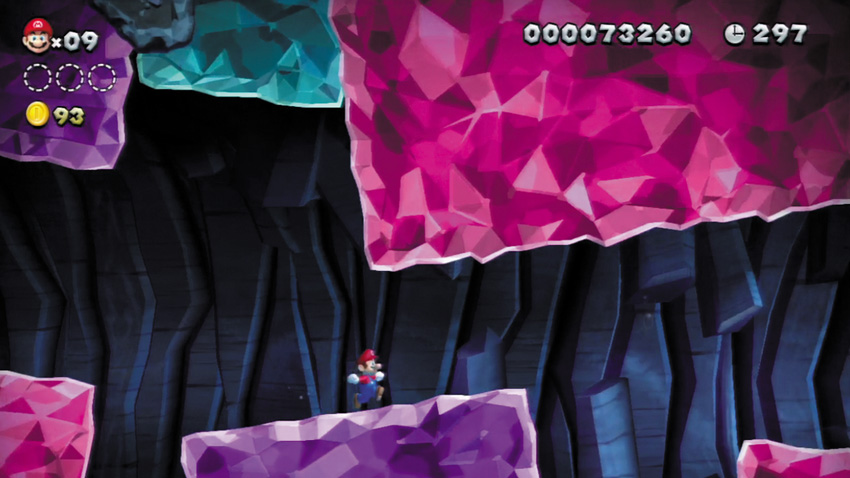
Be careful not to fall from the crystal blocks here as they shift to allow your passage through the tunnel.
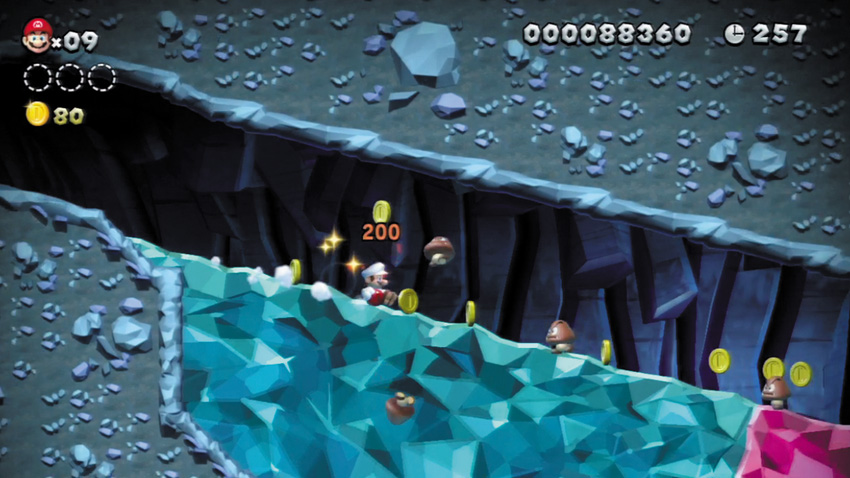
Slide down this sloping stretch to quickly wipe out a long line of Goombas. You’ll score a 1-Up if you slide through them all!
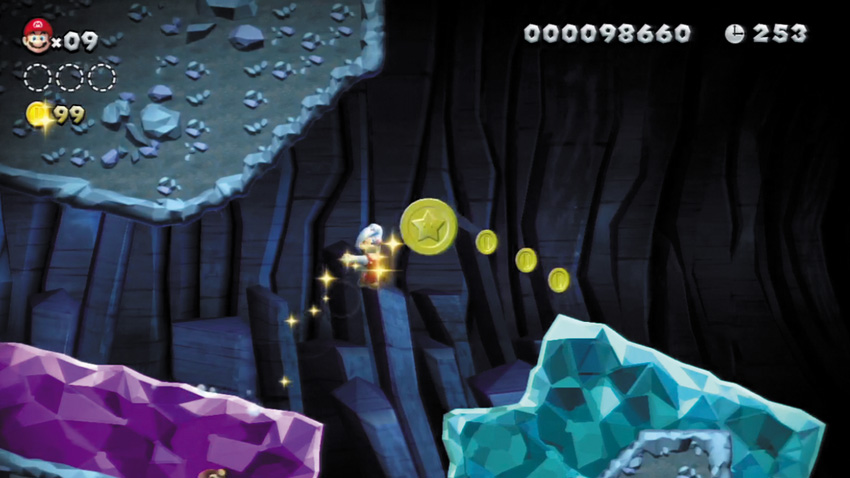
As you slide down the sloping passage, jump before you reach the pit here. You’ll soar up and claim the stage’s first Star Coin!
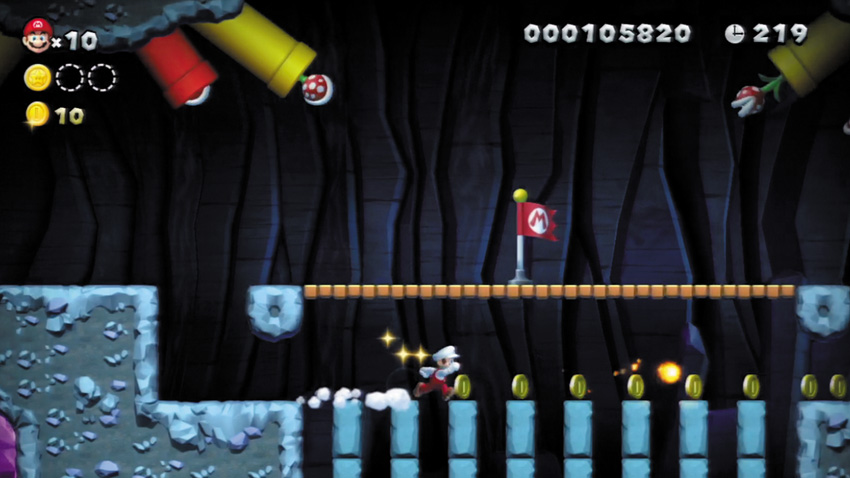
Ground pound through the Brick Blocks here to reach the lower passage, then dash across the tiny gaps without fear—your speed will carry you safely across!
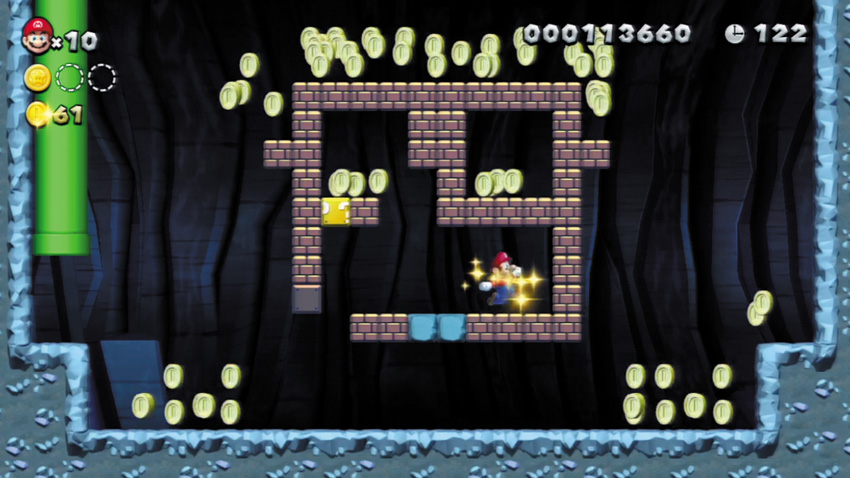
As Super Mario, enter a Warp Pipe to reach this underground area. Smash through the Brick Blocks, then pick up and toss the POW Block to cause a shower of Coins to rain down!
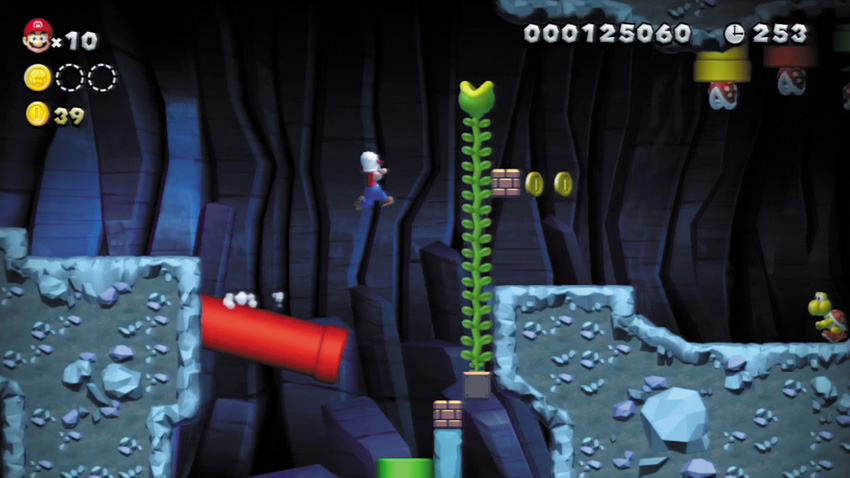
Stomp the Koopa here, then send its shell flying to the right to smack a Brick Block. A Beanstalk will then rise up toward a secret area!
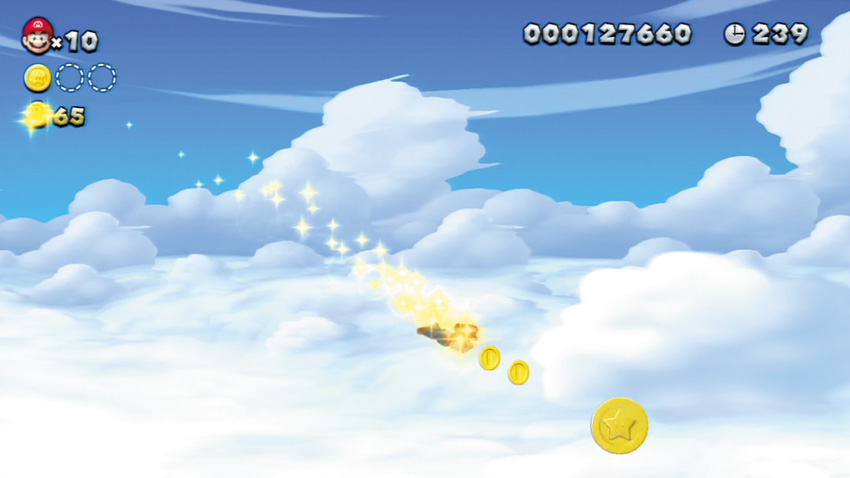
Enter the Pipe Cannon in the area above the Beanstalk to be rocketed toward a Star Coin. Just sit back and enjoy the flight!
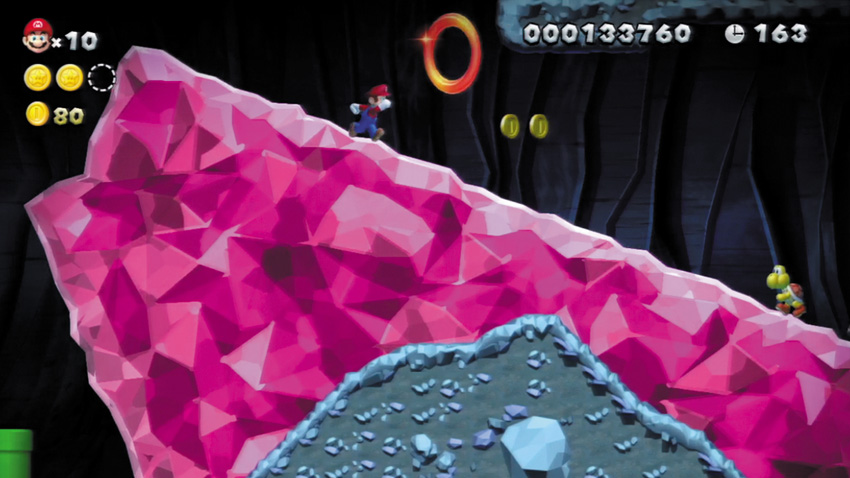
Touch the Red Ring at the top of this crystal slope, then slide down the slope to quickly collect the first of several Red Coins. Then jump uphill and claim the remaining Red Coins—along with your item reward!
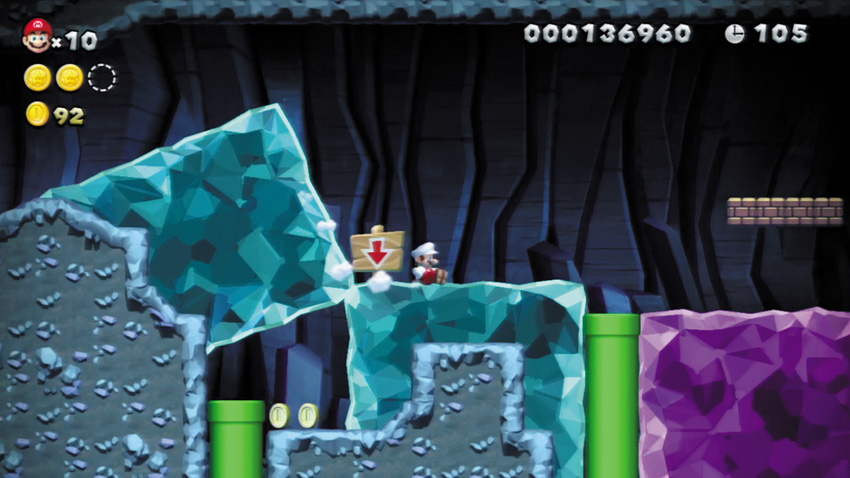
Perform a ground pound near the sign here to knock a crystal block downward. Now you can enter the Warp Pipe below!
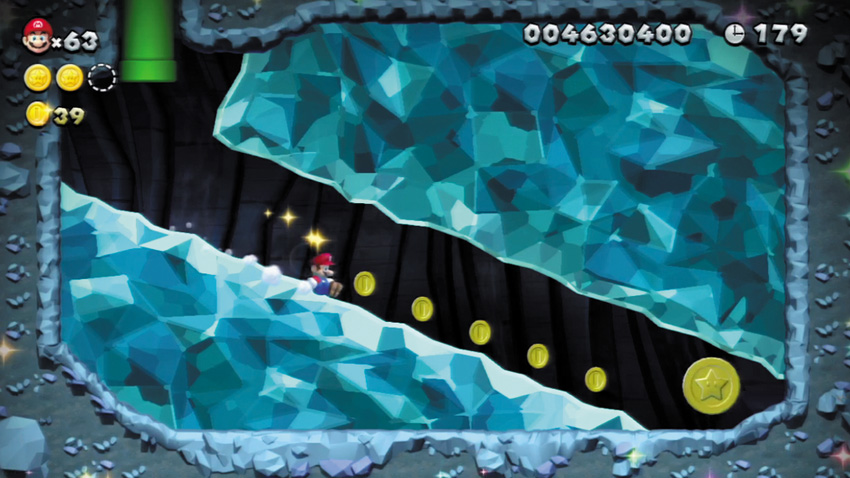
The Warp Pipe near Point 7 leads to a small cavern that houses the stage’s final Star Coin. Grab it and go!
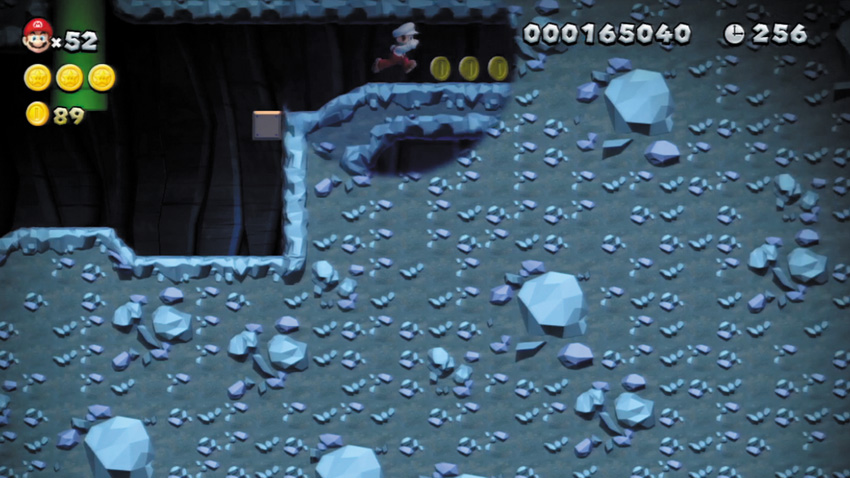
Hit a hidden Block near the exit Warp Pipe, then jump onto the Block and run through a false wall on the right to discover a hidden area that’s filled with Coins.
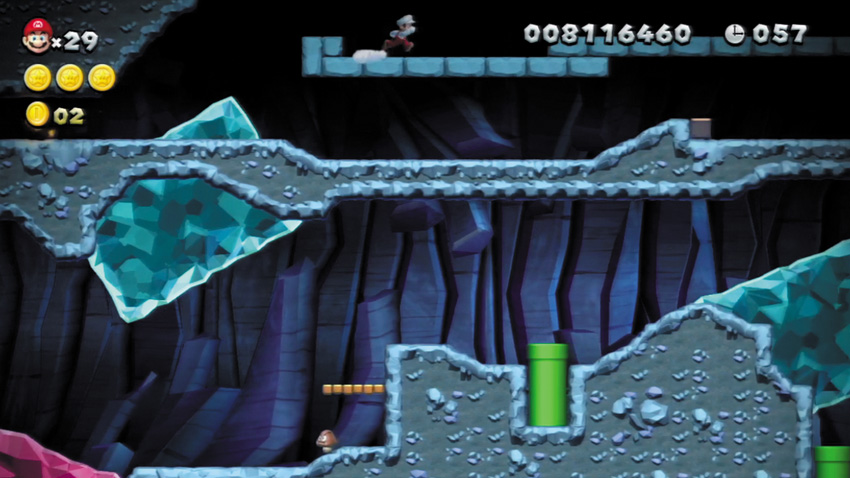
While standing near the Red Ring at Point 6, jump up high to reach a hidden overhead passage. Jump up again at this Point to reach an even higher hidden passage above. Follow the passage to its end to discover a special Warp Pipe that leads to a secret area.
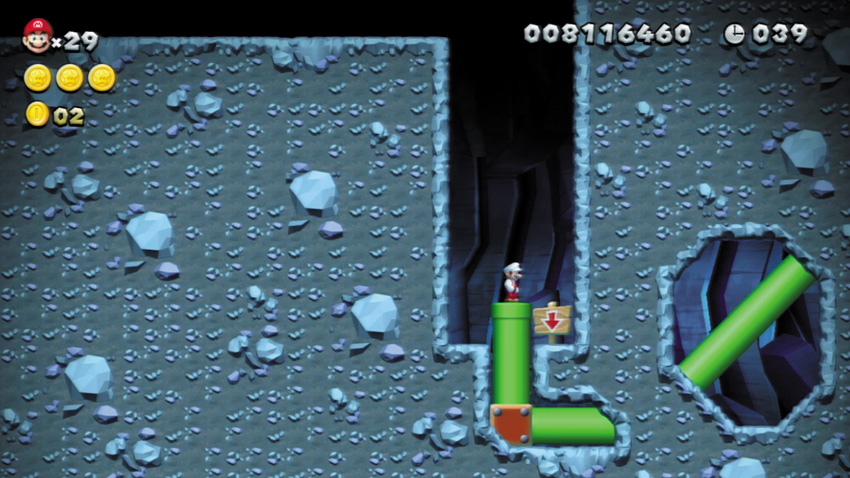
Complete the Tilted Tunnel by touching the Goal Pole at the secret exit. This reveals a hidden path on the World Map path that leads to Acorn Plains’ secret stage!
Acorn Plains Tower
Crushing-Cogs Tower
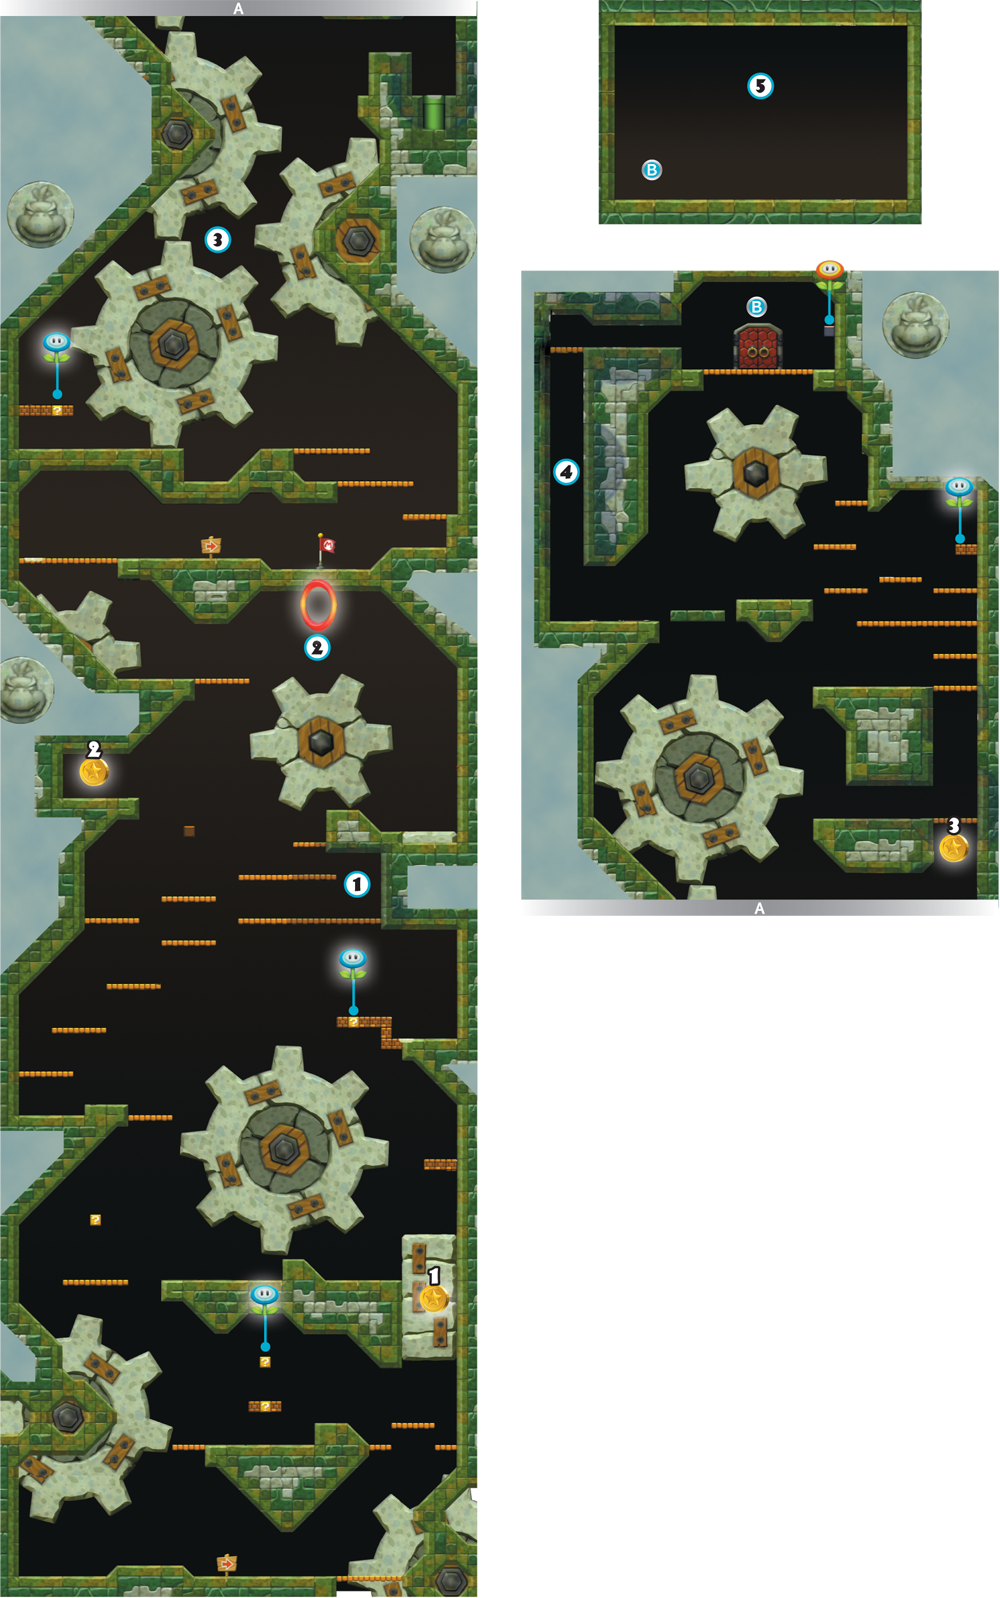
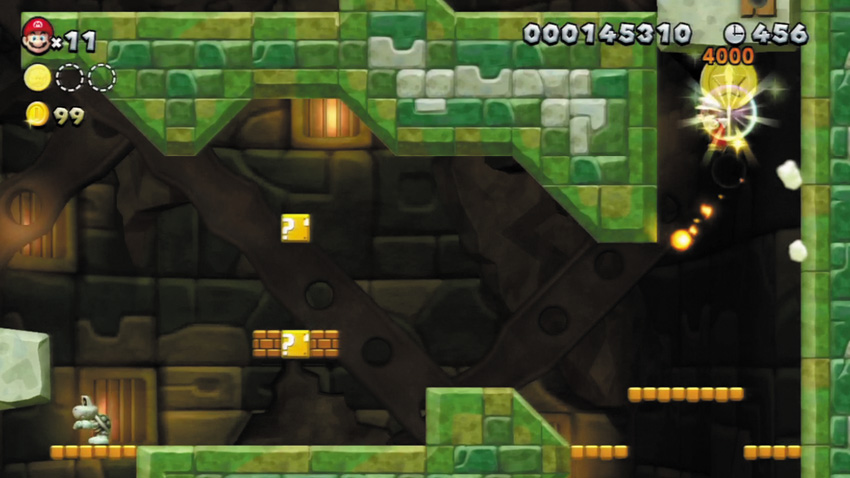
Wait for this moving block to slide upward, then quickly wall jump up and claim your first Star Coin.
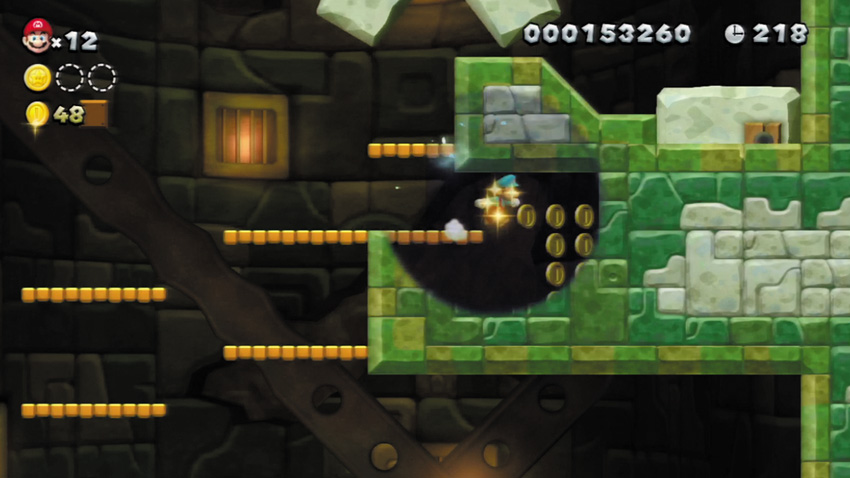
Run into the false wall on the right here to enter a small, hidden area that’s filled with Coins!
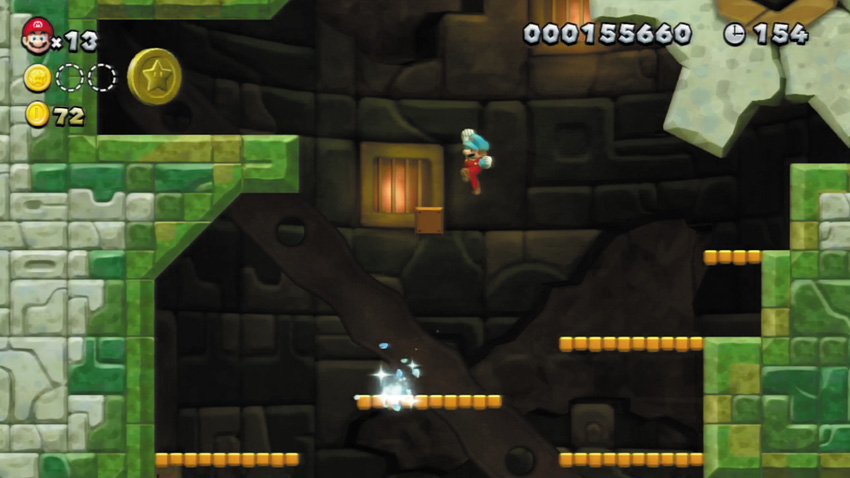
The second Star Coin is found in this small nook. To reach it, first jump up and bump a hidden Block above the center of the platform. Jump onto the Block, then jump over to the Star Coin.
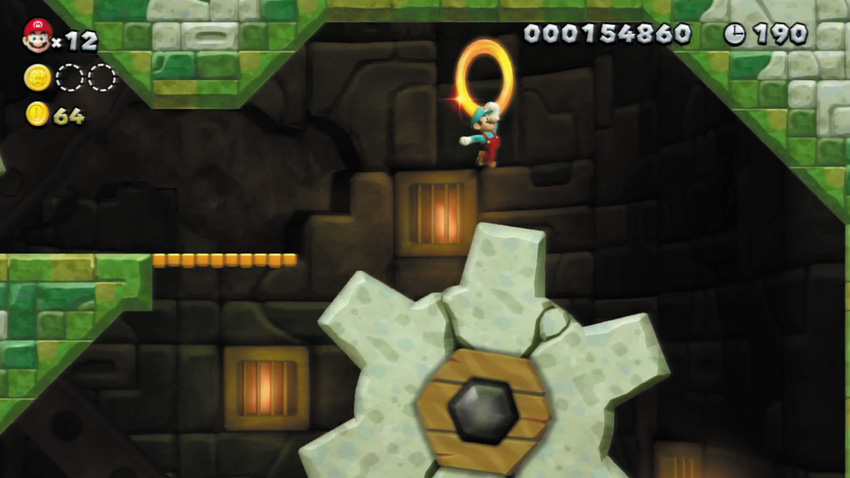
Jump up and touch the Red Ring here, then remain on top of the cog and collect the Red Coins as they spin past.
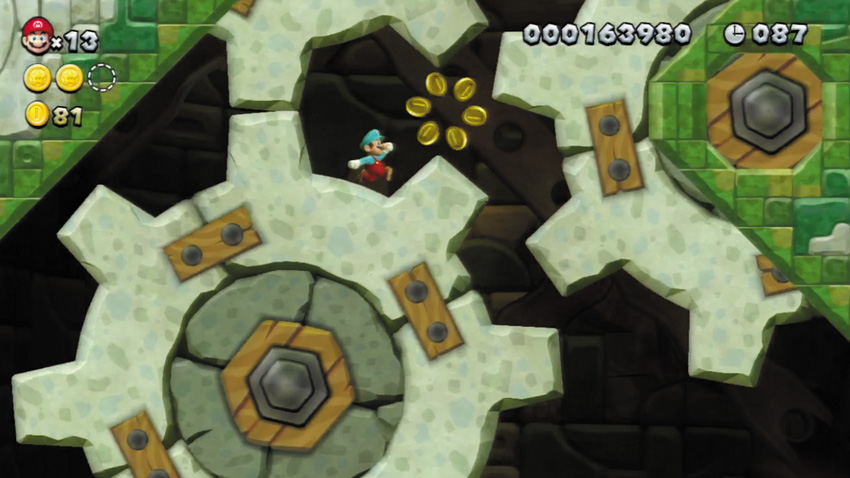
Be careful not to get crushed by these spinning cogs. Stand between the cogs’ teeth as you carefully ride around, jumping as needed to make your ascent.
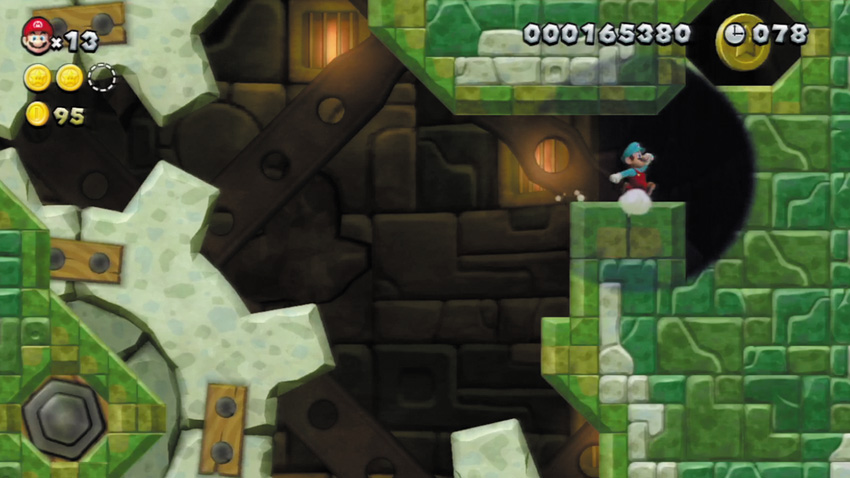
The final Star Coin is hidden here, behind a false wall. Enter the Pipe Cannon beneath it, and you’ll be shot upward and into the Star Coin. (You can also wall jump upward to reach the Star Coin.)
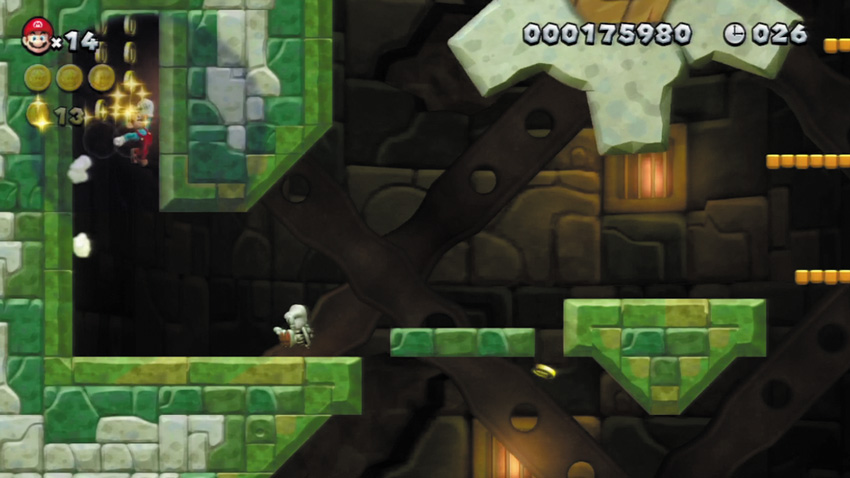
Rather than messing with the final spinning cog, simply wall jump up this secret passage to reach the top of the tower with ease.
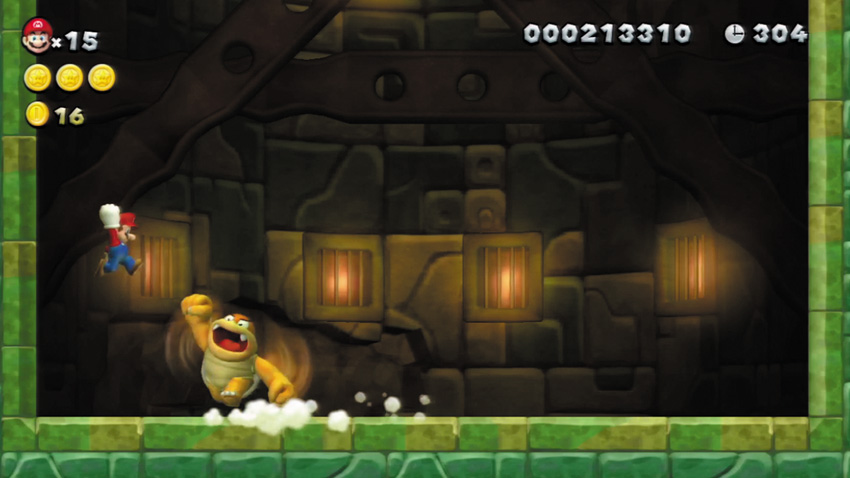
A burly baddy named Boom Boom awaits at the tower’s apex. Allow Boom Boom to storm toward you, then simply jump over the brute’s head. Time Boom Boom’s movements, then try to land atop Boom Boom and damage him with a stomp. Strike Boom Boom with three stomps to beat down this bothersome mini-boss!
Acorn Plains 3
Yoshi Hill
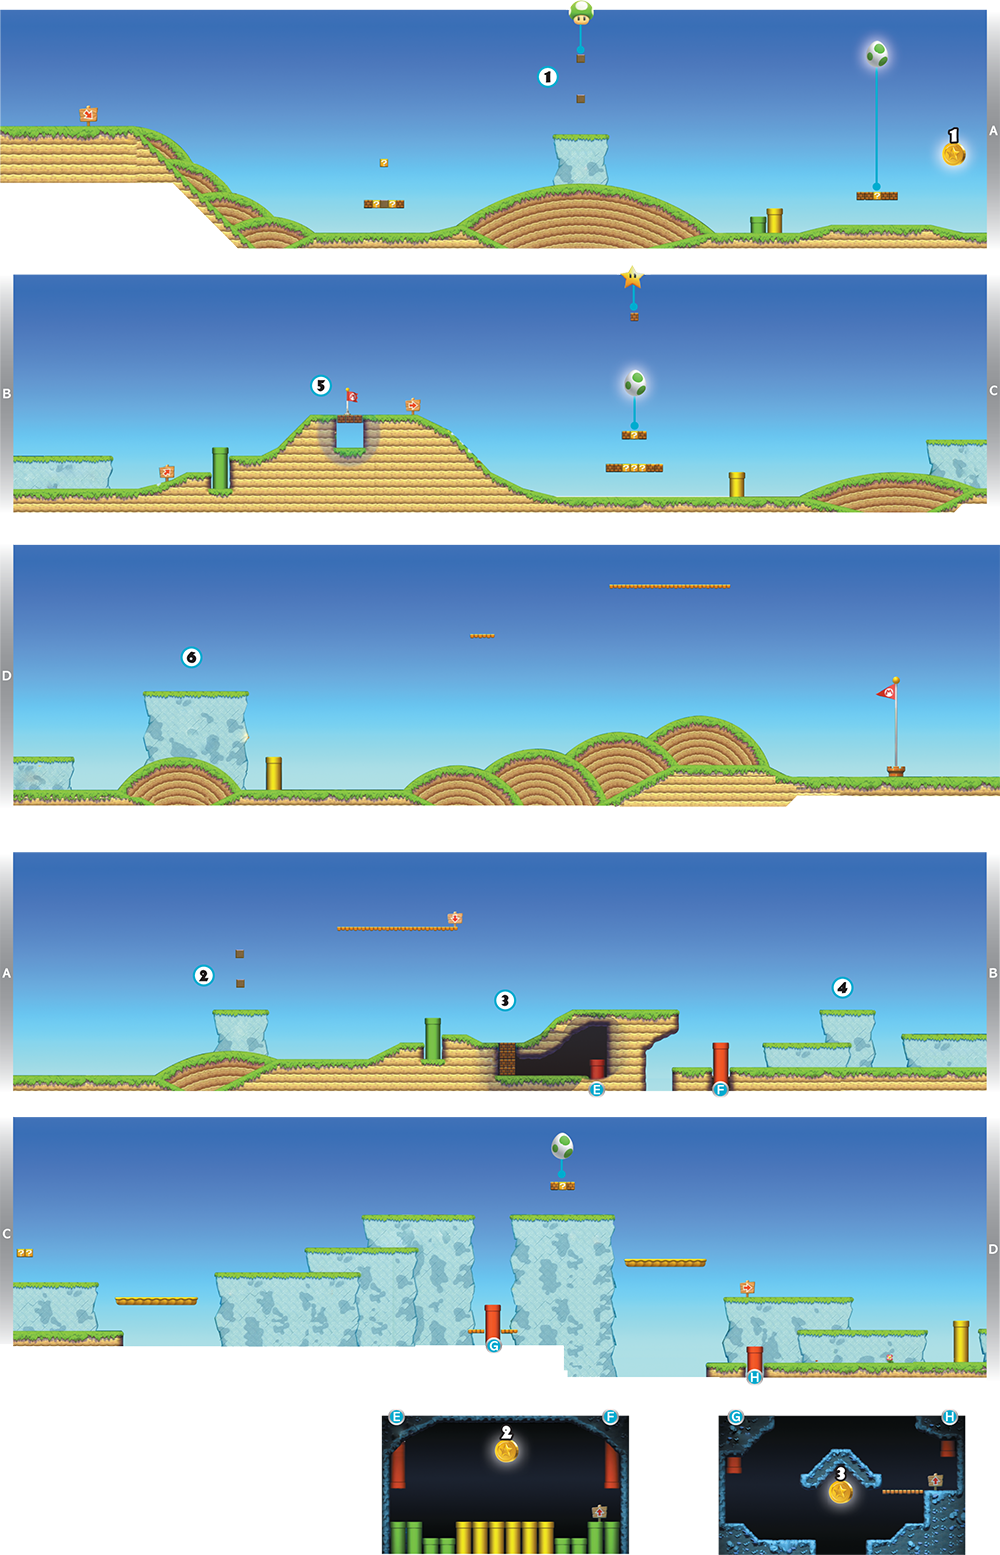
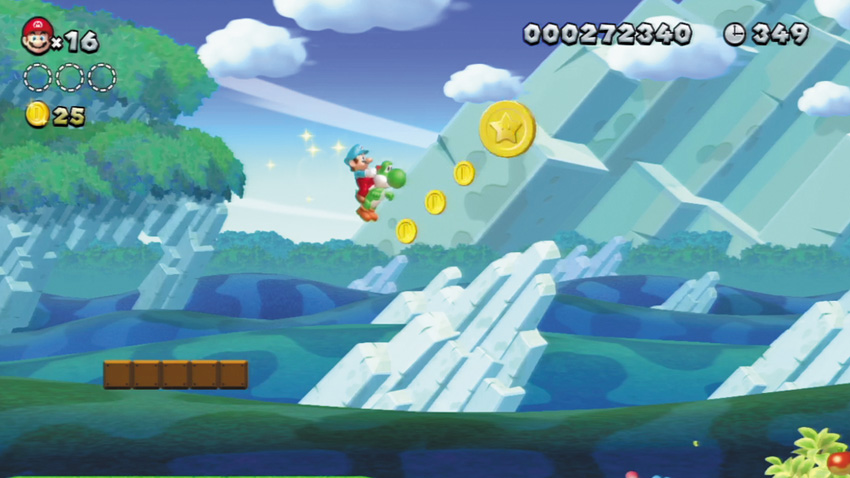
Whack the ? Block near the first Star Coin to free Yoshi, then hop atop Yoshi’s back and use his superior jumping ability to bound up and claim the Star Coin.
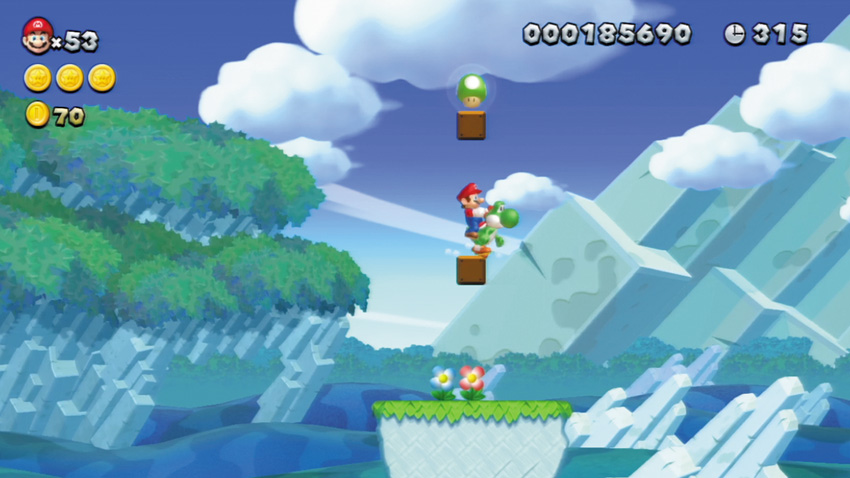
Jump up and hit a hidden Block here, then jump up from the hidden Block to hit another hidden Block that gives you a 1-Up Mushroom!
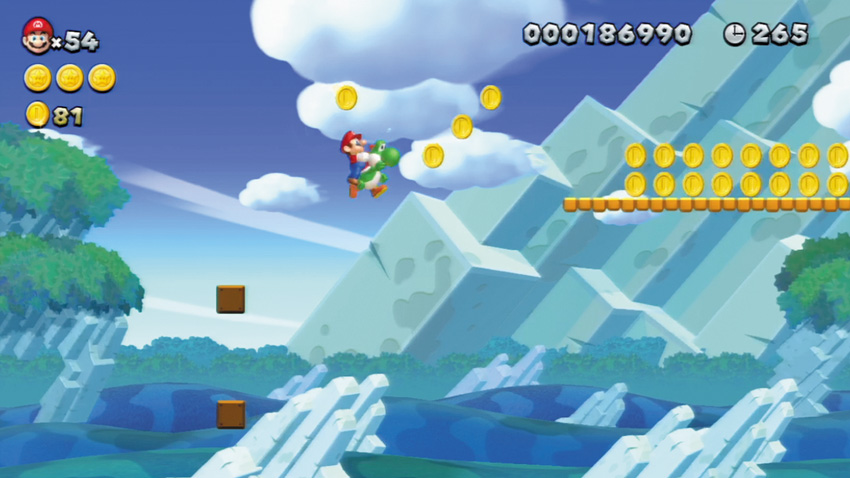
Jump up and hit two hidden Blocks near this Point, then jump from the top Block to reach a high platform with Coins.
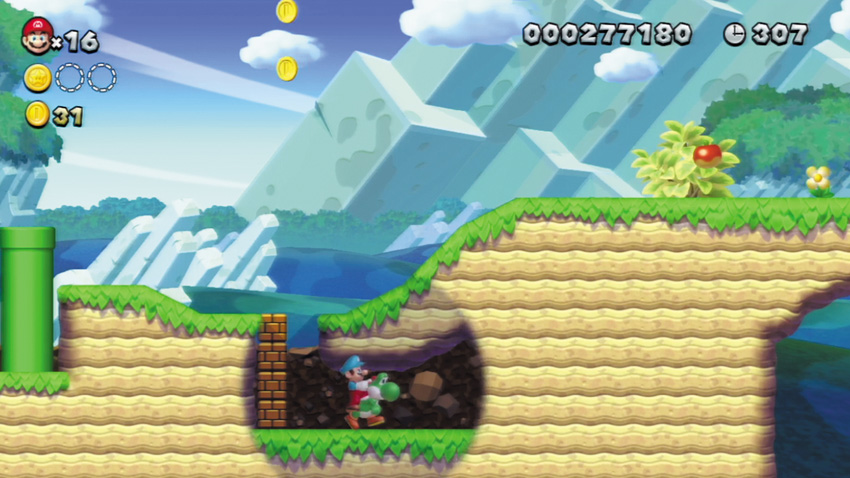
While riding Yoshi, perform a ground pound here to smash through the Brick Blocks that are just barely visible on the ground. Enter the Warp Pipe you discover within the secret cavern below.
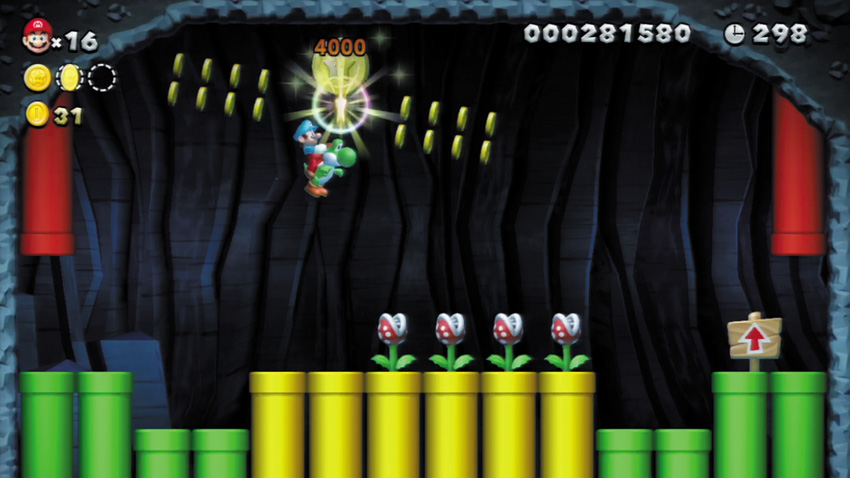
The second Star Coin floats up high in this underground cavern. Use Yoshi or Flying Squirrel Mario to leap up and reach this prize.
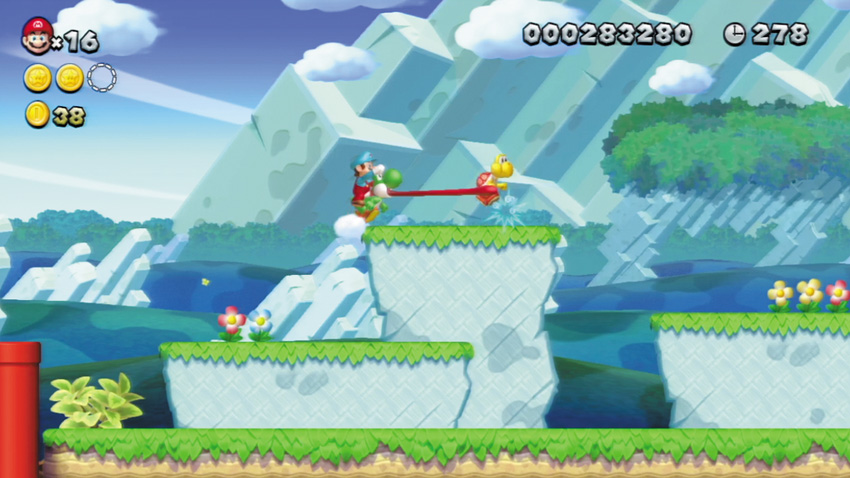
Have Yoshi gobble up the Koopa on this ledge, then jump to the ledge to the right and spit out the Koopa shell. If you time it right, the shell will wipe out all of the Monty Moles that leap up onto the ledge. You’ll score a 1-Up if you smack all of the Monty Moles with a single shell!
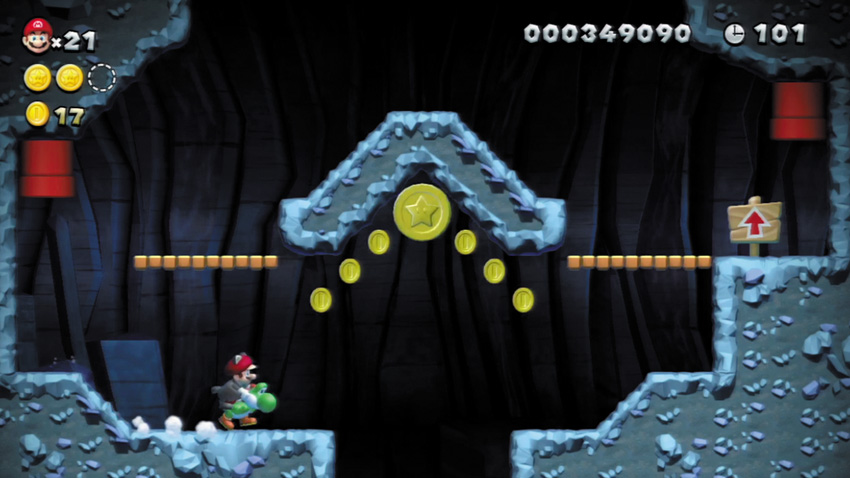
Enter a red Warp Pipe to reach this underground cavern, where the third and final Star Coin is hidden. Simply leap up with Yoshi or as Flying Squirrel Mario to reach it.
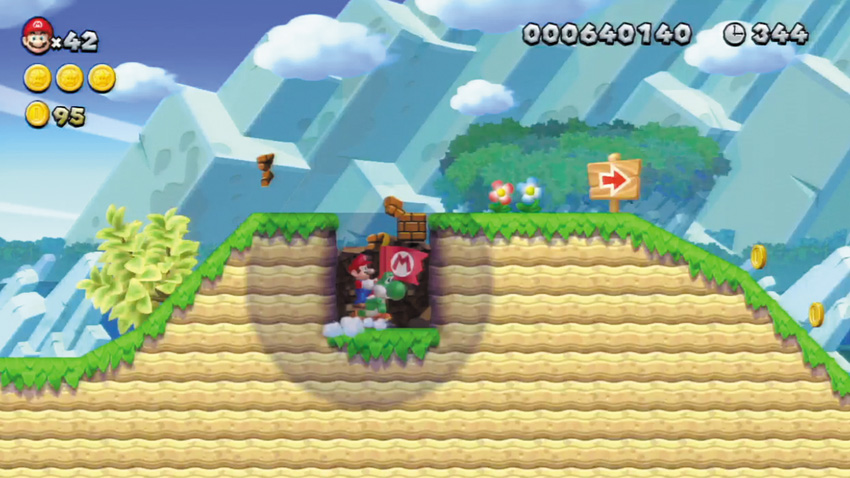
Perform a ground pound at the Checkpoint Flag to discover a hidden area with Coins.
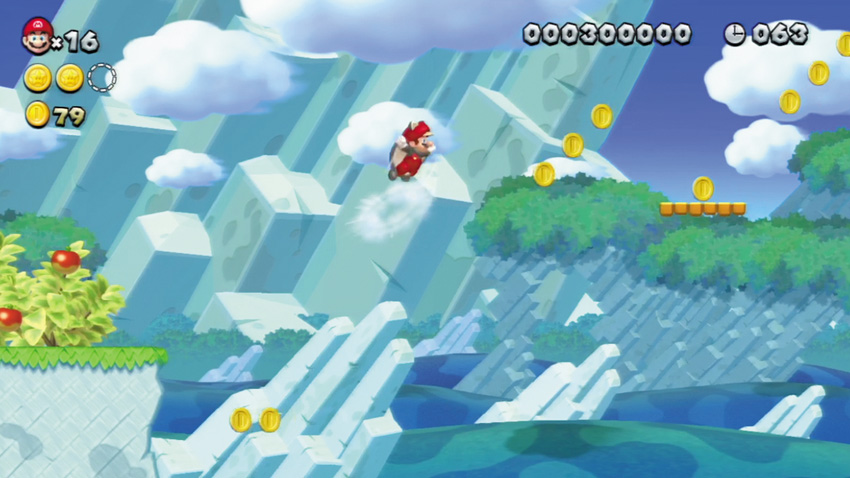
As Flying Squirrel Mario, or with the help of Yoshi, leap from this tall cliff and soar up to the high platforms above. You’ll find plenty of Coins up here, and you’ll have little trouble reaching the top of the nearby flagpole to score a 1-Up.
Acorn Plains 4
Mushroom Heights
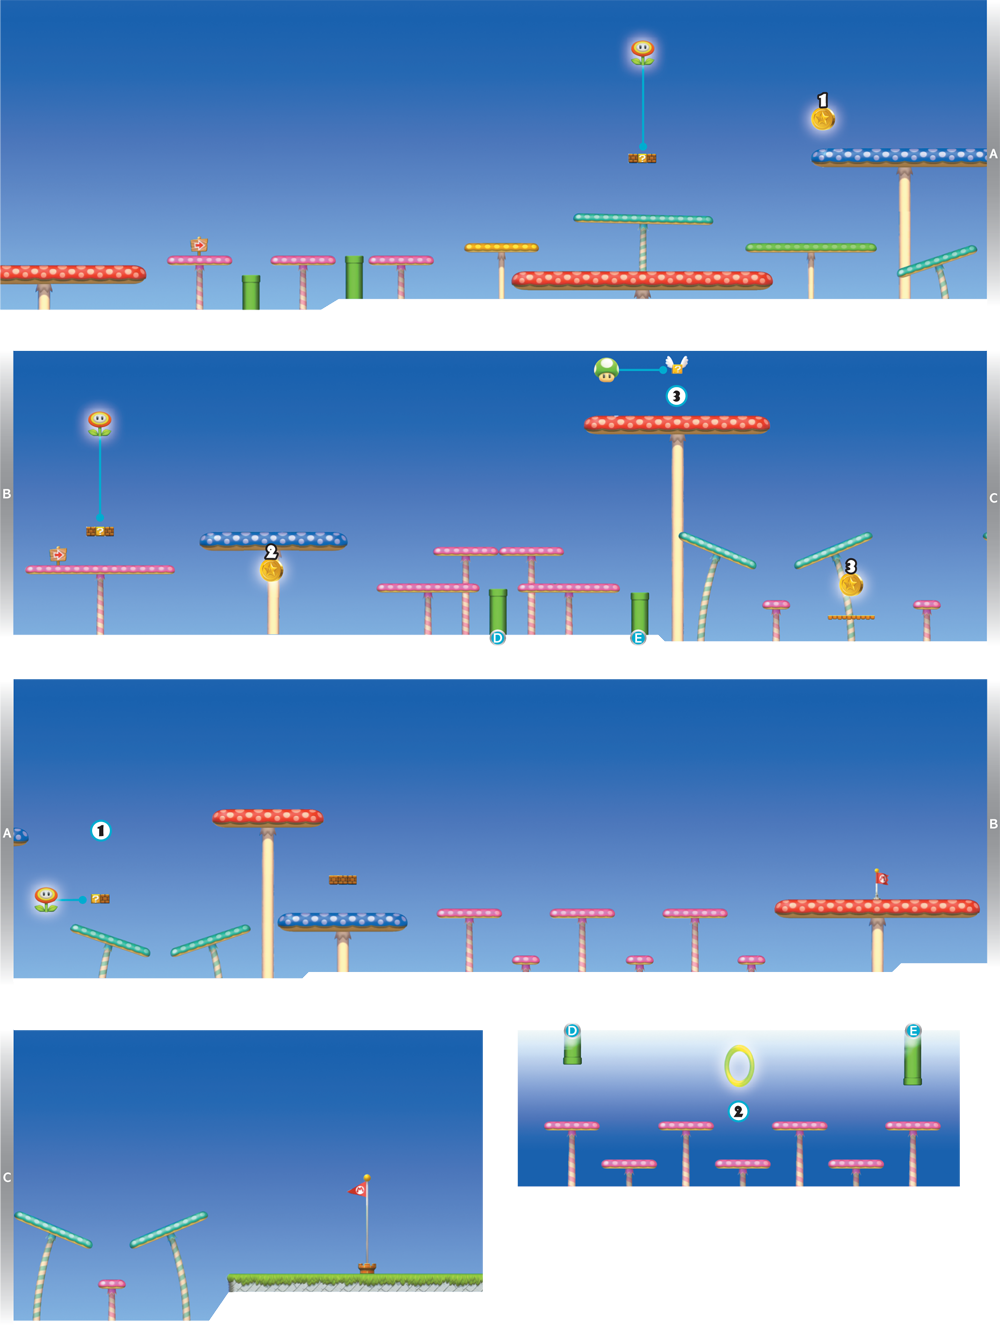
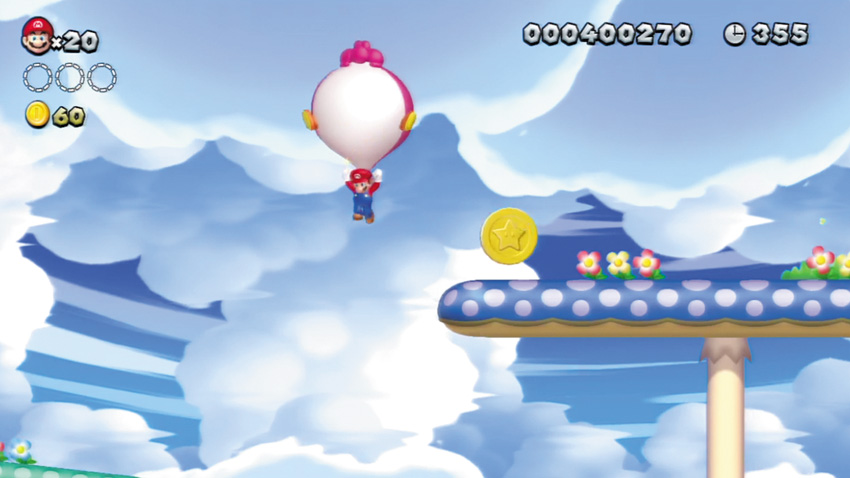
As Flying Squirrel Mario, or with the help of Balloon Baby Yoshi, soar up and claim the first Star Coin, which hovers atop this tall mushroom.
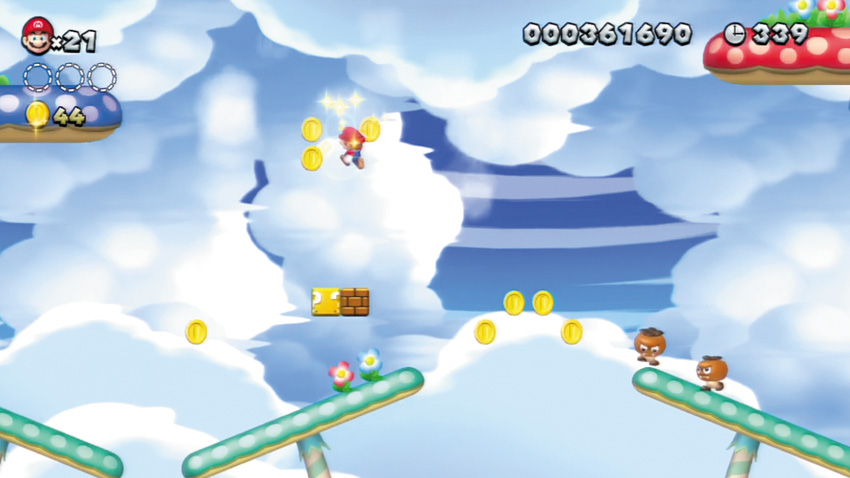
Leap up and spin to clear away the clouds here and reveal some hidden Coins. Keep an eye out for additional clouds that can be cleared for bonus Coins in this level!
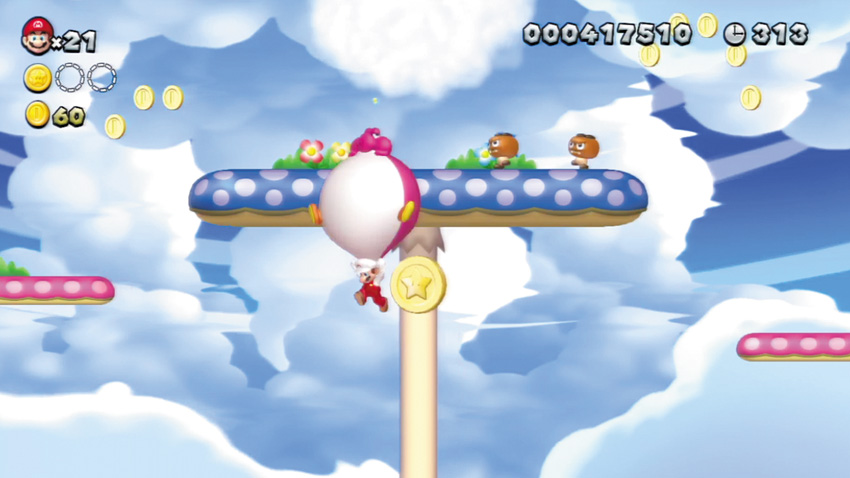
Balloon Baby Yoshi is your best bet for claiming the second Star Coin, which hovers below a big, blue mushroom platform. Flying Squirrel Mario can also claim this Star Coin by gliding over, grabbing it, and then soaring up to safety.
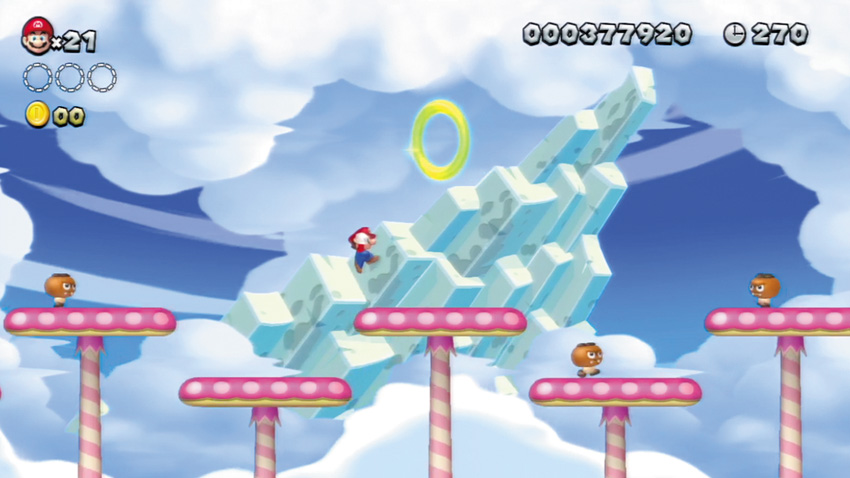
Enter a Warp Pipe to reach this side area, where several Goombrats guard a Green Ring. Touch the Green Ring and then quickly collect all five clusters of Green Coins that appear to score an item.
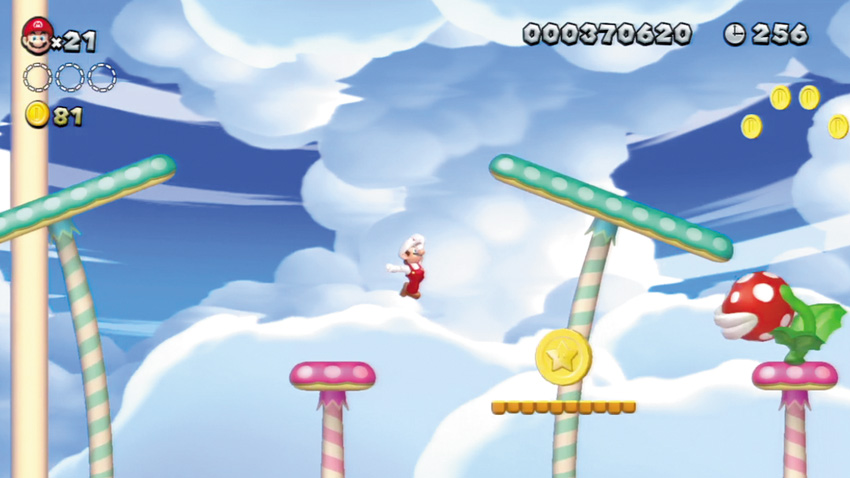
Obtain a Fire Flower in this stage to transform into Fire Mario, then hurl fireballs to defeat the Big Piranha Plants that guard the Star Coin here. Then drop down and claim your prize!
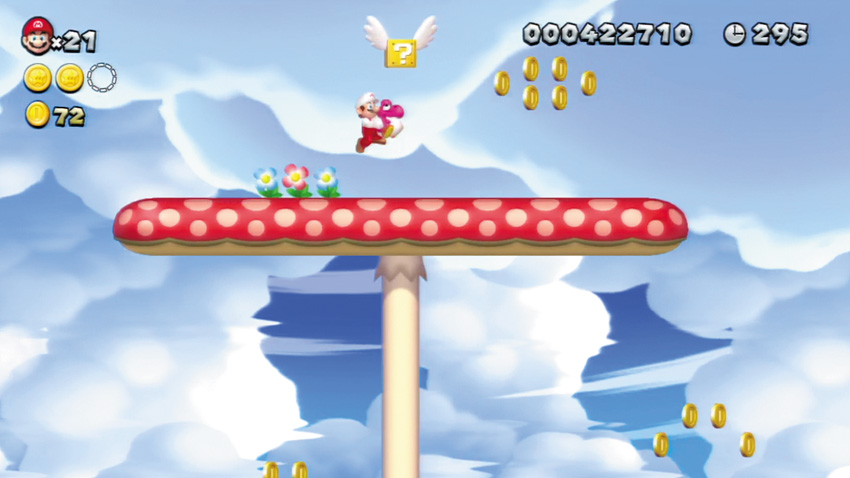
Balloon Baby Yoshi is your only means of reaching the top of this lofty red mushroom platform—and you can claim plenty of high-hovering Coins along the way. The winged ? Block found up here contains a valuable 1-Up Mushroom.
Acorn Plains 5
Rise of the Piranha Plants
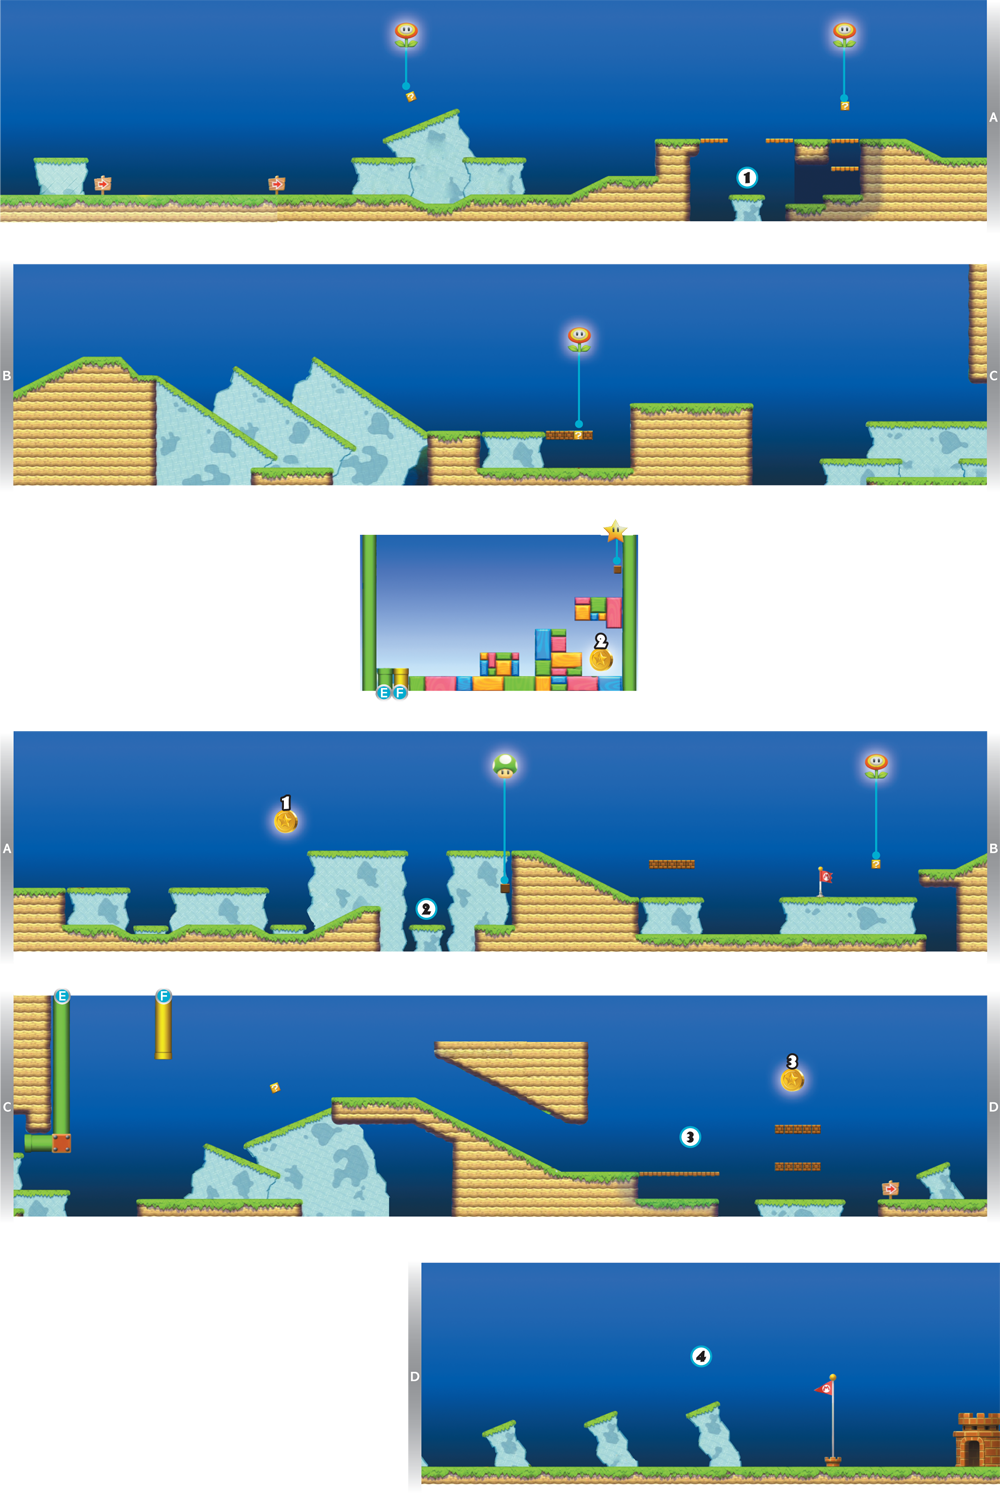
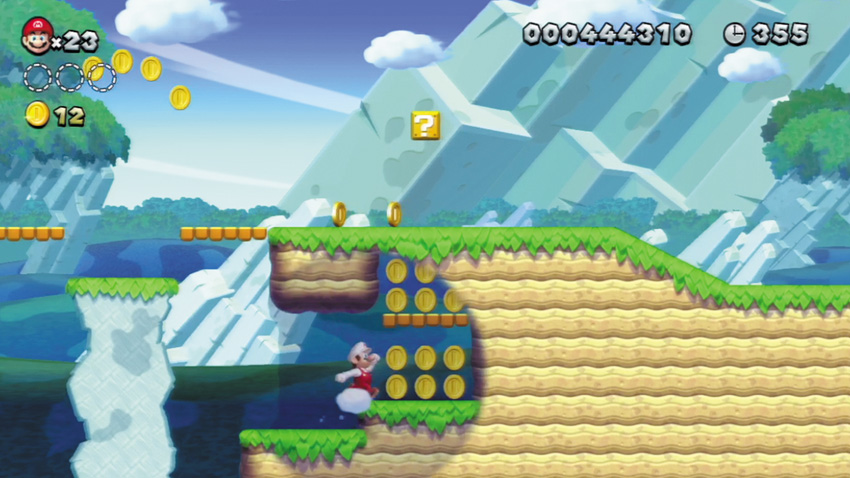
Stand on this moving ledge and wait for it to lower, then jump to the right to enter a hidden, Coin-filled cave.
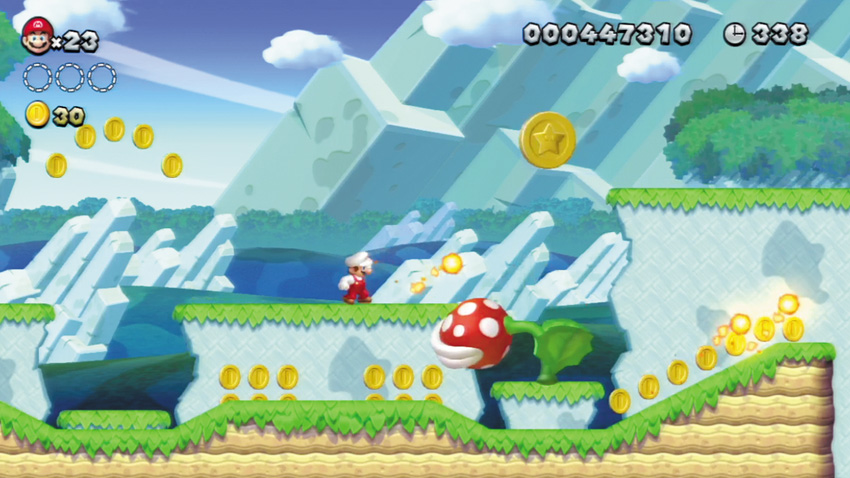
Defeat the Big Piranha Plant that guards this Star Coin with a few fireballs, then jump up and claim your reward.
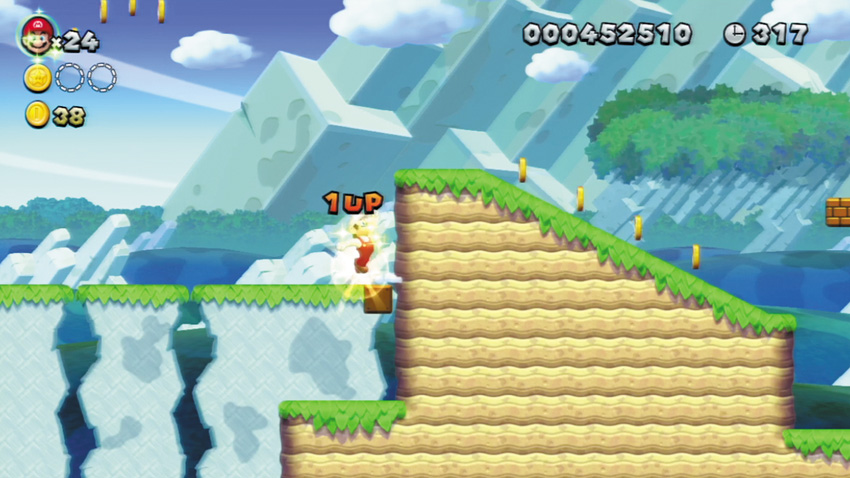
Wait for this moving ledge to lower, then leap over to the low ledge to the right. Stand near the wall and jump up to strike an hidden Block—a 1-Up Mushroom will pop out!
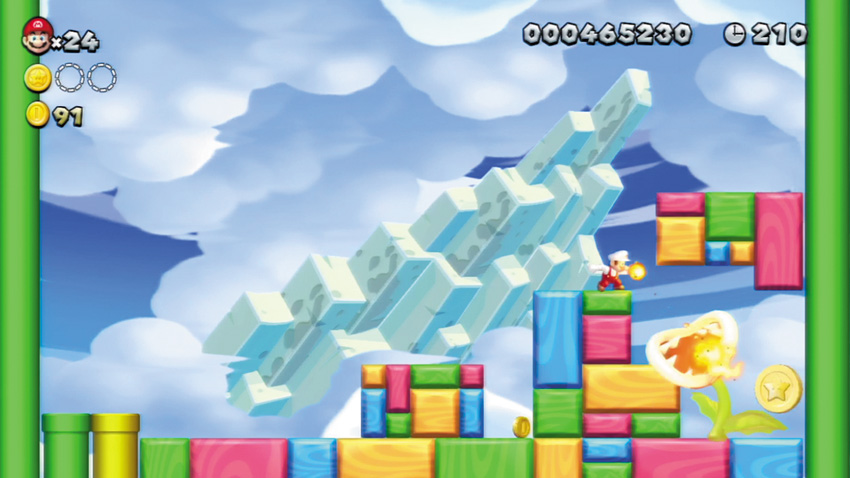
Toast the Big Piranha Plants in this room with fireballs to clear a path toward the Star Coin that they guard.
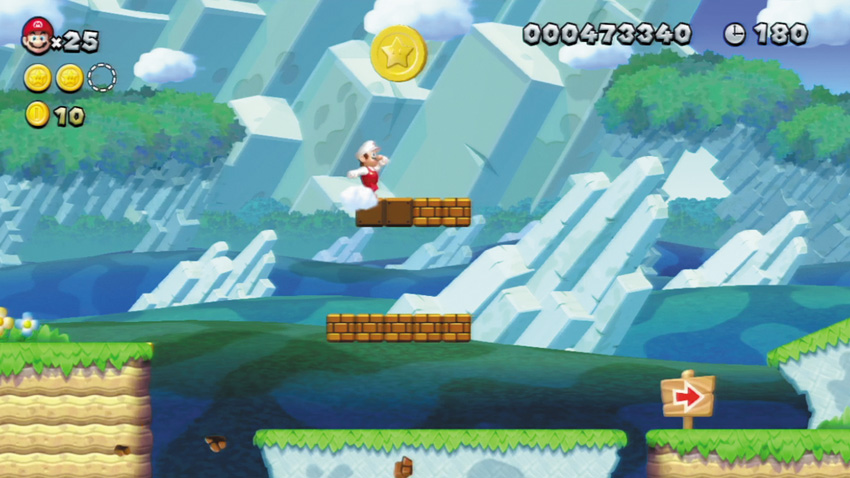
Dispatch the Hammer Bro that defends the Brick Blocks below this hovering Star Coin. Smash through the Brick Blocks and jump up to claim your reward.
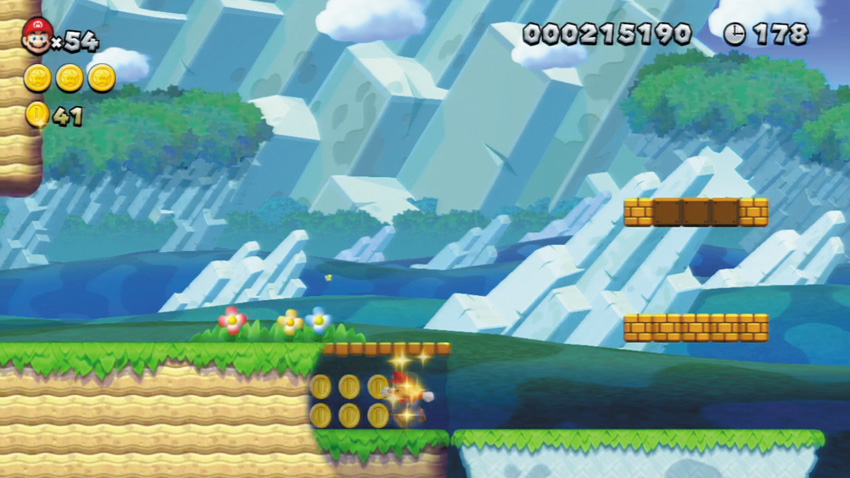
Run into the left cliff here while the moving platform is all the way to the left, and you’ll pass through a false wall and discover some bonus Coins.
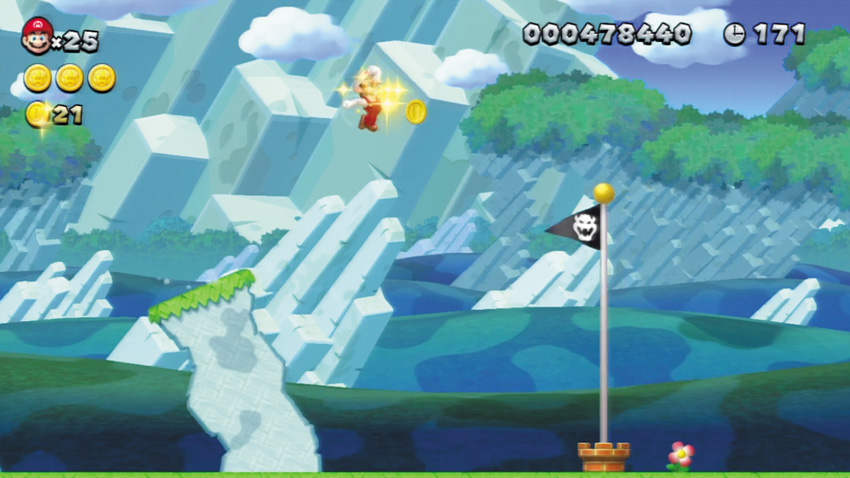
Hop along these last few ledges, aiming to perform a long jump that will carry you to the top of the Gole Pole.
Acorn Plains Castle
Lemmy’s Swingback Castle
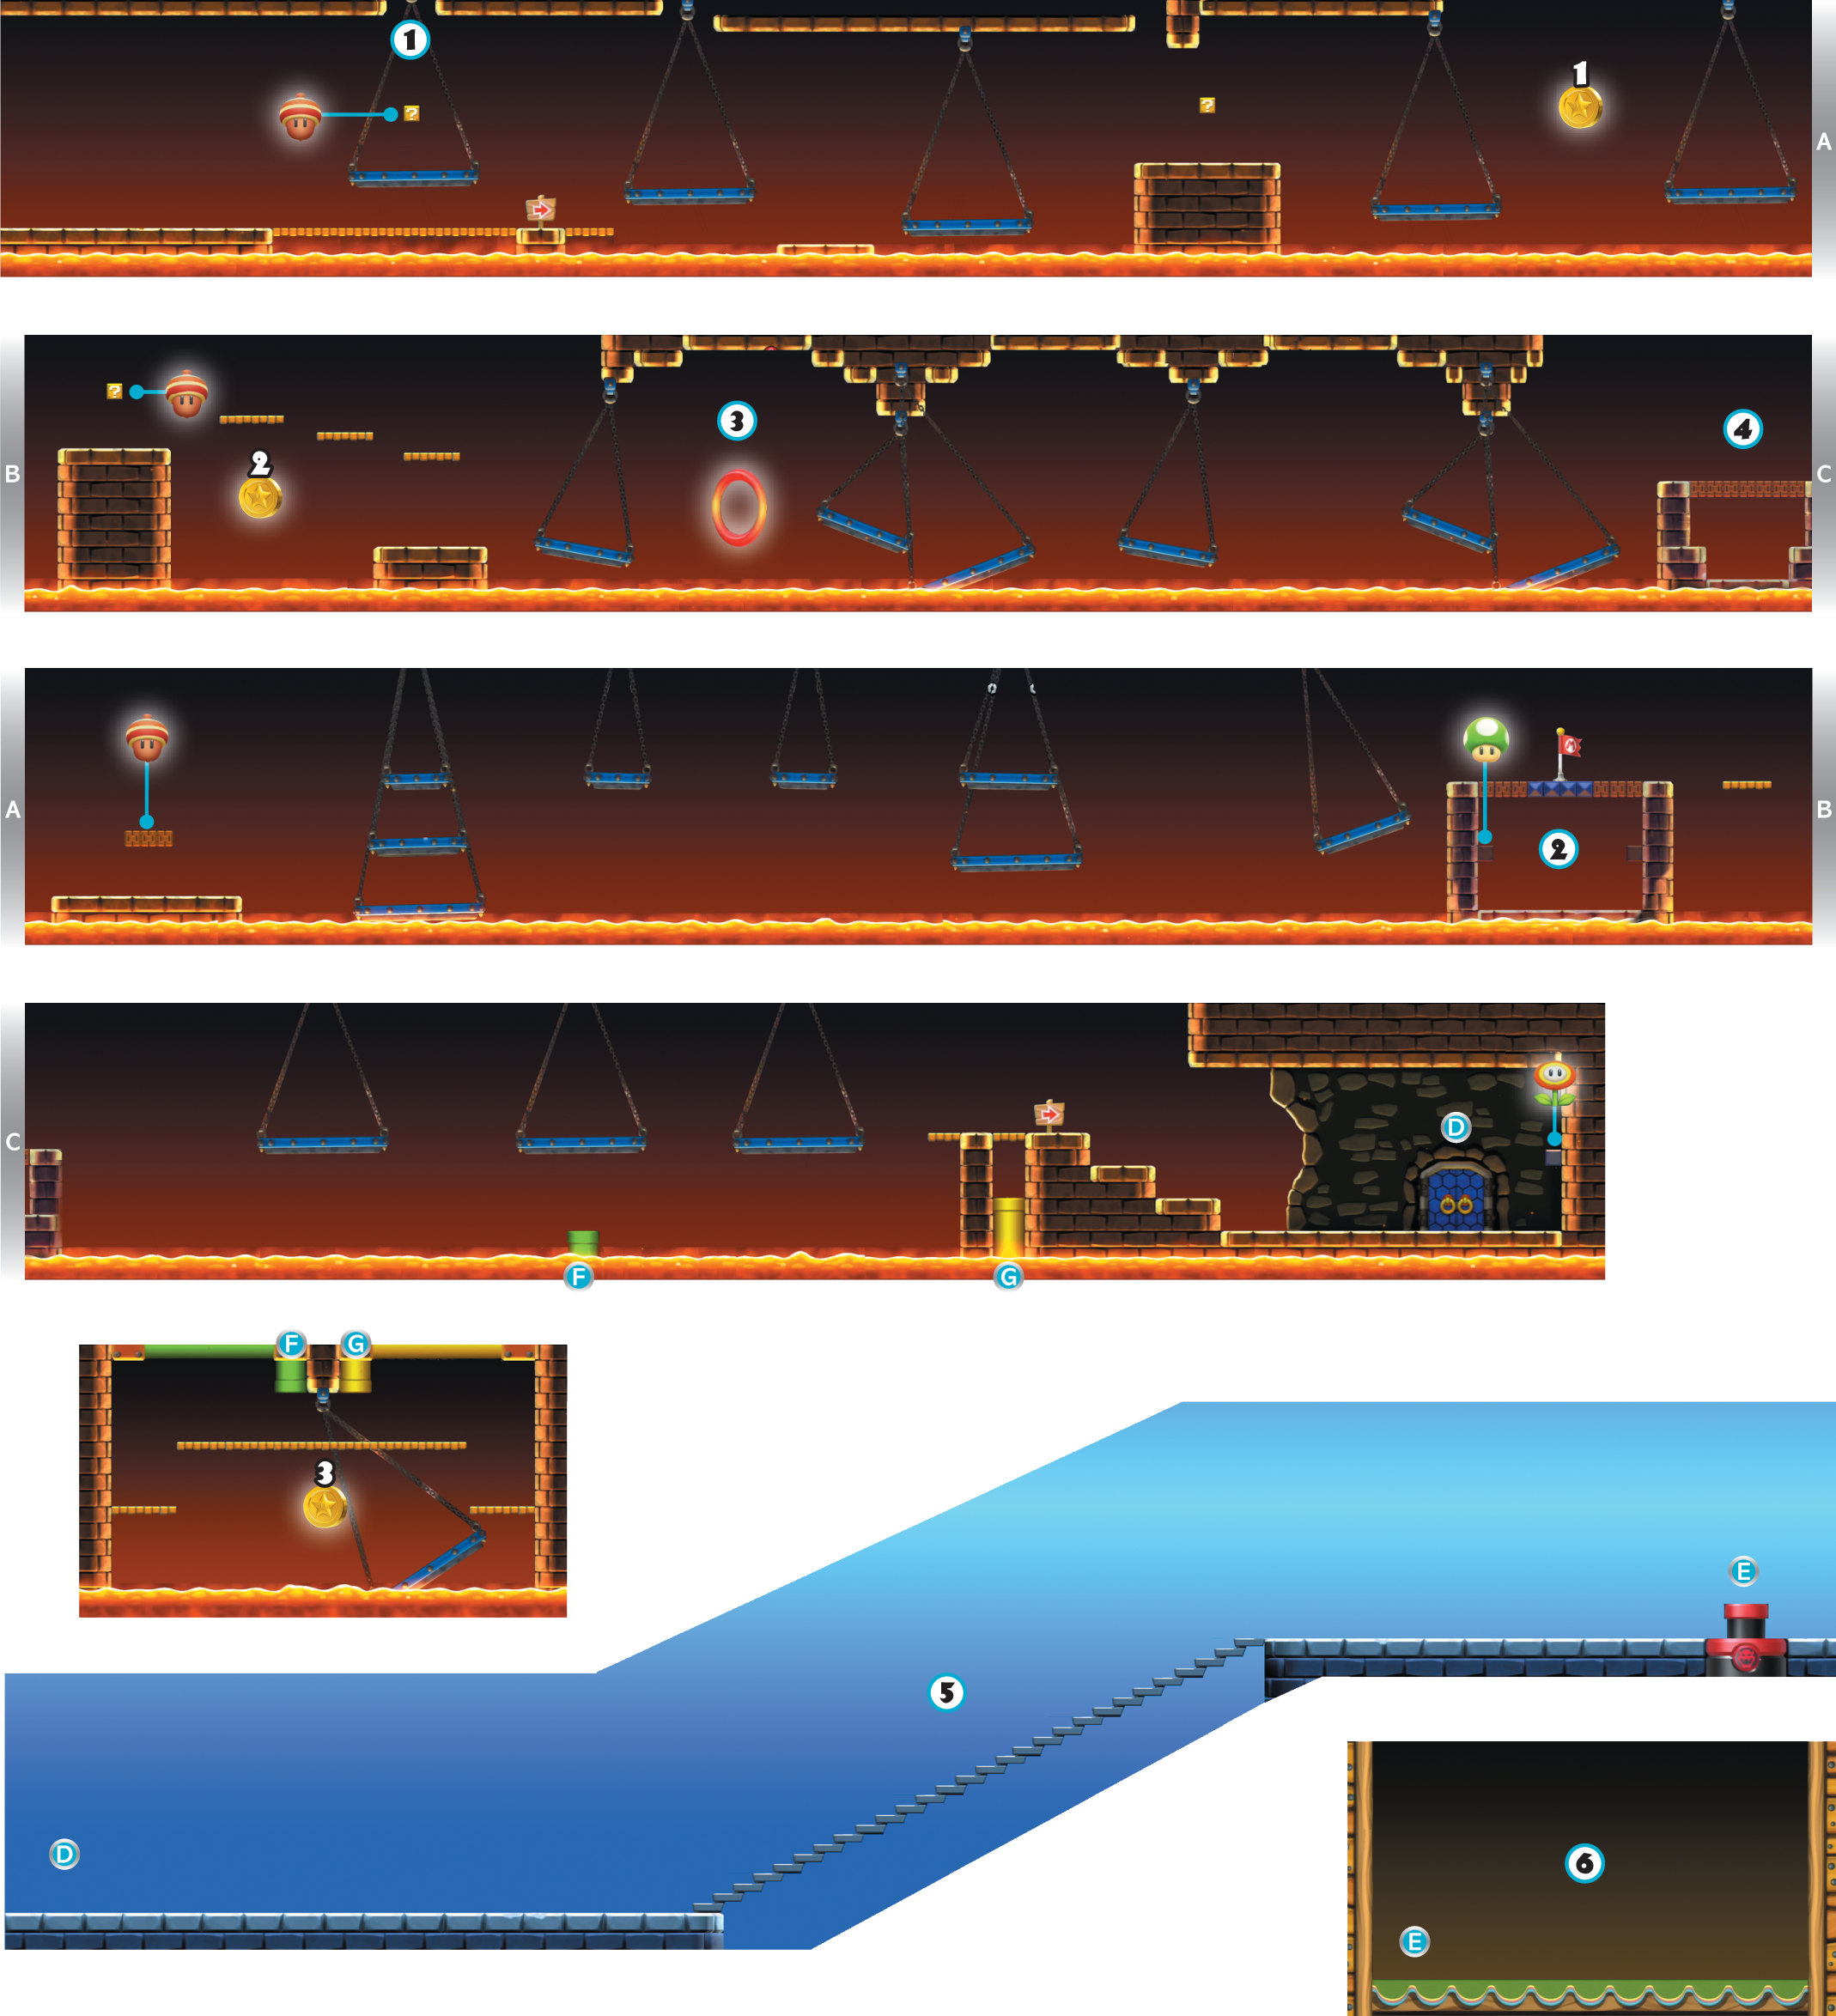
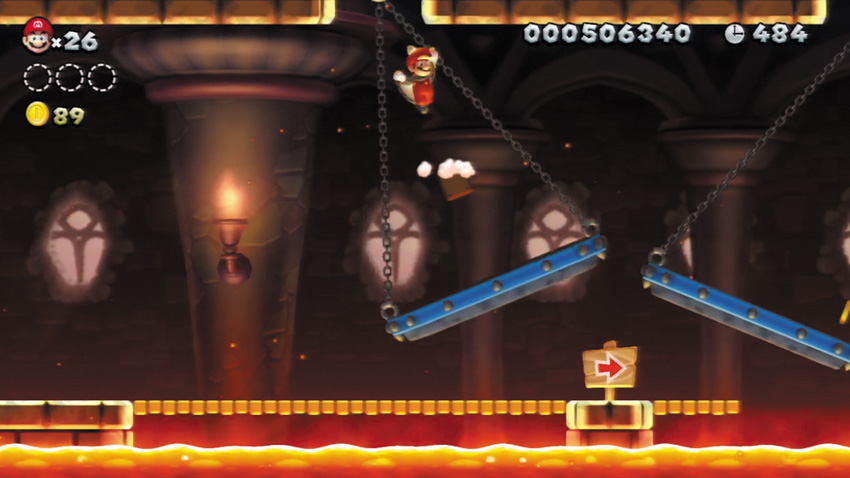
As Flying Squirrel Mario, leap from the top of the ? Block that hovers above the first swinging platform, then flying squirrel jump to reach a secret overhead path. Run to the right to discover a line of Coins along the ceiling. You may also reach this secret path by performing a flying squirrel jump from the second swinging platform.
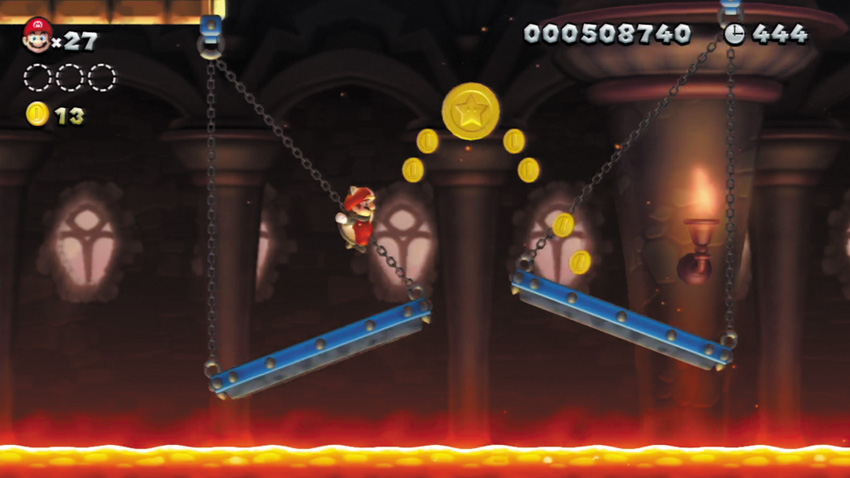
The first Star Coin is an easy grab for Flying Squirrel Mario, but can also be collected even by Small Mario if you properly time your jump from the nearby swinging platforms.
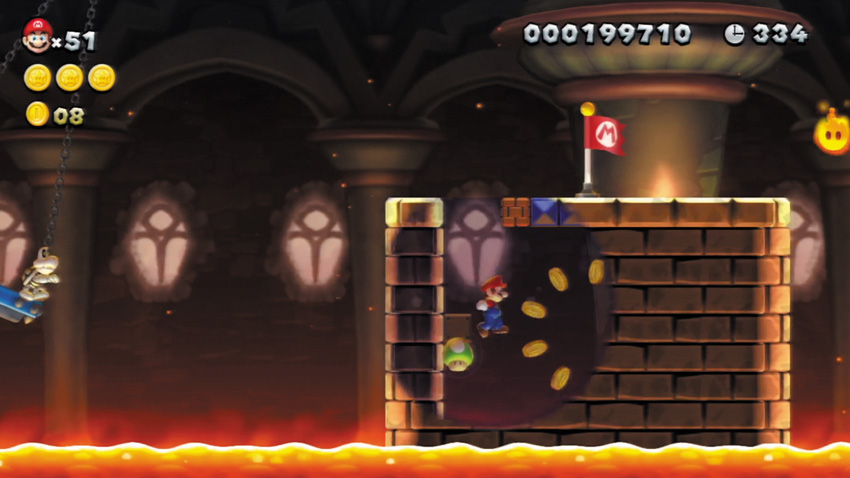
Ground pound through the floor near the Checkpoint Flag to enter a secret area. Collect the Coins here and hit a Brick Block to score a 1-Up Mushroom!
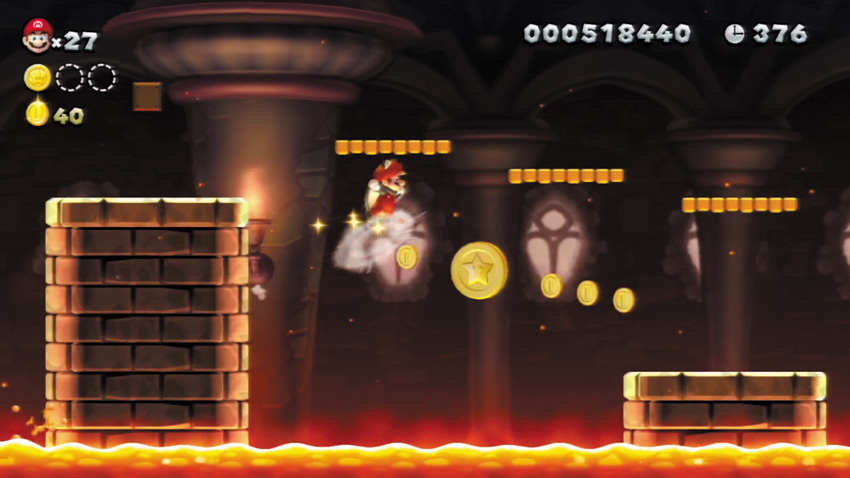
Claim the second Star Coin by gliding over to it with Flying Squirrel Mario.
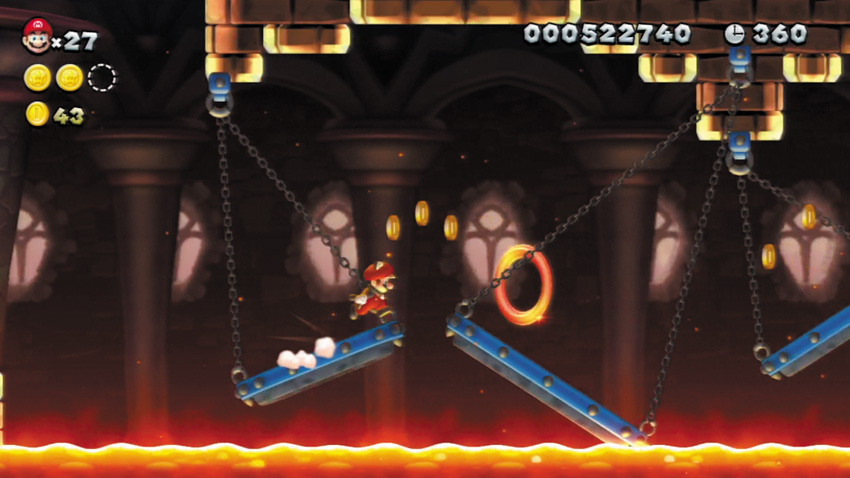
Pass through the Red Ring here to make a series of Red Coins appear above the swinging platforms ahead. Quickly, but carefully, grab all of the Red Coins before they vanish to receive a valuable item.
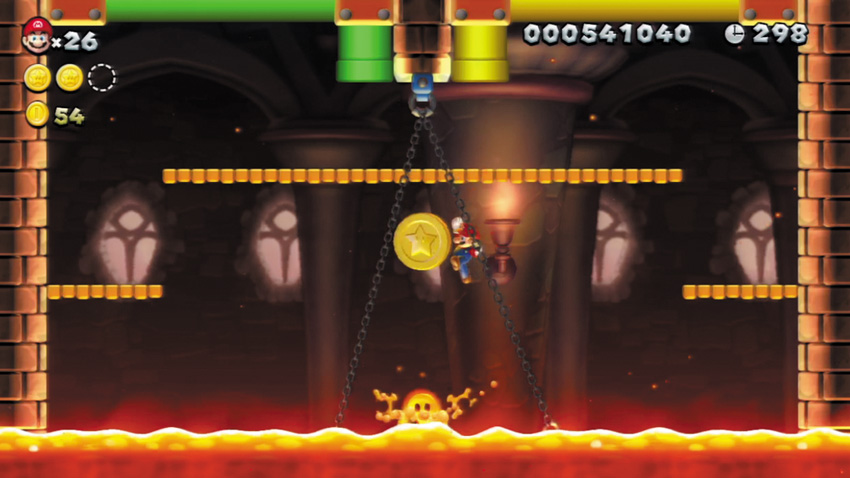
Enter the green Warp Pipe to reach this sweltering room, where the final Star Coin is kept. Flying Squirrel Mario has little trouble collecting this goodie, but even small Mario can claim it if he times his jump carefully and lands on the swinging platform as it emerges from the far side of the lava. Just be careful not to touch that leaping Lava Bubble!
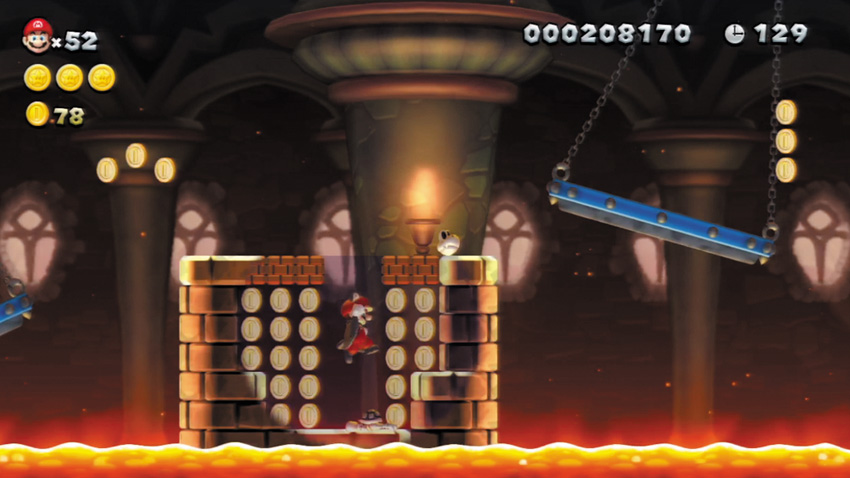
Perform a ground pound here to smash into a secret area that’s filled with Coins!
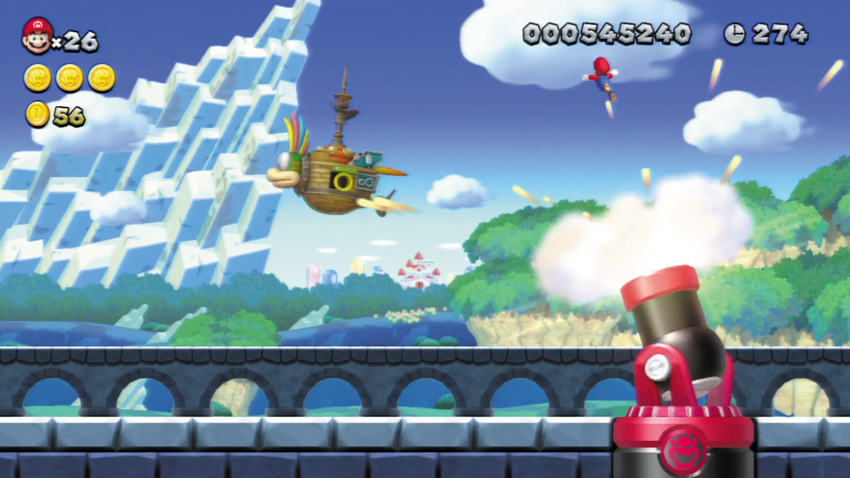
Enter the ominous boss cannon you discover at the top of these lengthy stairs, and you’ll be shot over to Lemmy’s airship. It’s time for a boss battle!
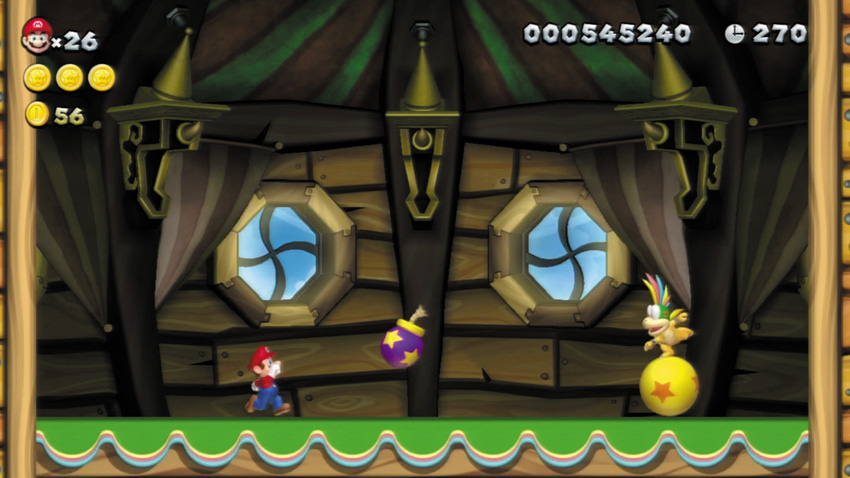
Lemmy, the boss of Acorn Plains, awaits Mario within the hull of his airship. Jump over the bombs that Lemmy throws, or stomp them to set them off. Don’t worry too much about the bombs, though—you’re real task is to trounce Lemmy by stomping him three times.
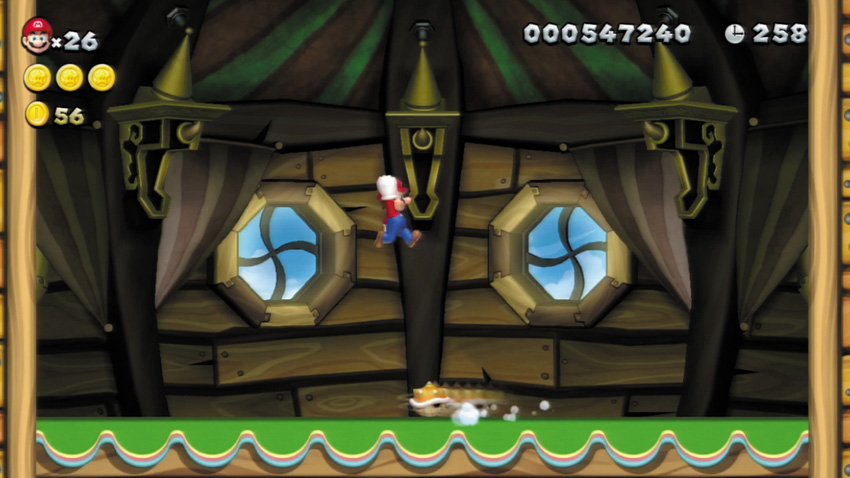
Each time you stomp Lemmy, he turtles up and zips across the room along the ground in his spikey shell. Don’t stomp Lemmy while he’s spinning mad—just jump past the boss and wait for him to emerge from his shell. Then go for another stomp!
Acorn Plains Secret Stage
Blooper’s Secret Lair
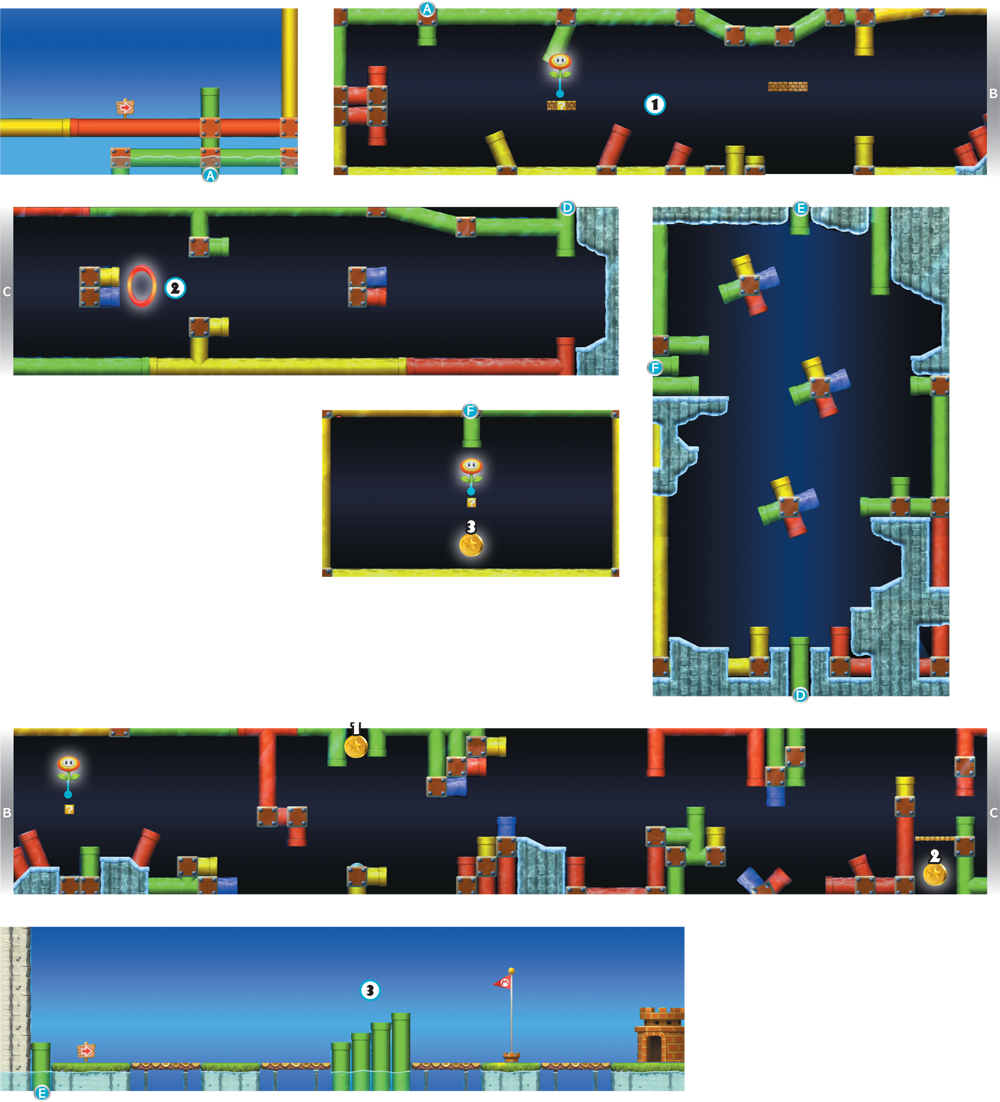
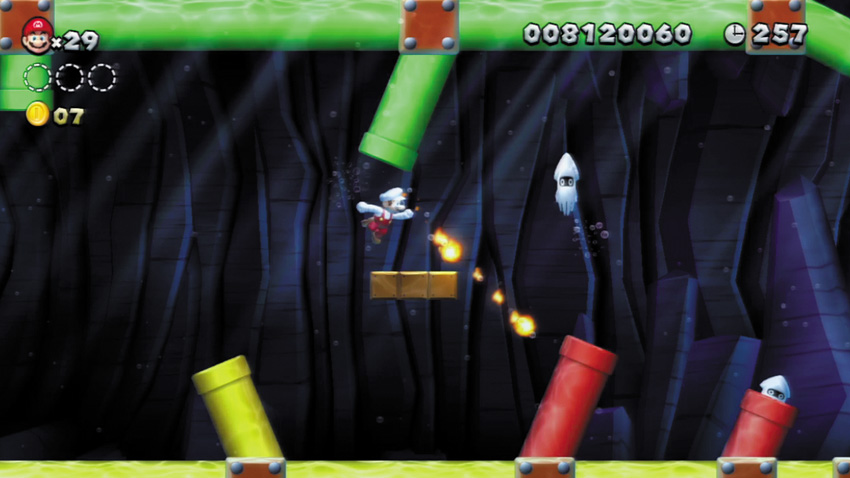
Beware of Bloopers that burst up from the red pipes here. Swim close to the pipes to make the Bloopers emerge, then either swim past them or scorch them with fireballs. Watch out for similar Blooper bushwhackers in this stage!
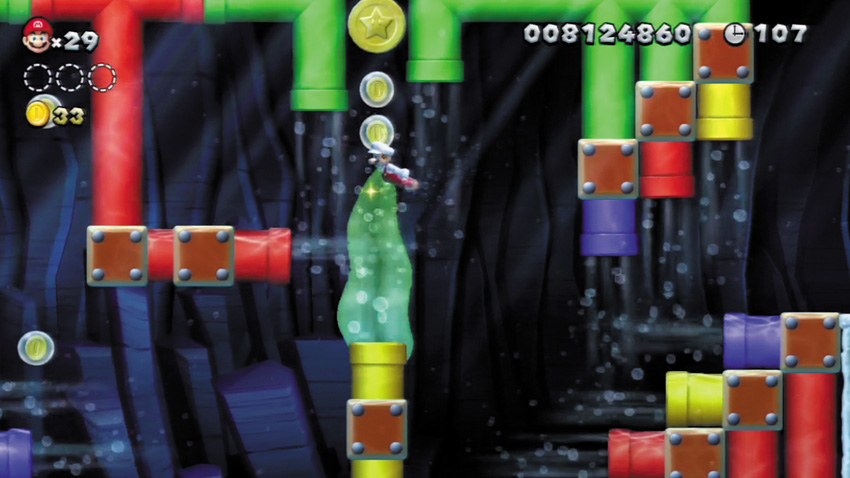
The first Star Coin is an easy grab—simply navigate the Jet Pipe currents and claim it. Two more to go!
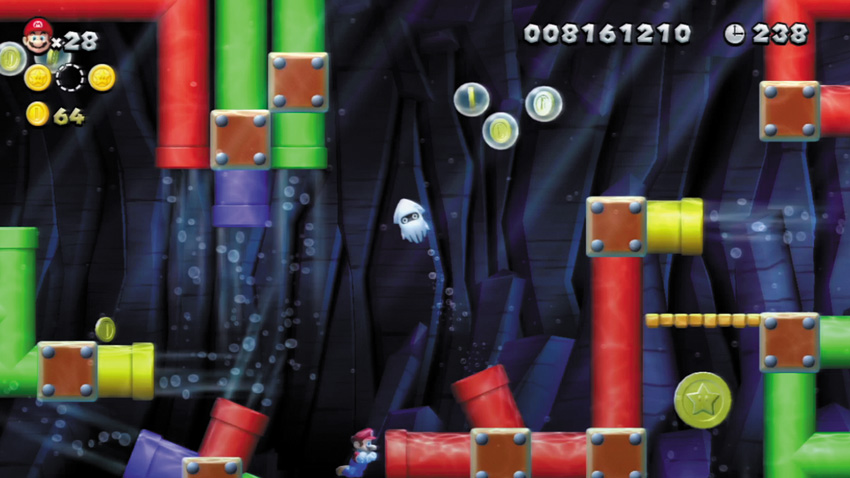
To reach the second Star Coin, navigate the spinning Jet Pipes to the left, aiming to swim underneath the red pipe that runs along the bottom of the screen. There’s just enough room for Mario to swim under the pipe and pop out near the Star Coin.
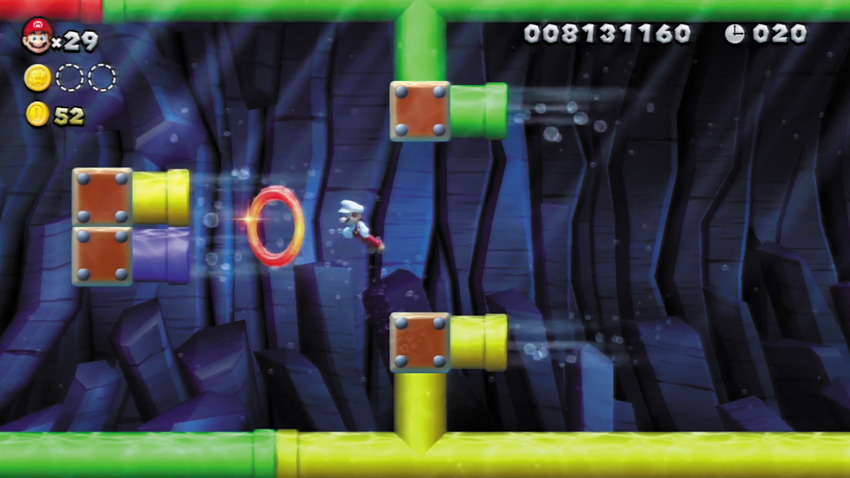
Wait for the Jet Pipes to separate here, then touch the nearby Red Ring. You know the drill: Hurry and grab all of those Red Coins before they disappear!
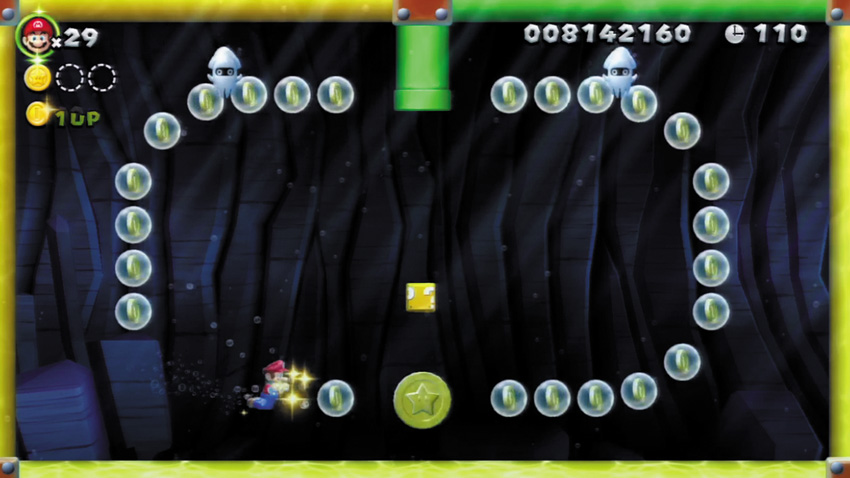
In the stage’s second area, dive into the middle green Warp Pipe to discover the third Star Coin floating in a small room. Dodge or toss fireballs to defeat the dangerous Blooper Nannies that guard this final prize.
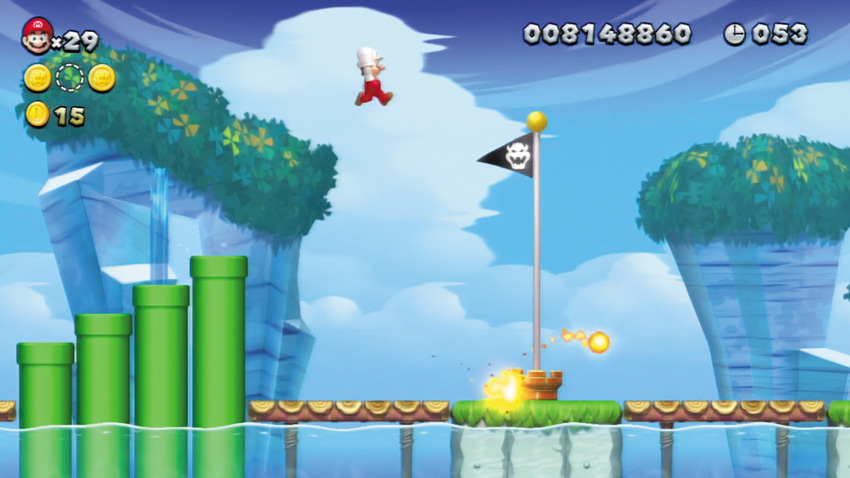
Perform a triple jump up the stage’s ending Warp Pipes, aiming to bound off of the final pipe and reach the top of the Goal Pole.