
New Super Mario Bros. U Guide Walkthrough Worlds
Soda Jungle
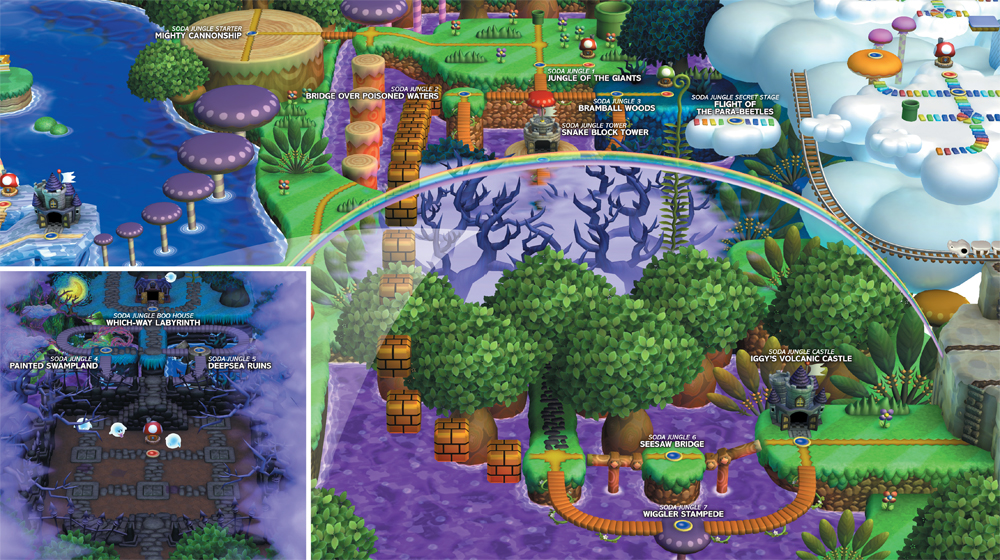
Locations
| Levels | Toad Houses | Map Enemies | Boss |
|---|---|---|---|
| 12 | 3 | 3 | Iggy |
Soda Jungle Starter
Mighty Cannon Ship
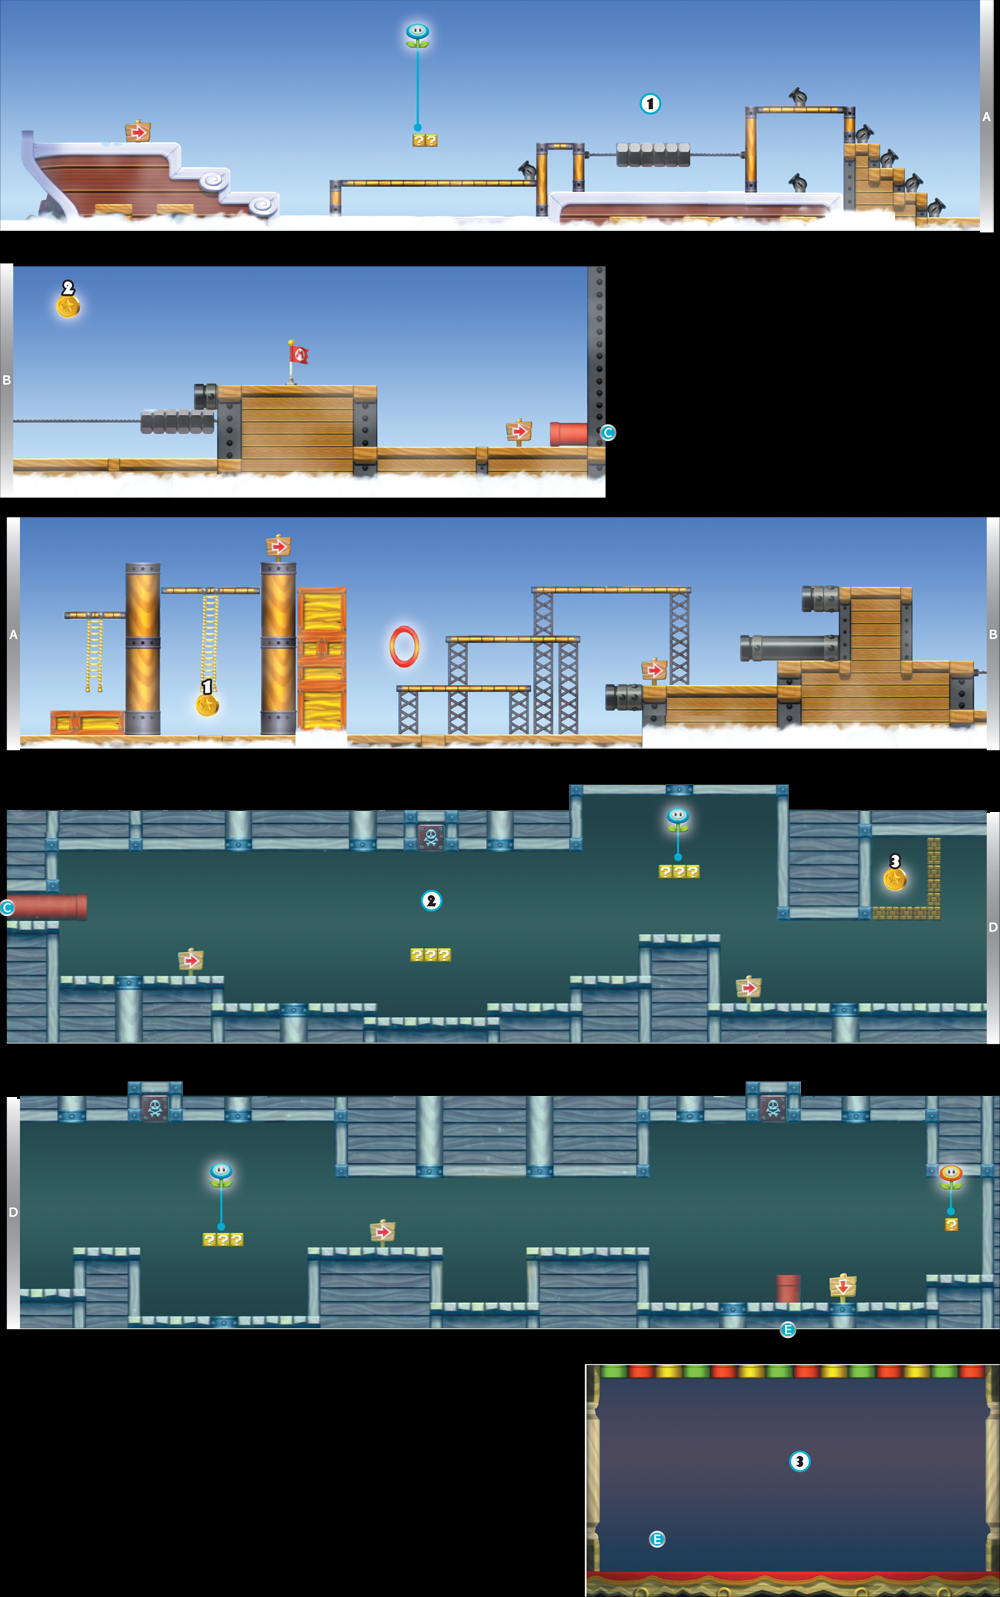
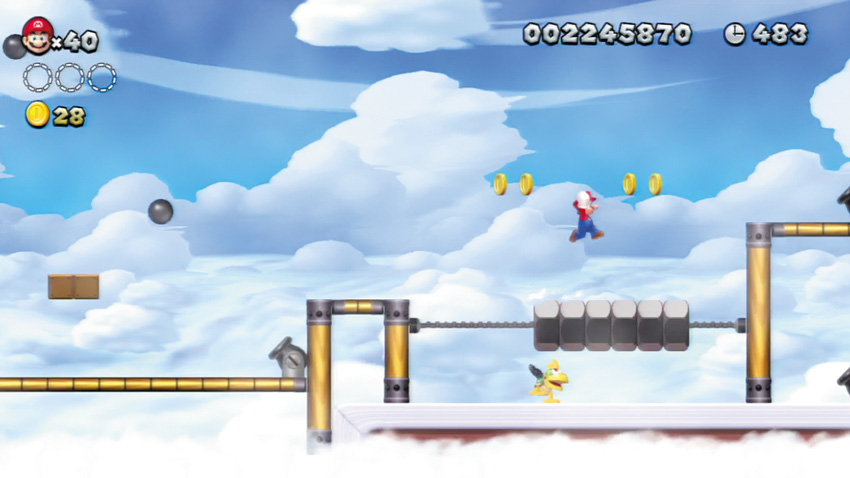
Jump on the Nut here to make it spin and slide to the right. Just keep jumping on the Nut until you’re able to leap up to the platform above.

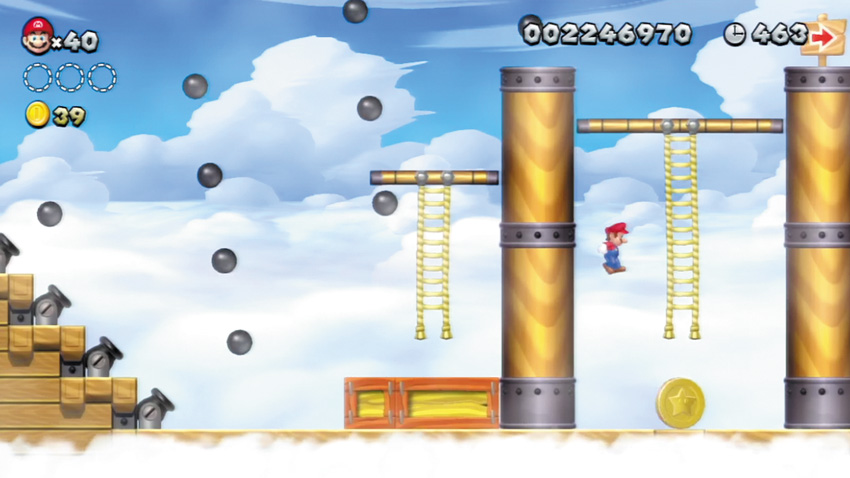
You don’t have much time to claim this first Star Coin. Rush to the rope ladder that leads down to the Coin, then drop from the ladder to quickly fall onto the Star Coin. Now hurry and climb the ladder to escape before the screen scrolls!

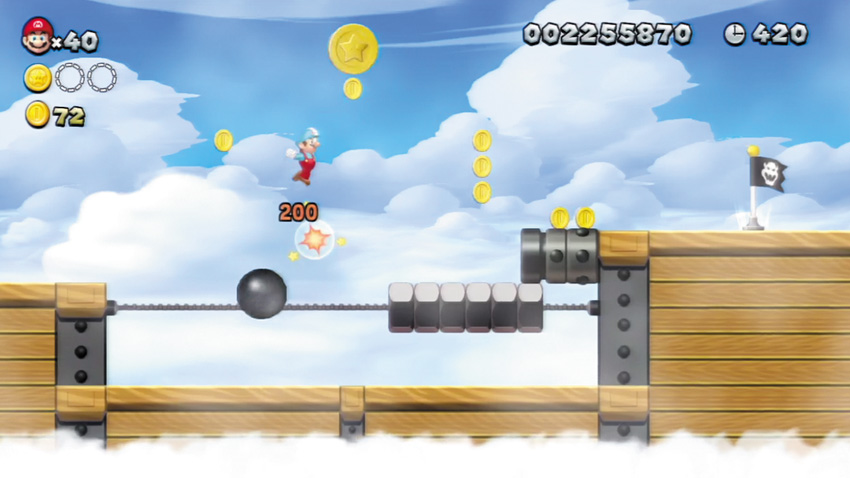
While jumping on the Nut below the second Star Coin, aim to bounce off a Cannonball. This gives you the extra height that you need to collect the Star Coin.
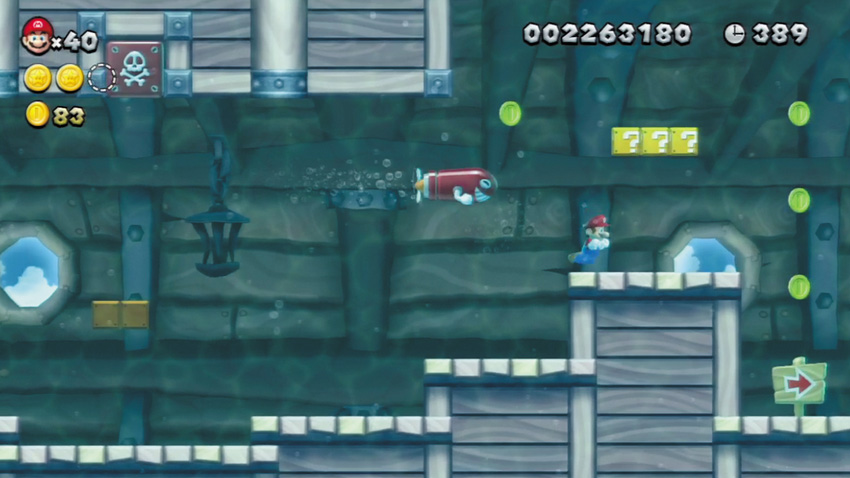
Beware of Targeting Teds as you swim through the Mighty Cannon Ship’s waterlogged hull. They’ll change direction and zip after you, destroying anything they strike—including valuable ? Blocks!

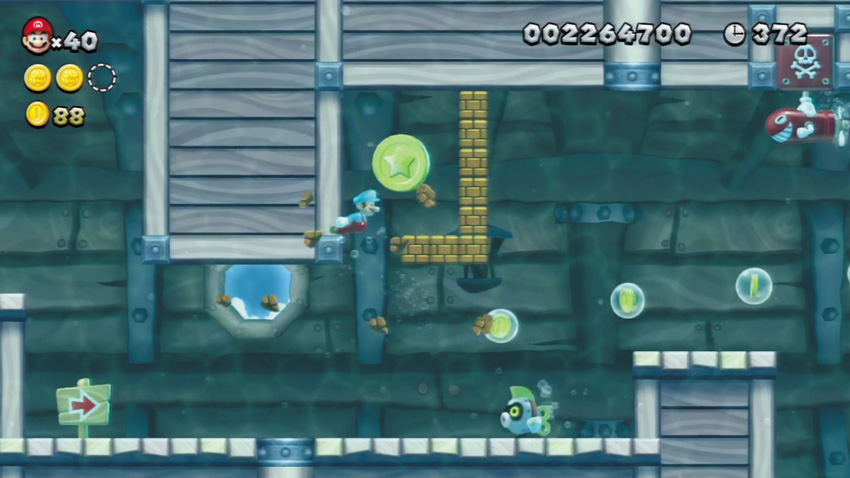
Hurry and smash through the Brick Blocks that surround the third Star Coin, then collect it before a Targeting Ted comes along and makes matters more difficult.
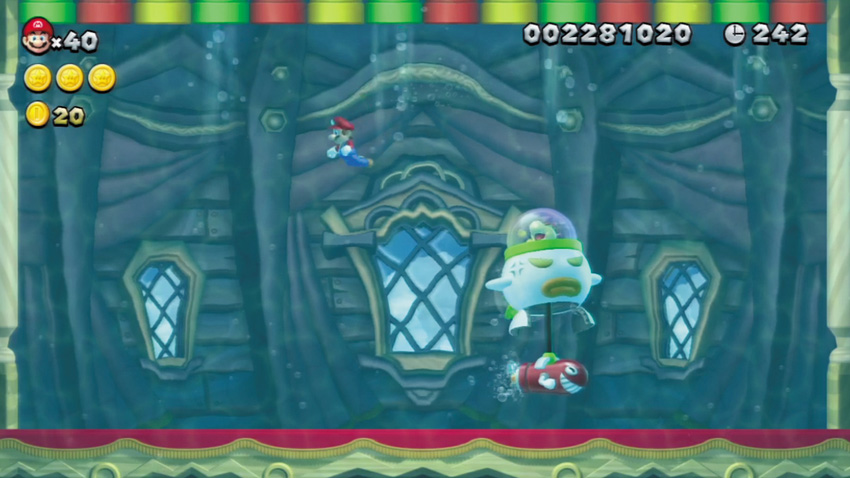
That bite-sized brat, Bowser Jr., must be battled at the end of the Mighty Cannon Ship. Bowser Jr. unleashes Targeting Teds throughout this frantic fight—swim around Bowser Jr., and try to lure those Targeting Teds into striking his ship!
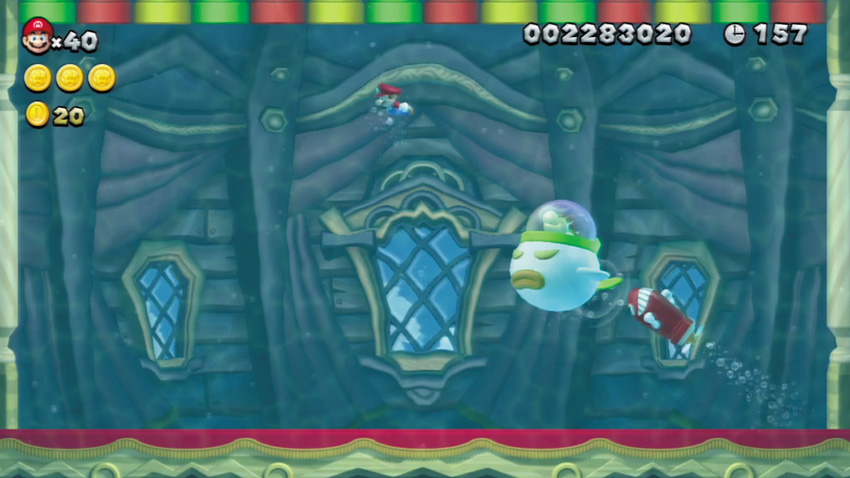
Blasting Bowser Jr. is easy once you discover the trick: Simply swim past Bowser Jr. while he’s preparing to launch a Targeting Ted, and try to stay above him. The Targeting Ted will then fly into Bowser Jr. after making its first turn! Blast Bowser Jr. with three Targeting Teds to sink the little loudmouth and open the way to the Soda Jungle.
Soda Jungle 1
Jungle of the Giants
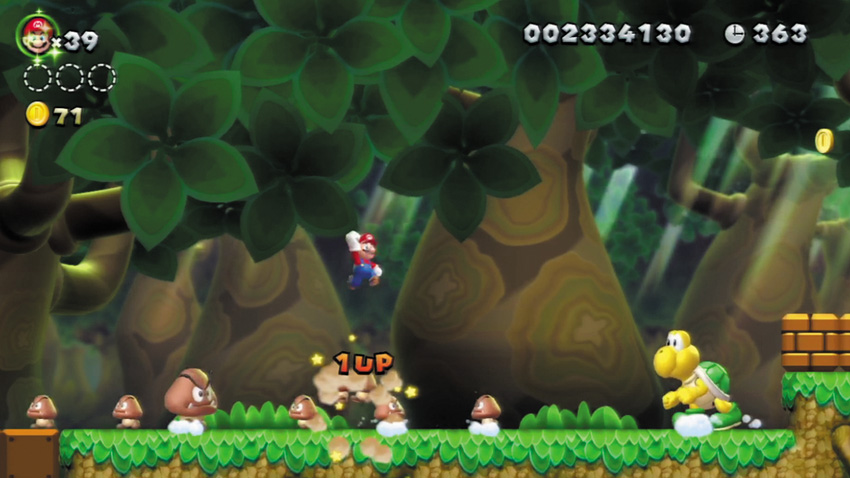
Hungry for 1-Ups? This is a perfect place to rack them up! Simply hold the jump button and bounce off the many Big Goombas here, and just keep bouncing off the Big Goombas as they divide into Hefty Goombas and regular Goombas. Bounce off all of the various Goombas without touching the ground, and you’ll score a ton of 1-Ups!
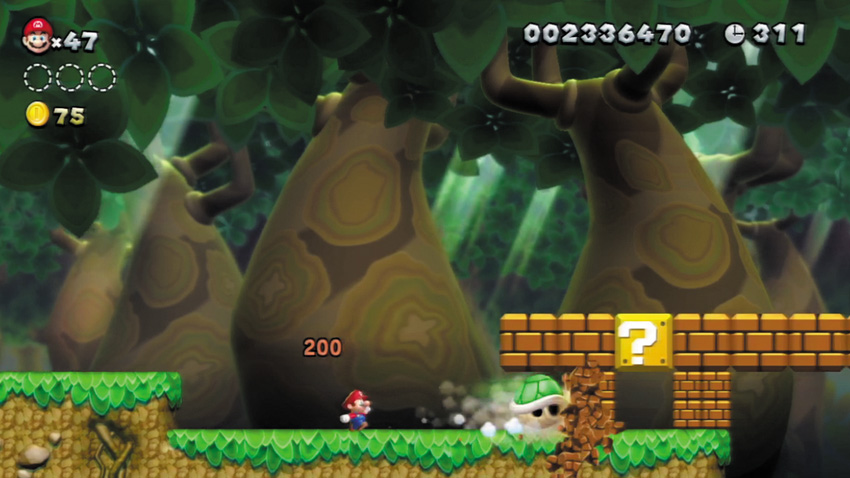
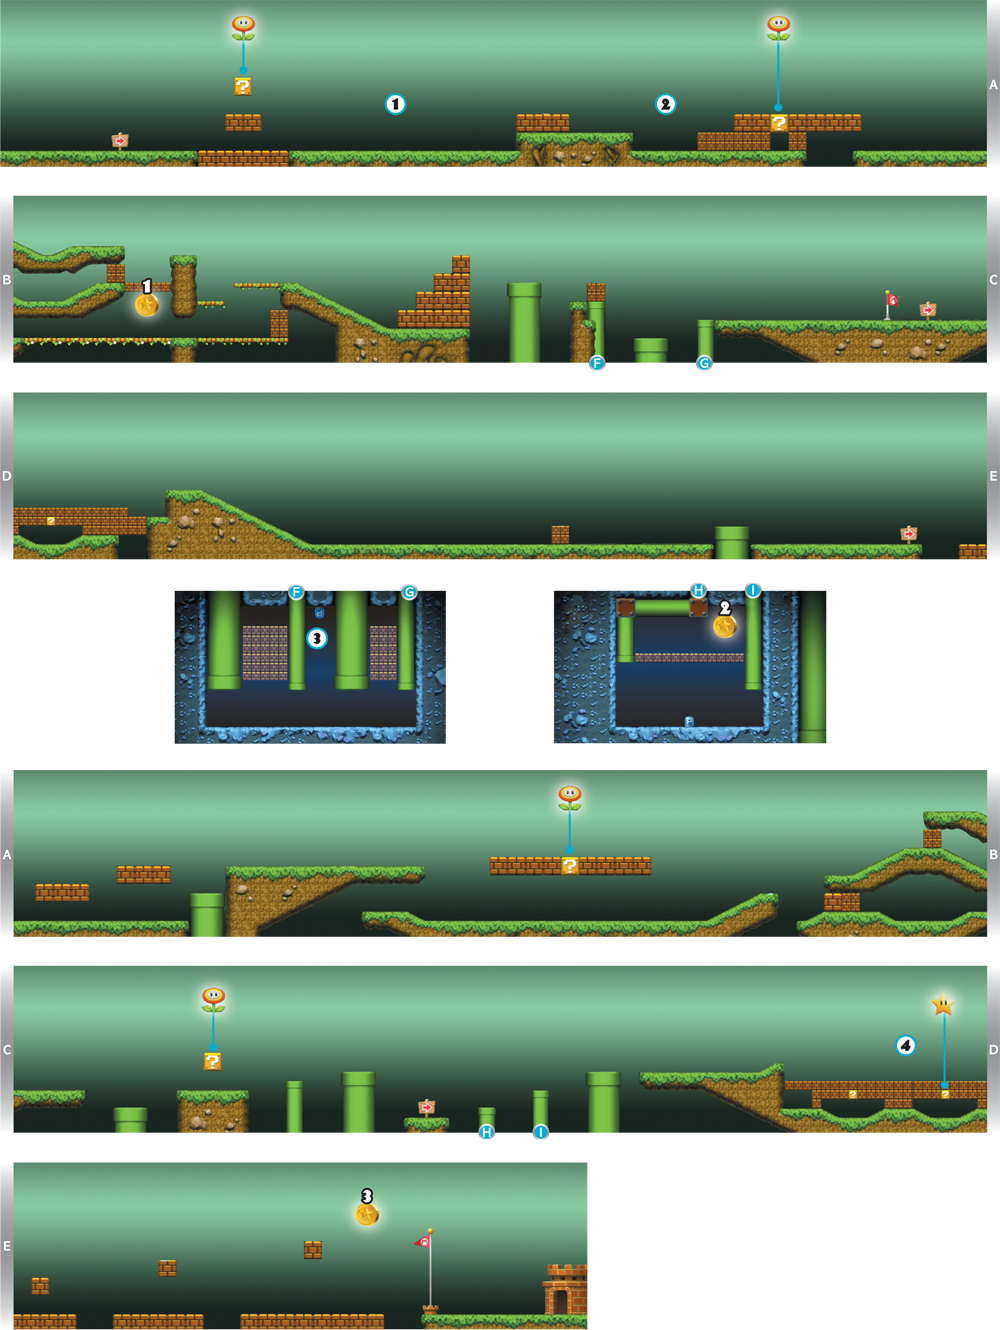
Stun the Koopa near this Point, then send its shell flying into the smaller Brick Blocks to the right. It’ll smash straight through them, allowing you to hit the ? Block here.
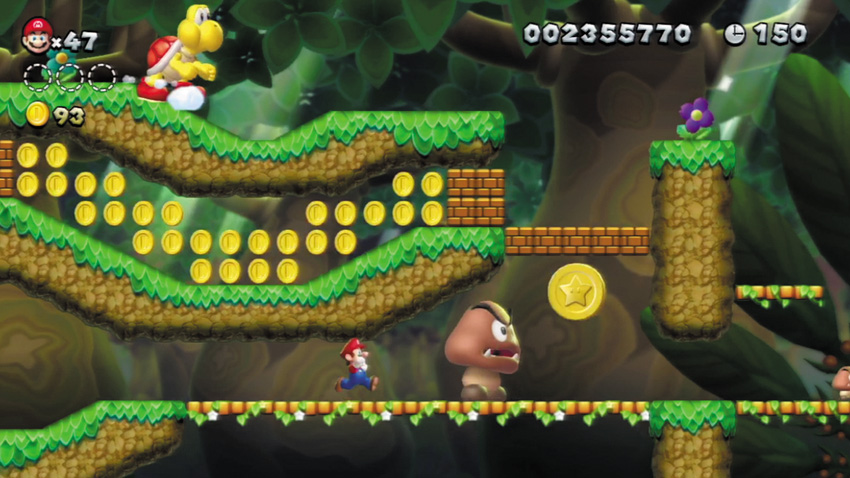
Kick the Koopa shells to smash the Brick Blocks near this Star Coin, then simply strut over and snag it. Stylin’!
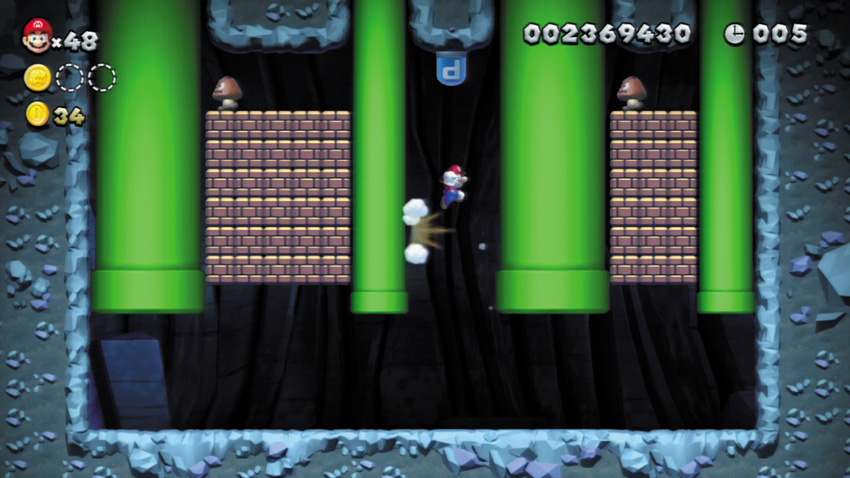
Use a Koopa shell to smash the Brick Blocks that cover the Warp Pipe that leads to this secret cavern. Wall jump up to the P Switch down here, and it will change all of the cavern’s Brick Blocks into precious Coins! Cram your pockets full of Coins before heading back up to the surface.
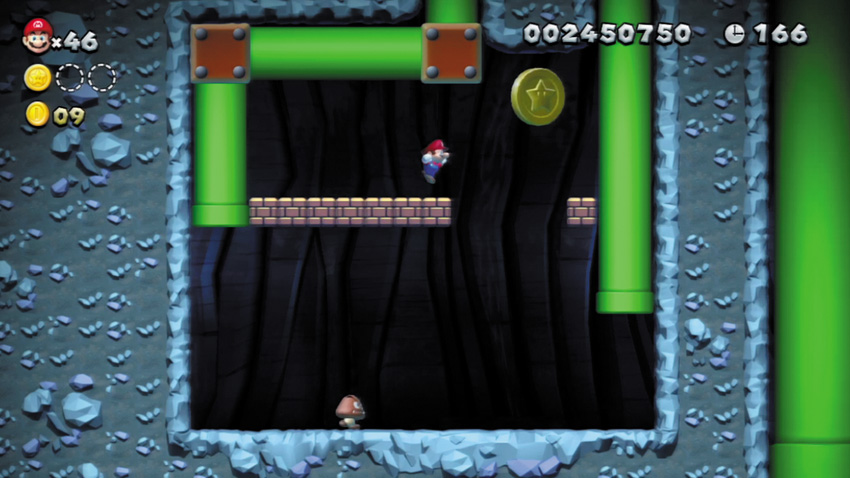
Defeat the Big Koopa that guards the Warp Pipe that leads to this second underground cavern. Hit the P Switch down here to turn the overhead Brick Blocks into Coins, but collect only some of the Coins, so that when they change back to Brick Blocks, you’ll be able to wall jump onto the Brick Blocks and reach the Star Coin.
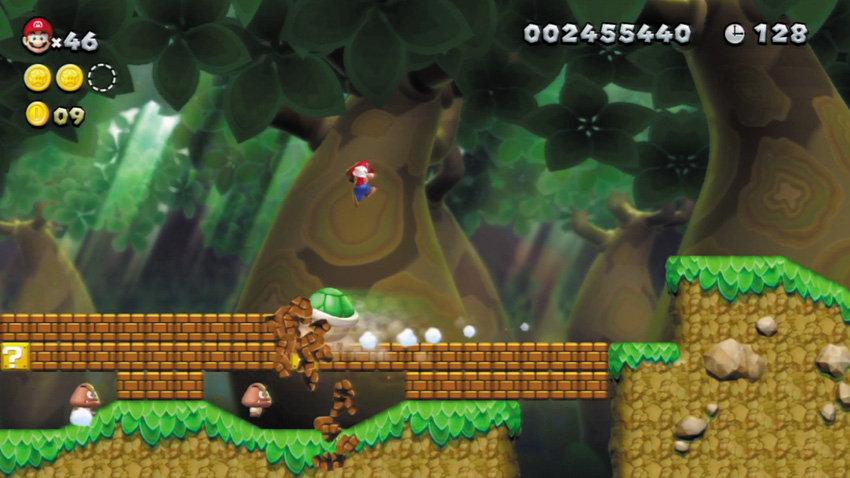
Stun the Koopa that strolls along the Brick Blocks here, then send its shell flying to the right. It’ll bounce off the wall and clear away the Brick Blocks, allowing you to claim a Super Star from the central ? Block below!
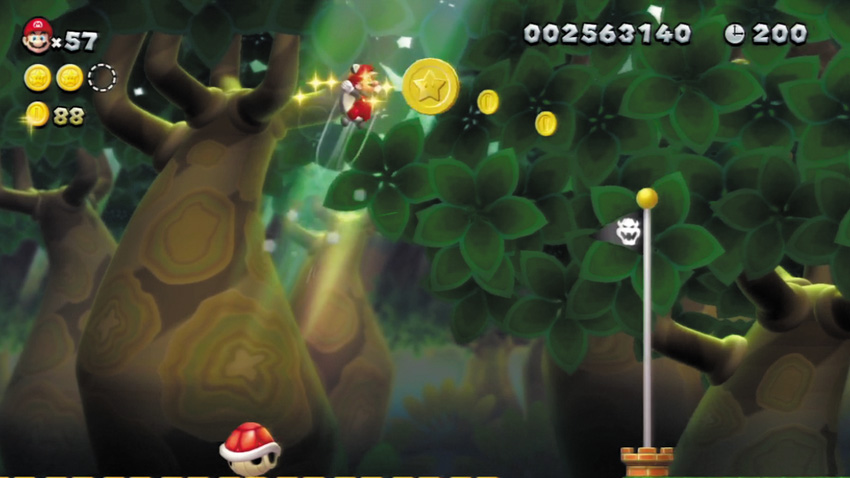
Grab the Super Star at Point 4, then dash full speed toward this final Star Coin. Leap up the last trio of Brick Blocks without pausing, and you’ll soar up to collect the Star Coin. Your Star power will also cause you to defeat the Koopas on the Brick Blocks when you touch them!
Soda Jungle 2
Bridge Over Poisoned Waters
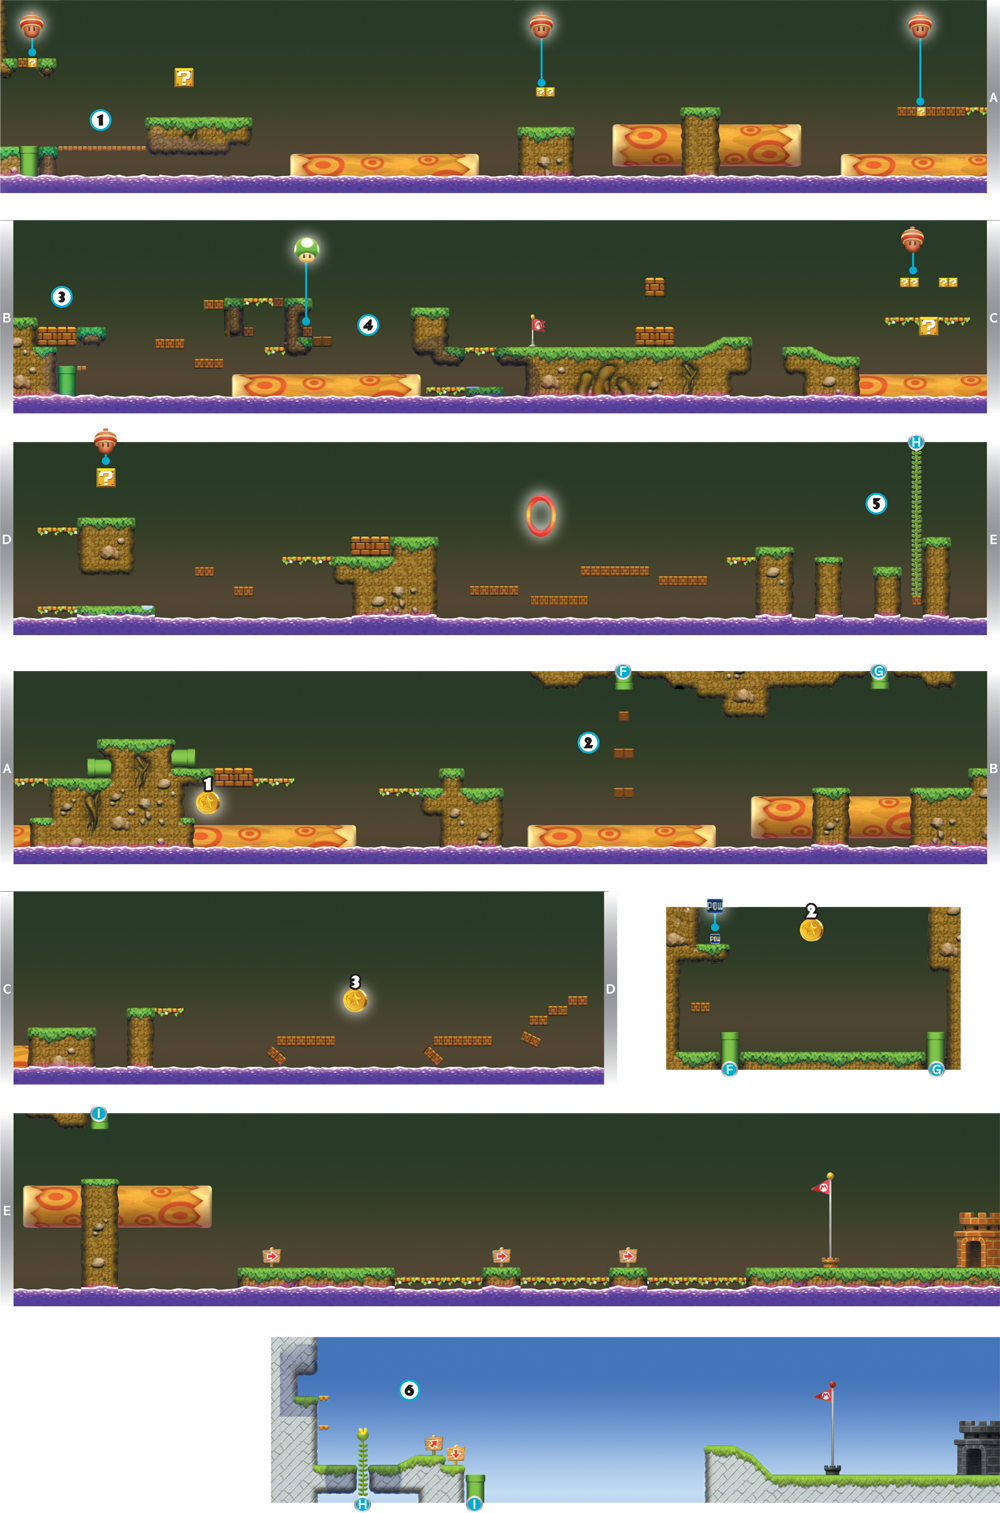
Press down to enter a secret Pipe Cannon here that rockets you up to the ? Block above the starting point. You can discover this hidden Pipe Cannon by carefully dropping from the very first ledge so that you land on the bridge to the left of the first rolling log, which is just barely visible.
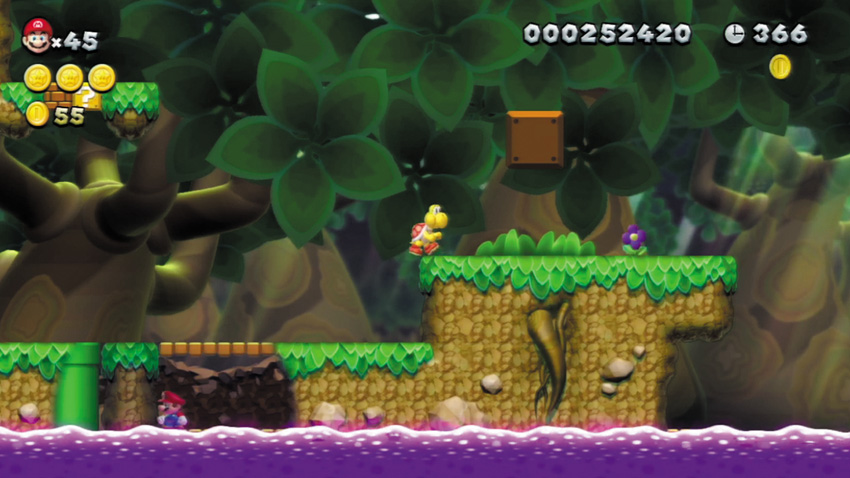
Carefully collect this first Star Coin without tumbling off the rolling log. One dip into that Poison Bog, and it’s back to the World Map you go!
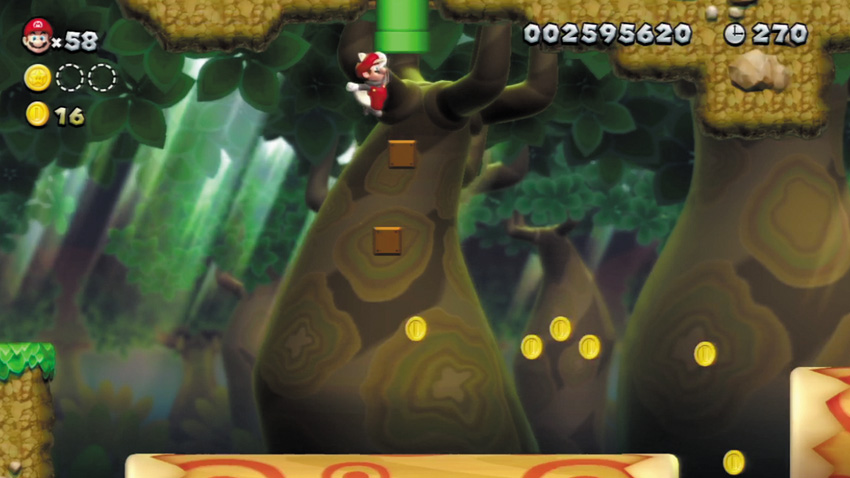
Jump up and strike some hidden Blocks above this log, then use the Blocks as platforms to help you enter the high overhead Warp Pipe.
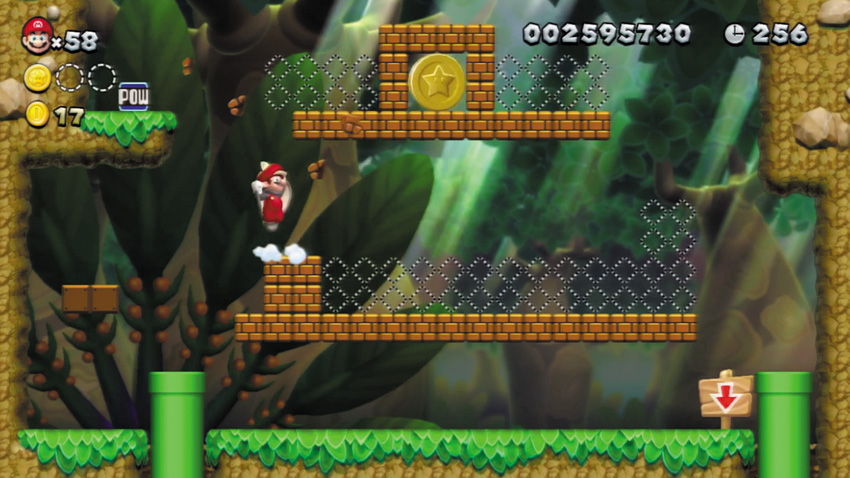
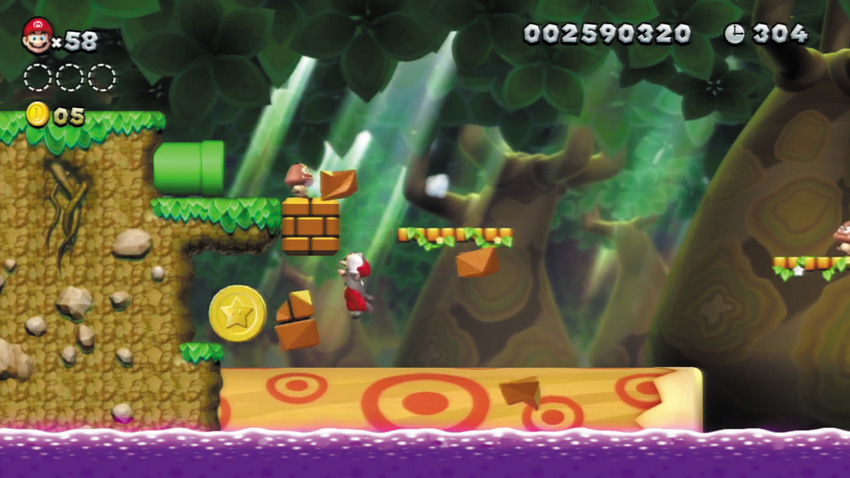
Flying Squirrel Mario can simply flying squirrel jump up and claim this second Star Coin—but there’s another way to reach it. First, bump the nearby Brick Blocks to discover a P Switch. Hit the P Switch to change the room’s Coins into Brick Blocks, then quickly run through the Hidden Coins to change them into Brick Blocks as well. Now jump up to the POW Block above, and toss the POW Block to bring the Star Coin crashing down!
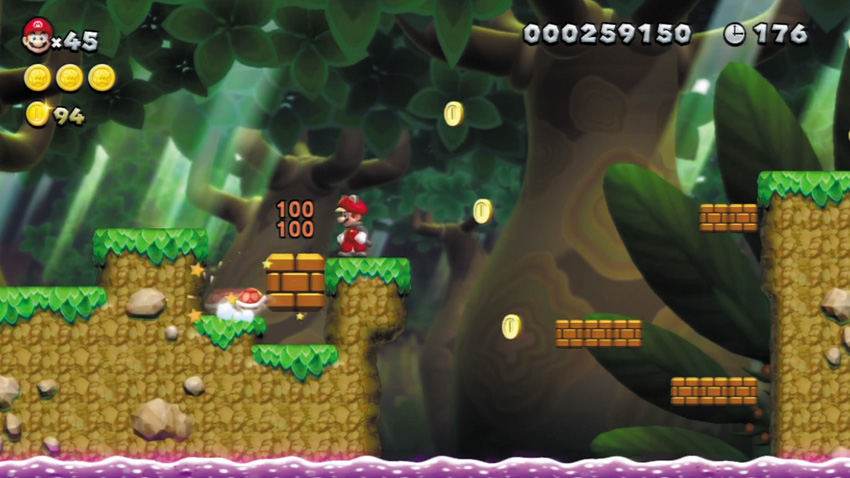
Ground pound the left of the two Blocks here, then stun a Koopa and throw its shell between the remaining Coin Block and the wall. The shell will eventually destroy the Coin Block, allowing you to drop into a hidden Pipe Cannon below!
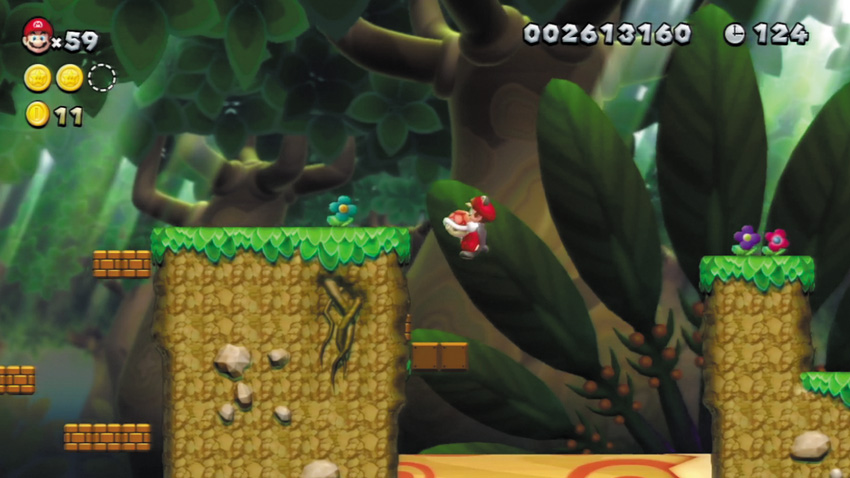
Explore a couple of hidden caves near this Point. Stand near the left cave’s right entrance, and jump up to bump a pair of hidden Blocks. Toss a Koopa shell onto these Blocks. It will strike a hidden Block to the left, causing a 1-Up Mushroom to pop out!
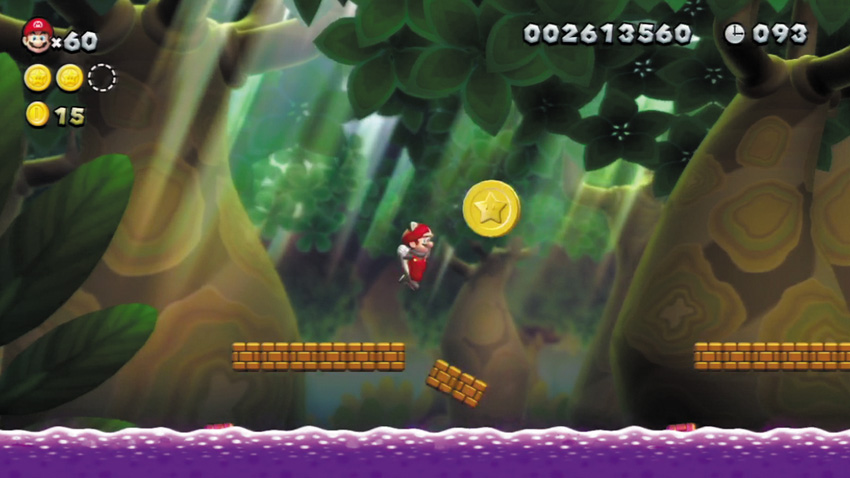
Beware of the treacherous Brick Blocks below the third Star Coin—they periodically dip into the Poison Bog, along with the Star Coin. Flying Squirrel Mario has an easier time of collecting this fi nal Star Coin without taking an unexpected plunge.
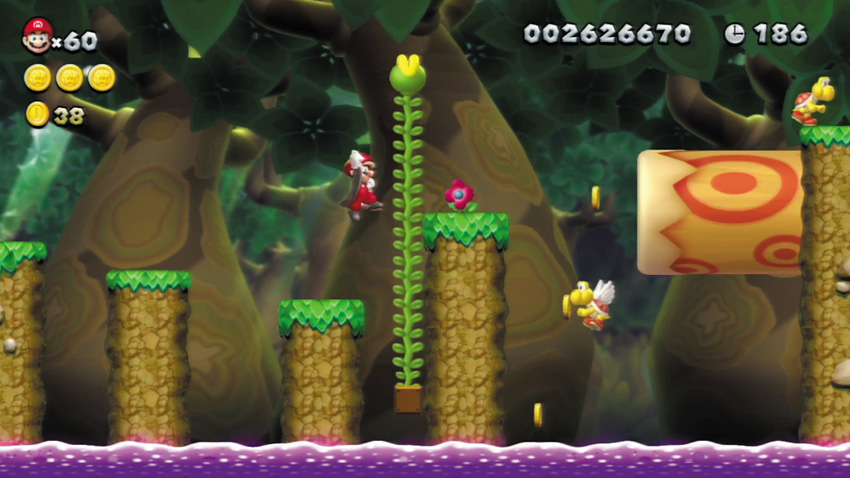
Use a Koopa shell to strike the low Brick Block near the Poisoned Bog here. A tall Beanstalk will sprout up from the Vine Block, leading up to a secret area!
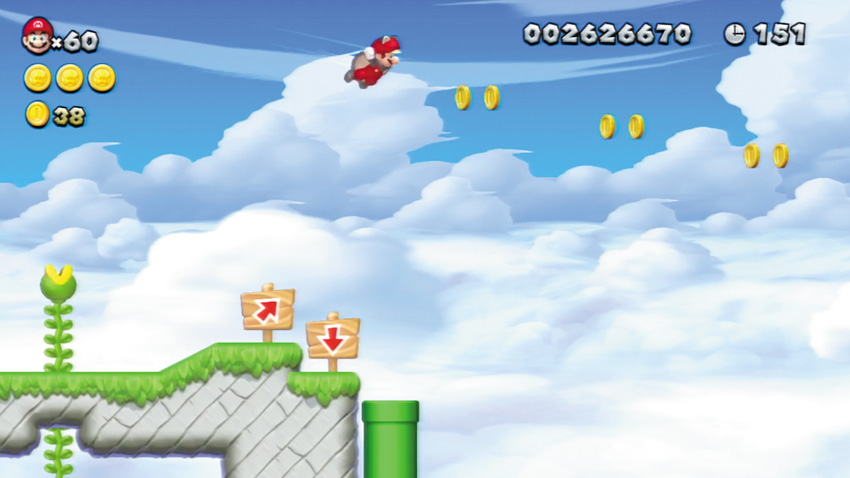
Climb the Beanstalk at Point 3 to reach this secret area. As Flying Squirrel Mario, jump up the tiny platforms near the Beanstalk to reach a hidden ledge. Jump from the ledge and glide across the long gap to the right to discover a secret exit beyond! Complete this stage using this secret exit to make a shortcut appear on the World Map that leads all the way around the Soda Jungle’s eerie forest.
Soda Jungle 3
Bramball Woods
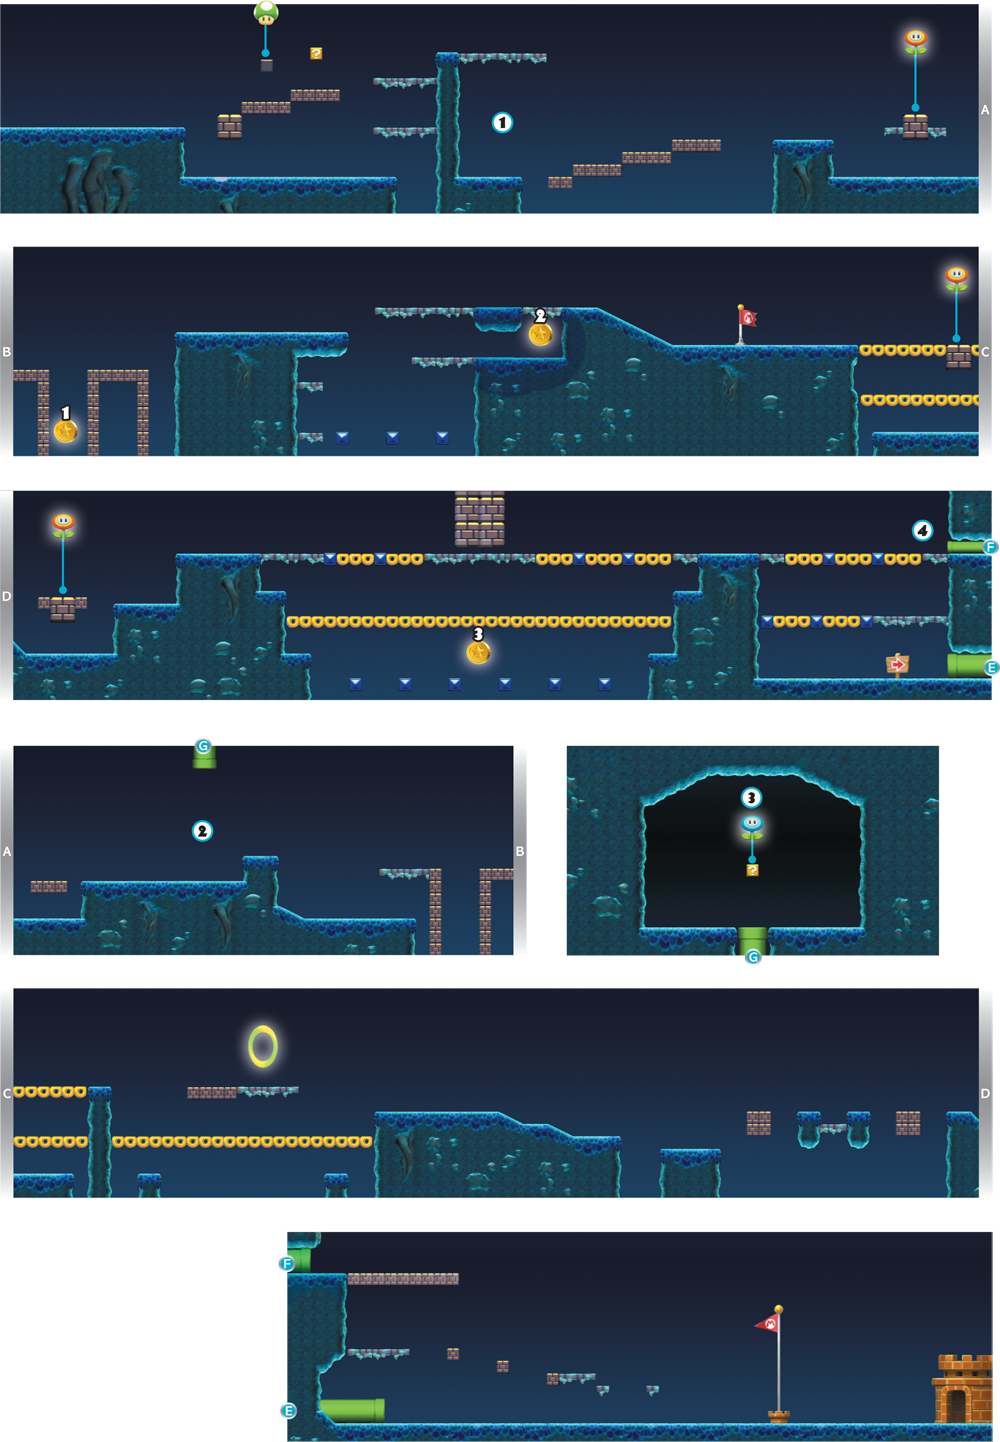
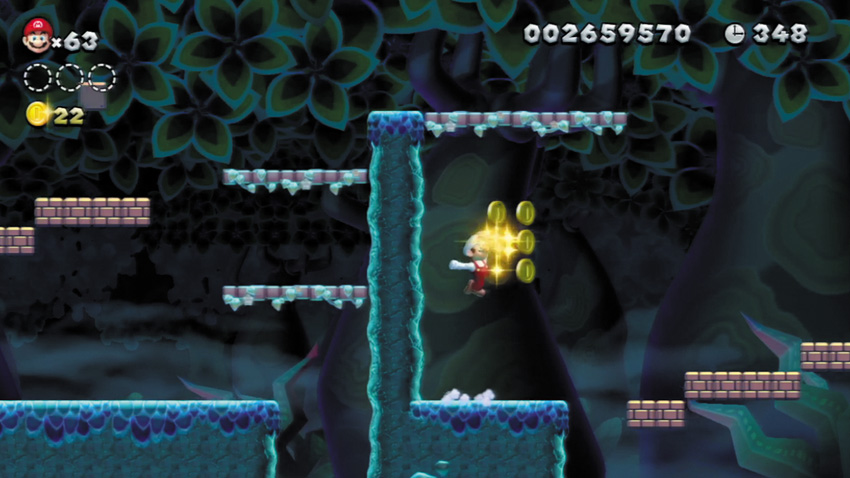
These dark woods hide many secrets. For starters, move onto this ledge, and several bonus Coins will appear.
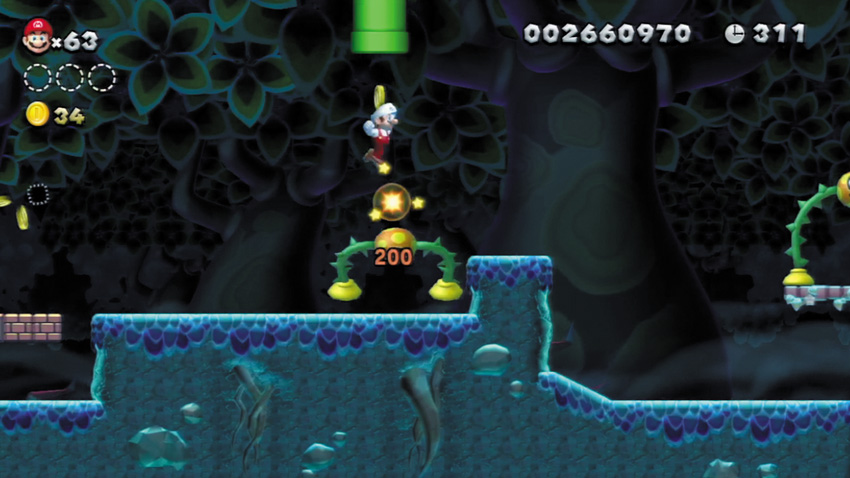
Bounce off a Bramball to bound up and enter the overhead Warp Pipe here.
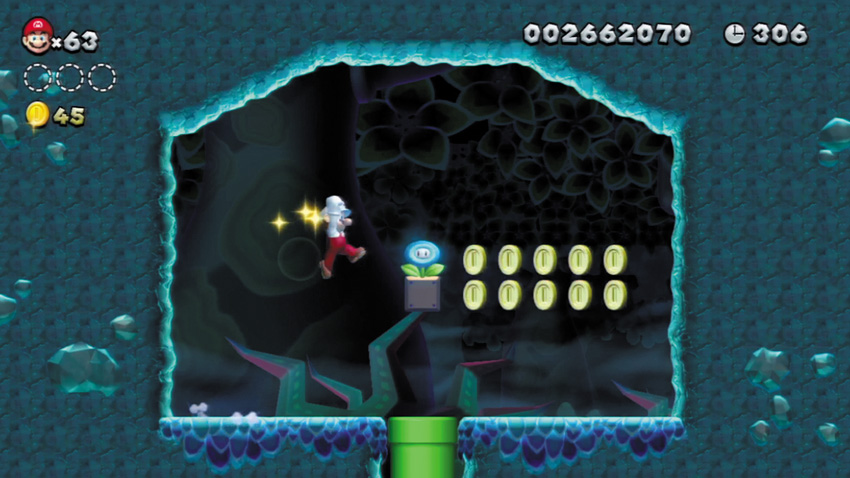
Enter the overhead Warp Pipe at Point 2 to reach this small cavern, where a ? Block provides you with an Ice Flower.
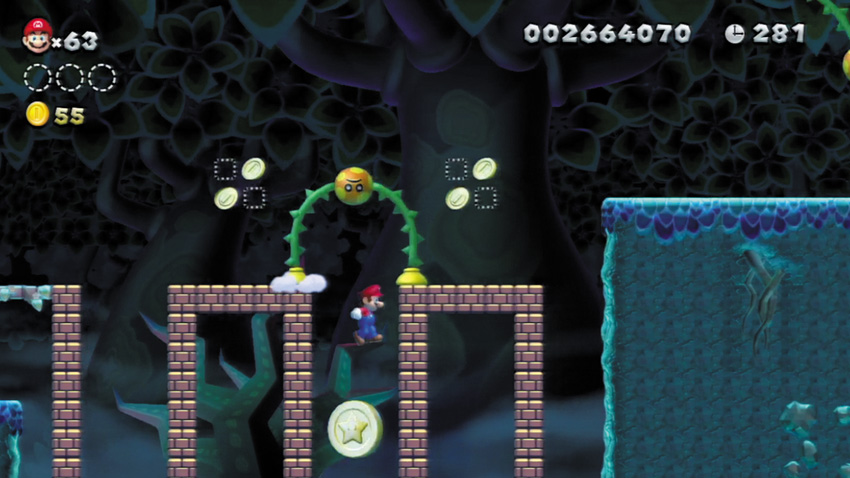
Fall into this pit and collect the Star Coin, then quickly wall jump up and out to safety. It helps to defeat the roaming Bramball here before going after the Star Coin.
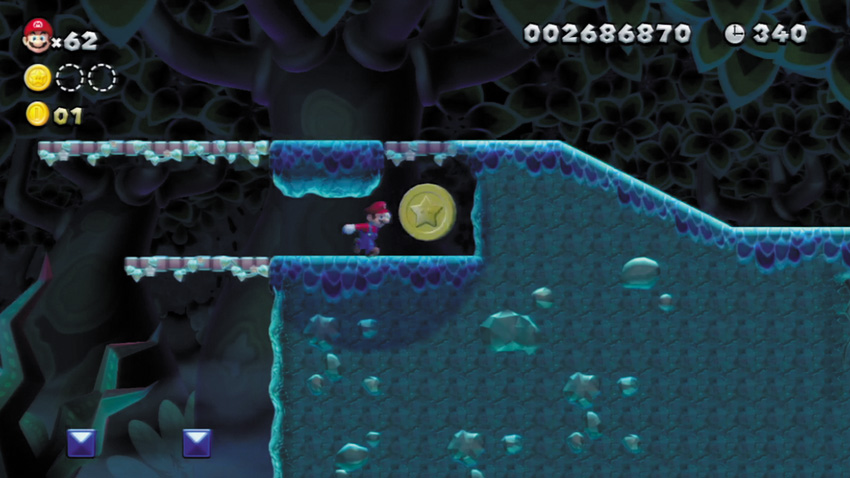
The second Star Coin is stashed here, inside a hidden cave. Bounce off the Bramball in the pit to the left of this Star Coin to reach the ledge that leads into the cave, or simply freeze the Bramball and use it as a platform (if you obtained the Ice Flower at Point 3).
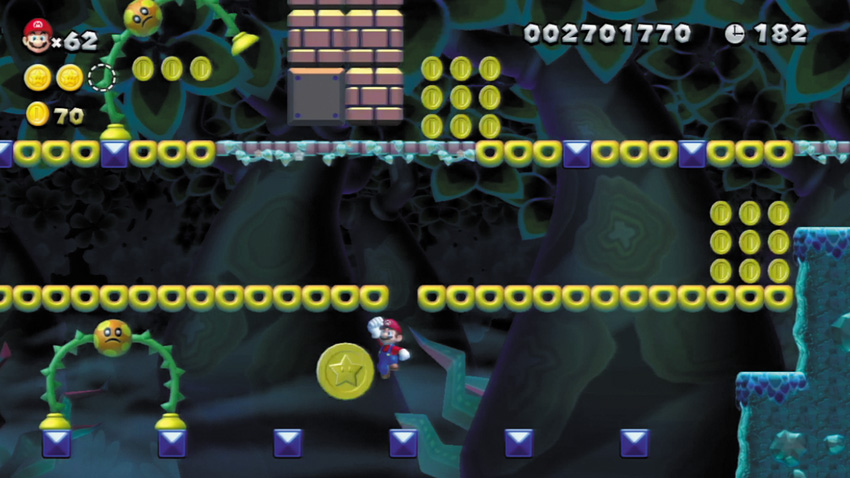
Stand on the Falling Blocks above the third Star Coin, and allow them to fall as you carefully make your way down to this final prize.
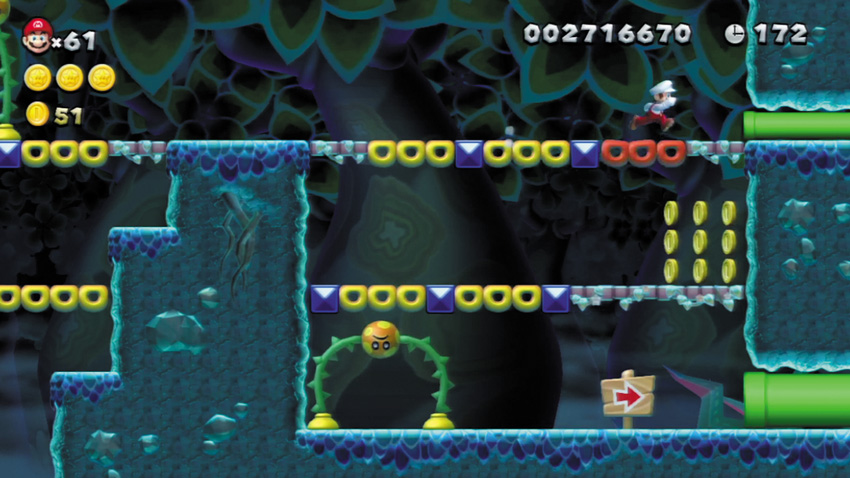
Visit this stage as Mini Mario to enter a tiny Warp Pipe that lies near the end of the stage. The Warp Pipe just leads to the Goal Pole, but you emerge on a higher level, making it easier to reach the top of the Goal Pole!
Soda Jungle Tower
Snake Block Tower
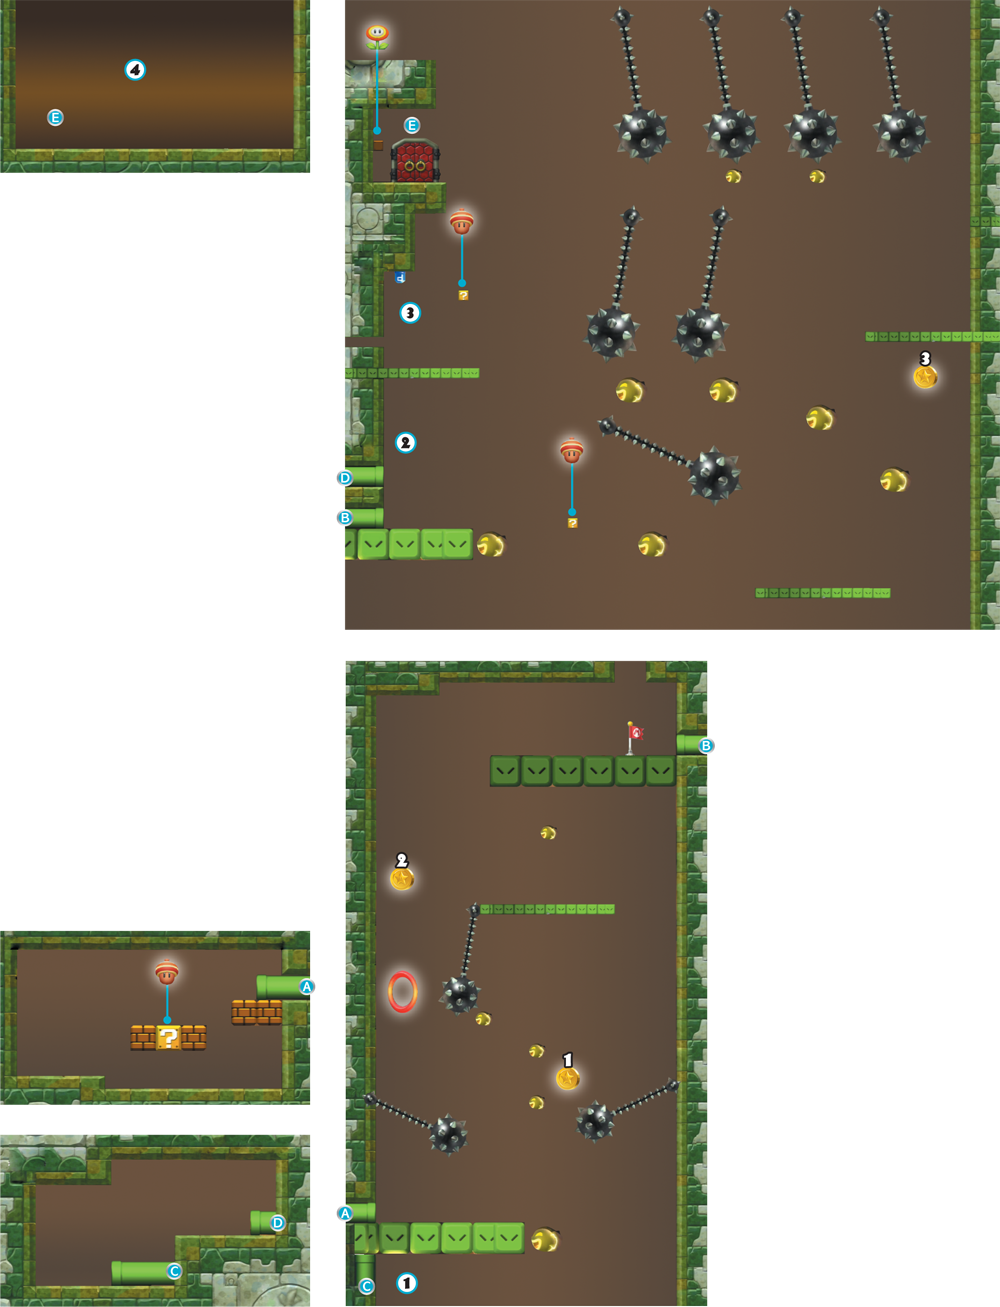
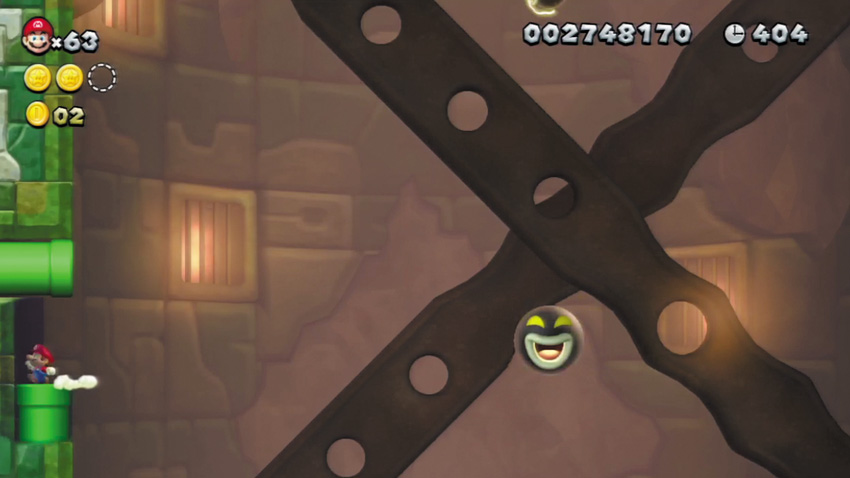
Riding the Snake Block up this tall tower isn’t easy. If you happen to fall, try to slide along the tower’s left wall. This gives you a chance at landing on this hidden Warp Pipe, which lies just below the tower’s entry Warp Pipe. The hidden Warp Pipe provides a serious shortcut through the tower—but you’ll miss the first two Star Coins if you use this sneaky route!
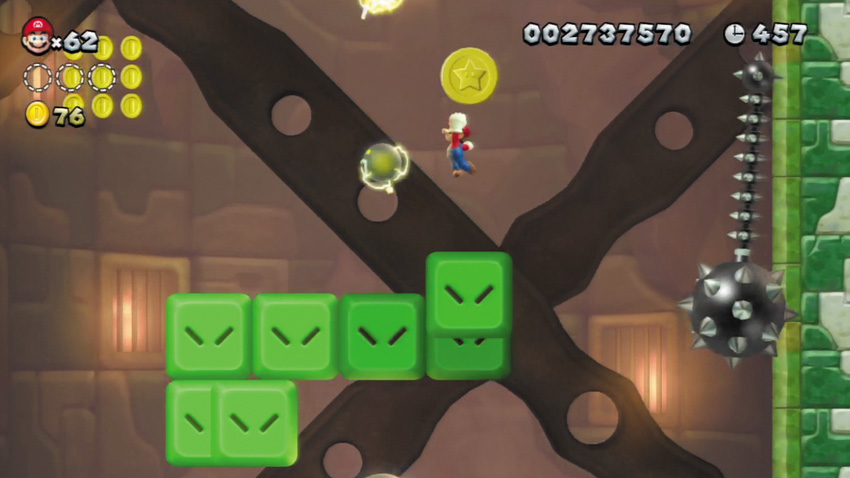
Stay close to the front of the Snake Block as you near the first Star Coin. You can simply leap up and grab it. There’s just enough space to stand between the Amp and Spinner that surround the Coin.
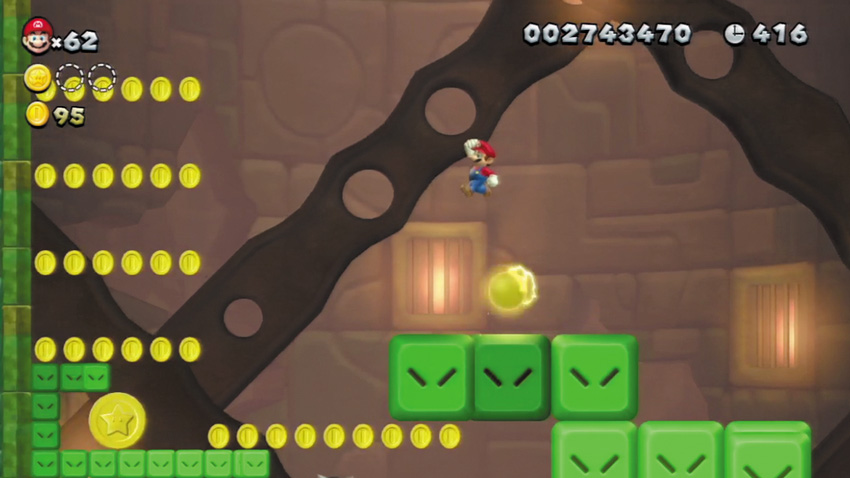
When you see a smaller Snake Block to the left, hurry and jump onto it. Get on that small Snake Block quickly, and you’ll have just enough time to jump up and grab the second Star Coin! Jump back onto the big Snake Block after collecting this prize.
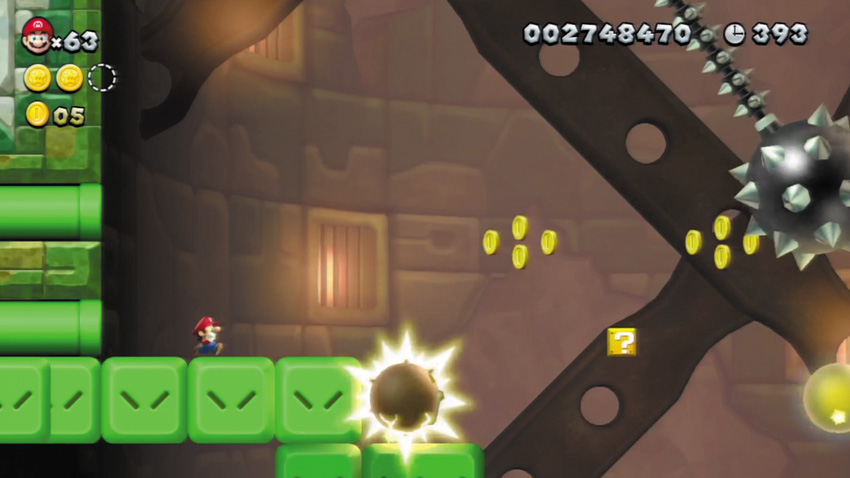
Duck into the hidden Warp Pipe at Point 1. You’ll emerge all the way up here. You’ll miss out on collecting the first two Star Coins if you take this shortcut, but you’ll also have less trouble reaching the top of the tower.
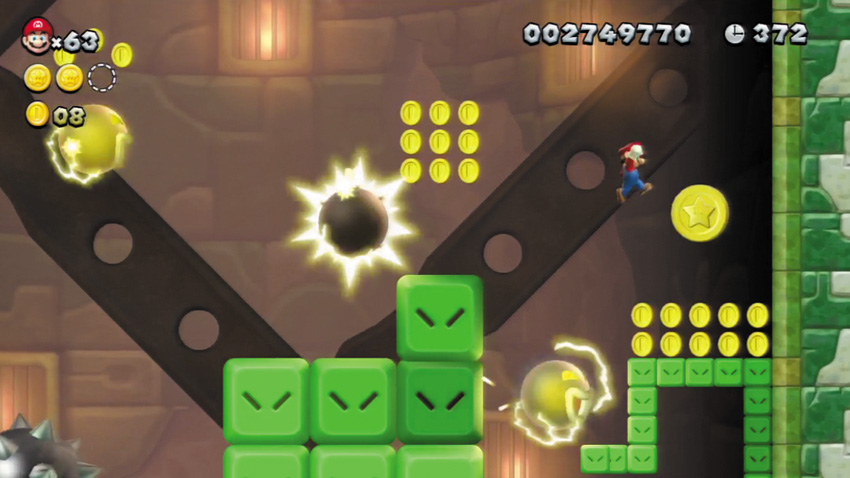
Leap over to the small Snake Block that appears near the third Star Coin. You don’t need to rush over to this Snake Block like you do when going after the second Star Coin—but don’t wait too long, or you’ll miss your chance!
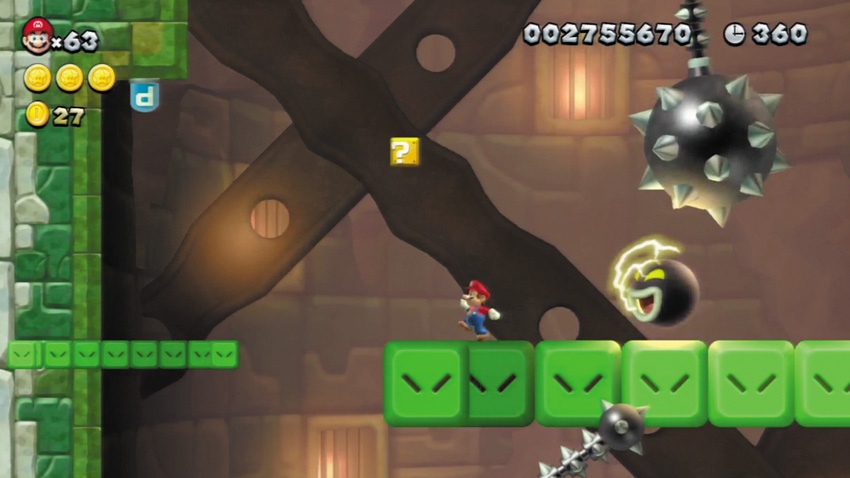
Jump onto another small Snake Block here, then leap up and strike the overhead P Switch before the Snake Block disappears into the tower’s left wall. This causes Blue Coins to appear, which sway back and forth, allowing you to collect them while avoiding the Spinners.
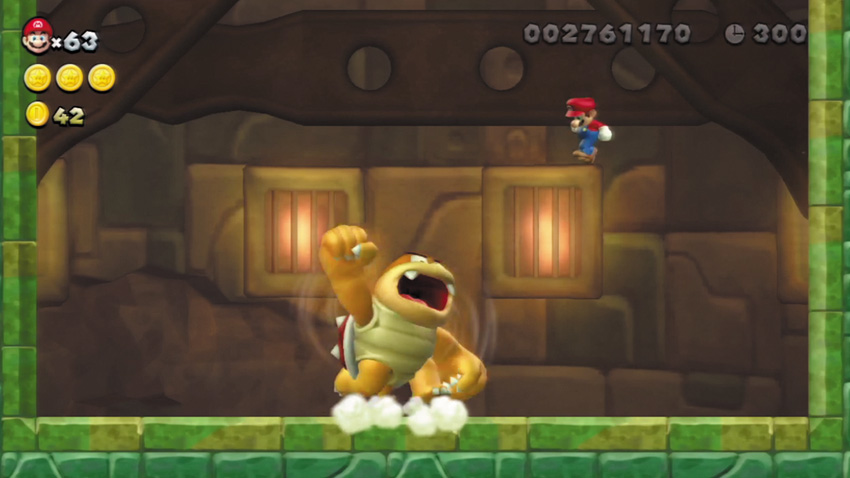
Once again, you must battle Boom Boom at the tower’s apex, but beware—Magikoopa’s meddling makes the brute much larger than before! It isn’t easy stomping this overgrown version of Boom Boom, but wall jumping off the room’s outside walls gives you extra height that makes your task a little easier.
Soda Jungle Boo House
Which-Way Labyrinth
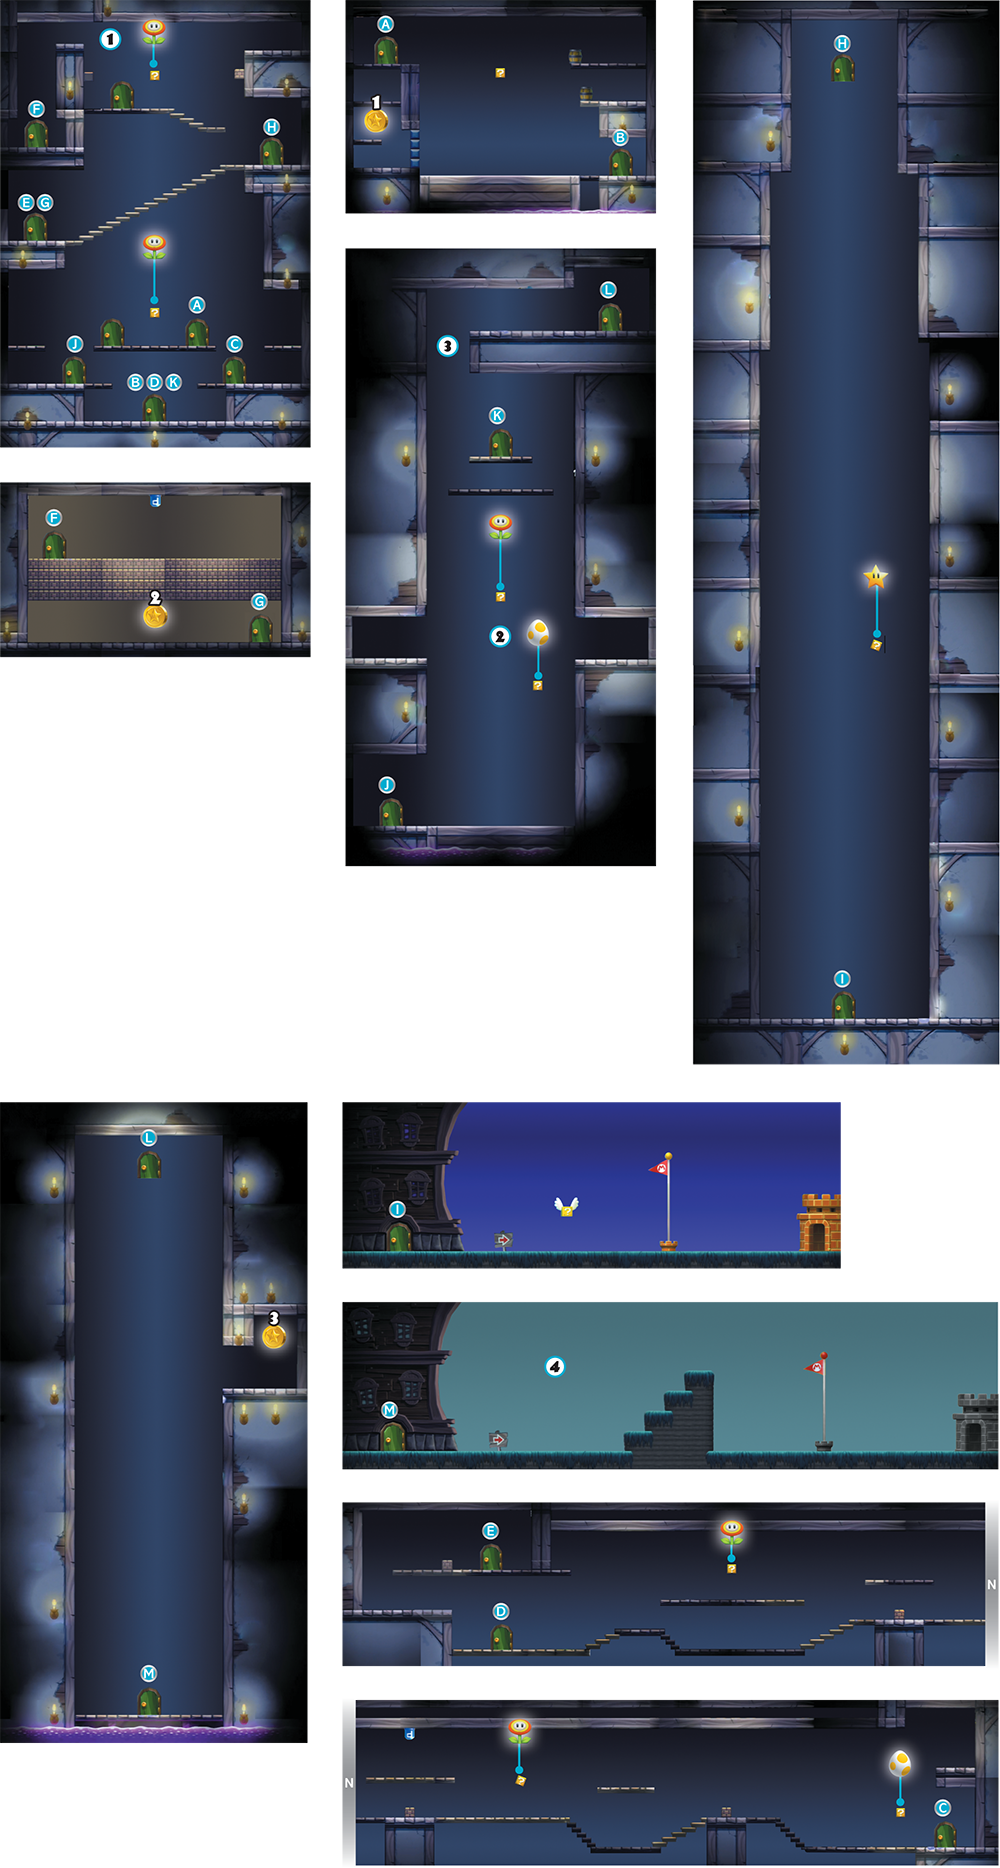
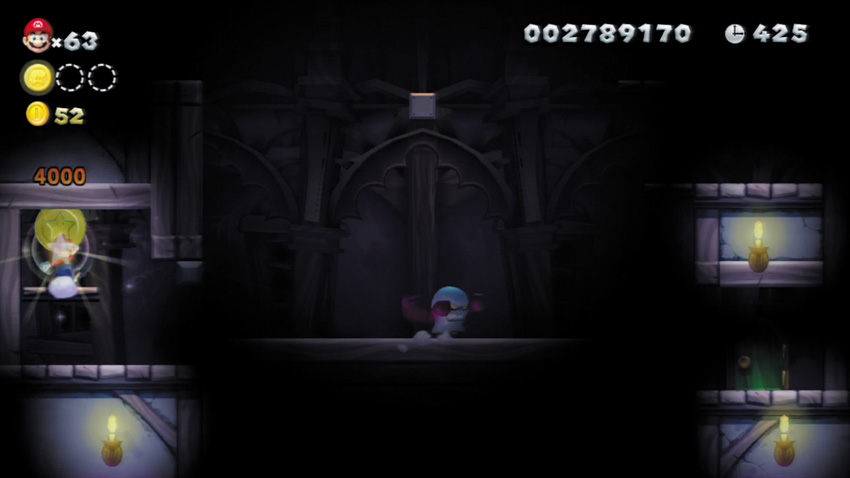
The first Star Coin is kept in a nook here, and is guarded by a ferocious Broozer. Lure the Broozer into smashing through the wall, then dodge or stomp the Broozer so that you may enter the nook and collect the Star Coin.
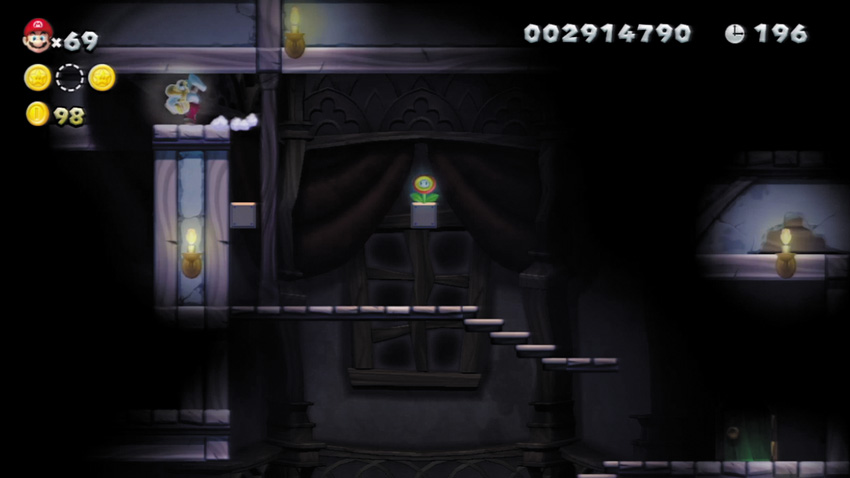
Stand near the left wall here, jump up, and you’ll bump a hidden Block. Jump onto the Block afterward, then leap through the false top portion of the left wall. You’ll pass through the wall and land near an important door that leads toward the second Star Coin.
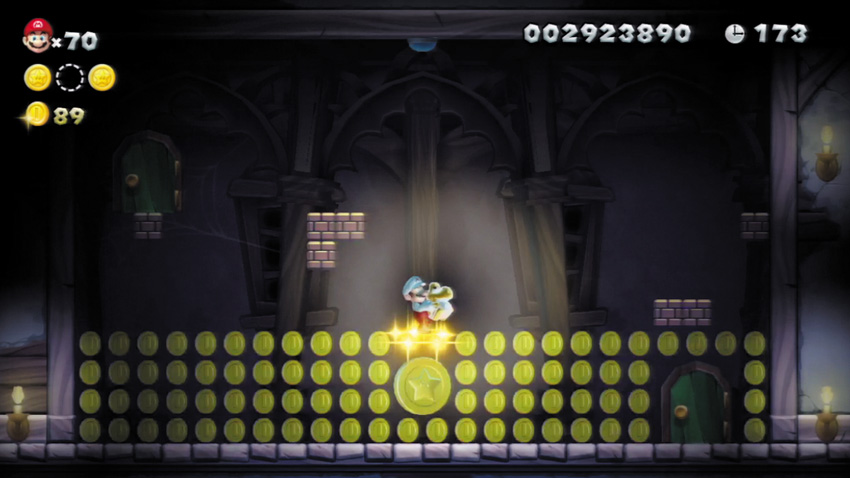
Leap up and hit the P Switch on the ceiling above the second Star Coin. All of the room’s Brick Blocks become Coins. Grab as many Coins as you can while working your way down toward the Star Coin below. When the P Switch’s effects wear off, the low Brick Blocks will revert back to Coins—grab them all, along with the Star Coin!
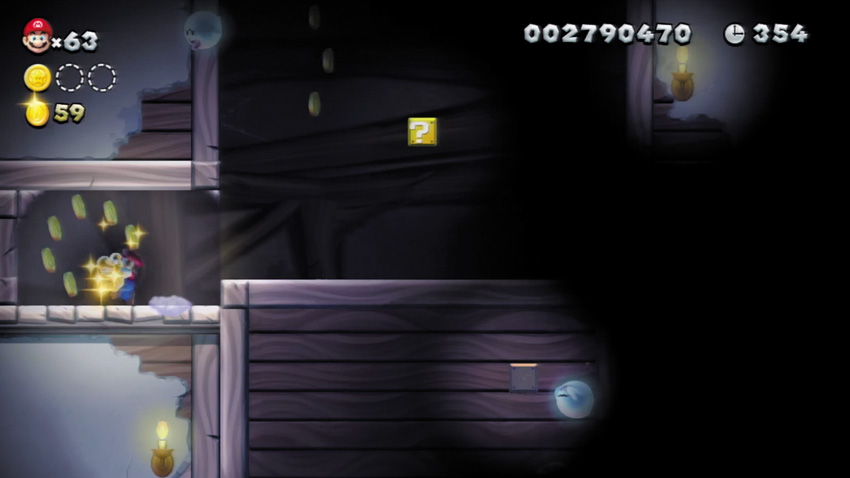
While riding up the crate in this tall chamber, search the two hidden nooks to the left and right of this Point to discover some bonus Coins. Good stuff!
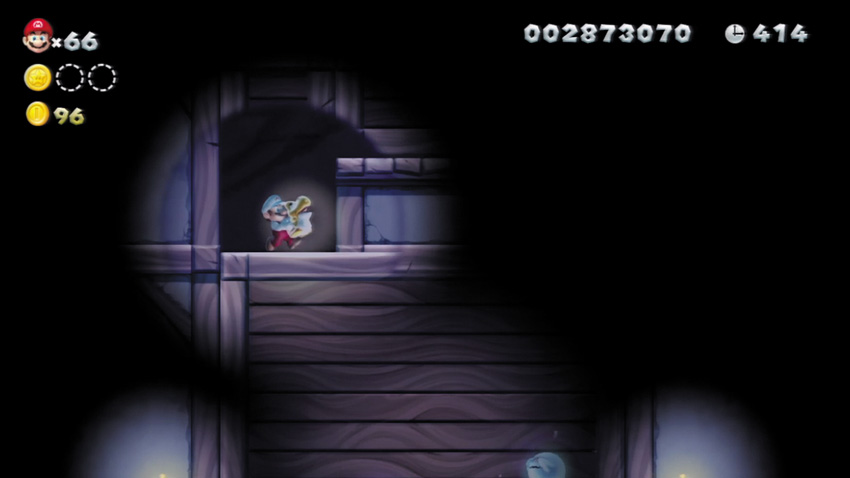
Allow this room’s rising crate to ferry you up through the false ceiling here, and you’ll discover a hidden door that leads toward the third Star Coin. This hidden door also leads you to the stage’s secret exit!
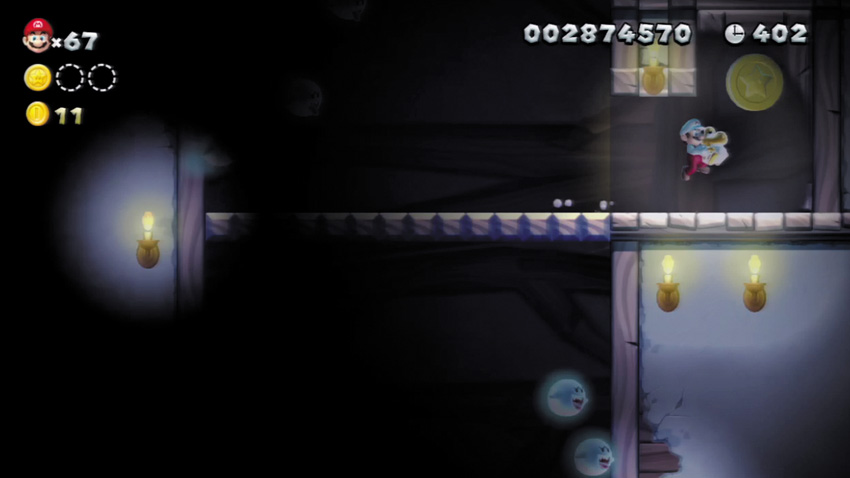
Pass through the false ceiling at Point 2 to reach this room, where the final Star Coin is kept. The floor vanishes shortly after you enter this room, dropping you down to a lower floor. This lower floor also vanishes after a brief moment, dropping you onto an even lower floor. When you land on the lowest vanishing floor, quickly dash through the false wall on the right to discover a hidden nook that contains the final Star Coin.
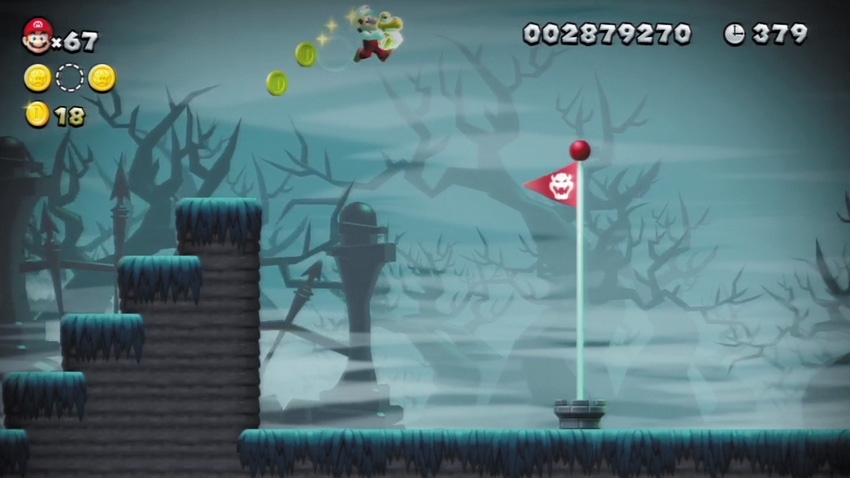
After collecting the third Star Coin, pass through the door at the bottom of the room to discover this stage’s secret exit. Complete the Which-Way Labyrinth using this secret exit, and you’ll unlock Soda Jungle’s secret stage!
Soda Jungle 4
Painted Swampland
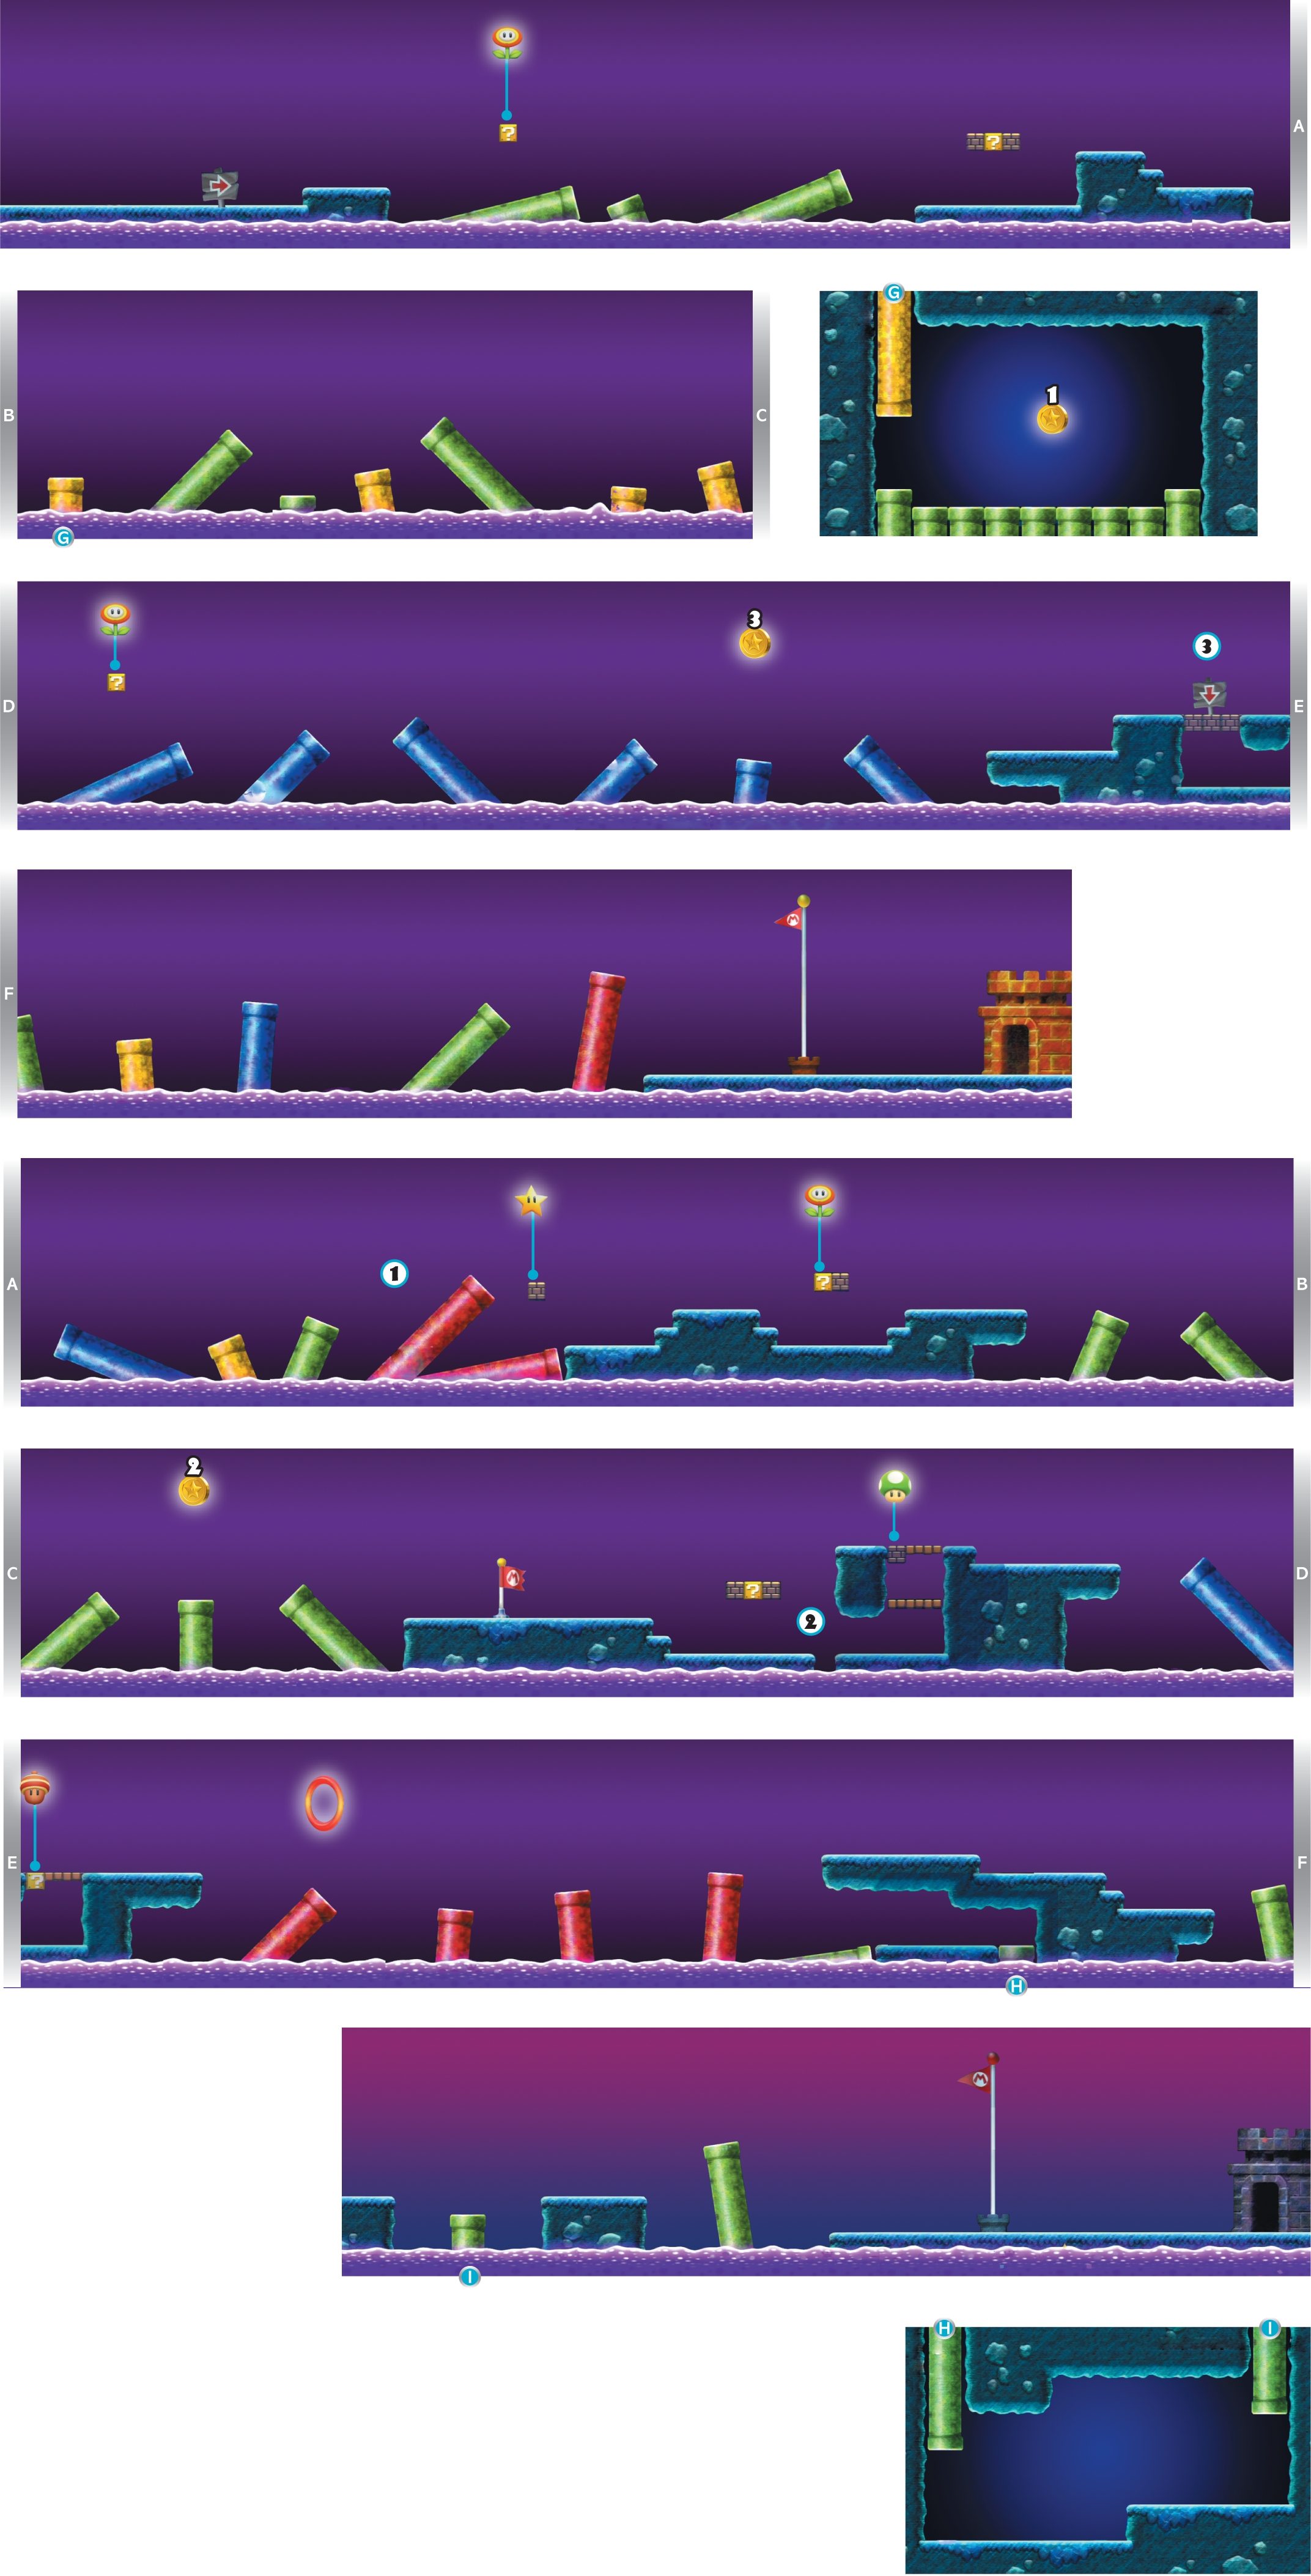
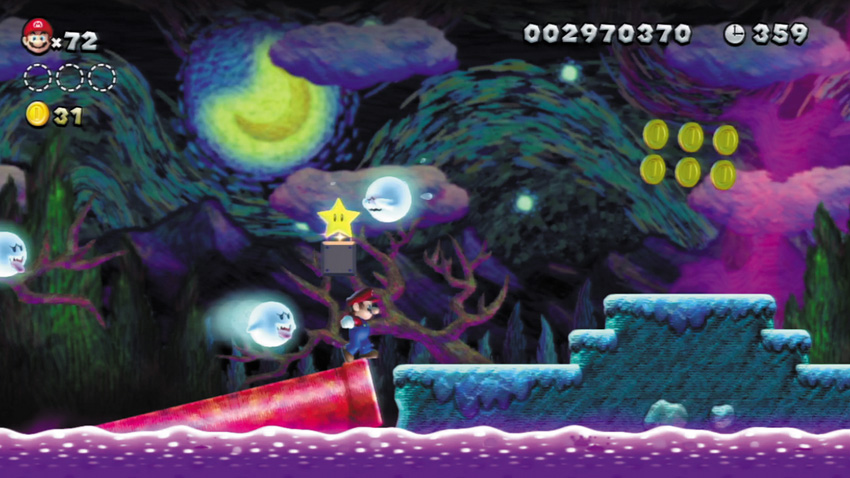
Pause on this red Pipe and allow it to lower into the Poison Bog. Have no fear—the Pipe won’t completely sink. After it comes to a stop, you’ll be able to bump the nearby Brick Block from below and score a Super Star!
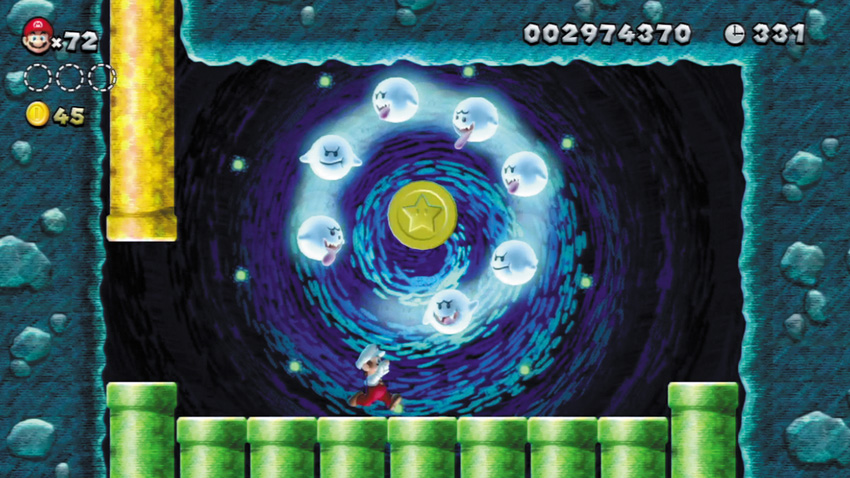
Slip into a yellow Warp Pipe to visit this underground cavern, where the first Star Coin is kept. Stand beneath the Star Coin and jump up with proper timing, aiming to pass through the gap in the circling Boos. This Star Coin is easier to grab if you’re still enjoying Star power from the Super Star at Point 1, for the Boos will be banished if they bump you.
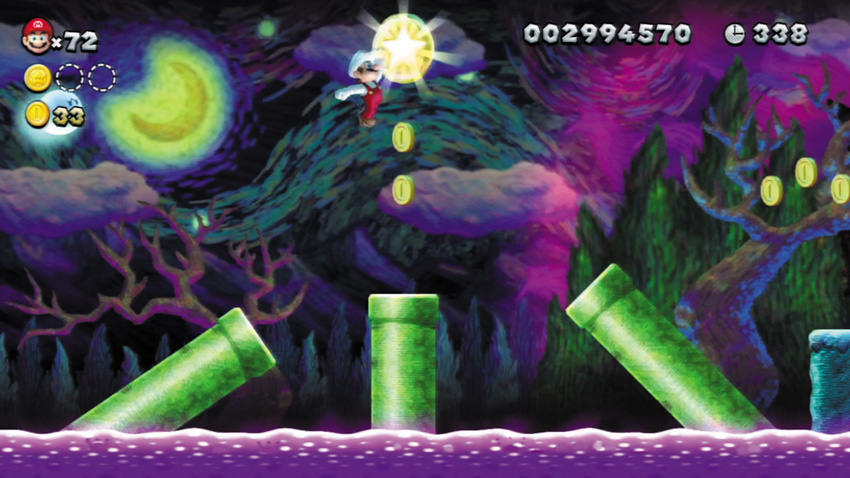
Be careful! The Pipes beneath the second Star Coin slowly sink under Mario’s weight! Run and jump from the left or right Pipe before it sinks too far, and snag the Star Coin. Just make sure to stick the landing afterward!
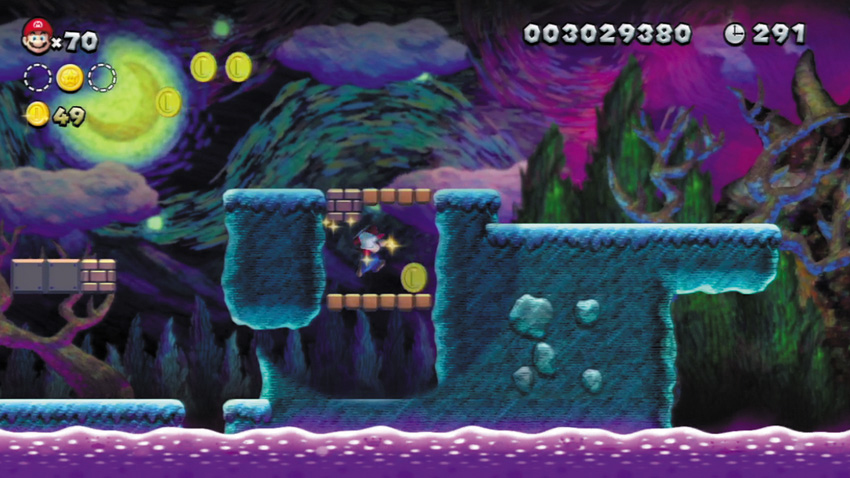
Dash straight across the small gap here. Your momentum will carry you into a hidden cave beyond. Jump up and strike the Brick Block you find inside the cave, and a 1-Up will be your prize!
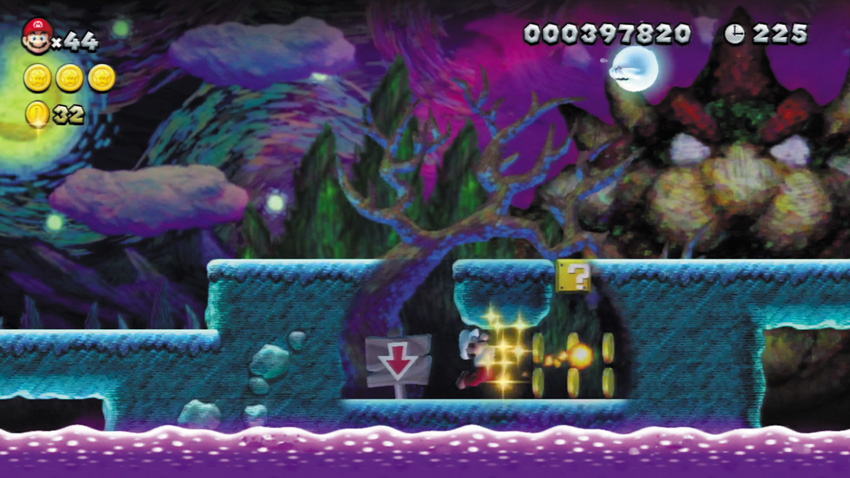
Ground pound the ground near the arrow sign here to smash into a hidden area where Coins and a Super Acorn are found.
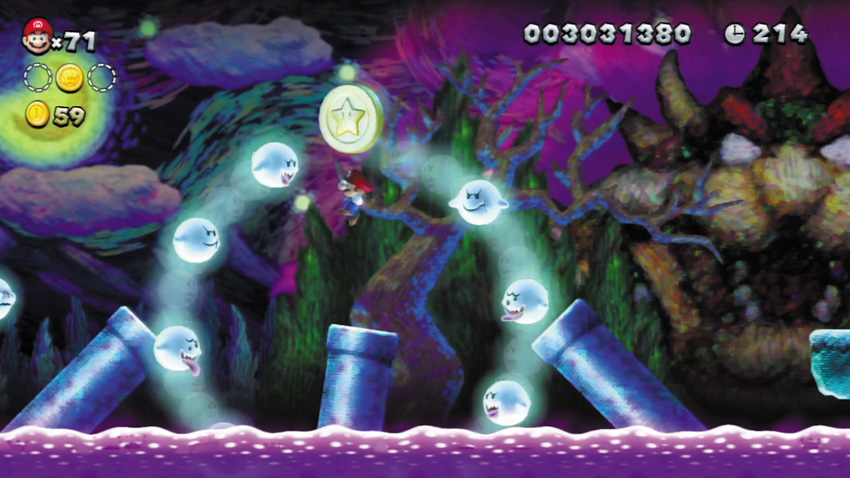
The Pipes beneath this final Star Coin won’t sink into the Poison Bog, but the circling Boos present a pesky obstacle. Carefully jump through the Boos and land on the Pipe that’s directly beneath the Star Coin, then wait for your chance to leap up and grab it. If you time it right, you can jump up, grab the Star Coin, and land safely on the center Pipe without touching the Boos.
Soda Jungle 5
Deepsea Ruins
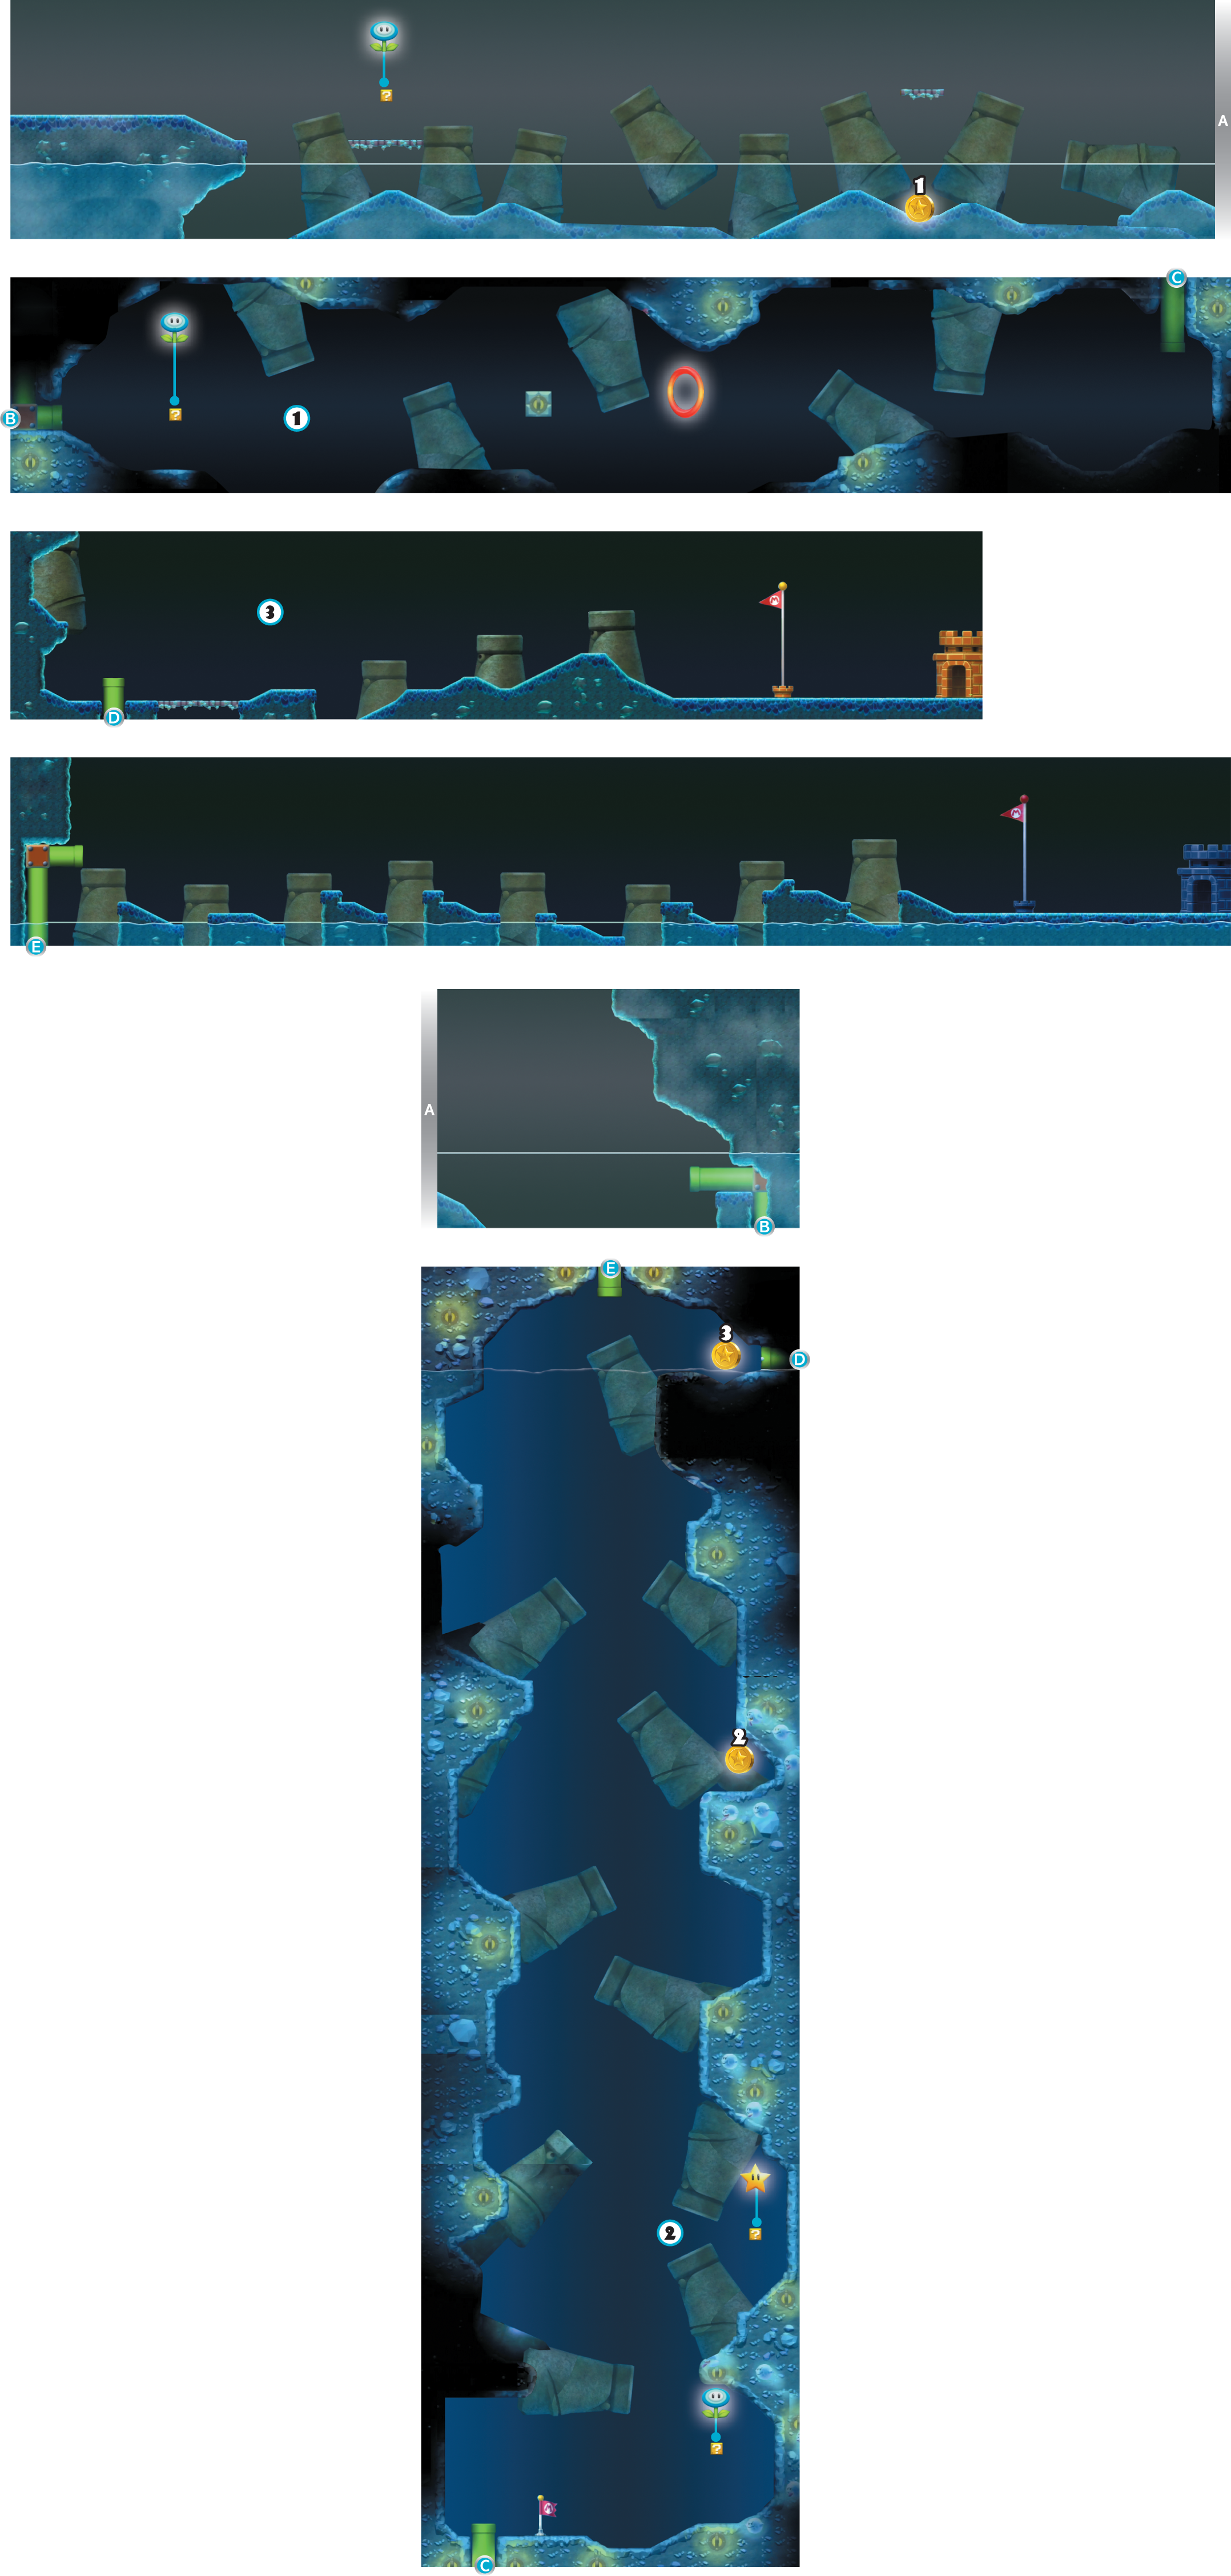
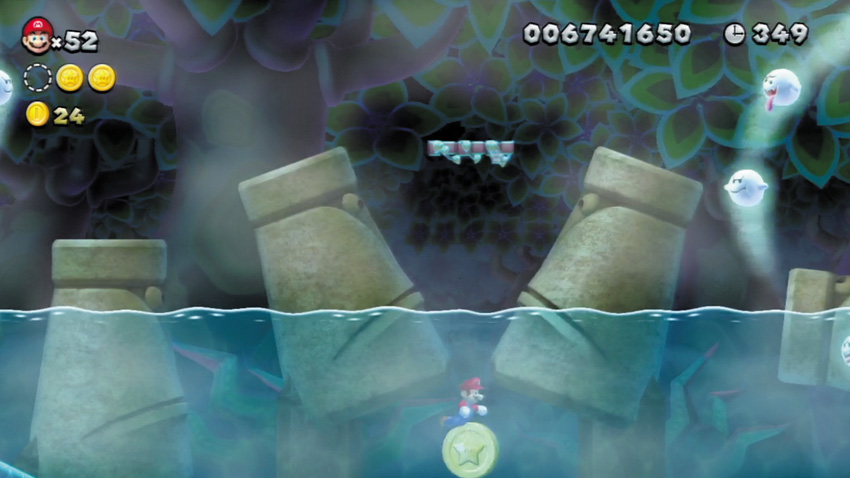
Dive underwater and grab the first Star Coin, but be careful not to sink too far!
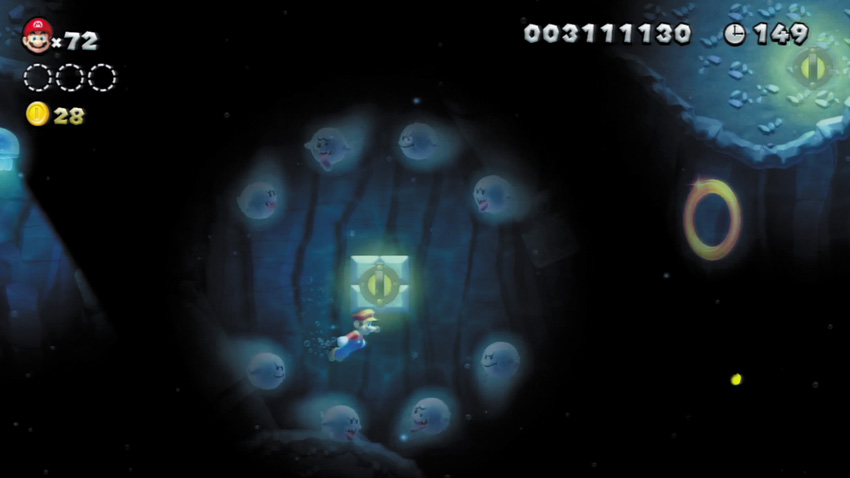
Beware the Fish Bones and Boos as you swim through this deep, dark ruin. Hurl iceballs to freeze the Fish Bones, and do your best to avoid the Boos.
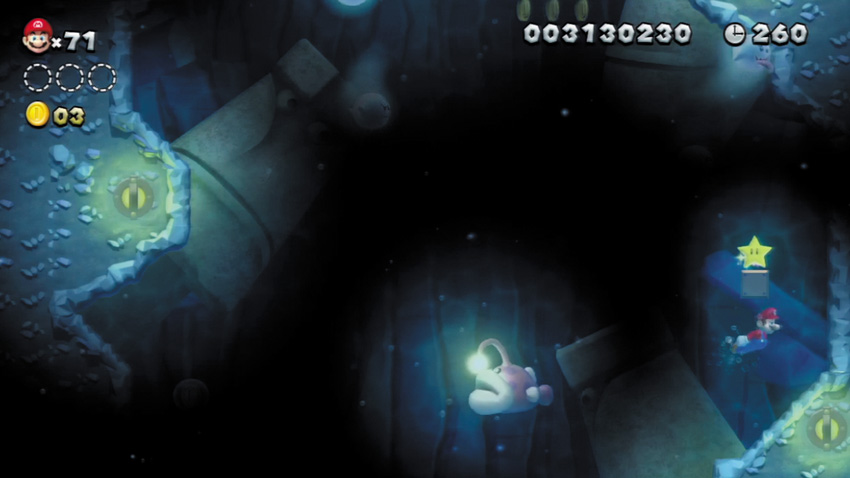
Collect the Super Star from the ? Block here. Your surroundings are at last illuminated!
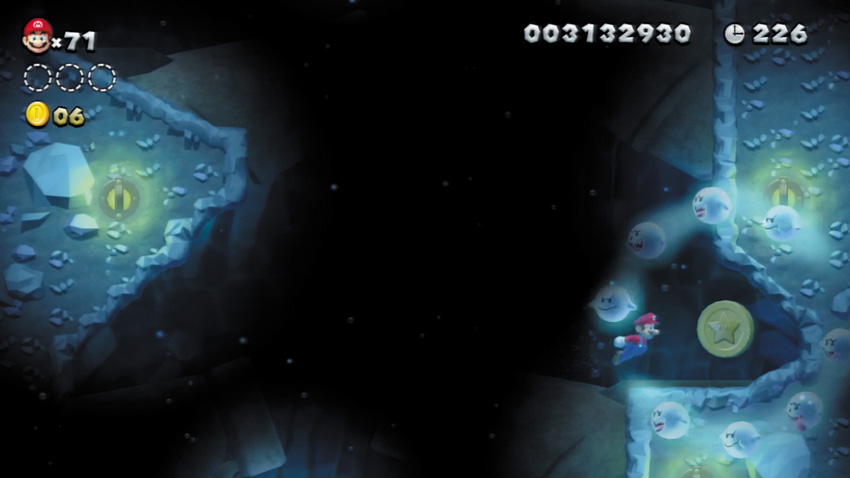
Allow the Stone-Eye statue near this Star Coin to sink, then slip past the ring of Boos and carefully collect the Star Coin.
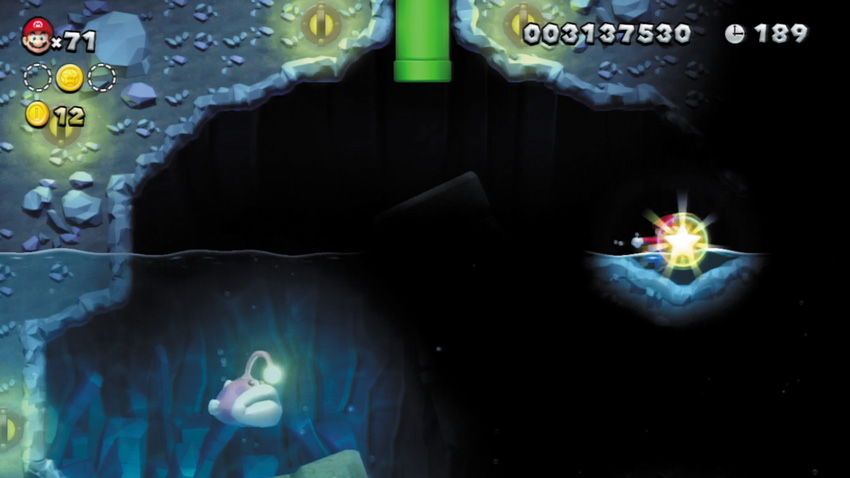
The third Star Coin is tucked away in this dark corner—claim it after the nearby Stone-Eye statue sinks. Then either jump up and enter the overhead Warp Pipe to proceed to the normal exit, or slip into the right Warp Pipe to advance to this stage’s secret exit.
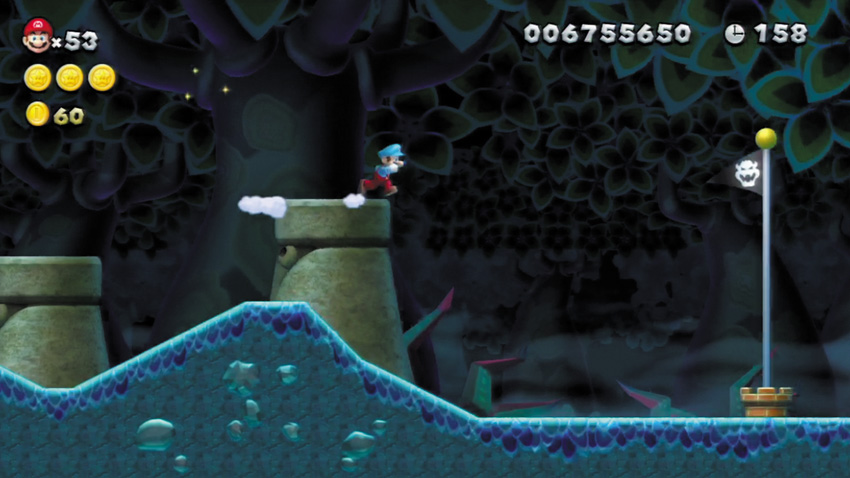
Complete the Deepsea Ruins via this alternate exit to reveal a hidden path on the World Map. Cool!
Soda Jungle 6
Seesaw Bridge
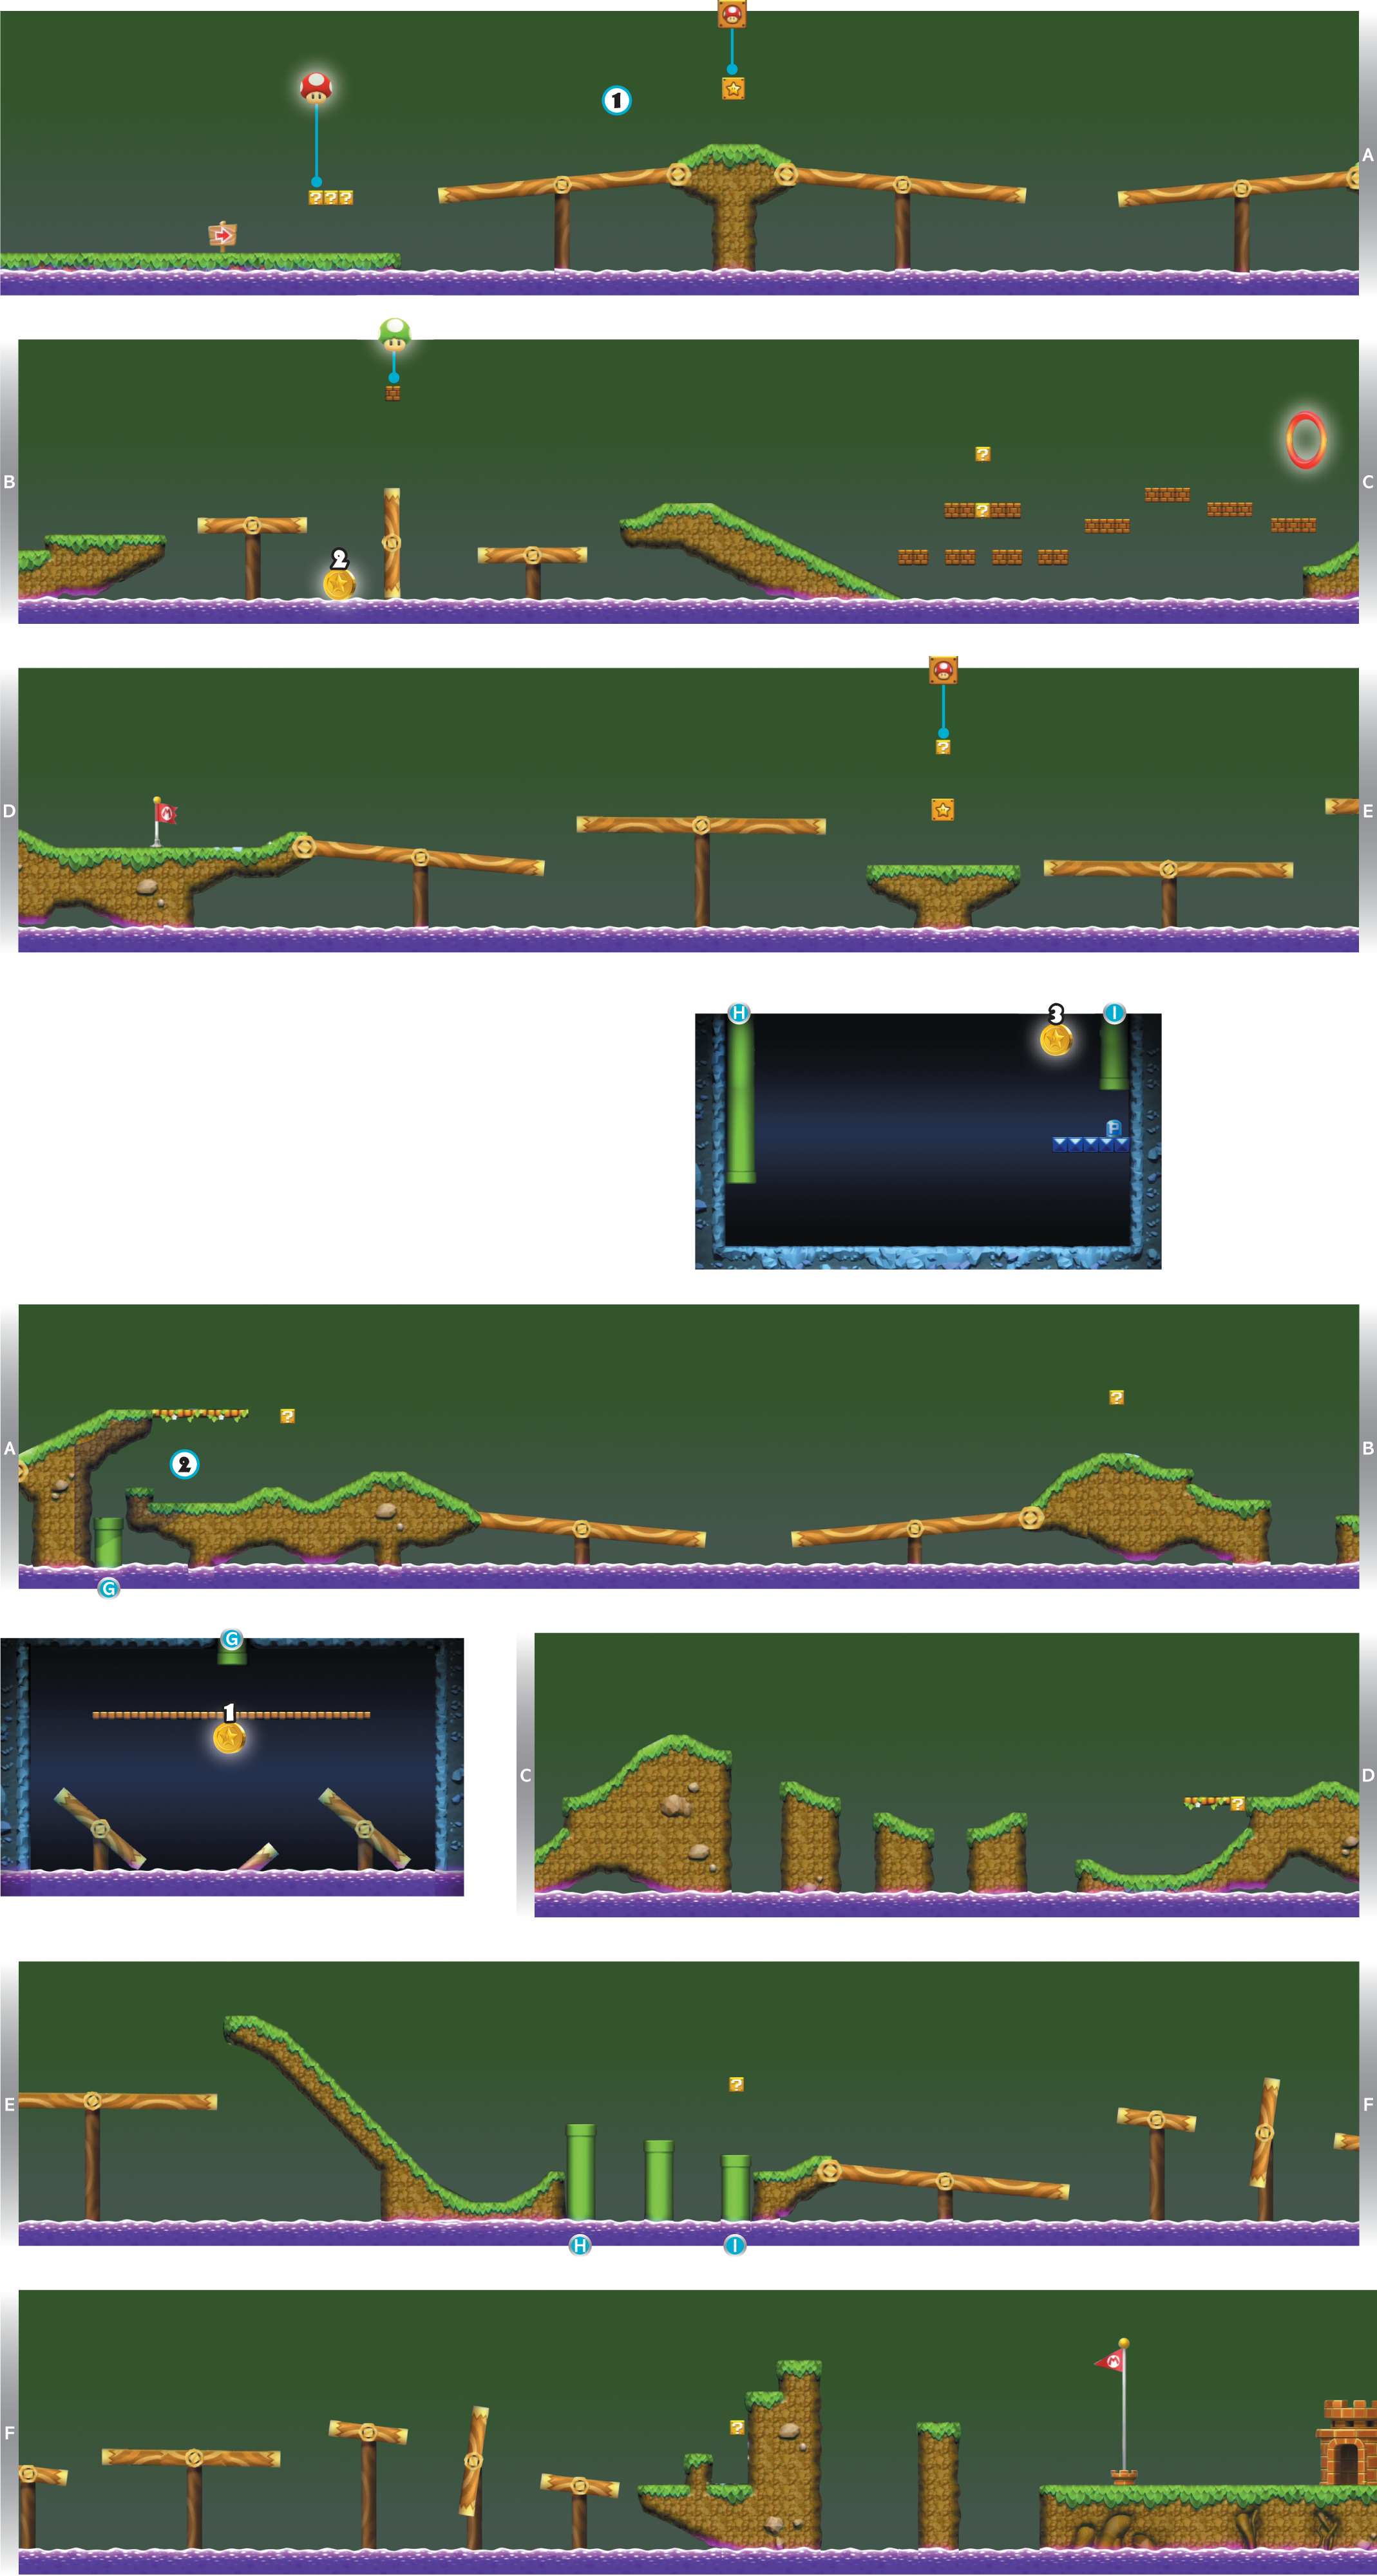
If you’re lucky enough to obtain a Super Star from this Roulette Block, you’ll have a chance at maintaining Super Star power throughout this stage. This is because other ? Blocks in this level will give you Super Stars instead of Coins if you hit them while you’re supercharged by a Super Star.
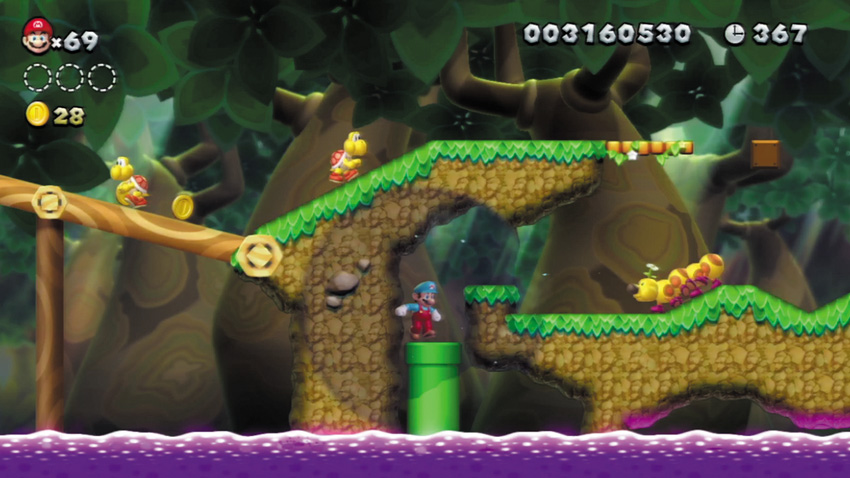
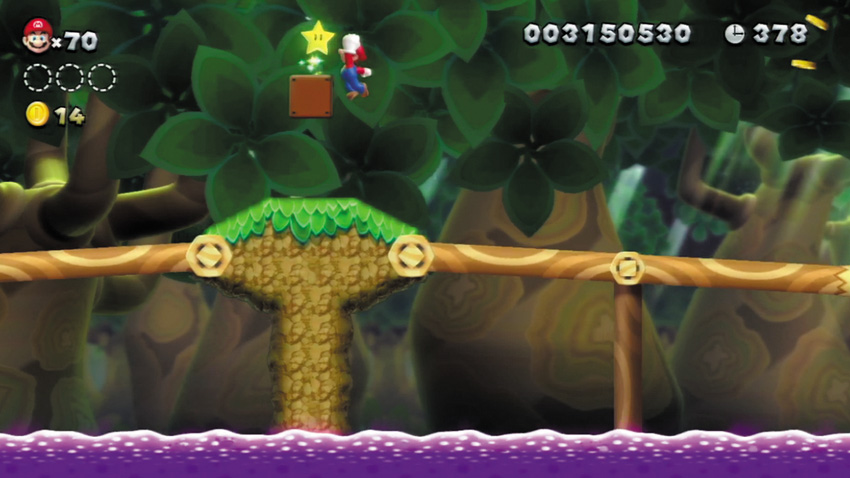
Pass through a false wall here to discover a hidden Warp Pipe. Sneaky!
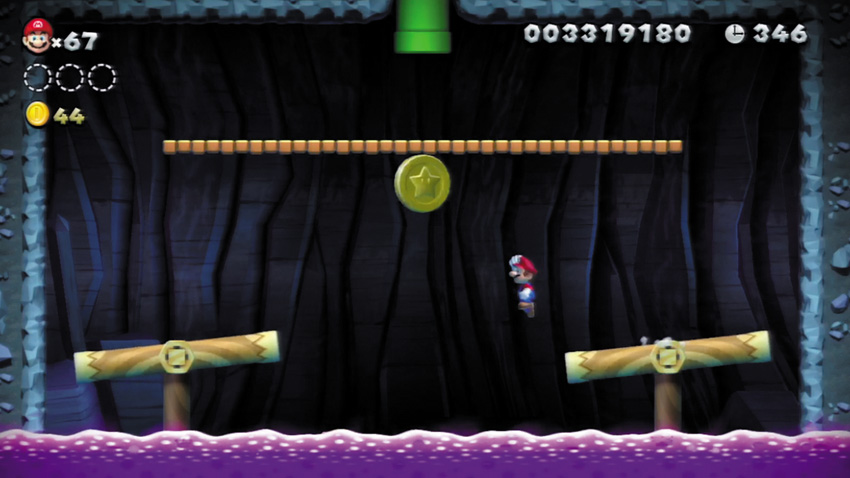
Enter the hidden Warp Pipe at Point 2 to visit this underground cavern, where the first Star Coin is found. Drop onto the Seesaw Log Bridge on the right, and quickly dash up the Seesaw Log Bridge as it spins, using the Seesaw Log Bridge as a ramp. Make a long leap and grab the Star Coin, aiming to sail straight over the middle Seesaw Log Bridge and land on the left Seesaw Log Bridge. Dash up the left Seesaw Log Bridge and then wall jump up to safety. Skills!
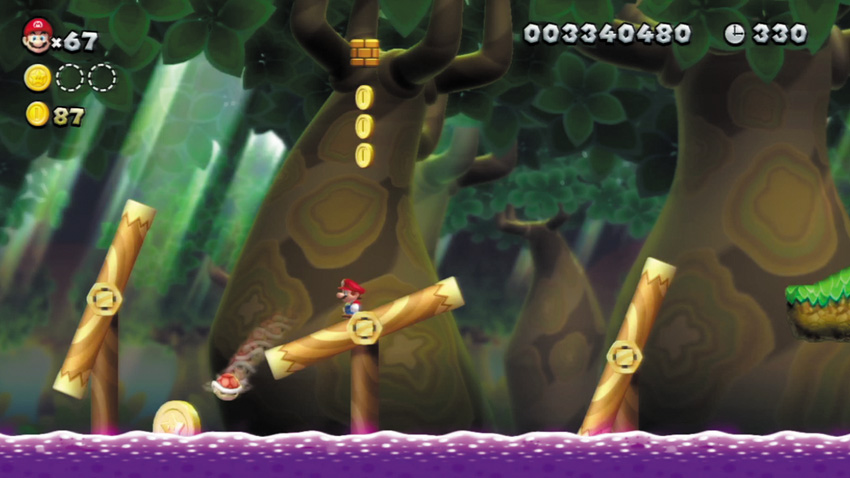
The second Star Coin sits right on the Poison Bog and seems impossible to collect— but of course, there’s always a way! Stun the nearby Koopa, then carry its shell onto the Seesaw Log Bridges near Star Coin. Toss the shell so that it slides down a Seesaw Log Bridge and collects the Coin for you. Thanks, little guy!
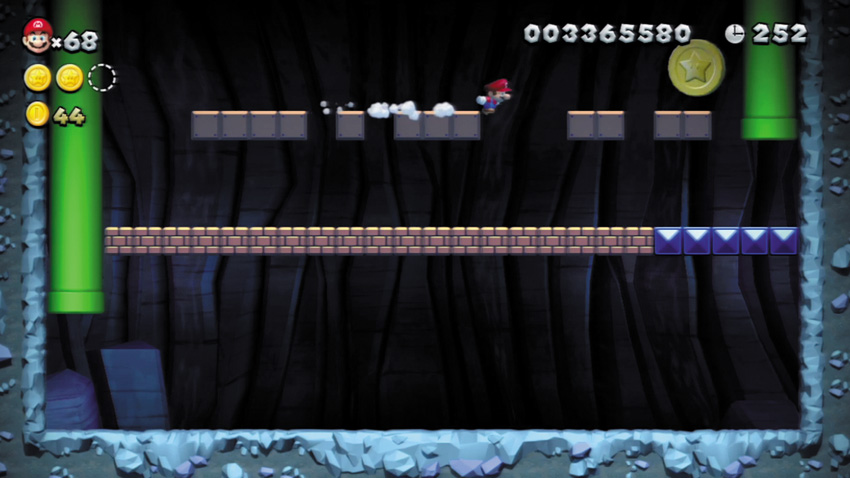
The final Star Coin is kept in an underground cavern. Enter a Warp Pipe to get here. You land atop a P Switch that changes the long row of Coins beneath the Star Coin into Brick Blocks. Quickly run along the Brick Blocks, jumping and bumping as many overhead hidden Blocks as possible. There are no hidden Blocks near the far Warp Pipe, so jump up and run along the hidden Blocks you’ve discovered to reach the Star Coin. You must discover and leap atop the hidden Blocks before the P Switch’s effects wear off, or else you’ll fall!
Soda Jungle 7
Wiggler Stampede
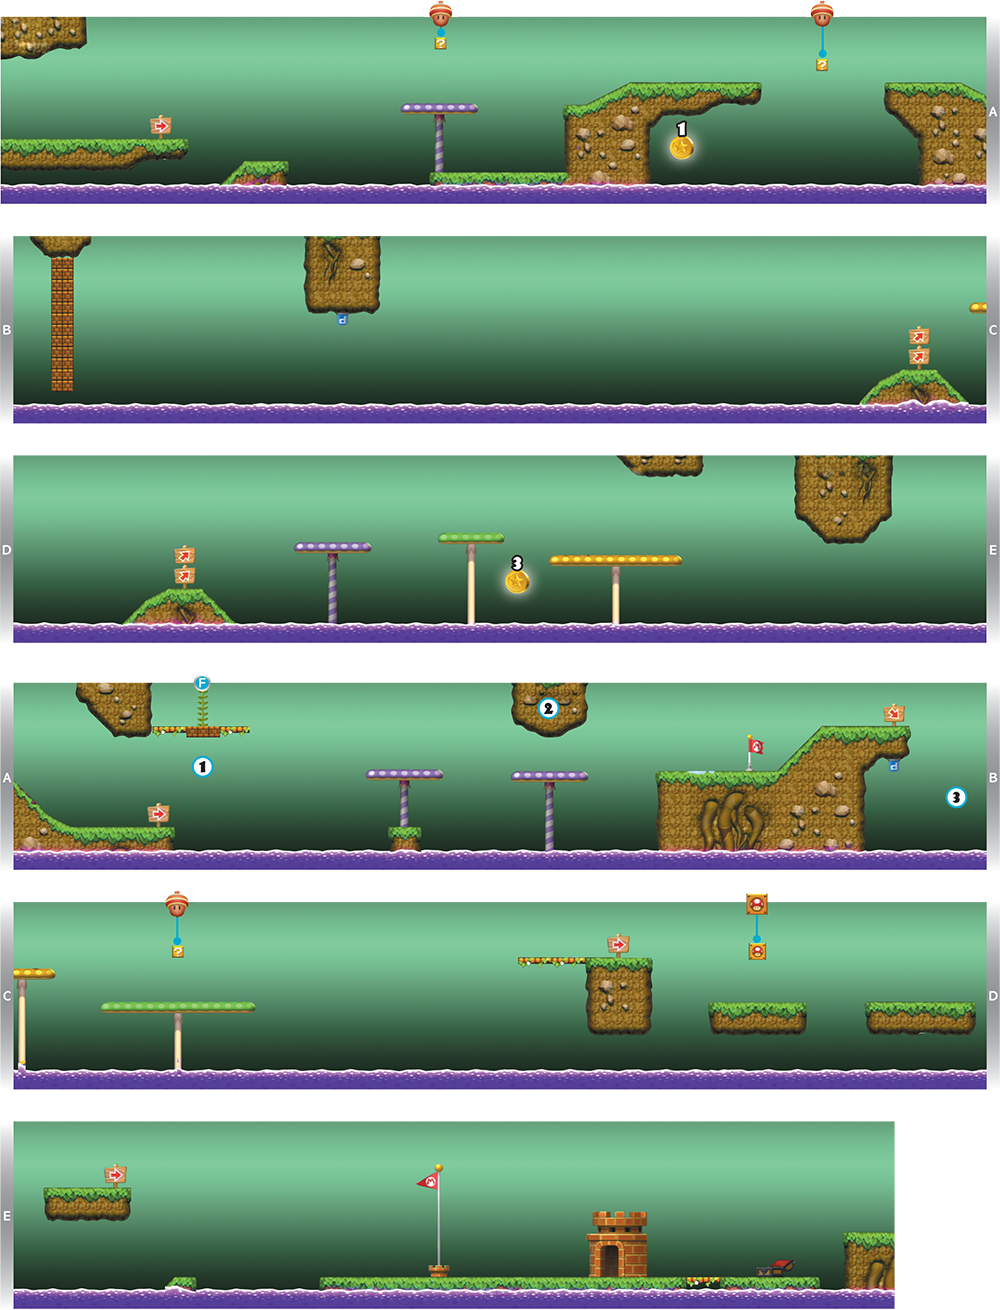
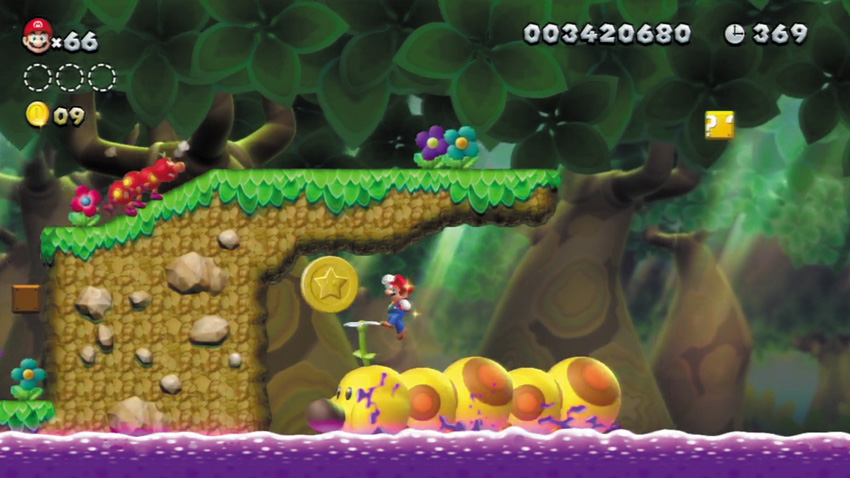
Hop atop a Big Wiggler here, and ride it over to the first Star Coin. After collecting the Star Coin, hold the jump button to bound up from Big Wiggler and return to the main trail.
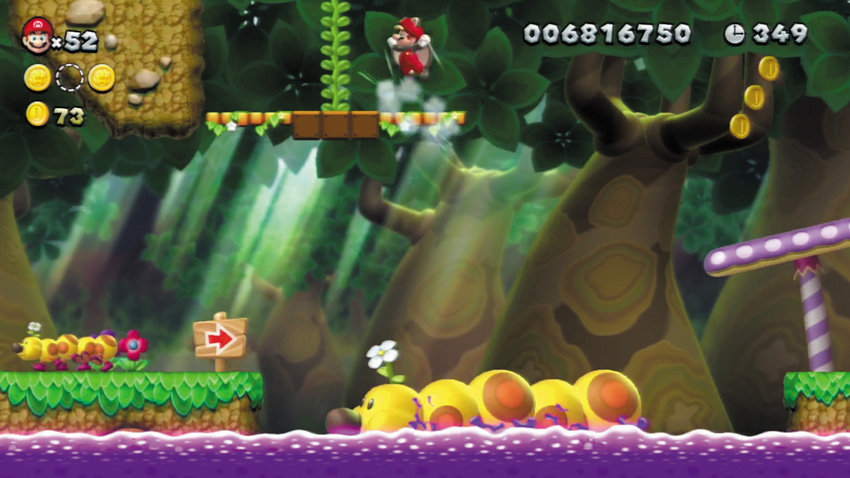
Bounce off the Big Wiggler that walks below the Brick Blocks here, and strike the central Brick Block to make a Beanstalk rise up into the sky. Bounce off Big Wiggler again to reach the Beanstalk, then climb up. Flying Squirrel Mario can also flying squirrel jump up to this Beanstalk without the aid of Big Wiggler.
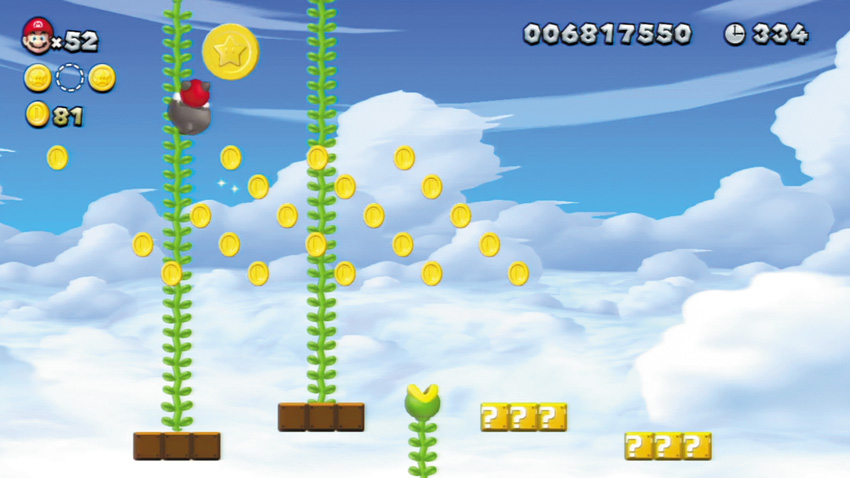
Use the Beanstalk at Point 1 to reach this secret skyline, where the second Star Coin floats up high. Hit the ? Blocks here to extend more Beanstalks up into the sky, then climb up and add the Star Coin to your growing collection.
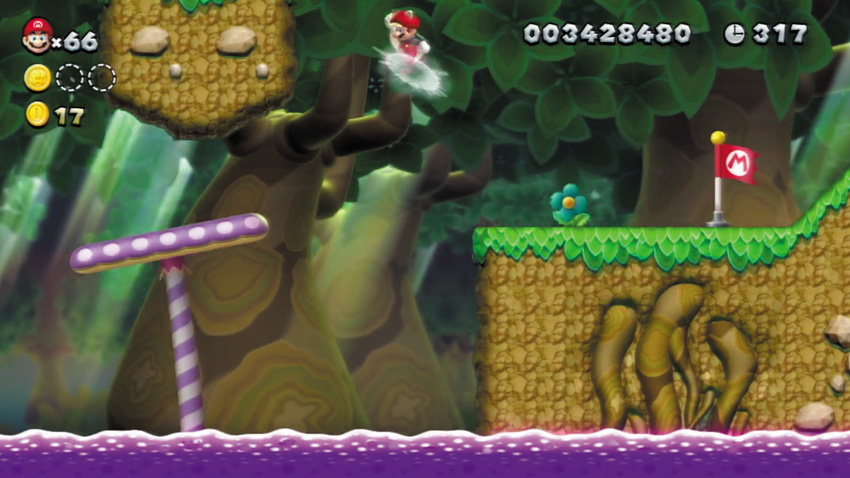
Flying Squirrel Mario can soar up and reach the top of this ledge, where a few bonus Coins are stashed. Look for other high ledges that only Flying Squirrel Mario can reach in this stage—you’ll find more Coins atop each one!
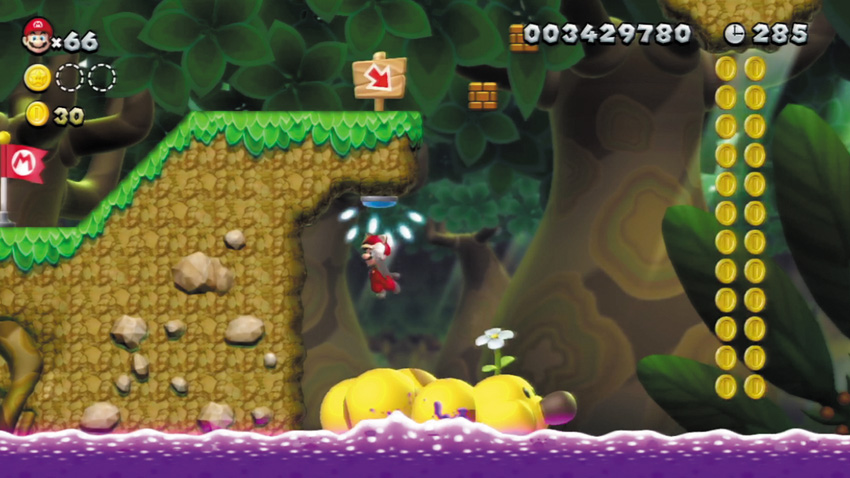
Bounce off Big Wiggler here and bump the overhead P Switch to transform the nearby wall of Brick Blocks into Coins. Continue to bounce atop Big Wiggler as he moves through the Coins, and he’ll ferry you across the length of the Poison Bog that follows.
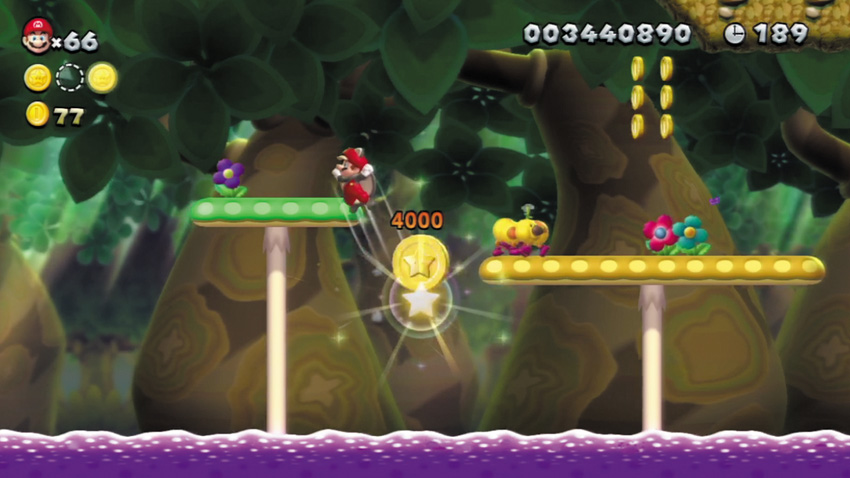
Bounce off Big Wiggler to claim the third Star Coin, or glide down as Flying Squirrel Mario, collect the Star Coin, and then perform a fl ying squirrel jump to soar up to safety. Either way, this final prize is yours!
Soda Jungle Castle
Iggy’s Volcanic Castle
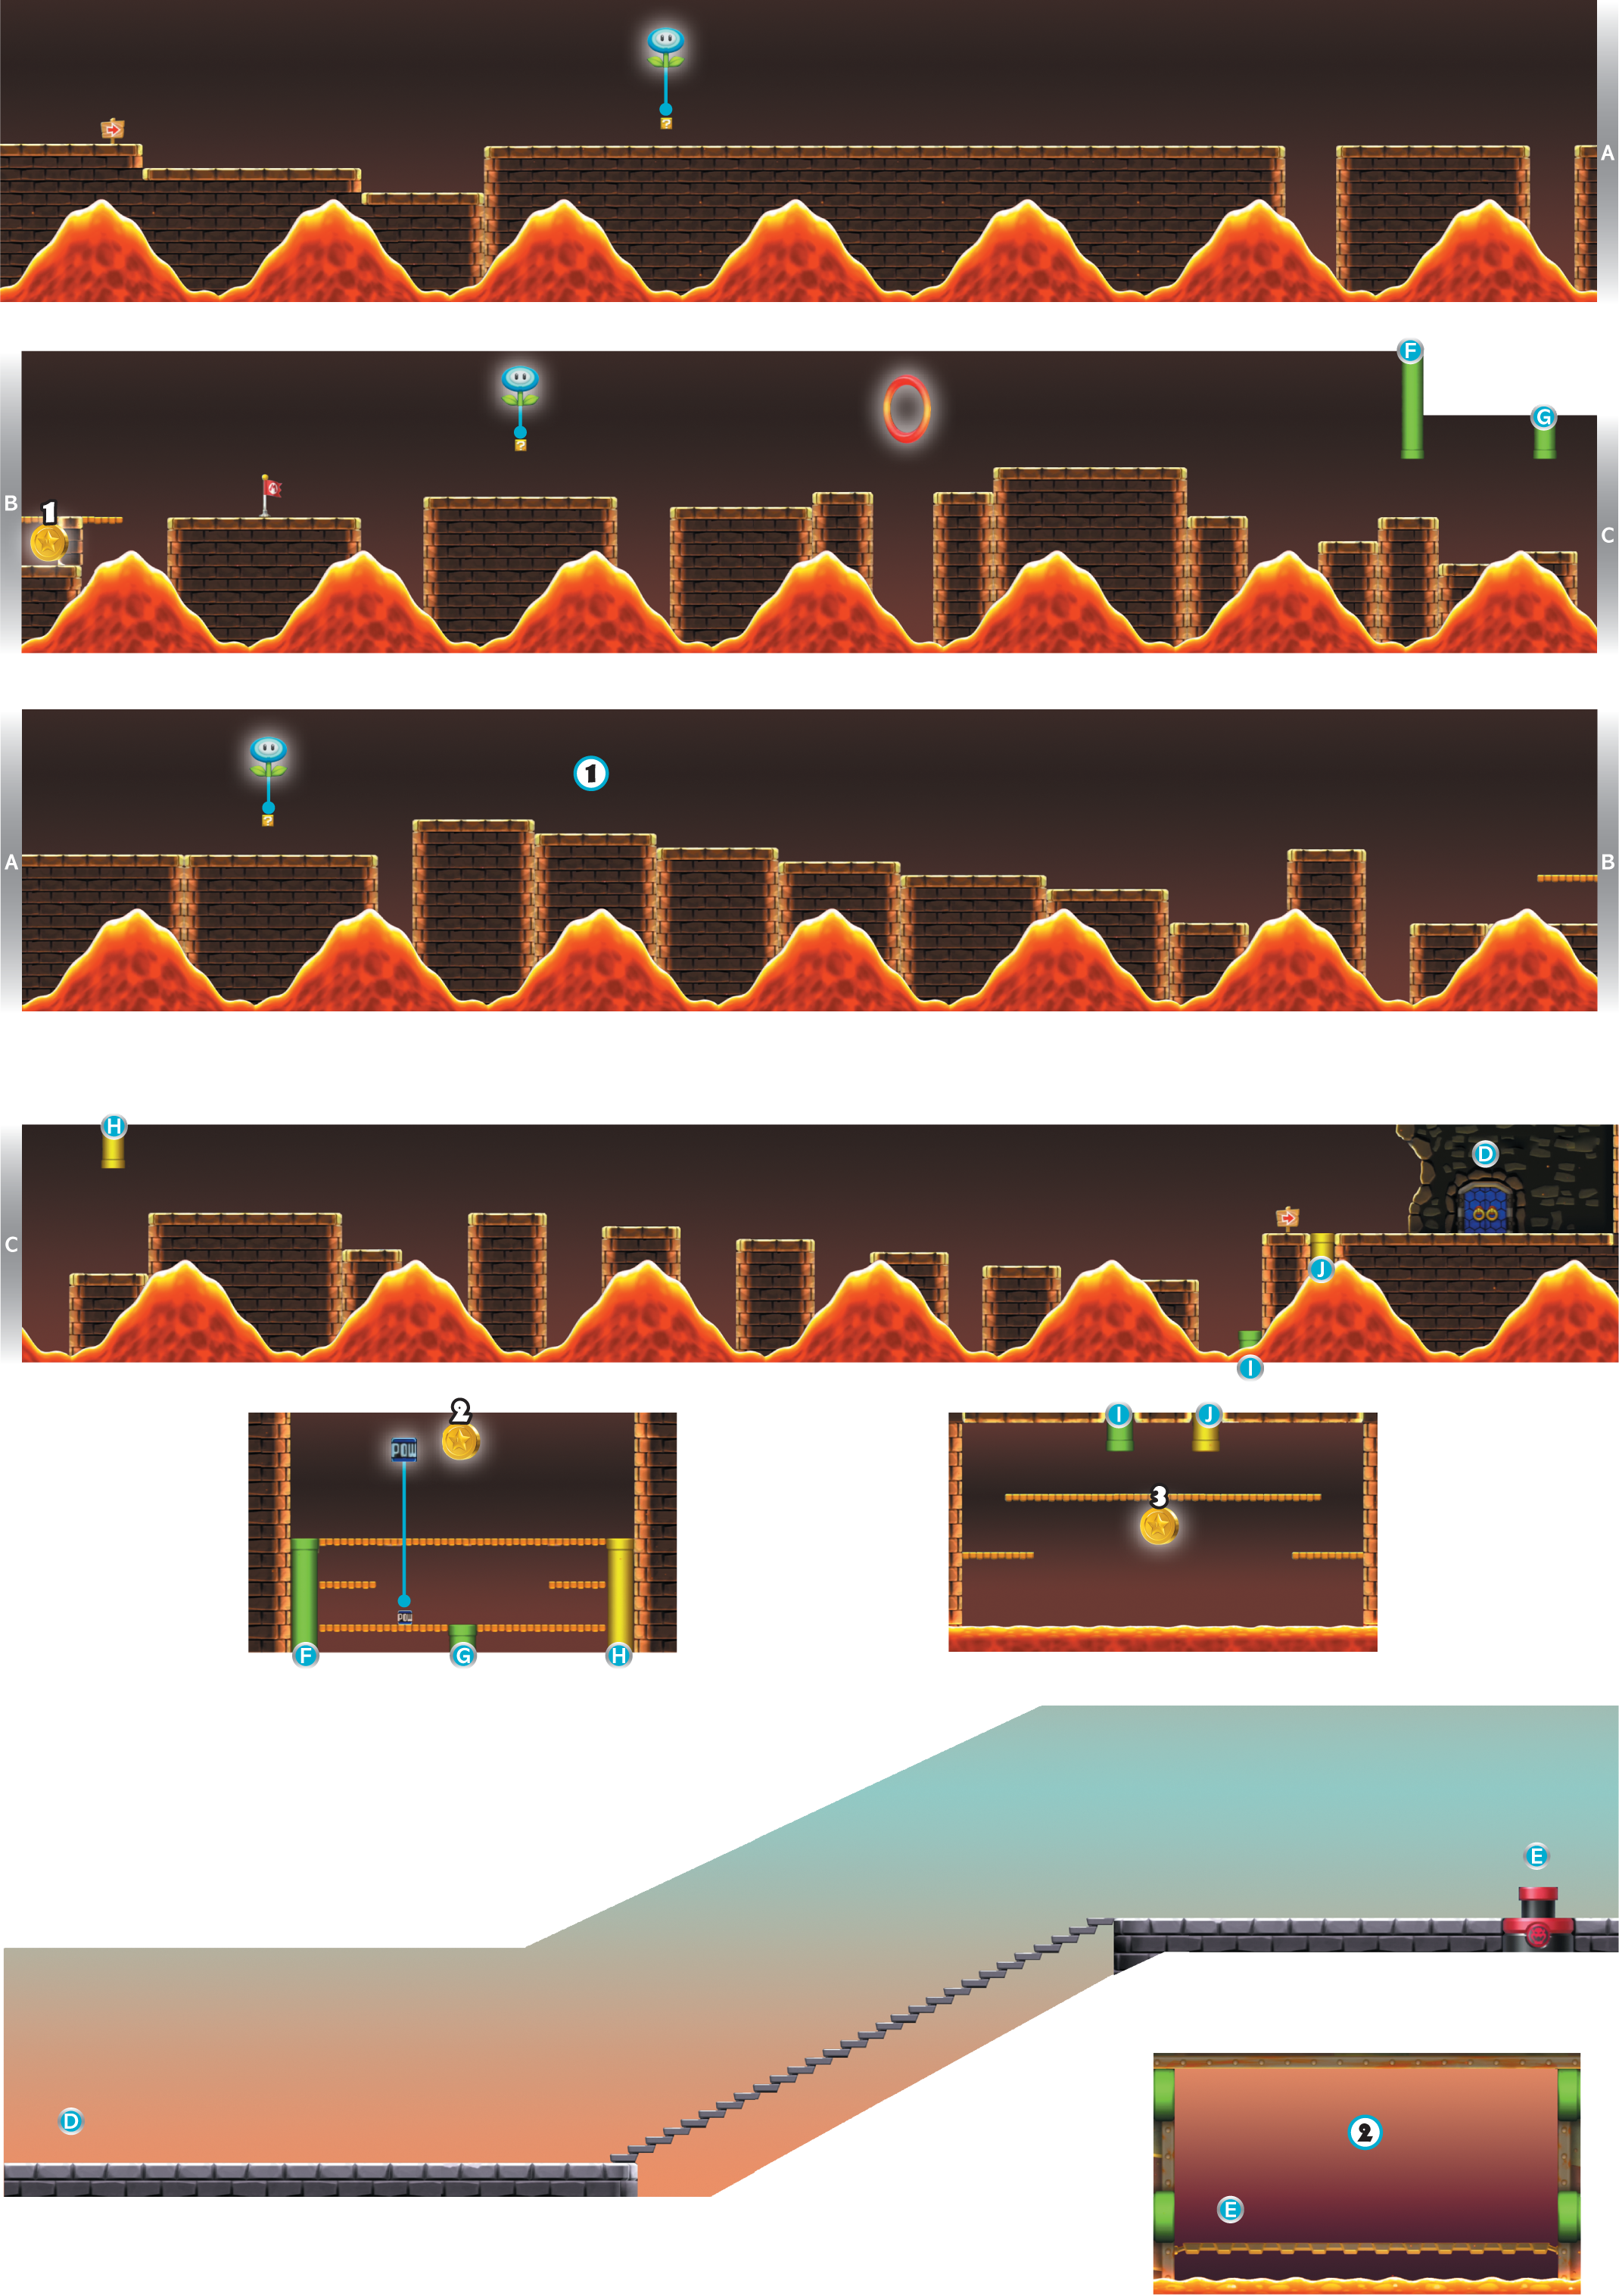
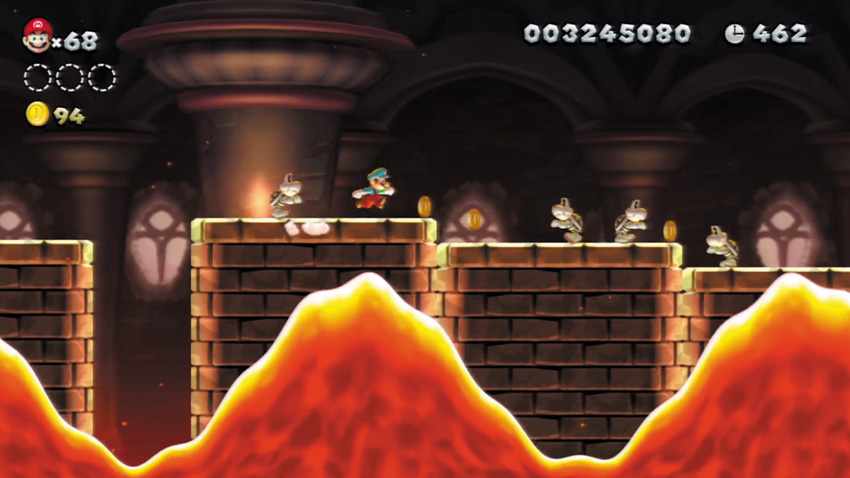
Freeze a Dry Bones near this Point, then pick it up and toss it down the long slope that follows. The frozen Dry Bones will strike the many other Dry Bones that patrol the slope, defeating them all and earning you some 1-Ups!
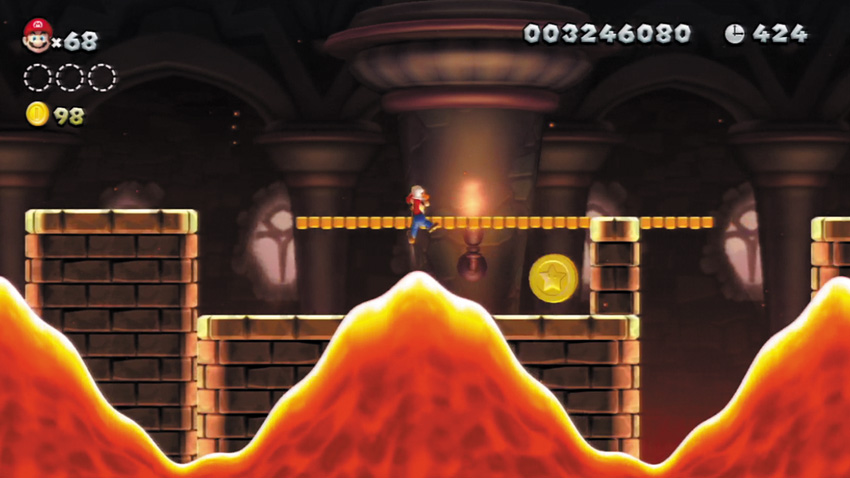
Use caution when moving to collect the first Star Coin, or those passing lava waves will burn you up! Wait for a lava wave to pass through the Star Coin, then make a short hop over the lava wave and grab the Coin before the next wave arrives.
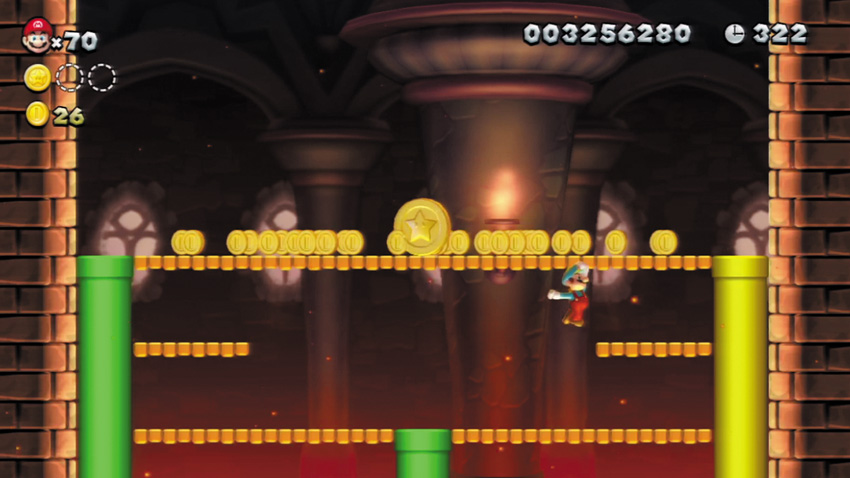
Two Warp Pipes lead to this secret room, where the second Star Coin is kept—but only one of these Warp Pipes will allow you to claim the Coin. Ignore the first overhead Warp Pipe, and enter the second by either bouncing off Dry Bones, or freezing Dry Bones and using him as a platform. You’ll emerge near a POW Block—give it a toss to bring the Star Coin crashing down!
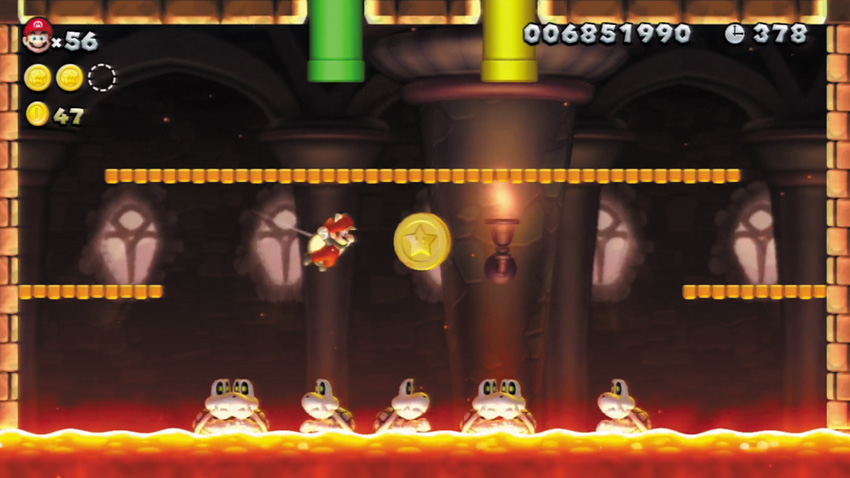
Drop into the final lava pit and land on the low Warp Pipe. Enter the Warp Pipe to visit this underground room, where the third Star Coin is guarded by a bunch of Big Dry Bones. Carefully bounce off the Big Dry Bones and grab the Star Coin without touching the lava, then make your escape.
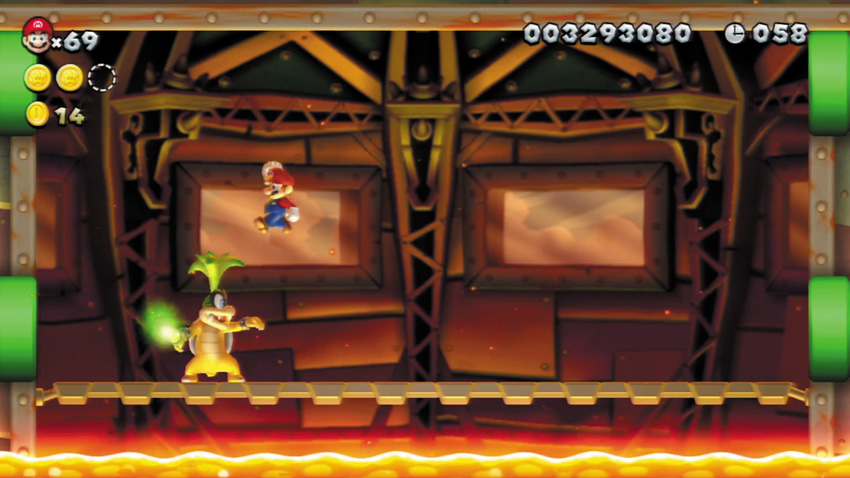
The evil Iggy encircles his Volcanic Castle in his airship, ready to take you on. Iggy moves through Warp Pipes during this battle and casts vile spells each time he emerges. Wait for Iggy to pop out from one of the lower Warp Pipes, then quickly leap up and give him a good stomp!
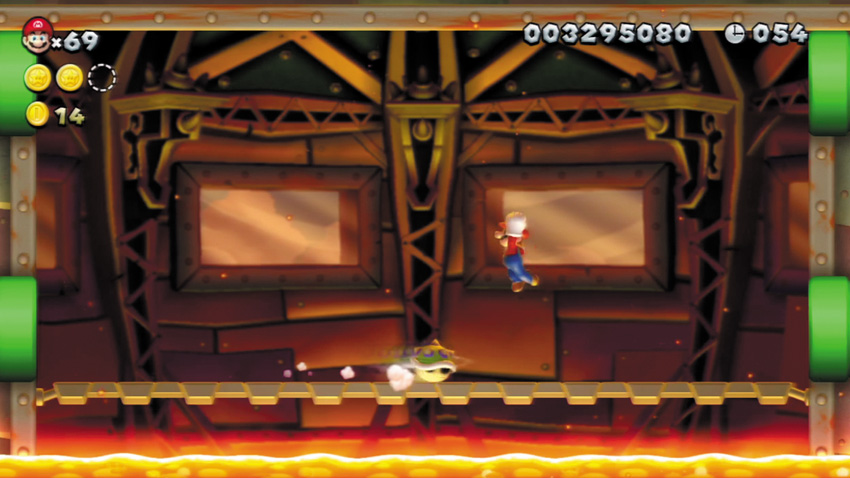
Like most other bosses, Iggy spins around in his spikey shell after being stomped. Iggy’s shell can be tricky to dodge, because he often changes direction and moves through the lower Warp Pipes. It’s usually best to stick near the center of the room and expect Iggy to change direction each time he approaches the middle. Wait for Iggy to emerge, then look for your chance to stomp him again. Three stomps is all it takes to bring Iggy’s antics to an end!
Soda Jungle Secret Stage
Flight of the Para-Beetles
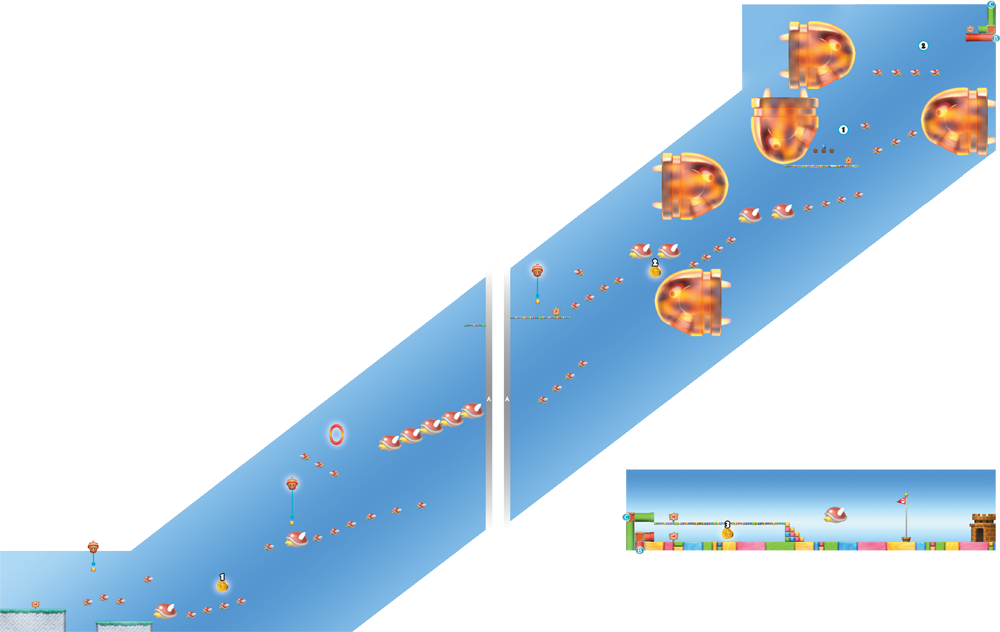
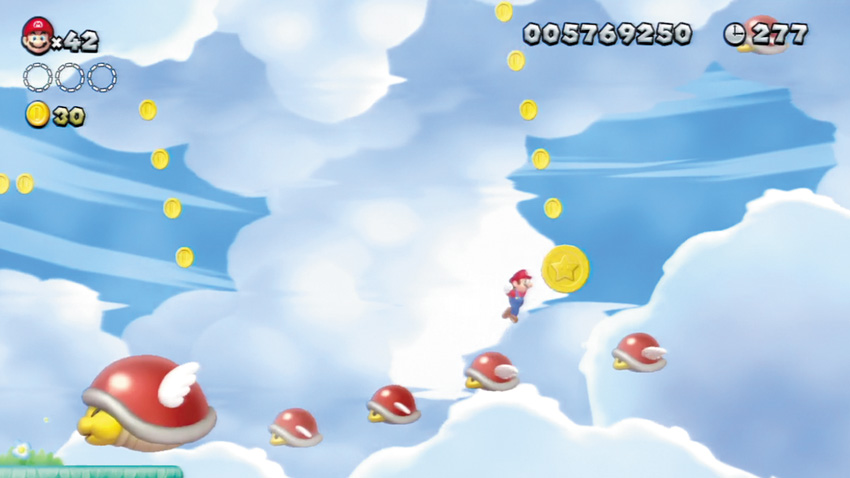
It’s not long before you encounter the first Star Coin in this unusual stage. Simply leap across the first few Para-Beetles and collect it.
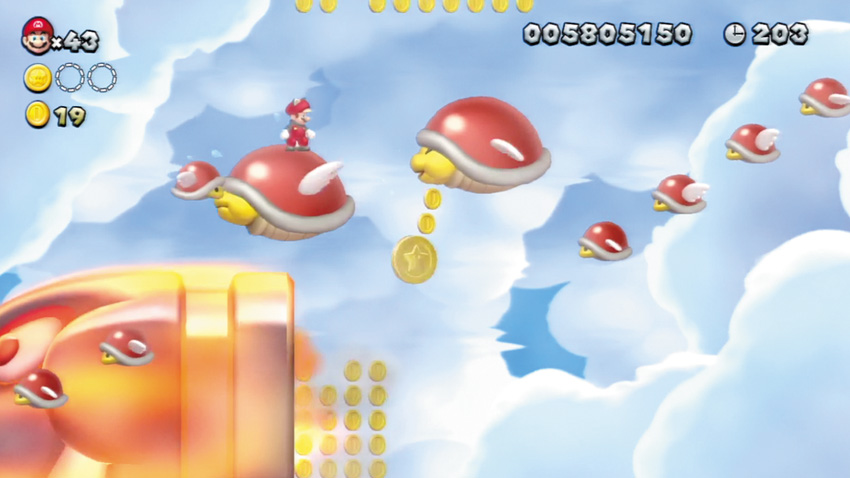
Ride a normal Para-Beetle upward to avoid the massive King Bill that flies through the second Star Coin. After King Bill has flown by, jump onto a Heavy Para-Beetle and ride down to safely collect the Star Coin.
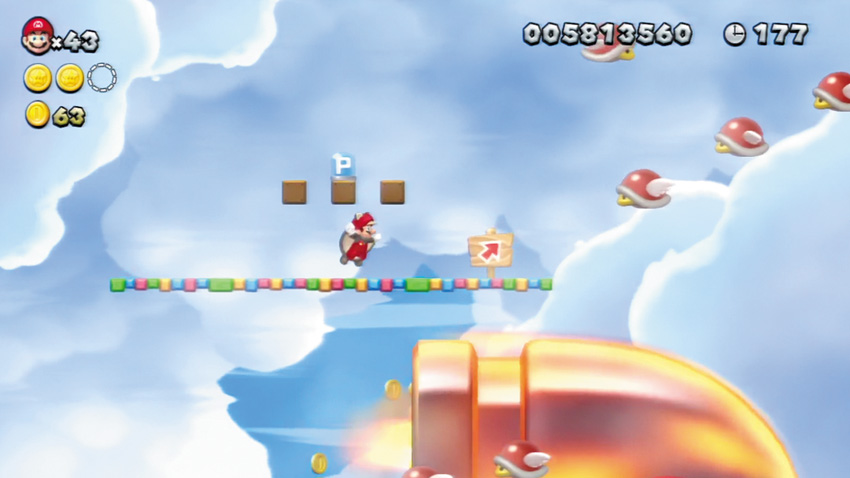
Hit a Brick Block here to discover a hidden P Switch, then hit the P Switch to make a bunch of Blue Coins appear. Grab as many Coins as you can before King Bill storms onto the scene!
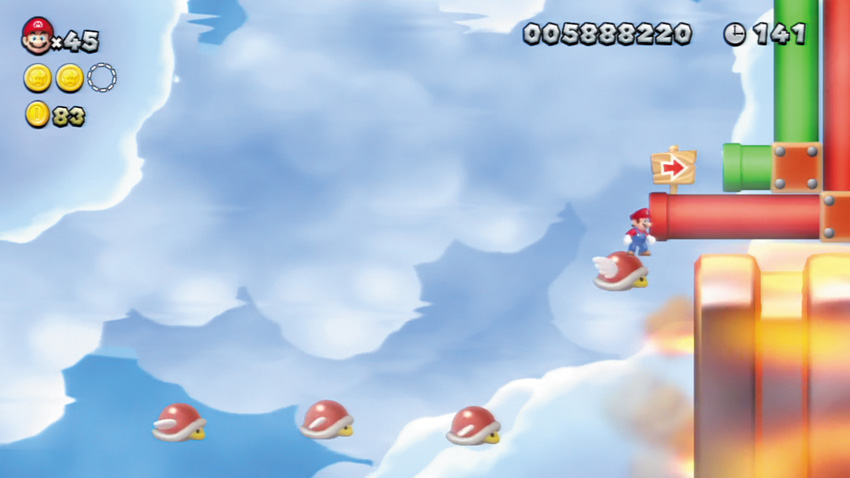
It’s possible to enter the red Warp Pipe at the end of the stage, provided you can ride a Para-Beetle right up close to it. You must walk off a Para-Beetle’s back to enter the Warp Pipe, which is no easy feat! Of course, you can always use the green Warp Pipe to complete the stage more easily—but you’ll miss the final Star Coin if you do!
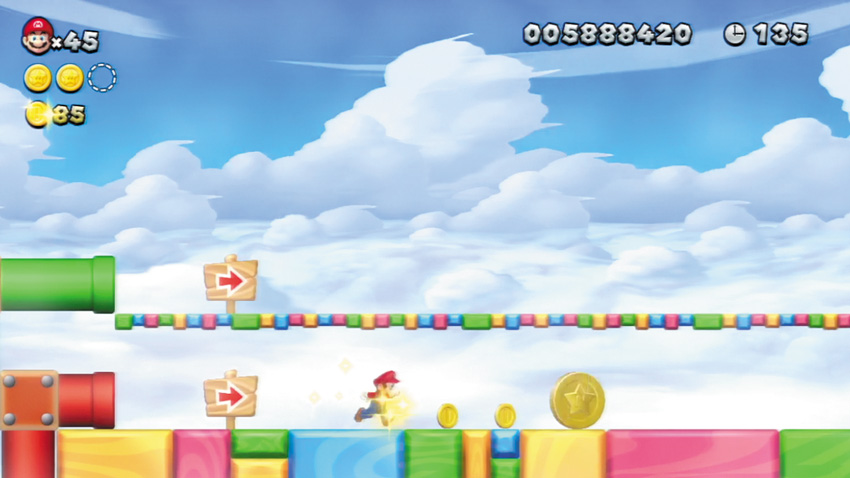
You must enter the red Warp Pipe at Point 2 to obtain this final Star Coin. There’s no way to reach it if you take the green Warp Pipe instead.