
New Super Mario Bros. U Guide Walkthrough Worlds
Sparkling Waters
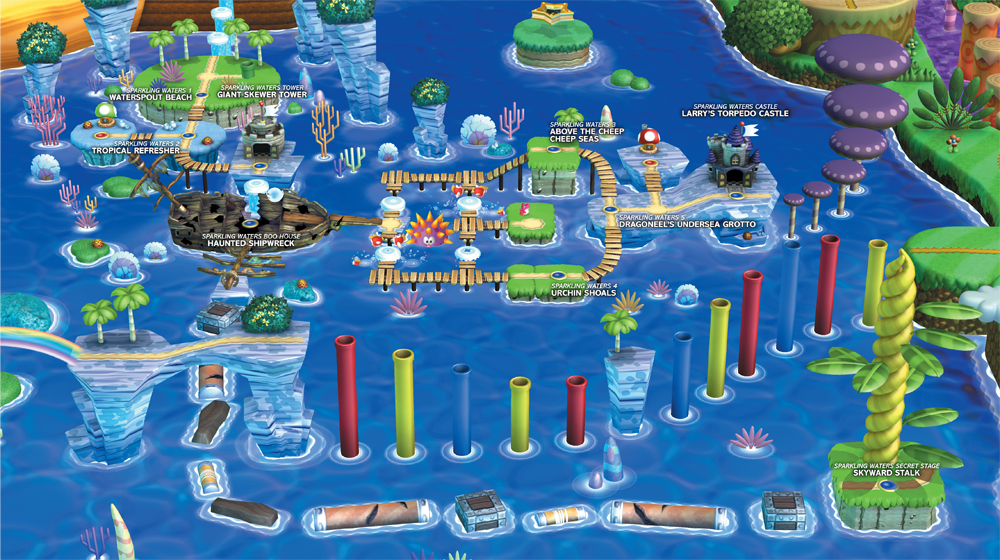
Locations
| Levels | Toad Houses | Map Enemies | Boss |
|---|---|---|---|
| 9 | 2 | 2 | Larry |
Sparkling Waters 1
Waterspout Beach
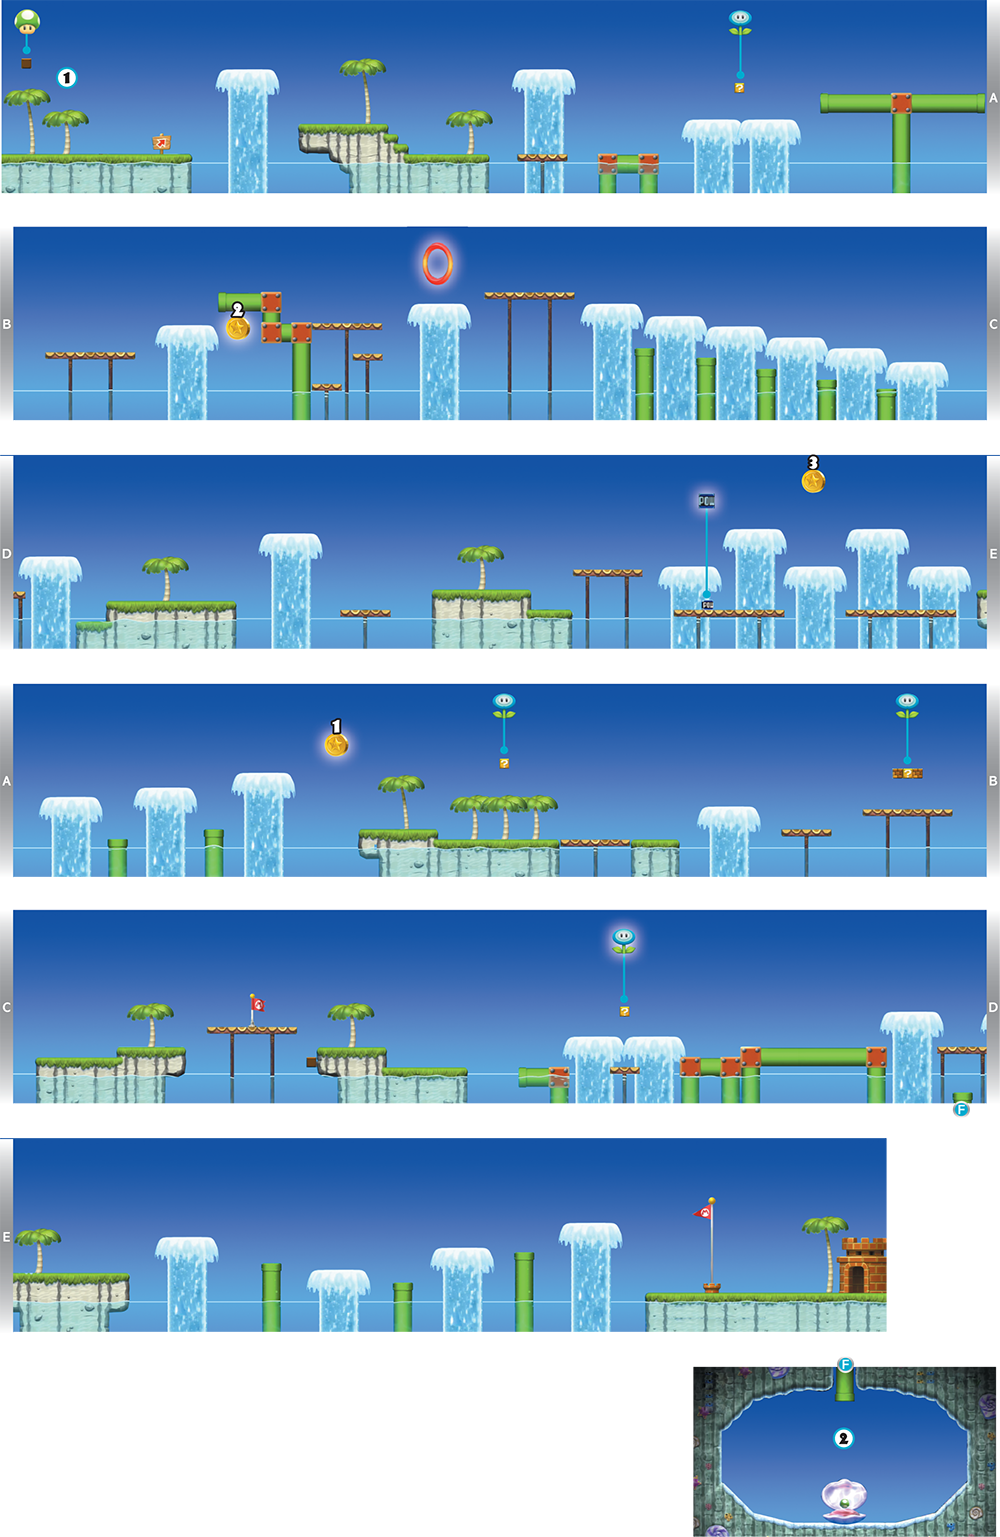
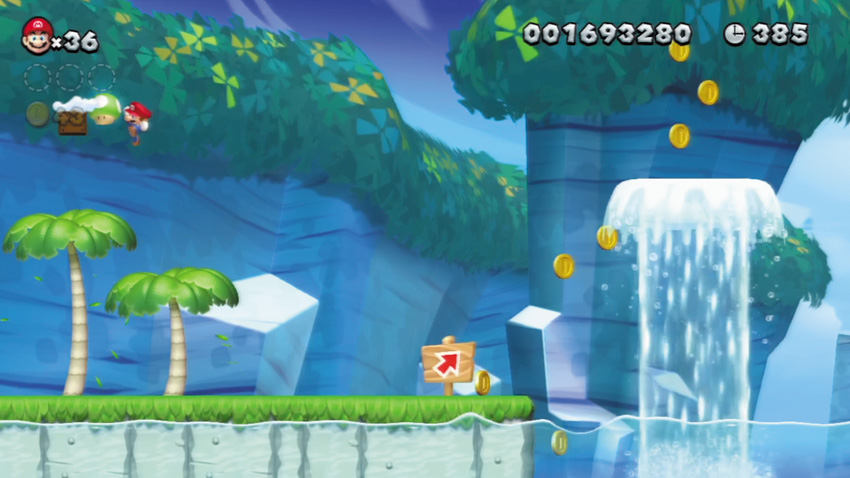
Jump up these first two palm trees to discover a hidden Block that contains a 1-Up. Nice!

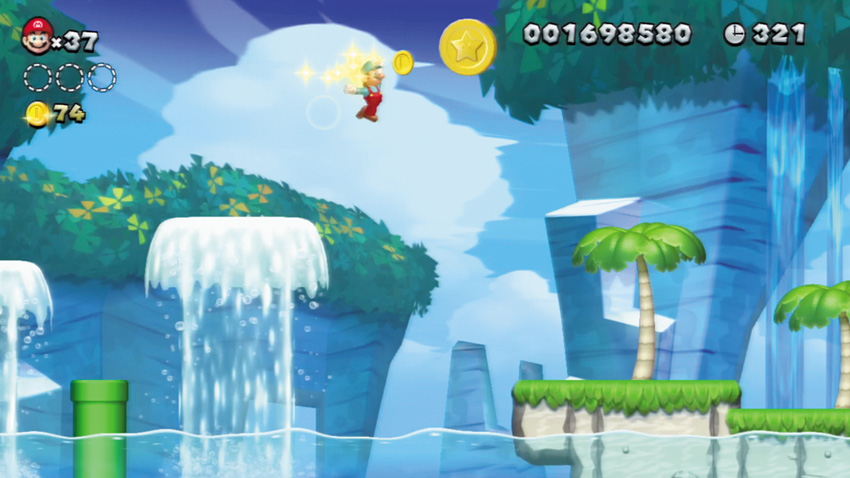
Leap along the trio of Water Geysers to the left of this first Star Coin to gain the height you need to reach it. Two more to go!

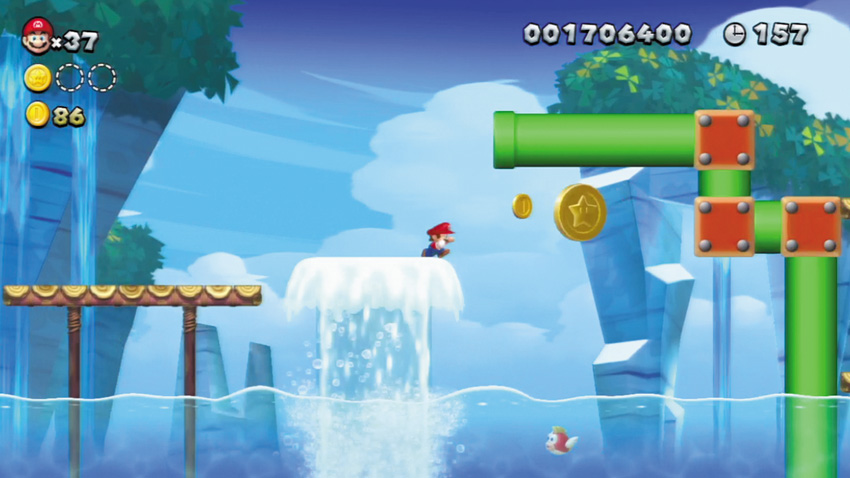
Stand on the wooden platform to the left of the second Star Coin, and wait for the nearby Water Geyser to bubble up. Quickly jump across the Geyser just as it begins to rise, and leap for the Star Coin. But watch out for that Cheep Cheep down below!
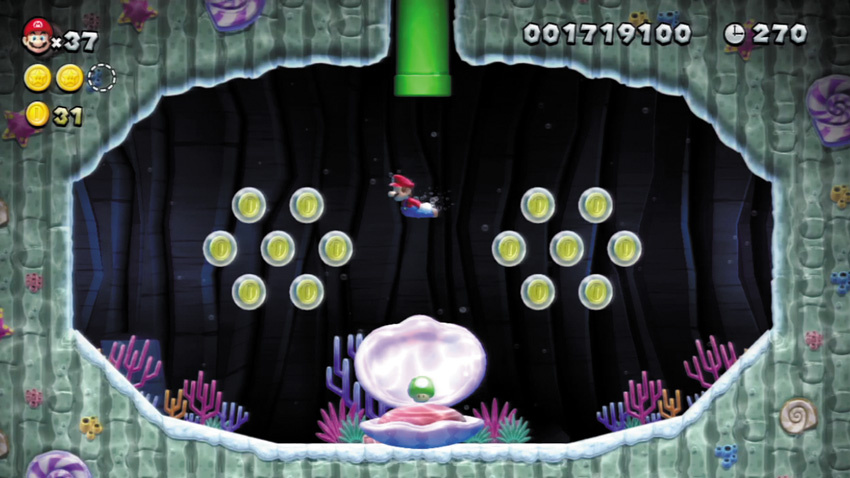
Enter a submerged Warp Pipe F to visit this secret underwater cavern, where a Giant Clam guards a 1-Up Mushroom. Wait for the Giant Clam to open wide, then quickly swim over and claim the 1-Up before the Giant Clam slams shut again.

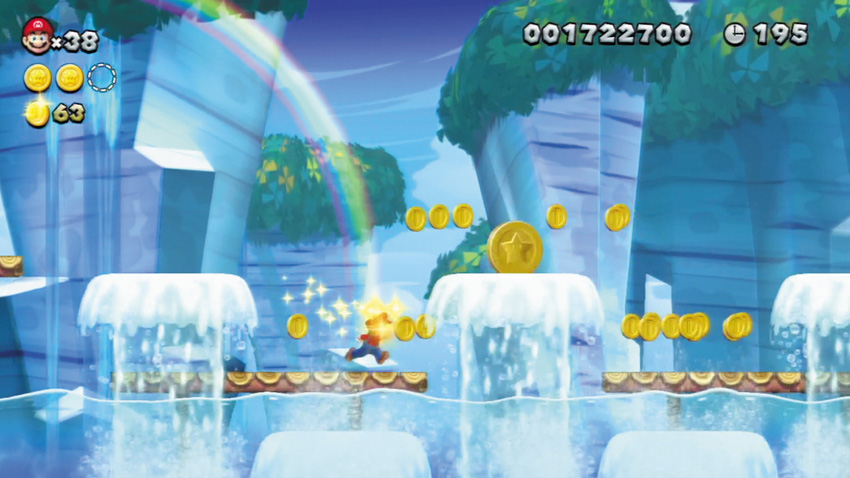
The final Star Coin is up so high, it’s out of sight. Wait until the surrounding Water Geysers froth up, then toss the nearby POW Block to make the Star Coin fall from the sky and land atop the central Geyser. Quickly jump up and grab the Star Coin before the Geyser stops spouting, or the Star Coin will sink into the watery depths below!
Sparkling Waters 2
Tropical Refresher
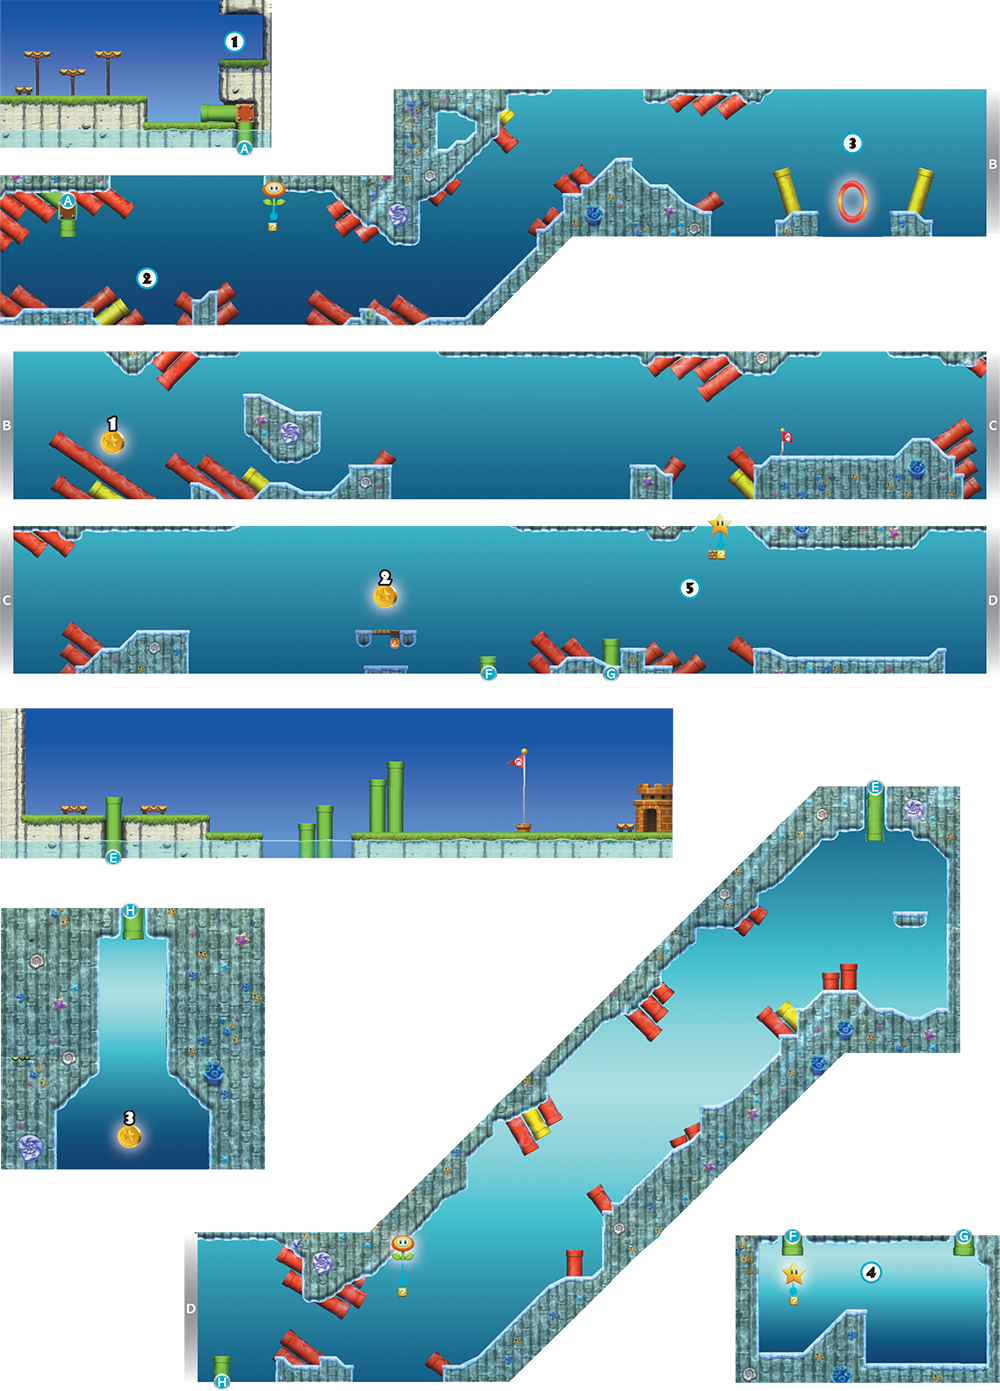
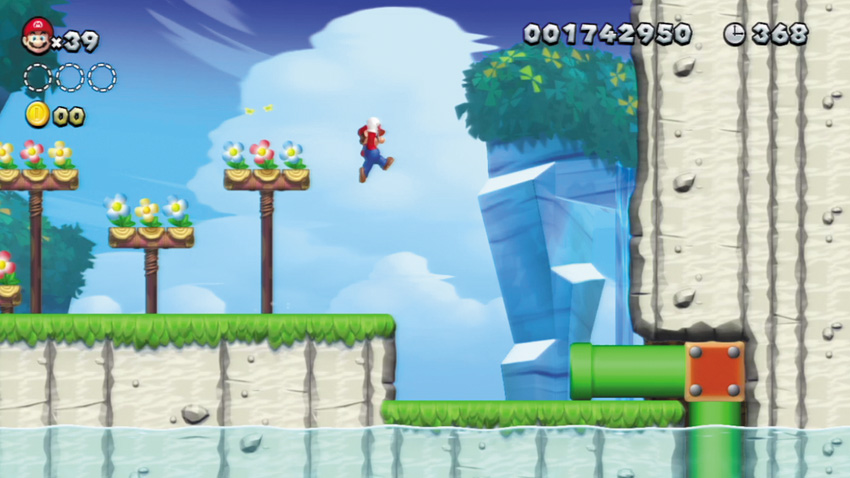
Before entering this stage’s outdoor Warp Pipe and beginning your refreshing swim, leap across the tall wooden platforms to reach this hidden, Coin-filled cave.
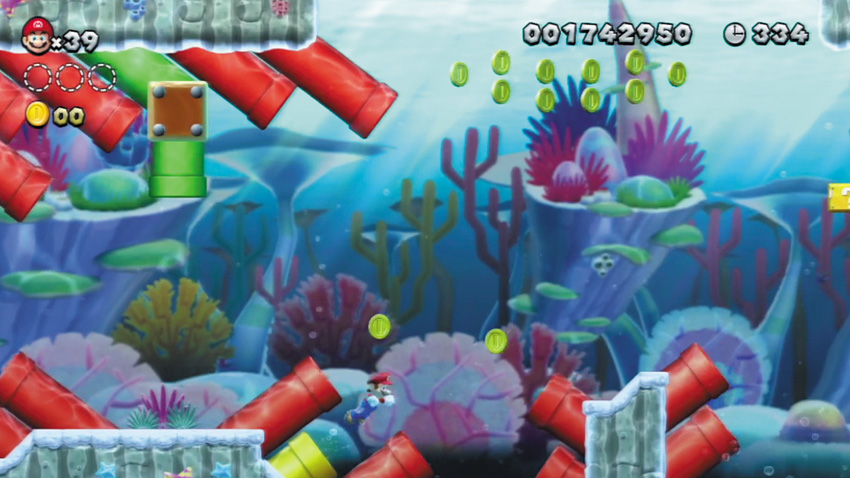
Swim into the yellow Pipe here and shove it inward to cause bonus Coins to appear. Keep an eye open for similar yellow Pipes throughout this stage!
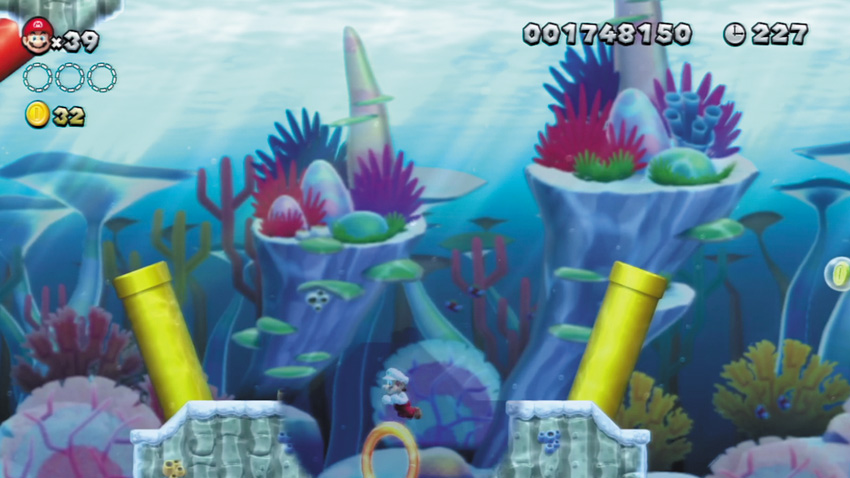
Dive into the false floor between the two yellow Pipes here to discover a hidden Red Ring. Grab all of those Red Coins before time runs out, and you’ll score a sweet item!
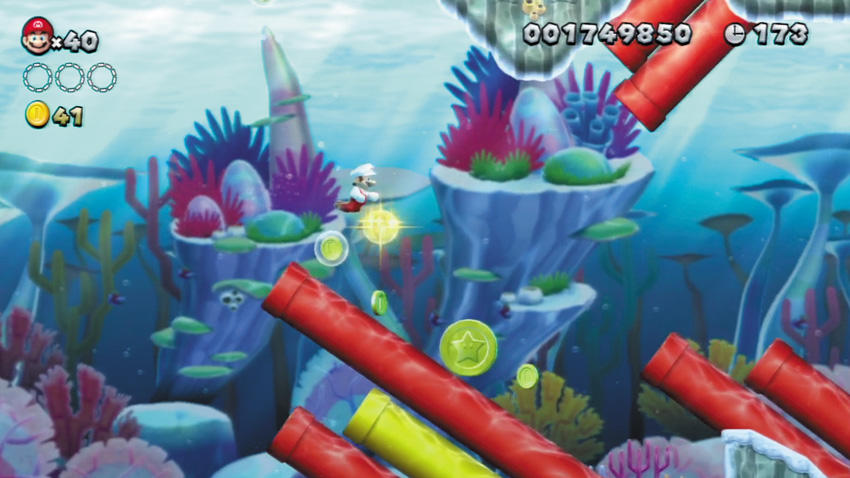
The first Star Coin fl oats back and forth along a red Pipe here. It’s an easy grab, so go ahead and grab it!
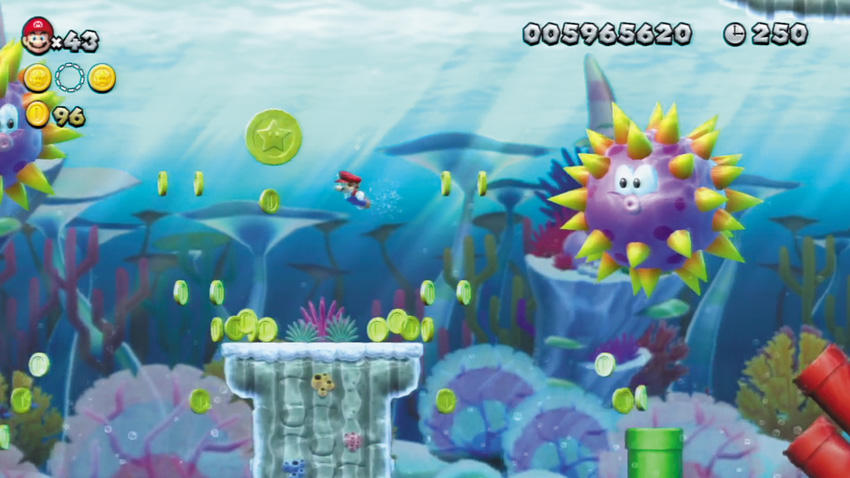
To discover the second Star Coin, fight the undertow current as you swim through a false wall here to discover a hidden ? Switch. Hit the ? Switch to cause a shower of Coins to rain down—including the second Star Coin!
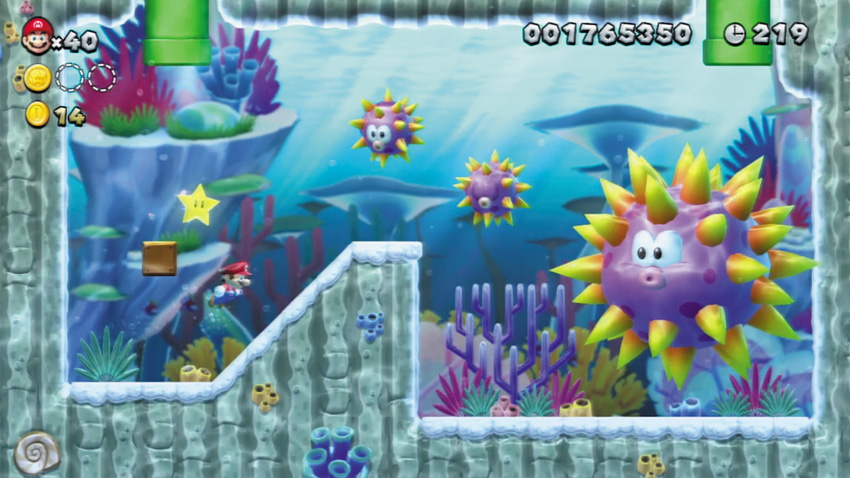
Slip past a Big Urchin to enter Warp Pipe F and discover this secret area. Obtain a Super Star from the ? Block here, then quickly swim through the Urchins to defeat them as you make for the far Warp Pipe.
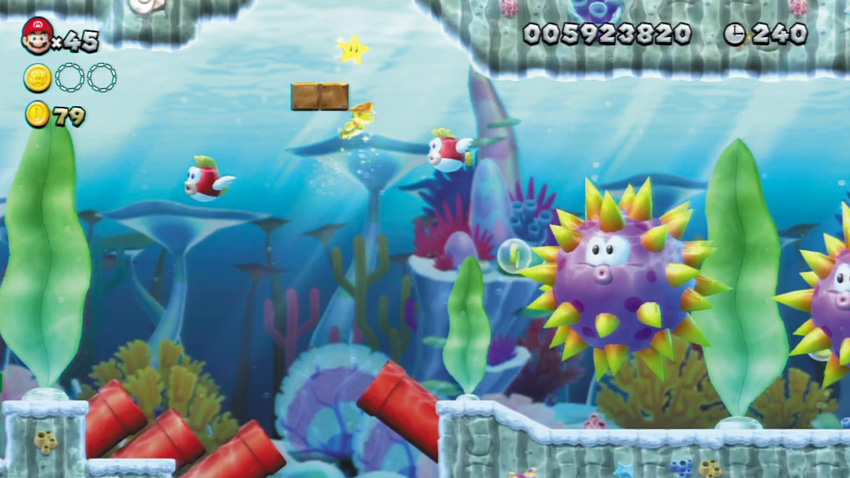
If you collected the Super Star at Point 4 and are quick to swim to this Point, you’ll receive another Super Star when you strike the ? Block here. However, if your Super Star power has run out, you won’t receive another Super Star when you strike this ? Block.
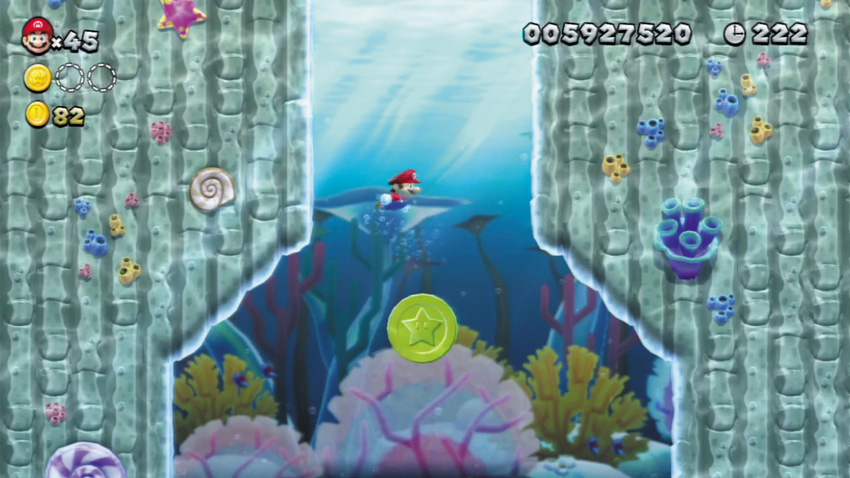
A pesky Big Urchin guards the final Star Coin. To defeat it, grab the Super Star at Point 4, then quickly swim to the ? Block at Point 5. Strike the ? Block while you’re enjoying Super Star invincibility to score a second Super Star, then hurry and swim into the Big Urchin down here to defeat it. The final Star Coin is now yours!
Sparkling Waters Tower
Giant Skewer Tower
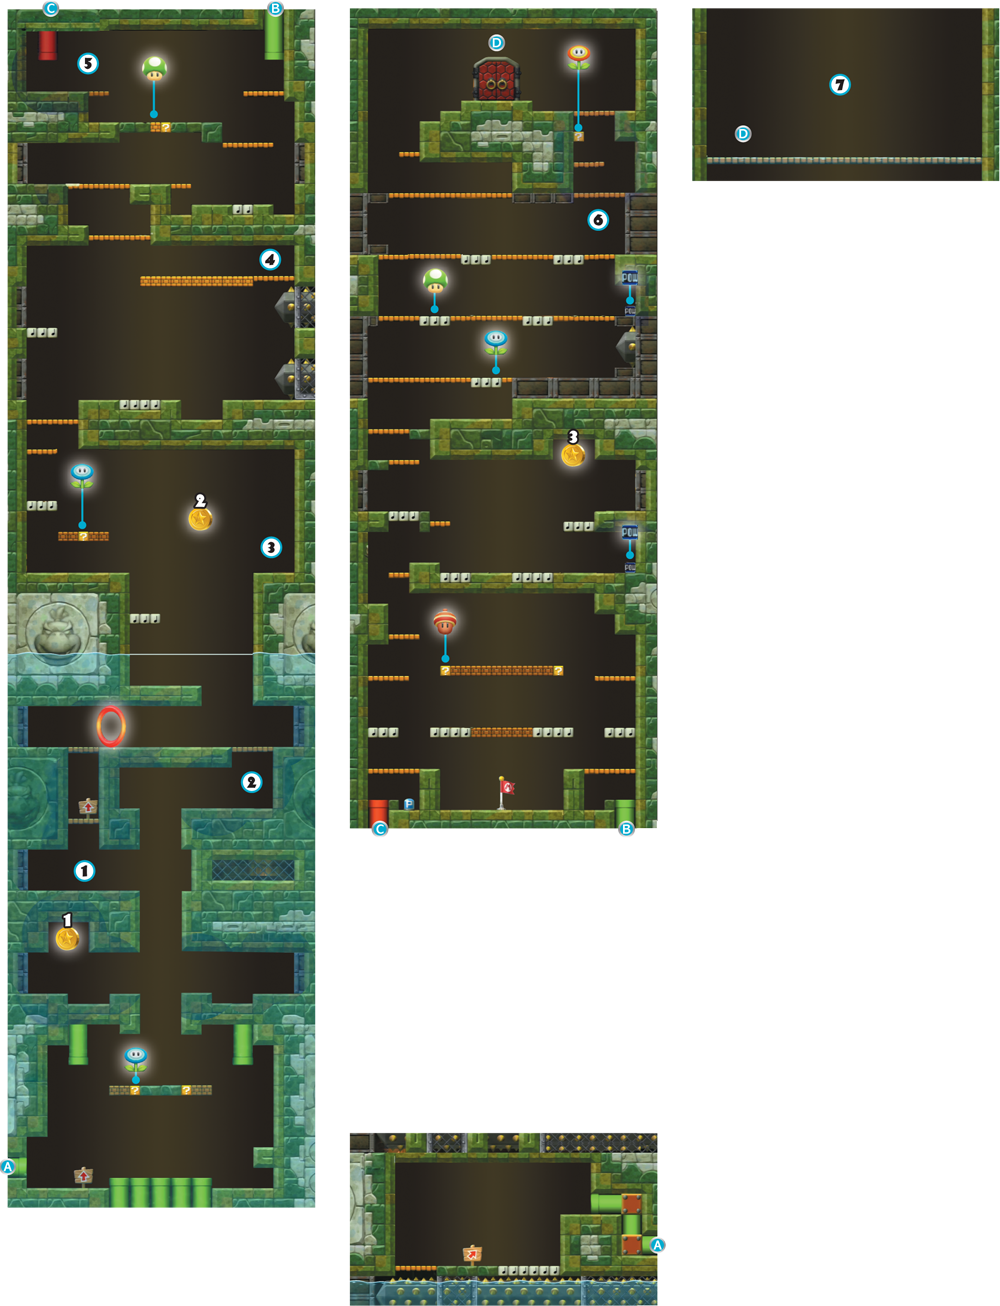
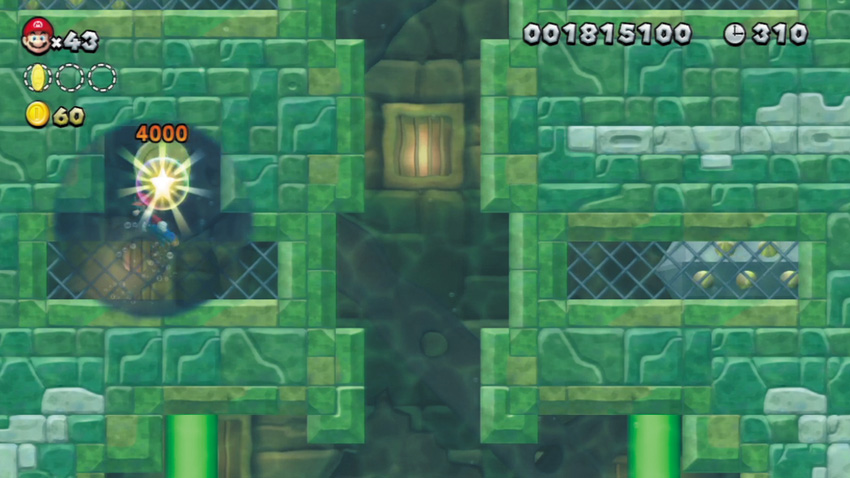
Carefully swim into this hidden nook while the nearby Spike Pillar is retracted, and claim the first Star Coin.
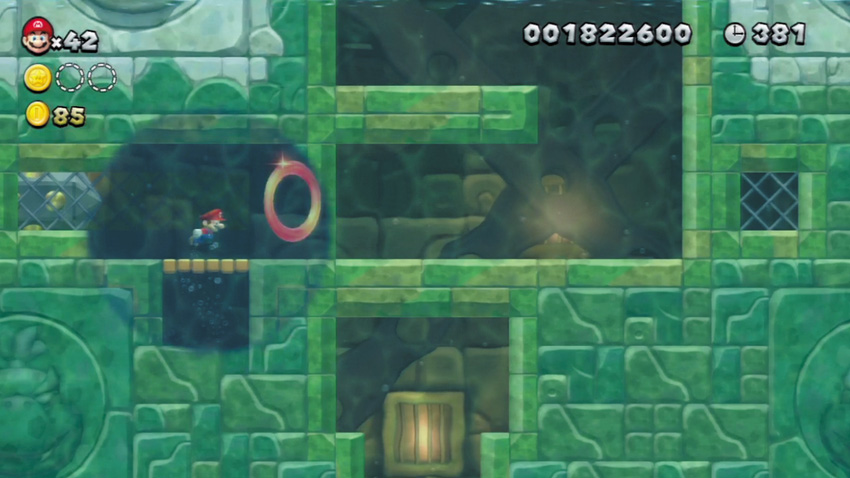
Swim up the hidden shaft here while the Spike Pillar is retracted, and you’ll have an easier time going for the Red Ring above. The Red Ring is worth the risk, for you’ll receive a useful item if you collect all of its Red Coins!
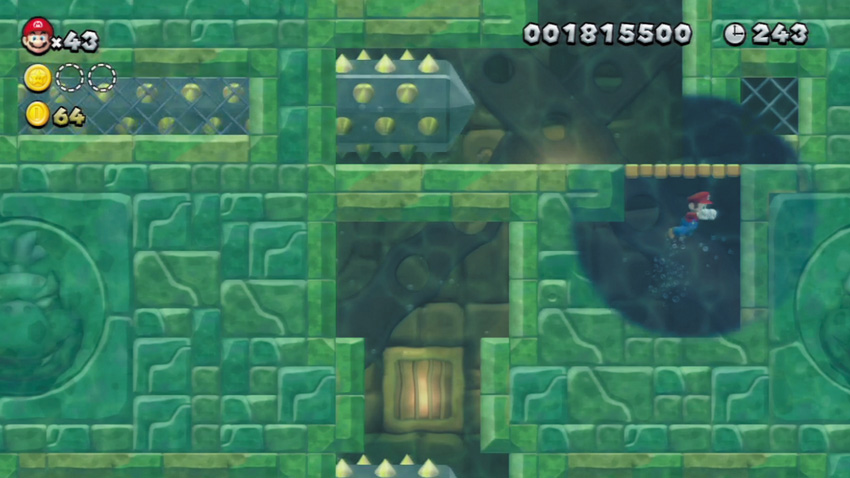
If you aren’t interested in the Red Ring’s reward, take this safer route up to the surface instead. It’s easier to avoid the Spike Pillars if you go this route, but the Red Ring will be more difficult to grab without being skewered.
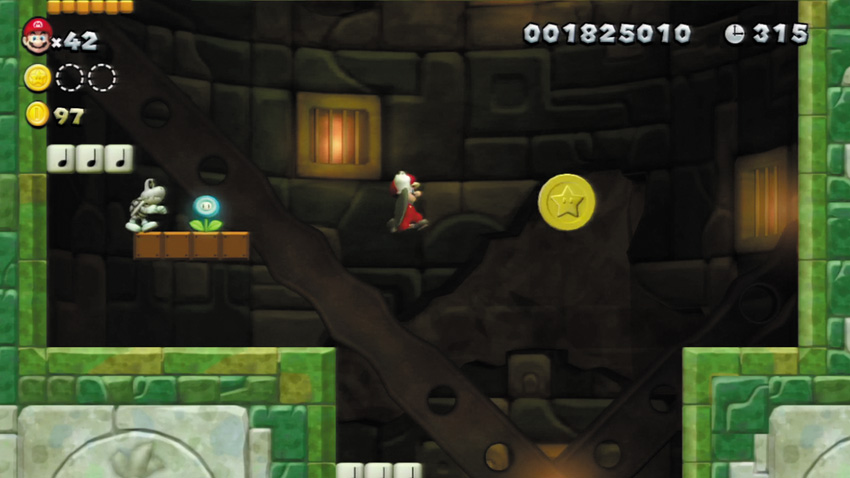
Collect the second Star Coin by bounding up from the Note Blocks below, or with a long, dashing leap from the Brick Blocks to the left.
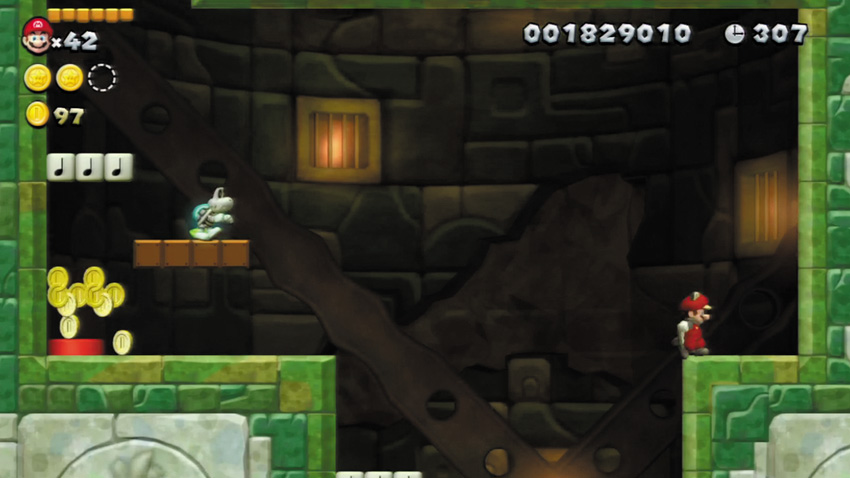
Land on this ledge, and a red pipe will briefly emerge on the opposite ledge and pump out some bonus Coins. How nice!
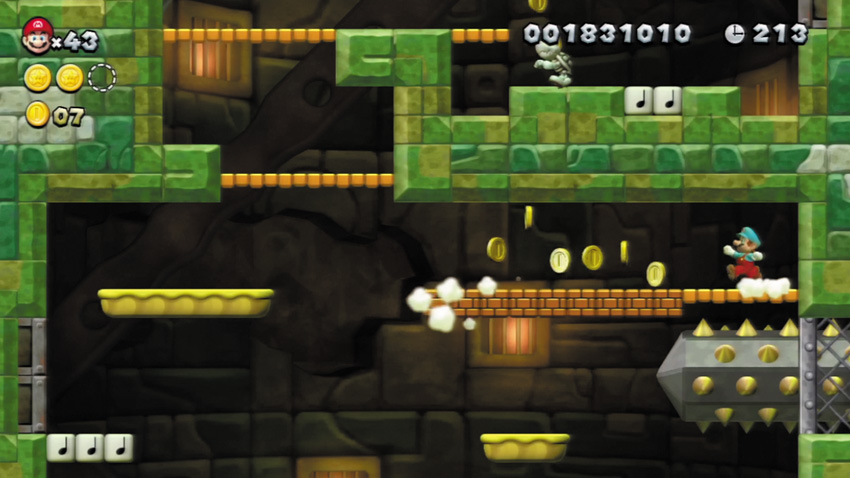
Reach this small platform, and a row of Brick Blocks will suddenly appear to the left, along with yet more bonus Coins! There’s nothing to be gained by smashing the Brick Blocks, so don’t bother.
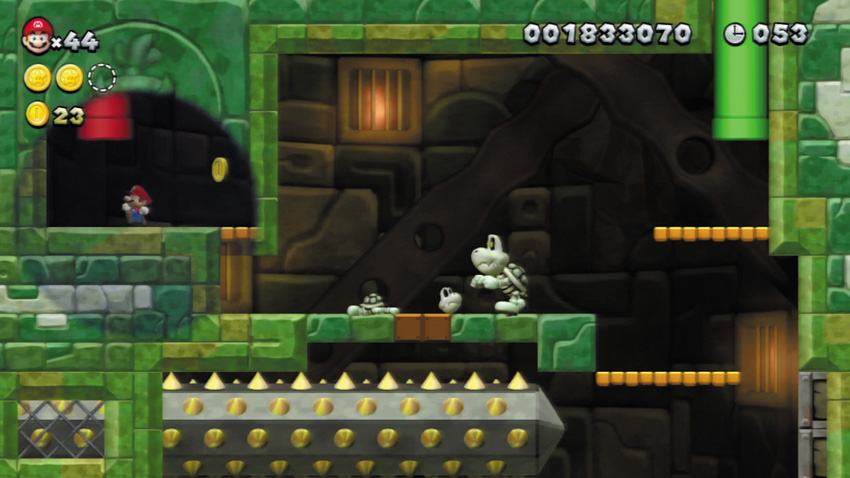
Jump through the false wall here and enter the red overhead Warp Pipe to emerge near a hidden P Switch in the next area of the tower. The P Switch causes lots of bonus Coins to appear—collect as many as you can before they vanish!
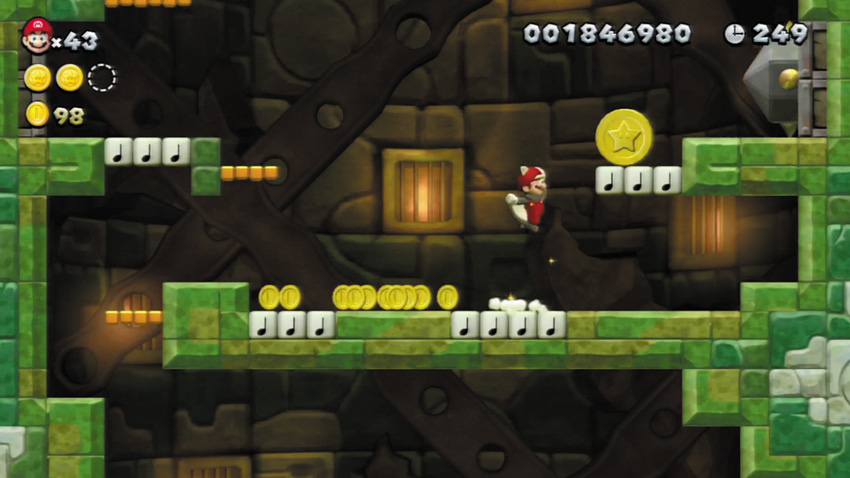
Knock down the final Star Coin by tossing the POW Block that’s hidden behind the false wall below it. Now you can simply jump up and hit the Note Blocks from below to collect the Star Coin!
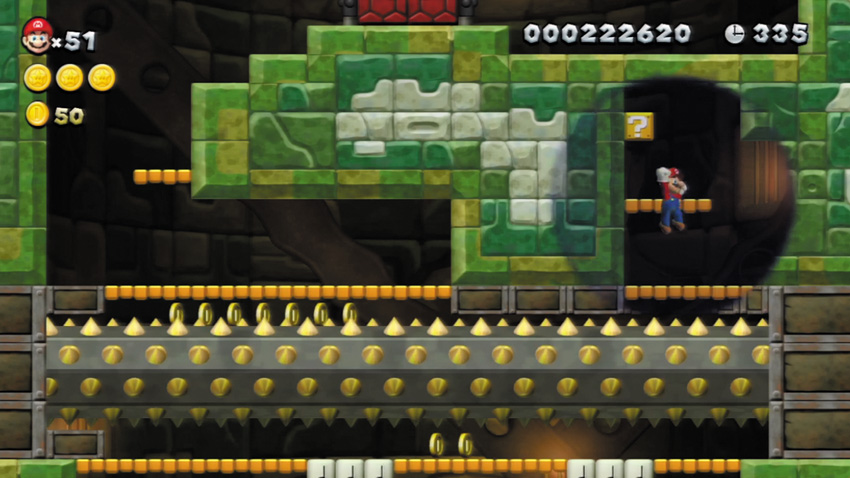
Jump through a second of false ceiling to enter this hidden area, where a ? Block that contains a Fire Flower is found.
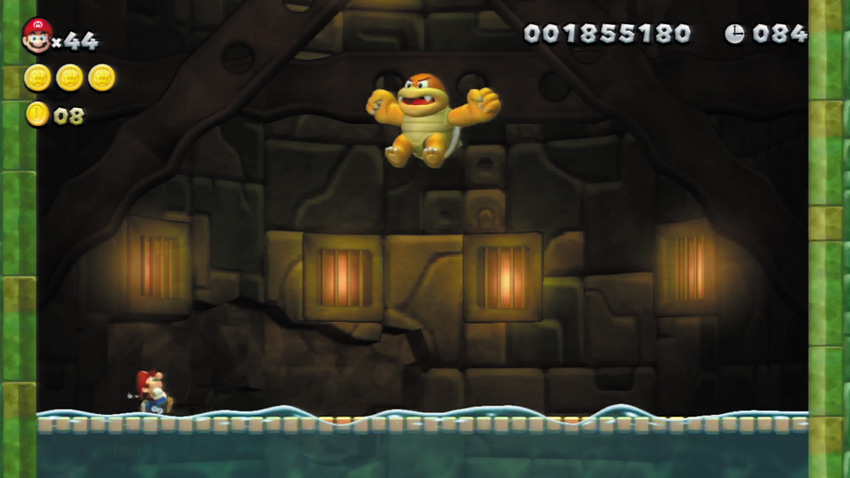
The burly brute Boom Boom must be bested once again when you arrive at the top of the tower. Thanks to Magikoopa’s meddling, Boom Boom jumps incredibly high during this battle—avoid him while he’s airborne, and stomp him just after he lands. Give Boom Boom three good stomps to send him tumbling down!
Sparkling Waters Boo House
Haunted Shipwreck
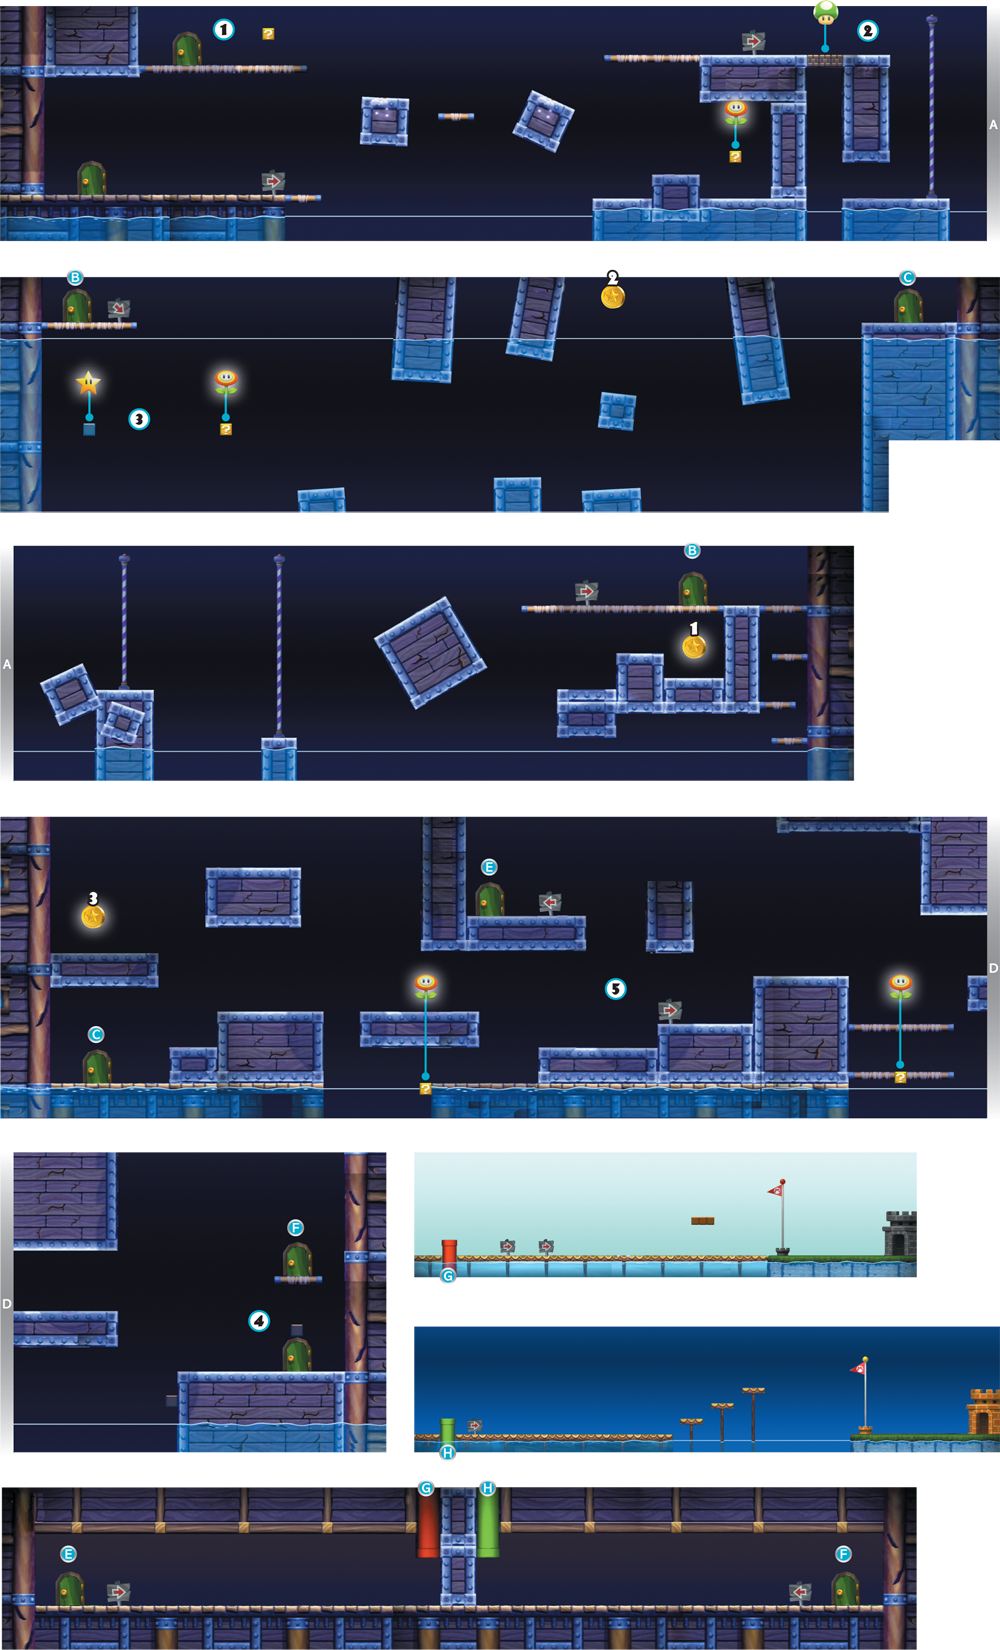
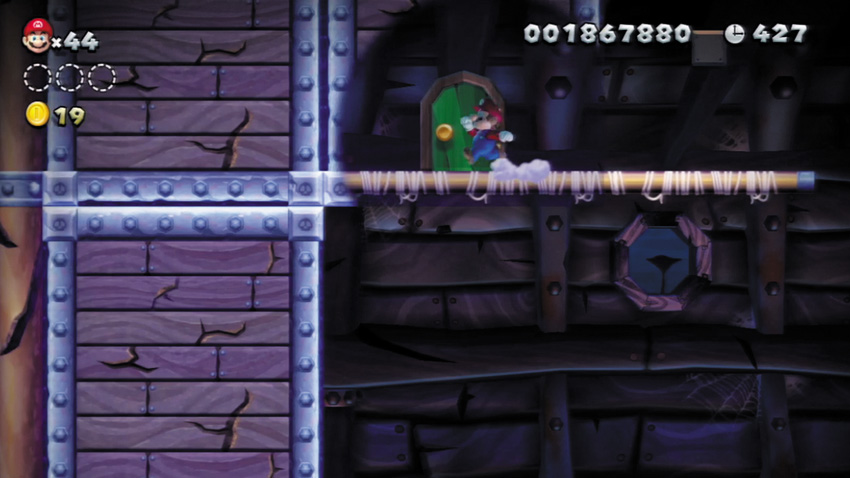
A door is hidden behind a false wall here, but it’s a trick door that vanishes in a puff of smoke when you try to enter. You do receive a Coin for your troubles, though.
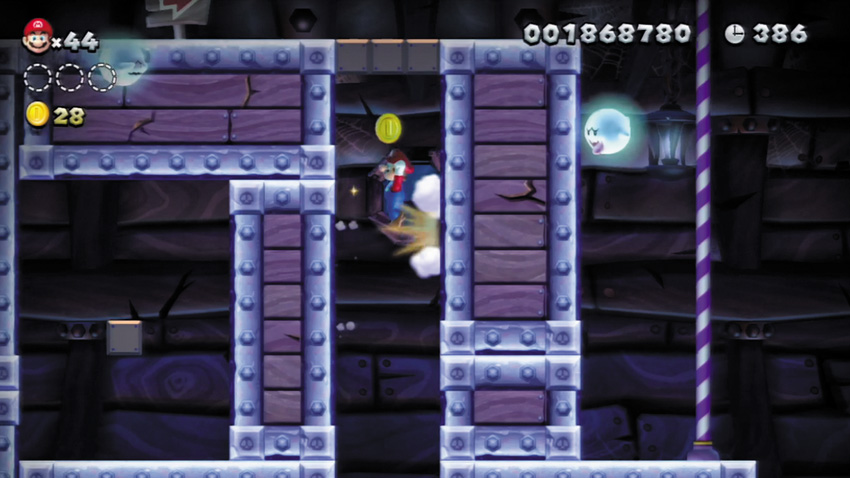
Don’t ground pound the Brick Blocks here. Instead, slide down the pole to the right, then move through the false wall below. Wall jump up and strike the Brick Blocks from below to knock free a 1-Up, then drop and hurry back through the false wall to grab the 1-Up after it falls.
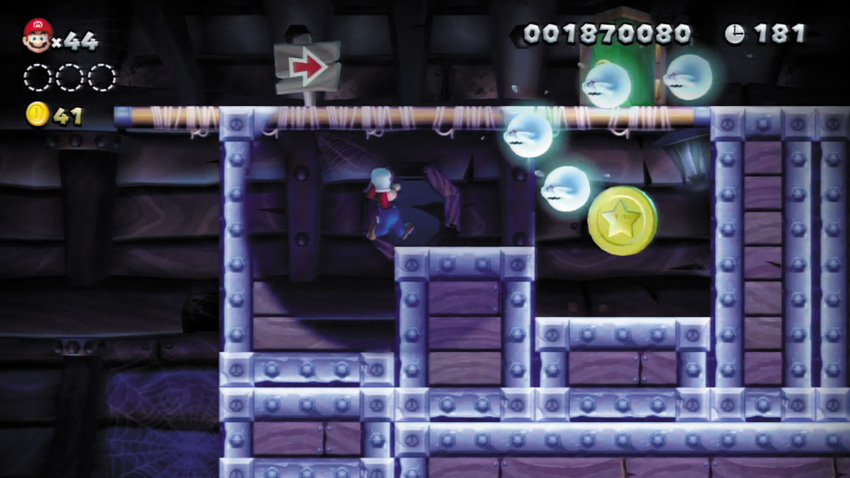
The first Star Coin is kept here behind a false wall. Leap from the nearby rotating crate to pass through the false wall and claim the Star Coin.
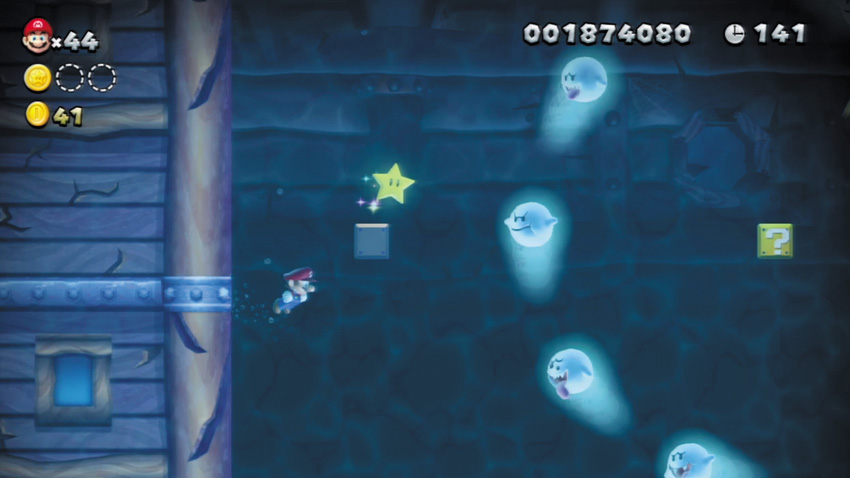
Swim upward and strike a hidden Block here to obtain a Super Star. This handy power-up will help you banish the many Boos in this part of the ship!
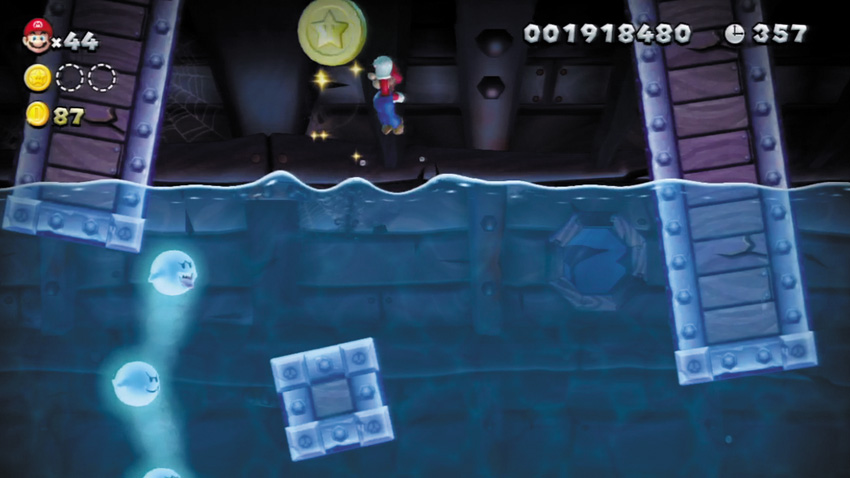
Leap up from the water’s surface to reach this hovering Star Coin, but beware of the circling Boos below. The hidden Super Star at Point 3 will help you safely claim this Star Coin.
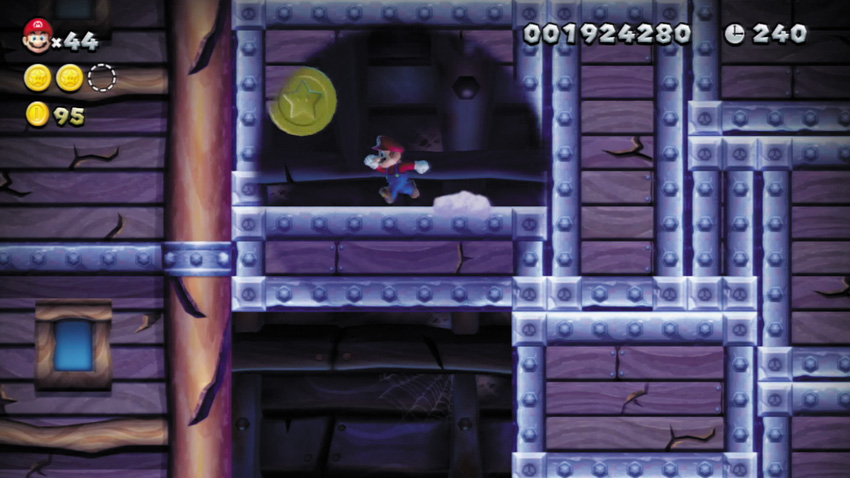
Wall jump between the walls to reach this final, hidden Star Coin. Nice work—now you’ve just got to find your way out of here!
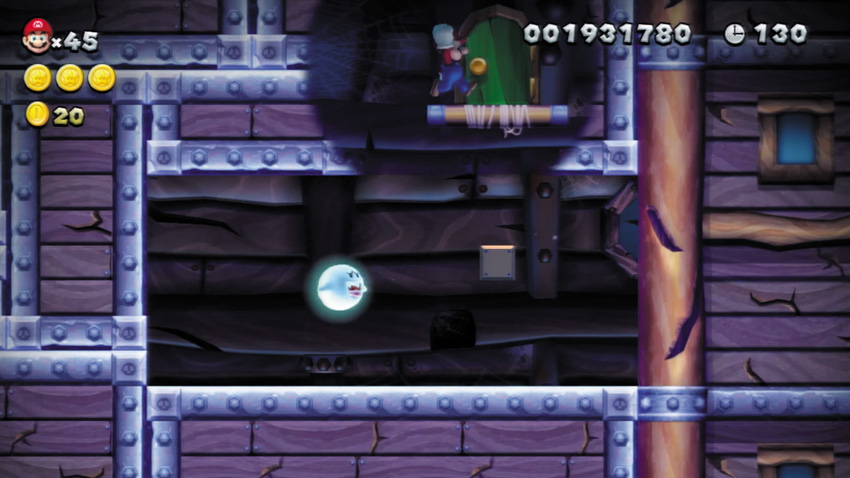
Jump up and strike a hidden Block above the trick door here. Jump onto the Block, then jump up again to reach another door above. This one leads to the stage’s main exit.
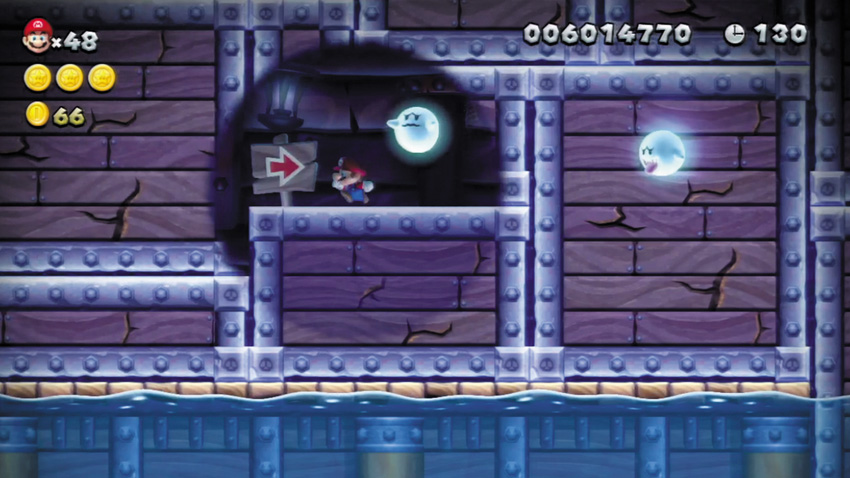
Make a long, dashing leap from the crate with the arrow sign here, aiming to soar up and wall jump between the crates above. It isn’t easy, but you’ll find a secret door up here that leads to the Haunted Shipwreck’s secret exit! Enter the door and travel up the red Warp Pipe beyond to discover the secret exit. Complete the Haunted Shipwreck using this secret exit to unlock Sparkling Waters’ secret stage!
Sparkling Waters 3
Above the Cheep Cheep Seas
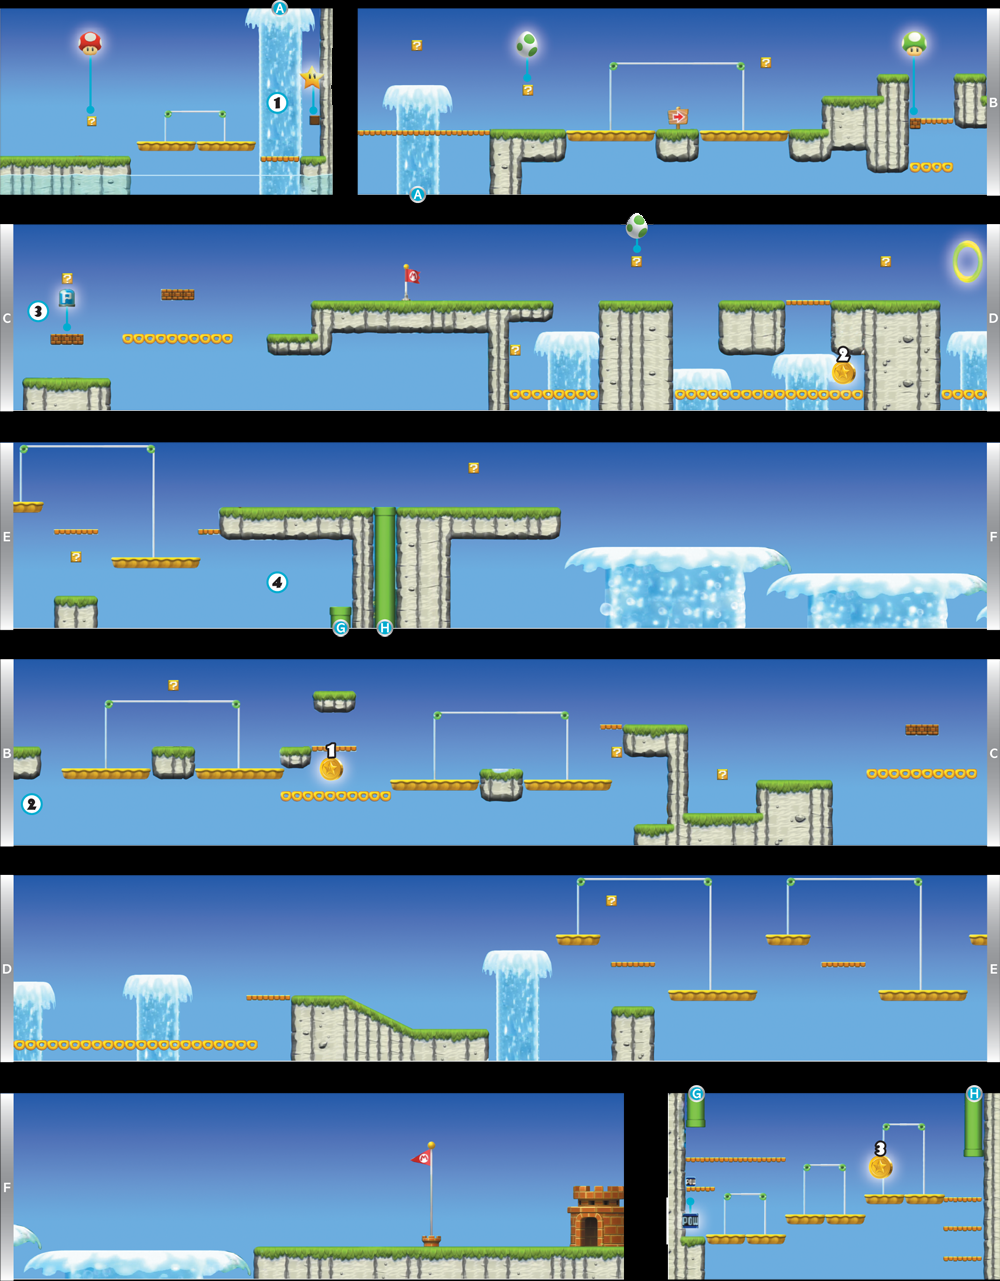
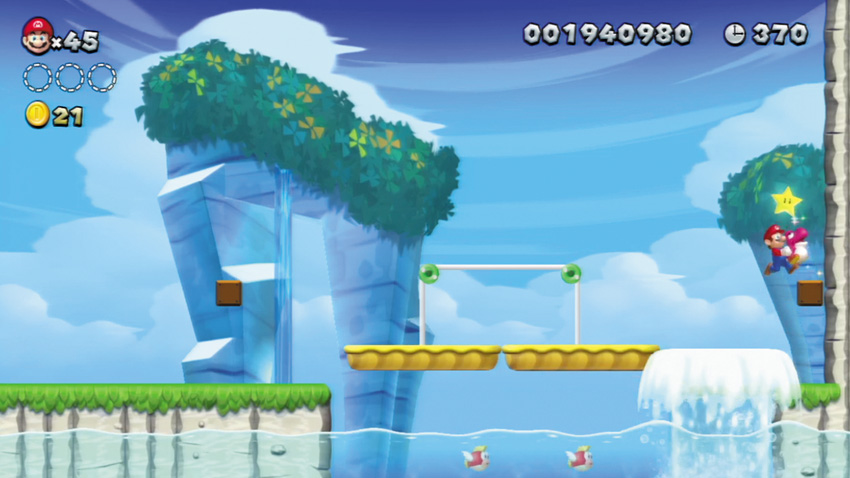
Before riding up this stage’s initial Water Geyser, stand near the cliff to the right and jump up to strike a hidden Block. Out pops a Super Star!
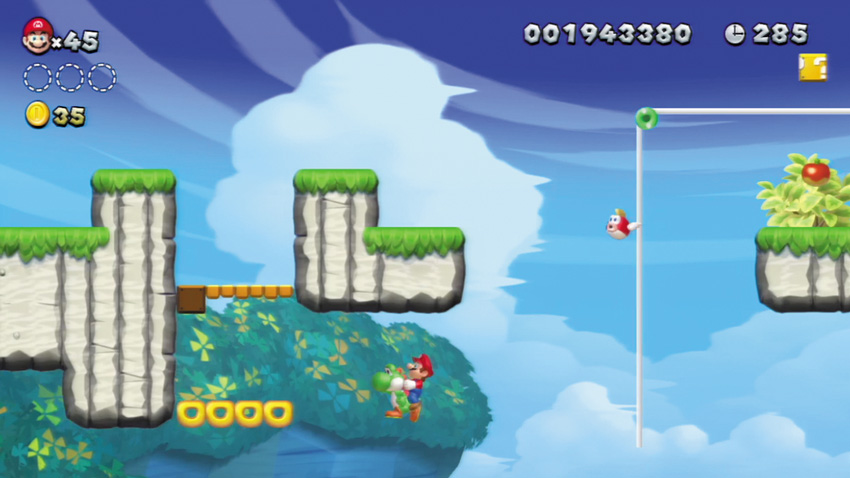
To obtain the 1-Up from the Brick Block near this Point, hop onto Yoshi and stand atop the nearby Scale Lift. Allow the platform to lower, then make a daring leap with Yoshi over to the Donut Blocks to the left. Quickly bump the Brick Block from below to make the 1-Up Mushroom pop out, then hurry and jump up to claim the 1-Up before the Donut Blocks drop out from underneath you.
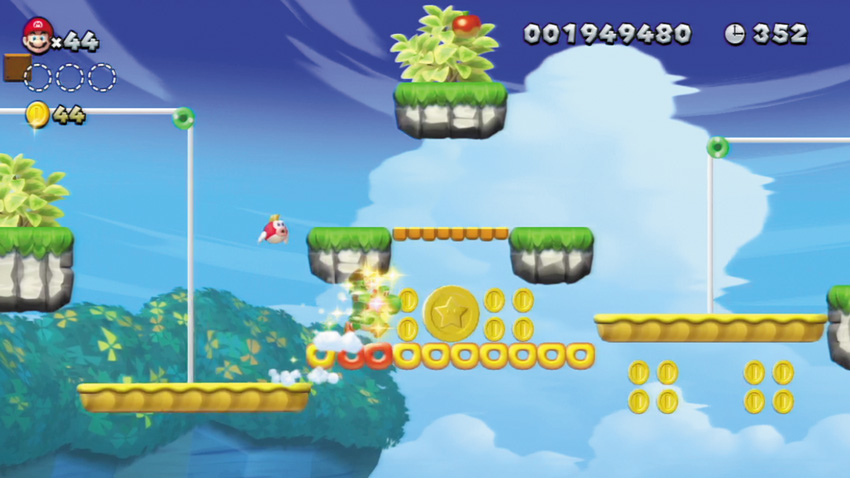
Don’t hang around after grabbing this first Star Coin—it doesn’t take long for those Donut Blocks to drop under Mario’s weight!
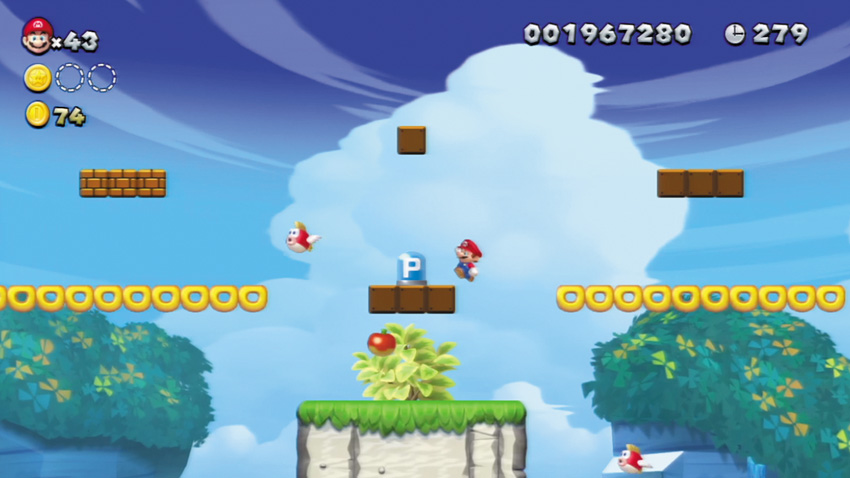
Hit a Brick Block here to make a secret P Switch pop out. Strike the P Switch, and a bunch of Blue Coins will appear all around. Grab as many as you can before they vanish!
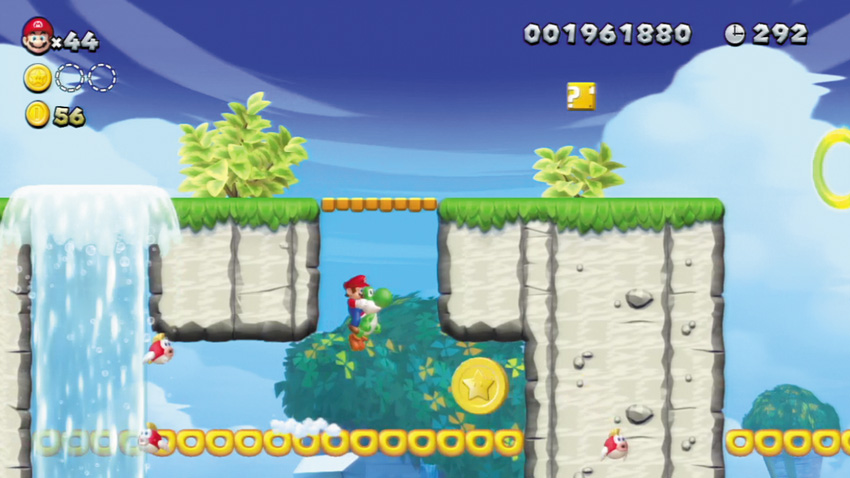
Avoid the Water Geysers as you hop over to the second Star Coin. Grab it and then ride a Geyser up to safety before those Donut Blocks give way!
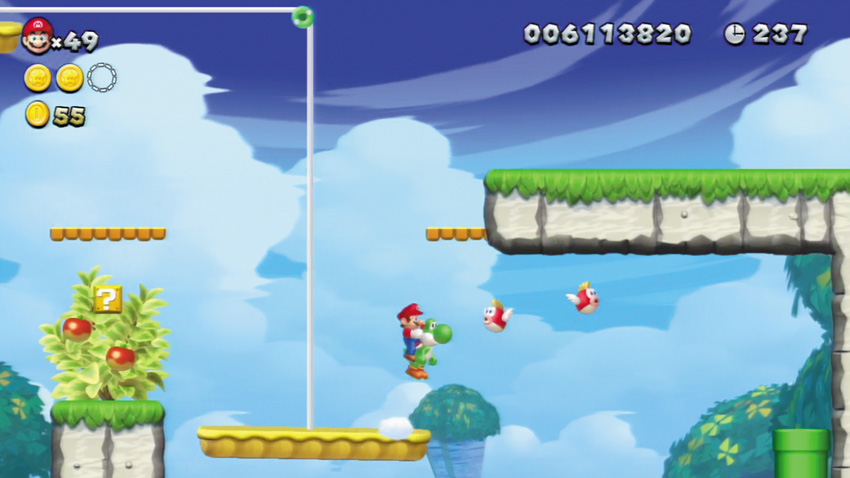
Entering the low green Warp Pipe here is easier with a little help from Yoshi. Stand on the nearby Scale Lift and allow it to lower, then leap toward the green Warp Pipe. As you begin to fall, press and hold the jump button again to make Yoshi kick his feet and gain a boost of height that carries you over to the green Warp Pipe.
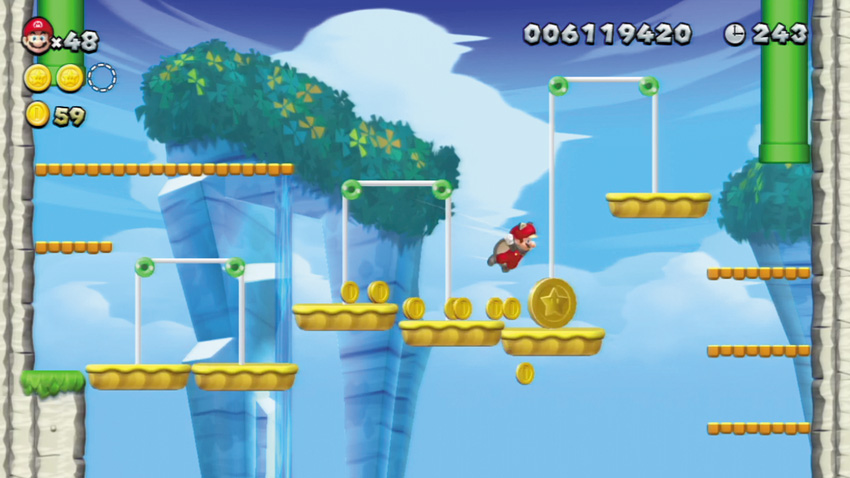
Make the third and final Star Coin appear by tossing the POW Block in this secret area. The Star Coin falls from above, landing on a Scale Lift—hurry over and grab it before the platform collapses under the Star Coin’s weight!
Sparkling Waters 4
Urchin Shoals
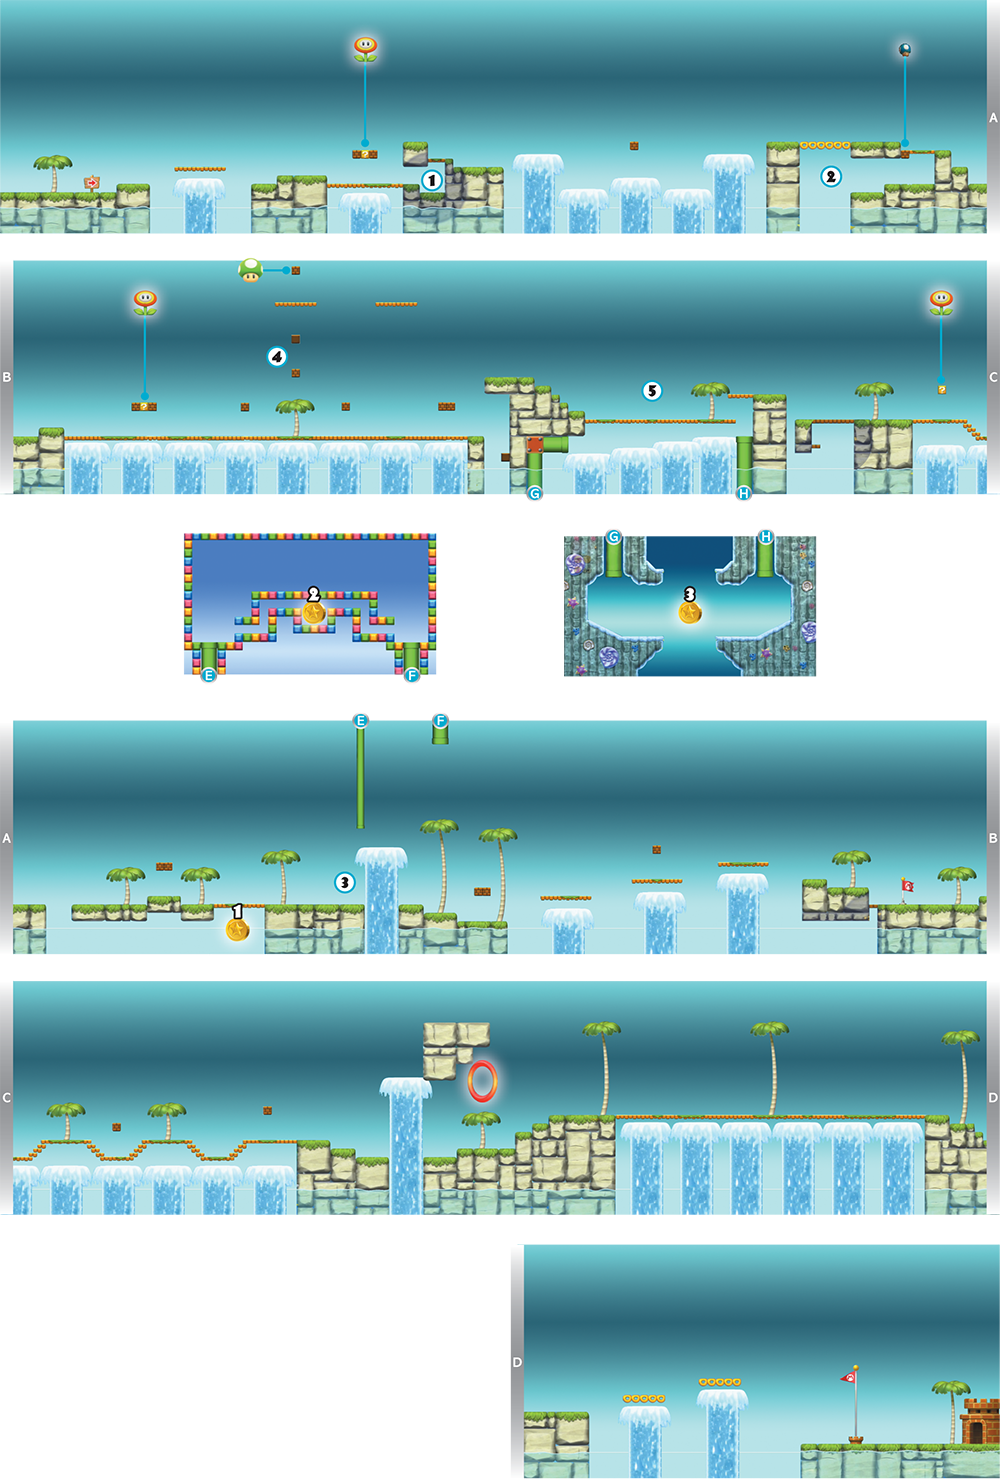
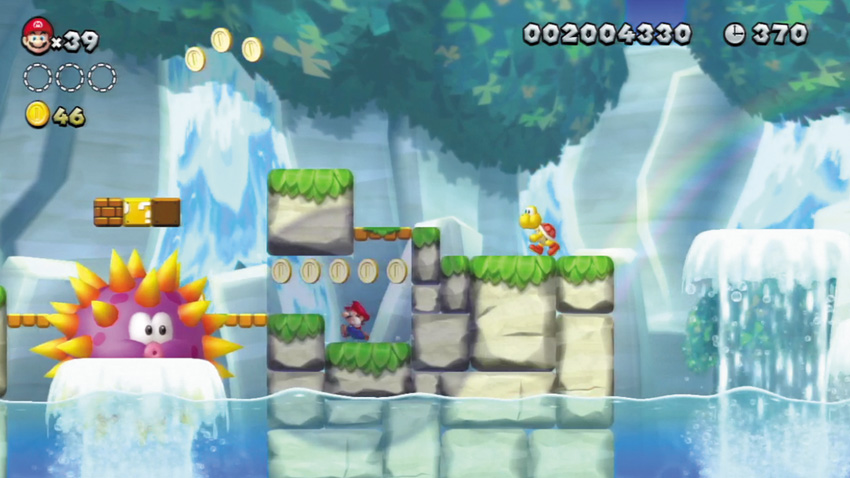
This small, hidden Coin cave can help you avoid the dangerous Big Urchin that lurks near this Point.
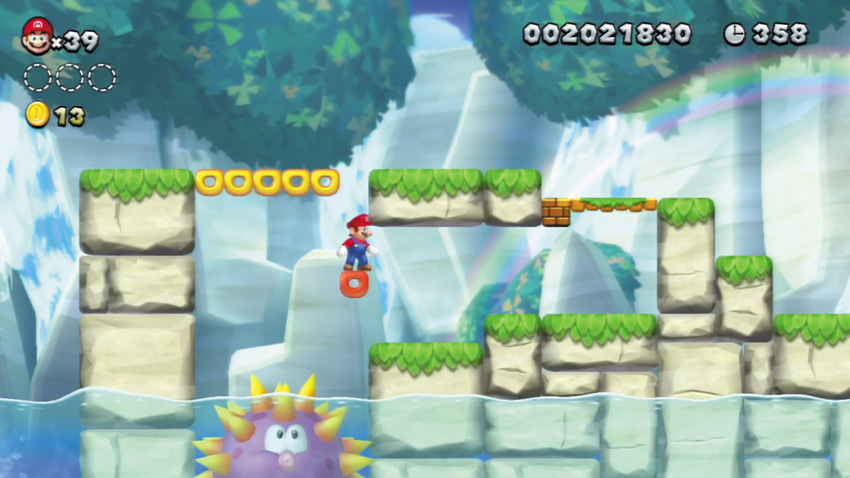
Stand on the far-right Donut Block here, and allow it to drop. Move to the right as you fall, and you’ll land safely on solid ground. Run right and hit the nearby Brick Block to knock out a Mini Mushroom. Quickly jump up and collect the Mini Mushroom before it falls into the water.
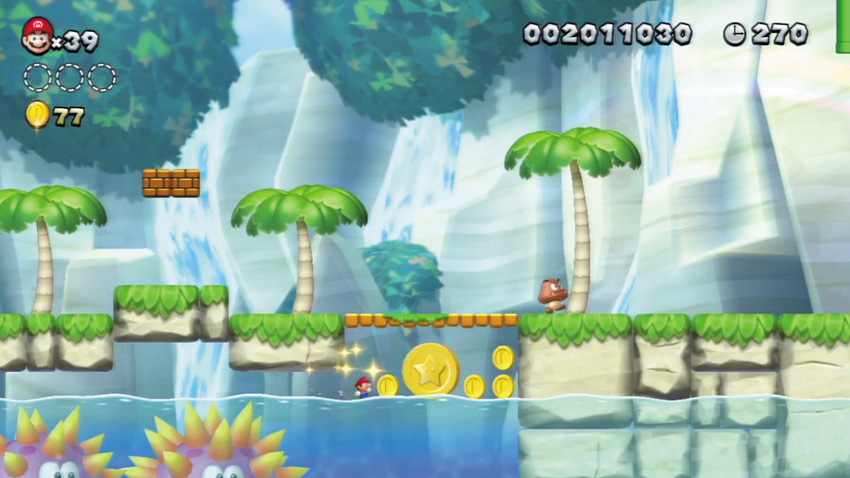
Claim the Mini Mushroom at Point 2 to transform into Mini Mario, then dash along the water’s surface to safely claim this first Star Coin. Mini Mario is light enough to dash across water and bypass the Big Urchins that lurk just below the surface!
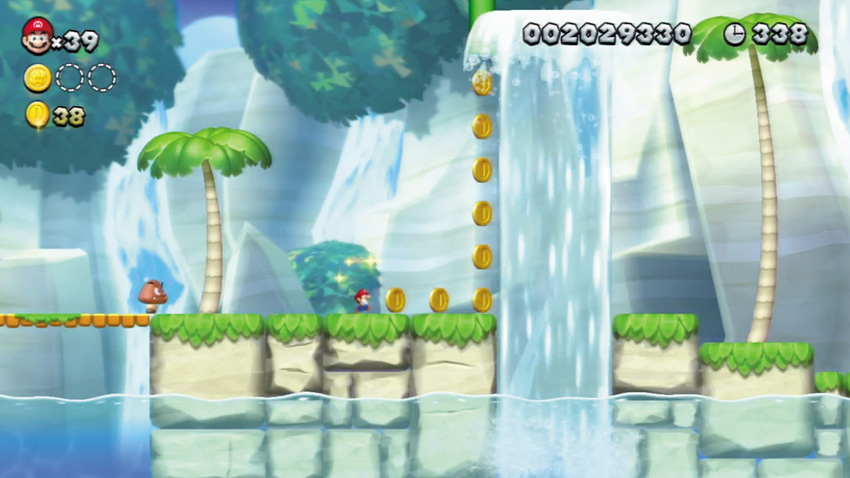
As Mini Mario, wait for the Water Geyser to gush upward here, then dash into it to run straight up the Geyser’s side and enter the tiny overhead Warp Pipe.
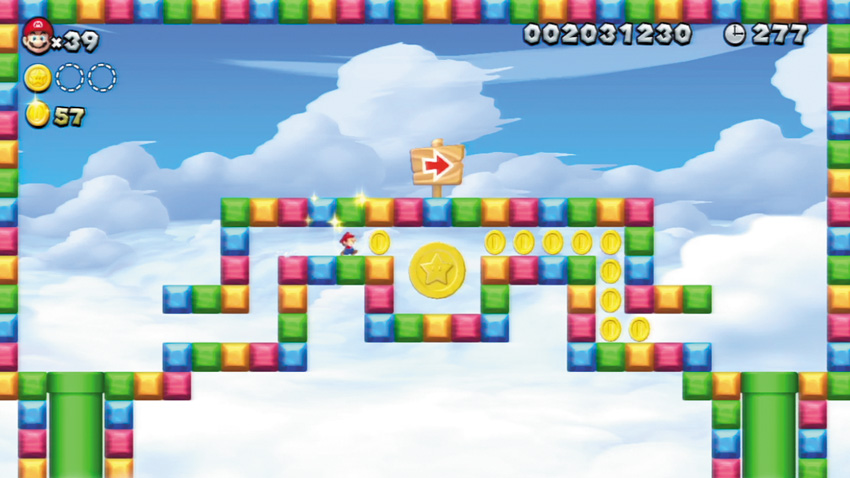
Only Mini Mario can claim this Star Coin. Run up the Water Geyser at Point 3, then simply dash through this colorful area to claim the second Star Coin.
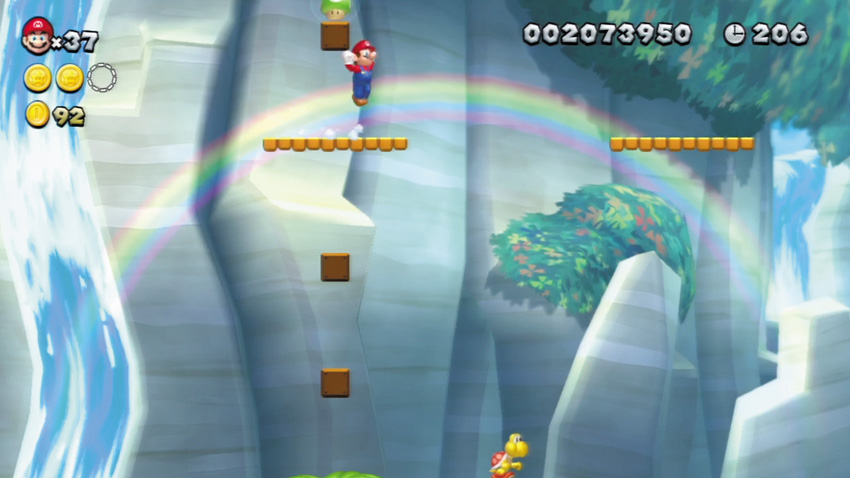
Jump up from the top Brick Block here to strike a hidden Block. Then jump from the hidden Block to reach the platform above. Strike the Brick Block up here to discover a 1-Up Mushroom!
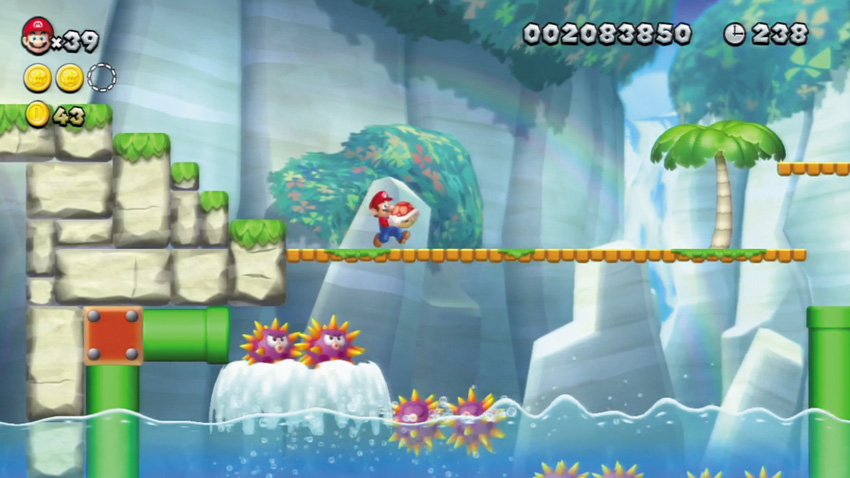
Stun the lone Koopa here, then send its shell flying to the right while the Water Geysers below are spraying. A well-timed shell toss will cause the shell to bounce off the right wall and strike all the Urchins that are riding the Water Geysers. You’ll score a 1-Up if the shell strikes them all, and also clear a path toward the far Warp Pipe!
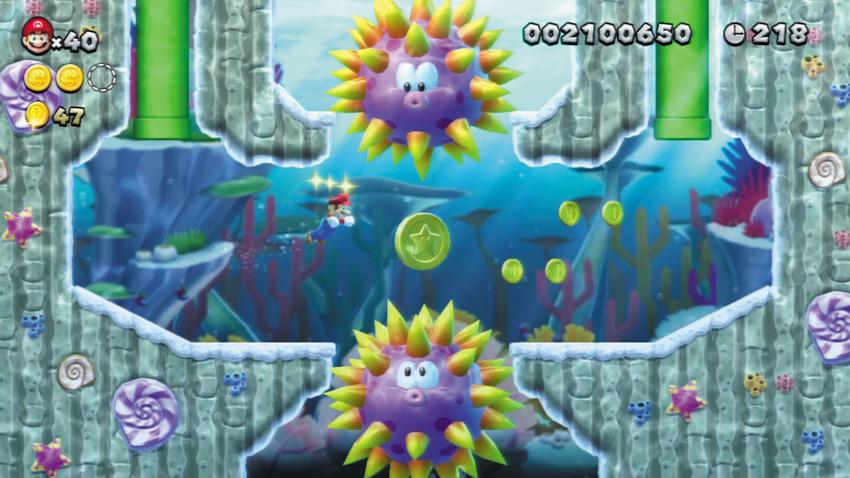
Carefully swim between the two Big Urchins down here to claim the final Star Coin. Skills!
Sparkling Waters 5
Dragoneel’s Undersea Grotto
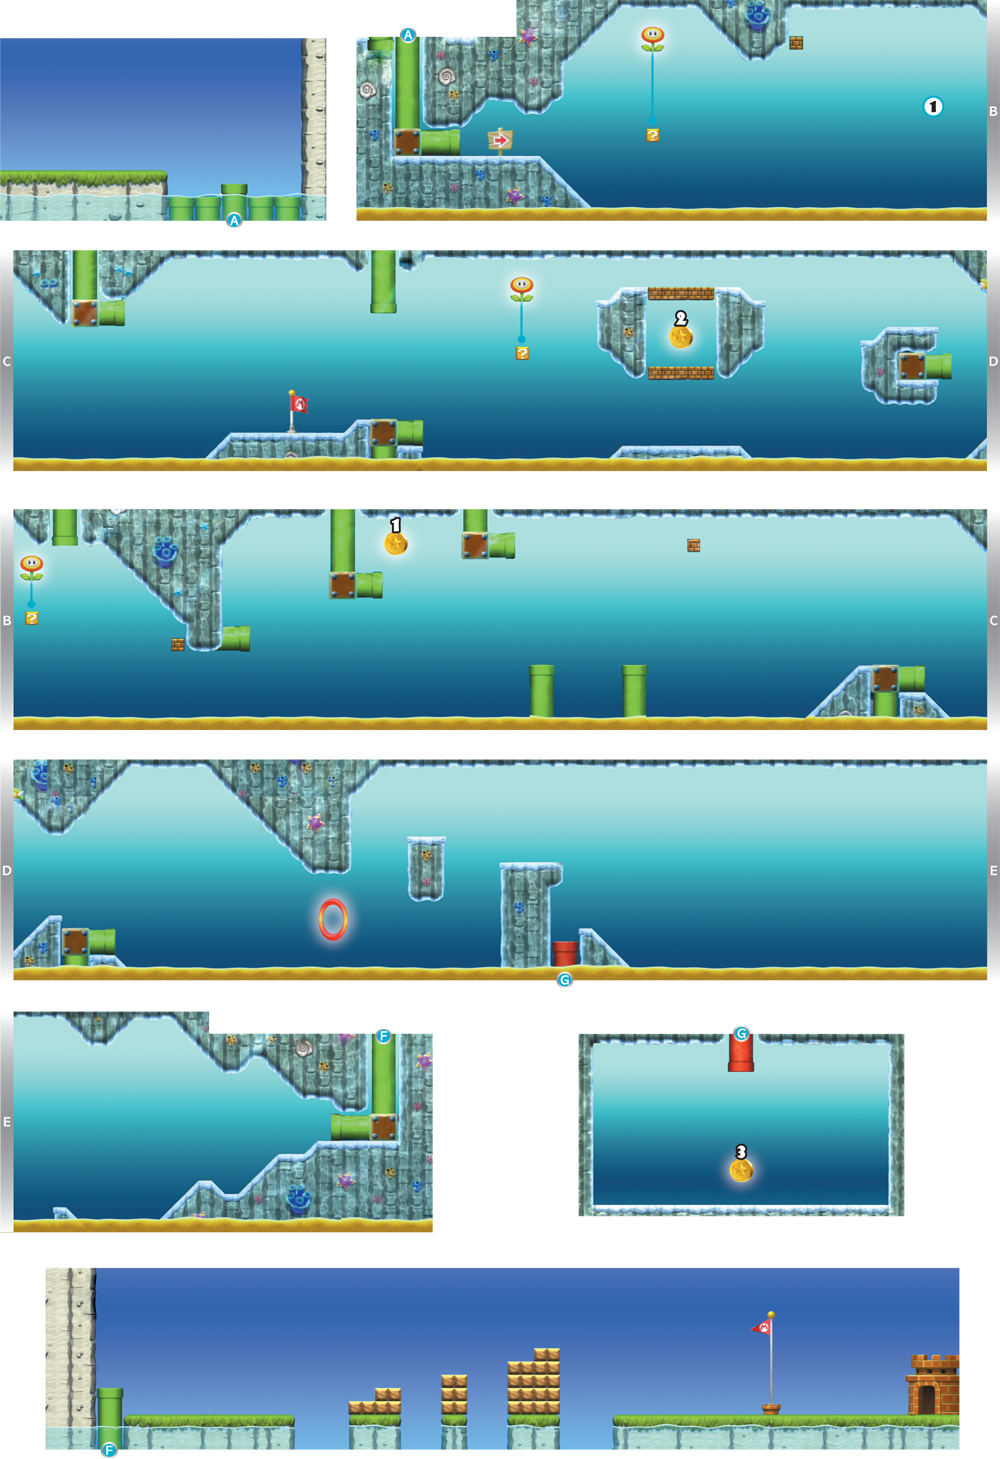
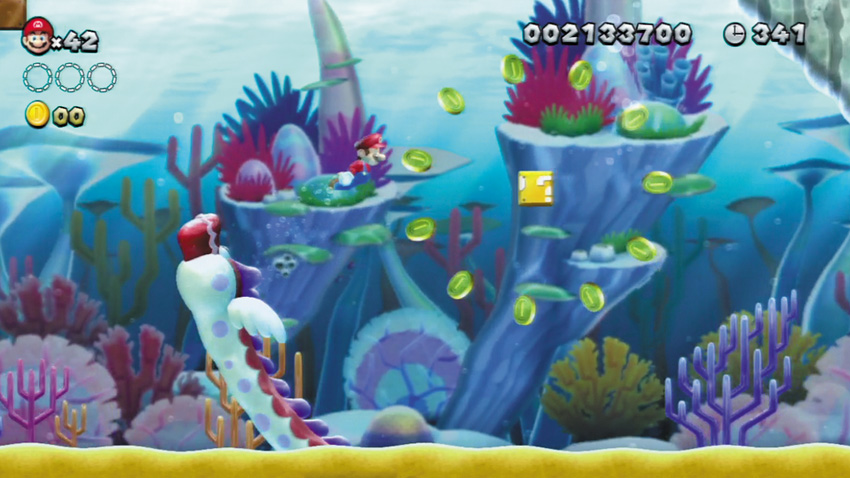
A monstrous sea creature named Dragoneel begins to chase you as you near Point 1. Dragoneel chases you throughout this stage—avoid the monster by swimming high and then allowing Mario to sink, giving Dragoneel the slip.
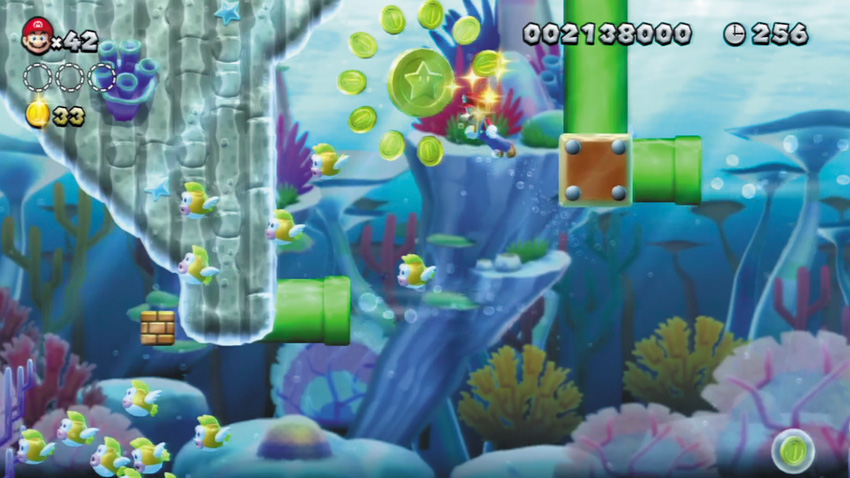
Lead Dragoneel away from the first Star Coin by swimming past it and then sinking to dodge the monster. Quickly double back and claim the Star Coin before Dragoneel returns.
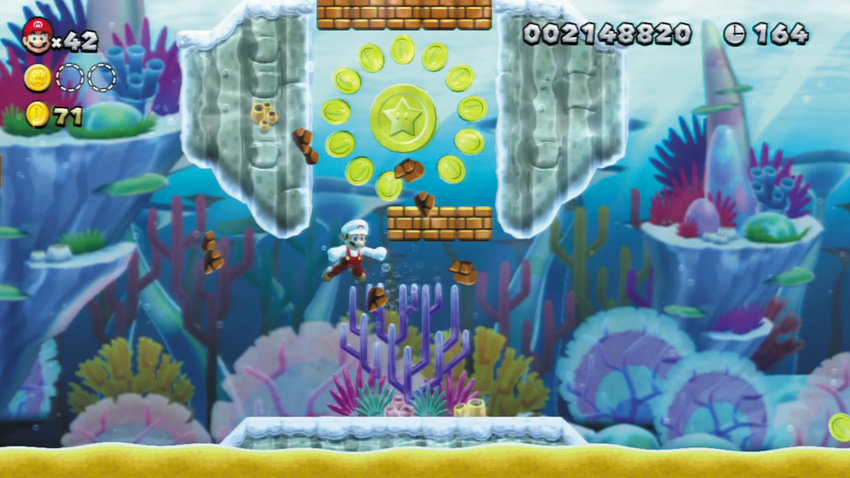
Give Dragoneel the slip, then smash through the Brick Blocks that surround the second Star Coin and swim up to claim your prize. Going after this Star Coin while Dragoneel is about isn’t recommended—it’s too easy to wind up stuck between the Brick Blocks!
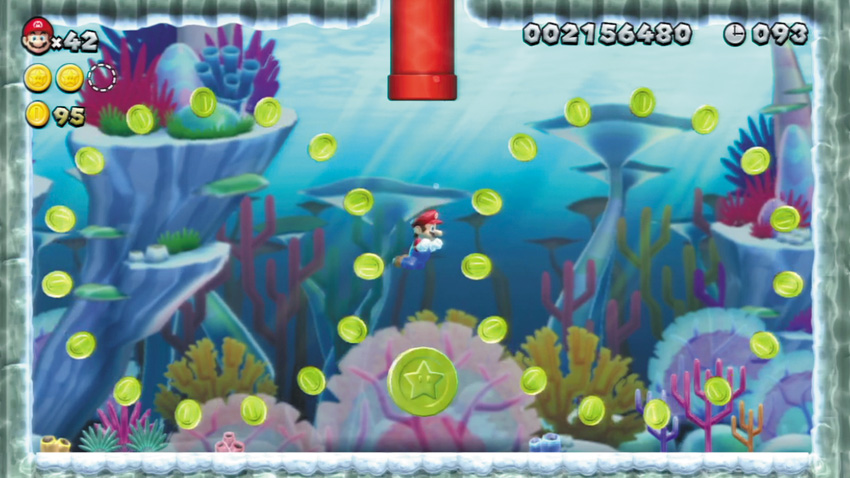
Duck into a red Warp Pipe G to visit this Coin-fi lled cavern, where the final Star Coin is kept. Beware the twin Dragoneels that guard this place—they’re slower than the one that chases you through the main stage, but there are two of them! Lure the Dragoneel twins to one side of the cavern, then quickly swim to the other side and make your escape.
Sparkling Waters Castle
Larry’s Torpedo Castle
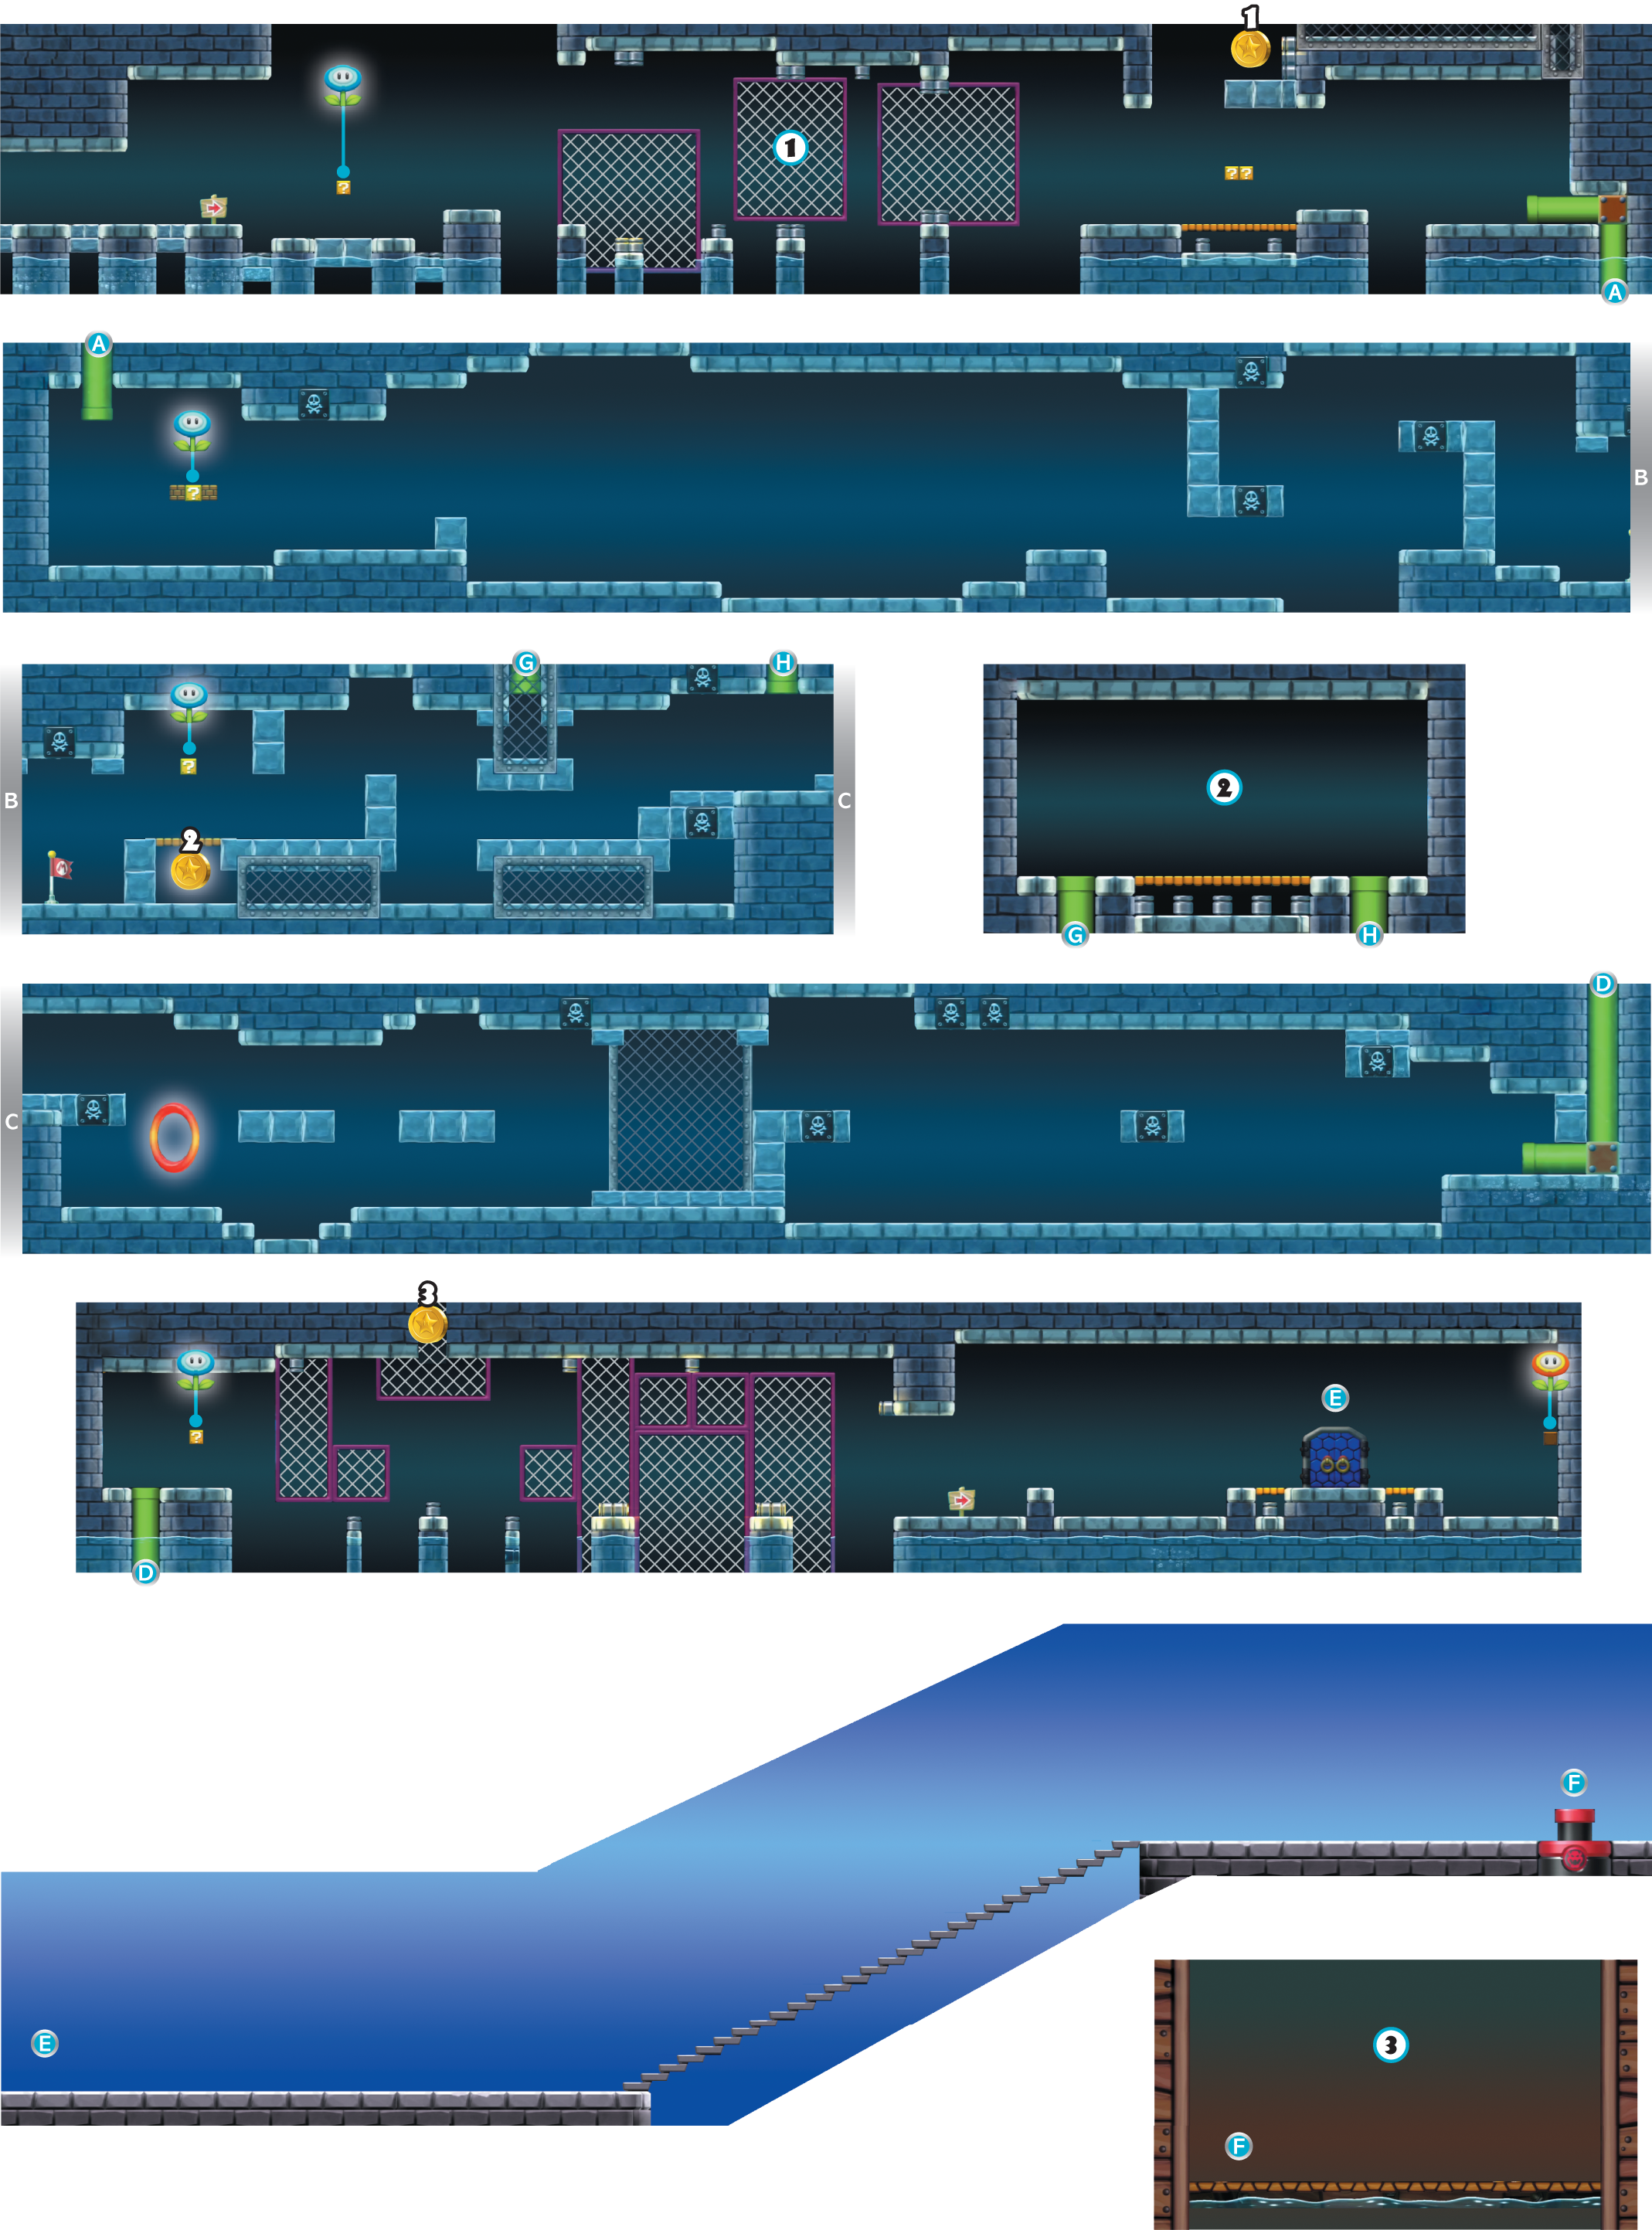
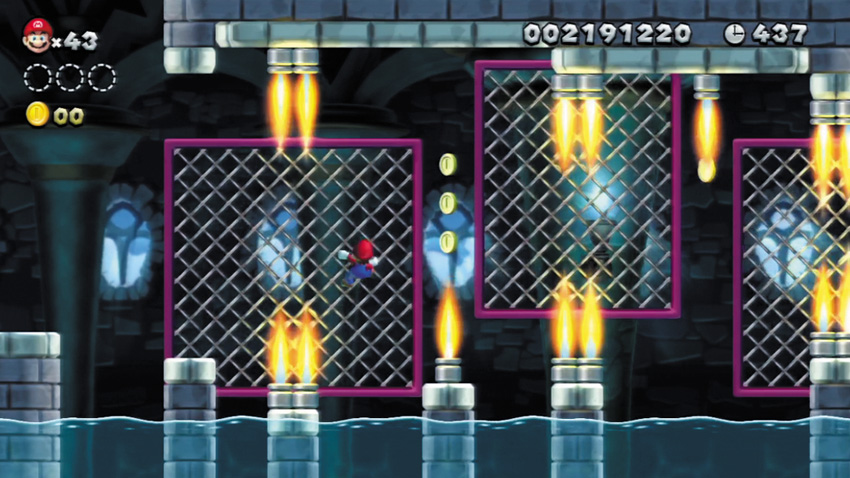
Jump and grab onto the moving fence here, then climb up and down the fence to avoid the Burners as you make your way to the right. Take your time as you jump from fence to fence, carefully advancing through this first treacherous stretch.
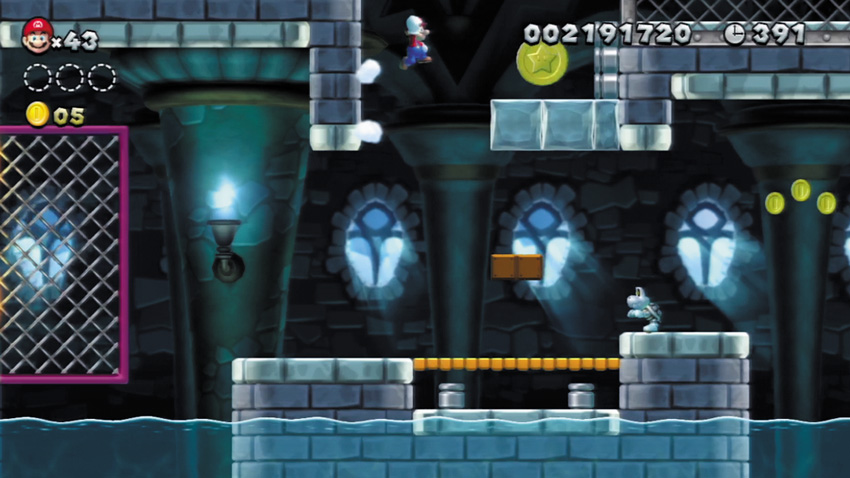
Leap from the Brick Blocks below the first Star Coin and wall jump up to the Star Coin’s ledge. Just make sure to time your jumps carefully, or you’ll be scorched by those Burners!
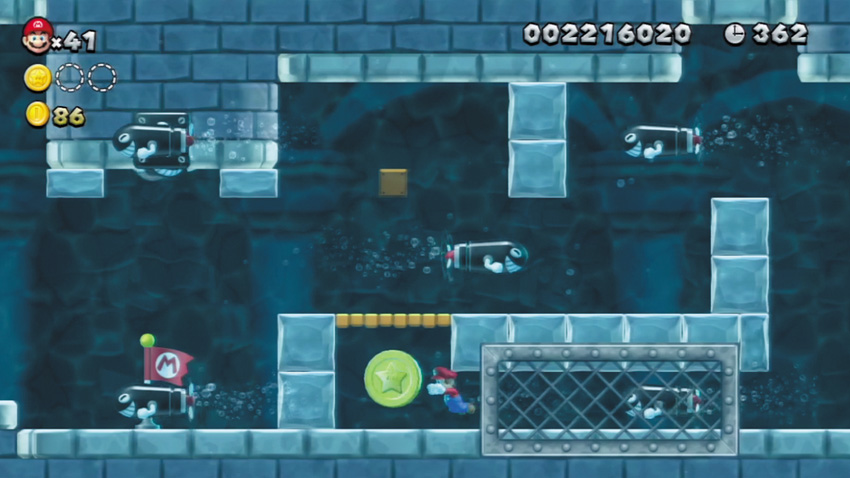
Claiming the second Star Coin is a risky venture. Wait for a Torpedo Ted to zip past, then quickly swim into the narrow passage that leads toward the Star Coin. Claim the Star Coin, then immediately swim up through the narrow platform above—another Torpedo Ted is likely to be hot on your heels!
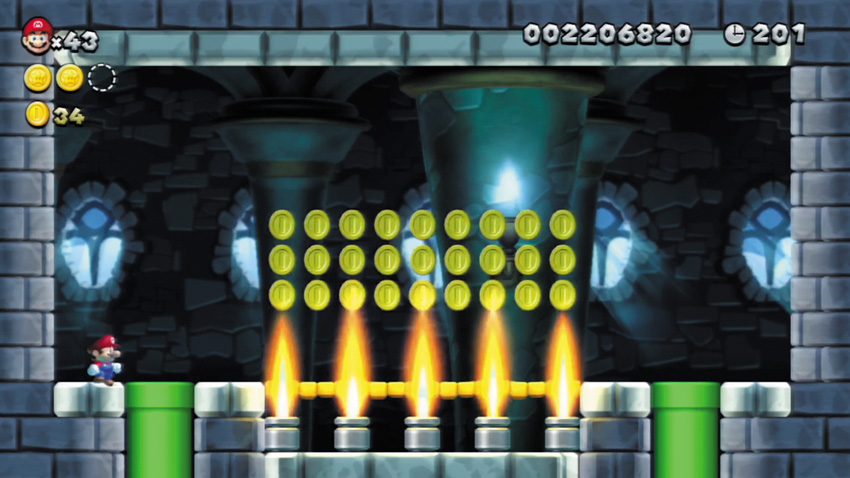
Dodge Torpedo Teds as you swim for the overhead Warp Pipe that leads to this small chamber. Leap up and claim the many Coins that hover above the Burners here, but be careful not to get singed!
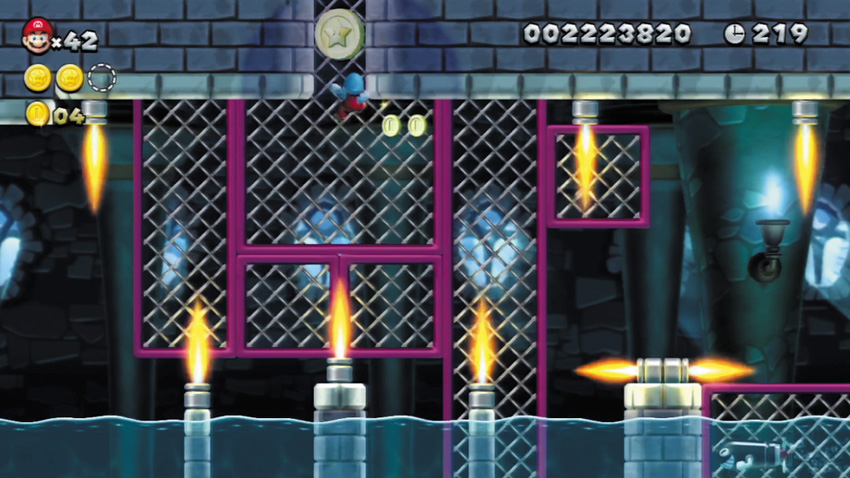
The final Star Coin is cleverly hidden here behind a false wall near the ceiling. Simply scale the moving fences and grab it as you maneuver past the fi nal stretch of Burners.
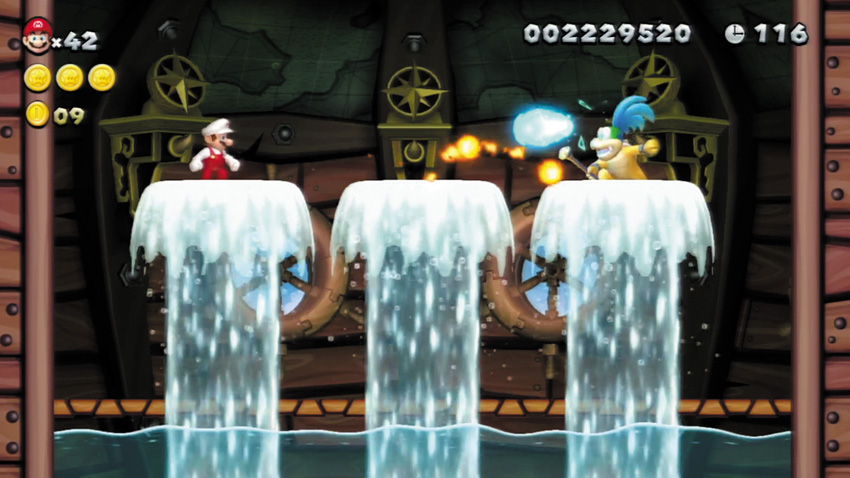
The boss of Sparkling Waters, Larry, lurks within the hull of his airship. Larry launches magical projectiles with a wave of his wand, while gushing Water Geysers make this an unpredictable battle. Keep an eye on those Geysers throughout the fight, and try to anticipate how they’ll affect Larry’s positioning.
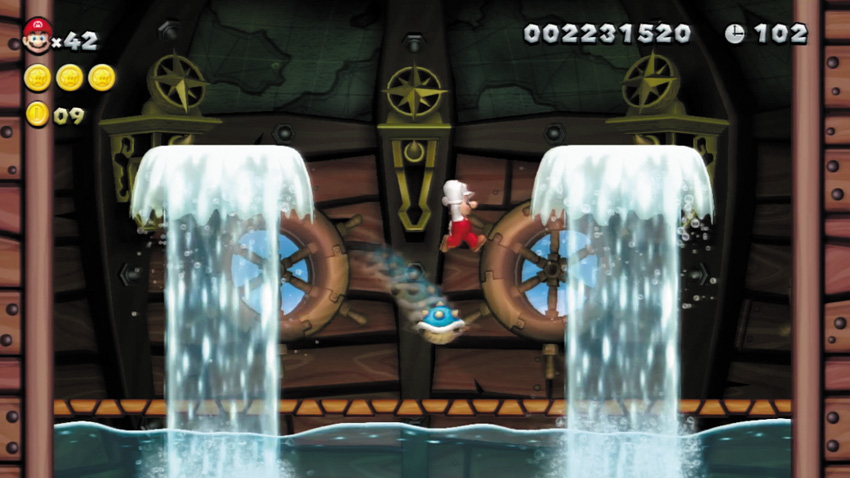
Larry is most dangerous when zipping back and forth in his shell after you’ve stomped him. Jump to avoid Larry’s shell when the Geysers aren’t gushing, or simply stand still if the Geysers have lifted Larry up and out of harm’s way. Look for your opportunity to stomp Larry again after he pops out of his shell—stomp Larry three times to send him and his airship down the drain!
Sparkling Waters Secret Stage
Skyward Stalk
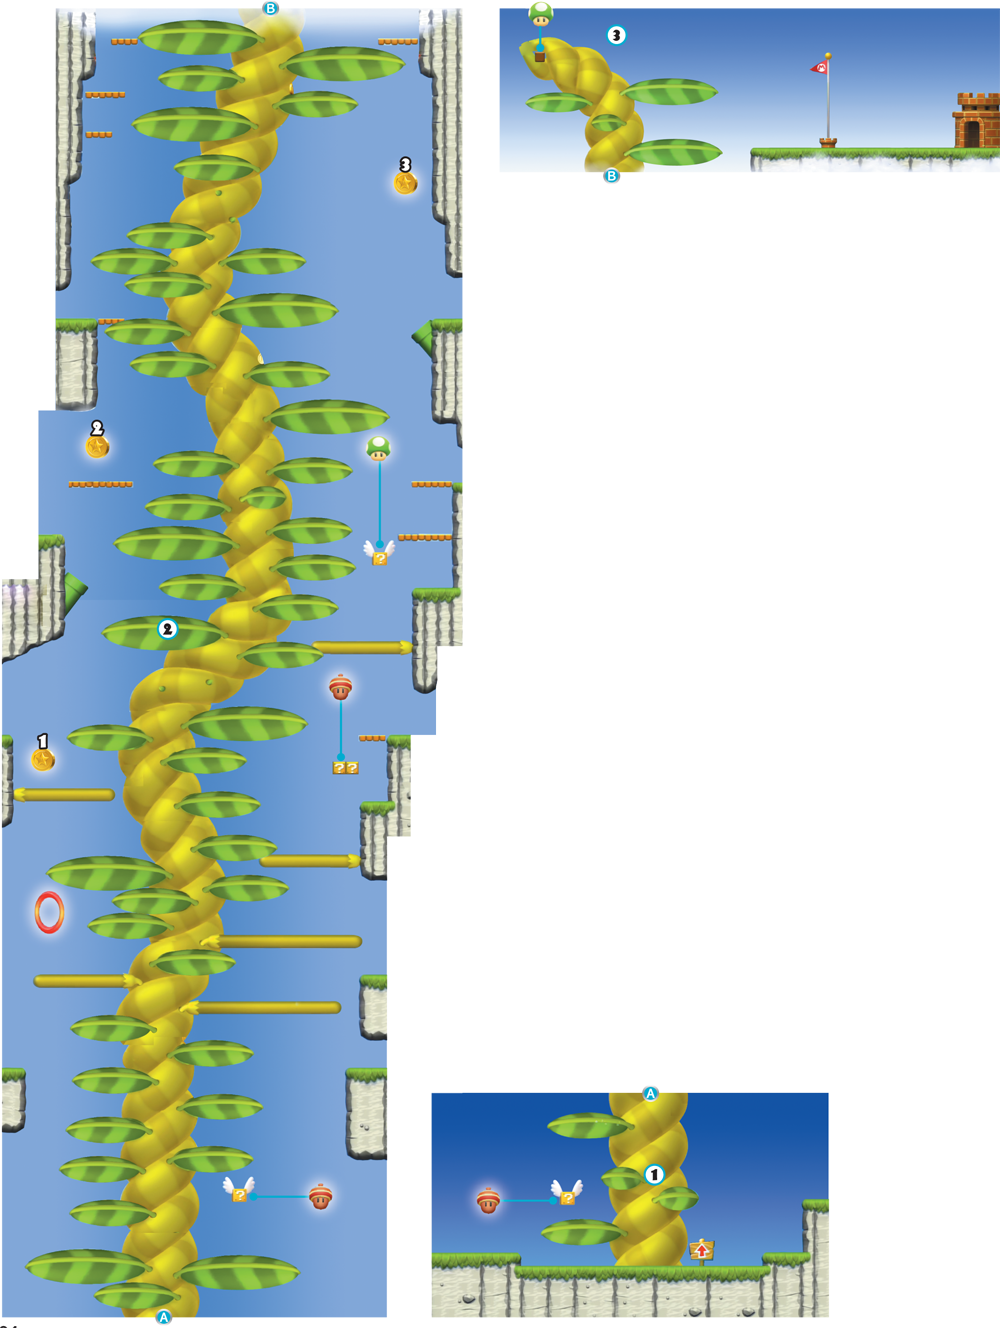
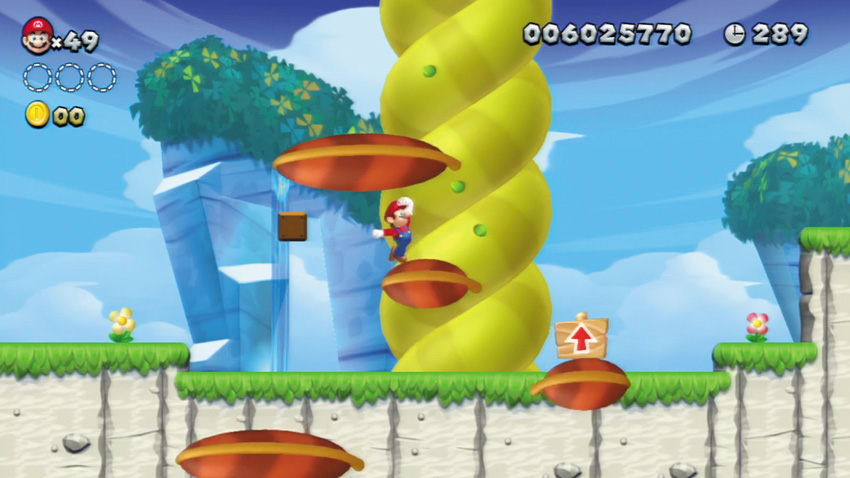
Quickly jump up these first few Leaf Platforms, for they’ll soon wither and fall. Don’t worry if that happens, though—just wait a few seconds, and another crop of Leaf Platforms will sprout.
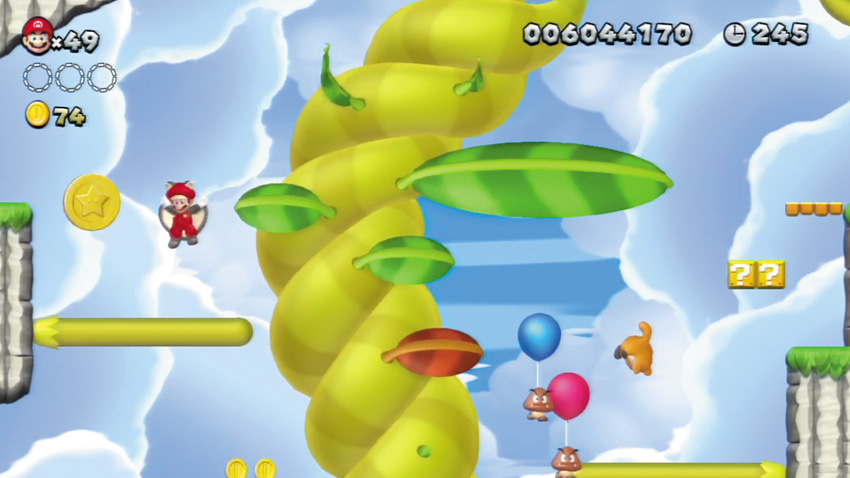
Claim this first Star Coin by leaping over to the Bean Platform its perched upon after the Bean Platform has rolled out. Bean Platforms eventually curl up again, so hurry and jump to safety—the tiny ledge above is a solid option!
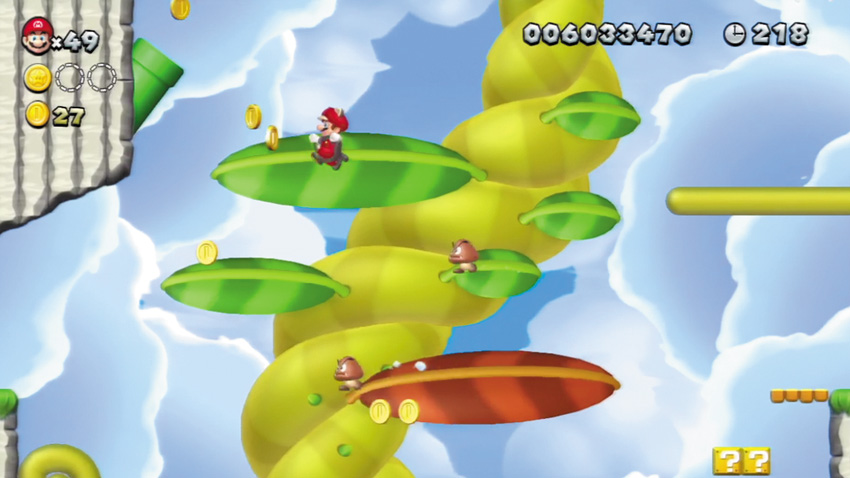
Land on this Leaf Platform, and a number of bonus Coins will pop out of the nearby Pipe. Look for another Pipe on the right side of the stage, and land on another nearby Leaf Platform to claim even more coinage!
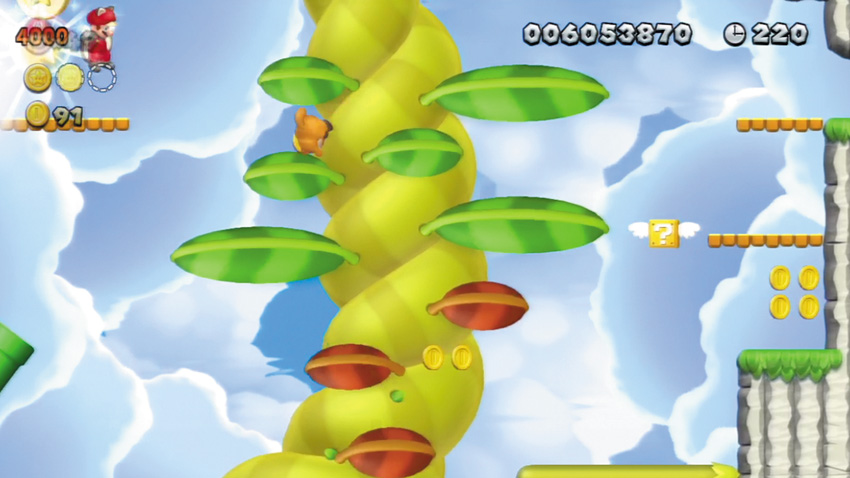
The second Star Coin is obscured behind some clouds here. You don’t need to clear away the clouds to claim it; just jump up onto the Star Coin’s platform and the second Star Coin will be yours!
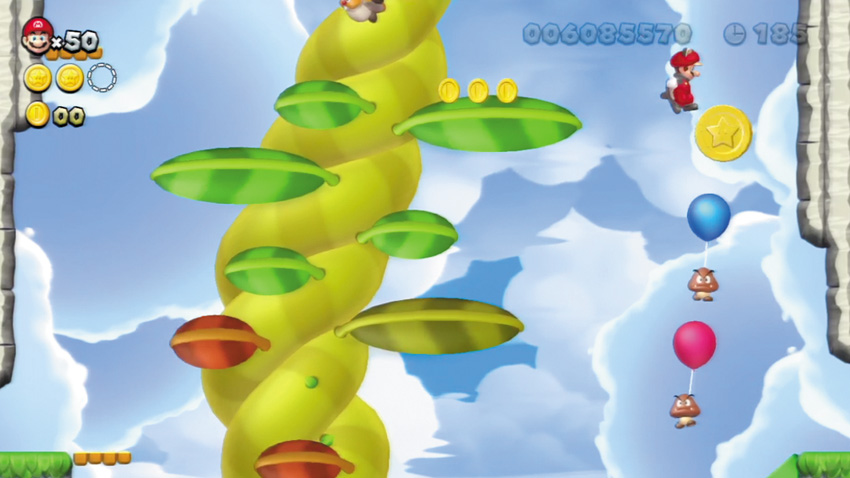
Collect the third and final Star Coin with a little help from a Goomba. Stand on the nearby Leaf Platform and wait for a Goomba to fl oat up on a balloon, then jump over and grab the Star Coin. Hold the jump button as you bounce off of the Goomba’s balloon, and you’ll bound upward, gaining the extra height you need to land safely.
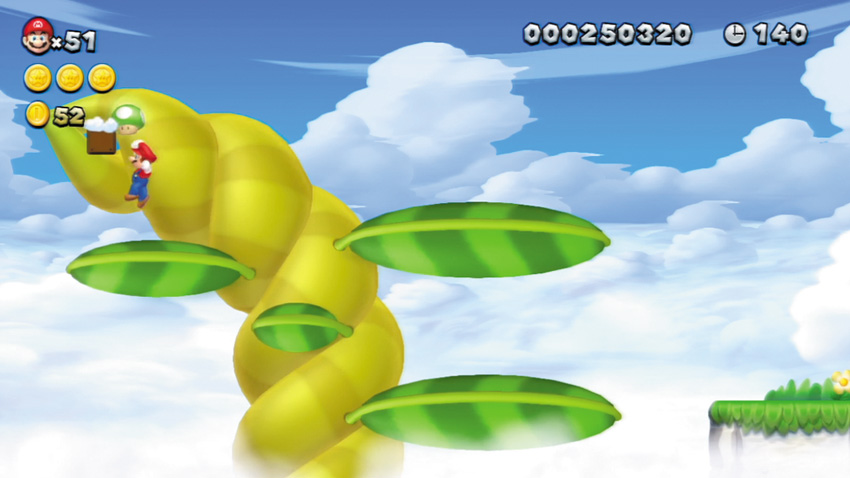
When you finally reach the top of the giant Beanstalk, jump up and hit a hidden Block to score a 1-Up Mushroom!