
New Super Mario Bros. U Guide Walkthrough Worlds
Layer-Cake Desert
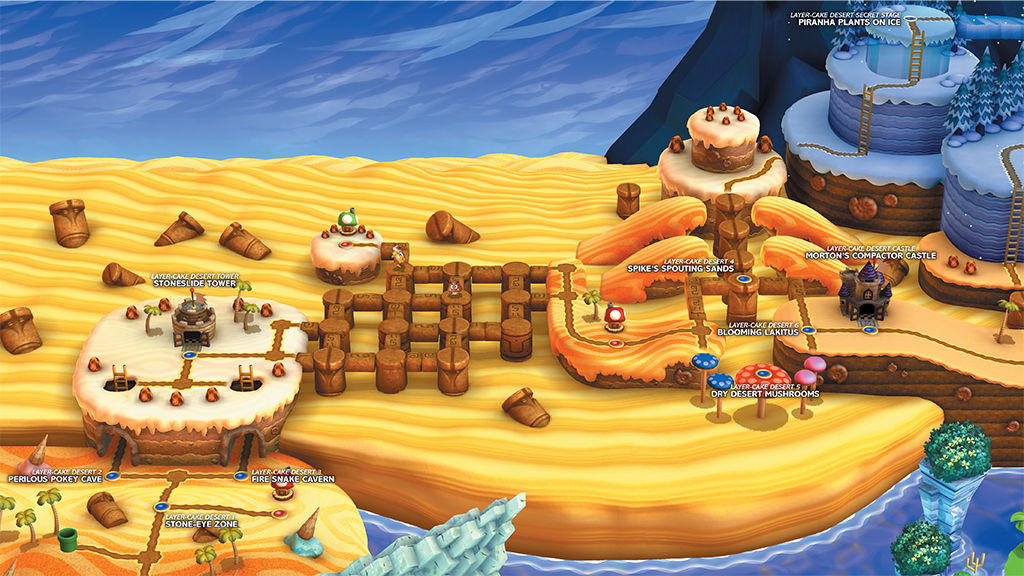
Locations
| Levels | Toad Houses | Map Enemies | Boss |
|---|---|---|---|
| 9 | 3 | 2 | Morton |
Layer-Cake Desert 1
Stone-Eye Zone
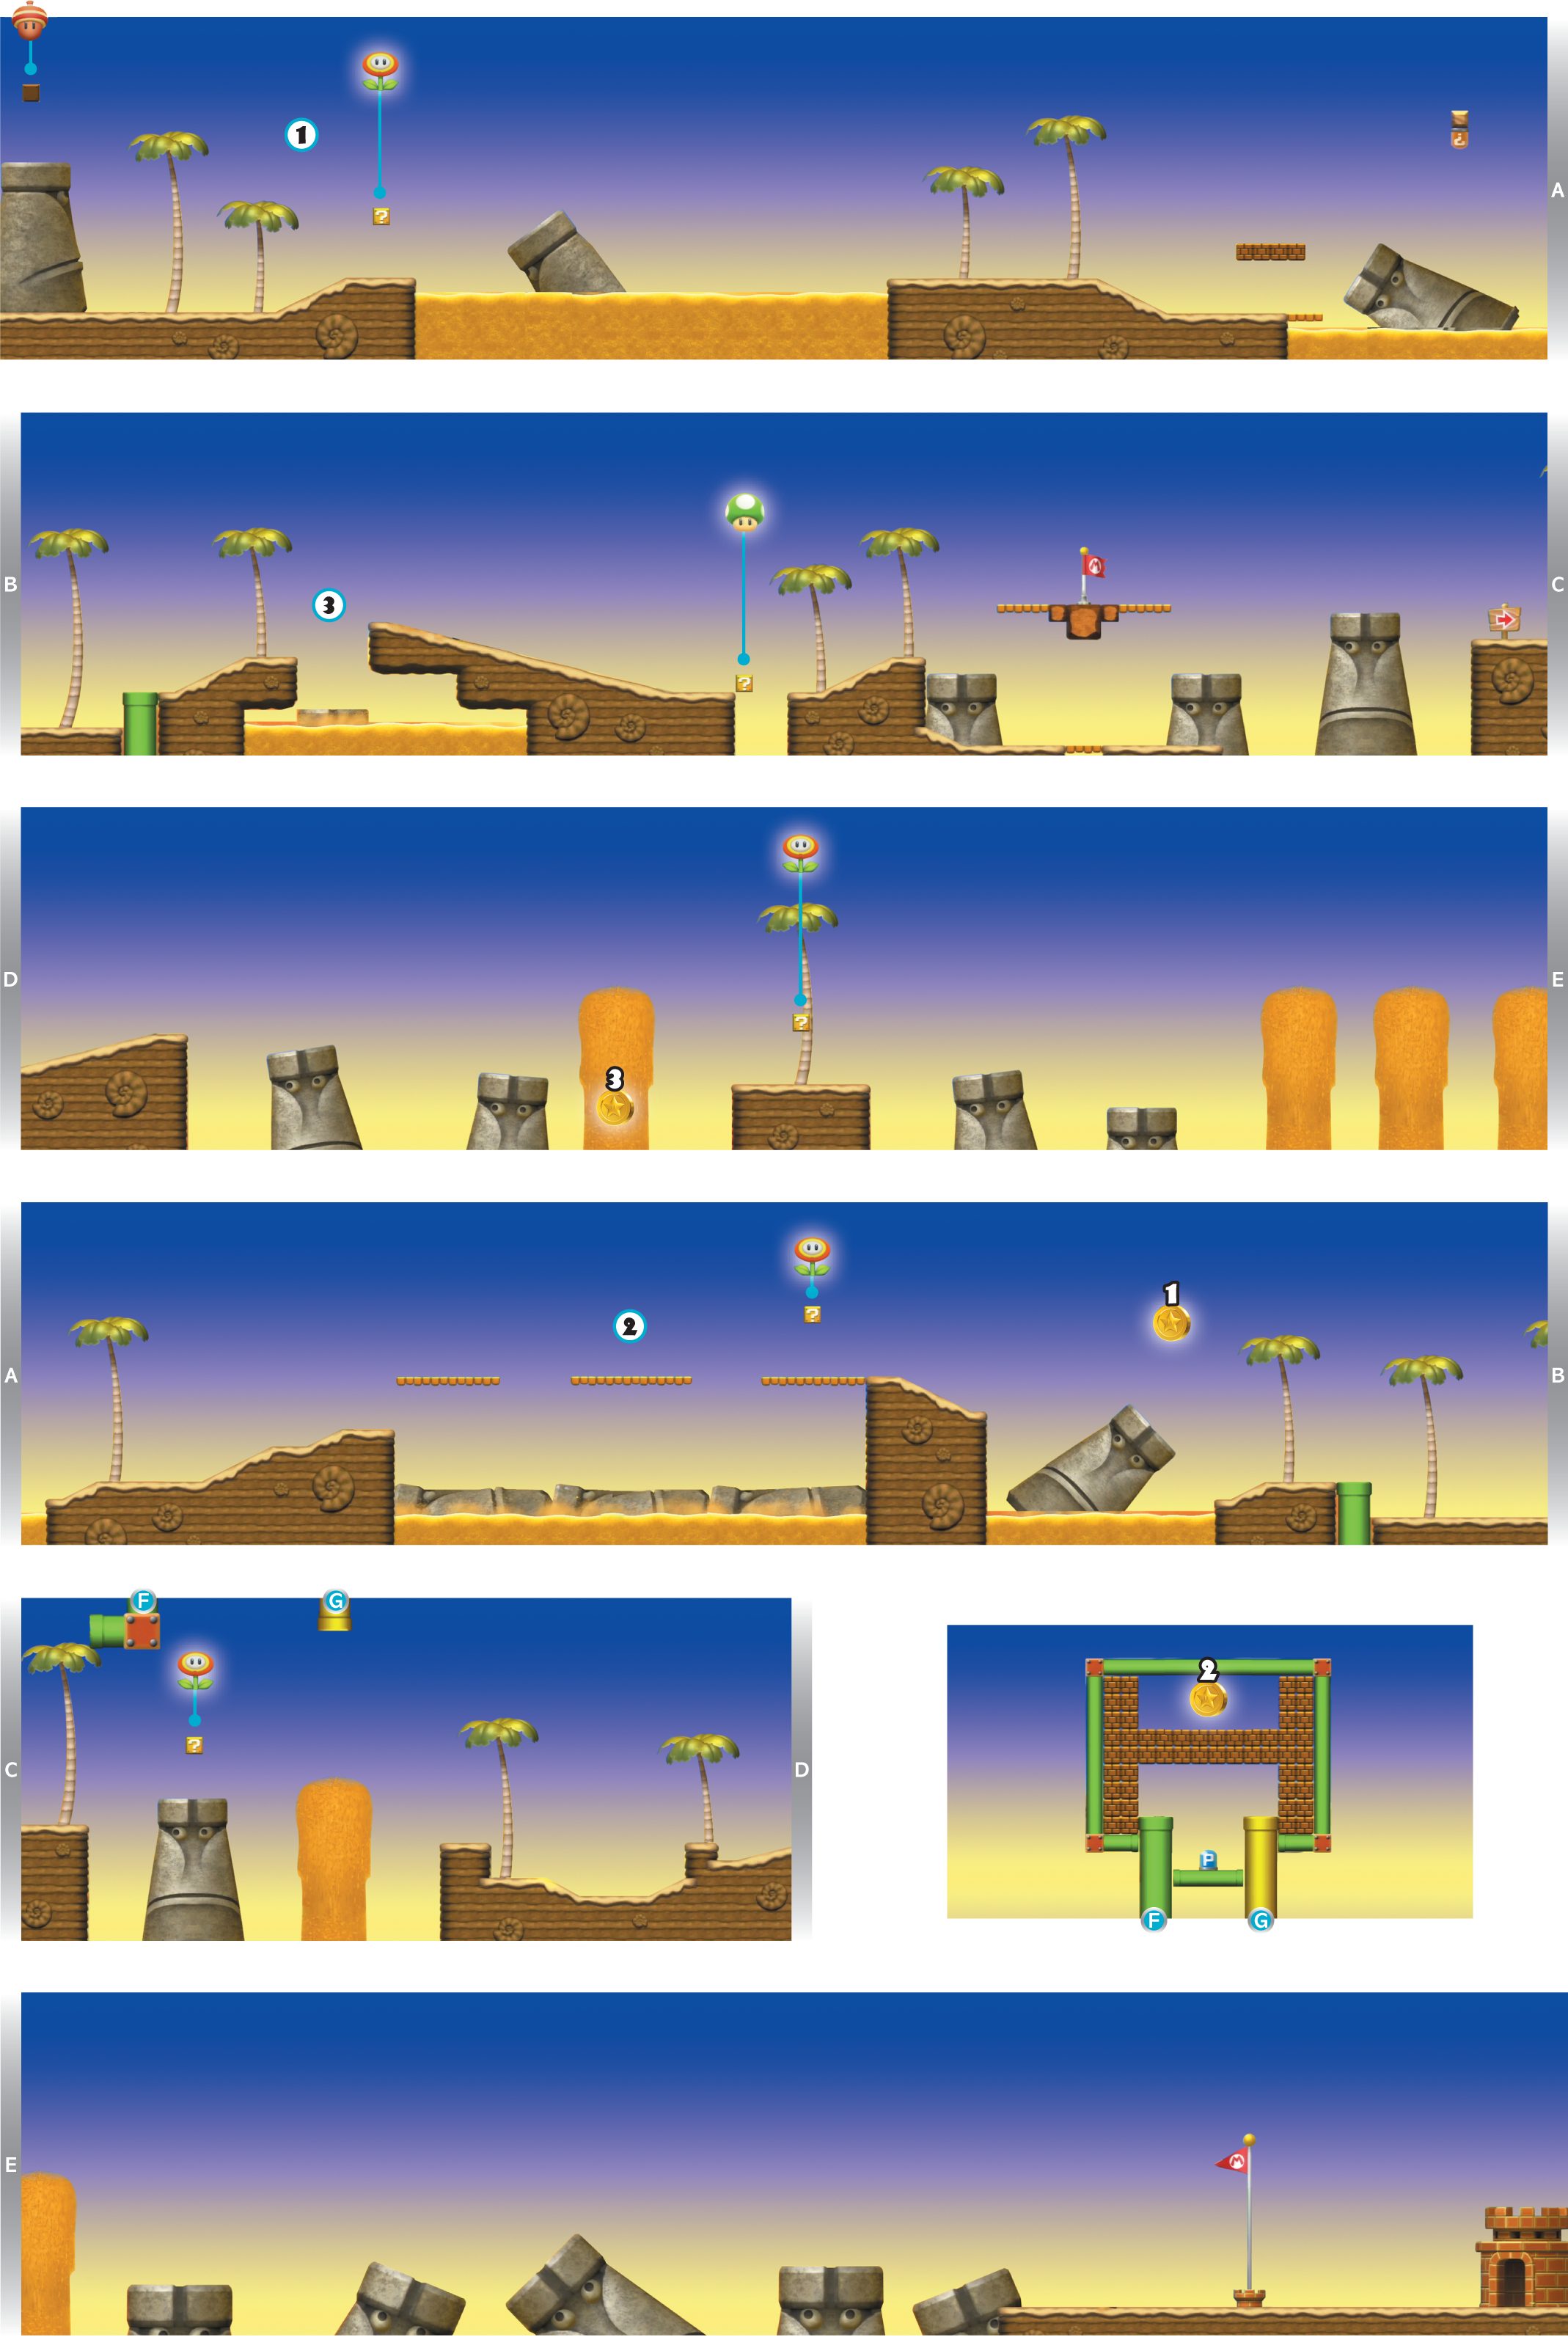
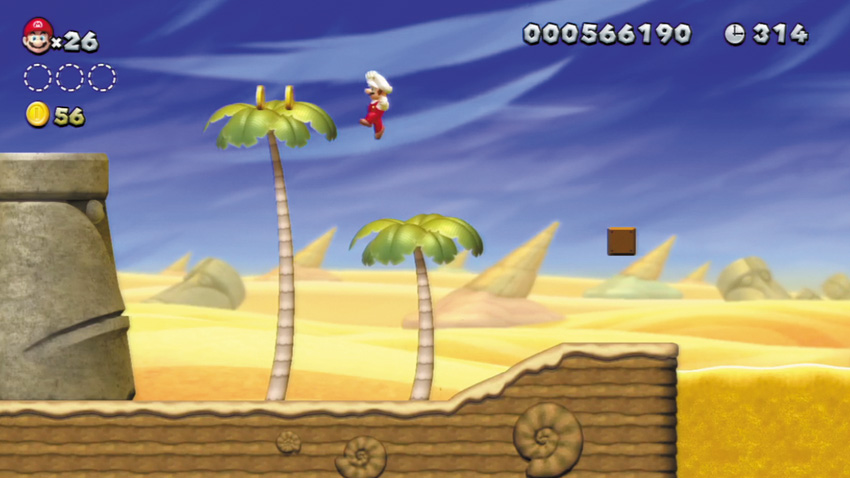
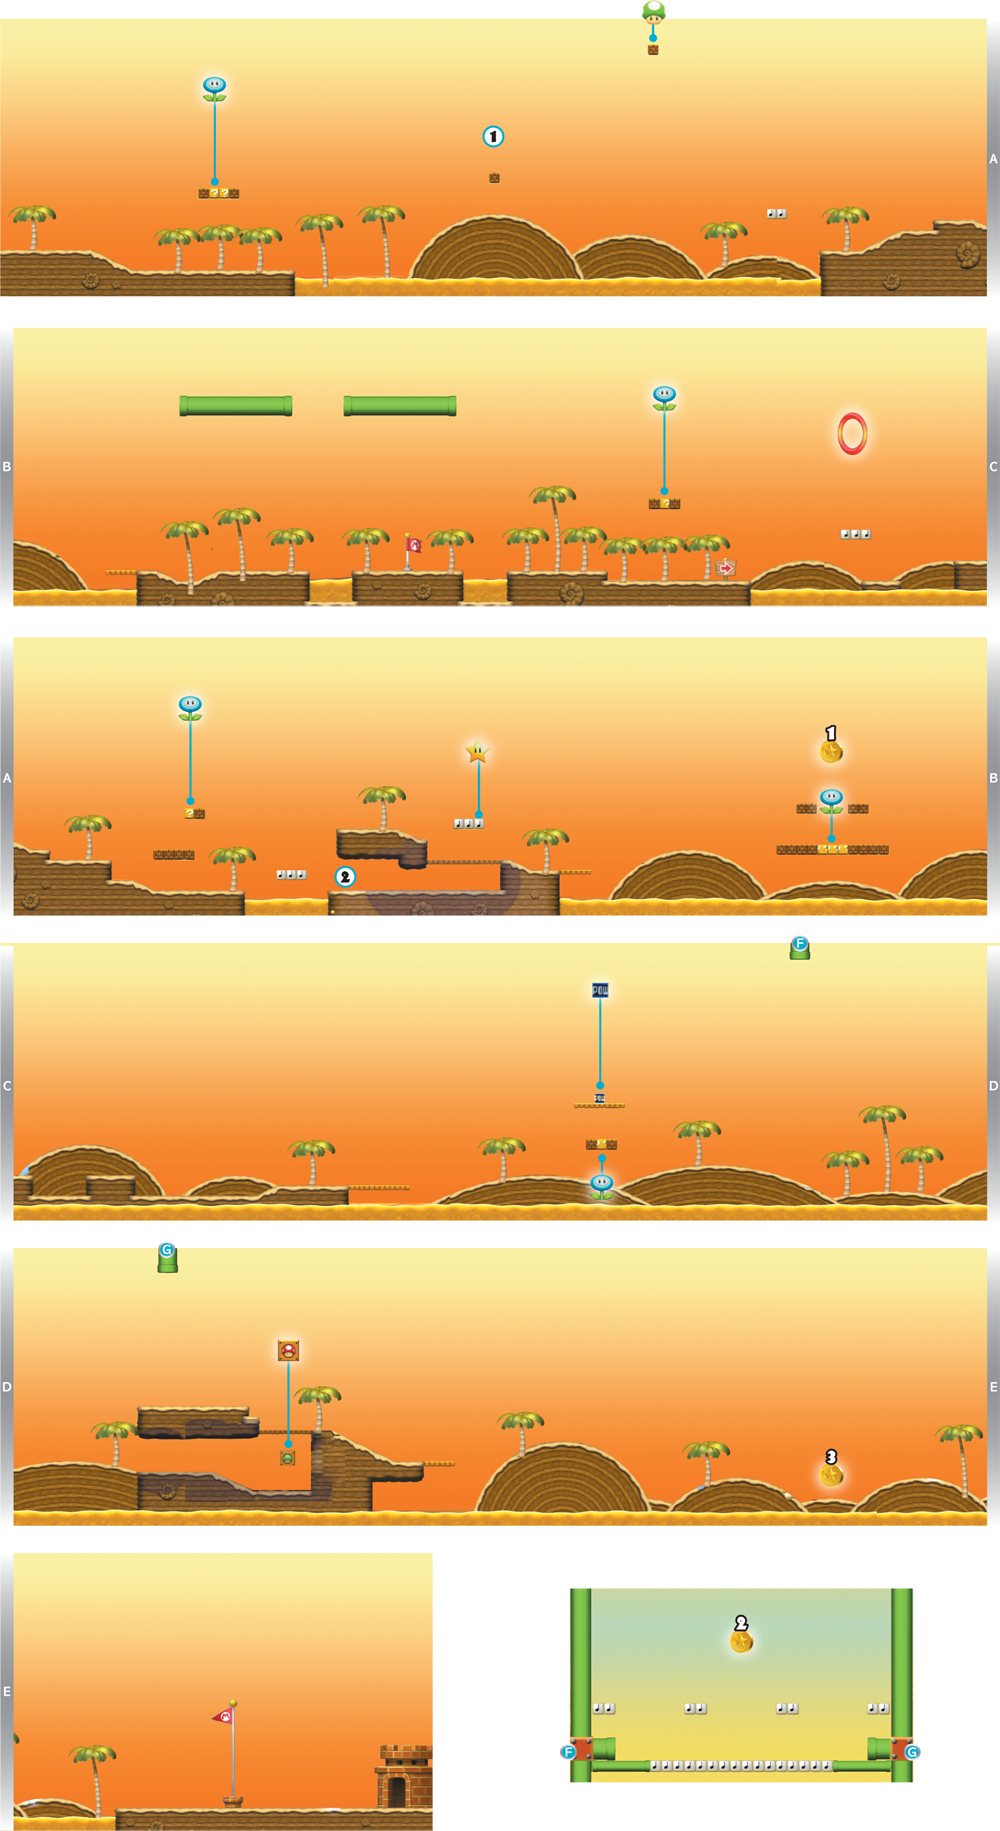
Jump from the first ? Block to reach the tops of these palm trees. Leap over to the nearby Stone-Eye statue, then jump up to strike a hidden Block and discover a Super Acorn—a very useful power-up for this stage!
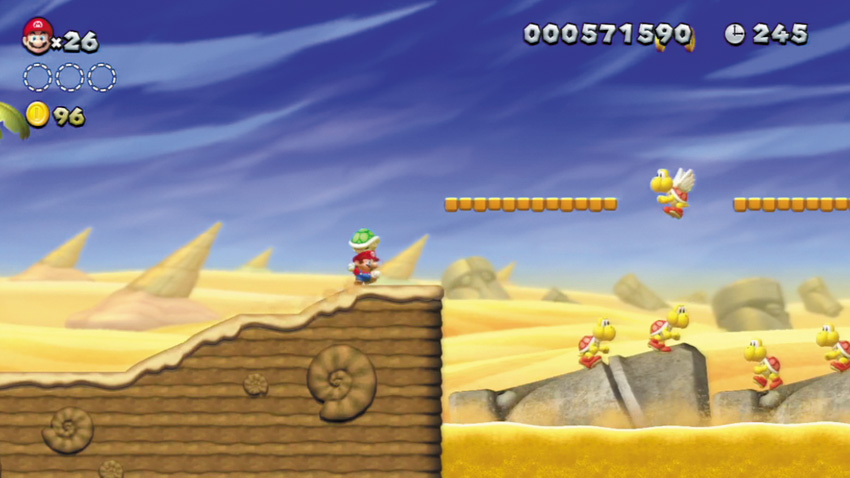
Stomp the Koopa Paratroopas here to make them fall to the low ground, then toss a shell down at all of the milling Koopas down there. Smack them all with a single shell to score a 1-Up!

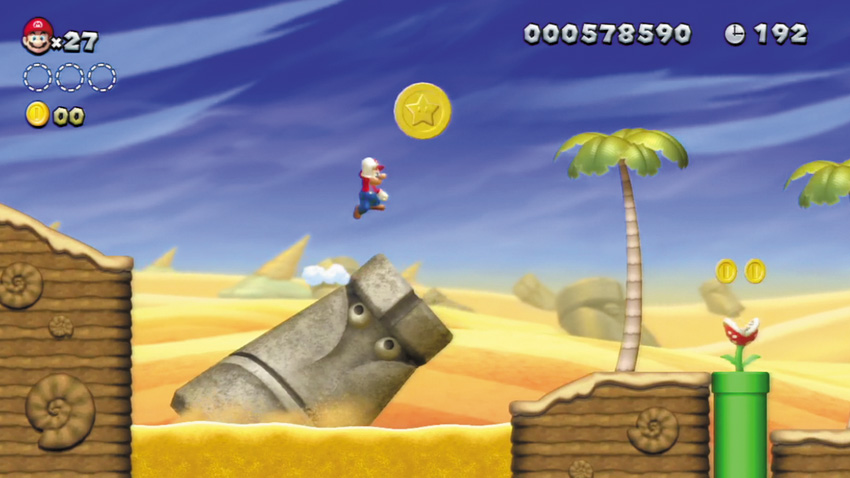
Jump from the leaning Stone-Eye statue and claim this first Star Coin before the Stone-Eye statue tips and collapses under Mario’s weight. If the statue falls, try dashing along the nearby hill and making a long jump to grab the Star Coin instead.
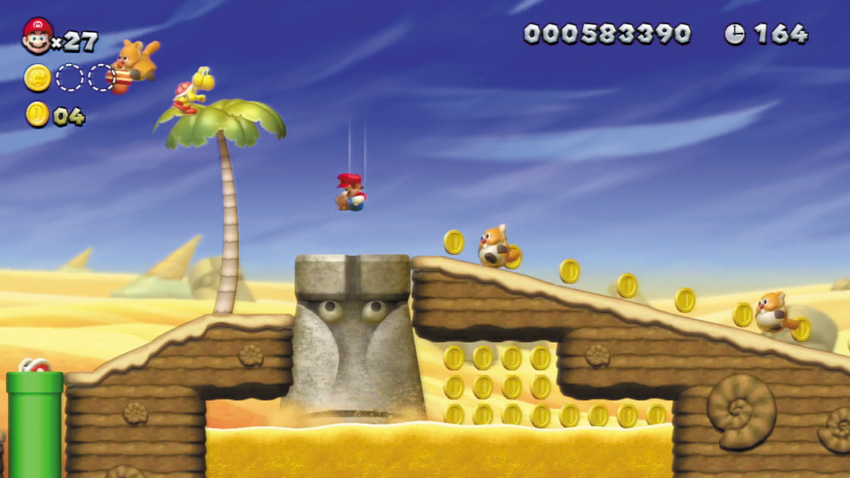
Ground pound the Stone-Eye statue here to make it sink—you’ll then be able to collect the Coins below. Ground pound other Stone-Eye statues in this stage for similar benefits!

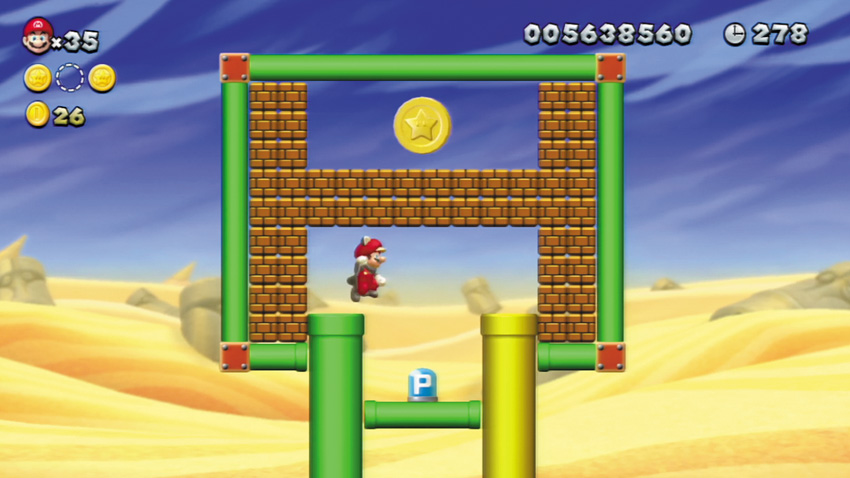
As Flying Squirrel Mario, soar up and enter Warp Pipe F to reach this small side area. Hit the P Switch here to turn all of the Brick Blocks to Coins, then grab as many as you can before the time expires. Be sure to collect that Star Coin, too!

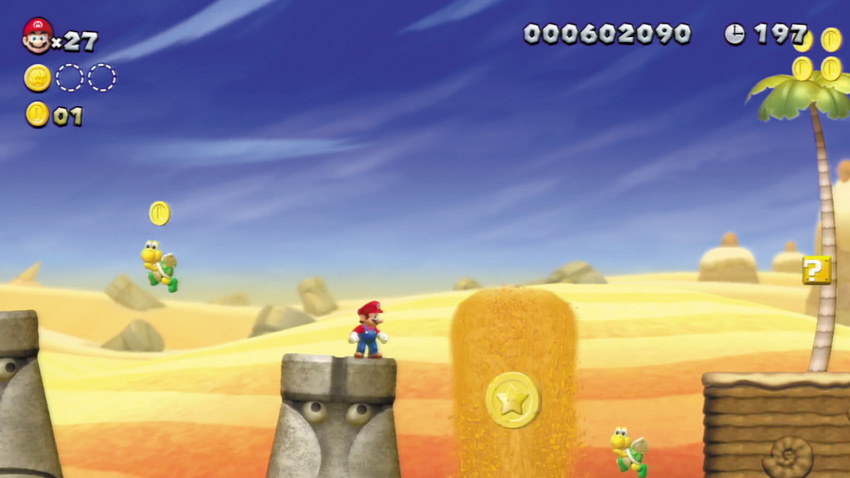
Stand on the tilting Stone-Eye statue near this final Star Coin and study the nearby Sand Geyser. Jump out and grab the Star Coin just as the Sand Geyser begins to froth up. Nice one!
Layer-Cake Desert 2
Perilous Pokey Cave
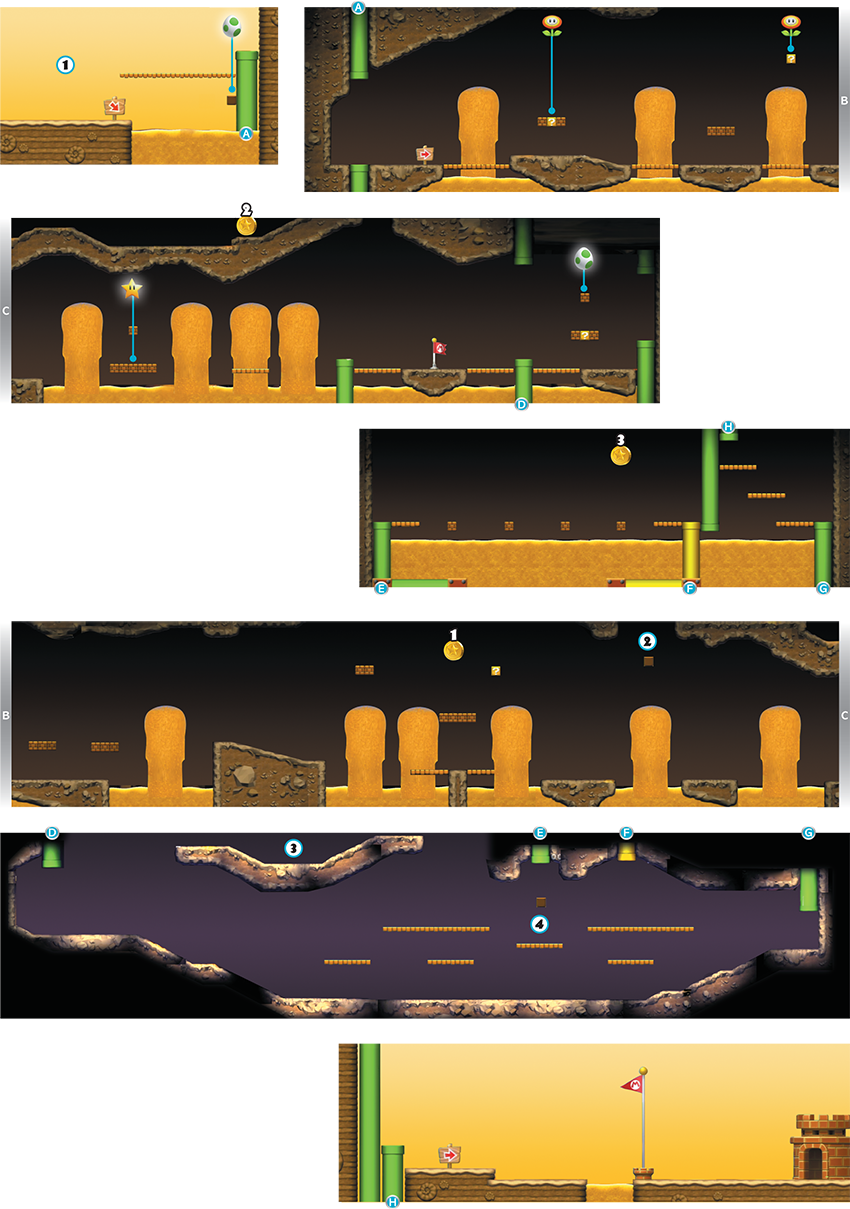
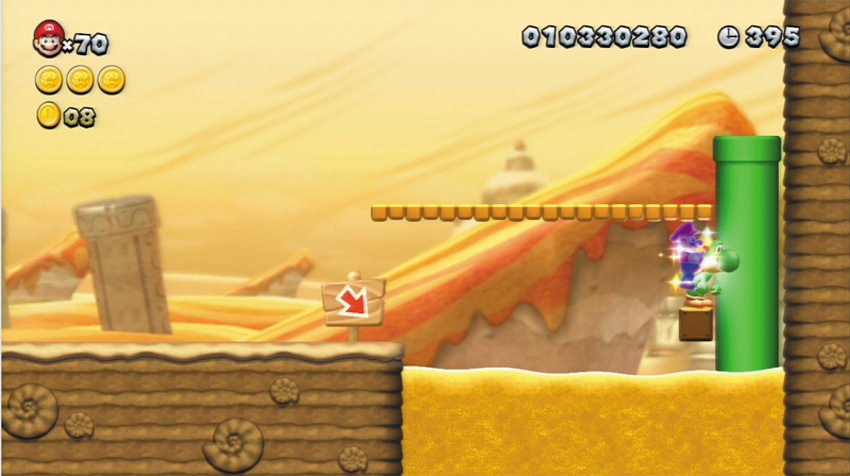
Defeat this stage’s very first Pokey with fireballs, iceballs, or Super Star power, then jump around the quicksand he was guarding and strike a hidden Block. Out pops Mario’s pal, Yoshi!
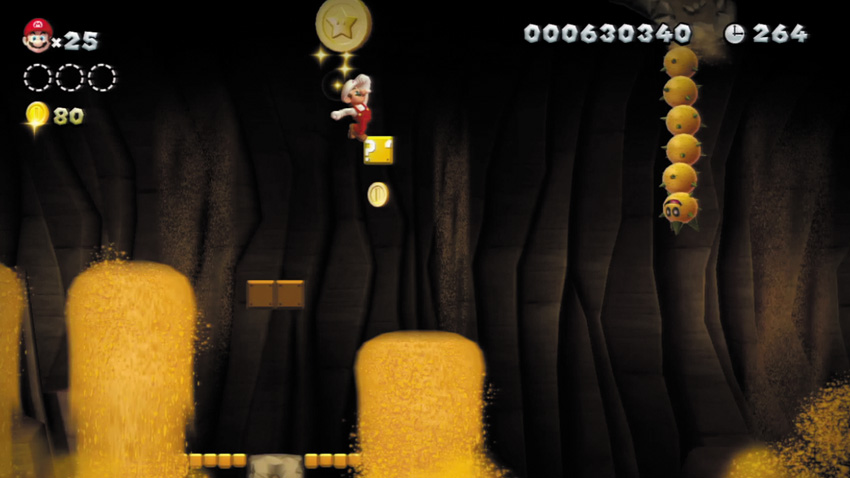
The first Star Coin floats up high here. Simply leap from the top of the nearby ? Block to nab it.
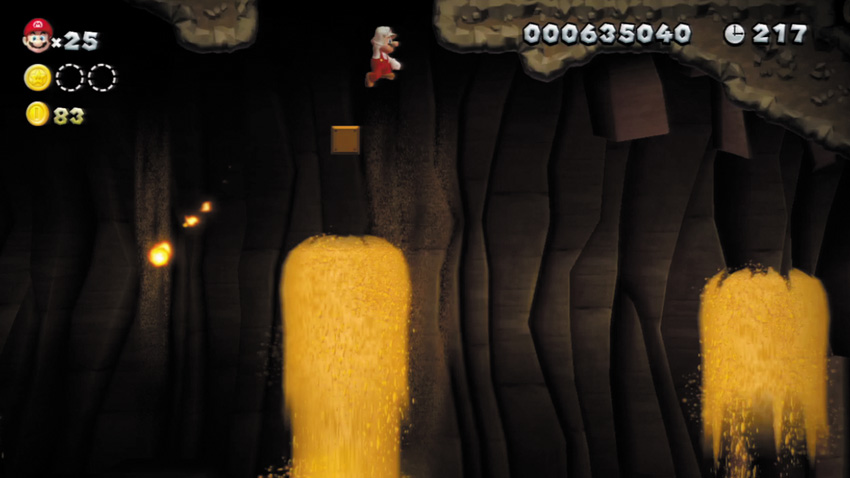
Jump from the top of the Sand Geyser here to strike a hidden Block. Jump onto the Block, and then leap up to reach a hidden overhead path that’s lined with Coins.
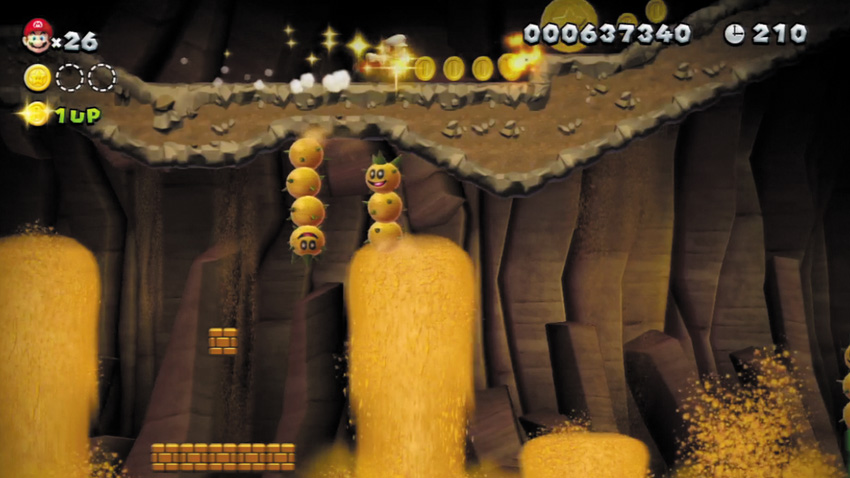
Jump from the hidden Block at Point 2 to reach this overhead path, where the second Star Coin sits.
Use Yoshi (or bounce off a Swooper) to reach this high path, where bonus Coins are cleverly hidden.
Jump up here to strike a hidden Block, then leap from the Block and enter the green Warp Pipe above.
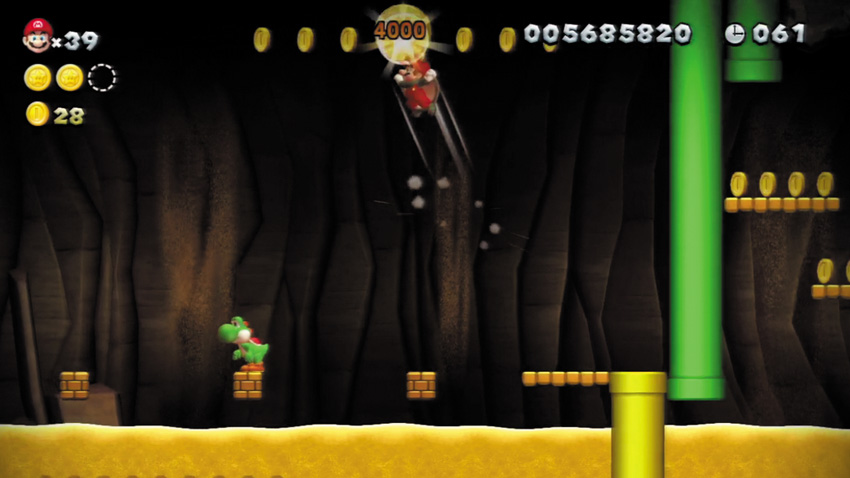
The final Star Coin is kept in this secret area—get here by entering the Warp Pipe at Point 4. This Star Coin is an easy grab with Yoshi’s help. A well-timed wall jump off the nearby green Warp Pipe is your best bet for grabbing the Star Coin when Yoshi isn’t around.
Layer-Cake Desert 3
Fire Snake Cavern
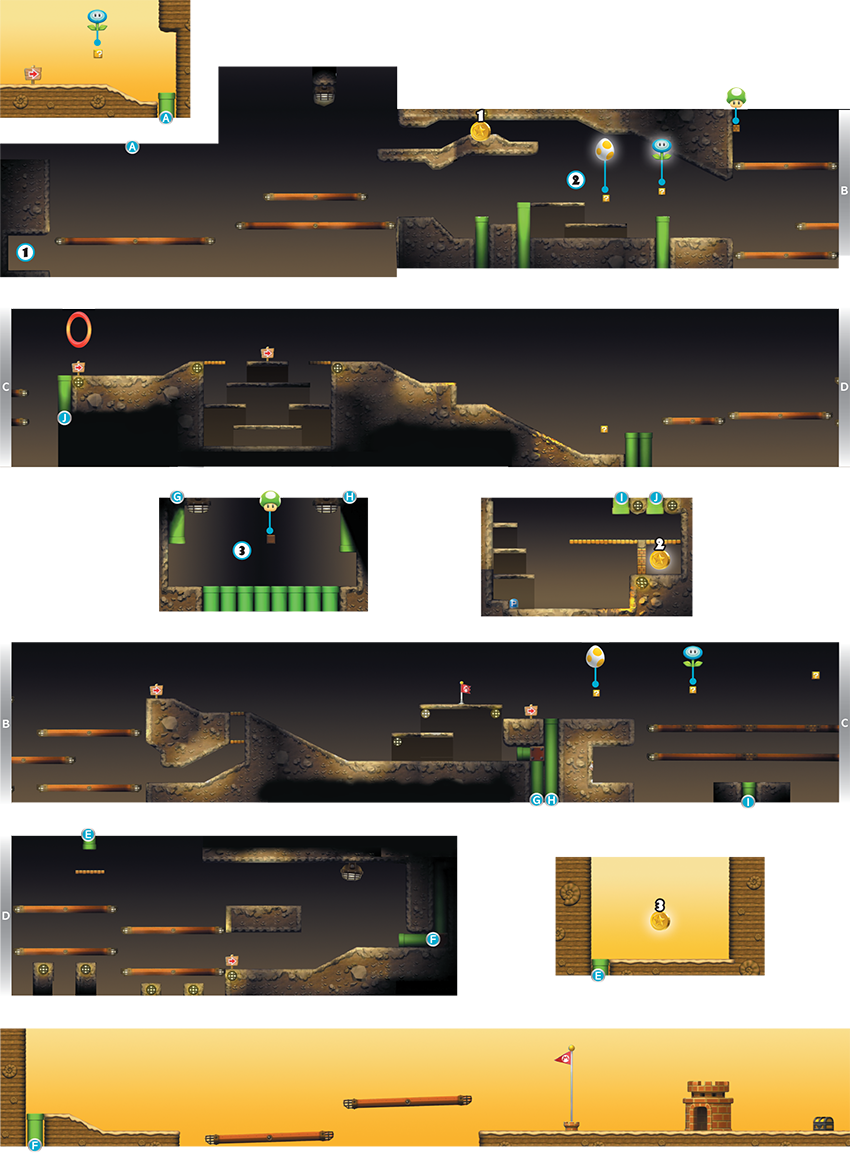
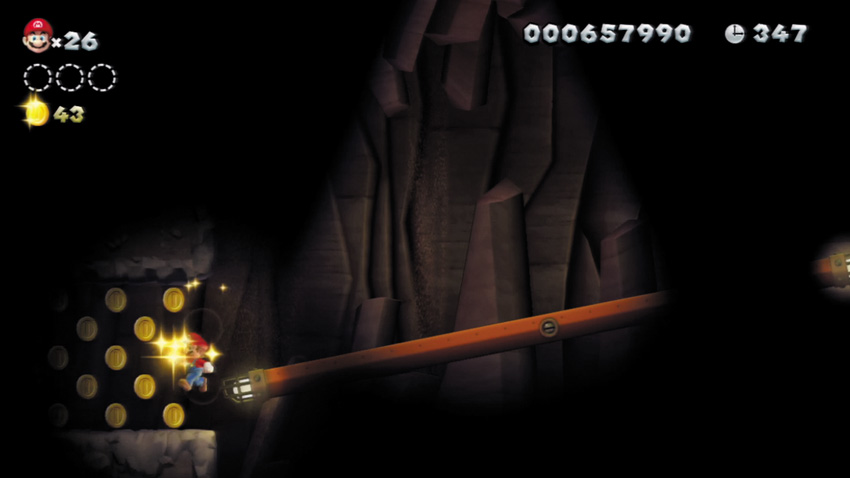
Run to the left along this stage’s first few tilting platforms to discover this hidden, Coin-covered ledge.
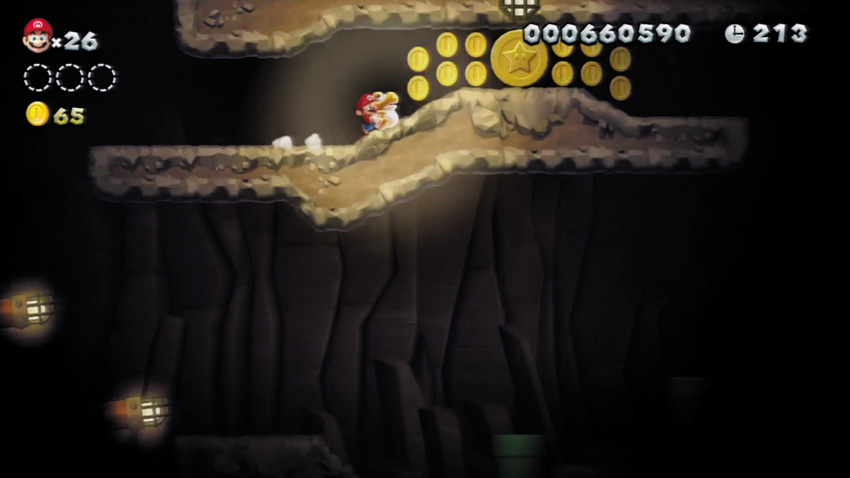
Reach the first Star Coin by running and jumping from the tilting platform to the left when the platform’s right side is at maximum height.
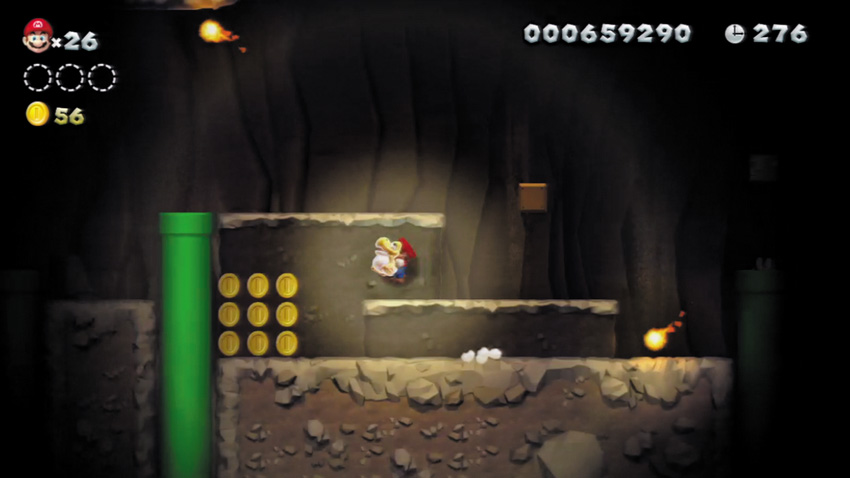
Collect a Glowing Baby Yoshi from the ? Block here, then perform a spin while holding the little fellow to illuminate your surroundings.
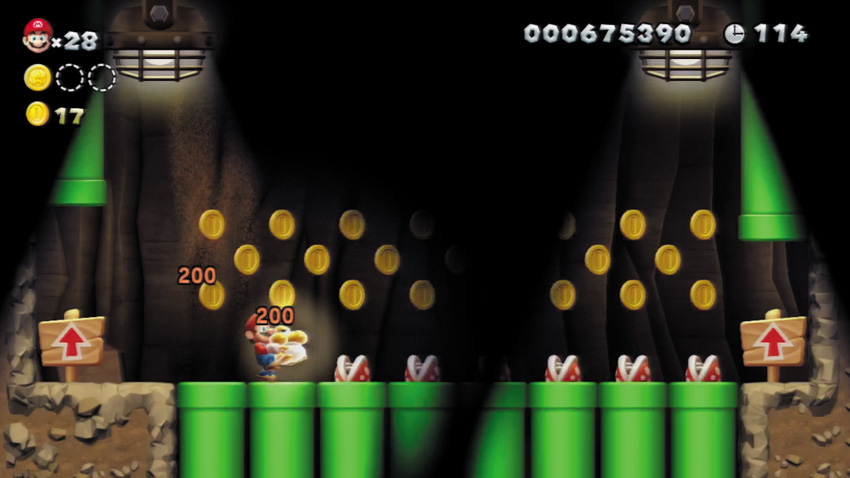
Enter this small cavern by way of the Warp Pipe, then run into the row of Piranha Plants while carrying Glowing Baby Yoshi. The hungry little guy will gobble them all up, letting you safely collect the Coins above.
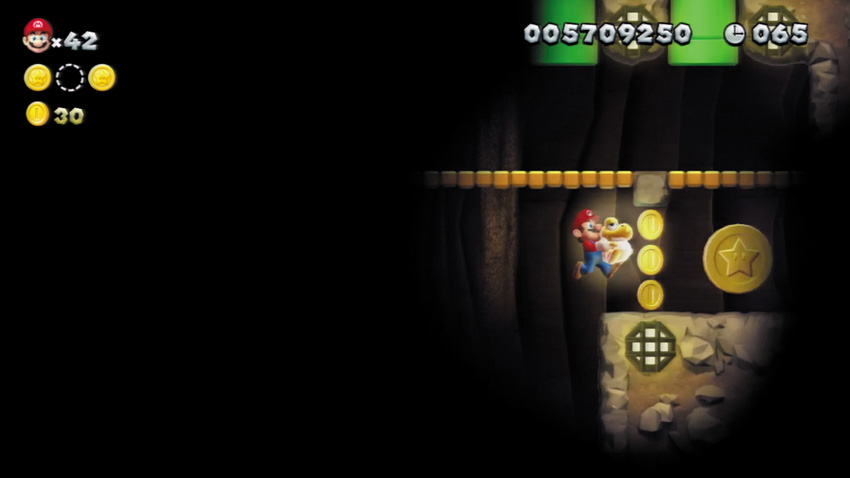
Ground pound through a tilting platform’s central Brick Blocks to reach a low Warp Pipe that leads to this secret cavern. Beware of the Fire Snakes here as you move to stomp the P Switch in the corner. Once stomped, the P Switch temporarily transforms the Brick Blocks near the Star Coin into Coins—quickly jump through the Coins and grab that Star Coin!
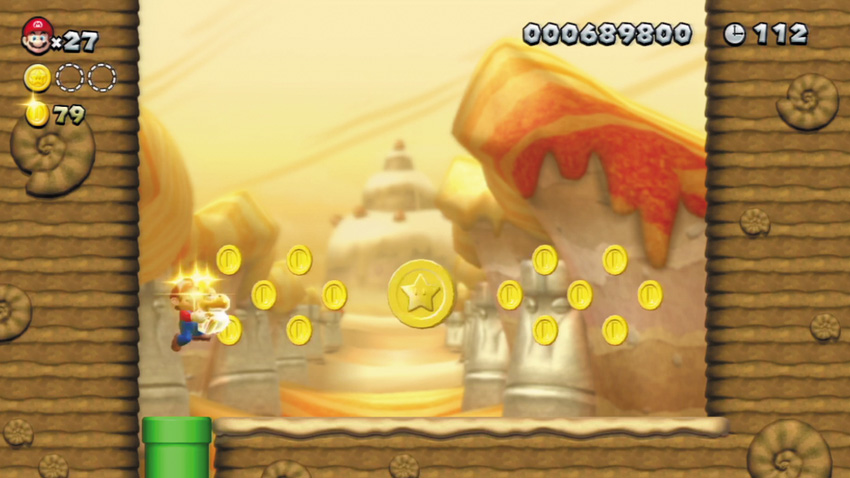
Jump up and enter overhead Warp Pipe E to reach this small outdoor area. Grab some fresh air up here, along with the final Star Coin!
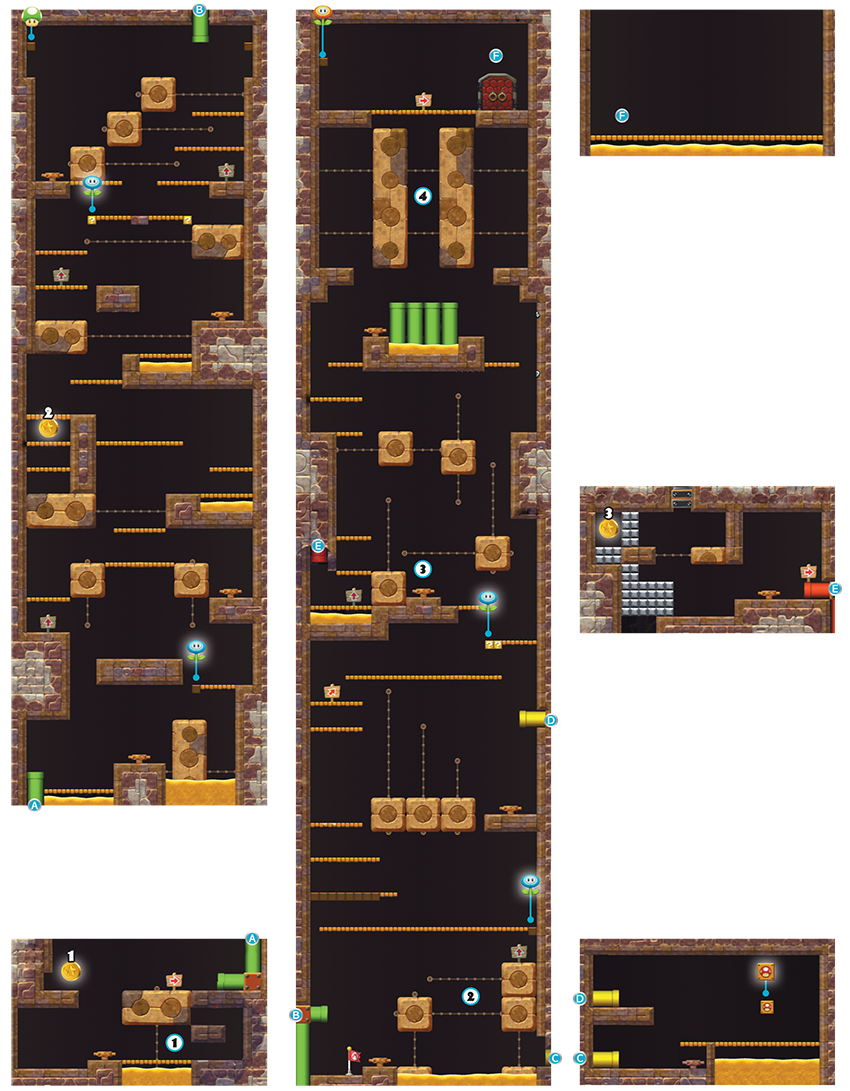
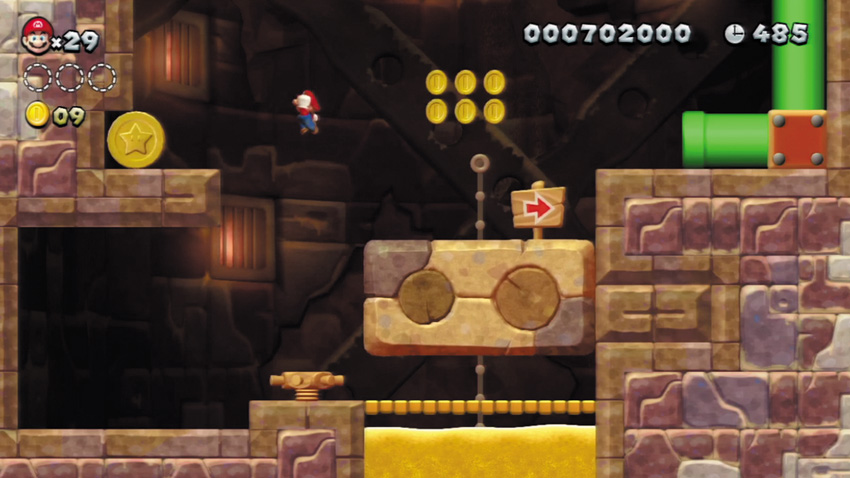
Spin while standing atop the screwtop in this tower’s entry chamber to make the first Star Coin emerge from the nearby wall. Quickly jump onto the nearby Screwtop Platform, then leap over and collect the Coin before it recedes back into the wall.
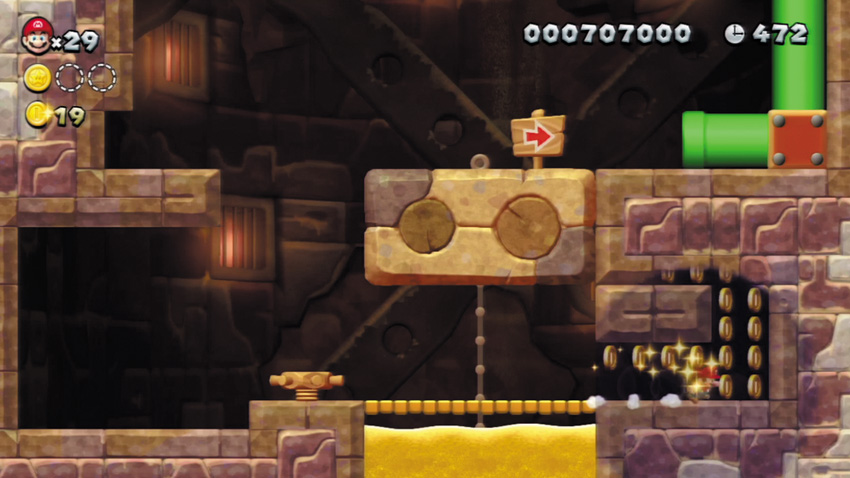
Pass through the false wall in the tower’s entry chamber to discover some hidden coins. You’re off to a good start!
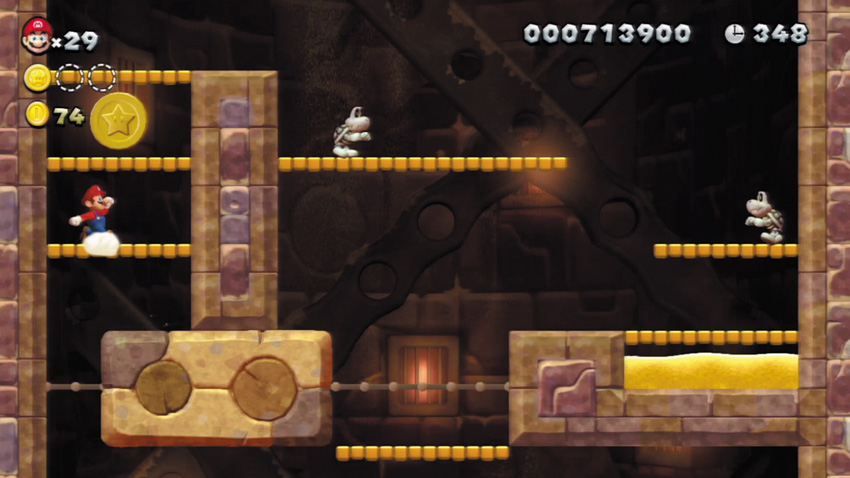
Spin another screwtop to move the Screwtop Platforms that lie below the second Star Coin. Quickly cross over to the tower’s left side and then wall jump up to the Star Coin before the Screwtop Platforms return to their original positions.
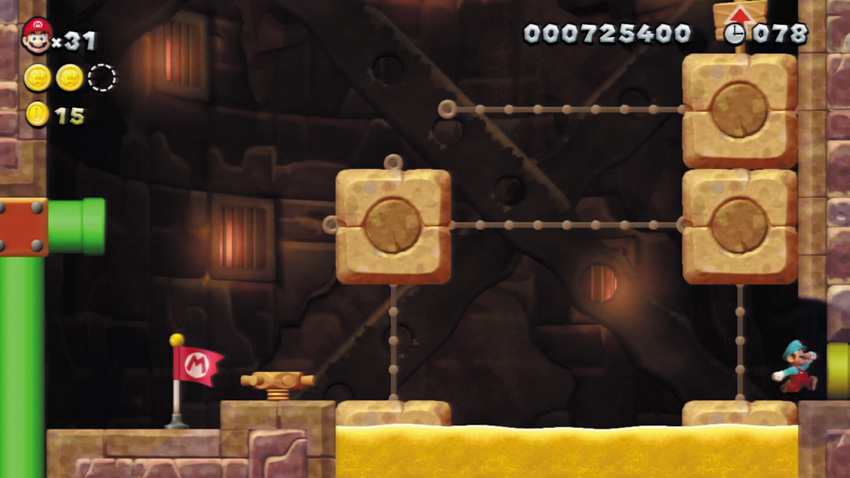
You could manipulate the Screwtop Platforms here to create some makeshift stairs that lead upward—but it’s much easier to simply enter the hidden Warp Pipe to the right!
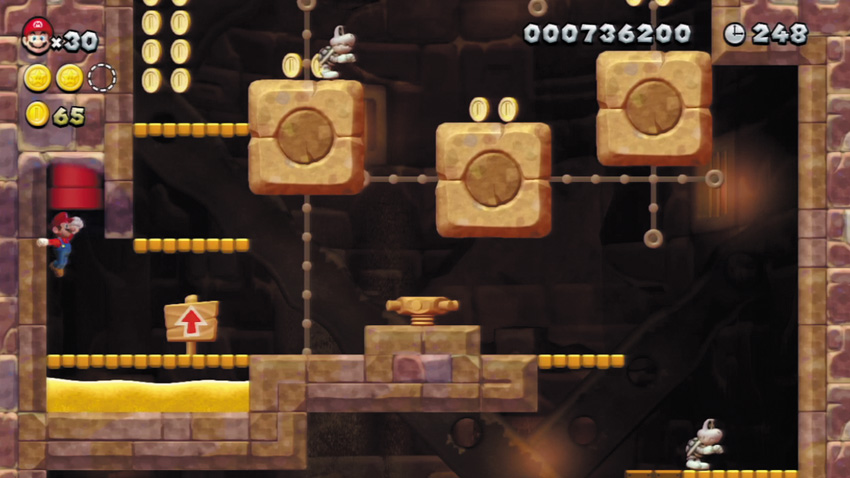
Use this screwtop to raise the Screwtop Platform to the left, then run past it and wall jump up the left wall to discover another hidden Warp Pipe. Sneaky!
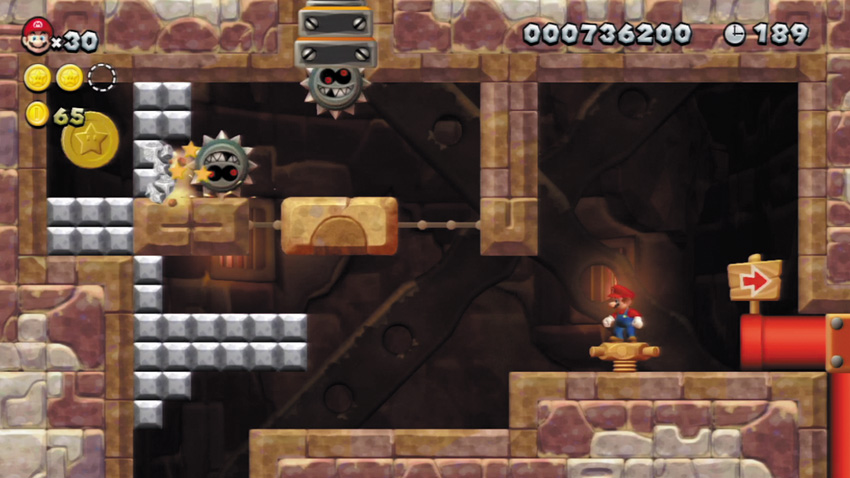
Spin the screwtop in this room to move the lone Screwtop Platform to the left. Time the Screwtop Platform to catch a Grrrol while it’s moving to the right so that it will bounce off the wall and then move the Screwtop Platform to the left to smash the gray Blocks to the right of the Star Coin.
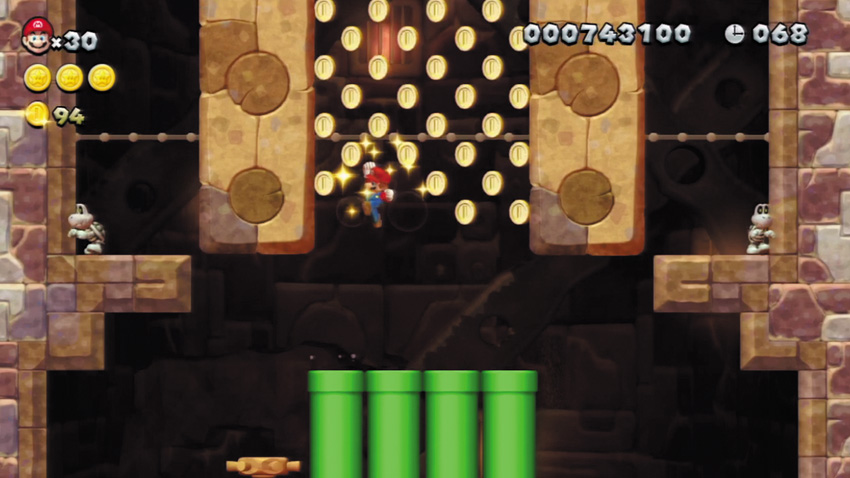
Rather than using the Pipe Cannons to rocket up to the tower’s apex, try wall jumping between these last two Screwtop Platforms to collect more of the Coins that lie between them.
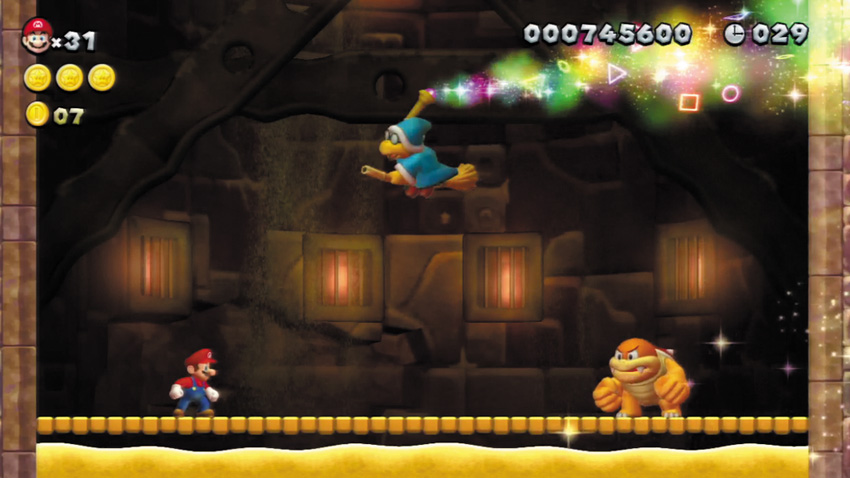
The beastly Boom Boom awaits at the tower’s apex. This time, his powers are enhanced by the dastardly Magikoopa! Boom Boom now periodically leaps into the air as he chases you down, presenting a more challenging target. Your objective remains the same, however: stomp Boom Boom three times to beat him down!
Layer-Cake Desert 4
Spike’s Spouting Sands
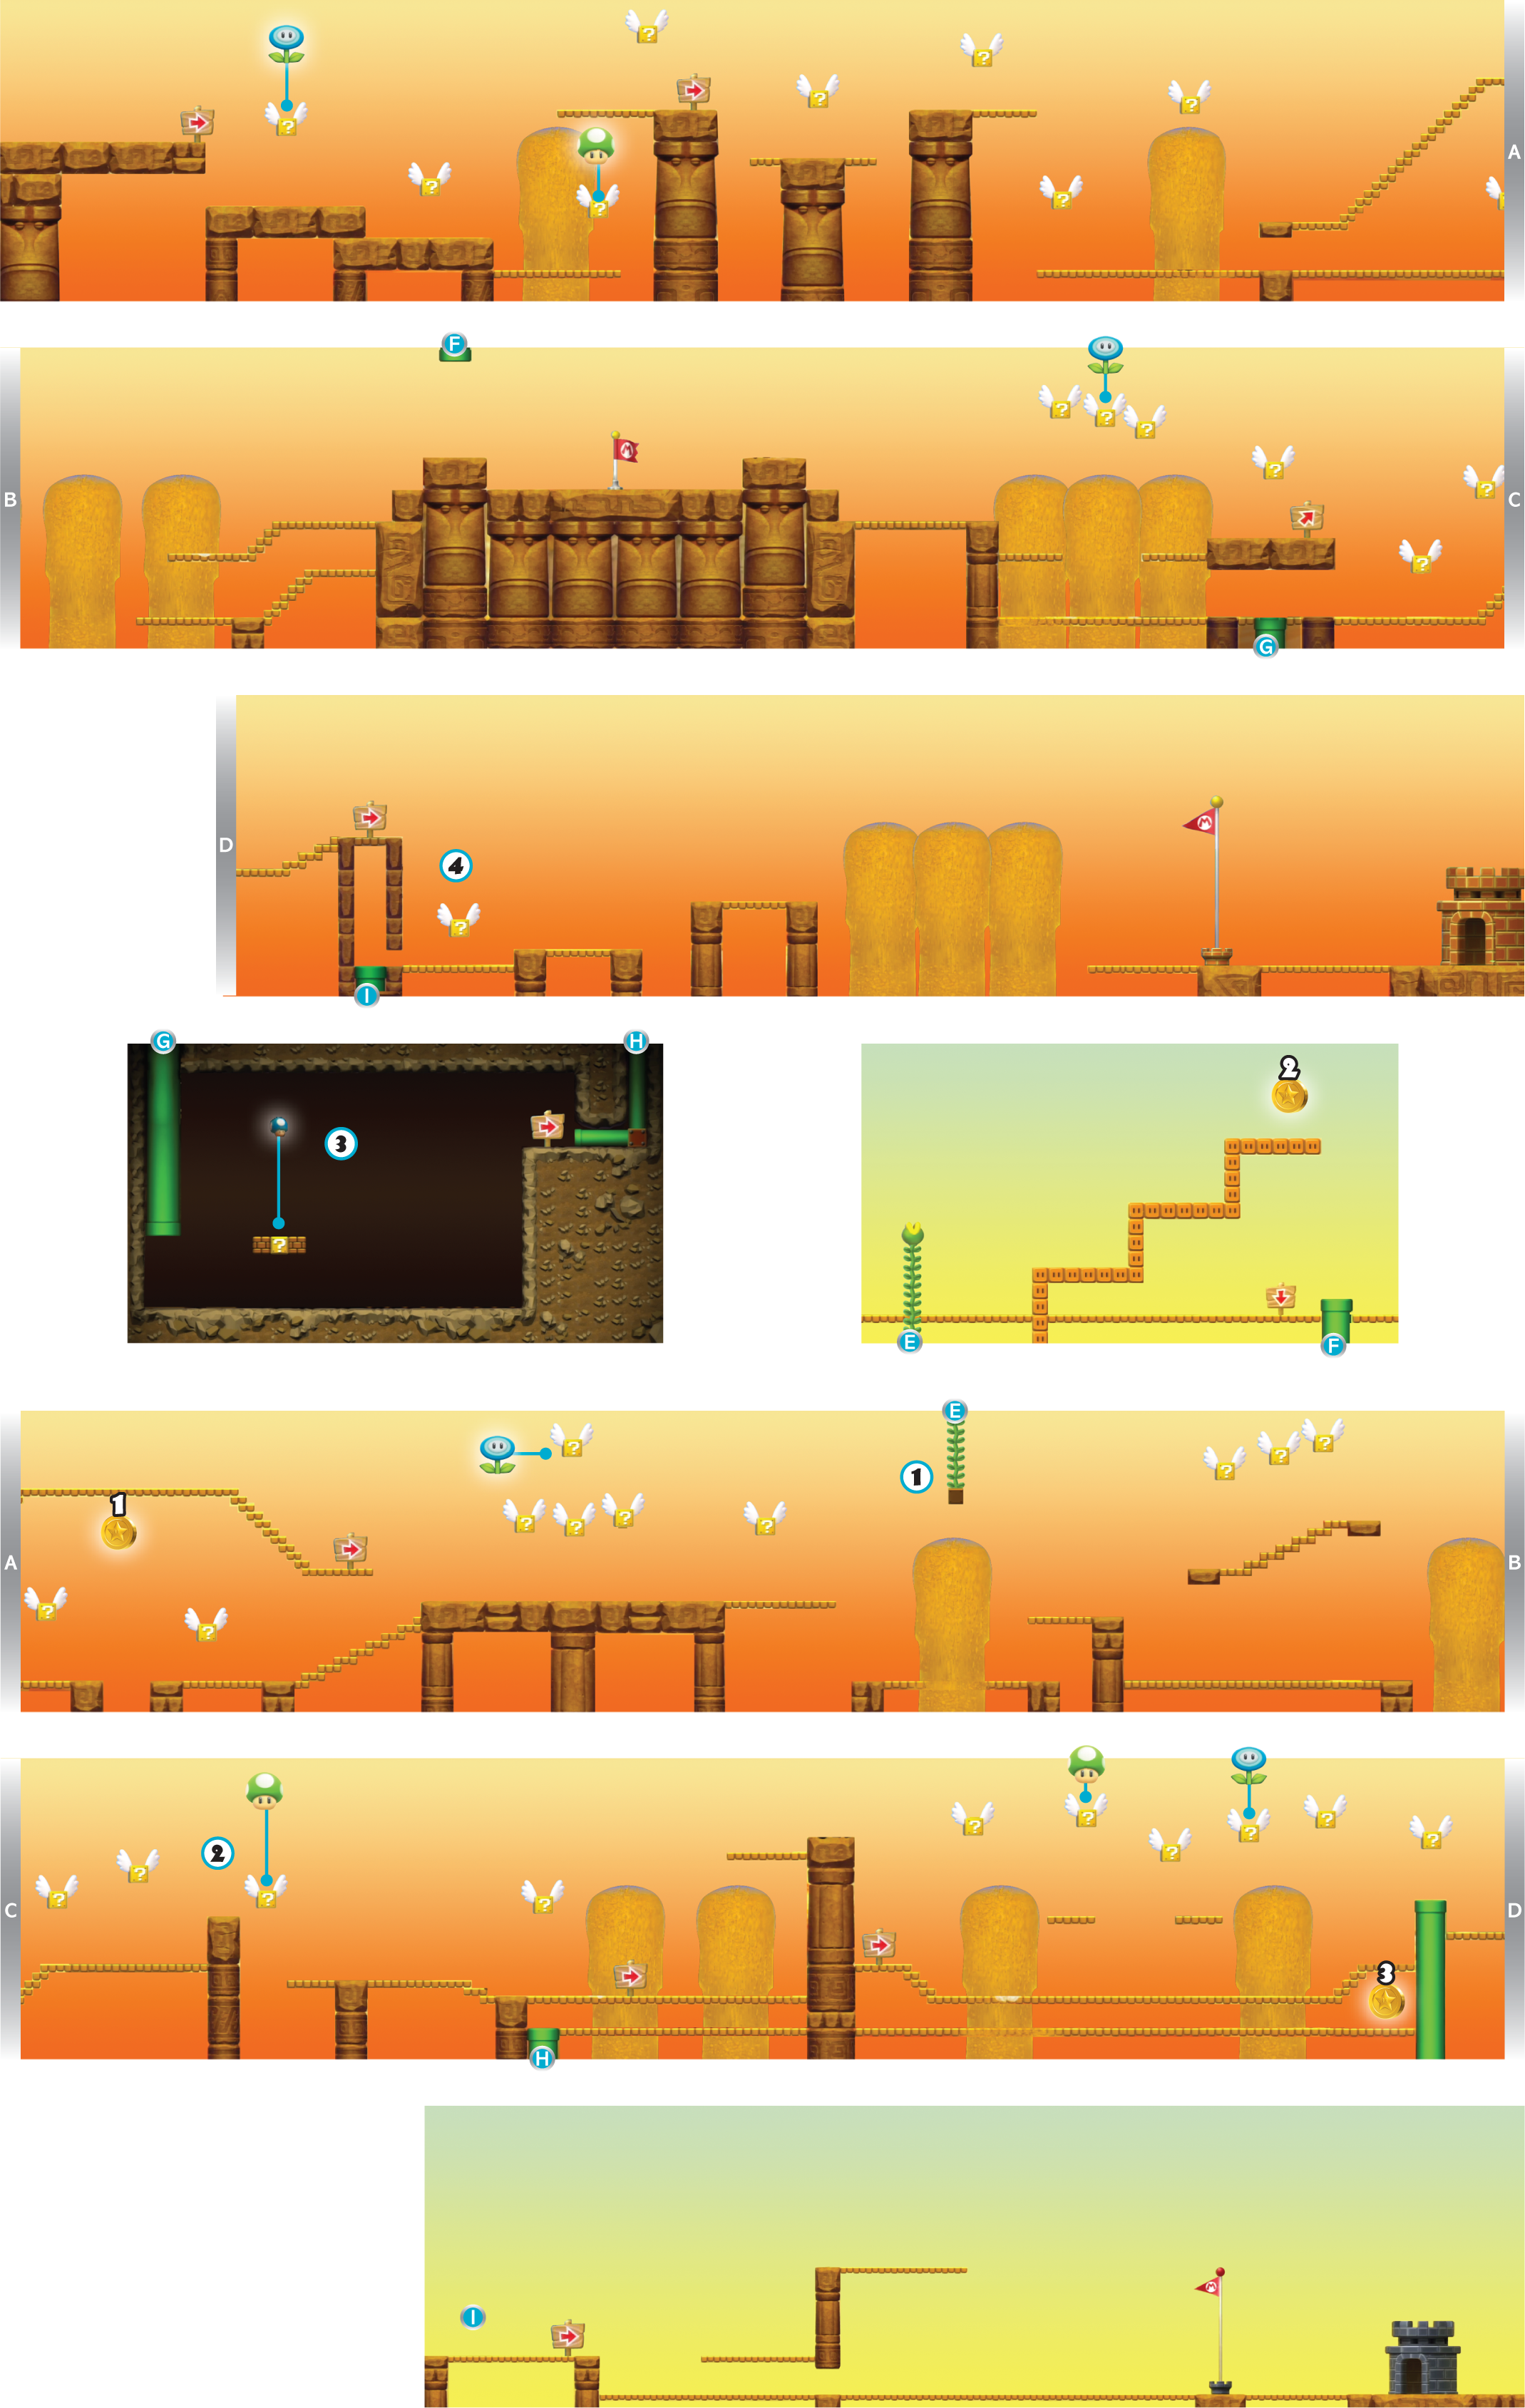
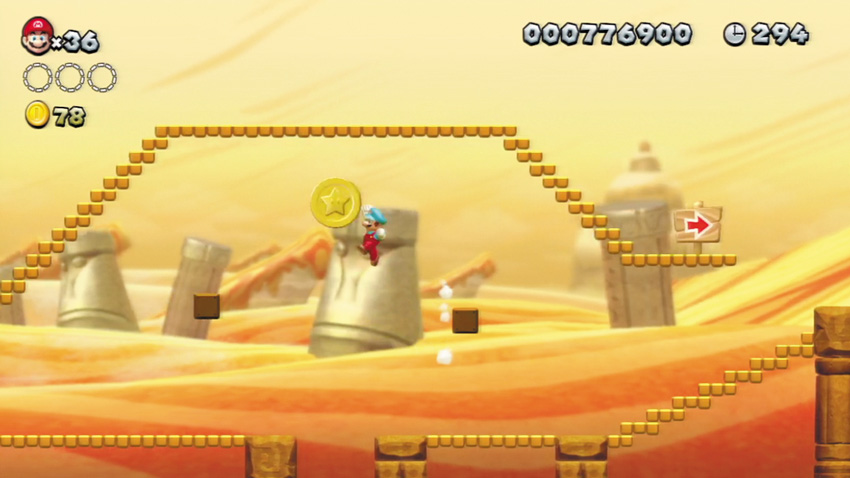
Defeat the Spike enemies near this Star Coin by striking the winged ? Blocks that they’re perched upon. Then leap from one of the Blocks and collect the hovering Star Coin.
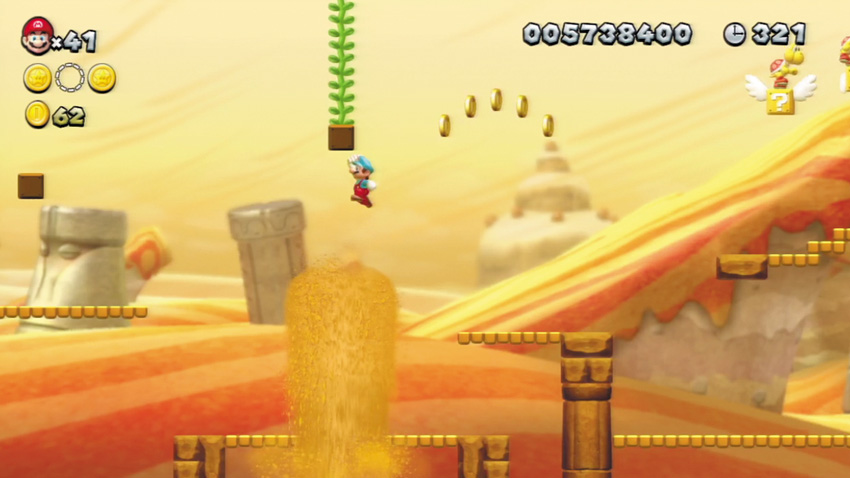
Stomp the Spike that sits atop this Sand Geyser, then jump up and whack a hidden Block above the Sand Geyser to extend a Beanstalk into the sky. Climb that Beanstalk to visit a secret area!
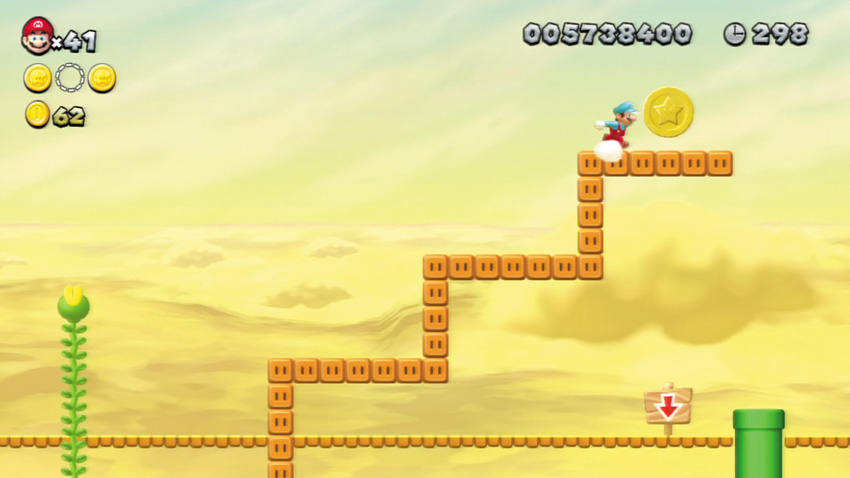
The second Star Coin is hidden in this secret area—climb the Beanstalk at Point 1 to get here, then simply hop up the Stretch Blocks and collect the Star Coin. Super!
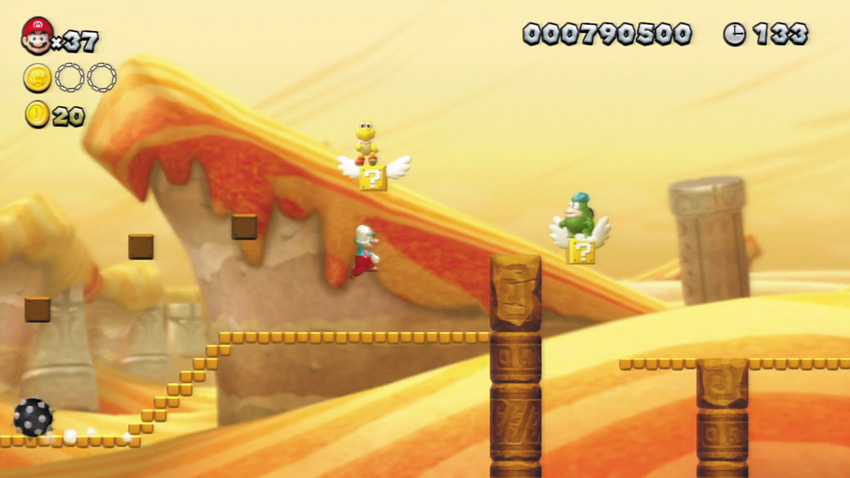
Stomp a Koopa here, then toss its shell at the winged ? Block that hovers above the nearby pit to make a 1-Up pop out. Score!
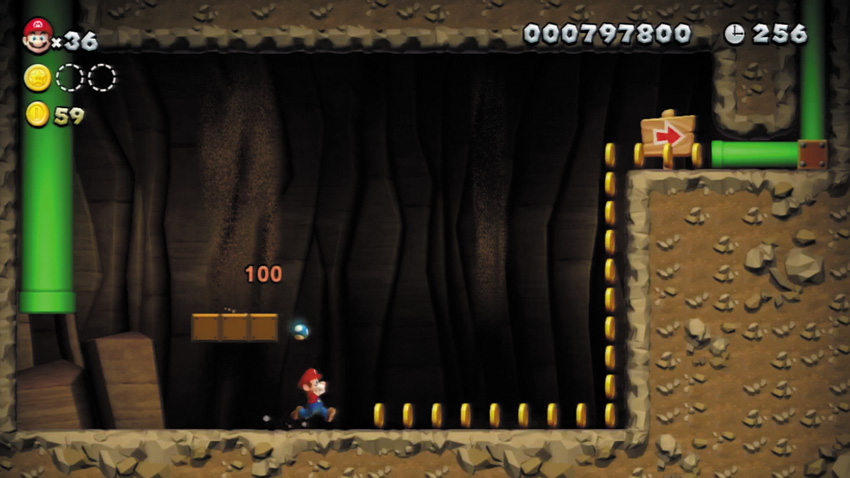
Enter the Warp Pipe behind the false wall to the left of Point 2 to reach this small cavern. Obtain a Mini Mushroom from the ? Block down here, then simply dash to the right. Your speed will carry you up the wall and into the mini Warp Pipe above.
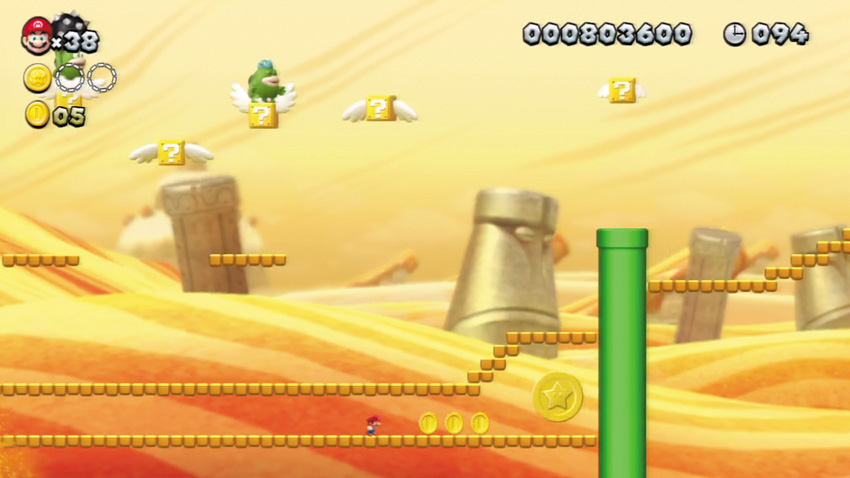
Transform into Mini Mario by collecting the Mini Mushroom from the secret cavern at Point 3, then return to the surface via the cavern’s mini Warp Pipe and sprint past several Sand Geysers to reach this final Star Coin.
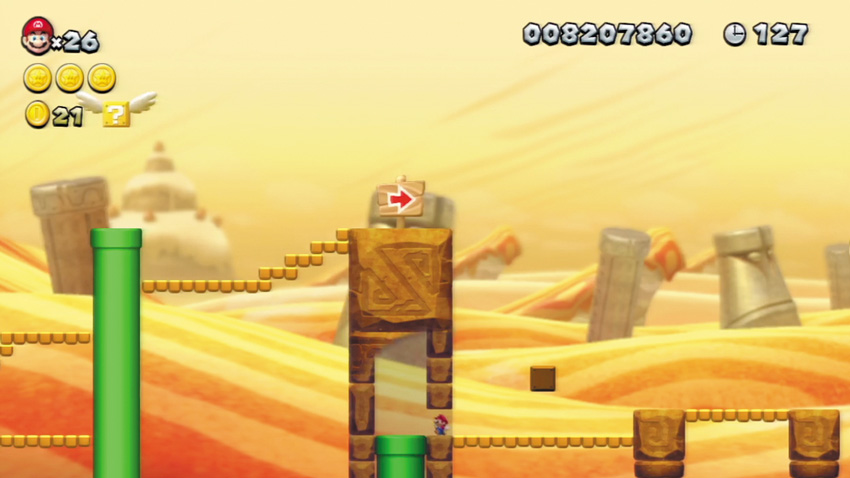
As Mini Mario, run into the tiny gap at the bottom of the false wall here to discover a hidden Warp Pipe. This Warp Pipe leads to the stage’s secret exit—finish the stage using this secret exit to unlock Layer-Cake Desert’s secret stage!
Layer-Cake Desert 5
Dry Desert Mushrooms
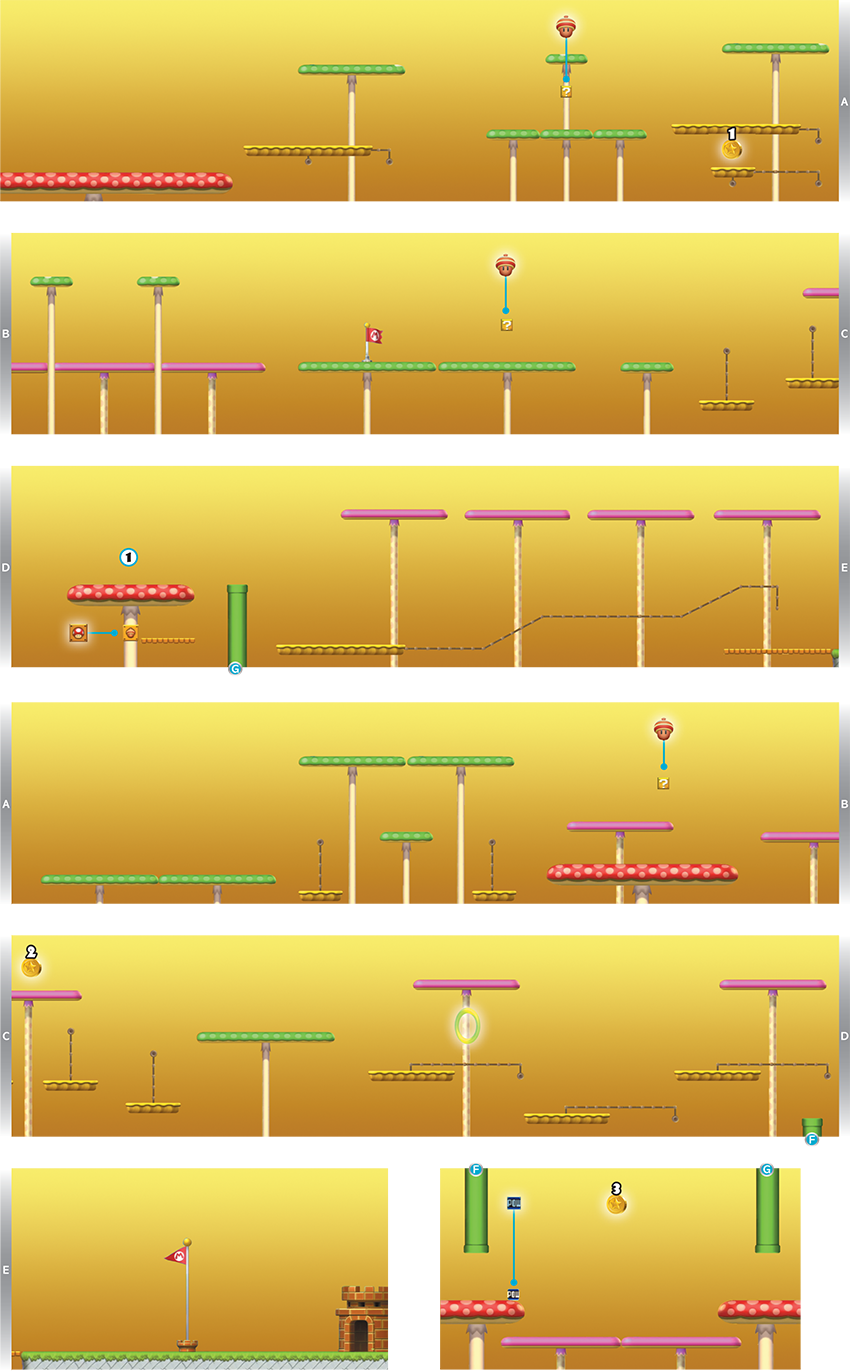
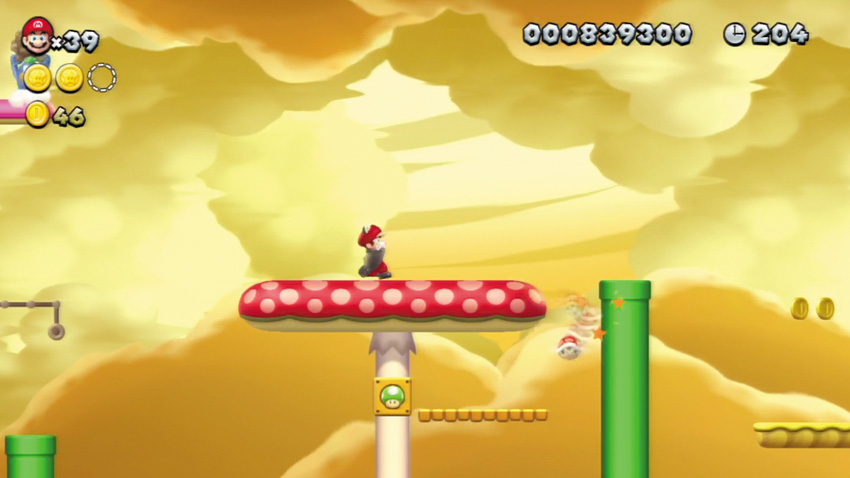
Stomp the Koopa here, then kick or toss its shell to the right. It’ll bounce off of the nearby Warp Pipe and then strike the Roulette Block below, giving you a random item!
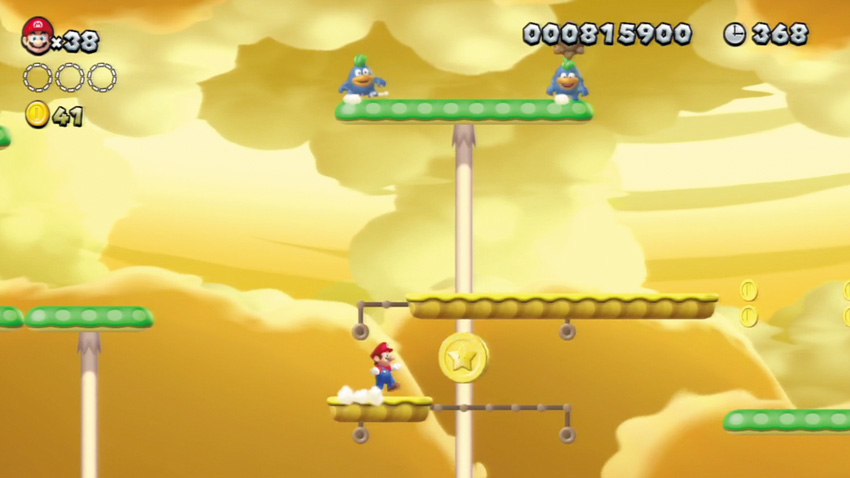
Stand on the Flatbed Ferry platform above this first Star Coin, and wait for the Flatbed Ferry to slide to the right. Then quickly drop to the lower Flatbed Ferry platform and grab the Star Coin. Flying Squirrel Mario can also simply glide down and then soar upward to grab this Star Coin, but it helps to first soar up and defeat those pesky Stone Spike enemies.
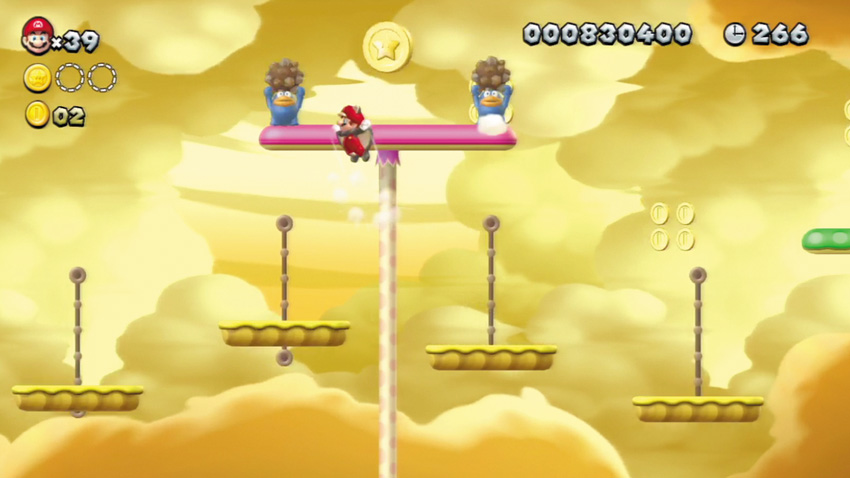
Soar upward with Flying Squirrel Mario to reach this high Star Coin. You can also reach this Star Coin with a regular jump from the height of the Flatbed Ferries below, but the overhead Stone Spike enemies make this approach far more risky.
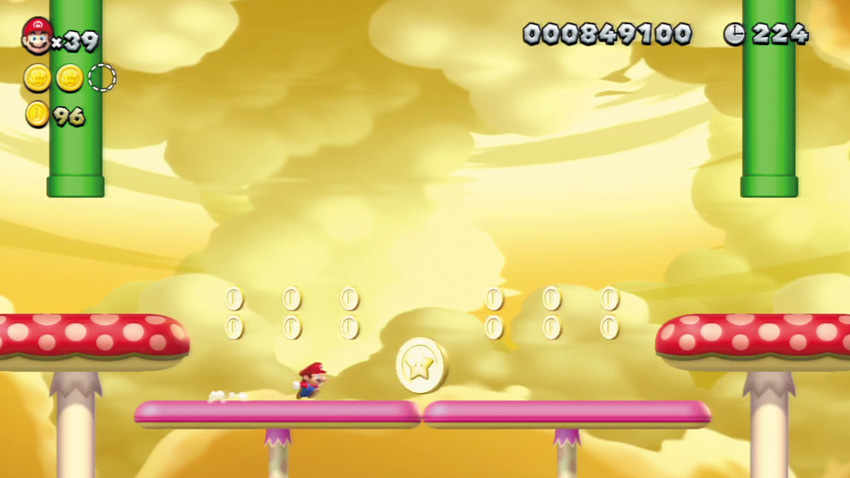
Use a Warp Pipe near Point 1 to visit this secret side area, where the final Star Coin is kept. Pick up the POW Block here and then stand on one of the Stretch Shrooms below. Toss the POW Block when the Stretch Shrooms are fully extended to make the Star Coin fall, then quickly collect the Star Coin before the Stretch Shrooms retract—otherwise it will fall, and you’ll have to revisit this stage to try for it again!
Layer-Cake Desert 6
Blooming Lakitus
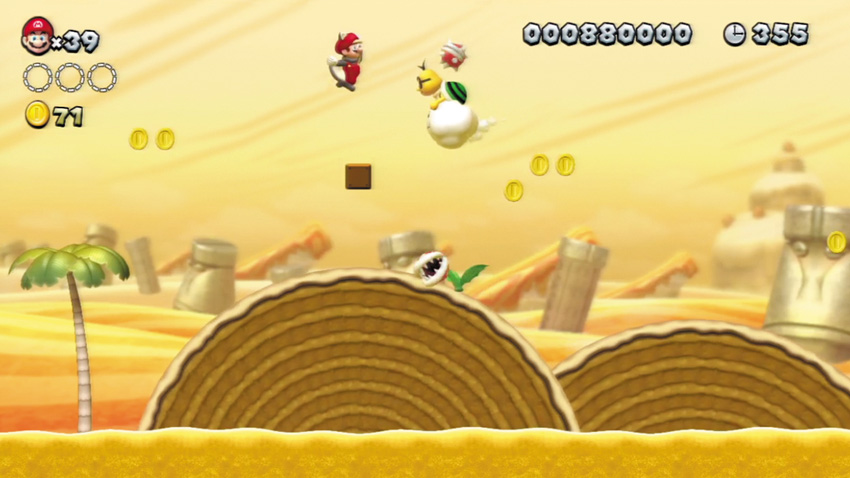
The cloud-riding villain Lakitu makes his first appearance as you near this Brick Block. Stand on the Brick Block and try to jump up and stomp Lakitu when he floats close. Then jump onto his cloud to commandeer it and explore this stage from the sky!
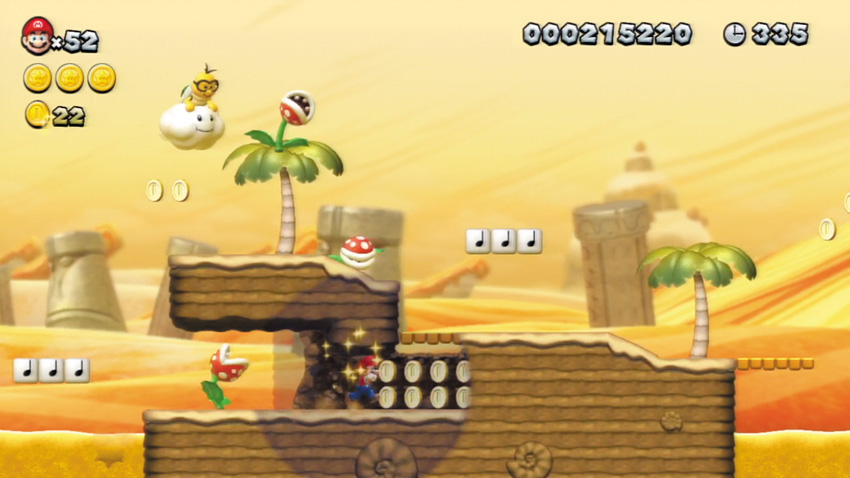
Defeat the Piranha Plant here, then pass through the false wall beyond to enter a hidden, Coin-filled passage.
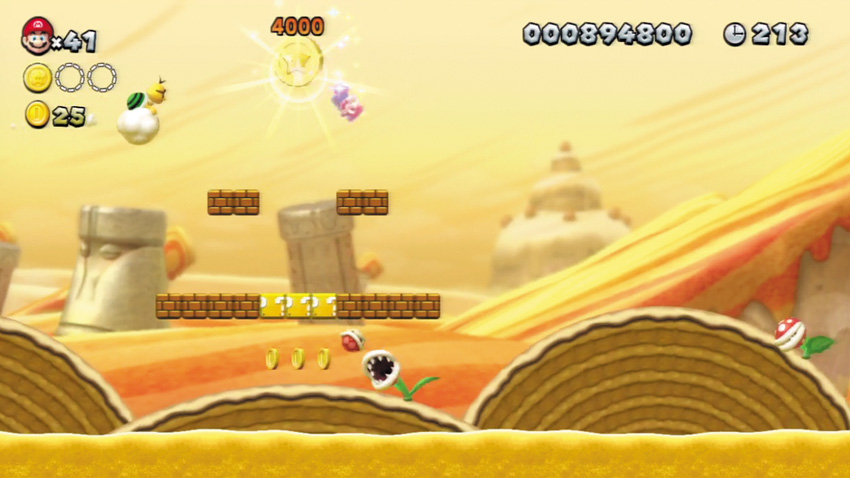
Jump up and grab this Star Coin, but beware of that airborne creep, Lakitu. The high Brick Blocks here offer another good spot to stomp Lakitu and steal his cloud.
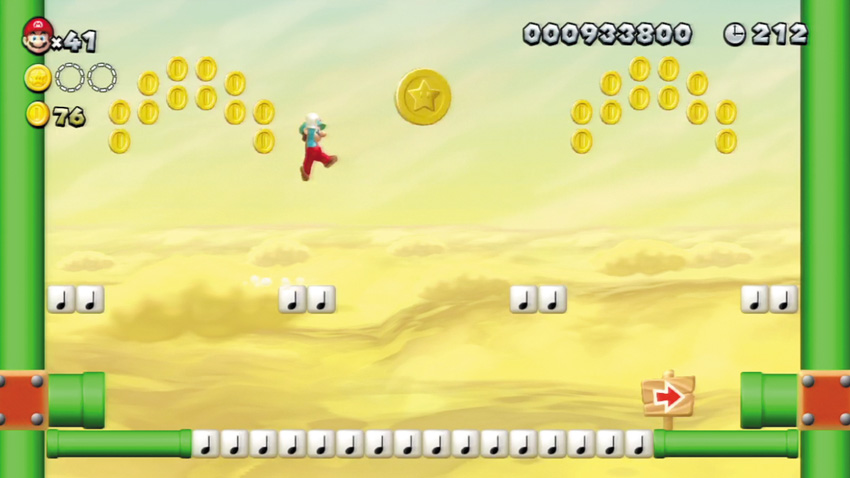
Commandeer Lakitu’s cloud and fly up high to reach Warp Pipe F that leads to this secret side area. Jump as you bounce off the Note Blocks here to bound up and snag the high hovering Star Coin. Well played!
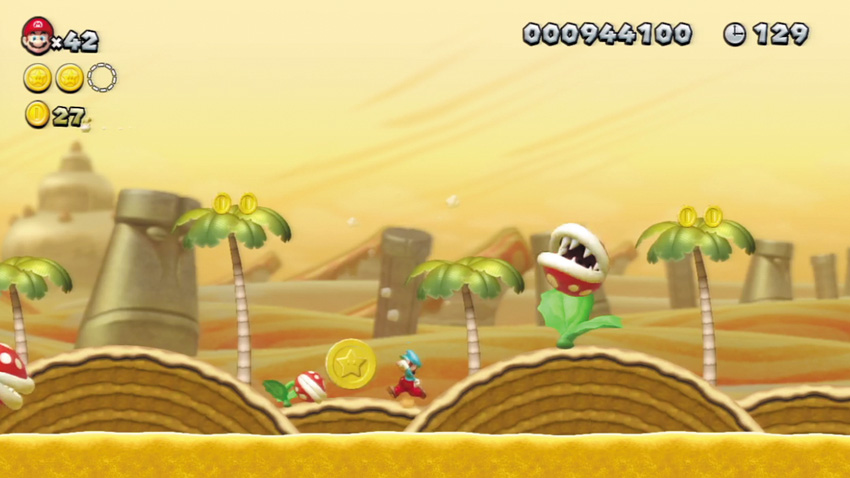
The final Star Coin sits here, within easy reach. Beware of the Big Piranha Plants, along with the Piranha Plants that Lakitu might be raining down, as you move to collect this final prize.
Layer-Cake Desert Castle
Morton’s Compactor Castle
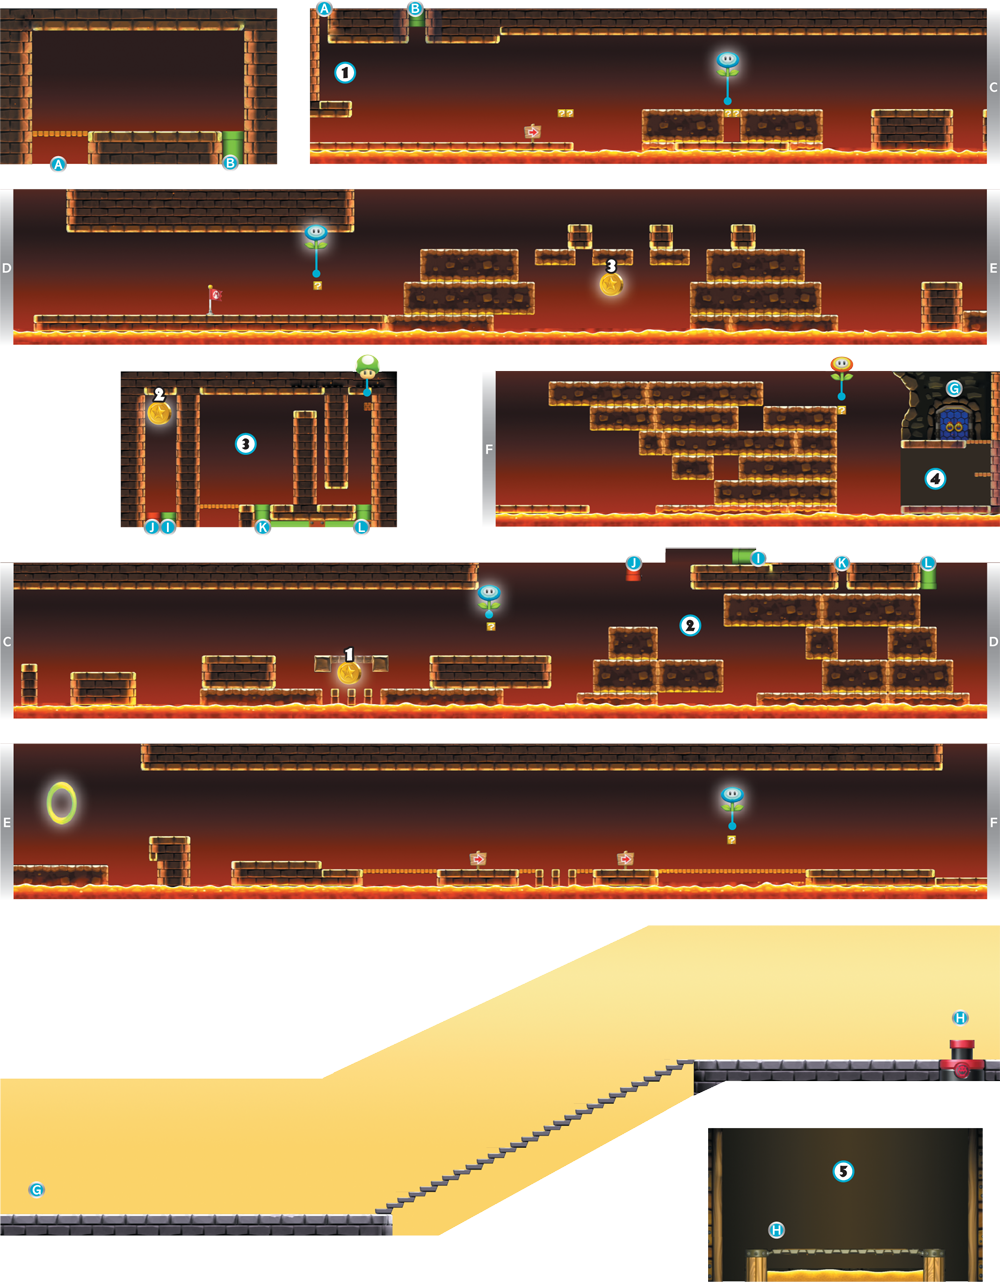
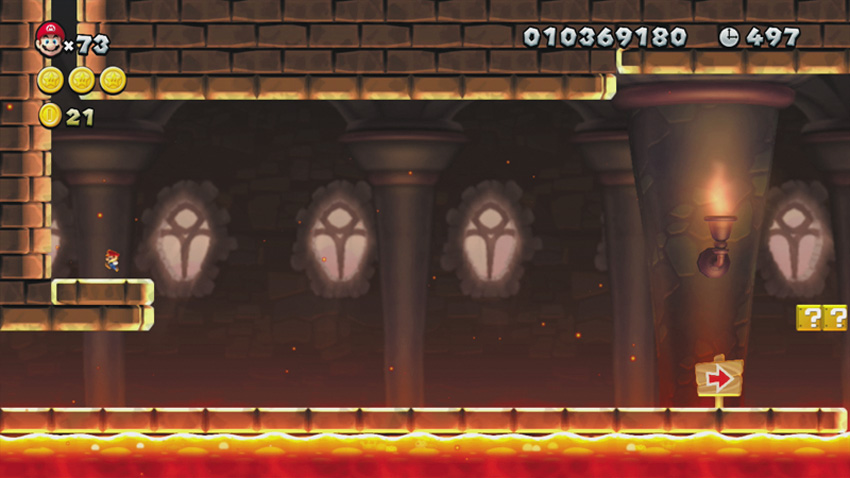
Enter this stage as Mini Mario, and you can leap over and dash up the left wall to reach a secret passage right from the start! The passage leads to a small side room that’s filled with glorious Coins.
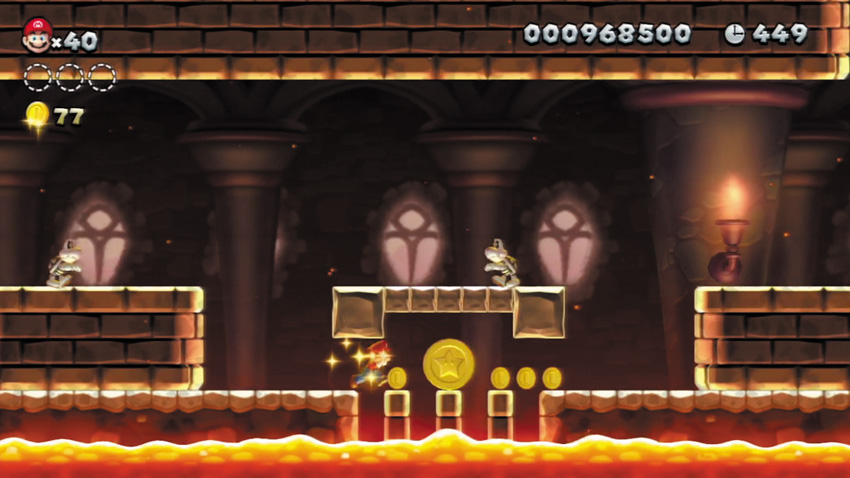
Stand on the moving block near this Star Coin, and start dashing toward the Star Coin the moment that your moving block slides close. If you time it right, you can dash straight across the tiny gaps in the floor around the Star Coin without falling!
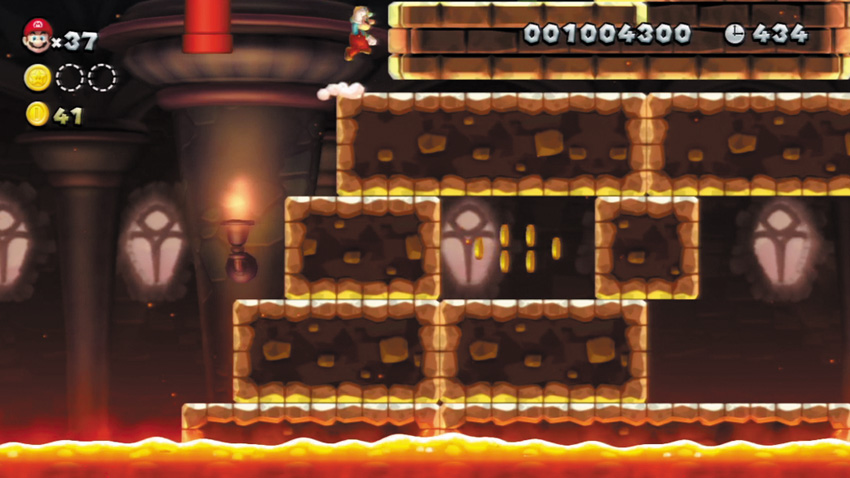
Leap up these moving blocks when they slide into position and briefly form a makeshift staircase. Jump on top of the roof and move to the right to enter a hidden, out-of-sight Warp Pipe that leads to a secret area.
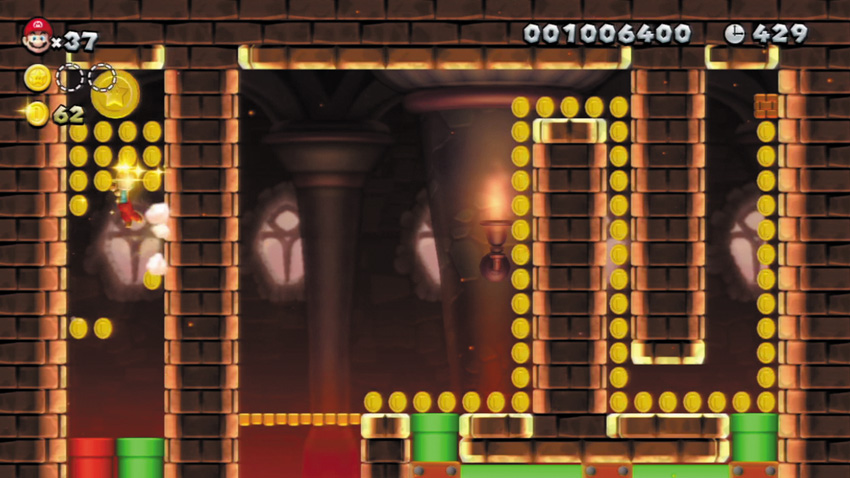
Enter the secret Warp Pipe at Point 2 to reach the left side of this secret area. Simply wall jump between the narrow walls to claim lots of Coins, including the Star Coin high above. You can’t reach this area’s right half from here, so simply leave through the red Warp Pipe.
Only Mini Mario can enter this secret side area. Dash up the moving blocks at Point 2 and run along the narrow gap atop the blocks. Then jump and dash up the narrow gap in the ceiling to reach this half of the secret side area, where plenty of coins and a 1-Up Mushroom are found.
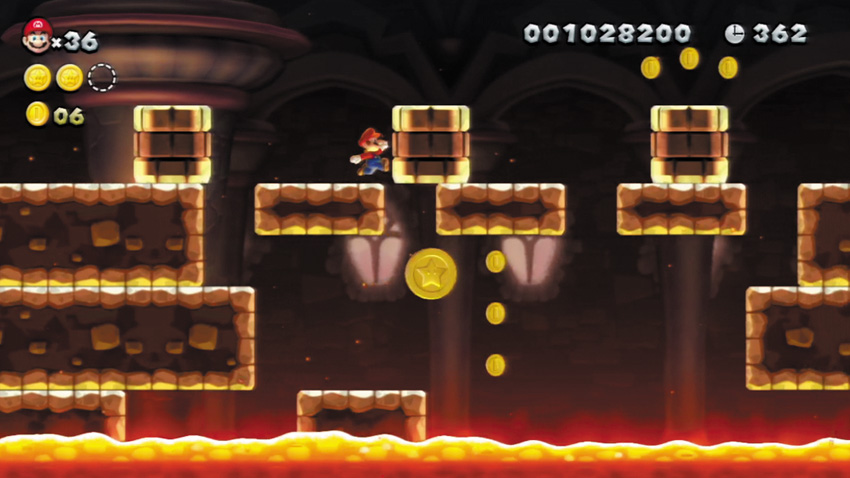
The third Star Coin is the trickiest one to claim. Notice the three moving blocks above the Star Coin—stand on the far-left block and drop from its right side when the lowest moving block begins to slide from left to right across the lava. Aim to land on the low moving block, then quickly jump up and grab the Star Coin. Escape by scaling the blocks on the right before the low moving block slides all the way to the right, leaving you no place to stand.
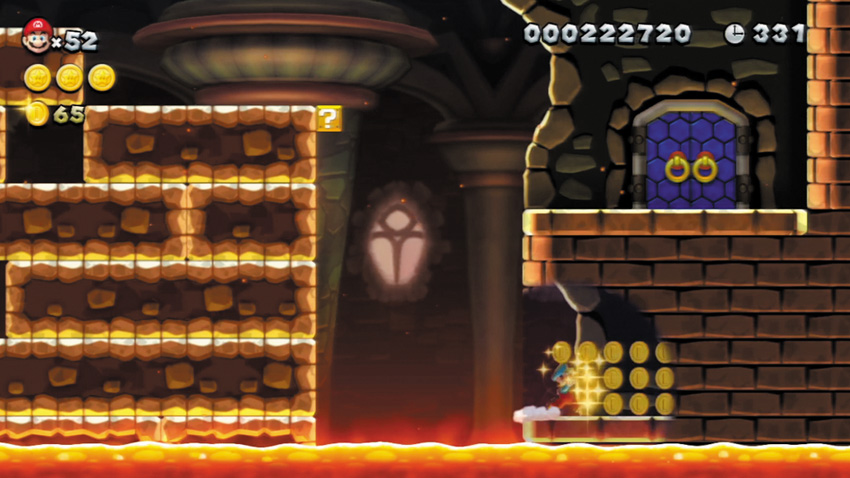
Carefully slide down the wall here to enter a hidden area that’s filled with Coins.
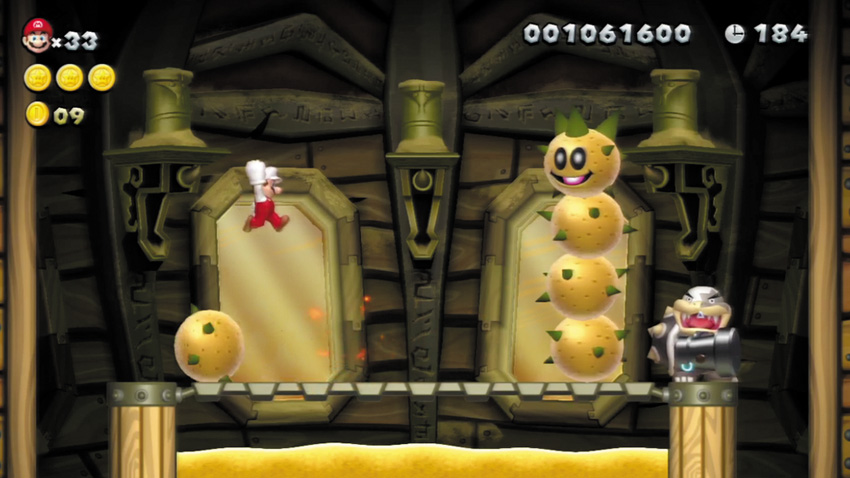
Morton, the vile boss of Layer-Cake Desert, hungers for battle aboard his airship. This hammer-holding boss wastes no time in summoning a Pokey, then begins to smack spiked Pokey parts at you! Dodge each piece of the Pokey until the entire creature has been hammered, then dash over and give Morton a good stomp.
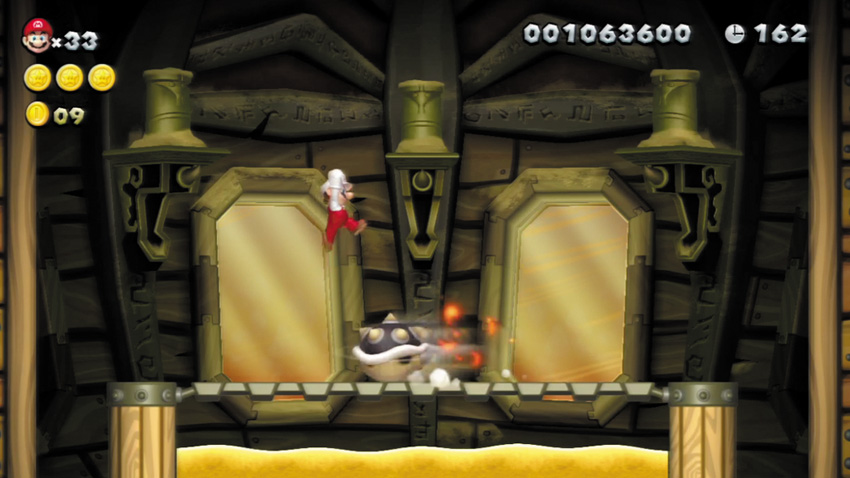
After being stomped, Morton turtles up and zips back and forth in his spike-covered shell. Jump over Morton each time his flies by, then be prepared to avoid more Pokey parts after Morton emerges. Stomp Morton after his Pokey is no more, then dodge and repeat for a third stomp, bringing this boss’s batting practice to an end.
Layer-Cake Desert Secret Stage
Piranha Plants on Ice
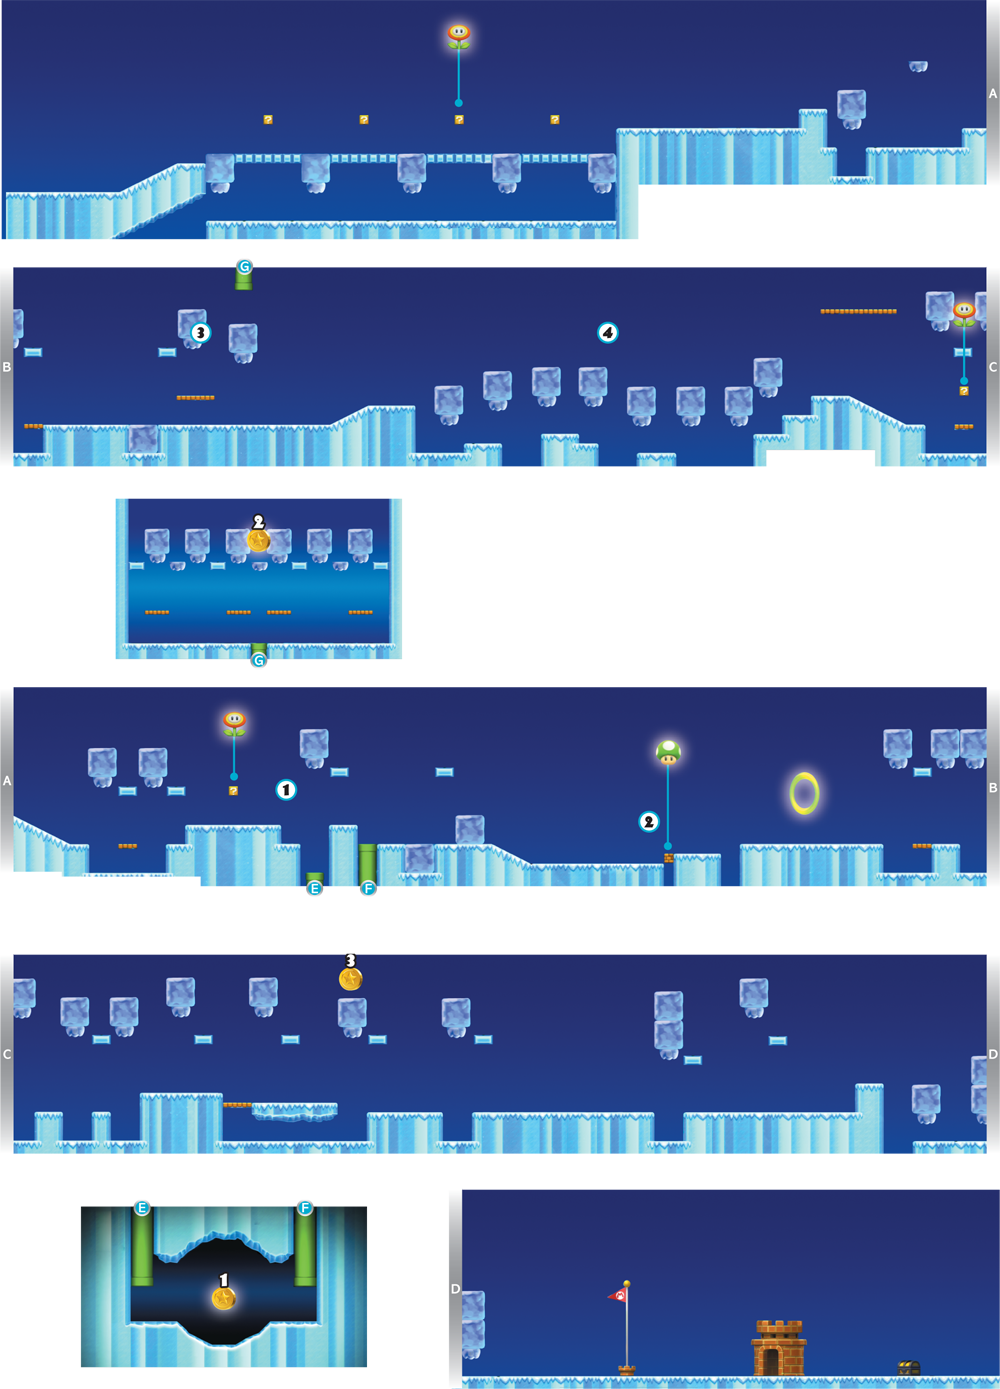
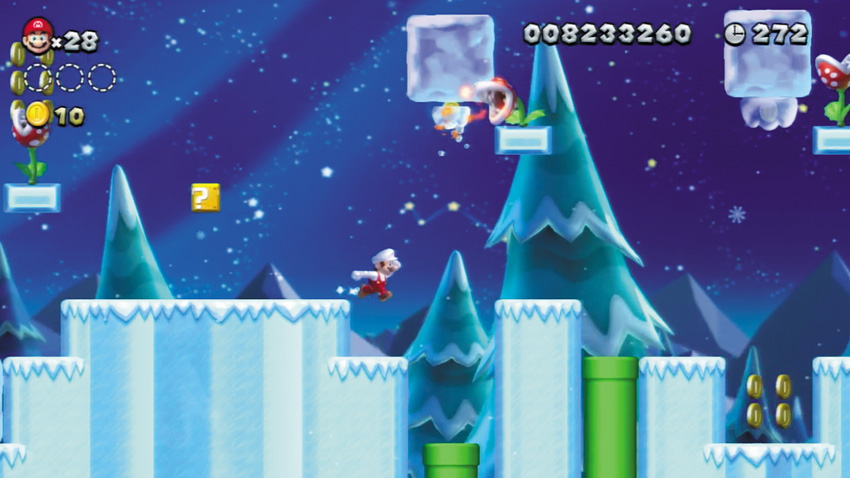
Hurry and enter the Warp Pipe here before the nearby Fire Piranha Plant spits out a fireball that causes the overhead Ice Chunk to fall. If you stop to collect a power-up from the nearby ? Block, you won’t have time to enter the Warp Pipe!
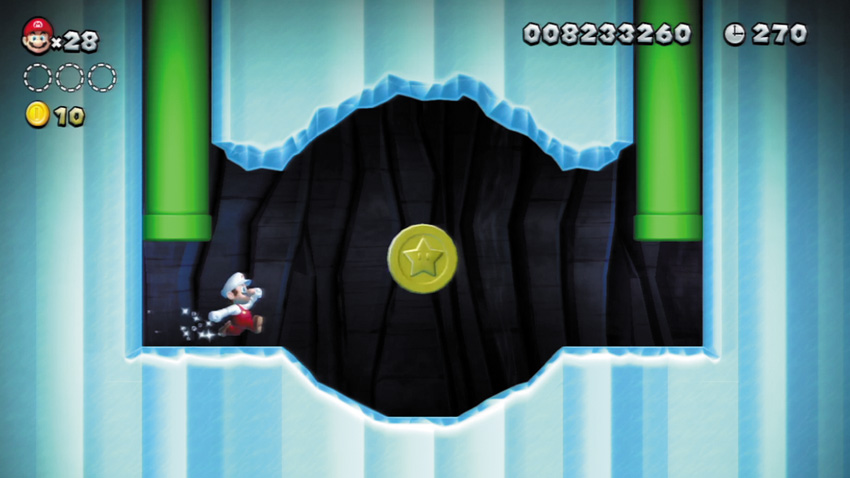
Visit this underground cavern by way of the Warp Pipe at Point 1, and collect the first Star Coin from down here.
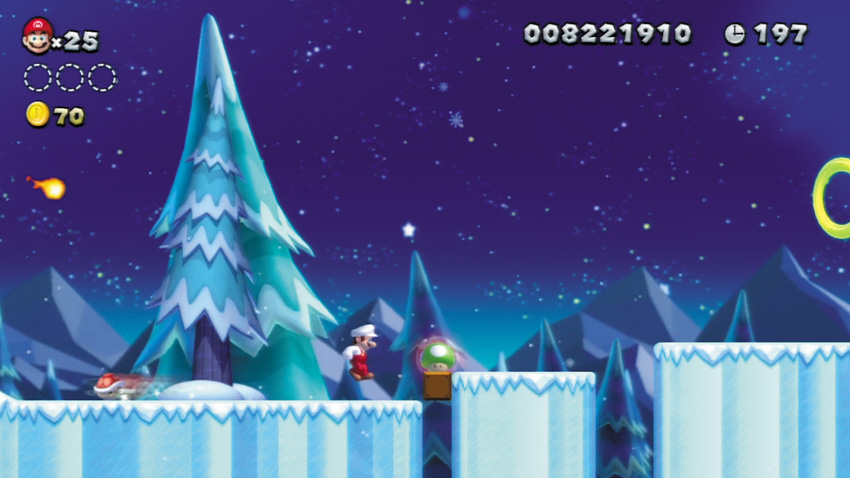
Stun the Koopa that falls along with the Ice Chunk to the left of this Brick Block, then carry its shell to the right and use it to whack the Brick Block. Out pops a worthy 1-Up Mushroom!
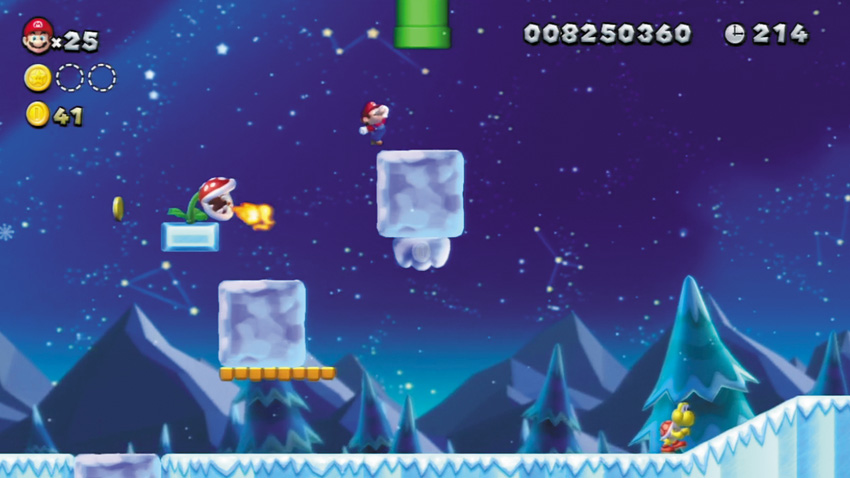
Allow a Fire Piranha Plant to drop an Ice Chunk for you here, then quickly use it as a platform to reach the higher Ice Chunk to the right. Hurry and enter the overhead Warp Pipe before the Fire Piranha Plant causes the higher Ice Chunk to fall as well.
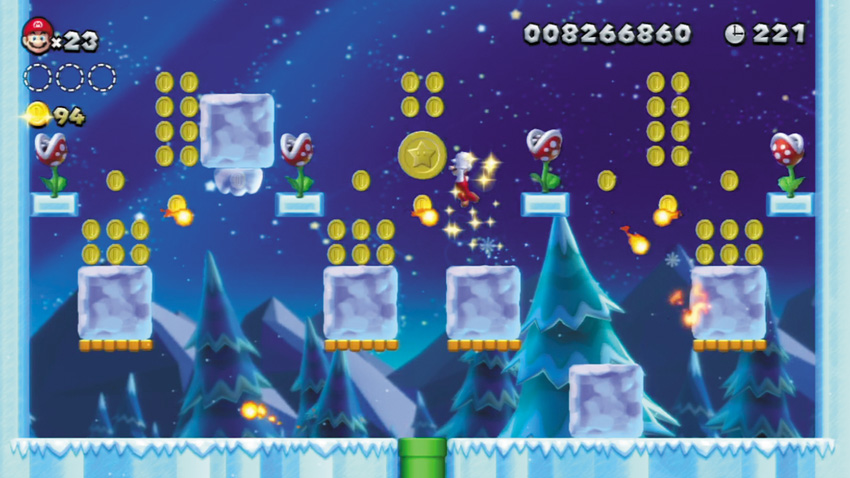
Scale the Ice Chunks at Point 3 to visit this side area. Allow all of the Ice Chunks to fall, then carefully jump up them, avoiding the plentiful Fire Piranha Plants as you move to collect the hovering Star Coin.
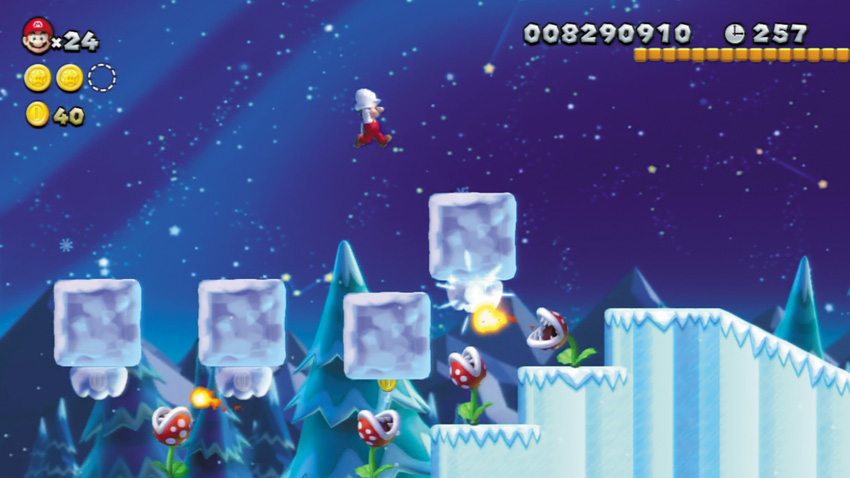
Quickly leap across these floating Ice Chunks before the surrounding Fire Piranha Plants cause them to fall. Jump from the final Ice Chunk to reach a high platform that leads to yet another floating Ice Chunk stretch.
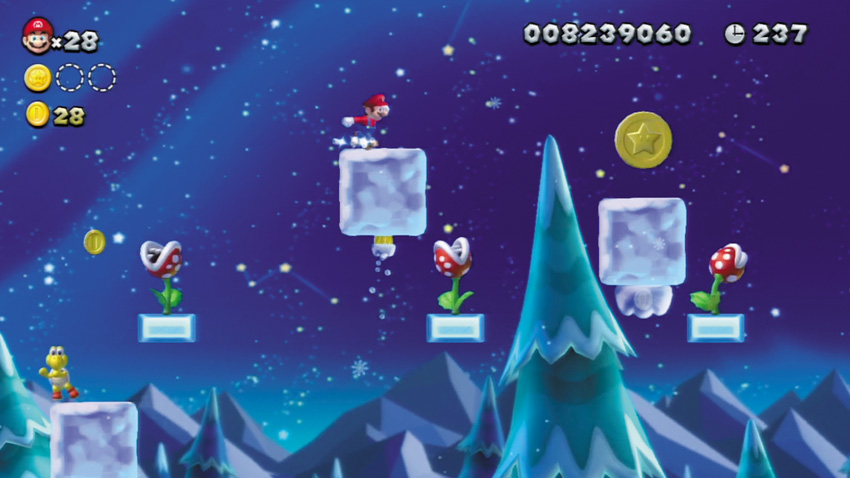
Jump along the high Ice Chunks at Point 4 and beyond to reach this final Star Coin. You’ve got to move quickly, though, or those pesky Piranha Plants will melt the ice and cause the Ice Chunks to fall!