
Lego Marvel Super Heroes (3DS) Guide Chapter 9: Castle Doom
Level 9A: Castle Rooftops
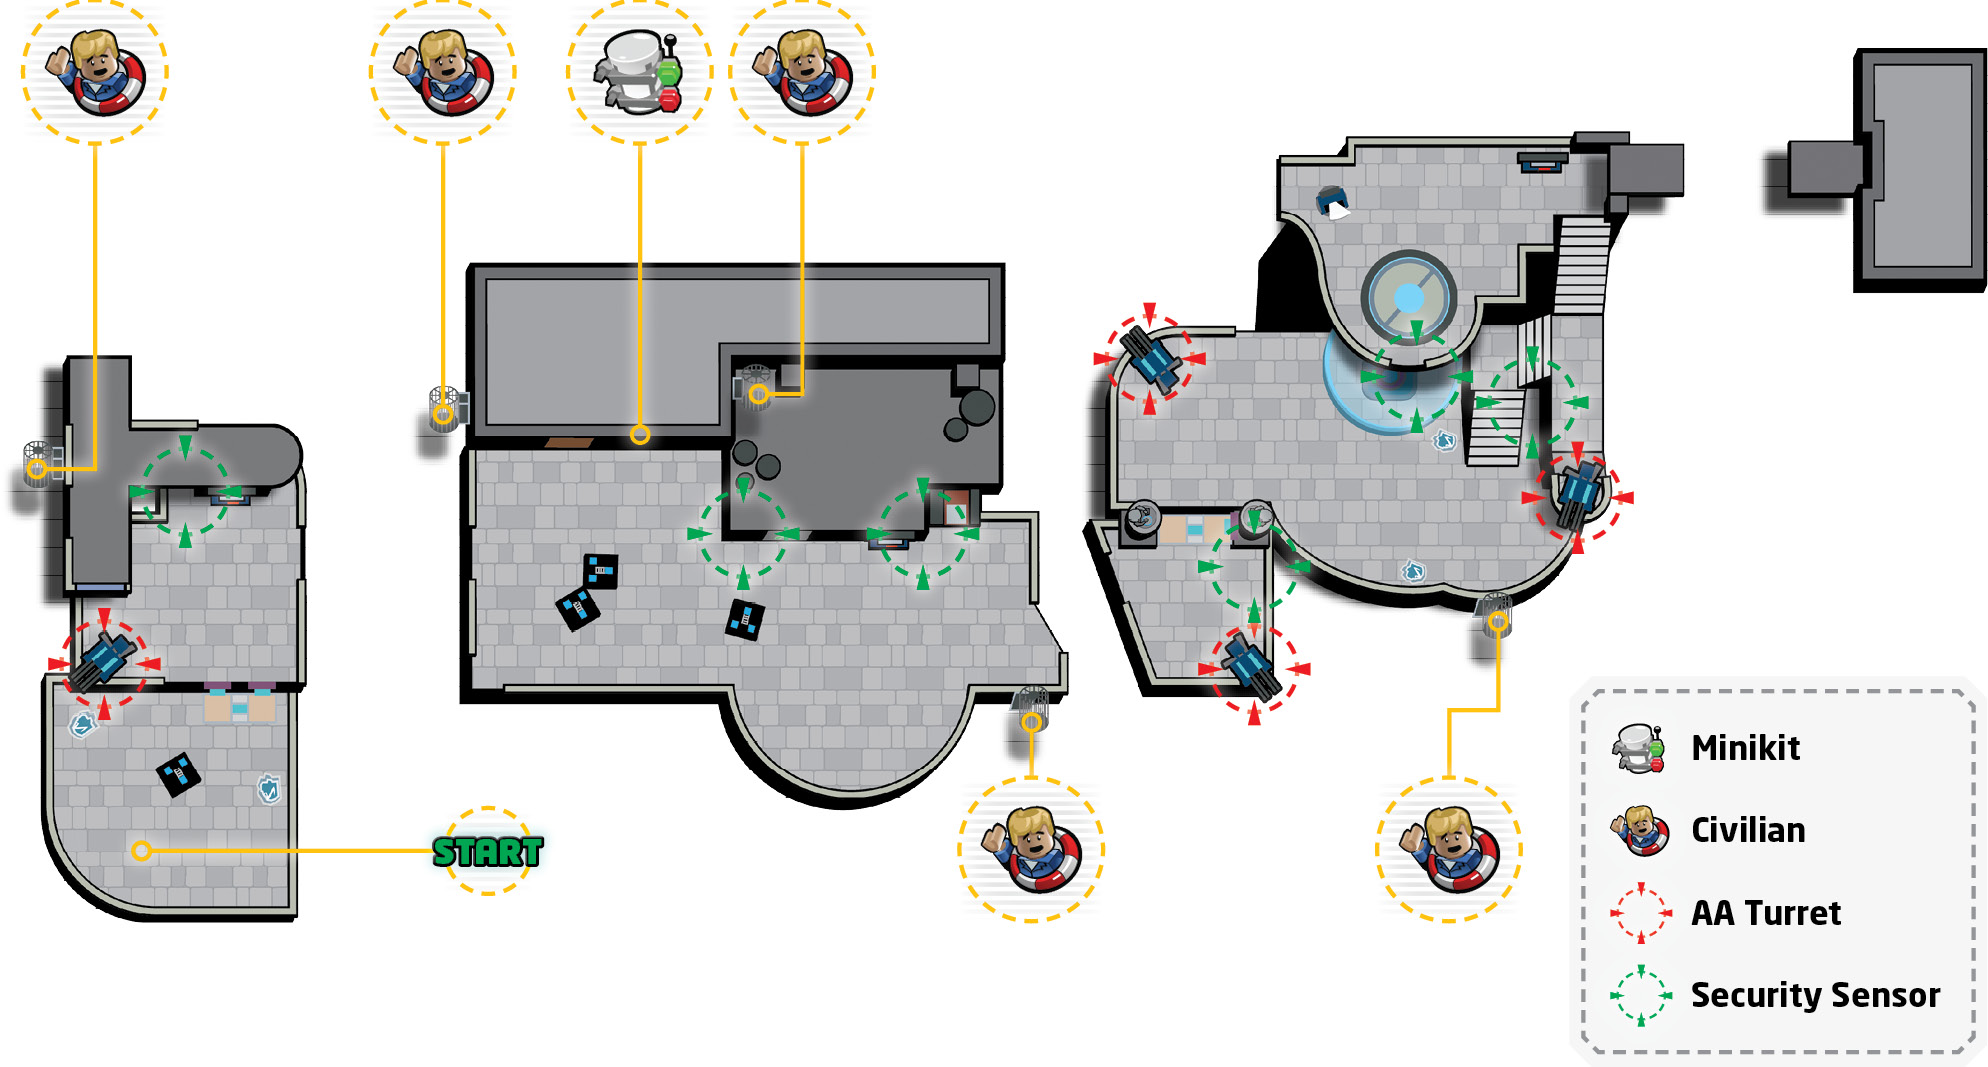

Story Characters
- Invisible Woman
- Mister Fantastic
Recommended Playthroughs
- Playthrough 1: During your first playthrough, try to complete Finish Line, Stud Collector, Clean Sweep, Combo Master, and Silent Guns.
- Playthrough 2: On your second playthrough, use stealth to slip past enemies and complete Uplink, Sneaky Win, and the Multi-Challenge.
- Playthrough 3: After you unlock Free Play for this level, use Spider-Man to complete Minikit and Civilian Peril.
If needed, revisit the level to collect additional studs or complete any challenges you may have missed during previous playthroughs.
Castle Doom Challenges
| Icon | Name | Description | Reward | Story/Free Play |
|---|---|---|---|---|
 |
Finish Line | Complete the level | Invisible Woman | Story |
 |
Stud Collector | Collect over 40,000 studs | None | Story |
 |
Minikit | Collect the minikit | Collectible Card | Free Play |
 |
Uplink | Destroy the satellite dish in 100 seconds or less | None | Story |
 |
Civilian Peril | Rescue all 5 civilians | None | Free Play |
 |
Clean Sweep | Defeat all 25 enemies | None | Story |
 |
Combo Master | Perform a ×10 combo | None | Story |
 |
Silent Guns | Destroy all AA turrets | None | Story |
 |
Sneaky Win | Complete the level without triggering the security systems | None | Story |
 |
Multi-Challenge | Finish the level in 120 seconds; Take no damage; Destroy Doctor Doom’s security system | Wolverine (X-Force) | Story |
 Challenge 1: Finish Line
To complete this challenge, simply finish the level.
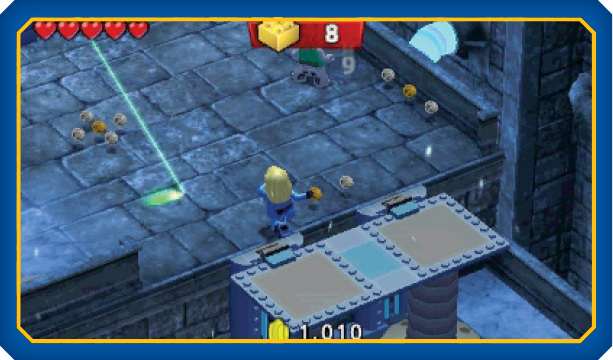
When the level starts, search the area for studs and breakable objects, then use the lift to reach the raised section of the first rooftop. The security system’s first sensor is scanning the area just past the lift. If you move anywhere near the green beam, the alarm triggers and additional Doombots appear in the area. Use invisibility to slip past the sensor, or simply trigger the alarm and defeat the enemies as they respond.
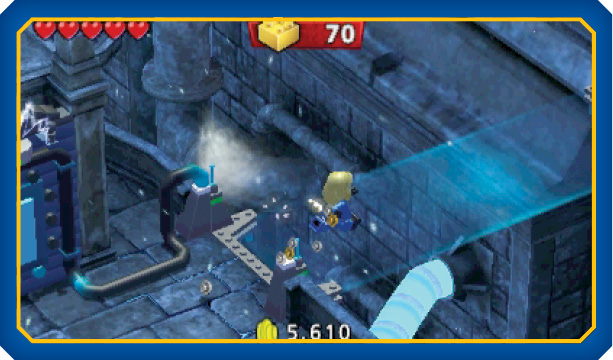
When you’re ready, follow the energy bridge to the next rooftop.
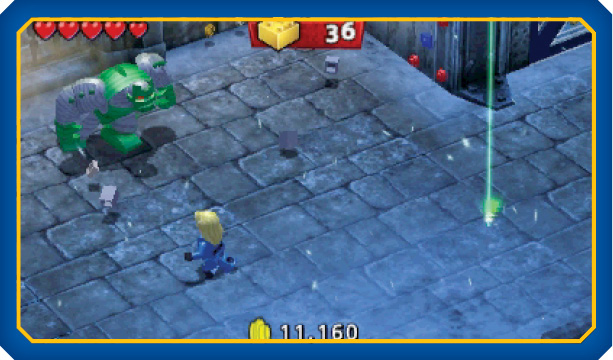
Two sensors are scanning the second rooftop. If you’re detected, a heavy Doombot bursts through the nearby doors. If you encounter this enemy, activate your Tag Move to quickly defeat it, use telekinesis to throw nearby objects, or simply use melee strikes to chip away at its health. Heavy Doombots utilize powerful spinning attacks. Whenever you see a heavy Doombot wind up for an attack, run away to avoid taking damage.
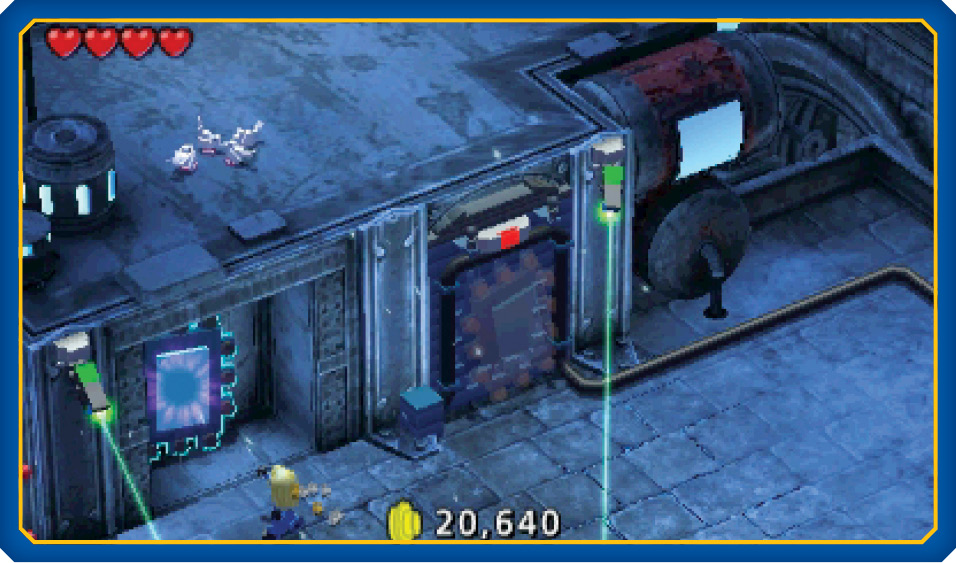
Whether you favor stealth or combat, you must activate the next energy bridge before you can continue. Smash the loose panel located between the security sensors to reveal the generator’s missing piece, then use the Invisible Woman’s telekinesis to snap it into place. When you’re ready, follow the energy bridge to the next rooftop.
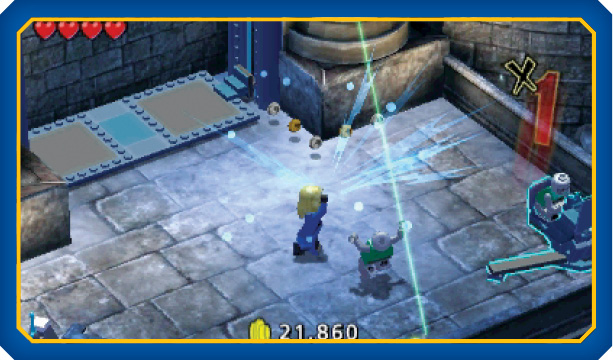
The third rooftop contains more sensors. Use invisibility to sneak through the area, or trigger the alarm and defeat the enemies as they appear. When you’re ready, use the nearby lift to ride up to the rooftop’s raised section.
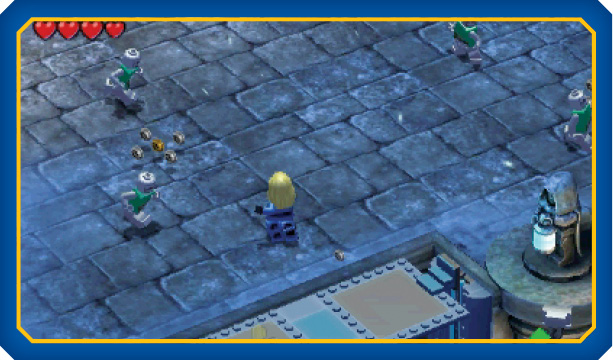
The area just past the lift isn’t being monitored by the security system. Defeat the nearby Doombots, then continue to the right to find the level’s last two security sensors.
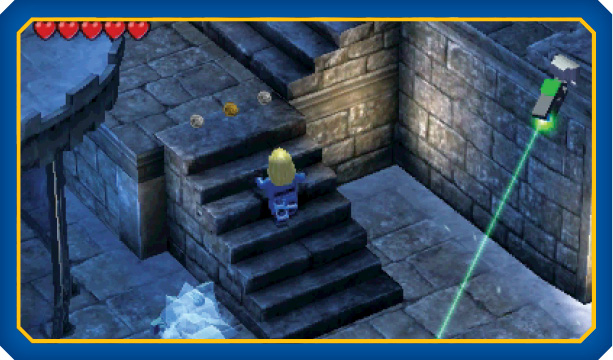
Use stealth or combat to reach the steps between the last two security sensors, then follow the path up to the ledge at the end of the rooftop.
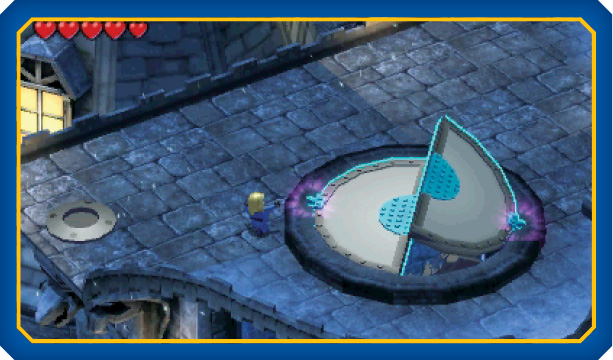
Clear out the remaining Doombots, then use telekinesis to open the large hatch near the end of the ledge.
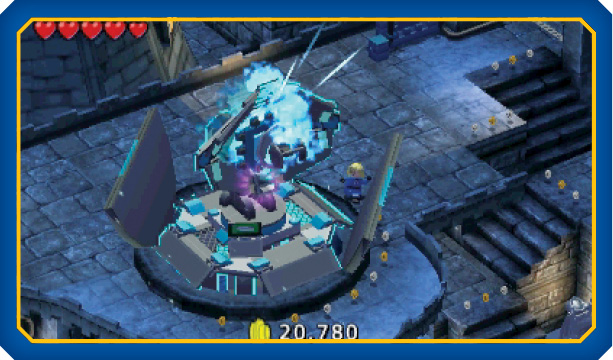
Wait for the large satellite dish to emerge from the hatch, then use the Invisible Woman’s telekinesis to destroy it.
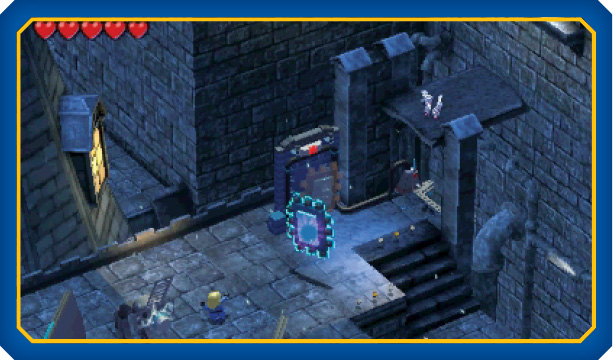
After the satellite dish explodes, use telekinesis to attach the debris to the nearby generator. When the generator activates the final energy bridge, cross to the exit and finish the level.
 Challenge 2: Stud Collector
To complete this challenge, you must collect over 40,000 studs before the level ends.
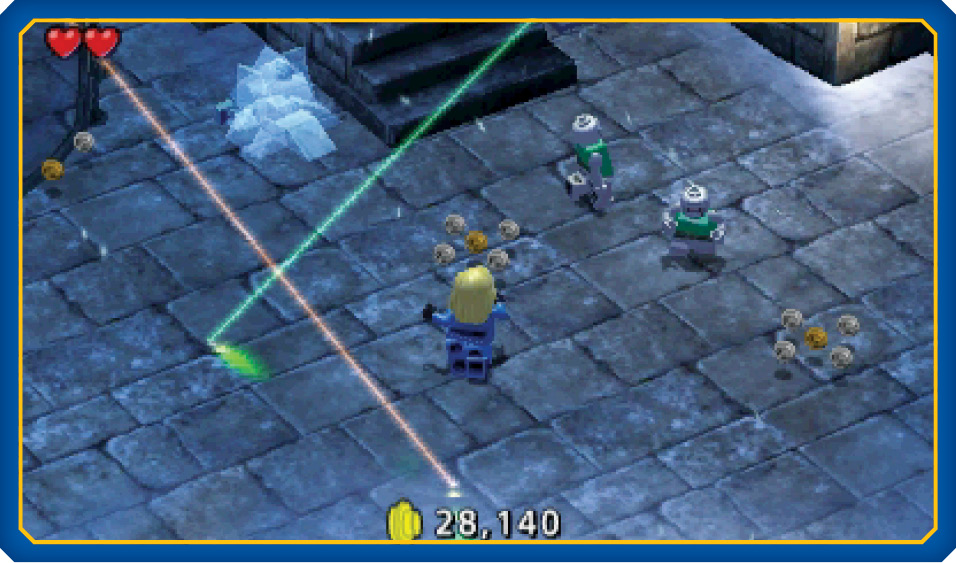
To complete this challenge during Story mode, avoid sneaking through the level. Make a full sweep of each rooftop to defeat enemies, destroy objects, and collect loose studs. Use ranged attacks to destroy the security sensors, and try to counter at least a few Doombot attacks to ensure that you collect the required studs.
 Challenge 3: Minikit
To complete this challenge, you must collect the minikit hidden in the level.
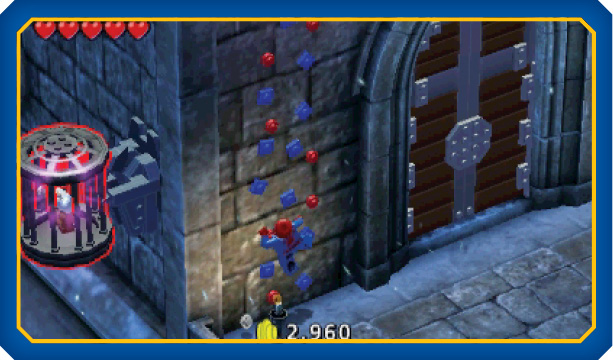
After you unlock Free Play for this level, revisit the map as Spider-Man. When you reach the second rooftop, use Spider-Man to scale the climbing wall near the heavy Doombot’s door.
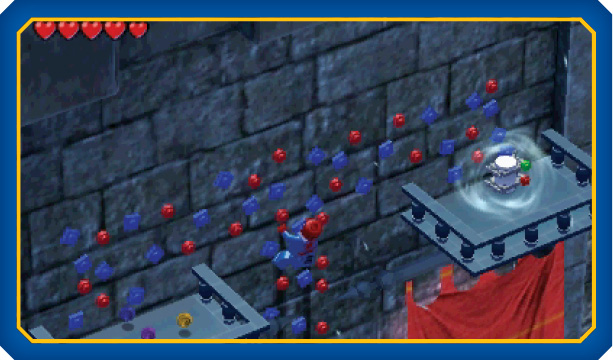
Continue up the climbing wall to find two balconies. The balcony to the left contains a nice stash of studs, and the balcony to the right contains the minikit.
 Challenge 4: Uplink
To complete this challenge, you must destroy the satellite dish within the 100-second time limit.
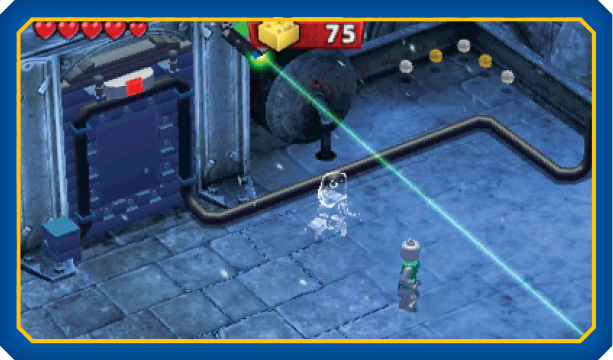
The best way to stay ahead of the clock is to avoid unnecessary combat. Use invisibility to sneak past enemies and security sensors. The Invisible Woman can stay hidden for only a few seconds at a time, so deactivate her invisibility each time you reach a safe area. Each time you stop to activate an energy bridge, use the Invisible Woman’s Grab move (mind slam) to quickly defeat any nearby Doombots.
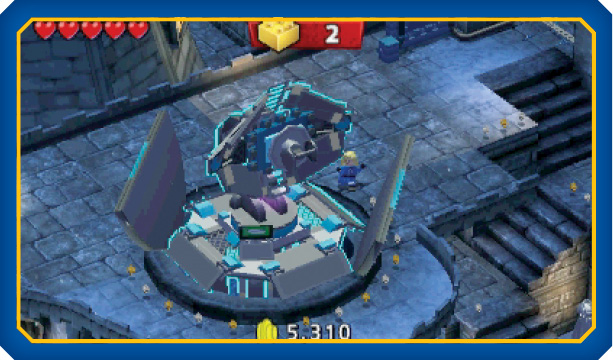
Once you’re safely past all the security sensors, race to the hatch at the end of the map. Defeat any nearby Doombots, then open the hatch and destroy the satellite dish within the allotted time.
 Challenge 5: Civilian Peril
To complete this challenge, you must rescue all five of the civilians scattered throughout the level.
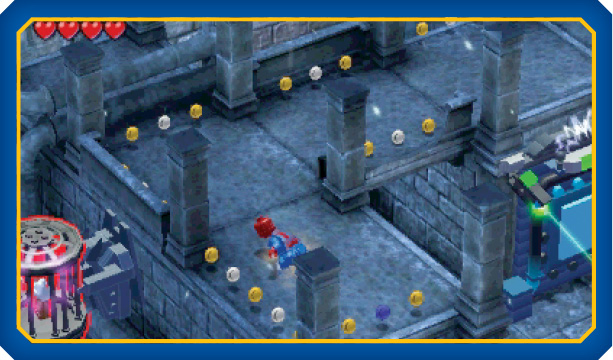
After you unlock Free Play for this level, revisit the map as Spider-Man. When the level starts, activate Spider-Man’s flight mode and head toward the first security sensor. Land on the nearby ledge and locate the cage to the left. Switch to the Invisible Woman, then use telekinesis to move the cage onto the ledge. Smash the cage to rescue the first civilian.
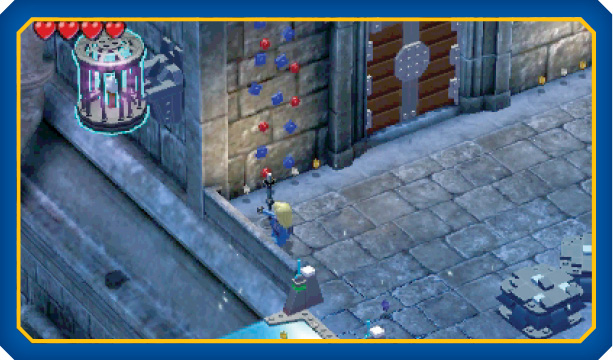
Continue to the second rooftop and stand near the heavy Doombot’s door. Locate the cage to the left, then use telekinesis to move it onto the rooftop. Smash the cage to free the second civilian.
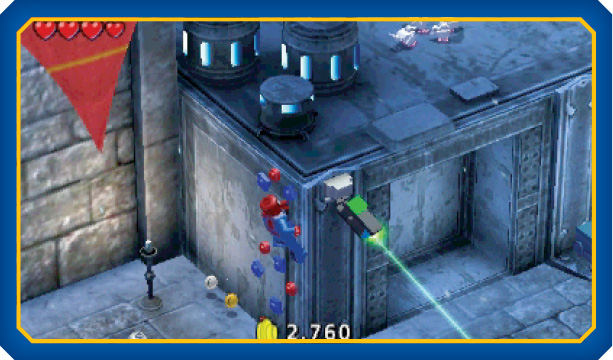
Move past the heavy Doombot’s door and use Spider-Man to scale the small climbing wall.
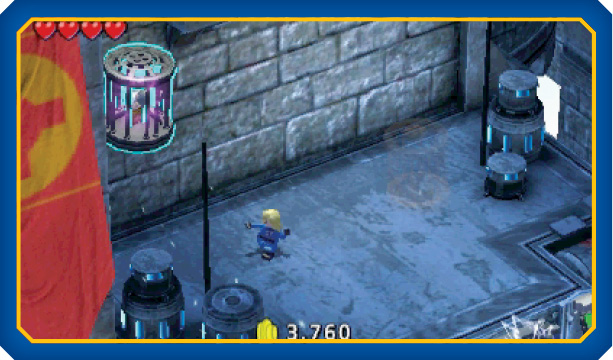
When you reach the top of the climbing wall, use the Invisible Woman’s telekinesis to move the nearby cage. Smash the cage to free the third civilian.
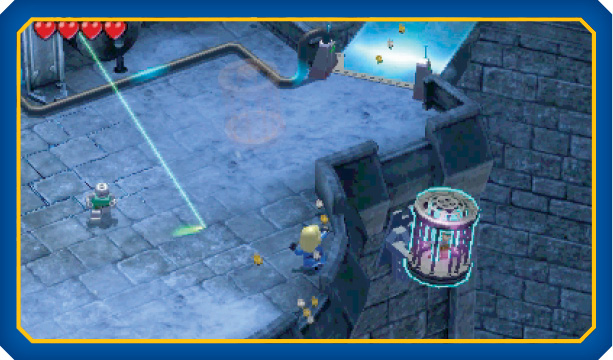
The next civilian is located near the end of the second rooftop. Stand just outside the security sensors’ range and defeat any nearby Doombots. Use telekinesis to move the nearby cage onto the rooftop, then smash the cage to rescue the fourth civilian.
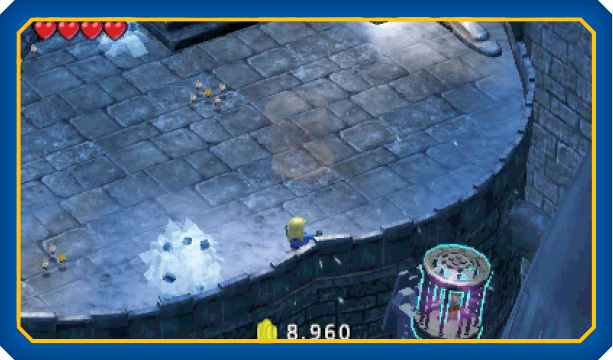
Continue to the third rooftop and locate the cage near the security sensors. Avoid triggering the alarm as you clear out any nearby Doombots. Wait for the beams to sweep away from the area, then dash over to the cage and use telekinesis to move it onto the rooftop. Smash the cage to free the fifth civilian.
 Challenge 6: Clean Sweep
To complete this challenge, you must defeat 25 Doombots before you finish the level.
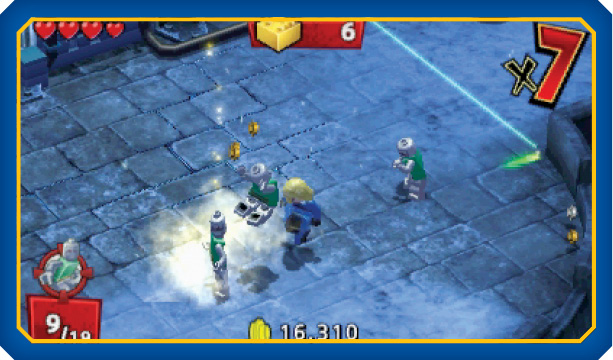
The best way to ensure that you complete this challenge is simply to ignore the security sensors. Trigger each alarm to lure more Doombots into the area, then make a full sweep of the rooftop before you move on.
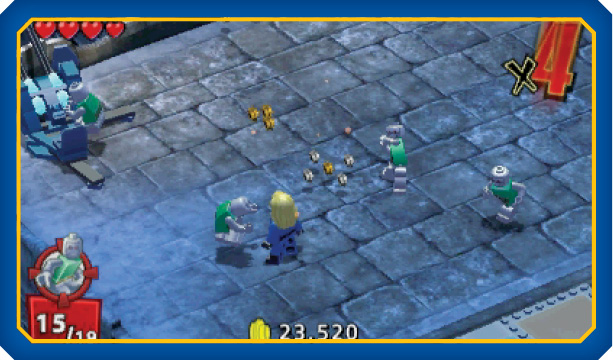
There’s a Doombot controlling each of the AA turrets scattered throughout the level. Remember to defeat these enemies as you clear the rooftops.
 Challenge 7: Combo Master
To complete this challenge, you must perform a ×10 combo.
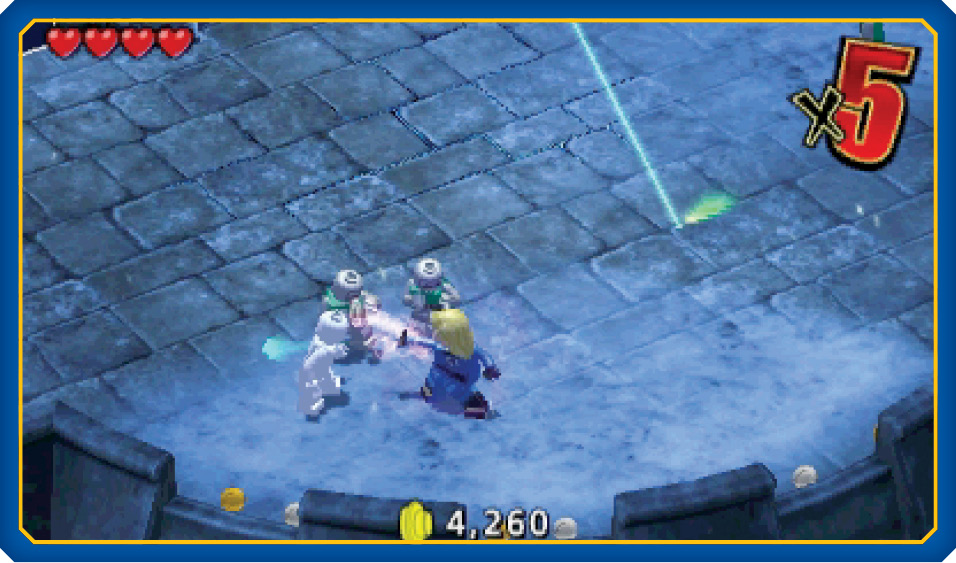
There are many Doombots in this level, so you should find plenty of opportunities to complete this challenge. Gather a few enemies in a single location, then defeat them with a series of ranged attacks or melee strikes.
 Challenge 8: Silent Guns
To complete this challenge, you must destroy all four AA turrets scattered throughout the level.
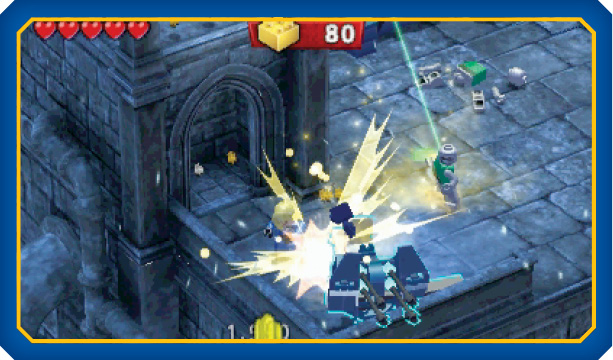
Before you leave the first rooftop, destroy the AA turret near the top of the lift. Use telekinesis to throw the turret, or simply attack it until it falls apart.
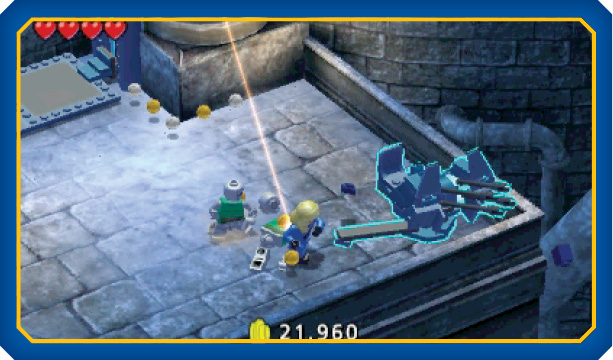
The remaining AA turrets are all on the third rooftop. Smash the turret near the bottom of the lift, then ride up to the next area.
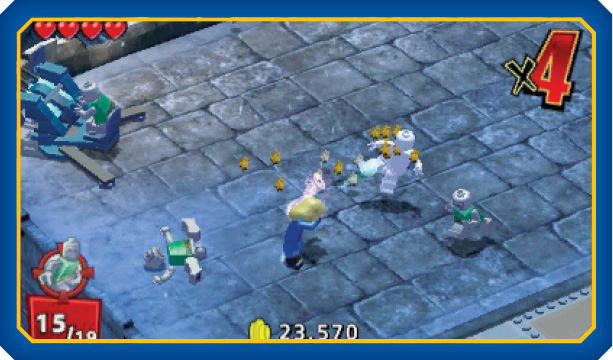
The third AA turret is near the top of the lift. Defeat the waiting Doombots and destroy the turret before you continue.
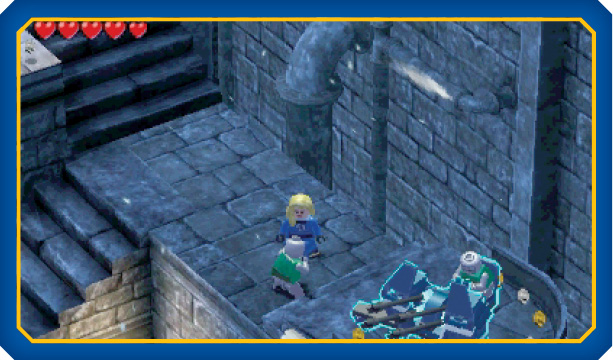
The fourth AA turret is on the ledge above the last security sensor. Climb the steps and smash the turret before you continue to the end of the map.
 Challenge 9: Sneaky Win
To complete this challenge, you must finish the level without triggering the security system.
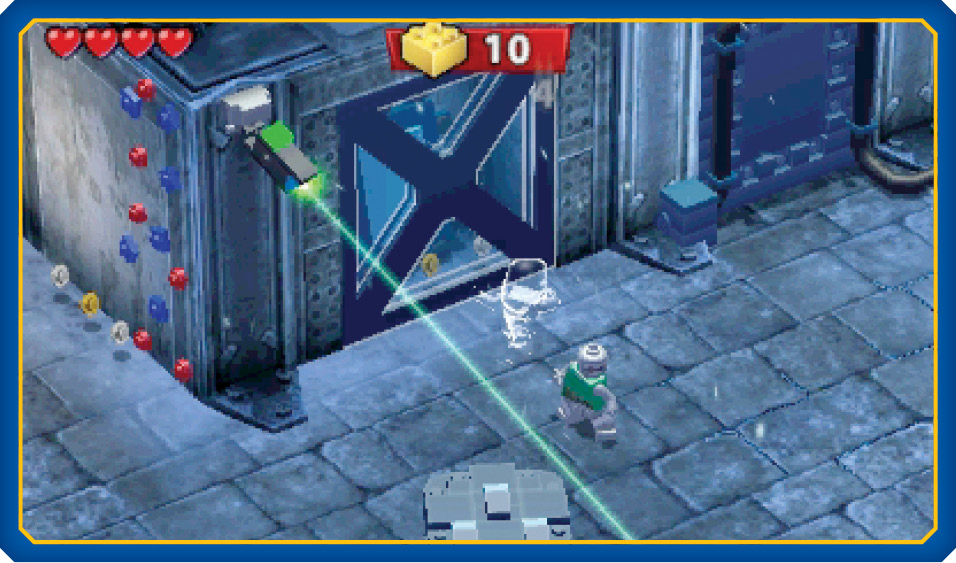
The easiest way to complete this challenge is to activate invisibility each time you approach a security sensor, then dash past the sensor before the effect wears off. If you reach a sensor while the ability is recharging, you can wait for invisibility to become available, use ranged attacks to destroy the sensor, or attempt to dash between hiding spots as the sensor’s beam sweeps across the area.
 Challenge 10: Multi-Challenge
To complete this challenge, you must avoid taking any damage, destroy the giant satellite dish, and finish the level within the 120-second time limit.
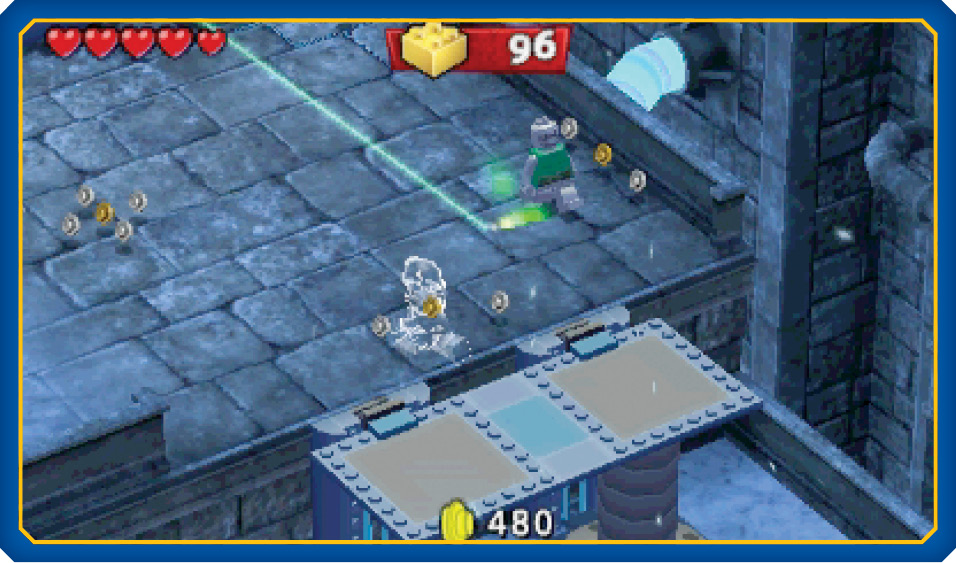
The best way to stay healthy and move quickly is to slip through dangerous areas unnoticed. When the level starts, hop onto the lift and activate invisibility as you ride up to the first security sensor. Dash to the electric bridge, then deactivate invisibility as you move to the second rooftop.
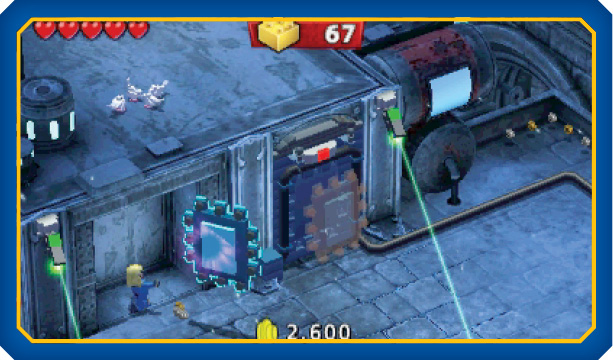
Run toward the next two security sensors, and activate invisibility as you approach the moving beams. Smash the loose panel between the sensors, take cover in the alcove, and deactivate invisibility. Stay inside the alcove as you deal with any incoming enemies and repair the generator. Wait for invisibility to recharge, then activate and dash to the next rooftop.
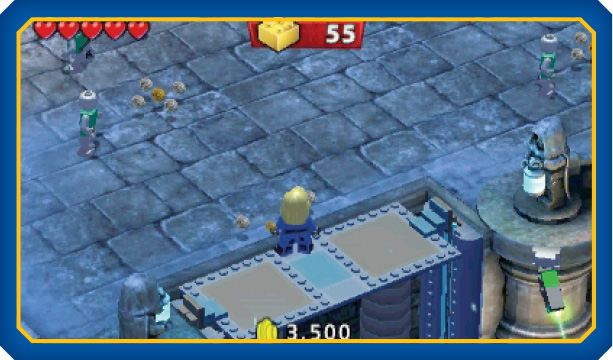
If you move quickly, you should be able to make it to the lift before invisibility wears off. Ride to the top of the lift and wait for invisibility to recharge. If any of the nearby Doombots notice you, use the Invisible Woman’s mind slam attack to quickly defeat your attackers.
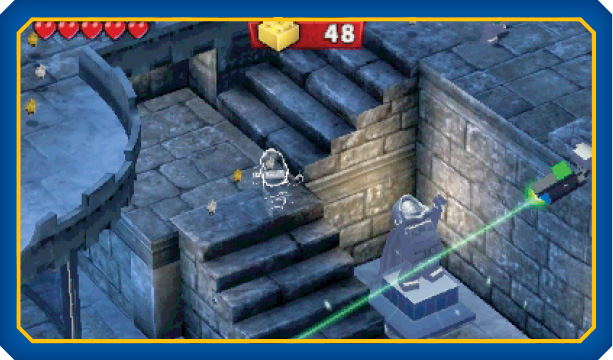
When invisibility is ready, activate it and dash up the steps between the last two security sensors. Continue toward the large hatch at the end of the map. When invisibility wears off, use mind slam to quickly dispatch any Doombots that spot you.
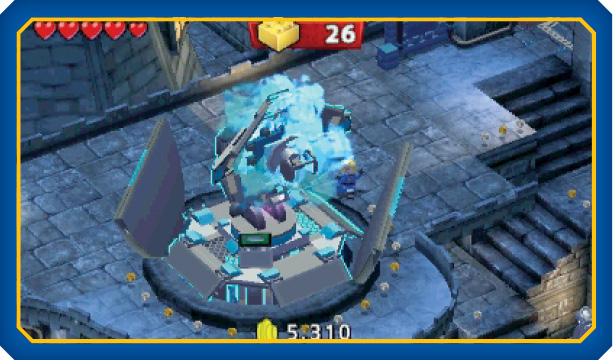
Defeat the Doombots guarding the hatch, then use telekinesis to open the hatch, destroy the satellite dish, and repair the nearby generator. Once you’ve done this, you just need to dash to the exit within the allotted time.