
Lego Marvel Super Heroes (3DS) Guide Chapter 6: Hydra Base
Level 6B: Hydra Base
Story Characters

- Human Torch
- Black Widow
Recommended Playthroughs
- Playthrough 1: During your first playthrough, ignore the timed challenges. Try to complete Finish Line, Stud Collector, Excelsior!, Clean Sweep, Combo Master, No Tag Required, and Rocket Rage.
- Playthrough 2: Revisit the level and race through the level to complete KABOOM! and the Multi-Challenge in a single attempt.
- Playthrough 3: After you unlock Free Play for this level, use Mister Fantastic to complete the Minikit challenge.
If needed, revisit the level to collect additional studs or complete any challenges you may have missed during previous playthroughs.
Hydra Base Challenges
| Icon | Name | Description | Reward | Story/Free Play |
|---|---|---|---|---|
 |
Finish Line | Complete the level | Human Torch | Story |
 |
Stud Collector | Collect over 50,000 studs | None | Story |
 |
Minikit | Collect the minikit | Collectible Card | Free Play |
 |
KABOOM! | Defeat both Hydra heavy goons in 90 Seconds or less | None | Story |
 |
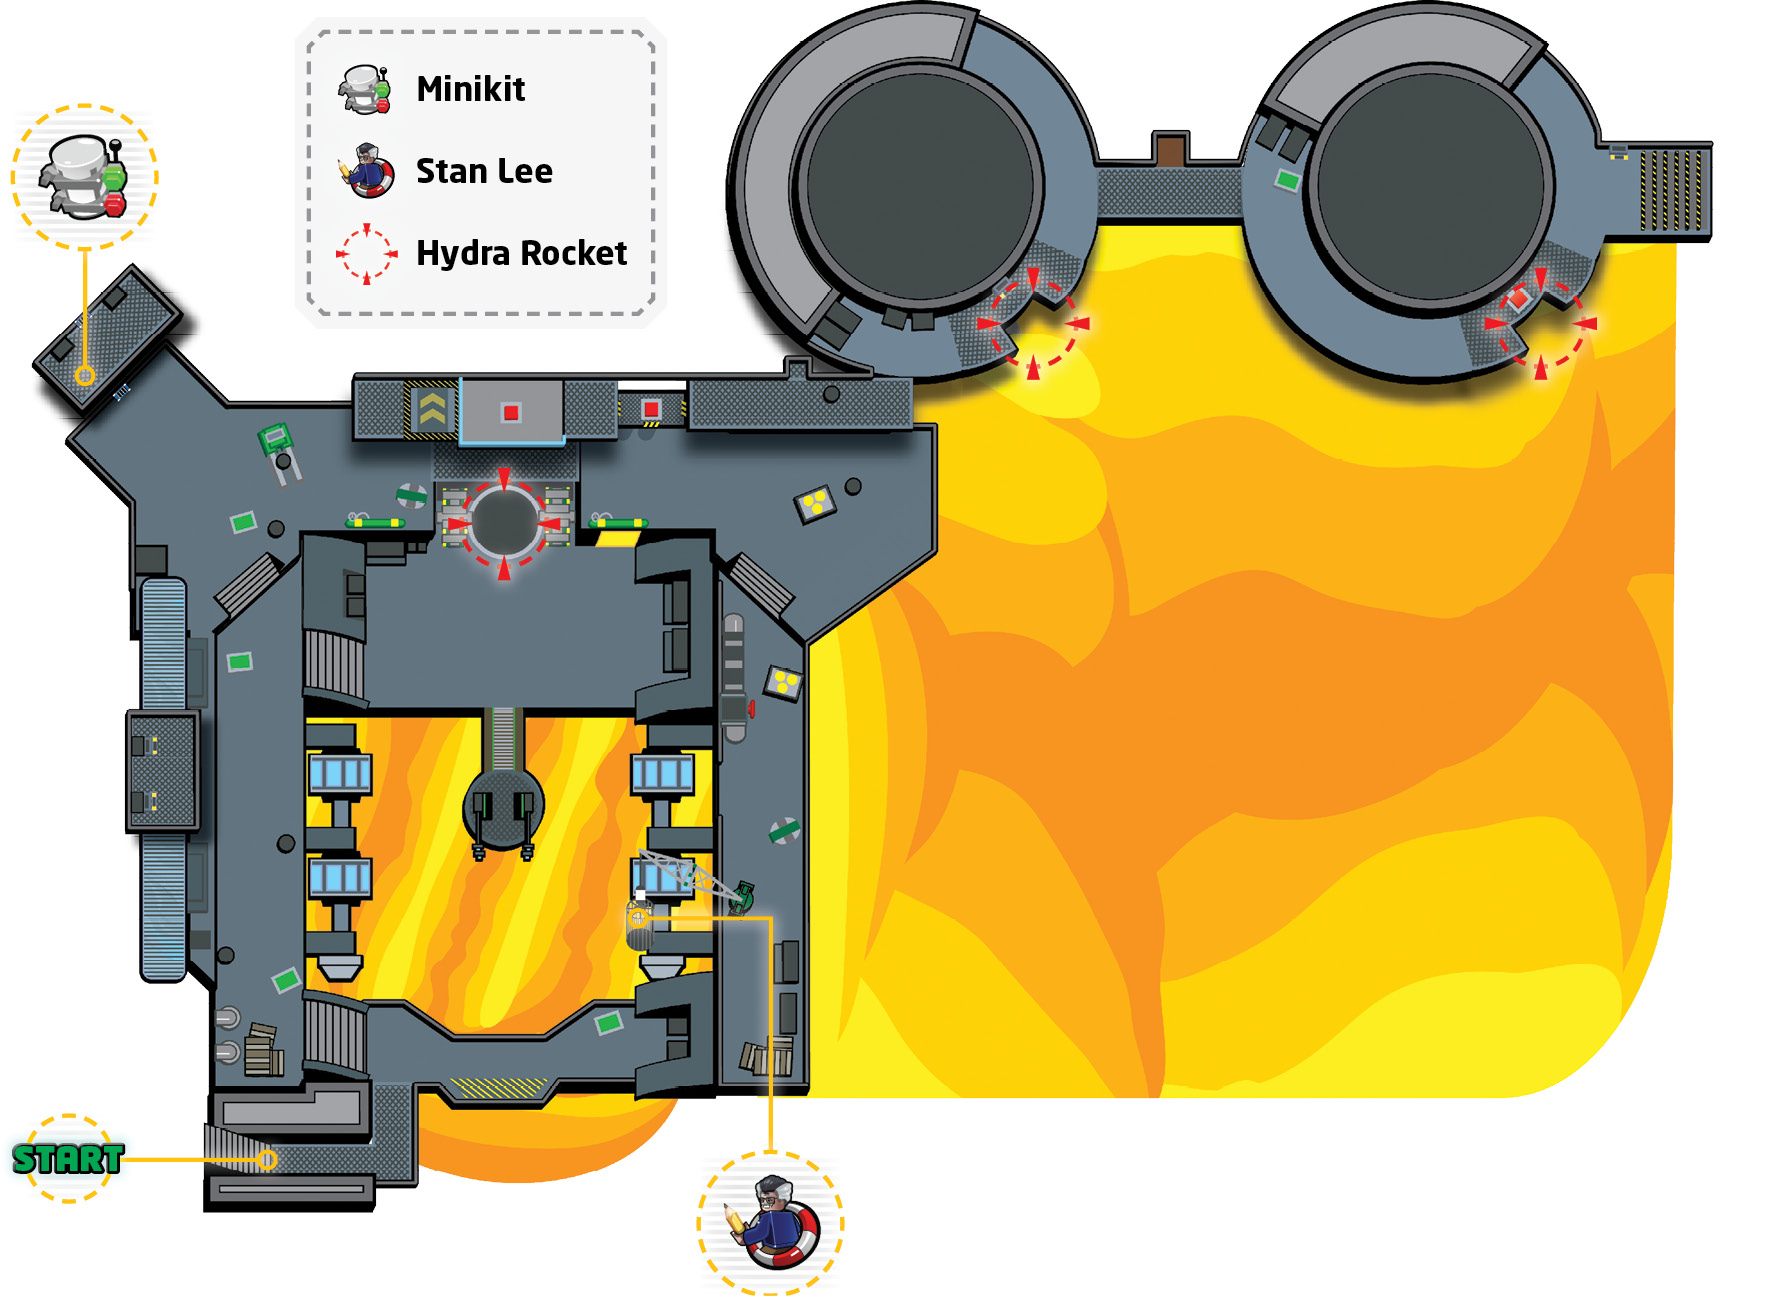
Excelsior! | Find and rescue Stan Lee | None | Story |
 |
Clean Sweep | Defeat all 22 enemies | None | Story |
 |
Combo Master | Perform a ×10 combo | None | Story |
 |
No Tag Required | Beat the level without using a Tag partner | None | Story |
 |
Rocket Rage | Destroy all the Hydra rockets | None | Story |
 |
Multi-Challenge | Finish the level in 100 seconds; Complete the level without taking any damage; Clear the level without using a Super Move | Scarlet Spider (Classic) | Story |
 Challenge 1: Finish Line
To complete this challenge, simply finish the level.
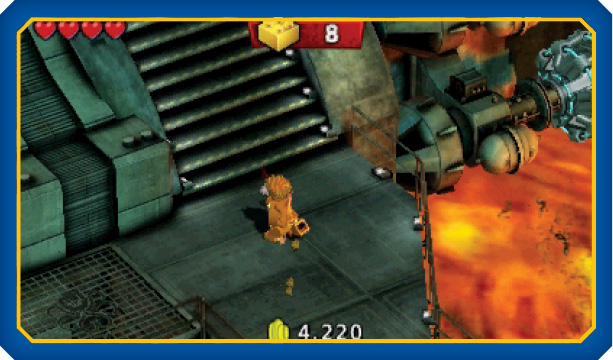
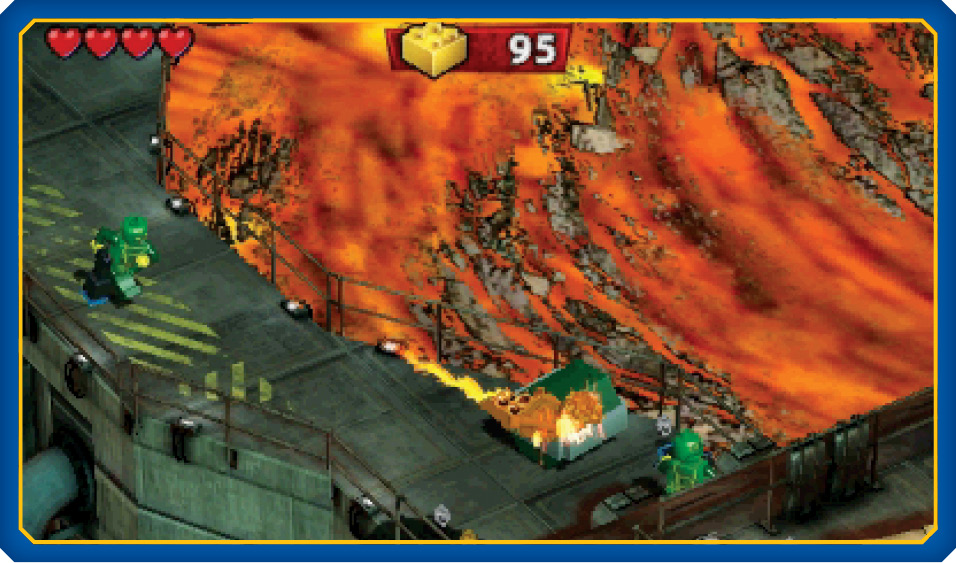
The level’s starting area is packed with enemies, destructible objects, and key elements of multiple challenges. It can be very helpful to make a full sweep of the area. The Human Torch’s flight mode makes it very tempting to zip around the level. However, you’ll want to deal with the turret at the center of the area before you wander off the main path. After you clear out the first group of enemies, climb up the steps located near the top of the screen.
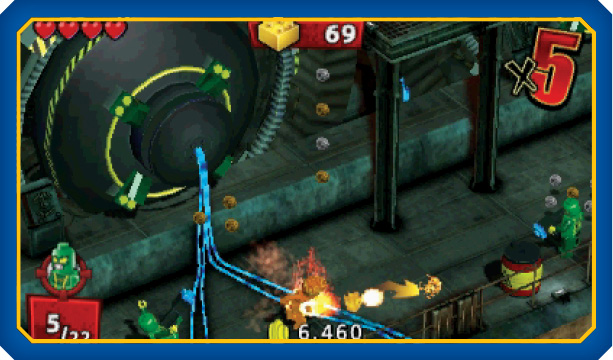
Clear out the enemies along the edge of the area, and as you do, take care to dodge incoming attacks and keep your distance from any exploding barrels.
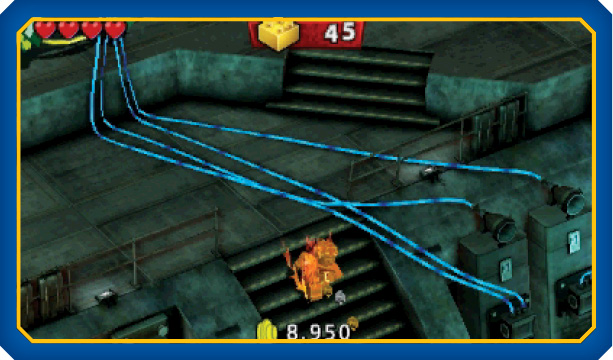
As you approach the next corner, look for the steps leading down to the platform near the center of the room. If you intend to fully explore the starting area, head down the steps to find the large turret and some Hydra Goons. Otherwise, follow the main path along the edge of the area.
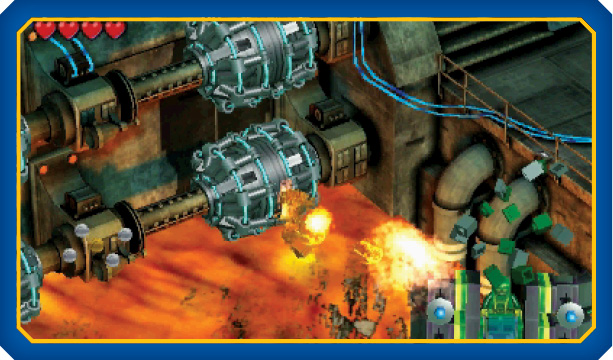
If you opt to destroy the turret, activate the Human Torch’s flight mode and use ranged attacks to blast the weapon. As the turret rotates toward you, use the Dodge move to dash behind it and resume your attacks. Once you’ve defeated the turret, you’re free to fly around and explore the starting area. If the turret lands a successful hit, it can knock you straight into the lava. Make sure that you stay out of the weapon’s line of fire.
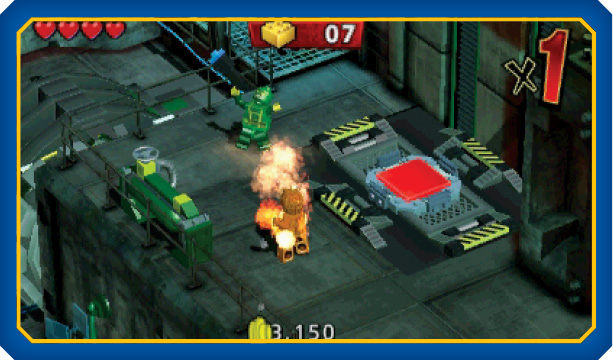
When you’re finished exploring the starting area, move to the lift on the far side of the room. When you approach the lift, a Hydra goon drops down from the walkway above you. Deal with this enemy, then ride the lift up to the next area.
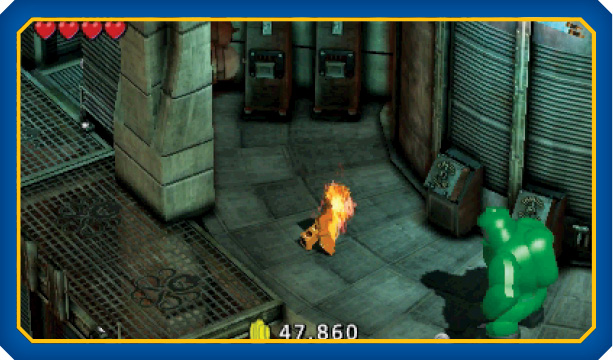
When the lift stops, clear out the nearby enemies and search the area. When you’re ready, follow the main path to find the level’s first Hydra heavy goon. If the heavy goon charges, slip behind him and strike the tank on his back. Otherwise, just blast him with a series of ranged attacks until you defeat him.
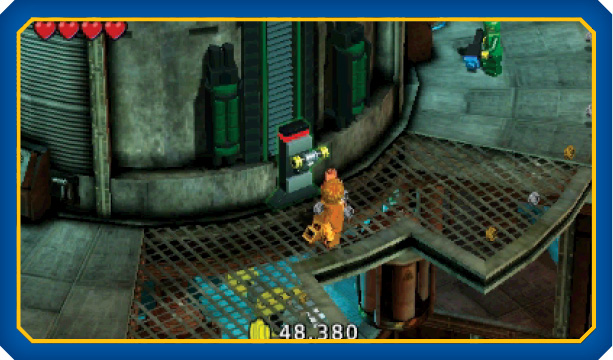
The lever just past the first heavy goon is used to activate one of the Hydra rockets. Unless you’re working on the related challenge, you’re free to ignore the lever and continue along the main path. If you prefer, simply clear out the remaining enemies as you follow the path toward the end of the map.
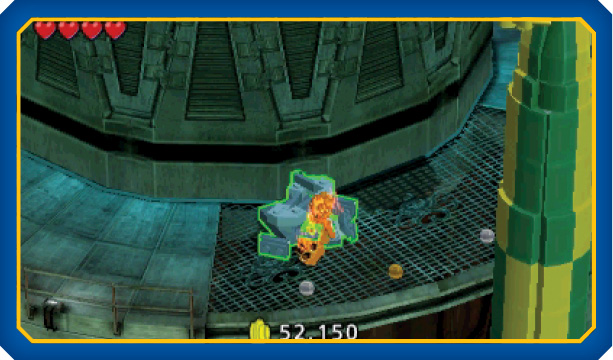
As you approach the end of the path, you pass by one of the map’s Hydra rockets. The nearby Build-it is used to create a switch. Unless you intend to destroy the Hydra rocket, you can skip this Build-it and head straight for the enemies at the end of the path.
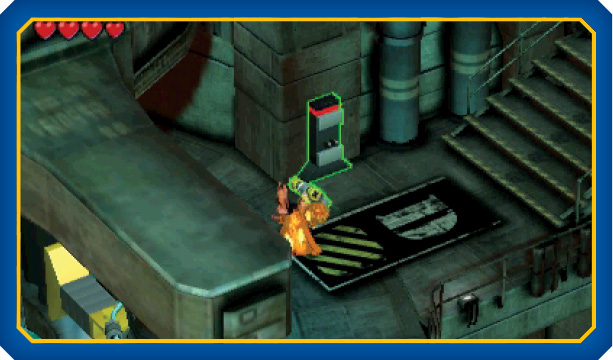
Defeat the Hydra goon and the heavy goon near the end of the path, then use the Build-it near the steps to assemble a lever. Pull the lever to open the nearby door, then climb the steps to finish the level.
 Challenge 2: Stud Collector
To complete this challenge, you must collect over 50,000 studs before the level ends.
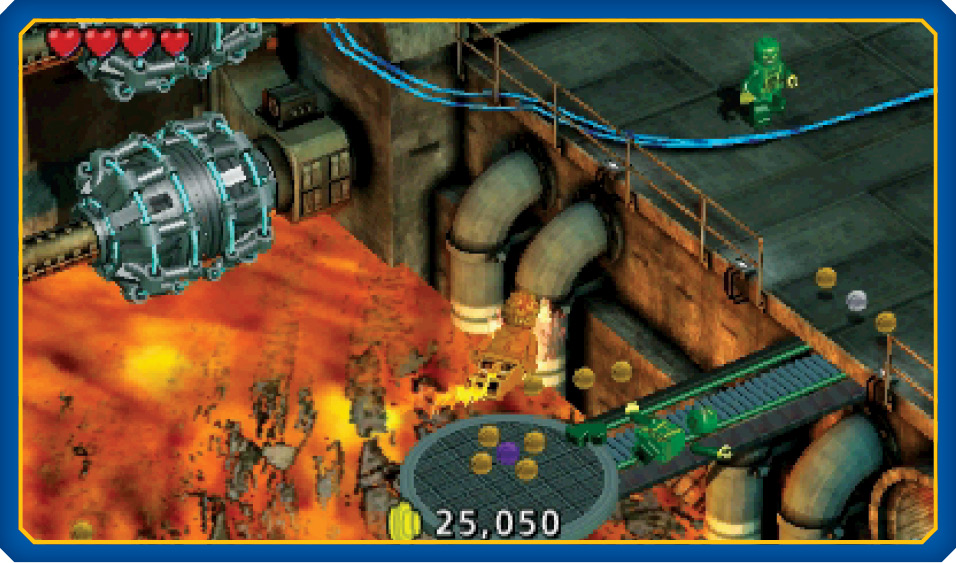
This level is packed with enemies, breakable objects, and some very valuable loose studs. As long as you’re thorough, you should be able to complete this challenge before you finish the level. Make sure to destroy the turret in the starting area. This not only reveals the studs hidden beneath the weapon, it also allows you to safely collect the studs that are floating above the lava.
 Challenge 3: Minikit
To complete this challenge, you must collect the minikit hidden in the level.
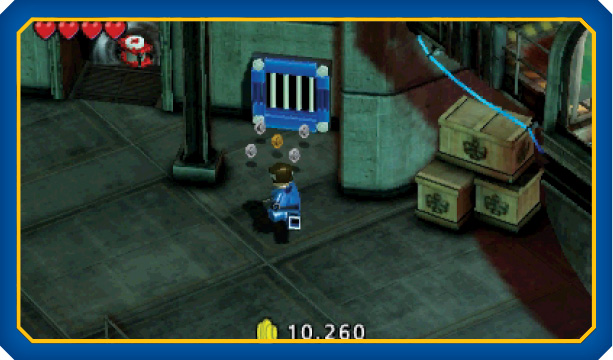
After you unlock Free Play for this level, revisit the map with Mister Fantastic. Follow the main path around the edge of the starting area to find a vent in the corner. Use Mister Fantastic to slip through the vent.
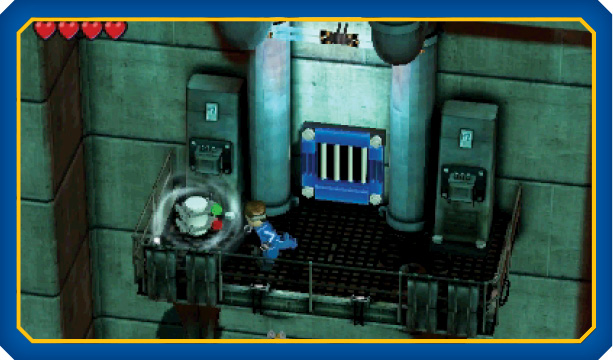
When you arrive on the hidden platform, collect the nearby minikit and head back through the vent.
 Challenge 4: KABOOM!
To complete this challenge, you must defeat two Hydra heavy goons within the 90-second time limit.
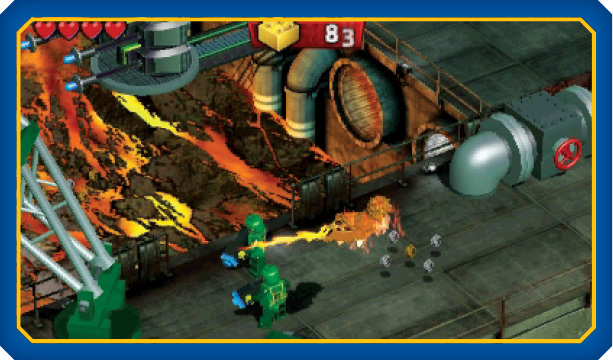
When the level starts, activate the Human Torch’s flight mode and move toward the bottom of the screen. Ignore the Hydra goons and follow the path around the edge of the starting area to stay out of the turret’s attack range. When you reach the lift, land on the switch and defend yourself from any incoming attacks.
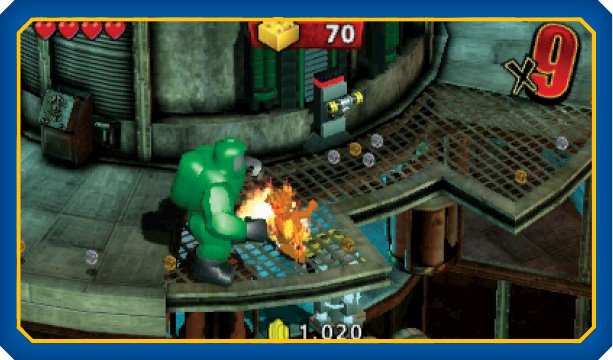
When you reach the top of the lift, defeat the nearby enemies, then follow the main path to the first Hydra heavy goon. If the heavy goon charges, slip behind him and strike the tank on his back. Otherwise, just hit him with a series of ranged attacks until you defeat him.
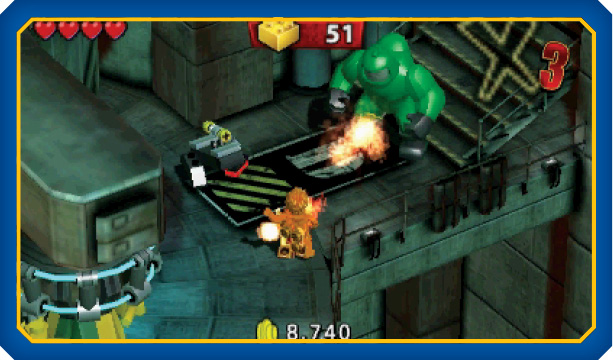
If you’re low on time, use the Human Torch’s flight mode to bypass the smaller goons. Otherwise, consider clearing them out to prevent them from attacking. Follow the path until you reach the remaining heavy goon, then defeat him within the allotted time.
 Challenge 5: Excelsior!
To complete this challenge, you must find and rescue Stan Lee.
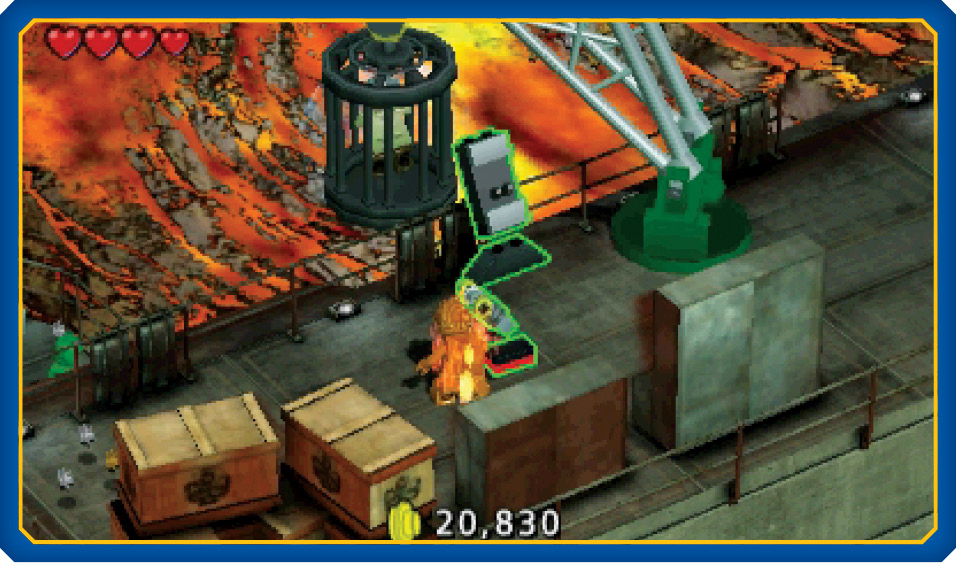
When the level starts, fly toward the bottom of the screen and land on the raised walkway along the edge of the area. Follow the walkway until you find the crane holding Stan Lee. Assemble the nearby Build-it to create a lever, then activate the lever to rescue Stan Lee.
 Challenge 6: Clean Sweep
To complete this challenge, you must defeat 22 Hydra goons before you finish the level.
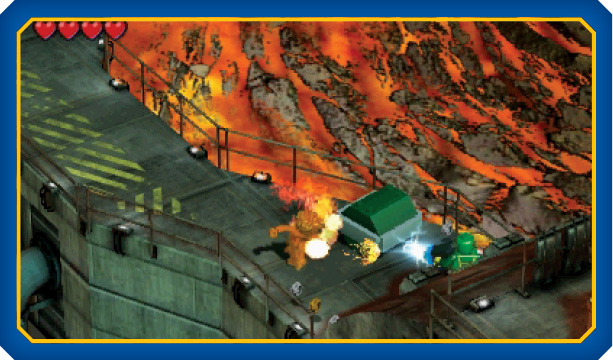
The Hydra goons are scattered throughout the level, so make sure that you explore the entire starting area before you activate the lift. After you defeat the first two enemies, move toward the bottom of the screen to find a goon lurking near the raised walkway.
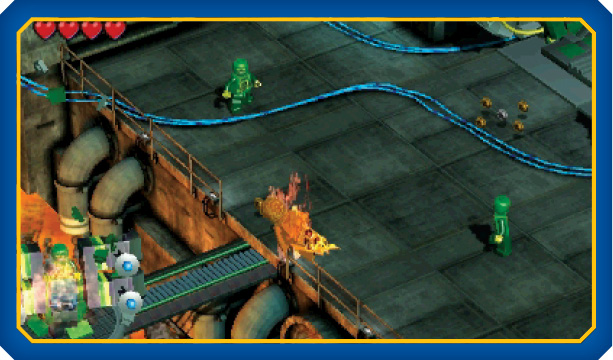
A couple of enemies are guarding the turret. Remember to deal with them before you leave the area.
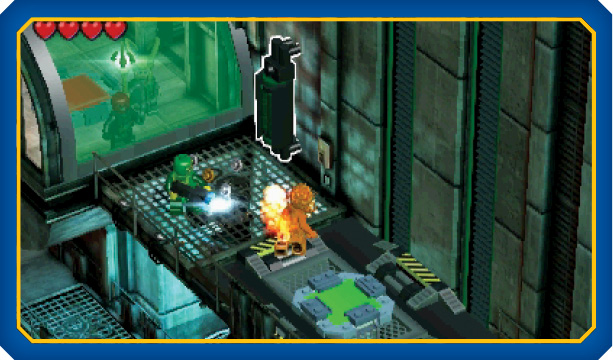
Once you’ve cleared the starting area, move on and defeat the goons near the top of the lift. Once you’ve done that, simply follow the main path and clear out all the enemies you encounter on your way through the level.
 Challenge 7: Combo Master
To complete this challenge, you must perform a ×10 combo.
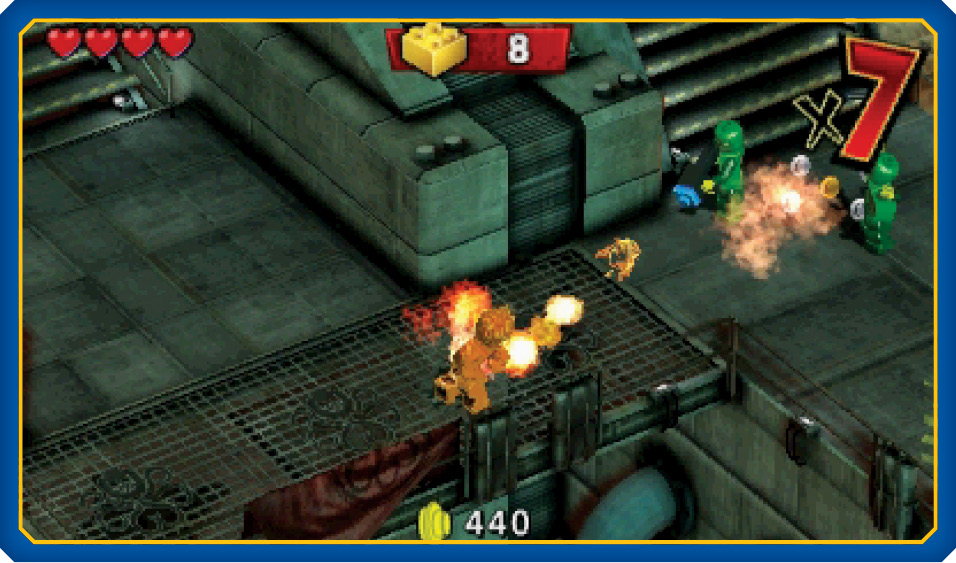
The Human Torch’s ranged attack makes it very easy to complete this challenge any time you find two or more enemies standing near each other. Simply fire a steady stream of ranged attacks into the enemies until you complete the challenge.
 Challenge 8: No Tag Required
To complete this challenge, you must finish the level without calling on your Tag partner.
The Human Torch is more than capable of handling the enemies on this map. Refrain from using any Tag Moves until you finish the map.
 Challenge 9: Rocket Rage
To complete this level, you must destroy the three Hydra rockets scattered throughout the level.
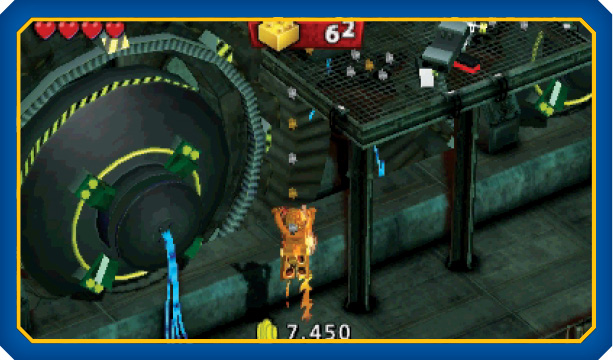
The first Hydra rocket is hidden within the starting area. Before you can destroy it, you must raise it out of the floor. Follow the main path until you cross the first set of glowing cables. Move under the trail of floating studs and use the Human Torch’s flight mode to reach the platform above you.
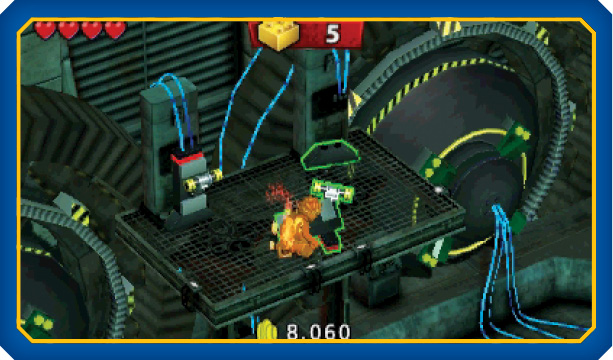
Assemble the Build-it on the platform, then pull each of the two levers to open the hatch near the turret.
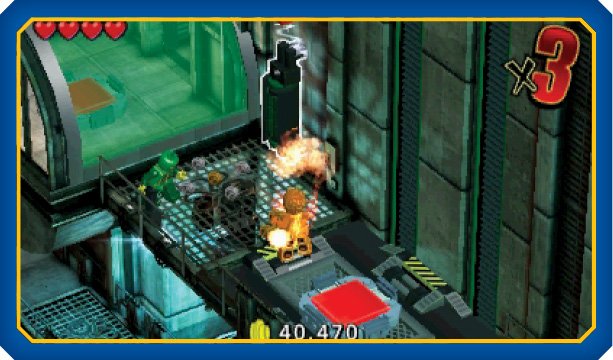
Continue along the main path and use the lift to ride up to the walkway. After you deal with the waiting enemy, destroy the device mounted on the wall. When the nearby barrier lowers, use the switch in the chamber to raise the first Hydra rocket out of the floor.
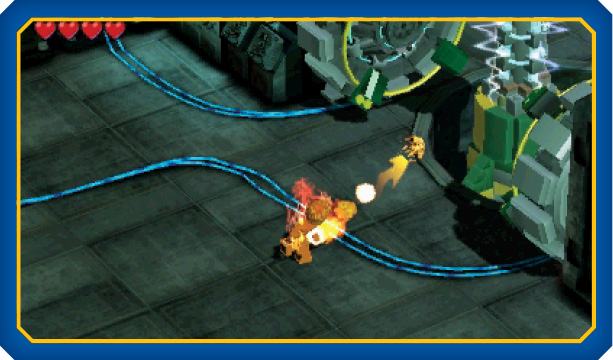
Fly down to the Hydra rocket and deal with any nearby threats. When it’s safe, use the Human Torch’s ranged attack to destroy the rocket’s exposed core.
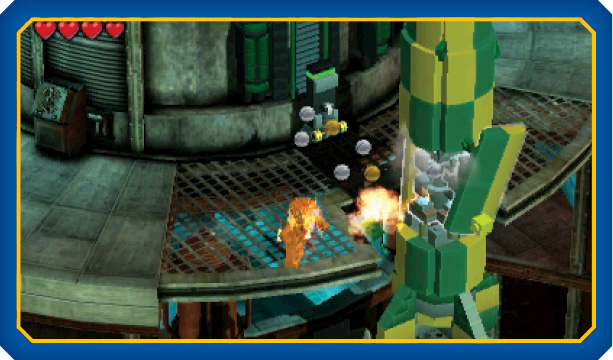
Progress through the level until you defeat the first heavy goon. Check the area for additional enemies, then use the nearby lever to raise the second Hydra rocket through the gap in the walkway. Smash through the outer panels, then attack the rocket’s core until it explodes.
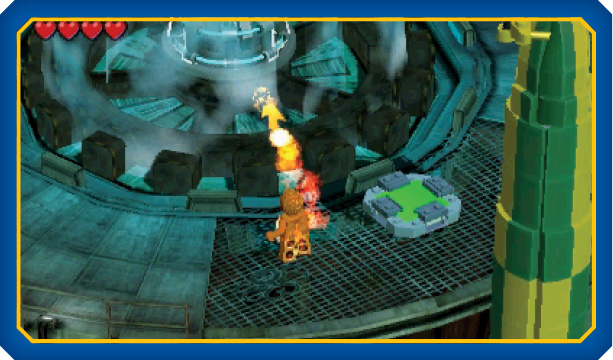
Continue along the main path to find the Hydra rocket near the end of the level. Deal with the remaining enemies, then use the Build-it near the rocket to assemble a switch. Stand on the switch to expose a large generator, then hit the generator with a few ranged attacks to destroy the final Hydra rocket.
 Challenge 10: Multi-Challenge
To complete this challenge, you must avoid taking any damage, refrain from using Super Moves, and complete the level within the 100-second time limit.
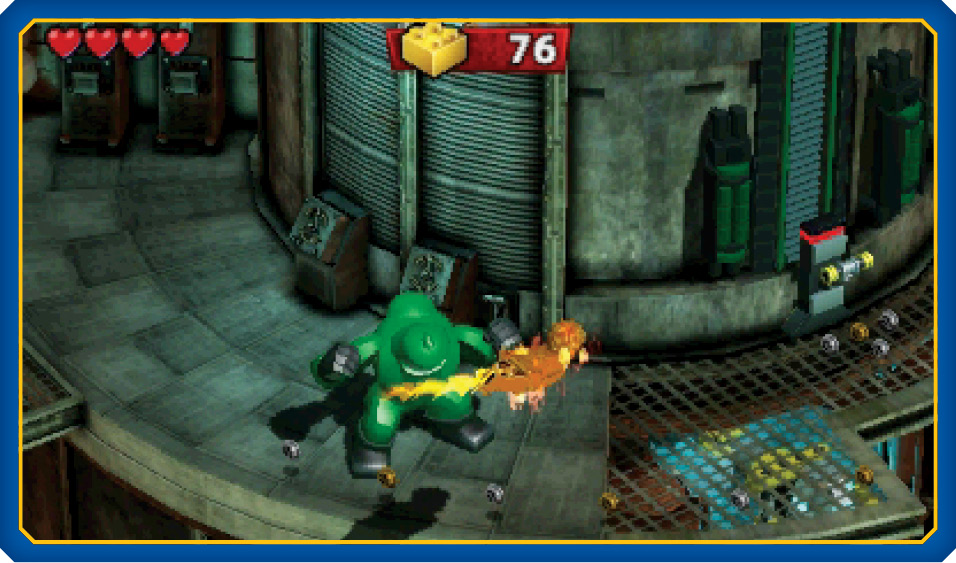
The best way to save time and avoid damage is to fly through most of the level. If you move quickly, you’ll be out of range by the time most goons notice you. Still, it’s important to keep an eye out for incoming projectiles. Above all, avoid moving in and out of flight mode when enemies are nearby—you won’t be able to dodge incoming attacks as you take off or land.
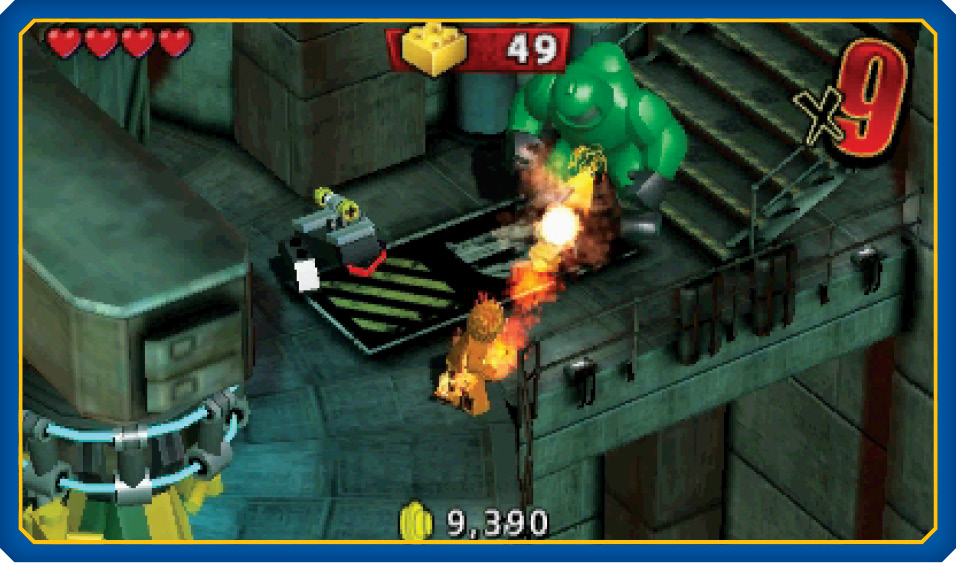
Race toward the end of the level and find a safe place to land. Defeat the goons near the steps, then assemble a switch. Pull the switch and run up the steps to finish the level in the allotted time.