
Lego Marvel Super Heroes (3DS) Guide Chapter 5: Stark Tower
Level 5A: Stark Garage

Story Characters
- Tony Stark
- Captain America
Recommended Playthroughs
- Playthrough 1: During your first playthrough, try to complete Finish Line, Stud Collector, I Am Iron Man, No Tag Required, Combo Master, and Flawless Win!
- Playthrough 2: Revisit the level and try to complete the Multi-Challenge.
- Playthrough 3: After you unlock Free Play for this level, use Mister Fantastic to complete Minikit and Civilian Peril.
- Playthrough 4: After you unlock Free Play for this level, use Hawkeye to complete Vanity Case.
If needed, revisit the level to collect additional studs or complete any challenges you may have missed during previous playthroughs.
Stark Garage Challenges
| Icon | Name | Description | Reward | Story/Free Play |
|---|---|---|---|---|
 |
Finish Line | Complete the level | Tony Stark | Story |
 |
Stud Collector | Collect over 10,000 studs | None | Story |
 |
Minikit | Collect the minikit | Collectible Card | Free Play |
 |
I Am Iron Man | Retrieve the Iron Man Mk1 armor in 90 seconds or less | None | Story |
 |
Civilian Peril | Rescue all 3 civilians | None | Free Play |
 |
No Tag Required | Beat the level without using a Tag partner | None | Story |
 |
Combo Master | Perform a ×10 combo | None | Story |
 |
Flawless Win! | Complete the level without taking any damage | None | Story |
 |
Vanity Case | Rebuild all the Iron Man portraits | None | Free Play |
 |
Multi-Challenge | Finish the level in 100 seconds; Defeat 5 enemies using Super Moves; Defeat 2 enemies using a single Tag Move | Howard Stark | Story |
 Challenge 1: Finish Line
To complete this challenge, simply finish the level.
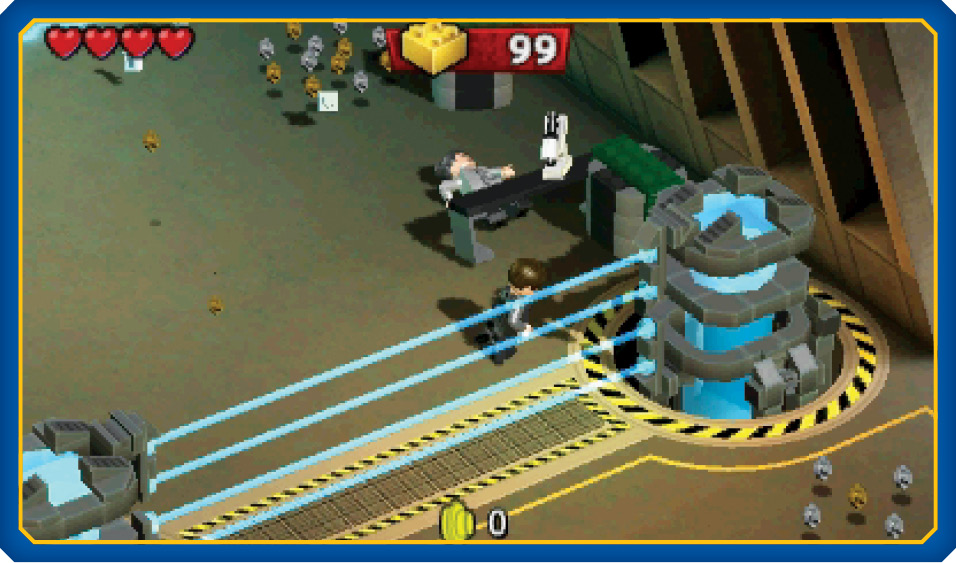
When the level starts, a laser an energy barrier switches on and starts moving toward you. The path ahead is blocked by a laser wall. Use melee attacks to destroy the glowing generator on each side of the laser wall. Move quickly to deactivate the lasers before the energy barrier reaches you.
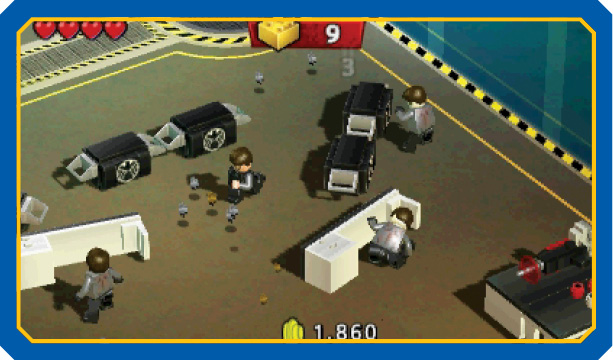
Try to collect some loose studs as you slip between objects and enemies. It’s best to avoid combat or unnecessary destruction as you race to stay ahead of the energy barrier, but don’t hesitate to smash a few obstacles if you find yourself in a tight spot.
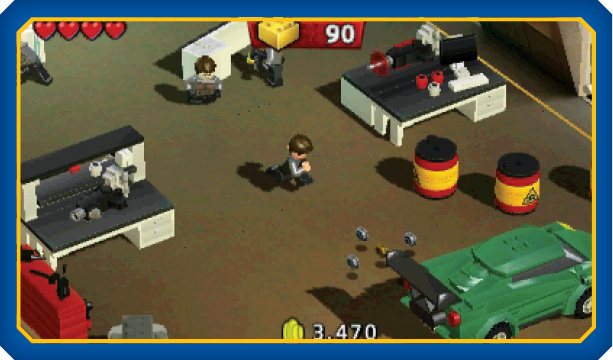
As you move past the desks, look for the green car on the nearby ramp. When you reach this vehicle, stop and wait for it to roll across your path before you continue.
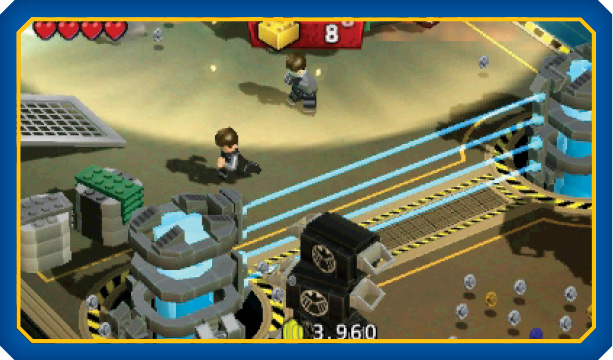
As soon as the car rolls past you, continue down the path to find the second laser wall emerging from the floor. Stay clear of the explosion caused by the car crash and destroy the glowing generator on each side of the lasers. Move quickly to ensure that you disable the wall before the energy barrier catches up to you.
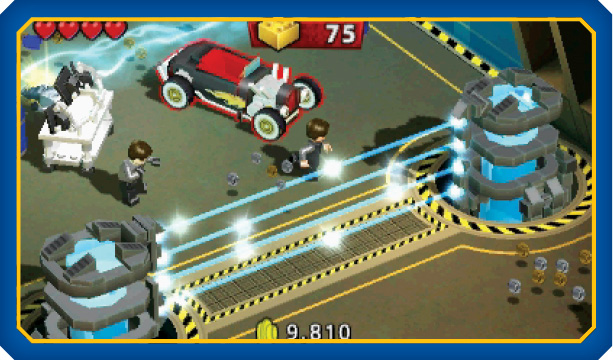
Slip between the tumbling crates, then weave through the explosive barrels, enemies, and machinery until you reach the final laser wall. Move quickly to disable the lasers and continue to the next area.
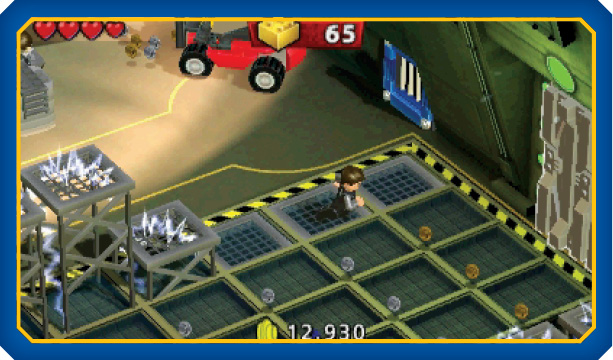
Soon after you pass the third laser wall, more explosive barrels come tumbling off a nearby forklift. Dash past the forklift to make sure you’re clear by the time the barrels fall to the floor, then continue to the electrified panels just down the path. These panels raise and lower in a wavelike pattern, so slip across the lowered panels before they activate.
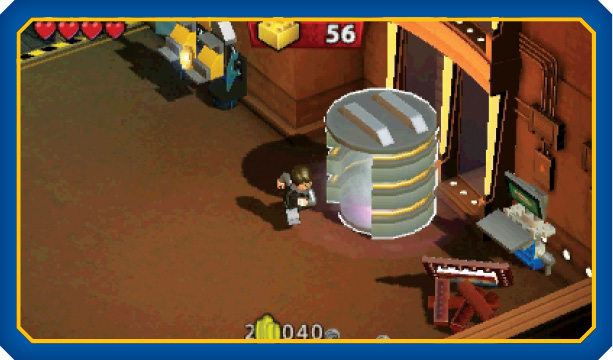
Slip across the second row of electrified panels and enter the chamber near the end of the path. After a moment, Tony Stark emerges as Iron Man (Mk1). Move to the left to find some newly arrived enemies.
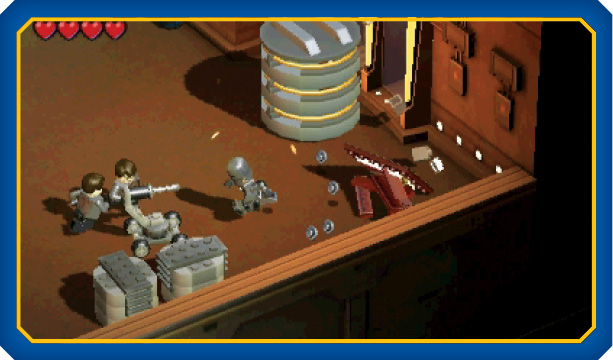
If you managed to collect enough studs on your way through the level, consider using a Super Move to quickly clear the area. If not, just use standard tactics to defeat each enemy in turn. As you do, use the Dodge move to dash away from lobbed grenades and defeated enemies.
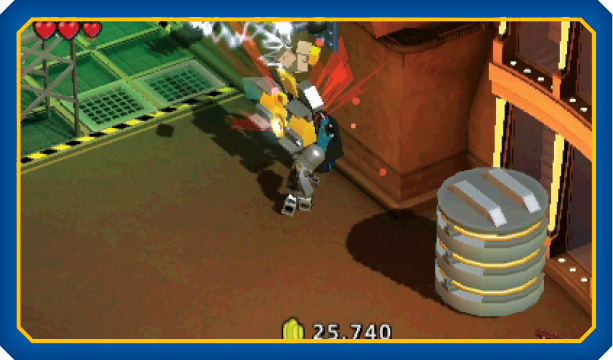
Once it’s safe, destroy the terminal near the suit chamber to deactivate the electrified panels. You’re now free to explore the area and collect any loose studs you may have missed.
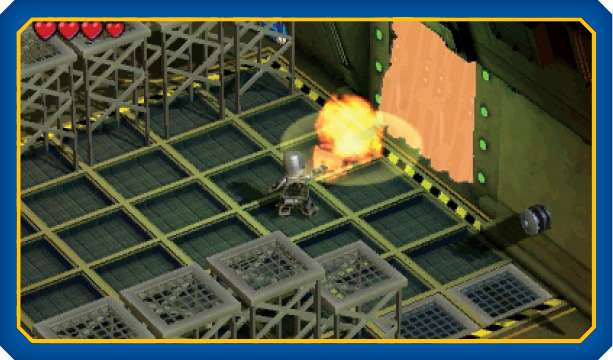
When you’re ready, stand between the deactivated panels and use your ranged attacks to blast through the sliver LEGO doors. Head through the opening to finish the level.
 Challenge 2: Stud Collector
To complete this challenge, you must collect over 10,000 studs before the level ends.
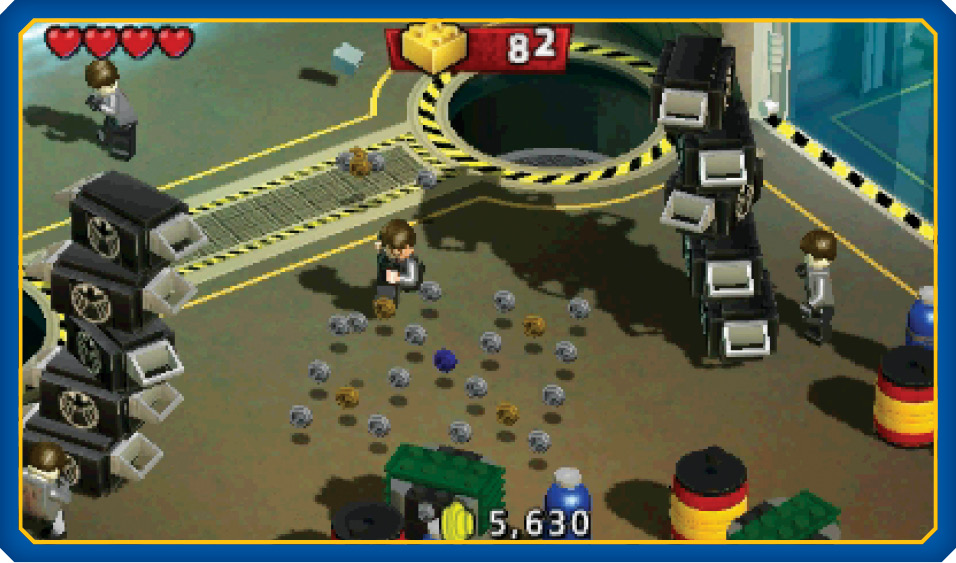
The energy barrier prevents you from making a thorough sweep of the area, but you can collect some very valuable studs as you race through the level. If you haven’t completed the challenge by the time you defeat the last group of enemies, backtrack through the garage to grab any loose studs you missed.
 Challenge 3: Minikit
To complete this challenge, you must collect the Minikit hidden in the level.
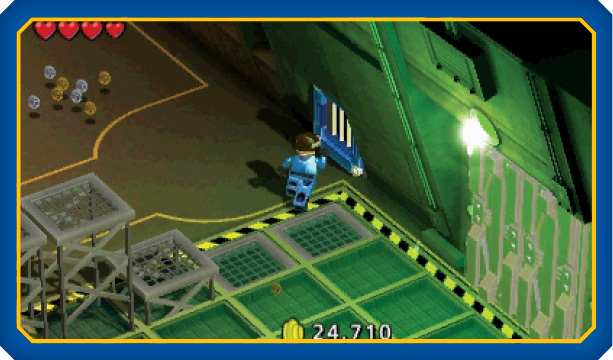
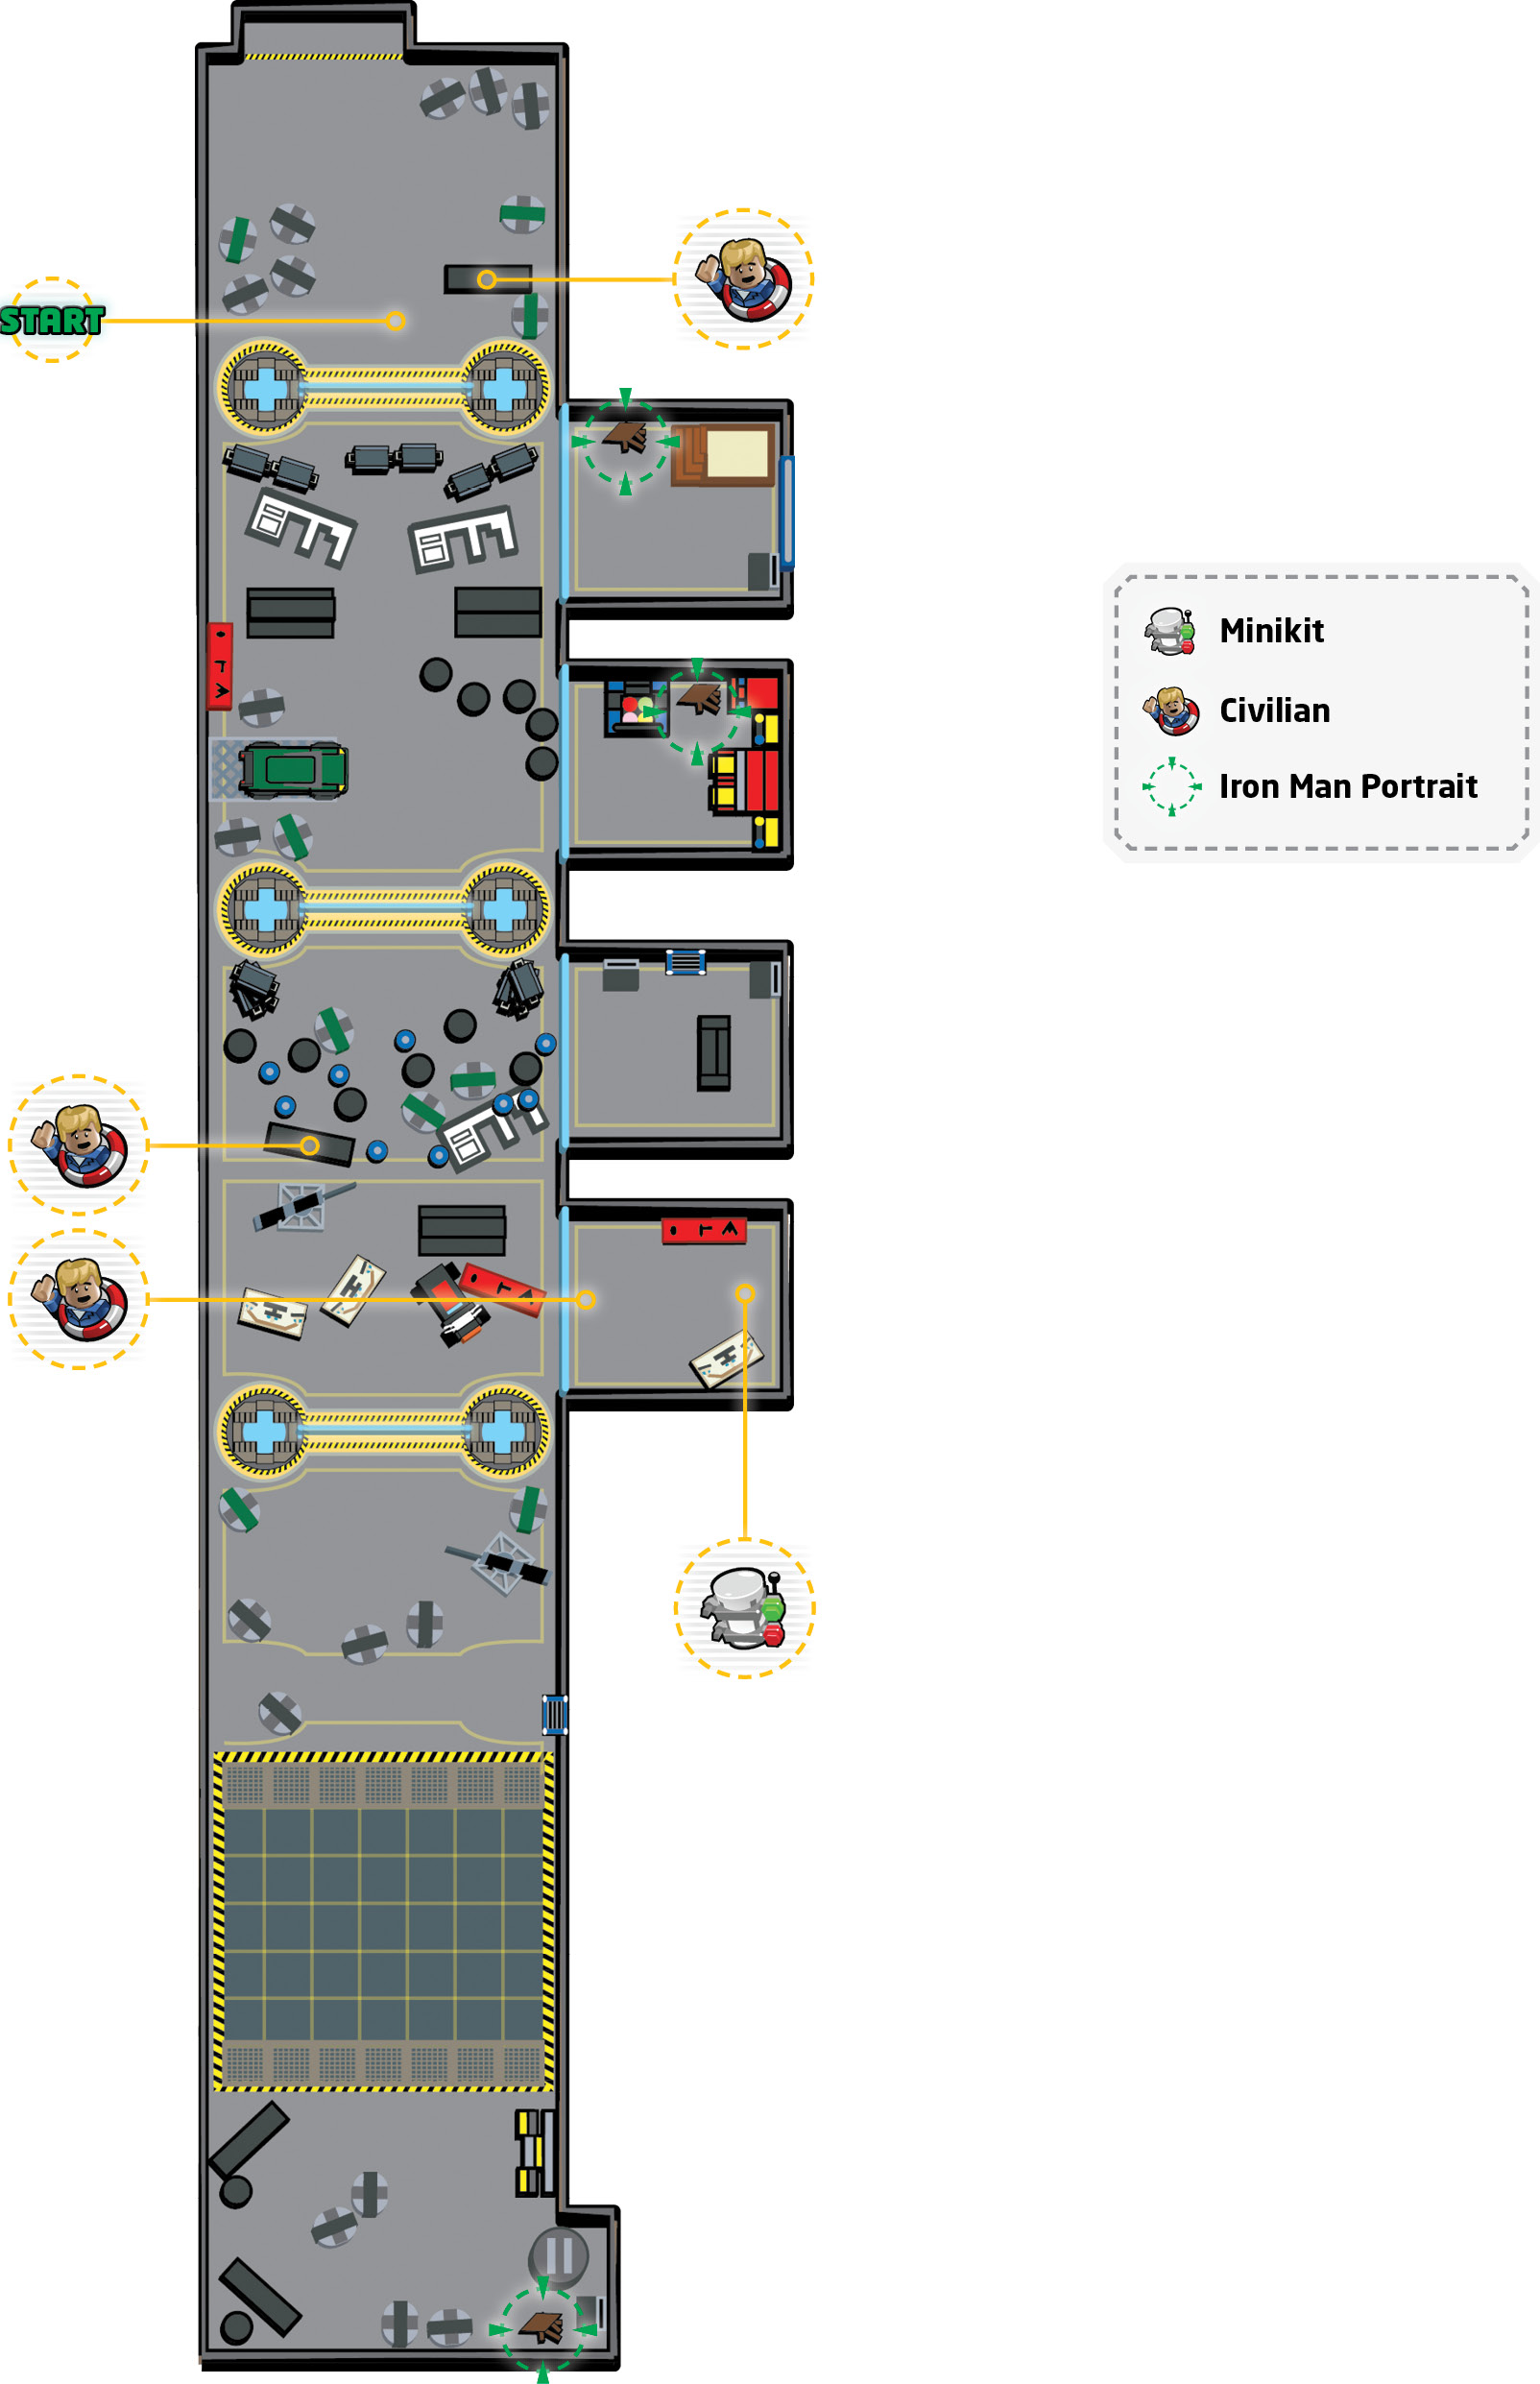
After you unlock Free Play for this level, revisit the map with Mister Fantastic. After you deactivate the electrified panels, use Mister Fantastic slip through the vent near the sliver LEGO doors.
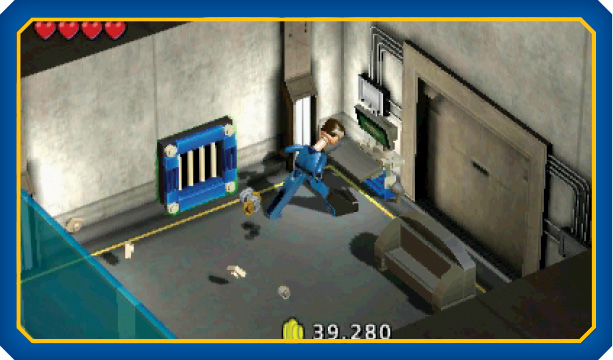
When you emerge in the hidden area, smash the terminal in the corner to lower the nearby barrier. Defeat any Extremis soldiers that emerge from the floor, then head through the opening to return to the main path.
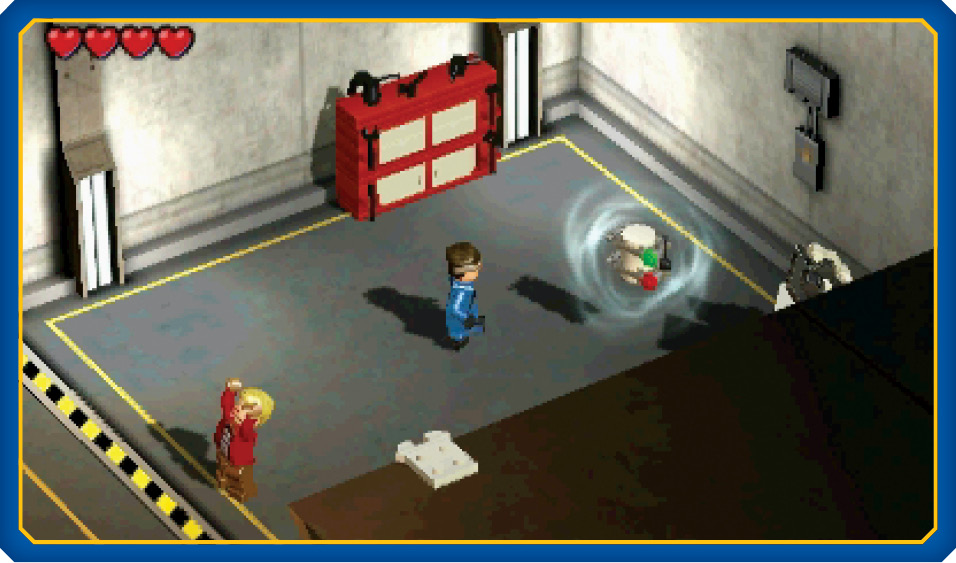
When you smashed the terminal, you also opened the neighboring room. Head into the second room to find the minikit.
 Challenge 4: I Am Iron Man
To complete this challenge, you must equip the Iron Man Mk1 armor in 90-seconds or less.
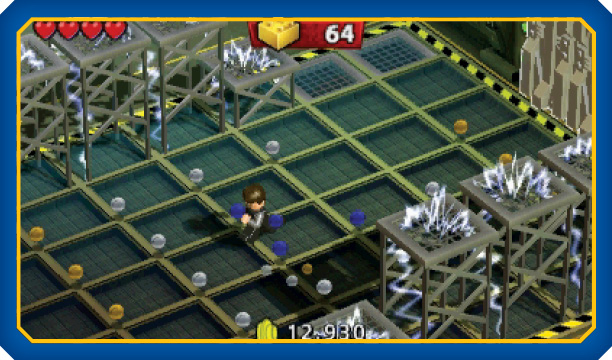
The energy barrier forces you to race through most of the map, as long as you hurry through the electrified panels, you shouldn’t have any trouble staying ahead of the clock.
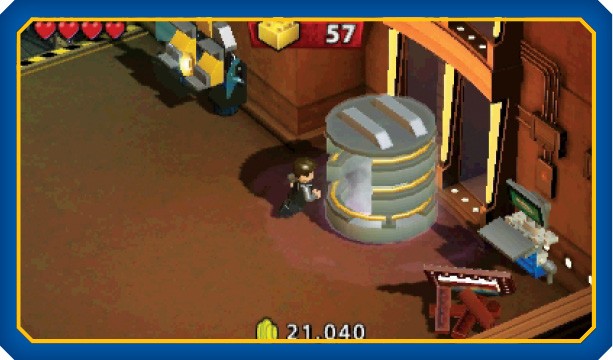
When you reach the end of the map, enter the chamber within the allotted time to complete the challenge.
 Challenge 5: Civilian Peril
To complete this challenge, you must rescue the three civilians scattered throughout the level.
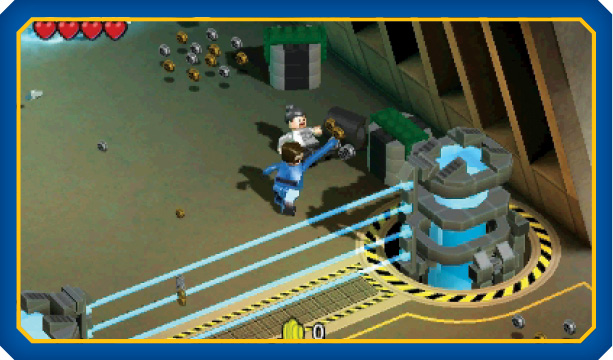
After you unlock Free Play for this level, revisit the map with Mister Fantastic. When the level starts, smash the desk to the right to free the first trapped civilian. Move quickly! You must rescue the civilian and deactivate the laser wall before the energy barrier reaches you.
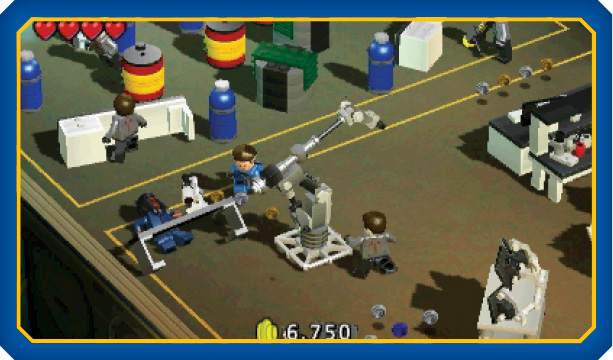
After you deactivate the second laser wall, weave through the explosive barrels and move to the left to find another civilian trapped under a table. Smash the table to rescue the civilian before the energy barrier catches you.
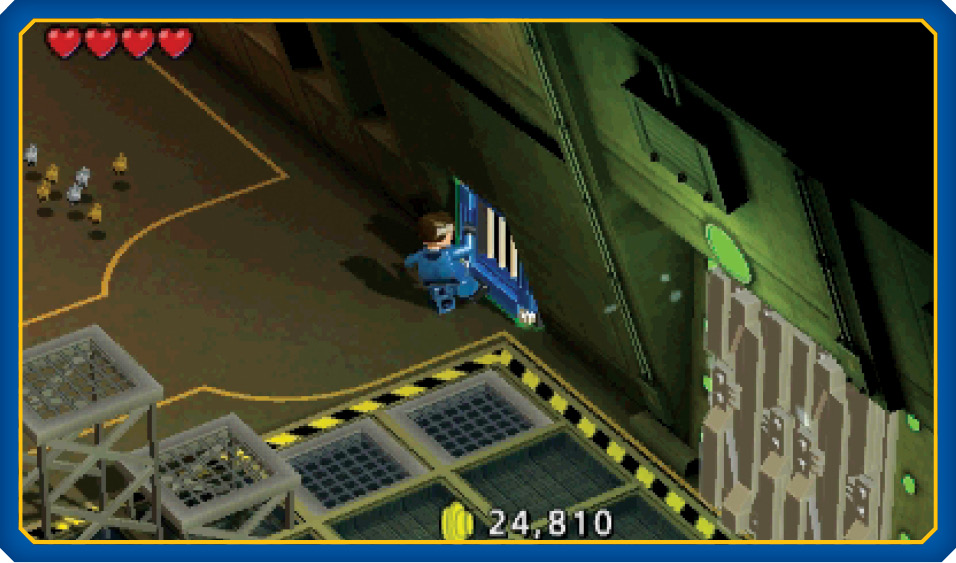
The final civilian is located in one of the sealed rooms. After you deactivate the electrified panels, use Mister Fantastic to slip through the vent near the sliver LEGO door.
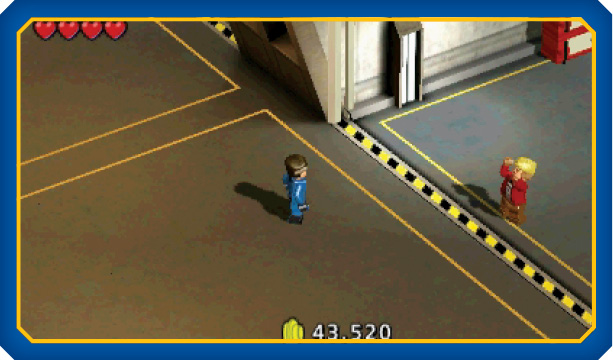
When you emerge, destroy the nearby console to drop the barrier, defeat the enemies that appear, and head to the neighboring room to find the civilian standing near the minikit.
 Challenge 6: No Tag Required
To complete this challenge, you must finish the level without calling on your Tag partner.
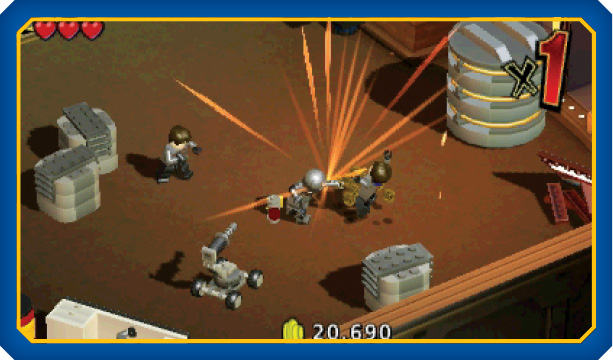
Avoid combat until you acquire the armor, then use any combination of melee attacks, ranged attacks, and Super Moves to defeat the remaining enemies. Simply avoid using any Tag Moves for the duration of the level.
 Challenge 7: Combo Master
To complete this challenge, you must perform a × 10 combo.
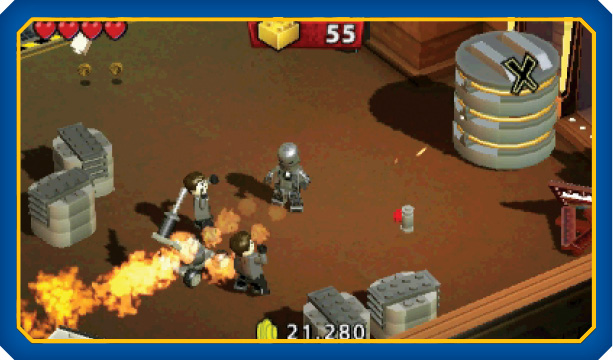
The Iron Man Mk1 armor has a fairly slow ranged attack, however, it’s primary Super Move is a great way to complete this challenge. Collect the loose studs as you race through the map—try to fill your meter before you acquire the armor. When you step out of the chamber, collect a nearby stud to fill your Super Move Slot. Approach the nearby enemies and activate your aimed Super Move (flamethrower). Sweep the flames across the enemies until you complete the challenge.
 Challenge 8: Flawless Win!
To complete this challenge, you must finish the level without taking any damage.
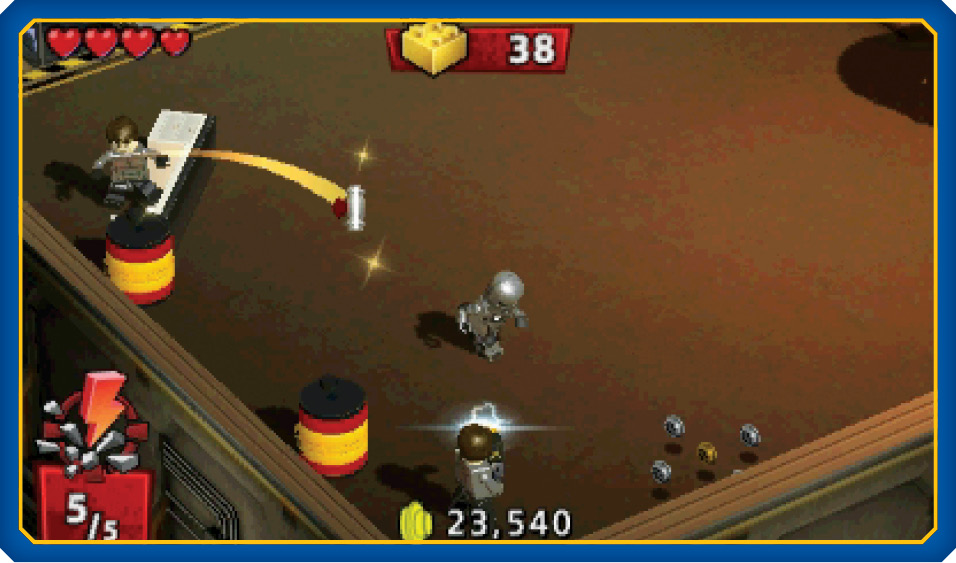
Once you’re familiar with the level, it’s fairly easy to avoid all of the hazards scattered across the map. However, it can be surprisingly difficult to stay healthy during the brawl outside of the armor chamber. If possible, use a Super Move to end the battle quickly. Otherwise, keep moving to avoid the explosions caused by lobbed grenades and defeated enemies.
 Challenge 9: Vanity Case
To complete this challenge, you must assemble the three Iron Man portraits scattered throughout the level.
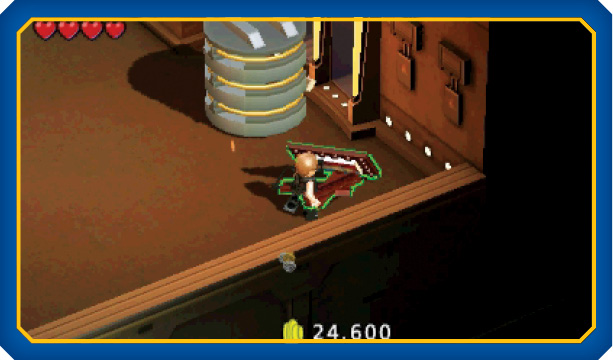
After you unlock Free Play, revisit this map with Hawkeye. When you reach the armor chamber at the end of the map, assemble the nearby Build-it to repair the first Iron Man portrait.
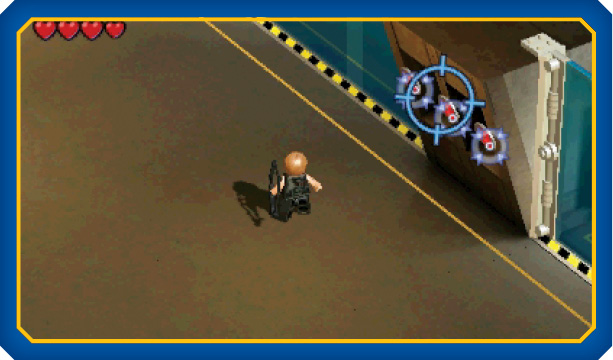
After you’ve deactivated the electrified panels, move back toward your starting location. Look for the three switches mounted between two of the sealed rooms. Use Hawkeye’s sharpshooting ability to trigger all three switches in a single shot.
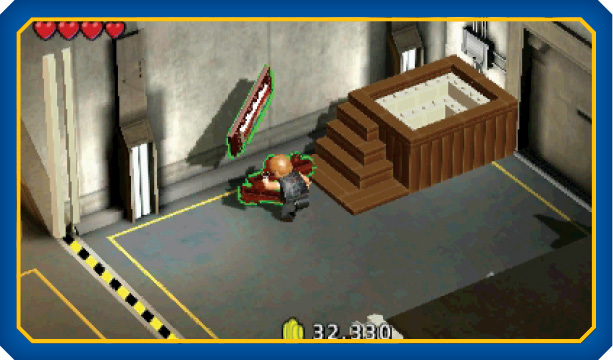
When the first barrier lowers, head into the open room and assemble the Build-it to repair the second portrait. Before you leave, smash all the objects scattered around the room.
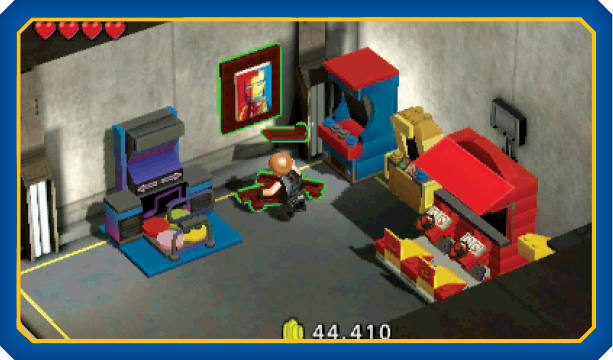
Once you clear out the first room, the second barrier lowers. Head into the neighboring room to find another Build-it. Assemble the Build-it to repair the final Iron Man portrait.
 Challenge 10: Multi-Challenge
To complete this challenge, you must defeat at least two enemies with a single Tag Move, use one or more Super Moves to defeat at least five enemies, and complete the level within the 100-second time limit.
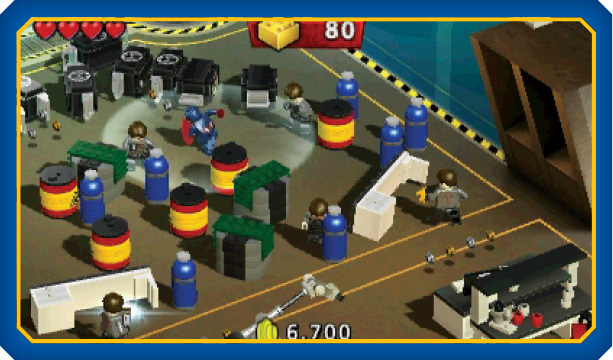
As you run through the level, activate your Tag Move near any of the clustered enemies. As Captain America performs his attack, you’re free to keep moving.
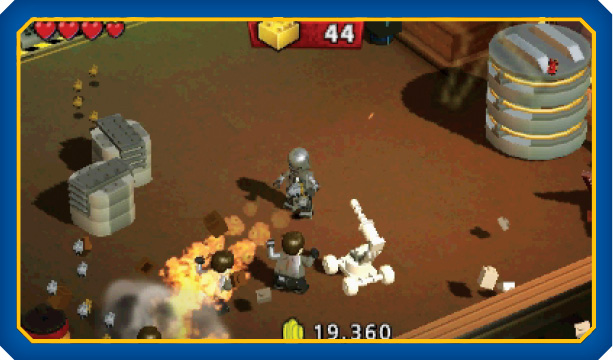
Remember to collect the loose studs on your way through the level. Try to fill the meter before you reach the end of the map. Avoid collecting the loose studs near the chamber until you’ve acquired the Mk1 armor. After you emerge from the chamber, collect the loose studs to finish charging your Super Move. Move to the left and use the flamethrower Super Move to clear the area.
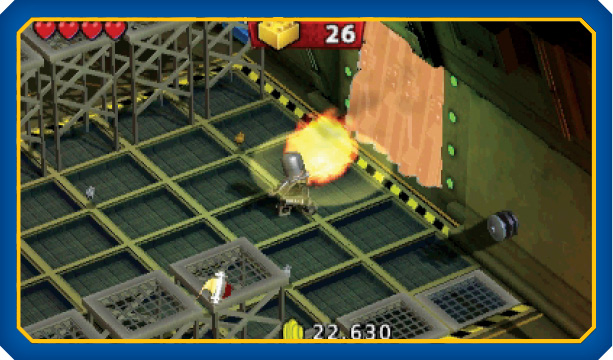
If your Tag Move and Super Move were both successful, all you have to do now is beat the clock. Deactivate the electrified panels, blast through the sliver LEGO door, and finish the level before time runs out.