
Far Cry 3 with Interactive Map Walkthrough The Main Campaign
The South Island
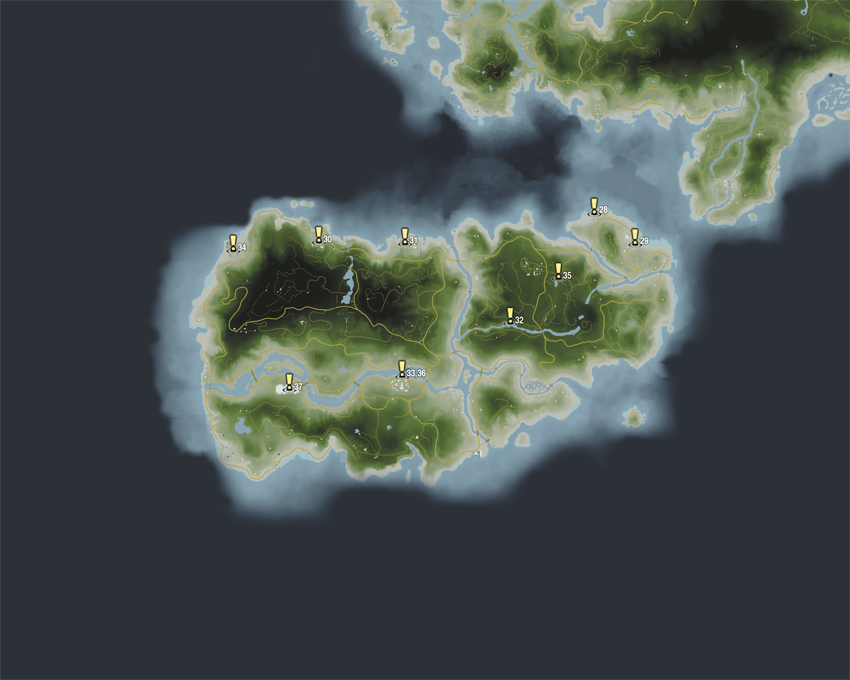
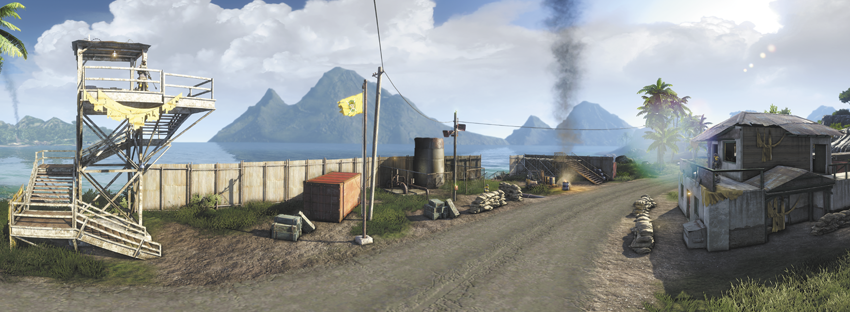
Hoyt runs a much tighter ship than Vaas ever did, and he doesn’t have the Rakyat’s ancestral homeland in his territory. Even after you’ve liberated a couple of outposts, Hoyt has his men shooting the Rakyat on sight, and small armed bands of his men are never less than a frequent random encounter.
The South Island has more settlements and wide open spaces than the North Island, and the terrain is much flatter. There aren’t as many wild animals, although they’re more common towards the southwestern part of the island, and even harvestable plants are much rarer than they should be. If you’ve got any hunting left to do, you’re better off doing it back on the North Island.
Three Blind Mice
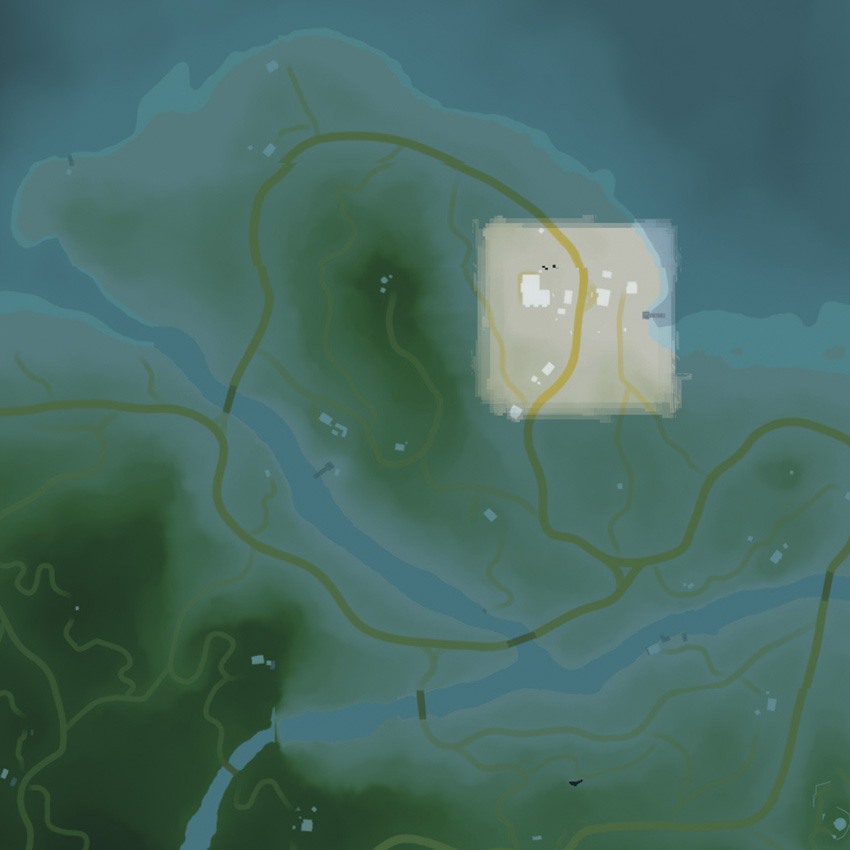
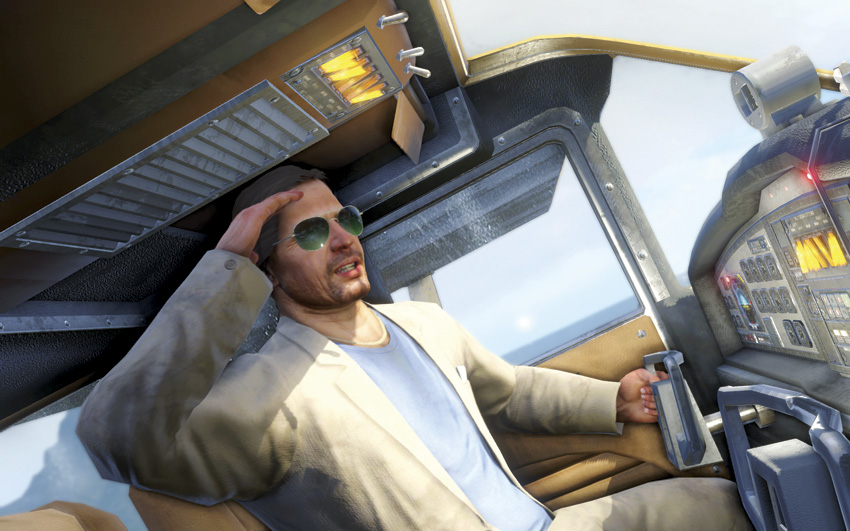
Welcome to the South Island, the home of Hoyt Volker and his mercenary backup dancers. You’ll come here for the first time in the time-honored Jason Brody style: crashing to earth unexpectedly.
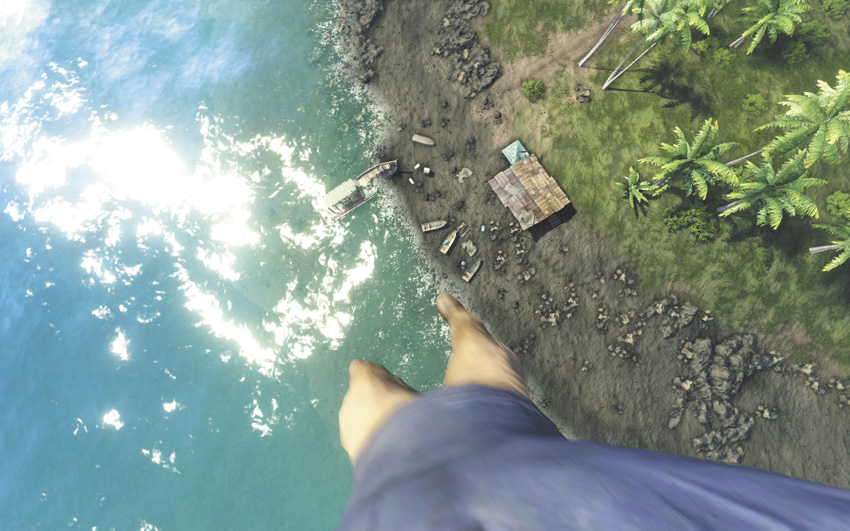
Don’t wait too long to deploy the wings on your new wingsuit, or you’ll lose too much altitude to reach the island. Not landing in the designated drop zone is grounds for mission failure. Fortunately, if you start to glide right when the button prompt shows up, it’s easy to get to the right place, and doing so unlocks the Higher Than A Kite Achievement/Trophy.

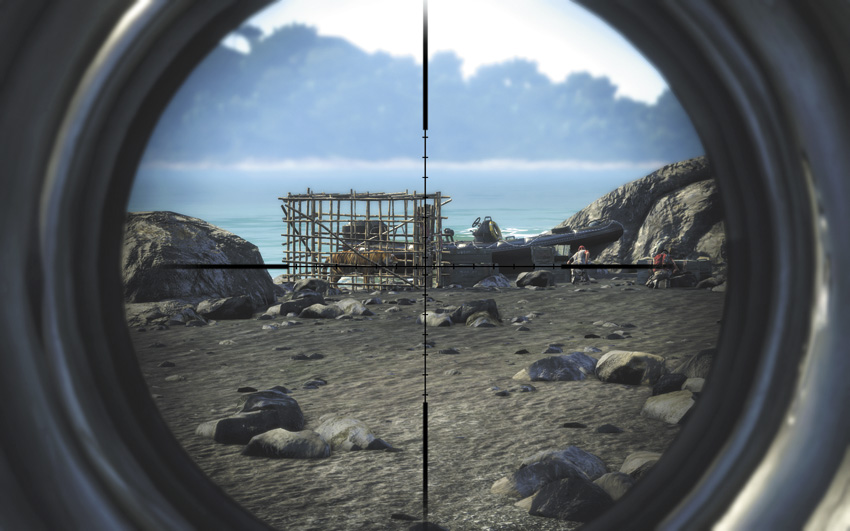
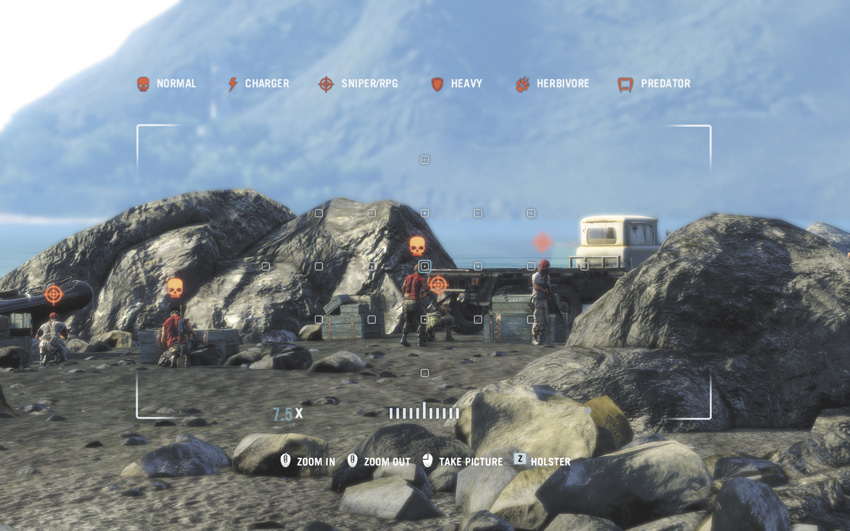
Your drop zone is right next to a group of pirates, and they have a truck you could use. They’re also trying to transport a tiger, so the easiest way to deal with them is to shoot the door on the tiger cage. It’s more than capable of dealing with all of them for you, and you can either snipe it when it’s done or just let it wander away. Use the pirates’ truck to reach Thurston Town.
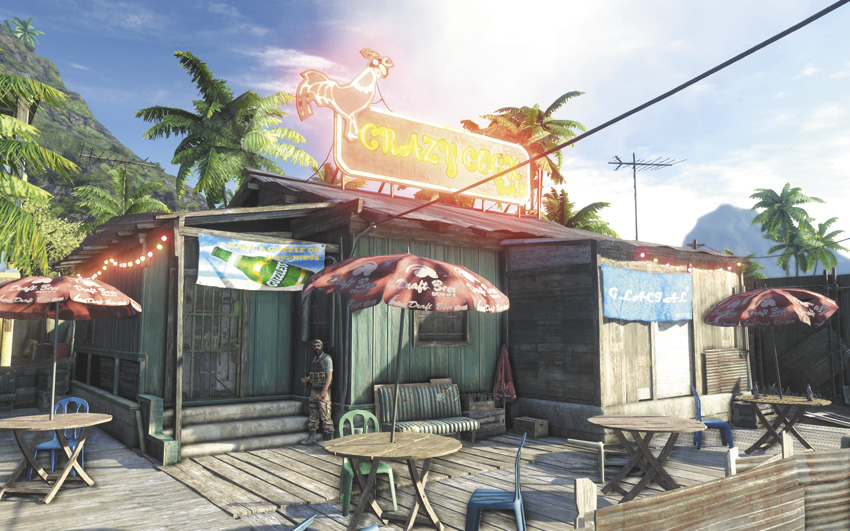
You’ll have to abandon the truck at the town gate and go in on foot. The Crazy Cock is on your right as you enter town. Go inside to order a beer and play low-stakes poker with Sam in the back room. He’ll bow out after the first hand. Follow him.
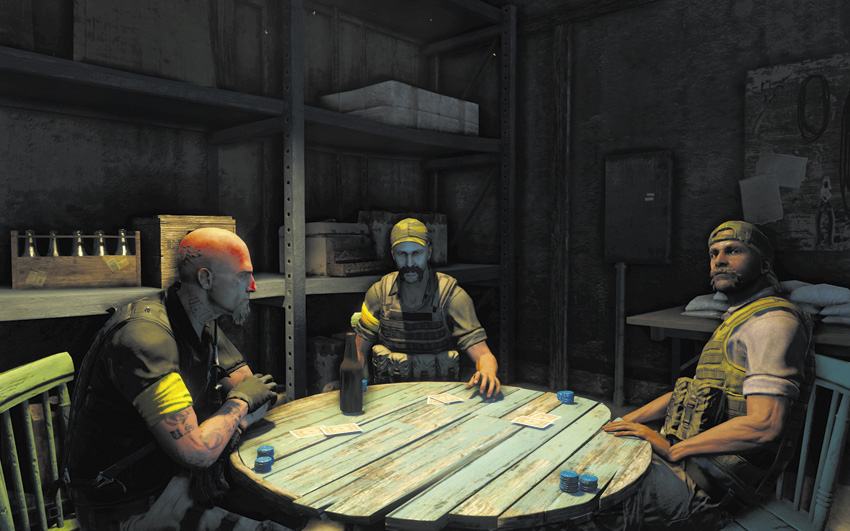
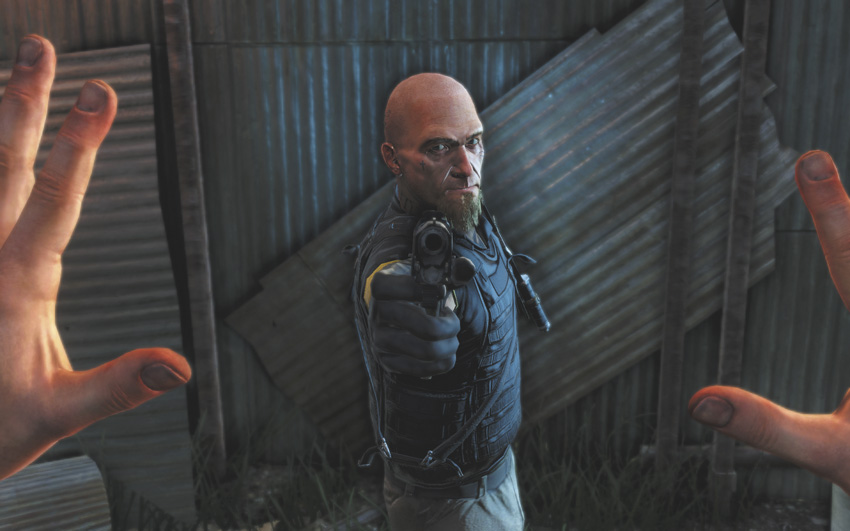
Making Sam’s acquaintance is worth 3,000 EXP. It also makes the last eight standard-issue guns (the D50, BZ19, Vector .44 ACP, SPAS-12, P416, Z93, ACE, and MKG) available for sale at any vendor, along with the loot and item maps for all the subzones within the South Island.
Doppelganger
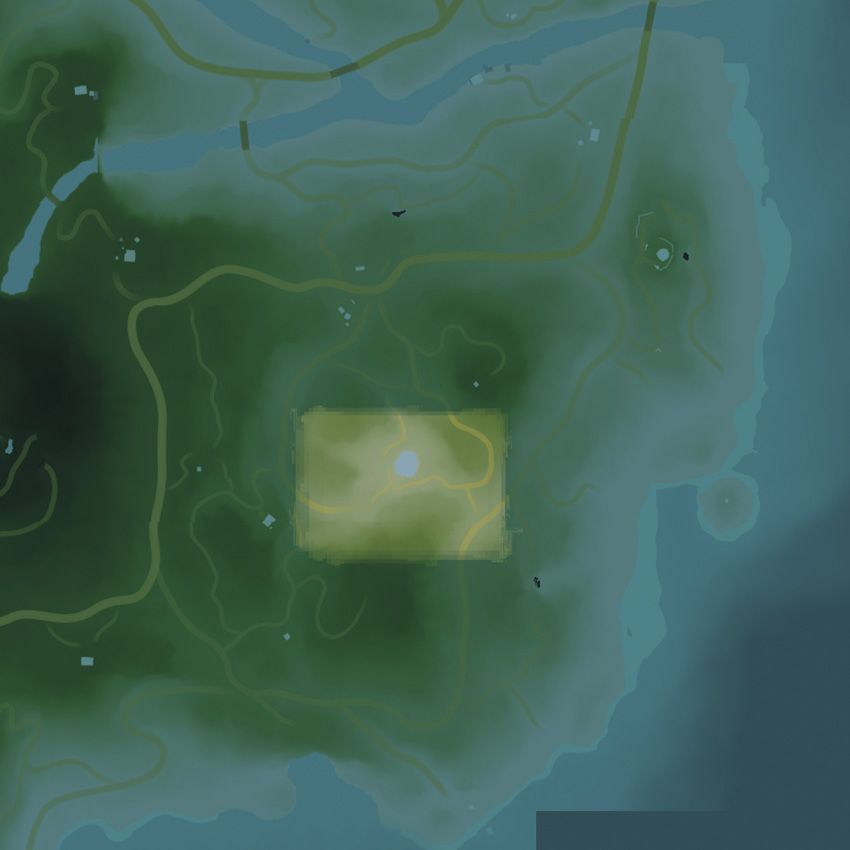
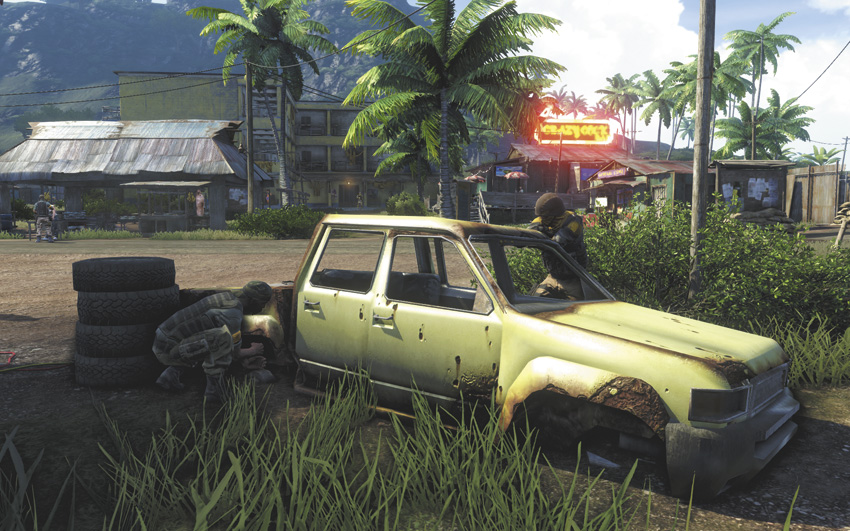
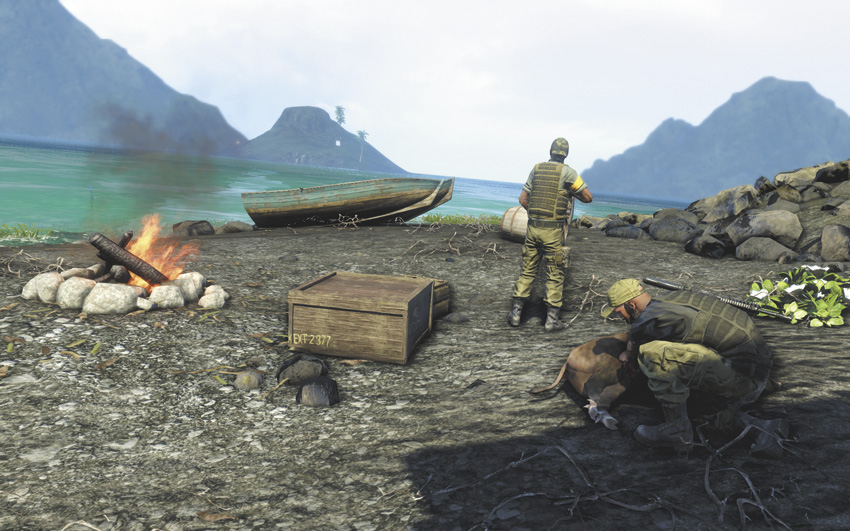
You’re free to explore at this point. Thurston Town has been unlocked as a fast-travel point, which allows you to go back and forth between the North and South Islands at will.
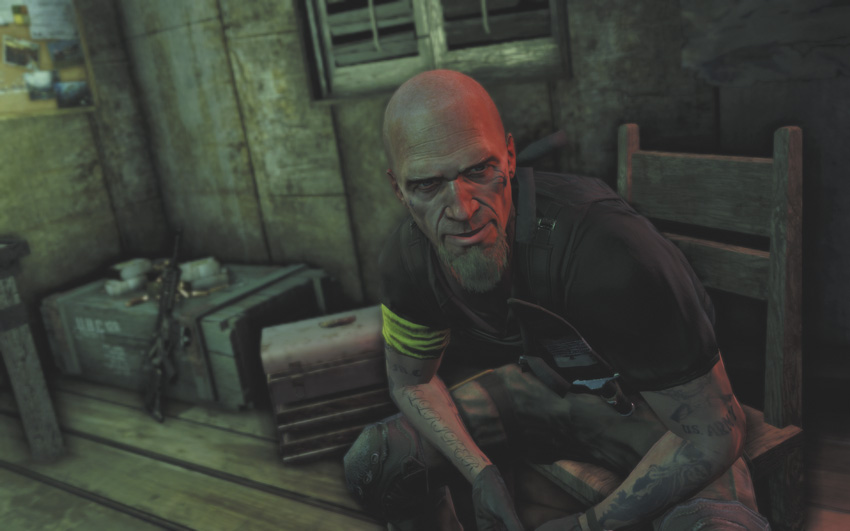
When you’re ready to move on with the story, Sam has gone back to his apartment in Thurston Town, and he’s got kind of a ditzy plan for you: infiltrate Hoyt’s orientation meeting and steal a privateer’s uniform.
The docks where you will undertake this suicide mission are about 750 meters south of Thurston Town, built around a cenote, and when you get to the mission area, Jason automatically puts away his weapons. You can still throw rocks or use your camera, but you are not allowed to cause a fatality or even an injury for the duration of this mission. It is a pure stealth operation.
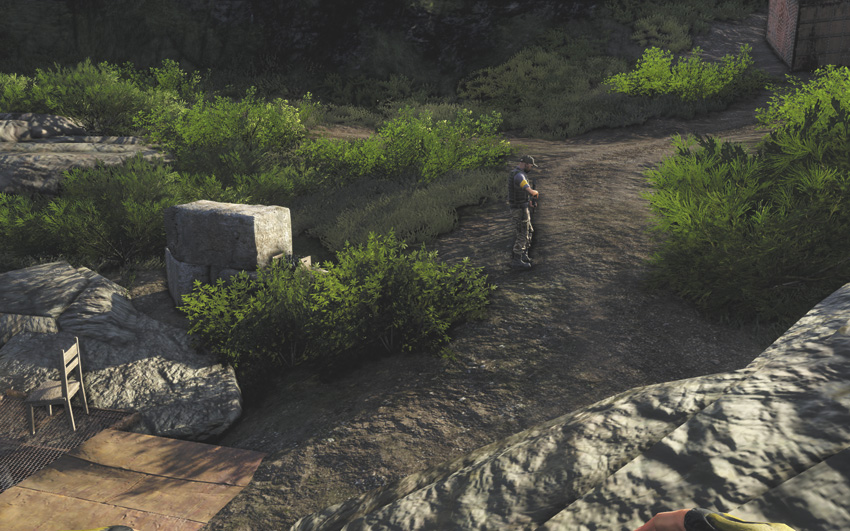
Throw a rock to distract the first guard and slip down the walkway while his back is turned. Stay low and wait for the charger in front of you to turn around and go back down the hall. You can shadow him all the way back to a storage area, where he’ll take a seat. Wait for the other guard on duty here to turn around and go off in the other direction, then slip off to the right.
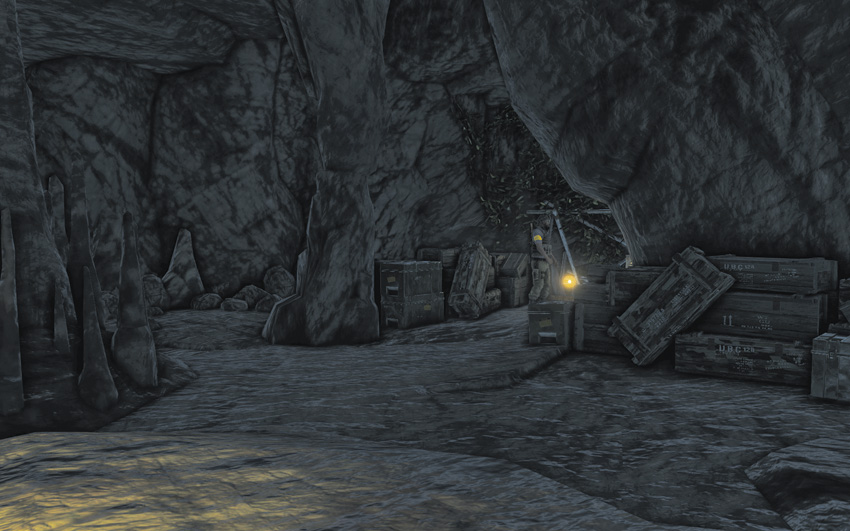
Hug the side wall until you reach the ramp, then throw another rock to get the guard’s attention. Quickly slip down the ramp while he’s looking the other way, then go down into the cenote proper.
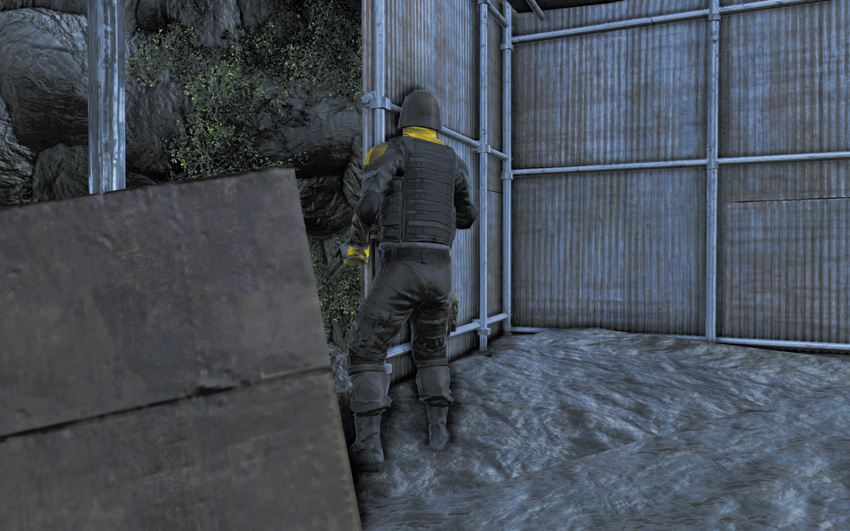
The guard immediately inside the entrance presents a unique challenge. Get up behind him, then toss a rock back the way you came, towards the wall. He’ll turn in that direction for just long enough for you to move down the path into the foliage behind the waterfall, where they’re keeping all the dead villagers (also: ugh).
In the next area, use the crack in the wall to help tag the guards below you. If you wait for a second, one of the two mercenaries next to you sits down and the other moves to overlook the floor below. That lets you move past them both into the foliage on the left and down to the floor without incident.
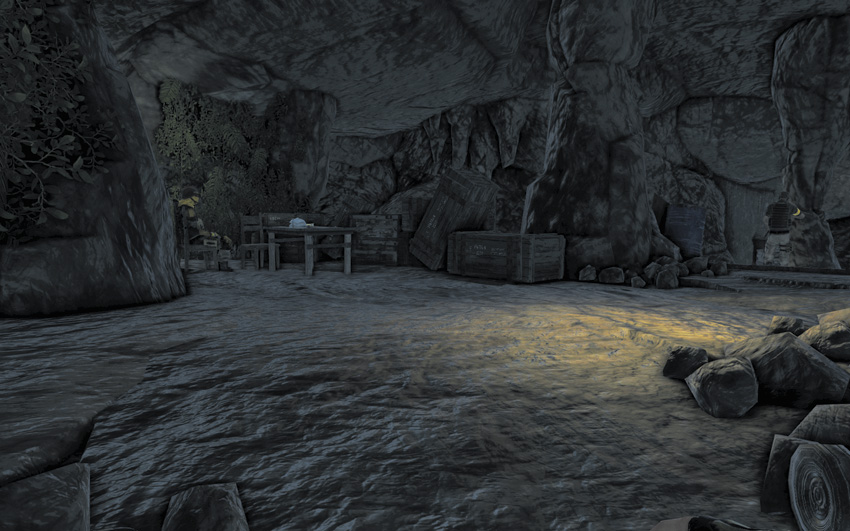
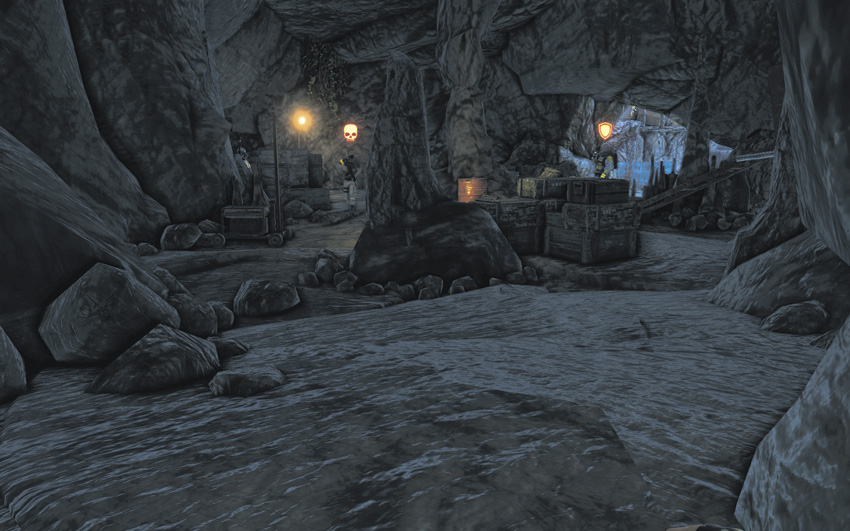
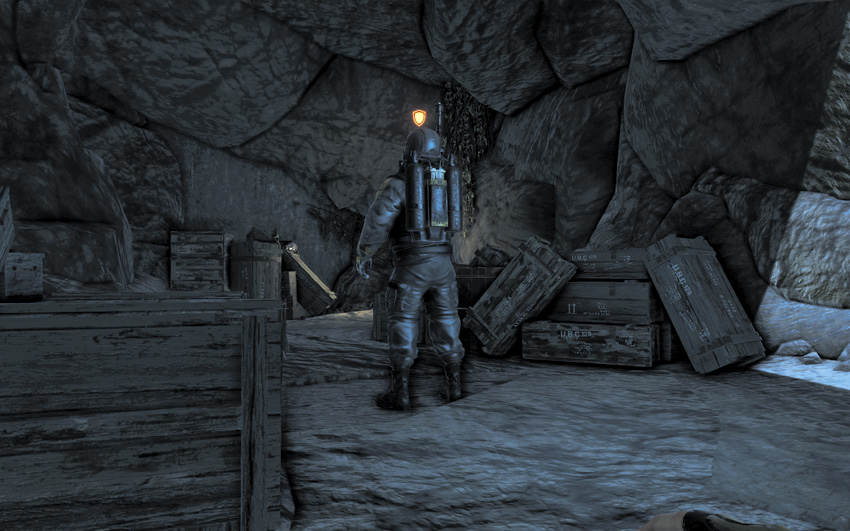
From here, toss a couple of rocks into the far left corner of the room ahead of you, in the same corner as the heavy gunner, then throw a couple more back the way you came. The first rocks distract the two heavies and two riflemen on the floor; the second set of rocks distracts the guards you just evaded. This gives you a couple of seconds, if that, to get across the room, under the ramp, and through the doorway they’re all guarding before they notice you. This is made much easier if you’ve taken the Jungle Run Skill.
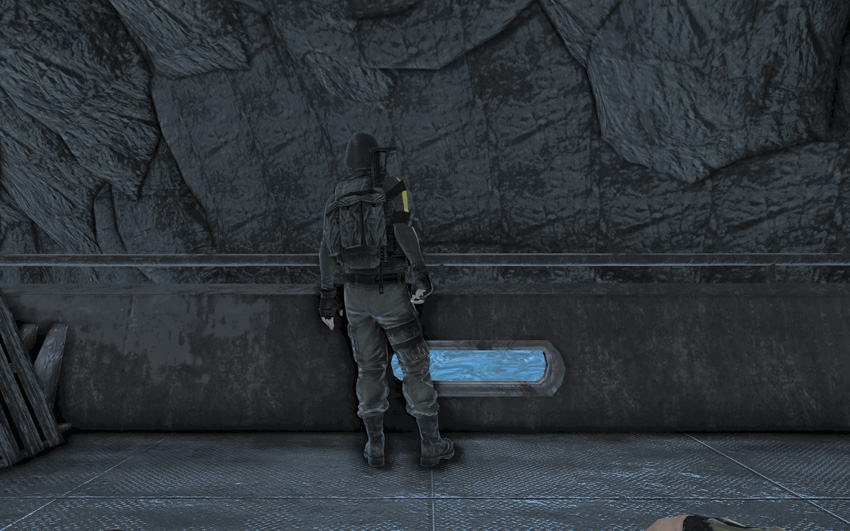
Drop into the water and quietly swim beneath its surface to Hoyt’s boat. The hard part of this mission is now officially over with. Swim to the stern of the docked boat and use its ladder to get on board, then shank the soldier on duty. RIP Foster; your sacrifice will not soon be forgotten.
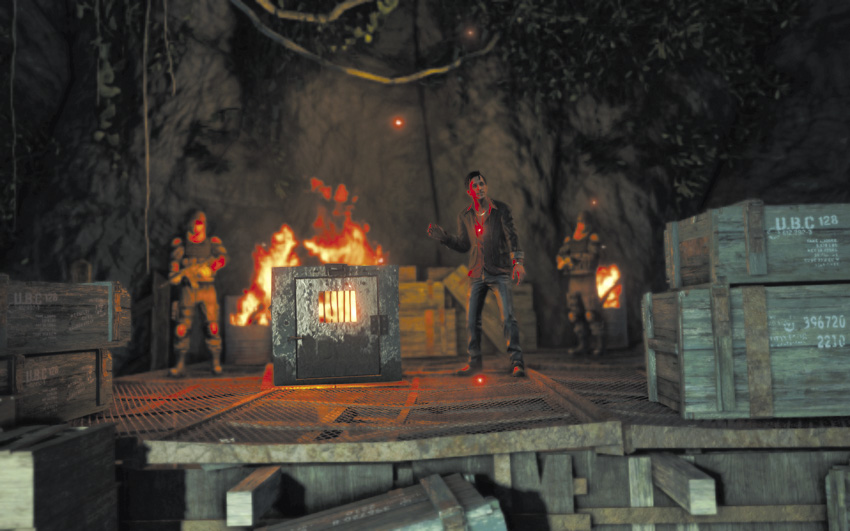
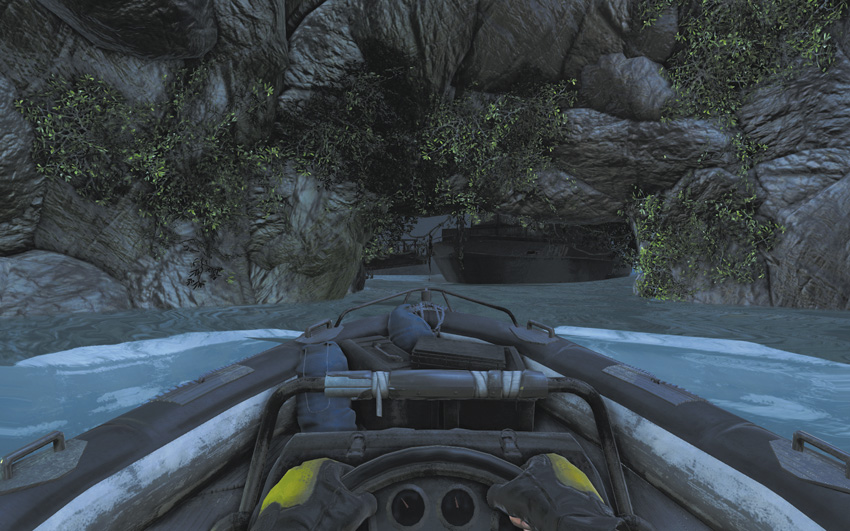
Head to the boat’s bow and brazen it out. Sit through Hoyt’s speech, and when he’s done, get back in the water and swim back to the bottom of the cenote. Steal the boat, and use it to make your escape.
You’ll receive 3,000 EXP once you leave the cavern. With the privateer’s uniform, you’re considered a friendly face by all of Hoyt’s men on the South Island until you do something that proves otherwise. The exception is at the various outposts, where they’re sufficiently paranoid that the disguise won’t hold.
As a side effect, you now have access to six new fast-travel points on the South Island that you didn’t have before. These fast-travel points can be used even if you haven’t visited the parts of the map where they’re located.

Triple Decker
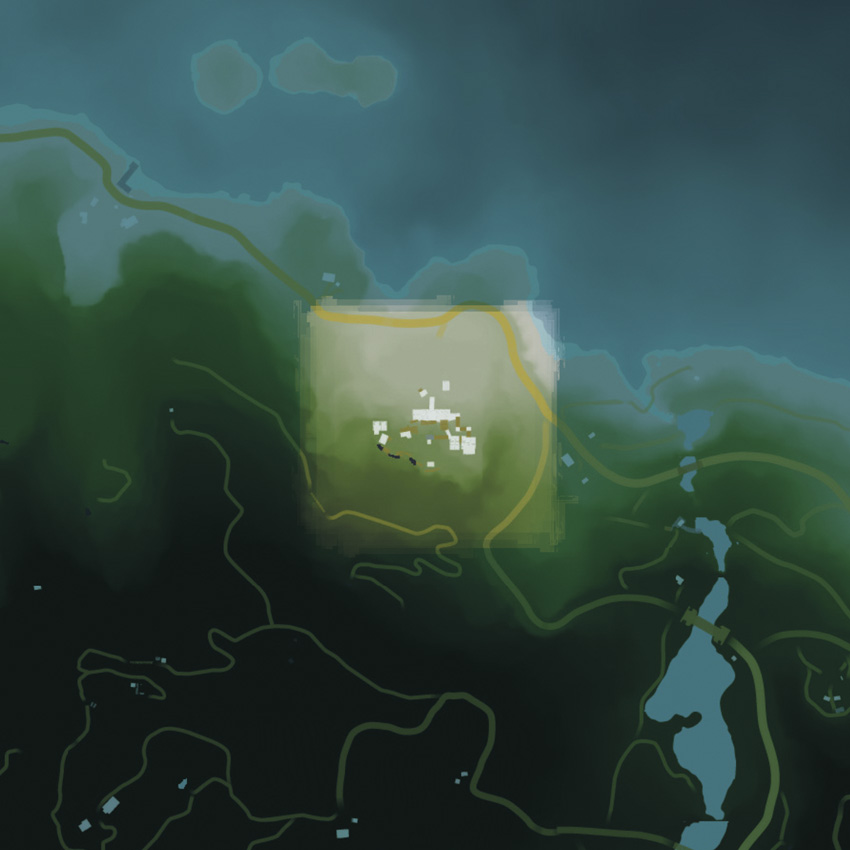
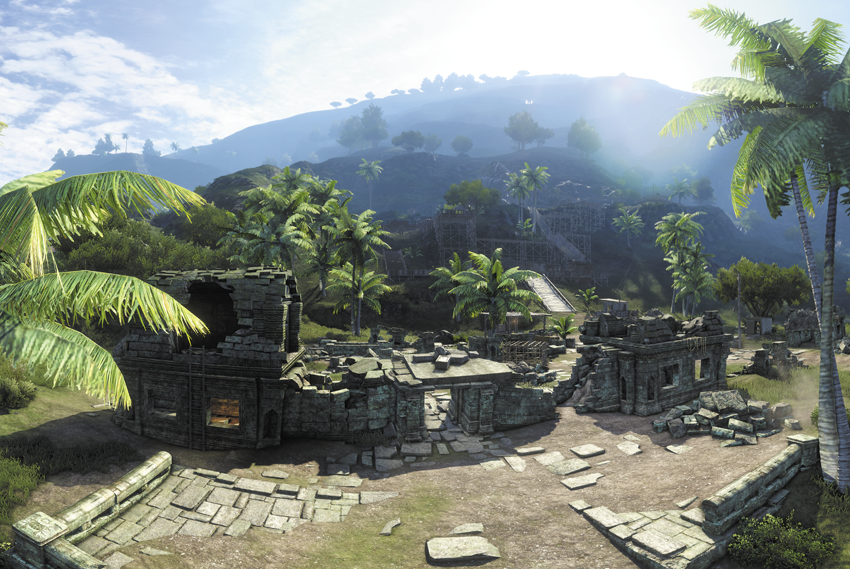
Sam’s instructions send you to an old temple about three kilometers northwest of the docks, right outside the new Camp Romeo fast-travel point.
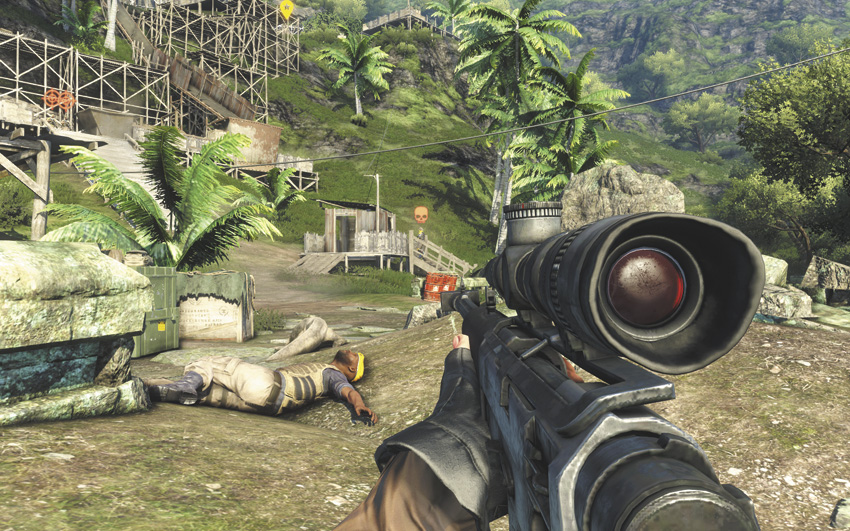
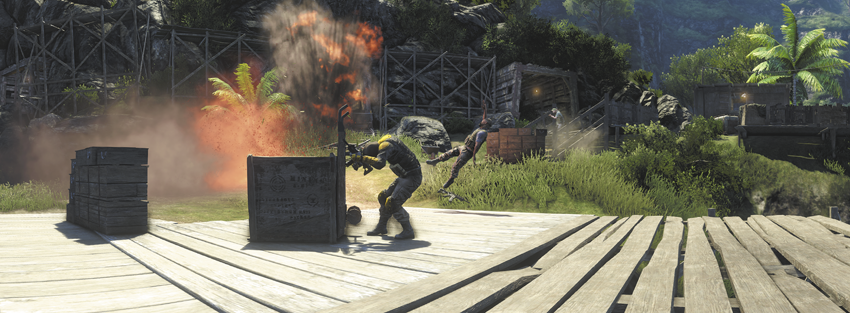
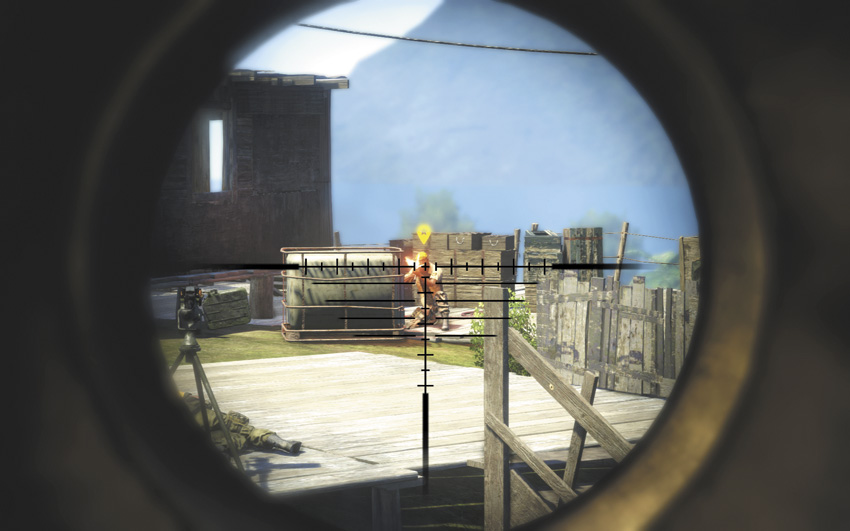
The “old temple” is a multi-level archeological dig that’s presently being used as a stronghold for the privateers. It’s intensely well-guarded, with two snipers near ground level and two heavies on the top floor, and the three VIPs you need—identifiable by their yellow hats and white clothes—are scattered amongst them. One VIP is always in the mine tunnel on the top level of the dig, while the other two patrol at ground level. Looting chests, using a zipline, or taking pictures with your camera are not considered “suspicious behaviors,” so feel free to explore the area and tag goons as much as you want. The loot chests in this area have some good stuff in them, including valuable Chinese artifacts.
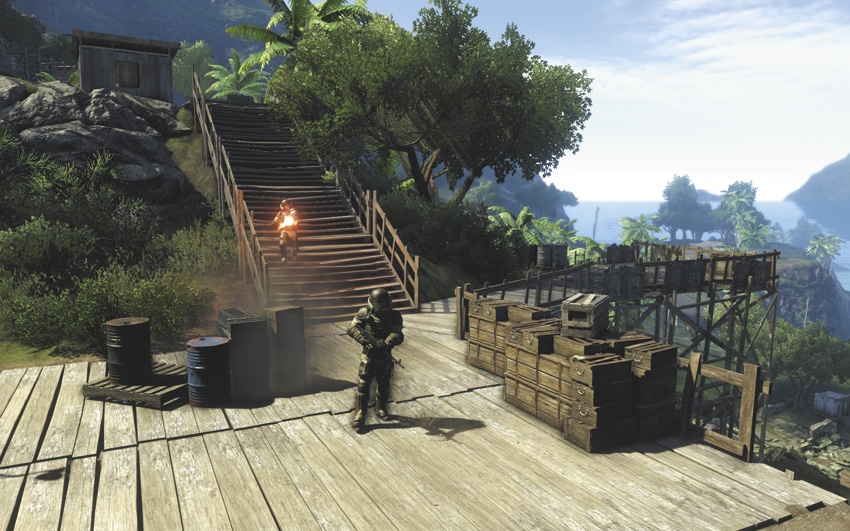
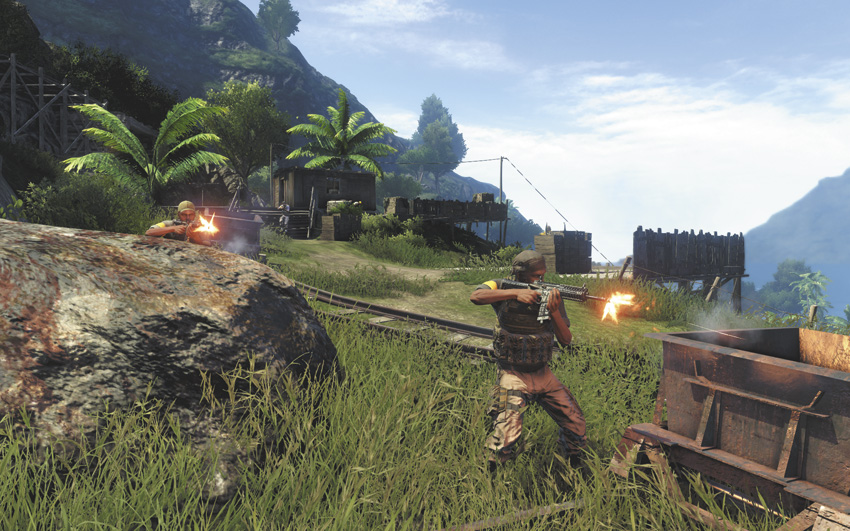
You really want to preemptively assassinate the two heavy gunners on the top level before you start looking for the VIPs. Once bodies start showing up, it becomes increasingly difficult to keep an all-out firefight from starting, and the two heavies are the main complication thereof. By now, you should have the firepower to handle a little thing like twenty armed mercenaries looking to kill you. Forestall that encounter for as long as possible, then kill and loot the three VIPs and get out of here. You’ll earn 3,000 EXP when you reach the house on the western hill, where you can also find a medkit and some replacement body armor.
Defusing the Situation
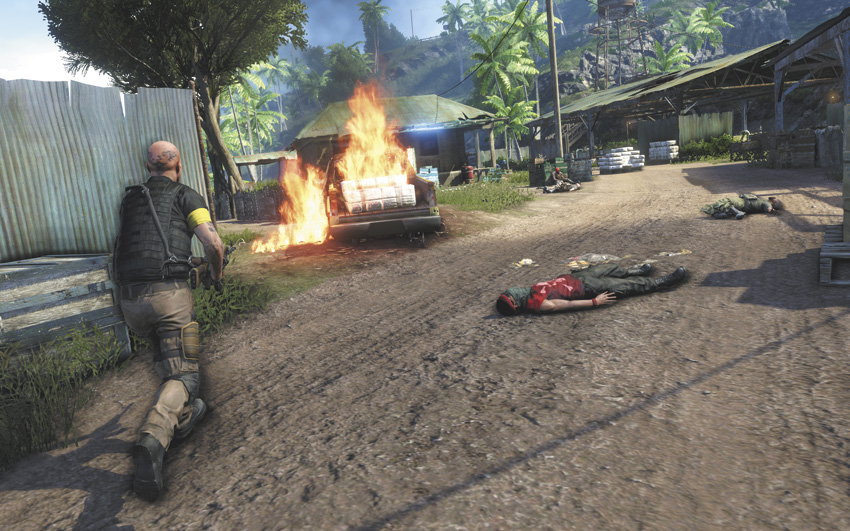
Sam doesn’t have anything else for you right now, but he does need help with a task of his own. Go to meet him at another one of Hoyt’s growing operations.
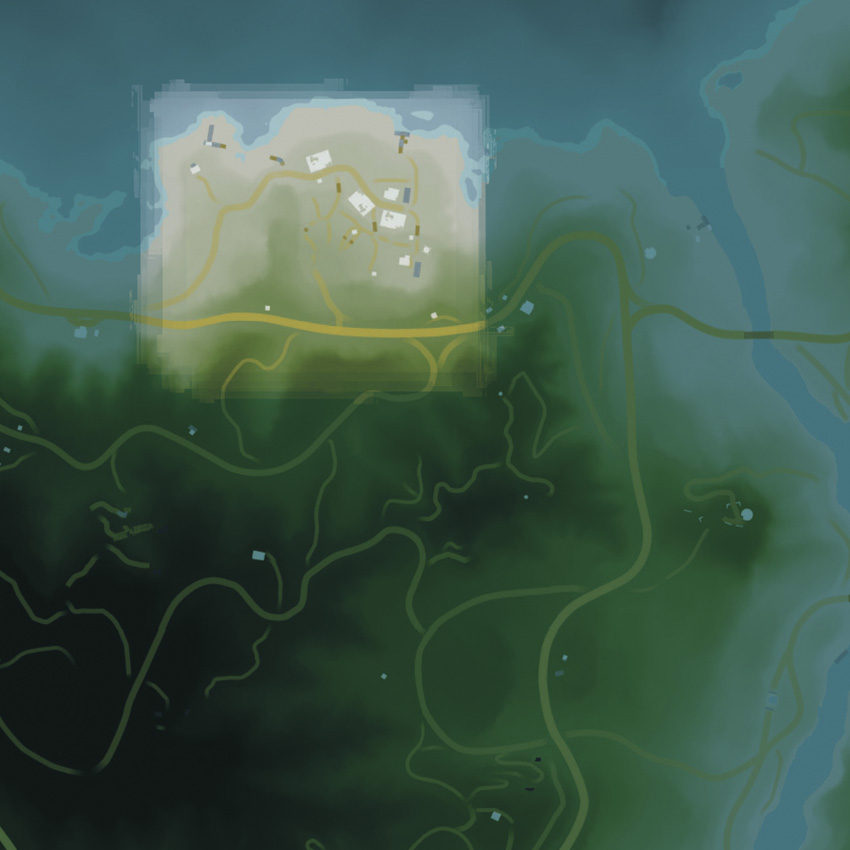
The drug fields are just east of Alpha Camp, which makes it easy to reach via fast-travel. This is another escort mission of sorts, but Sam can take care of himself most of the time. Your biggest concern is that you’re up against what’s left of Vaas’s pirates, and for some reason, a lot of the survivors are among the most pyromaniacal of the bunch.
Don’t stop to loot, or Sam will get too far ahead of you. When you reach the first shack, stand well outside it and take out the incoming pirates.
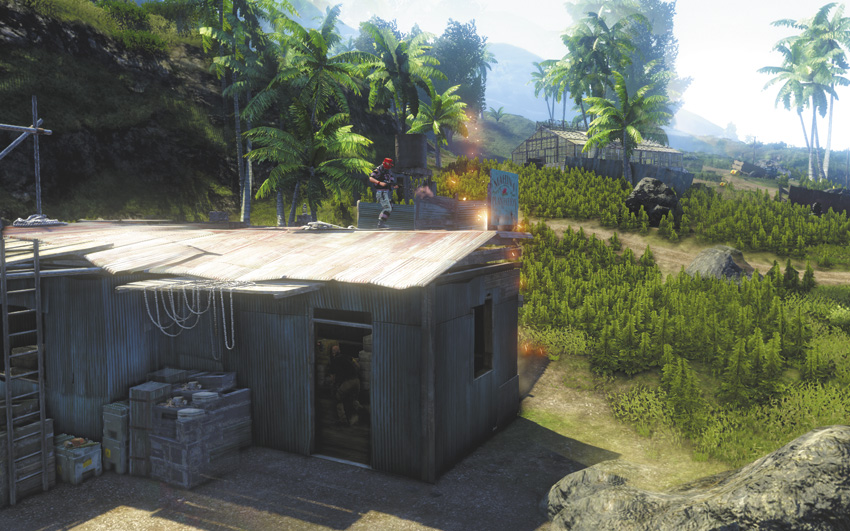
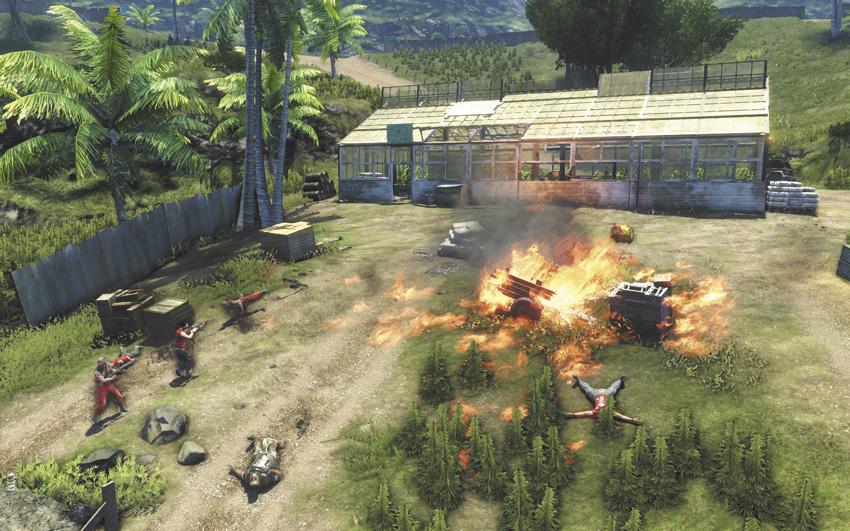
The second bomb is much the same as the first. You can catch Hoyt’s drug fields on fire to help flush out or even kill some of the incoming troops (it’s a good thing we don’t really care about impressing him, isn’t it?), and be sure to have a grenade ready to deal with the jeep that comes in from uphill. Snipe the guy on the windmill to keep Sam alive, then head up to the greenhouse for the final bomb.
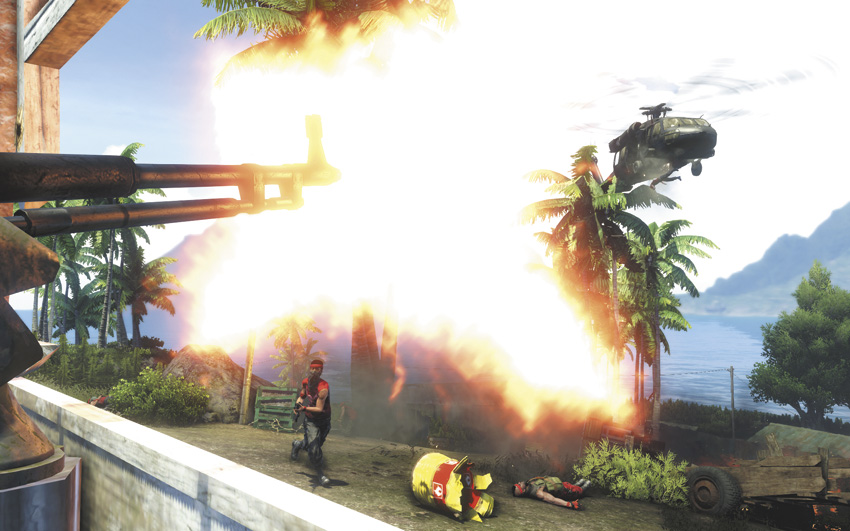
You can grab an RPG-7 off a table in the greenhouse to help with the incoming pirates, or use the turret they set up against them. Either way, buy Sam enough time to defuse the final bomb, then sweep the field clear. Your adventure in drug running is worth 3,000 EXP.
Deepthroat
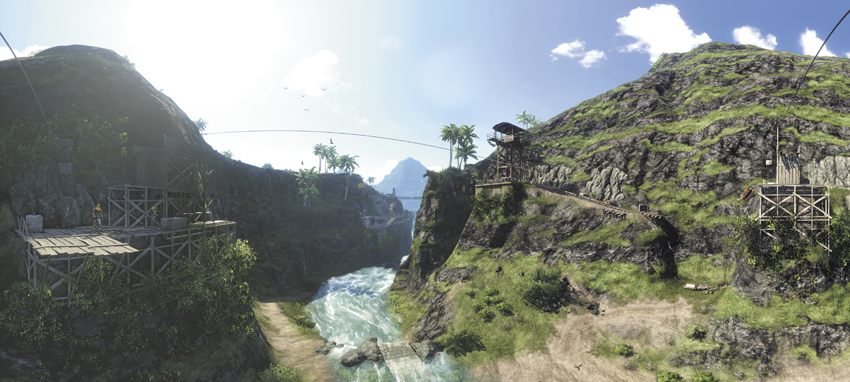
Bring an RPG-7 and a gun that can be used with one hand. The new Vector SMG is an excellent choice for use with the Line Gunner skill, and being able to fire from a zipline plays a big role in this mission.
This is another stealth operation of sorts, but it’s not as big of a deal thanks to the privateer’s uniform. You really have to start openly stabbing people before you break cover.
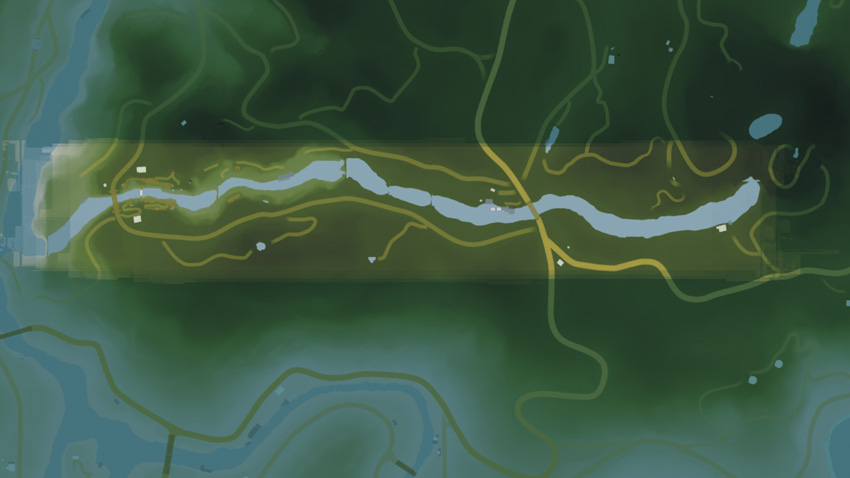
The mining colony that Sam mentioned is built around a shallow river in the center of the South Island, and staffed with some of the most aggressively paranoid guards on the island. It’s possible for a fight to start early if you get too close to the bridge on the west side of the river, as the guys over there are engaged in skullduggery. You’re better off fast-traveling to Camp Echo and approaching the river from the east.
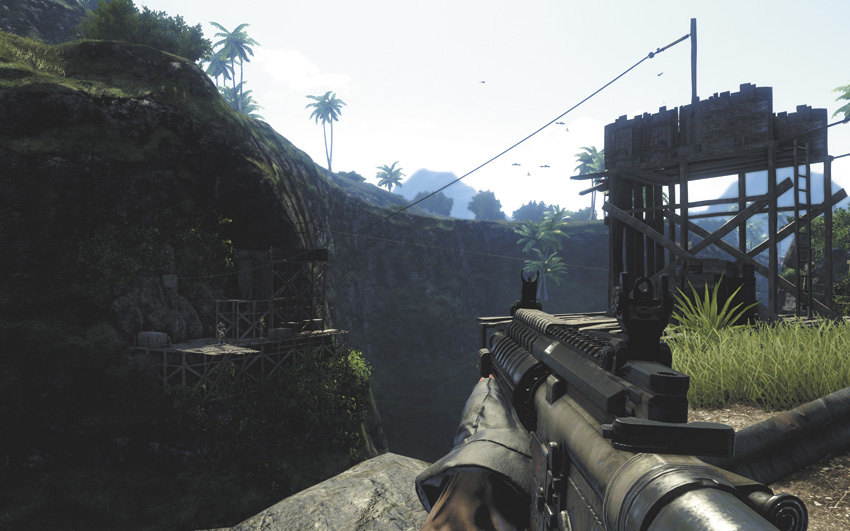
Don’t make any hostile moves or the entire gorge will turn against you at once, complete with an alarm and impending reinforcements. Worse, the meeting you’re here to check out will break up. Instead, simply make your way west along the gorge, using the ziplines and gangplanks to navigate back and forth as needed. Jason will say something when you’ve reached a good vantage point.
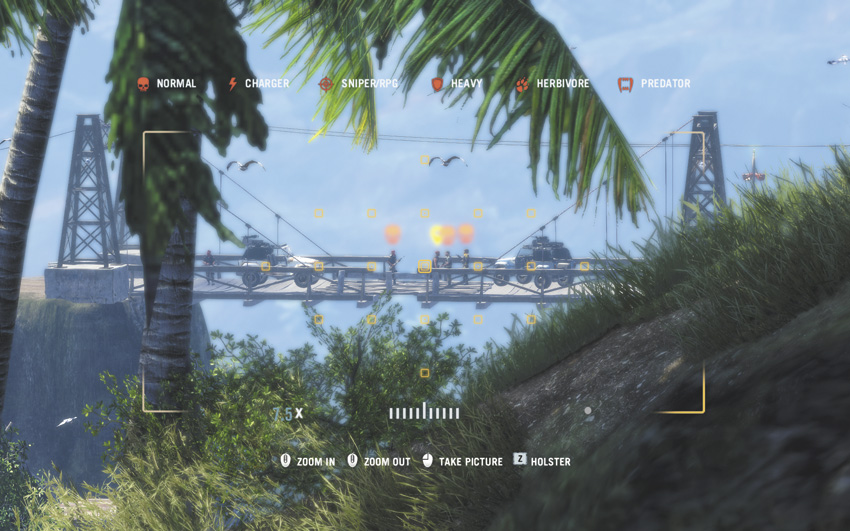
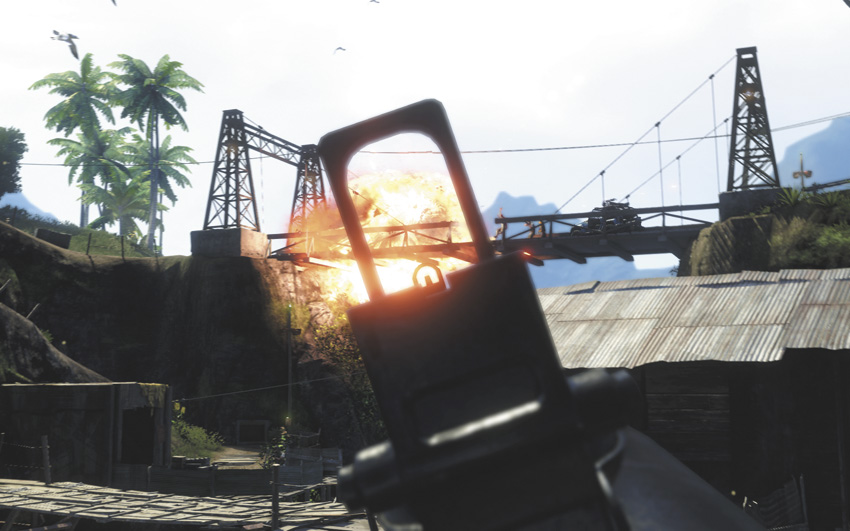
Pull out your camera and photograph the traitors’ meeting, then use your RPG to take out their jeep. You have time to use the nearby zipline to get a little bit closer to the bridge for a clearer shot, but as a trade-off, there are three mercs near your landing point that may, for whatever bizarre reason, consider aiming the RPG to be a hostile activity.

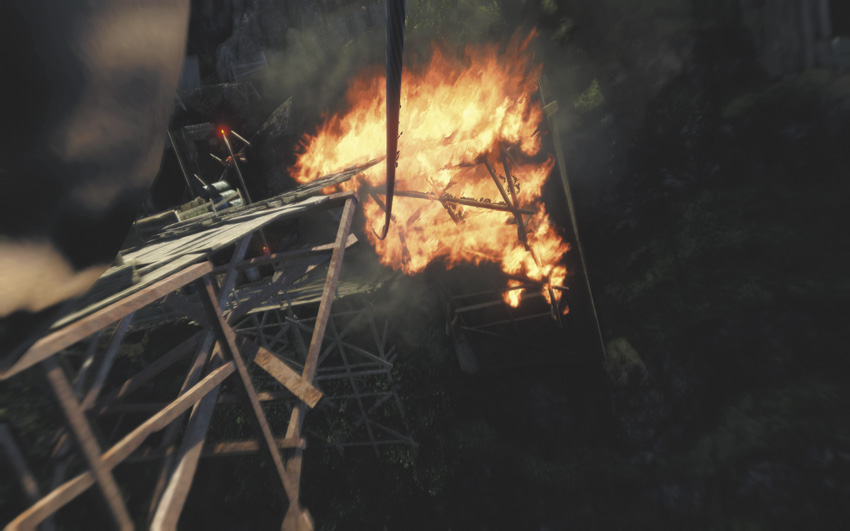
There’s enough hard cover around the old gangplanks that you should have a relatively easy time remaining unventilated. The survivors of the meeting will use an RPG of their own to detonate the bridge ahead of you, but that’s easily circumvented with another zipline at the end of the north side of the gorge.
You can’t make the jump across the gap in the bridge, so don’t try; that’s a good way to end up in the middle of the river with no convenient way back up to the gangplanks. Instead, backtrack west a bit and use the ramp to ascend to a higher level of the mining facility. You can follow the gangplank all the way to its end to find a ledge you can mantle onto, then zipline across the gorge a couple of times to finally reach a path that leads up to the bridge.
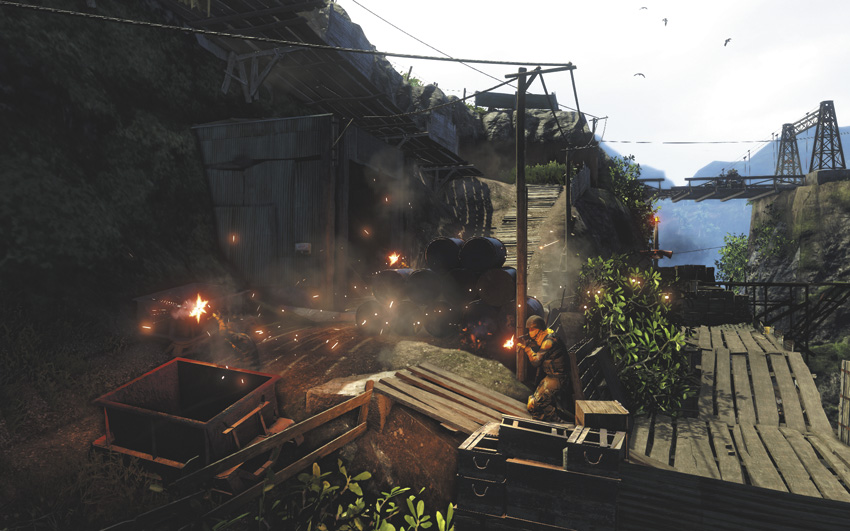
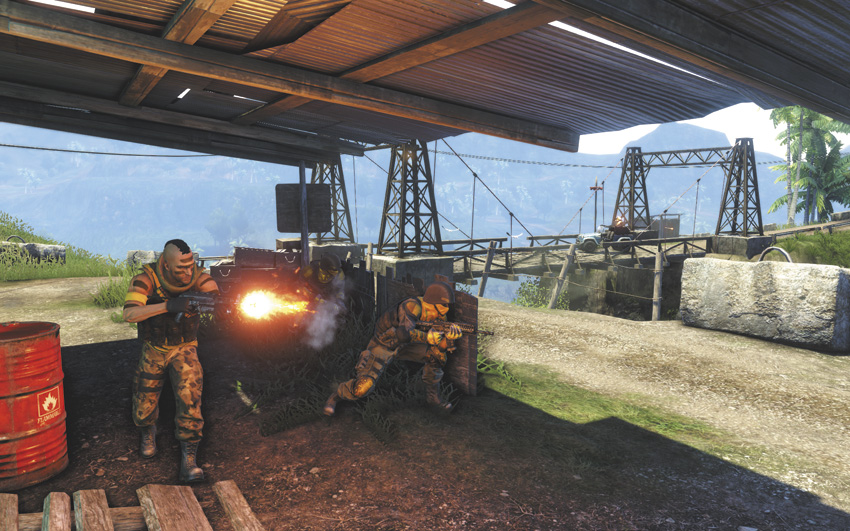
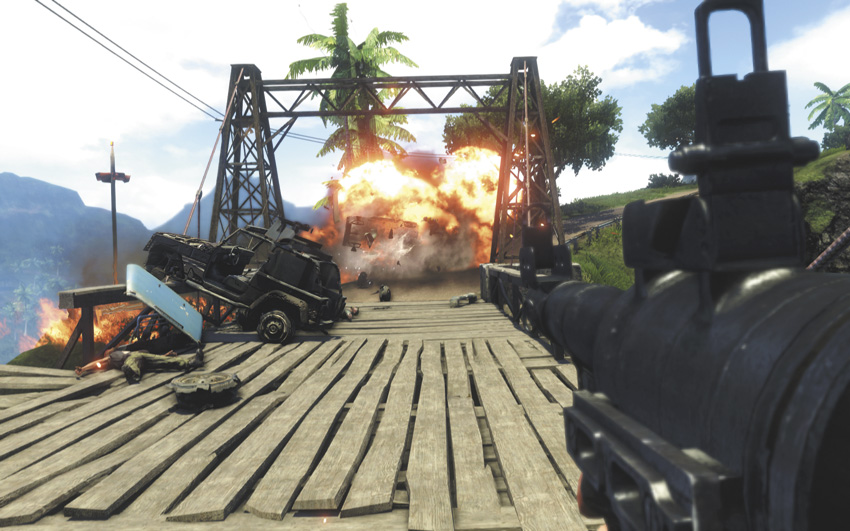
All the while, a murderer’s row of Hoyt’s privateers will be constantly moving in to try and punch your ticket, including a frankly ridiculous number of guys with rocket launchers. Keep checking the side tunnels for ammunition and medical supplies when possible, and don’t use up your RPG-7 ammo frivolously. It’ll help to have it on hand when you reach the bridge, as a couple of jeeps with mounted gun turrets will arrive when you do.
Once you have the list of traitors in hand, don’t stop moving. There’s a gap in the safety rail on the bridge. Take a running leap off of it and use the wingsuit to survive the fall. Keep moving toward the parked jeep near the river until the mission’s complete. You’ll receive 3,000 EXP when you reach your escape vehicle.
All In
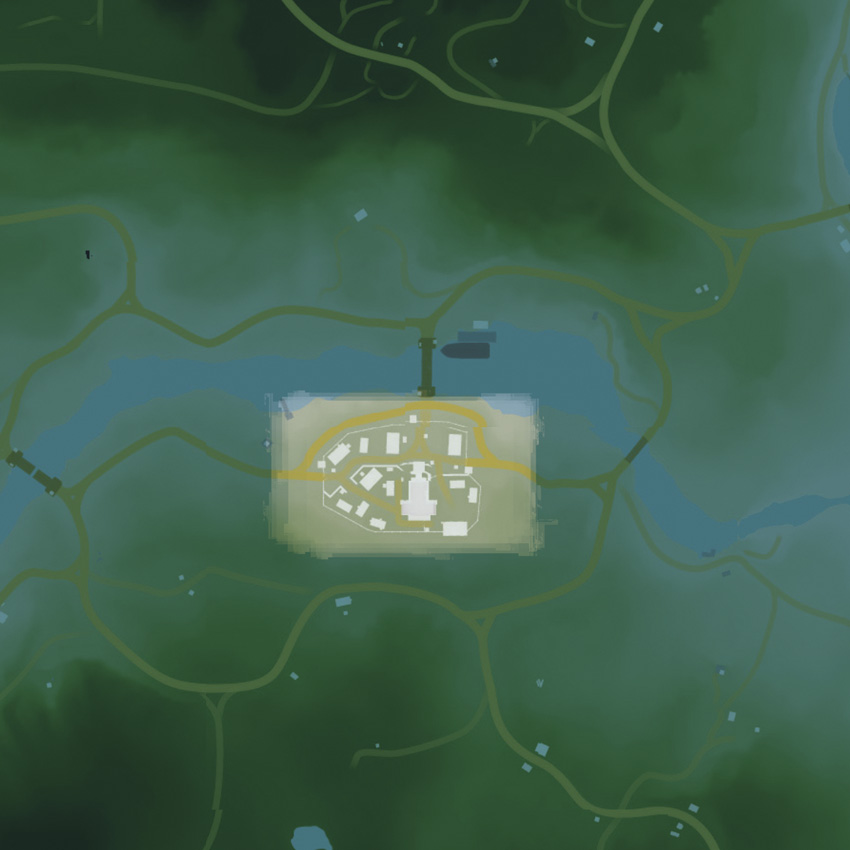
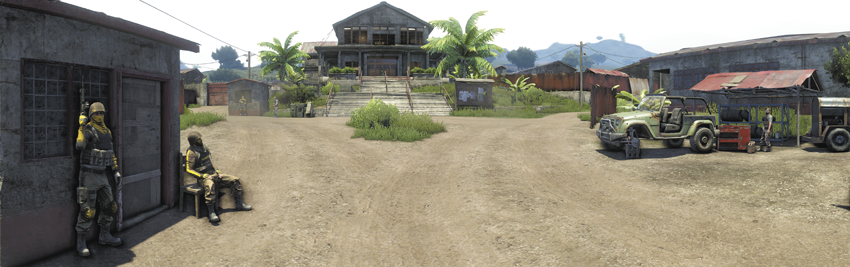
You’ve probably seen the Compound if you’ve done any real exploring. There aren’t any fast-travel points near it, but it’s one of the larger settlements on the South Island and it’s surrounded by patrols. There just hasn’t been a good reason to go there until now.
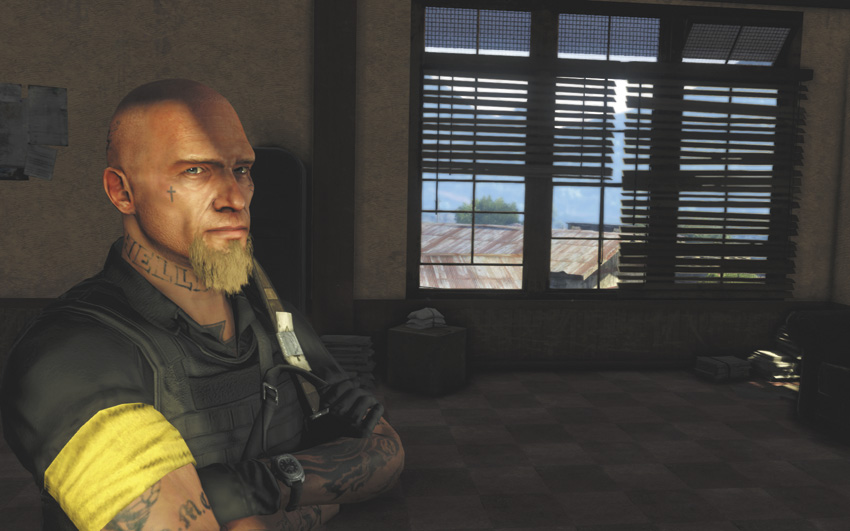
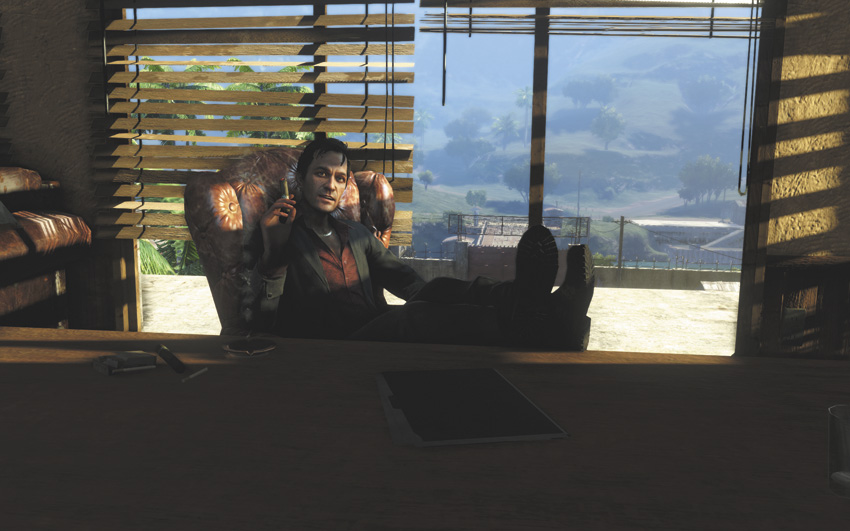
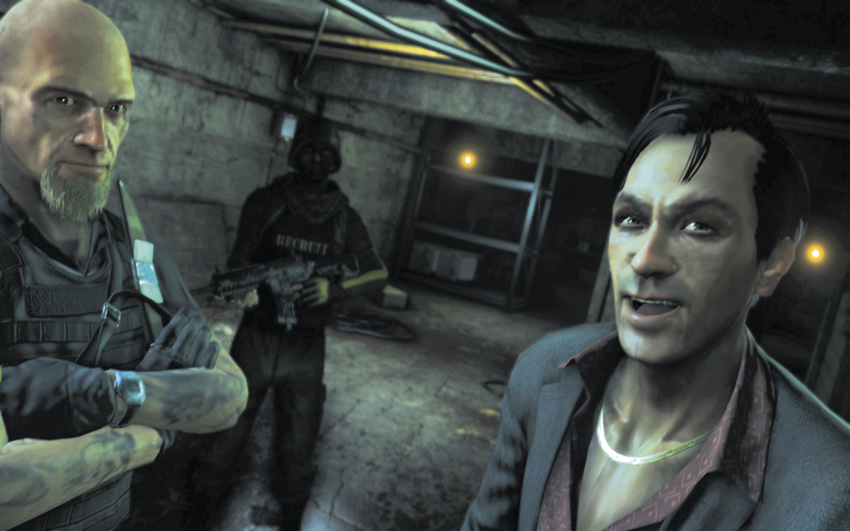
Drive on up to the Compound’s gate and meet Sam. He’ll show you in to meet Hoyt. After the long ensuing conversation, go downstairs to the building’s basement. Obey the onscreen button prompts to win Hoyt’s trust, at least for now. It’s tough to watch, but you receive the Deep Cover Achievement/Trophy for going through wit it.
After the interrogation, you’ll receive 3,000 EXP and dossiers on Riley and Sam. The Compound also becomes available as a fast-travel location.
Paint It Black
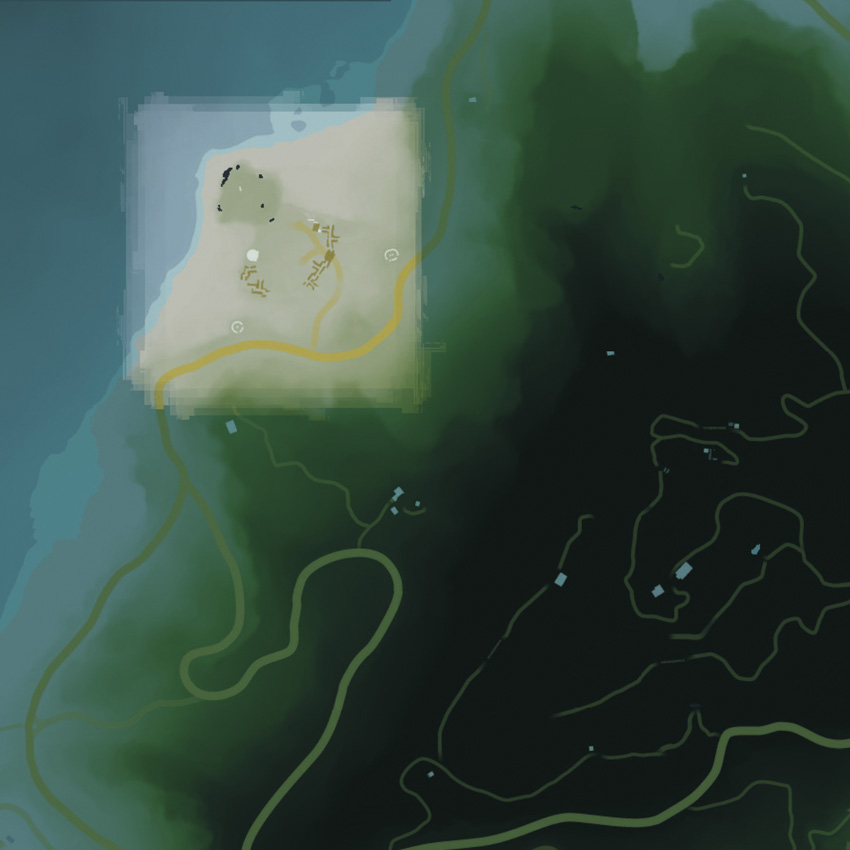
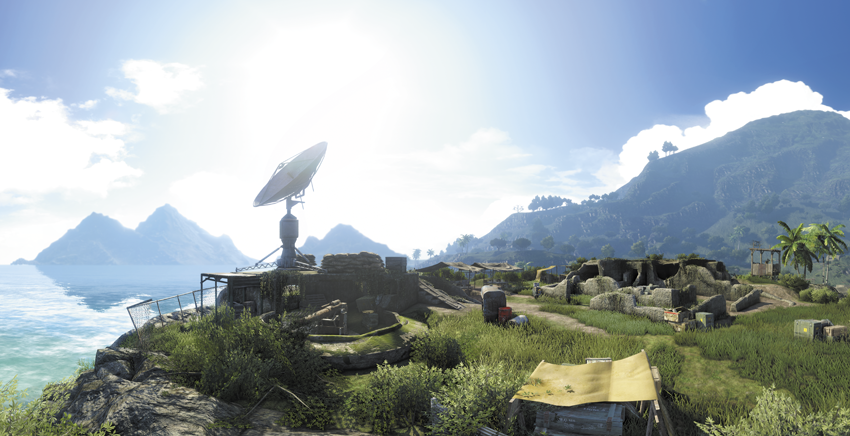
The communications facility is just outside Camp Charlie on the west coast of the South Island. It’s adapted from another WWII-era bunker, and while you can get a long way in without detection by using the old trenches, this is going to turn into a full-on firefight sooner or later. You can make life easier by sniping the sniper watching the front entrance, then using the window of time between his death and his body being noticed to disable the facility’s alarm system.
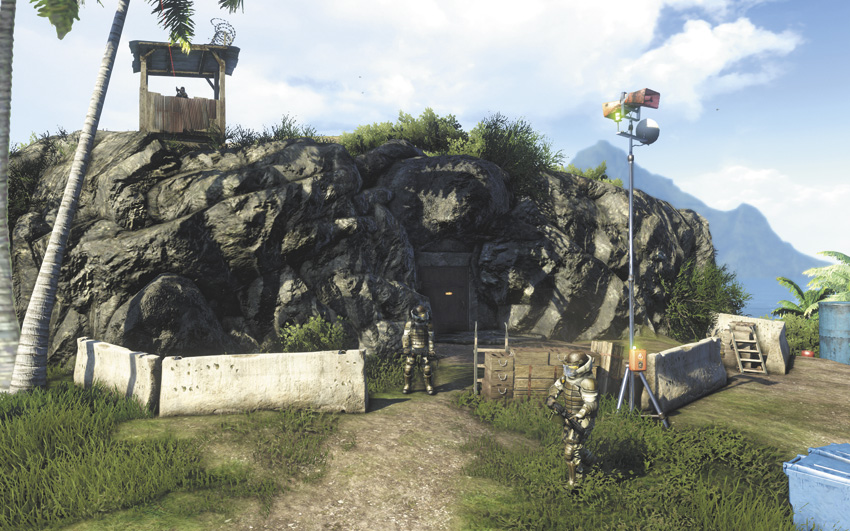
Blowing the door to the inner bunker is perhaps the least stealthy thing one can do without a brass band, so you should not be surprised when the mission turns dangerous shortly thereafter. The gunmen are small fry by now, but there are several heavy flamers among them who can make short work of you in these close quarters. They keep a lot of explosives down here, though, including three C4 charges that are right in front of you when you enter the building, and it would be a shame to waste them.
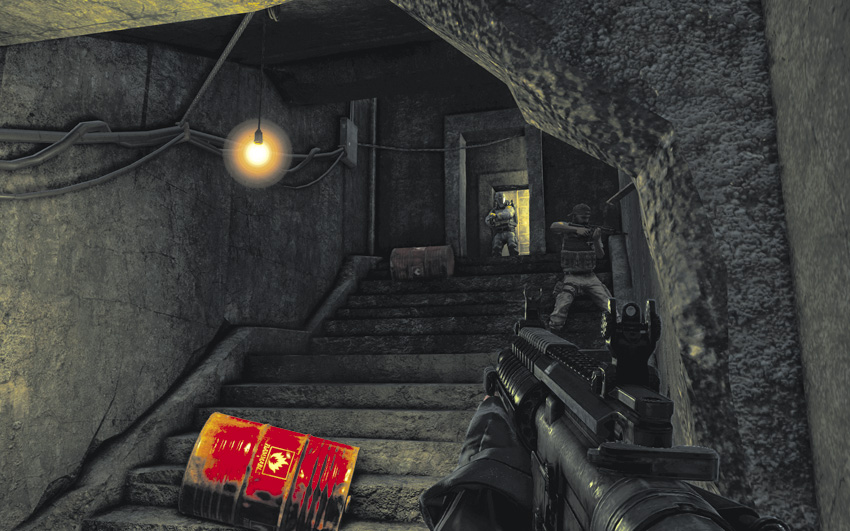
There’s a scripted ambush waiting for you in front of the ladder to the satellite dish, where a flamer and his buddies kick a few propane tanks down the stairs at you when you enter. It’s difficult to avoid damage entirely unless you know it’s coming (which you now do), but they’re the last remnant of resistance inside the bunker. Climb the ladder.
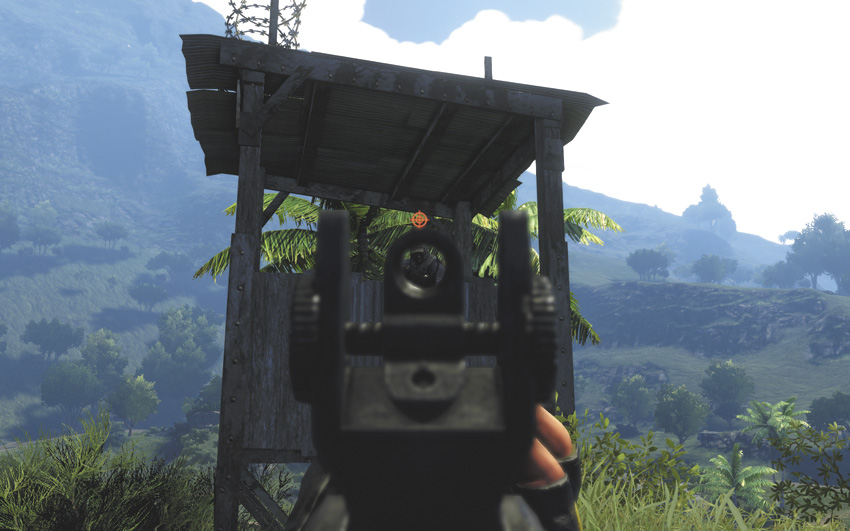
The rooftop around the satellite dish is likely to present some serious difficulty. The area is covered by a couple of snipers, they’ve got a guard dog, and the entire place is covered in that uniquely flammable breed of Rook Island grass. There are a ton of grenades lying around the area, which suggests at least one method of dealing with a few of these guys, and a new suit of body armor in the bunker below the satellite dish.
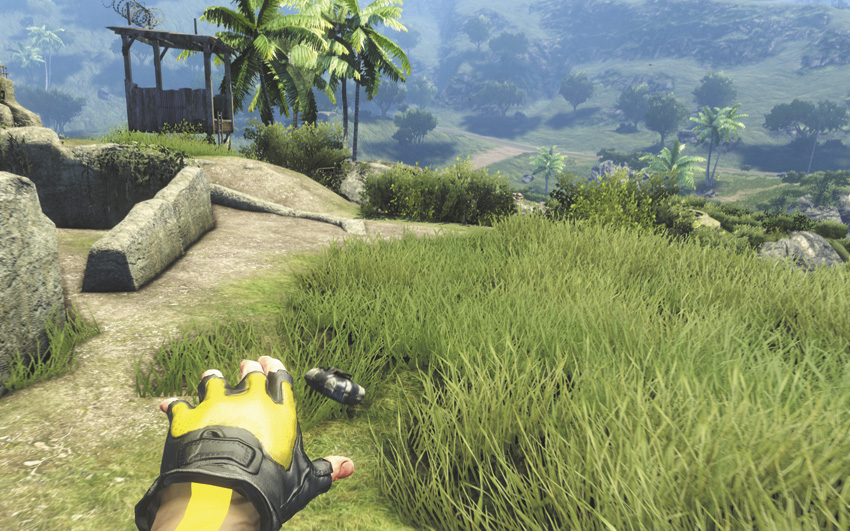
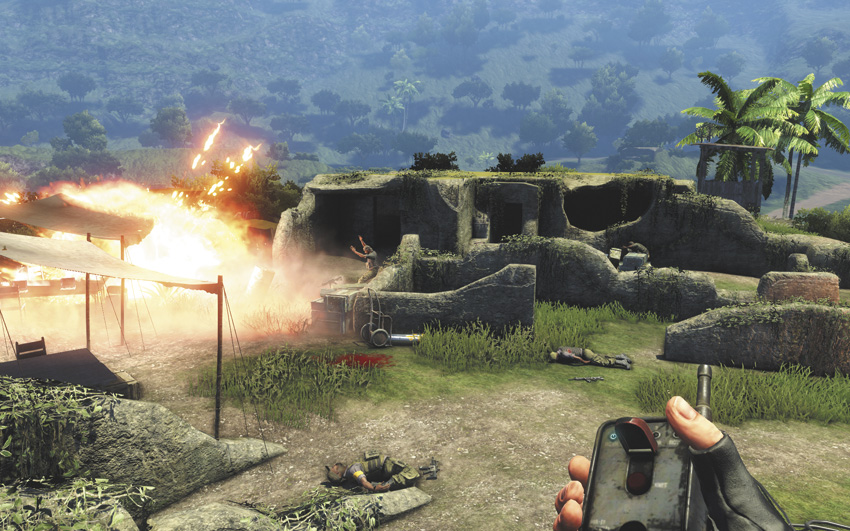
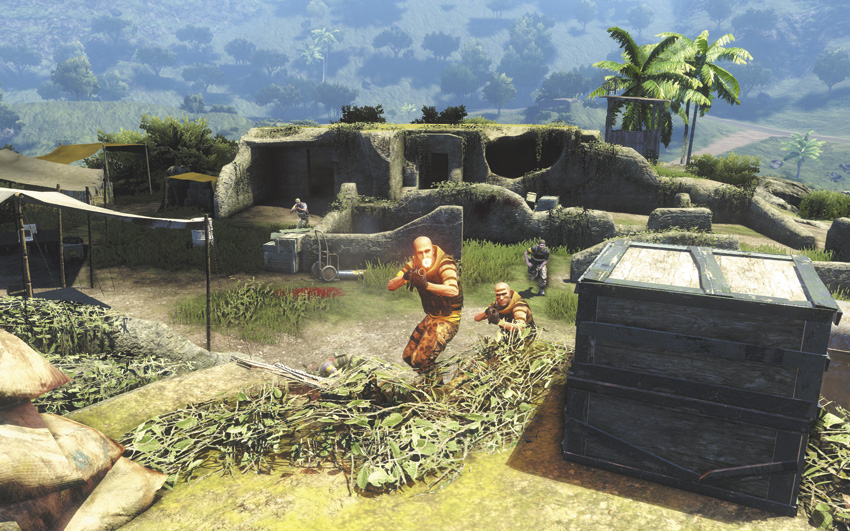
Once the area’s been swept clear, plant your leftover land mines and C4 in the area between the bunker exit and the satellite dish. You’ve got some time to kill before Sam arrives with your ride, and the place will be crawling with mercs shortly. There are enough randomly explosive items in the area that you can use them to take a lot of wind out of the incoming privateers’ sails, including a stack of oxygen tanks.
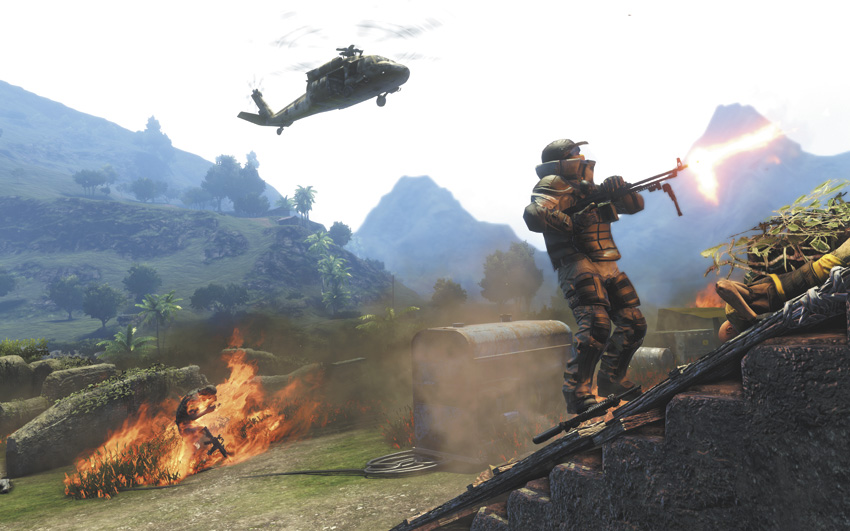
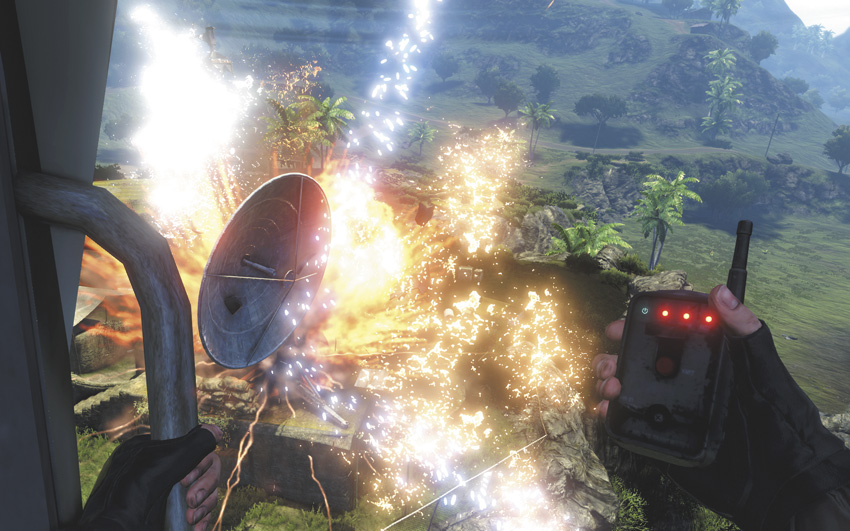
When Sam shows up in a helicopter, get to him quickly; there’s enough massed firepower in the area around the satellite dish that they can blow him out of the sky in short order.
Once you’re off and away, detonate your bomb to take out the satellite dish and earn 4,000 EXP.
Black Gold
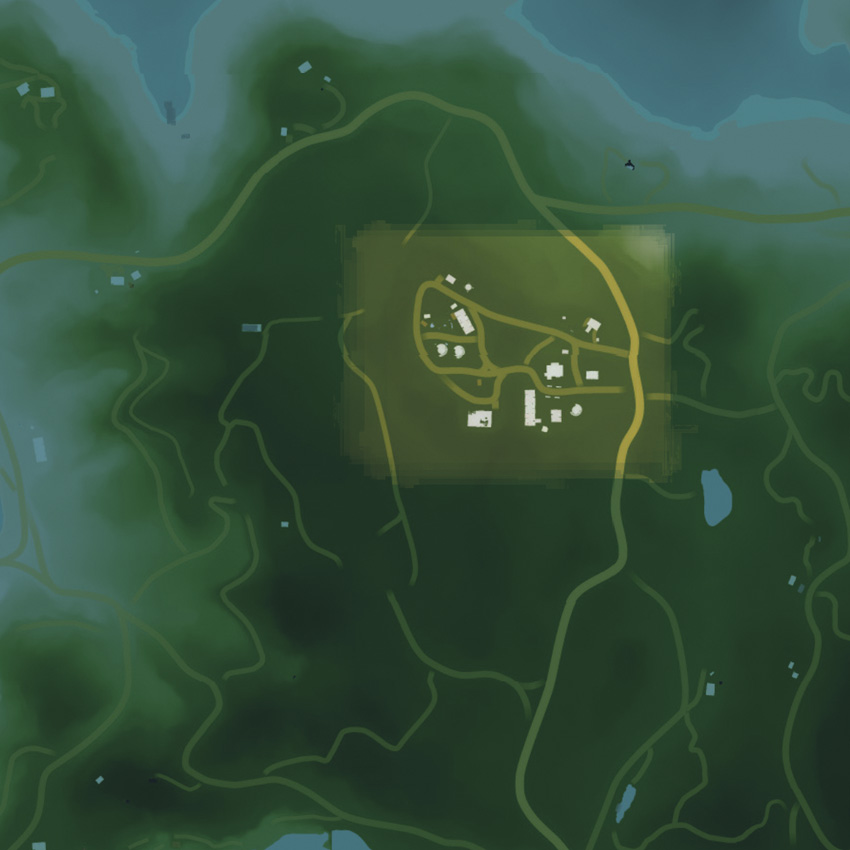
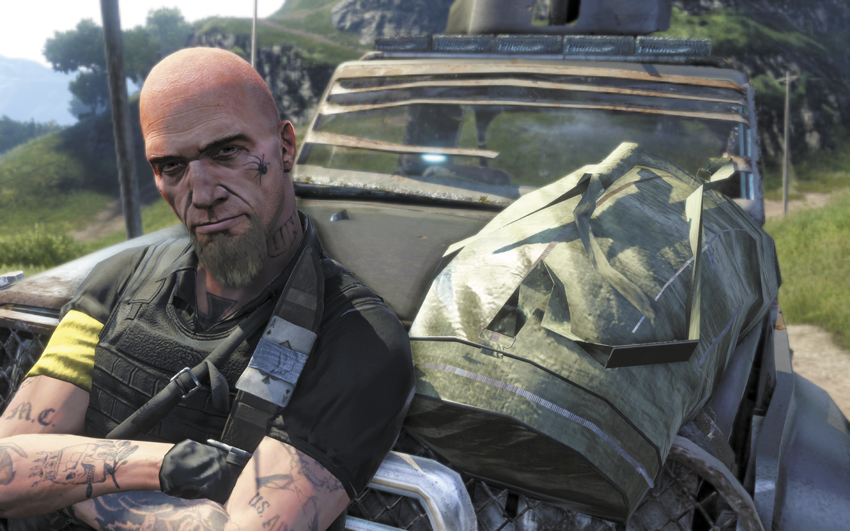
Use the wingsuit and parachute to bail out of Sam’s chopper, then go to meet him outside Camp Delta when you’ve got the time.
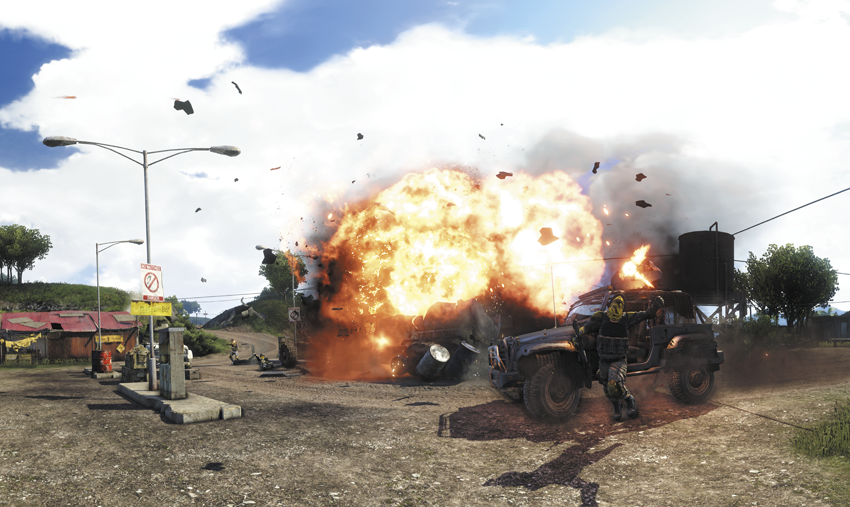
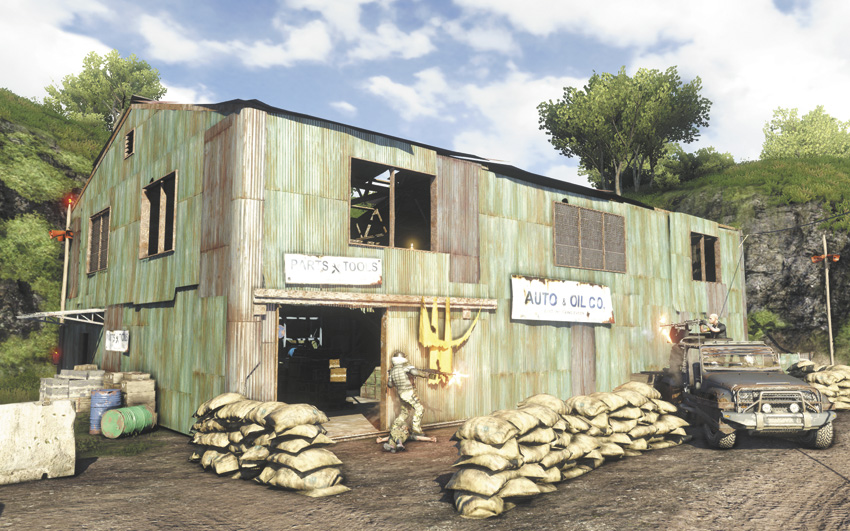
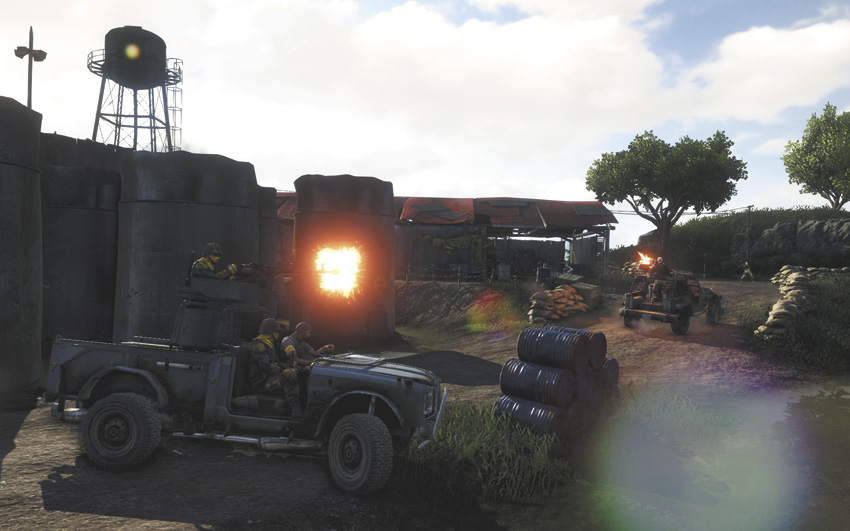
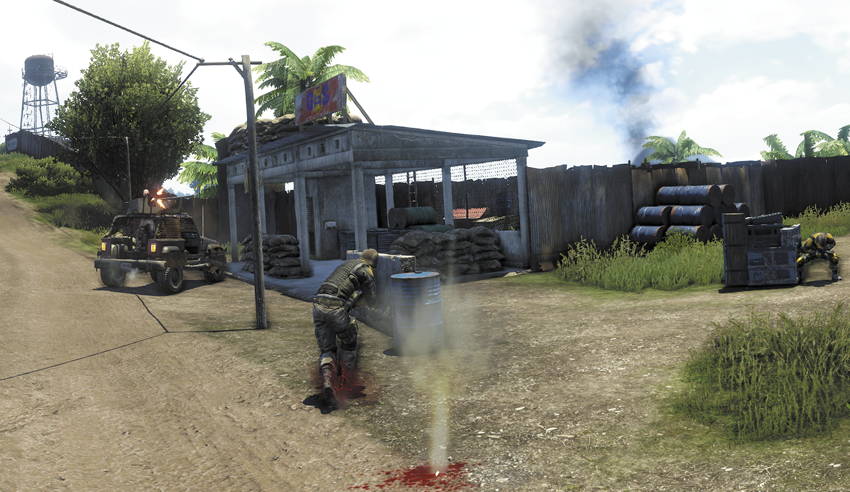
Drive the jeep into the reservoir and lay waste to everything you see. You can crash straight through the corrugated-steel barriers by the sides of the road, but you’ll need to get out of the truck to plant the four required charges.
Three of the four charges are in relatively obvious locations, but the fourth target location isn’t immediately obvious. The only way to reach it is to use the big stack of blue oil drums nearby to jump the fence.
Sam’s manning the turret on the jeep for this mission, and as before, he can really take care of himself unless a couple of heavies show up at once. His health regenerates quickly if he can go for a few seconds without taking damage. Just the same, try not to leave him alone for too long, as heavy flamers can destroy the truck very quickly.
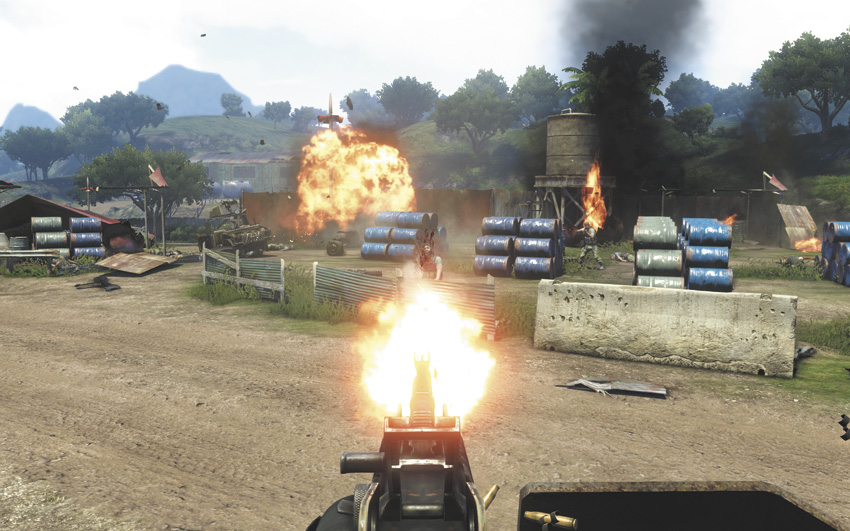
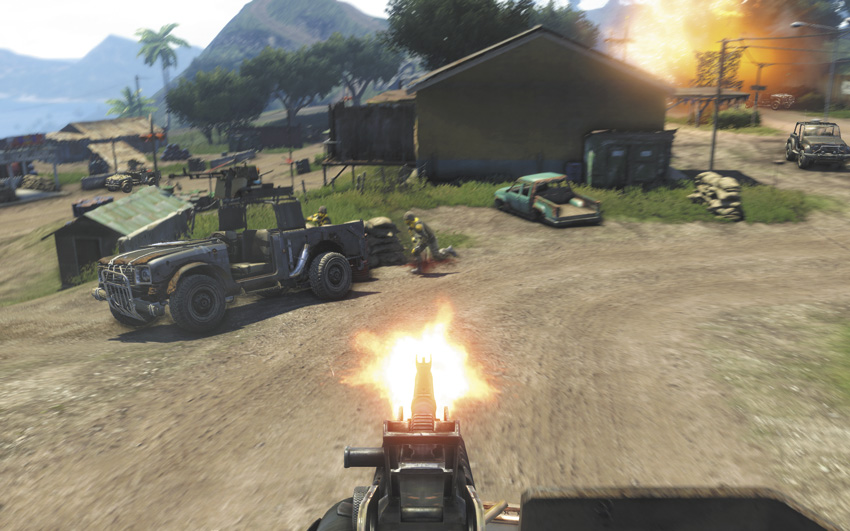
Once you’ve planted and detonated all four charges, drive Sam to the main building, park on top of the jeep icon in the driveway, and get into the jeep’s turret. Use it and the scattered explosive barrels in the storage yard to hold off Hoyt’s men as best you can. The Cool Gunner skill will really pay off here, as this is what people in the trade refer to as a “target-rich environment.”
Sam takes the wheel for your final run out of the reservoir. If you thought you drove like crazy, you haven’t seen anything yet. Cover your escape with the mounted gun and watch the explosion.
Aced in the Hole
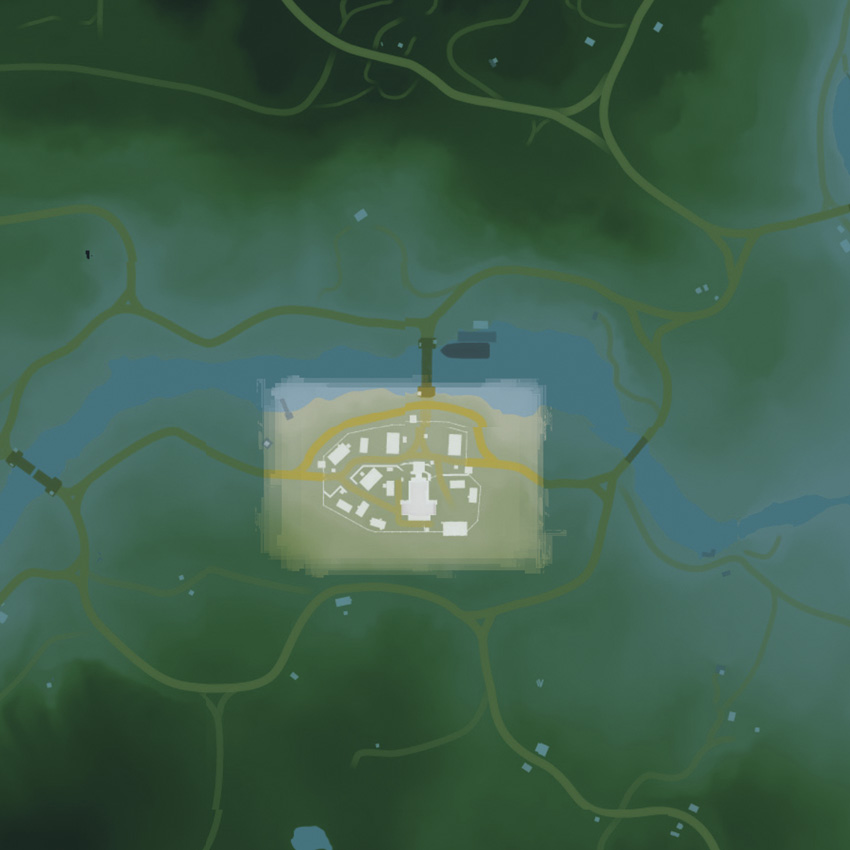
Rearm and resupply at the vendor of your choice. An RPG-7 or GL-94 is a handy choice for dealing with the opposition in the next couple of story missions. You’re heading into Far Cry 3’s endgame, and nothing about it is particularly subtle.
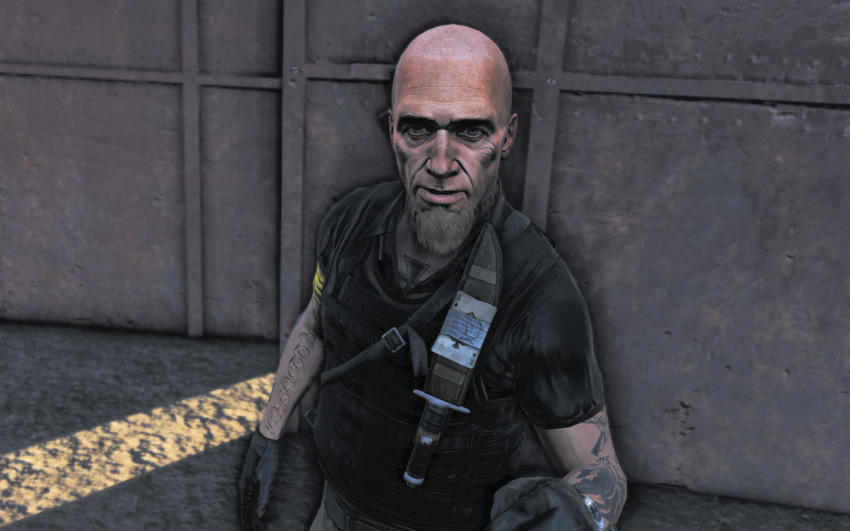
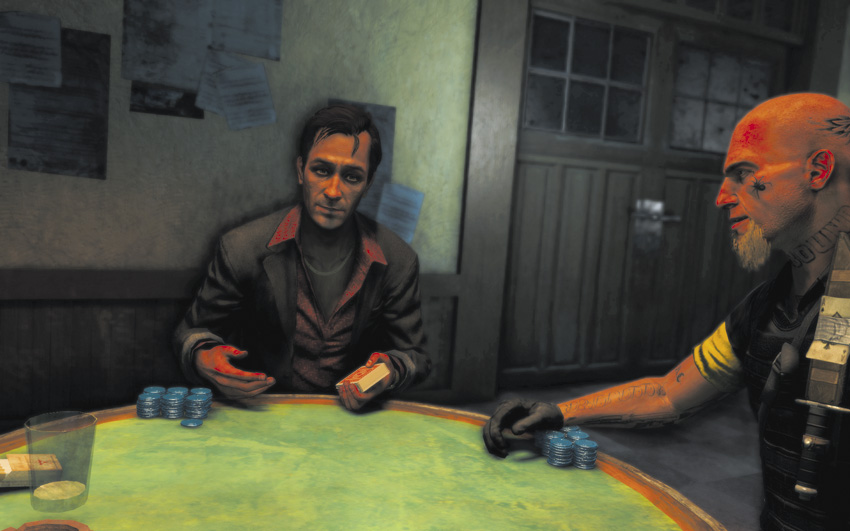
Fast-travel back to the Compound to meet up with Sam again. Once you enter Hoyt’s poker game, you’re on a nonstop ride to the end.
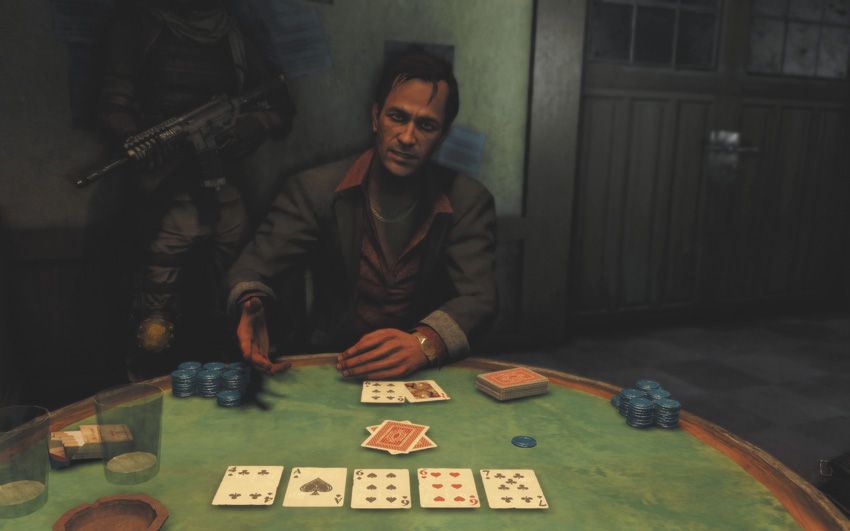
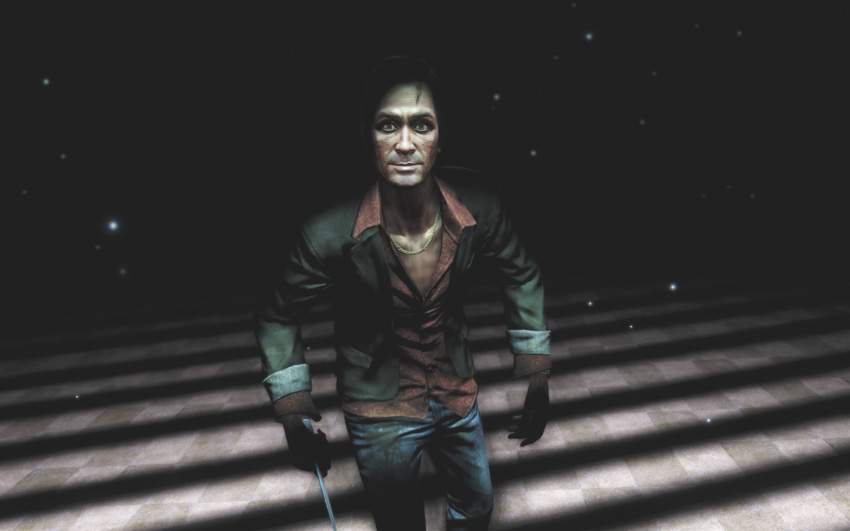
Go inside the Compound with Sam for a quick round of poker with Hoyt. The ensuing boss fight plays out a lot like the one against Buck—you can memorize the buttons you’re asked to hit and preemptively hit them. The window for success is very small, however. Winning this fight earns you the Poker Night Achievement/Trophy.
Prompts vs. Hoyt
| PC Prompts | ||||||||||||||
|---|---|---|---|---|---|---|---|---|---|---|---|---|---|---|
| Commands | Jump | Interact | Crouch | Interact | Interact | Crouch | Interact | Crouch | Jump | Interact | Crouch | Jump | Interact | Crouch |
| Keybinds |
Betting Against the House
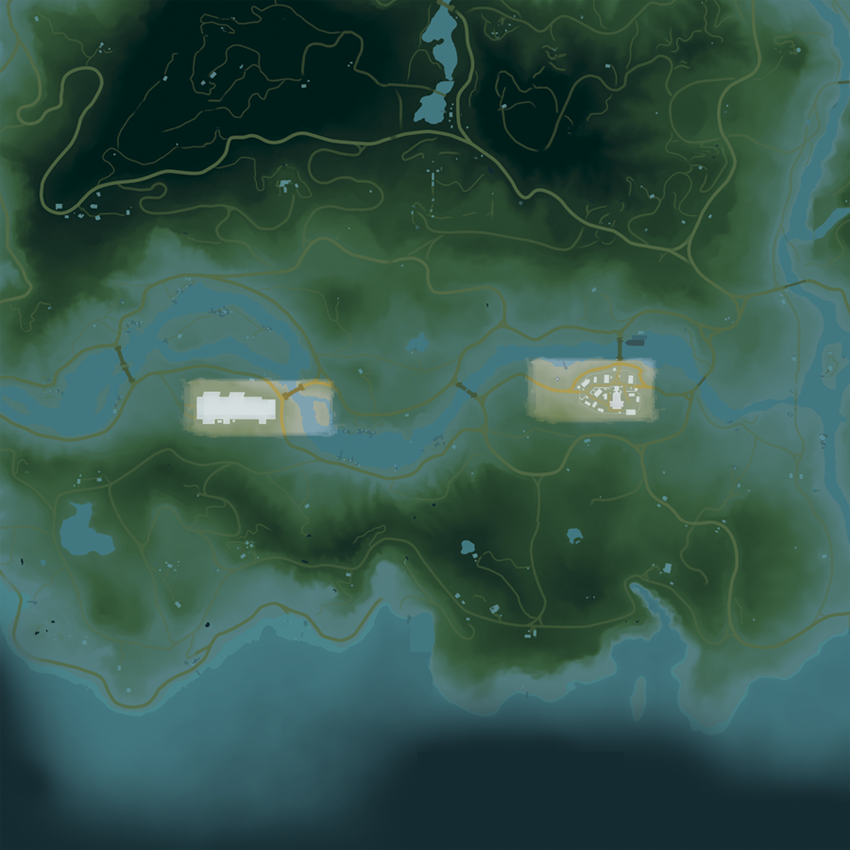
You have twelve minutes to make it to the airstrip. The entire Compound has been turned against you, and the first thing you see when you go downstairs is a heavy flamer kicking his way through the front doors. This can get really entertaining.
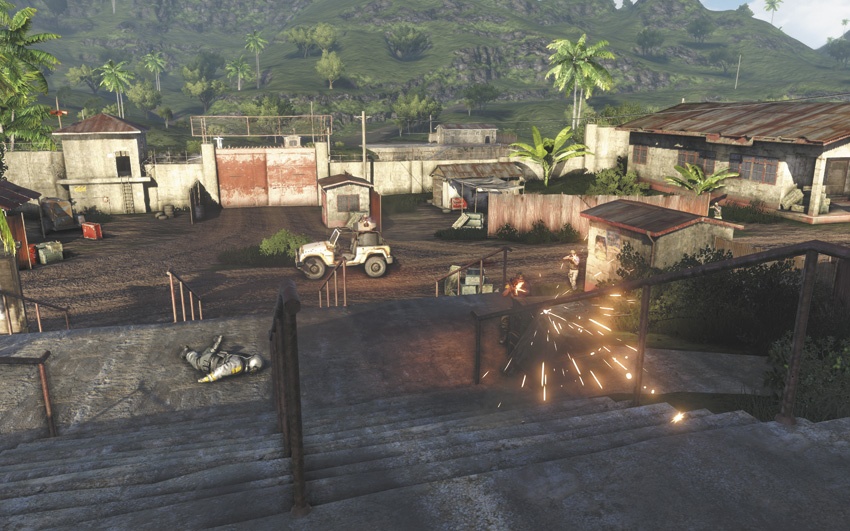
There’s a cache of ammo with a medkit and some fresh body armor in the lobby of Hoyt’s building, which makes it an effective place to hole up and dispose of the first wave of troops. The only gate left open in the Compound is on the west side of the facility, which is blockaded by a heavy flamer and two jeeps with mounted guns. An RPG-7 is useful to deal with them expediently.
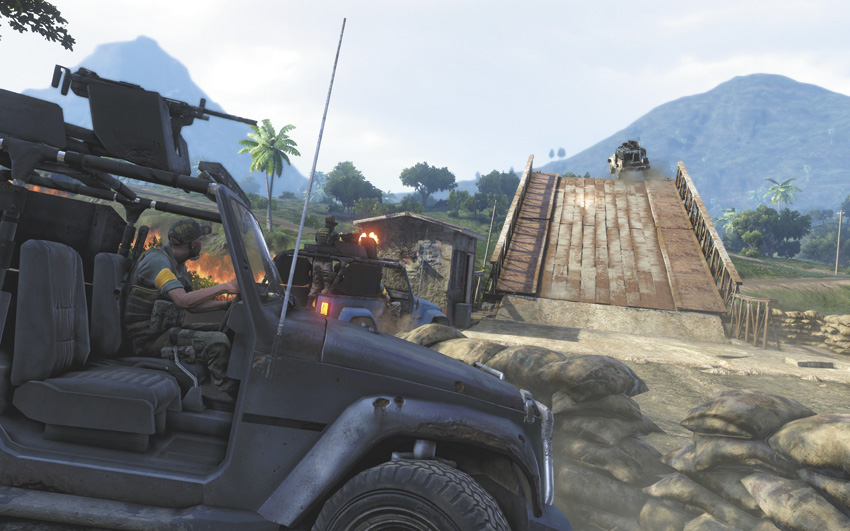
Steal a jeep on your way out the door and drive west with your foot all the way down. Littlegate Bridge goes up as you approach, which means the last half of the trip will be done off road, and it turns out that Hoyt’s guys have a mortar team that’s only too happy to bombard your position. That means that once you’re out in the world, you cannot stop moving for anything or you’re two hundred pounds of chunky salsa.
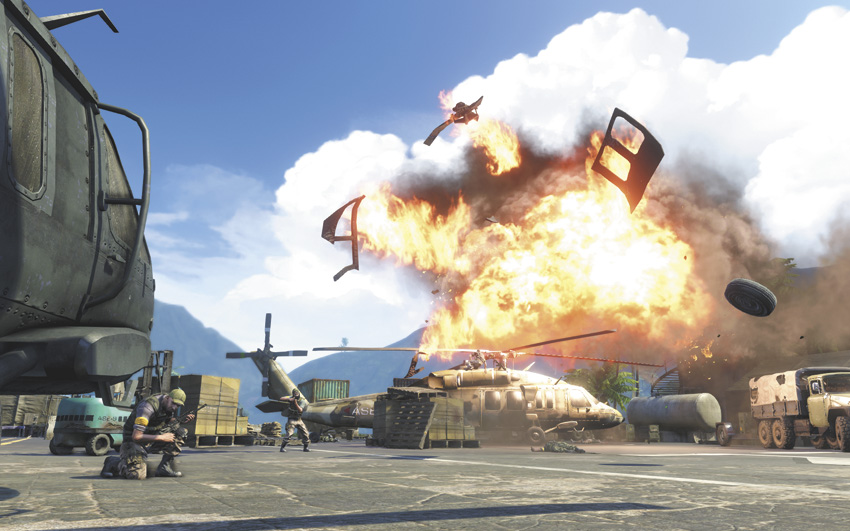
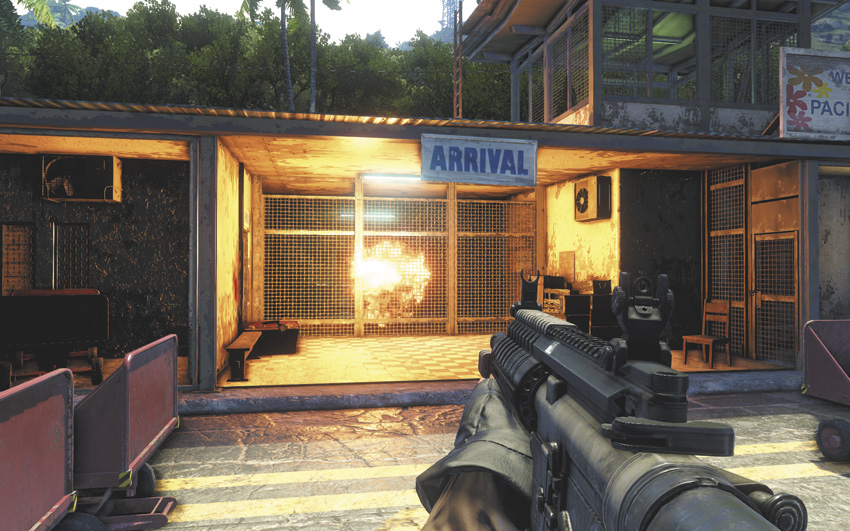
Once you’re at the airport, fight your way through the mercs and privateers on the runway. The only good news is that even Hoyt’s crew isn’t crazy enough to bombard this area, so the mortar barrage stops once your feet are on the tarmac.
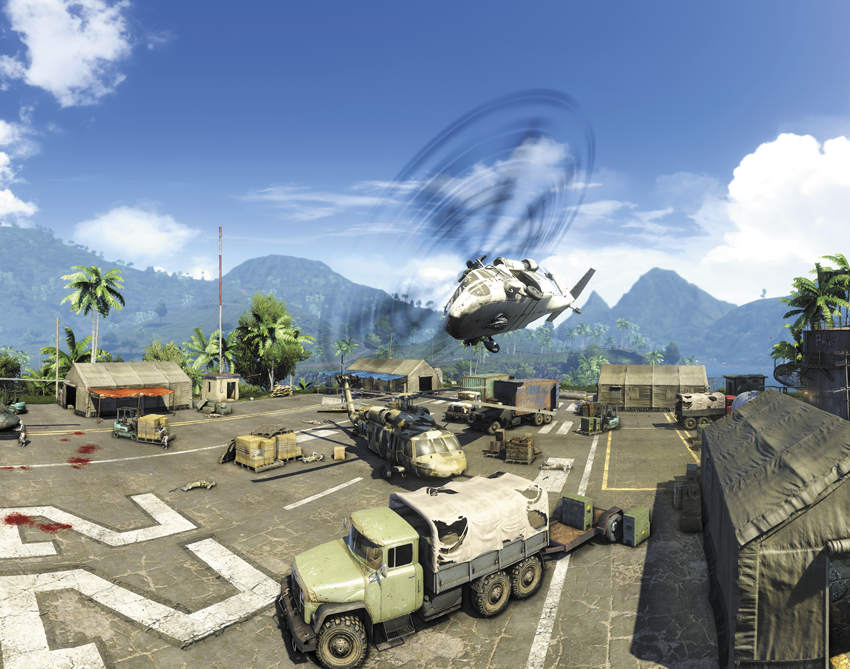
Riley is on the west side of the airport inside the arrival terminal, behind a locked door. Rescue him, then clear out the last wave of goons, which includes a heavy flamer, to get him to the helicopter. At this point, you can go ahead and use up absolutely everything you’ve got. This is the last time in the story missions that you’ll have to fight on foot, so go ahead and leave everything on the field.
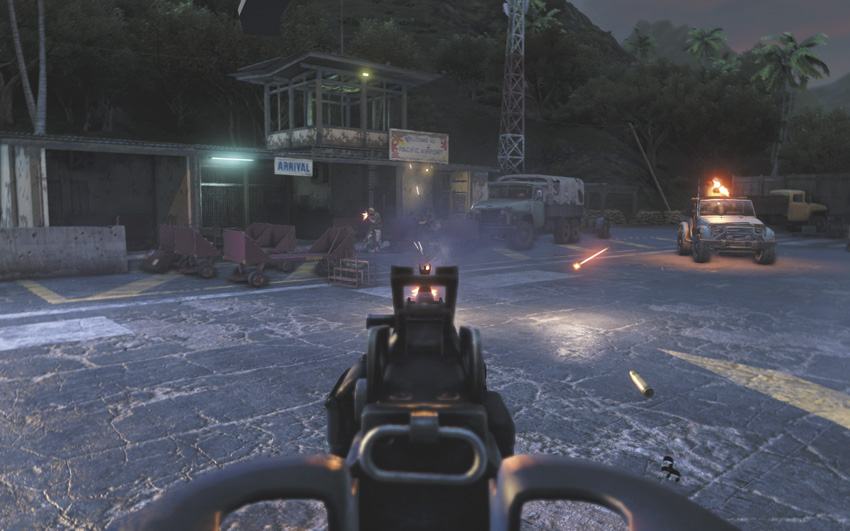
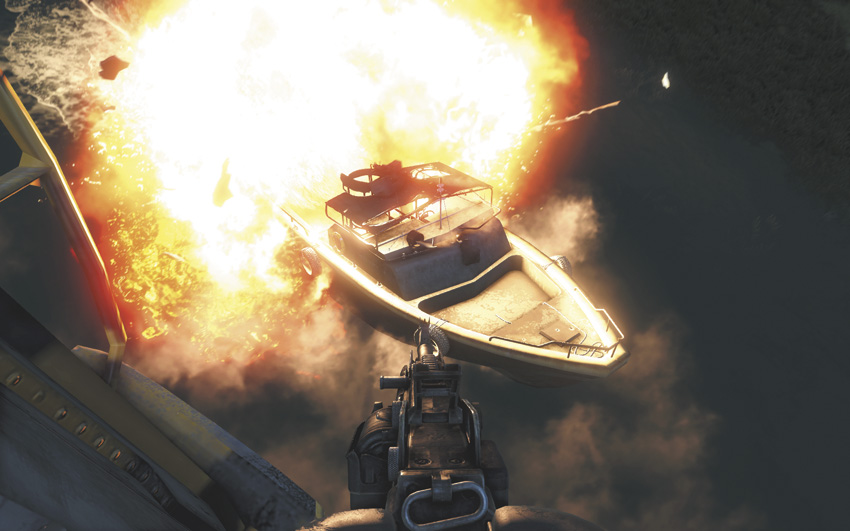
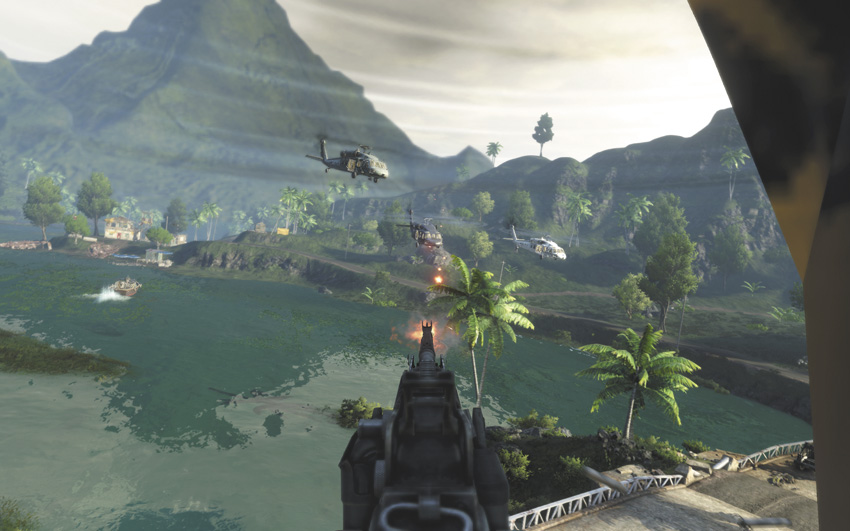
With Riley behind the stick, use the helicopter’s mounted gun to deal with everyone trying to shoot you down. If you somehow managed to leave something intact on your initial run through the airport, go ahead and remedy that situation now. Sweep it all with machine-gun fire and watch it all burn, with a particular eye out for ground troops with RPG-7s. You’ll be 5,000 EXP richer by the time you’re clear.
The Doctor Is Out
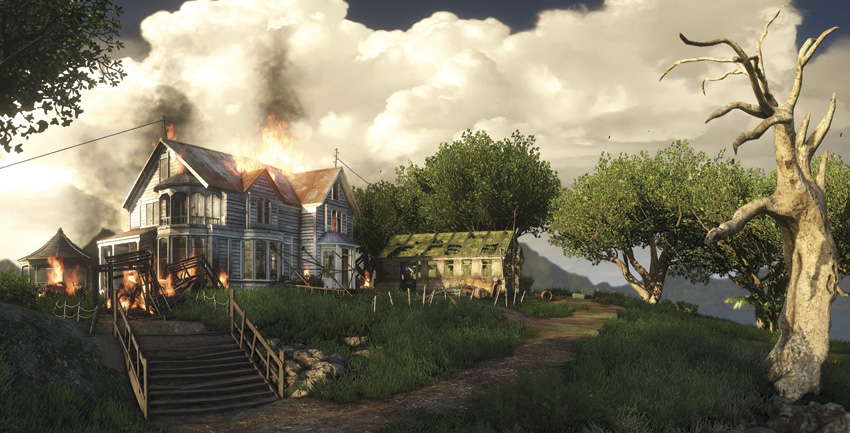
Riley flies you back to Earnhardt’s place, which has seen slightly better days. The vending machine on the first floor is upended, but still works just fine if you need to resupply. There’s no real need to do so.
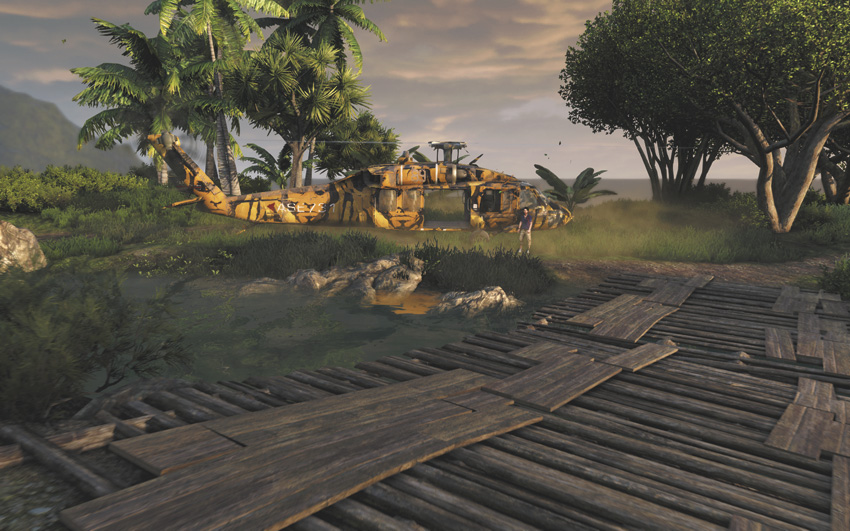
Earnhardt is outside his house, in the gazebo by the cavern entrance. Talk to him, then go back to the helicopter.
Hard Choices
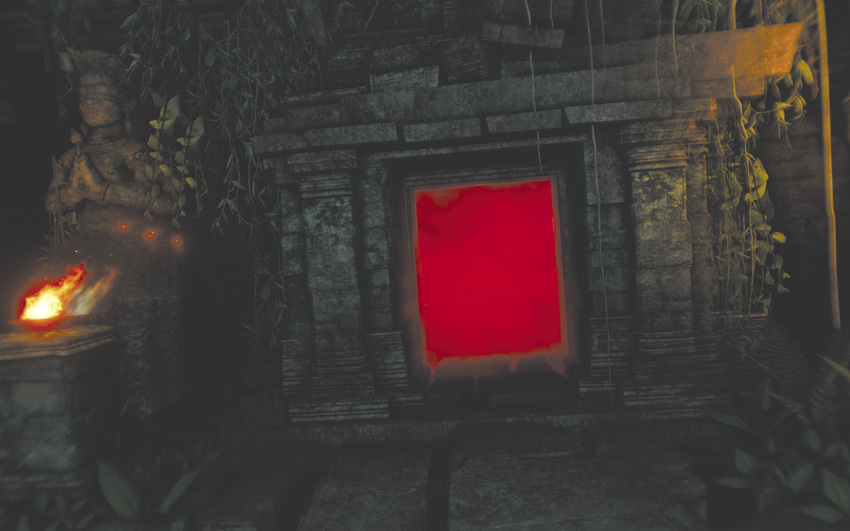
It’s time for one last ceremony of the Rakyat. Enter the temple, suspiciously quiet though it may be. When you’re free, walk forward and keep walking forward, as creepy as things may become.
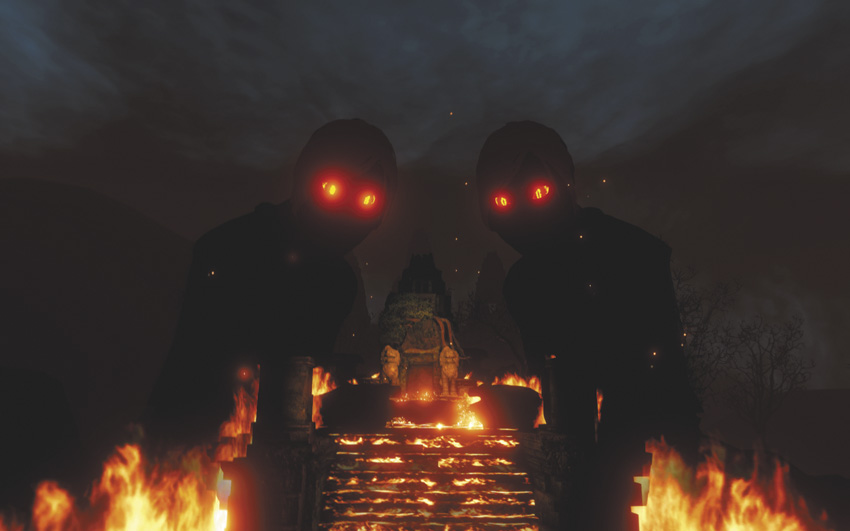
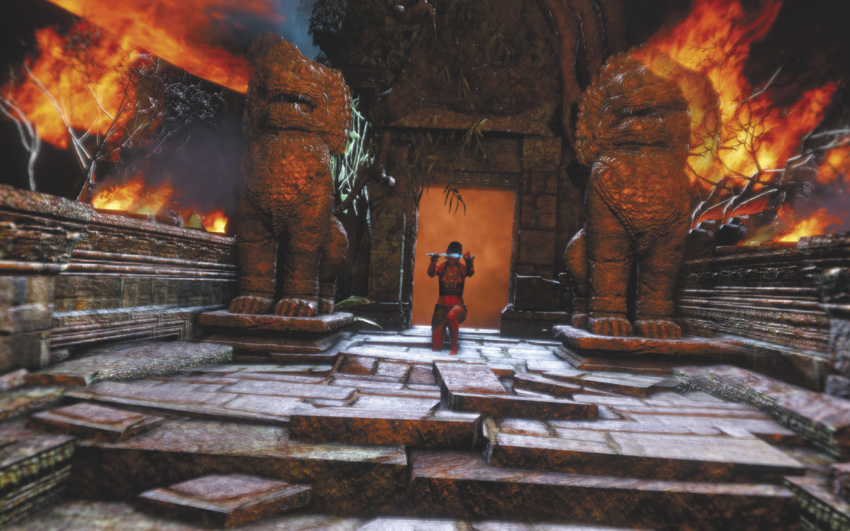
At the end of the path, you have one last choice to make which will determine your ending: save your friends once again and leave the island, or destroy your past forever.
Whichever you choose, you unlock the What A Trip Achievement/Trophy, and you’ve completed Far Cry 3’s story campaign.
You’ll be able to go back to Rook Island and explore it further after the end of the game’s credits. The island is more or less the same as you left it except that Citra’s temple has collapsed, and you’ve lost the benefits of the privateer uniform. You are once again a shoot-on-sight for every surviving member of Hoyt’s mercenary corps.