
Far Cry 3 with Interactive Map Walkthrough The Main Campaign
The North Island
The main story mode of Far Cry 3 is Jason’s game, as he explores the island to rescue his friends, depose Vaas and Hoyt, and save the Rakyat tribe.
These thirty-nine missions test your facility with all the disparate areas of Far Cry 3’s combat system. Skills that may initially seem niche or worthless become vital at some point, and you should make sure to resupply before you embark upon any chapter in the story, even one that initially seems like it’d be a milk run.
Once you begin a story mission, like any other mission, you’re locked into the area in which it’s set. Leaving that area, whether on foot or by fast-traveling to another location, also abandons the mission. You must return to its original starting point and begin from scratch.
Expectations and Breakage
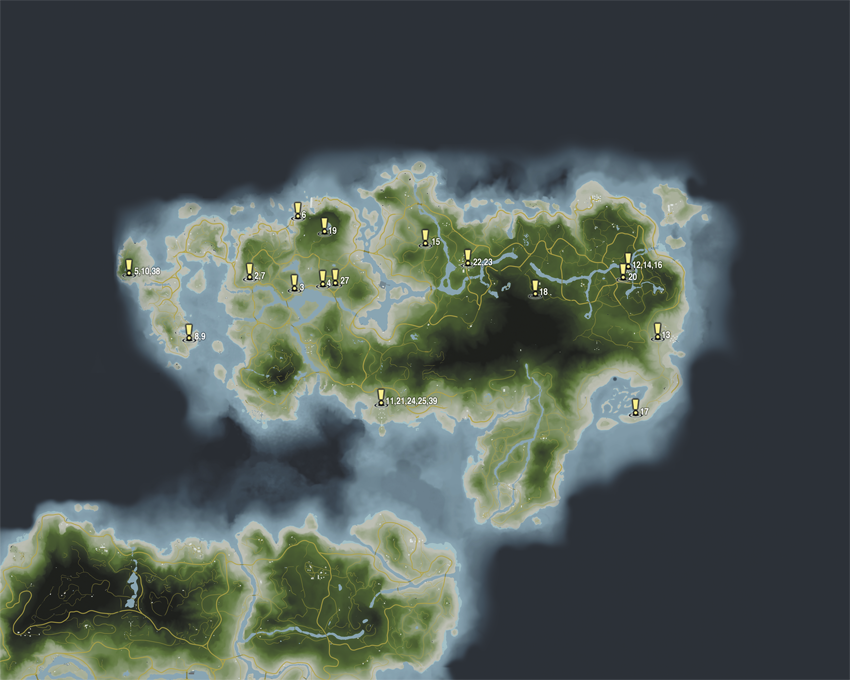
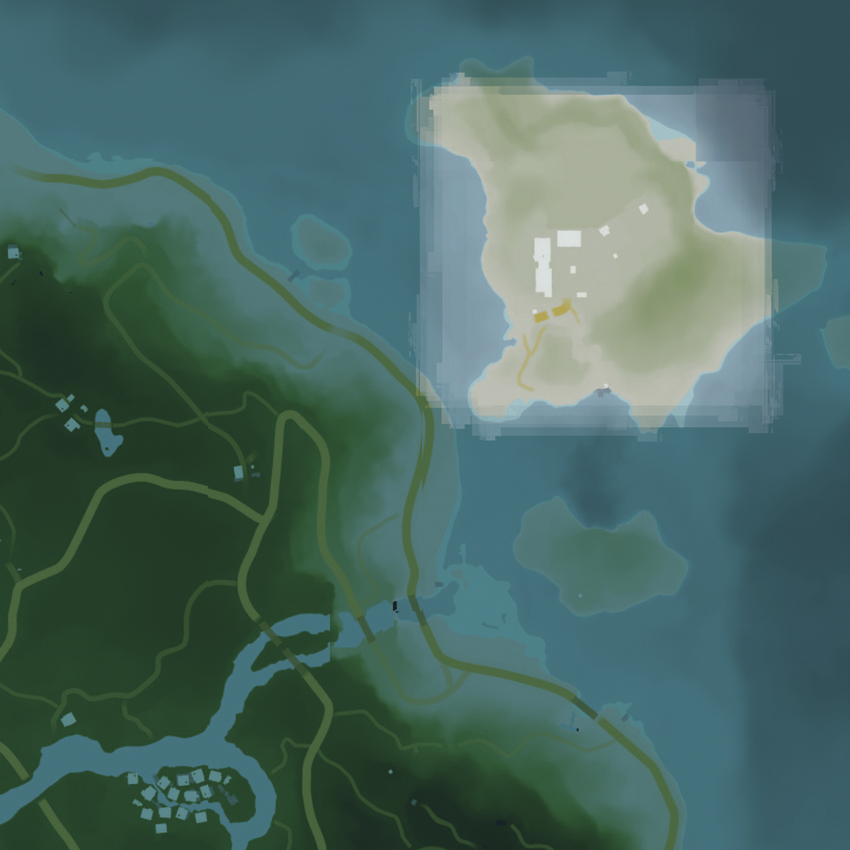
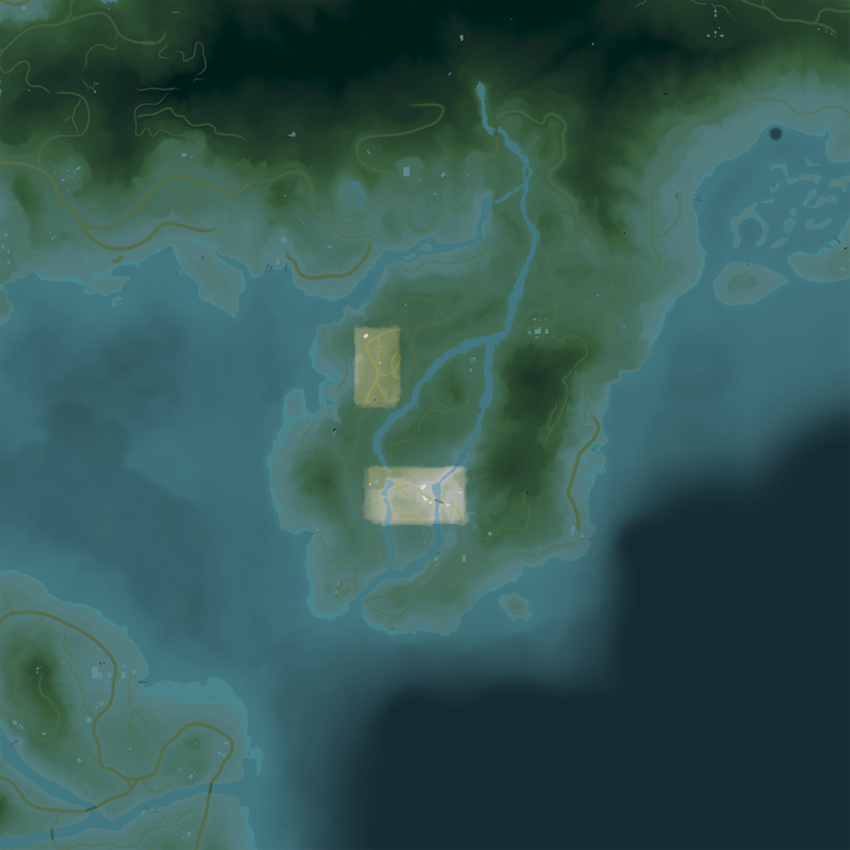
The Rakyat’s traditional home is also the setting for over half of Far Cry 3’s story mode. It has its share of settlements and ruins, but civilization has a very shaky grip on the island, and the eastern half of the land mass has been almost completely reclaimed by the jungle.
Make a Break For It
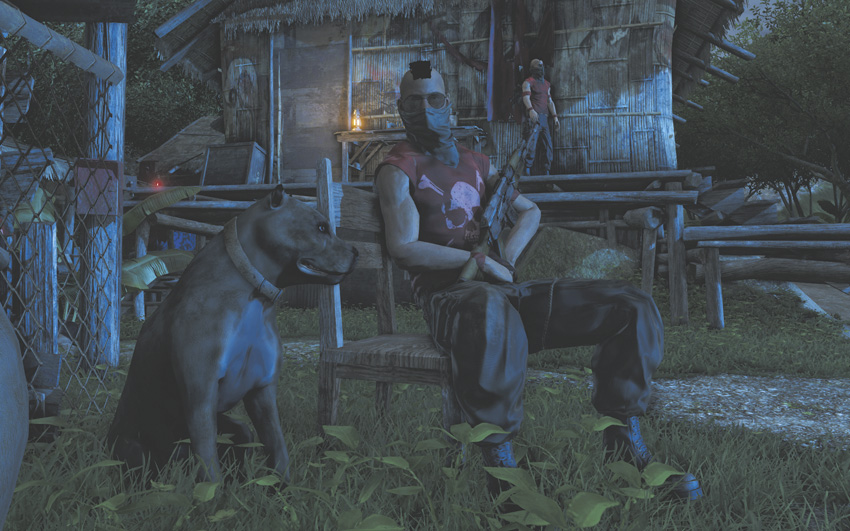
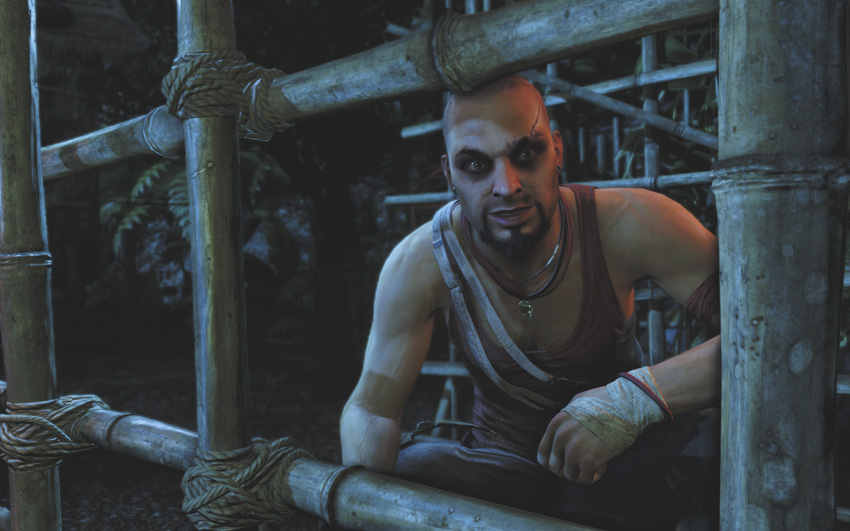
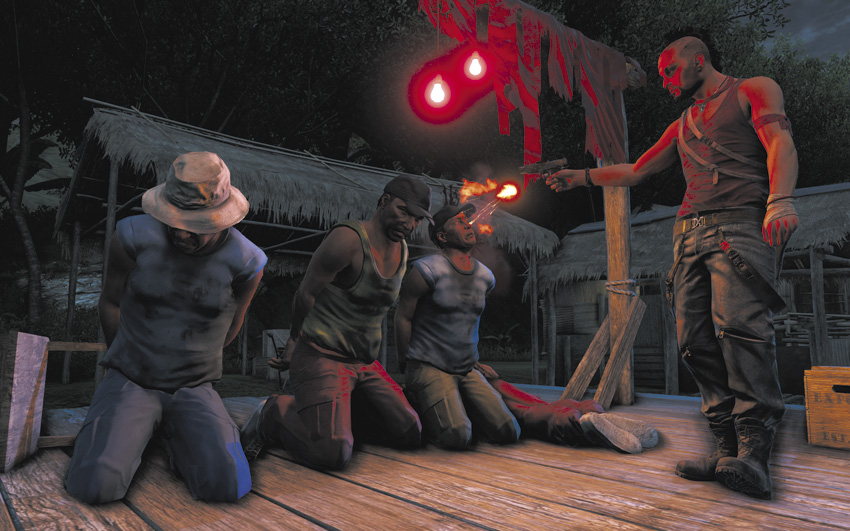
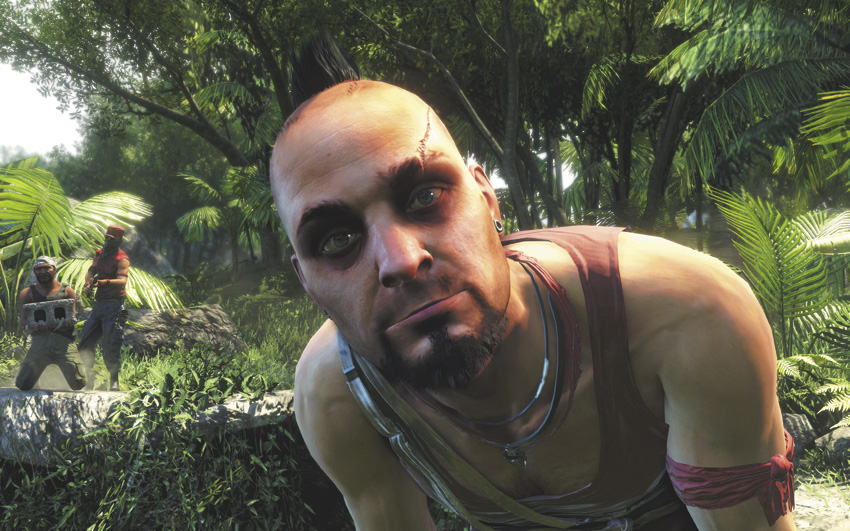
So that’s Vaas. He seems nice.
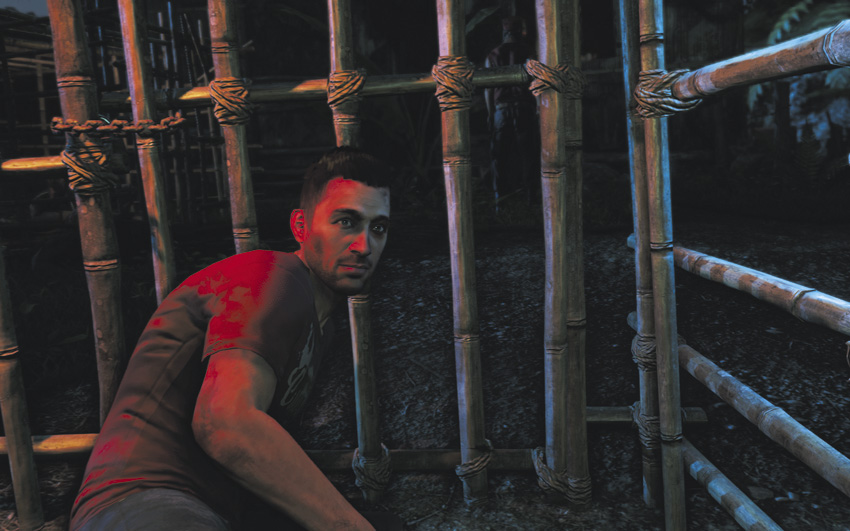
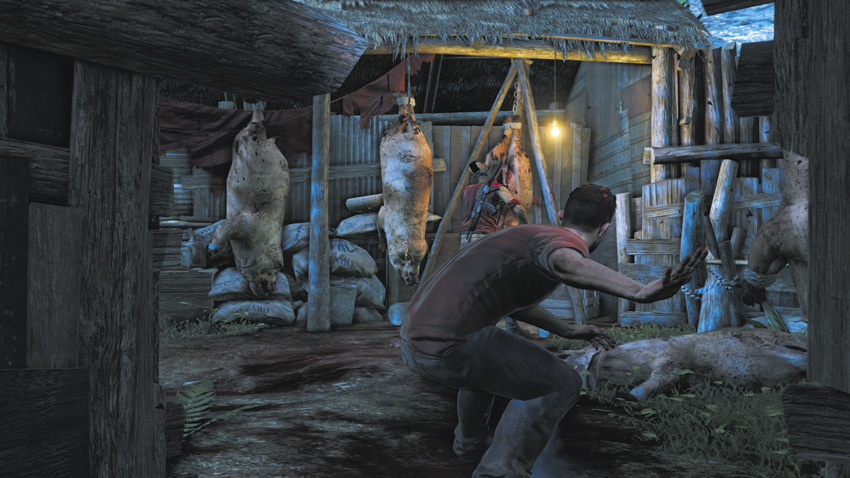
Grant springs you from your cage shortly after Vaas leaves. The ensuing tutorial mode is a quick primer on how stealth works in this game. Line of sight is your primary concern, and it’s relatively simple to distract guards with a few thrown rocks. Fortunately, Vaas’s guards have been partying tonight, and they aren’t hard to outmaneuver.
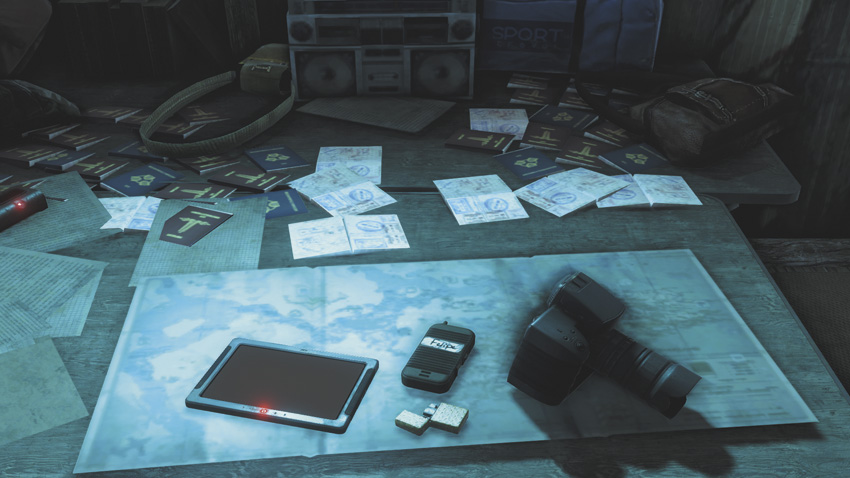
Follow Grant, and as directed, grab your stuff off the table. This includes a phone, a map, a lighter, and a tablet computer, all of which will be important later in one way or another. Also, take notice of the photo on the wall. You’ll be meeting her later on.
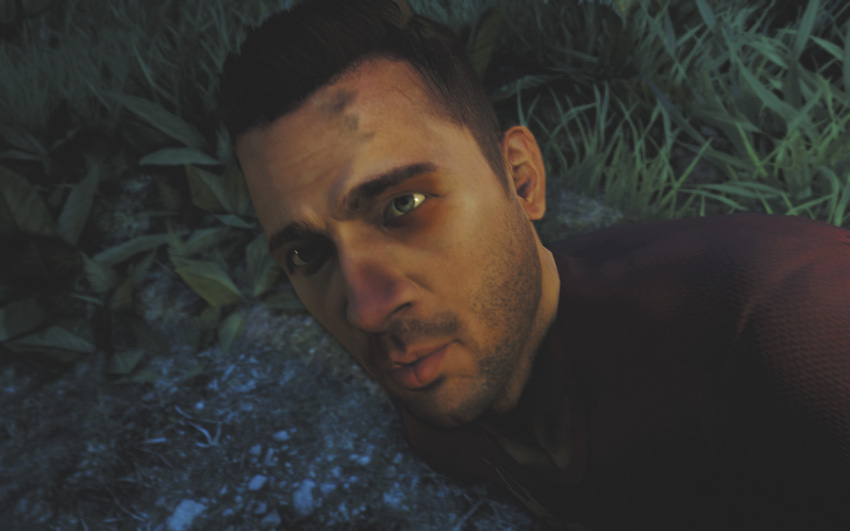
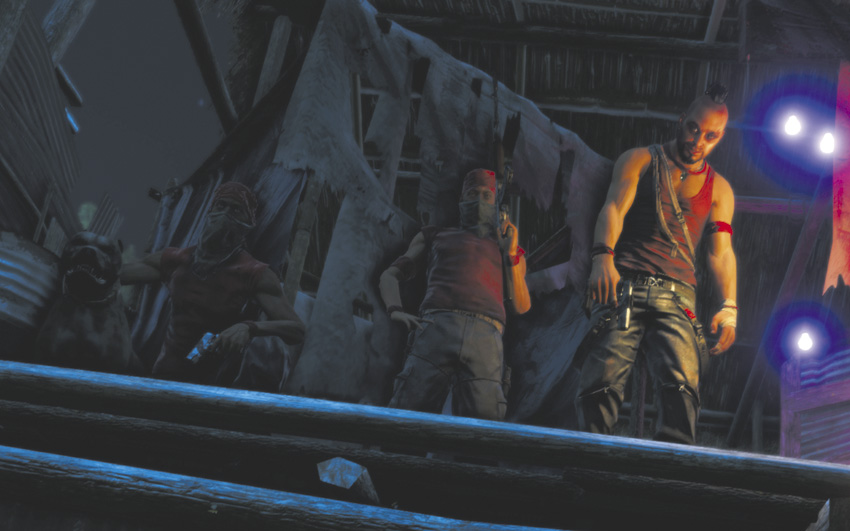
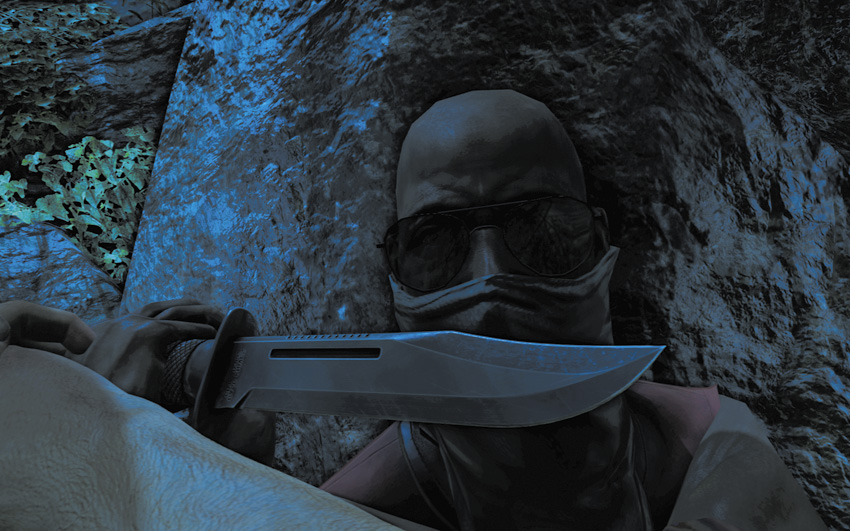
Stay with Grant and follow the onscreen directions to complete the tutorial. Once you’re out of the camp, the training wheels are officially off the game. Use the onscreen prompts to take out the first guard to find you.
Run into the jungle in the general direction of anywhere that is not here as fast as you can, sprinting away from the gunmen behind you until a cutscene takes over. You’ll earn the First Blood achievement/trophy.
Down in Amanaki Town
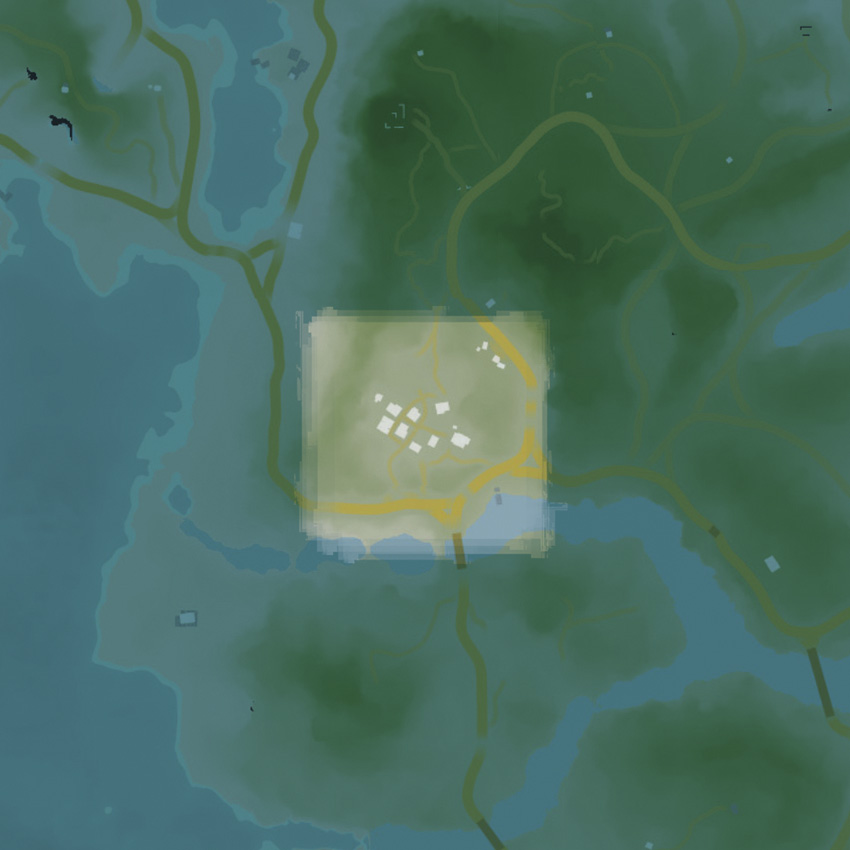
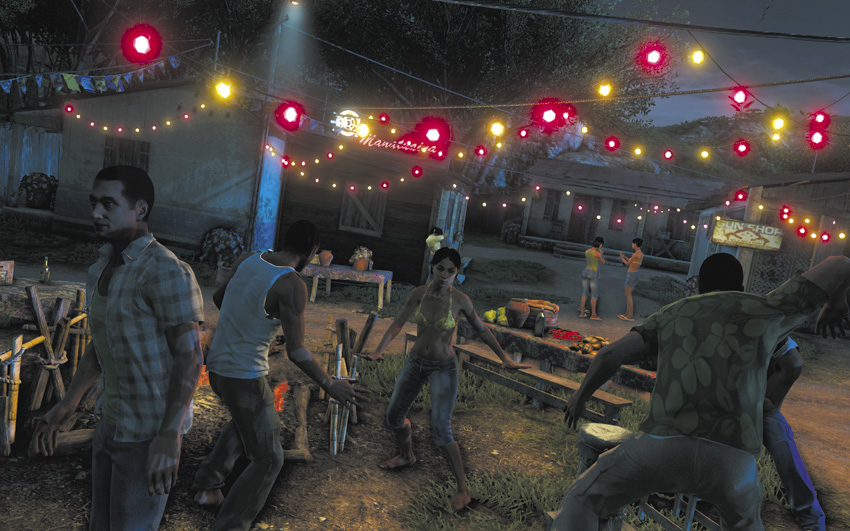
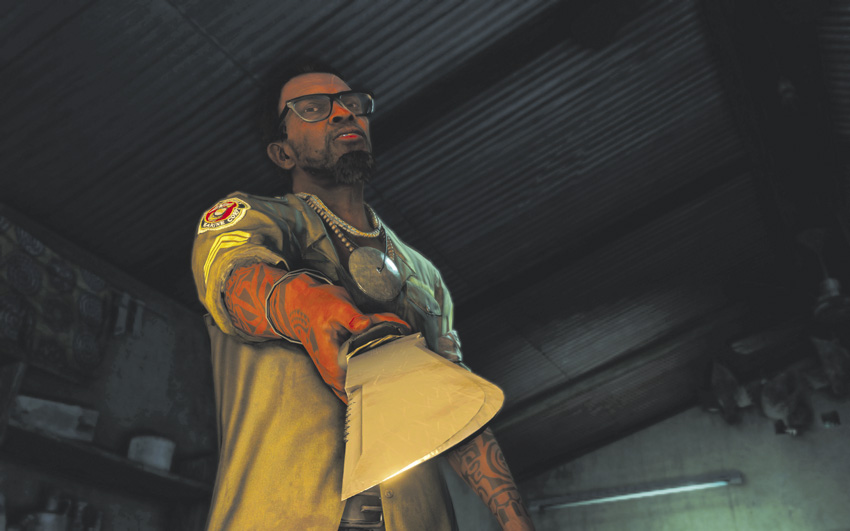
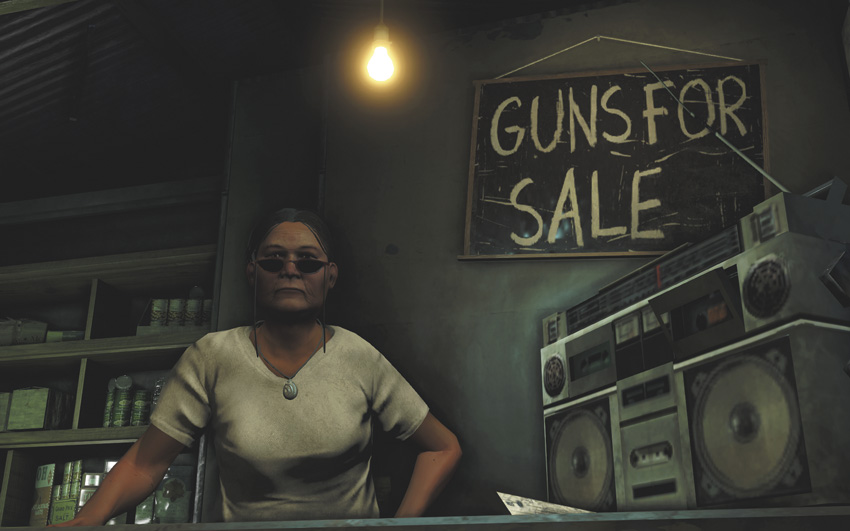
Armed with Dennis’s wad of cash, head into Amanaki’s general store and buy a 1911 pistol. It’s all you’ve got the cash for right now, so all you can do is gaze longingly at all of the other weapons in the store.

With gun in hand, follow Dennis to the road outside the village. He’ll explain a few important things about the island and how it works right now.
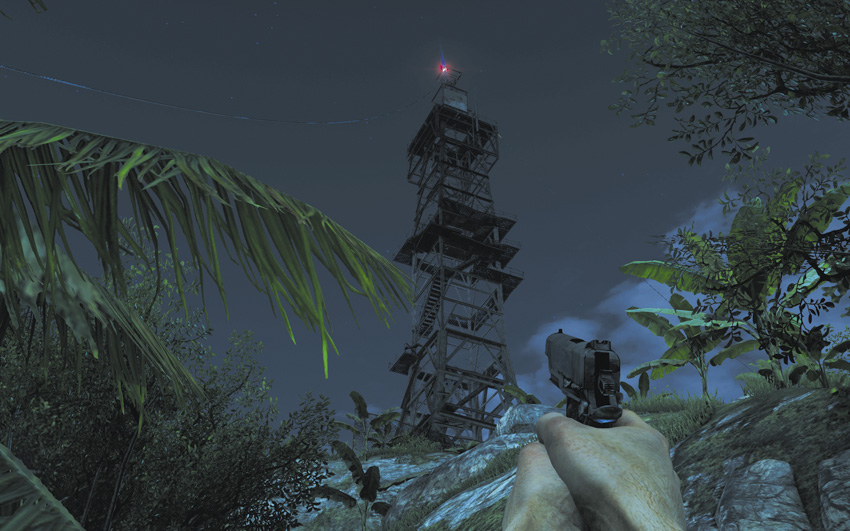
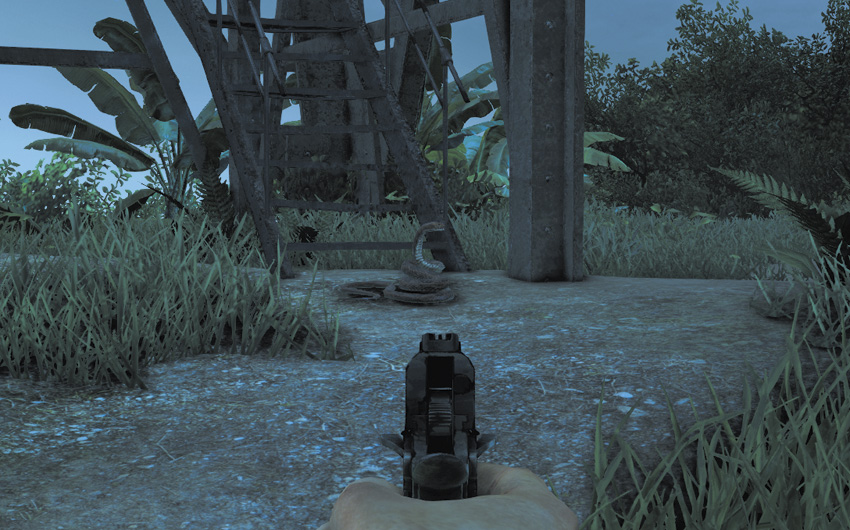
Dennis asks you to climb the radio tower right outside the village for him. Cross the street and follow the path up the mountainside to the radio tower. That hissing you hear as you approach is from a snake at the base of the tower, and while it makes a lot of noise, it can’t do any real damage to you. It’ll still attack once you get close, so shoot it before you try to climb the tower.
This radio tower is in the best repair of the lot, which isn’t saying a great deal. Take the stairs to the first ladder, then take a second set of stairs to an exterior walkway. Follow it around to find the last ladder, which leads to the top of the tower. Examine the junction box and Jason automatically breaks the lock off of it, then disables the scrambler.
The nearby zipline leads straight to where Dennis is waiting for you. He walks you through how to set a waypoint on your in-game map, which leads to your next mission.
Harvest the Jungle
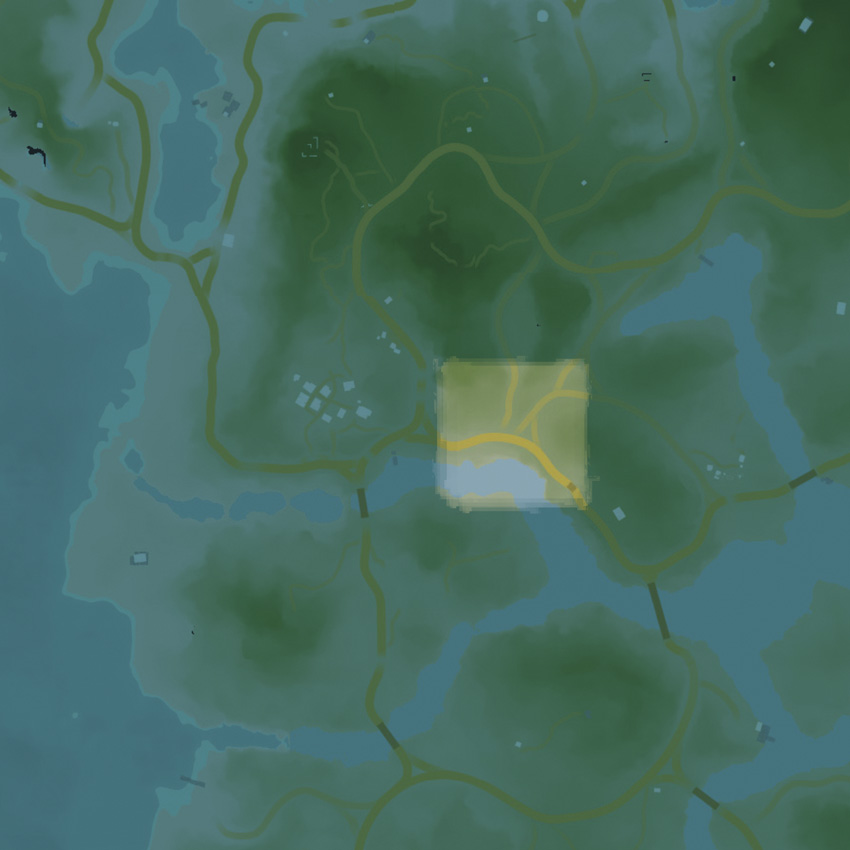
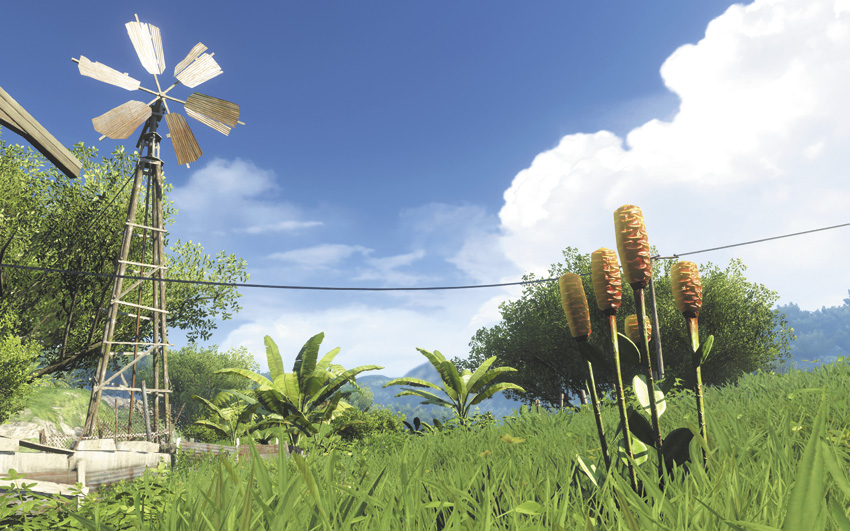
You can’t get too far away from the village without causing a mission failure at this point, but you’ve got some room to explore. Be sure to take a trip back to the village’s general store at some point, where you can sell off anything you’ve found in the loot chests near the radio tower and pick up a free STG-90 rifle. It’s not a great gun, but it’s a significant improvement over the .45.
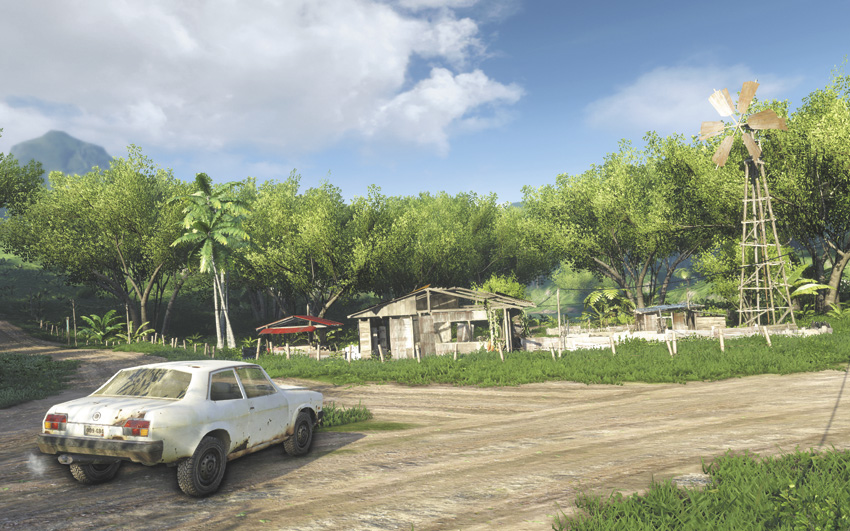
Your next stop is an old ranch about 400 meters east of Amanaki. The Rakyat keep this road clear of pirates, and you can borrow a sedan to make the trip a little faster. Whatever you end up doing along the way, remember that you only have 16 spots in your Loot Rucksack for now, and you’ll need six of them to accomplish Dennis’s mission.
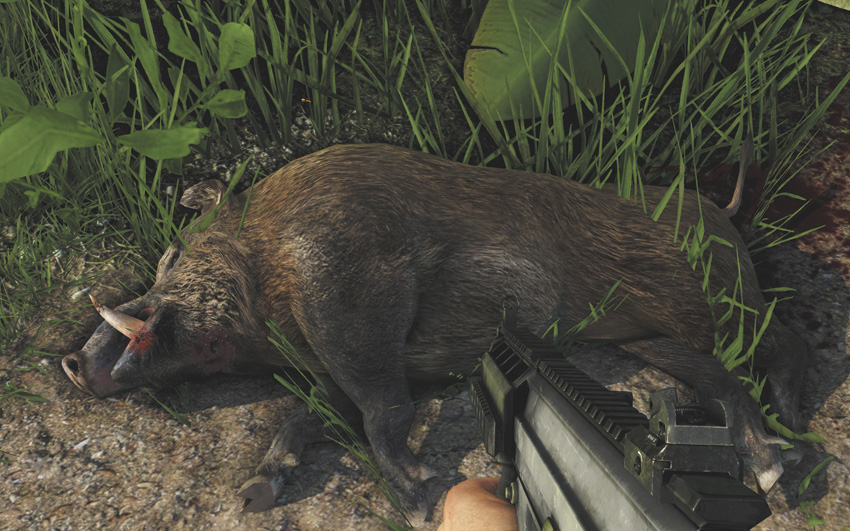
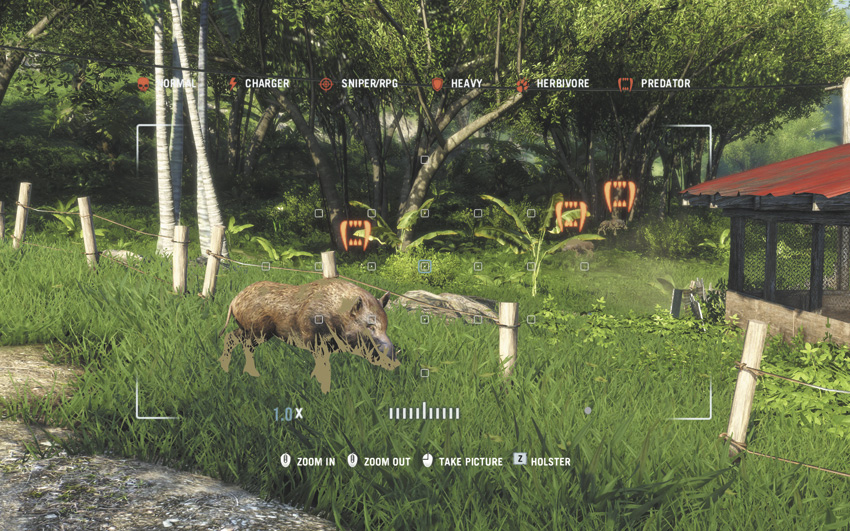
The ranch serves as the Rakyat’s hunting grounds. There are a few small packs of wild boar roaming around both inside and outside the ranch, and they are a lot more docile than the boar found elsewhere on the island. Tag them with your camera before you start, then hunt and skin two of them. This is a lot easier with the STG-90 than the .45, but if you’re having problems, there’s some spare ammunition in the bed of the nearby pickup truck.
You also need two Green Leaves, one Crimson Leaf, and one Blue Leaf. The former two plants are all over the place, but the Blue Leaves can only be found on the bed of the nearby river. While trying to pick them, be sure to compensate for the river’s current.
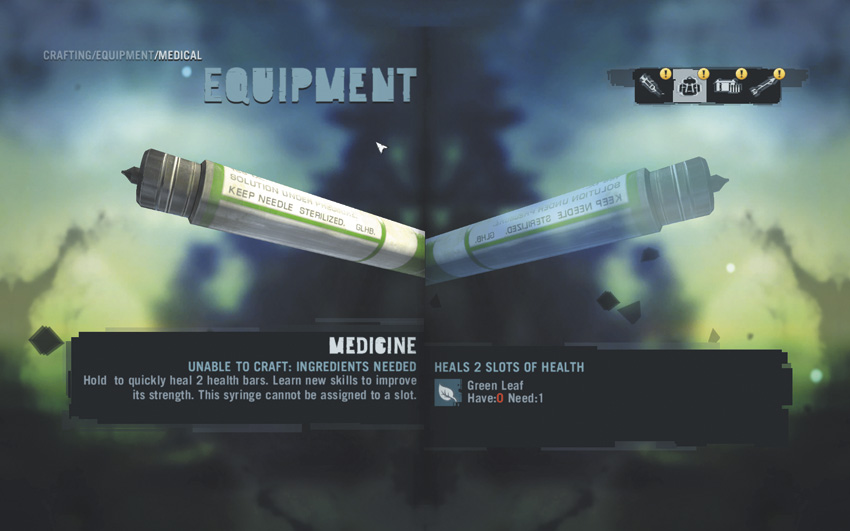
When you’ve got everything Dennis asked for, fast-travel back to Amanaki as directed. He walks you through producing two Medical syringes and a 32-slot Rucksack with the stuff you just gathered. You’ll also be given the chance to spend your first two Skill Points, although the skills available are limited at this point. Get into Dennis’s truck for a ride to your next objective.
Secure the Outpost
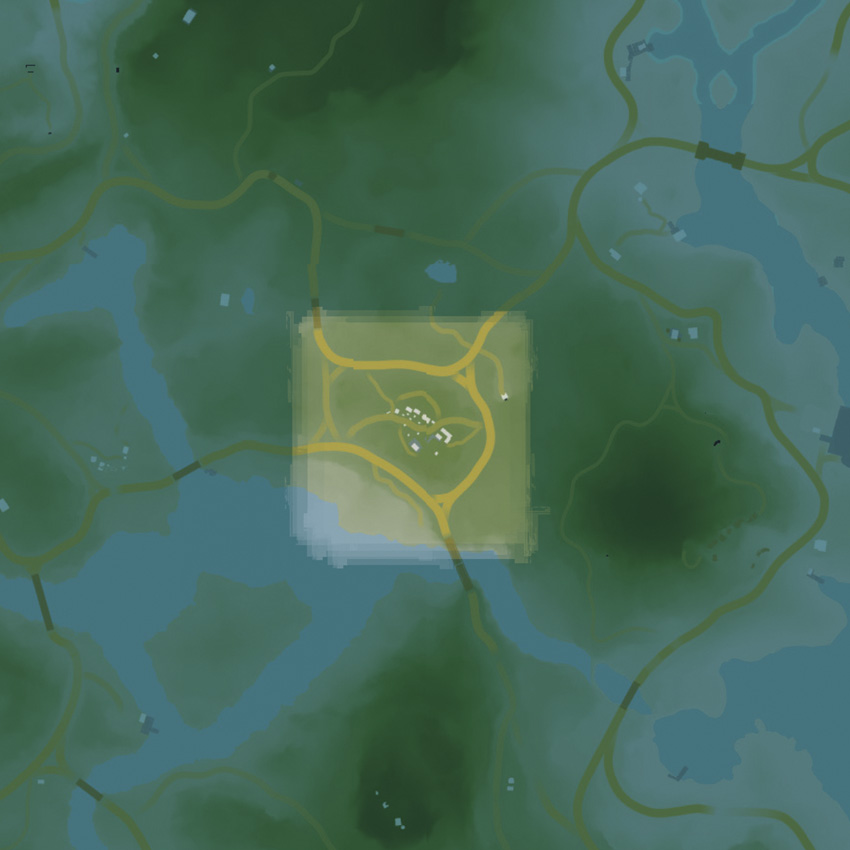
When you reach the Amanaki Outpost, Dennis and the other Rakyat wait outside until you make the first move. Your goal is to eliminate the four pirates on guard inside the base, as well as their guard dog.
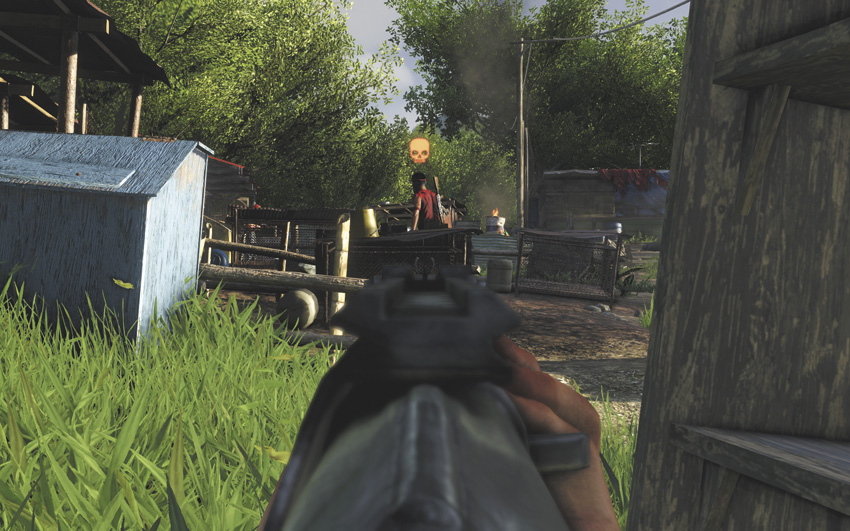
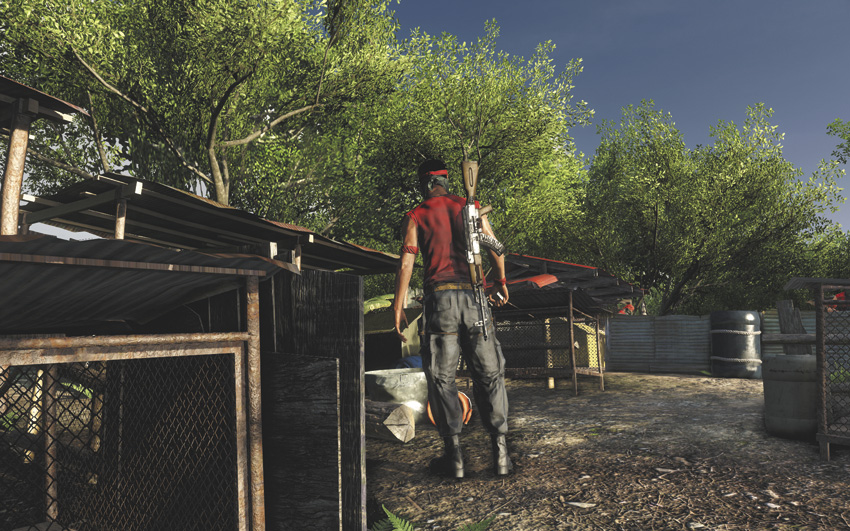
If you’re still using the default .45, it’s a good idea to go in quietly. It’s easy to creep into the outpost on its west side, where you can pull the first guard out of position with a couple of thrown rocks. Use a Takedown to eliminate him and leave his body in the grass if possible, then grab his AK-47. That evens the odds considerably if and when the shooting starts.
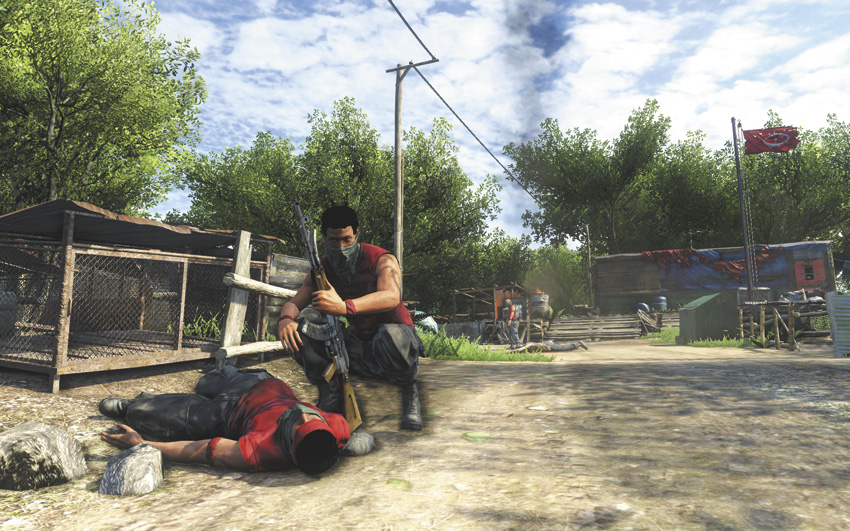
However you choose to do it, eliminating the guards liberates the outpost and finishes the mission. This area is now flagged on your map as a fast-travel location, and when you head into its main building, you’ll find an ammo vendor and a Memory Card, but unfortunately, no Liza.
Completing this mission unlocks quite a few skills for purchase as well as a large number of crafting recipes.
Mushrooms in the Deep
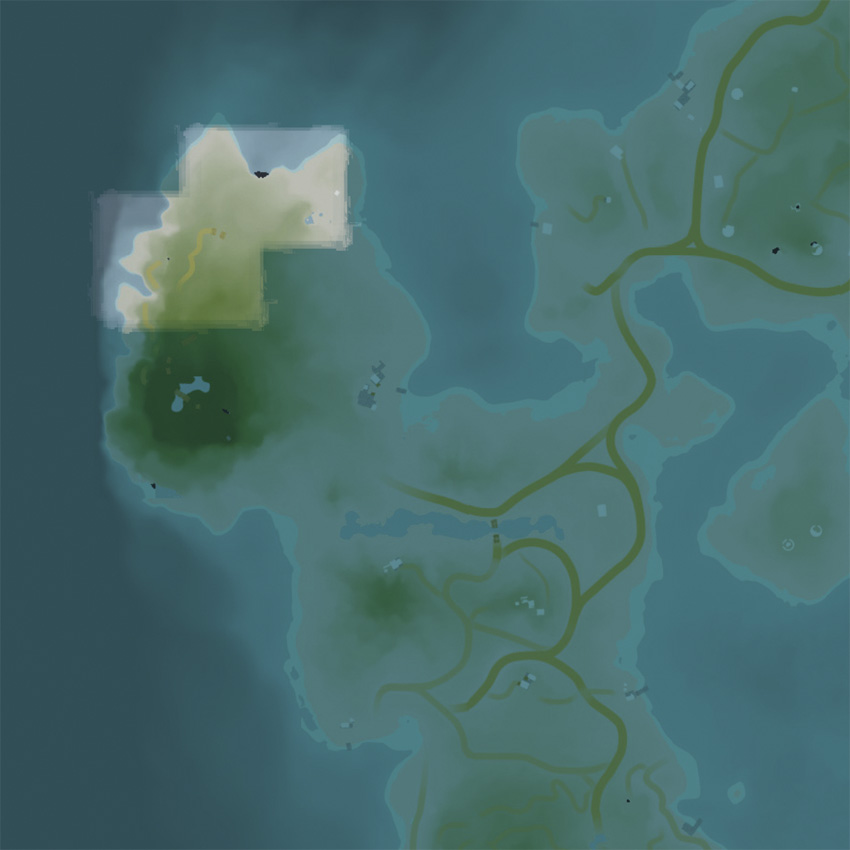
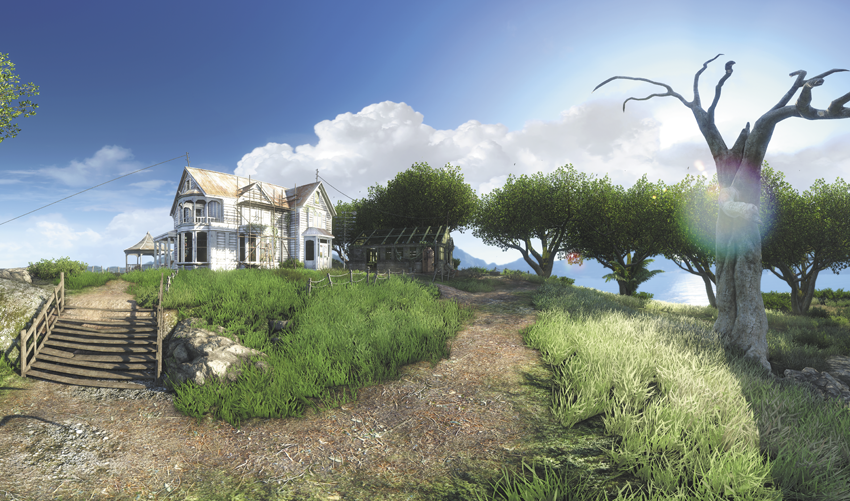
At this point, you’re on your own and can explore the entirety of the North Island if you see fit. The further you get from Amanaki, the more pirates you’ll run into, almost to the point of farce. It’s a good idea to stay away from the roads entirely until you’ve had the chance to liberate a couple of nearby outposts. The Welshore Wrecker’s House, north of Amanaki on the island’s coastline, is a relatively soft target, and putting it under Rakyat control does a lot to clear the area north of the village.
Foraging Tip

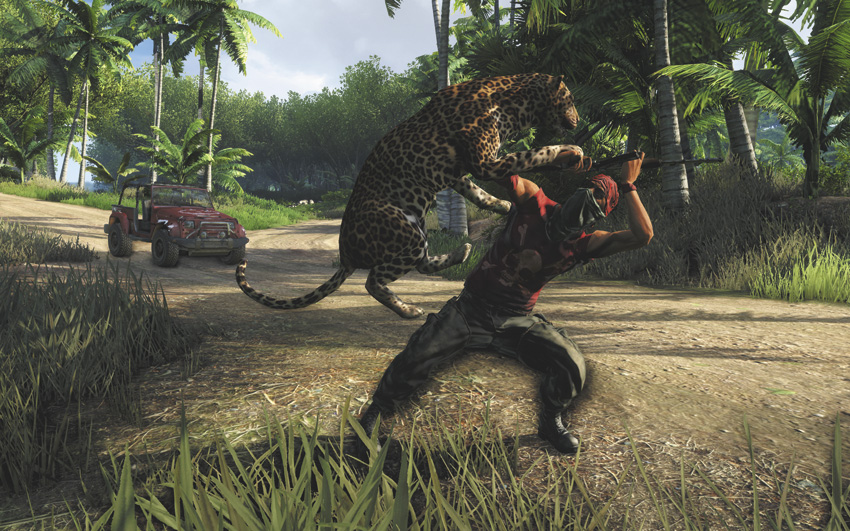
When you do decide to go see Dr. Earnhardt, it’s likely to be an interesting trip. You need to destroy a second radio scrambler to clear the map, you’re heading straight into more pirate territory, and the area around Earnhardt’s village is often inhabited by leopards, which are one of the most dangerous predators on the island. However you end up getting there, expect trouble on the way.
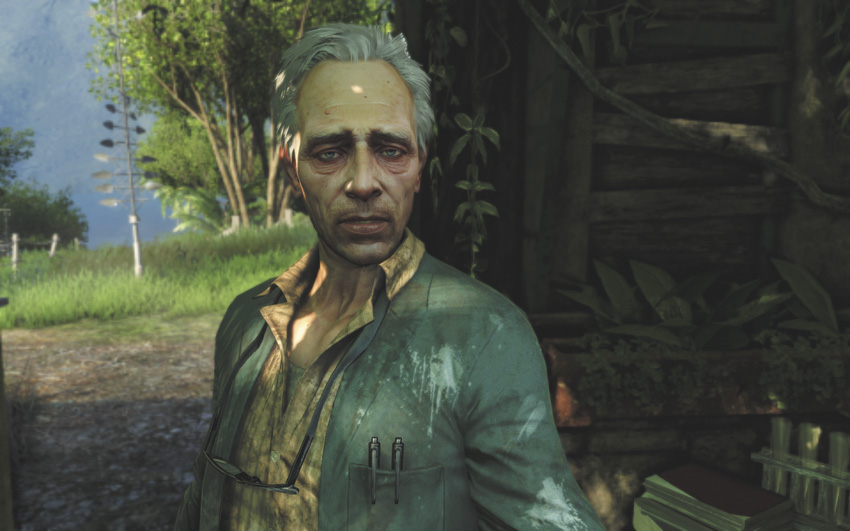
Earnhardt himself is in his greenhouse. Speak with him, then go inside the house to find Daisy on the second floor. She’s been poisoned, and she needs a certain type of mushroom to serve as an antivenom.
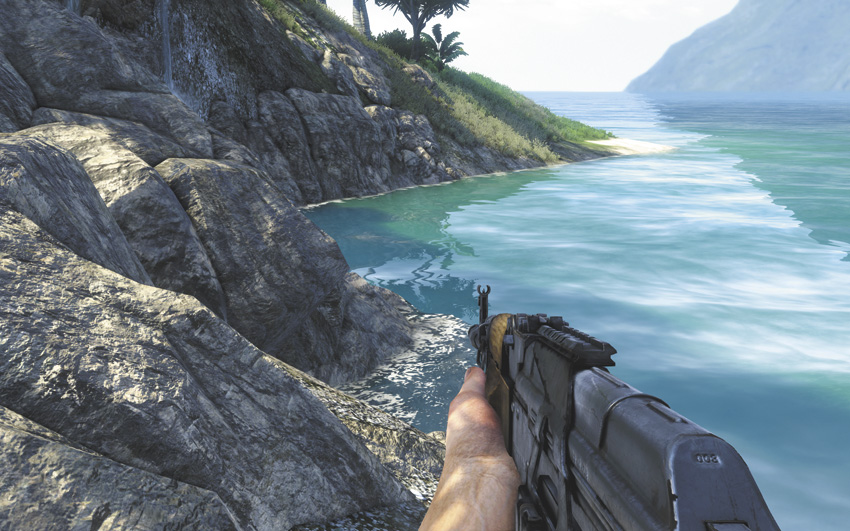
The cavern entrance is about 100 meters west of Earnhardt’s house, down where the ocean meets the bluffs, and what he didn’t tell you is that getting inside requires a lengthy underwater swim. Watch out for sharks before you jump in.
Jason can’t hold his breath for very long at this point in the game, but he starts making panicked noises a few seconds before he’s actually in any real danger of drowning. Don’t let him make you panic, and swim through the tunnel directly underneath the waterfall. You should get to open air again well before you’re in any actual trouble.
The cave is quiet, and serves as an unofficial tutorial on how to swim, climb, and mantle up onto ledges. The climbable cliffs throughout the island can all be identified by the same pattern of vines on their edge, so this is a good opportunity to learn to recognize it.
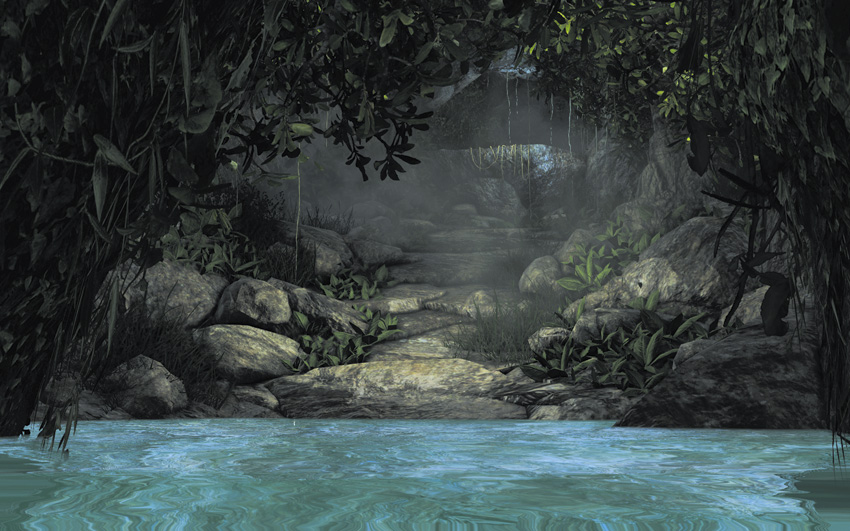
Climb up the first ledge ahead of you, then drop into the pool below and get back up using the thick vines. At their top, jump to the vine-covered ledge and keep the button held down so Jason grabs the edge and pulls himself up.
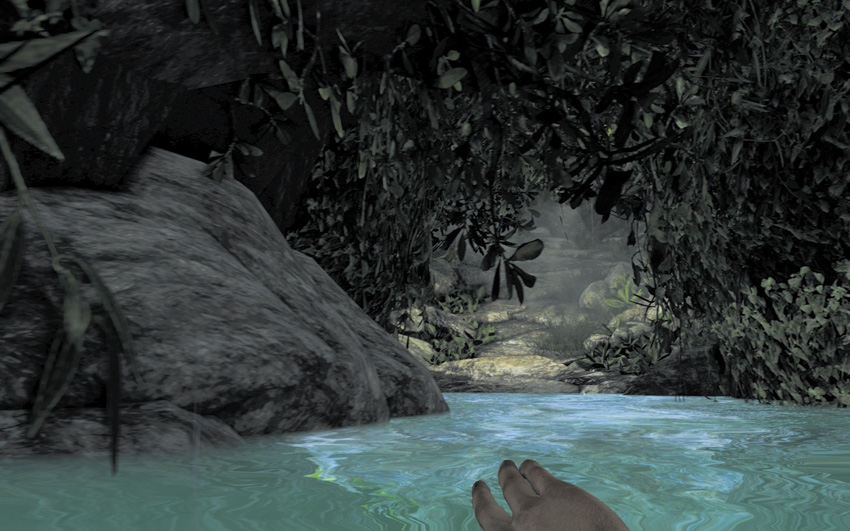
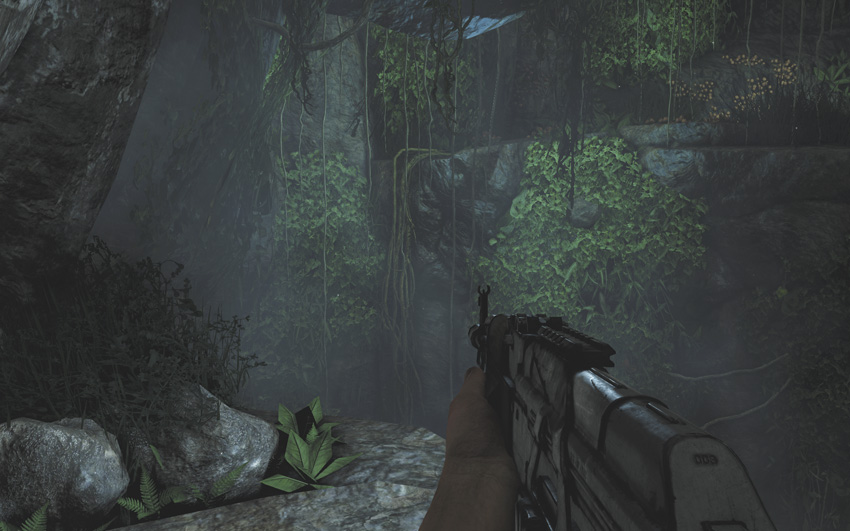
Follow the path to another set of climbing vines, then watch as things get a little trippy. The next few minutes of the game are a psychedelic adventure in walking forward, but it’s not a bad idea to pay attention to the dialogue here. Some of it plays into conversations and events that take place much later in the game.
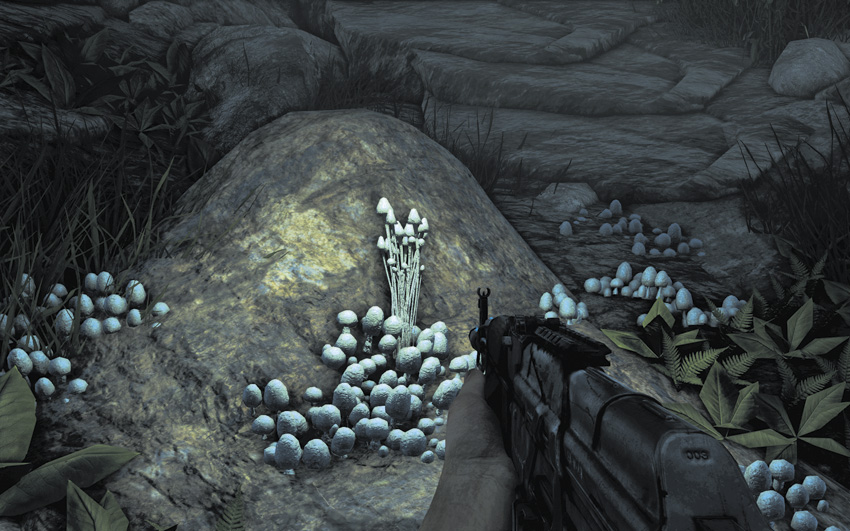

When you come to after the end of this long strange trip, take a mushroom, then hang a left out of the cavern entrance. There are plenty of sturdy vines that you can climb back up to the plateau near Earnhardt’s house. Go talk to him in the greenhouse, then as directed, go see Daisy. You’ll receive 1,000 EXP, the recipe for Animal Repellent syringes, Dr. Earnhardt’s entry in your Handbook, and the Magic Mushroom Achievement/Trophy.
The Medusa’s Call
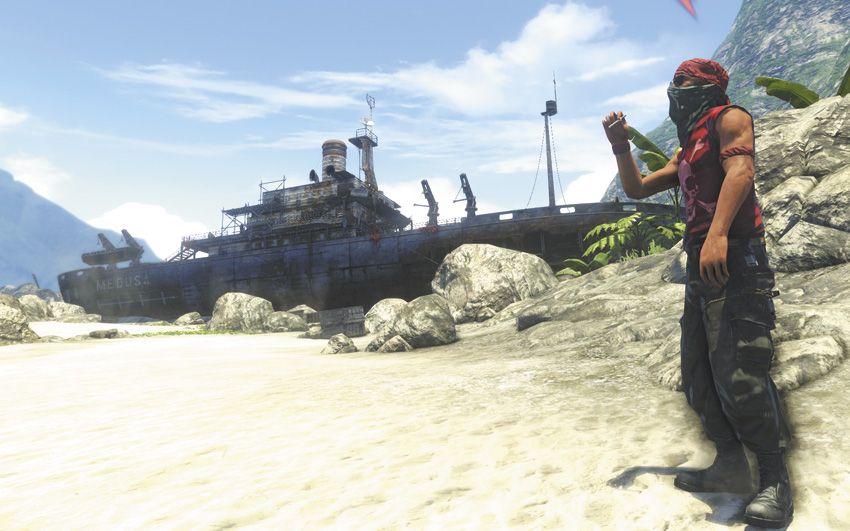
This mission is the first that brings you directly into deliberate conflict with the pirates. Be prepared before you start it, with body armor, a couple of silenced weapons, plenty of land mines and C4, and a good assault rifle.
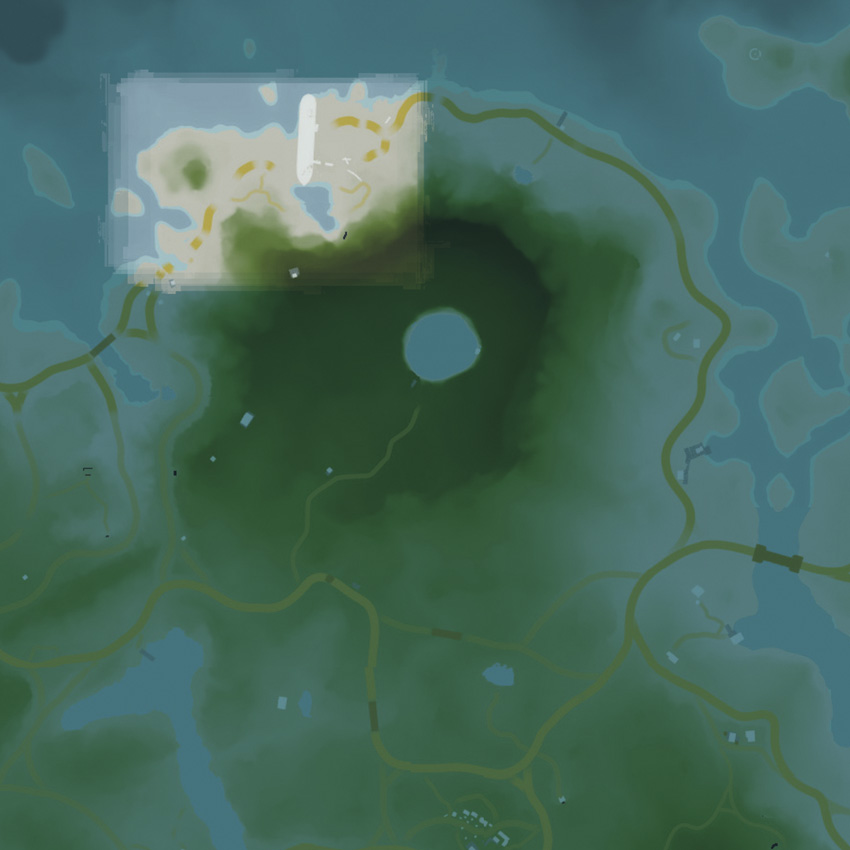
The Medusa is northeast of Amanaki Village, in a ship’s graveyard on the beach. If you didn’t already liberate the Welshore Wrecker’s House earlier, this entire area is like a mosh pit for Vaas’s men and you’ll be fighting for every step you take. If you did liberate it, however, it’s a leisurely drive through the country.
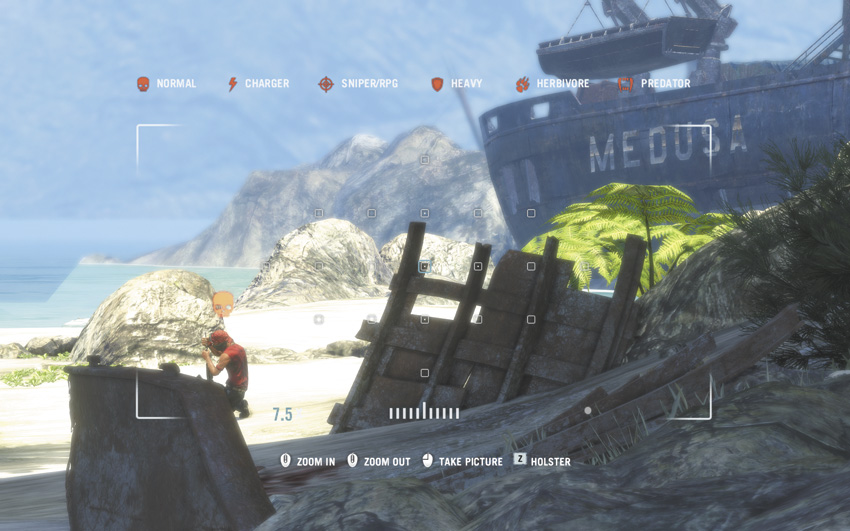
The road to the shipyard dead ends at some rocky terrain, so you’ll have to go in on foot. This begins a required stealth segment, where you must assassinate three radio operators and search their bodies without triggering a general alarm. You can kill as many of the pirates as you like, but if you fire an unsuppressed gunshot or one of the guards notices that you’re there, they’ll destroy the intel you need and the mission fails.
That makes it sound a lot harder than it actually is. Use your camera to sweep each location and tag the guards. The radio operators aren’t dressed much differently than anyone else, but they get a special yellow icon over their heads when they’re tagged.
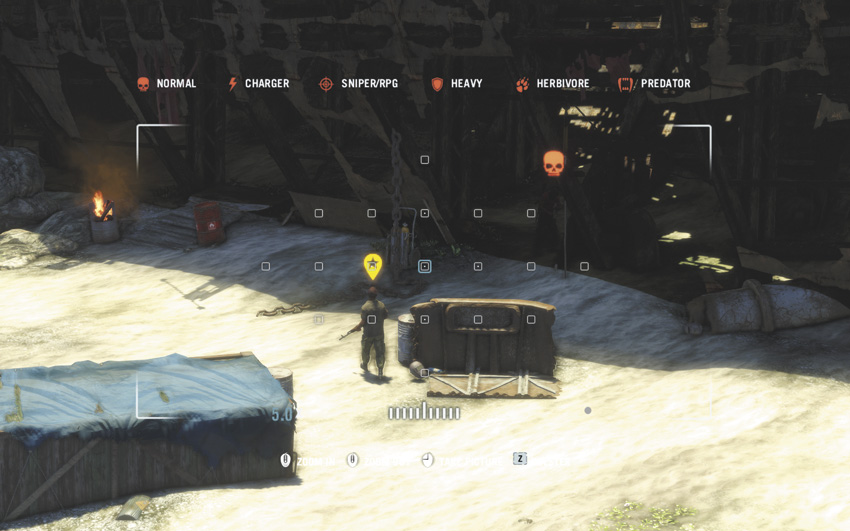
Bypass the first guard, who isn’t paying a lot of attention, and wait in the foliage for the first radio operator. There’s another pirate nearby, but he’s busy with an arc welder and is easy to sneak past. Eliminate the radio operator and be sure to loot his corpse.
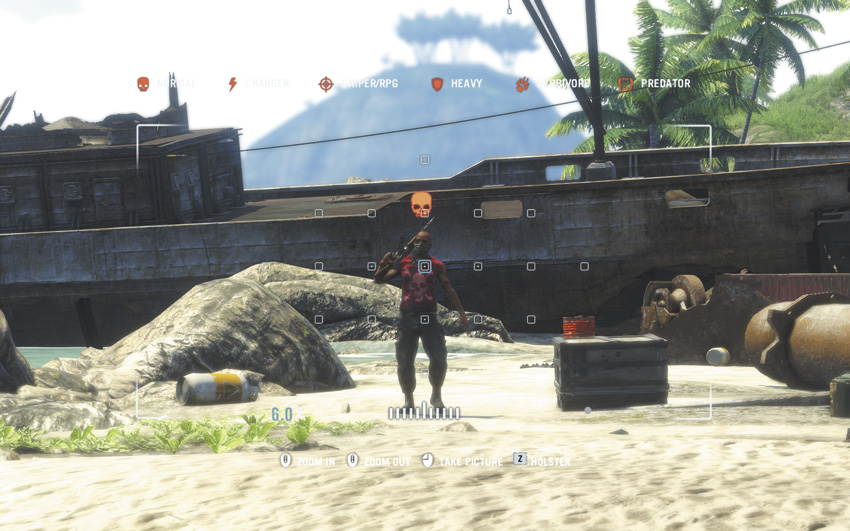
Go through the shipwreck to reach the next area. There’s a pirate on patrol here whose normal route puts him in direct line of sight to the ship’s hull, so don’t go back out onto the beach until his back is turned. Tag him and the nearby radio operator so you can track their motions, then take them both out when you have an opening.
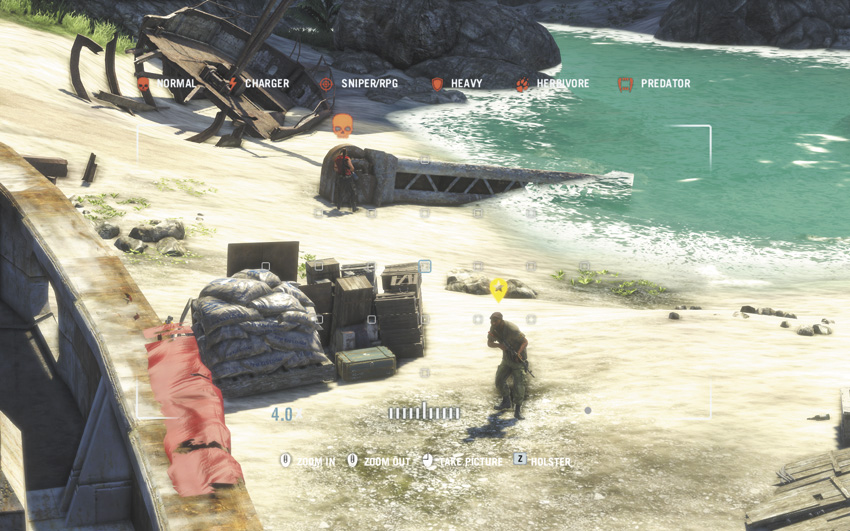
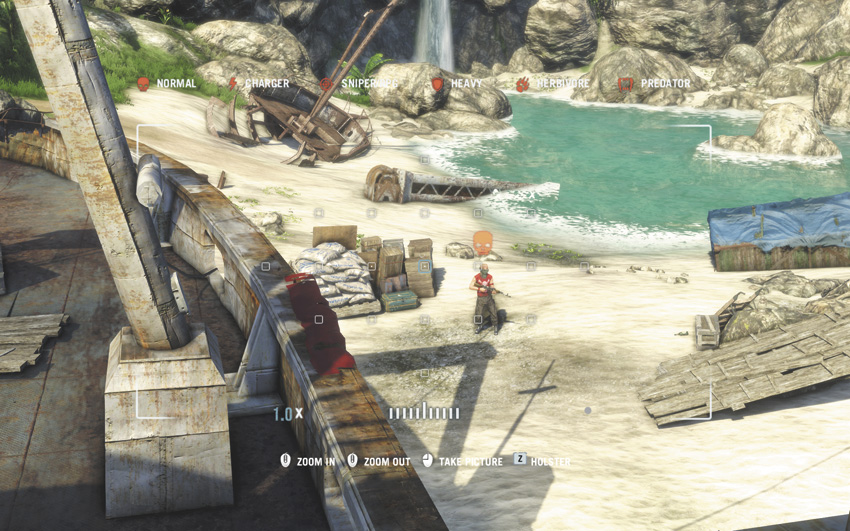
There’s a set of stairs inside the nearest shipwreck that you can use to reach its top deck. This provides a useful high vantage point from which to find and tag the last two goons on patrol, which includes the last radio operator. He’s the one on patrol this time and his buddy is oblivious, which makes assassination easy. Take them both out, rifle the operator’s corpse, and take your intel up to the radio room on the Medusa, as labeled on your map.
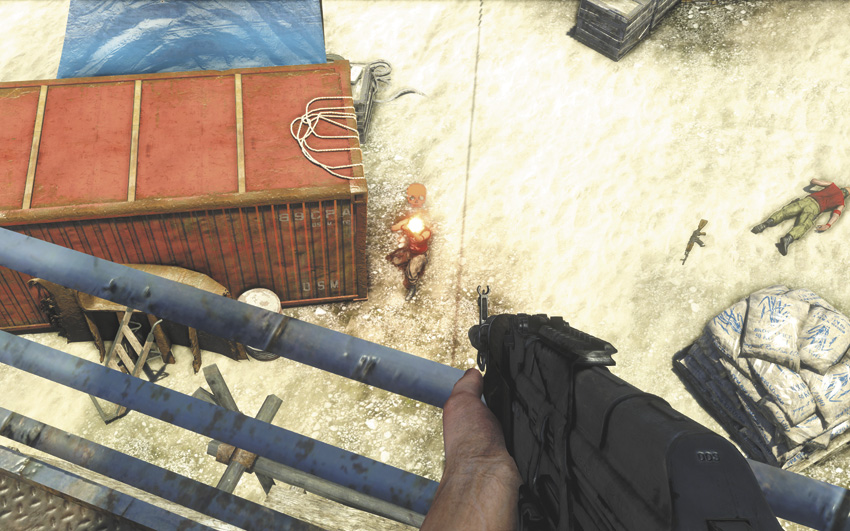
Using the radio also triggers an alarm somehow, and two groups of reinforcements will converge on your location, along with any of the pirates you left alive. It’s not quite as bad as it looks, since you initially have the advantage of higher ground, and the pirates can only approach you through two relatively narrow areas: the gangplank on the ship’s bow or the stairs up to the forecastle. That means you can do a lot of the work by throwing down a few land mines in the right places before they realize where you are, and pick off the rest from range. If you get into trouble, there’s a medkit and a fresh suit of body armor inside the radio room.
By completing this mission, you unlock the recipe for the Enhanced Perception syringe.
Playing the Spoiler

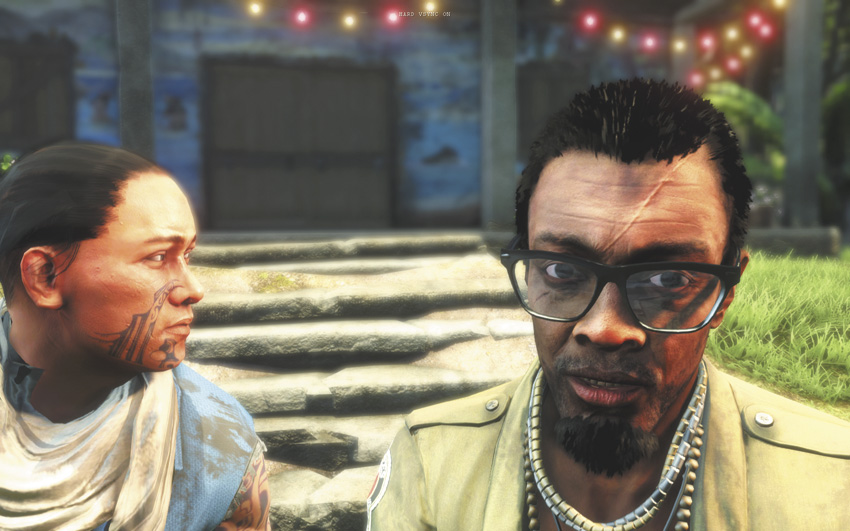
Dennis is waiting for you on the north side of Amanaki Village. He wants you to sabotage Vaas’s plans to attack the Rakyat by detonating a storehouse of weapons and ammo at a nearby logging camp. Bring a silenced weapon with you, even if it’s just the 6P9 handgun.
This quest takes you into what could be some new territory. If you haven’t already disabled the scrambler on the radio tower near your objective, take the time to do so before you start the mission.
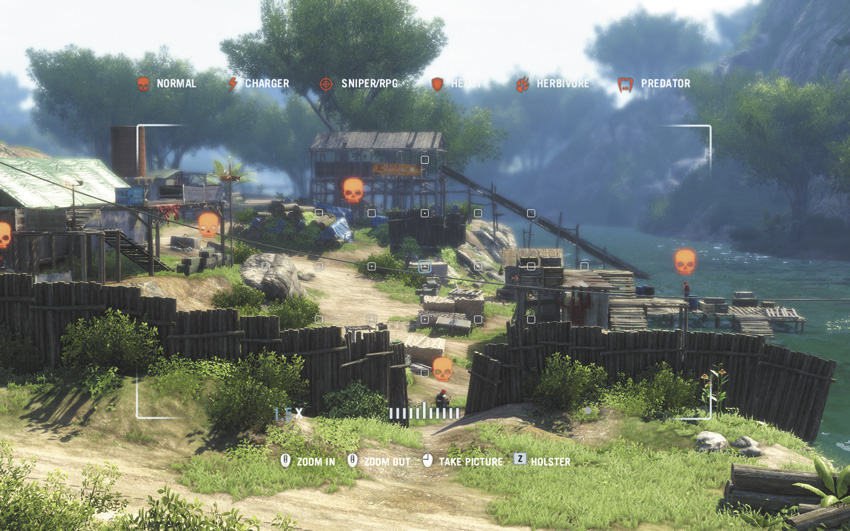
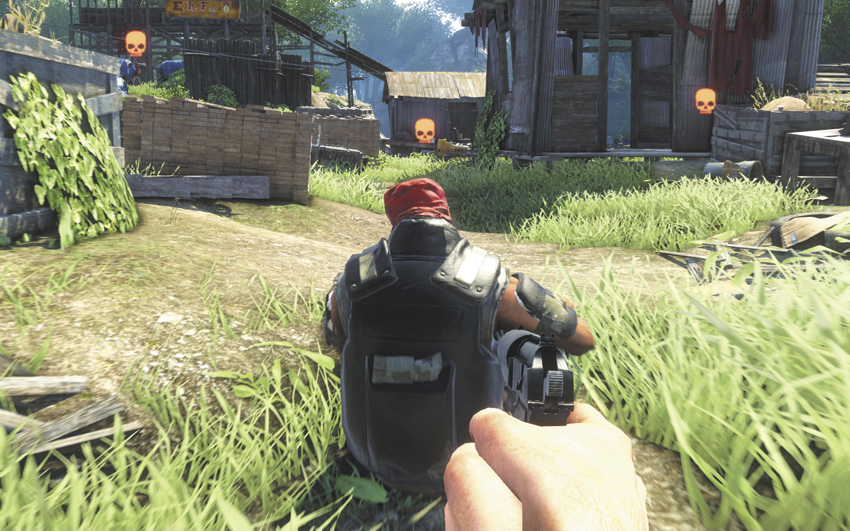
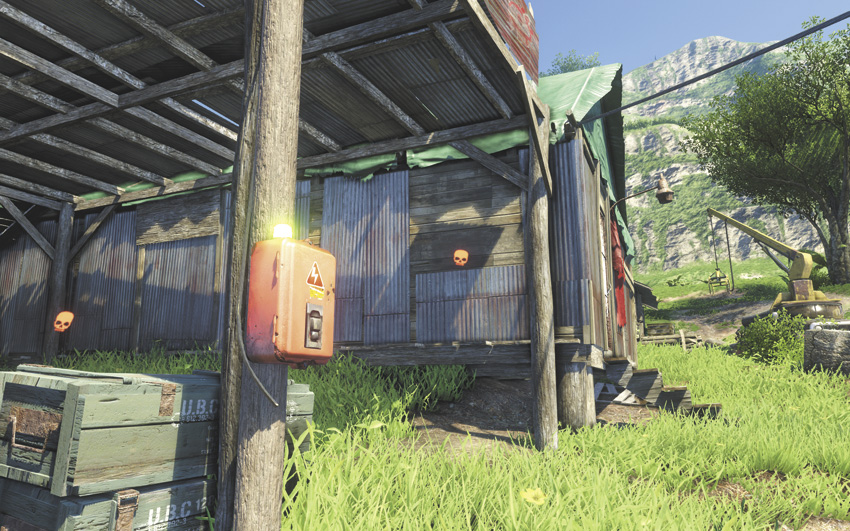
From the vantage point overlooking the logging camp, use your camera to tag as many of the soldiers as possible, then sneak down into the camp. There’s a gap in the perimeter fence near the vantage point, and there’s a soldier sitting there with his back to it. Shank him, then wait for the patrol on the other side of the camp to turn away from you. This gives you an opening in which to reach and disable the alarm panel.
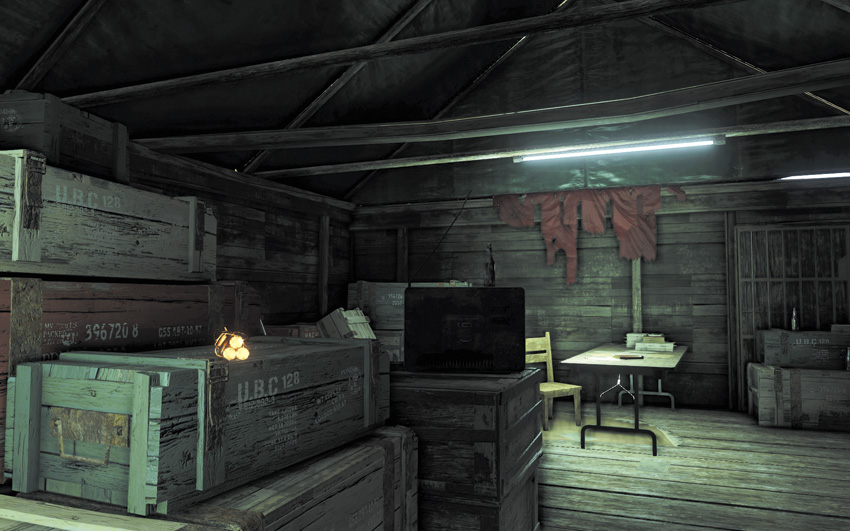
Use your silenced weapon to drop the guard sitting near the weapons cache, then go inside. You can stock up on grenades and ammo while you’re here, but after that, plant the bomb and run like hell. You’ve got about fifteen seconds to reach a minimum safe distance before the charges go off.
At this point, you can either kill off the remaining guards to finish the mission, or just slip away into the jungle. The river next to the camp can be used for an easy exfiltration.
Success here is worth 1,000 EXP. You’ll also learn how to make the Deadly Hunter syringe.
Prison Break-In
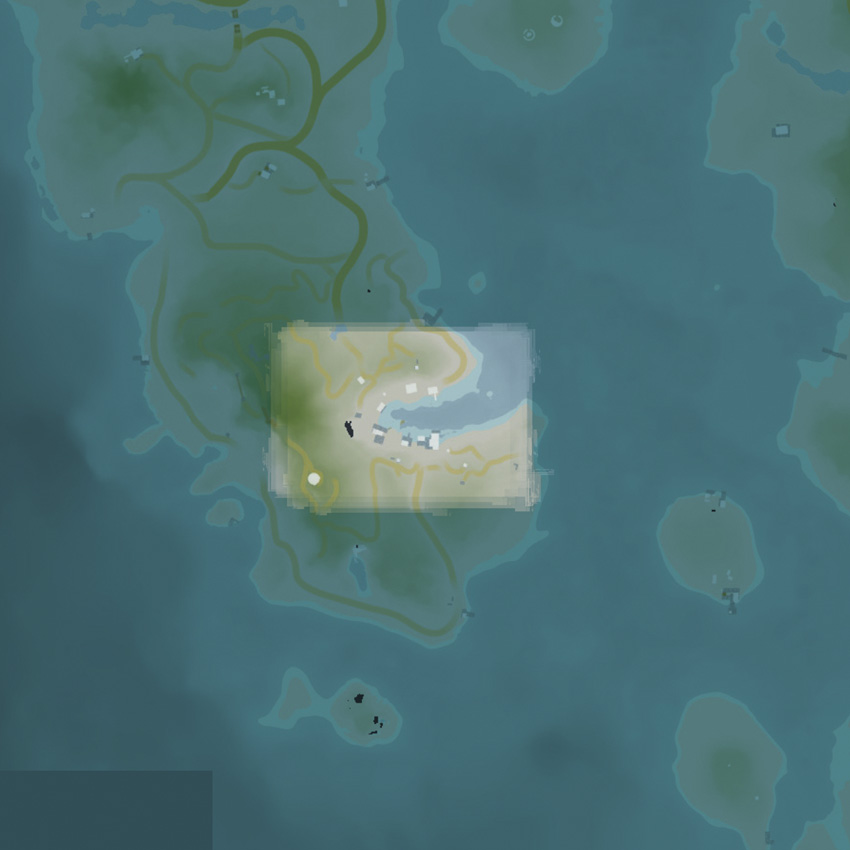
You have an open ticket to explore the island at this point. When you’re ready to progress with the story, head west to Sunset Cove, the area marked on your map. It’s in another potentially unexplored region of the North Island, and you’ll find it useful to disable the scrambler on the nearby radio tower before you begin the mission proper.
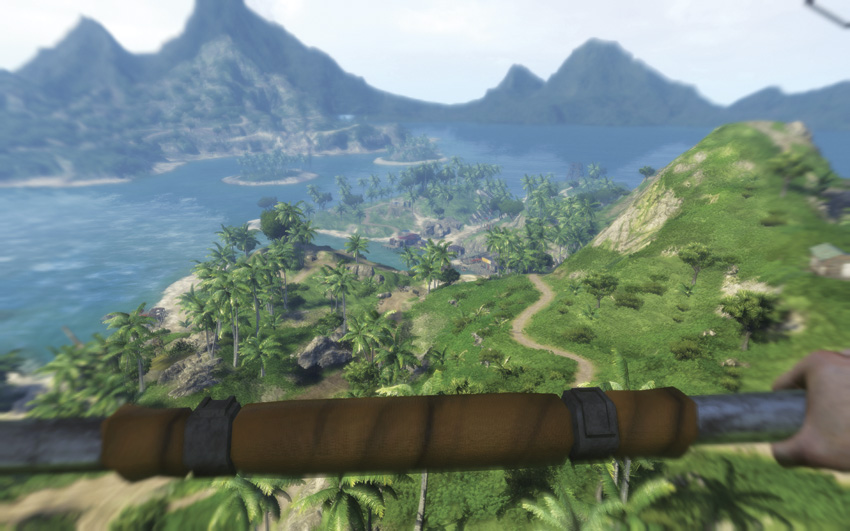
The easiest way to get to Sunset Cove at this point is to fast-travel back to Dr. Earnhardt’s place, then go south. The peninsula is infested with both Komodo dragons and the occasional leopard, however, so you’re going to want a vehicle. Another option is to grab the glider from near Earnhardt’s house and bail out over the water just off the coast, which neatly bypasses about half a kilometer of hostile wilderness.
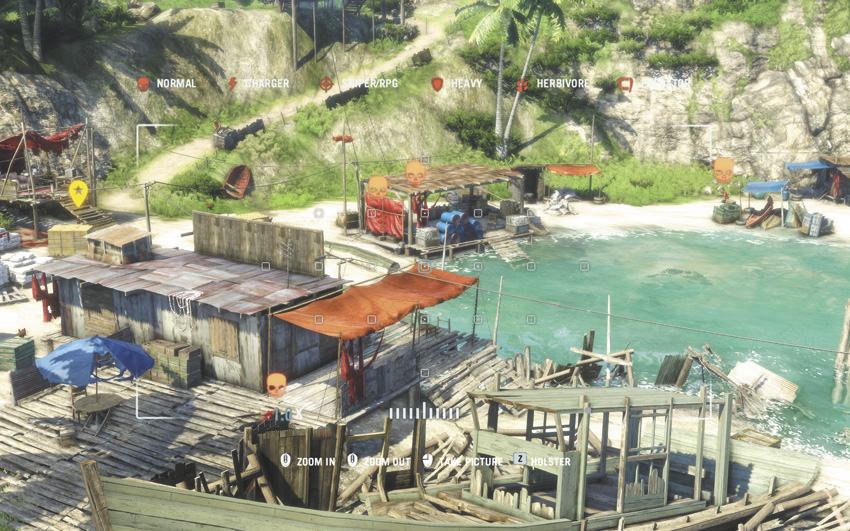
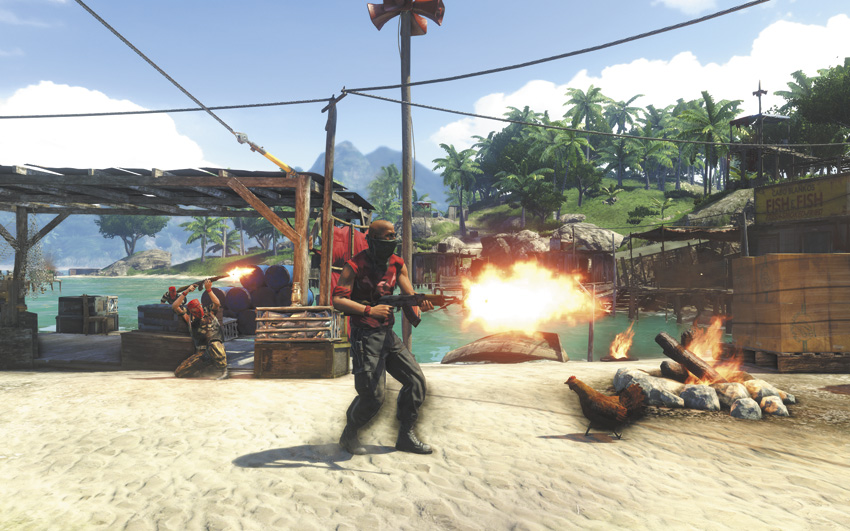
However you get there, Sunset Cove is a highly fortified target that can be approached several different ways. There are a lot of small buildings in the area that can make for a fun assault, as you duck for cover and constantly stay on the move, and the pirates have a habit of taking cover right next to one of the many red-and-white propane tanks that are scattered throughout the compound. The entire area is built up against a cliff face, which gives you a number of high vantage points from which to pick off the guards below. You can infiltrate it from the water or the cliffs and kill off the pirates one at a time, leaving their bodies in dark corners and empty rooms. It’s really up to you.
Whatever you end up doing, a good opening move is to come in from the north side, behind one of the towers, and pick off the sniper inside with a silenced gun. Sneak into the tower and disable the alarm system using this panel. That makes whatever happens next considerably easier, as you don’t have to deal with a couple of waves of incoming reinforcements.
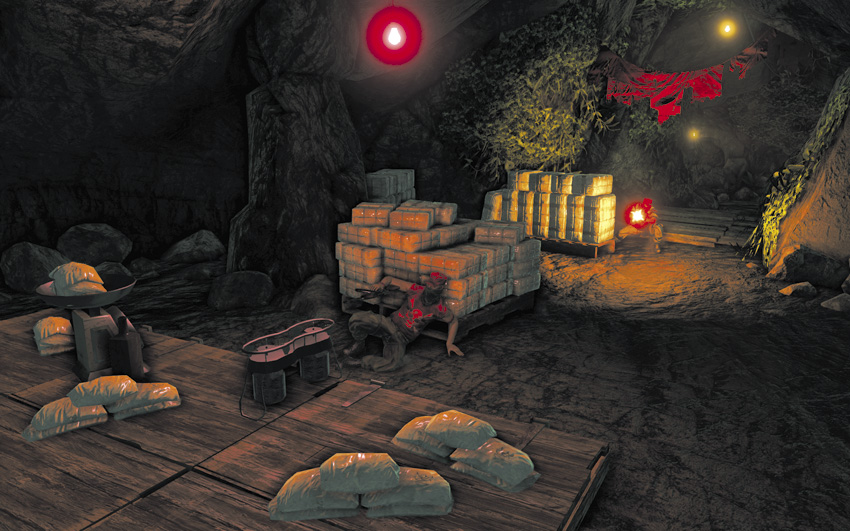
Once you’ve killed the camp operator, loot him to get his keys to the cellblock. The pirates’ prison block is accessible through a nearby cavern, and regardless of how you cleared out Sunset Cove, there are about a dozen guards inside that cavern who are completely oblivious to the outside world. It’s close quarters in here, which makes it a good time to pull out a shotgun.
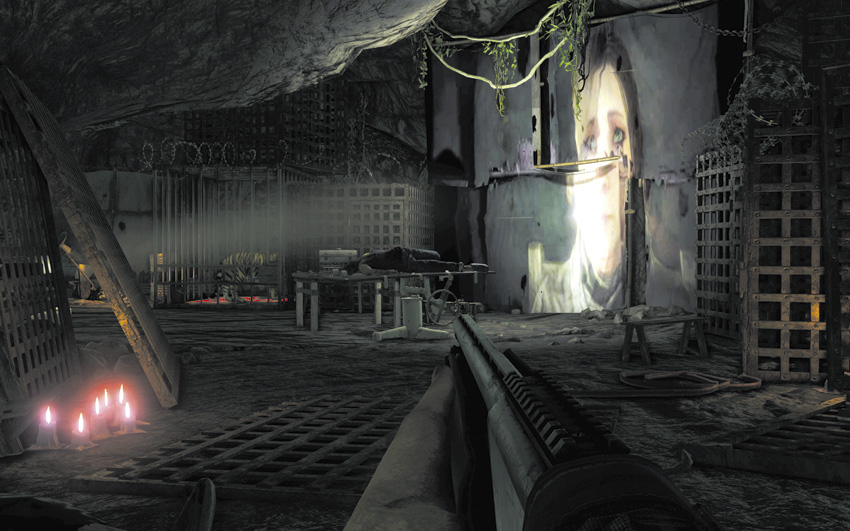
In the cellblock, there’s a lot going on that’s mostly for show. The tiger can’t escape its cage, so don’t worry about it. Watch the movie that’s playing on the far wall, search the room for a half-hidden Relic, and when you’ve seen all you care to see, go around the corner.
Island Port Hotel

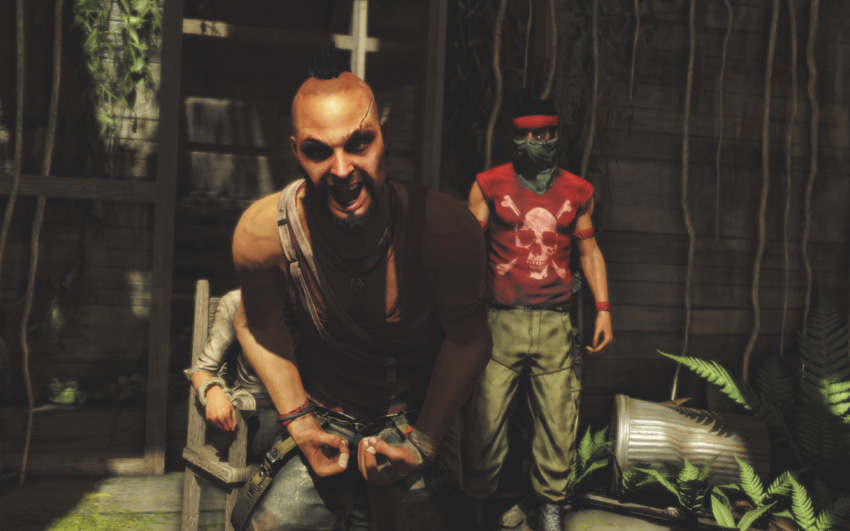

When you wake up, the situation has degenerated slightly. (The bit with the lighter is another subtle plot element. It won’t pay off for quite a while.)
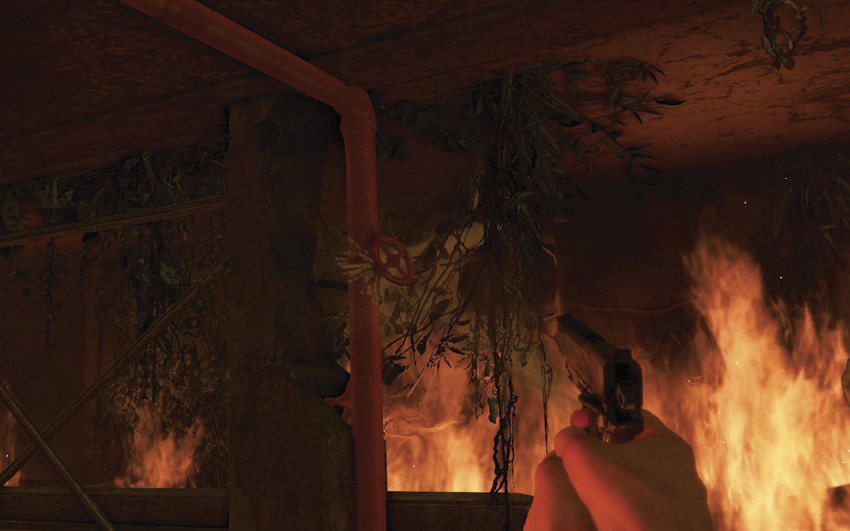
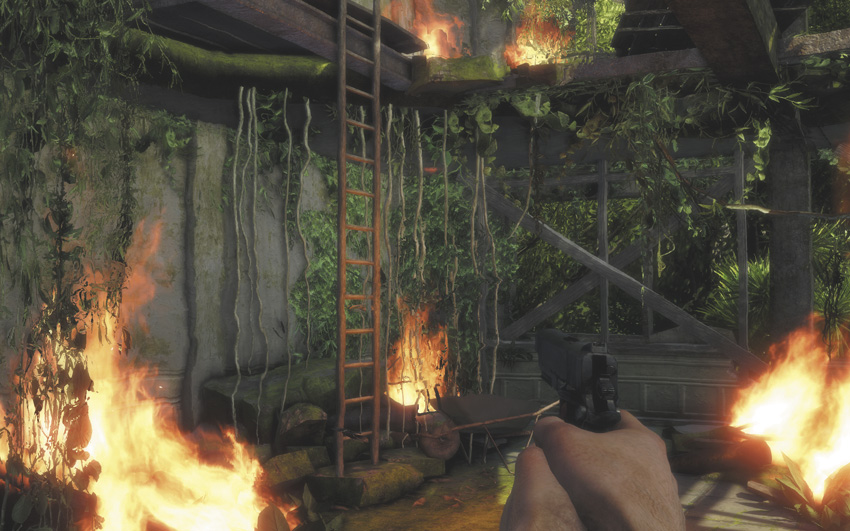
After landing, a three-minute timer starts. Head in the only direction you can and equip your gun, then shoot the valves off the water pipes to douse the flames that are blocking off the hallway. Climb the ladder out of the greenhouse, then grab the medkit if you need it, cross the bridge, and smash the door with your melee attack.
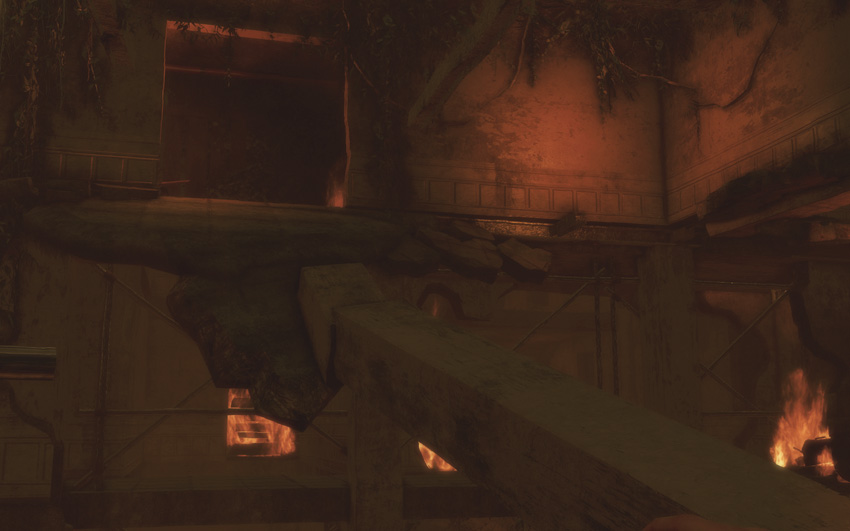
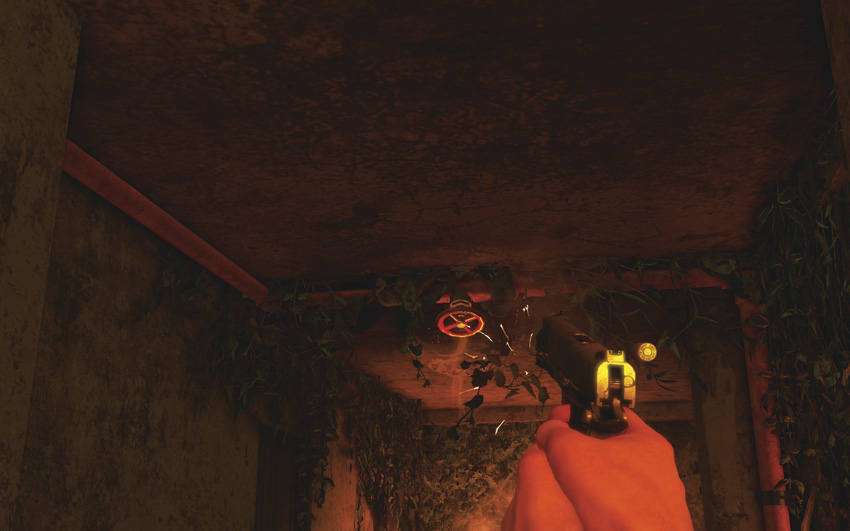
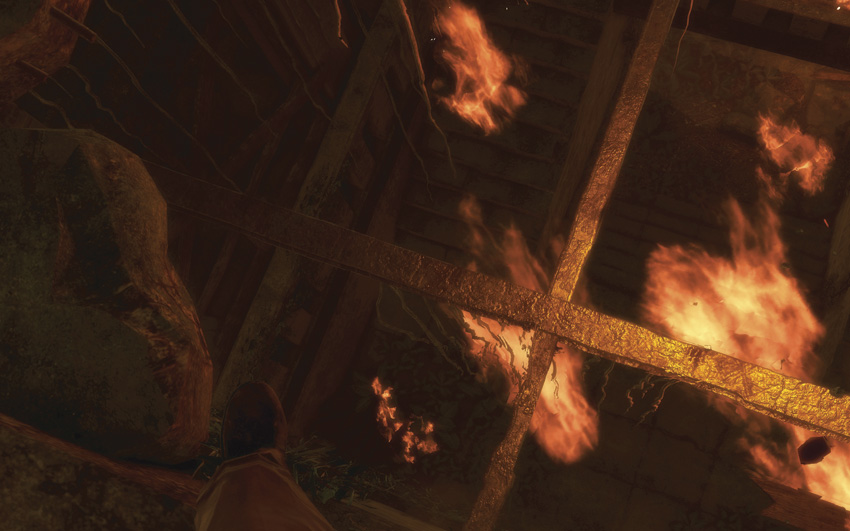
Carefully cross the fallen concrete pillar to the other side of the room, then shoot another valve to extinguish the flames. Crouch if you have to and move along the narrow chunks of wreckage to continue moving up to Liza. When you reach her, the game takes over and you’ve successfully escaped the hotel.
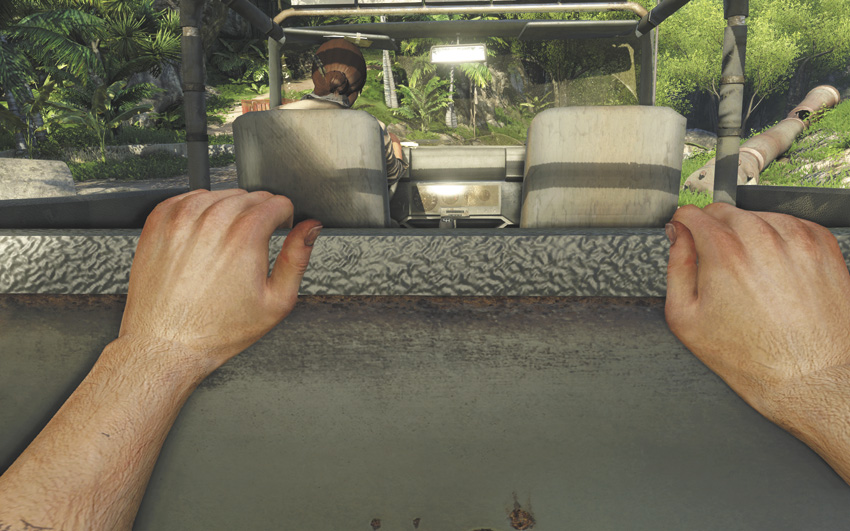
Mash the button indicated onscreen to help Liza get your getaway car started. Happily, somebody’s left a GL-94 in the back for you along with an infinite amount of rounds, which is just the thing to scrape random pursuit vehicles off your tail. Fire a few practice rounds to get a feel for the weapon’s arc, then aim for their hoods or windshields.
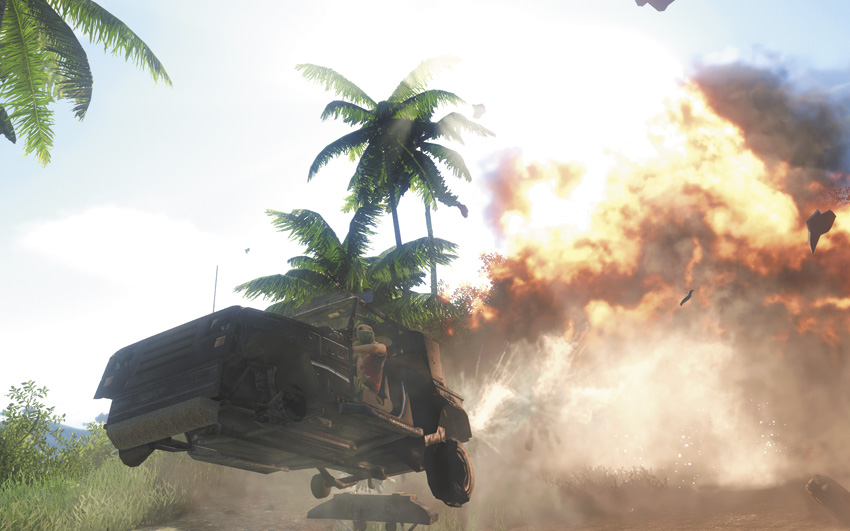
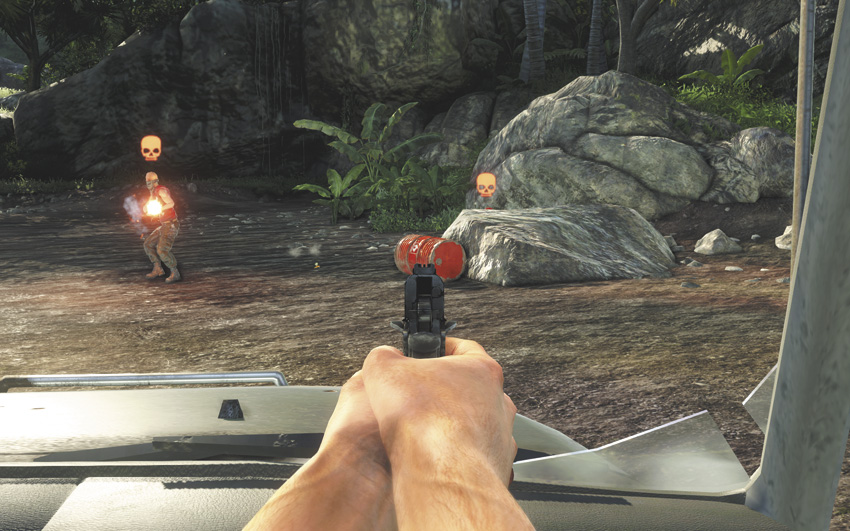
When the car stalls out, Jason automatically switches into the front seat and grabs a .45. Wait for the pirates to move over to the right side of your screen, the better to level more of them at once by detonating the red explosive barrel. Dealing with the ground troops completes the mission. This is worth 1,000 EXP and unlocks Liza Snow’s dossier in the Handbook. You also learn the recipe for the Deep Dive syringe and get the Worst Date Ever Achievement/Trophy.
Keeping Busy
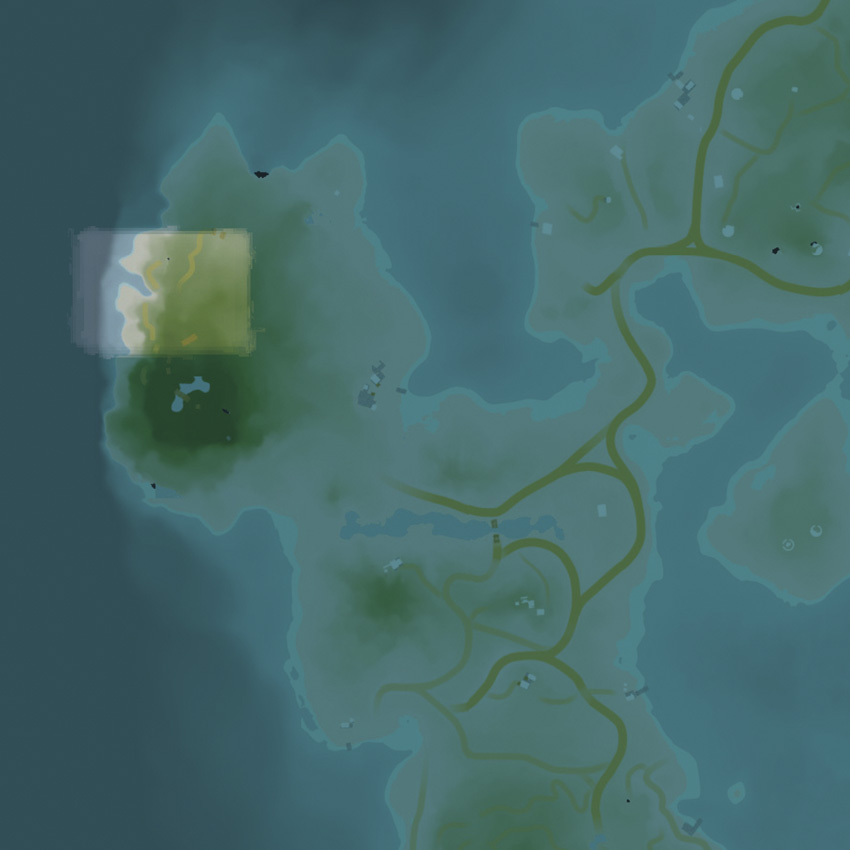
You’re automatically returned to Earnhardt’s house, and whatever weapon was in your top quickslot has been replaced by the .45 from the last mission.
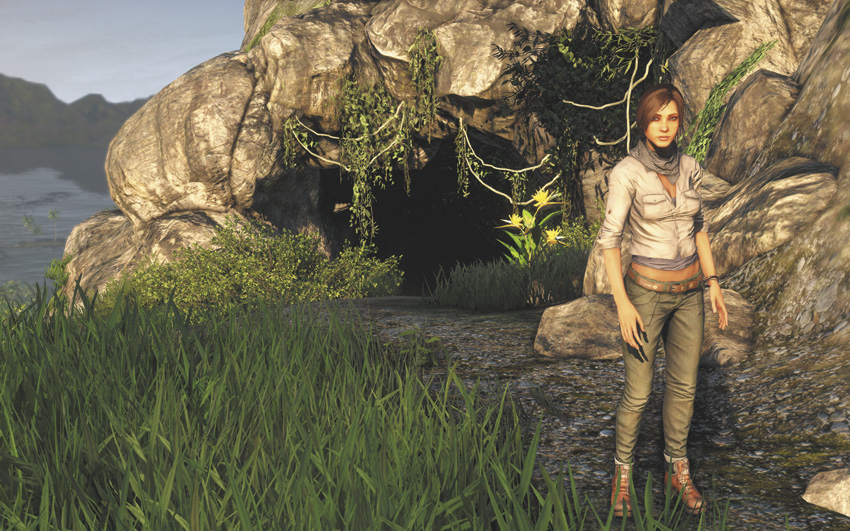
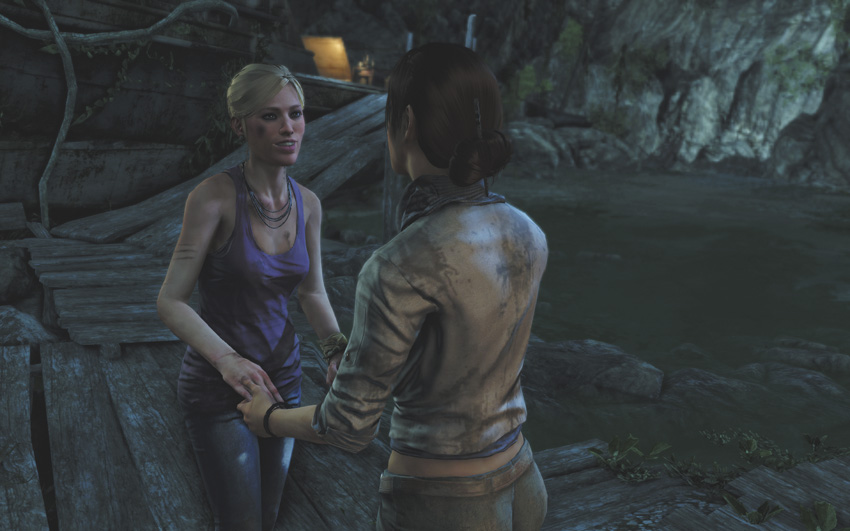
The cave where Earnhardt stashed Daisy is accessible via a small path near the gazebo. Enter the cave to reunite Daisy and Liza, then help Daisy out by finding the power head. It’s at the bottom of the water on the far end of the cavern, near a yellow barrel.
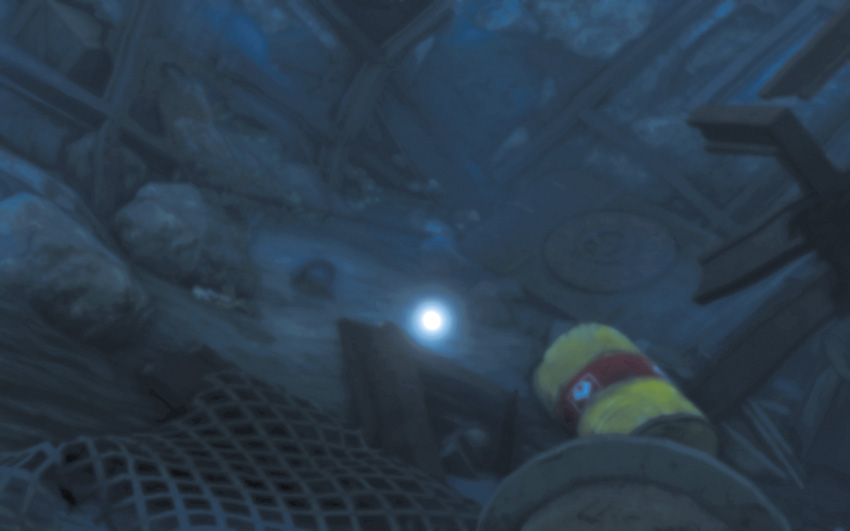
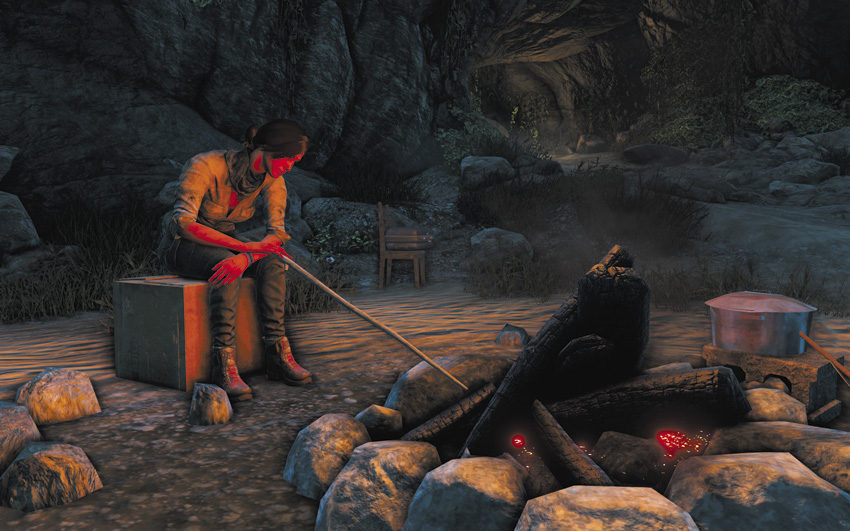
Bring that to Daisy, then go see Liza by the campfire. The ensuing load of characterization is worth a cool 1,000 EXP. Daisy’s file is unlocked in the Handbook, along with the recipe for Fire Arrows.
Meet Citra
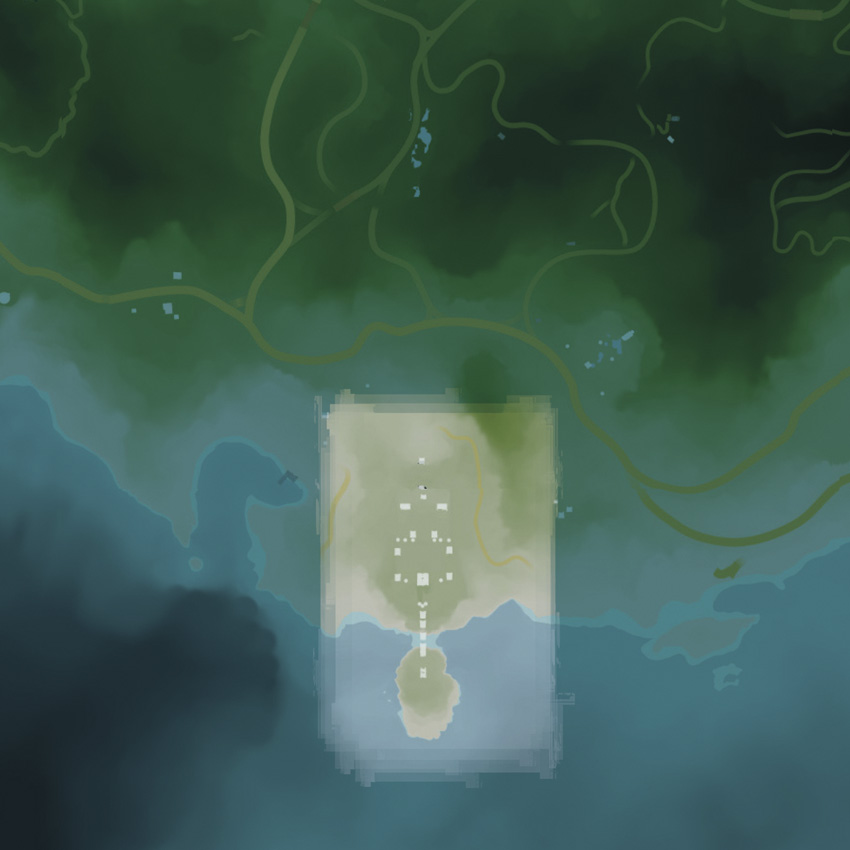
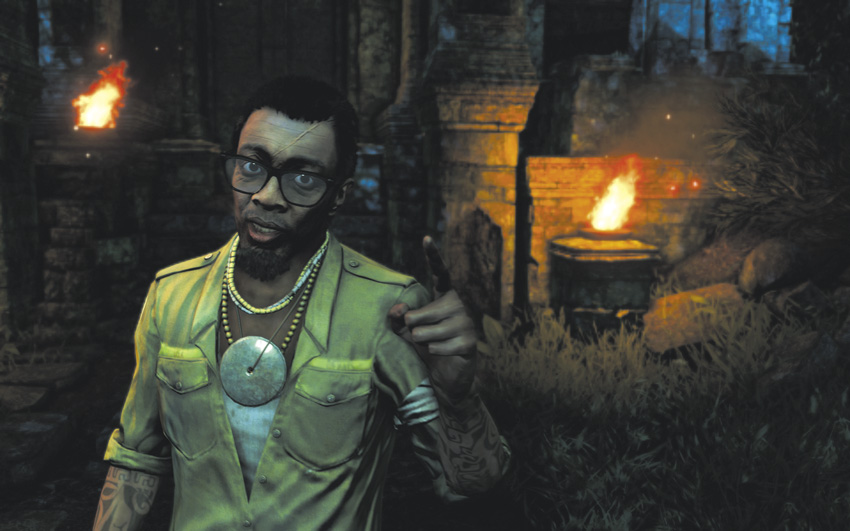
Citra’s temple is well southeast of Amanaki Village. If you haven’t explored that region of the island yet, you’re probably going to want to liberate the Northview Gas outpost just to make sure you can get to the temple without getting ventilated.
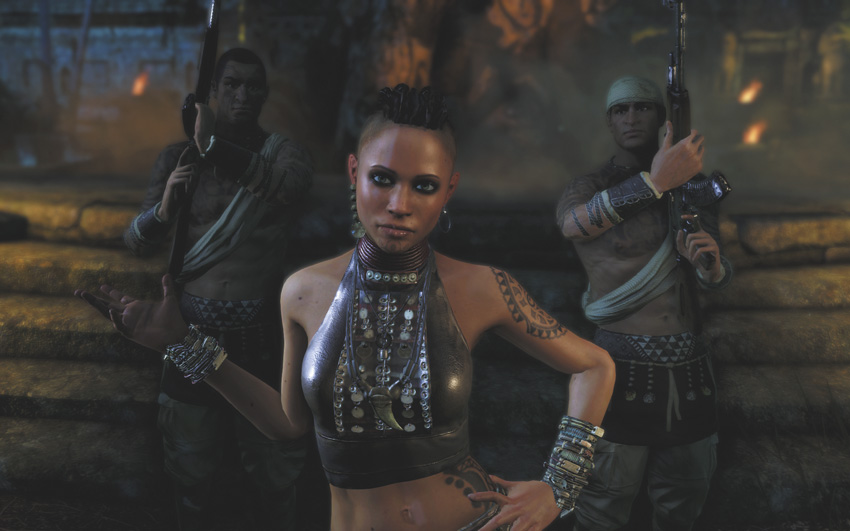
Dennis is waiting for you in the temple’s front yard. He’ll introduce you to Citra, the spiritual leader of the Rakyat, and she’ll introduce you to her potent brand of shamanic wonder drugs. It’s kind of her thing.
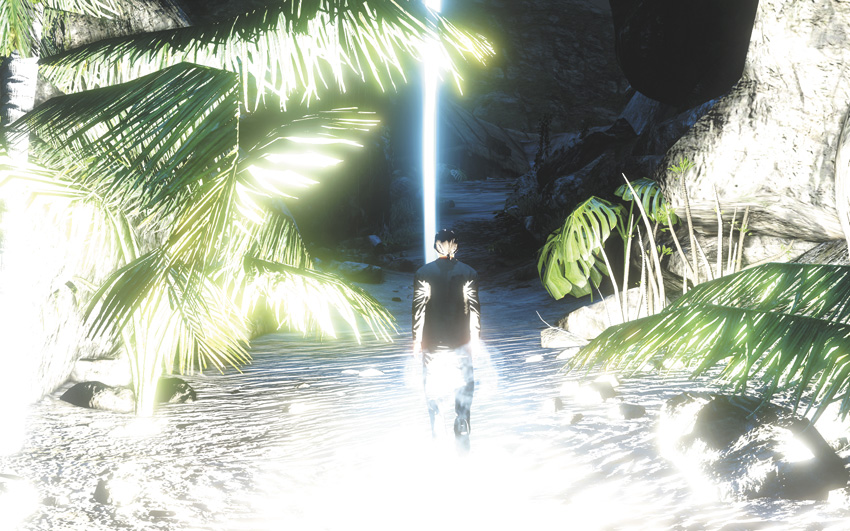
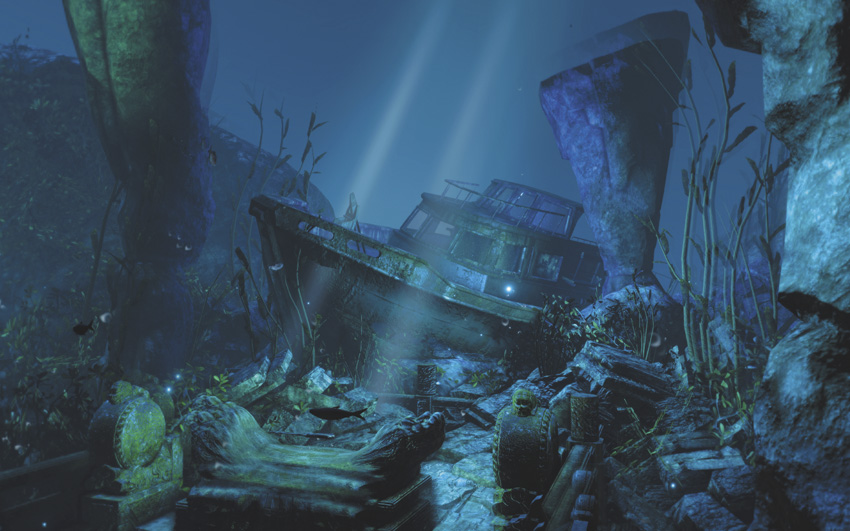
Much like the hallucination in the cave, all you have to do to clear this area is keep moving forward. At the end of the road, pick up the ancient knife.
Back in reality, leave the temple grounds to complete this mission. You’ll earn 1,000 EXP and the One of Us Achievement/Trophy, and unlock Citra’s entry in your Handbook. More importantly, completing this mission unlocks a full twenty-six new skills for you to purchase.
Bad Side of Town
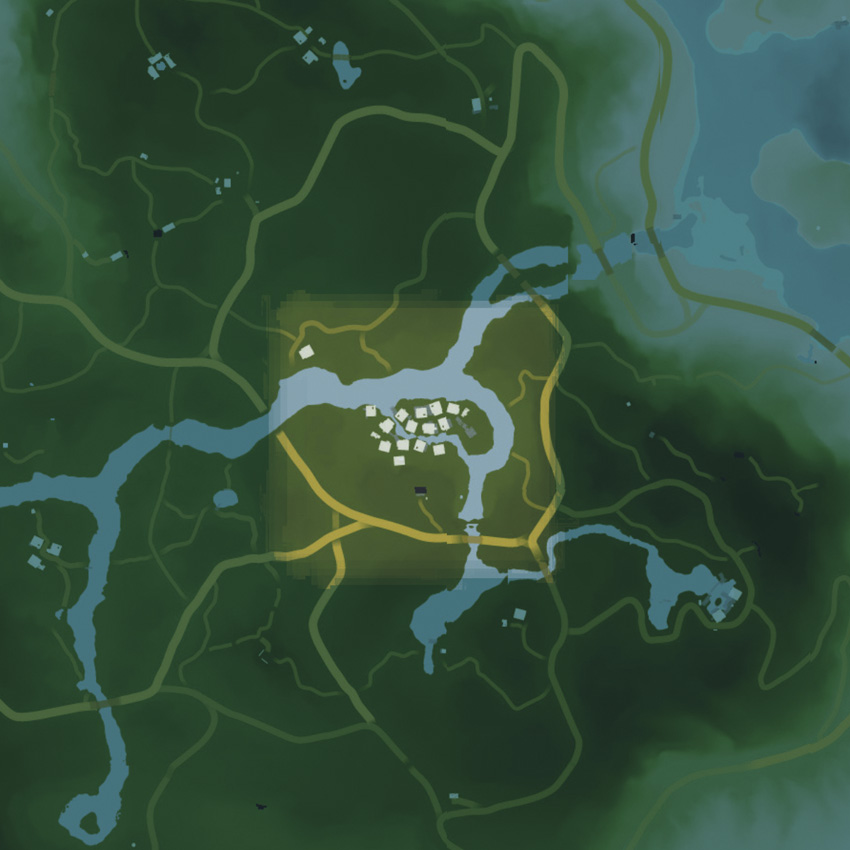
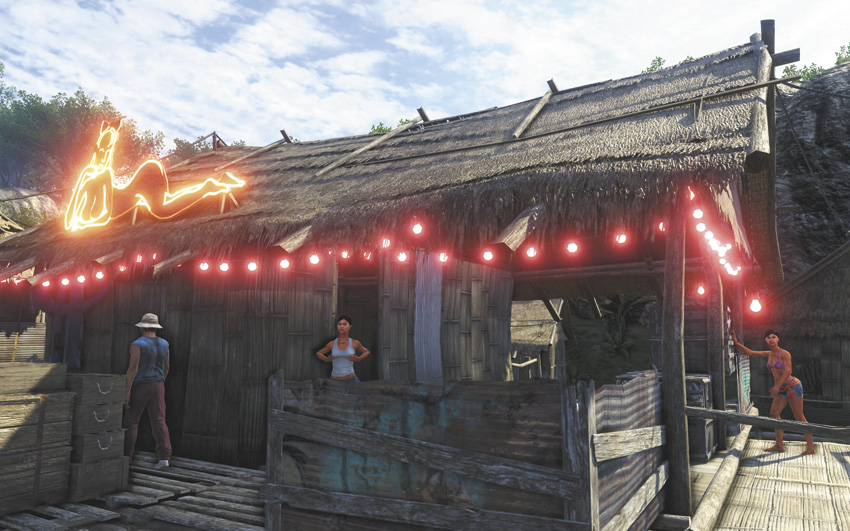
Badtown, which has the most accurately descriptive name of any geographical location on the planet, is now available as a fast-travel destination on your map. It has a general store, but that’s about the best thing you can say about it.
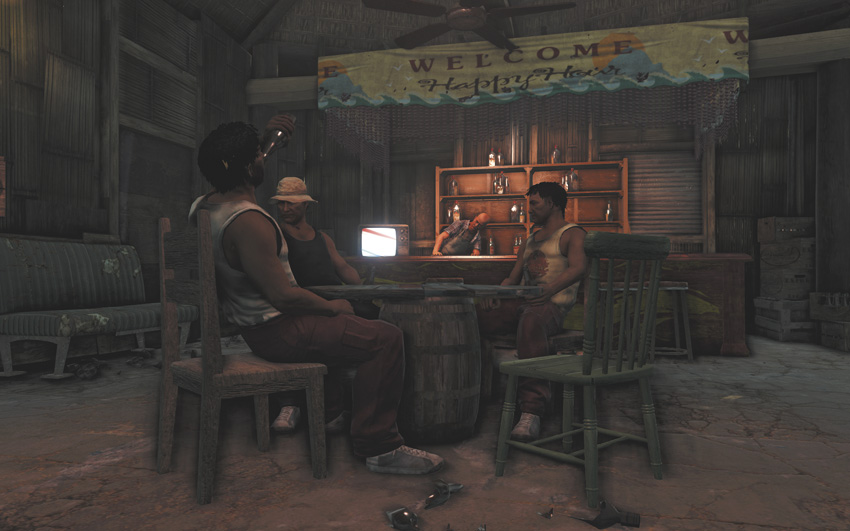
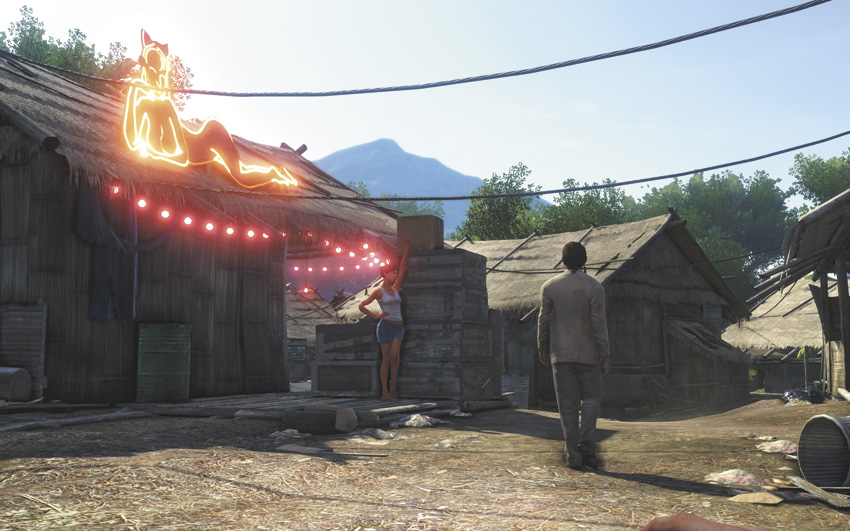
Head to the bar in town and take a seat at the poker table. Afterward, follow the man in white back through town. He’s not in any hurry, which makes it easy to keep up with him. If the man in white stops dead in the center of the road, he’s about to turn around to check his six. That’s your cue to duck behind the nearest building or short wall. If you lose track of him or break line of sight, you must reacquire him within twenty seconds or the mission ends in failure.
Successfully tracking him back to his home is worth 2,000 EXP.
Kick the Hornet’s Nest
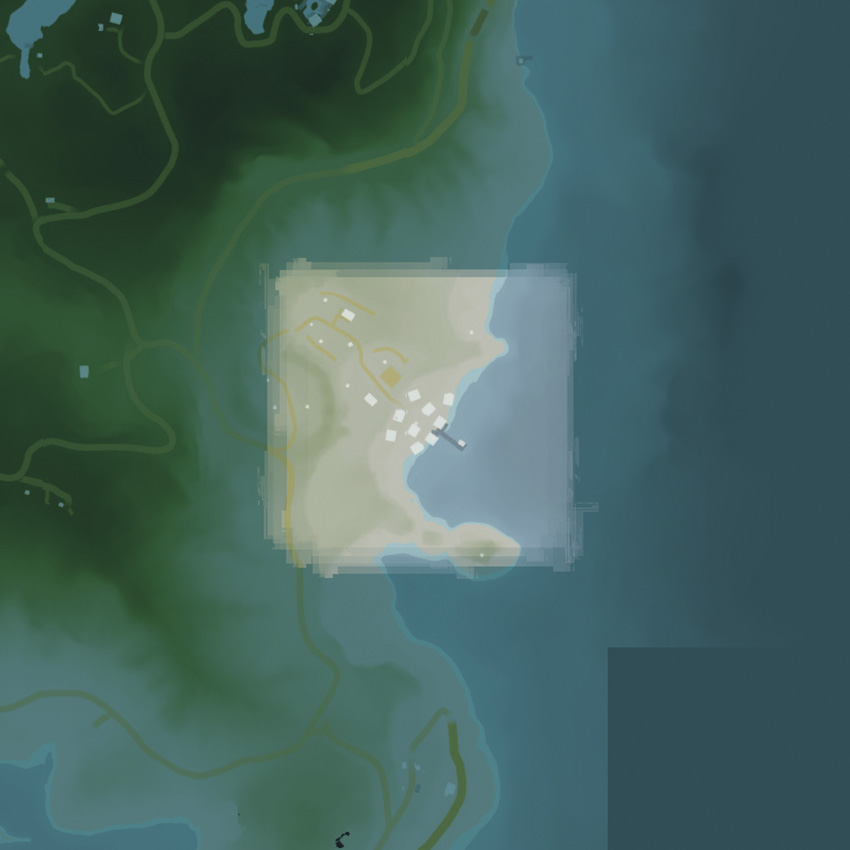
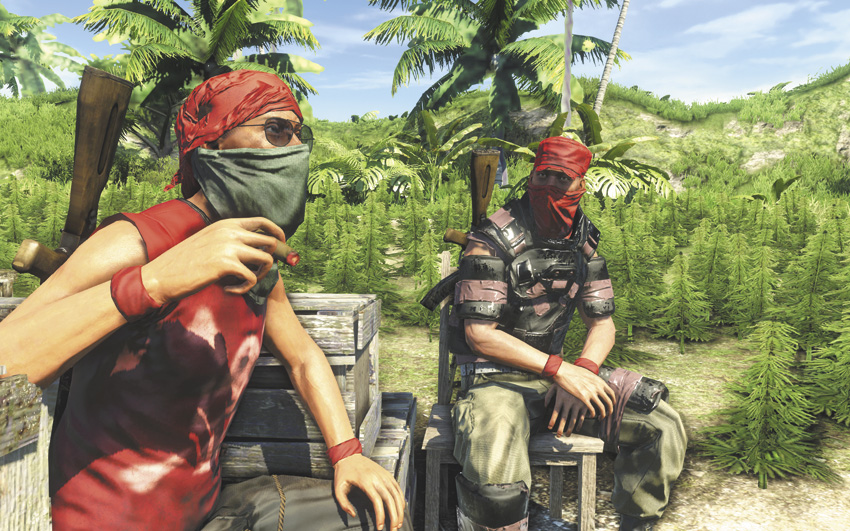

Enter the man in white’s house to make the acquaintance of one Willis Huntley, government operative (?). You might recognize his unique turns of phrase, as he’s the guy who’s been sending you the entries in your Handbook. Sure, Willis is almost certainly crazy and might not actually be any kind of secret agent, but he just handed you a flamethrower. How bad a guy could he be?
The plan, such as it is, is to deliberately antagonize Hoyt Volker by torching his drug farms near Badtown. The fields in question are almost hilariously well-guarded by well-armed pirates and their trained Rottweilers. The moment the locals realize they’re under attack, more pirates will just keep spawning until you either leave the area or finish the mission. The key to success here is to go on a lightning strike; get in, get the job done, and get gone.
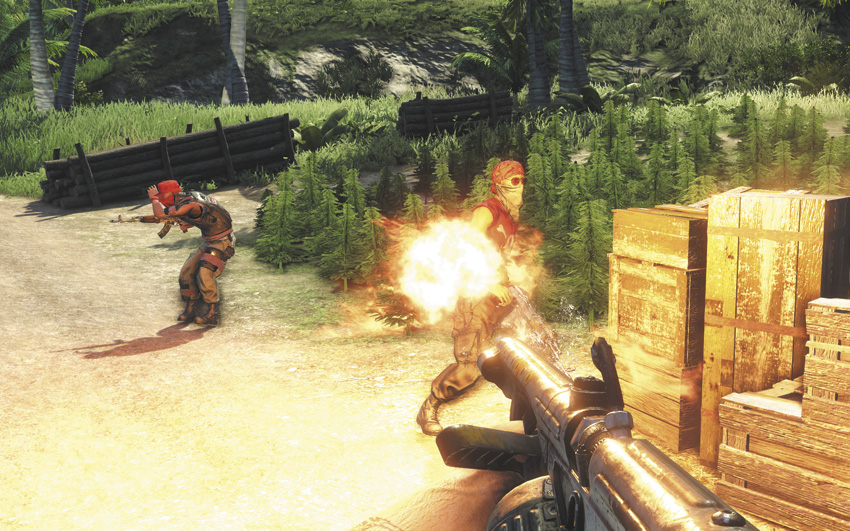
The game will advise you to craft a couple of Fireproof syringes before you go to the drug fields, and this is a solid call. As discussed in the Basics section, fire in Far Cry 3 has a knack of spreading to anything in the area that could conceivably be flammable, including grass, trees, buildings, people, and you. The Fireproof syringe doesn’t last long, but there are a ton of Crimson Leaves growing wild in the area and any protection from fire is worth taking. This includes the Fire Retardant and Ironsides skills.
The fishing village next to the drug fields is... well, it’s full of dead fishermen, just in case you needed more proof that Vaas has to go. More importantly for your purposes, the huts are full of extra ammunition and medkits. If you get into trouble, and you will, it’s easy to resupply by ransacking the nearest building.
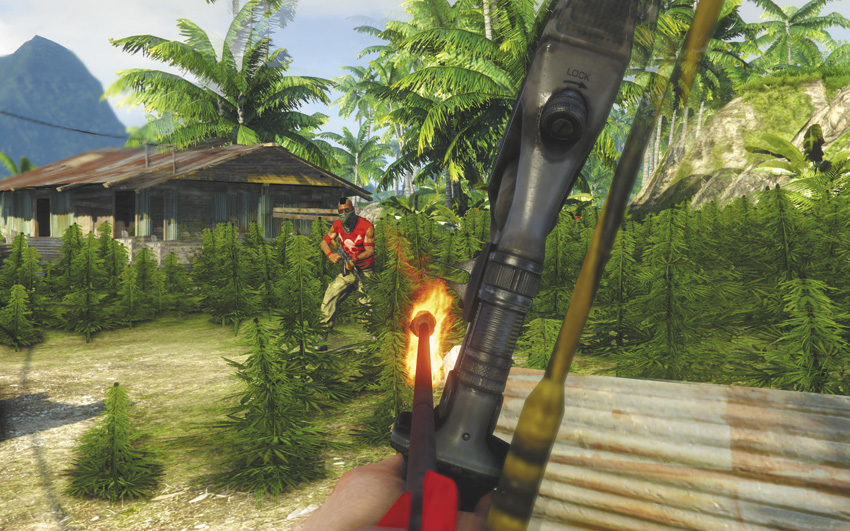
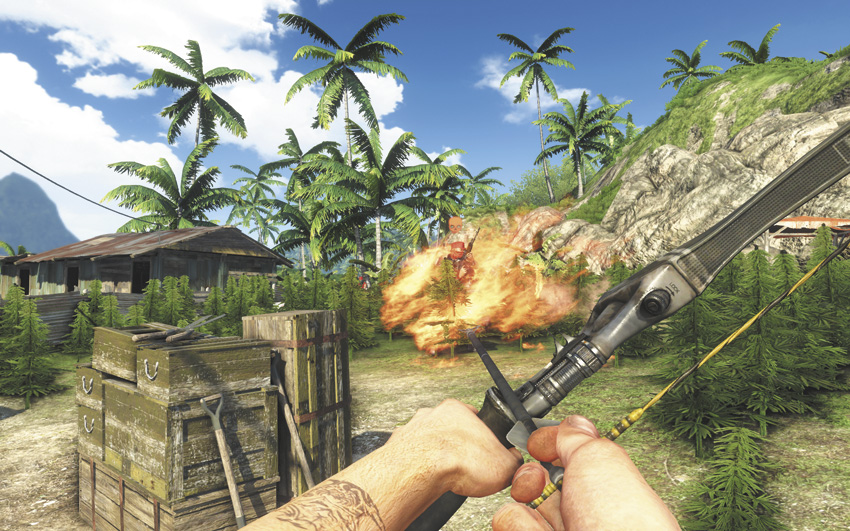
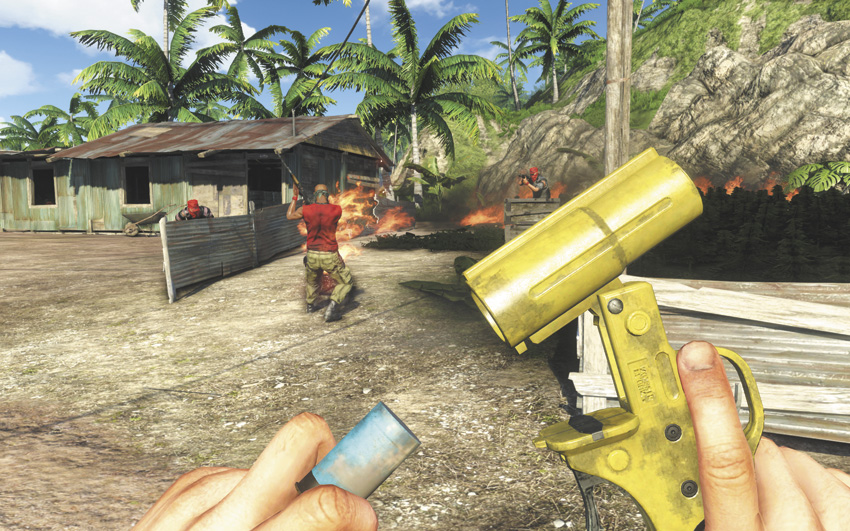
Another helpful tip is that while the flamethrower is a lot of fun to use, and there’s a ton of ammo for it inside the shacks near the fields, you don’t have to use it to ignite the crops. Fire arrows, Molotovs, and the flare gun are all just as valid, and you can detonate the fertilizer drums near each of the fields to set them alight.
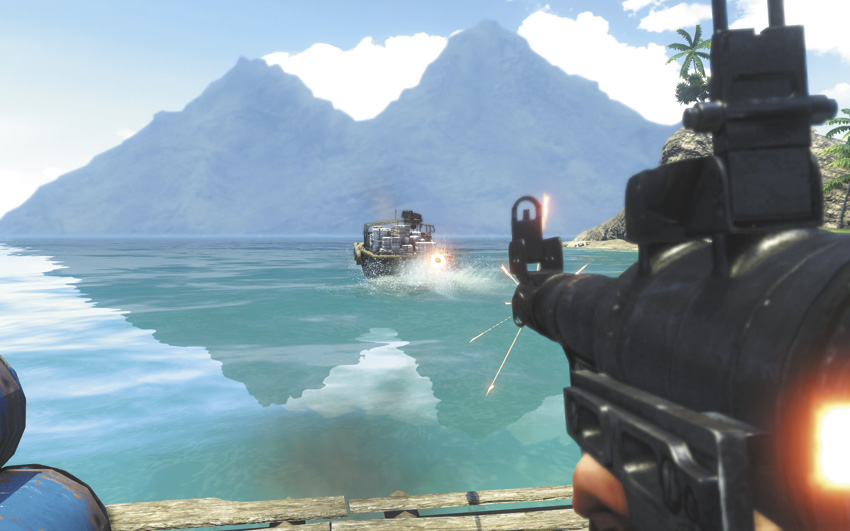
Once all five fields have been torched, you must move on to the next stage of the plan: destroy Hoyt’s boat. It’s parked at the dock in the village, behind a mounted gun, another couple of waves of pirates, and a heavy machine gunner. After you deal with those guys, and it’s perfectly valid to plant explosives in the village well beforehand to preemptively detonate the boat’s defense squad, you’ve got a forty-second window to take the boat out before it escapes. A well-aimed grenade will do the trick, or you can grab an RPG-7 from off a crate at the end of the dock. Either way, sink that boat to finish this mission.
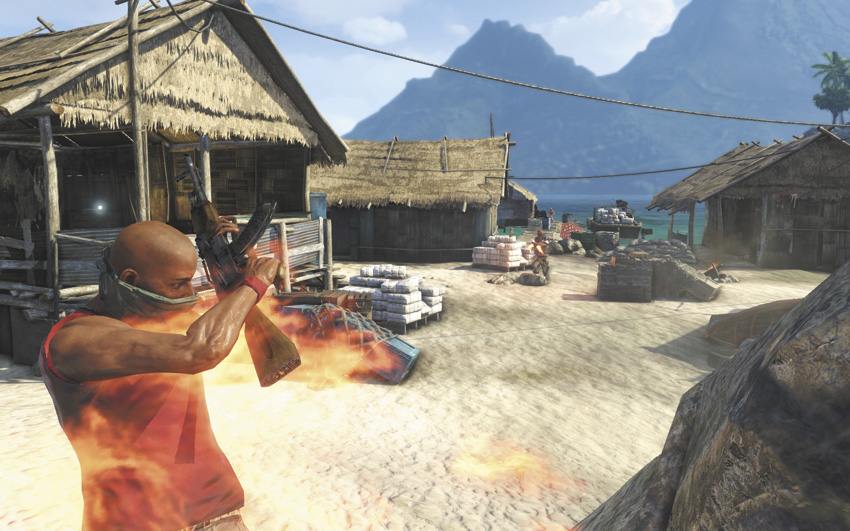
Your rewards include 2,000 EXP, a new entry for Willis in your Handbook, and the recipe for Explosive Arrows (which is to say, duct tape plus arrow plus grenade equals wackiness). You also unlock the Cargo Dump side mission.
A Man Called Hoyt
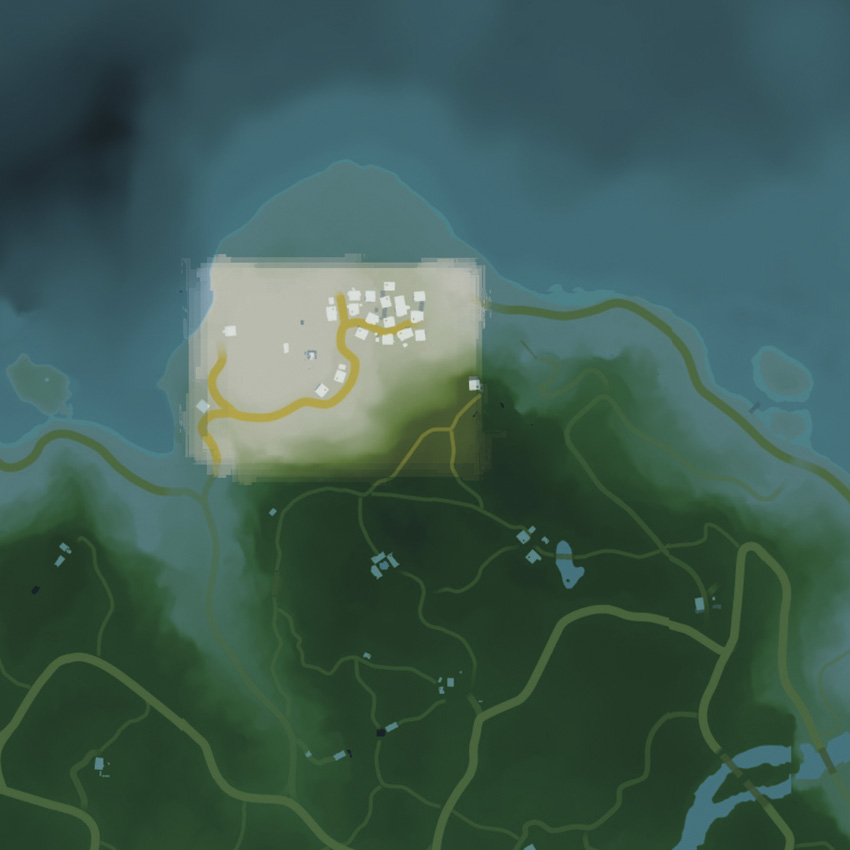
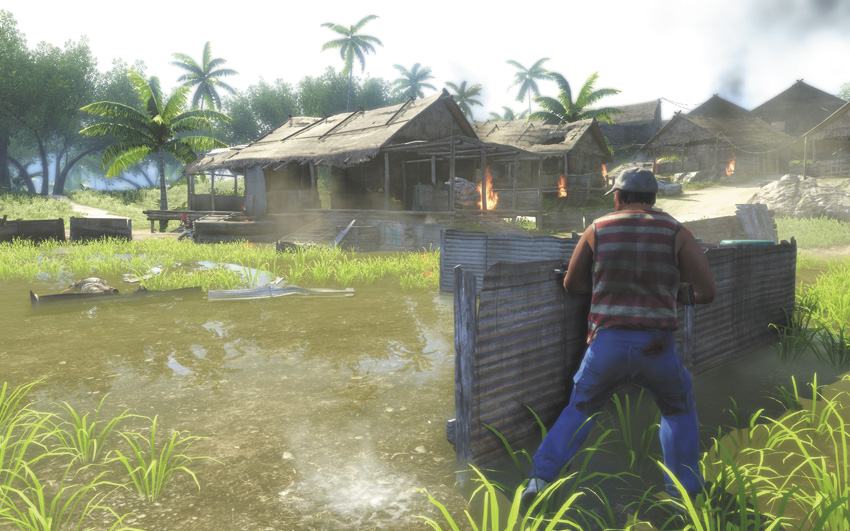
Willis directs you to Barristown, a farming village on the northeastern coast. The closest fast-travel point to it is the evocatively named Camp Murder outpost, which is nowhere near as fun as the name might indicate.
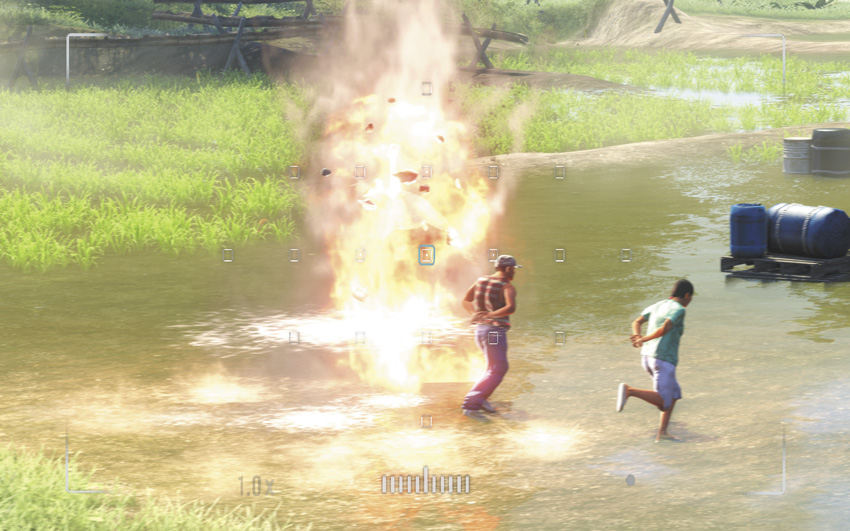
When you arrive at the shack overlooking Barristown, you’ll get another call from Willis. It kind of sounds like he’s sending you on another stealth mission, but in practice, there’s a zipline next to the shack that lets you get right down to where you need to be. There’s no reason to go waltzing with guard patrols when you can get right to business.
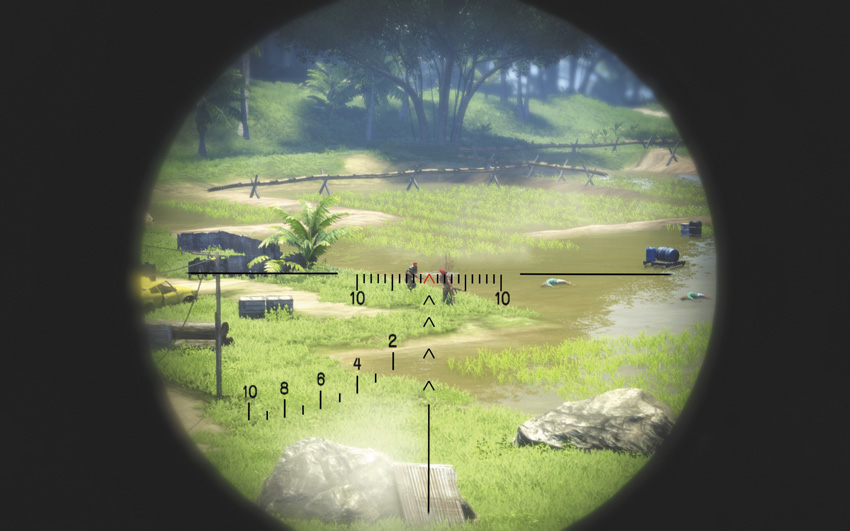
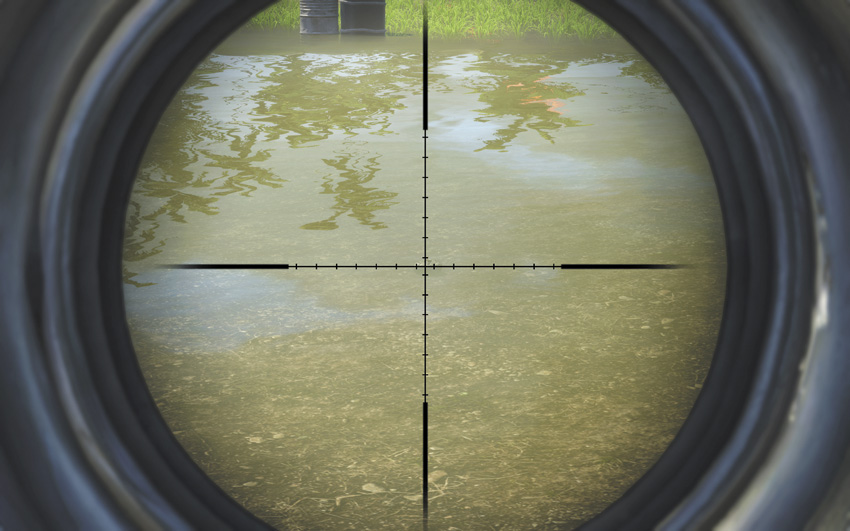
Use your rifle to eliminate the two mercenaries down in the rice field. These guys are Hoyt’s men, and are a generally higher class of soldier than Vaas’s pirates. For one thing, they’re both wearing light body armor, which means a clean headshot is the fastest way to put them down from here. You can also use the rifle to detonate the land mines in the rice field from a safe distance, as they’re all just under the surface of the water.
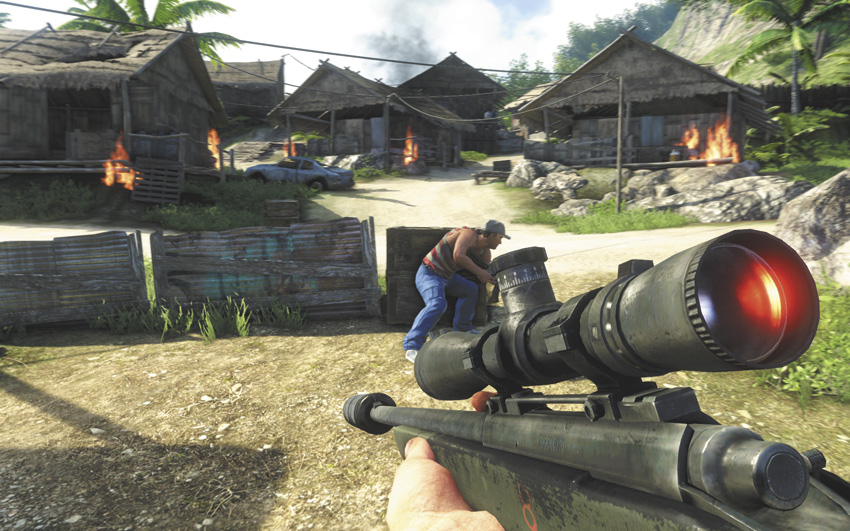
Once the mercs are dead, go rescue Willis’s contact Rongo. He’s reasonably tough and will be fine if all he has to deal with is some stray gunfire, but if a charger gets on him or he’s caught in an explosion, Rongo will fold like a lawn chair. Your best bet for getting him back into Barristown in one piece is to go on an all-out offensive, keeping as much of the pirates’ attention on you as you can. The most dangerous part of this escort is right at the start when you’re both still in the minefield. After that, it’s relatively easy.
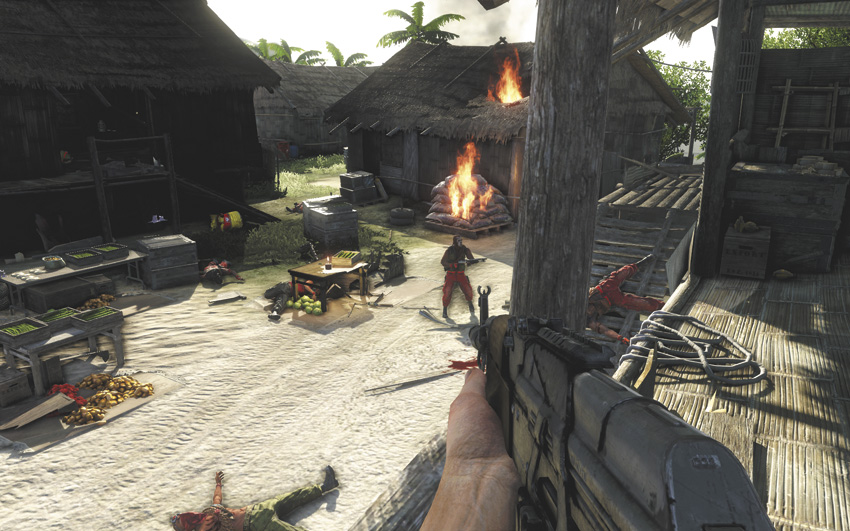
In Rongo’s house, you’ll need to repel several waves of attackers while Rongo searches for the shipping manifest you need. About half of the incoming attackers are going to charge straight inside after him, so leaving a couple of land mines on the stairs up to either entrance to his house can clear them out in a hurry. Rongo’s even left three more land mines out for you, because he is a thoughtful sort of escortee. That leaves maybe a dozen riflemen who are content to hide in cover outside the cabin and pop shots at you, but they have committed one of the classic errors: they think propane tanks are hard cover.
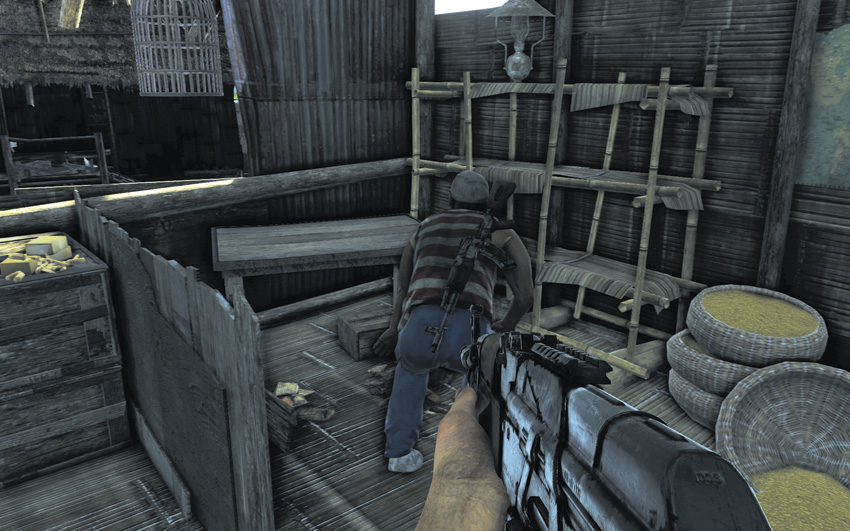
After you’ve killed the pirates, Rongo’s finally got the time to dig up the manifest. You earn 2,000 EXP for completing the mission, as well as the recipe for the Sharpshooter syringe, a look at Hoyt Volker’s dossier, and the whereabouts of your buddy Oliver.
Saving Oliver
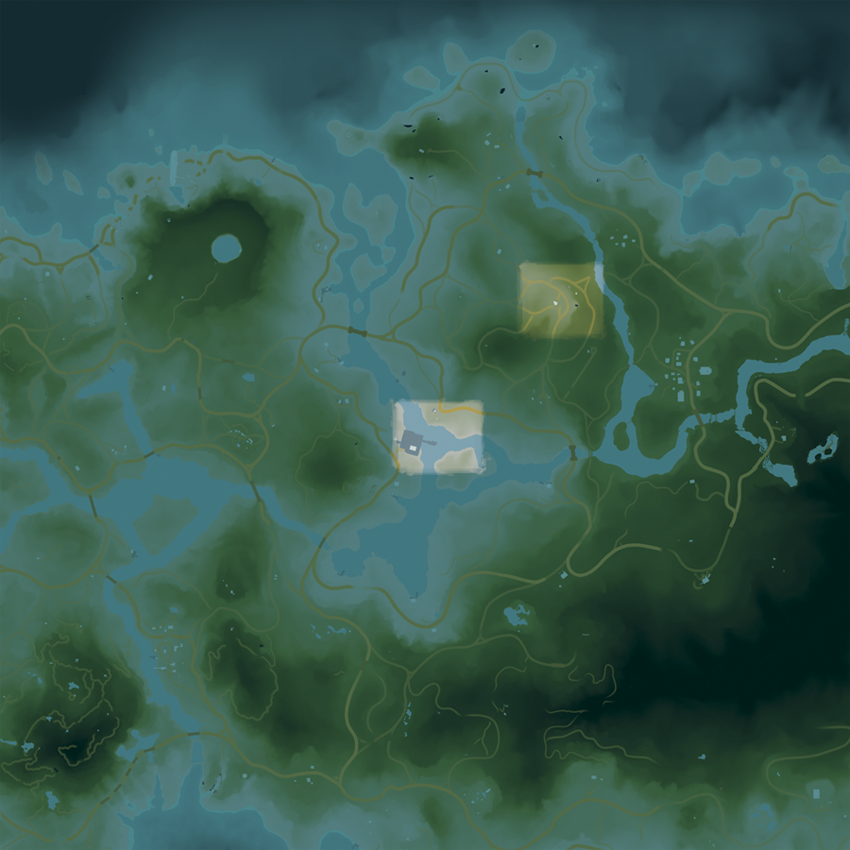
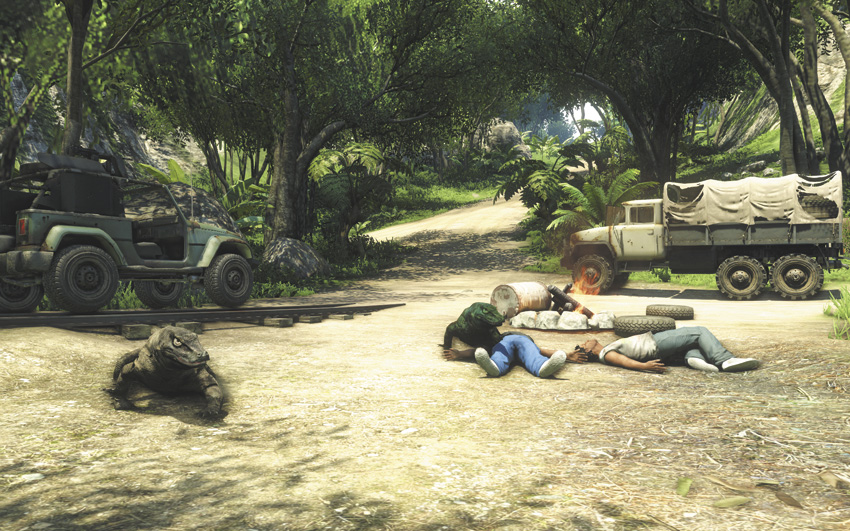
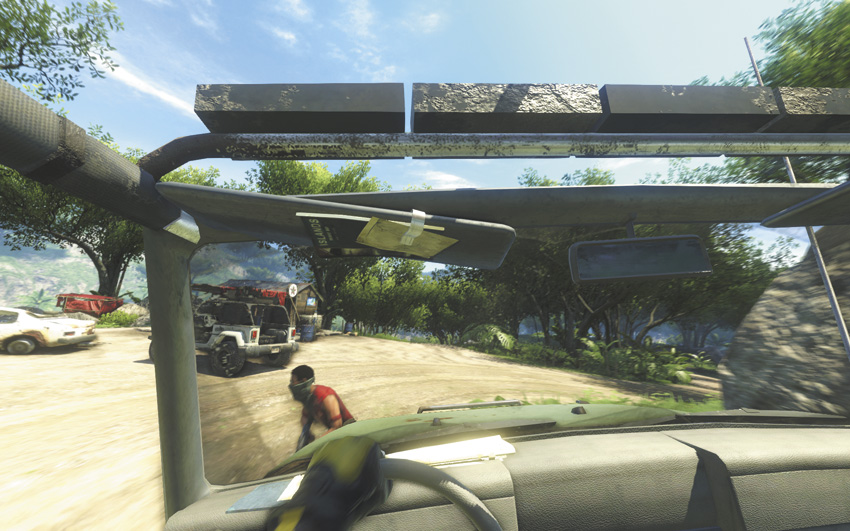
The closest outpost to Willis’s rendezvous point is the Rail Yard. Fast-travel there and head north to an old mining depot, where you’ll find out two things: one, the entire area is infested with Komodo dragons, and two, you’re late. Get into the jeep parked at the rendezvous point and drive south to the river, where you’ll have to dispatch two pirates.
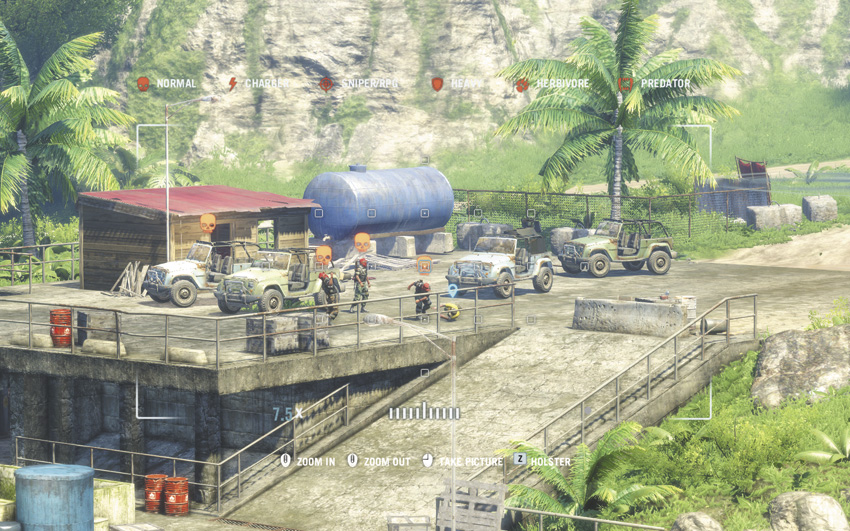
Use your camera to tag as many of the mercenaries as you can, then as one of them starts taking Oliver over to the helicopter, switch to your rifle and open fire. It doesn’t matter if you kill anyone with your first shot, although it’s helpful; you just need to get them to dive for cover, which gives Oliver his chance to escape.
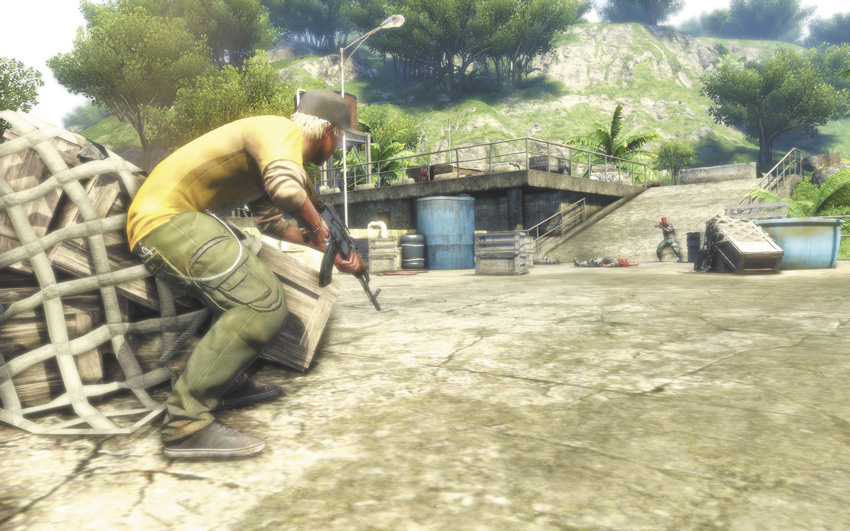
Then he makes his big mistake, which is to pick up a gun and draw attention to himself. Oliver isn’t that damage resistant, which means any soldier who gets close enough to him can kill him without much difficulty. That wouldn’t be so bad if they weren’t all charging his position. Cover him as Oliver moves towards the end of the dock, prioritizing soldiers that either take cover near explosive barrels or who get close to Oliver. You’ll want to land headshots as often as possible, as again, these guys have body armor.
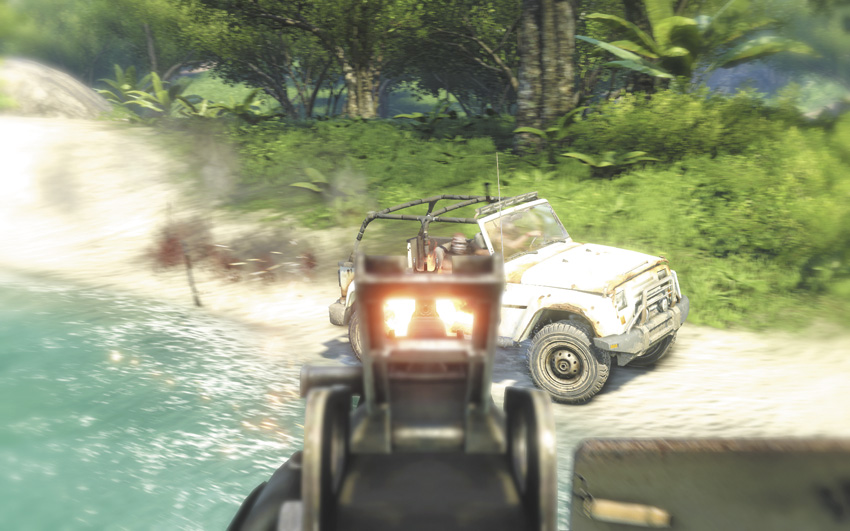
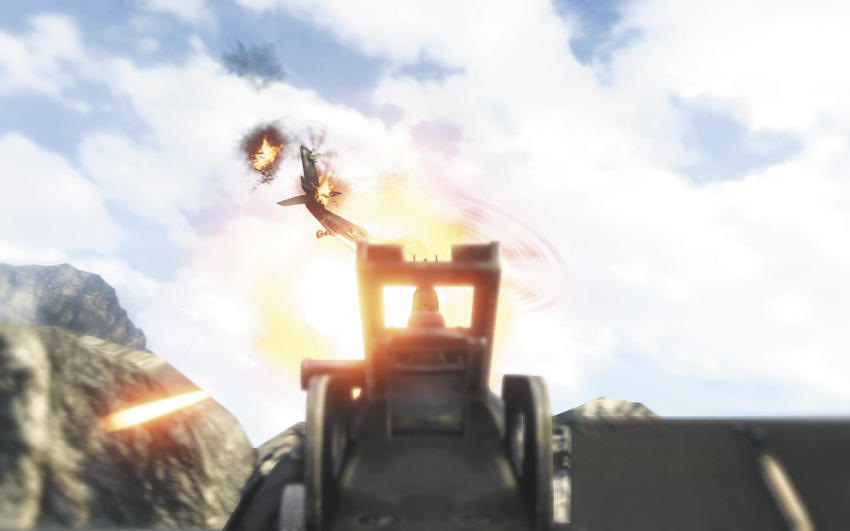
When Oliver reaches the end of the dock, he’ll steal a boat. Jason automatically drops the sniper rifle when Oliver gets into position. At that point, jump into the water below you and climb into Oliver’s boat. As he drives you both to safety, use the boat’s turret to deal with the mercenaries who try to stop you. This’ll involve jeeps, boats, a helicopter, and a bunch of guys on bridges who are all standing conveniently close to explosive materials. The mounted gun will overheat if you fire it on full-auto for too long, so try to stick to long, aimed bursts.
Oliver’s rescue unlocks his dossier in the Handbook, as well as the recipe for the Sprint Burst syringe. You also earn the Hands Off My Stoner Achievement/Trophy.
Piece of the Past
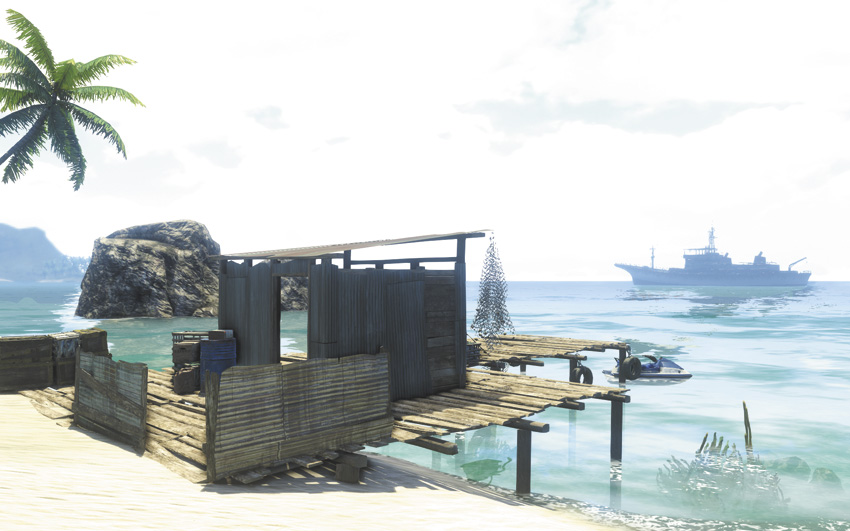
You’ll automatically return to Daisy’s cave with Oliver in tow. She’s been busy, and has cleared a lot of the wreckage away from the far end of the cave, which lets you get to a very well-hidden Relic. There’s also a dish of Earnhardt’s pills set up near Daisy’s boat, and you can take two of them to have a couple of interesting flashbacks.
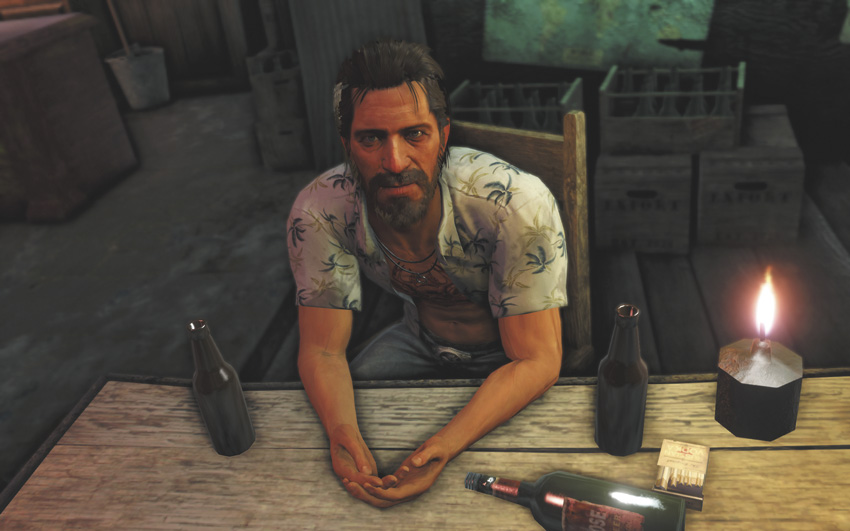
Leave the cave to get a call from Willis. He has a lead on Keith, which means you need to go see a guy named Buck in the bar in Badtown. Buck, in turn, wants a favor of his own: help him find and claim an old Chinese ritual knife that’s located somewhere on the island, and he’ll give you Keith.
Towards that end, you must “infiltrate” the Nostalgia, an ocean liner that’s currently docked off the east coast of the island, almost directly north from the Tequila Sunrise outpost. This can be accomplished as a stealth mission, but there are a lot of complicating factors that can turn this into a shoot ’em up. Bring a shotgun, plenty of C4, a fresh suit of body armor, and just to be safe, a couple of doses of Deep Dive.
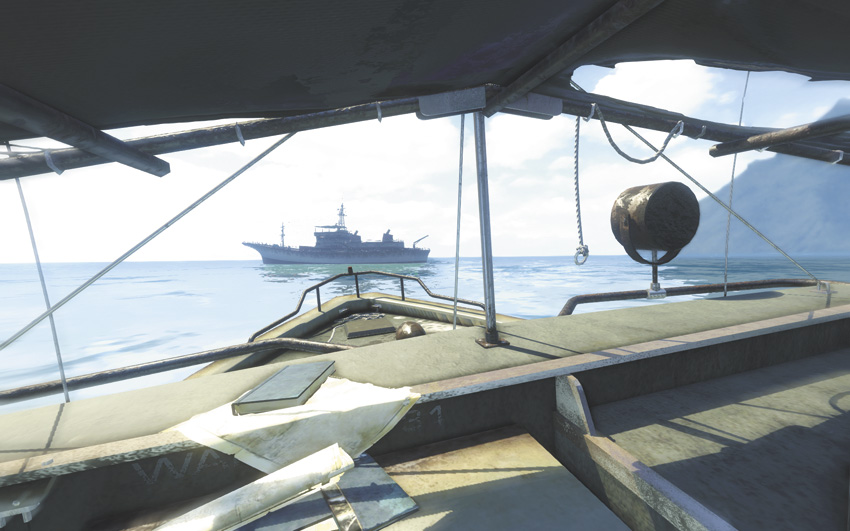
The Nostalgia is about 400 meters out to sea, so you’ll need a boat to get out there without becoming shark bait. Luckily, there are quite a few assorted water craft parked in the waters up and down the coastline nearby.
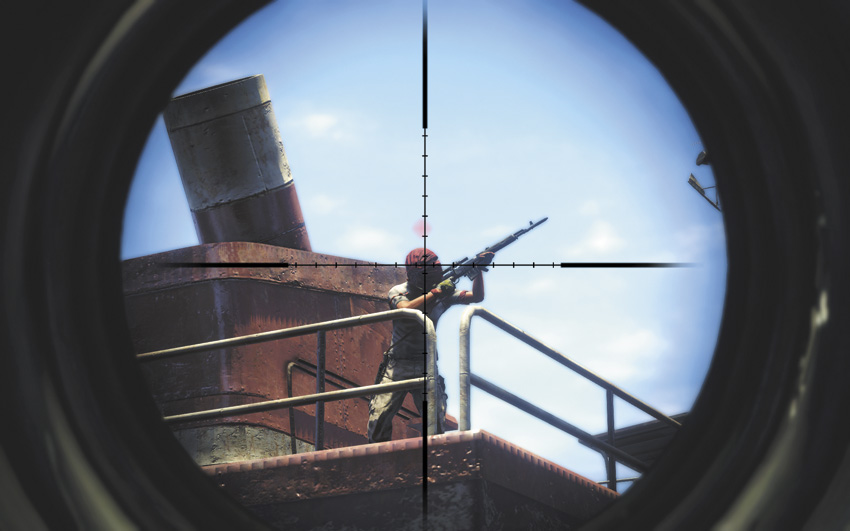
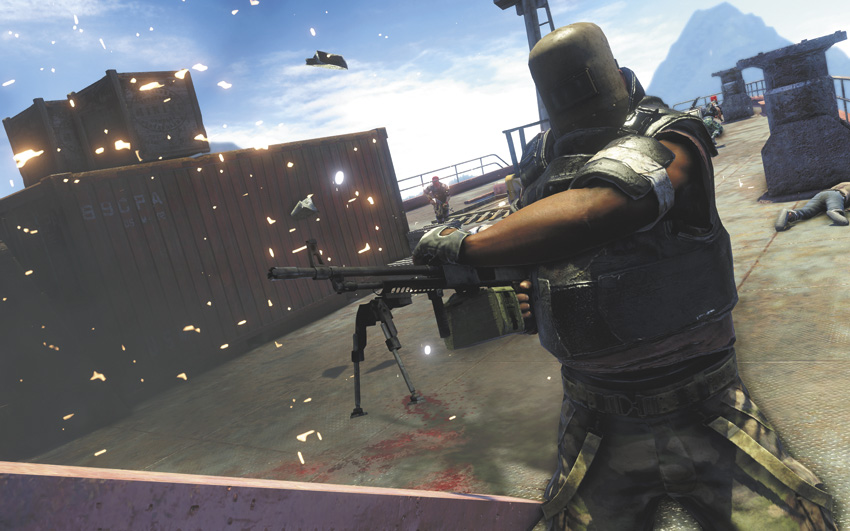
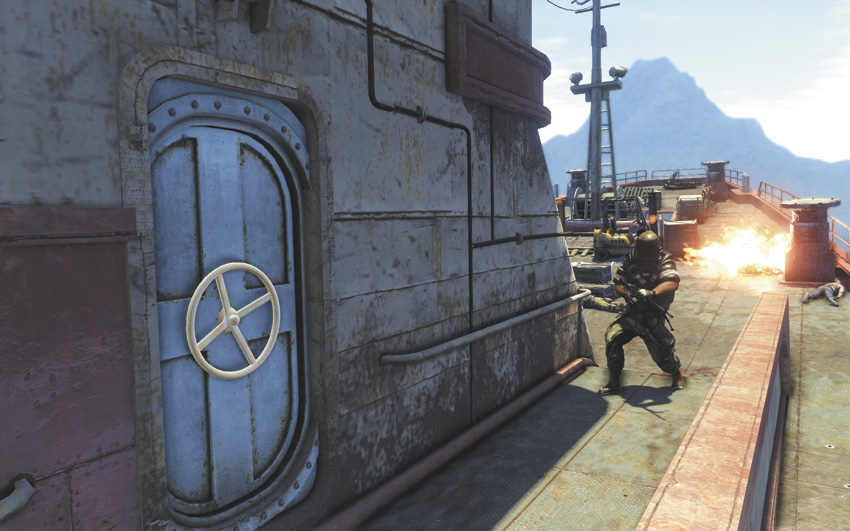
However you get aboard, watch out for the heavy machine gunner on the ship’s bow and the two snipers who are stationed on the forecastle. Sweep the ship clear of human life, then head further inside.
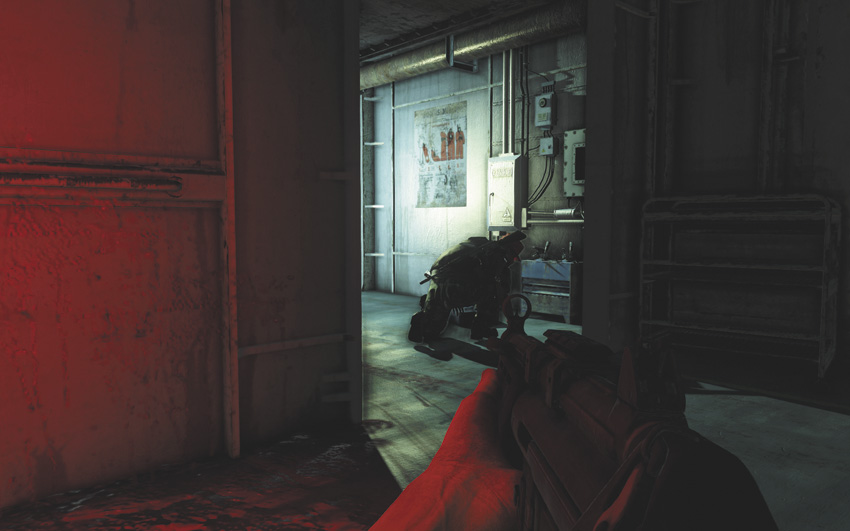
Below decks, use a Takedown on the first soldier you see, then carefully tag the two pirates in the next room. When the patroller moves away, slip into the room and silently kill them both. That lets you disable the nearest alarm panel, which in turn makes it theoretically possible to stealthily move through the rest of the hold.
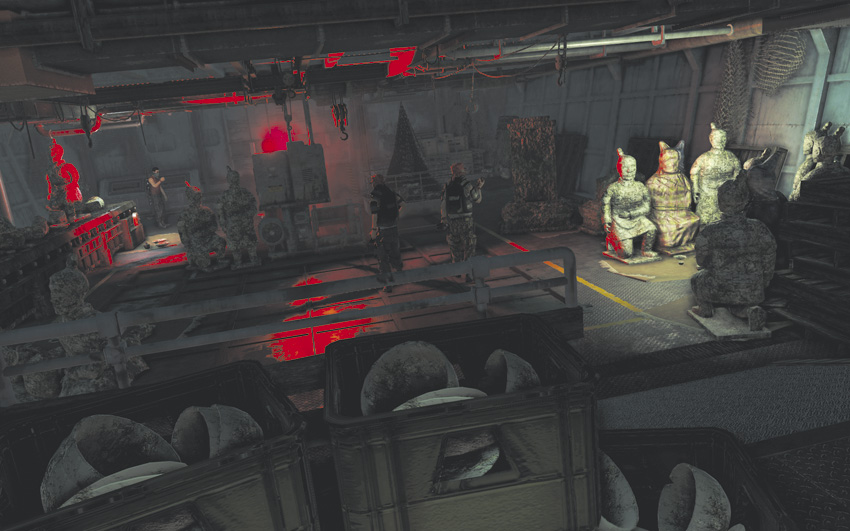
That’s a difficult prospect, though, and as such you shouldn’t be surprised if you end up in a fight. Deal with the chargers and soldiers in the rest of the ship, which culminates in committing a crime against the entire field of archeology (be sure to use a lot of grenades in the room filled with ancient terracotta soldiers), and as you approach the last door, keep some C4 handy. A heavy machine gunner will come through that door right as you approach it, and the fastest way to deal with him is to drop a charge at his feet the moment you see him and backpedal away. C4: It Solves Problems.
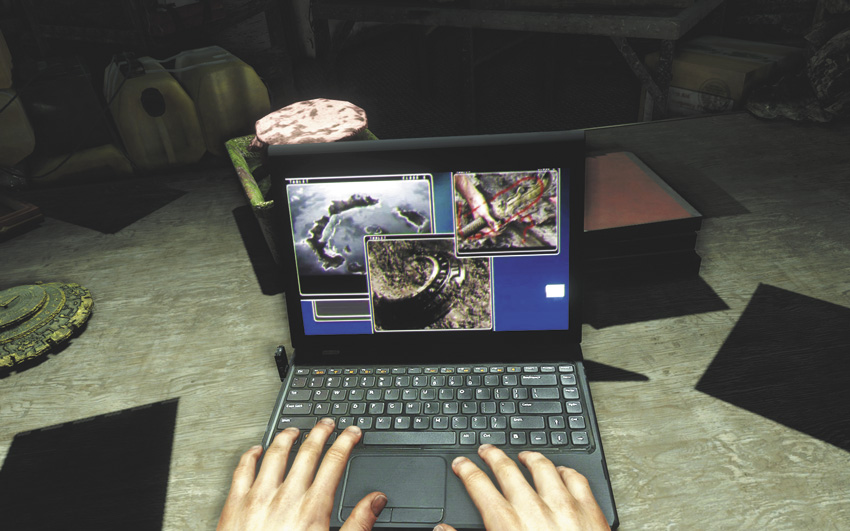
After you’ve gotten a chance to use the laptop, you’ll have a close encounter with Hoyt’s uniquely paranoid take on computer security. Now that the ship’s sinking, you have to escape before it reaches crush depth.
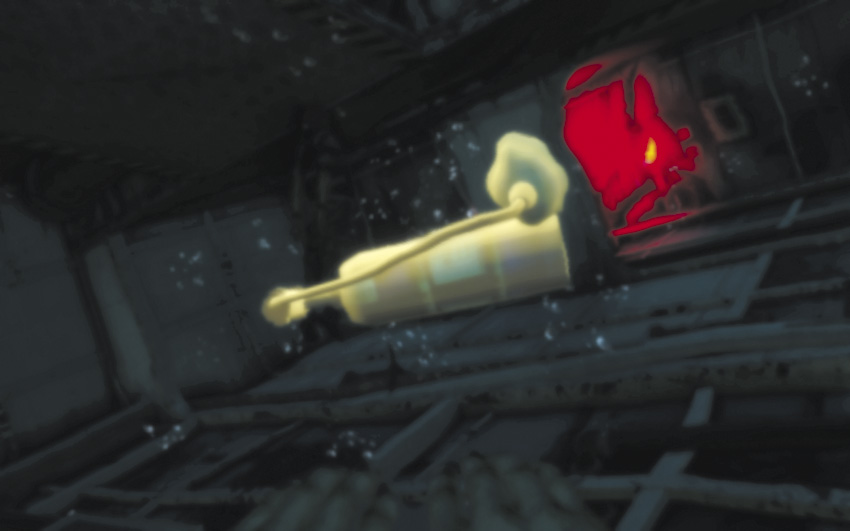
There are a number of oxygen tanks scattered around your escape route, but they’re easy to miss and it’s not immediately obvious which way you should go. If you’re having trouble, this is why we mentioned having a couple of Deep Dive syringes with you.
After you find the first oxygen mask, turn left at the hallway and go through the open door to reach an air pocket. Keep following your objective markers through the ship, but stay on your guard, as one of the pirates isn’t quite as dead as he looks. Take care of him with the onscreen button prompts, then make a break for the window to escape the wreck of the Nostalgia.
When Jason comes to, you’ve washed up on the shore near Nat’s Repairs. You’ll receive 2,000 EXP, the valuable Endorphin Boost recipe, and Buck’s entry in the Handbook. You’ve also acquired an old compass.
Down in the Docks
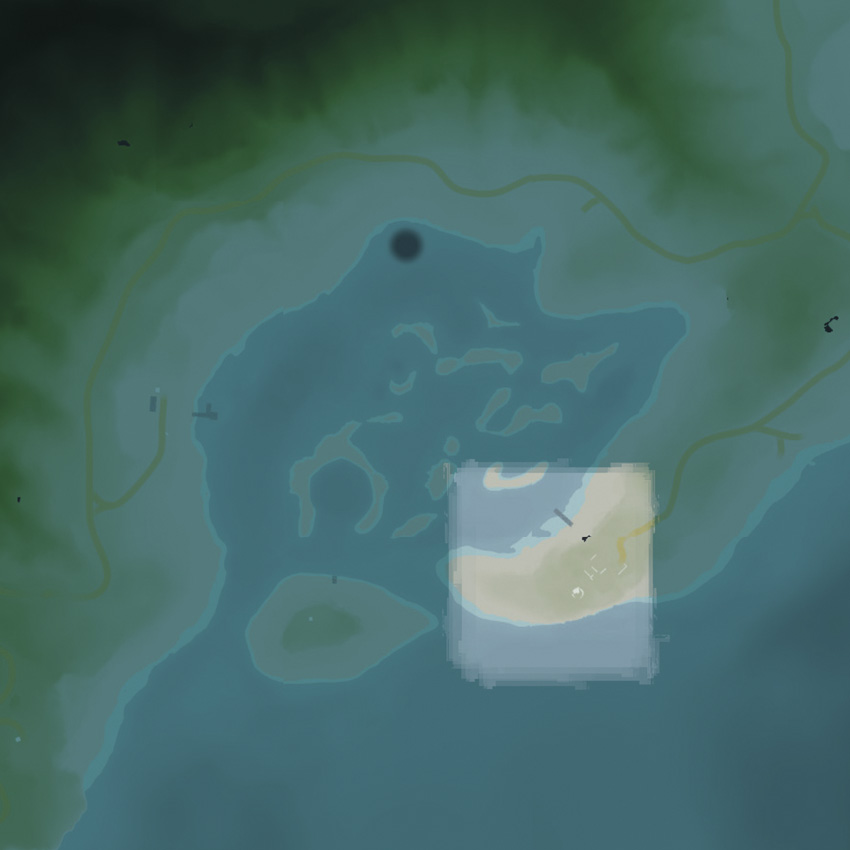
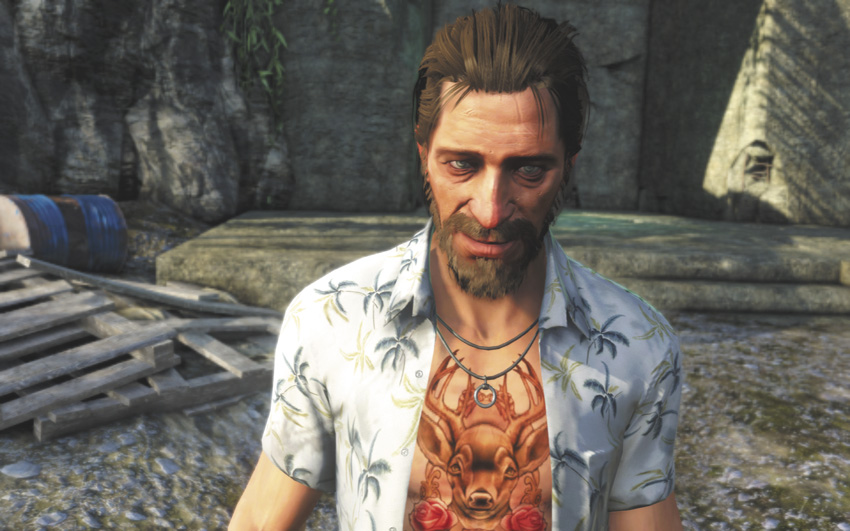
Buck’s waiting for you at the end of the peninsula southeast from Nat’s Repairs, and he’s got a history lesson for you. Long story short, Vaas and Hoyt have some men out looking into rumors about ancient Chinese ruins on the island, which the Japanese were also looking to find during World War II, and finding Buck’s knife is going to put you in direct conflict with them.
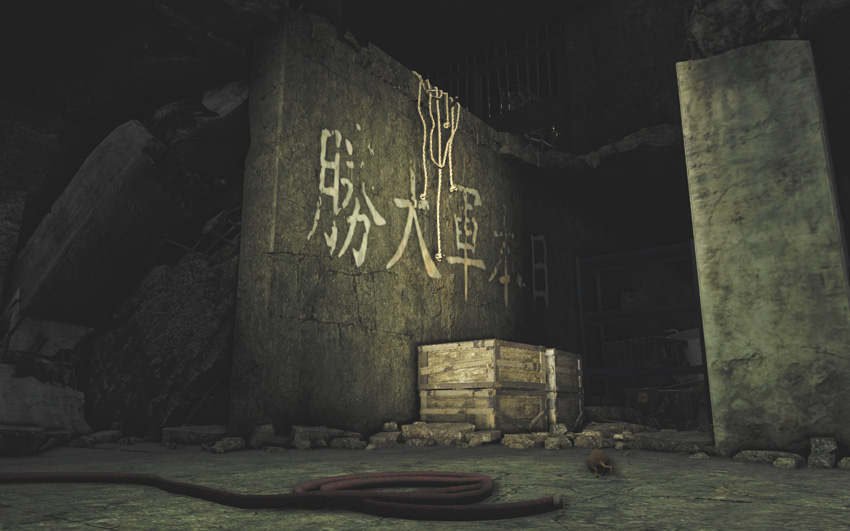
The old Japanese bunker at the end of this peninsula is the site of the most recent dig. When you enter, that ominous hissing you hear is from a couple of irritated snakes that are scattered throughout the area. Watch out for them, as they’re placed to jump on you if you go looking for extra loot.
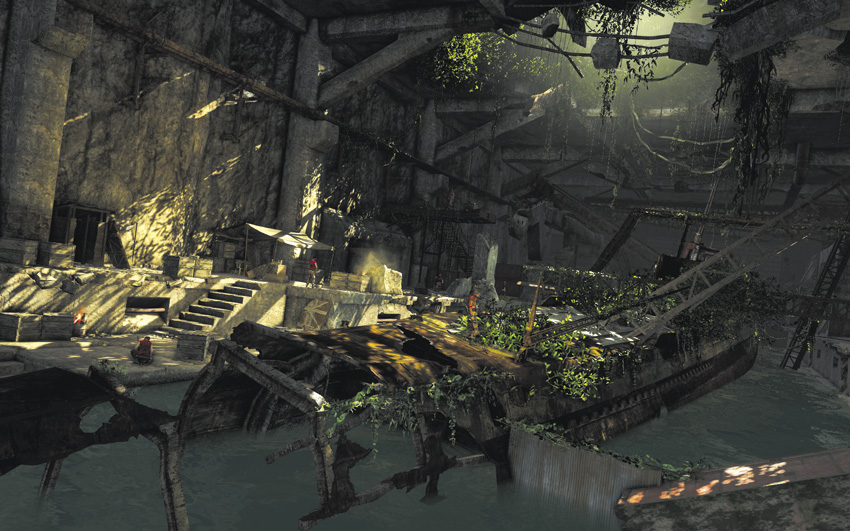
Use the crates against the wall to reach the overhead ledge, then edge around the hole in the floor and jump across the gap. The broken staircase leads down into a drainage ditch, and that in turn leads to an old Japanese submarine station.
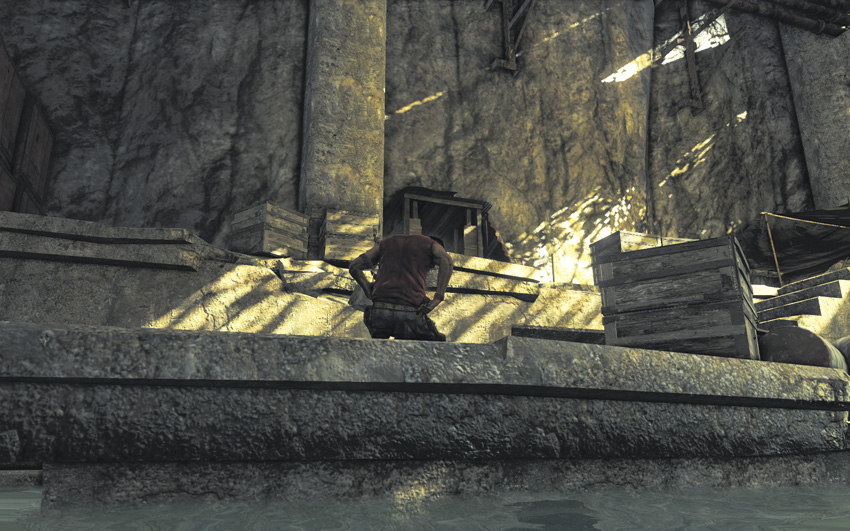
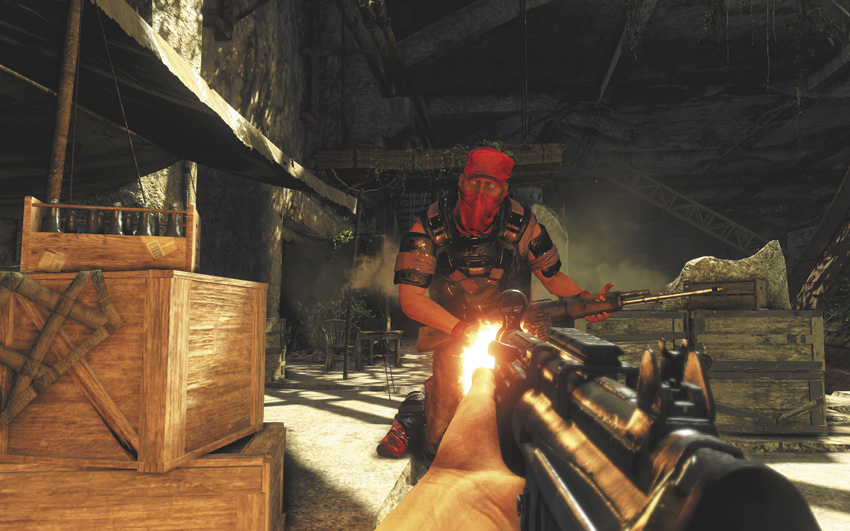
The station abuts the old Chinese tomb that Buck mentioned, but it’s at best problematic to get through the station without a fight. There are two chargers with Molotovs on sentry duty, one of whom is on top of the wreckage of the submarine, and they’re likely to see you the moment you get out of the water. You can easily drop the first pirate by the stairs with a Death From Below Takedown, then swim back down beneath the surface of the water and use the discovery of his corpse as a distraction, but honestly, that’s a lot of work for no real reward. It’s easier to just shoot everyone.
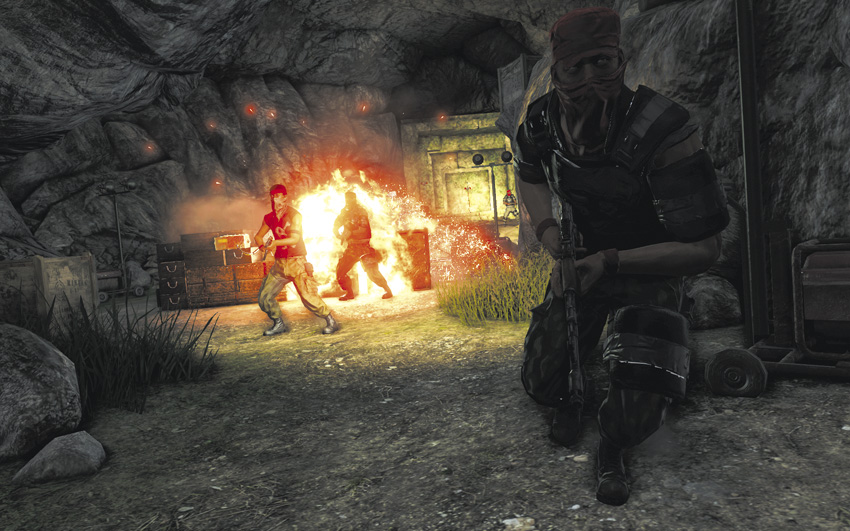
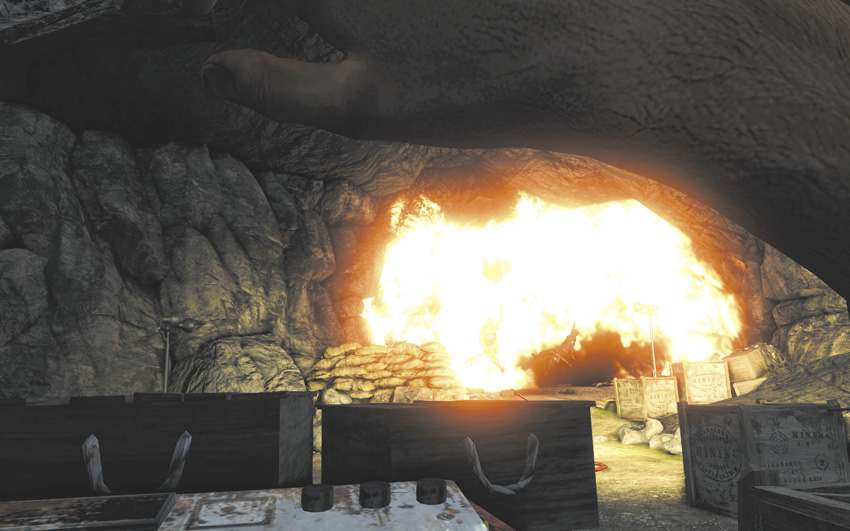
When you make it into the cavern, you’ll have snuck up on four of the most oblivious guards in the history of the species. One of them is sitting on a mounted gun that’s pointed back towards the entrance, but another is busily setting up breaching charges on the entrance to the tomb. If you use a couple of thrown rocks to bring the first two guards over to the entrance, you can then use the pirates’ own charges to blow the door and take out the gunner simultaneously.
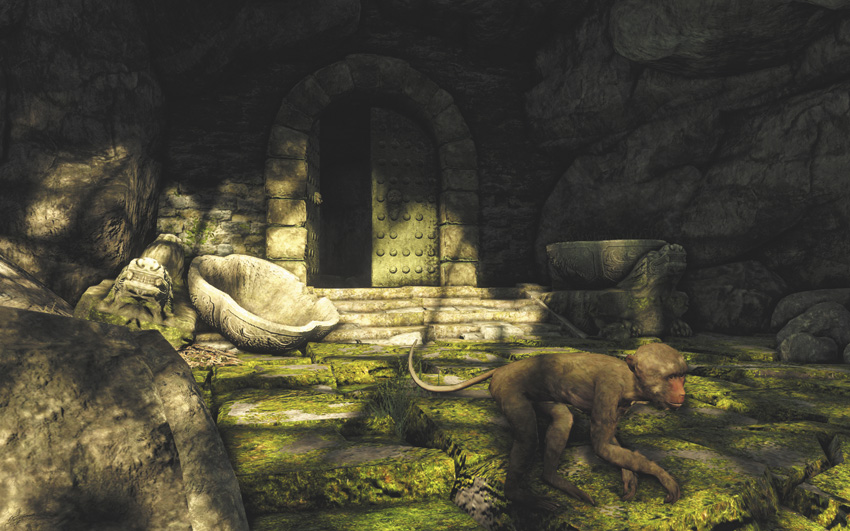
With the entrance to the ruins breached, go ahead and start exploring. There’s a macaque in the entrance you can shoot to unlock its entry in the Handbook. Eliminate the snake in the hallway, then look down into the water at the end of the path before you jump down. There’s a crocodile waiting for you in the water, but you can easily shoot it dead from here.
Swim through the water, get out of the water to open the gate, and drop back into the water. In the front hall of the ruins, jump across the gap... and promptly end up falling nearly to your death. Jason really can’t catch a break with this kind of thing.
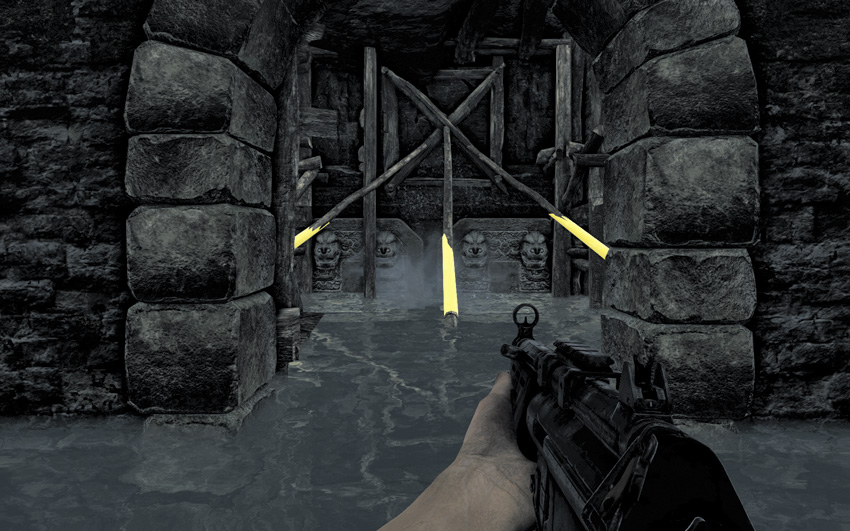
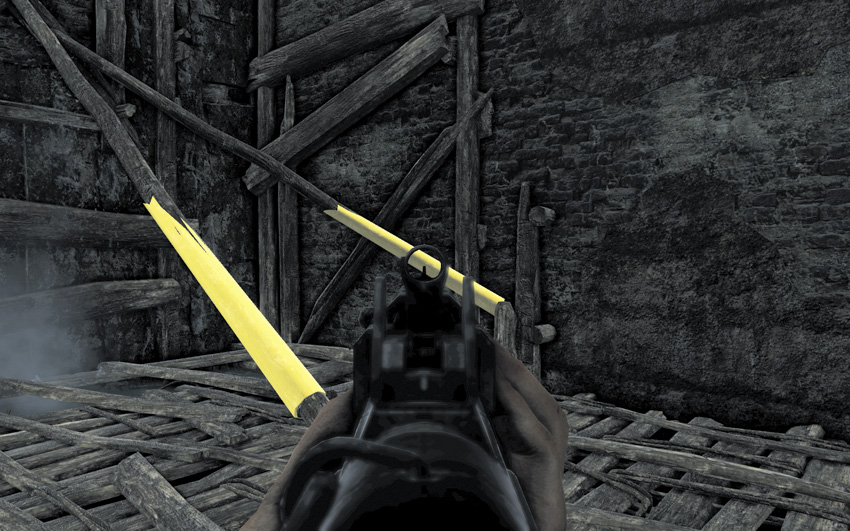
When you come to, it’s time for a puzzle of sorts. You need to get to the high ledge, but there are no handholds with which you can scale the wall.
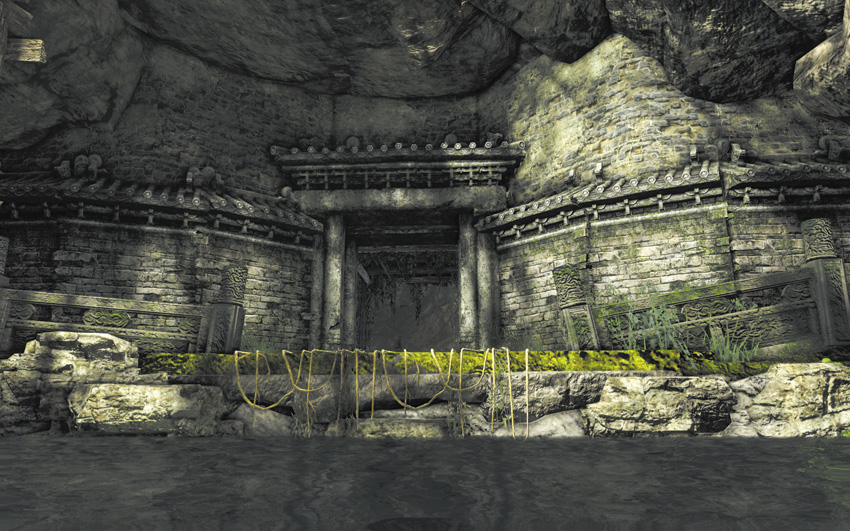
Turn left, open the door, and break the three old wooden poles holding the sluice gate shut. This partially floods the room. Repeat the process with the right-hand door, and when it gets stuck, swim over it and break the second set of poles. You can use the ensuing higher water level to reach the ledge.
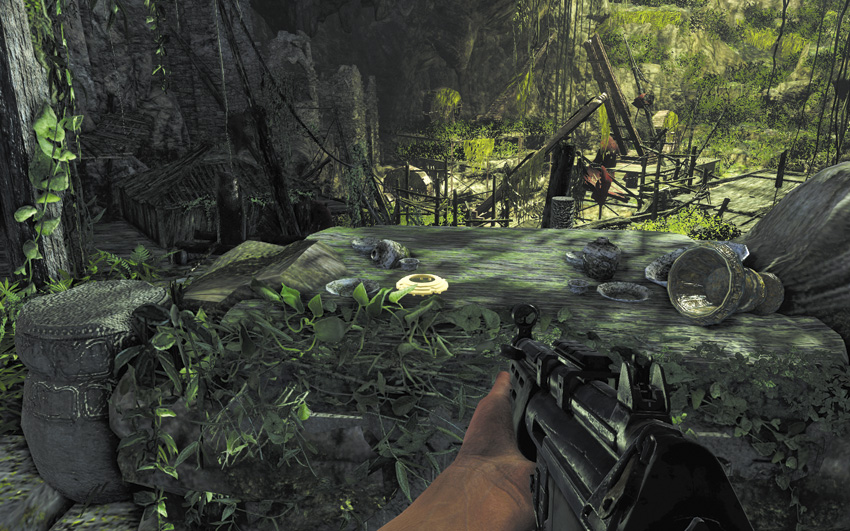
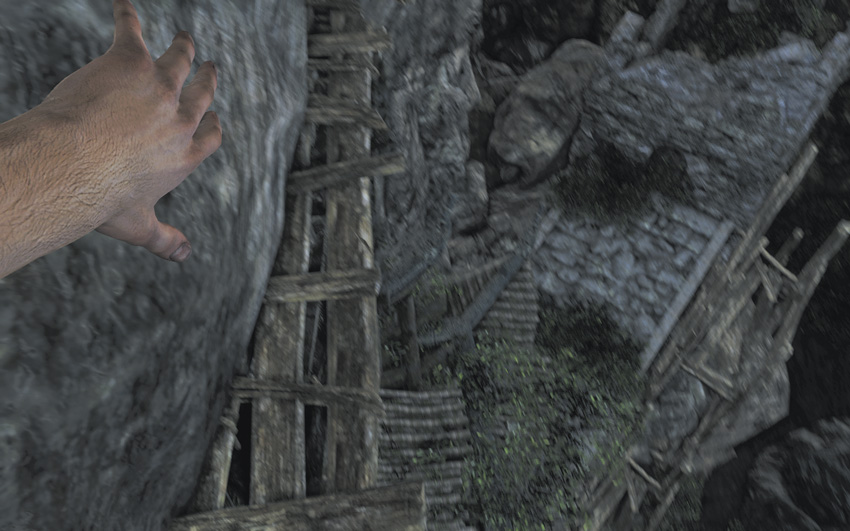
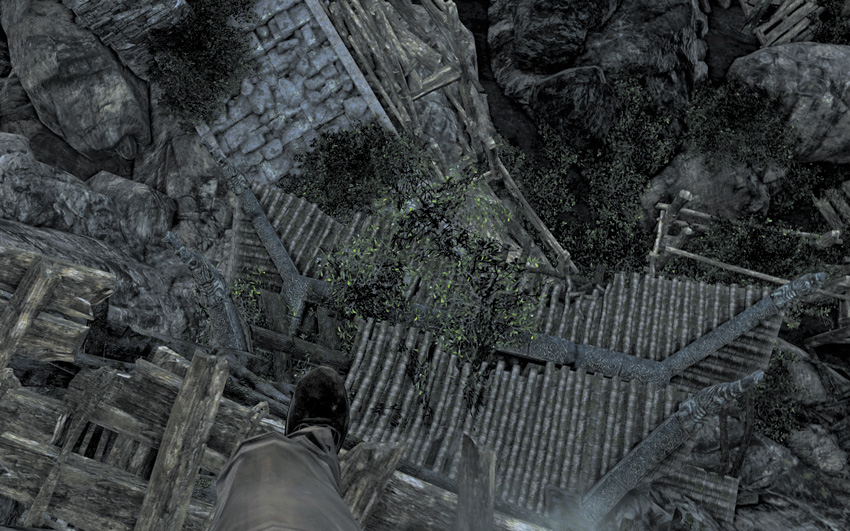
Sweep the area for loot boxes, then take the compass piece from the tomb. In the best traditions of action archeology, that triggers the destruction of the ruins. To escape, if you’re facing the tomb, turn left. There’s a narrow wooden walkway along the wall that you can use to reach open air.
You’ll end up a few hundred meters southwest of Badtown, 2,000 EXP richer.
The Motherlode
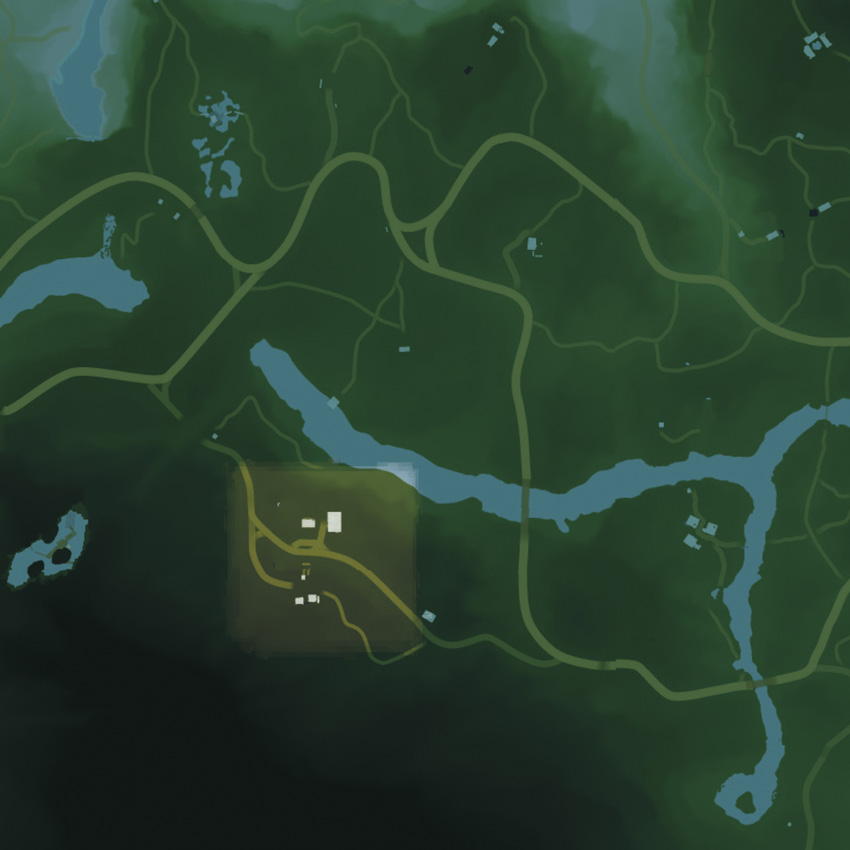
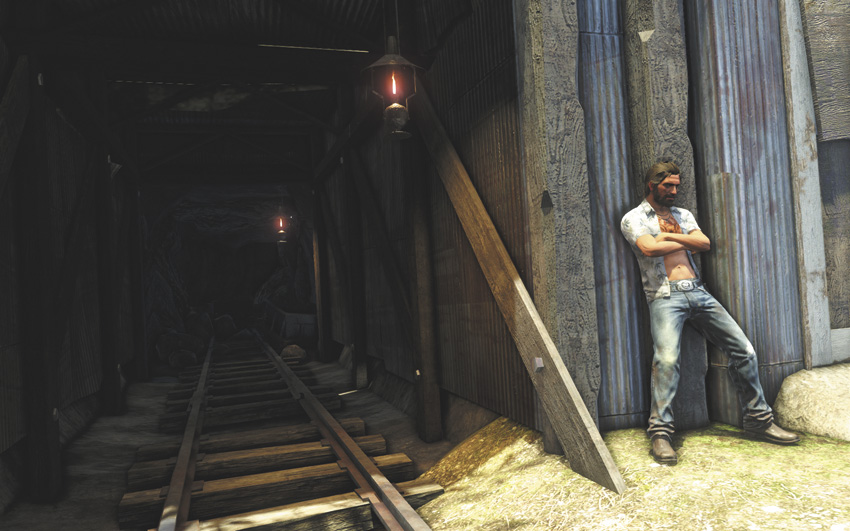
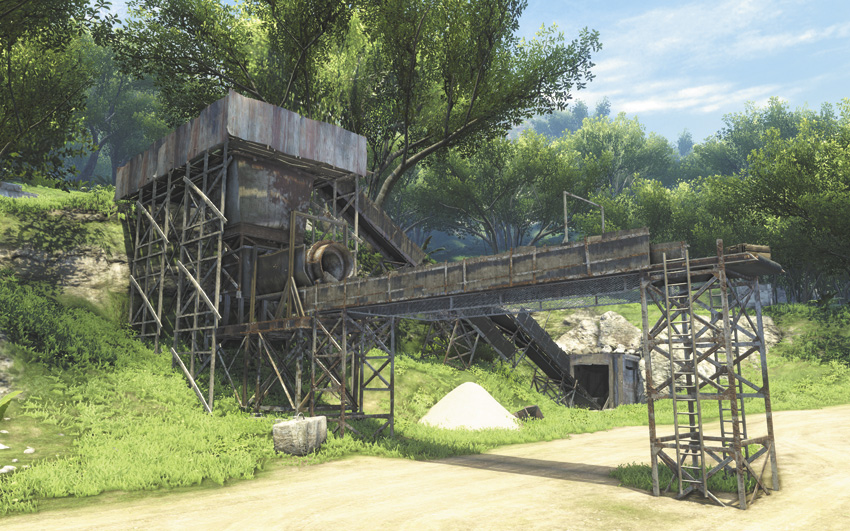
The next stop on Buck’s magical misery tour is about half a kilometer west, near the Old Mines. You’ll know you’re getting close when you find the abandoned ore conveyor.
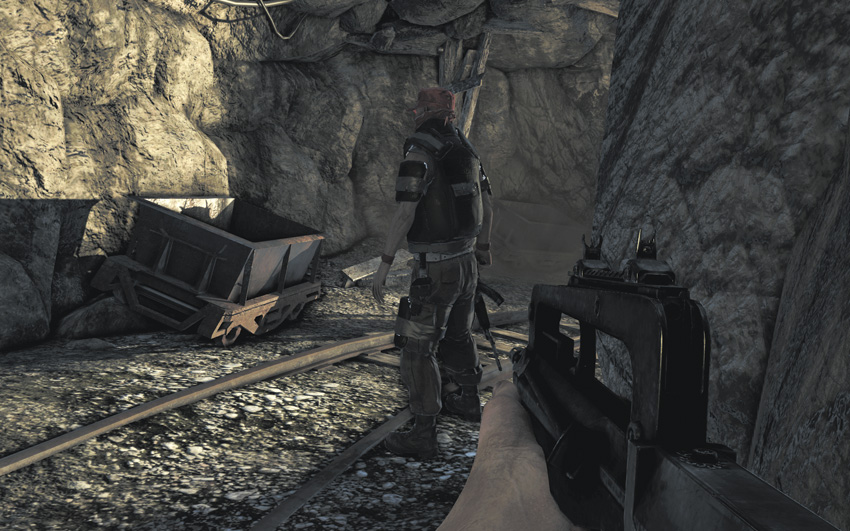
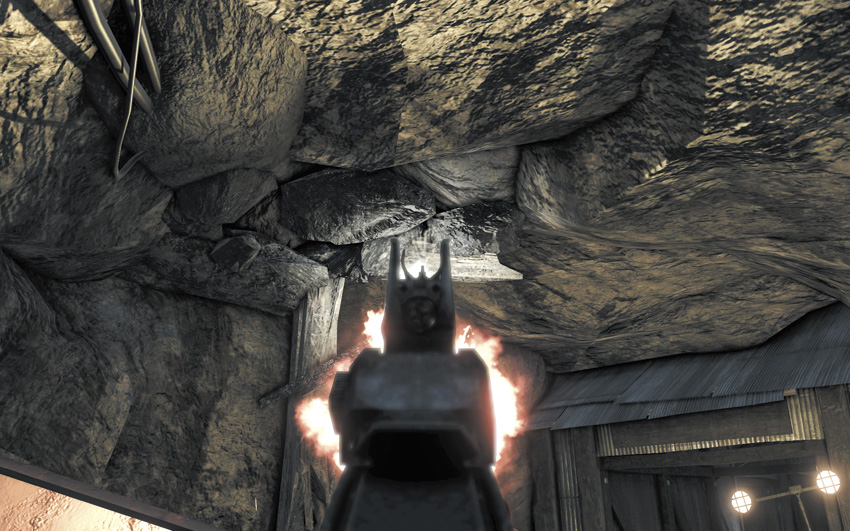
After another illuminating conversation with Buck, head into the old mining tunnels. Vaas’s dope squadron is already here. You can save some ammo by shooting out the old tunnel supports, which drops large chunks of the ceiling on the head of anyone who’s standing nearby, but that tends to alert every guard in the area that something’s up. These are very close quarters, which makes it an excellent place to use your multi-target Takedown skills.
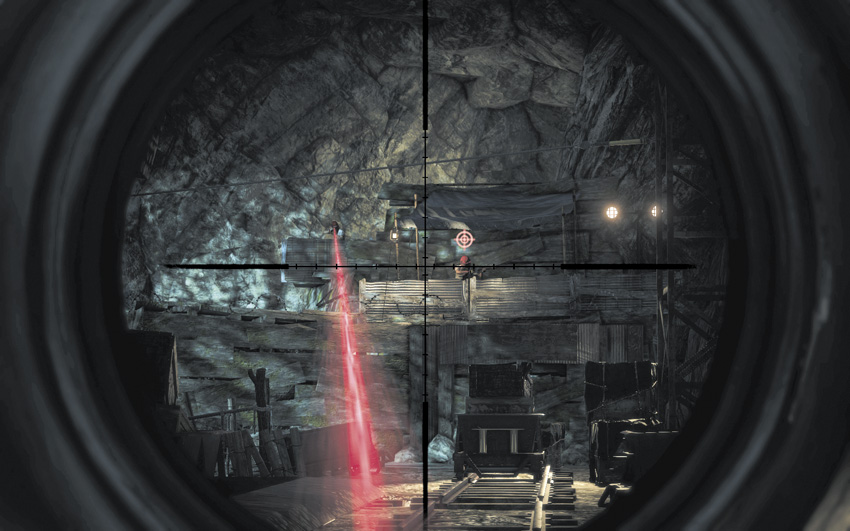
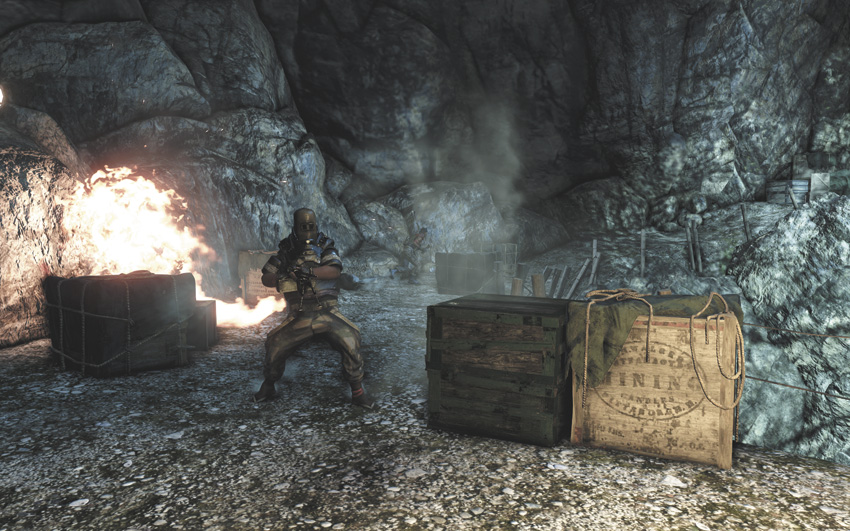
When you get through the first tunnel, you emerge onto a narrow bridge. Take cover behind the minecart and counter-snipe the two snipers at its other end. Eliminate the soldiers to your left, across the chasm, and stay at range for as long as possible. A heavy and a couple of Molotov chargers appear from the snipers’ ledge and rush you as soon as they realize you’re there. The farther away you are, the less of a problem they’ll be. You can mine the rope bridge across the chasm to help deal with the heavy.
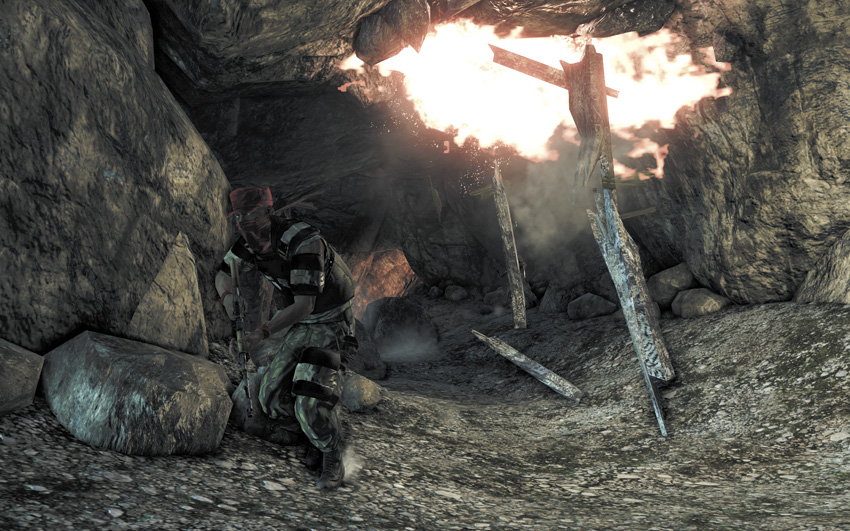
The next leg of the trip is in an unstable cavern, with a bunch of soldiers and snipers who were already alerted to your presence when you took out the snipers in the previous room. Destroy the wooden supports before you go through it, so stray bullets can’t drop rocks on you, and deal with the soldiers.
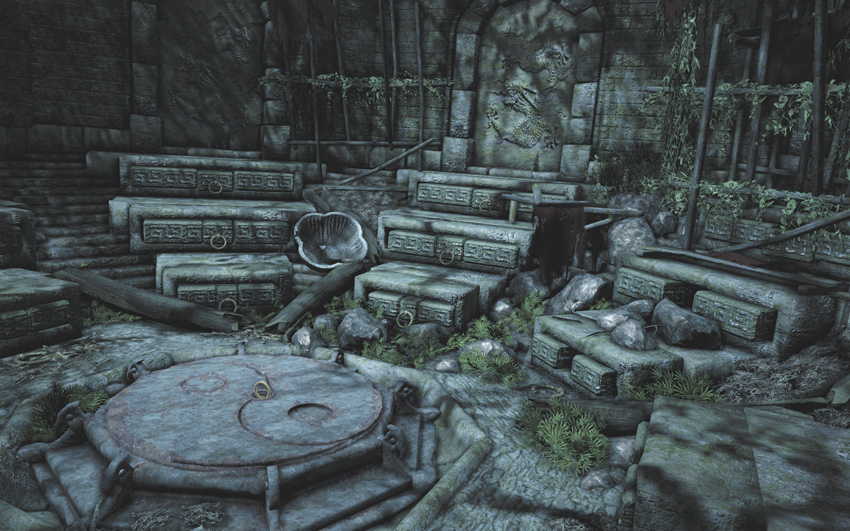
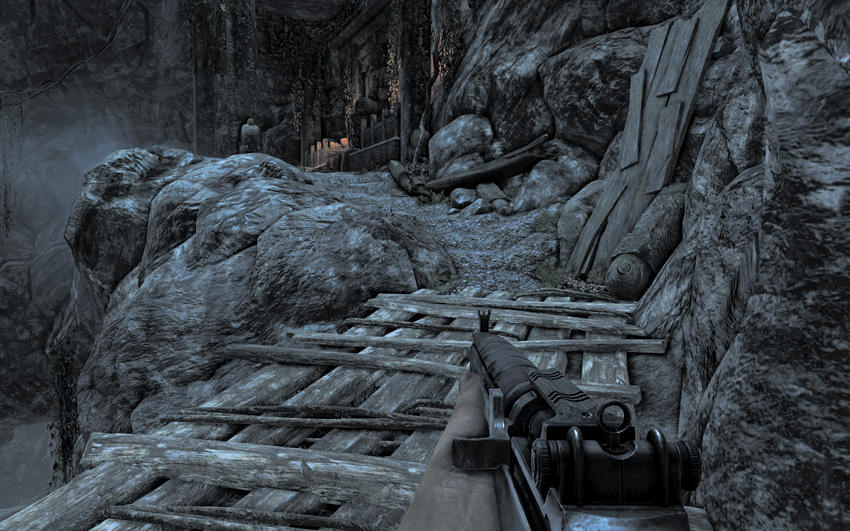
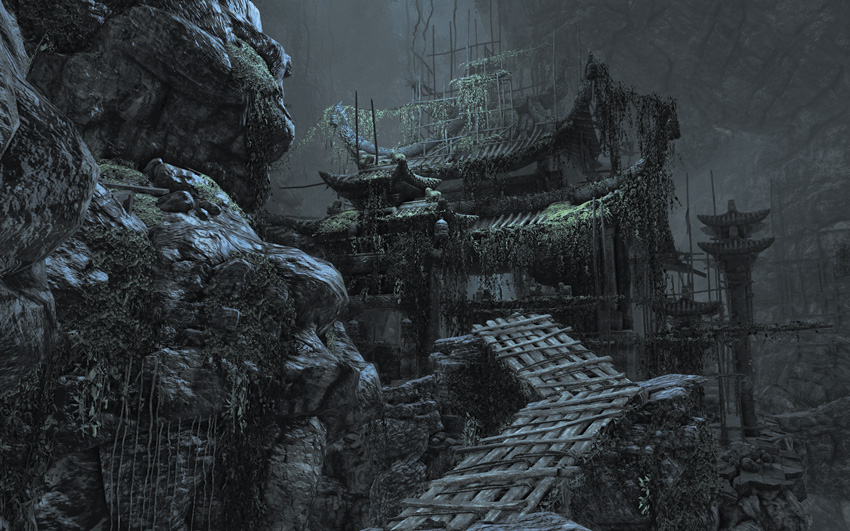
Now that you’re the only living human left in the tunnel, use the compass to open the old Chinese door. In the “dead end,” use the not-at-all-labeled switch on the floor to open three secret doors. The two on the top level simply lead to loot chests, while the third, in front of you, leads deeper into the ruins. You’ll need to watch out for some Komodo dragons, but otherwise use some carefully judged leaps to get from rock to rock and move closer to your goal.
After an elevator ride that goes exactly like I think we all believed it would, kill the snake in the path ahead, then carefully run across the gaps in the path ahead of you. If you try to jump the chasm, it’s easy to overshoot the next platform or to get just enough vertical height that you’ll take damage when you land. It’s better to simply sprint off the edge of the previous platform and trust to your momentum to carry you to safety.
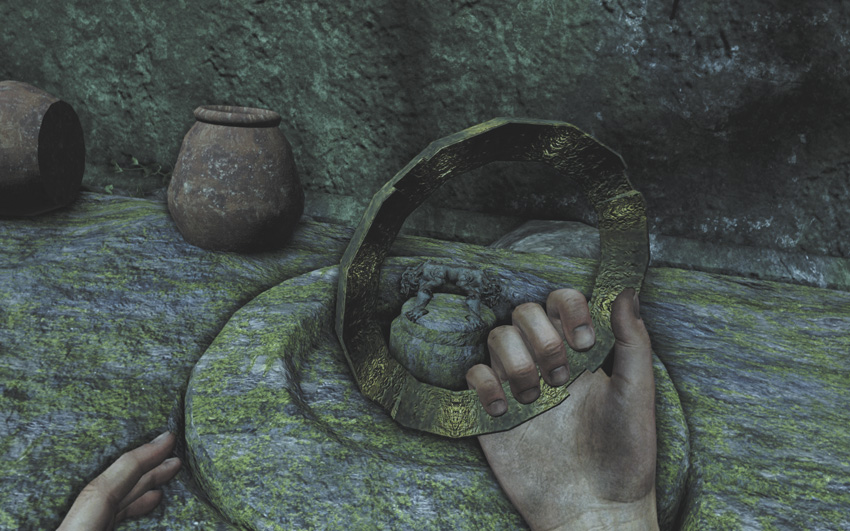
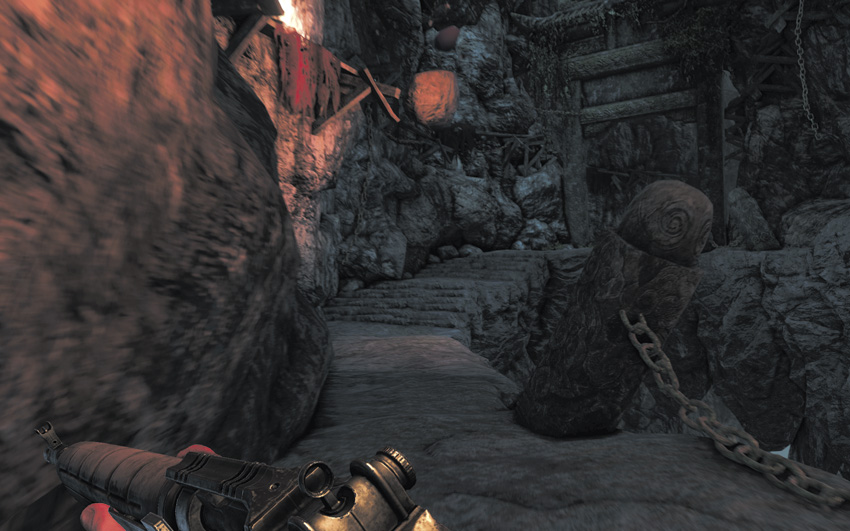
Repeat the process a couple more times to reach the temple you saw below you. Take out a Komodo dragon on the floor before you descend the stairs, then search the area. The next piece of the compass is on a nearby bier, but be sure to loot any chests around before you take it, as it’s apparently a load-bearing quest item. The next stage of the quest is straightforward enough: run like hell. You’ll get 2,000 EXP the next time you see daylight.
Lin Cong I Presume?

This is a good opportunity to use Line Gunner. Grab that skill if you don’t already have it, and be sure to pack a one-handed gun. The Skorpion may work best for this purpose.
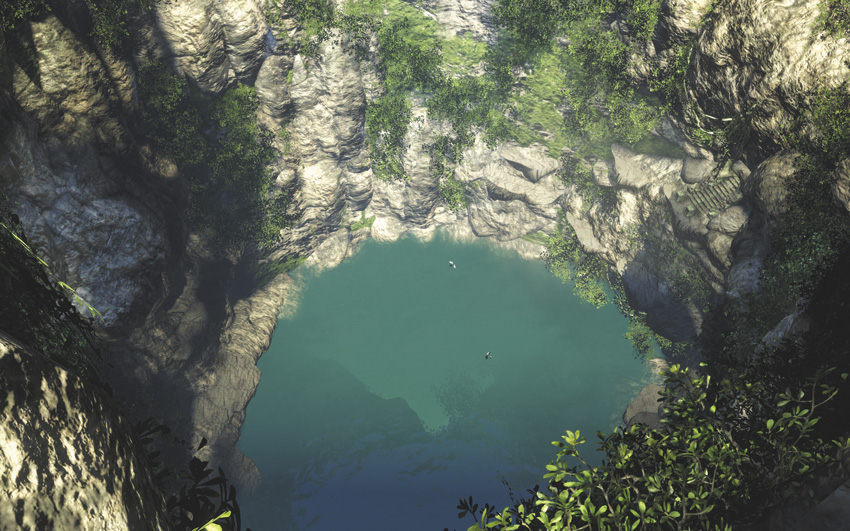
There’s a massive cenote, a deep sinkhole that exposes a natural source of groundwater (who says video games aren’t educational?), north of Amanaki Village. You may have stumbled across it earlier in the game, as it’s just south from where the Medusa is beached. Now Buck is waiting there for you, and he’d like you to take a leap of faith.
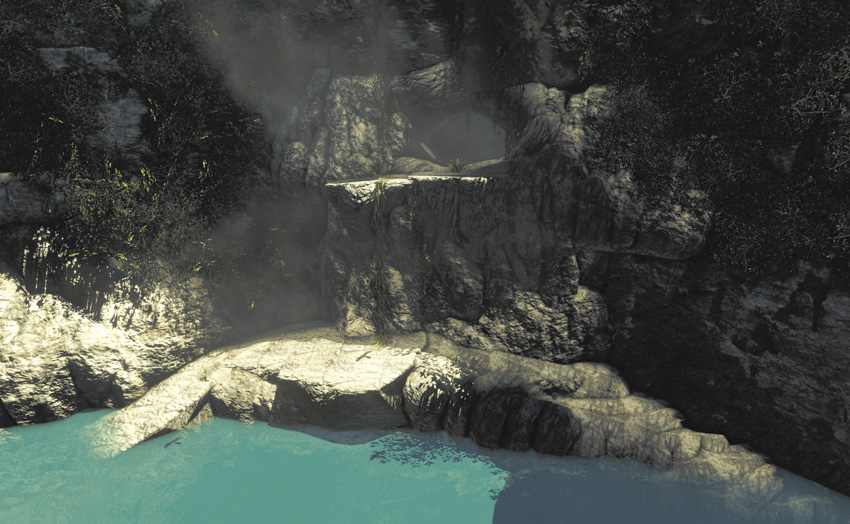
This may not look safe (at all) but there’s more than enough water at the bottom of the cenote to break your fall. There are even a couple of hidden Relics on either side of the cenote’s walls, just to reward you for your bravery and/or stupidity. The tomb you’re looking for is on the west side of the cenote, and can be reached by climbing some vines. Enter the tomb through the ancient door set into the side of the tunnel.
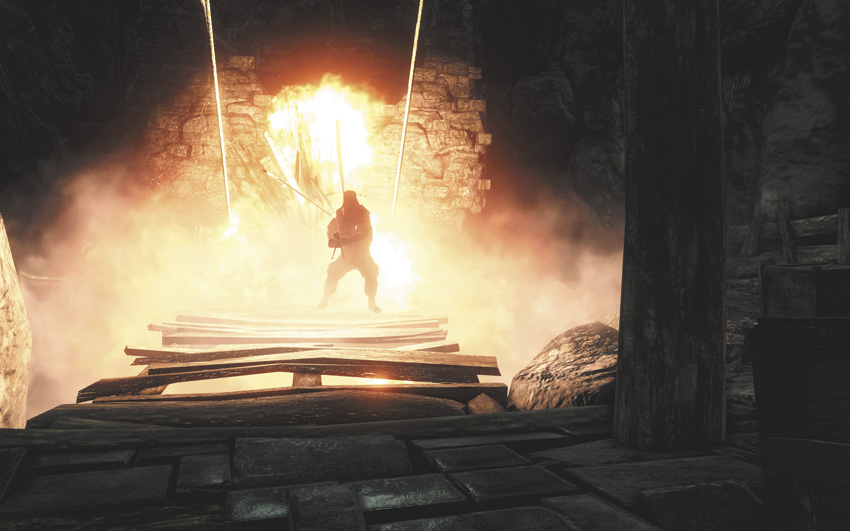
Naturally, you’re a few steps behind Vaas’s men. You can drop the first guy you see with a Death From Above Takedown, but they’ve brought a couple of guard dogs with them, which means the rest of this stage is likely to turn into a firefight. When the drawbridge ahead of you drops down, it’s so a heavy machine gunner can march in and open fire. Greet him with a couple of Molotovs to the dome.
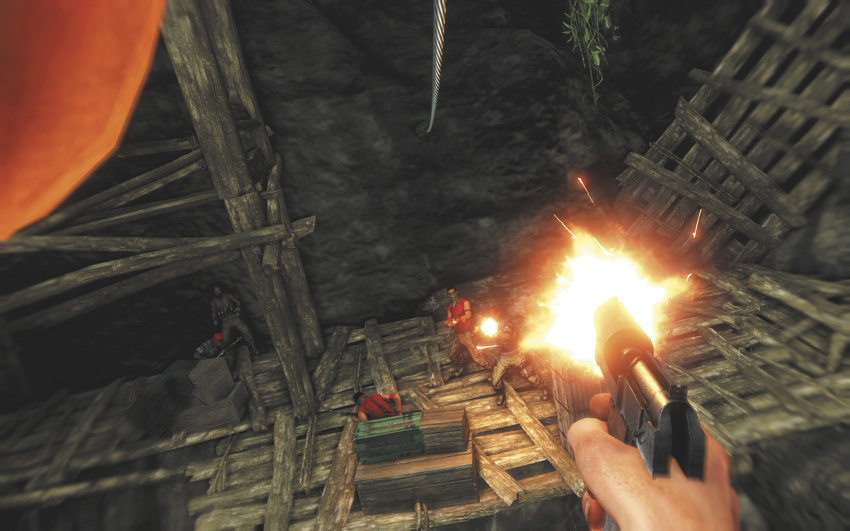
Use the zipline to get down to the gangplanks below you. It’s possible to time the landing so you end up in position to take out at least two of the nearby pirates with a Chain Takedown, but don’t stress it if you can’t handle it. Deal with the closest soldiers, then take cover and pick off the eight guys below you with a silenced rifle. Stay mobile; you’ve got higher ground, but at least one of the chargers below you has a really good pitching arm and there’s a chance he can drop a Molotov on you from there. When the zone’s clear, use the third zipline to descend to the floor.
The third zipline you take sets you down in a storage room with a lot of ammo and grenades. Stock back up, then continue down through the ancient Chinese construction gangplanks. Hoyt and Vaas’s men have left a lot of supplies (mostly grenades) scattered around down here, so feel free to blow up anyone who looks at you funny.

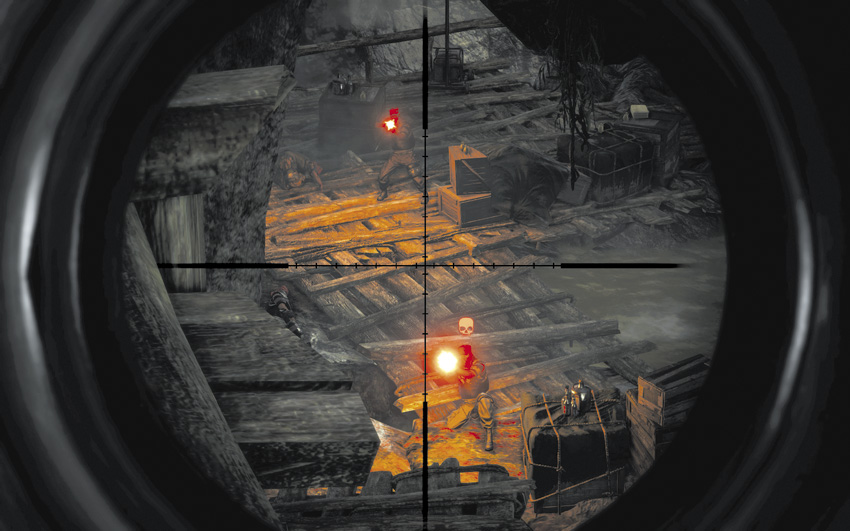
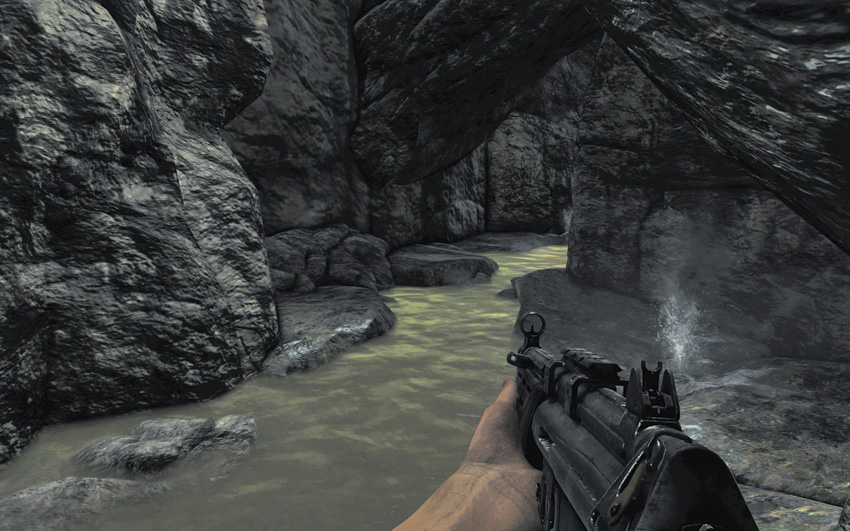
The water around the tomb is heavily acidic and inflicts significant damage upon even brief exposure. Swimming in it is lethal and should be avoided, even if you think it’s how you’re supposed to make further progress. It isn’t.
As you cross the hot springs, pull out your sniper rifle and use it to dispose of the mercs who are taking cover on the land bridge. Prioritize the guy with the RPG, for obvious reasons, before you mop up the riflemen.
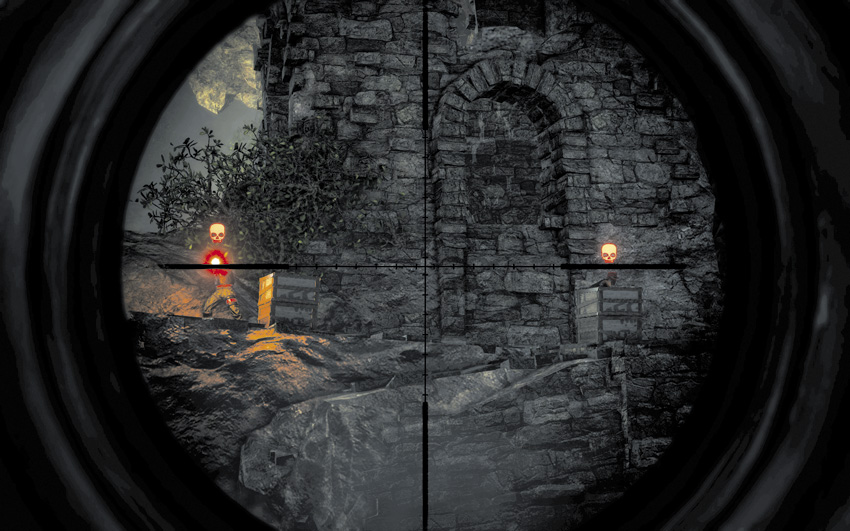
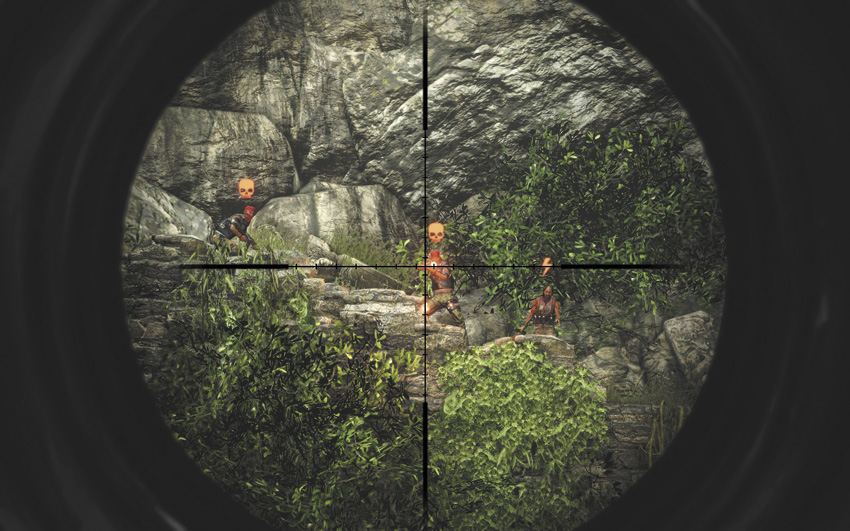
Move through the gap in the wall and, again, duck behind cover and take out the riflemen atop the ancient staircase. Having a high-power scope on your rifle is a big help here, otherwise you need to dash to the big rock ahead of you before you can realistically hit anyone on the wall. Once they’re out of the picture, climb to where they were using the vines on the low end of the wall. There might be one last charger between you and the inner ruins, but once he’s gone, that eliminates the last of the armed resistance.
div class="gameplay_image">
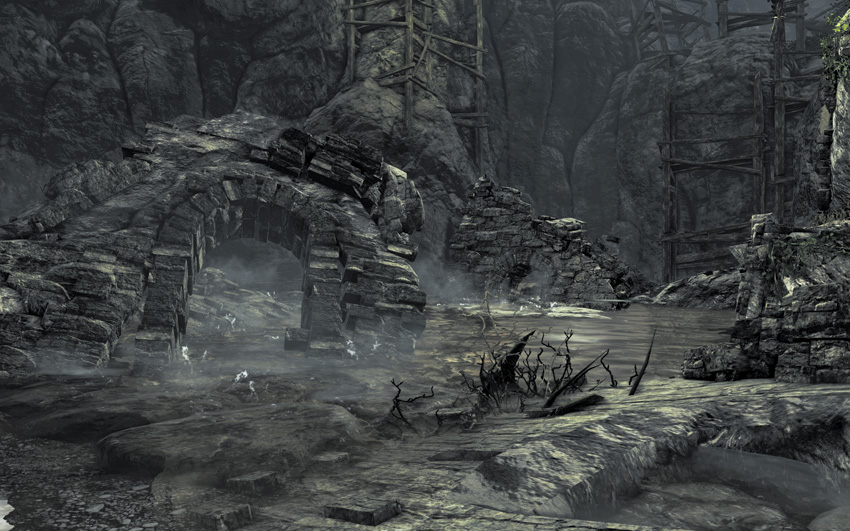
Hurdle the low wall past the ancient door, then use the scaffolding to get down to water level. You may take a little bit of incidental damage from the water, which ebbs and flows a bit, but there’s enough dry rock that you can reach the ledges on the other side of the lake with no more than minor burns. Loot the old chests, then use the sturdy vines to reach the tomb interior.
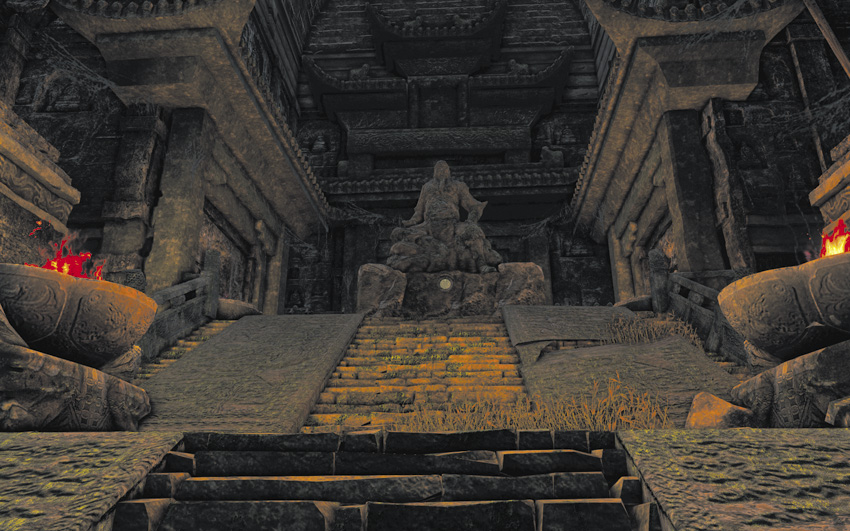
Use the compass on the Buddha statue to open the secret door. That hissing you hear is from a few Komodo dragons who live down below. Deal with them, then open the sarcophagus.
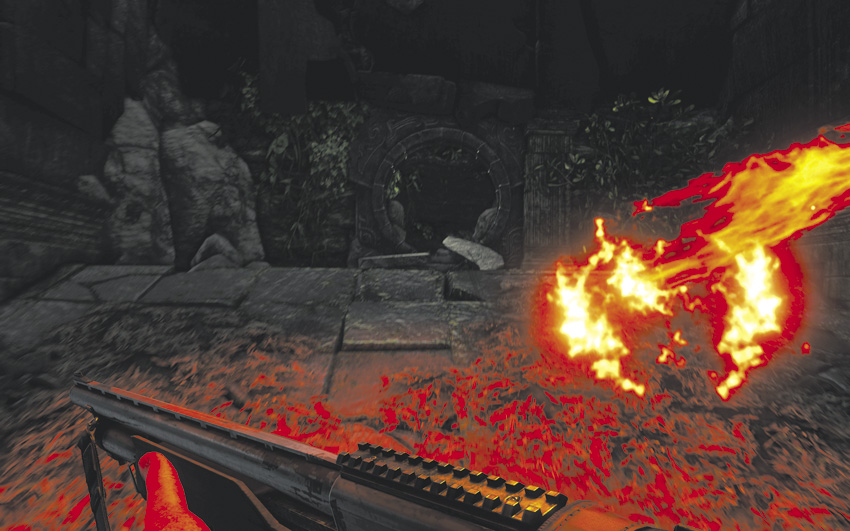
When the trap that you were probably expecting goes off, turn around and sprint like hell for the door on the other end of the room. Slide underneath it as it closes, then perform a quick-time event (depress your shoulder buttons or triggers in rhythm) to escape the tomb before the ceiling crushes you flat. You’ll get 2,000 EXP for surviving that.
Unhappy Reunion
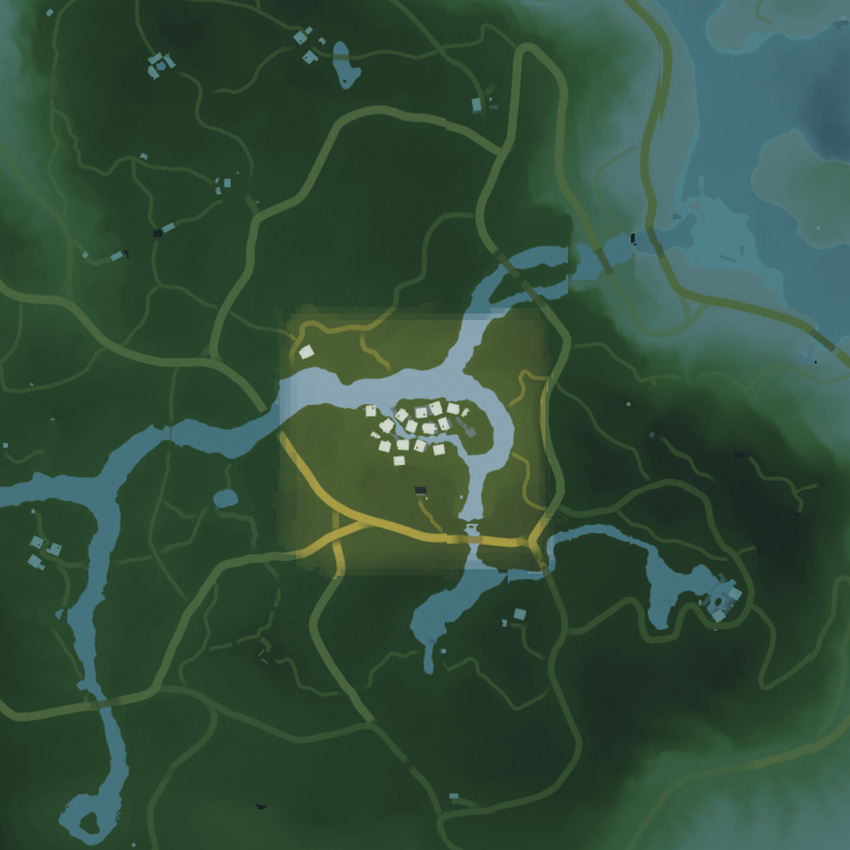

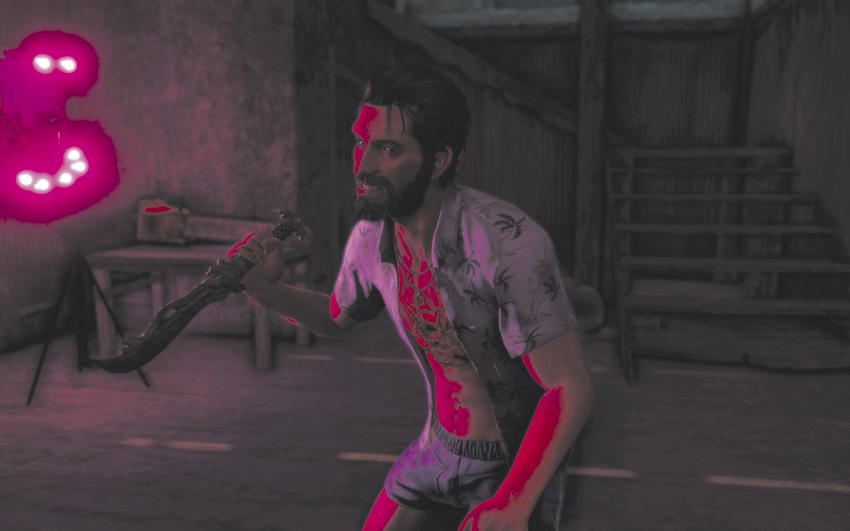
Buck wants you to deliver the knife to him at his home near Badtown. Your first clue that this probably isn’t going to go well is that he’s not wearing pants. The second is how Keith is acting. The third is, well, when Buck tries to stab you to death. And he seemed so nice.

Killing Buck is done via a series of quick button presses, as shown on screen. They don’t change between attempts, so if you learn the sequence, you can win by anticipating the prompts.
While this barely counts as a win, it’s still a win. Jason automatically takes Keith back to Daisy’s cave underneath Dr. Earnhardt’s house, where you’re just in time for Jason to have a massive psychotic break. That comes free with Keith’s dossier in the Handbook, 2,000 EXP, and the Retake Wall Street Achievement/Trophy.
This Knife’s For You
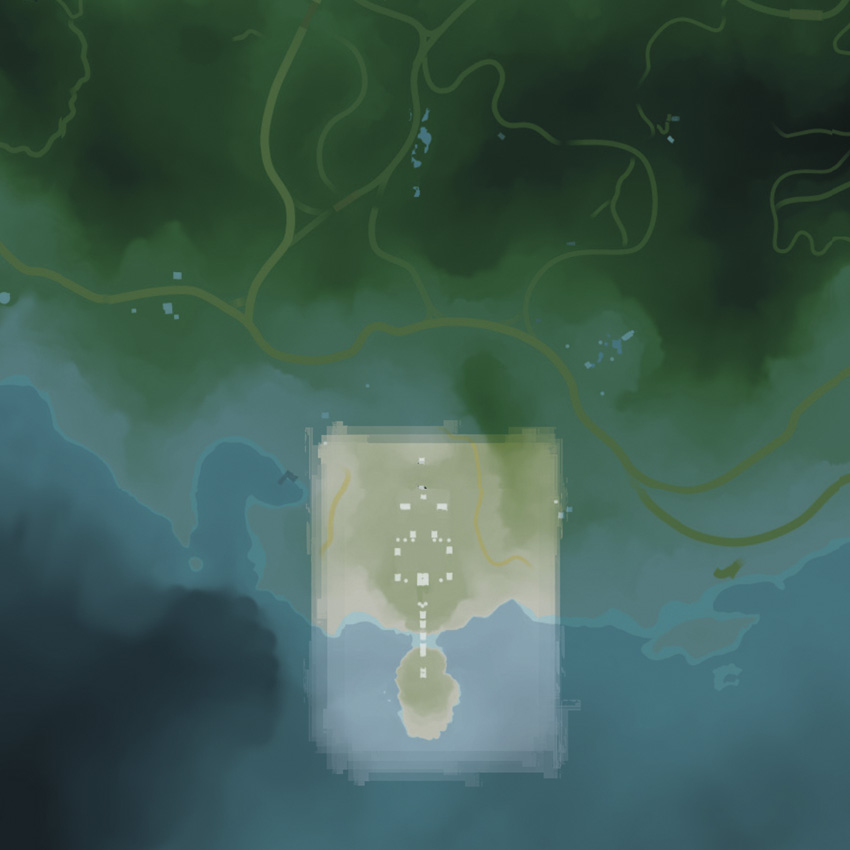
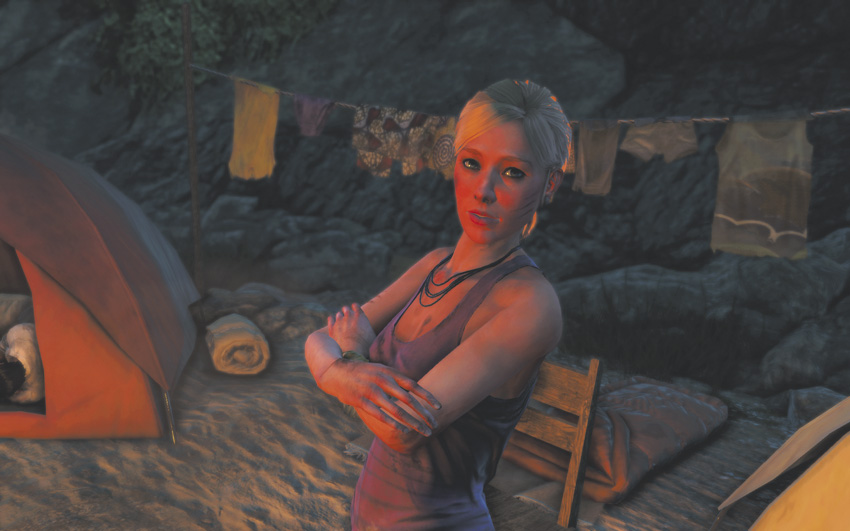
Back in Daisy’s cave, you can have short conversations with both Oliver and Daisy for some character background. The same bowl of red pills from last time has been replenished, which lets you go on a third flashback mission.
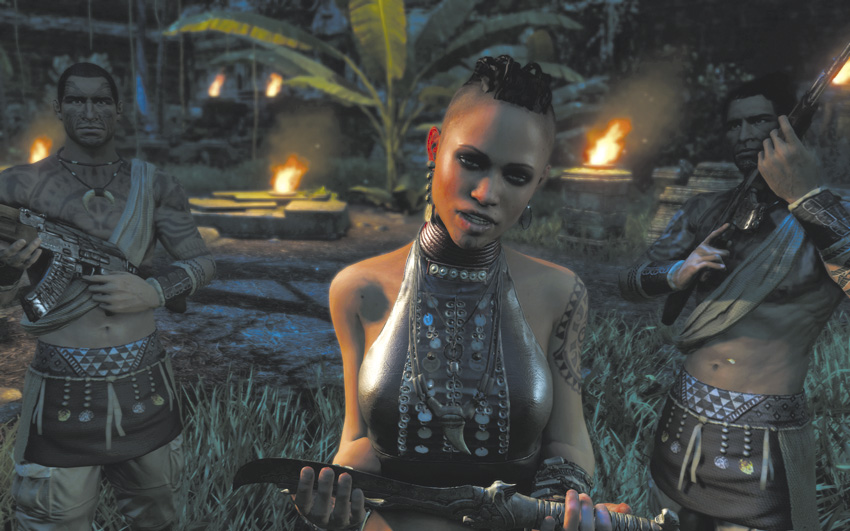
When you’re ready to get back to business, leave the cave and fast-travel back to the Temple Gateway. Enter and give the knife to Citra.
Ambush
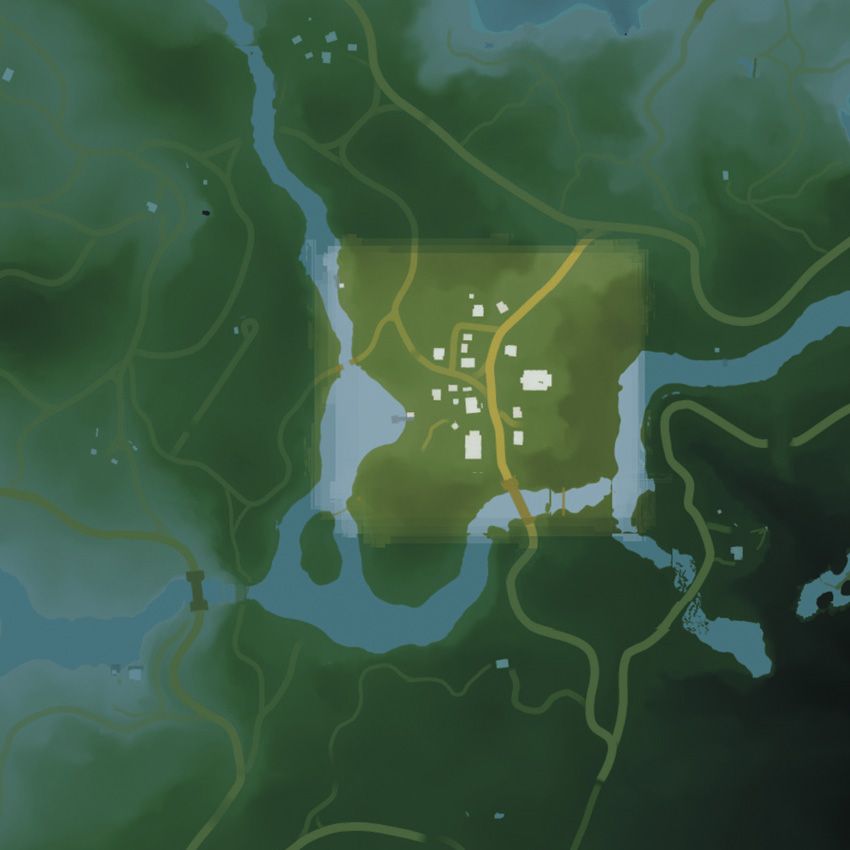
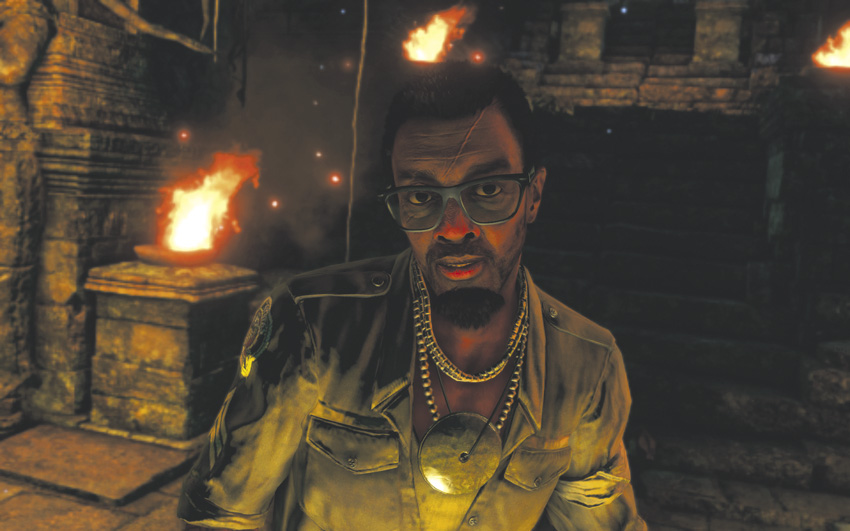
When you try to leave Citra’s temple, Dennis comes in with an update, concerning some business you have to attend to. Churchtown is an unremarkable urban area east of the Rust Yard outpost which you’ve had no real reason to visit before now, and it’s the site of a planned ambush of Vaas’s men by the Rakyat.
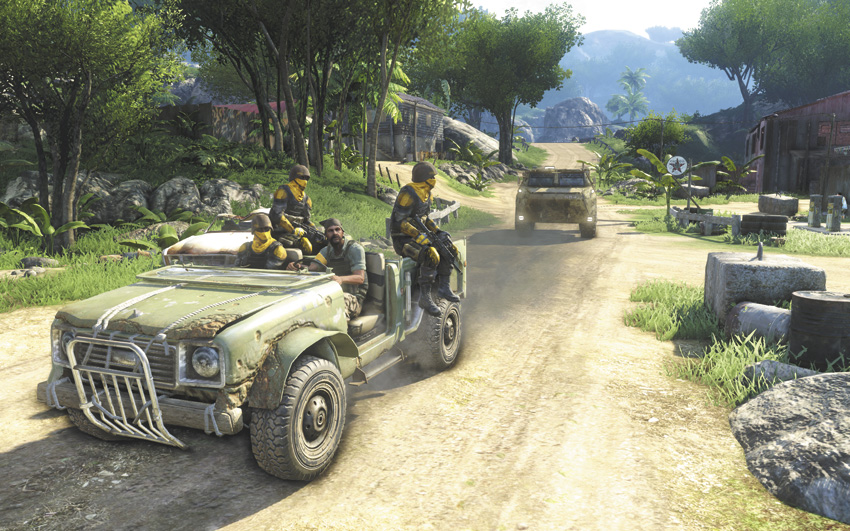
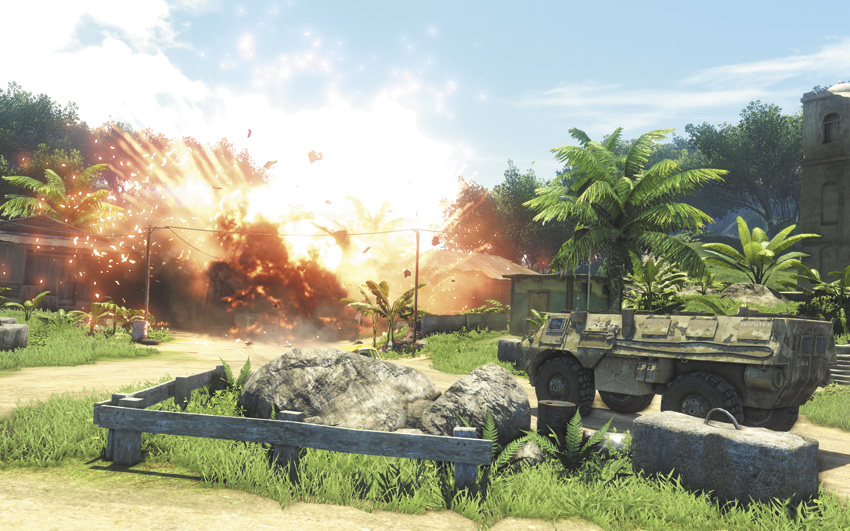
In Churchtown, go to the Rakyat leader to get his time bomb. Plant it on the fuel truck, then turn around and sprint for the water tower. Climb its ladder and wait for the truck to explode; at this point, firing a shot or leaving the water tower are both grounds for mission failure.
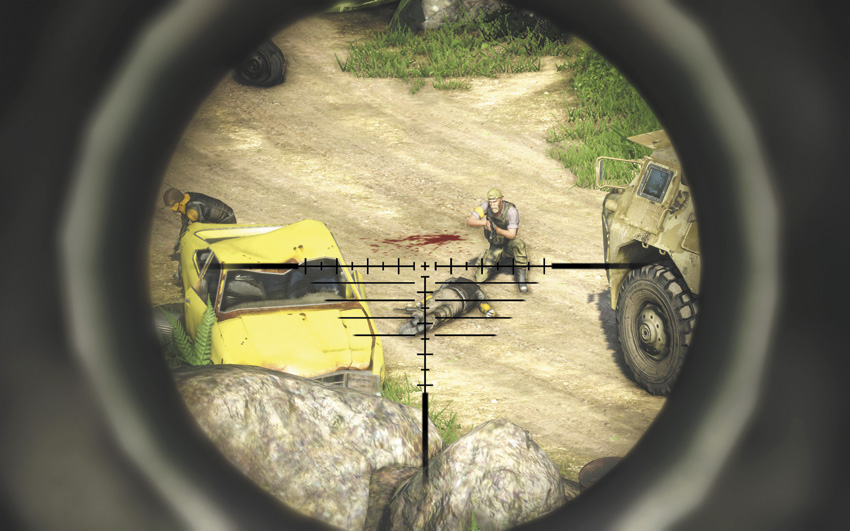
Once the ambush starts, you’re free to deal with the soldiers however you want. It’s not a bad idea to stay up on the water tower for the first couple of minutes and do your best to knock these guys out with a few careful headshots, or else you can slide back down the ladder and go mix it up at close range with a shotgun. The mercs in the convoy wear body armor, carry P416s, and are a generally better quality of soldier than Vaas’s men. This is reflected by them being worth double the EXP per kill.
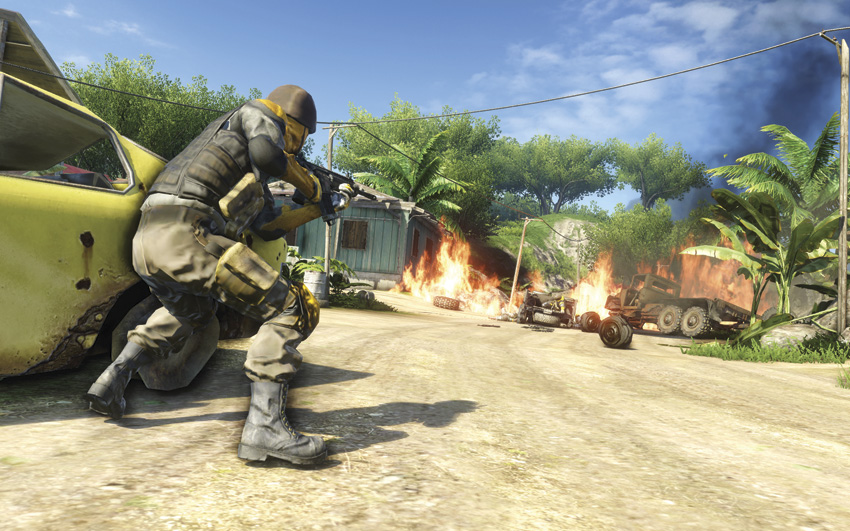
The Rakyat can really take care of themselves here, but if the fight goes on for too long, they’ll eventually all be killed out of pure attrition and you’ll fail the mission. Meanwhile, the enemy receives regular reinforcements, in the form of jeeps coming in from the south side of town or footsoldiers storming out of the church. You’ll want to be precise and expedient about dealing with the soldiers. If all else fails, you can reload an old checkpoint and bring an RPG-7; the prisoner transport vehicle is effectively invincible, so you can blow up everything else on the street with reckless abandon.
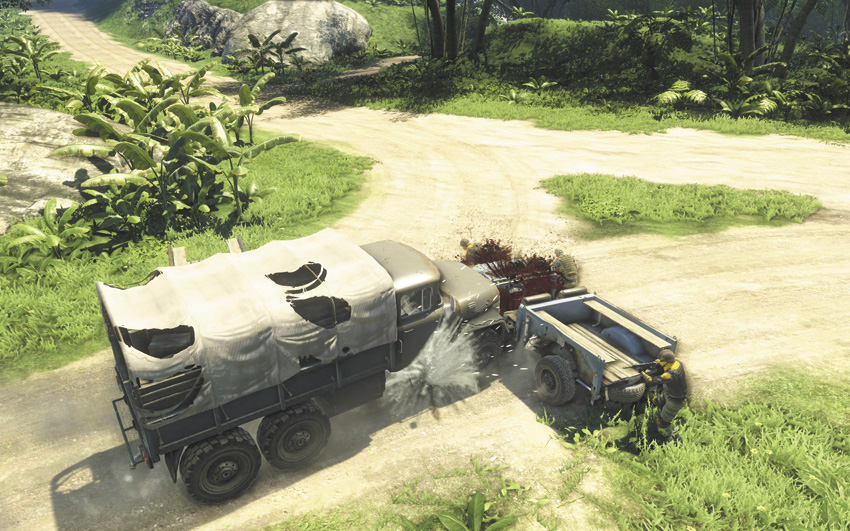
After enough of the enemy soldiers go down, the APC makes a run for it. Sprint over to the cargo truck on the west side of Churchtown, and prepare for the slowest high-speed chase in video game history. The soldiers are on the road to run interference, but don’t do so particularly well.
When you catch up to the APC, eliminate the last two soldiers guarding it.
Warrior Rescue Service
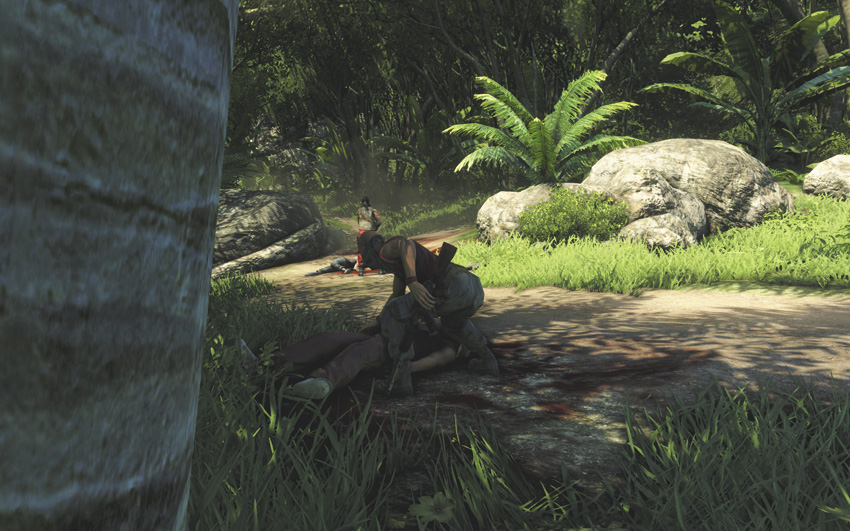
Mash the button shown onscreen to break your bonds and get to the surface. When you emerge from the water, there’s a really unlucky pirate with a shotgun standing nearby, and about all you’ve got left on you is your machete and your camera. (The extra health blocks from an Endorphin Boost will persist until they’re depleted, however, which is why taking one was a good idea.) Take him out and confiscate his weapon.
There are two more pirates nearby who are just asking for a quiet knife to the neck. Search all the bodies for extra ammo and grab their rifles, then proceed to the nearby settlement. You may have noticed that as a “reward” for your efforts, the pirates now all know you as “Snow White.” Let’s all choose to regard this as a sign of their respect.
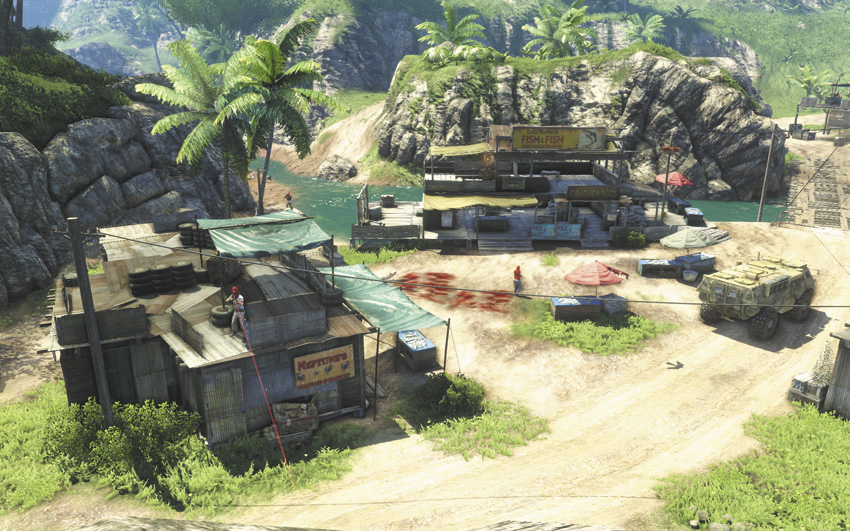
There’s a sniper watching the road, so fade into the foliage nearby and scan the place from the cliffs with your camera. If you linger there for long enough, one of the guys from the village will wander underneath the cliff, making him easy prey for a Death From Above Takedown. Drop him, then sneak across the road and use a Death From Below to eliminate the sniper.
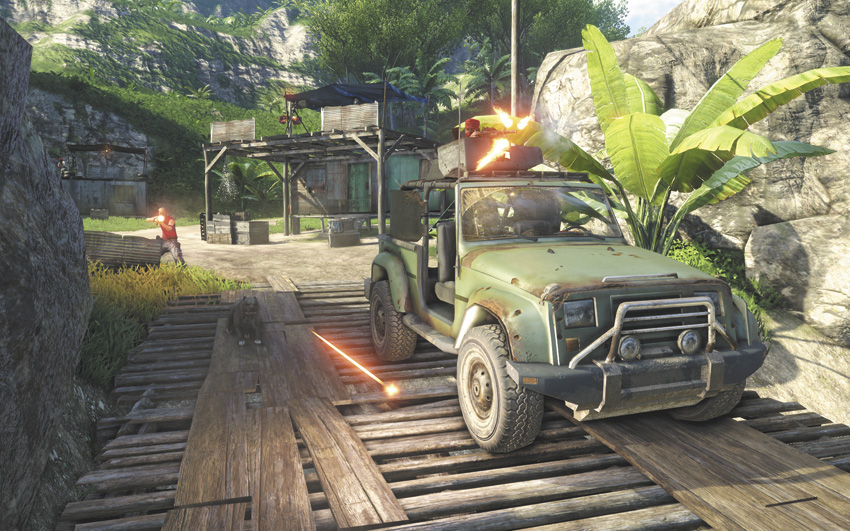
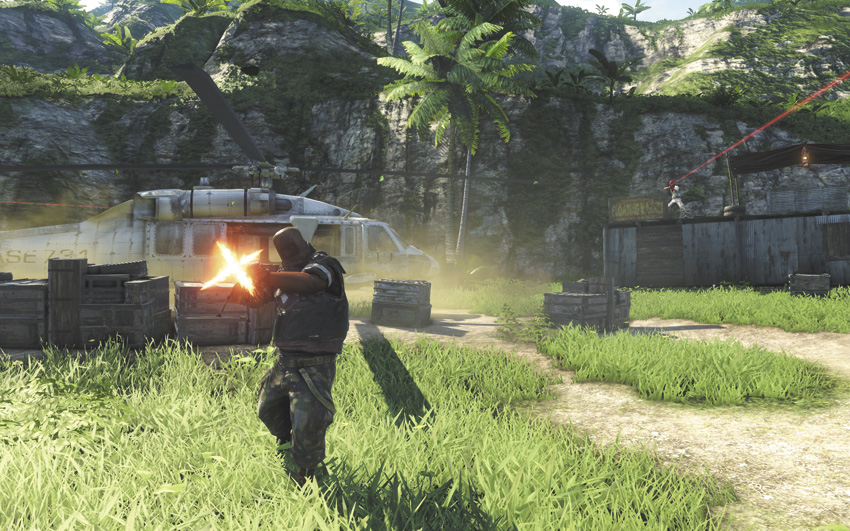
You’ve got a difficult challenge here. If you can take down all six of the troops in this area and defuse the alarm console, you’re in good shape. You have no Medical syringes, so this is where the skills that enhance first aid really come into their own. The longer you can go without this devolving into an all-out assault, the better off you’re going to be.
The helicopter landing zone is on the other side of the bridge. Use the river and the cliffside to dodge the sniper’s line of sight, then slip into the building using the stairs and take him out. There’s a heavy machine gunner on patrol, along with two more snipers, and it’s at best difficult to avoid them all. At this point, your best bet may be to run for it.
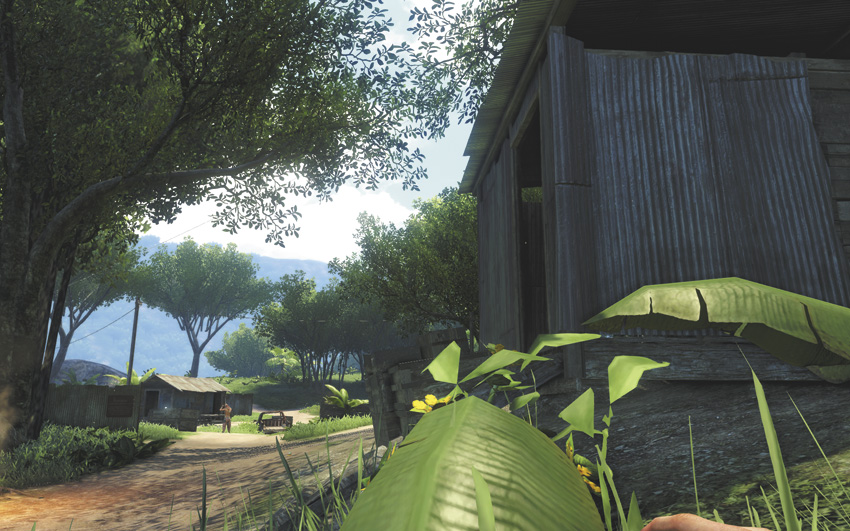
Your next challenge, such as it is, is to crawl out of the mass grave Vaas just left you in. Doing so unlocks the Have I Told You? Achievement/Trophy.
He made sure to strip your corpse before he tossed you in the heap, so you have absolutely nothing left besides your knife. The good news is that all your stuff is locked up in a nearby ranch; the bad news is that it’s being guarded by a particularly tenacious group of pirates.
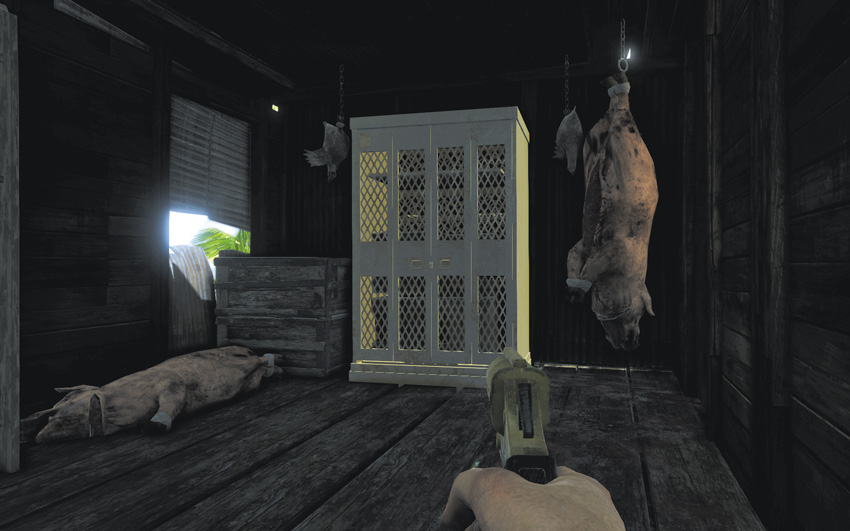
The first shack you come to contains a medkit, a land mine, and a suit of body armor. Grab them all, then use a few thrown rocks to decoy the guards away from the buildings as best you can. There’s some C4 and a Molotov in the next shack, but the real prize is in the third building, which contains a flare gun. It’s not ideal, but it goes a long way to even the odds.
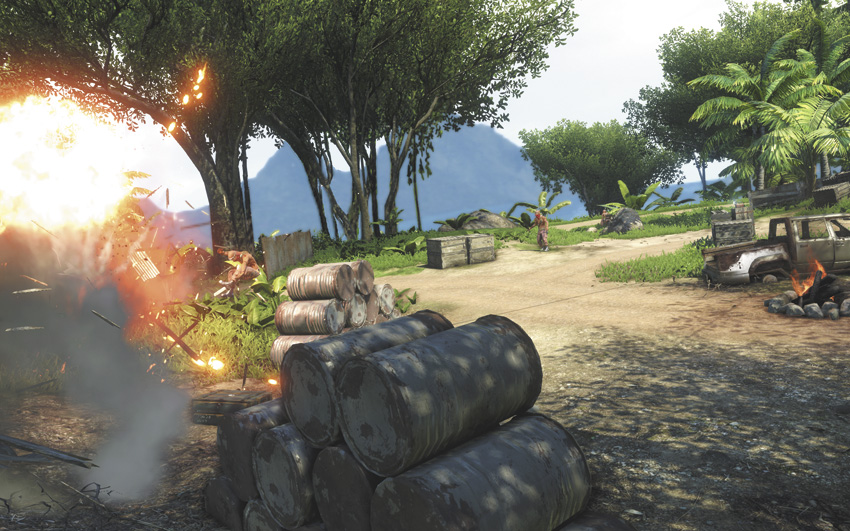
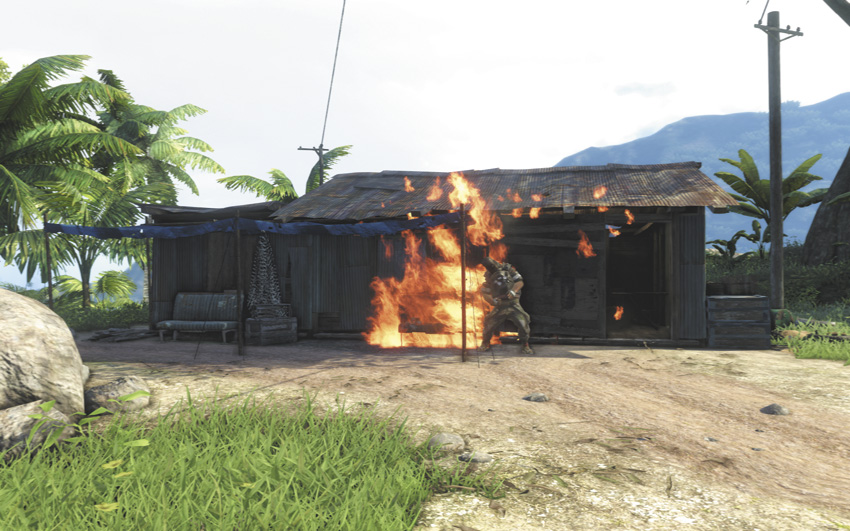
The real problem is in the furthest building, all the way across the yard. There’s a heavy machine gunner standing right inside the doorway with a couple of guard dogs, and the flare gun represents your best chance of taking him out without him chewing all the flesh off your torso with his PKM. This may mean you set the building on fire, but having to wait a couple of minutes to reclaim your gear is a small price to pay.
New Rite of Passage
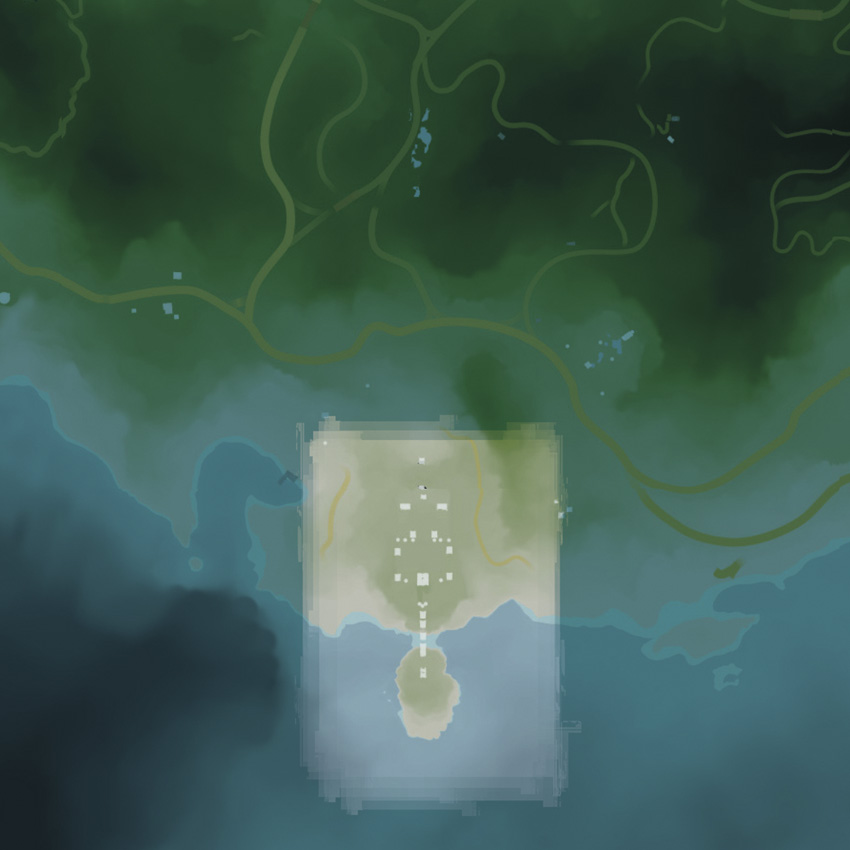
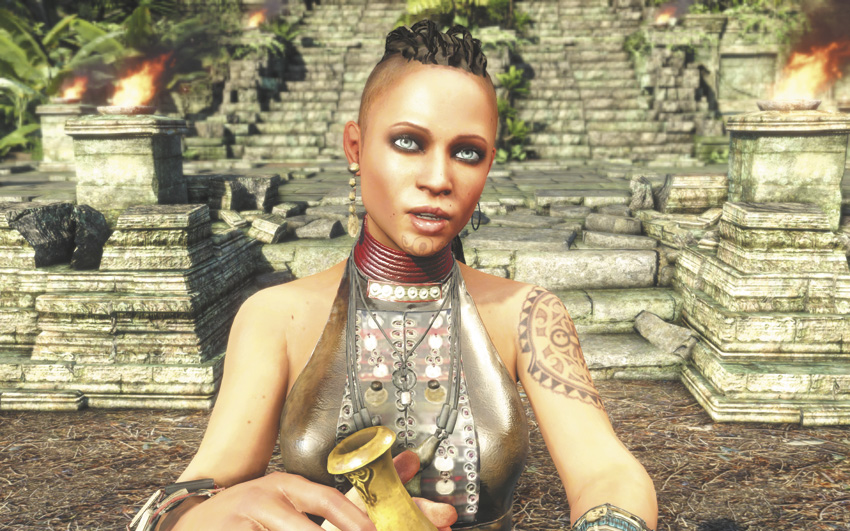
Once you’ve taken care of business, head back to the temple and talk with Citra. To prove yourself to her once and for all, you get to take on the giant from her story: the Ink Monster.
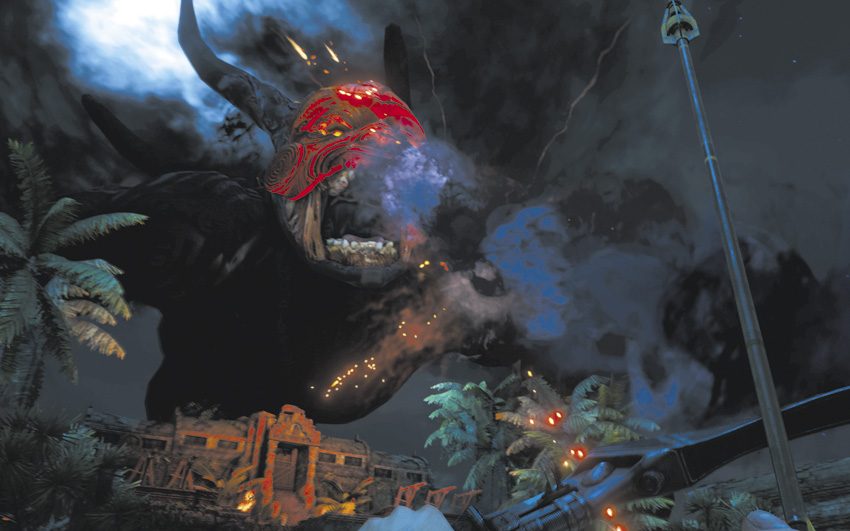
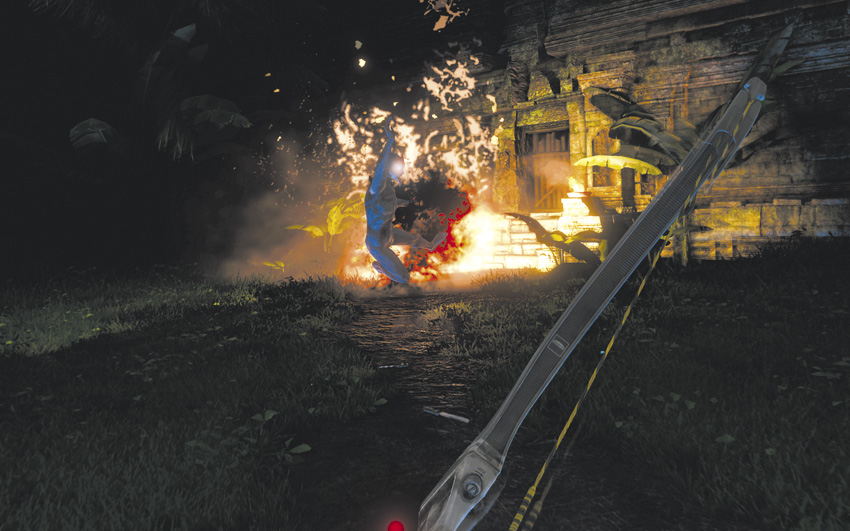
Regardless of what you had on you when you went to the temple, you’ve now got two Medical syringes, a recurve bow, and an infinite supply of explosive arrows. The Ink Monster doesn’t take any appreciable damage unless your arrow detonates against its mask, and the best time to fire is right when it leans over to breathe fire on you. This is a delicate balance, as the fire breath also knocks you down. You want to launch an arrow, then strafe out of the way before the fire makes contact. Again, those two Medical syringes might not go a long way, but the skills that boost your first aid can really pay for themselves here.
After seven to nine clean hits to the giant’s mask, it dissolves into smoke and the next phase of the fight begins. When darkness descends onto the courtyard, look for and kill the giant’s footsoldiers, miniature versions of itself that fight a lot like knife-wielding chargers. They can be difficult to pick out of the shadows, but you can see them by their glowing eyes. They’re also trying to disembowel you, so that helps.
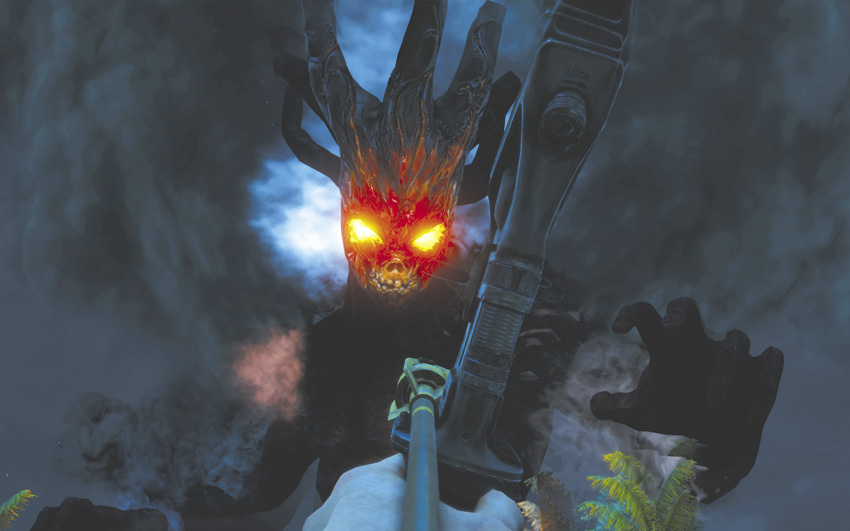
Once you’ve cleared the courtyard, the Ink Monster returns for a second round. This time, it generates and throws orbs of smoke down at you in salvos of three. If one makes contact, it inflicts damage and knocks you down, which is often enough for one of the subsequent orbs to hit and damage you. Keep strafing back and forth to avoid them, and pick your shots carefully. Don’t just randomly throw arrows in the Ink Monster’s general direction, but instead, wait for a clear shot. The best time is right after it has thrown the third orb in a salvo.
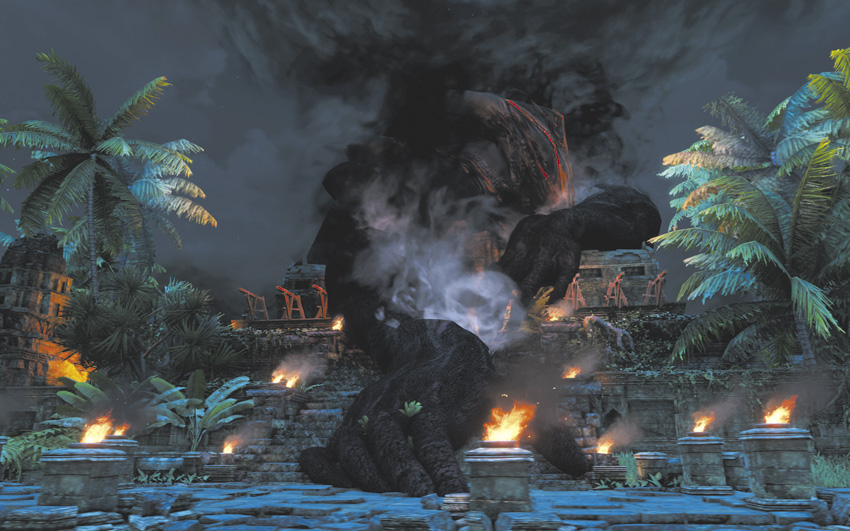
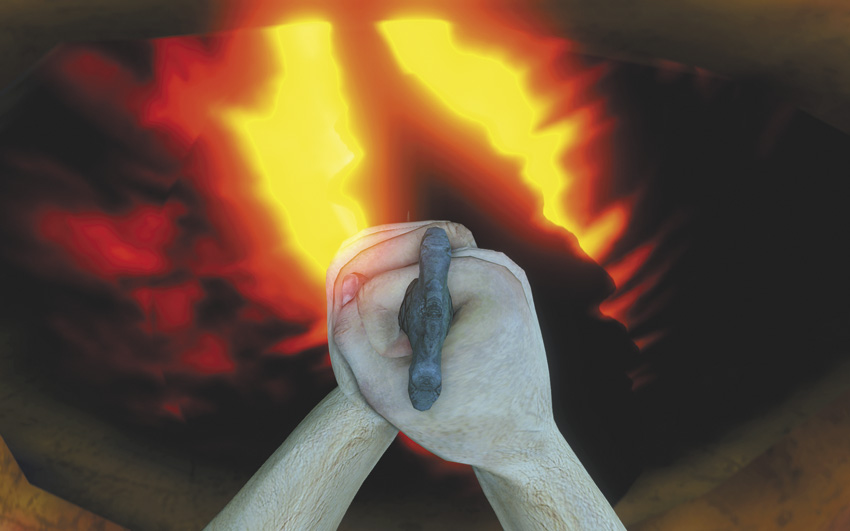
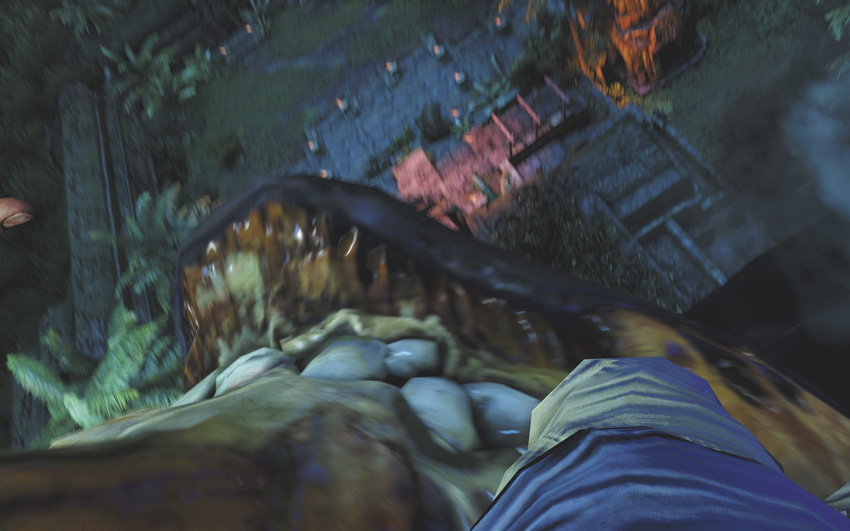
When it has taken enough damage, the Ink Monster falls forward and its arm drops onto the courtyard. Run up its forearm to its face and deliver a final attack. Don’t linger up there either, as missing the button prompt causes a particularly, um, bitey sort of mission failure.
After that particular batch of shenanigans, you’ll appear on the north side of the island south of Vaas’s stronghold. You’ve received 3,000 EXP, and most of the remaining locked skills are now unlocked.
Payback
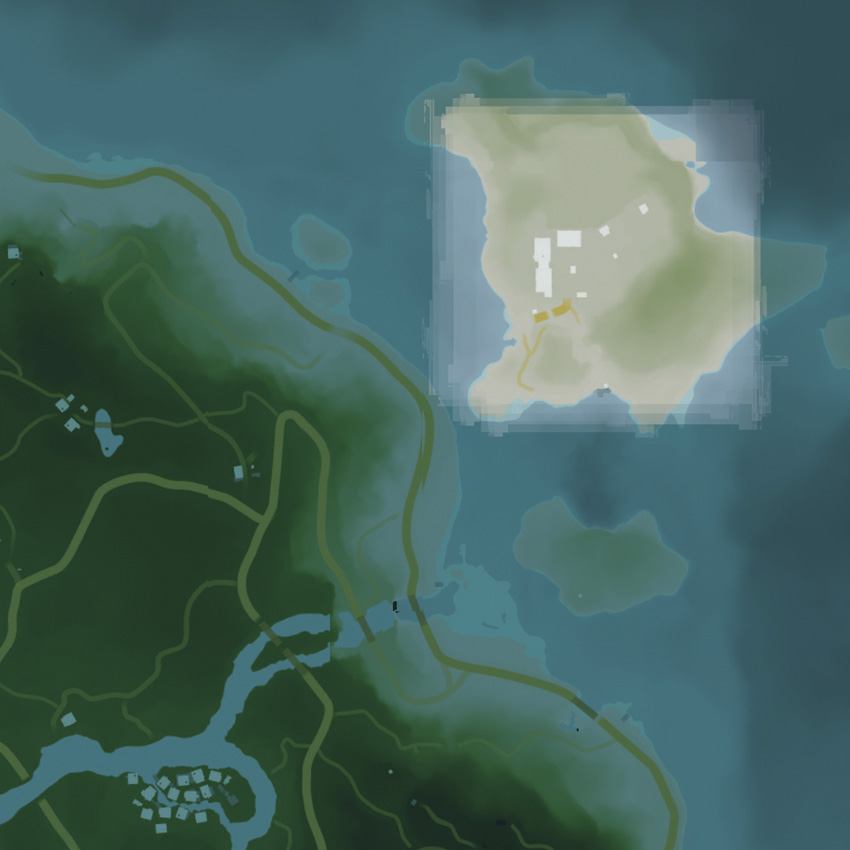

Swim across the water to Vaas’s island. You can use Death From Below to yank the first guard right off the dock, and the next two guys are too busy being pointlessly cruel to notice you’re there. Rescue their victim, then move forward into the compound.
There are three riflemen, two dogs, and a sniper covering the front yard of Vaas’s compound, which makes it difficult to infiltrate the place undetected. There’s really no point in even trying, though, as Vaas already knows you’re here.

Enter the compound, then run through the building and climb the ladder to safety. When you emerge on the roof, you’ll be pleased to find that you are suddenly the most popular man in the world.
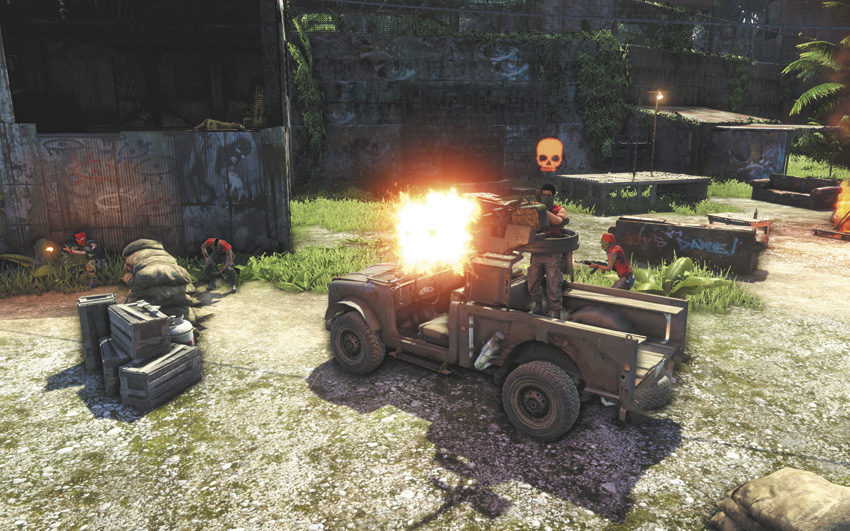
The key to surviving this encounter is to stay out of the open. Keep ducking between the buildings and don’t linger in open windows, as there’s a jeep in the yard with a mounted gun that can turn you into Swiss cheese. There’s a lot of ammo and other supplies in caches in the wrecked buildings on either side of the yard, which gives you further incentives to always stay on the move. When you have the chance, take out the jeep with a cooked grenade or an RPG, and try to let as many of the pirates come to you as possible. There are a lot of them, but not an infinite number, and you can win by reducing their numbers one and two at a time.
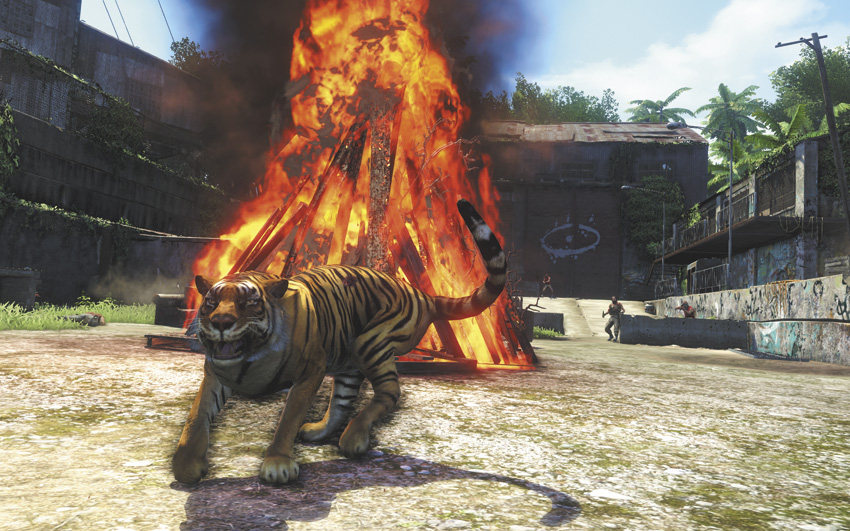
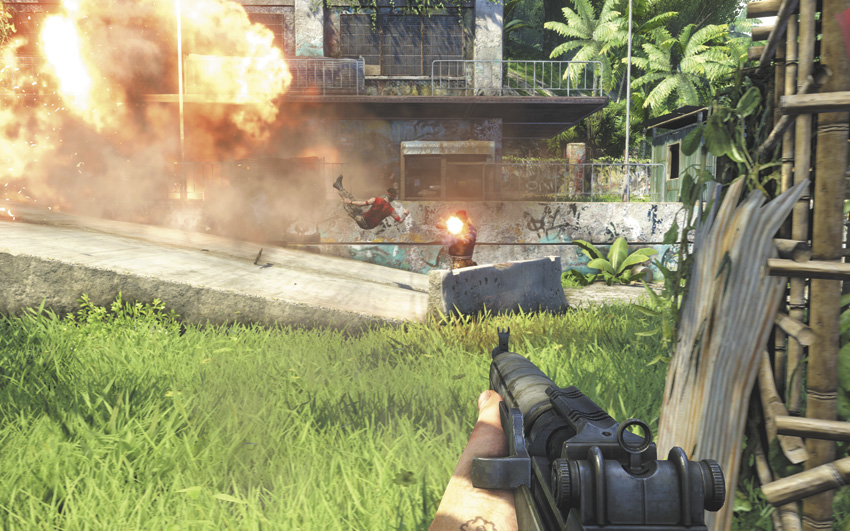
You can also free a tiger from a cage on the south side of the lot. It won’t last long considering the sheer volume of firepower that’ll be directed at it, but that’s at least one or two more goons that you didn’t have to shoot.
When you get close enough to the hangar on the east side of Vaas’s compound, its doors open and disgorge a few more troops, with a heavy gunner in the lead. You can mine the ramp in front of the door to dissuade them, use your old buddy C4 to even the odds, or drop down behind the heavy from the roof of one of the nearby buildings and use a Takedown on him.

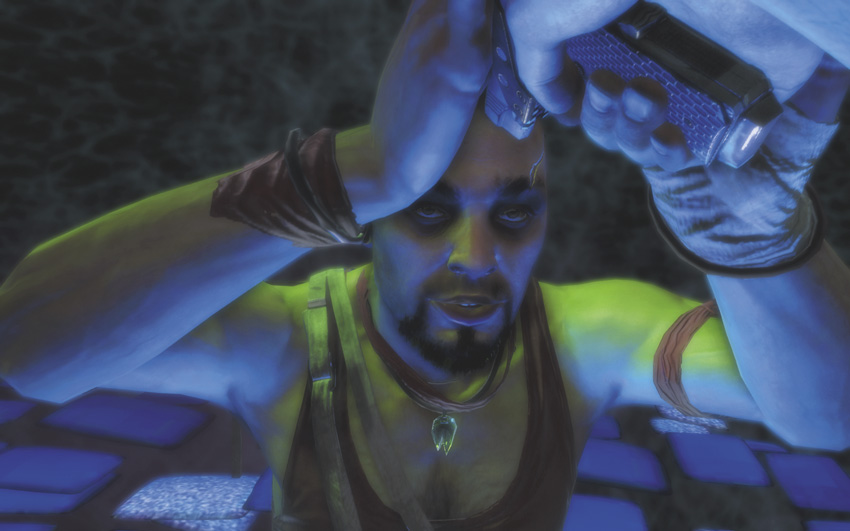

After all his men are dead, enter the hangar to confront Vaas. It’s anyone’s guess what happens next. Drug flashback? Vision quest? Whatever it is, when he yells to shoot him, do so. You and your new Vector .45 SMG will then need to mow down the visions of Vaas as they rush at you, in order to buy enough time to reach the end of the path. Once there, use a Takedown on Vaas.
You receive 3,000 EXP and the Taken for Granted Achievement/Trophy for dealing with Vaas Montenegro. As a sort of unofficial bonus, any pirates you encounter from here on out will recognize you on sight. It doesn’t change their reaction any, but it does wonders for the old self-esteem.
Citra’s Favor
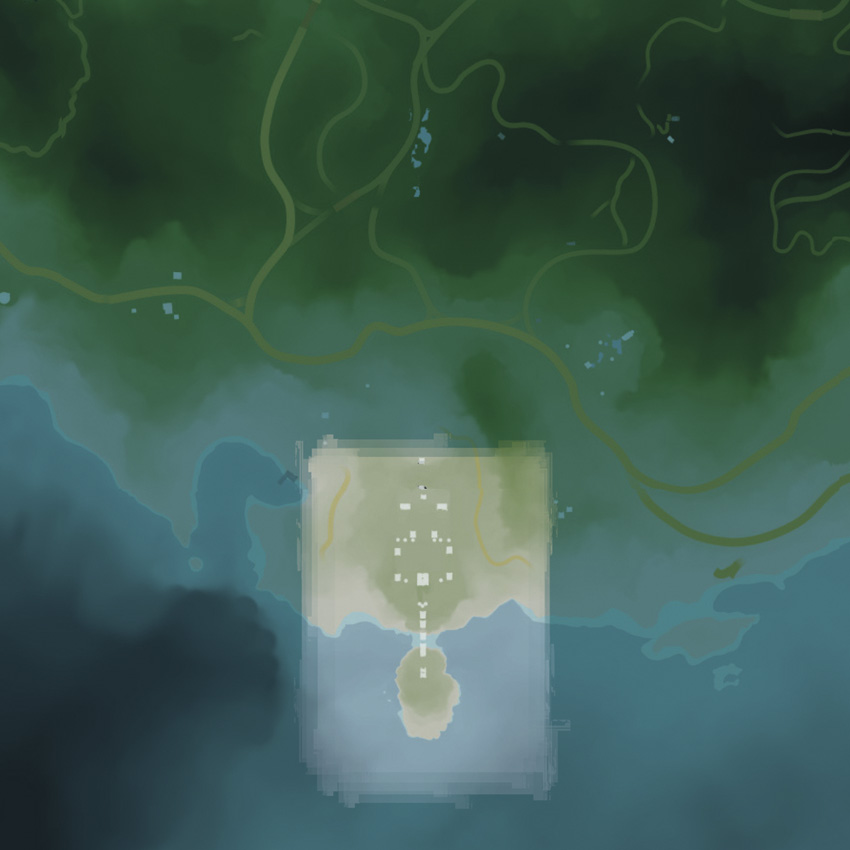

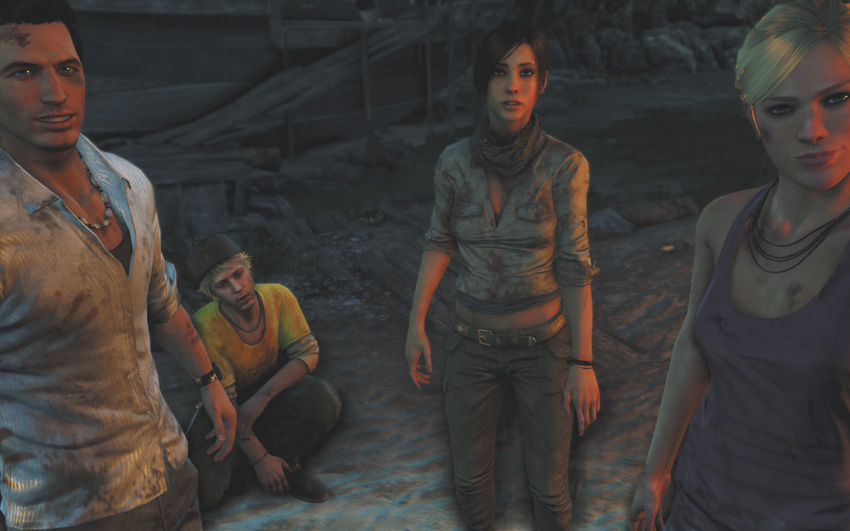
After the battle, you’re returned to Citra’s temple, where the victory party is in full swing. Head back north through the temple to find Dennis, who’s drunk but who’s got news from your friends. At your leisure, get back to Dr. Earnhardt’s mansion and reenter Daisy’s cave. Things are about to get really awkward.
You can have short conversations with Oliver and Keith, but to get on with the business of killing Hoyt, exit the cave.
You may have seen the South Island before now, but you couldn’t get there. Now you’ve got to investigate it to get closer to Hoyt, and Willis is your way in.
Fly South
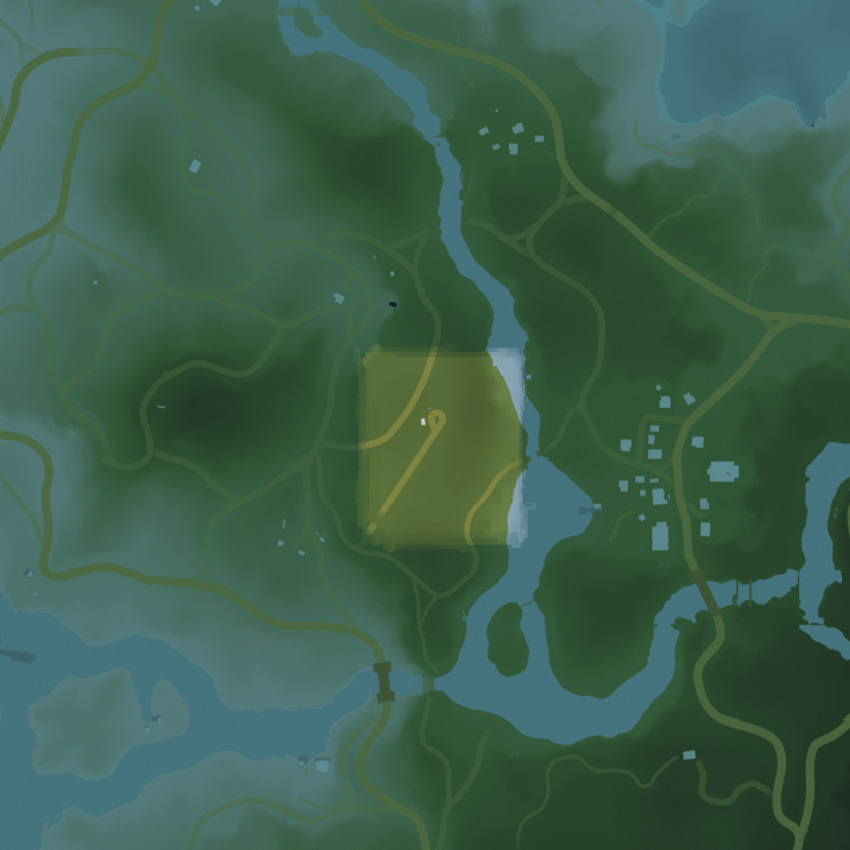
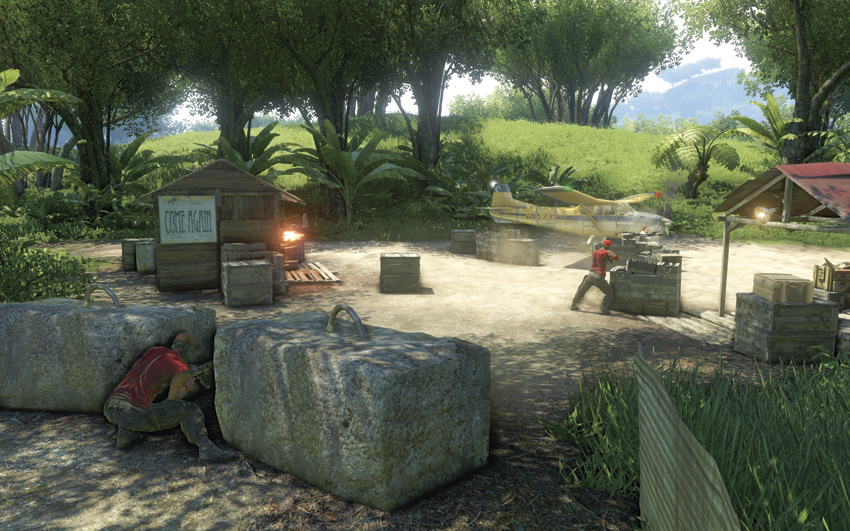
Head to the old Amanaki Outpost to get back in touch with Willis. He’s on his way out via his own plane, but he’s got a deal for you: get to him before he takes off and he’ll give you a ride to the South Island.
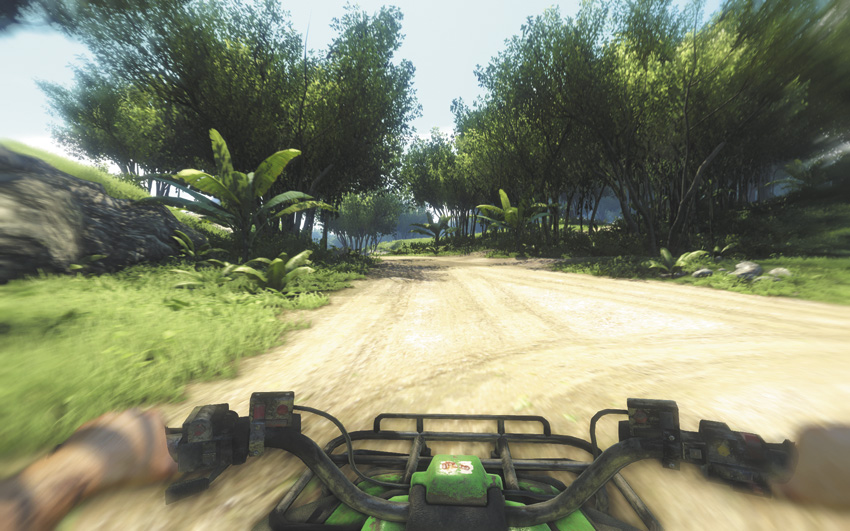
That starts a five-minute timer. You have to get from the Amanaki Outpost to Willis’s landing strip, which is in a clearing east of the Rust Yard outpost. You may want to abandon the mission and go liberate the Rust Yard if you haven’t already, otherwise the area will be inundated with the survivors of Vaas’s pirates. You’ve got more than enough time to make the drive if you head over there in the closest sedan, but not if you’re doing so while also plowing through every newly unemployed buccaneer on the island.
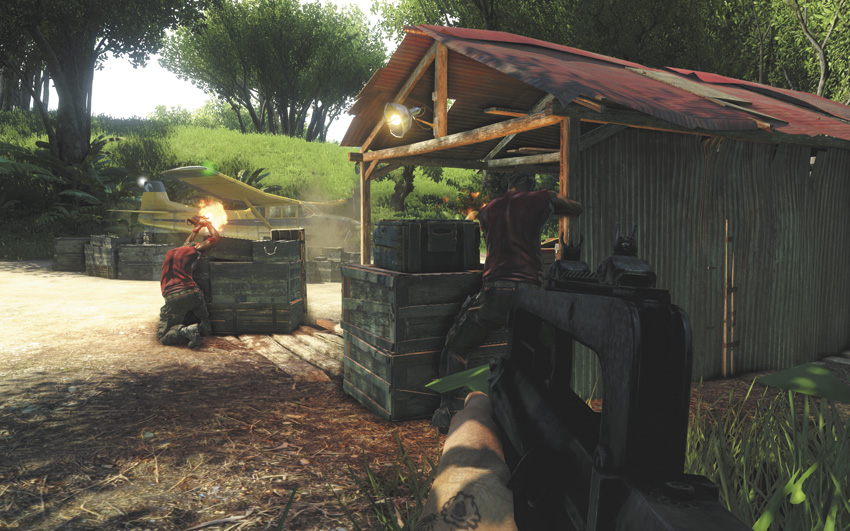
Getting to the Rail Yard stops the timer and engages a new stage of the mission. Deal with the six pirates who are currently troubling Willis; he’s creating enough of a distraction that you can flank them and eliminate at least a couple with Takedowns. Once they’re out of the picture, drop a few land mines in the shacks to the west, as a lethal surprise for any pirates who try to take cover inside, and get ready to repel another wave.
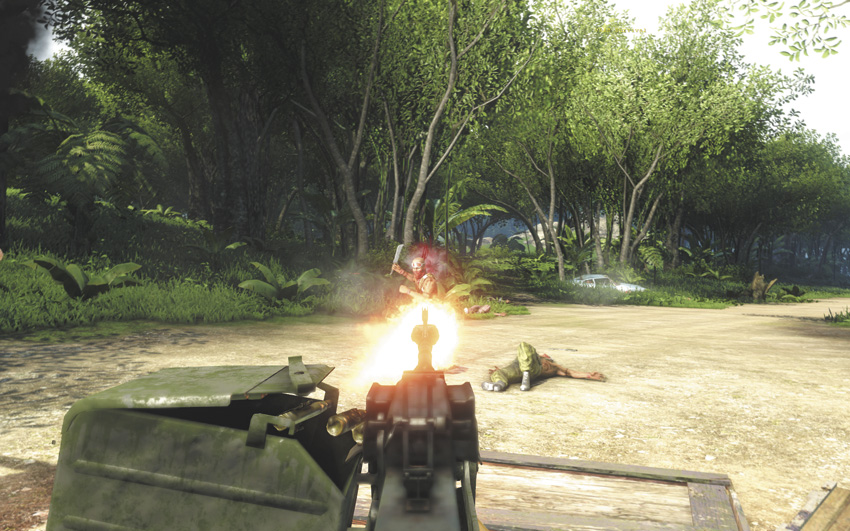
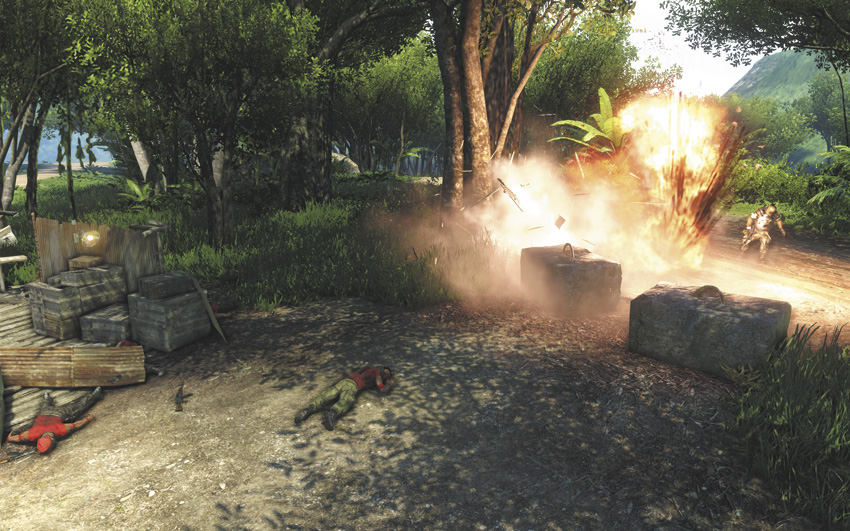
Most of the second batch of pirates are chargers with knives, which can complicate matters, and a heavy gunner shows up from the west when Willis’s repairs are about halfway done. There’s a mounted gun near Willis that can be helpful, but the drawback to using it is that Willis is close enough to it that he may end up catching a few rounds that were meant for you. There’s some ammunition and a suit of body armor in the shack west of Willis’s plane for when you need them.
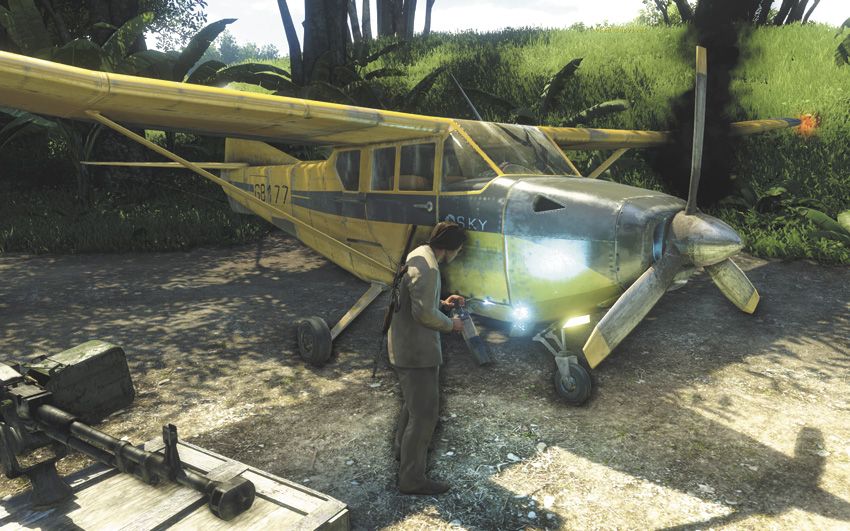
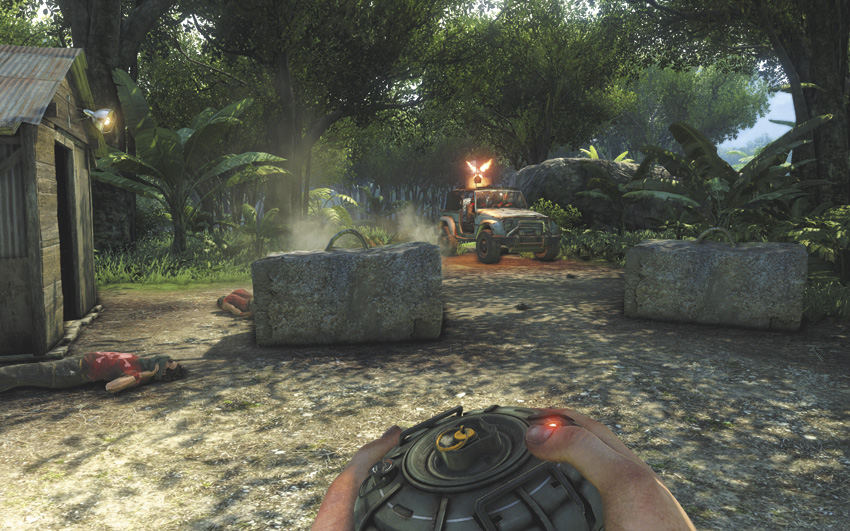
When the repairs are complete, mop up the rest of the pirates, which may include as many as three heavy gunners coming in from all sides. The mounted gun is your best option for handling at least two of them, and Willis contributes some firepower of his own.
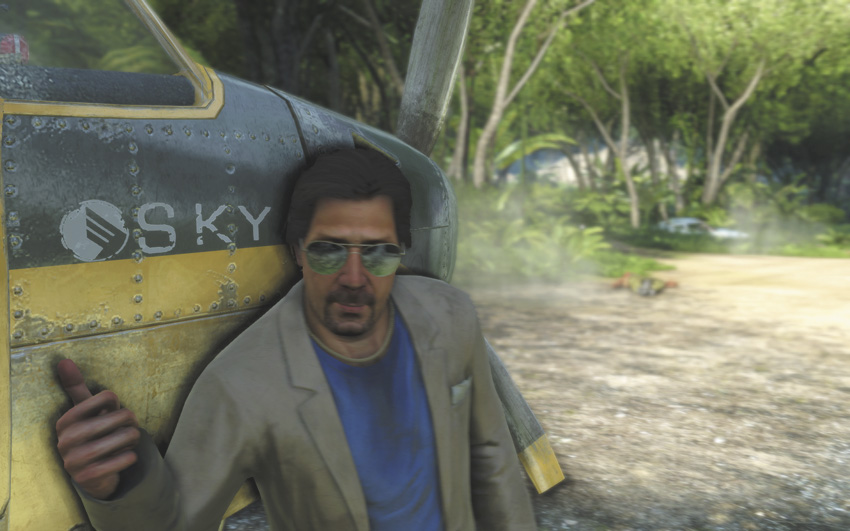
Next stop: the South Island. Get in the plane.