
Far Cry 3 with Interactive Map Walkthrough Other Missions
Trials of the Rakyat
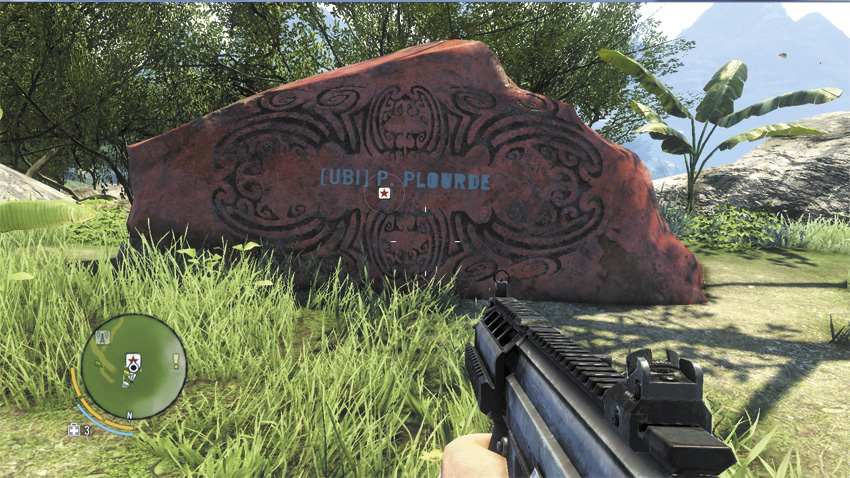
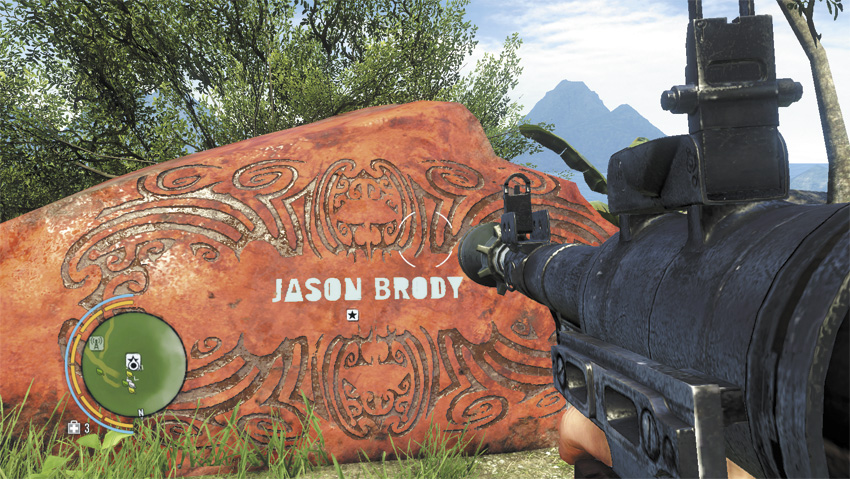
There are a number of ancient stone carvings throughout the island that are labeled on your map with a . Approach one and interact with it to begin one of the Trials of the Rakyat, a pure combat minigame. Your goal is to break the developers’ high scores before the two-minute clock runs out. If you can get the first-place score, Jason’s name replaces the developer’s on the face of stone.
During a Trial of the Rakyat, you have infinite ammunition for the primary weapon(s) required by the Trial, as well as infinite Medical syringes, and every enemy in the Trial is outlined through cover as if you’d tagged them with your camera. If you have the Japanese Tanto equipped, you will also be using it during a Trial. Shoot the blue time barrels during a Trial to receive a ten-second bonus to the clock. As with story or side missions, attempting to leave the area during a Trial of the Rakyat is considered the same as abandoning it and will end the round early.
Your skills persist into a Trial of the Rakyat, which means it will be easier to get a high score on a given Trial if you’ve purchased the skills that specifically influence the weaponry or style of play involved in it. For example, Hide and Seek is a stealth mission, and you’ll find it much easier to rack up the points if you’ve got Jungle Run, Ninja Step, and a couple of the more advanced styles of Takedown.
Once you’ve found the stone that starts a Trial, you can play through that Trial again from anywhere in the game world by selecting it from the map screen. An interesting side note here is that after the Trial, you’ll reappear standing in front of that Trial’s activation stone, which makes it useful as another method of fast-traveling to a distant location.
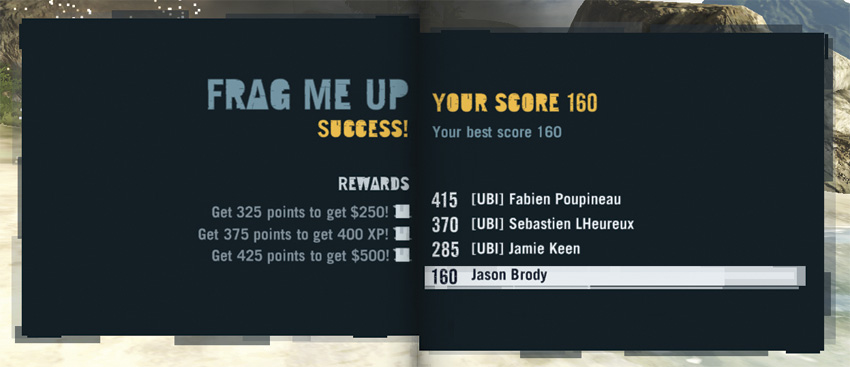
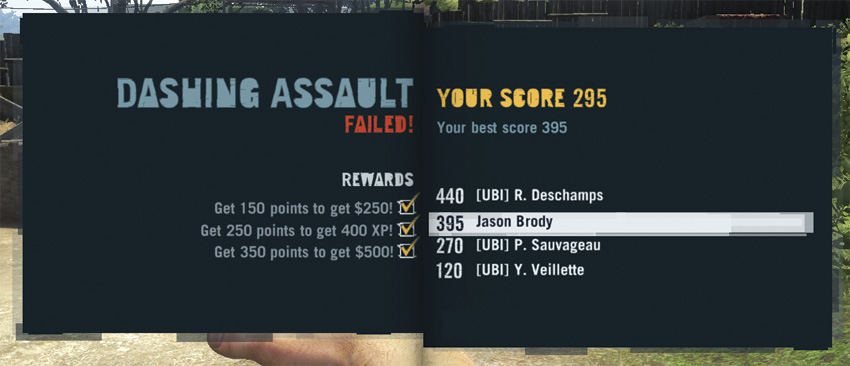
Each Trial has its own particular goals. If you score above a certain minimum threshold, you receive a $250 bonus. If you get past a second goal, you get 400 EXP, and for a high score, you get $500. These bonuses stack, and are independent of your place on the high score table.
Trials of the Rakyat use a slightly different naming scheme for their enemy lineup than the main game does. Assaulters and defenders are standard riflemen, with defenders more inclined to use cover or drive vehicles. A berserker is a shotgun-wielding charger, whereas a beheader is a charger with a knife. Molotov throwers are self-explanatory, as are RPG shooters and heavy gunners.
Tip Box: Scoring
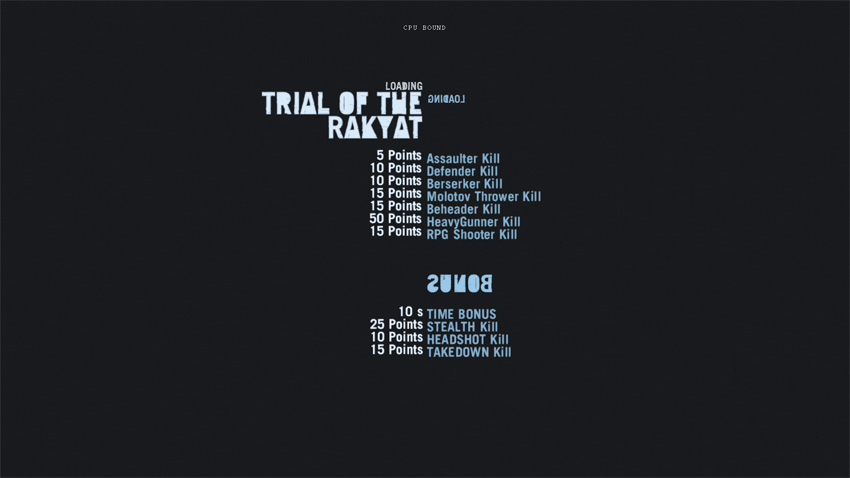
Dashing Assault
- 150 points: $250
- 250 points: 400 EXP
- 350 points: $500
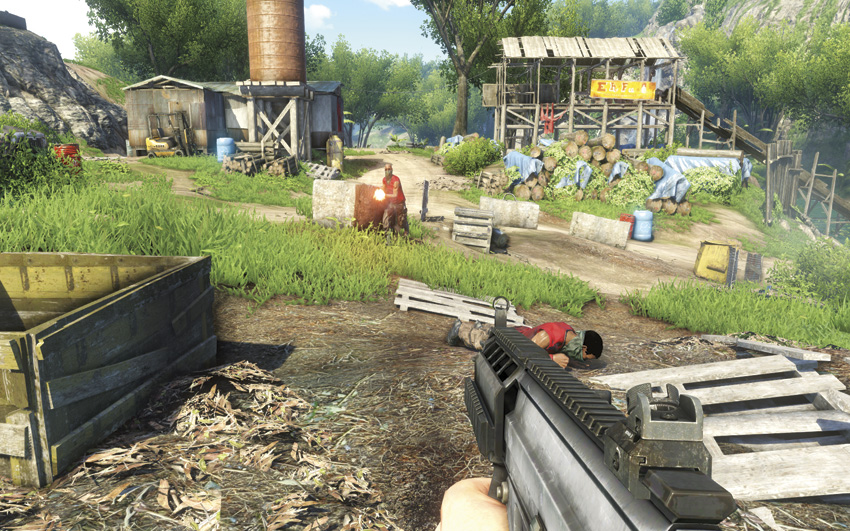
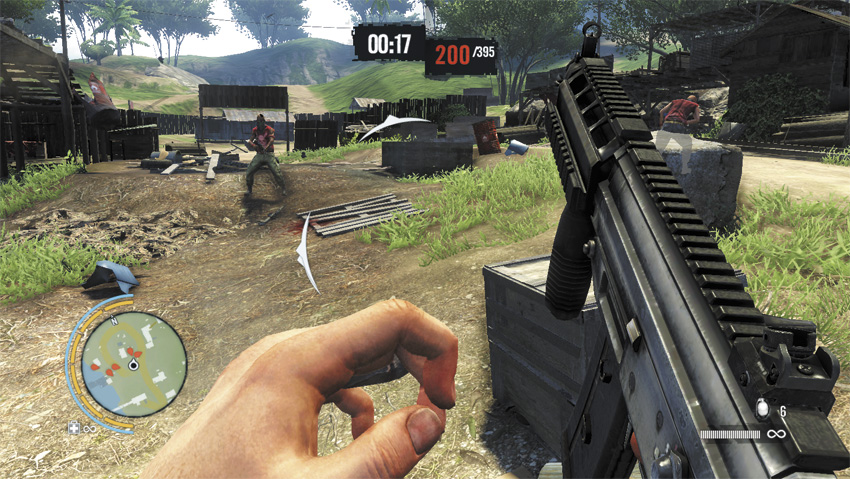
This is a fight through a logging camp with a standard-issue STG-90 and grenades. There are a lot of time barrels scattered throughout the map, so exploring a bit and getting their locations down is a necessity before you can seriously start racking up the points. After about 90 seconds, heavy gunners begin to spawn and will continue to do so until the end of the Trial. It’s thus important to stay alive until they do, and to use your grenades to take them down.
Hide and Seek
- 175 points: $250
- 250 points: 400 EXP
- 325 points: $500
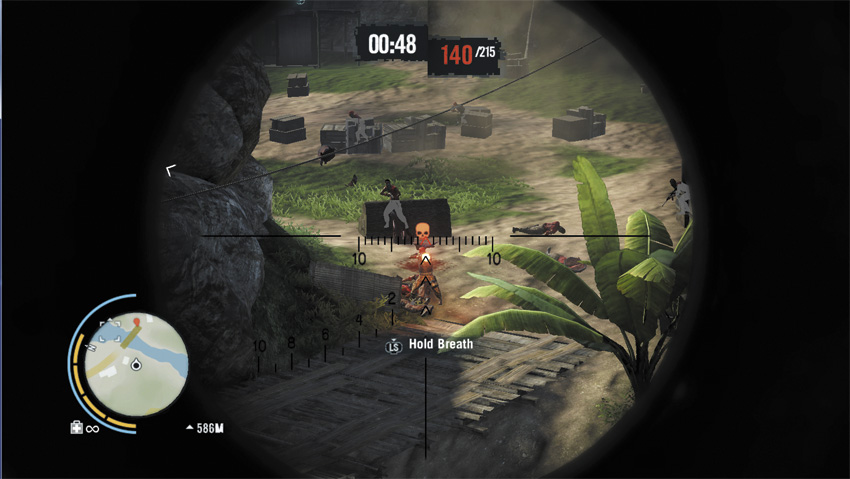
You’re given a silenced 6P9 and nothing else, which can be tricky early in the game. This is the easiest Trial of the Rakyat to find, given as how it’s just north of Amanaki Village, but it’s one of the harder ones to get a high score on because it really rewards stealth and having the advanced, multi-target Takedowns.
Jungle Run, Ninja Step, and Knife Throw Takedown are all very useful on this map. As a general rule, the secret to a high score is to remain unseen for as long as possible, using the 6P9 to blow up the time barrels and assassinating every pirate you can find.
Bone Crusher
- 150 points: $250
- 200 points: 400 EXP
- 250 points: $500
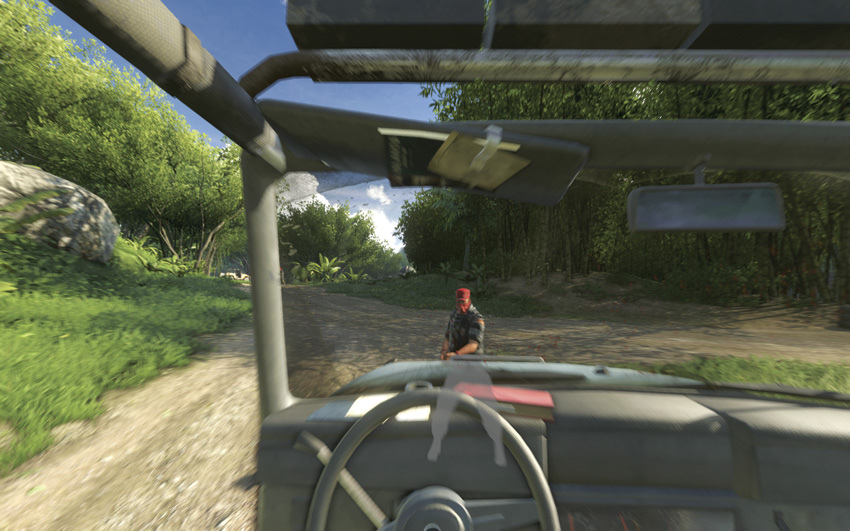

You start this Trial by getting bolted into a jeep. The only attack you’ve got is to ram into things with your vehicle.
It can be tricky to break the high score since you can’t score Takedowns or stealth kills, so you just have to compensate with raw volume. There are a few time barrels in the middle of this map, along the main drag in the outpost, so be sure to cut through there and grab them.
Lord of Firepower
- 200 points: $250
- 300 points: 400 EXP
- 400 points: $500
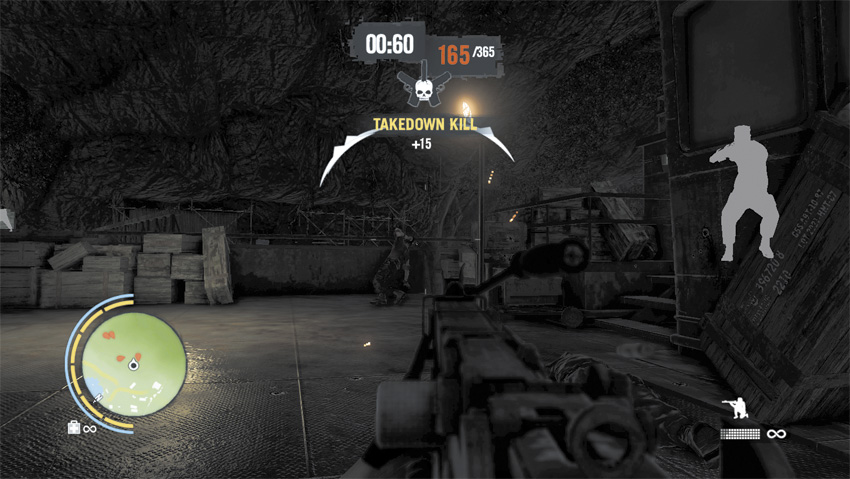
You, eight Molotovs, and your LMG are put up against a large number of privateers on Hoyt’s barge. It’s close quarters and you’re vastly outnumbered, which means you might get one Takedown before it’s an open firefight. Try to hit more than one target with it.
Fortunately, there are a lot of privateers on the ship. Time barrels are a little hard to come by, but you’re never short of targets.
Frag Me Up
- 200 points: $250
- 250 points: 400 EXP
- 300 points: $500
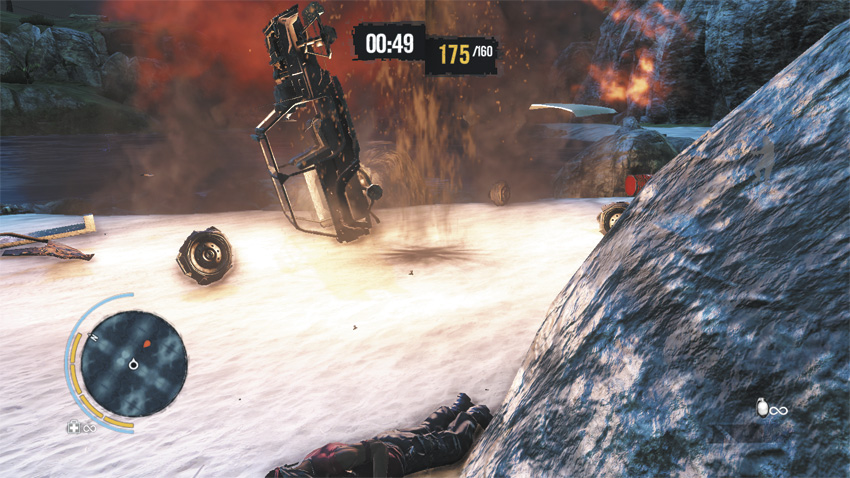
They have jeeps and the occasional helicopter. You have a machete and an unlimited supply of grenades. Let the party begin.
You can score a Chain Takedown and a Knife Throw Takedown against the first three privateers, which gets you off to a good start. The new targets show up in jeeps, so watch out; they will try to run you down if they get the chance. In general, this is good practice for “cooking” grenades, as throwing one so it detonates in mid-air is your best shot at destroying helicopters.
Bull’s Eye
- 150 points: $250
- 225 points: 400 EXP
- 300 points: $500
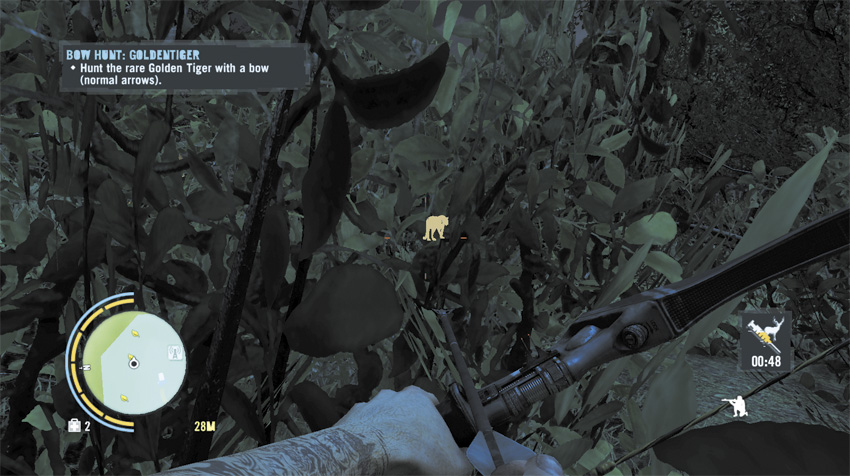
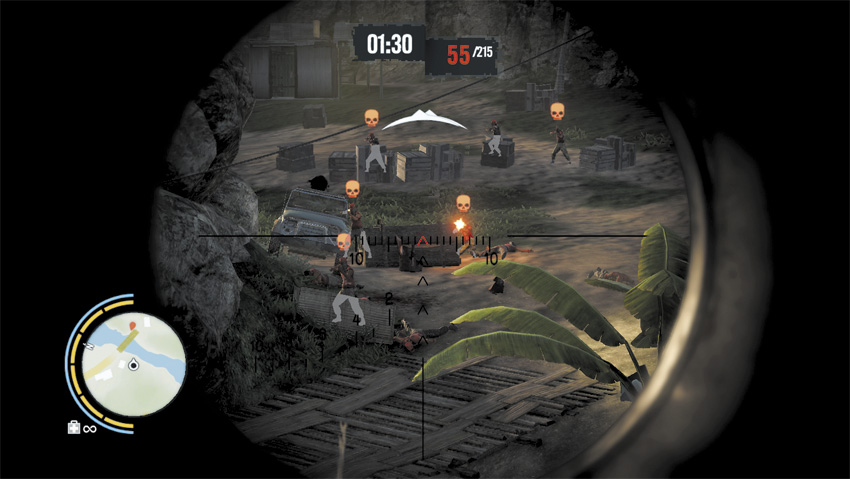
This is made a great deal easier if you’ve taken the Deep Breath skill. You’re given a PKD sniper rifle with an infinite number of rounds in the chamber, so its high rate of fire and semi-automatic action both come in handy. The key to high scores on this map is, simply enough, scoring a series of consecutive headshots.
Don’t be afraid to move around a little from your position, as there are a few time barrels that you can’t see otherwise, either due to the foliage or the bridge. You should also do your best to take out enemies as quickly as possible, as otherwise the sheer spawn rate tends to bring you down. The pirates on this map are only using AK-47s, but if twenty guys are all hitting you with every fifth bullet, that still mounts up quickly.
Overheat
- 275 points: $250
- 350 points: 400 EXP
- 425 points: $500
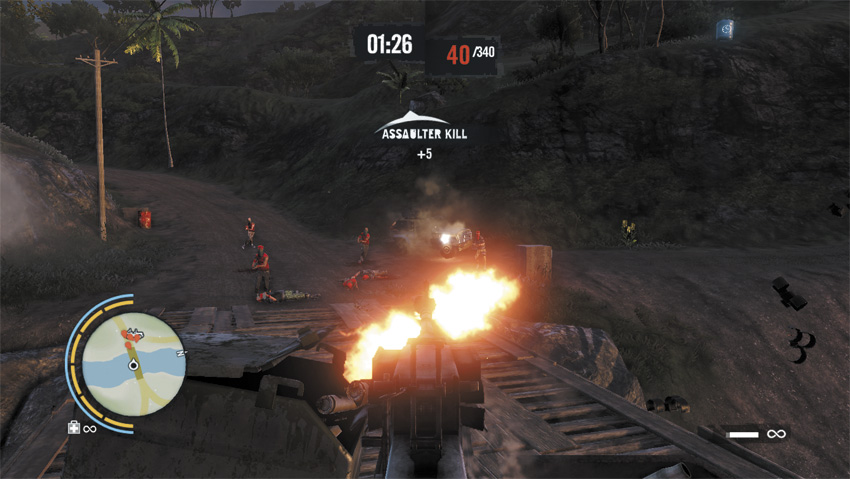
The Cool Gunner skill helps with this mission, but is by no means required. You’re in a jeep’s mounted gun turret and enemies can show up from all around you, including in gunboats and helicopters. Pay close attention to your on-screen targeting indicator, as it’s your only real clue as to what direction the next wave’s coming from.
The key to destroying a helicopter with a mounted gun is to aim at the cockpit. The helicopter itself can be blown out of the sky if you pour enough bullets into it, but it’s much faster to shoot the pilot and co-pilot. At that point, it corkscrews out of the sky and will destroy whatever it happens to collide with or land on.
Point Blank
- 450 points: $250
- 550 points: 400 EXP
- 650 points: $500
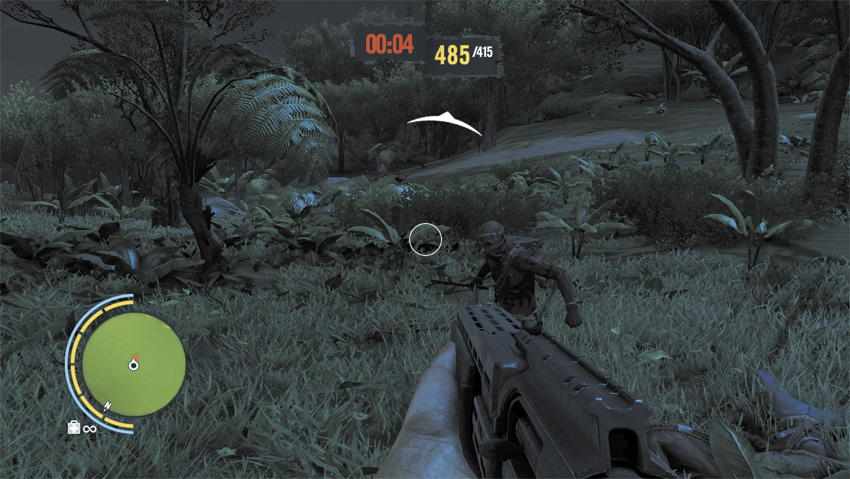
You’re handed a SPAS-12 and put up against an infinite number of berserkers. As such, this is mostly about maximizing your kills while respecting the high reload time on the SPAS-12. There’s usually only one berserker active at a time, so once you’ve destroyed the multiple time barrels in the area, try to hit each one with a clean headshot and reload between spawns. Weirdly, for a mission that involves a shotgun, this is primarily a test of your precision aiming. Berserkers spawn as fast as you knock them down, so a high score on this Trial is achieved by a long series of consecutive one-hit kills.
Furious Gun
- 250 points: $250
- 325 points: 400 EXP
- 400 points: $500
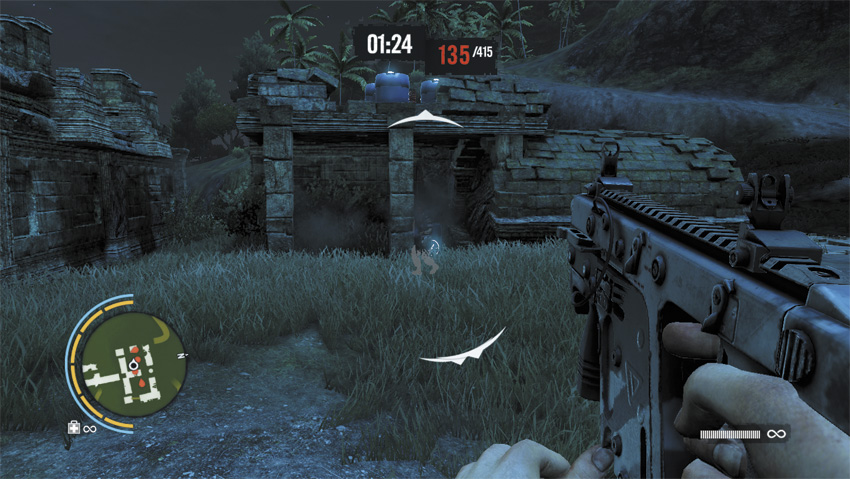
Every time you score a kill, regardless of what that kill is with, you switch weapons. You begin with a .45 and cycle through every conventional model of handgun, shotgun, SMG, LMG, and assault rifle in the game, as well as the Recurve Bow.
The fun part of this is that it means you do not have to reload at any point in time unless you miss somebody with every single round in the clip. The area is also packed with picturesque ruins and time barrels, which gives you a lot of room to play around. The entire area sees you the moment the Trial starts, so stealth is out of the question, but you can climb the ruins and jump down onto targets for Death From Above Takedowns and the associated bonus points.
Transport Destruction
- 125 points: $250
- 175 points: 400 EXP
- 225 points: $500
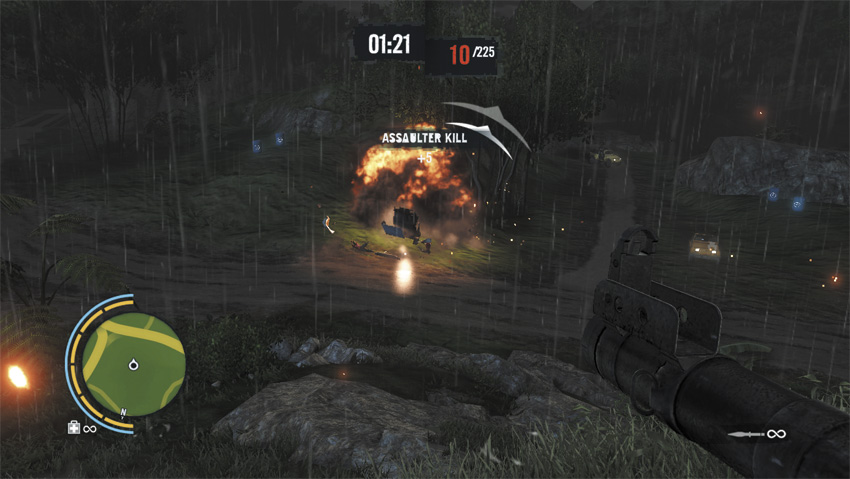
You get an RPG-7 with infinite rockets and you’re up against a horde of pirates in jeeps and helicopters. You don’t have a lot of room to dodge and the RPG-7 takes a painfully long time to reload, so this Trial is all about rapid response.
Hostile Swamp
- 200 points: $250
- 300 points: 400 EXP
- 400 points: $500
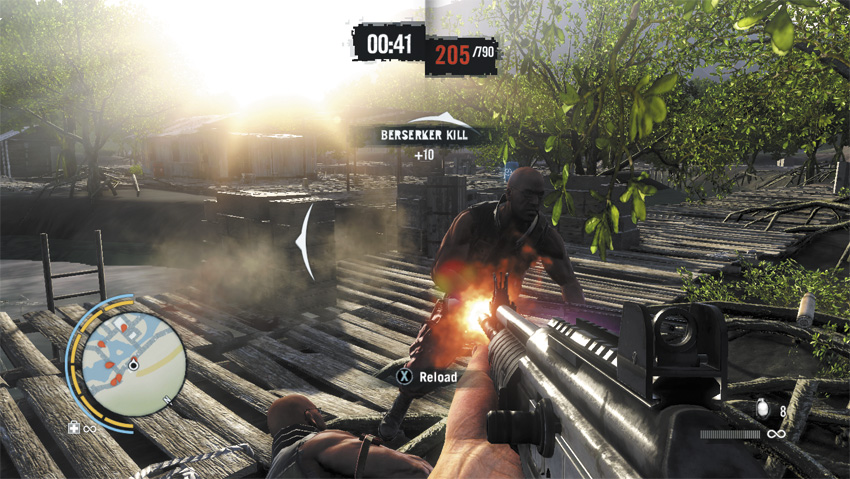
You’ve got an STG-90, frag grenades, and a swamp full of chargers, riflemen, and Molotov throwers. The faintest amount of fire can turn half the map into a barbecue pit. The key seems to be to land as many early Takedowns as possible, and then stay mobile.
Decimation Barrage
- 150 points: $250
- 225 points: 400 EXP
- 300 points: $500
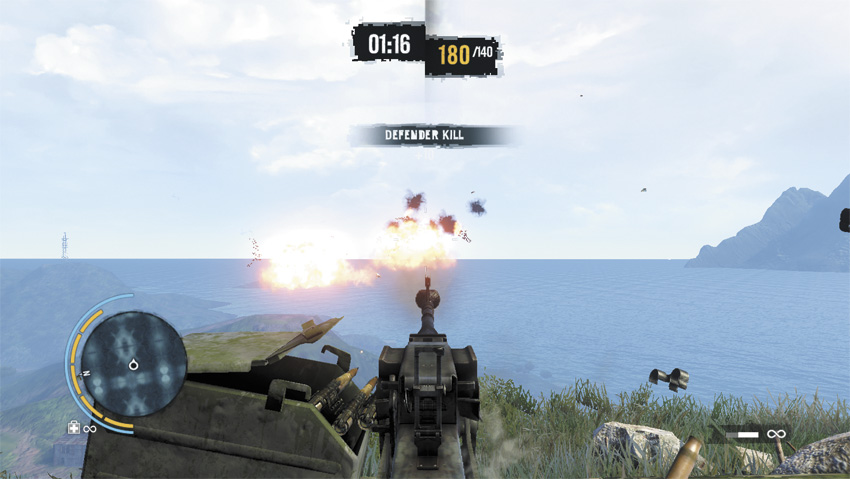
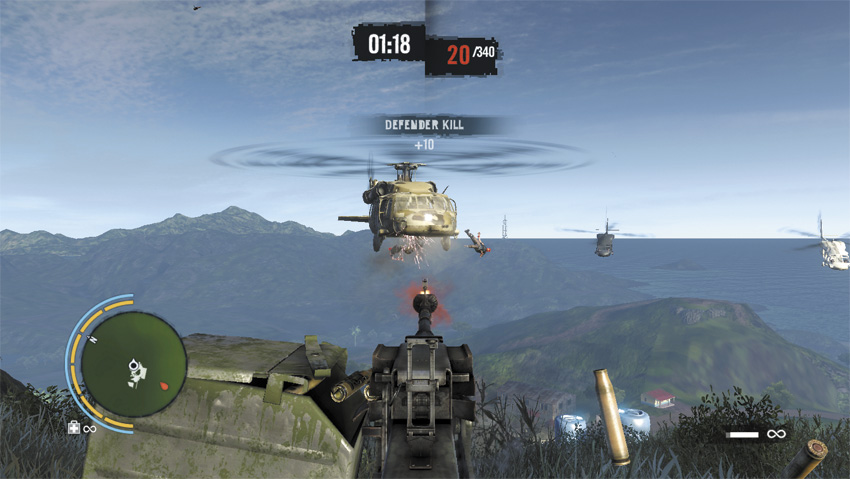
You’re in one of the old anti-aircraft bunkers facing out towards the ocean, and up against a bunch of helicopters. You’ve got an RPG-7, but you’re almost better off not using it, since a miss against a helicopter eats up a lot of seconds. The mounted gun in the bunker is a much more effective weapon against them, particularly if you specifically spray the helicopter’s cockpit.
Save the RPG-7 for any helicopters that appear above the bunker, and for the time barrel directly behind you at the start.