
Far Cry 3 with Interactive Map Essentials Collectibles
Relics
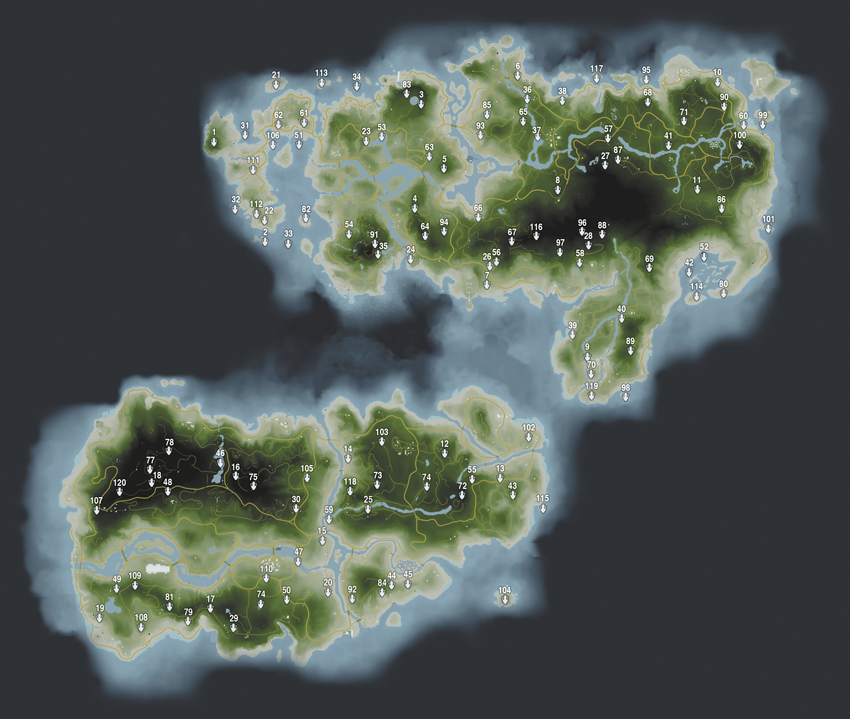
Due to decades of exploitation, tourism, and unrest, the Rakyat’s ancient relics have ended up scattered across the island. There are 120 Relics, shaped like the sacred animals of the Rakyat, and they’ve found their way into some truly strange places.
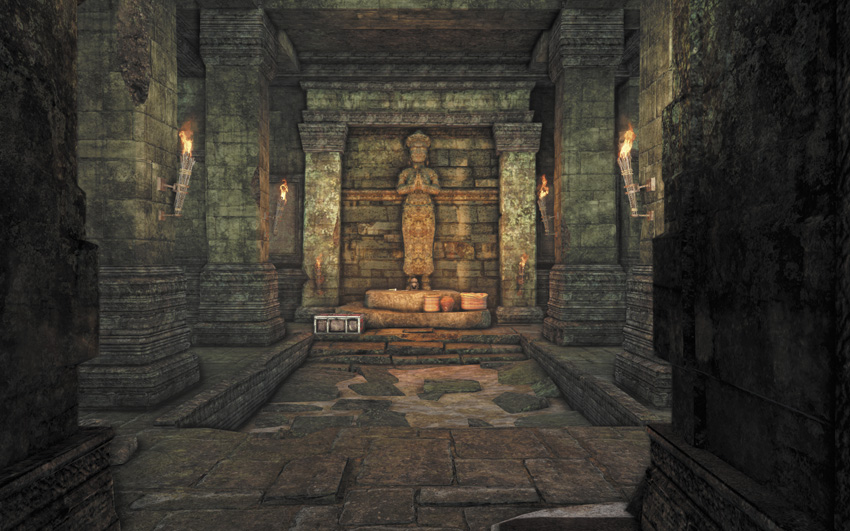
Each Relic you find is worth 250 EXP, which makes them an excellent source of skill points, particularly early in the game. You can find most of them without needing any special equipment or skills, although there are a few exceptions, and they provide a handy excuse to go off and explore Rook Island.
The item maps, available at any vendor, mark the location of most Relics within a given area of the island with an urn-shaped icon (). These maps only cost $500 each, and there’s no reason not to pick them up as you go. Even though you’ve got this strategy guide, the in-game maps give you the ability to set a waypoint on a distant Relic, allowing you to mark it on your HUD. This is invaluable when exploring.
Between the map in this guide, the in-game maps, and the following tips, you should be able to pick up 118 out of the 120 Relics without a problem. The ones that are harder to find are #1 (Spider 1) and #22 (Spider 22), as noted below.
Finding 30 Relics unlocks the Untouchable crafting recipe, which allows you to create a syringe that confers a short-lived immunity to damage. Finding 40 Relics unlocks the Touch of Death syringe recipe, which allows you to kill any target with a single shot for as long as the buff from the syringe lasts. These two Special syringes both require a vast number of Leaves to create, but they’re powerful enough that they’re worth it.
If you can find 60 Relics, you receive the Archeology 101 Achievement/Trophy.
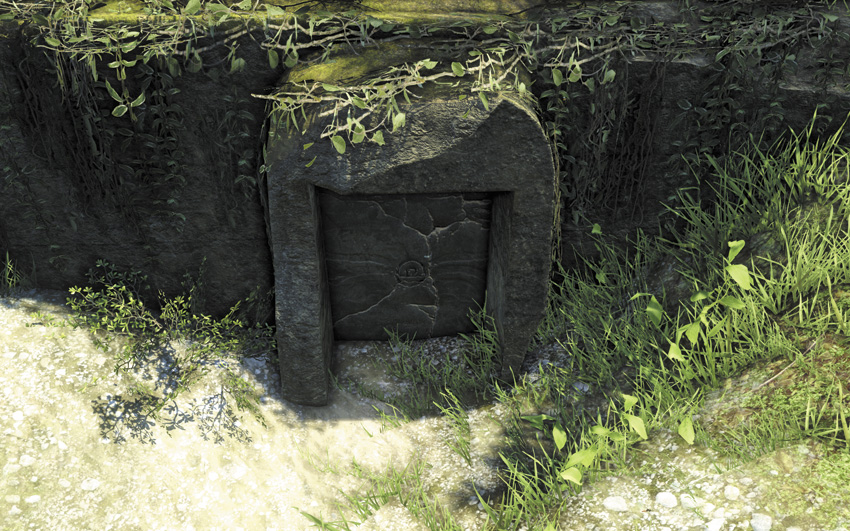
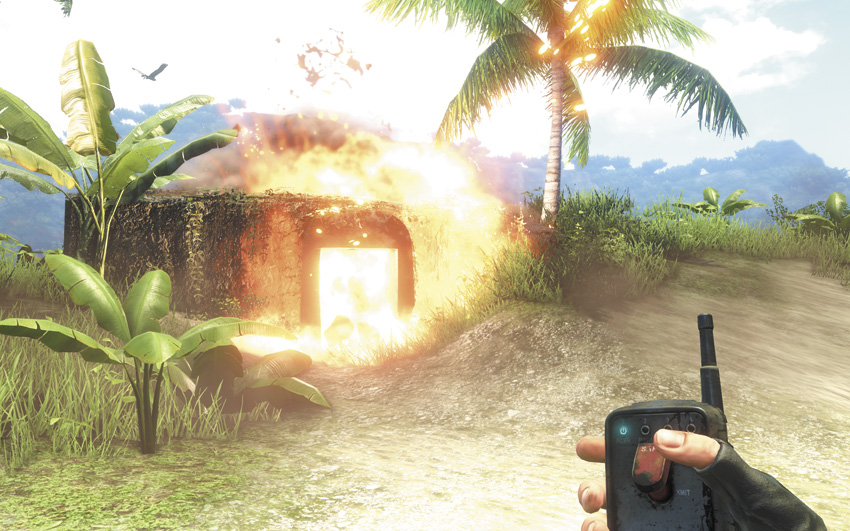
#1: Spider 1
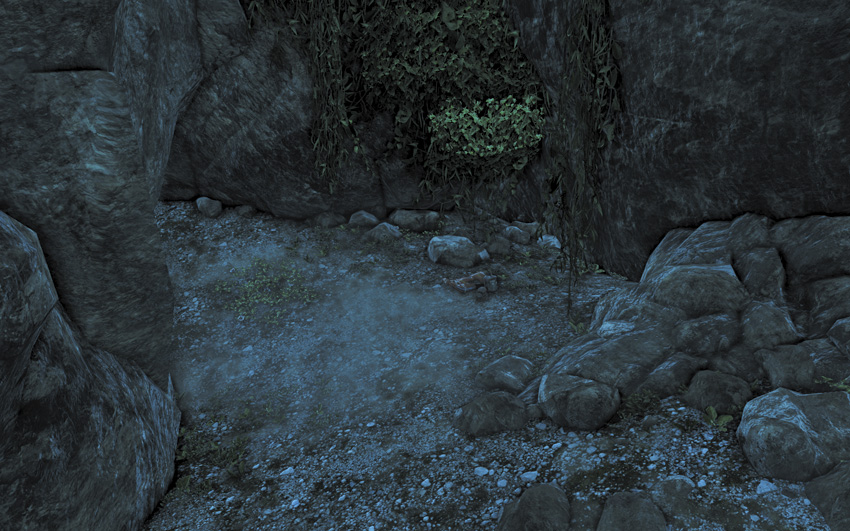
This is one of two Relics in the game that will not show up on any map. After you rescue Oliver, you’ll return to the cave under Dr. Earnhardt’s house to discover that Daisy has cleared away some of the wreckage from the far end of the cave. If you swim out into the water and climb up on the beach behind the wrecked ship, there’s a hidden cavern back here with two loot chests and, tucked off in an unremarkable corner, the first Relic.
#2: Spider 2
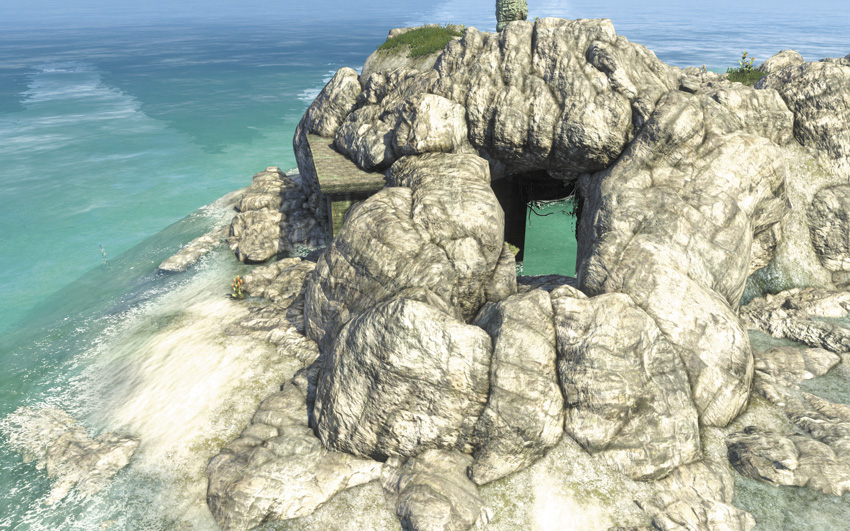
Off the southwestern coast of the North Island, there’s a small island with the wreckage of a temple on it. You can see this Relic from the water through a gap in the wall, but to get to it, you have to climb a tiny, easy-to-miss ledge on the north side of the island. Once you do, drop down through a hole in the roof to find the flooded remnants of the temple and grab this Relic off its pedestal.
#3: Spider 3
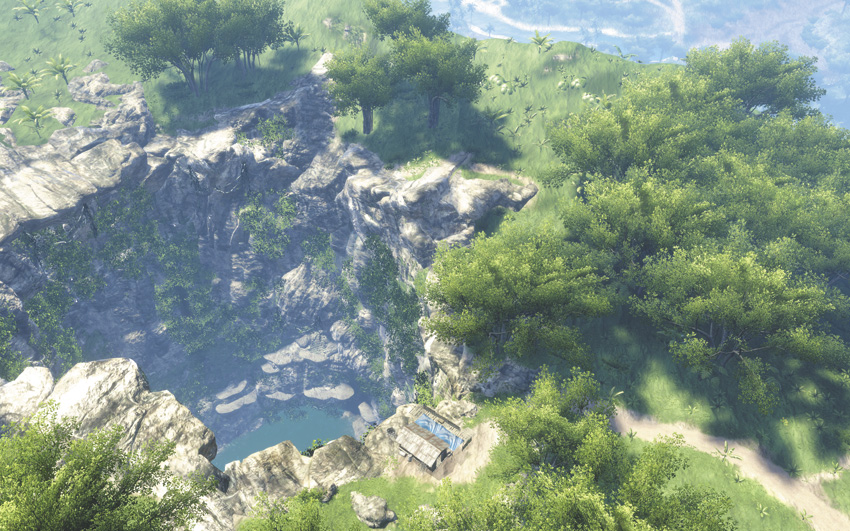
Located on the east side of the cenote north of Amanaki Village. Dive into the cenote from above, then swim east and climb up onto one of the viny ledges. After a series of increasingly tricky jumps from ledge to ledge, you can find this Relic and a red loot chest inside a well-hidden tomb.
#4: Spider 4
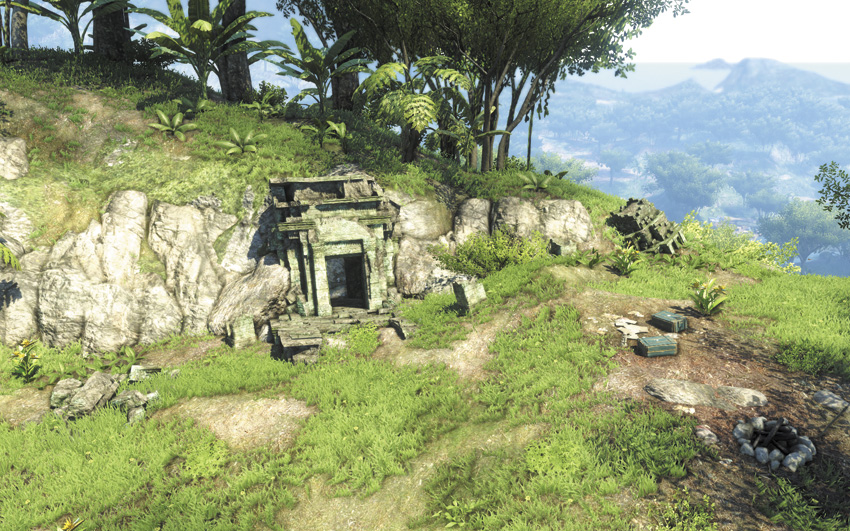
Located 375 meters south of the Amanaki Outpost, on top of a high bluff that overlooks the logging camp, there’s an easy-to-miss ruin built into the side of a rock seam. The Relic is inside.
#5: Spider 5
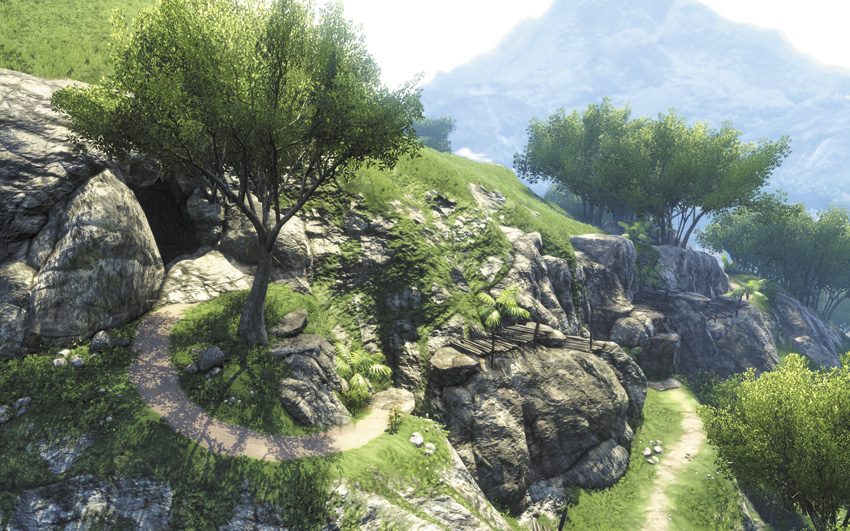
Circle around to the south face of the mountain east of the Amanaki Outpost. There’s a rock seam that leads to a large cavern, where someone has hidden this Relic on an altar.
#6: Spider 6
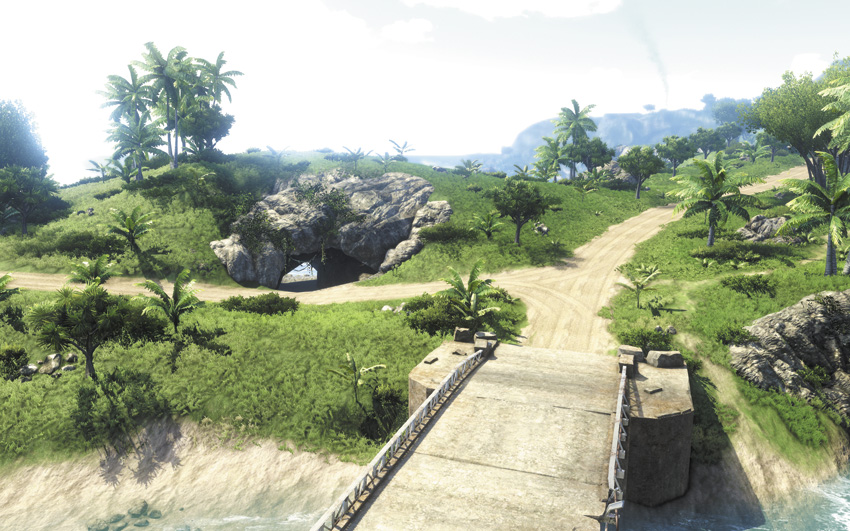
Go east from the Cradle View outpost and use the bridge to cross the river. On the far side, there’s a big cavern right off the road that has three separate entrances. Where the three paths converge, there’s an altar with this Relic and some cash on it.
#7: Spider 7
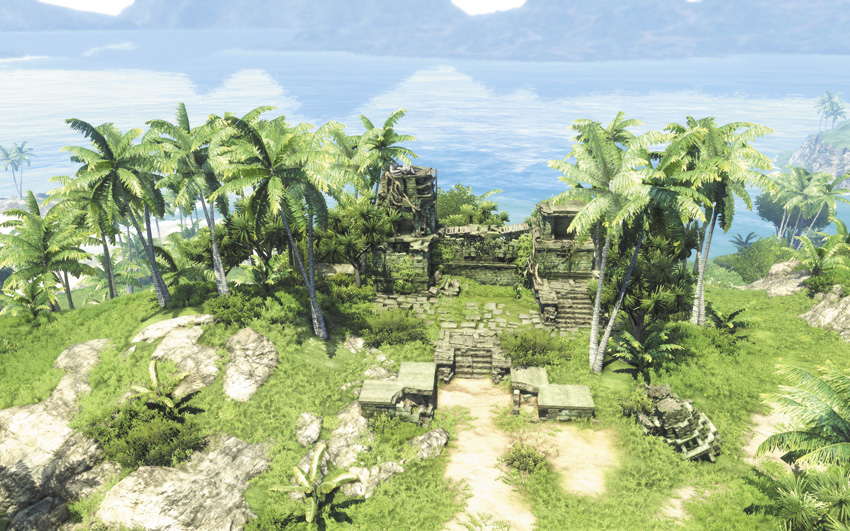
East of Citra’s temple on the North Island, there’s an old fort that’s just south off the main road. When you approach the fort, climb the ledge on its right tower, drop a C4 charge, back off the ledge, and detonate it. This takes down the wall, which lets you cross the scaffolding to the fort’s other tower. The Relic is found atop it. If you’re on “A Connection To The Past”, one of the tablets you need is on the floor below the Relic.
#8: Spider 8
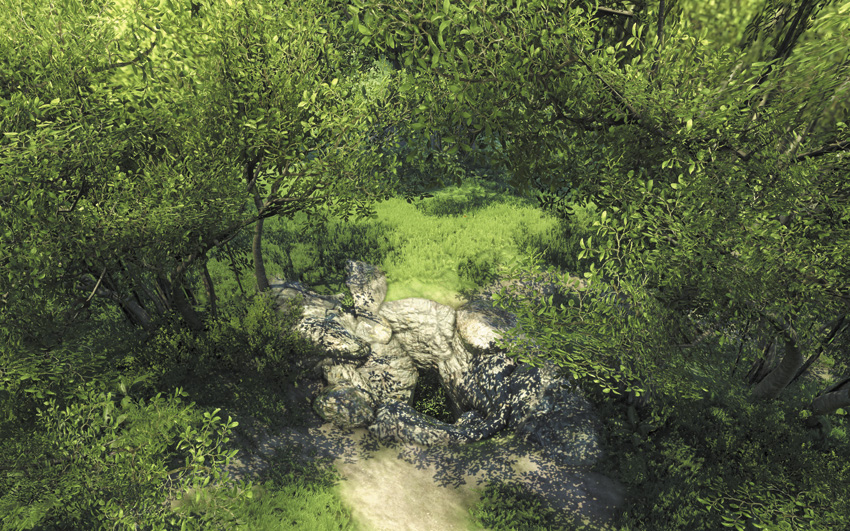
About 100 meters north of the Cradle Gas outpost, you can find a hole in the ground that lets you drop into an old ruined temple. Unfortunately, this is something of a trap, as the fall isn’t survivable. The real way to get inside is to search the cliffs slightly south of the hole in the ground, where you’ll find a flooded cavern. You can use the ledges inside it to get to the temple, although it takes a few careful jumps.
When you do reach it, don’t bother trying to leap across the three pillars to the Relic. You can get just close enough to grab it by standing on the slight incline behind the Relic’s pillar.
#9: Spider 9
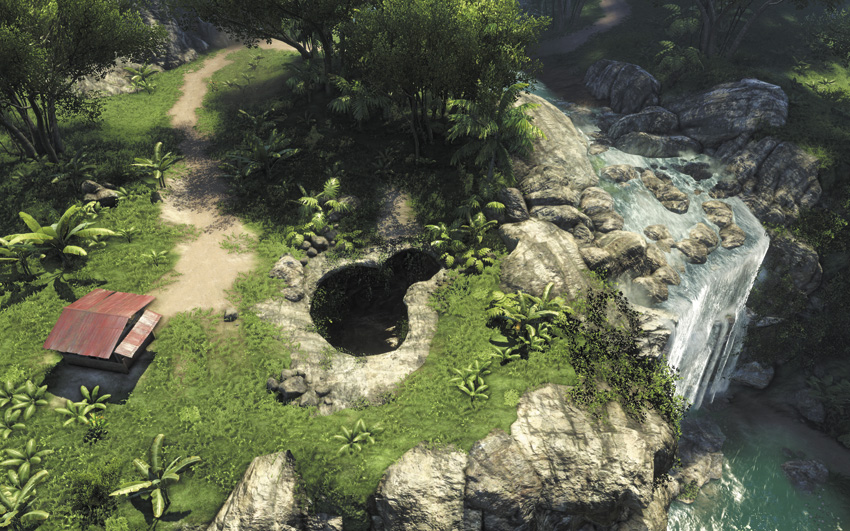
Along the river north of Rook Point Tower, there’s a crevasse at the top of a waterfall. This can be tricky to figure out, but you need to drop into the crevasse so you land in a hidden tunnel, where you’ll find this Relic at the end. To escape safely, don’t try to go out via the waterfall, as the water outside isn’t shallow enough to allow you to survive the fall. Instead, return to the crevasse and drop into the water, then swim to safety. Watch out for a crocodile.
#10: Spider 10
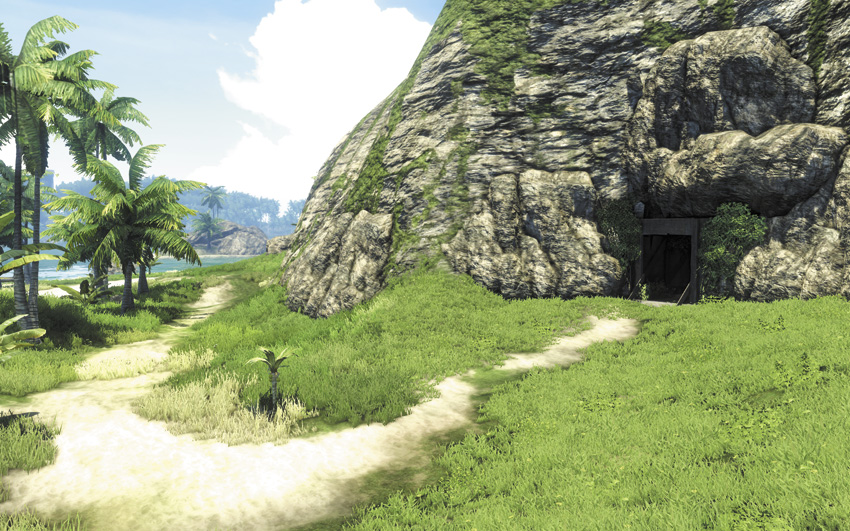
It’s easy to find this Relic. It’s on the other side of a wrought-iron grate across a sewer tunnel, on the mainland west of Vaas’s stronghold on the North Island. To get inside, circle around to the north side of the cliff and enter via an old personnel door. Hug the right wall as you enter and you can work your way around to a cliff with some conveniently located vines that you can scale to reach the tunnel where the Relic is located. There are also multiple loot boxes in the pool below, including a red one.
#11: Spider 11
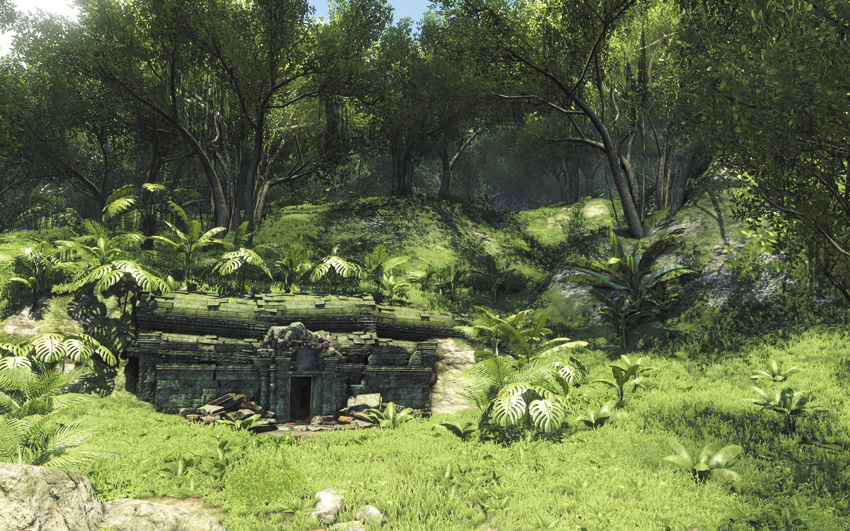
Located 160 meters south of the Birdhouse Tower on the North Island, inside a set of ruins. (If you look at your map in-game, the Relic is almost directly above the “bear territory” icon.)
#12: Spider 12
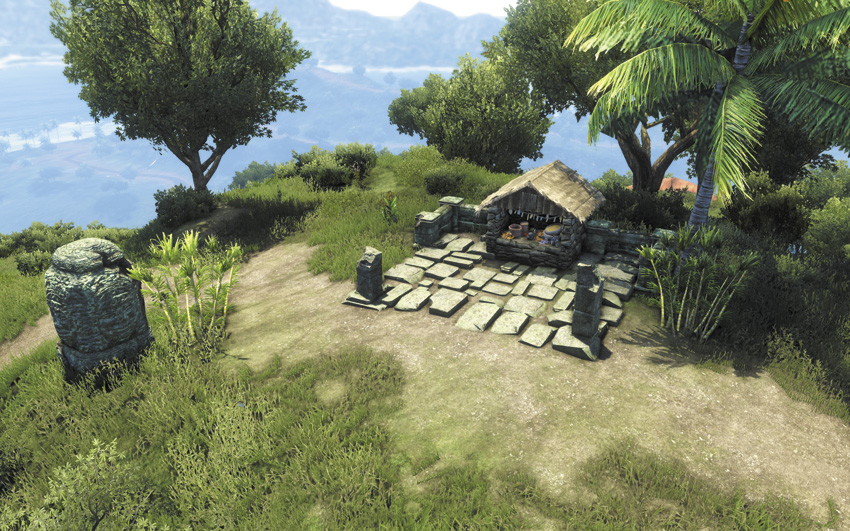
About 130 meters directly north from the Delta Camp fast-travel point on the South Island, on an altar that’s on top of a hill.
#13: Spider 13
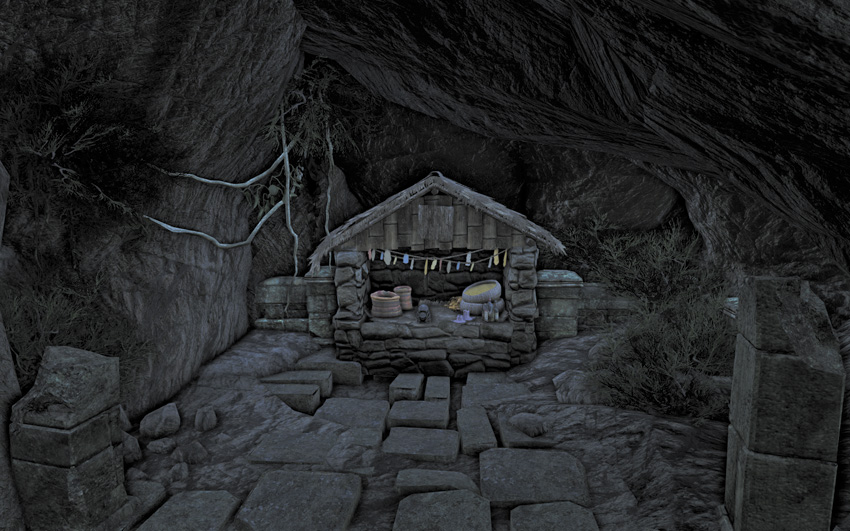
You’ll probably notice the icon for this Relic on your map when you take down the scrambler at Radio Tower #18. It’s located almost directly underneath that tower, in a cavern you can access through an entrance to the tower’s north.
#14: Spider 14
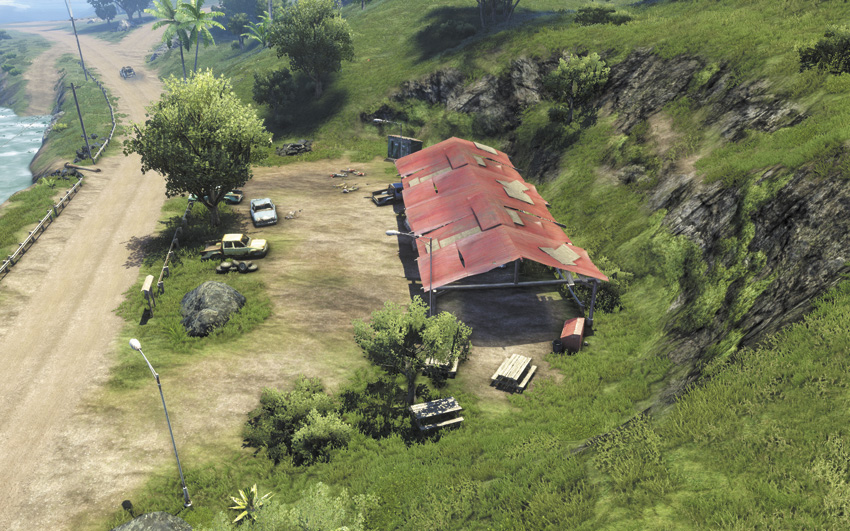
At 200 meters south of the East Ridge Camp on the South Island, look for an outdoor parking lot with a red roof by the side of the road. The Relic is hidden behind the red wooden dumpster in the corner.
#15: Spider 15
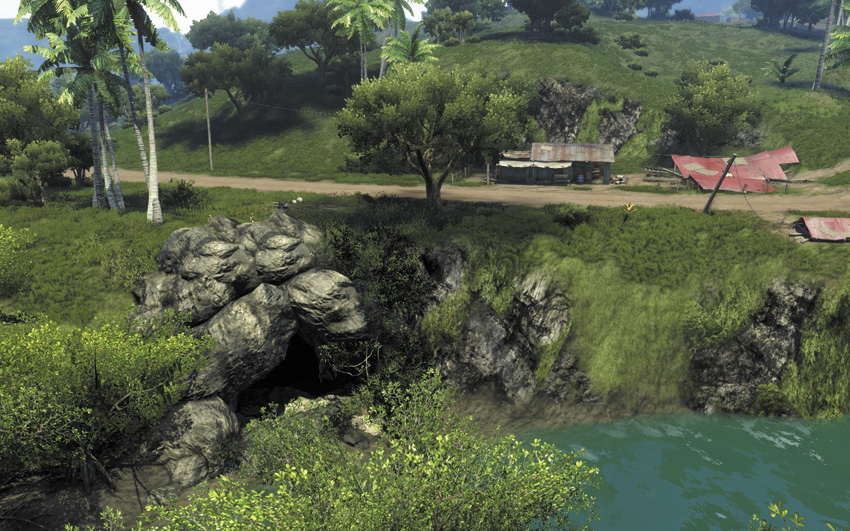
Inside a cavern by the side of the river about 320 meters northwest from the Bridge Control outpost on the South Island. You need to take a short underwater swim to reach the area with the Relic. The “Home Delivered” side mission takes place here.
#16: Spider 16
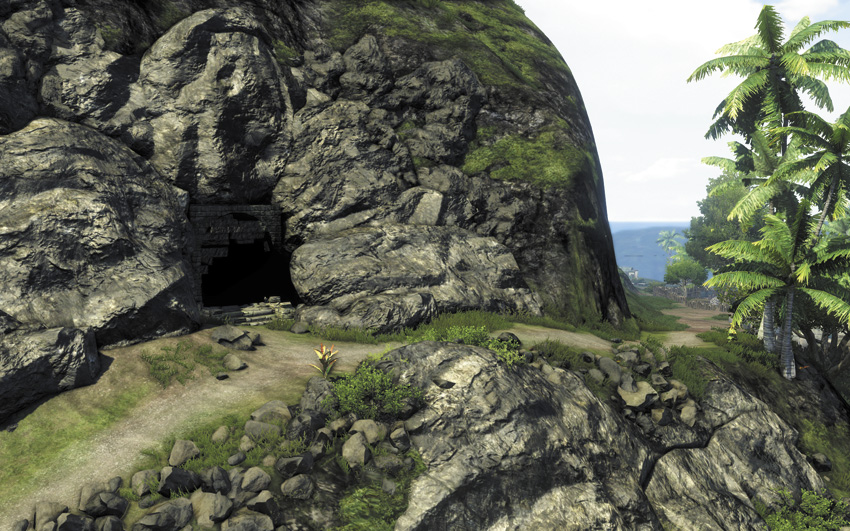
About 190 meters south of the Spine Ridge Site on the South Island, look for a short side trail on the west side of the main road. It leads up to what’s left of a temple entrance built into the side of the mountain. You’ll find this Relic inside.
#17: Spider 17
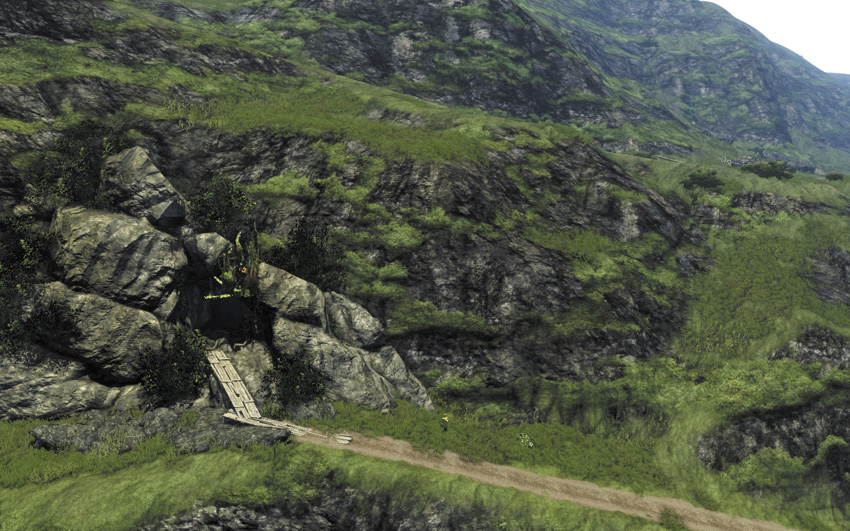
Located 450 meters east from the Dry Palm Storage Depot, there’s a cavern entrance on the south side of the road, right at the end of a small trail. Enter, jump across two gaps, and follow the tunnel to its end to find a well-hidden Relic and some loot boxes.
#18: Spider 18
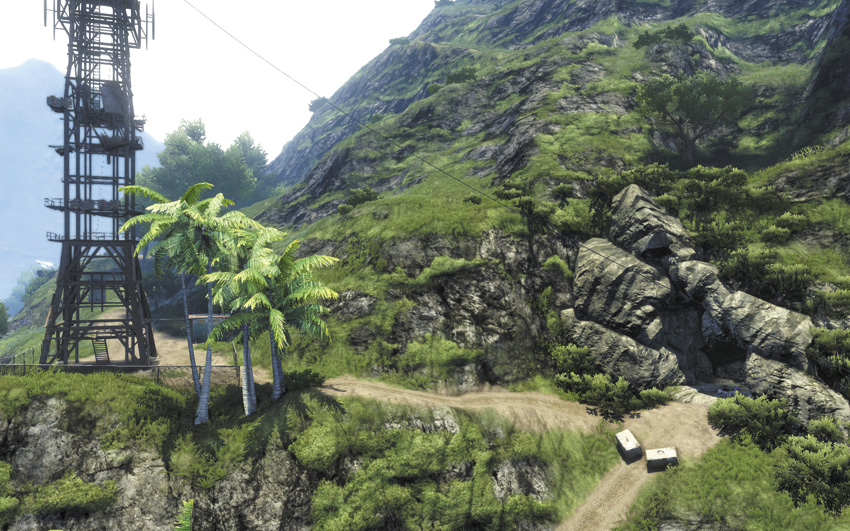
Right inside a cave on the west side of South Island. When you disable the scrambler on Radio Tower #14, it shows you this Relic’s location. There’s also a zipline from that tower that drops you directly outside the cave, which makes this Relic a gimme.
#19: Spider 19
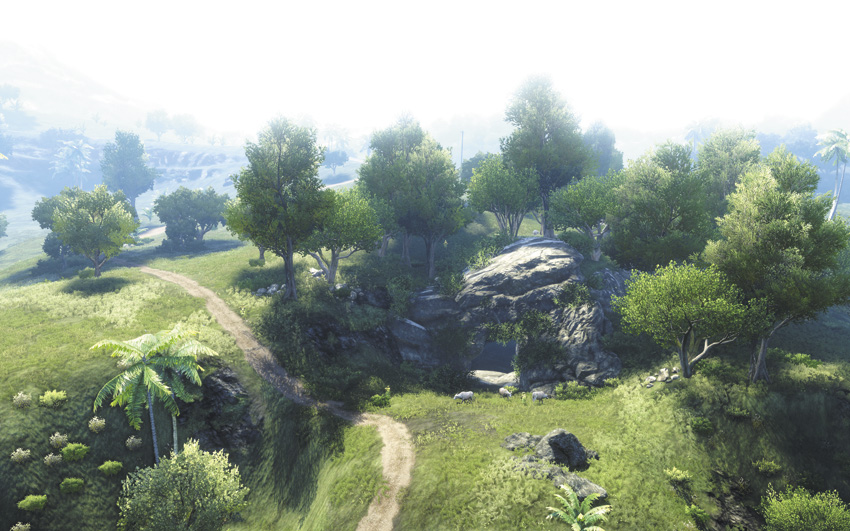
Located 450 meters south of Maw Docks & Repairs on the South Island, there’s a well-hidden underground lake. You can either access it through a sinkhole on the surface, which has a risk of killing you in the fall unless you hit the water, or through a cave entrance on the nearby western coastline. Whichever you end up doing, cross the rope bridge on the upper level and carefully climb across the rocks to where this Relic is hidden.
#20: Spider 20
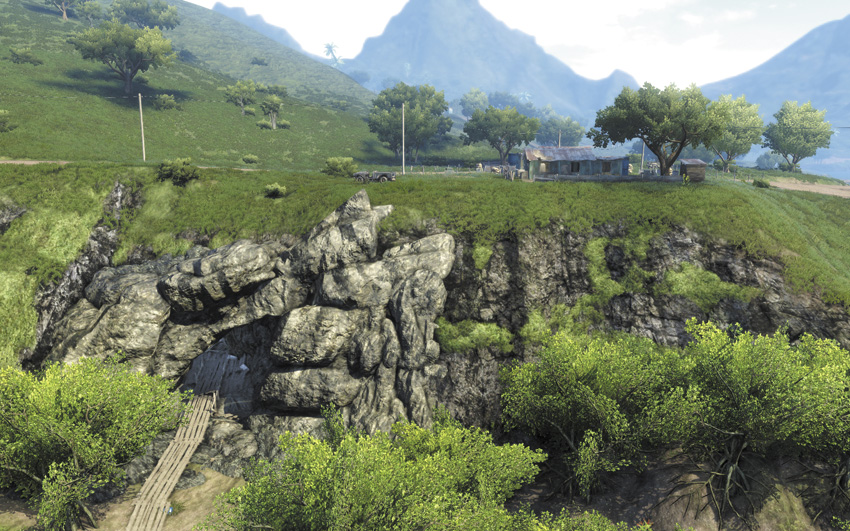
About 500 meters northeast of Longshore View, there’s an old mine tunnel in the southern side of a hill by the side of the river. This Relic is just inside. The big complication is that it really is in the middle of nowhere, although you pass right by it during the “Dirty Work” side mission.
#21: Spider 21
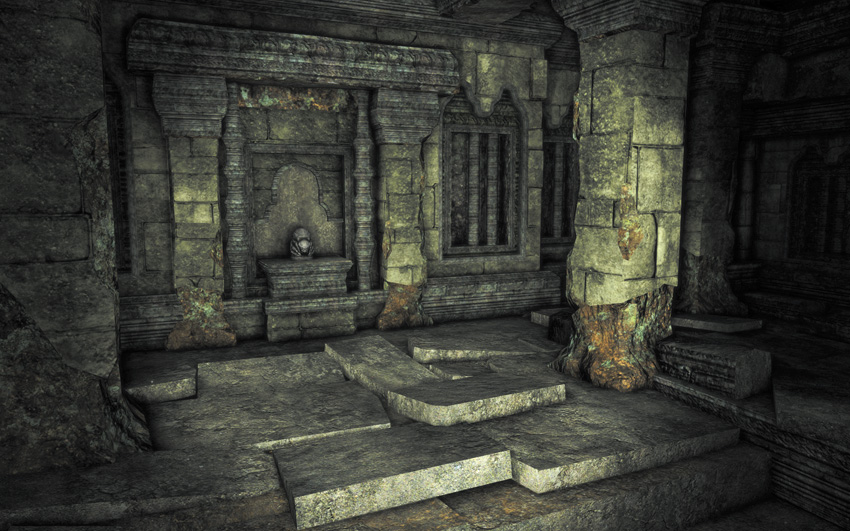
Go to the Temple of Stone on the North Island. At the top of the stairs, there’s an open passage that leads down into a catacomb, where this Relic sits in plain sight.
#22: Spider 22
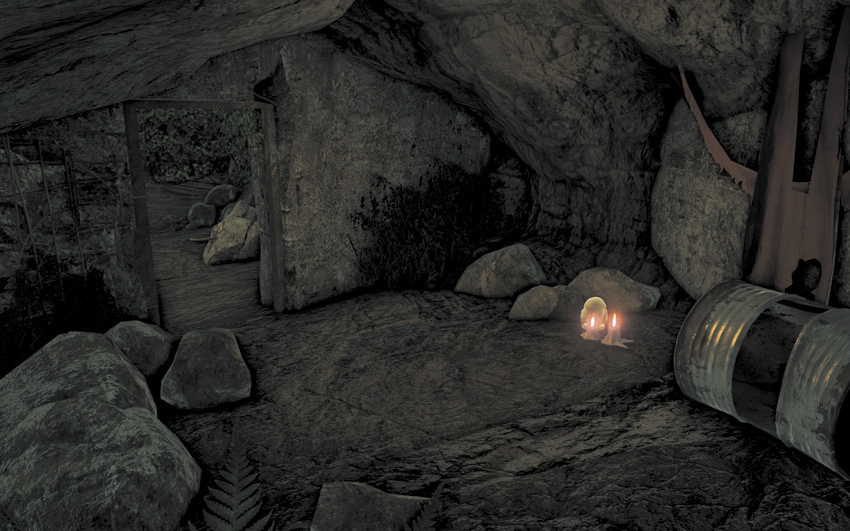
Just inside the prison entrance in Sunset Cove. You’ll practically trip over it during the “Prison Break-In” story mission.
#23: Spider 23
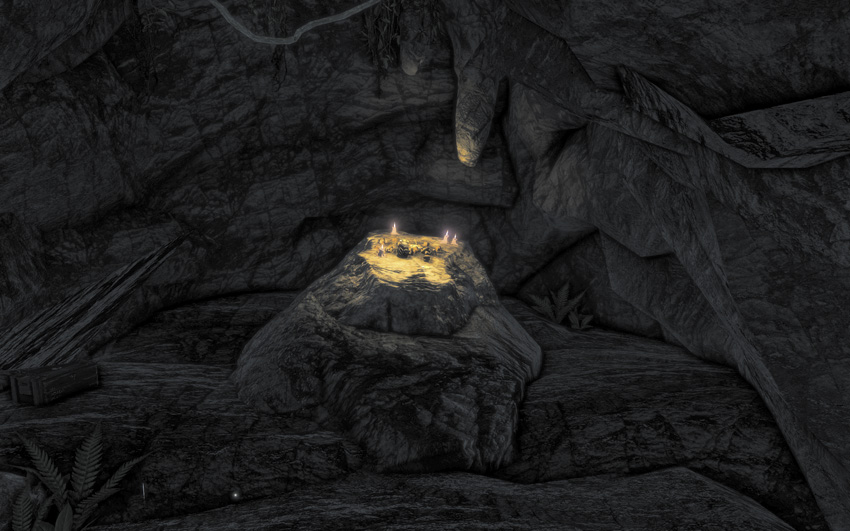
East of Amanaki Village, there’s a well-hidden cave on the west side of a hill. It’s easiest to spot if you look for a small clearing with a loot box and a bunch of rhododendron bushes. Inside the cave, you’ll find the Relic and some cash on a makeshift altar.
#24: Spider 24
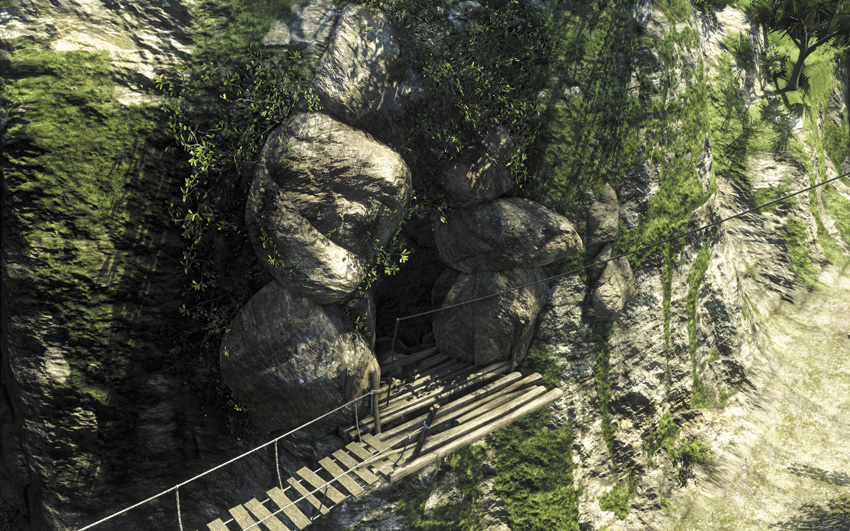
This Relic can be found 460 meters west from the Temple Gateway fast-travel point. In order to reach this Relic, you must travel south along the east side of the river on the top of the bluff until you see a rope bridge. Cross it, then look for another one below you and cross that one to a well-hidden dugout in the side of the bluff.
#25: Spider 25
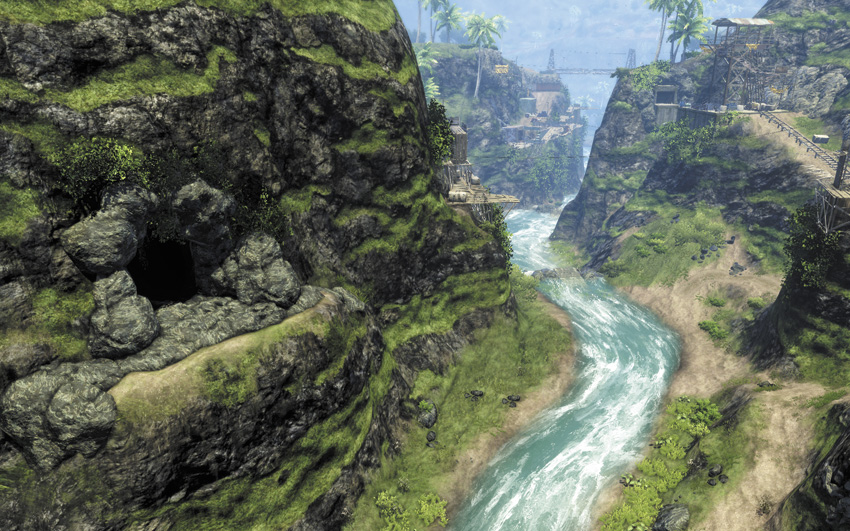
If you go 320 meters west of the Lazy Shore Marina on the South Island, there’s a shallow cavern built into the south face of the ravine. This Relic is inside.
You can’t drop down to the cavern from above, as the slope above it is too steep to avoid taking damage. You have to climb the hills north of the ravine and use your wingsuit and parachute to glide in, which may take a couple of tries to get just right. This is further complicated by this entire area being guarded by some of Hoyt’s most aggressively paranoid troops, who will often attack on sight regardless of whether or not you have the privateer uniform. It’s a good idea to wait to go after this Relic until after the story campaign.
#26: Spider 26
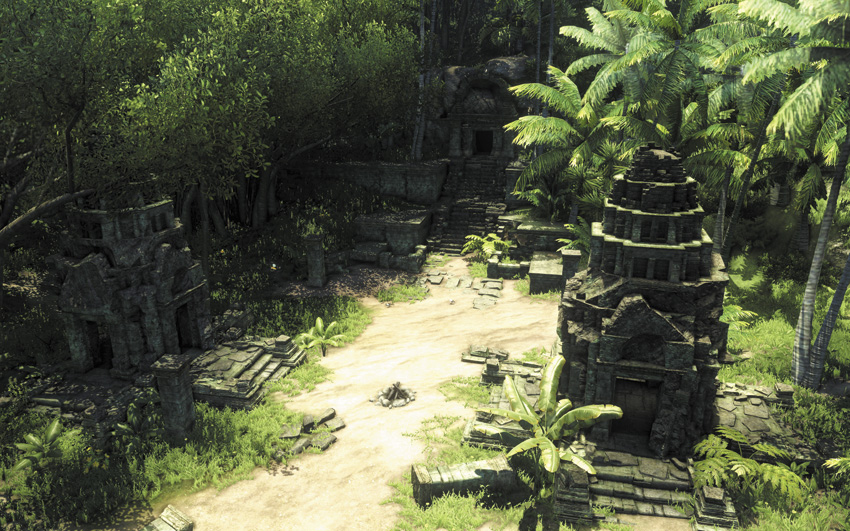
Northeast from Citra’s temple, there’s a large, surprisingly intact ruin by the side of the road. (If you’ve unlocked the quest, the guy who starts the “A Connection to the Past” side mission is standing right outside.) Go straight in through the front door and down the stairs to find this Relic on a shelf.
#27: Spider 27
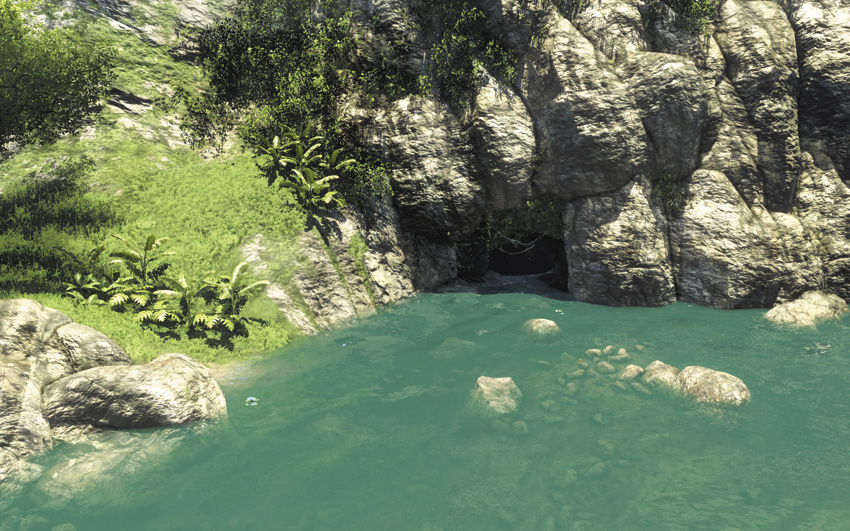
Go through the mining tunnel in the Old Mines outpost. Slide down the ladder and go southeast down the passageway until you emerge above a small lake. After you cross both rope bridges, the Relic is in the antechamber directly ahead of you.
#28: Spider 28
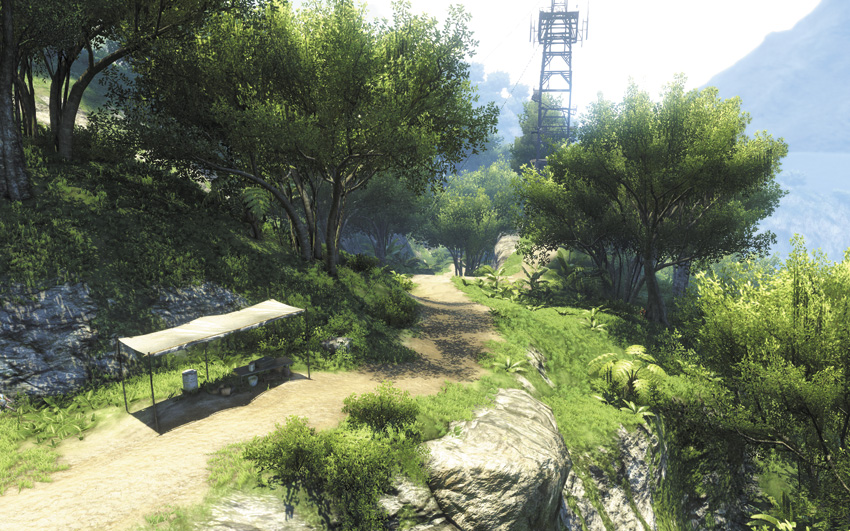
If you take the west-facing zipline off Radio Tower #11, you land almost on top of this Relic. It’s on the ground underneath a table by the side of the road, behind a loot chest.
#29: Spider 29
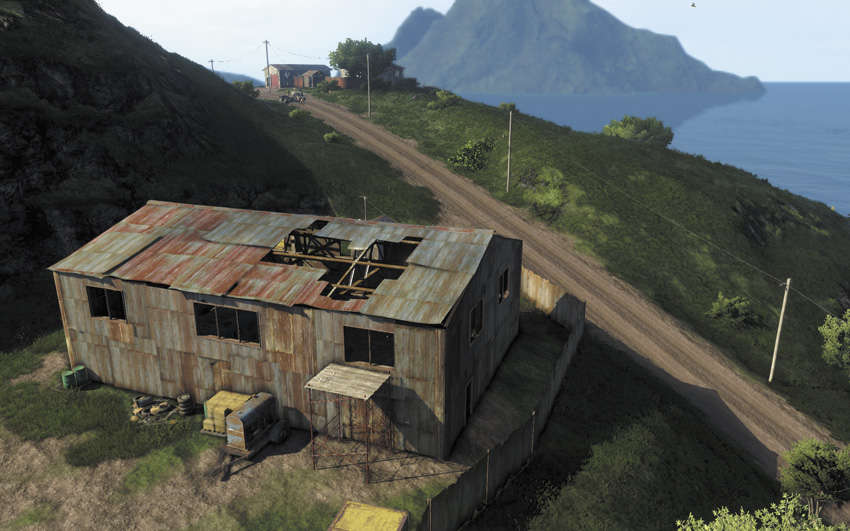
Go to the Longshore View outpost on the South Island, grab a vehicle, and drive west. About 430 meters away, you’ll find a warehouse on the north side of the main road. The Relic is inside, but the only way to get in is to go around to its parking lot and jump onto the maintenance gangplank, then go in through the second-floor window.
#30: Spider 30
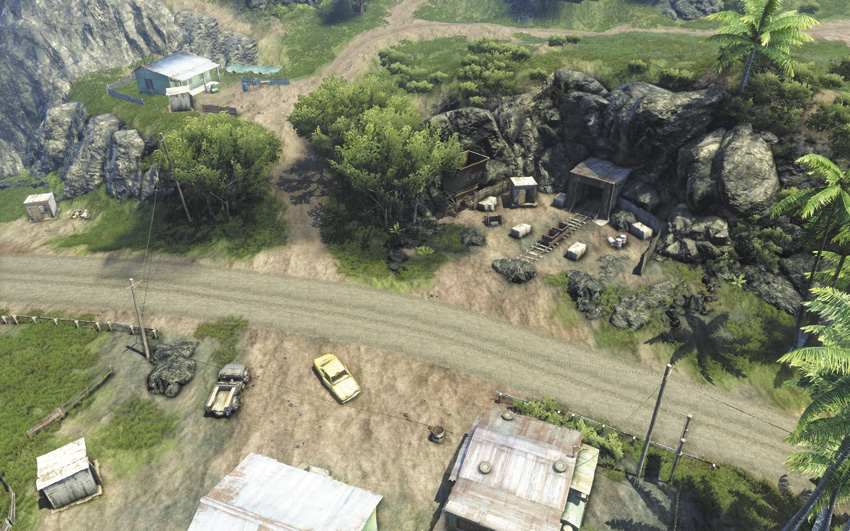
There’s a general store directly east of the Stubborn Kid Farm on the South Island. Across the street from that store, there’s an abandoned mine. The Relic is inside a mine cart right outside the tunnel entrance.
#31: Shark 1
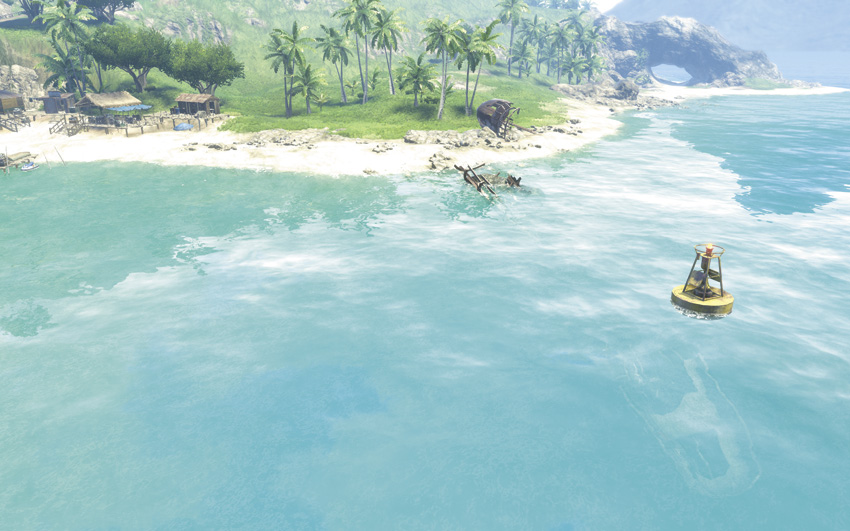
Near Radio Tower #2, there’s a buoy covered in bells out in the middle of the water. If you swim out to it and dive down, there’s a wrecked ship on the ocean floor at the buoy’s base. The Relic is actually underneath the shipwreck, lying in the sand, so don’t waste air looking around on the deck.
#32: Shark 2
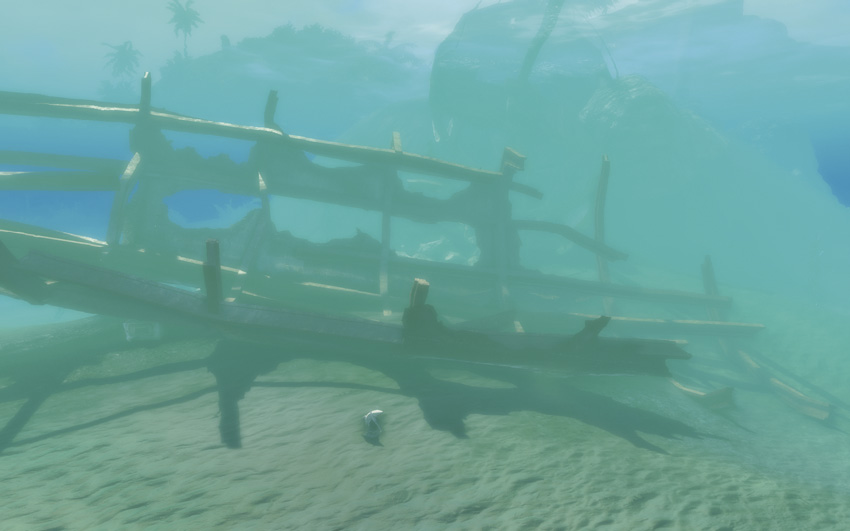
There’s a ship wrecked off the west coast of the southwestern peninsula of the North Island, just south of the start of the Shark Bait Run. The prow of the ship has run aground, but the rest of her is on the ocean floor, along with this Relic.
#33: Shark 3
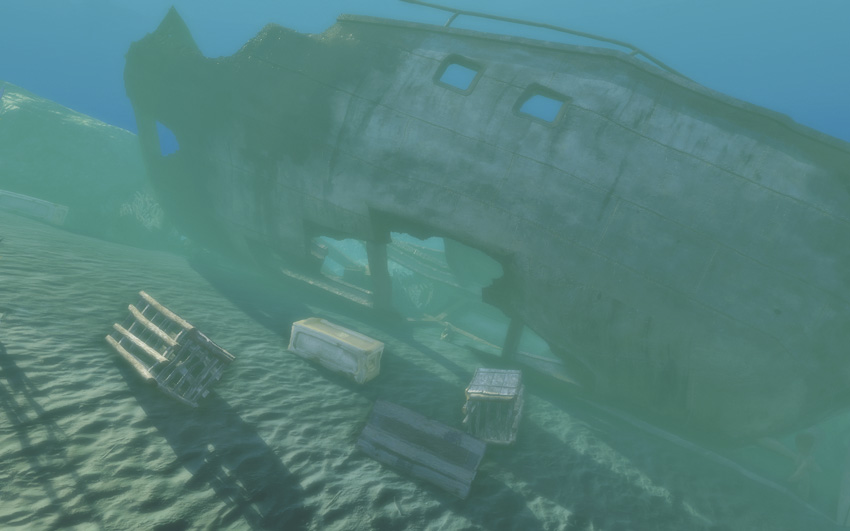
Southwest of Orphan Point, there’s a buoy out in the middle of the water with bells on it. If you dive beneath that buoy, you’ll find this Relic on the ocean floor underneath the hull of half a shipwreck.
#34: Shark 4
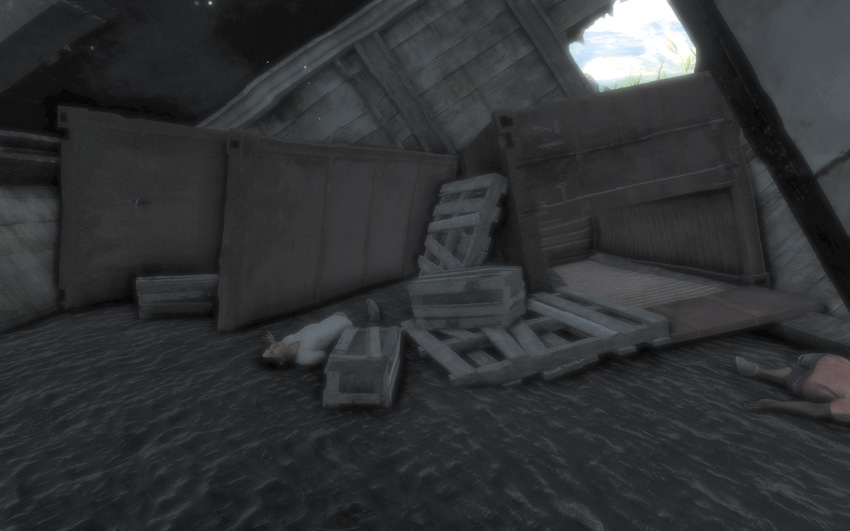
There’s a buoy in the waters just northwest from the Welshore Wreckers’ House on the North Island. Swim underneath the buoy to find a shipwreck on the ocean floor with this Relic in its hold. You’ll probably want a Deep Dive for the trip.
#35: Shark 5
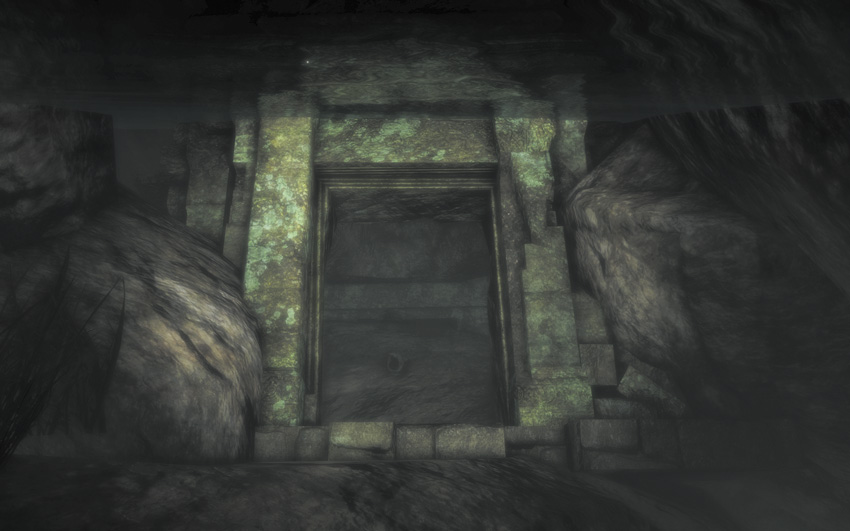
From Northview Gas on the North Island, take the main road northeast and look for a waterfall. This Relic is in a submerged ruin right behind it.
#36: Shark 6
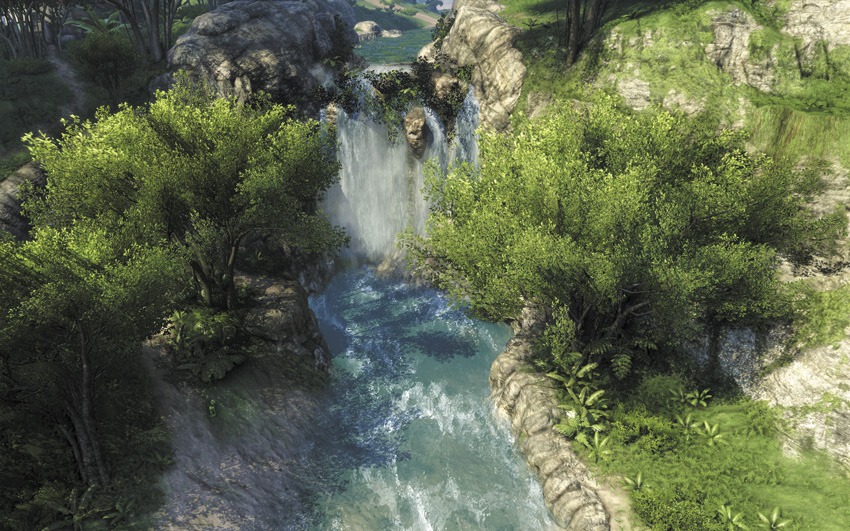
About 360 meters downriver and southeast from the Cradle View outpost, there’s a crashed truck in the river at the base of a waterfall. This Relic is in an open crate near the truck.
#37: Shark 7
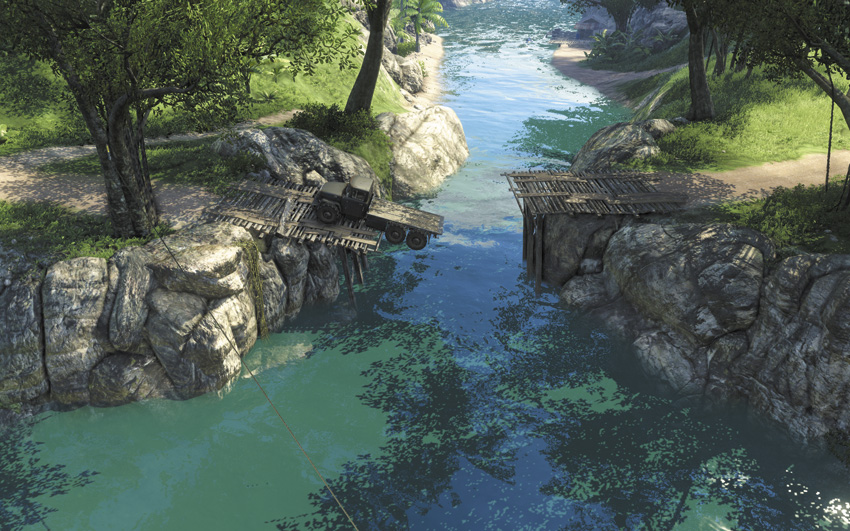
Starting at the Rust Yard outpost and heading east, there’s a broken bridge over the river with a truck on it about 280 meters away. The Relic is on the riverbed below the truck, next to a red loot chest. Churchtown, where the “Ambush” story mission is set, is right nearby.
#38: Shark 8
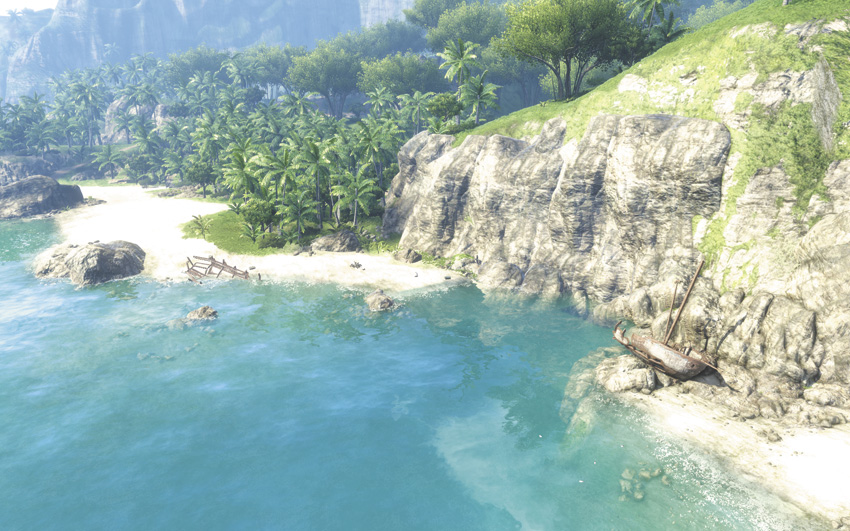
Go north from the Old Mines outpost until you hit the coastline, then move west. This Relic is in an undersea cavern near a red loot chest, located underneath the bluffs.
#39: Shark 9
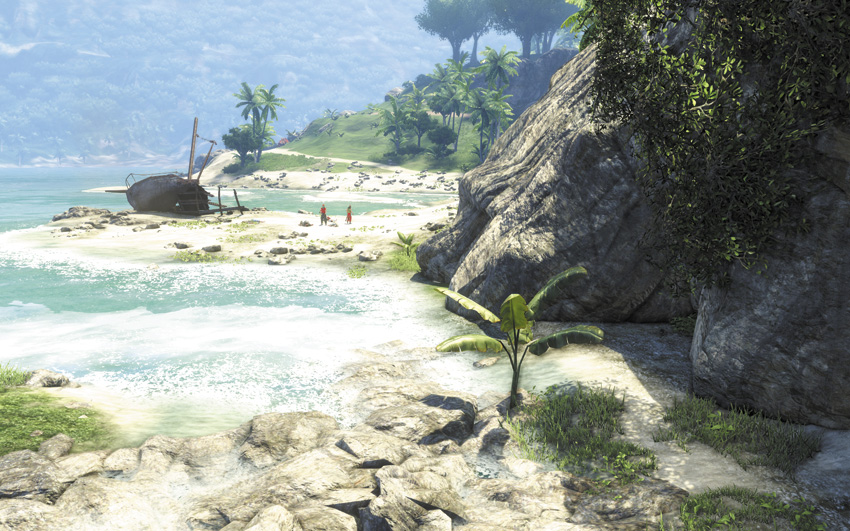
About 500 meters north of the Broken Neck Home outpost, you can find this Relic lying in a small crevice on the coastline. It’s funny, as it looks like it should be inside the nearby caverns, but no, it’s right out in the open.
#40: Shark 10
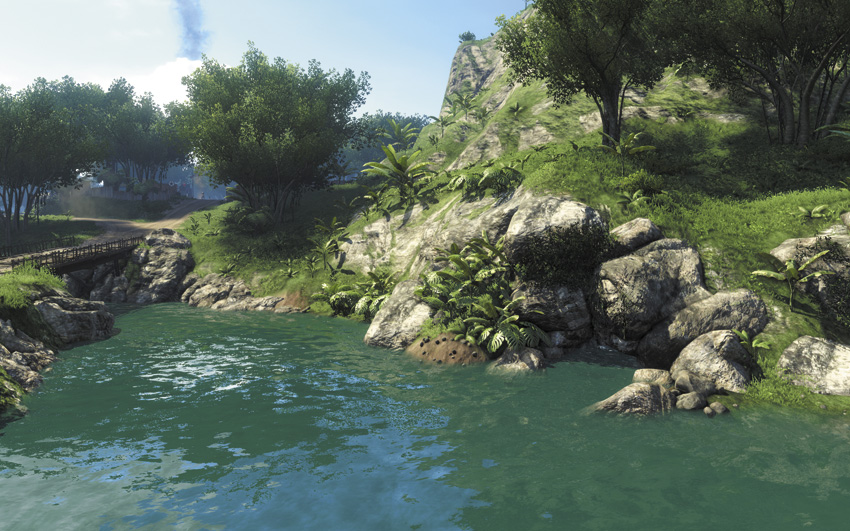
Southeast from The Neck’s Diner on the North Island, there’s a fork in the river with a cave right at water level. Swim inside and go underneath the wooden obstruction in the tunnel to find this Relic at its end. Realistically, you’ll need a Deep Dive syringe to get to the Relic and back without drowning, even if you’ve got the Deep Breath skill.
#41: Shark 11
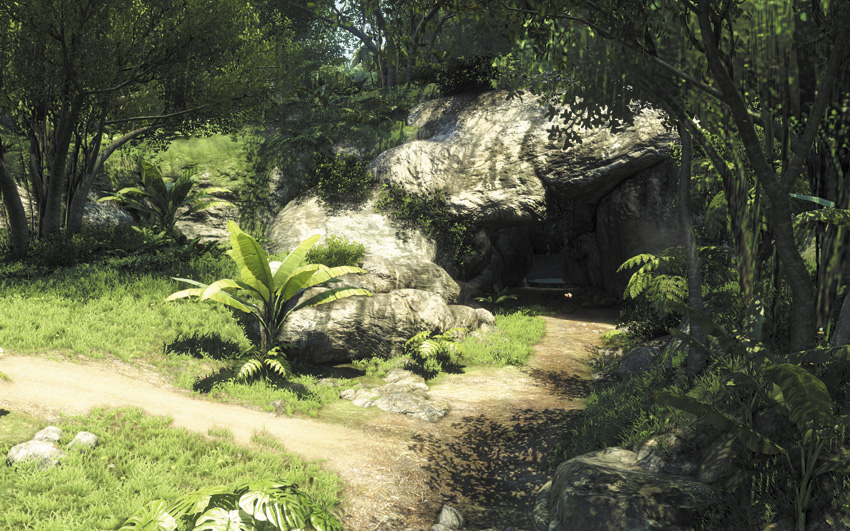
The Path of the Hunter quest to kill One Horn takes you to a clearing in the jungle that has a grate set into the ground, below which is this Relic. You can also see on your minimap that there’s a long trail of blue plants located underground, and following that trail leads you right to a flooded cavern. Swim through the underwater passage to find this Relic.
#42: Shark 12
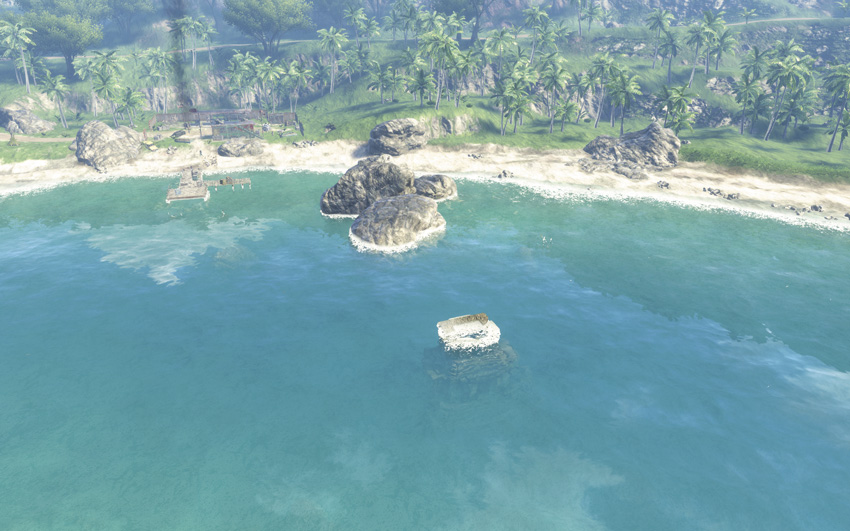
You’ll want a Deep Dive syringe for this one. In the deep water just east of Kell’s Boat Repairs on the North Island, there’s an underwater ruin that’s inhabited mostly by manta rays and loot boxes. This Relic is sitting on an altar inside it. As a serious drawback, the water surrounding the ruin is probably the single best place in the game to find multiple sharks, so you should not be surprised if you run into a few.
#43: Shark 13
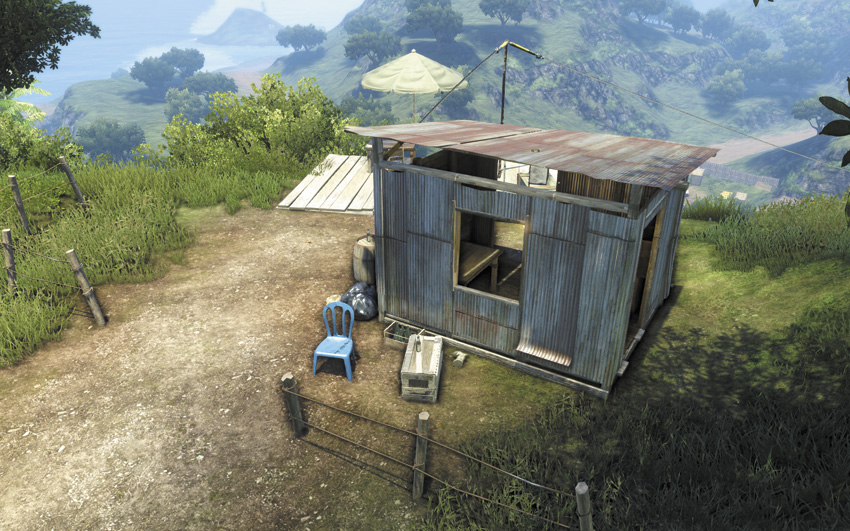
This Relic is at the top of a hill just southwest from Turtle Hill on the South Island, fallen behind a crate just outside a small cabin. You can only climb it from its northern face, via a path that’s outlined on your map.
#44: Shark 14
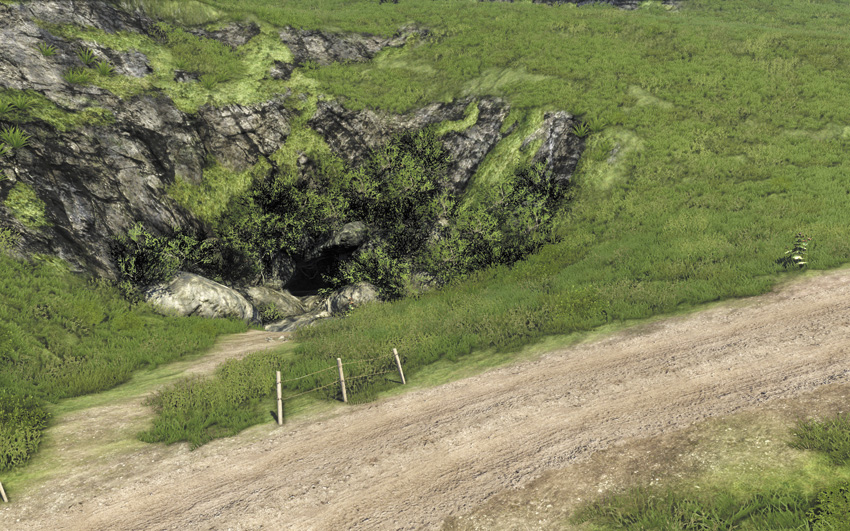
About 190 meters north of the Break Point Docks, on the north side of the road, there’s a very small cavern in the side of a hill. Inside, at the end of a small underwater pond, you’ll find this Relic on the floor. It’s very difficult to see.
#45: Shark 15
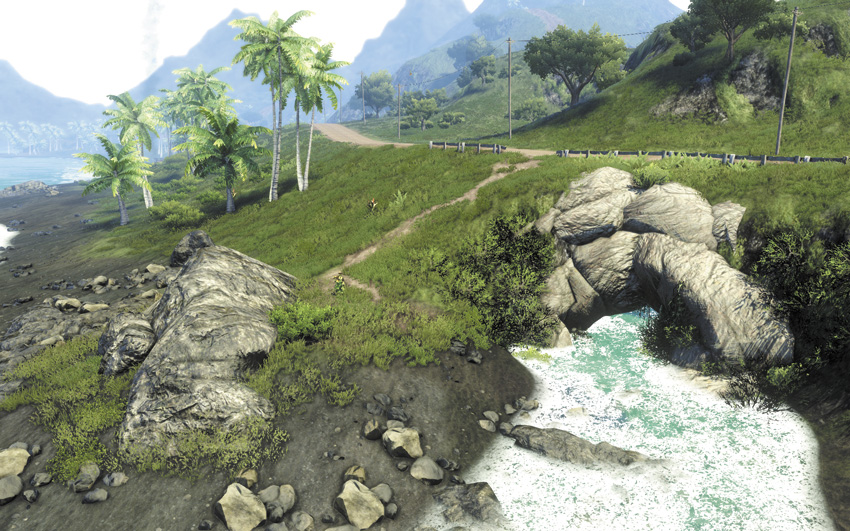
If you zoom your map all the way in on the Break Point Docks and look to its east, there’s a small cavern at the water level a couple of hundred meters down the coastline. The cavern leads to a long flooded tunnel, at the end of which you can find a well-hidden stash of military equipment, a red loot box, and this Relic.
#46: Shark 16
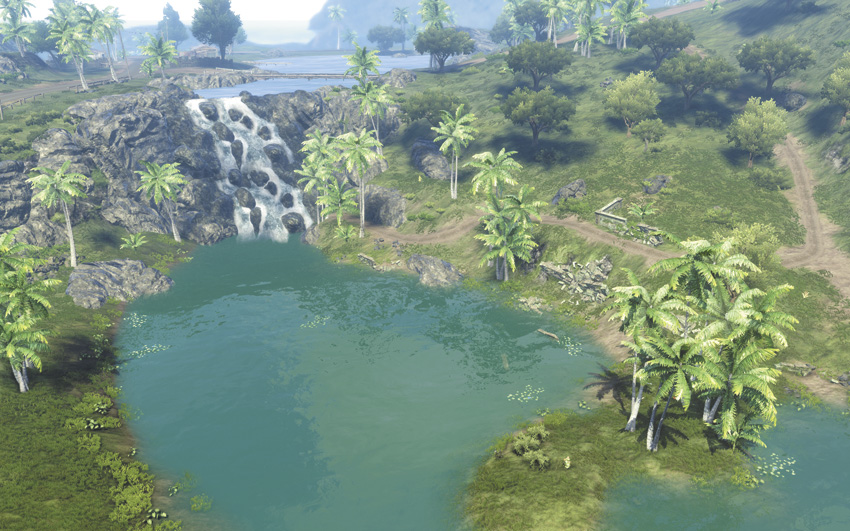
Southwest from the Spine Ridge Site, this Relic sits atop a pedestal at the bottom of the lake, near its center on the map and a short distance north of a waterfall.
#47: Shark 17
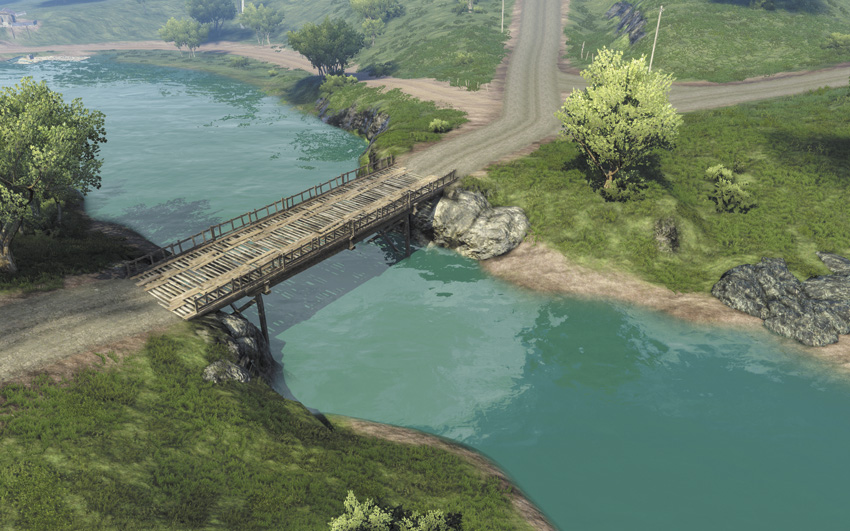
Located underneath the bridge east of the Compound on the South Island, in front of the wrecked car on the riverbed.
#48: Shark 18
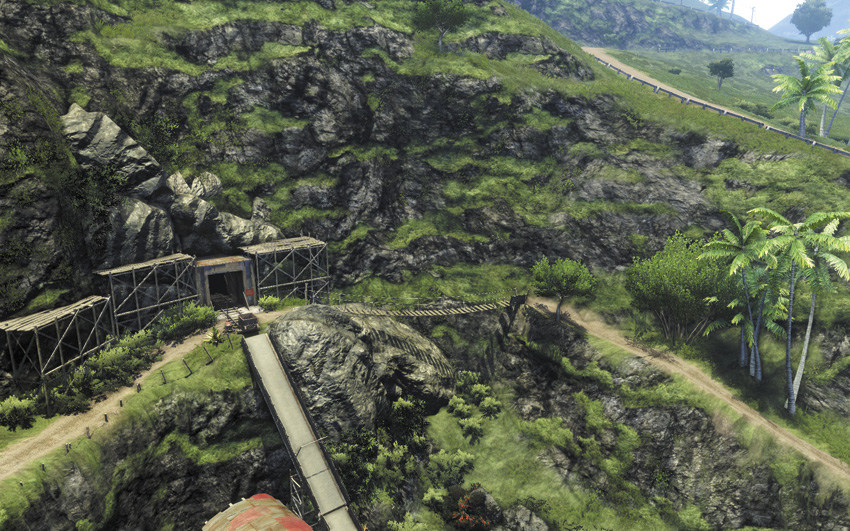
Found at the end of the mine tunnel above the North Krige Crest outpost.
#49: Shark 19
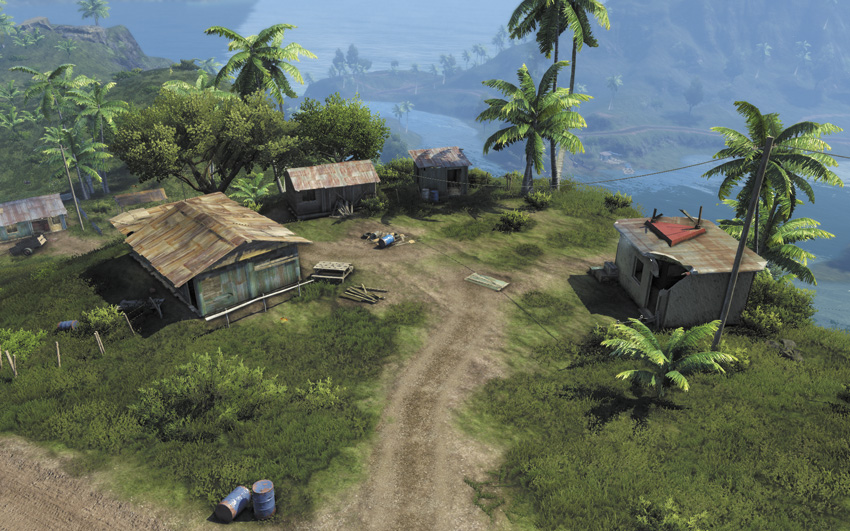
There’s an abandoned village about 270 meters southeast from Maw Docks & Repairs on the South Island, by the side of one of the smaller roads. The Relic is inside a building on the northeast side, behind a wooden structure.
#50: Shark 20
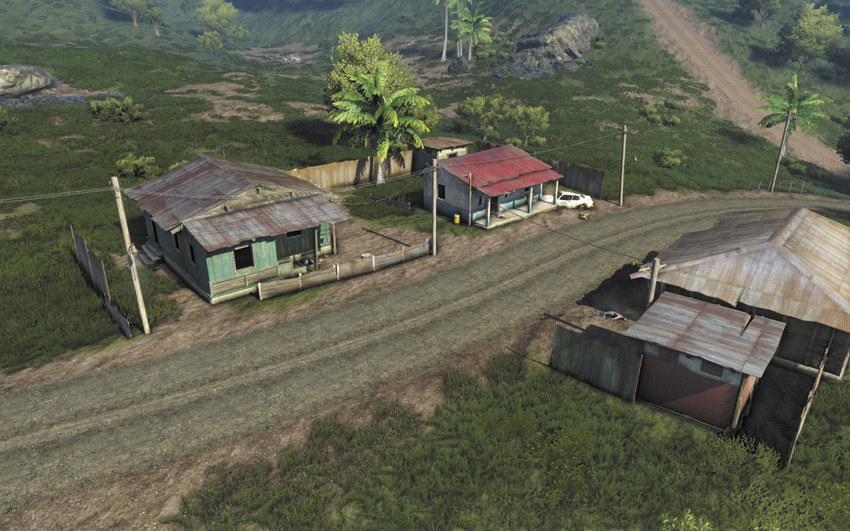
North of Longshore View, just up the road from the Junkyard Rally Racing Challenge, there’s an abandoned settlement along the main road. The Relic is inside the largest building, on top of a TV set.
#51: Shark 21
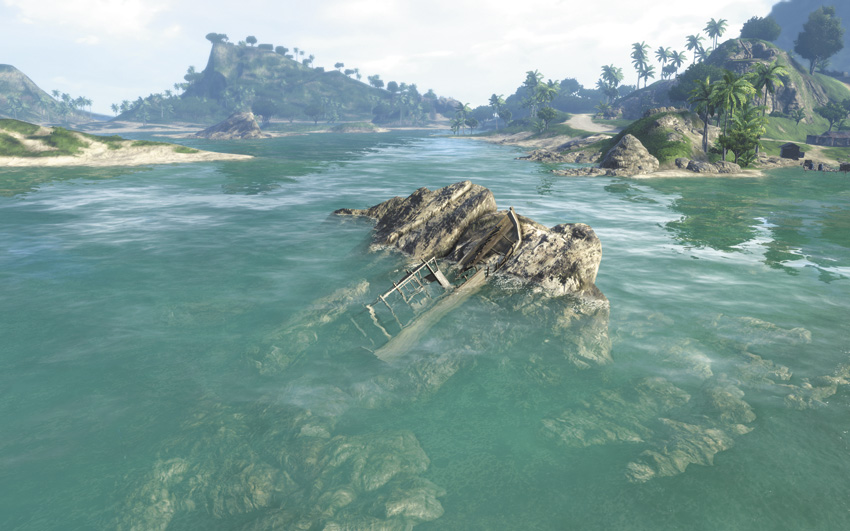
Go 400 meters southeast from the Valsa Docks, and look for a couple of big rocks a short distance out into the water. An old shipwreck ran aground on them, and you can find this Relic on the rocks’ south face on the ocean floor.
#52: Shark 22
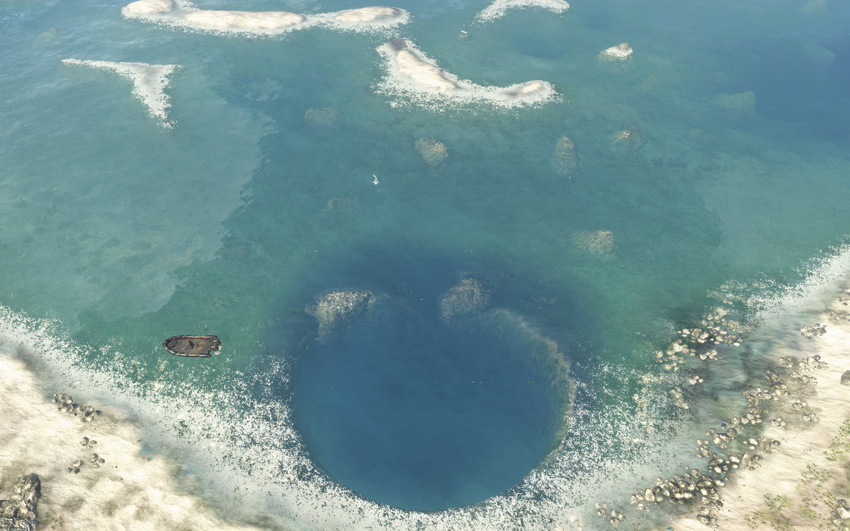
On the north end of the inlet on the southeast side of the North Island, a short distance up the coast from Kell’s Boat Repairs, this Relic is on the ocean floor inside a sunken rowboat. Getting to it requires swimming straight down for a considerable distance, and realistically, you’ll want a Deep Dive syringe to survive the trip.
#53: Shark 23
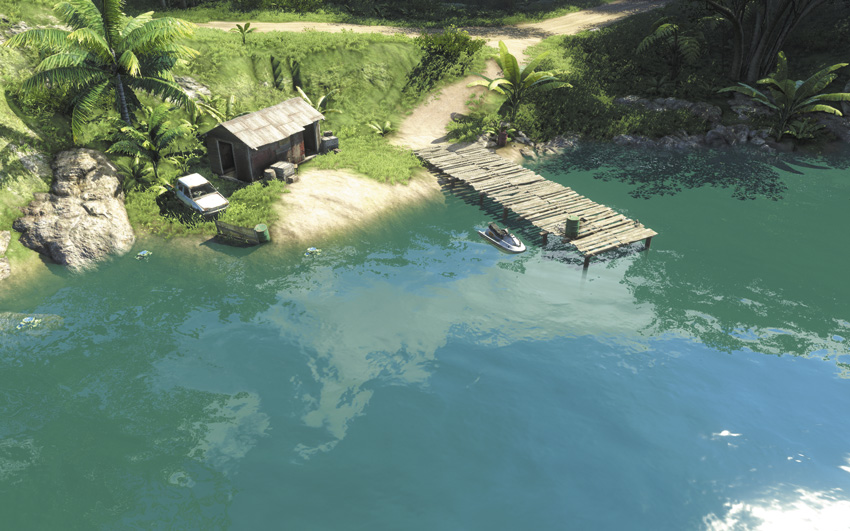
This one is so straightforward that it almost seems like a trap. Go to the lake east of Amanaki Town on the North Island. The Relic is almost directly underneath the jet ski that’s parked at the dock, sitting on the lakebed.
#54: Shark 24
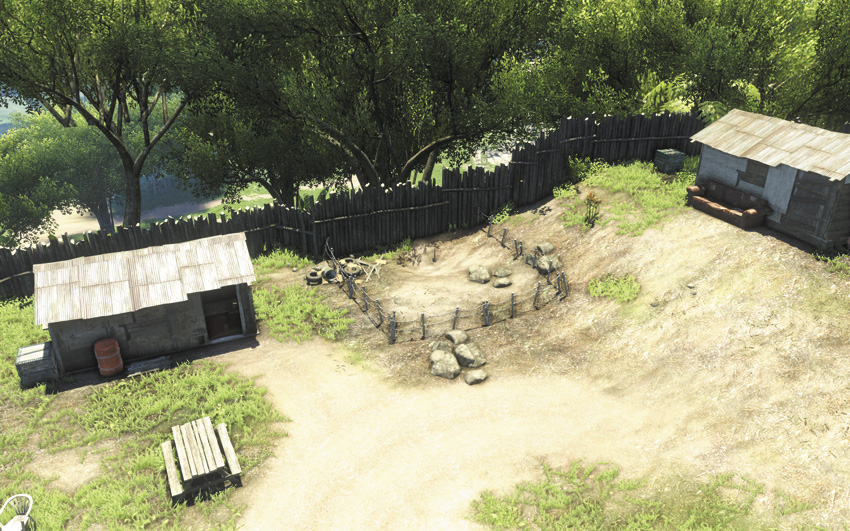
Located 260 meters south-southeast of the Mosquito Yard outpost on the North Island, this Relic is in an abandoned archeological digsite. You can drive straight to it off the main road. Look for the handmade wooden fence.
#55: Shark 25
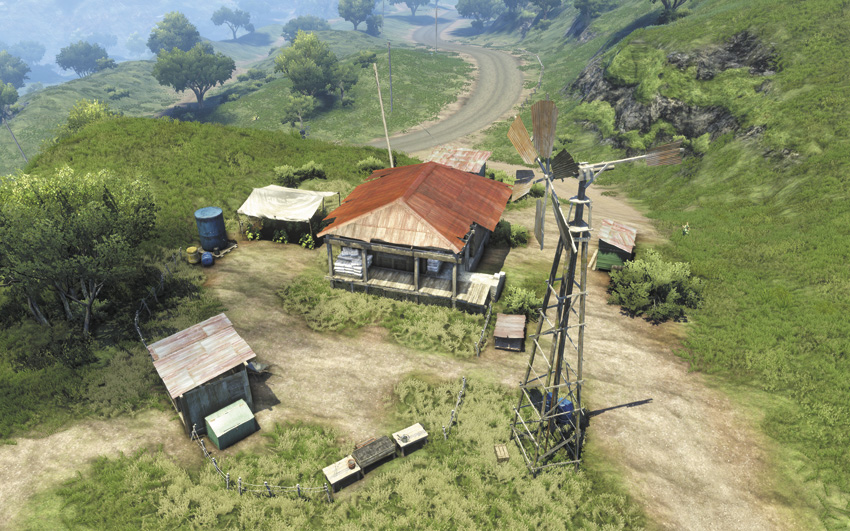
About 300 meters east of the Delta Camp fast-travel point on the South Island, you can follow a meandering side road to an abandoned ranch. This Relic is on its back porch, next to a big pallet full of what we’re sure is just flour. (Relic #72 is about 150 meters southwest from here, so if you’ve just found that one, slide down the mountainside towards the windmill and you’re practically there.)
#56: Shark 26
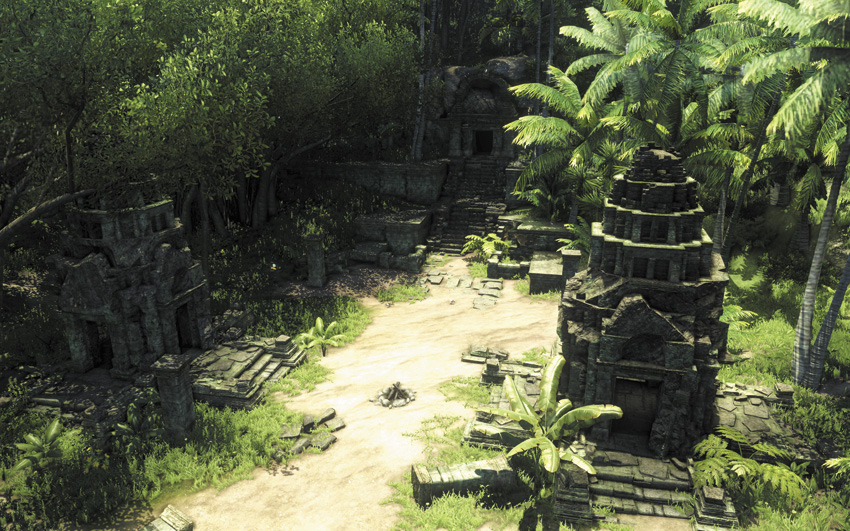
If you turn left from where you found Relic #26 (Spider 26), there’s a side passage that leads to a flooded basement level. This Relic is sitting on a dais underwater in plain sight.
#57: Shark 27
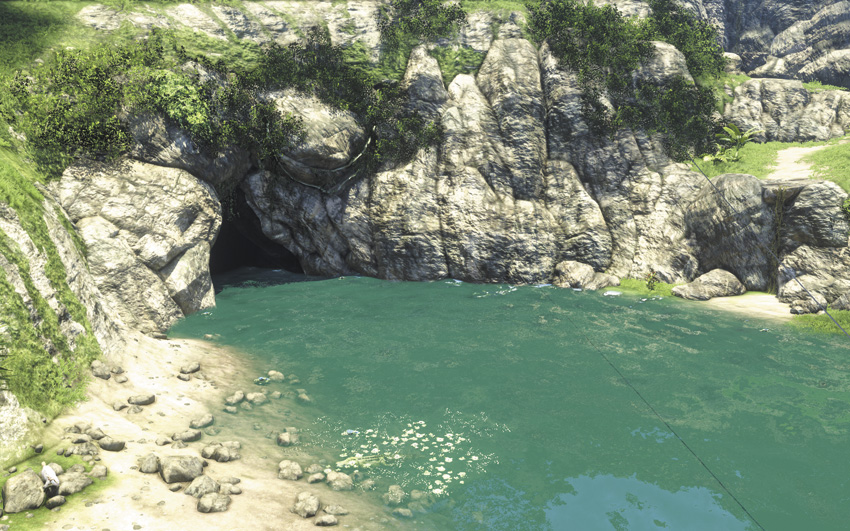
There’s a lake north of Radio Tower #6 with a big, obvious cave at its southern end. Take a look inside to find a big, obvious altar to match, with this Relic in a place of pride.
#58: Shark 28
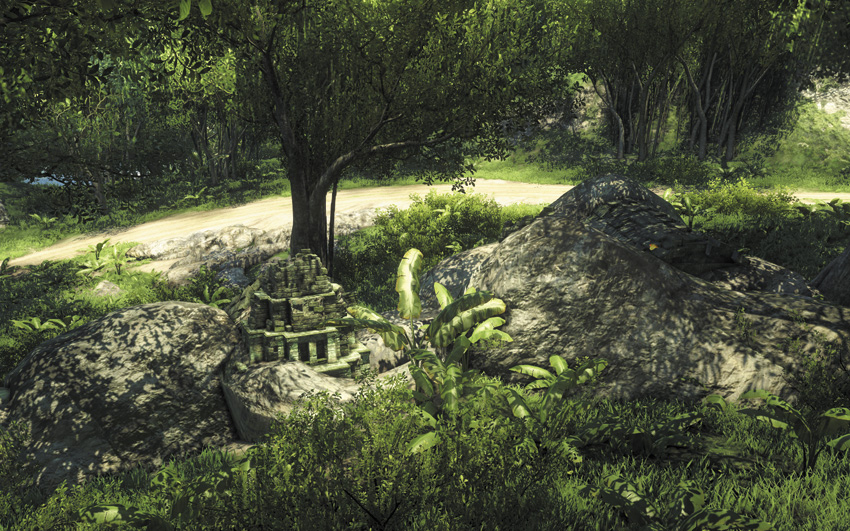
There’s a long, curving road away from the Hubert Shore Power outpost that leads up into the mountains. At the first turn, there’s a hole in the ground that drops directly into an underground river. You’ll need a dose of Deep Dive to survive the swim without drowning, but you can pick up this Relic on your way out. The exit drops you off in a pond just downhill from the entrance.
#59: Shark 29
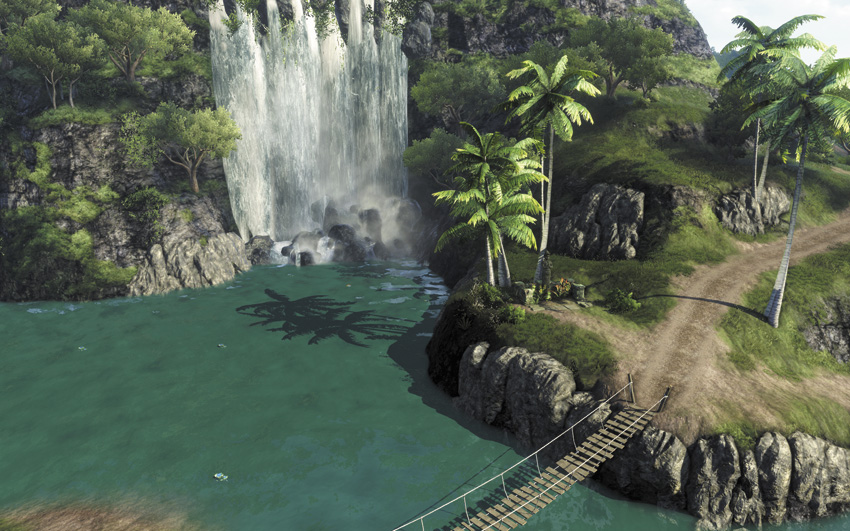
This one is on the west end of the large ravine on the eastern half of the South Island, at the base of the waterfall, almost exactly in the center of the map. It’s 320 meters east from the Kamikaze Pass Racing Challenge.
#60: Shark 30
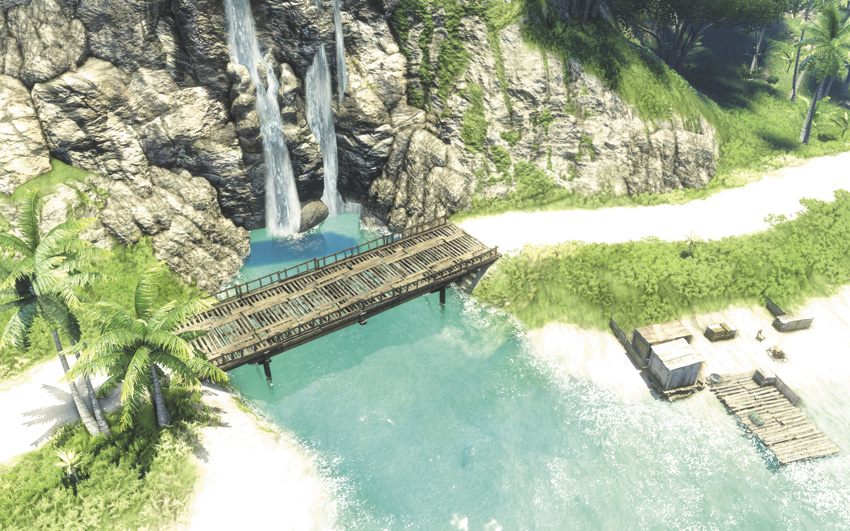
On the northeast coast of the North Island, there’s a big wooden bridge across the river, just west from the island south of Vaas’s stronghold where Relic #99 is found. Drop into the water under it and swim underneath the waterfall to find a well-hidden tunnel, highlighted by the line of Blue Leaves on your minimap. This Relic is at its end.
#61: Boar 1
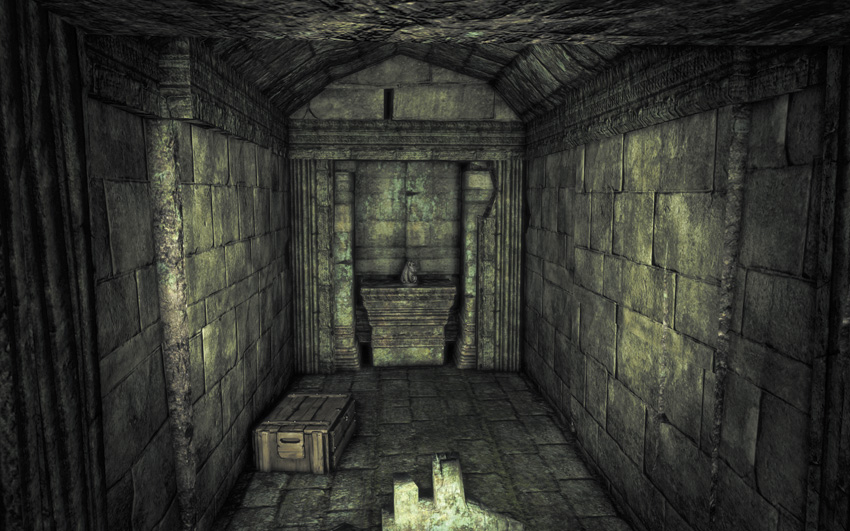
Go 280 meters east of the Valsa Docks outpost on the North Island, and look for a large natural stone arch. The “Tagging the Past” side mission begins inside a shack directly atop it. If you go underneath the arch, there’s an old overgrown temple entrance built into the side of the hill. Use your machete to cut away the vines, then descend the stairs and climb up into the hole in the wall. You’ll have to do some shoving to clear away some crumbling bricks, but this Relic is behind them.
#62: Boar 2
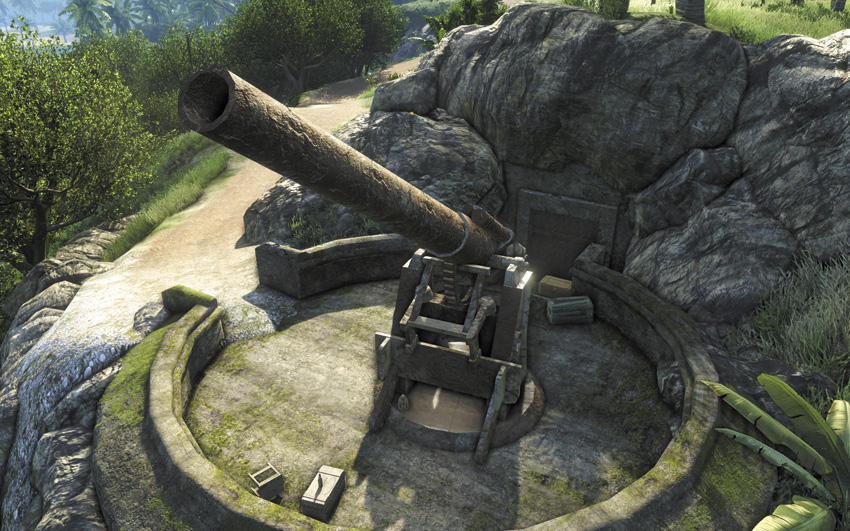
Near Radio Tower #2, west of Heron’s Perch, there’s an old Japanese anti-aircraft gun rusting away on the side of a cliff. If you climb the trail up to the platform the cannon’s mounted on, this Relic is sitting at the cannon’s base.
#63: Boar 3
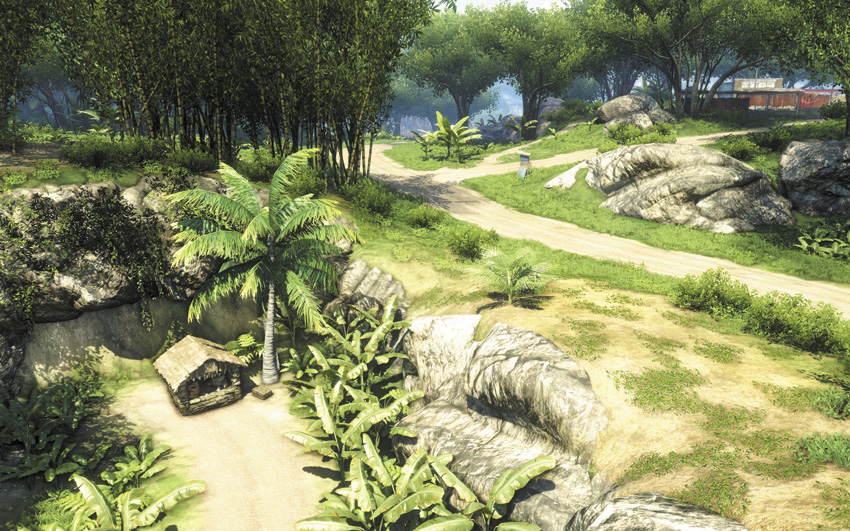
At the end of a small side road just east of the Amanaki Outpost, this Relic sits peacefully on an altar.
#64: Boar 4
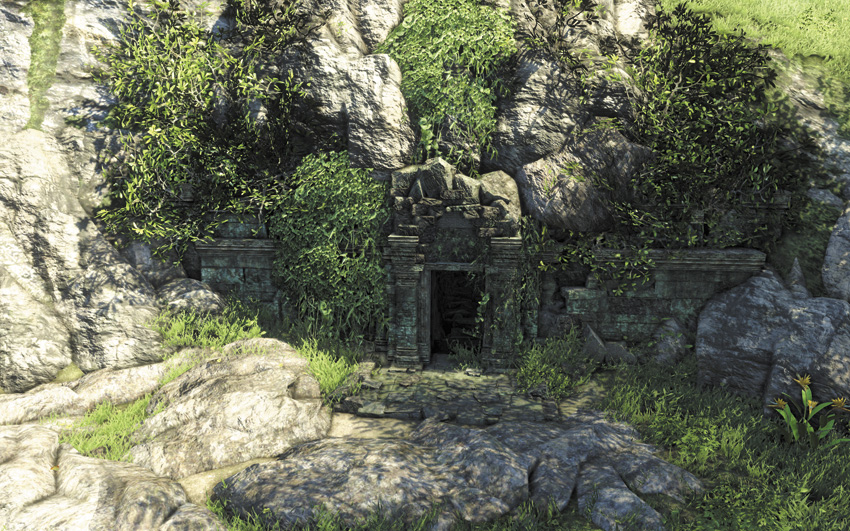
One of the long meandering roads west of Calvary Point goes past an easy-to-miss underground ruin. Hack the vines away from its entrance to find this Relic inside.
#65: Boar 5
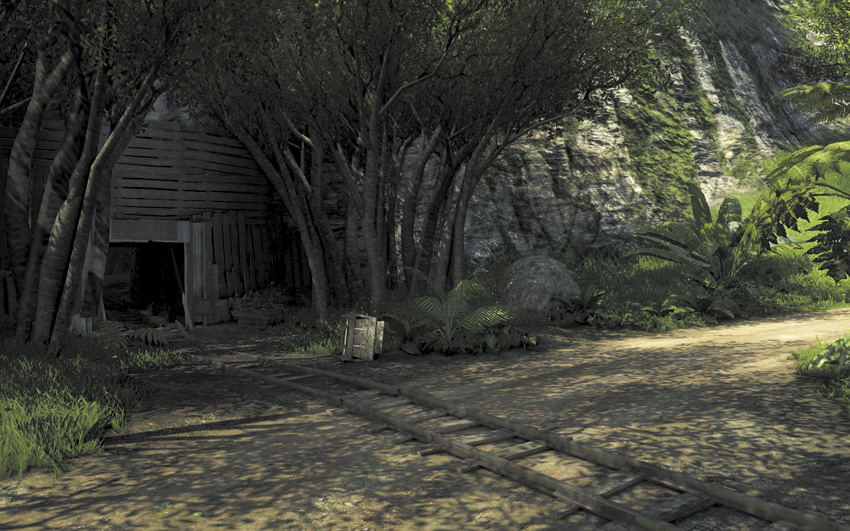
There’s an old mining station about 260 meters north-northeast from the Rust Yard outpost on the North Island, which you have to reach at one point during the “Saving Oliver” story mission. While there, you may have noticed the old mining tunnel east of the station, which is blocked off with a weak wall. Blow it open with C4 to find a gangplank. If you follow it around to its end, you can climb a ladder to a high platform where this Relic is waiting for you.
#66: Boar 6
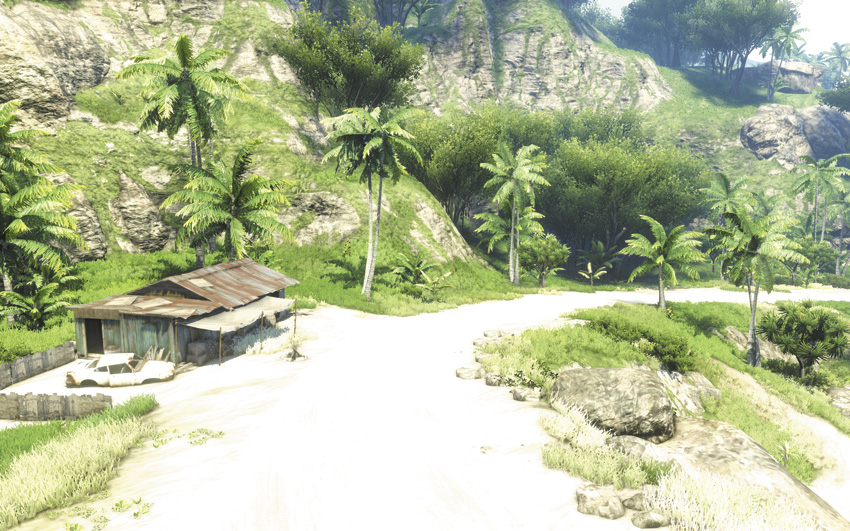
About 135 meters northeast from the Cliffside Overlook, inside a house by the side of the road. You can see the house from the bluffs behind the Overlook, but you’ll need to drive around unless you’ve got the wingsuit.
#67: Boar 7
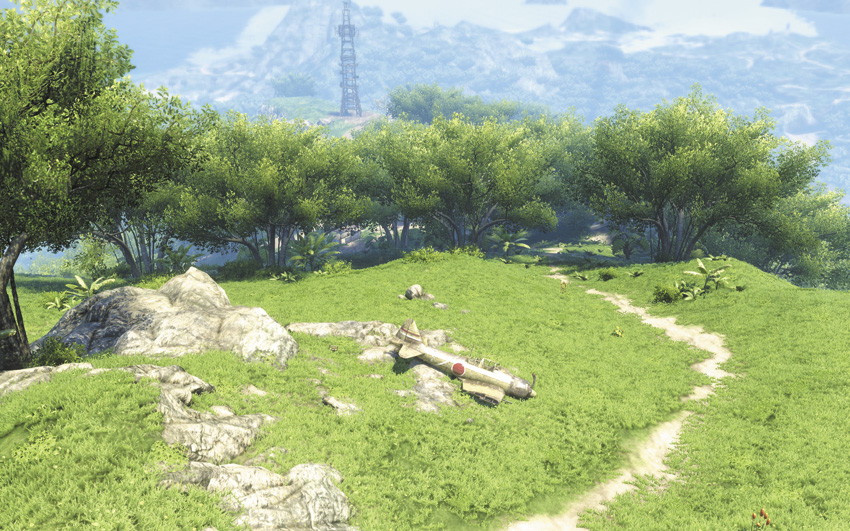
If you follow the old nature trails north from the Hubris Farm outpost on the North Island, one of them leads to a crashed WWII fighter plane on top of a cliff. This is about 240 meters east from Radio Tower #5, and is one of the points of interest shown to you when you destroy that tower’s scrambler.
#68: Boar 8
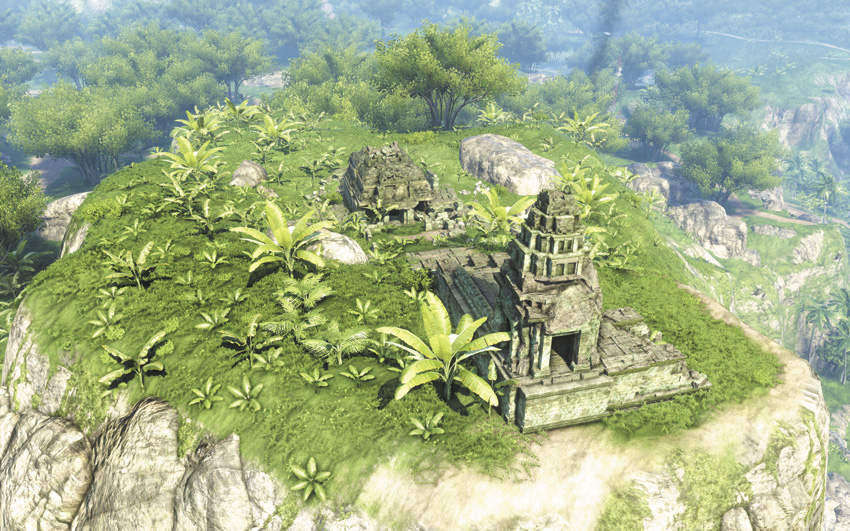
Go east of the AM 12 outpost, driving along the main road, and keep an eye out for a side trail that leads north and curves around a high bluff. The trail leads into a cavern, inside which you’ll find an old ruin with a weakened wall. Blow it down with C4 to reach an old catacomb that leads up to the top of the bluff, where this Relic has a place of pride atop an old pedestal.
#69: Boar 9
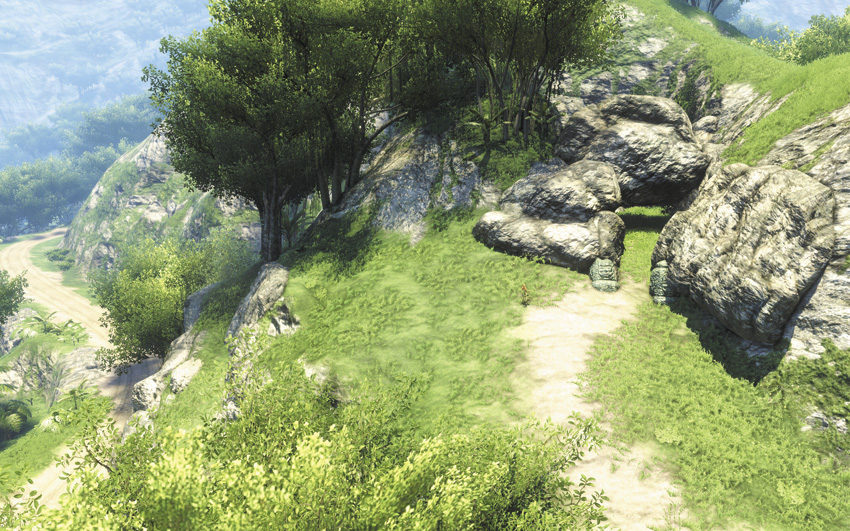
About 490 meters east from the Hubert Shore Power outpost, there’s a very well-hidden old ruin built into the west side of a mountain. An old rockfall has almost blocked the passageway, and the only way you can tell there’s anything there at all is because, if you zoom your map in all the way, there’s a tiny white dot to indicate its presence. Once you know it’s there, you can crawl under the rockfall, blow open the weak wall at the end of the path, and find this Relic inside a cache of old artifacts in what’s left of a Rakyat temple, but knowing it’s there at all is the hard part.
#70: Boar 10
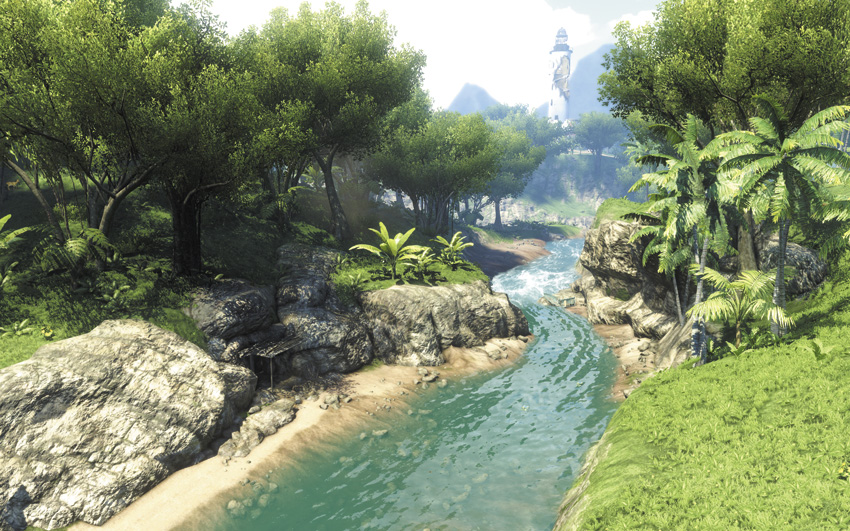
About 100 meters south from where you found Relic #9, there’s an old boarded-up cavern along the side of the river. Smash it open with your machete to find two metal loot chests and this Relic.
#71: Boar 11
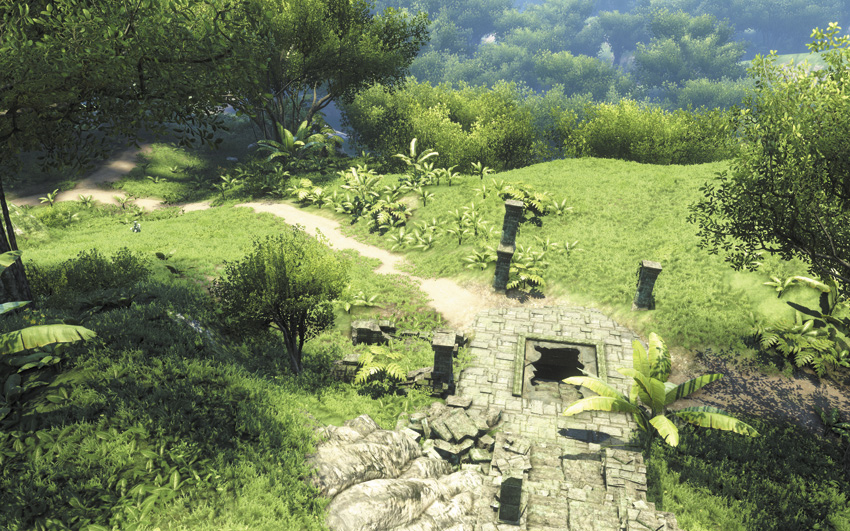
About 100 meters southwest of Camp Murder on the North Island, there’s an old ruin with a conspicuously weak floor. Blow it open with some C4 to reveal an old staircase, which leads straight down to this Relic.
#72: Boar 12
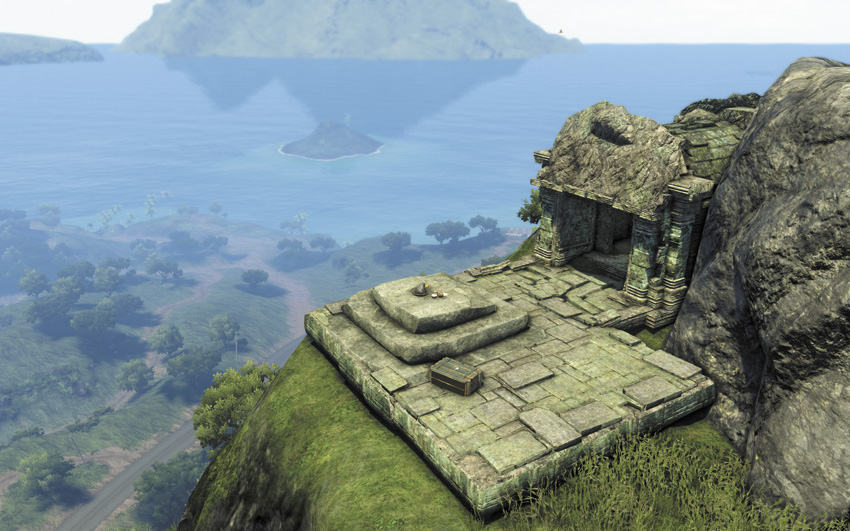
Climb the bluffs to the east of the Satellite Communication Hub on the South Island. At the topmost peak, if you look on the bluff’s eastern side near a parked glider, you’ll see a chunk of old temple ruins with this Relic on it, positioned so it’s invisible from below.
It’s also possible to find your way here via a side trail off the main road, near the small lake. This route requires a C4 charge to knock down an old wall.
#73: Boar 13
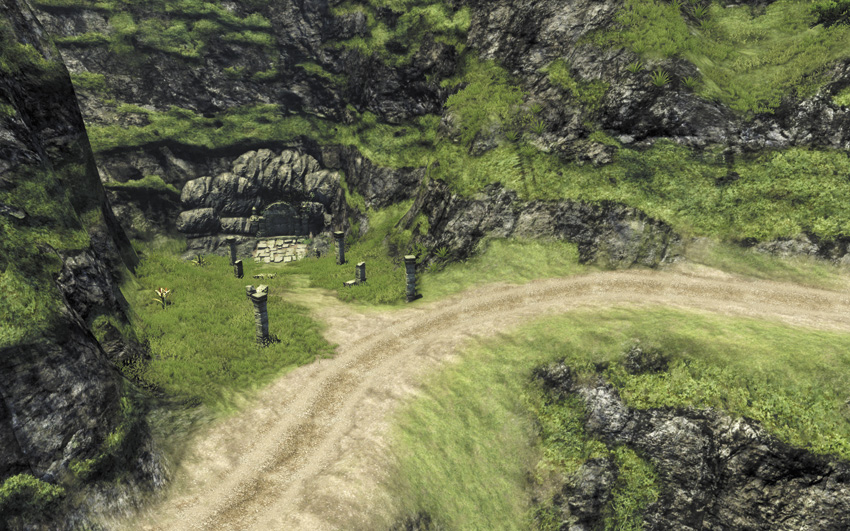
About 130 meters southwest from the Trial of the Rakyat stone for Overheat, look for a big ruin that you can blow open.
#74: Boar 14
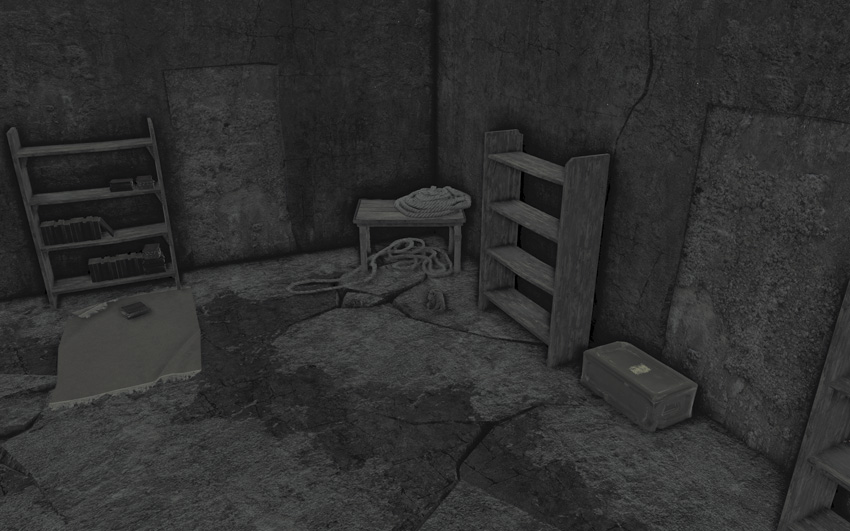
If you go to the Lazy Shore Marina and head 280 meters northwest via the side road, there’s a small abandoned shantytown. Look behind the buildings for a hole in the ground that’s been covered up with a couple of old signs. Use explosives to destroy the signs and reveal a hidden basement, inside which you’ll find two green loot boxes and this Relic.
#75: Boar 15
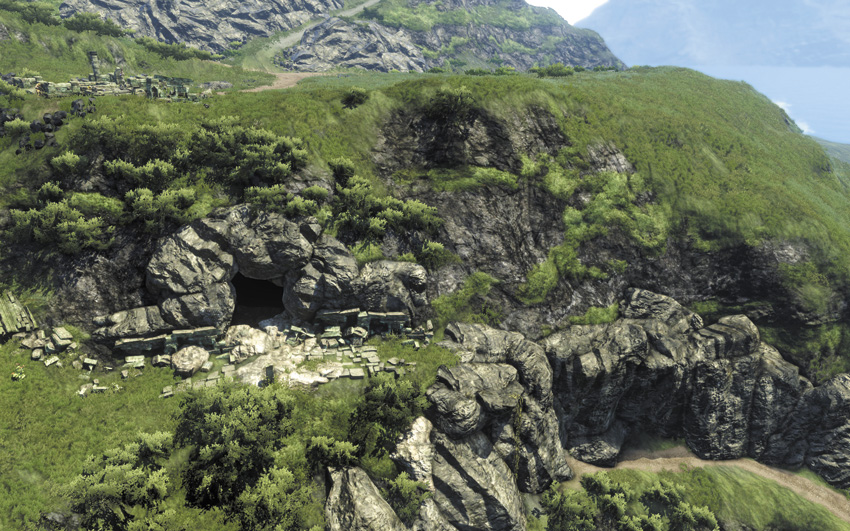
The easiest way to reach the general area where this Relic is kept is to grab a vehicle and drive in on the high mountain roads. When you get there, you can see this Relic on the other side of a blocked hole in the ground, in some picturesque ruins. To get inside, look on the east side of the hill to find a well-hidden cavern entrance. You’ll need to blow the door open with C4.
#76: Boar 16
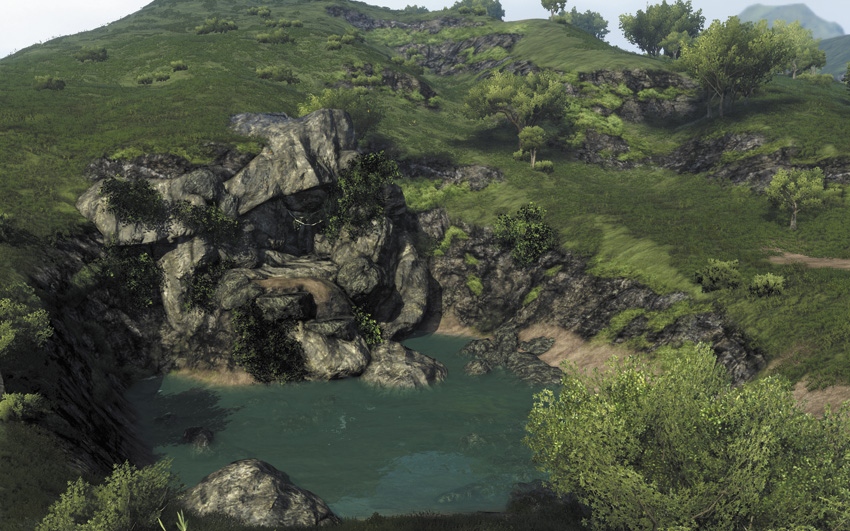
North of the Trial of the Rakyat stone for Decimation Barrag, near a crescent-shaped lake, you can find a large cavern with a weakened wall just inside it. Blow it open to find a cave-in that’s destroyed one of the old temples. Thankfully, the Relic is safe.
#77: Boar 17
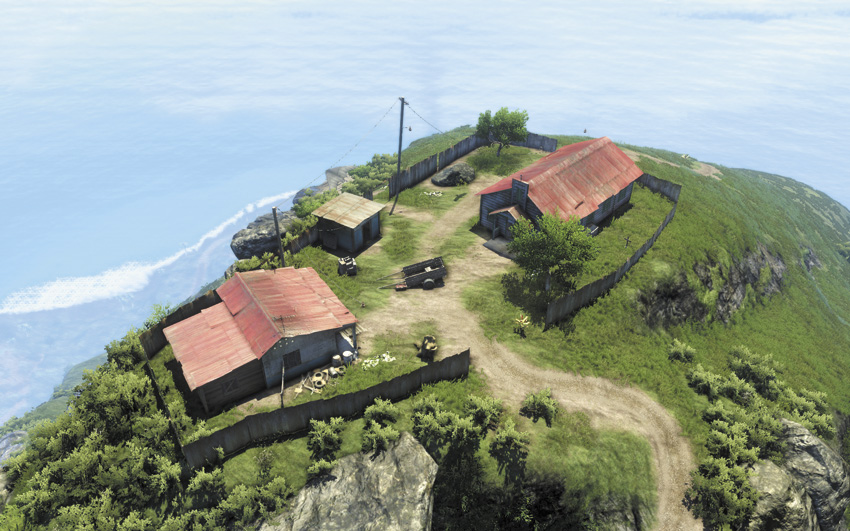
About 600 meters south of the East Ridge Camp, there’s an isolated and abandoned settlement built on what might be the highest point on the South Island map. The only real way to reach it is to follow the paths around from the southern approach, past the nearby Radio Tower. It’s a long walk, but a relatively peaceful one.
#78: Boar 18
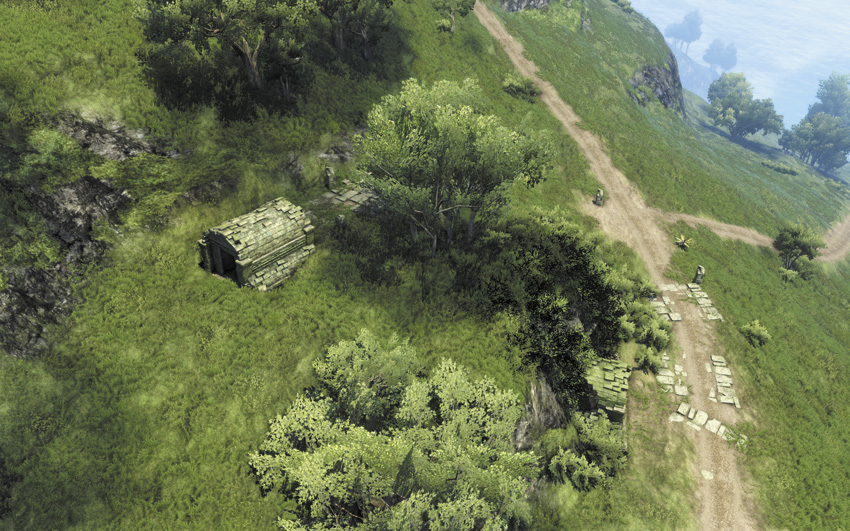
Maybe 400 meters southwest from Romeo Camp, look for some ruins on the south side of an otherwise unremarkable dirt road. You can use some vines to climb down into an underground tunnel, then bomb a wall open to reveal a hidden treasure chamber. This Relic is inside, along with a red loot box.
#79: Boar 19
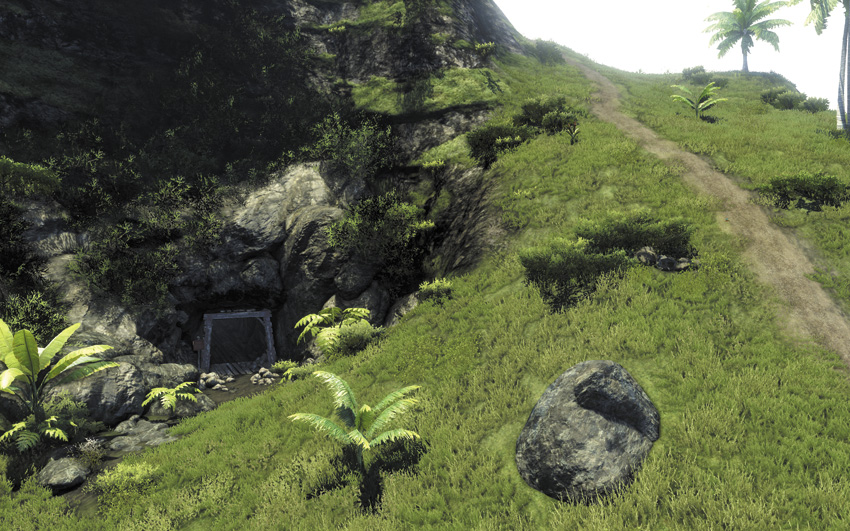
The Dry Palm Storage Depot on the South Island has a Path of the Hunter quest that leads you to an old mine tunnel southeast from the outpost. Once the bears have been dealt with, look toward the back of their tunnel to find this Relic and a metal loot box. (The Relic appears here whether or not you’re on the Path of the Hunter quest, but this is a useful guide as to where to go.)
#80: Boar 20
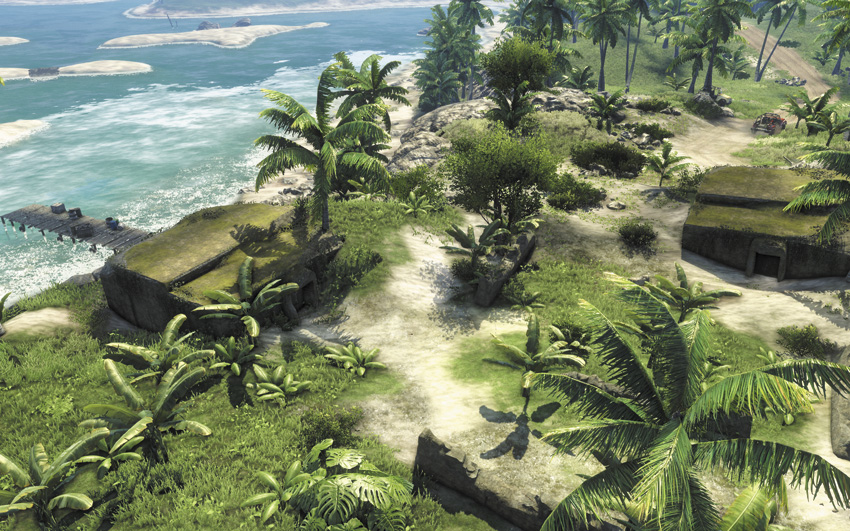
Located inside an old bunker at the very end of the peninsula southwest from Nat’s Repairs. You’ll be able to see this Relic from outside through its observation slit, but to get to it, you need to use a grenade or C4 to blast through the wall or door of the room it’s in. Letter of the Lost #14 is in the same general area.
#81: Boar 21
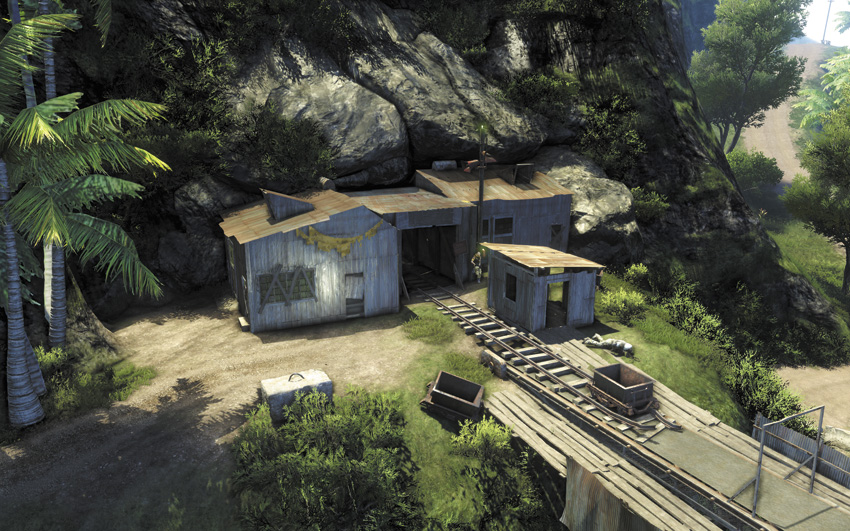
In the hills overlooking the Dry Palm Storage Depot on the South Island, there’s an old mining tunnel. The entrance is sort of hidden among a bunch of smaller buildings, but inside, you can follow an old wooden walkway around to its end. Once there, take a flying jump and mantle onto the ledge across the way to find two loot boxes and this Relic. Don’t be surprised if it takes a couple of tries, as this is one of the more difficult jumps in the game.
#82: Boar 22
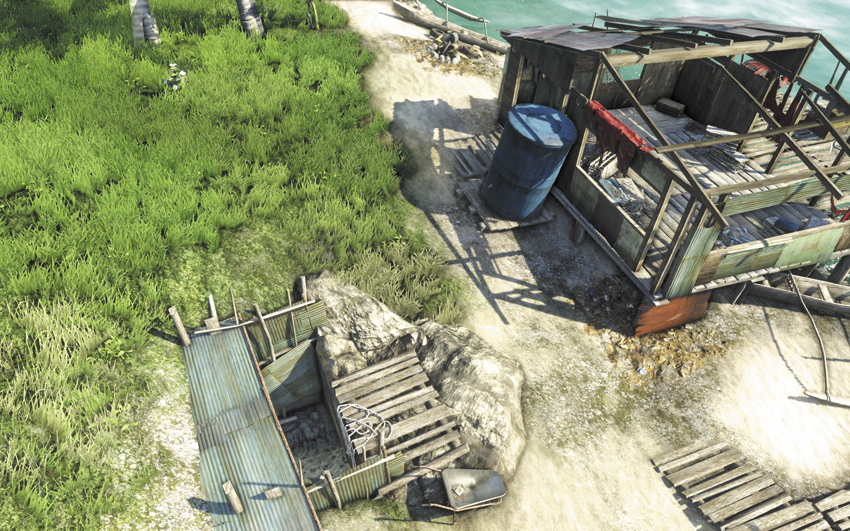
On the north side of the same island as Orphan Point, in the old fishing village, look for the wrecked fisherman’s hut. It has been knocked off of its foundation. Drop down into what used to be its basement and turn around to find this Relic jammed into its corner.
#83: Boar 23
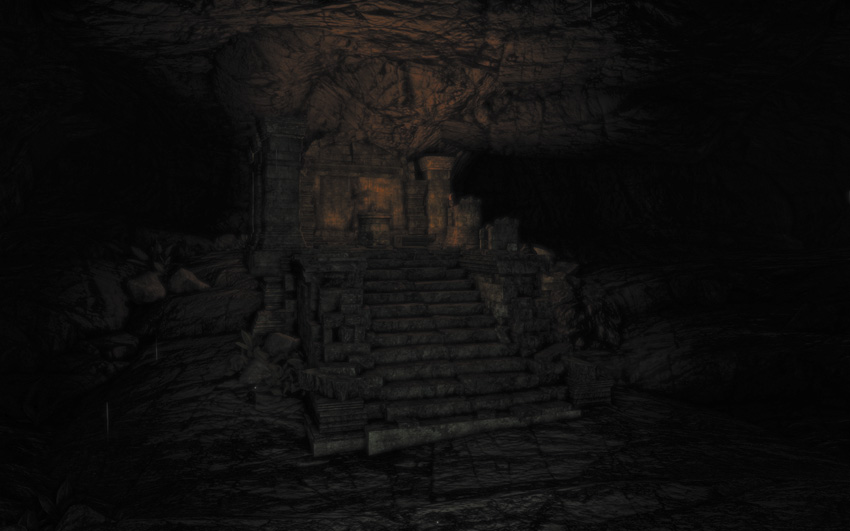
Dive into the cenote north of Amanaki Village, then climb the vines on the west wall to find a hidden tunnel. If you don’t get this earlier, you’ll visit this area during the “Lin Cong I Presume?” story mission.
#84: Boar 24
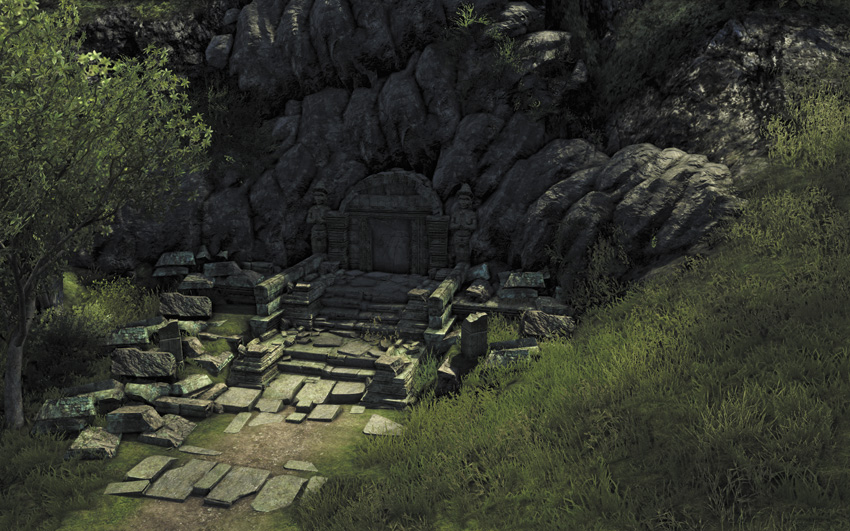
About 80 meters northwest of the Break Point Docks on the South Island, there’s a tomb built into the side of a hill that you can blow open with some C4. The Relic is inside. You probably want to wait to do this until you’ve captured that outpost, as the C4 will alert everyone within the area code to your presence.
#85: Boar 25
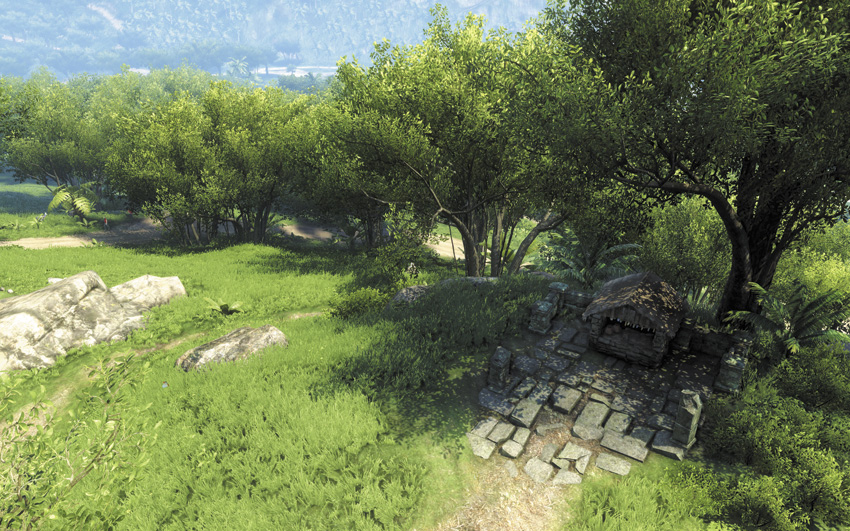
North of Radio Tower #9, on top of an unremarkable hill, there’s an altar with this Relic on it. About the only clue you get to its presence is the panoramic countryside shot you receive when you disable Radio Tower #9’s scrambler.
#86: Boar 26
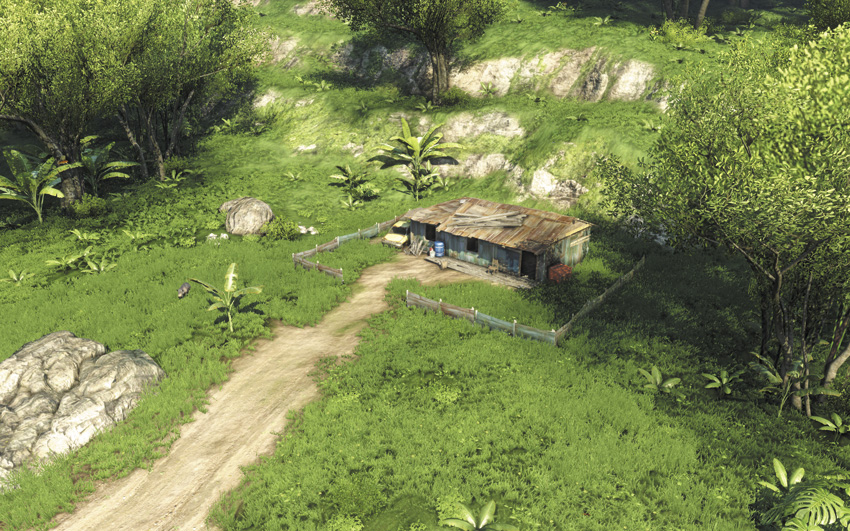
About 160 meters north of Radio Tower #8, there’s an abandoned shack by the side of the road. Go inside and look behind the two stacked crates near the bed.
#87: Boar 27
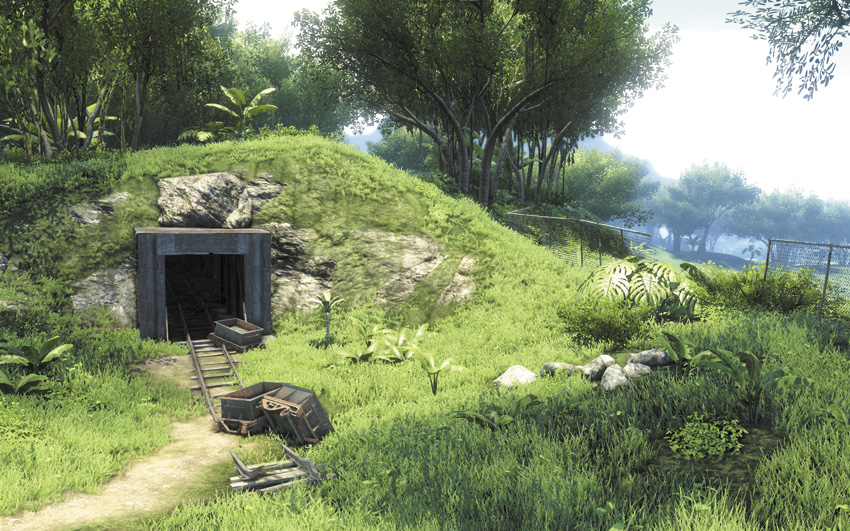
Found 330 meters east from the Old Mines outpost on the North Island. Look for the north-facing mine tunnel near the old storage shed. You’ll need to take the northern road around from the outpost, as the mountains between the two points are nearly impassable.
#88: Boar 28
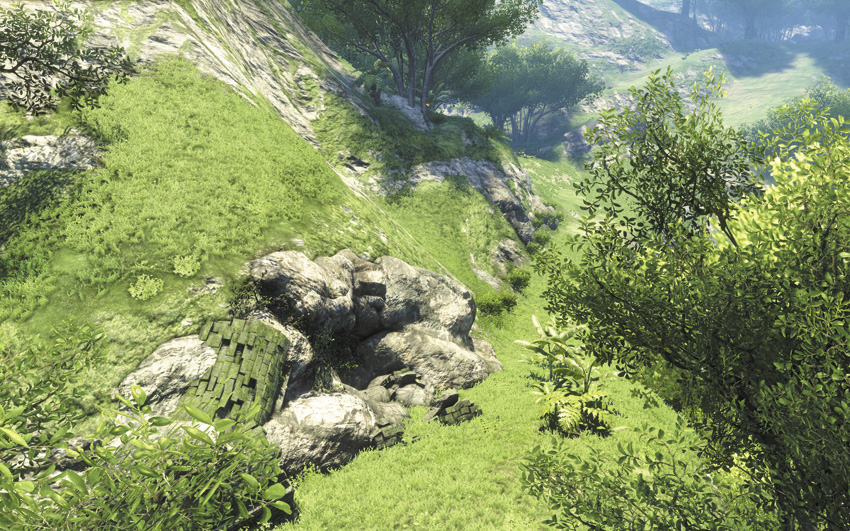
Northeast of Radio Tower #11, a cavern in the side of the mountain leads to what’s left of an ancient temple. This Relic is inside a collapsed vestibule towards the back.
#89: Boar 29
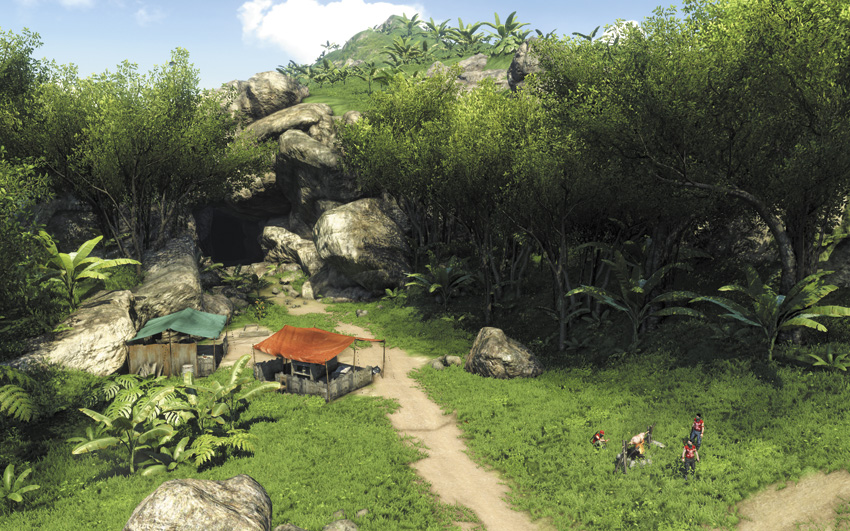
If you zoom in on your map while standing at The Neck’s Diner on the North Island, there’s a small trail leading south from the outpost that dead ends at a shantytown. That, in turn, abuts a cavern, which contains this Relic. You can also come up on the same cavern from the south, going in through an old mine entrance, but that requires a couple of dangerous jumps to get to the same place.
#90: Boar 30
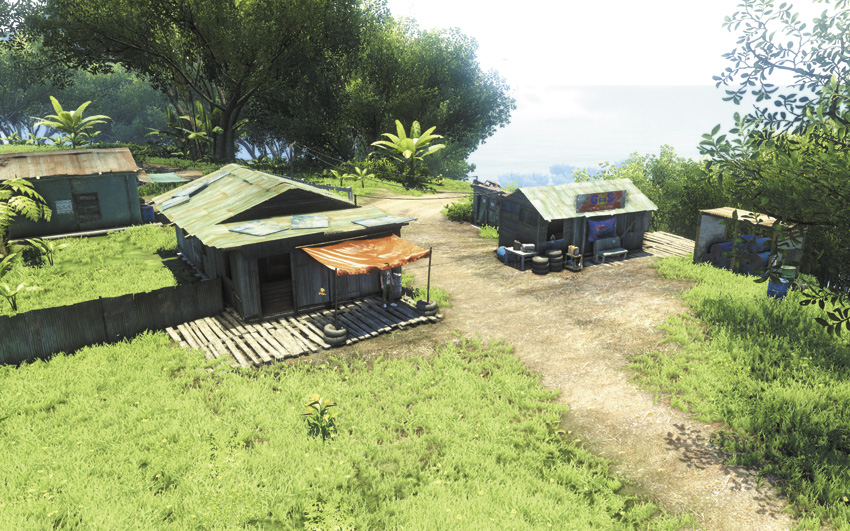
Found on a workbench in a tool shed in an abandoned gas station 280 meters east of Camp Murder. If you go for this Relic after you’ve liberated Camp Murder, the Pacific Coast Loop Racing Challenge is available on the other side of the same station.
#91: Heron 1
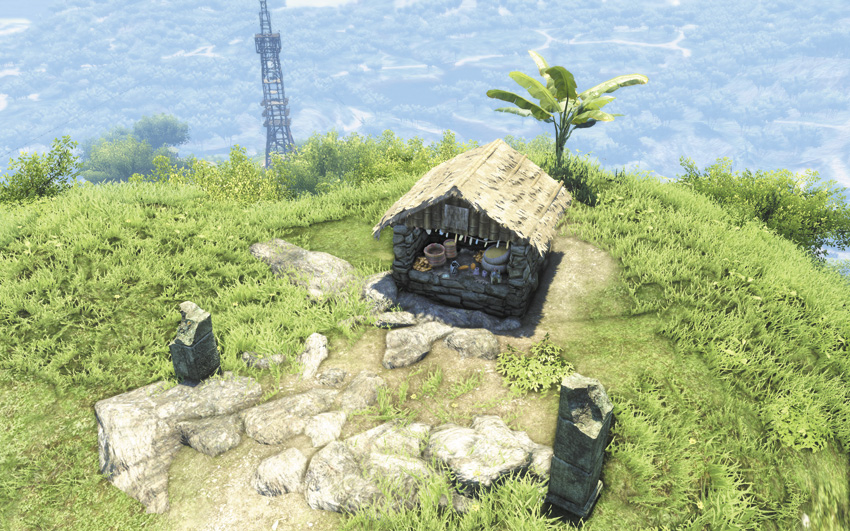
The paths along the mountains north of the Northview Gas outpost are hazardous at best, and hiking up from their south side requires an epic journey that covers about a kilometer and involves a long dark tunnel and navigating through the site of an avalanche. If you start at Radio Tower #3, however, it is much easier. Either way, the end of the road puts you at an isolated altar that’s about 300 meters north from Northview Gas.
#92: Heron 2
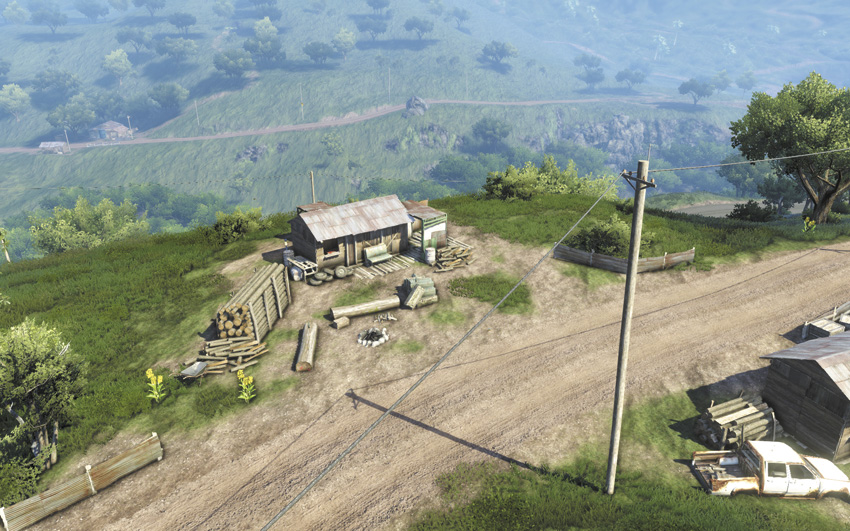
This Relic can be found inside an abandoned chicken coop about 330 meters west of the Break Point Docks on the North Island.
#93: Heron 3
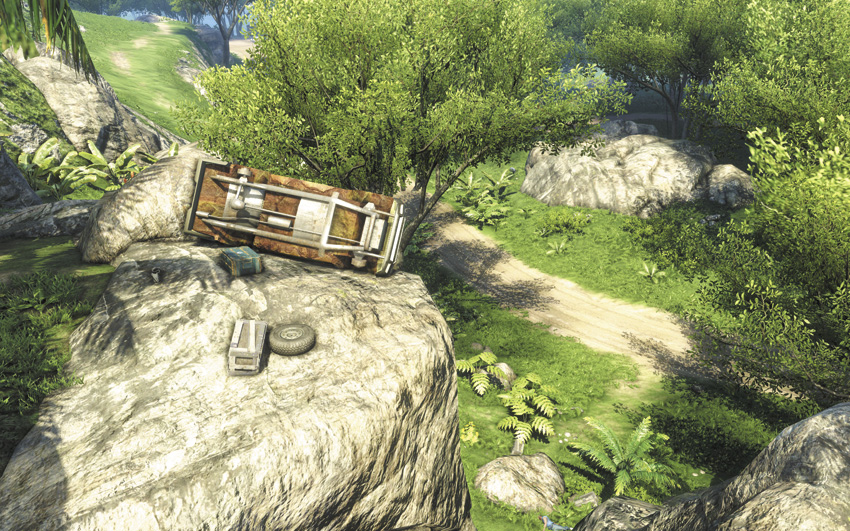
On the side of a hill near Radio Tower #9, there’s a half-overturned transport truck by the side of the road. This Relic is sitting behind it.
#94: Heron 4
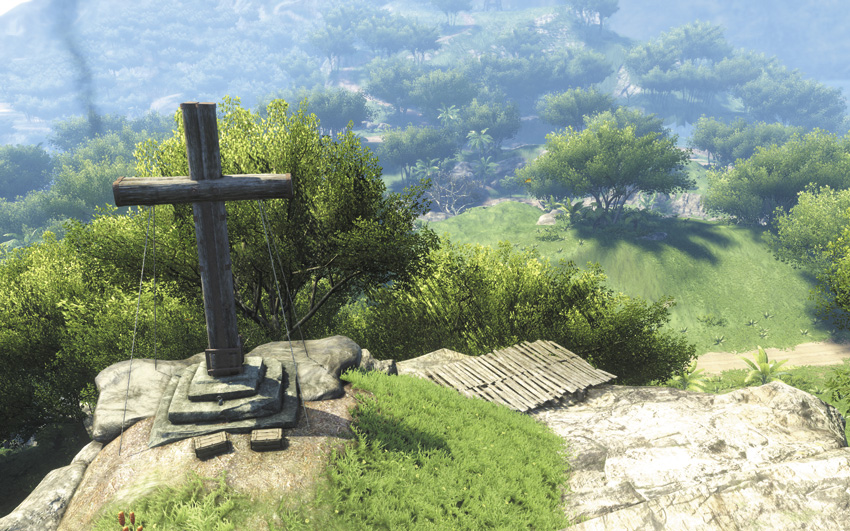
This Relic is tough to get. It’s at the base of the cross on top of Calvary Point, a big monument north of Citra’s temple on the North Island, but the only way to get to the top of the peak is to fly there. The closest available glider is about 400 meters away near a Radio Tower, and while flying there isn’t a problem, landing on top of the mesa without falling to your death can be quite the challenge.
It’s a good idea to wait on this one until you have the Soft Landing skill. Alternatively, if you wait until late in the game when you have the wingsuit, you can simply parachute onto Calvary Point. That represents its own challenge, but at least you’re guaranteed to survive the fall.
#95: Heron 5
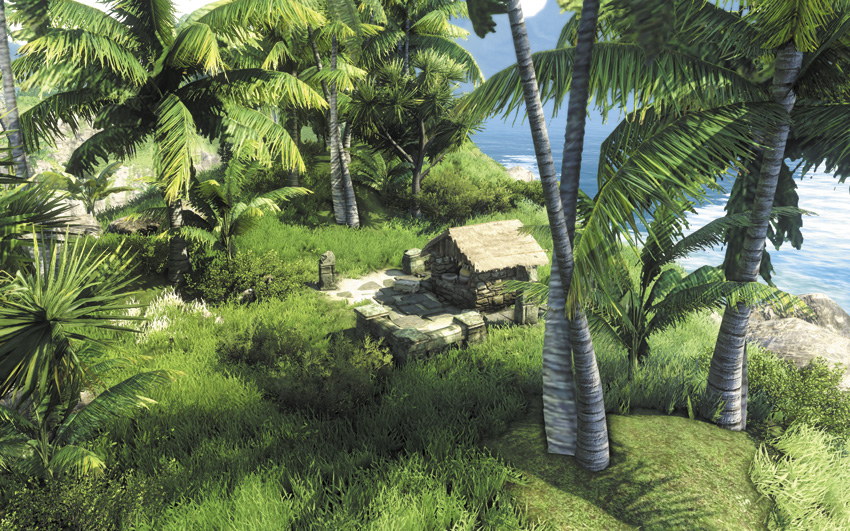
There’s a small island northeast from the AM 12 outpost that’s so close to the mainland it’s nearly a peninsula. Climb the cliffs on its south side to find this Relic sitting on an altar.
#96: Heron 6
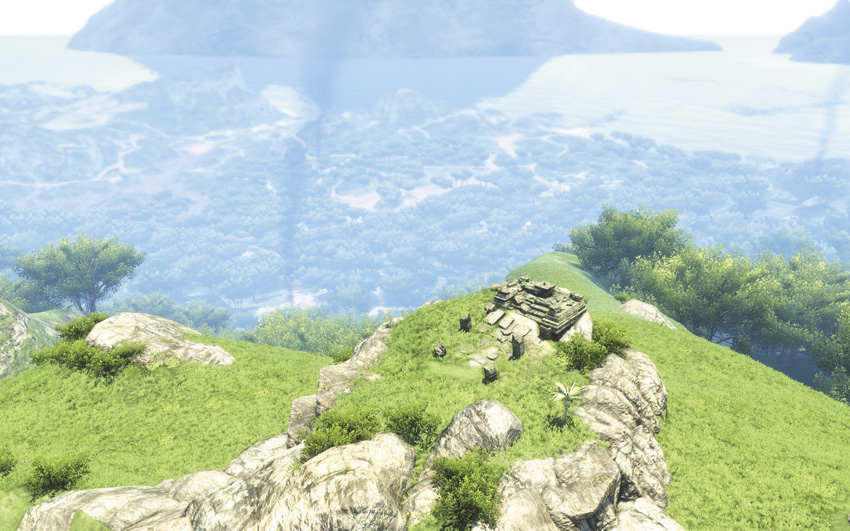
This can be found atop a mountain about 300 meters southeast from the Cradle Gas outpost on the North Island. The easiest way to get to it, however, is to fast-travel to the Hubris Farm and use the paths to its north to get up to the Relic’s general altitude, then work your way east.
#97: Heron 7
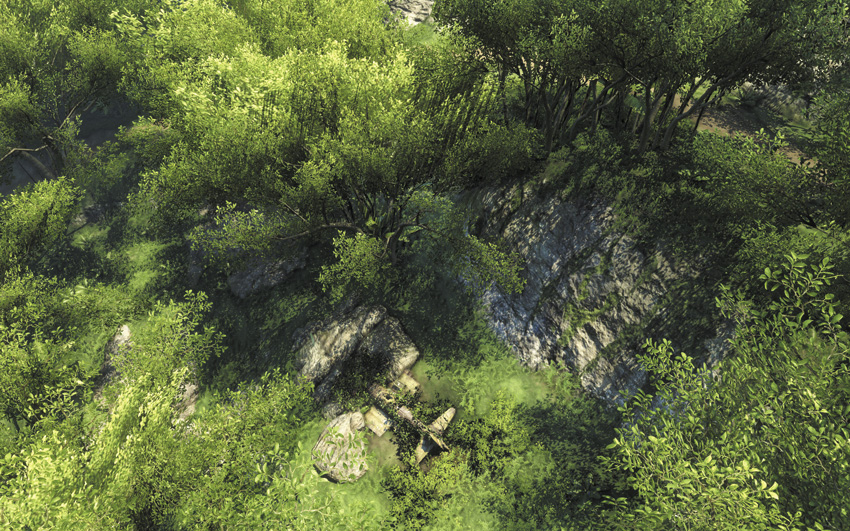
From the Hubris Farm, take the northern path from the outpost and follow it east at the first major turn, right up until it fades away on your map. There’s a very small lake about 340 meters away from the outpost with what looks like a bunch of foliage nearby, but which is actually the overgrown wreckage of an old Zero fighter jet. The Relic is on the north side of the wreckage. If you’ve found the eighth Letter of the Lost, this is about 120 meters straight north from it.
#98: Heron 8
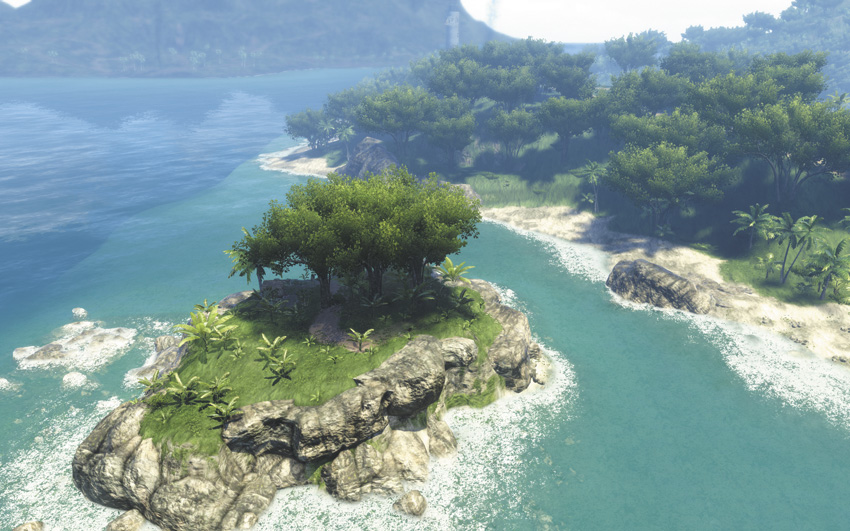
There’s an altar with a Relic on it on the island east of the Broken Neck Home outpost. Getting to it is the trick, but you can scale the island’s southern cliff if you’re persistent enough. It might take a few tries, however.
#99: Heron 9
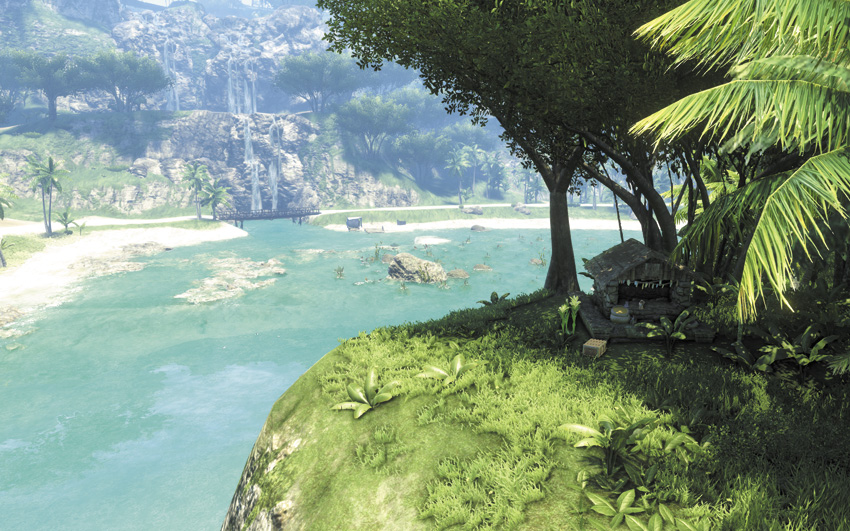
If you look across the water at the island south of Vaas’s stronghold on the North Island, you can see the altar with this Relic on it. Grab a jet ski and head out there, although you do have to dock about as far away from the Relic as possible. The island is home to a herd of wild boar and often at least one tiger.
#100: Heron 10
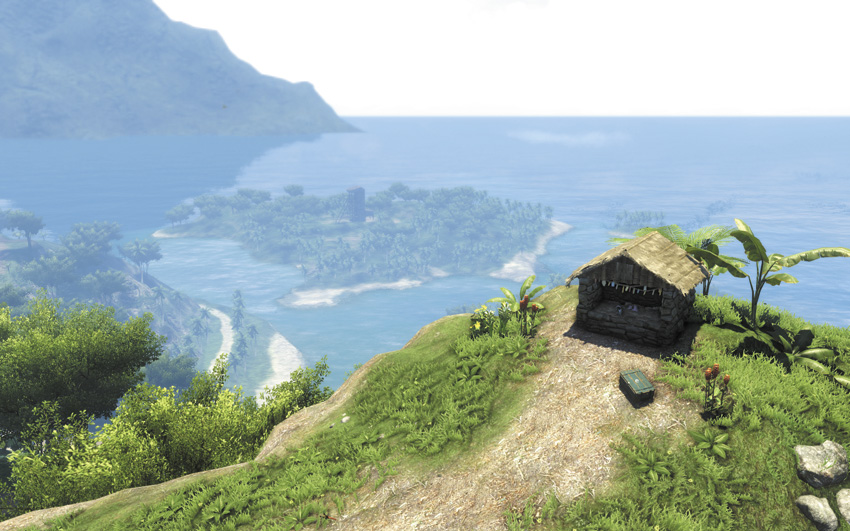
North of the Tequila Sunrise outpost on the North Island, you can find this Relic on an altar underneath a zipline. It’s right by the side of the road.
#101: Heron 11
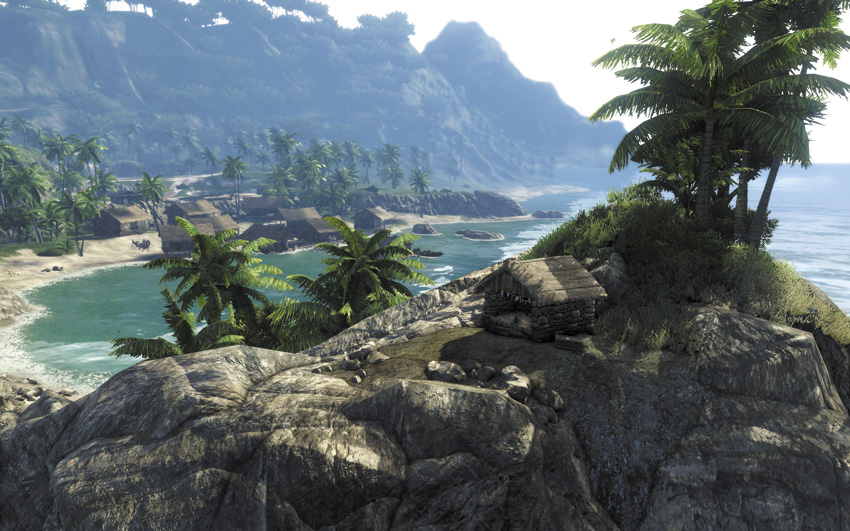
There’s a very small peninsula on the east coast of the North Island, just north of Nat’s Repairs. It takes a little finesse to climb the rocks here, usually done by taking a running jump up the side of the slope that’s right behind the two palm trees. Once you manage that, you can grab this Relic off an altar.
#102: Heron 12
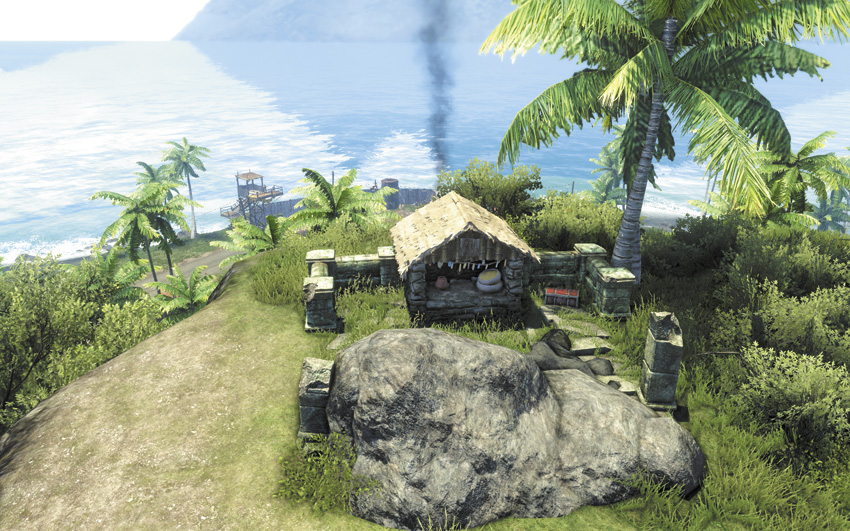
To get this Relic, sprint up the southwestern face of the mesa just outside Harmanse Gas & Repair.
#103: Heron 13
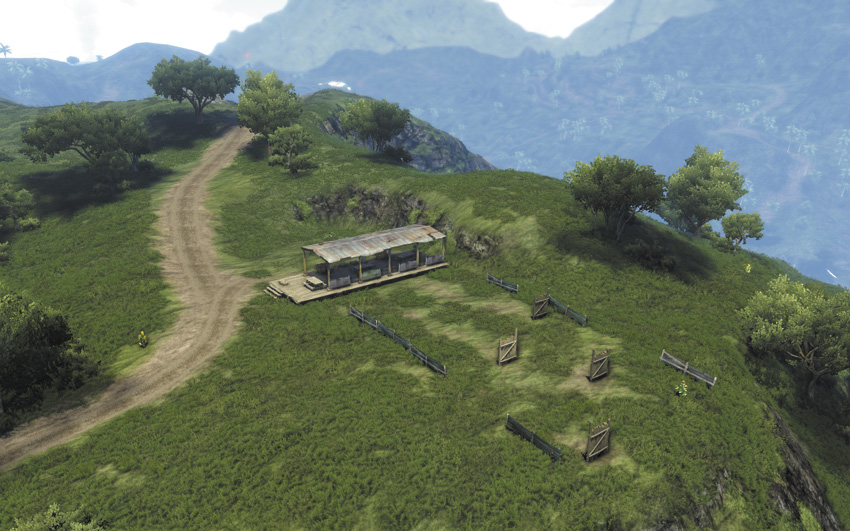
East of the East Ridge Camp on the South Island, there’s an improvised shooting range set up by the side of the road. It’s really easy to spot at night due to having a couple of really bright lights set up. The Relic is sitting out on top of a picnic table, between two large ammo crates.
#104: Heron 14
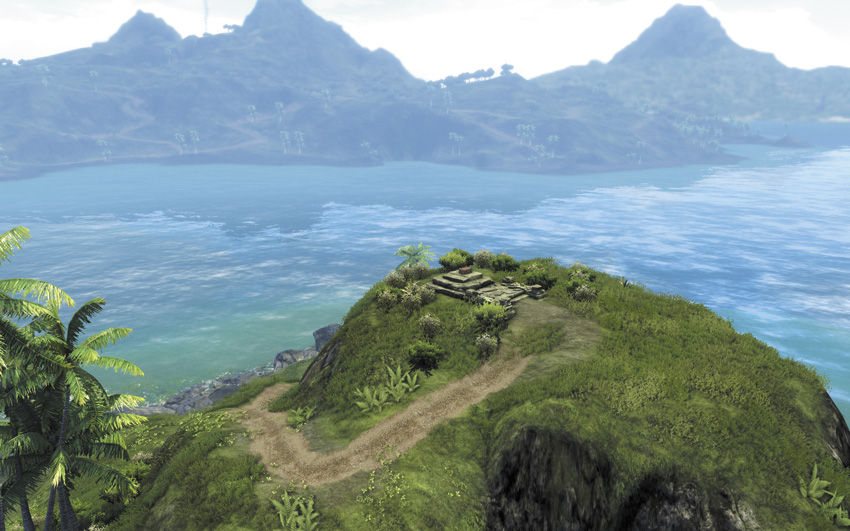
Take a boat out to the island off the South Island’s southeast shore, south of Turtle Hill, and climb to the top of the hill.
#105: Heron 15
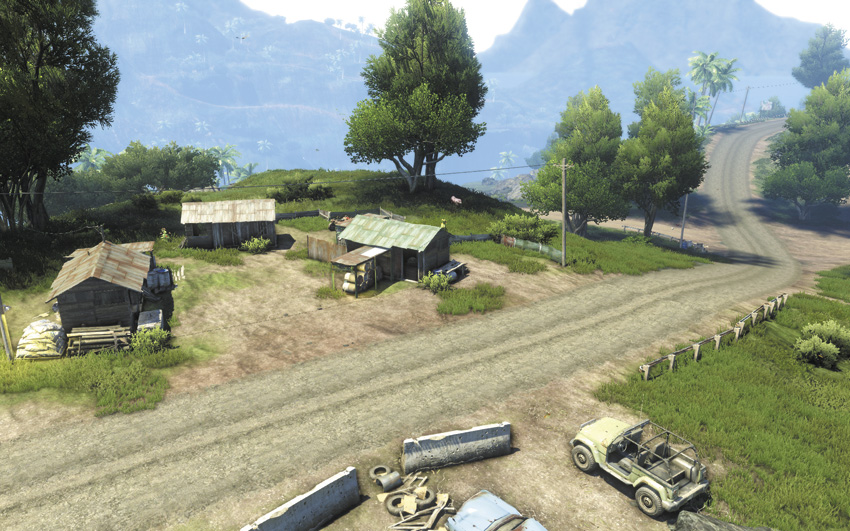
Go to the general store found east of the Stubborn Kid Farm outpost on the South Island. Take the road north for about 270 meters and watch the right. You’ll find a small abandoned ranch, and this Relic is inside its toolshed, along with a medkit and a green loot box.
#106: Heron 16
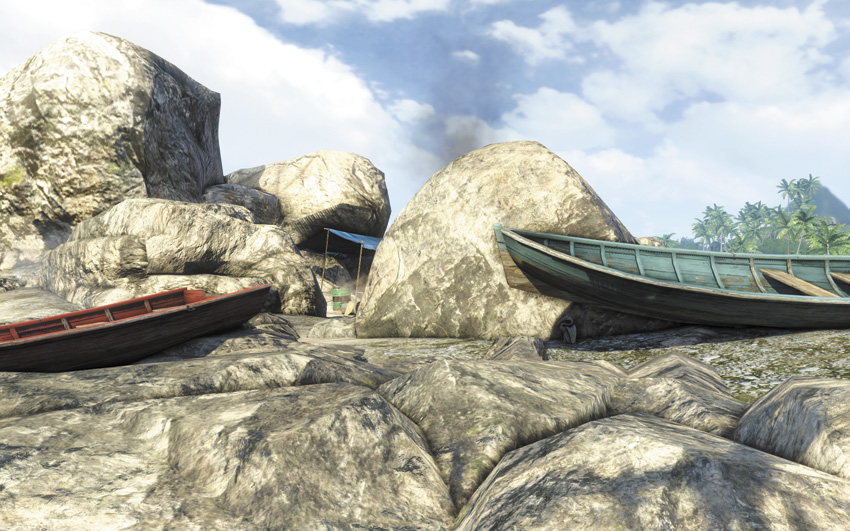
About 150 meters southeast of Radio Tower #2, there are a couple of beached canoes and a blue lean-to on a small inlet by the side of the road. The Relic is near the canoes. If you don’t find it beforehand, there’s a Wanted: Dead mission out of the Valsa Docks that leads you straight here.
#107: Heron 17
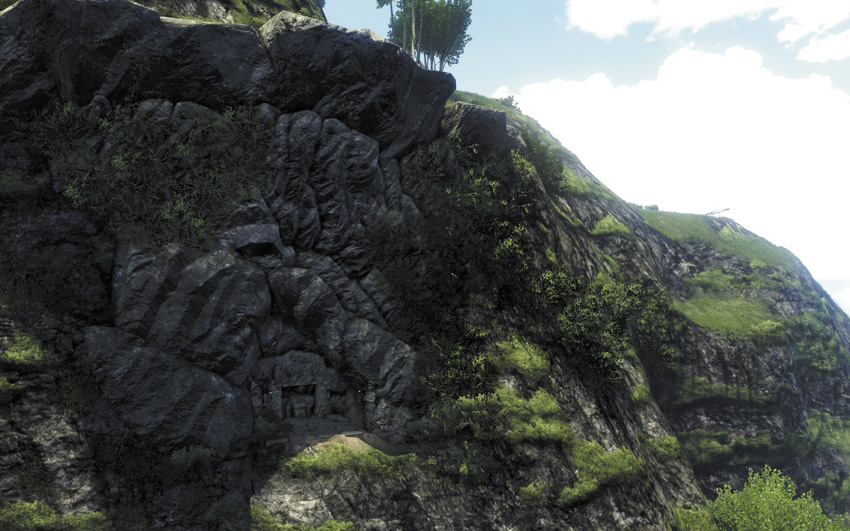
This is unquestionably the most difficult Relic to acquire, and is one of the hardest challenges in the game.
This Relic is found just west of Gaztown, barely a hundred meters from the associated fast-travel point. The trick is that it’s inside a cavern halfway down the bluffs right outside the city, and there’s just enough of a rock outcropping to prevent you from getting inside the cavern from above. The only way in is to go north along the road a bit, to where the safety rail is broken, and jump off the cliff. Pop your wingsuit immediately, then your parachute, and do your best to glide into the cavern. If you miss, remember that you can fast-travel in mid-air. Otherwise, you’re probably going to die.
#108: Heron 18
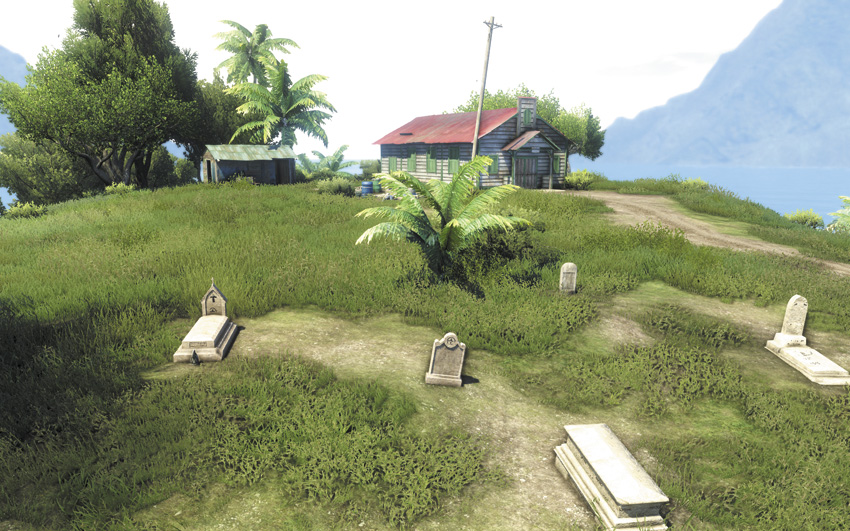
Located 180 meters southwest from the Dry Palm Storage Depot on the South Island, at the foot of a grave.
#109: Heron 19
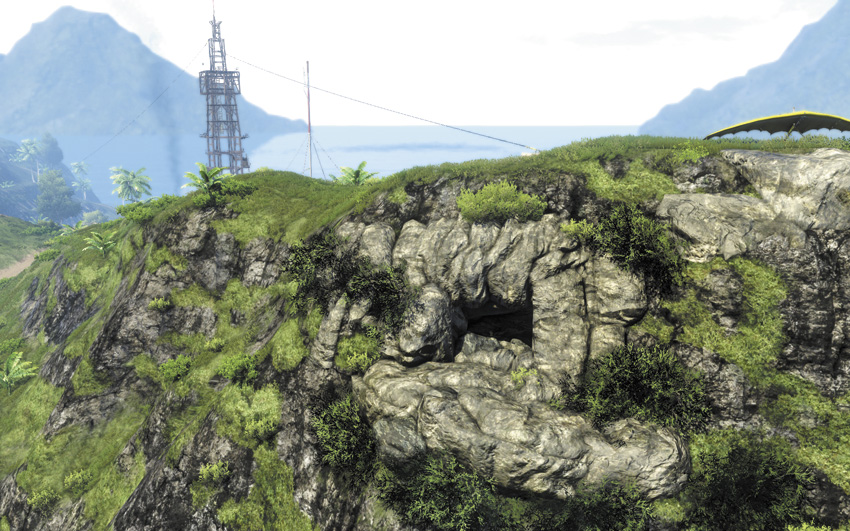
When you disable the scrambler on Radio Tower #16, a Supply Drop quest becomes available nearby. This Relic is in a hidden cave on a ledge below the vehicle for the Supply Drop. If you face north off the edge of the cliff and look down, you should be able to see the lip of the cave and drop onto it.
#110: Heron 20
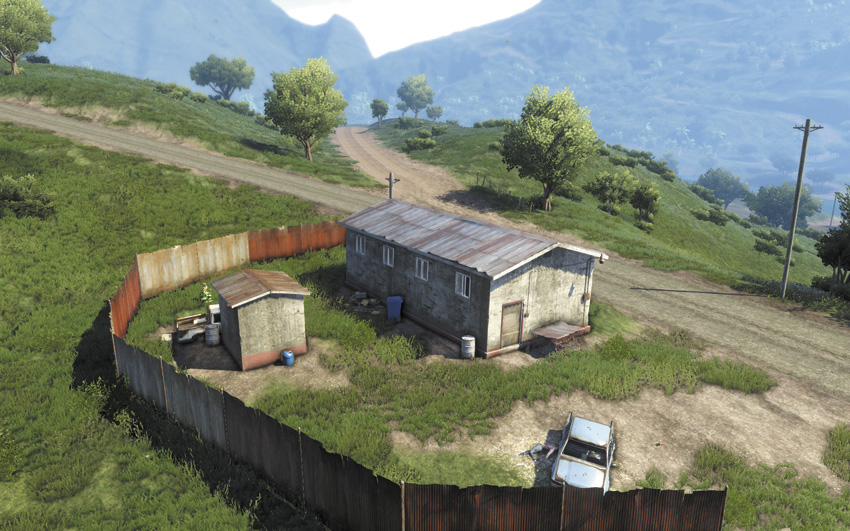
There’s a small farm just south of the Compound on the South Island, on the other side of the road. This Relic can be found there next to a chicken coop.
#111: Heron 21
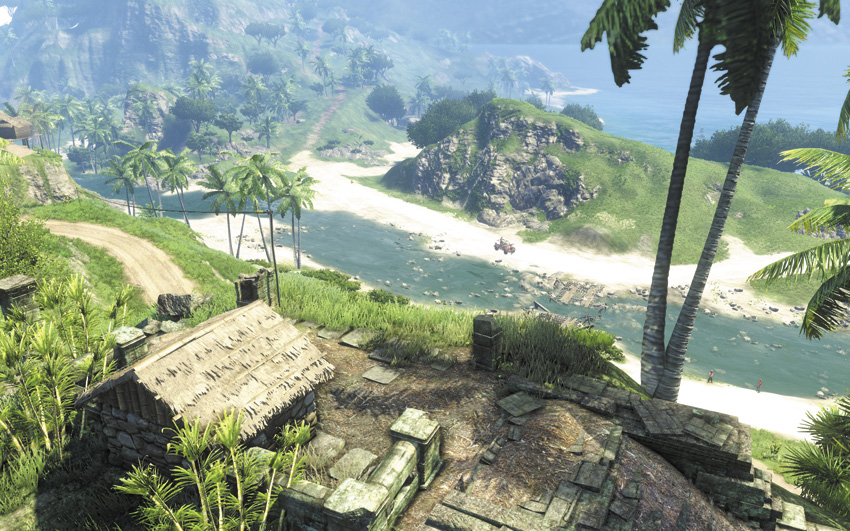
About 375 meters southeast from Dr. Earnhardt’s mansion on the North Island, on an offering table in a set of picturesque ruins.
#112: Heron 22
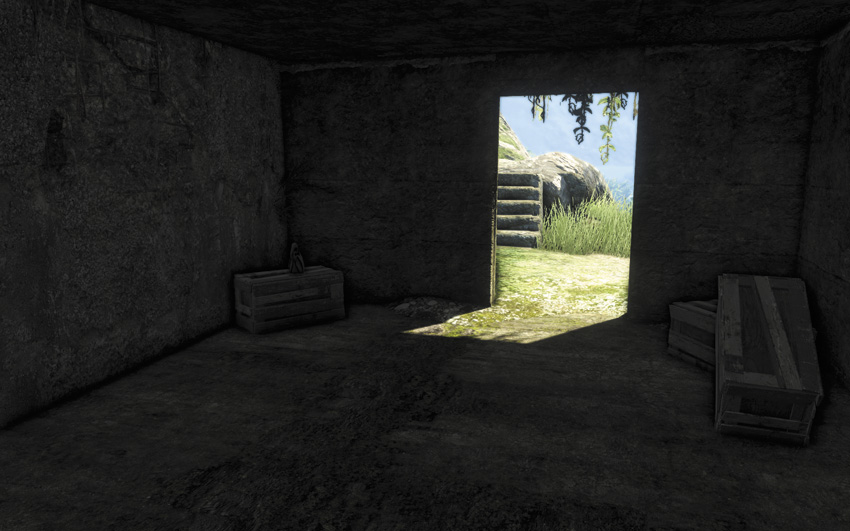
In Sunset Cove, you can take a zipline off the Radio Tower to travel in the general direction of an old anti-aircraft emplacement. This Relic is inside a darkened room by the road leading up to the bunker, sitting on top of a crate right inside the doorway.
#113: Heron 23
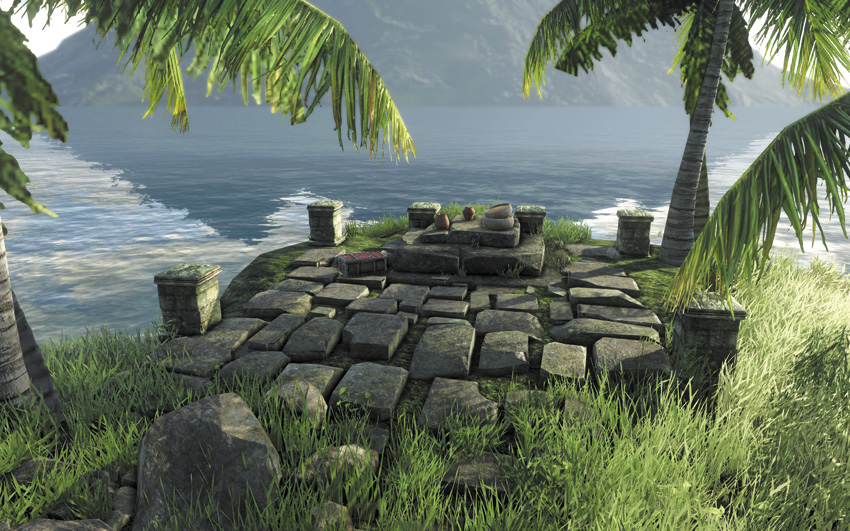
On an island north of Heron’s Perch on the North Island. The easiest way to reach it is to grab a jet ski from the dock outside the Welshore Wrecker’s House and drive out to the island, as it is firmly in the middle of shark territory. Once you get to the island, climb up a few ledges to find this Relic sitting on a stone dais.
#114: Heron 24
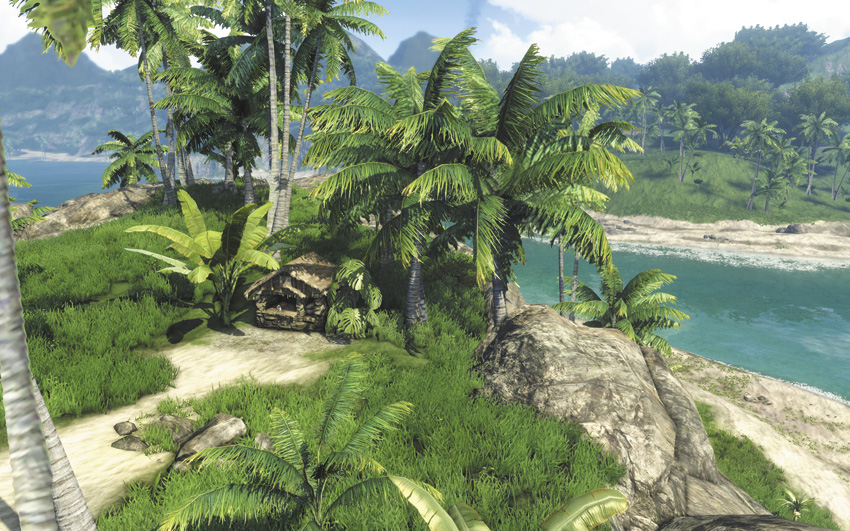
The small island southeast of Kell’s Boat Repairs on the North Island has a large outcrop of granite on it. It doesn’t look scalable at first, but there are just enough ledges on the south face that you can jump from rock to rock and reach its top, where this Relic is waiting on an altar.
#115: Heron 25
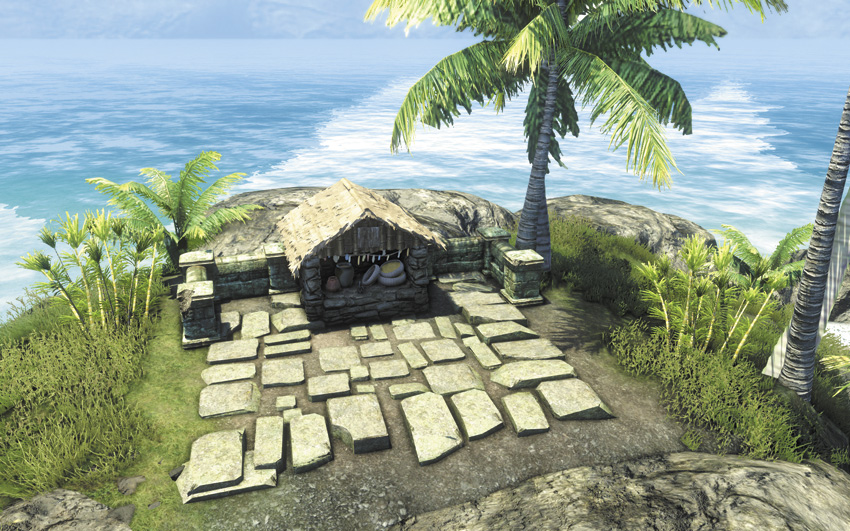
Another one of those big piles of rock with an altar and a Relic atop it can be found on the peninsula south of Turtle Rock on the South Island. Luckily, this one can be scaled with some handy vines.
#116: Heron 26
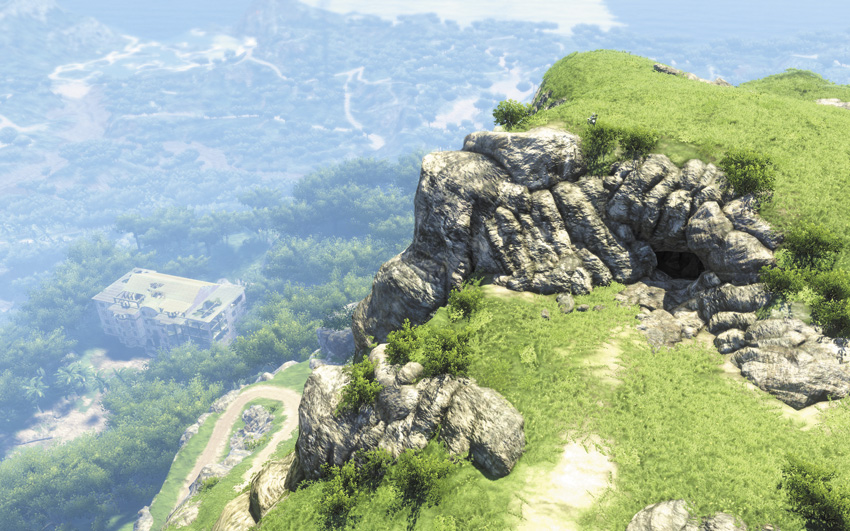
Head 270 meters north-northeast from the Hubris Farm, and you can follow a trail up into the mountains to discover a small cavern on an isolated peak. Crouch to slip past an obstruction in the tunnel and you’ll find this Relic and a red loot chest on an old altar.
#117: Heron 27
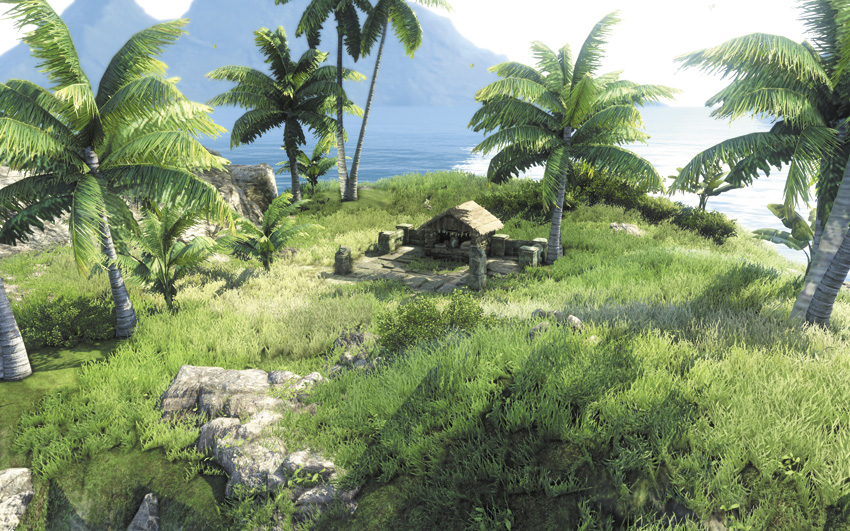
North of the AM 12 outpost, there’s a peninsula that looks kind of like it’s pointing at a small island just off the north coast. This Relic is on an altar on that island. The only way to get to it is to swim around to its northern face and climb some vines you’ll find there.
#118: Heron 28
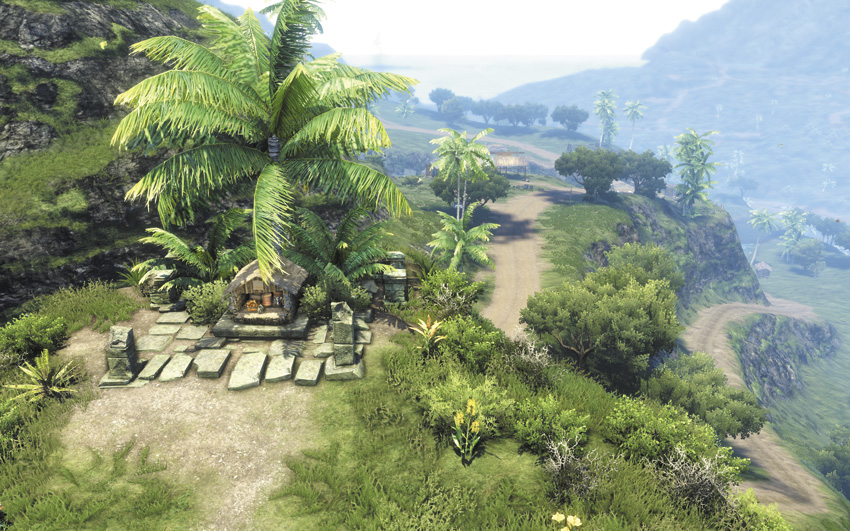
Located at the top of a steep hill, 460 meters south of the East Ridge Camp outpost on the South Island. It’s surrounded by a potpourri of Leaves.
#119: Heron 29
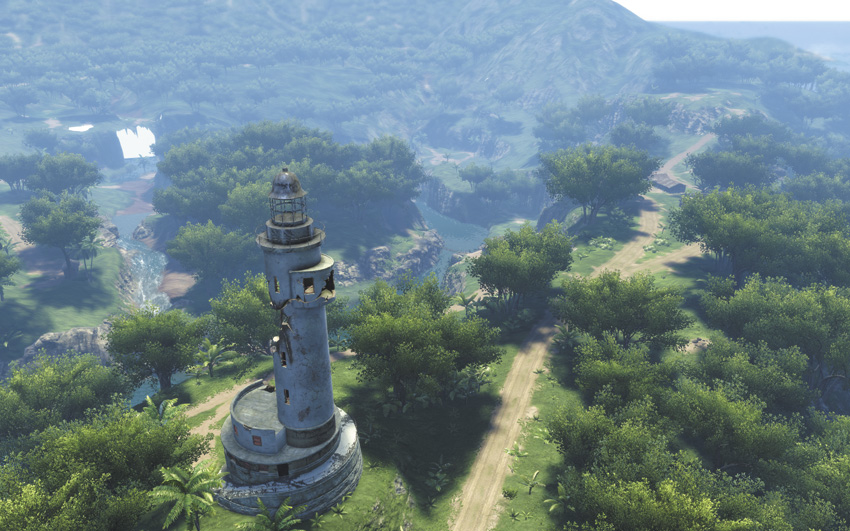
Climb to the top of the Rook Point Tower on North Island to find this Relic.
#120: Heron 30
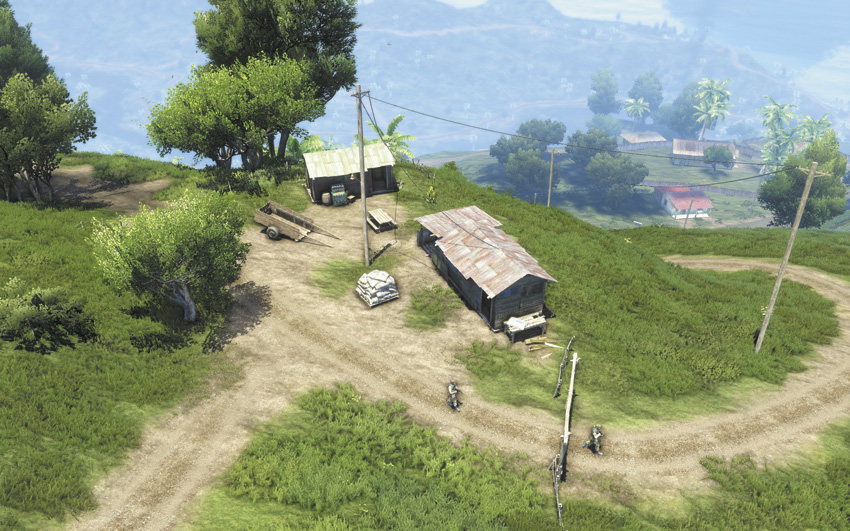
Inside a cabin on top of a foothill 194 meters northeast of Gaztown on the South Island. A Supply Run starts right outside the building, and the side mission “Bled Dry” leads you straight here. It’s a busy location, really.