
Far Cry 3 with Interactive Map Essentials Key Locations
Radio Towers

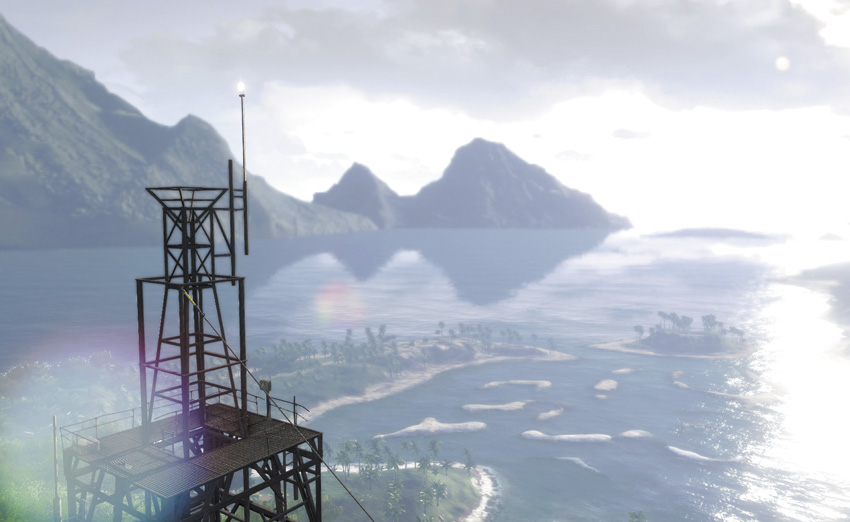
There are eighteen radio towers scattered across Rook Island. Vaas’s men have rigged these with scramblers, which mess up the Rakyat’s supply lines and interfere with your tablet’s ability to pull down satellite images. By deactivating the scramblers, you can gradually restore the island’s contact with the outside world.
Each scrambler you deactivate allows the island’s merchants to get new inventory in stock, and in gratitude, they’ll waive the costs on many of their weapons. The rate at which they unlock their inventory is determined by the number of scramblers you’ve destroyed:
- 1 Scrambler: Free 6P9, STG-90
- 2 Scramblers: Free AK-47, Skorpion, Repair Tool
- 3 Scramblers: Free Recurve Bow, SVD
- 4 Scramblers: Free PKM, 1887
- 5 Scramblers: Free Flamethrower, A2000, M133
- 6 Scramblers: Free RPG-7
- 7 Scramblers: Free U100, Flare Gun
- 8 Scramblers: Free F1, GL-94
- 9 Scramblers: Free MP5
- 10 Scramblers: Free MS16
- 11 Scramblers: Free .44 Magnum
- 12 Scramblers: Free D50, Vector .45 ACP
- 13 Scramblers: Free SPAS-12, ACE
- 14 Scramblers: Free MKG, BZ19
- 15 Scramblers: Free P416, Z93
- 16 Scramblers: No additional benefit
- 17 Scramblers: No additional benefit
- 18 Scramblers: Bushman signature weapon
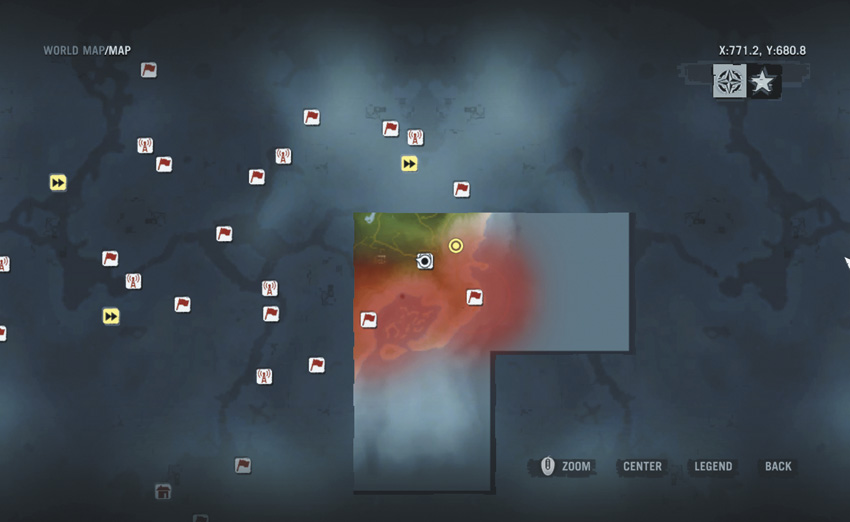
When you get to a new part of the island, your map is effectively useless until such time as you find and deactivate the nearest scrambler. Doing so clears the “fog of war” from the area surrounding the radio tower, which allows you to track herbs, items, and loot on your map, as well as use your tablet to see the island’s roads, caverns, and settlements. Each disabled scrambler also activates at least one Supply Drop mission, the starting point for which is usually located somewhere very close to the tower.
Finding and deactivating all eighteen radio scramblers on Rook Island lets you purchase the Bushman signature weapon, a highly modified assault rifle that’s easily one of the best guns in the game.
As a final useful feature, deactivating a scrambler also briefly points out areas of interest in the countryside surrounding the radio tower, such as ruins, crash sites, or nearby settlements. These areas can be counted on to have plenty of loot or a collectible item.
Climbing each radio tower is an exercise in pure platforming skill. Like most places throughout the island, the radio towers have fallen into disrepair over the years, and you’ll need to be inventive in order to scale them. You’ll also need to be careful, as even a short fall off of a tower can inflict significant damage, and may even be fatal. Worse, your wingsuit cannot save you from a fall off of a tower, as there’s not enough time for it to break your momentum.
#1: Outside Amanaki Village
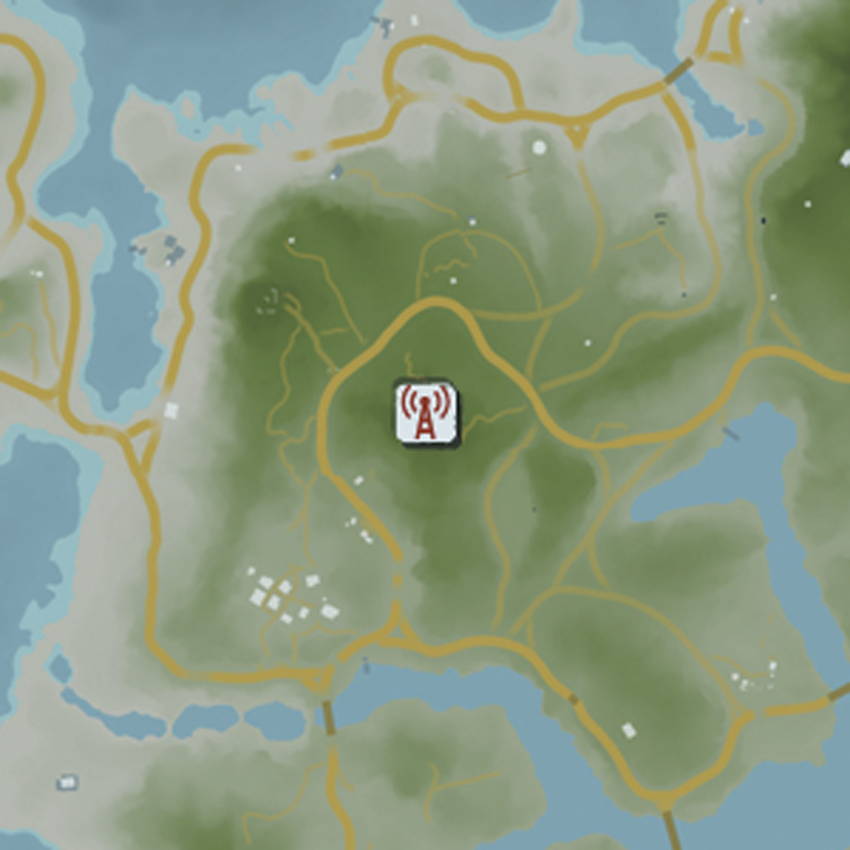
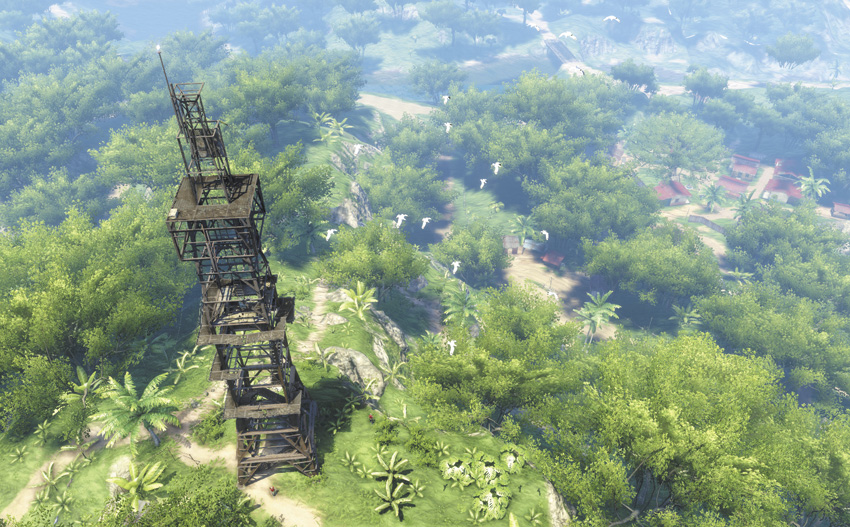
You must deactivate this tower as part of the mandatory “Down in Amanaki Town” story mission.
#2: West of Heron’s Point
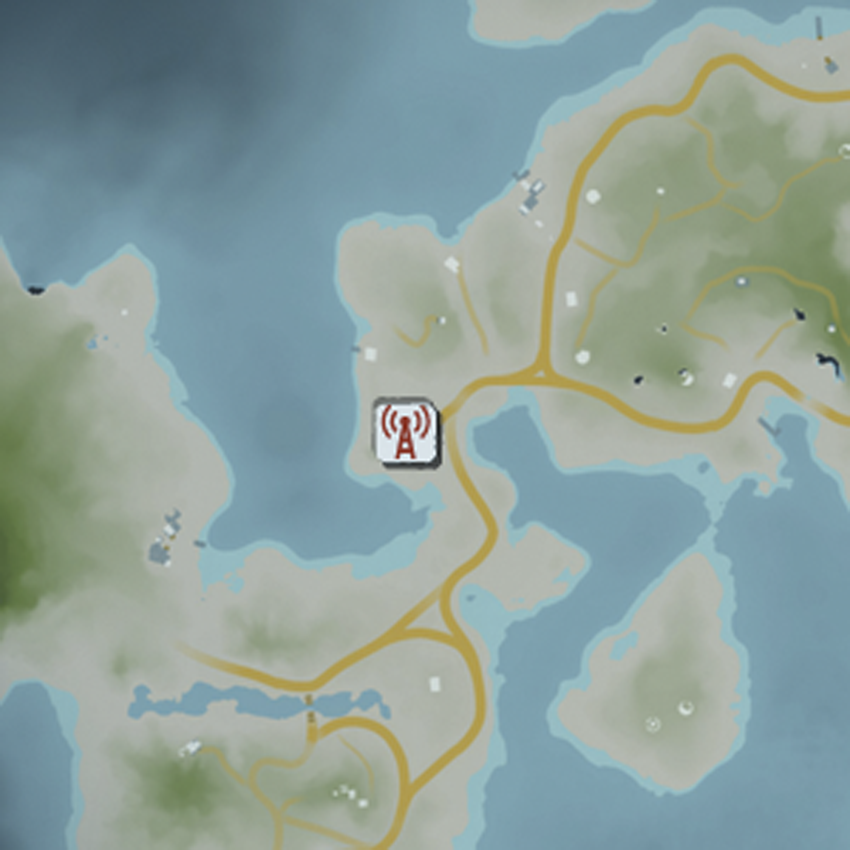
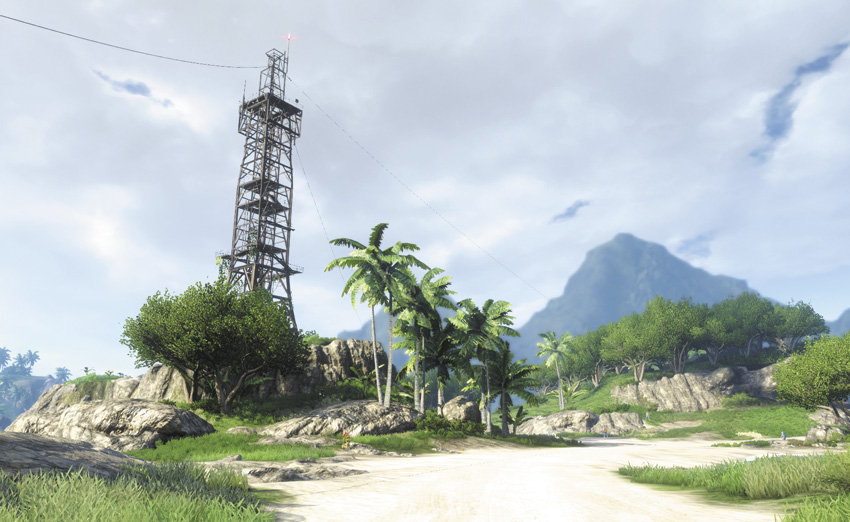
You’re likely to run across this tower while you’re on your way to Dr. Earnhardt’s house. Use the vines on the face of the bluff to reach it, then go up the fallen walkway to climb the two ladders. After that, just follow the walkway around in either direction to a third ladder, which leads to the base of the ladder that leads to the top of the tower.
#3: East of Mosquito Yard
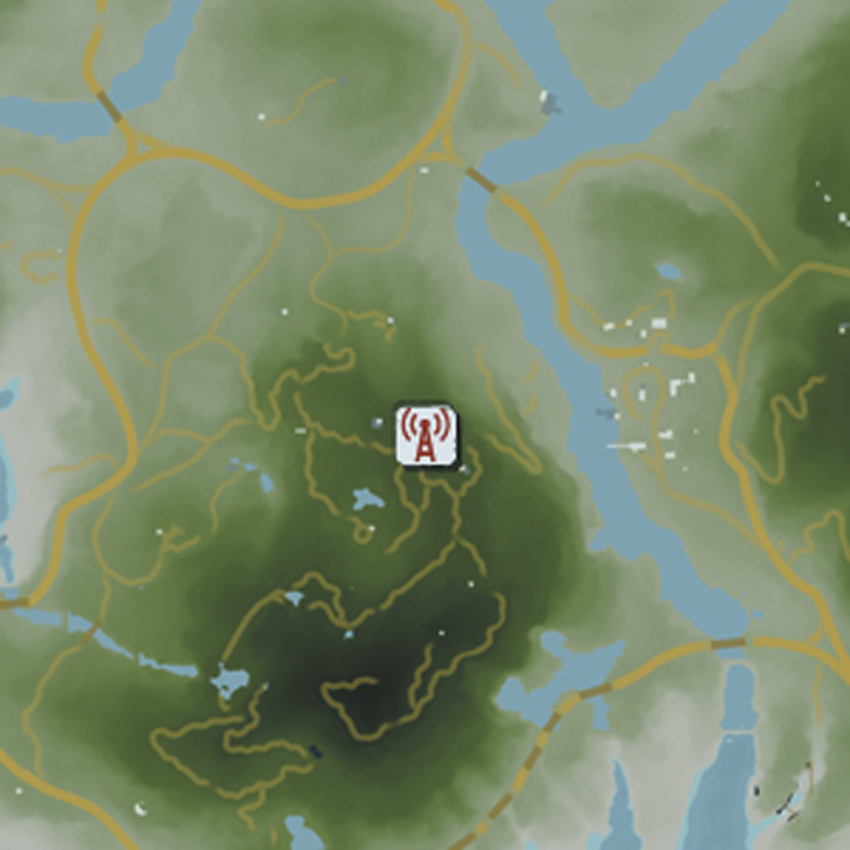
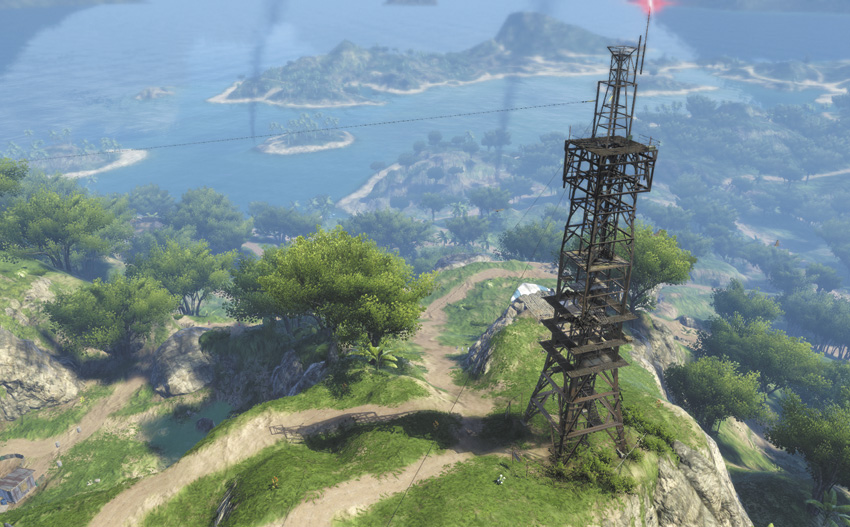
Do not be surprised if you have to wade through a mess of goats and Komodo dragons to reach the base of the radio tower. Getting to its top is largely a process of finding and scaling a bunch of ledges, none of which are particularly well hidden.
#4: Sunset Cove, West of Orphan Point
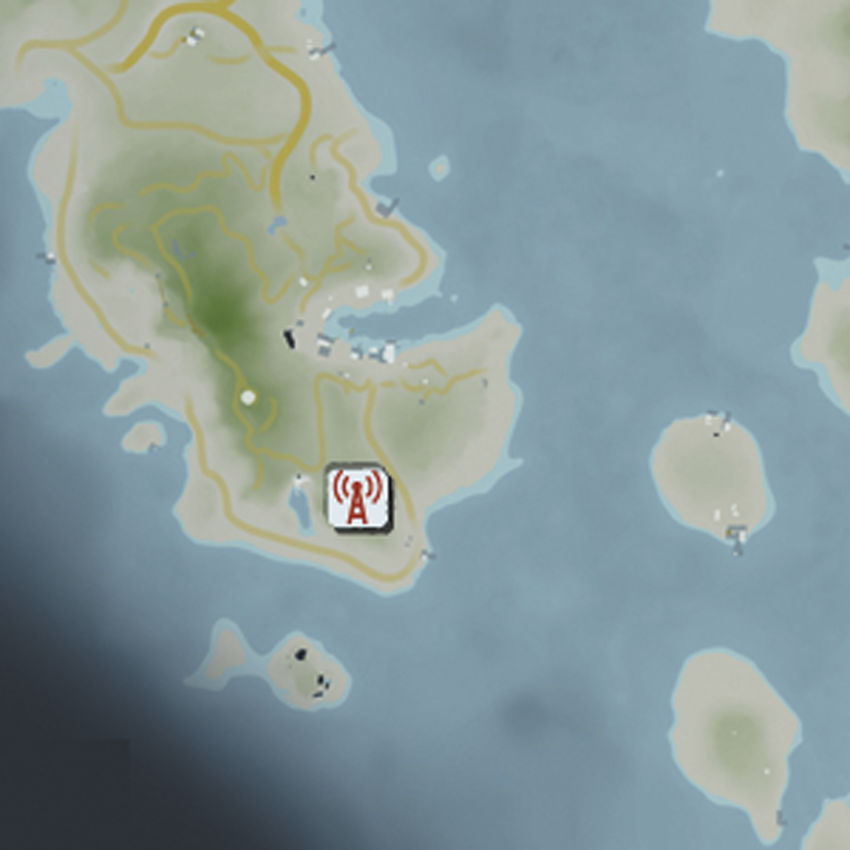
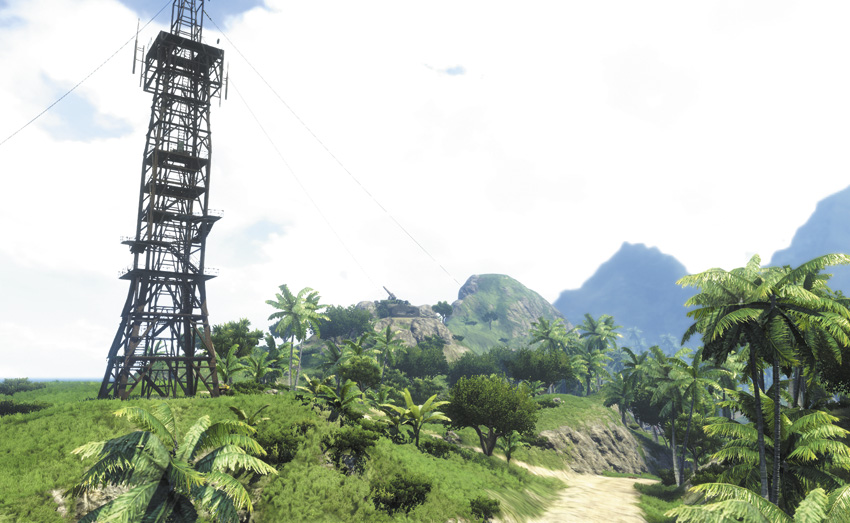
In what almost qualifies as some kind of obvious trap, you can get halfway up this tower by just using its stairs. At that point, you’ll need to use some very narrow improvised walkways to get the rest of the way to the final ladder.
#5: Northeast of Temple Gateway
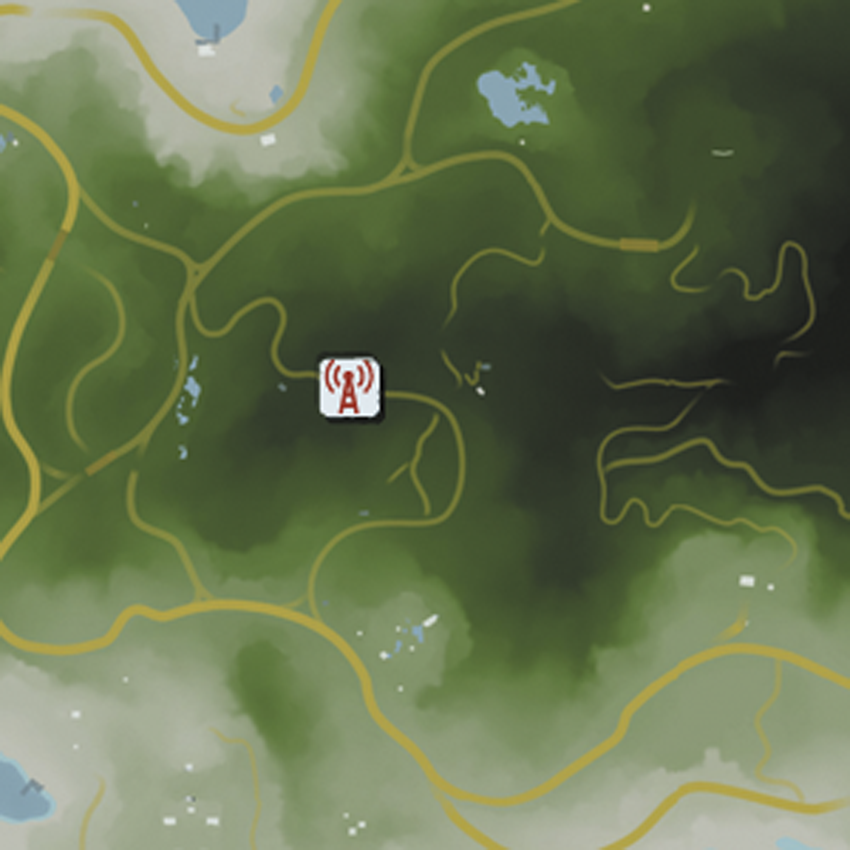
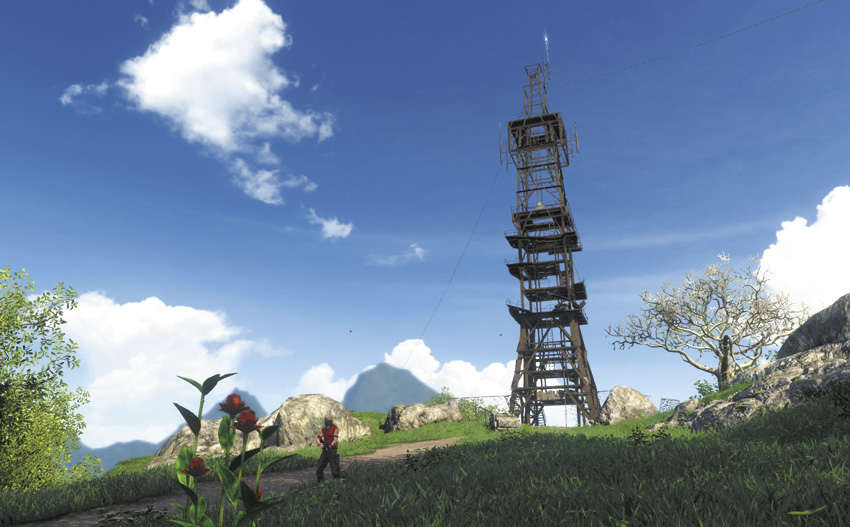
After dealing with a couple dozen angry dingoes, climb the first set of stairs and use the ledge to mantle up to the next level. Duck underneath the beam and go upstairs again, then climb the ladder.
This is where things get a little more interesting. There’s no obvious way up to the next level of the tower, but if you get to the highest point of the fallen catwalk, it’s just barely possible to jump up to the base of the next set of stairs. This isn’t as obvious or as easy as it sounds, but if you hop straight up and push forward at the apex of your jump, you should be able to make it. From there, mantle up another ledge and climb two more ladders to reach the top.
#6: Northeast of Old Mines
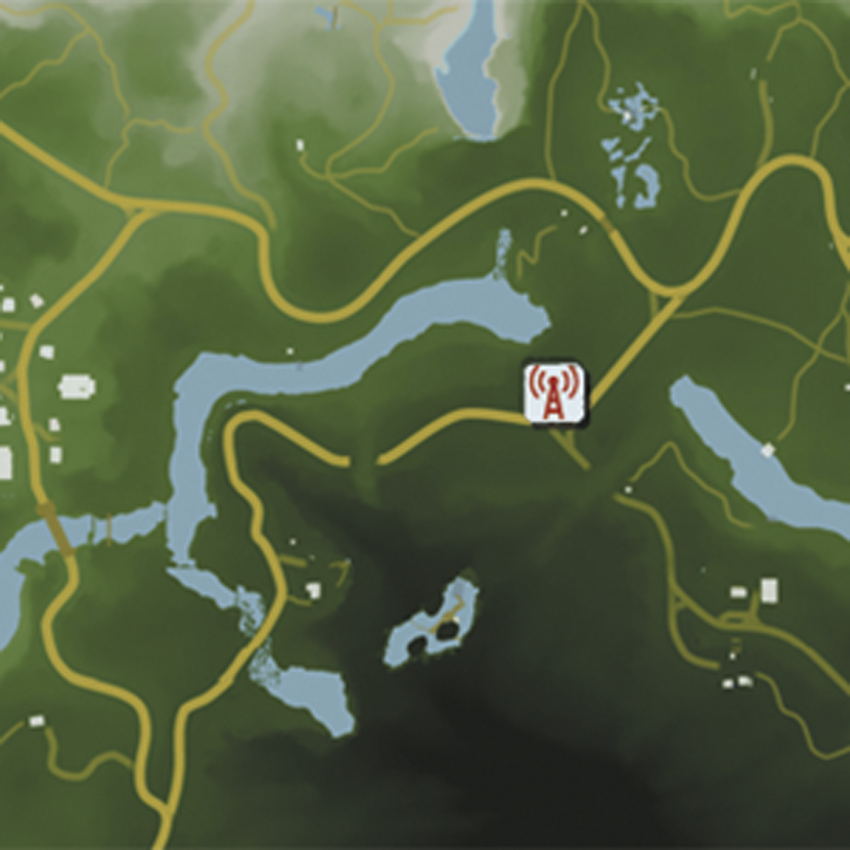
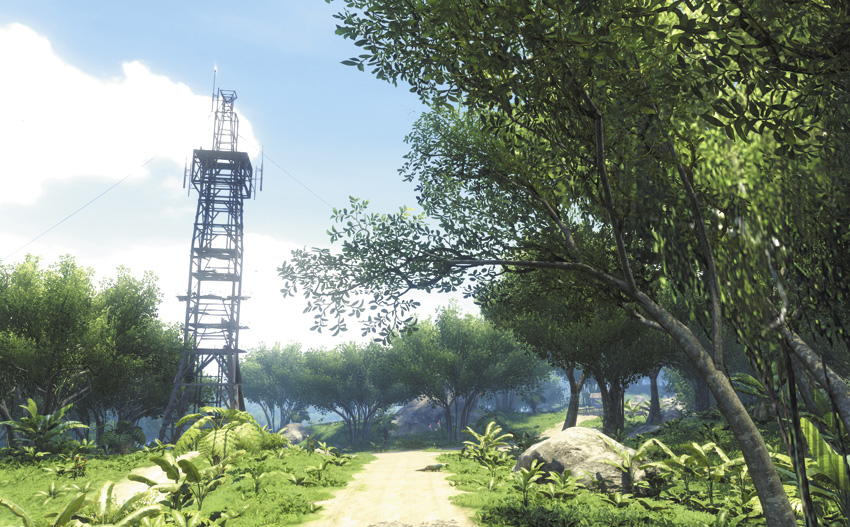
The local population of Komodo dragons can make the approach to this radio tower either dangerous (if they see you) or hilarious (if they go after any pirates in the area). Either way, deal with them and climb the stairs. You can make a slightly safer ascent if you inch to the end of the stairs, near where they’ve collapsed, until you see the Climb prompt appear, rather than making a flying leap for it. The rest of the climb is just a question of finding the right ledges to grab on to.
#7: North of Badtown
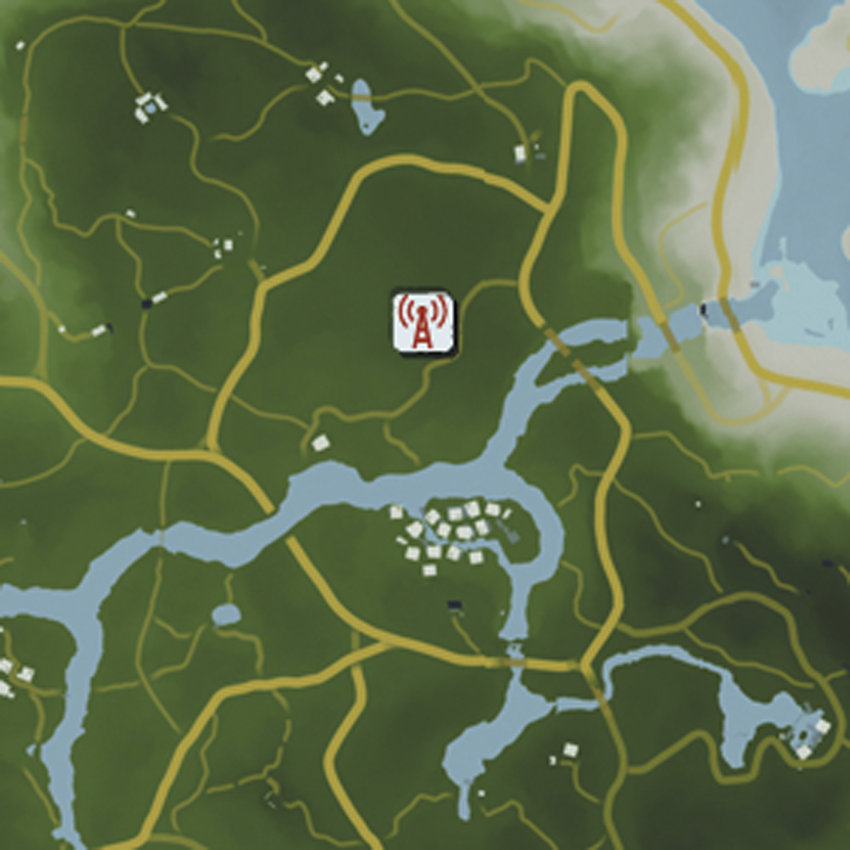
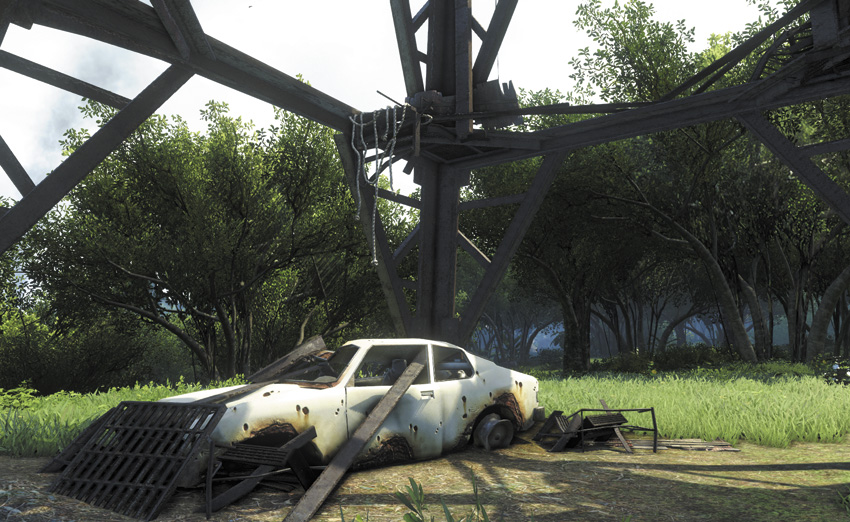
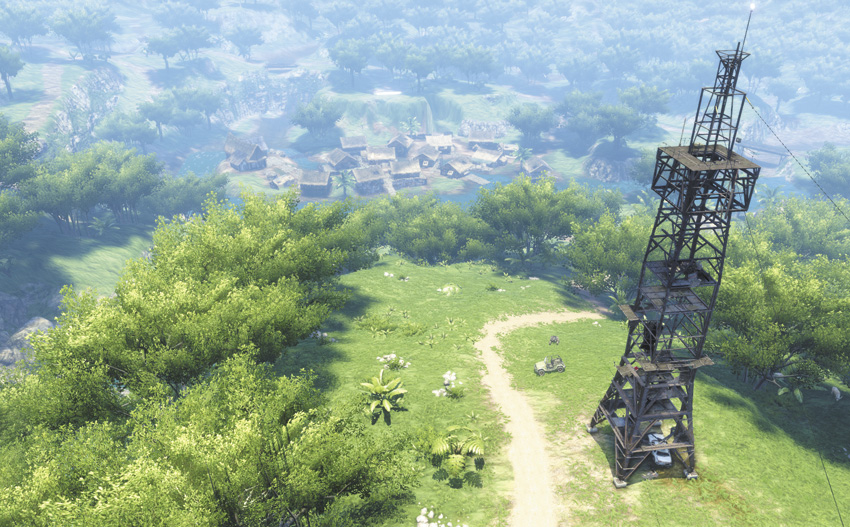
Compared to the last few towers, this one’s a breeze to get to. Use the roof of the wrecked car to climb up to the first level, then carefully creep around the edge of the ironwork to reach the stairs. Use the collapsed walkway to reach the next ledge, then follow the makeshift bridges around the exterior of the tower to get to the final ladder.
#8: Northwest of Nat’s Repairs
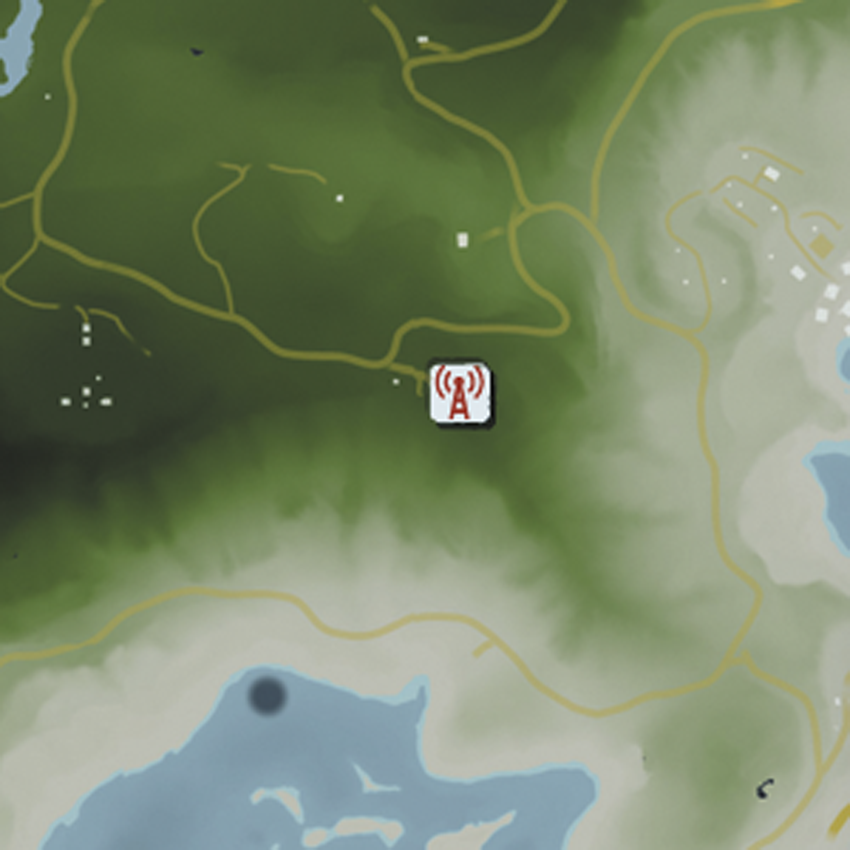
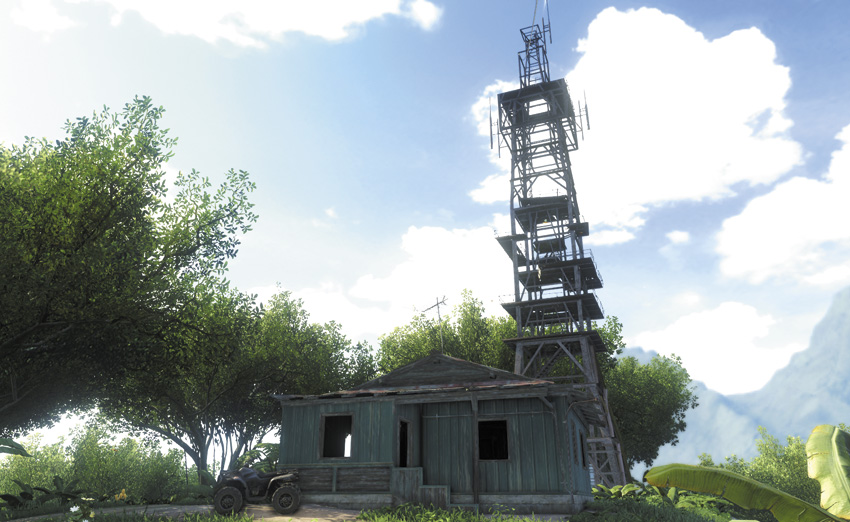
This tower is reasonably straightforward and is mostly a process of looking for, and then climbing, a bunch of the ropes that have been left in place.
#9: Northwest of Rust Yard
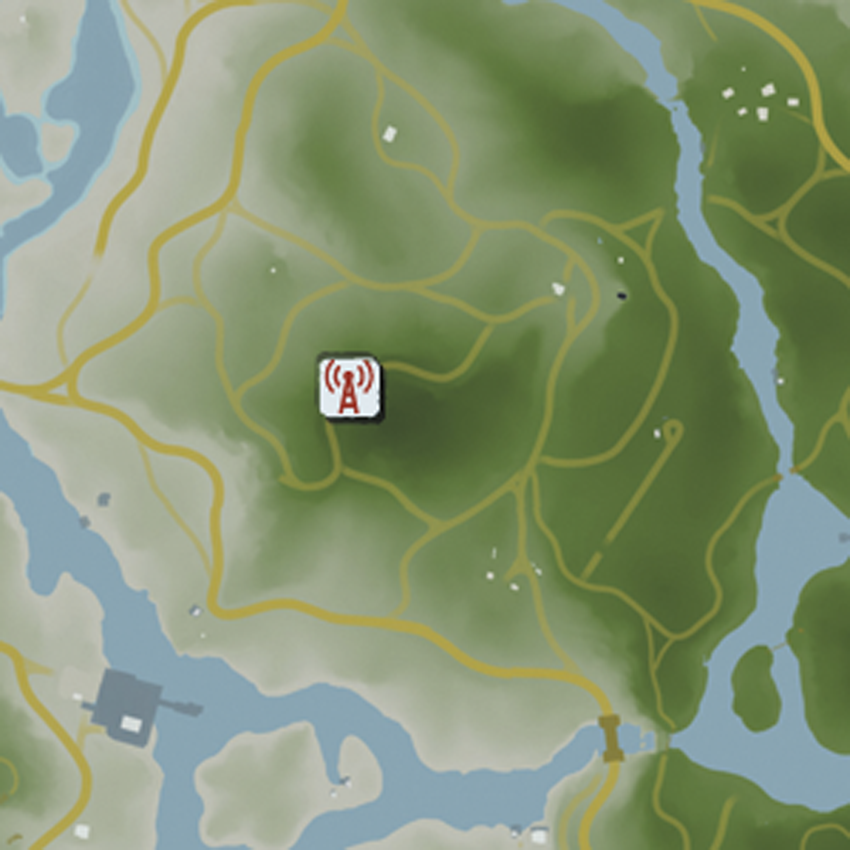
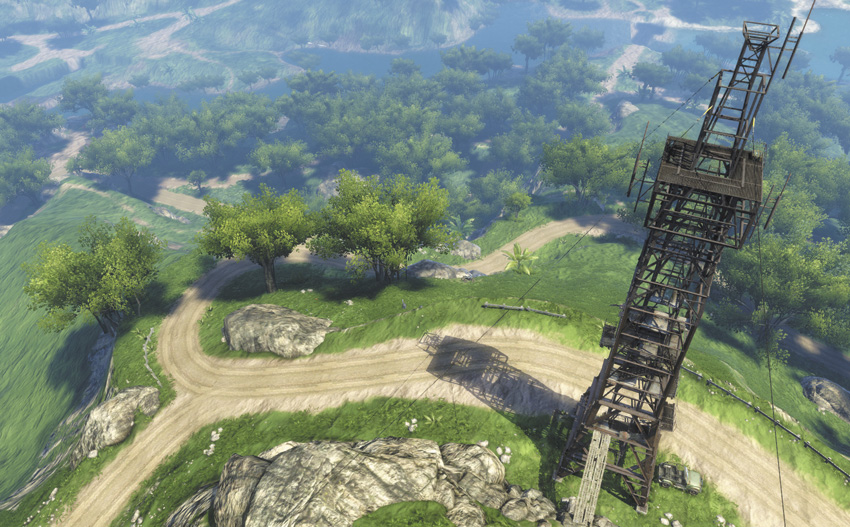
The ladder is long since broken, so you’ll need to use the makeshift wooden bridge to reach the first level of the tower. Use the wreckage of the stairs to reach the first ledge and mantle up it, then follow the walkway around and mantle again.
#10: West of The Neck’s Diner
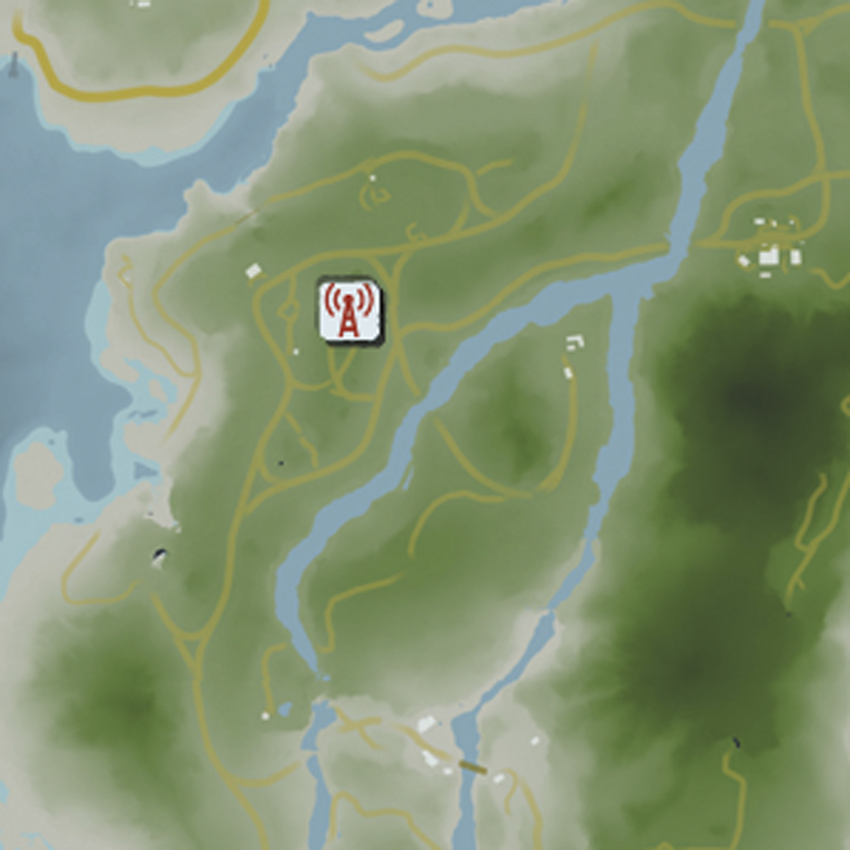
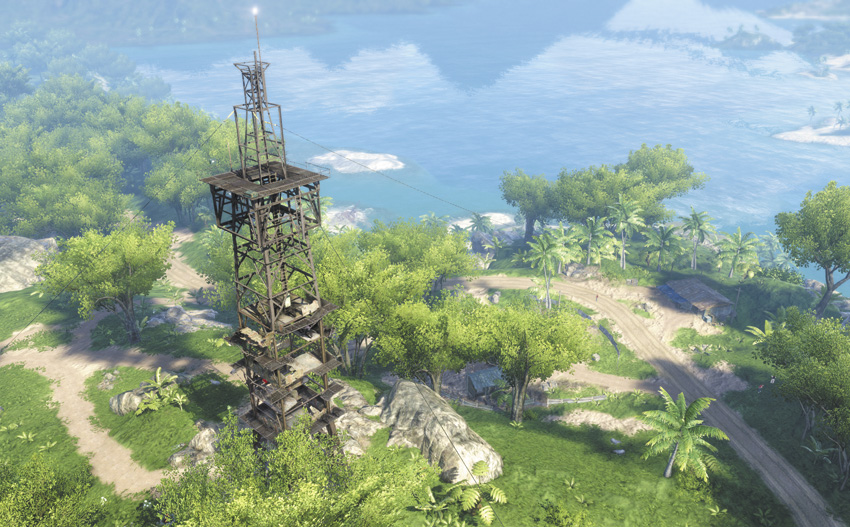
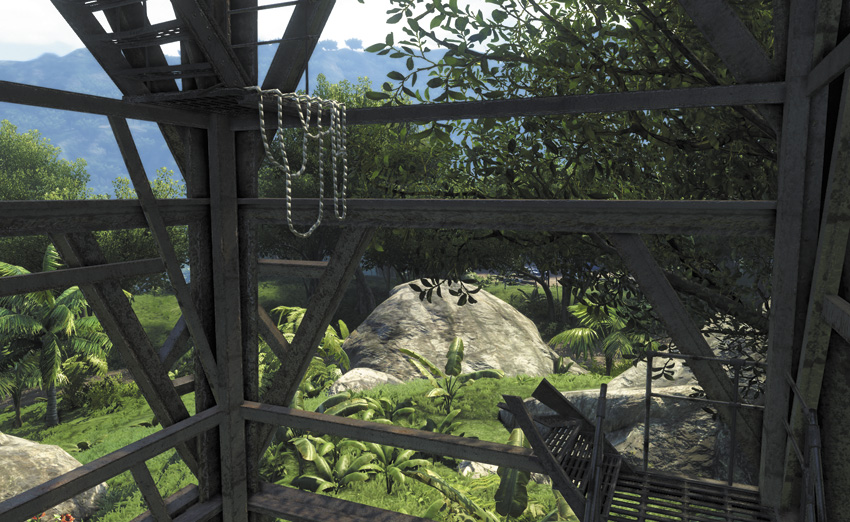
You get dropped off right next to this radio tower after finishing “Warrior Rescue Service,” so you may want to wait until that point in the story for expediency’s sake.
After wading through some sleepy tapir, go up the staircase and inch towards its edge until you can climb up to the first ledge. Take a long jump across the gap in the walkway, then crouch down and carefully creep along the narrow beam on the side of the tower until you can grab the overhead ledge. Use the makeshift bridge on the next level to reach a few more climbing points, then take the ladder to the top.
#11: North of Hubert Shore Power
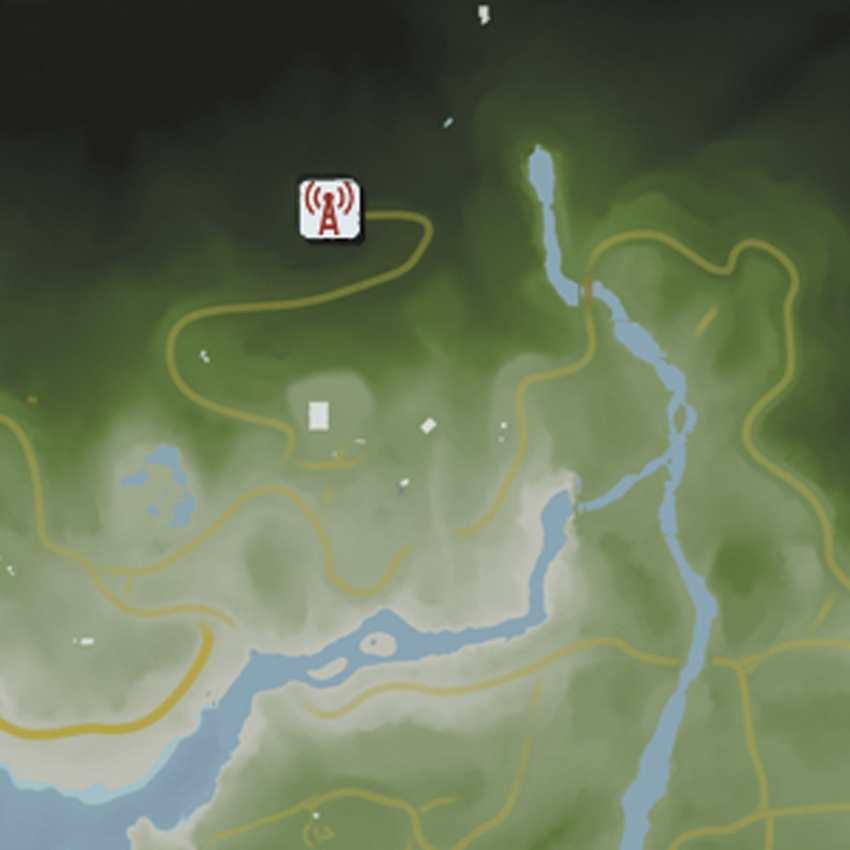
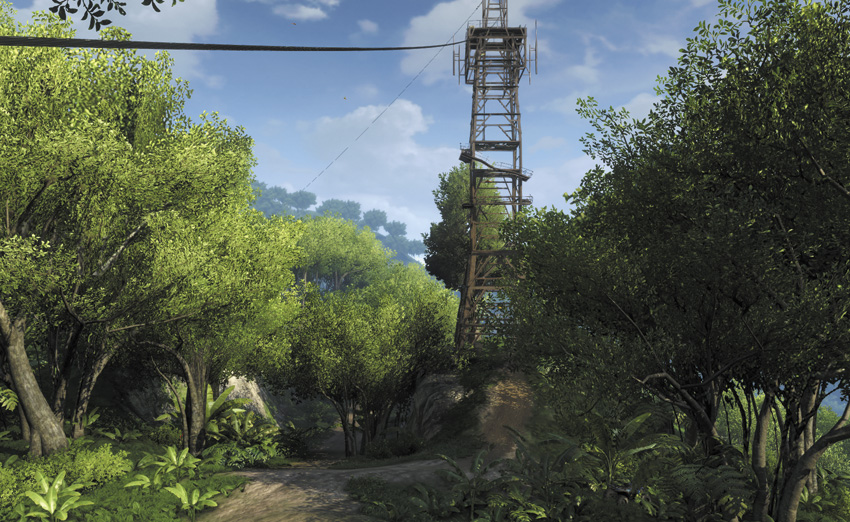
As you’ll soon discover if you try it, this radio tower is effectively unapproachable from the north owing to all the mountains in that general area. The only real way to get to it is to start from Hubert Shore Power and follow the road north, pirates permitting. The tower is also in leopard territory, so take it slow and listen carefully for growling.
Take the stairs up to the first landing, then duck under the strut and climb up two rope ledges. Jump across the gaps in the exterior catwalk, then climb up another level and cut across the middle platform to the broken walkway. That’ll take you straight to the last ladder.
#12: East of Stubborn Kid Farm
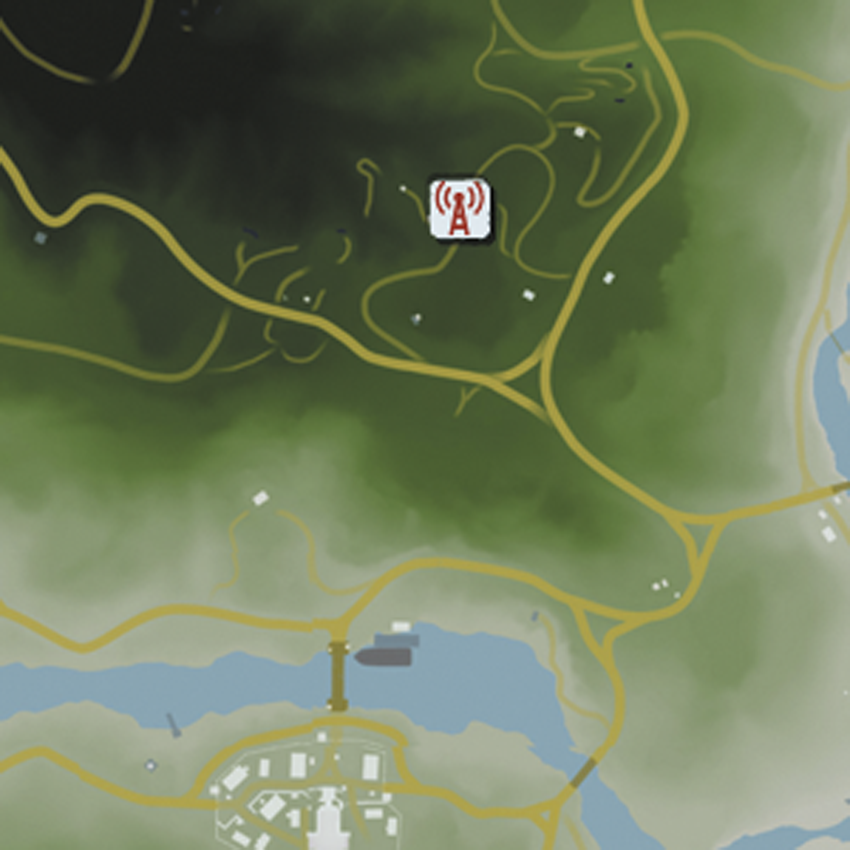
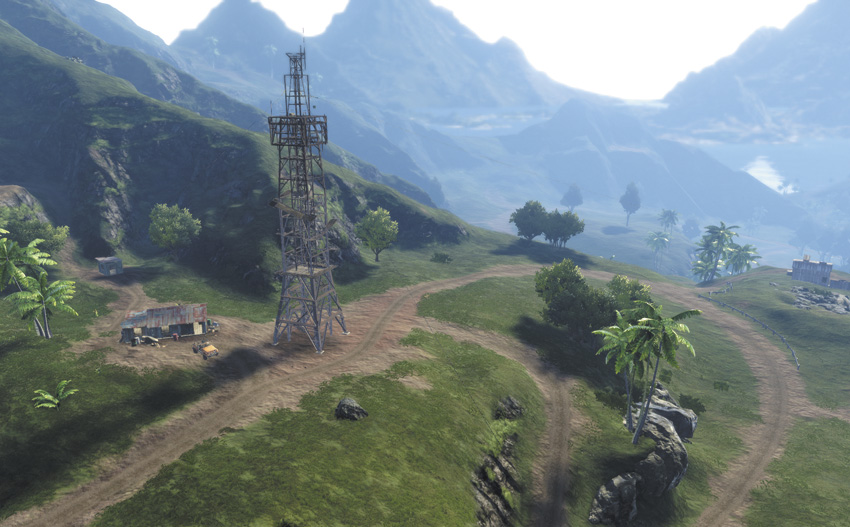
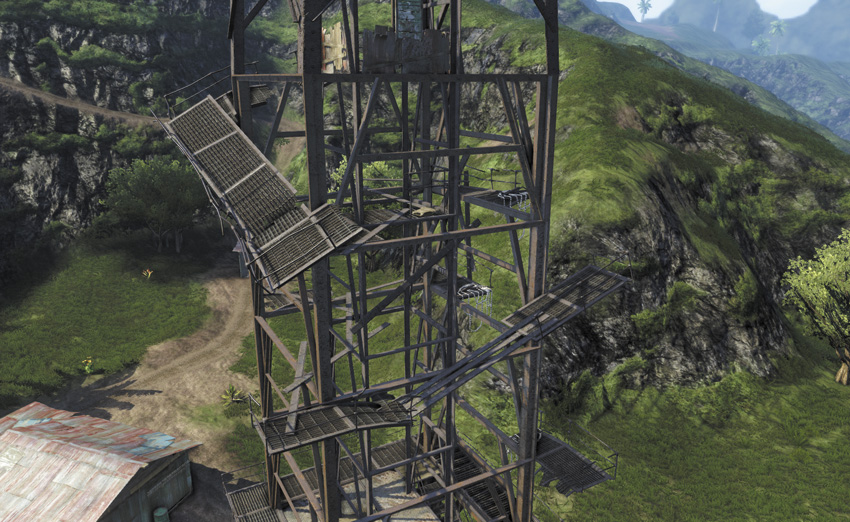
The theme of this tower is that most of the floor is gone, so you spend most of the ascent inching around on ridiculously narrow boards. Use a few rope ledges to work your way up the first few floors, then jump onto what’s left of the exterior catwalk and jump across the gaps to the ladder. This is a lot harder than it sounds.
#13: South of East Ridge Camp
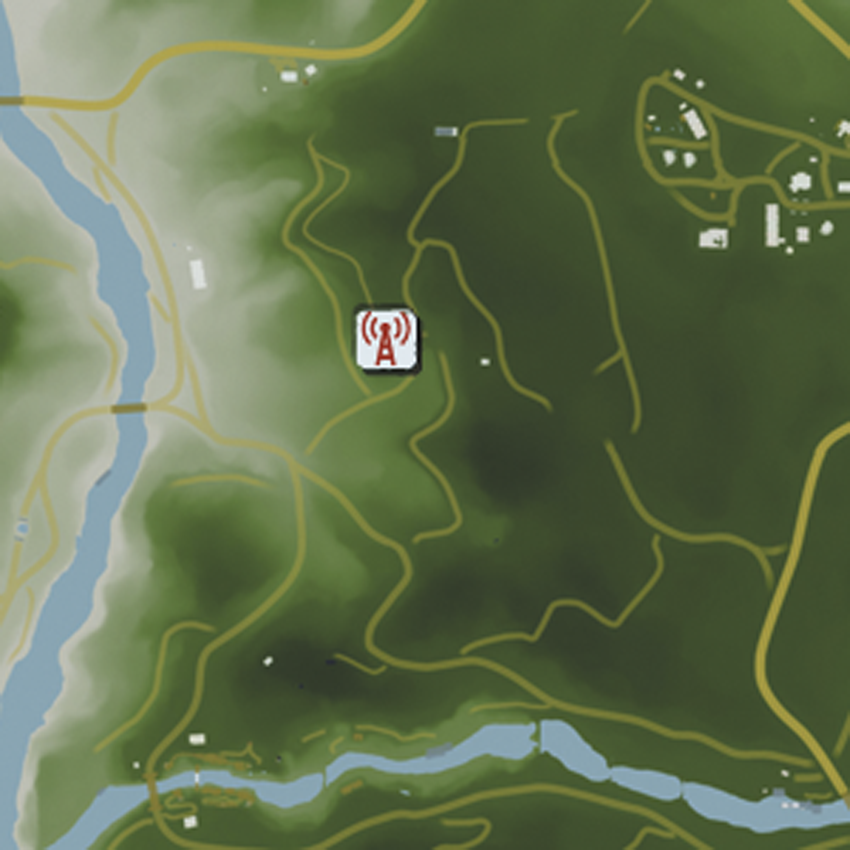
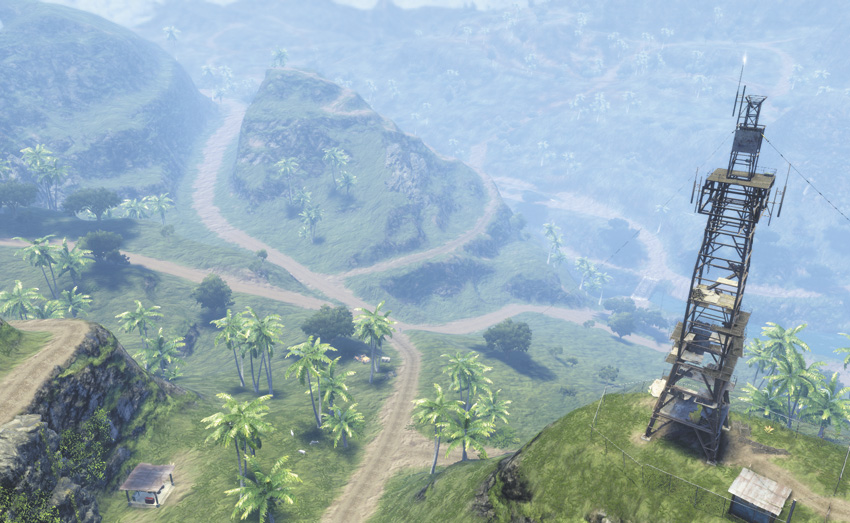
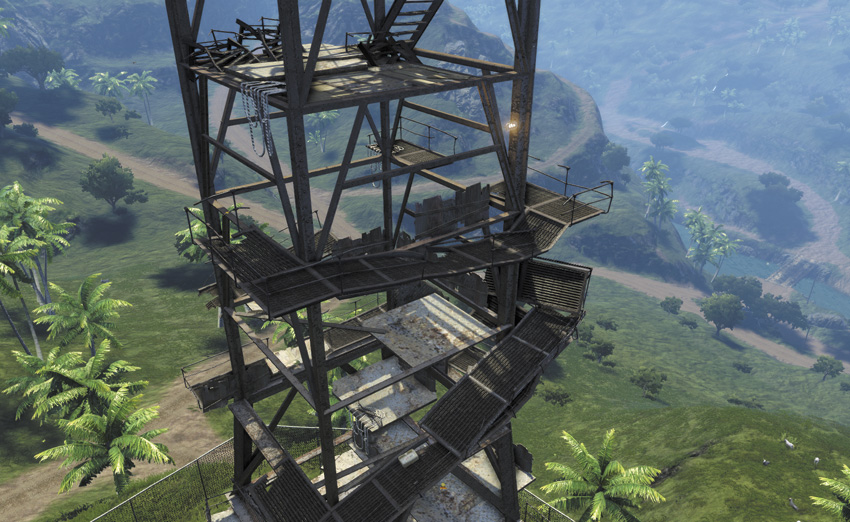
Head up the stairs and the makeshift ramp, then jump across the gap to the ledge and pull yourself up. Mantle up onto the nearby walkway, and then onto the collapsed ramp nearby. Jumping onto the ramp at its base doesn’t tend to work very well, so go straight up onto the ramp itself and jump onto the twisted platform above it. Creep across the narrow beam, leap up to the next ledge, hop across the gap, go up the stairs, and take a flying leap to grab the ladder to the top.
#14: East of Gaztown
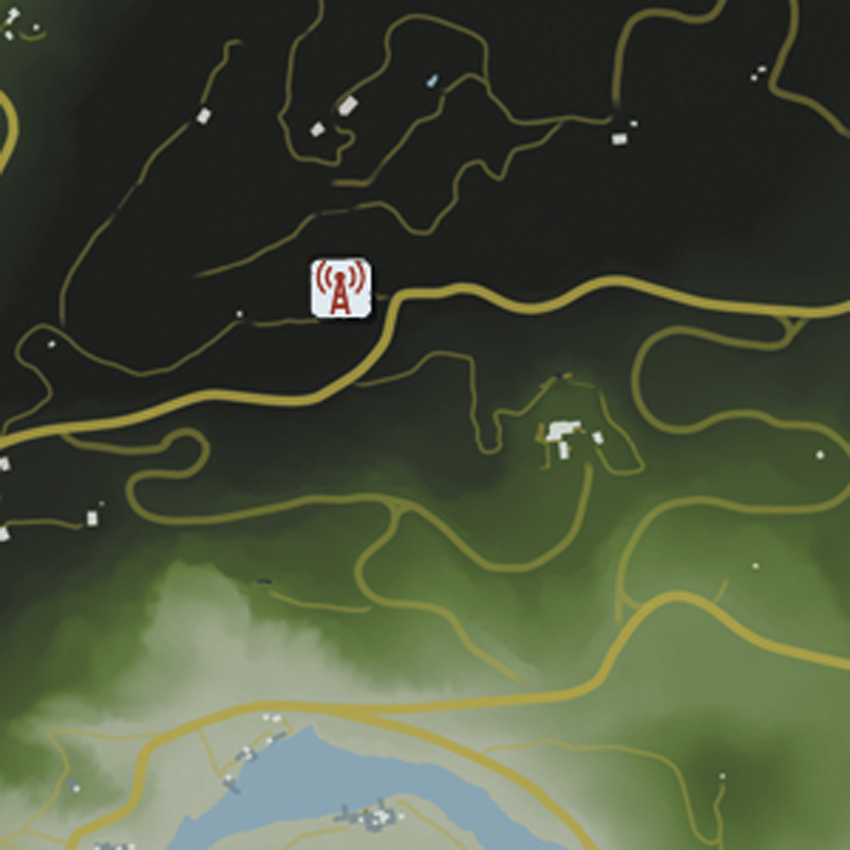
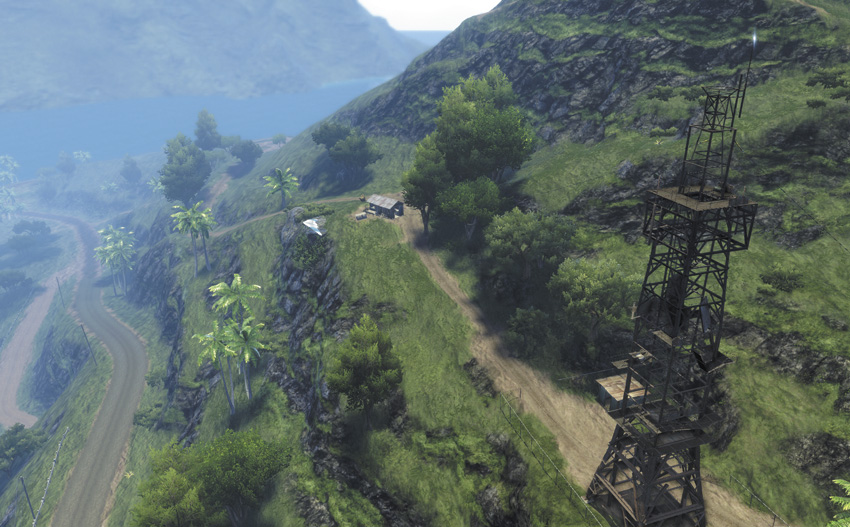
The first leg of the ascent up this tower isn’t much to speak of. It’s just six ledges in rapid succession. It gets complicated after that, and you have to carefully edge around a corner. Once you’re there, drop down to the platform with the loot chest, then climb back up to the ledge.
Take a careful jump down a level, move past the buckled part of the catwalk, then climb up another ledge. The trick to this tower is figuring out exactly how you’re meant to get to the last ladder, and realizing that it doesn’t involve an intricate process of creeping along narrow support beams.
#15: North of Longshore View
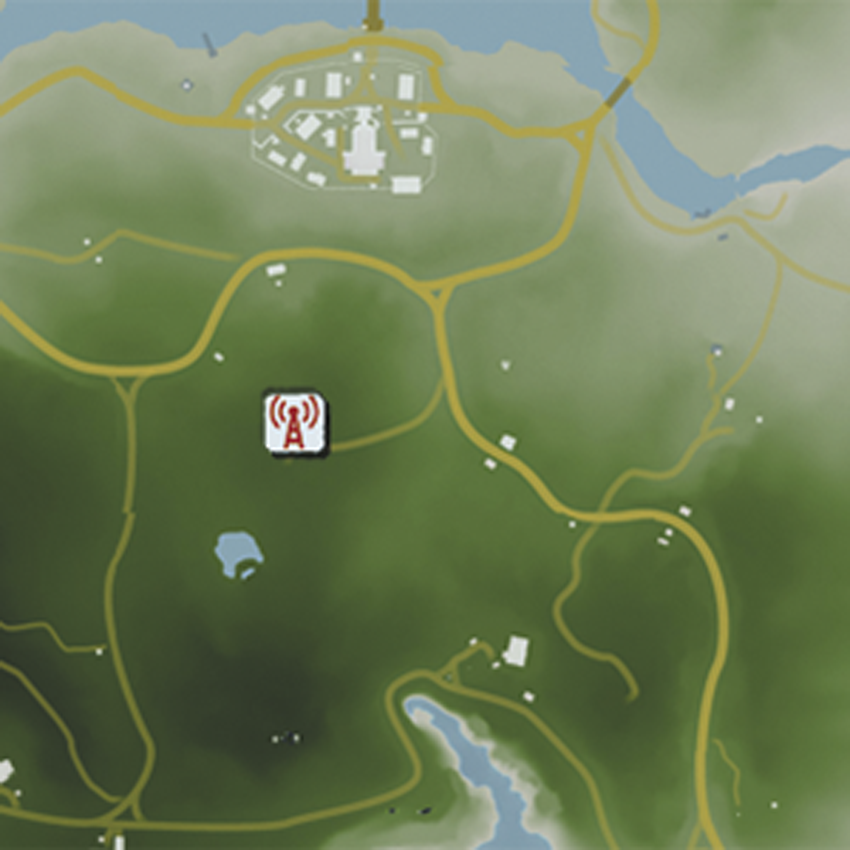
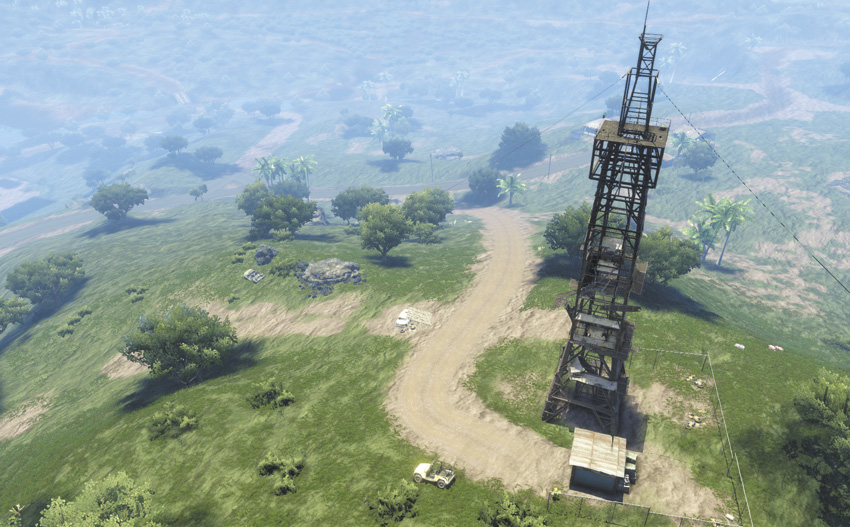
Climb the first set of stairs, cross to the corner of the platform, and take a long running leap across the gap to the opposite corner. Jump to the half-collapsed walkway, then climb up to the next level to find a stash of cash. Grab it, then climb up another ledge above you. Jump off what’s left of the next staircase and grab onto the ledge, climb up, and follow the path around across the narrow metal slats. When that dead ends, take a very careful jump down to the platform below you, then climb up to the center platform, crouch, and inch across the slat until you can climb the overhead ledge.
#16: North of Dry Palm Storage Depot
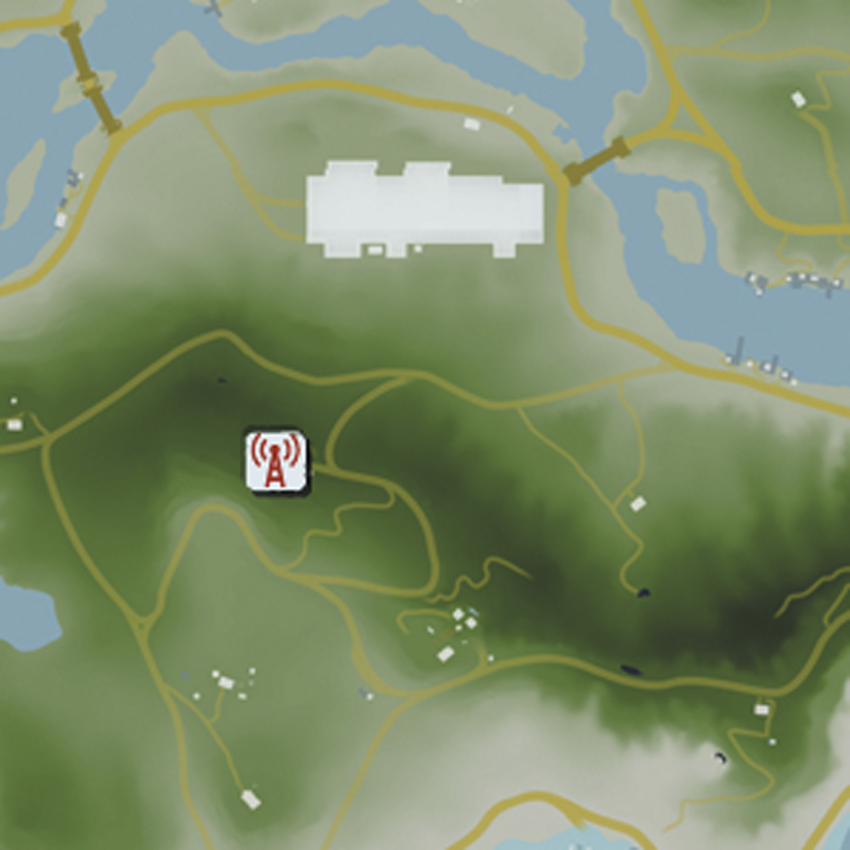
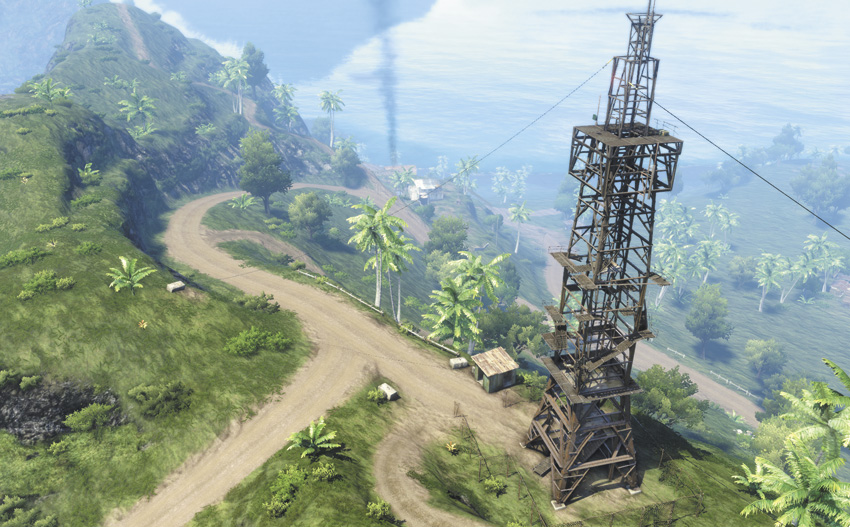
The stairs at this radio tower have been destroyed. The only way to start climbing it is to use the zipline anchored to the nearby building. After that, the rest of the tower is almost an anticlimax; just look for the ropes and mantle up to the ledges above you.
#17: South of Bridge Control
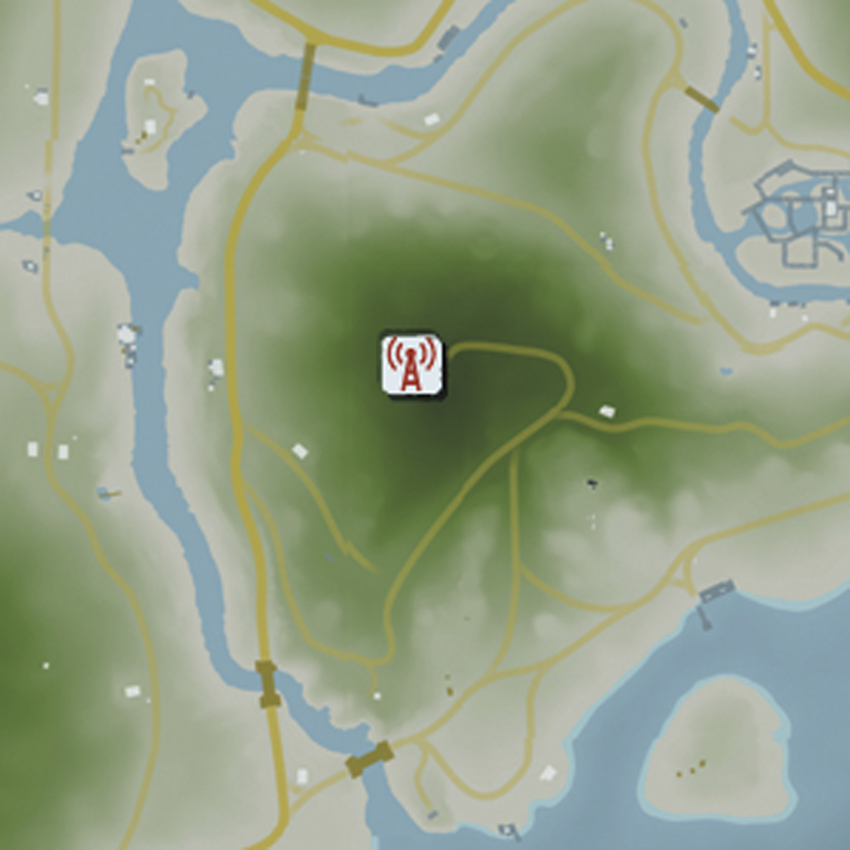
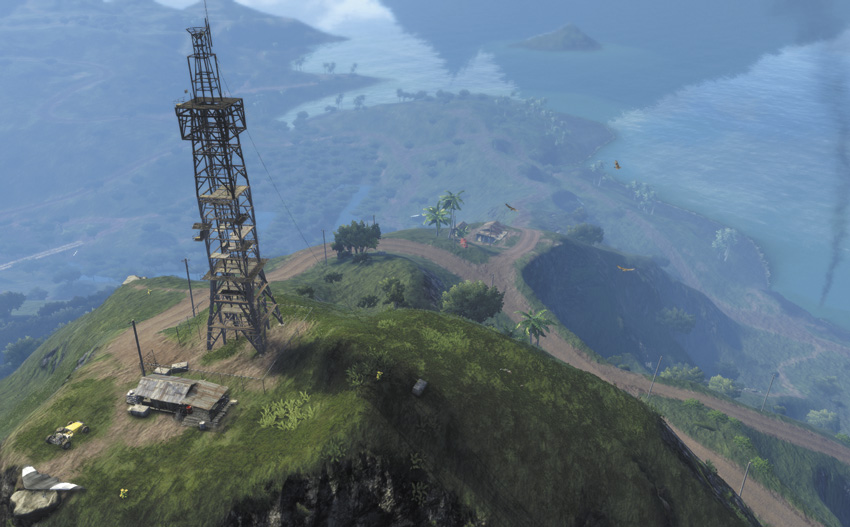
Mantle up three levels, then use the slat to get up the buckled walkway. There’s a gap you have to circumvent, but the ceiling is low enough that trying to jump it usually knocks you down a floor. Instead, crouch and use the support beams to help you inch across, then climb up the next ledge. Use the board on the floor to get to the exterior ledge, loot the chest, and then turn around and take a flying leap to get to the next ledge. Pick your way across the rickety series of boards that pass as this level’s floor, then climb one last ledge to reach the final ladder.
#18: East of Satellite Communication Hub
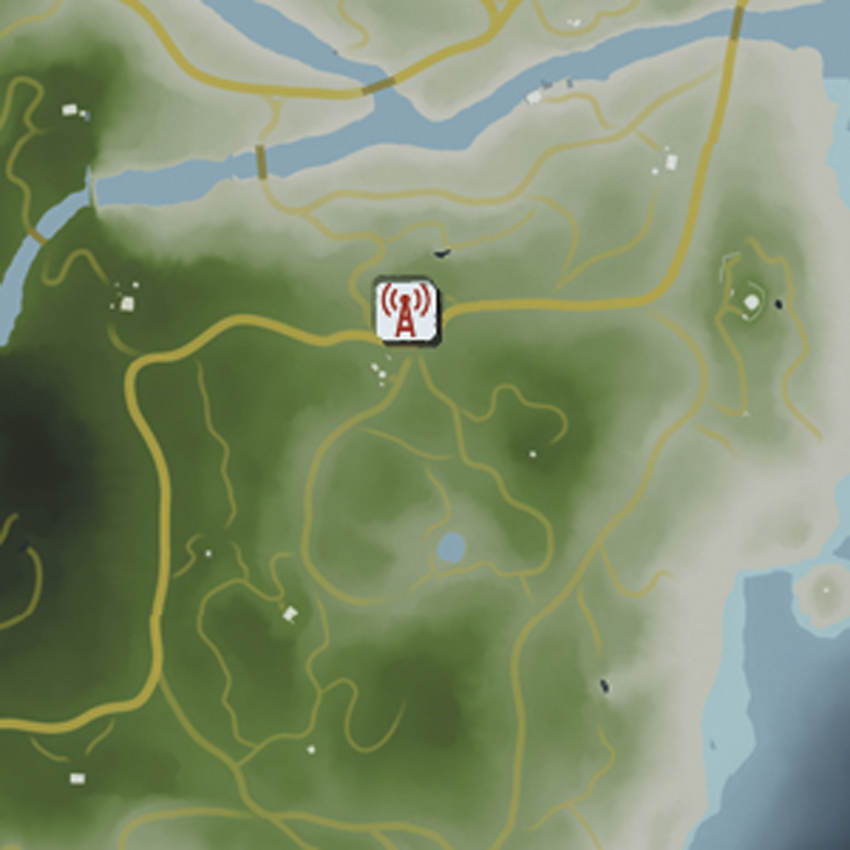
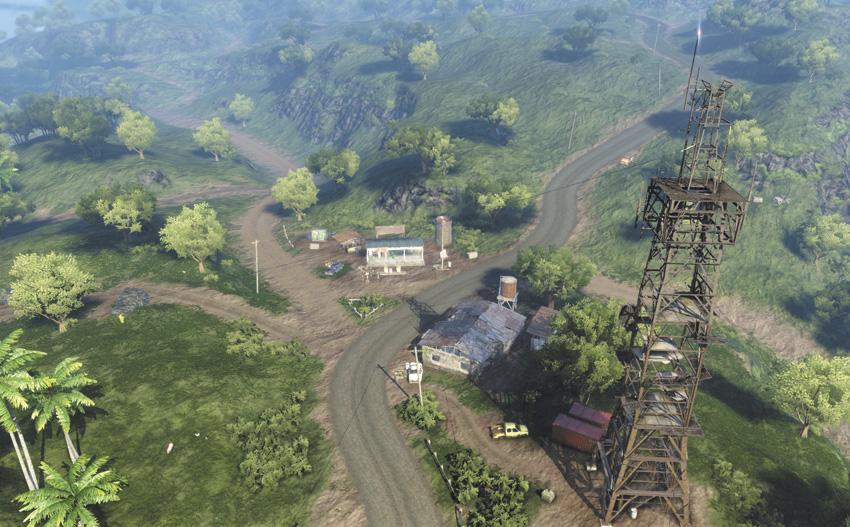
Go up the first set of stairs and climb onto the ledge. Take a long jump across the gap in the catwalk to reach the ropes, then edge along the broken beam until you can drop onto the platform below. Climb onto the overhead platform, inch across the beam to the other side of the tower, and then move far enough out onto the broken beam to grab the ledge above you. Inch across one last narrow beam to reach the fallen walkway, follow it to its end, and jump up to the final platform.