
Far Cry 3 with Interactive Map Walkthrough Other Missions
Path of the Hunter
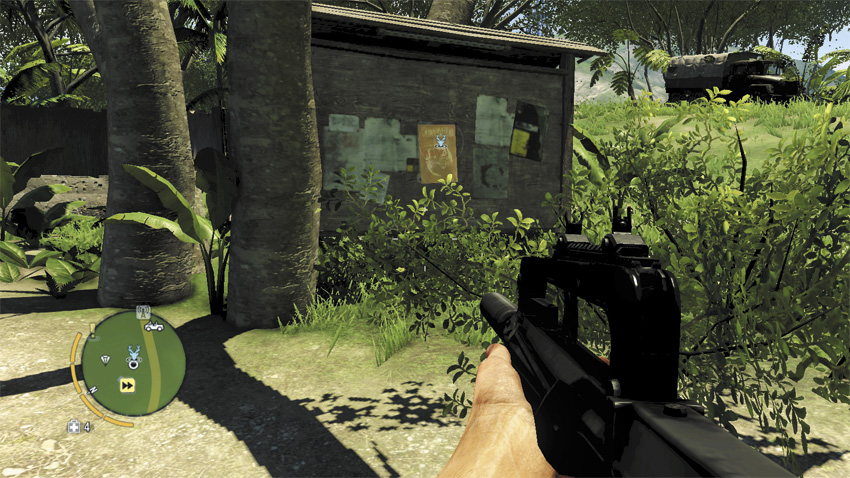
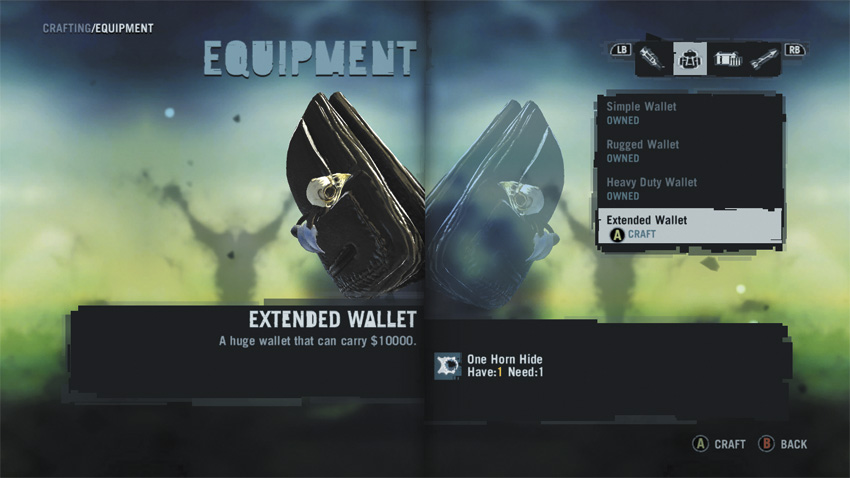
Hunting is a big part of life on Rook Island, whether it’s for food, revenge, or bragging rights. In your case, it’s a decent source of extra cash, and provides you with the rare, one-of-a-kind skins and hides you need to create the best possible pouches and bandoliers.
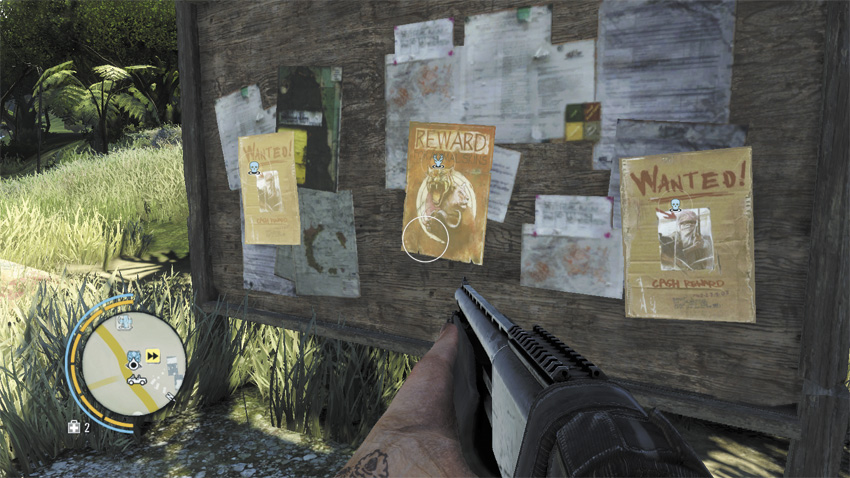
Each of the Path of the Hunter quests is activated when you liberate a certain outpost. By taking the quest off the bulletin board, you begin a mission to travel to a nearby area, pick up a specific weapon, and use it to kill animals who are creating problems for the Rakyat.
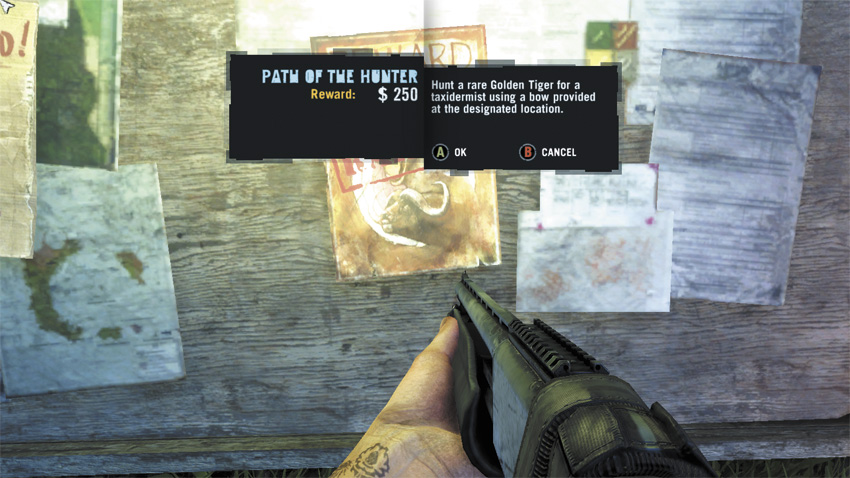
You must use the specified weapon or your machete/Tanto to complete a Path of the Hunter quest. You are not allowed to bring a modified version of the same weapon with you to the field with the sole exception of the Japanese Tanto, and you cannot inflict damage to a targeted animal with any other weapon without causing a mission failure; thus, you can’t “soften up” a bear or tiger with grenades or a mounted gun before inflicting the killing blow. Once you do kill your target(s), the mission is immediately over and you’re given the cash bounty on the spot.
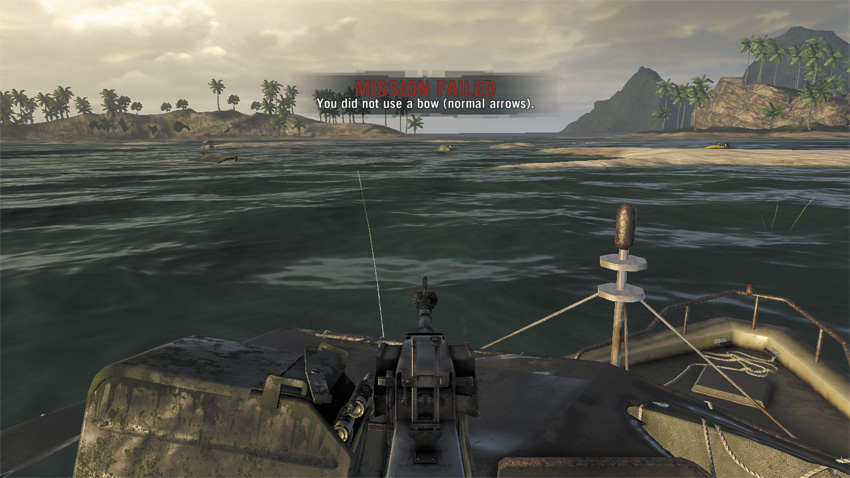
Killing or harming a target with a weapon other than the one specified by the terms of the quest causes a mission failure. If a targeted animal dies for some other reason, such as falling into a nearby body of water, you will still receive credit for completing the quest.
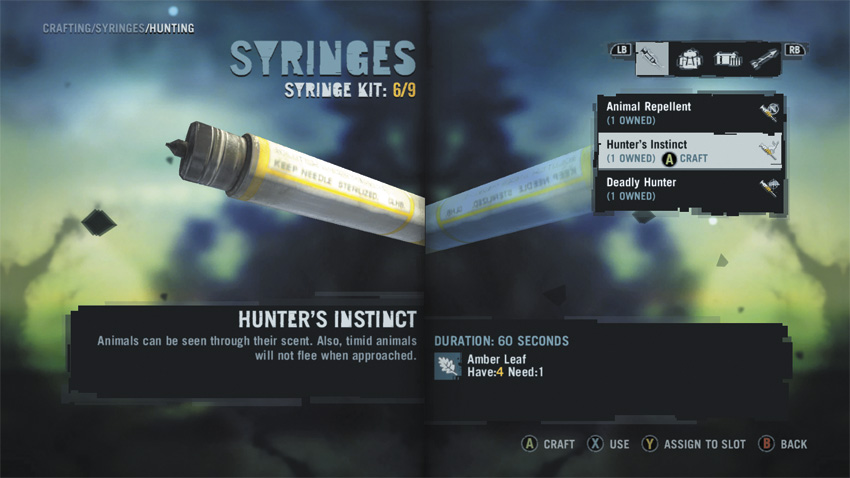
One advantage you do have is the use of various syringes. Many quests suggest the use of a Hunter’s Instinct syringe to help track animals through dense foliage, and you can use Deadly Hunter to improve the amount of damage you deal to an animal with every attack. If you’re really stumped with a given quest, you can go Relic hunting until you unlock the recipe for the Touch of Death syringe. It doesn’t last long, but Touch of Death makes every shot you take a one-hit kill.
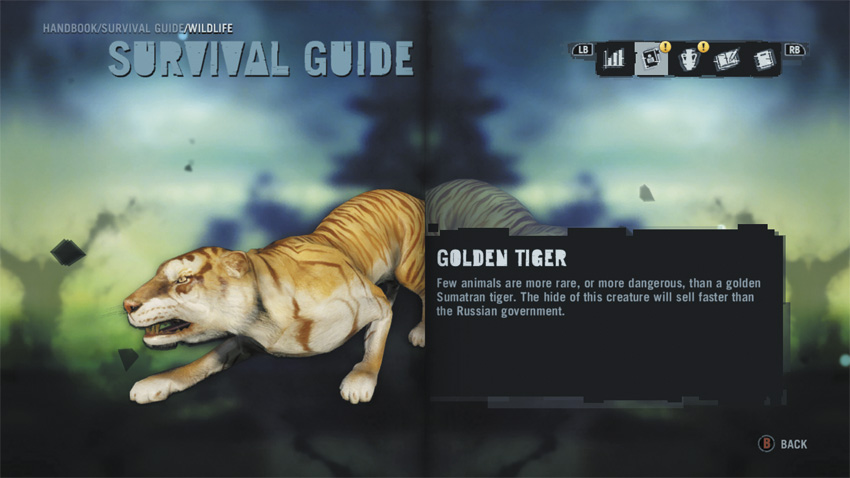
Each rare animal you target in the Path of the Hunter comes with its own unique entry in the Handbook’s Survival Guide. Completing a single Path of the Hunter quest unlocks the Bagged and Tagged Achievement/Trophy, and killing a rare animal (for instance, the Golden Tiger or Undying Bear) unlocks the Poached Achievement/Trophy.
Common Animals
These are useful for picking up extra hides or skins for crafting purposes, and can be worth a nice bit of extra income early in the game.
What’s a bit strange is that quest for quest, these are much more difficult challenges than the bounties on rare animals, and you would do well to leave them off until you’ve acquired all of the skills that improve your proficiency with the weapon at hand. For bow hunting, that’s Expert Archery and Combat Archery; for long guns, that’s Hip Shooter, Aimed Reload, and Long Gun Expert; and for sniper rifles, having at least Steady Aim is a big help. Enhanced Syringe Potency is another good pick, to let you get the most out of your Deadly Hunter buff.
With many of these bounties, the real trick is finding your target. Hunter’s Instinct syringes can help, as they artificially tag your target so they can be seen through obstructions. They’re considerably more effective at night, however, when the highlighted animal stands out in sharper contrast.
Bow Hunt: Komodo Dragons
Reward: $350
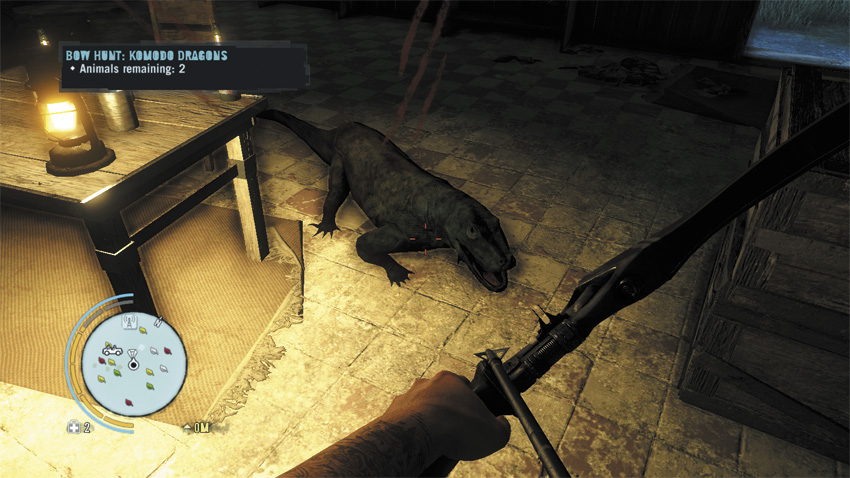
South of the Break Point Docks, four Komodo dragons have attacked an isolated farm. Komodo dragons are just resilient enough that they’ll keep coming after one arrow, and the tall grass around the farmhouse makes it difficult to spot them before they spot you. Use Hunter’s Instinct to get the early tag, then Deadly Hunter to try to pick them off before they close to bite range. If they do fasten onto you, you’re better off falling back rather than using your knife. It takes three or four knife hits to kill a single Komodo dragon.
Bow Hunt: Leopards
Reward: $250
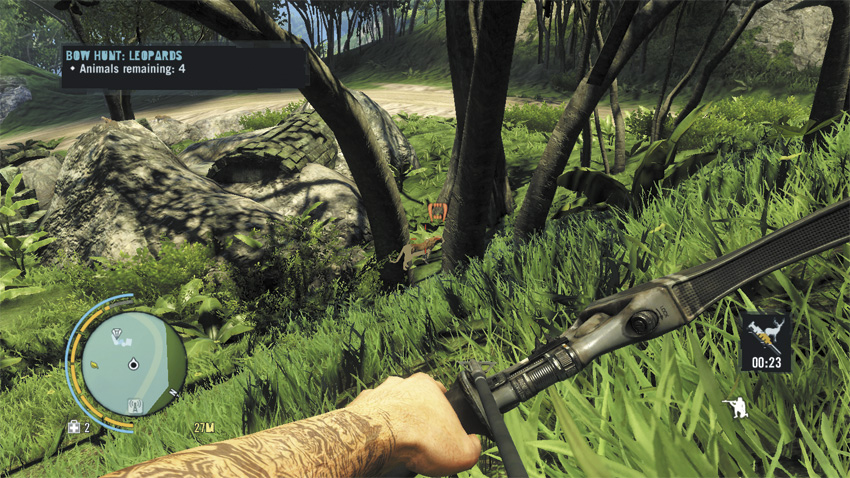
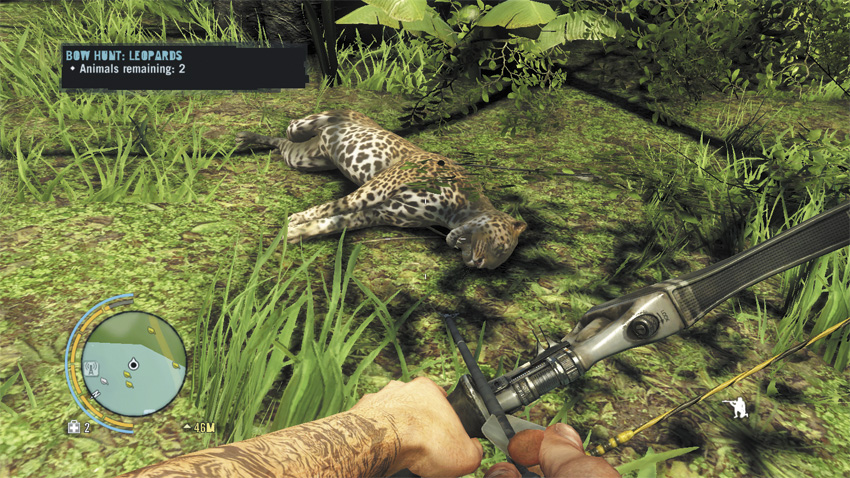
You need to go north of Hubert Shore Power and fill four leopards with arrows. It takes three clean hits from the bow to bring a leopard down under ordinary circumstances, which means this is largely dependent upon getting in the first hit.
If you’re lucky, the leopard reacts to the first arrow by roaring at you, which is enough of a window to fire a second arrow if you have the Combat Archery Skill.
Flamethrower Hunt: Leopards
Reward: $400
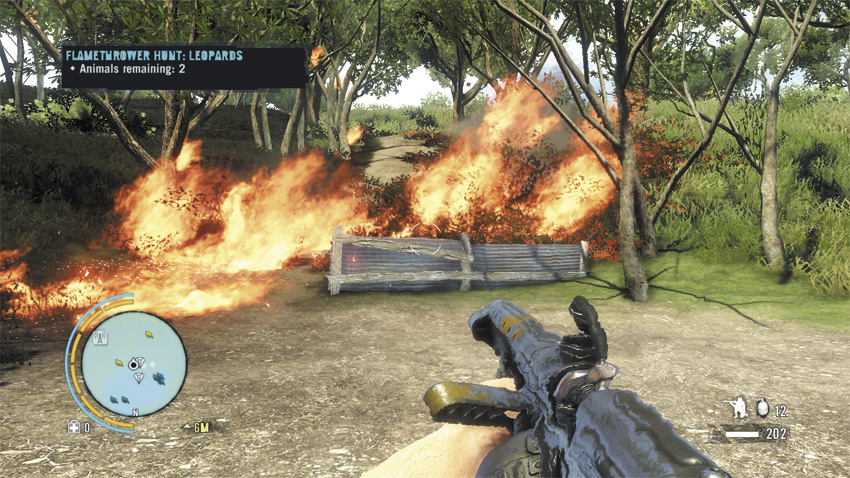
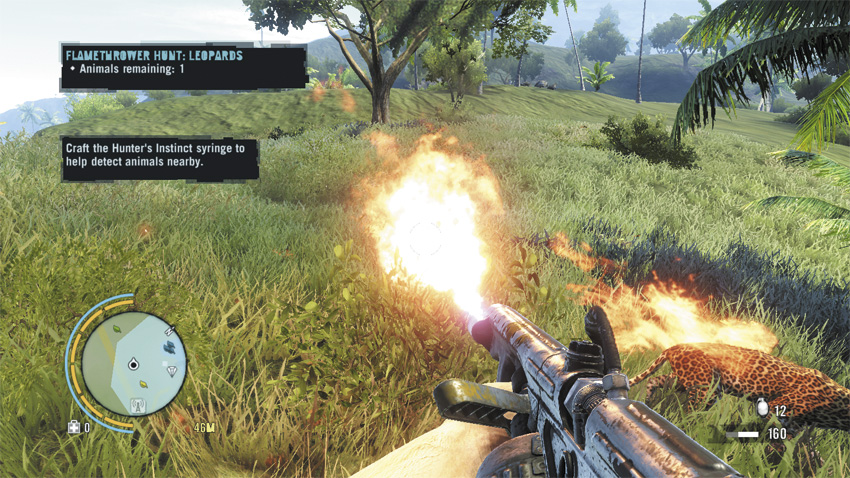
Pick this up off the North Krige Crest bulletin board, then head north. If Littlegate Bridge is up, you’ll need to take a detour or ramp off it in a jeep from the outpost.
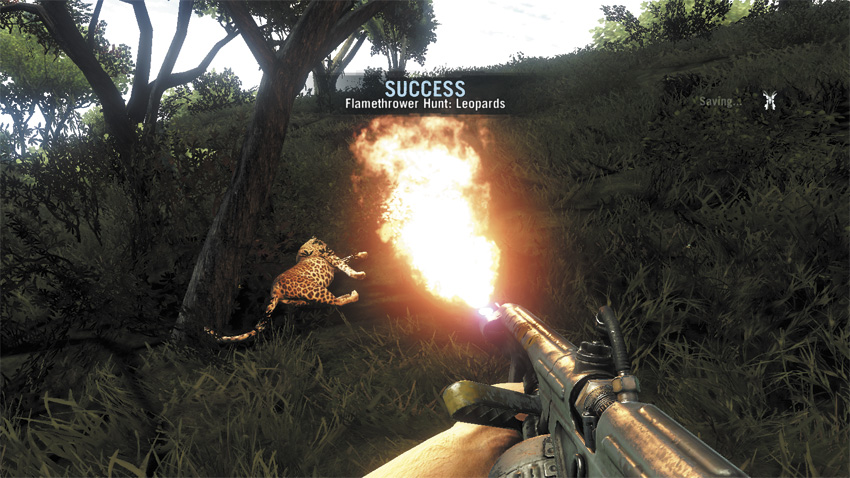
This isn’t quite as hard as it sounds, as the leopards tend to break and run the moment the flamethrower kicks on. If one dies in the firestorm that results from you torching every scrap of vegetation in the area, that also counts towards completion credit. You are really going to want a few Fireproof syringes, though, as the leopards are holed up in a nice grassy location and it’s easy to set the entire place on fire.
Flamethrower Hunt: Wild Dogs
Reward: $350
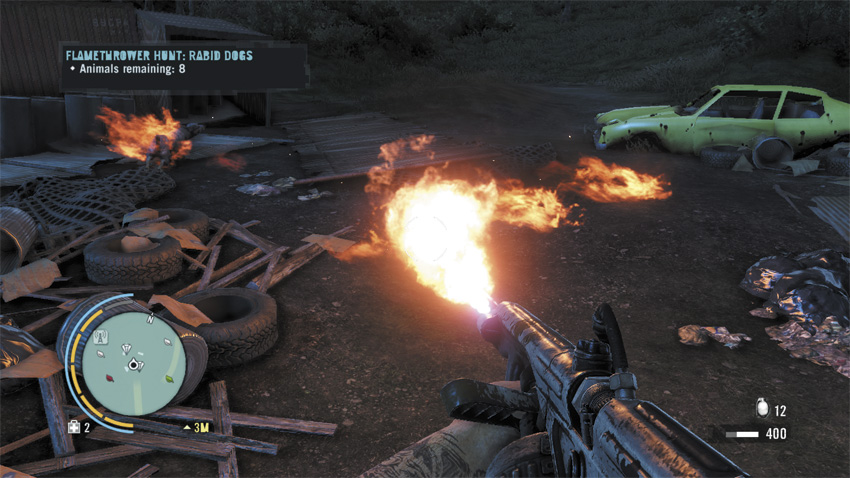
From the Lazy Shore Marina, go northwest to find the flamethrower. You’ll want to bring some Fireproof syringes, too.
The dogs are all initially standing in the junkyard near the Trial of the Rakyat stone for Overheat. Tag them all with your camera while you can, then get to making, um, hot dogs. (Sorry.)
A dog that’s on fire tends to leap at you, which means it’ll ignite both you and any nearby plants before falling over. This is why Fireproof comes in handy. Another alternative is to ignore the flamethrower entirely and treat this as a knife challenge, since one hit from the Tanto kills a dog.
Machete Hunt: Bears
Reward: $500
Head southeast from Bridge Control to find the machete in question inside a dockhouse, then go south for this year’s Wrestlebear match. It takes about seven clean hits from a Japanese Tanto to kill a bear with melee attacks. Good luck with that.
Your best bet is probably to come prepared with either Untouchable or Touch of Death syringes. Otherwise, this is one of the most difficult and painful side missions in the game.
Pistol Hunt: Bears
Reward: $400
The Dry Palm Storage Depot is the starting point for this quest, which is clearly being offered by a madman. You have a .45 against three bears, who have claimed a nearby mine tunnel as their own and who you will often find moving in a tight group. Frankly, your best bet for this one is to use a Touch of Death.
RPG Hunt: Rabid Dogs
Reward: $175
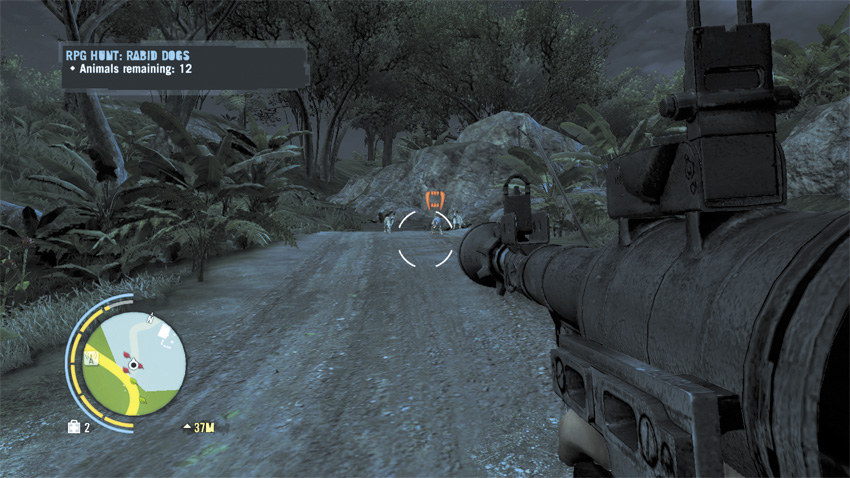
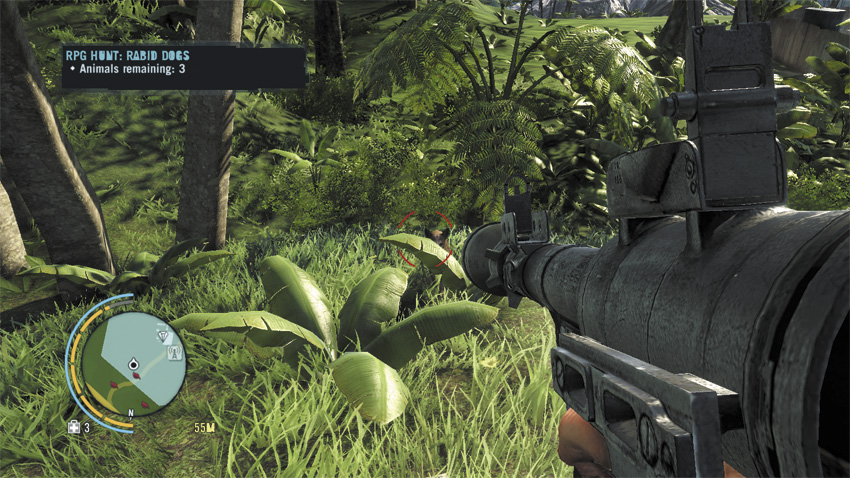
Southeast from AM 12, a kennel full of infected dogs all await RPG justice. It is possible that whoever put this bounty up did so entirely to see if someone would actually do it.
Only fire the RPG-7 at all if you’ve spotted a dog at long range, of course. Otherwise, just stab it with your knife.
There is a lot of gear inside the kennel, including multiple medkits, lots of rockets, three grenades, and a body armor, so you may want to keep hold of this one until you need a quick resupply.
SMG Hunt: Bears
Reward: $275
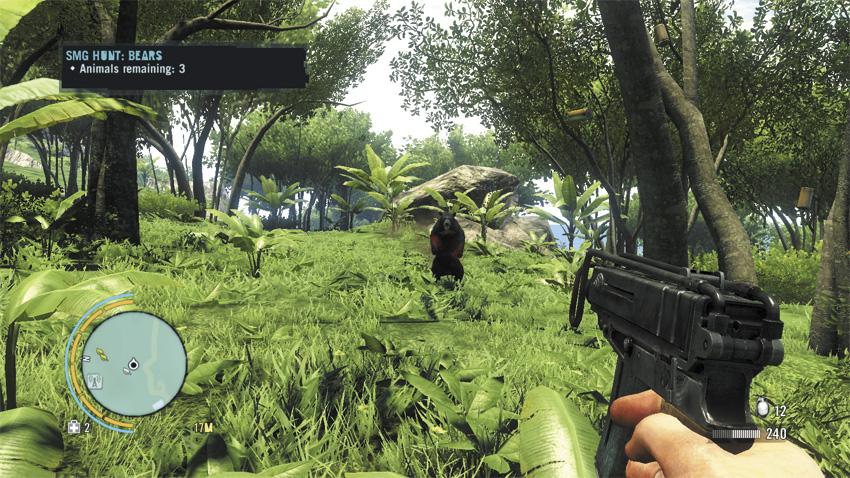
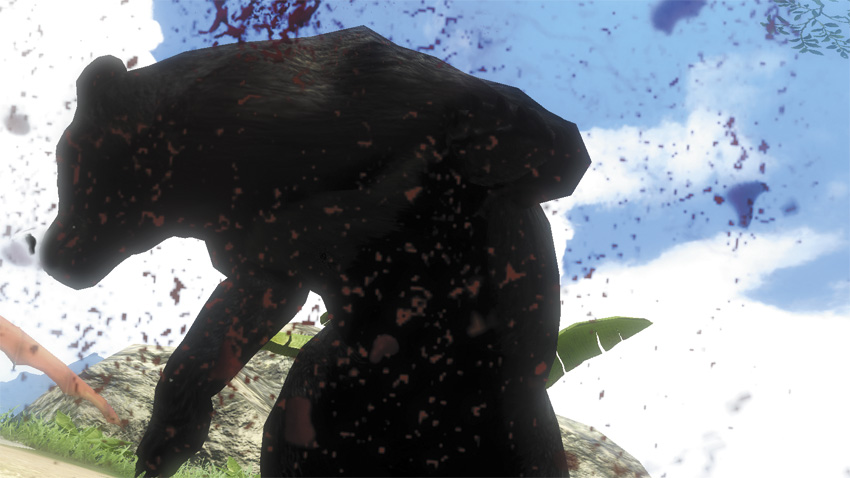
Go to Broken Neck Home and grab the quest off the board, then head east across the bridge to grab a Skorpion.
This quest can be a nightmare. Even with all relevant skills, it takes about two full clips at point-blank range from the Skorpion to kill a bear. Even with a Deadly Hunter syringe activated, it takes just over one clip, which means it’ll have time to rush you while you’re reloading.
SMG Hunt: Tigers
Reward: $300
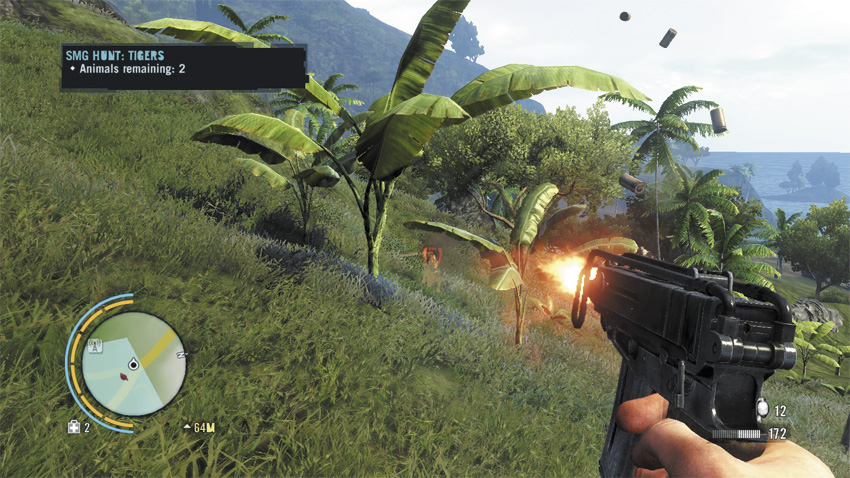
From the Spine Ridge Site, head northwest and grab the Skorpion off the pile of ammo, then go tiger hunting. About the only advantages you’ve got are range and the ability to climb onto rooftops.
Shotgun Hunt: Bears
Reward: $225
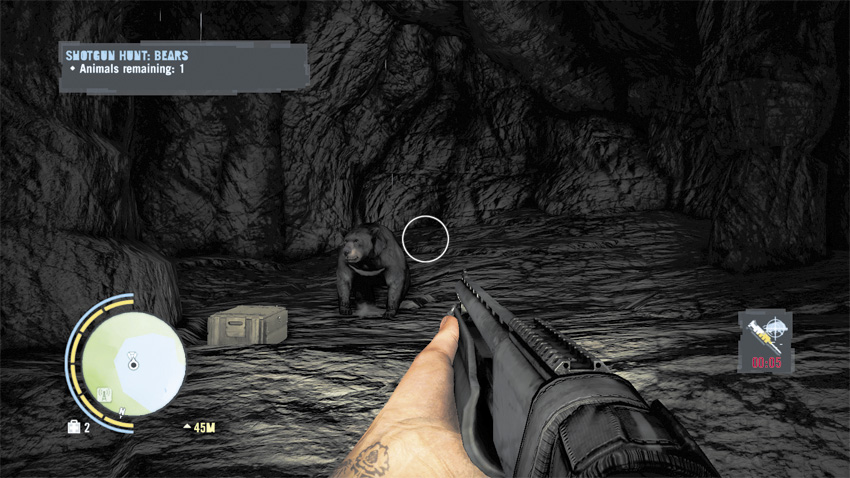
From Amanaki Town, unlocked when you liberate the Amanaki Outpost, go southwest. Grab the shotgun, then go to the nearby cavern marked on your map. Use a Deadly Hunter syringe; with it and skills like Hip Shooter, the M133 can level a bear in one hit.
Shotgun Hunt: Bears
Reward: $250
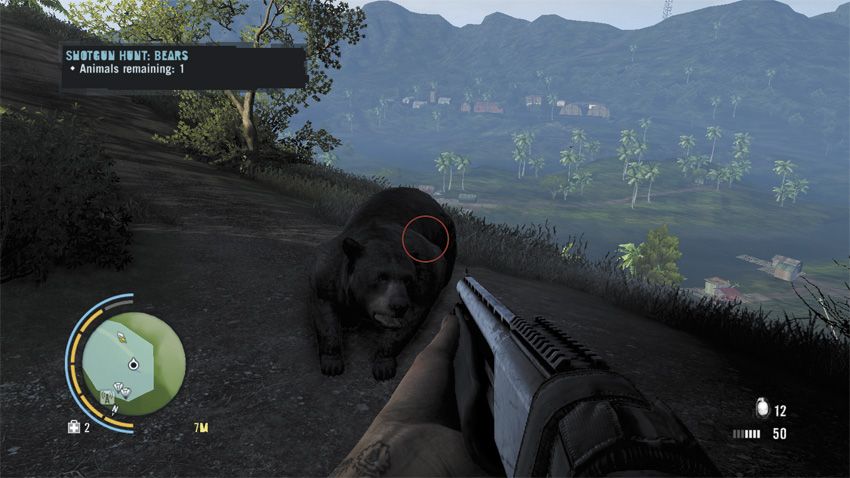
Go to North Krige Crest to get the quest, then head southwest to find the M133 you need. The bears are west of the M133’s drop box, and what makes this a much bigger complication than the Amanaki Town version is that the cave is smaller. They might be standing right next to one another when you show up, and in that case, you’d better kill one with your first shot.
Shotgun Hunt: Rabid Dogs
Reward: $175
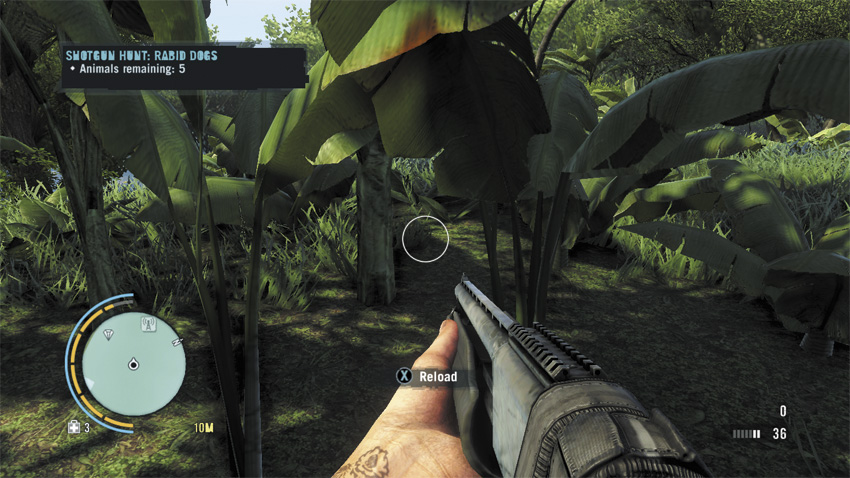
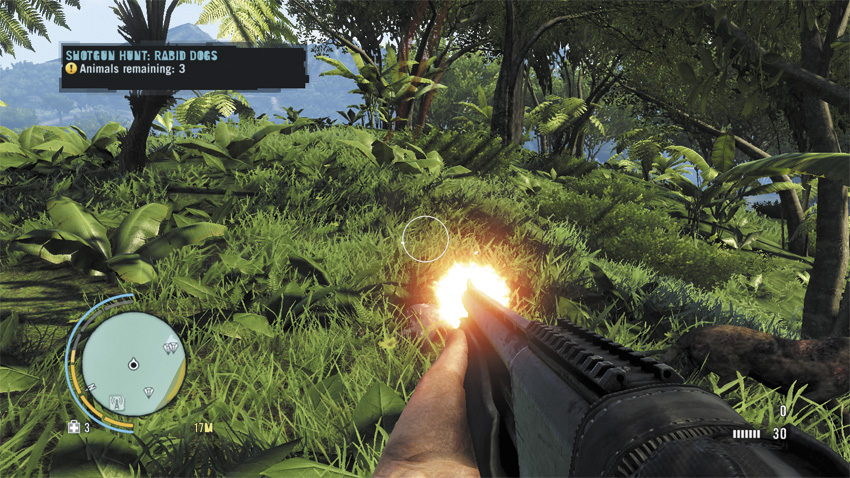
From Amanaki Outpost, head west and take the M133 and shells from the box at the fork in the road. Your target, a pack of rabid dogs, lurks atop the nearby bluff. Picking them out of the dense foliage can be tricky, so bring some Hunter’s Instinct syringes and keep moving so they can’t hamstring you from behind.
Sniper Rifle Hunt: Deer
Reward: $200
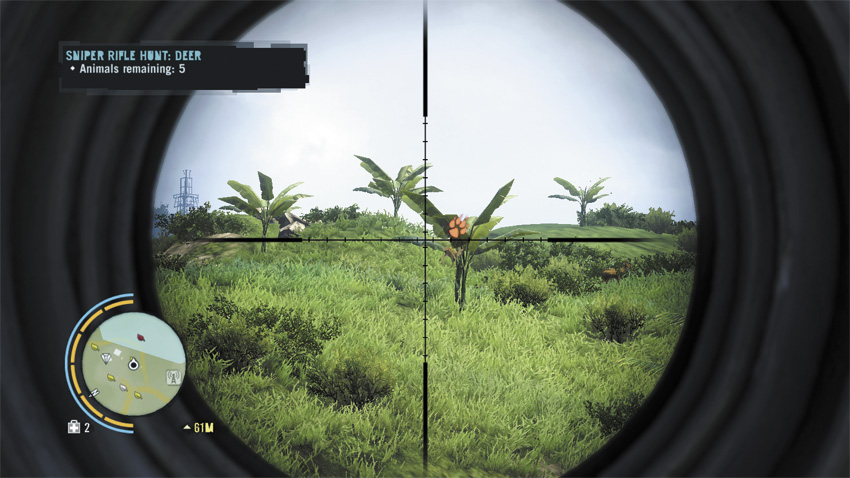
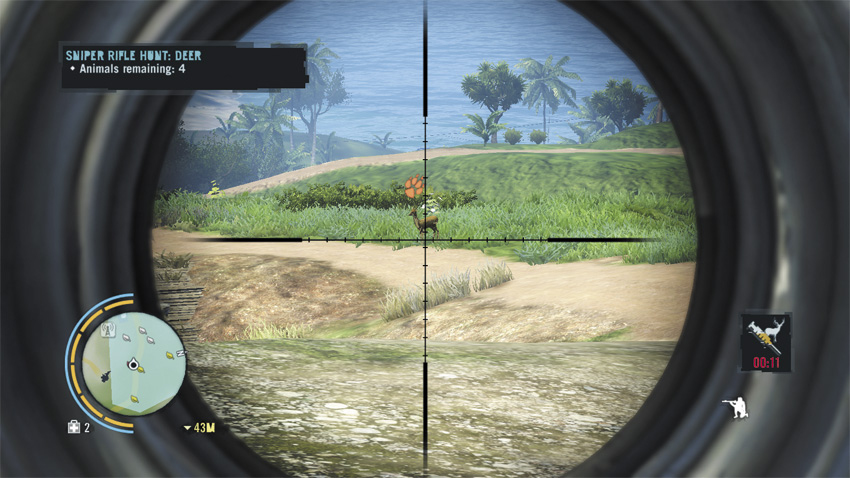
The Rakyat are hungry, so go east from the Valsa Docks to find an M-700 rifle and a field full of deer. The M-700 without mods isn’t quite powerful enough to drop a deer with one body shot, so you’ll need to creep up on them and go for clean bullets to the head. The game recommends you use Hunter’s Instinct syringes to help with this, which is a good call. Yellow Sage, a source of Amber Leaves, is plentiful in the area.
Be sure to tag a deer with your camera before you take a shot, so you can keep tracking it in the event that you miss.
Sniper Rifle Hunt: Leopards
Reward: $350
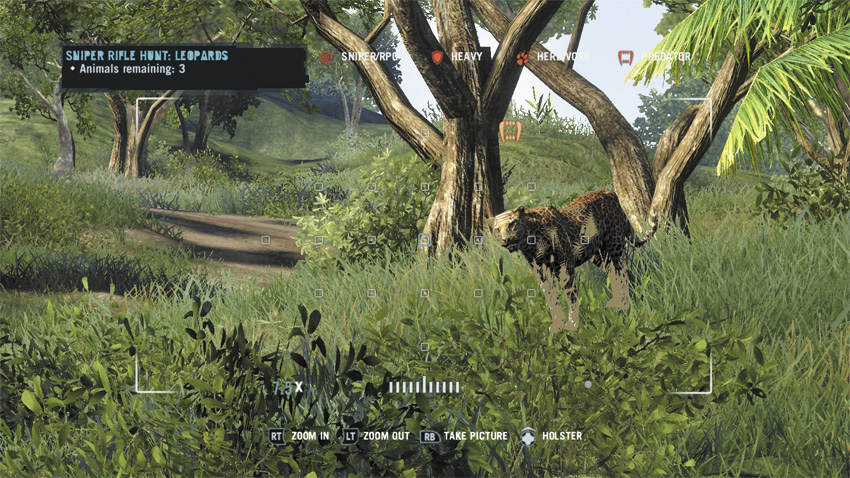
North of the Satellite Communication Hub, grab an M-700 to take out some leopards.
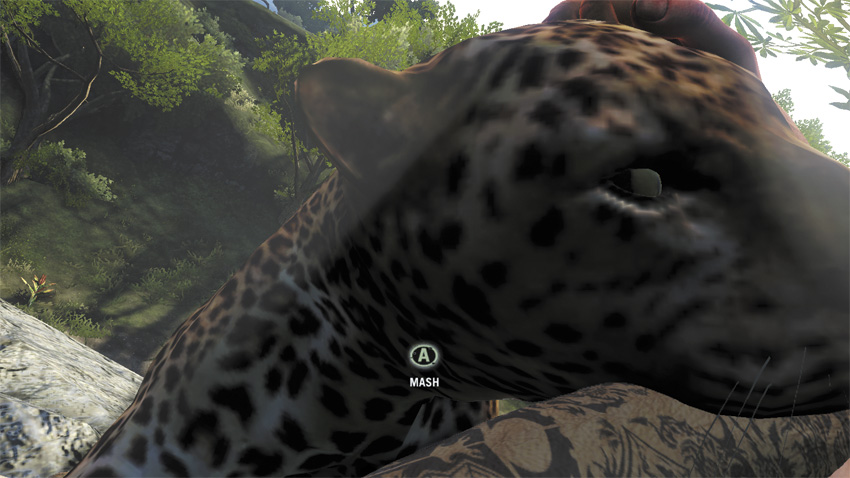
As noted elsewhere, a clean headshot drops a leopard. Not getting a clean headshot means the situation’s about to degenerate into a knife fight with a giant cat. That doesn’t go well for anyone.
Rare Animals
These animals only appear as part of the Path of the Hunter. With the exception of the Albino Crocodile, their skins are required to create the fourth and largest version of your various ammunition pouches.
Bow Hunt: Black Panther
Reward: $250
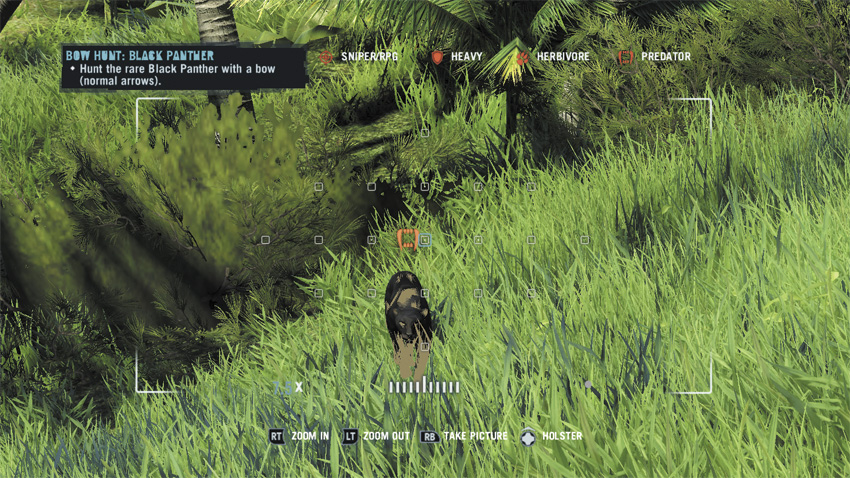
Weirdly, this quest shows up well away from any outpost. It’s unlocked when you liberate Orphan Point, but the poster that advertises the bounty is on an otherwise unremarkable cabin north of Sunset Cove.
The Black Panther is basically a leopard, and the odds are pretty good that it’ll find you right after you get to the old AA bunker where the bow’s stashed. Like leopards, a big key to this fight is getting in the first hit.
Bow Hunt: Blood Komodo
Reward: $225
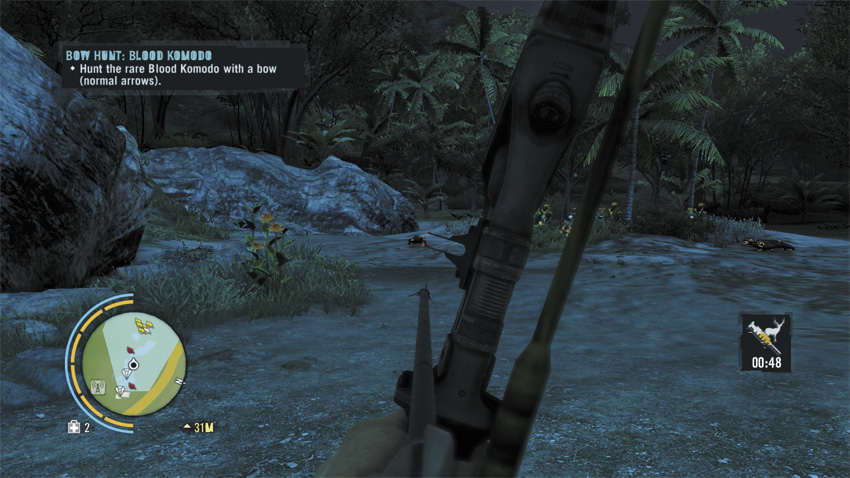
Go to the Cliffside Overlook, grab the quest, and head northwest along the road. The Blood Komodo spawns alongside three normal Komodo dragons, which can complicate things. If the arrows don’t kill it, remember you can still get completion credit if you finish it off with your knife.
Bow Hunt: Golden Tiger
Reward: $250
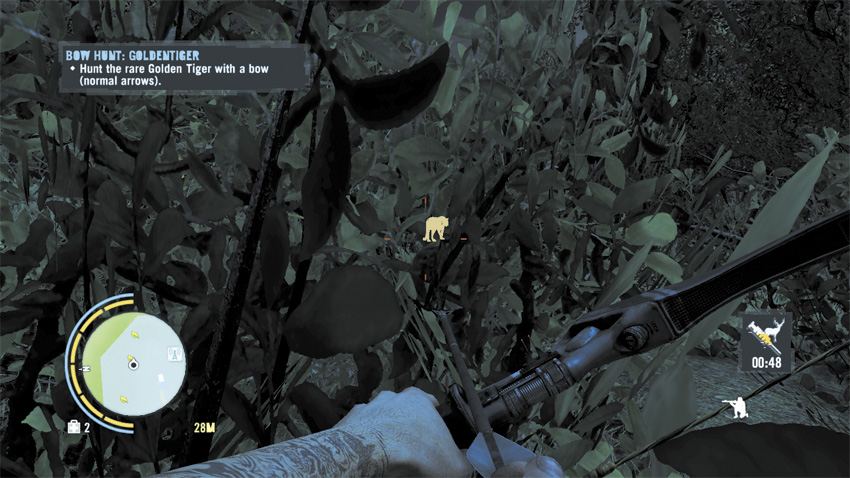
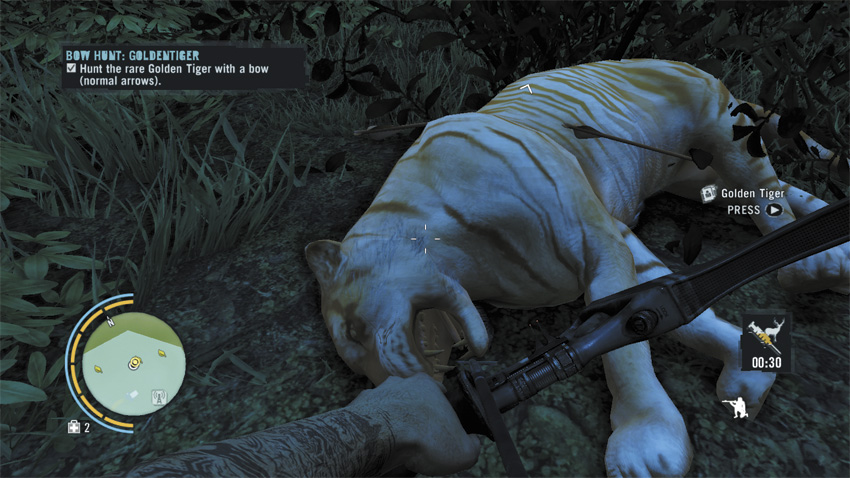
At the Mosquito Yard, pick up the quest at the board, then go northeast to find the bow it requires. There is no guarantee here that the Golden Tiger will be the only tiger in the hunting zone, and you are not allowed to cheat the mission by loading explosive arrows. It will take three or four standard arrows before the Golden Tiger dies, assuming you have both skills that modify your archery abilities. Use a Hunter’s Instinct syringe to find and tag it, then inject Deadly Hunter and take your shot.
Bow Hunt: Maneater
Reward: $400
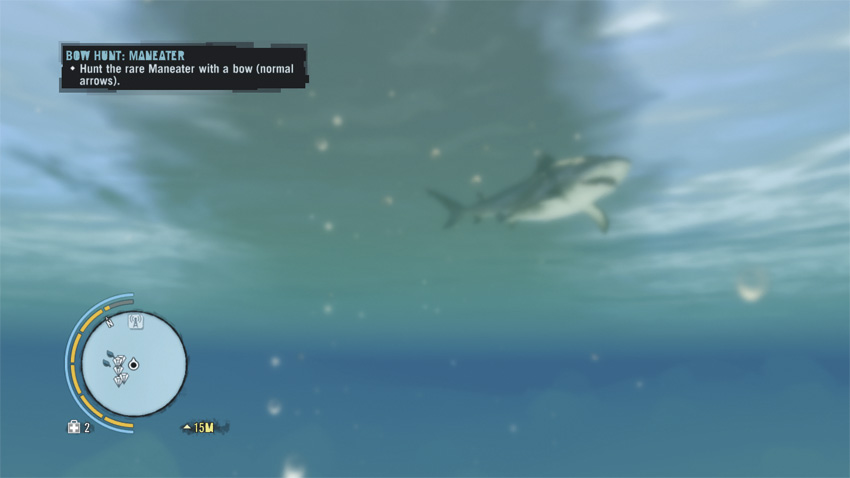
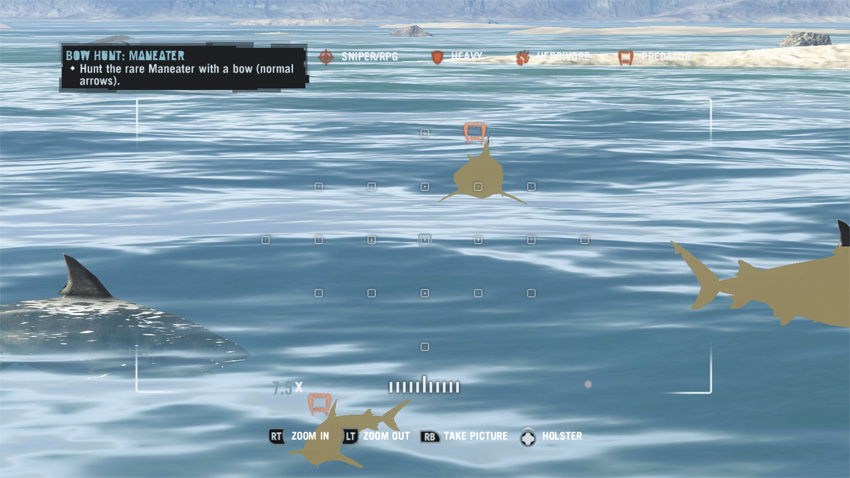
From Kell’s Boat Repairs, go out on the dock and grab the bow. This can be a nerve-wracking quest, since you either need to use yourself as bait or spend a lot of time in shark-infested waters. Worse, you can’t reuse any arrows... or you can, but good luck finding them if you miss.
Take the patrol boat out from Kell’s Boat Repairs. The Maneater appears alongside three normal bull sharks, but is hard to distinguish from them. You can try using the patrol boat’s turret to take them out of the picture quickly, but that can be a gamble. However you do it, chase the Maneater down with your boat, then stand on the boat’s deck and fill the Maneater with arrows until it drops. If you’re feeling really courageous and/or dumb, jump into the water nearby and hope it tries to grapple you. Escaping a shark’s grapple attack means Jason automatically stabs it in the brain, which qualifies as a kill for the purposes of this quest.
Bow Hunt: White Belly Tapir
Reward: $225
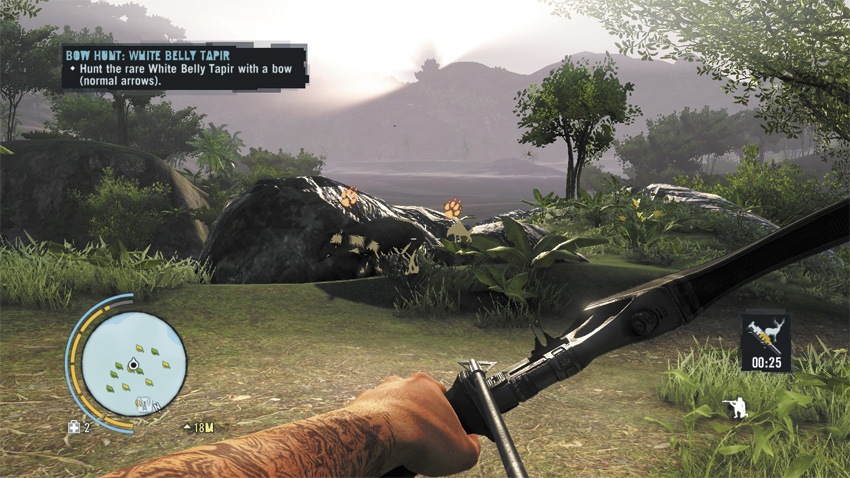
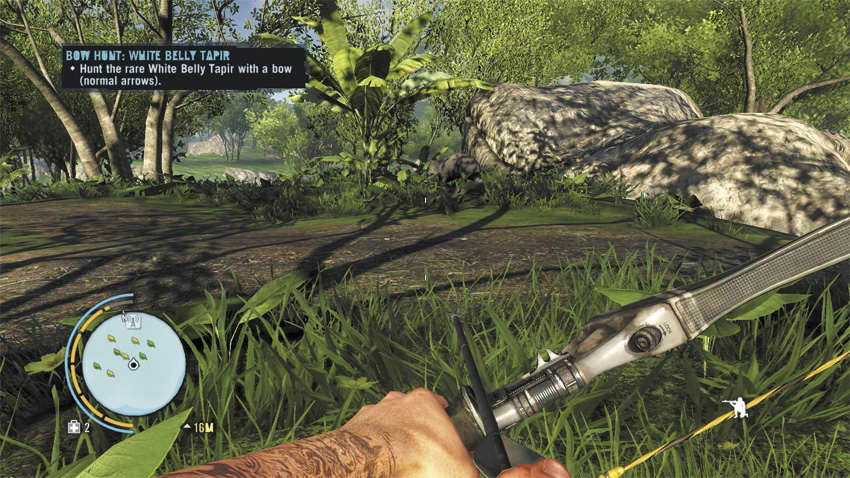
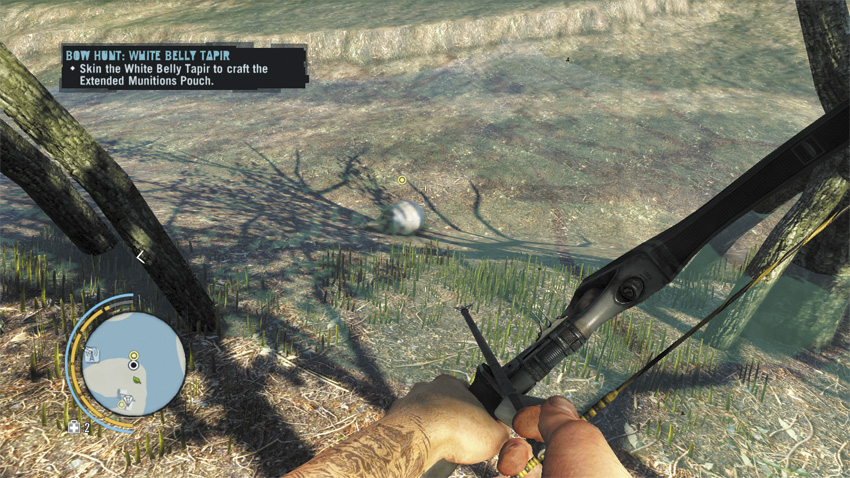
From the Rust Yard, head southwest to the island in the middle of the river. The White Belly Tapir is a member of a large herd of tapir, but it’s easy to pick out from the rest due to being, well, white. Just the same, it’s very good at staying hidden in the foliage, so patience is required to flush it out.
Don’t be surprised if it runs away from you and ends up drowning in the nearby lake. If that should happen, you’ll still get quest credit and be able to skin it.
Machete Hunt: Albino Crocodile
Reward: $450
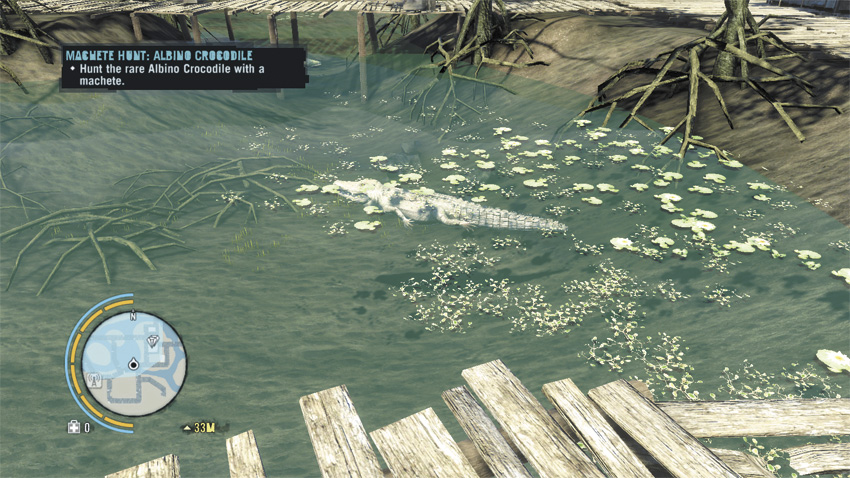
Starting at Bridge Control, head east to an isolated village, which you might recognize from one of the Trials of the Rakyat. Look for the white crocodile, then jump into the water and wrestle it on purpose. Win the ensuing button-mashing contest and you live; don’t, and you die. Just like normal croc leather, this isn’t useful for anything but a quick $60 at the closest vendor.
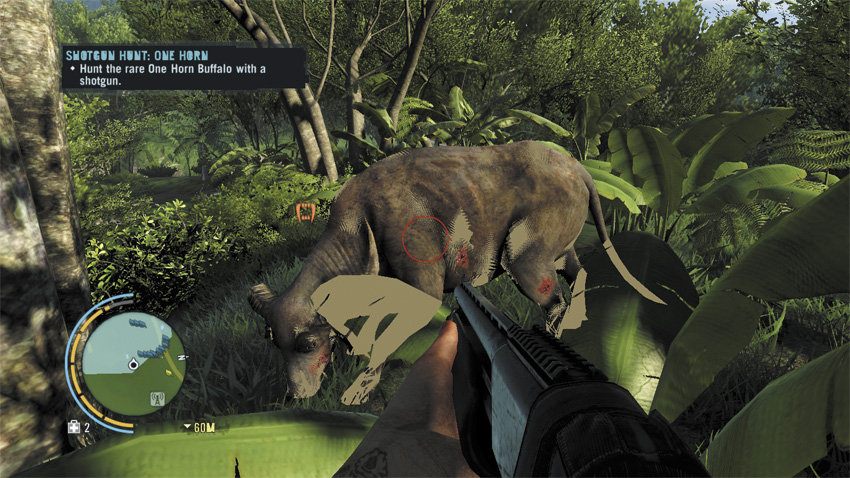
Shotgun Hunt: One Horn
Reward: $200
Weirdly, Camp Murder doesn’t have a mission that targets people. Turns out the brochure lied.
Go quite a ways southwest from Camp Murder to find the One Horn buffalo. Surprisingly, this is a harder mission than it sounds like it should be, because there are four other buffalo in the same area as the One Horn and they’re all hostile. The result can be a lot like stepping into rush hour traffic, as several buffalo charge and gore you simultaneously. The One Horn himself only attacks with headbutts, but can be a handful considering you’re stuck with an M133.
Shotgun Hunt: Undying Bear
Reward: $300
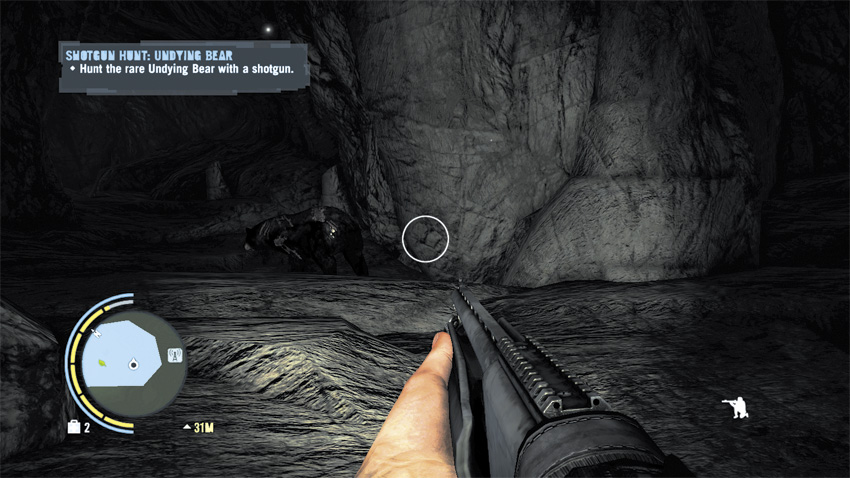
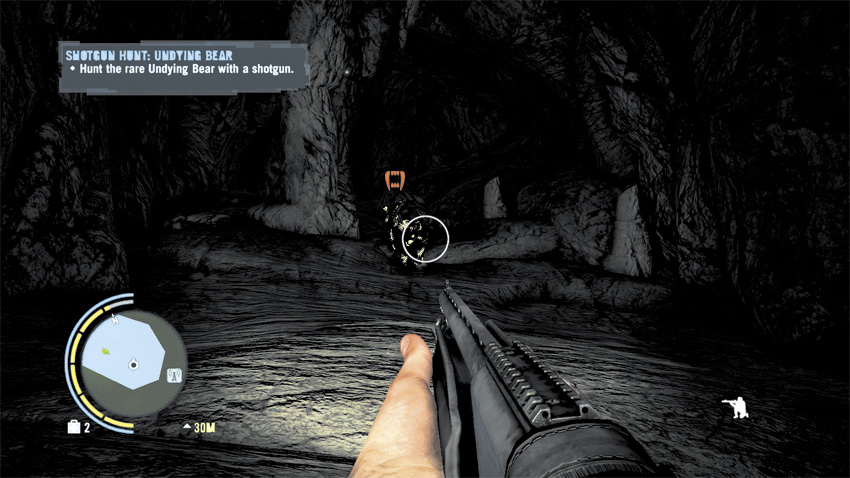
From Cradle Gas, go south. The Undying Bear is easy to find, as it makes its home in a cave within the hunting zone, and there are a bunch of dead villagers on the ground inside to seal the deal.
Get as close as you can before the bear notices you, then inject a Deadly Hunter syringe and nail it point blank in the face with your M133. You should be able to do significant damage that way, so only a couple of follow-up shots are required to take it down.
Sniper Rifle Hunt: Yellow Neck
Reward: $225
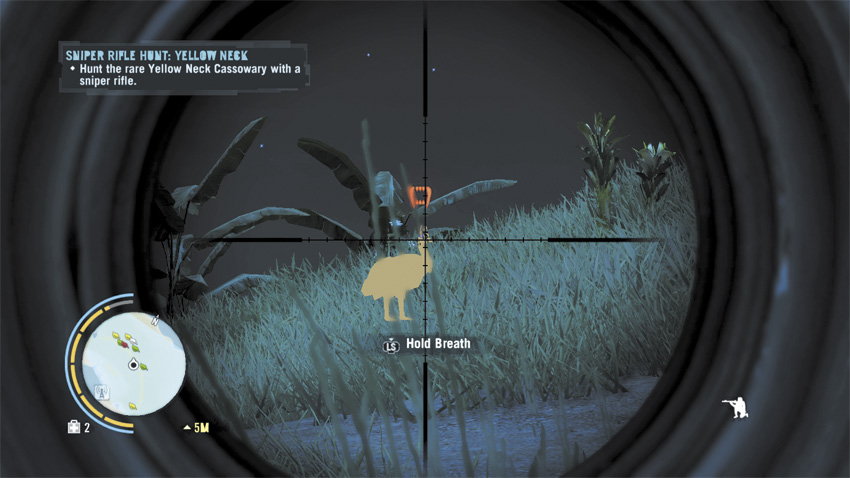
North of AM 12, grab the M-700 rifle from off the crate next to the truck, then cross the rope bridge to find and kill the Yellow Neck. It spawns near a bunch of normal cassowaries, which are just as fragile and aggressive as they always are. They won’t hide in the underbrush; they’ll come straight after you for the kill. It would be frightening if they weren’t so ridiculous.