
Far Cry 3 with Interactive Map Essentials Key Locations
Outposts
Outposts
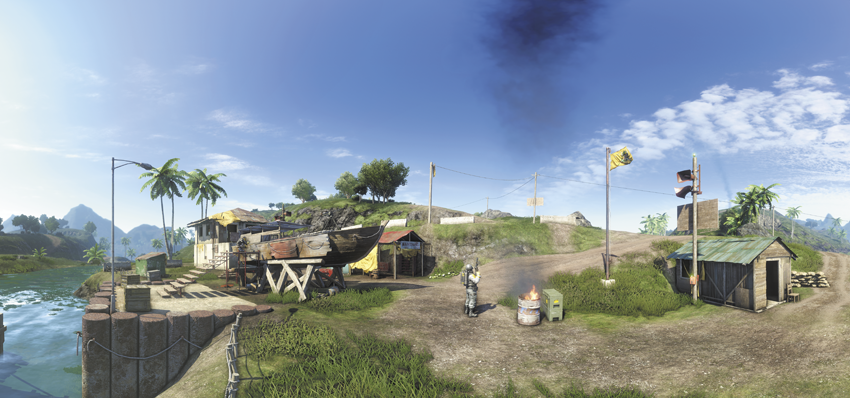
There are thirty-four fortified locations throughout Rook Island, where Vaas and Hoyt garrison their troops and equipment. Each one of these outposts represents a link in their supply chain, and taking them out is tactically useful for both you and the Rakyat.
Each liberated outpost provides you with a new fast-travel point on your map. The back room of each outpost contains a self-service weapons vendor, allowing you to reequip yourself and sell off your loot, and may also have spare medkits, ammo, or loot chests. You can only find Memory Cards by liberating outposts.
“Liberating” is, in this case, a gentle euphemism for “killing everyone inside.” An outpost is considered liberated when every guard within it is dead, whether you’re the one who did it or not.
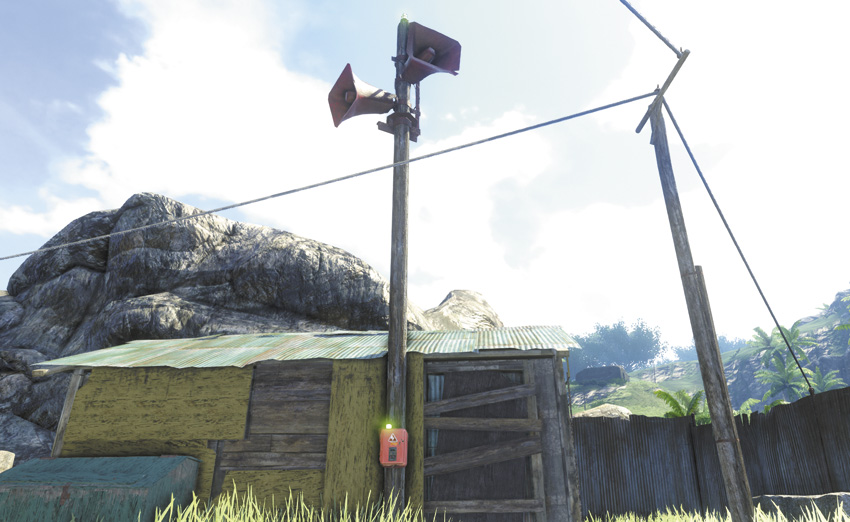
Most of the outposts are rigged up with at least one alarm, which is marked on your map with a
 icon, and appears as a tall post with a red klaxon atop it in game. You can shoot the red control panel at the base of the alarm to disable that particular panel, and if you do so at range with a silenced weapon, the soldiers won’t tend to notice you’ve done it unless they’re standing close by. There may be more than one alarm panel in a base, however. If you can get to one of the panels, you can disable it by hand, which permanently shuts down the whole outpost’s alarm system.
If you’re spotted by one of the outpost’s guards, their first reaction is often going to be to go set off the alarm. If they get to do this, it summons reinforcements from elsewhere on the island, which will arrive at the base via nearby roads in thirty seconds. They will often bring any nearby patrols along with them. A typical group of reinforcements is three or four armed riflemen in a jeep, but the further you get into the game, the more reinforcements show up and the better armed they are.
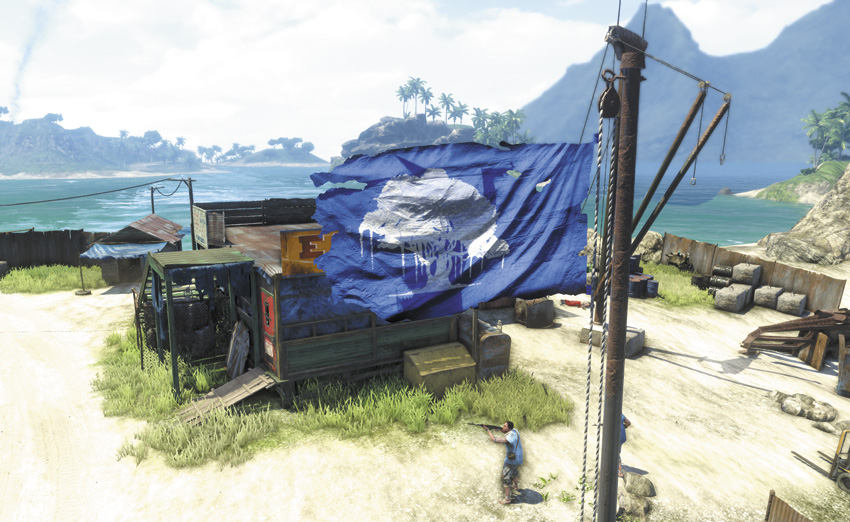
Each outpost you liberate is worth at least 500 EXP. If you do so without setting off an alarm, whether it’s because you sabotaged the alarm or you killed everyone before they could reach it, you receive a bonus of 50 EXP. If you manage to eliminate every soldier in the outpost without any of them realizing you’re there, you receive 1,500 EXP.
These bonuses are calculated based upon whether or not the soldiers at a given outpost see you. If they notice a couple of bodies or something other than you clears the outpost, such as an unexpected wild animal attack, you can still receive the 1,500 EXP for remaining undetected. That bonus is only blown if one of the guards at some point lays his eyes on you.
Finally, the big reason to attack and capture an outpost is that it dramatically reduces the number of pirates or privateers that appear throughout the nearby area. As noted in the walkthrough, before you capture an outpost, the roads on Rook Island are so heavily patrolled by Vaas’s men that they’re nearly unusable. You can’t go more than maybe two hundred meters without running into a jeep full of pirates with kill-on-sight orders, which makes simply getting around the island a dangerous proposition.
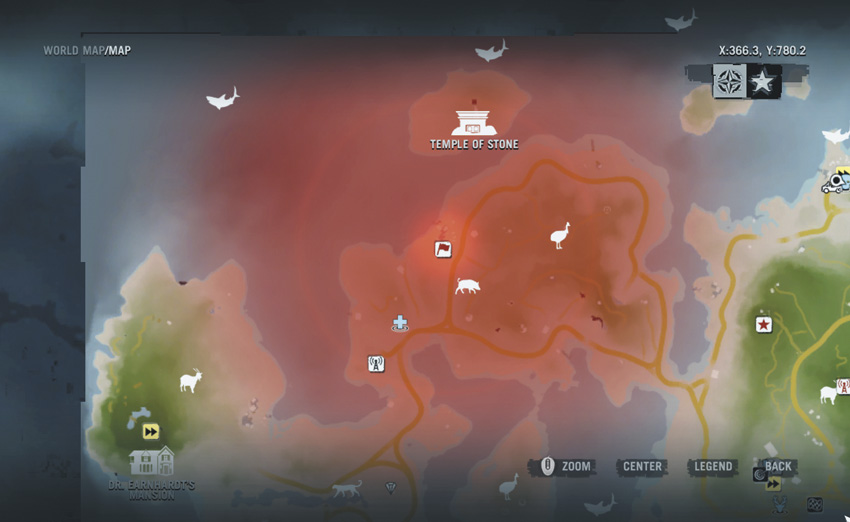
A working outpost on an illuminated section of your map has a red ring around it. This represents the outpost’s patrol range, and if you go within that zone, you are guaranteed to encounter enemy forces. This means using the roads is difficult without ending up in a car chase or running into a blockade, and any sound you make, such as hunting with an unsuppressed rifle or using explosives, will bring a group of enemy troops running to investigate. A good example of this is in the early story mission, “The Medusa’s Call”; if you capture the Welshore Wrecker’s House beforehand, the approach to the Medusa is quiet right up until you’re in the mission zone. If you did not capture the outpost, you will have to fight for every step you take north of Amanaki Village.
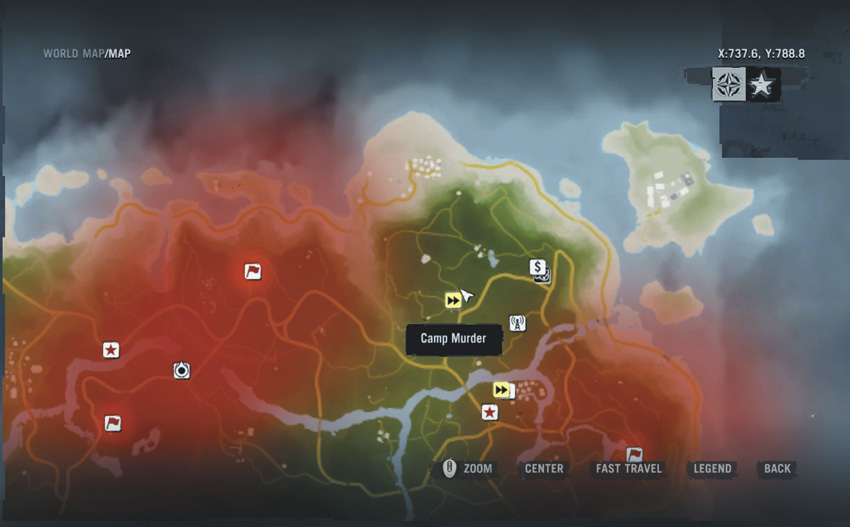
Capturing an outpost repaints that area of the map in forest green. This indicates the Rakyat have control, and they take over the patrols in the area. Civilians move back into the zone, optional side missions or challenges may become available, and if you run into trouble, there’s a good chance there will be a few armed Rakyat in the area who can lend you a hand.
This section is an attempt to discuss each outpost’s layout and personnel in a way that will help you clear the place out, with a few suggestions for tactics. You have an enormous amount of freedom in how you choose to deal with every outpost, and none of the strategies detailed below should be considered the One True Way to handle the situation. You do get significant EXP bonuses for clearing an outpost with stealth tactics, but the extra guards that show up in a reinforcement wave can easily make up the difference.
That said, Far Cry 3 dynamic encounters do tend to complicate things like this in both good ways and bad. It’s not unheard of for animals to wander into the area, random Rakyat patrols to lay siege to an outpost, or a jeep full of pirates or mercenaries drive through the base while out on patrol. This may be good for you, such as when a full pack of Komodo dragons depopulates the base while you’re still running recon, or bad, such as when a bunch of soldiers creep up on you from behind while you’re tagging the enemies in the outpost. In short, these strategies tend to work, but there will always be unforeseen complications.
Our Animal Friends
North Island
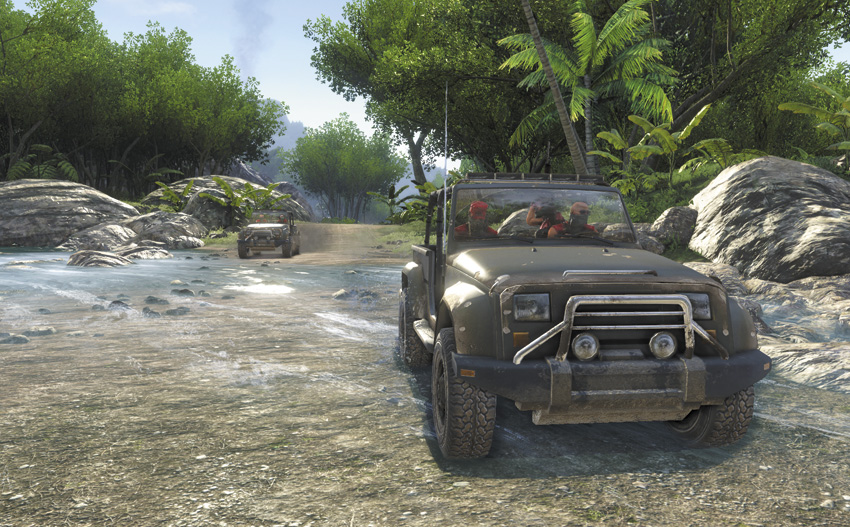
If an alarm is raised at a North Island outpost, reinforcements arrive in thirty seconds. This typically takes the form of a jeep with four standard soldiers inside, and may be followed by another jeep if the alarm persists. If the base is on or near the water, a gunboat may show up instead, complete with a mounted gun. Should this be the case, the drivers of the gunboat are content to stay on the water and fire at you until such time as you retreat far enough inland to make that impossible.
Welshore Wrecker’s House
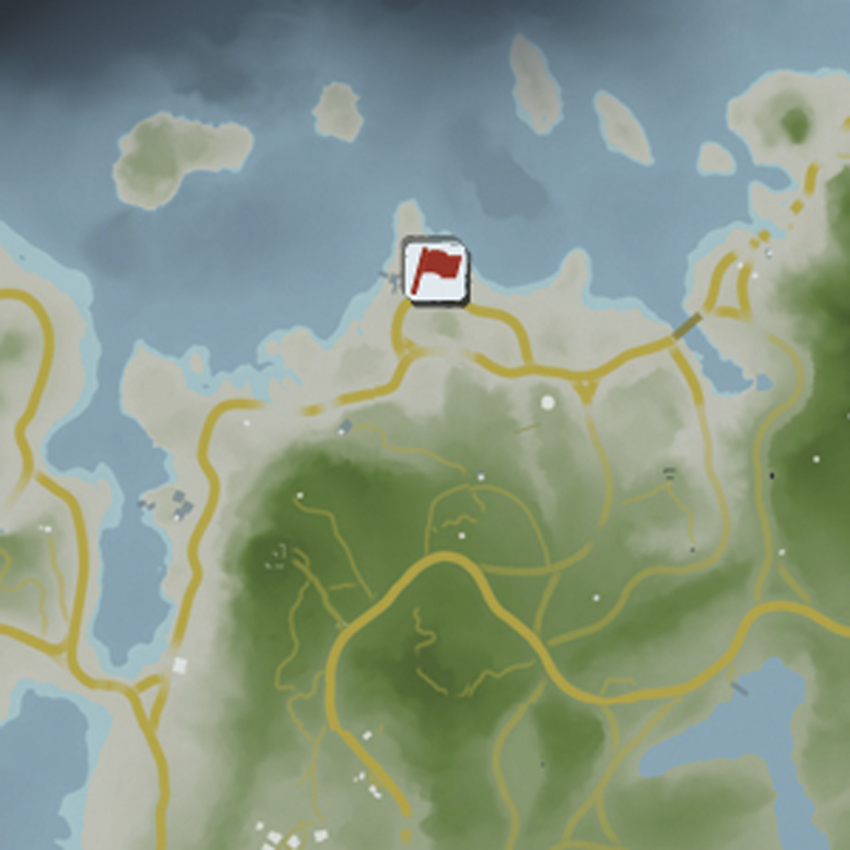
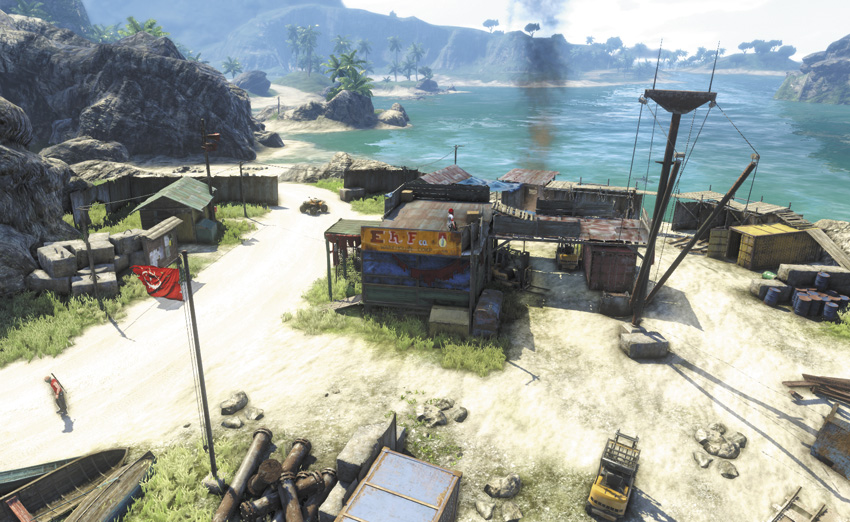
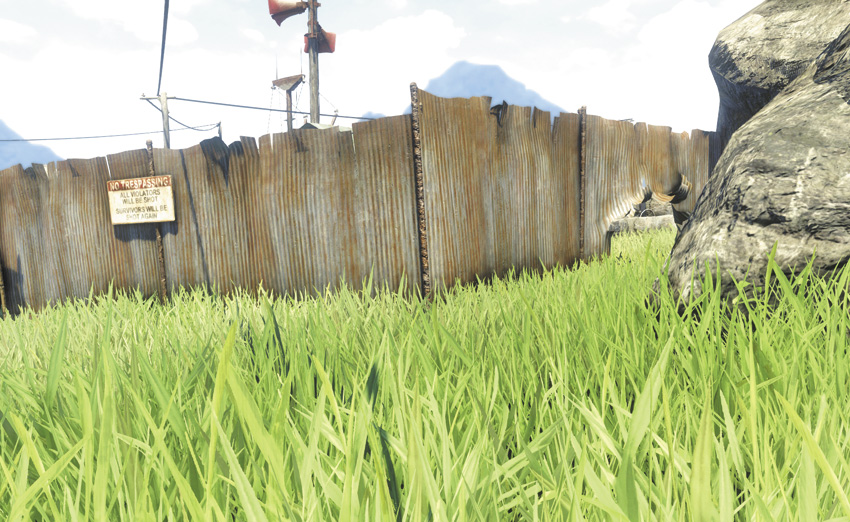
Given how close this outpost is to Amanaki Village, it’s likely to be one of the first bases you attempt to liberate. Getting there early in the game can be half the trick, as the pirates control most of the island and the area north of Amanaki is infested with them. This can seriously complicate things if you go for an all-out assault, as it’s likely that the sound of gunfire will draw in pirates from the roads outside.
There’s a hole in the fence near the alarm post, which makes it easy to sneak in and disable the switch. From there, there’s only one charger on ground level who’s actually on patrol, and it’s easy to lure him in with a thrown rock. With him dead, the sniper’s busy watching the water and the other two guards are both busy with salvage operations. You can take all three down without having to use any special tactics to speak of and collect an easy 1,500 EXP.
Valsa Docks
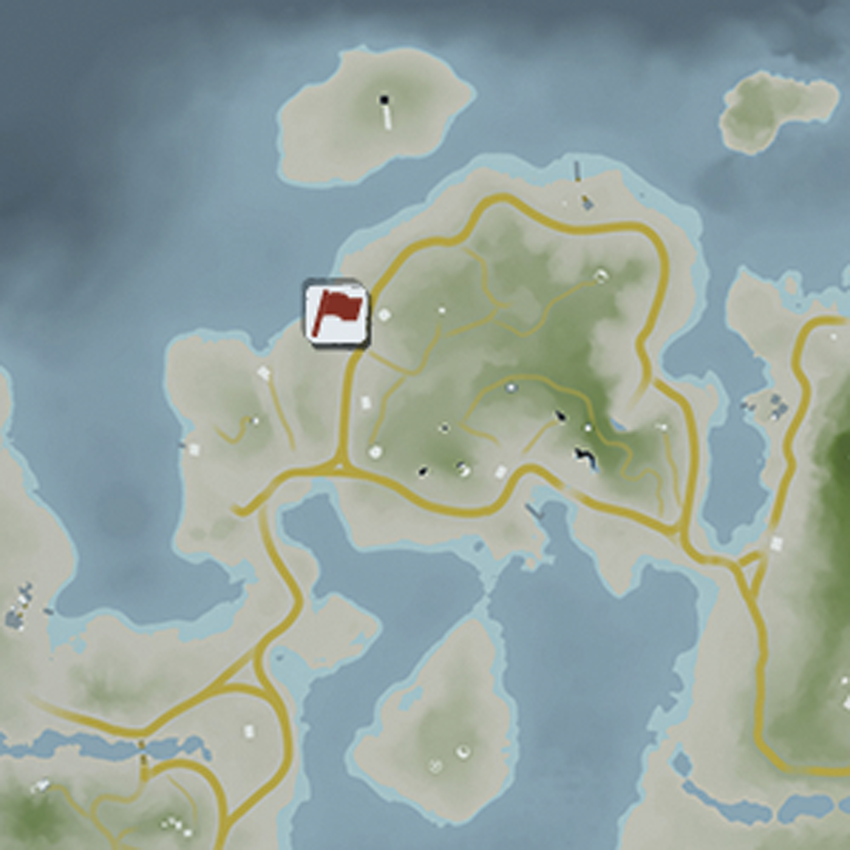
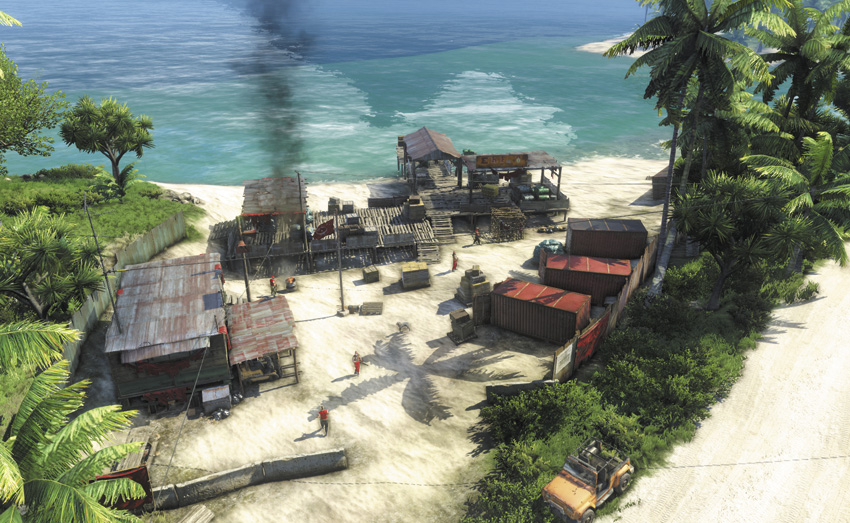
There are two normal troops and two chargers with shotguns inside the Valsa Docks. They’ve captured a cassowary, and you can shoot its cage to free it, but it’s at best a momentary distraction. Aside from that, four ordinary soldiers don’t pose a major threat even early in the game.
Orphan Point
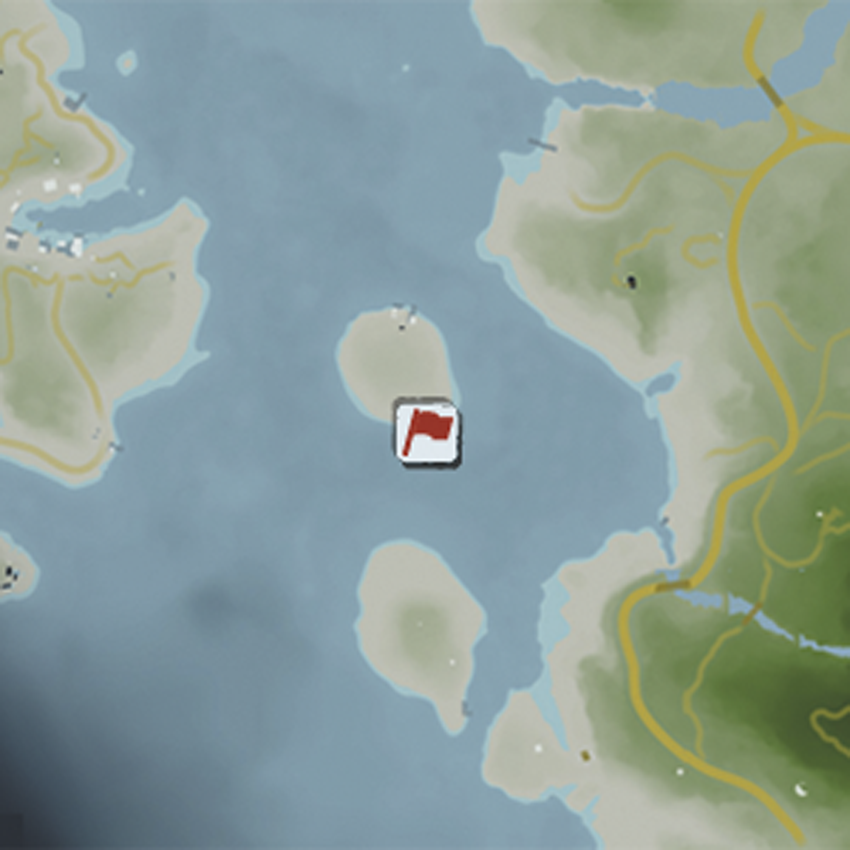
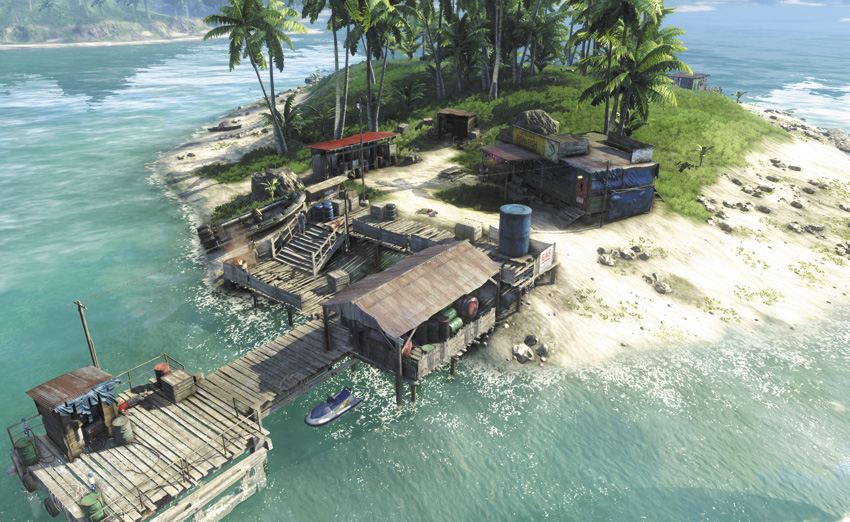
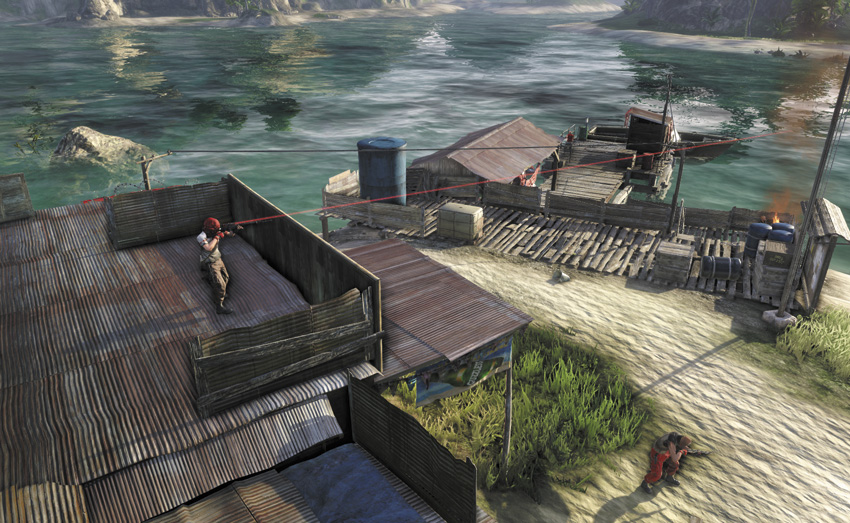
As one of the few outposts on an island, Orphan Point represents an interesting tactical challenge. The outpost itself is lightly guarded, containing one sniper, three normal soldiers, and a charger, but the sniper is covering the northern approach, the others are watching the water, and the area itself is likely to have at least one patrol boat full of pirates.
The weak link is actually the sniper, who has a weird patrol route. Tag him from a distance, wait for him to turn away, then approach from the north side of the island and take him out. With him out of the picture, it’s easy to pick off the others from the rooftop.
Mosquito Yard
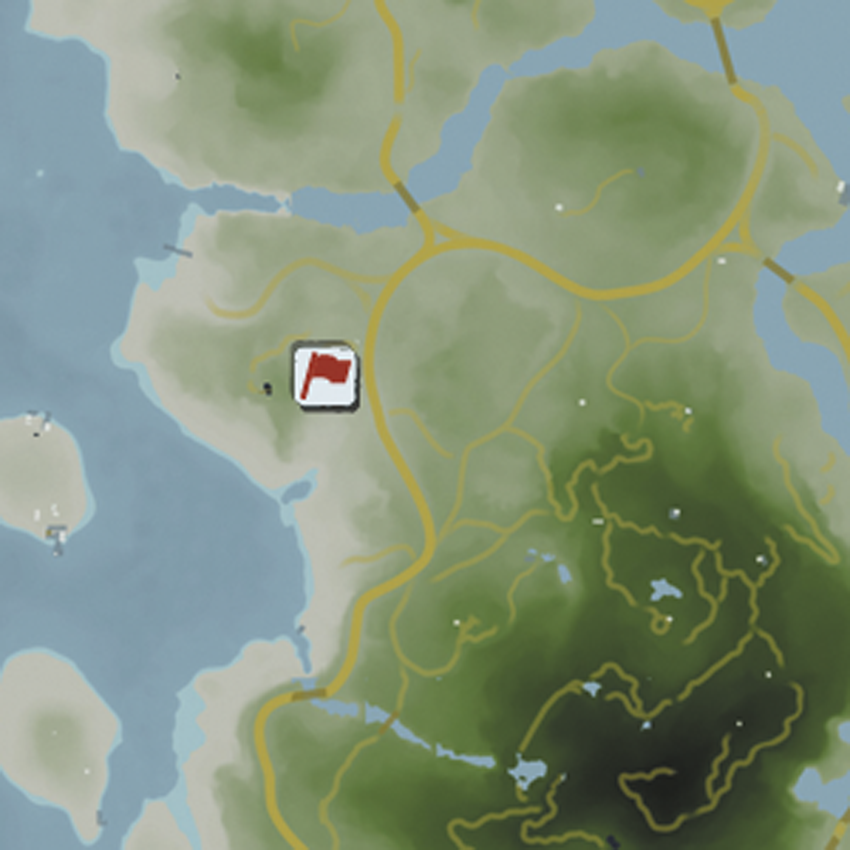
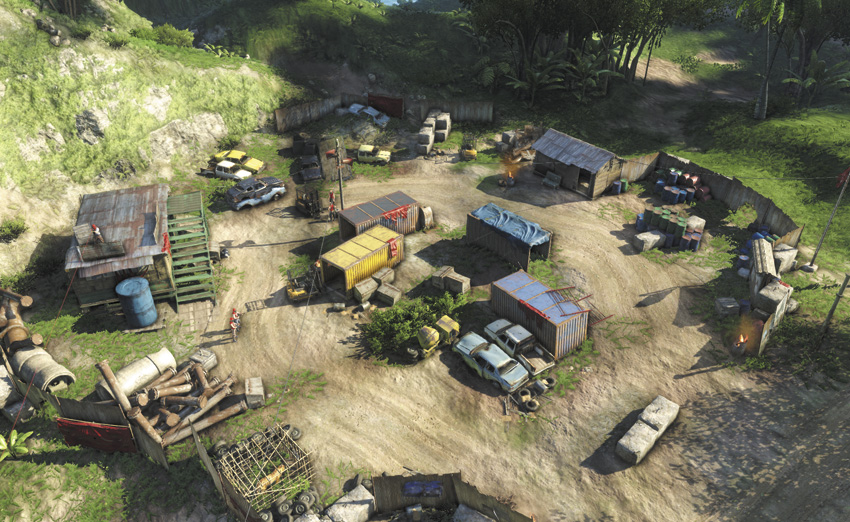
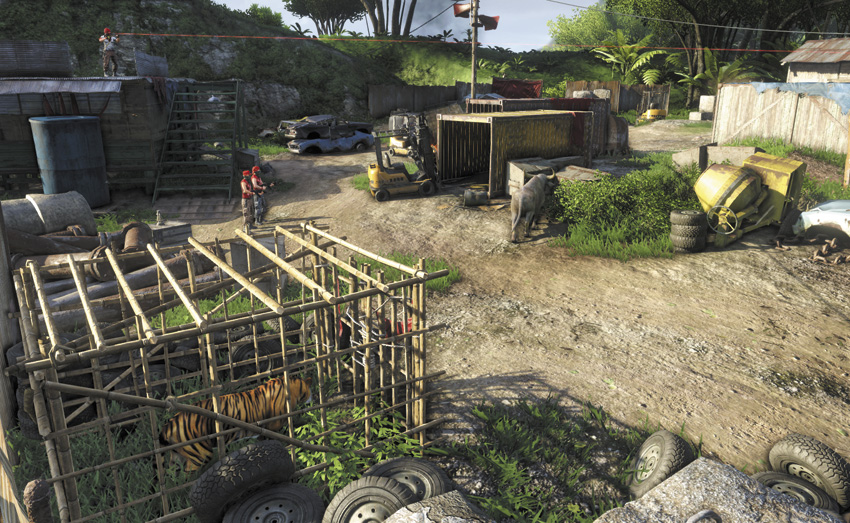
This is likely to turn into an assault regardless of what you’d prefer. Mosquito Yard is lightly guarded, with only a couple of chargers and a sniper on patrol, but the area around it tends to be lousy with pirates. You shouldn’t be surprised if you aren’t able to reach the outpost without bringing the party with you.
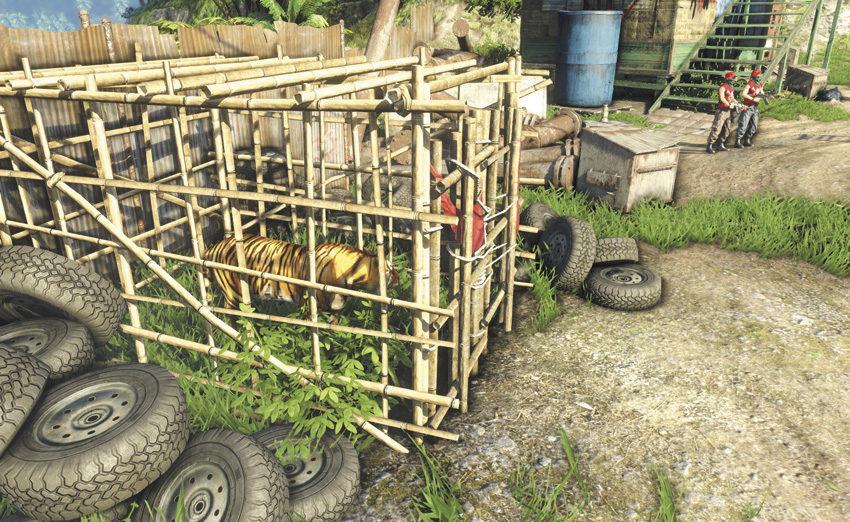
In the event that you’re able to get to the outpost without a hassle, Mosquito Yard is one of the first outposts that you’re able to deal with by means of releasing one of our four-legged friends. They’ve got a caged tiger on the premises, and depopulating the base is as easy as simply letting that tiger out to play.
Northview Gas
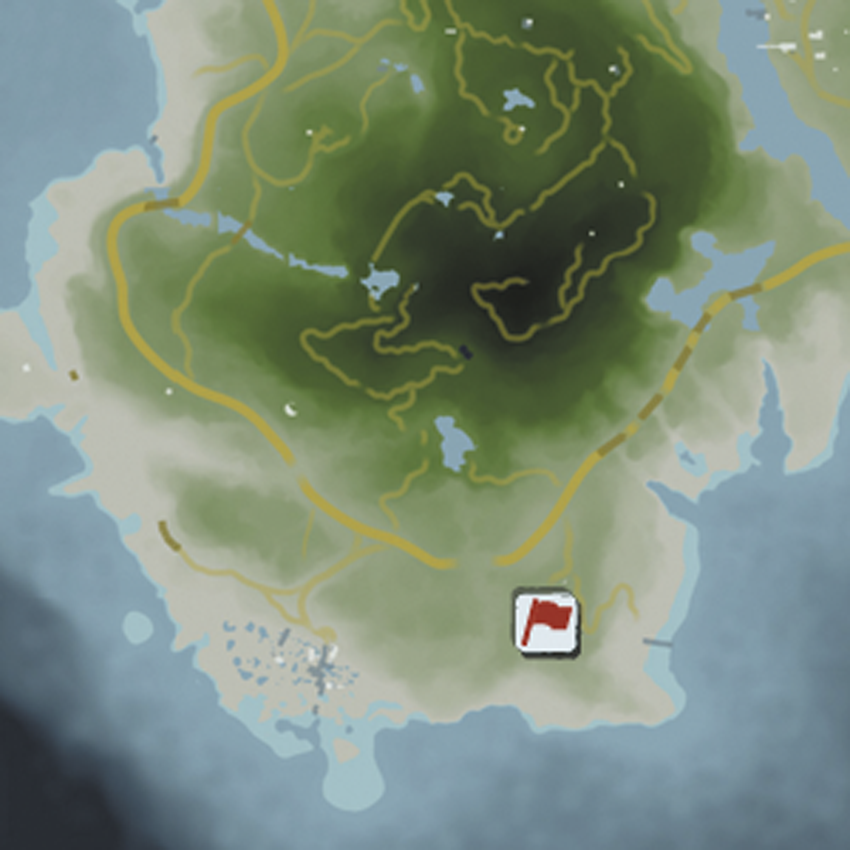
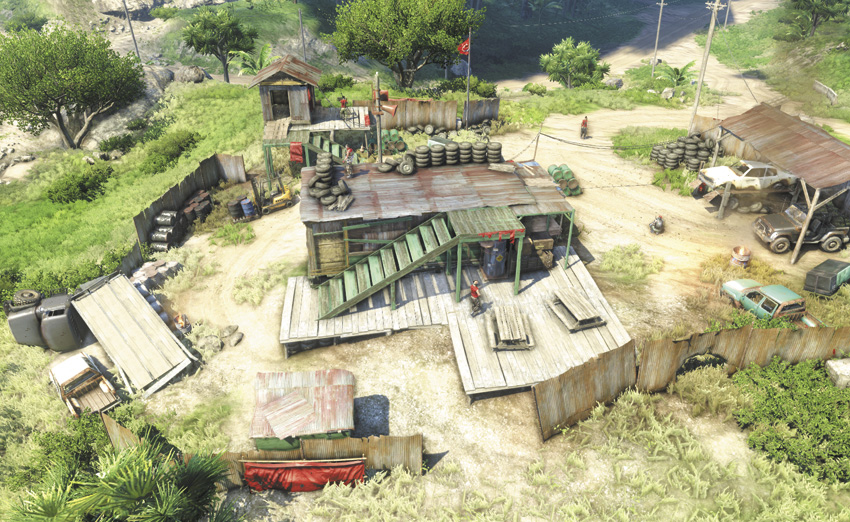
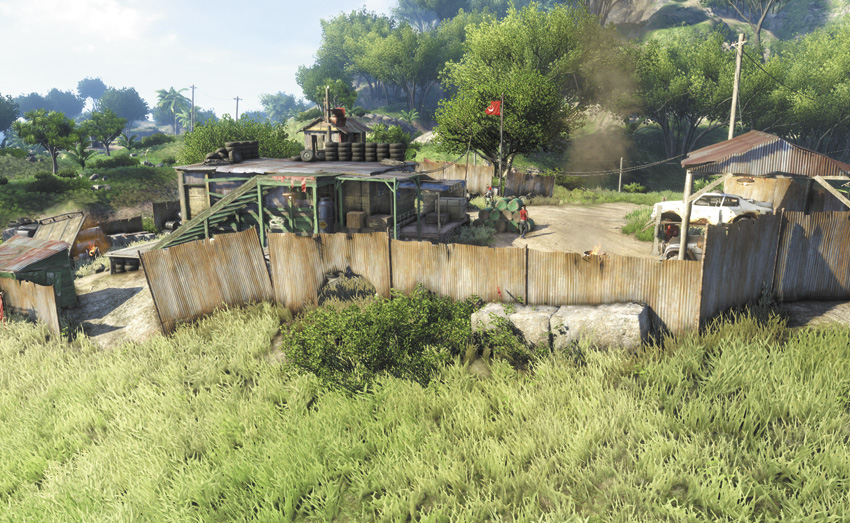
There are a lot of boars and tigers in the hills surrounding Northview Gas, which makes getting there half the fun. If you’re ever going to trick a tiger into wiping out a base for you, it’s likely going to be here.
The base itself is peopled by two chargers and four standard soldiers, and a frontal assault from the road is tricky owing to the presence of a mounted gun. The good news is that there’s a hole in the back fence that’s just big enough to slip through, which gives you a good opportunity to stealth-kill every single guard in the place from behind.
Cliffside Overlook
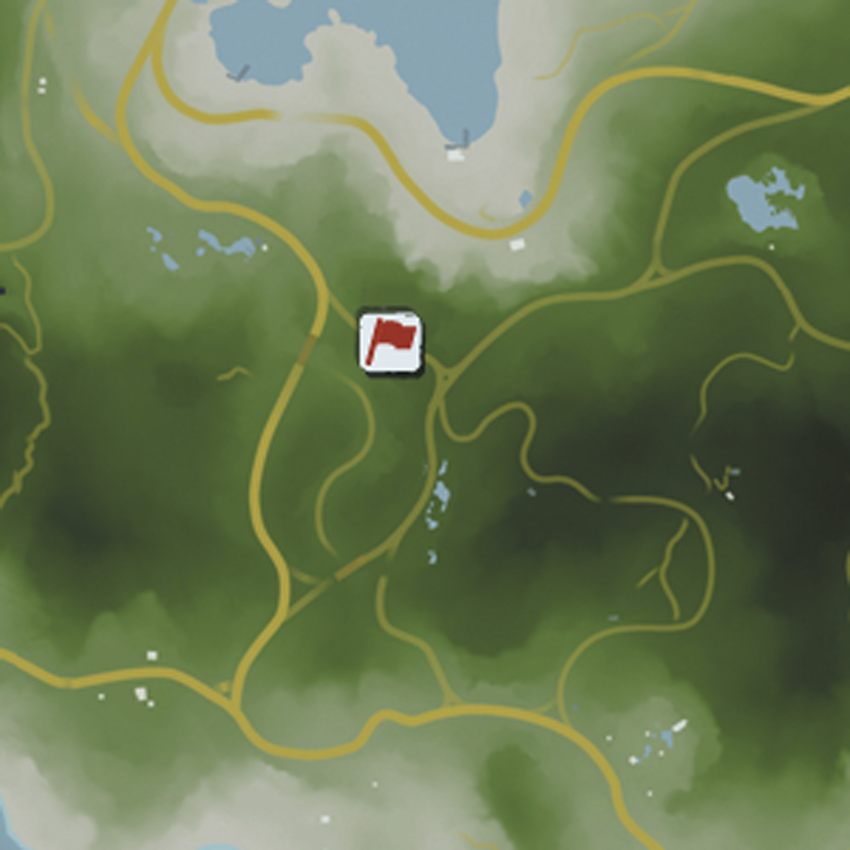
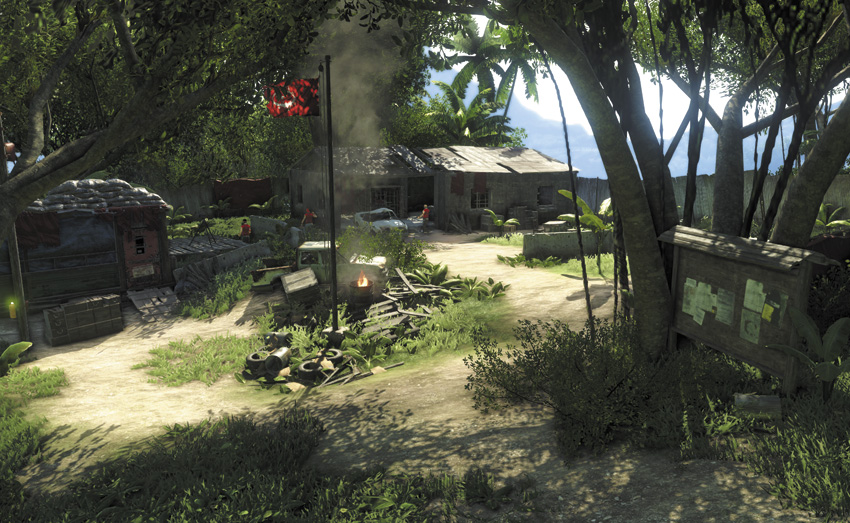
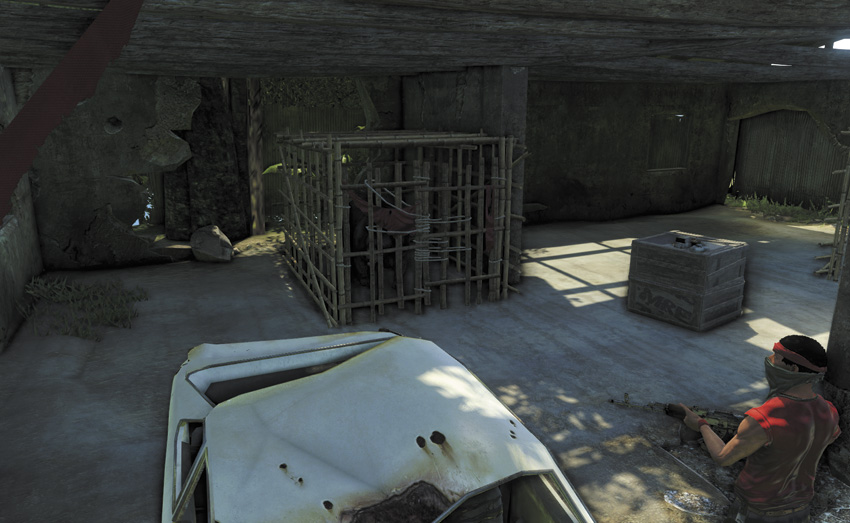
Earlier in this guide, we briefly touched upon the “free the bear” strategy. Now is the time when you can see it in action. The Cliffside Overlook is sort of a soft target to begin with, because while it has got six pirates on guard and a mounted gun covering its front gate, there are two separate holes in its perimeter fence that you can use to quietly infiltrate it. It’s easy to just come in from the back and start slitting throats. It’s tactically sound and is nowhere near as entertaining as the Bear Offensive.
The bear’s cage is inside the large concrete garage near the back of the outpost. You can get a clear shot at the cage door from the gap in the back wall. Bring a silenced handgun, break the lock, and watch the fun. The pirates may win this fight, but the bear should take down enough of them before it dies that you’ll be able to cleanly mop up the survivors, then collect a free bear skin. It’s a win-win!
Hubris Farm
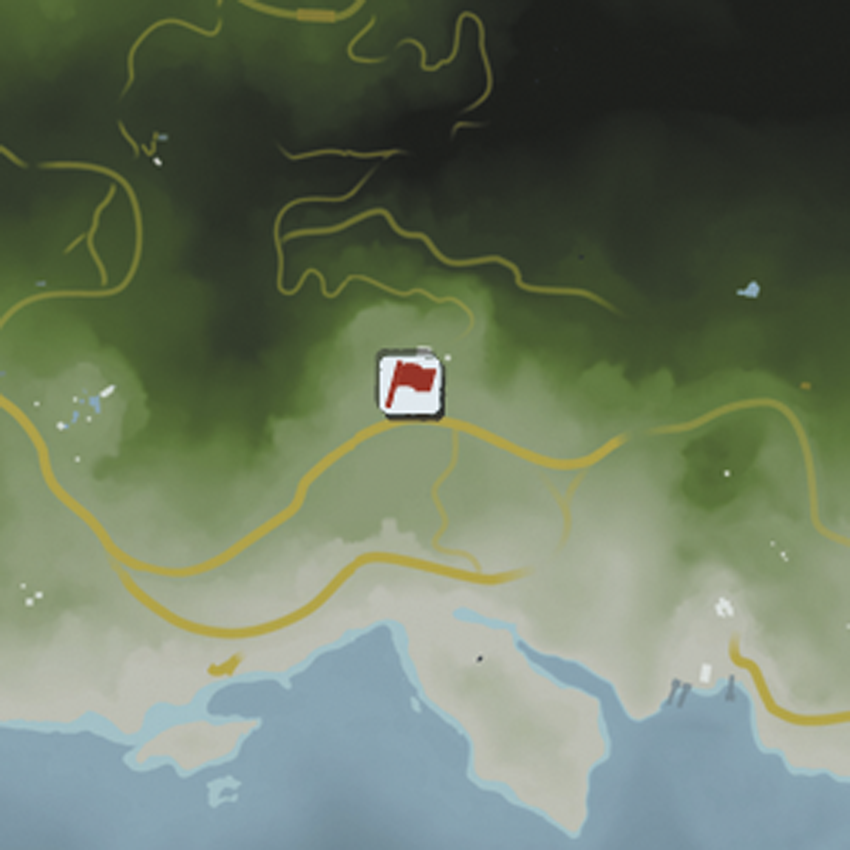
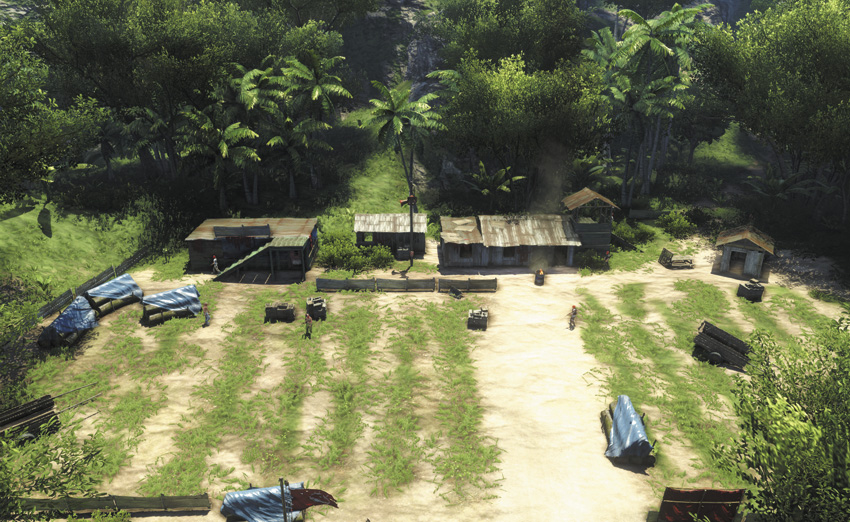
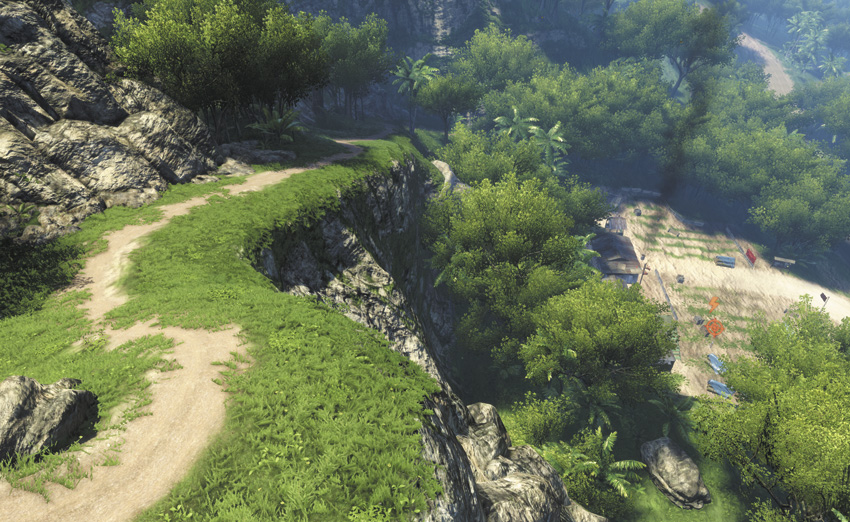
If you approach the Hubris Farm from the south, you can see it from a long way off. Two snipers are on constant watch from either side of the main building, sweeping the jungle in front of them with laser sights. They both go on patrol occasionally, but if you stay in the foliage to the north of the camp and wait it out, you can assassinate them both without too much trouble. At that point, it’s just a question of luring the chargers and soldiers on the ground out and eliminating them one at a time.
Hubert Shore Power
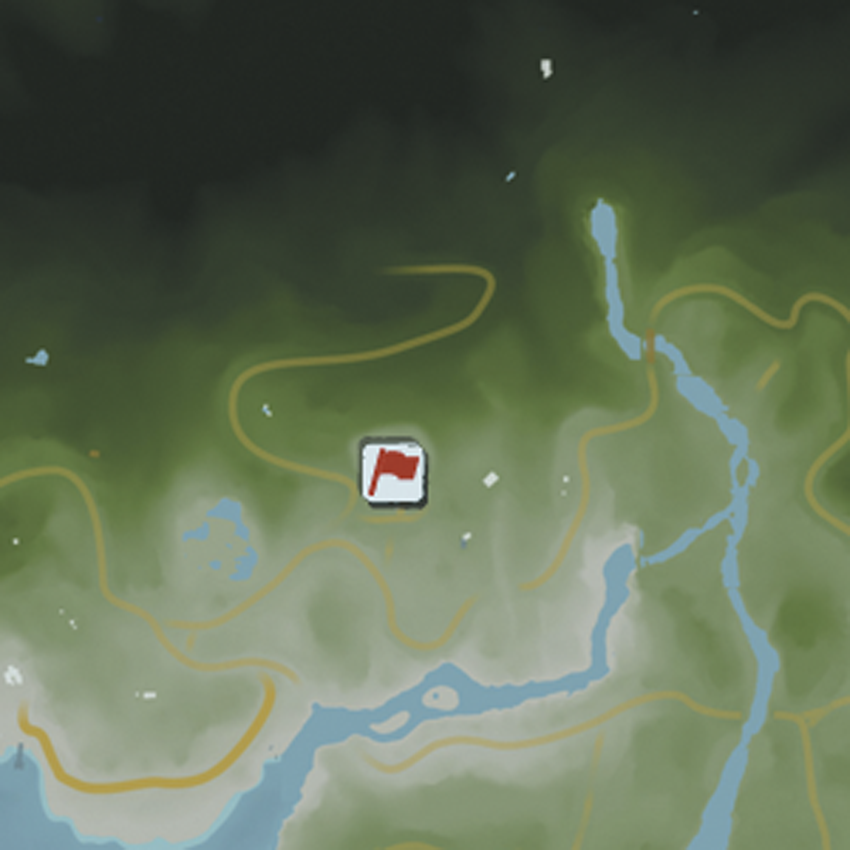
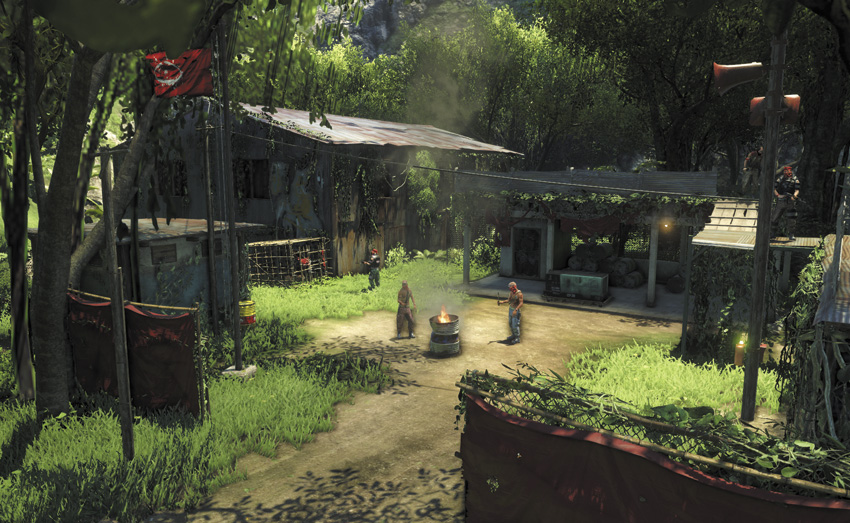
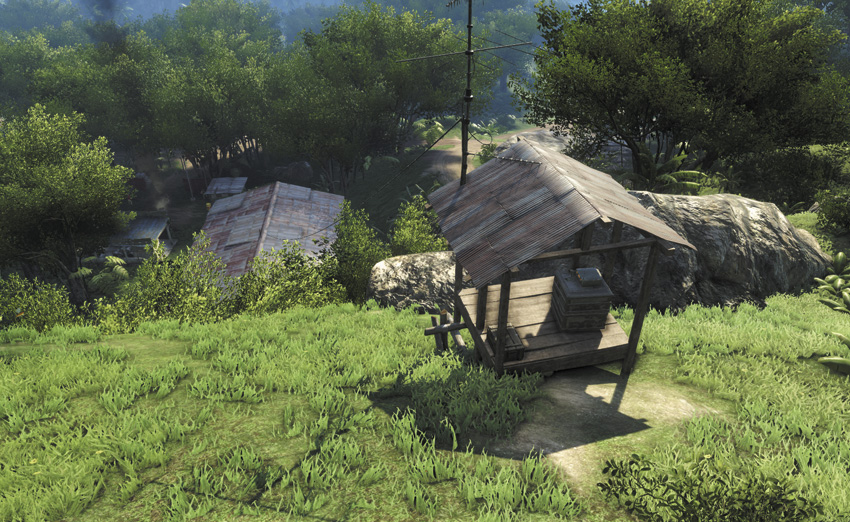
There are only six guys on duty, four of whom are chargers, and the heavy boar population in the area makes it difficult to sneak in at ground level without being seen. (The boars’ squealing can give you away.) There’s a zipline anchored in the hills above this outpost that lets you get onto the roof of the shuttered garage with minimal chance that you’ll be spotted. From here, you can scope the place out and get up to shenanigans.
The captive leopard in this outpost can deal with a couple of the thugs for you, but it doesn’t have the stamina to stand up to the entire base at once. It makes a handy distraction for you to get to the alarm panel, though, or to set up a couple of the chargers for a Dual Death From Above Takedown.
Cradle Gas
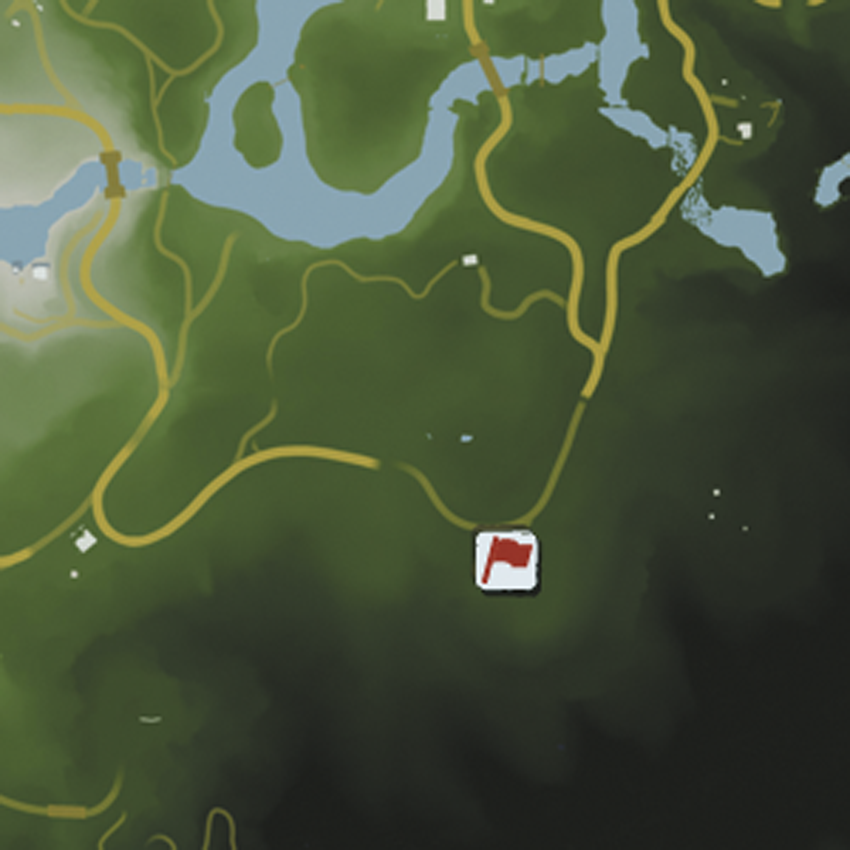
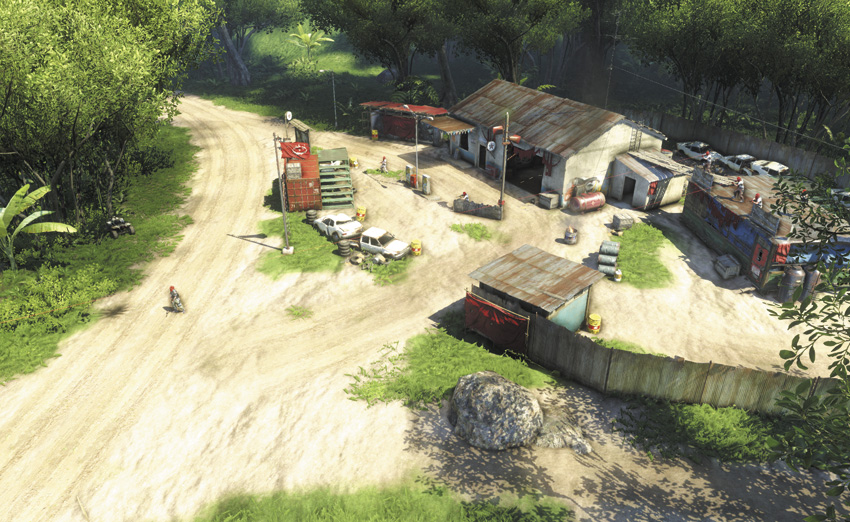
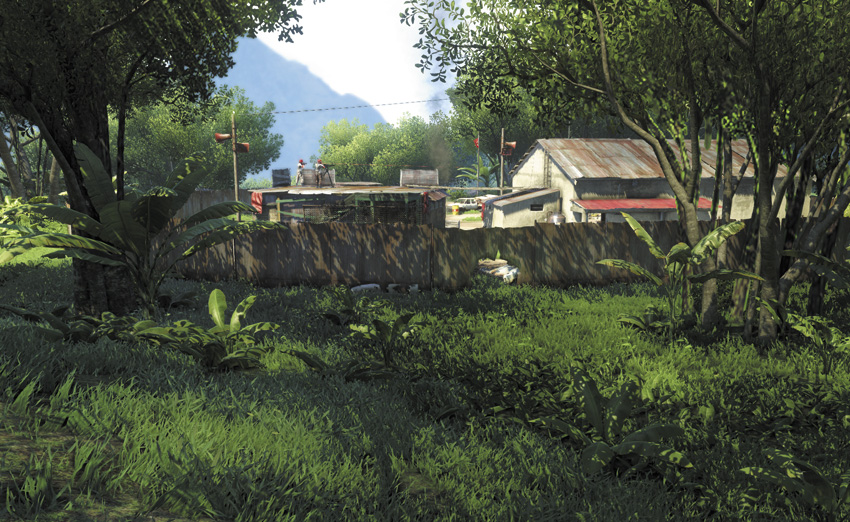
Between the mounted gun on the roof of the gas station and the seven pirates on patrol at any given time, this can be a difficult outpost to liberate. If you take out the sniper on the roof before he can get to the mounted gun, that evens the odds somewhat. There are multiple yellow explosive barrels on the grounds of the outpost, which can be used to deal with the ground forces relatively painlessly. You can also go into the base through a hole in its southern fence to easily reach the alarm panel.
Old Mines
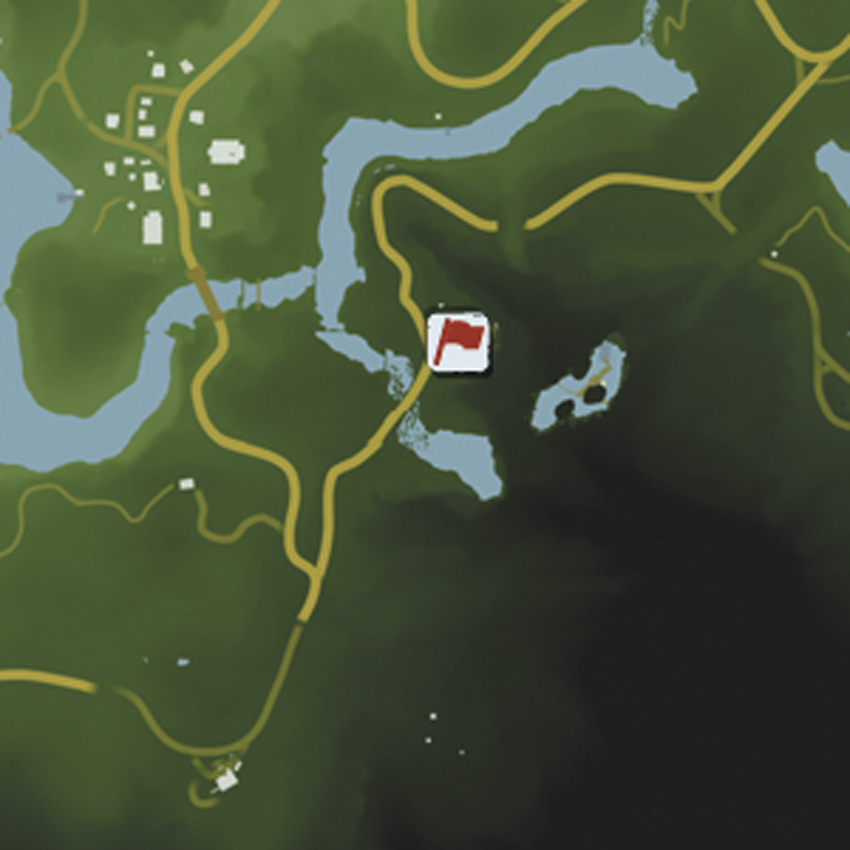
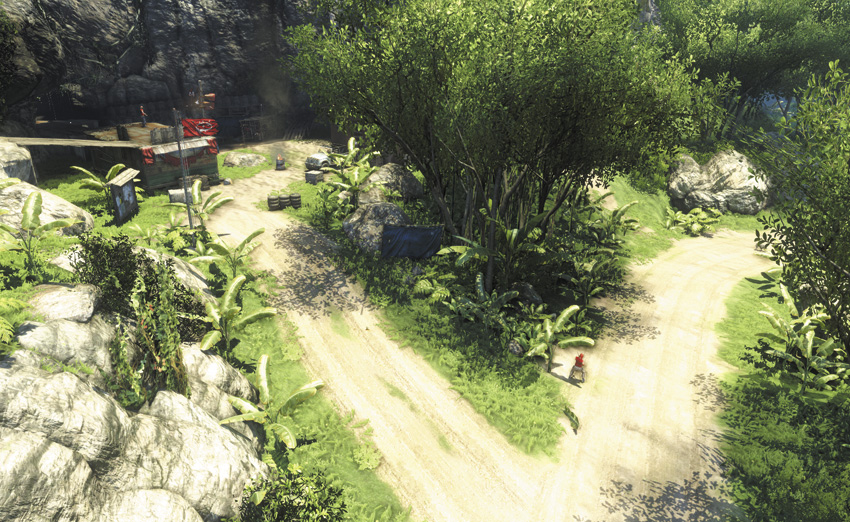
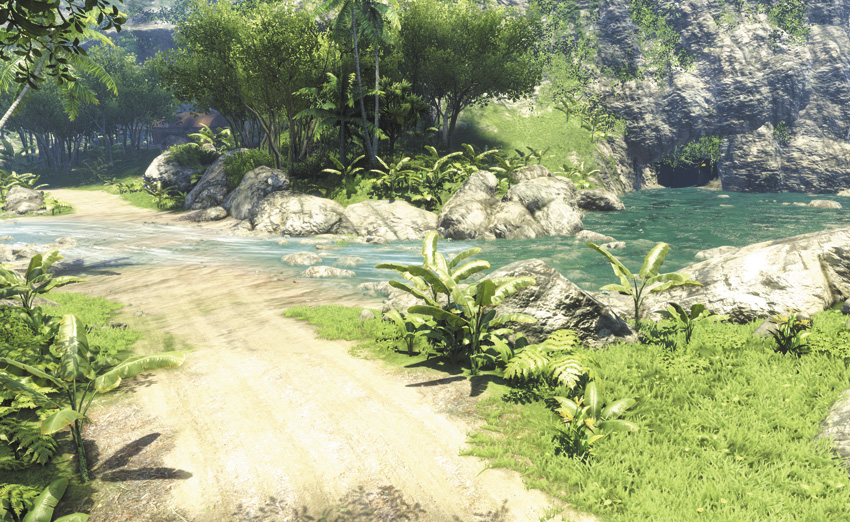
With some exploration, it’s possible to find your way into the Old Mines via the mining tunnel in its back wall. It involves climbing the gangplanks in the underground lake southeast from the outpost. This is also the only real way to infiltrate the place without being seen, as the Old Mines are built right up against a rocky overhang and there are a couple of snipers and dogs on patrol. It’s actually one of the most tactically sensible outposts on the North Island.
They’ve got an unhappy leopard in a cage, but as with the Hubert Shore Power outpost, the leopard won’t last long if all the pirates go after it at once. You can also assassinate the sniper stationed in the hut on the north side of the outpost near the road. Nobody should notice his body for a while, you can mine the path leading up to his hut, and it’s a good vantage point from which to kill the other guards with a sniper rifle.
Cradle View
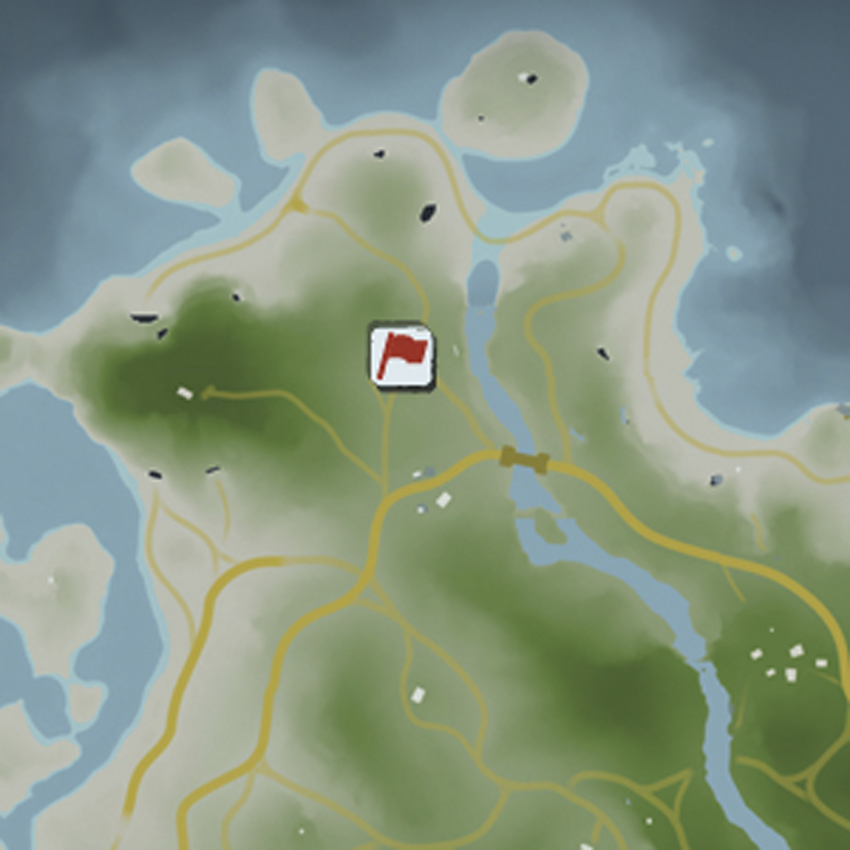
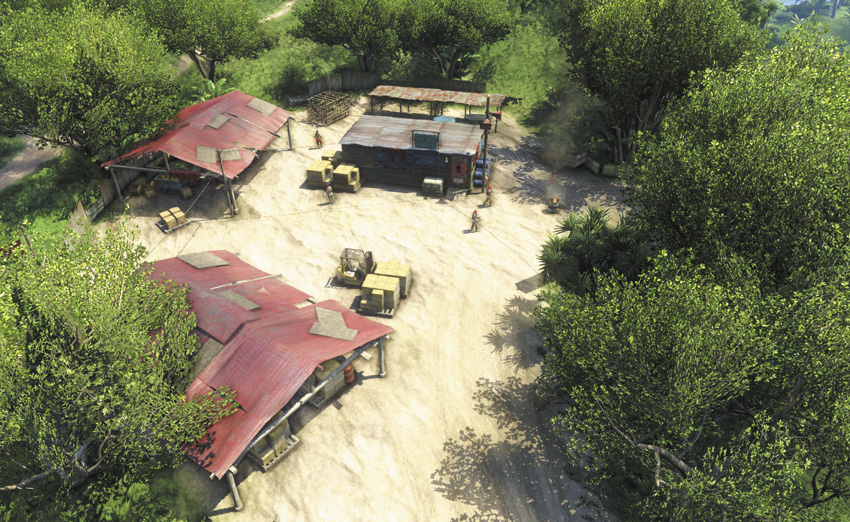
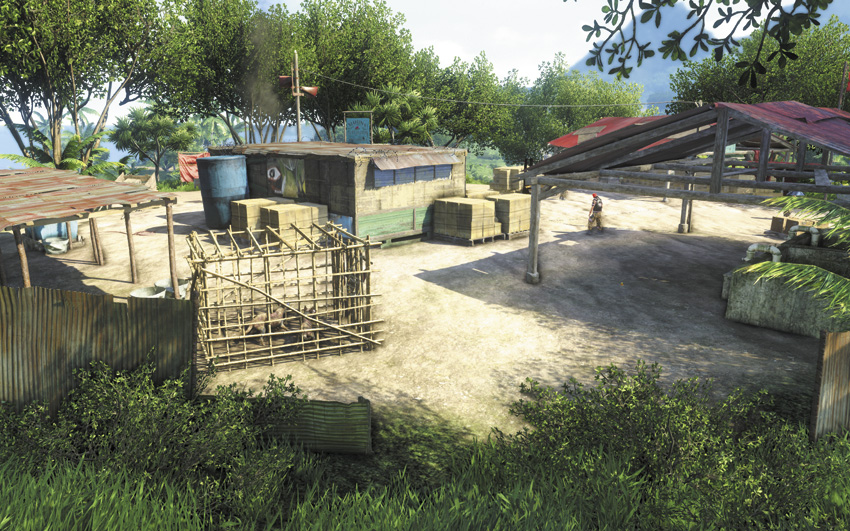
There are a couple of caged dingoes against the back wall of the Cradle View outpost, and due to the relative lack of firepower among the guards, the dingoes might take a couple of people out before they go. This is one of the easier outposts to clear, as it’s all soldiers and normal chargers.
One option you have is to deliberately lure the outpost’s guards into chasing you onto the hillside north of the outpost. The entire thing is covered in dry grass, which means it’s possible to trick the chargers into burning themselves to death the moment they toss a Molotov at you.
Rust Yard
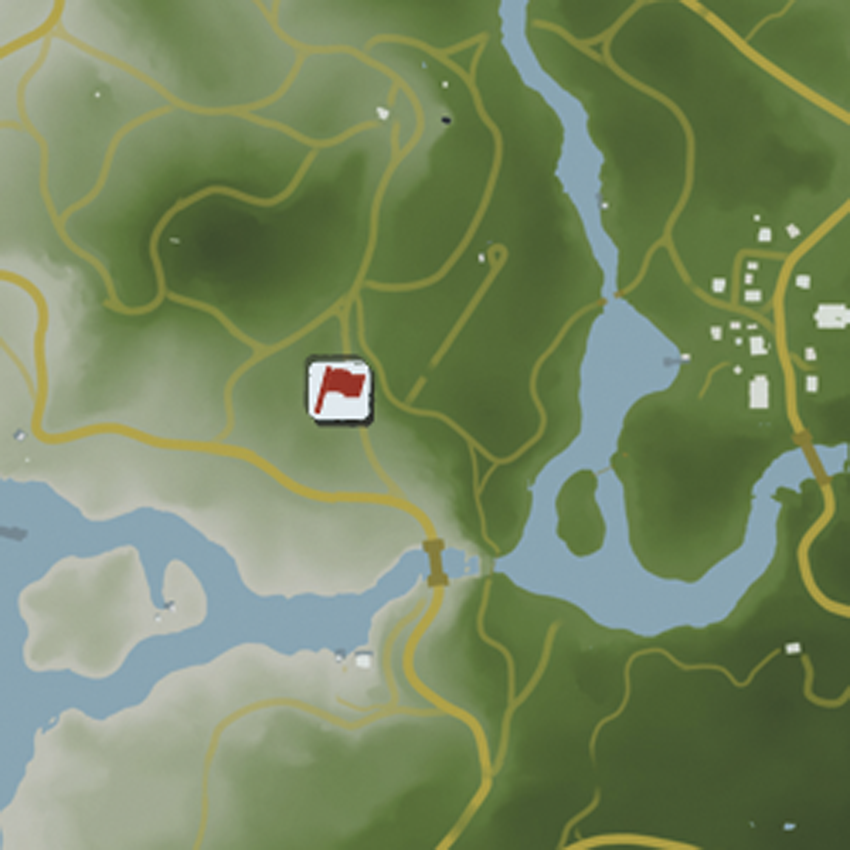
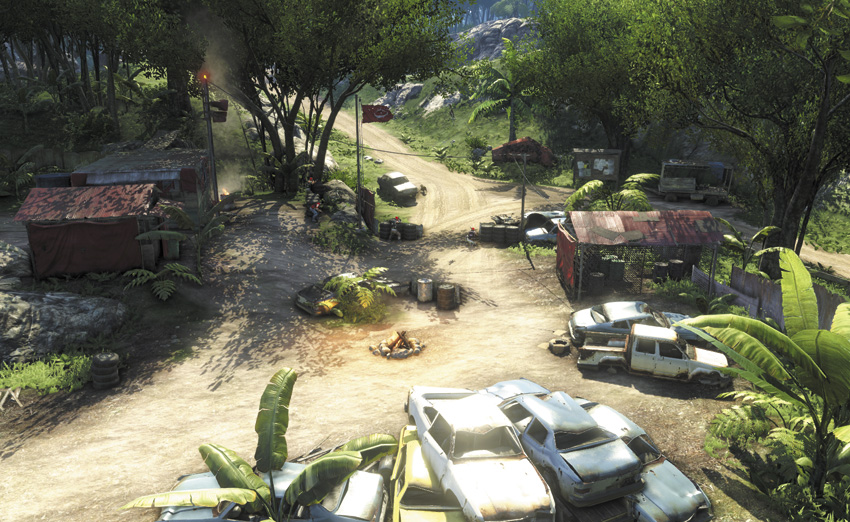
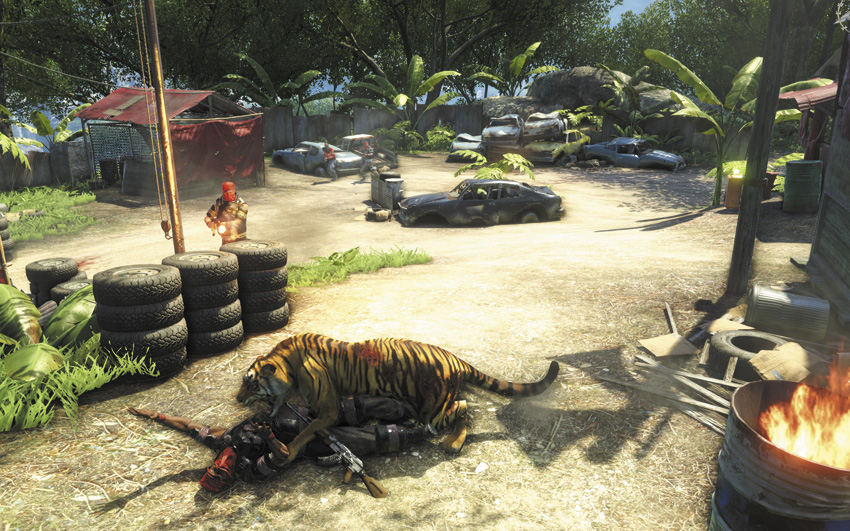
This can be a tough one. The Rust Yard is a wide-open area with six pirates and chargers on patrol, as well as their faithful guard dog. If Vaas still controls the other outposts in the region, it’s common for patrol jeeps full of pirates to drive through the base at random intervals. It’s easy to lure the guards outside one at a time with thrown rocks, assuming nothing else interferes.
On the other hand, the Rust Yard is in tiger territory. Careful strategizing may be made instantly redundant because the entire base has just gotten its hairstyle caved in by a passing tiger.
AM 12
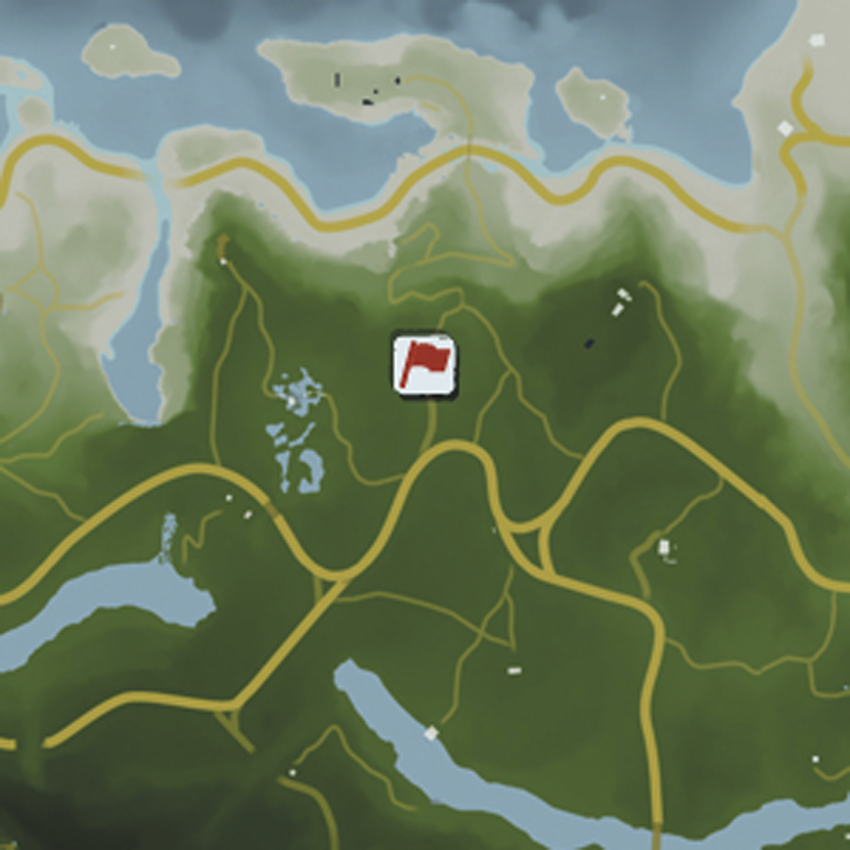
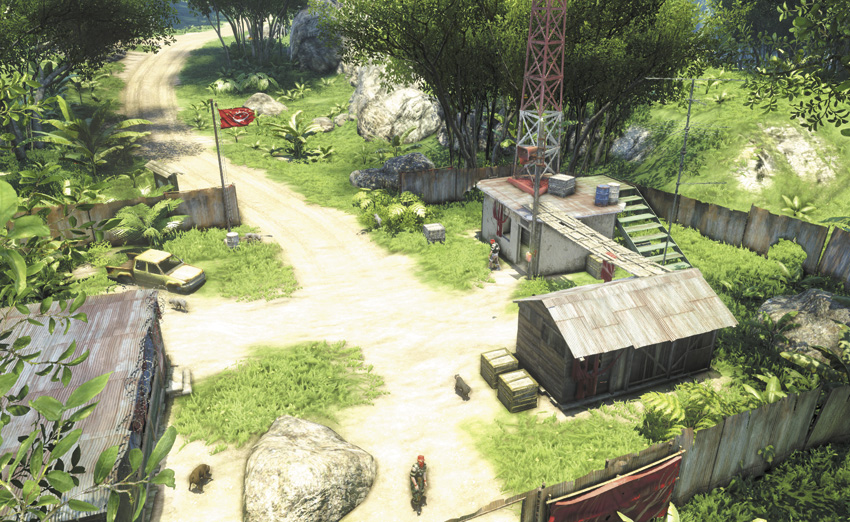
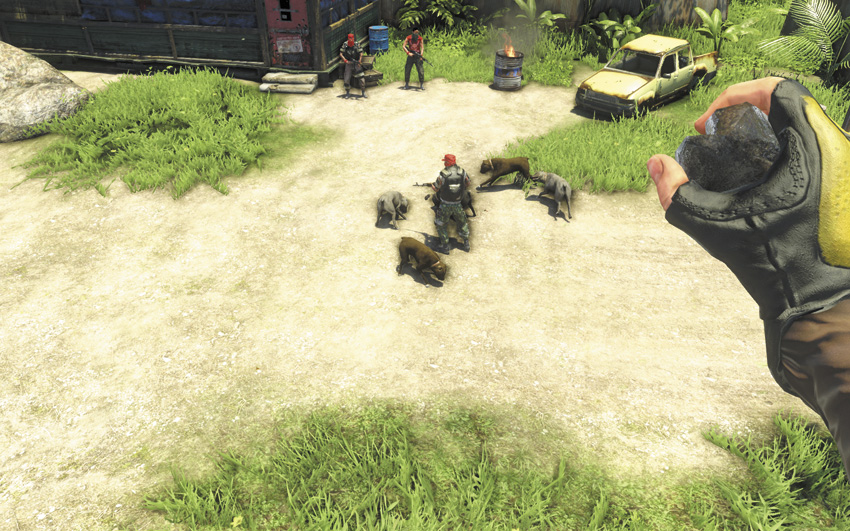
Three normal soldiers are on guard at AM 12, along with seven guard dogs. This complicates things, but also means you can sneak in through the back, climb onto the roof of one of the buildings, toss a couple of rocks to lure them into position, and blow up the majority of the hostiles here with one C4 charge.
Camp Murder
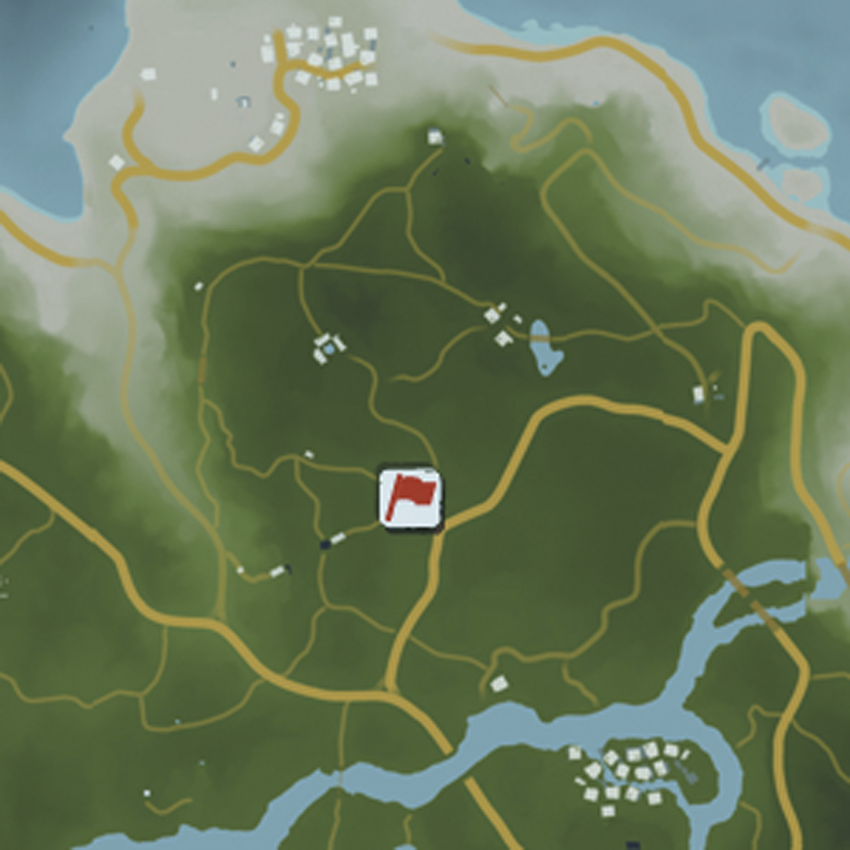
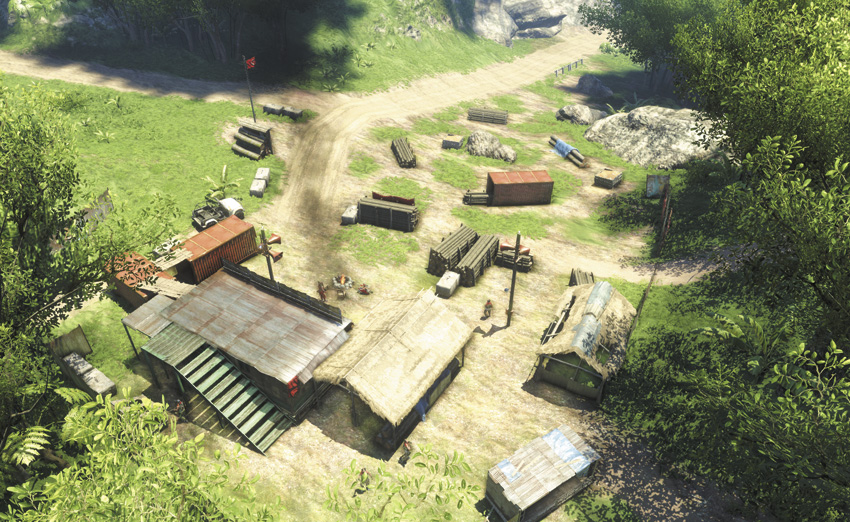
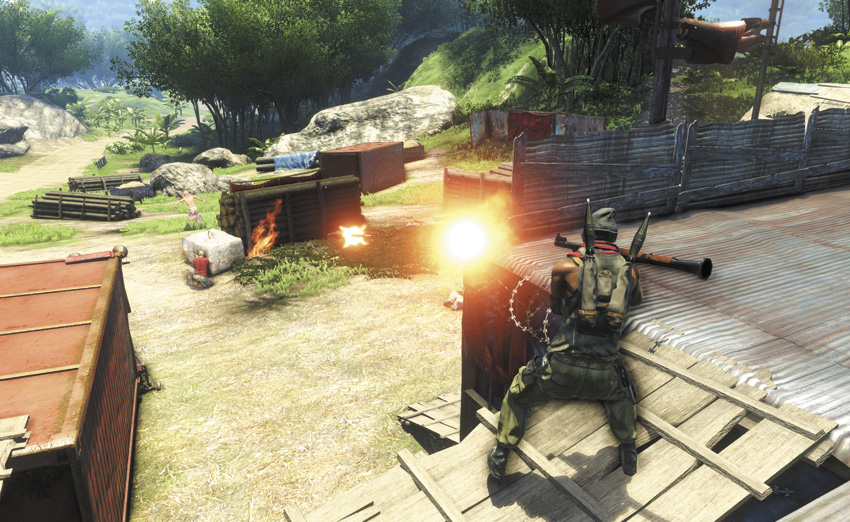
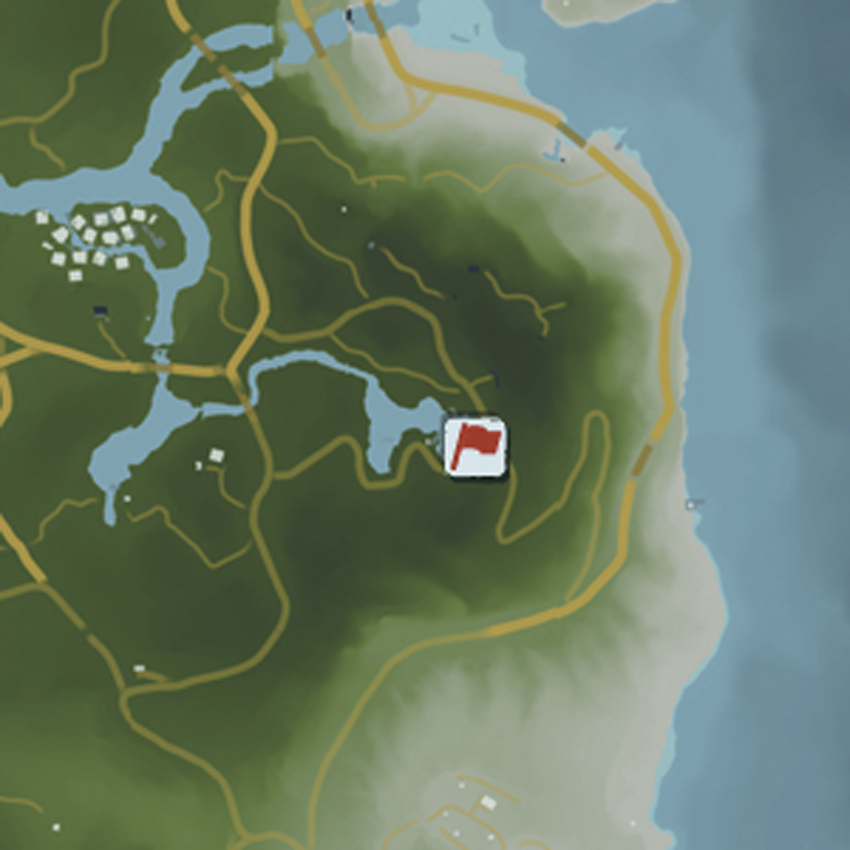
As you can tell from the map, Camp Murder—voted least popular summer destination for young adults for eighteen years running—sits right in the middle of a tight cluster of pirate outposts, and right on top of an intersection between well-traveled roads. This means that at any point, a few pirates might joyride through the area and force you to reconsider your previous plan. On the other hand, if you liberate every outpost in the area besides Camp Murder, there’s a real chance that you’ll show up here right in time to see some Rakyat attack the place.
That probably won’t go well for them, because the garrison at Camp Murder is three drunken chargers with Molotovs, two shotgunners, and one sniper with an RPG-7. Anyone attempting an all-out assault is going to finish plowing through the chargers right in time for an incoming rocket to blow him into jambalaya.
The sniper goes on regular patrols, but spends most of his time on the roof of the safe house. It’s easy to sneak into the camp via the back road and climb up there with him for a quick Takedown. Try to leave his body on the roof to ensure it won’t be discovered early, then work your way through the chargers. Two of them aren’t inclined to leave the campfire out front, so you really just have to eliminate the two drunk guys near the safe house before you’ve got the run of the place. This is a really good opportunity to use thrown C4 charges as a “distraction.”
Tequila Sunrise
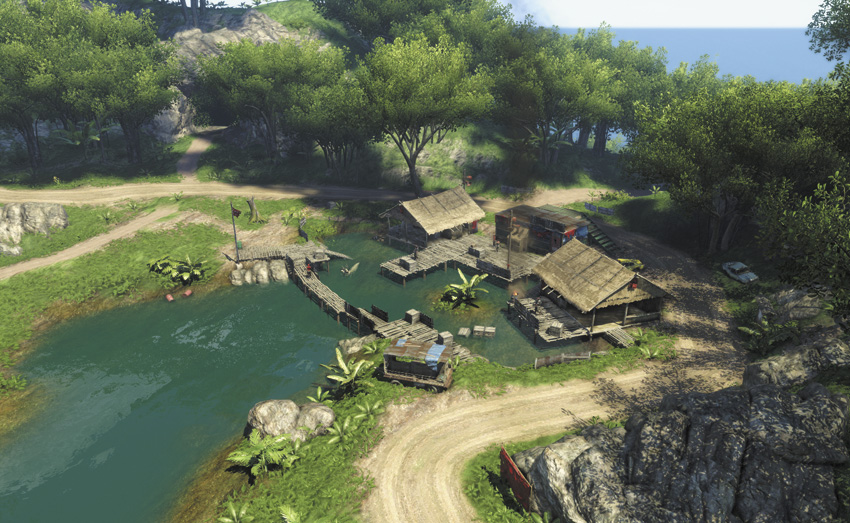
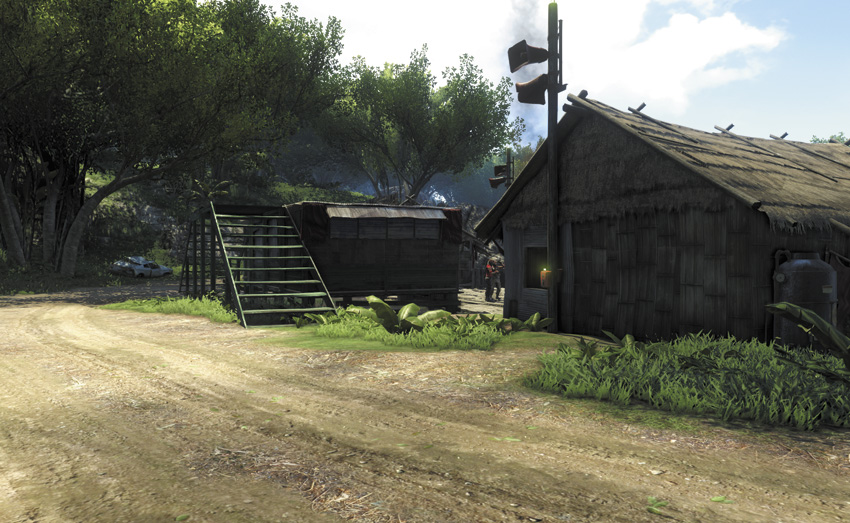
About the only good news to be had in Tequila Sunrise is that it has the least defended alarm panel of any outpost in the game. It’s on the north side of the outpost, right by the side of the road, and getting to it without attracting a guard’s attention is absolutely trivial.
It’s all downhill from there. There are two heavy machine gunners in Tequila Sunrise, as well as a charger and two normal soldiers. Getting through the outpost without the Heavy Takedown skill is a difficult proposition.
If you don’t want to wait until that late stage of the game, your best bet is to set an ambush. Lay a lot of mines and C4 charges right outside the outpost, then fire a couple of rounds in the air and wait for the heavies to storm your way. Alternatively, just bring an RPG with you. You’ll lose the chance at the 1,500 EXP bonus, but on the other hand, there will be a series of large explosions. It’s worth it.
Nat’s Repairs
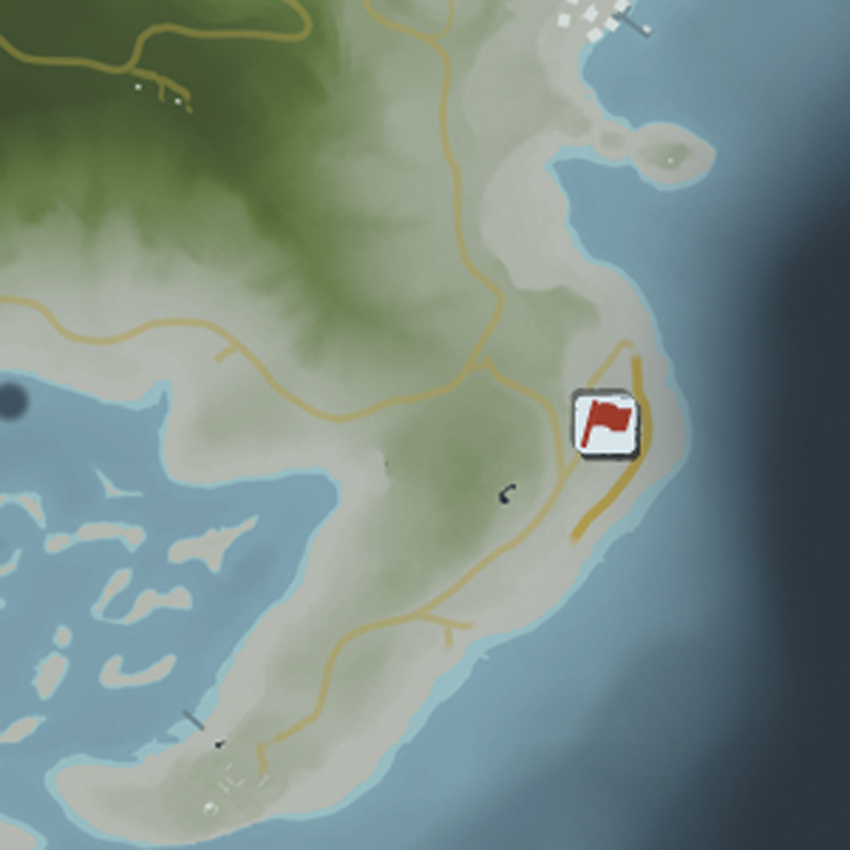
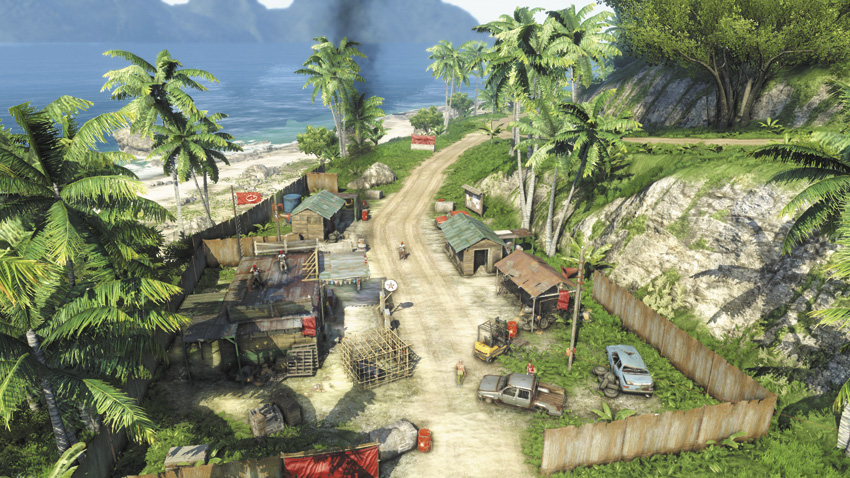
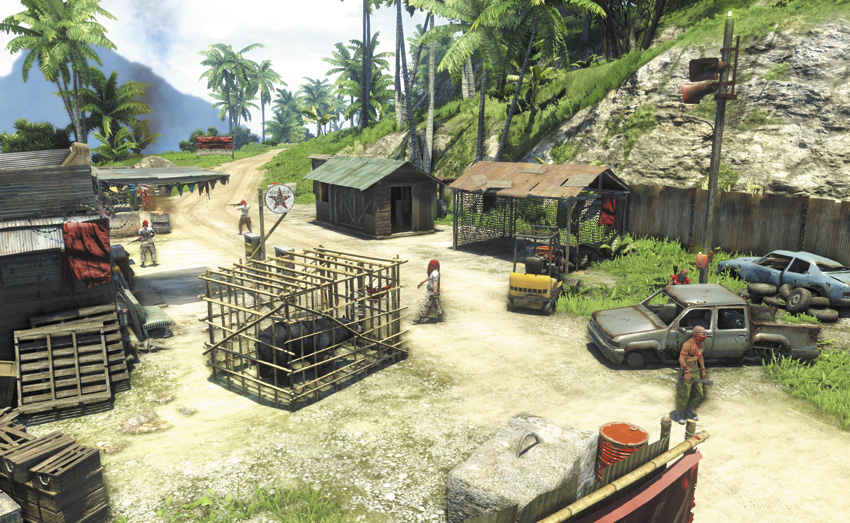
This is a difficult outpost to assault directly. It’s right on the road, which means patrols pass through it reasonably often and it has four snipers covering it from both sides. On the other hand, it’s in a valley, which makes it an excellent sniper’s alley if your tastes run that way.
On the other other hand, there’s a caged bear inside the camp, which means the Bear Offensive is officially go. Because most of the snipers will sling their rifles and pull out their Skorpions when the bear comes to play, it is entirely likely that the bear can wipe this base out all by itself. Your challenge is then finishing it off before it has the chance to kill any of your Rakyat buddies.
Kell’s Boat Repairs
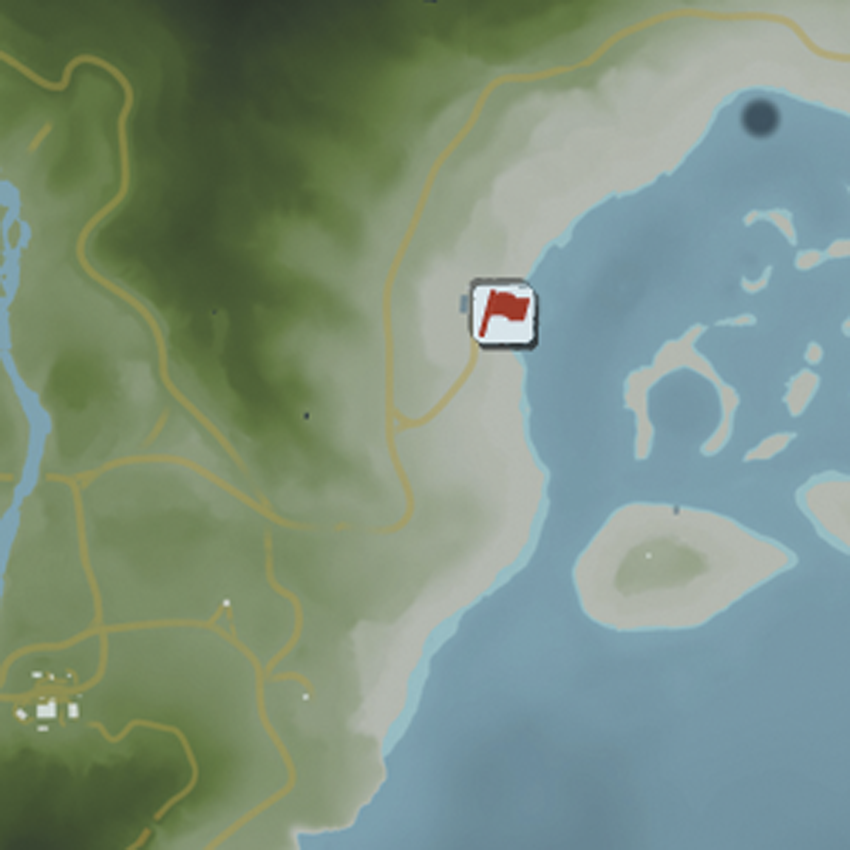
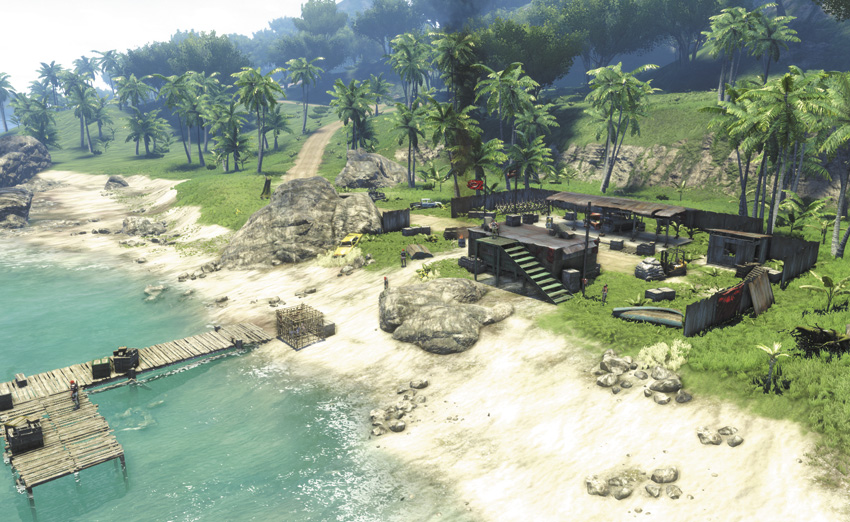
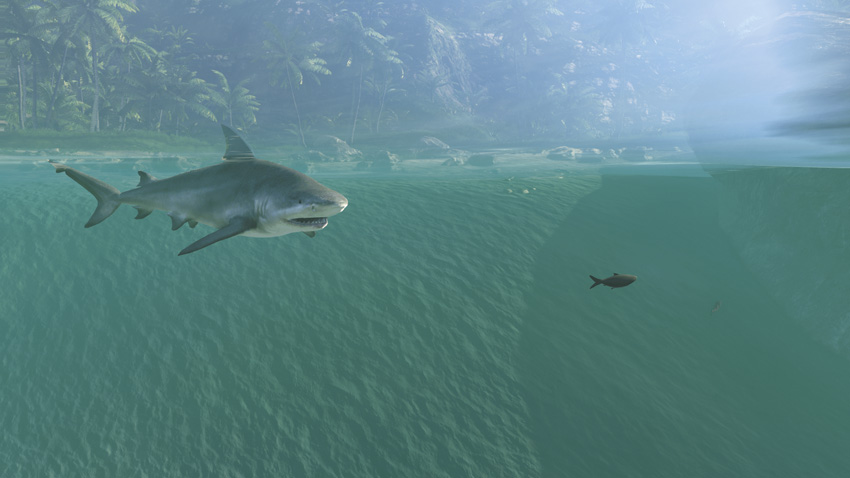
It’s tempting to try to infiltrate Kell’s Boat Repairs via the water, but it’s built on an inlet that features the single largest population of bull sharks of any place in the game. It’s very unlikely that you can reach the dock without getting attacked at least once.
There’s a caged dingo on the dock, but it’s barely worth freeing. Instead, you can very easily take advantage of the outpost’s layout—lots of ground clutter, three separate entrances, lots of guys on the ground—to pick off the patrol one at a time, using thrown rocks to draw them outside. The guy on the roof of the safe house has an RPG, so you definitely want to take him out first with a silenced rifle, if possible. There’s one guy who spends almost all his time directly in front of the dingo’s cage, and it’s easy to miss him while you’re tagging the others, so be careful.
The Neck’s Diner
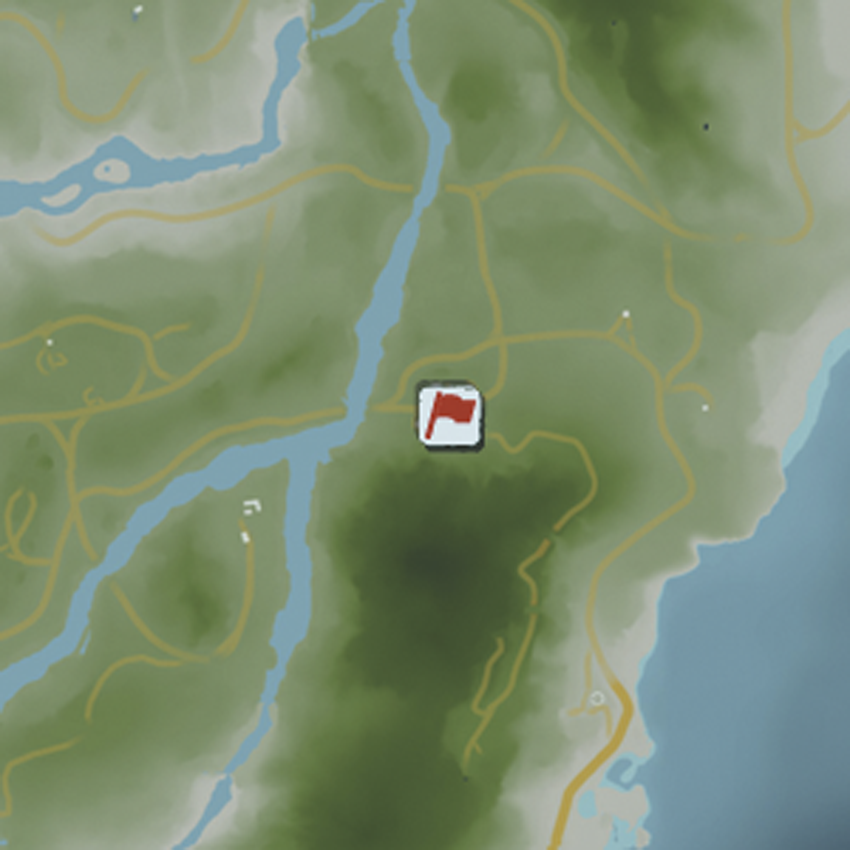
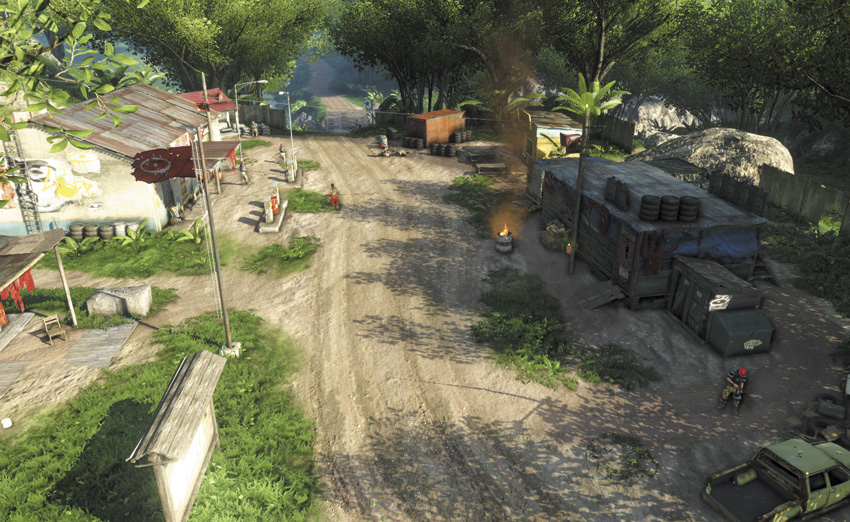
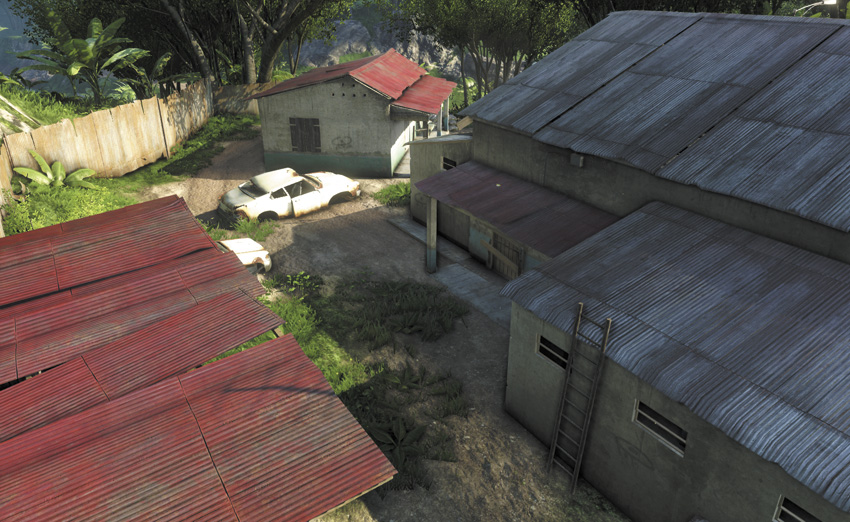
Even if this is the last remaining outpost in its area, The Neck’s Diner is a tricky outpost to take down because of the two heavy gunners watching either entrance. The real problem it presents is that it, like a couple of other outposts, is on a major road, including a trail that moves in from the south. It’s easy to get caught by surprise by a random patrol while you’re trying to scope out the outpost from the southern hilltop. If that happens, or if the alarm goes off, you’re going to end up with two waves of reinforcements from the east, then the west, and they’ll bring any nearby patrols in with them.
If you’re a sniper by inclination, there’s a ladder on the back of the main building that lets you get to the roof. You can drop the charger that’s on guard duty across the road, then use thrown rocks to bring the guards in below you for elimination via a Death From Above Takedown. The single easiest way to liberate this outpost without an alarm is to deal with the four normal guards on the camp interior, then handle each heavy individually with either a Heavy Beatdown or a melee attack from behind.
Broken Neck Home
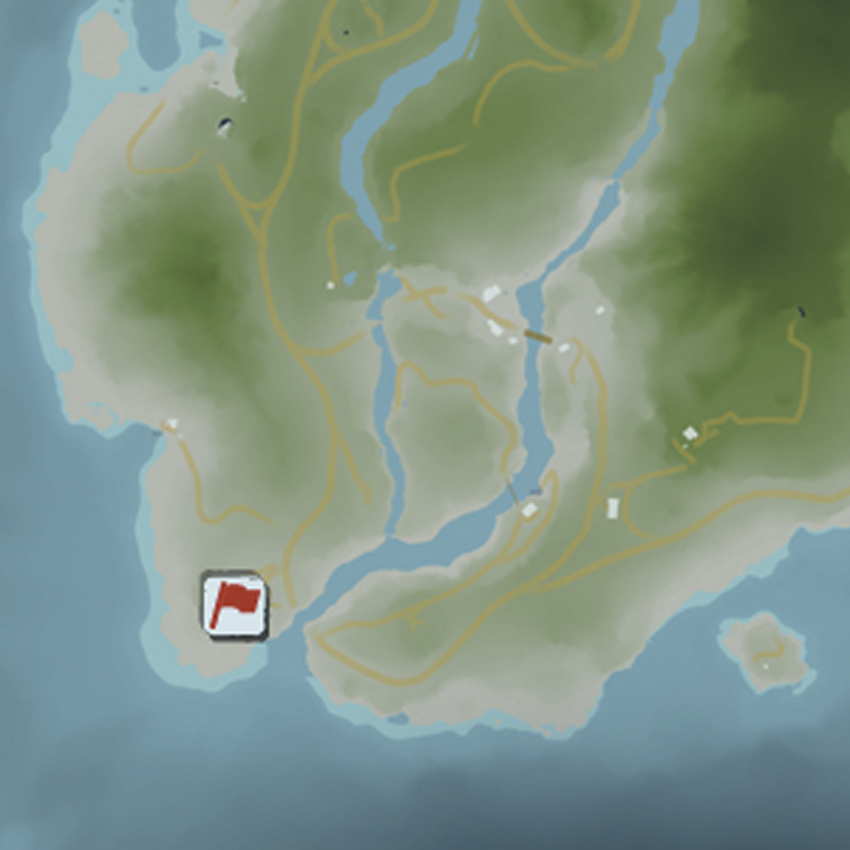
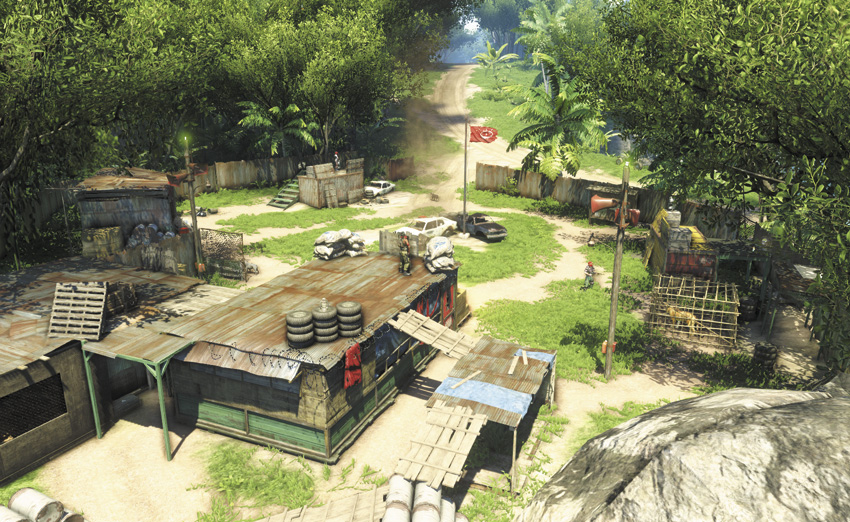
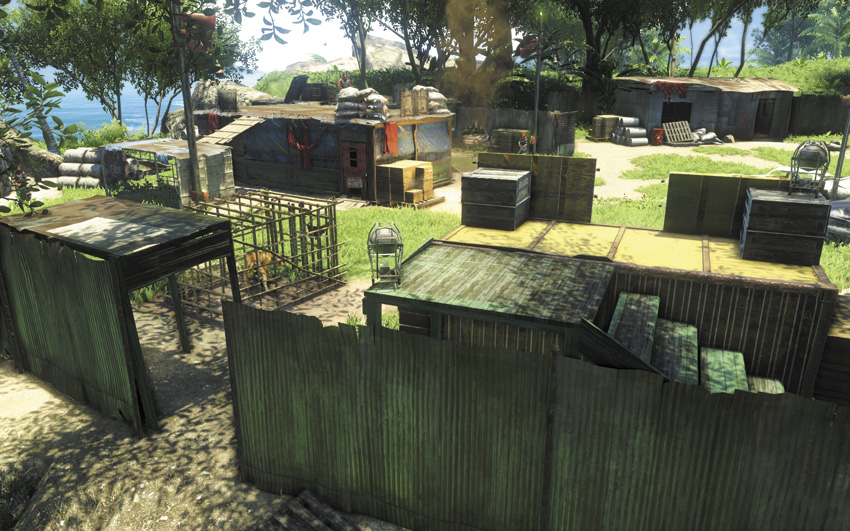
This outpost is remote enough that reaching it requires a hefty amount of overland travel, dodging patrols all the while. When you reach it, you’ll discover a fortified location where two heavy gunners, a sniper, a guy with an RPG, and a couple of guard dogs are all watching the front gate like hawks. A frontal assault is inadvisable, and while getting into the area without being seen isn’t difficult, you’re lucky to get a couple of Takedowns off before the dogs pick up your scent. You’ll definitely want to snipe the guy with the RPG.
The easy-mode method to liberate the outpost is, of course, to free the caged tiger. It’s easy to come at the outpost from the south and take a shot at the tiger’s cage door without being seen, and from there, the tiger can usually take out most, if not all, of the pirates before it’s brought down.
South Island
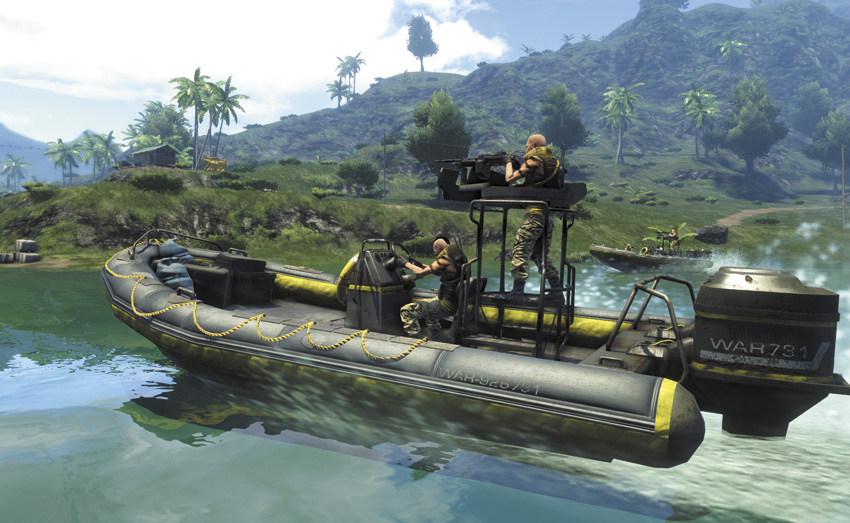
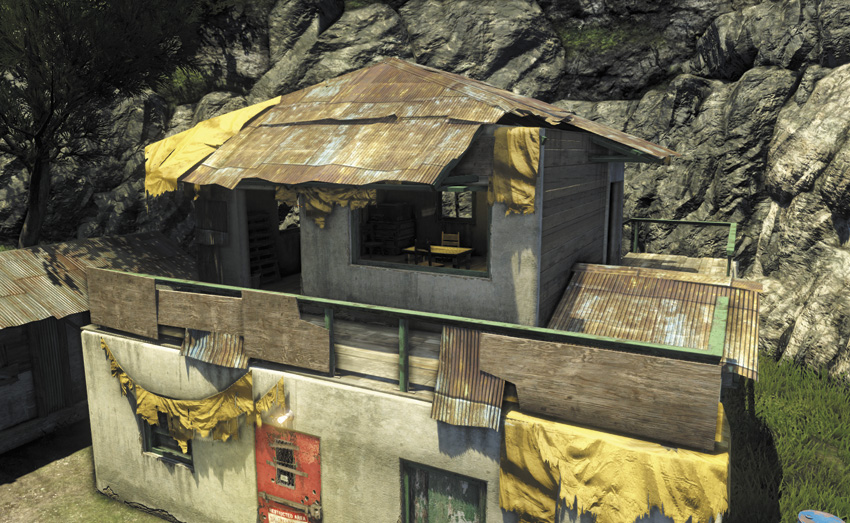
Hoyt controls the South Island, and since his mercs are better trained and equipped, they also enjoy a generally higher standard of reinforcements. On the outposts that are towards the edges of the island, you can expect the backup to take the form of one or two full jeeps, which may contain a couple of snipers or even a couple of heavies.
The closer an outpost is to the Compound, the more heavily defended it is. At this point, reinforcements may show up in gunboats or even rappel in from one or two assault helicopters. Once a helicopter has dropped off its ground troops, it hovers above the outpost and provides supporting fire. Fortunately, this isn’t as big of a deal as it sounds like, because helicopters can be taken down with a few bursts from an assault rifle.
Many of the South Island outposts feature a break room located on the floor above the safe house, which is often a popular place for a couple of the guards to hang out. This room usually contains a few items, such as medkits or C4, and one of the large ammo crates. That ammo crate will explode like a fireworks display if it catches a round, which can be a hilarious yet effective way to deal with any guards in the room.
Stubborn Kid Farm
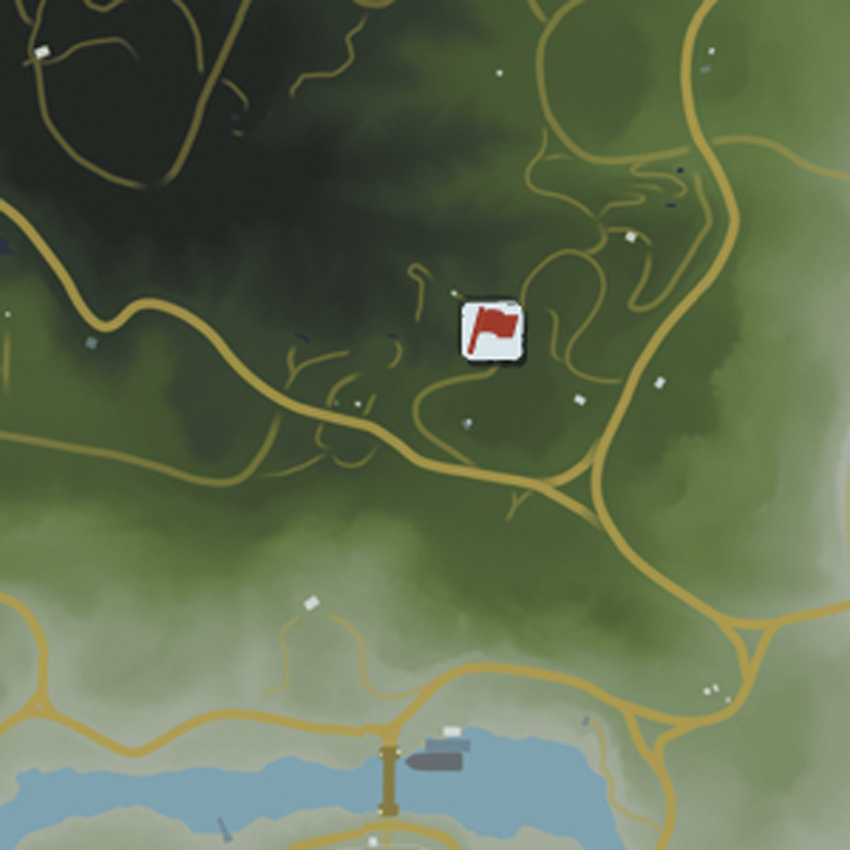
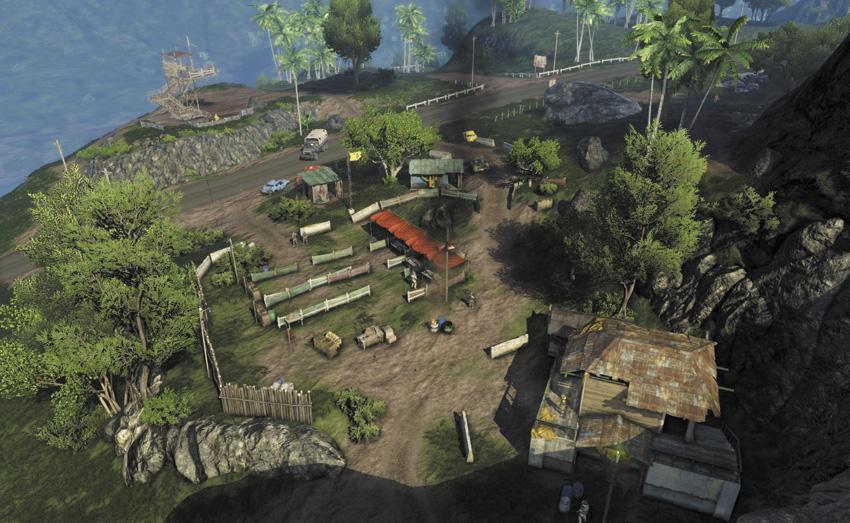
The presence of three heavies makes this a difficult outpost to capture. There’s a tall guard tower across the road from the outpost that is unoccupied when you arrive. It makes an excellent vantage point from which to thin the guards’ numbers with a rifle. It’s a long shot, but you also have a clear line of sight on both alarm consoles. If you’re patient, you can take them both out before you score your first kill. A scattering of land mines and C4 across the road will take out the heavies.
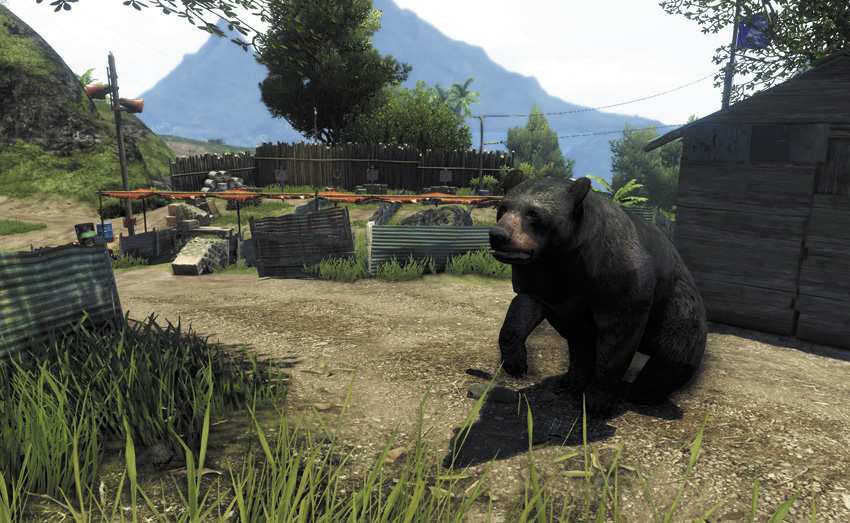
Another advantage you’ve got is that the Stubborn Kid Farm is in bear country. You can anger one on purpose and lead it near the outpost, or if one’s minding its own business nearby, use a few thrown rocks to lure the outpost’s guards over to it. Even a bear can’t withstand three heavies for long, but it makes an excellent distraction and will take at least two guards down with it.
Harmanse Gas & Repair
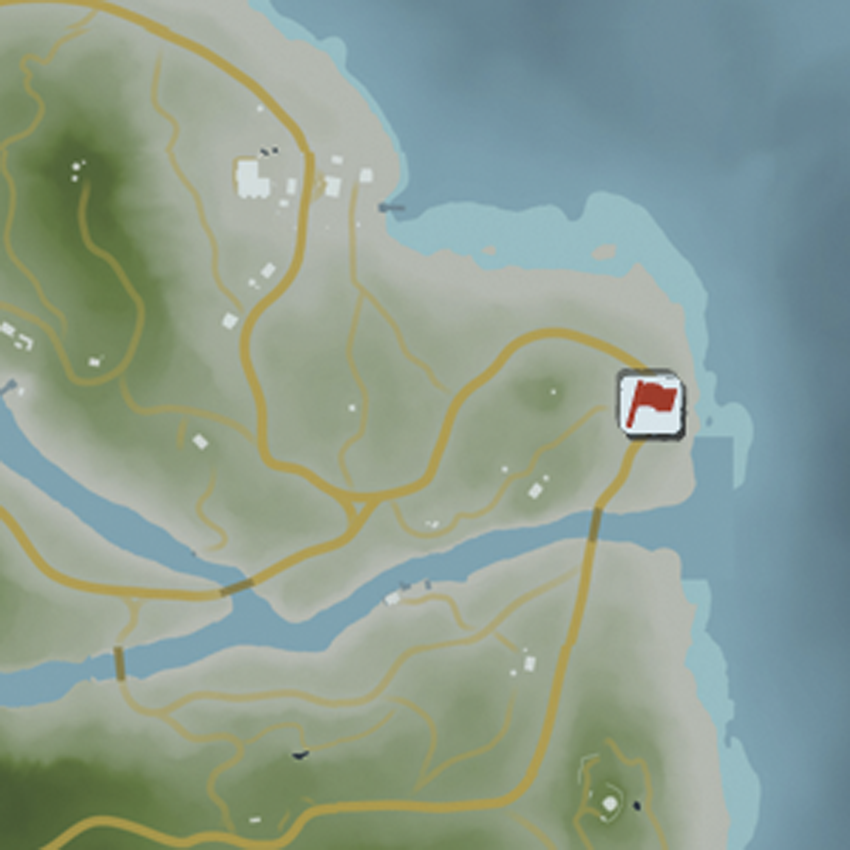
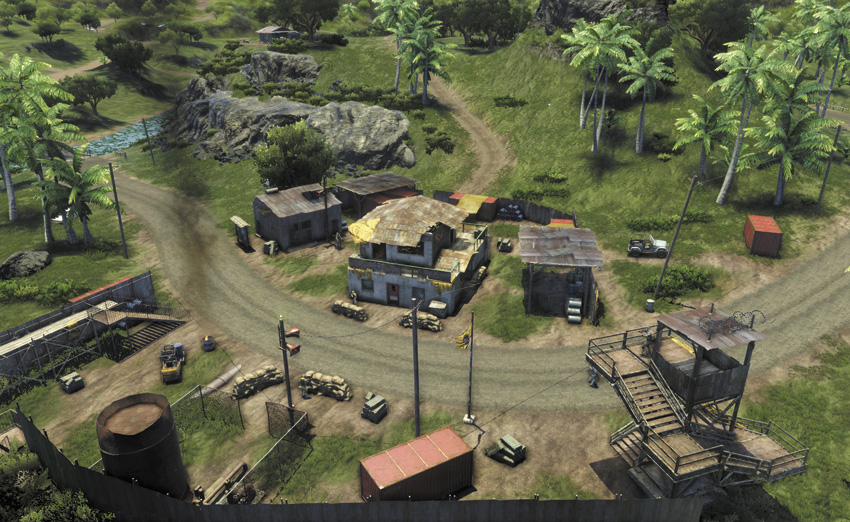
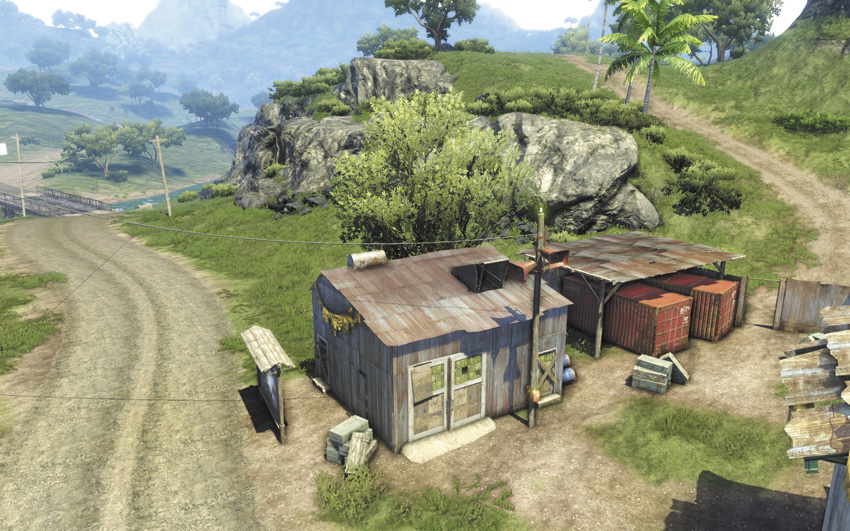
Since this outpost is next door to Thurston Town, it makes a good first target for your revolutionary ambitions on the South Island. It has a heavy watching either main entrance and a sniper in a high tower over the road, but is otherwise lightly staffed. The alarm panel is right near the front gate, which means if you can use an animal or a C4 charge as a distraction, it’s very easy to disable the alarm while everyone is looking the other way. If you can also use that opportunity to dispose of at least one of the heavies, that means you’re in good shape to take out the rest.
Satellite Communication Hub
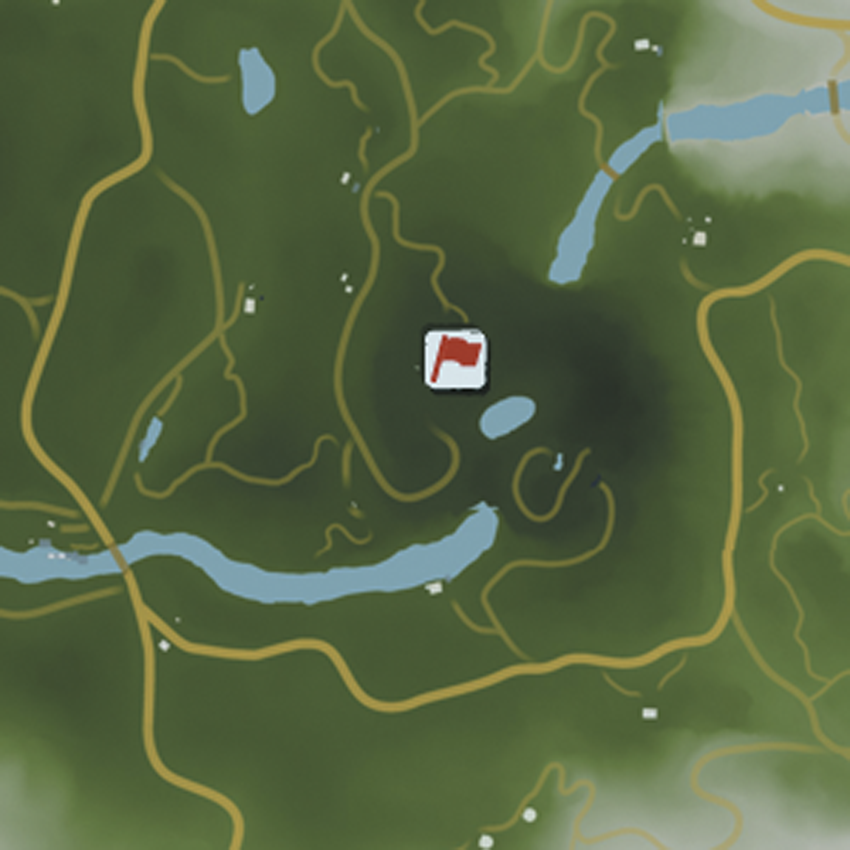
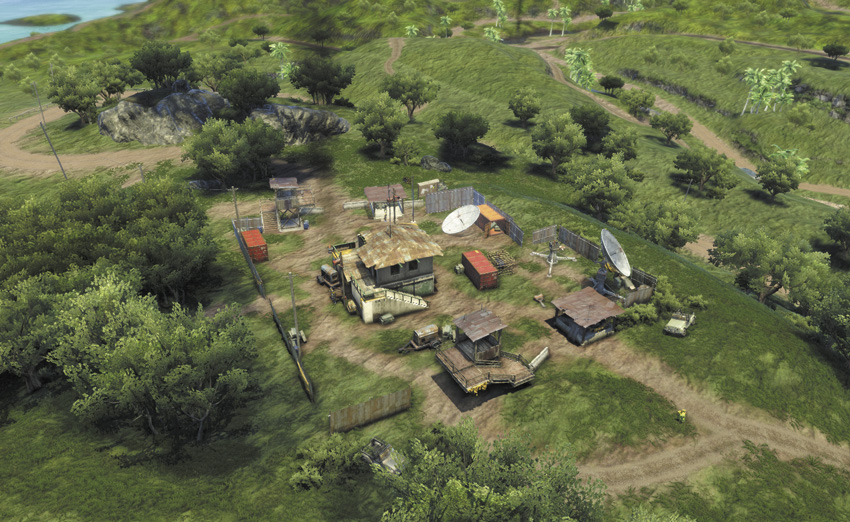
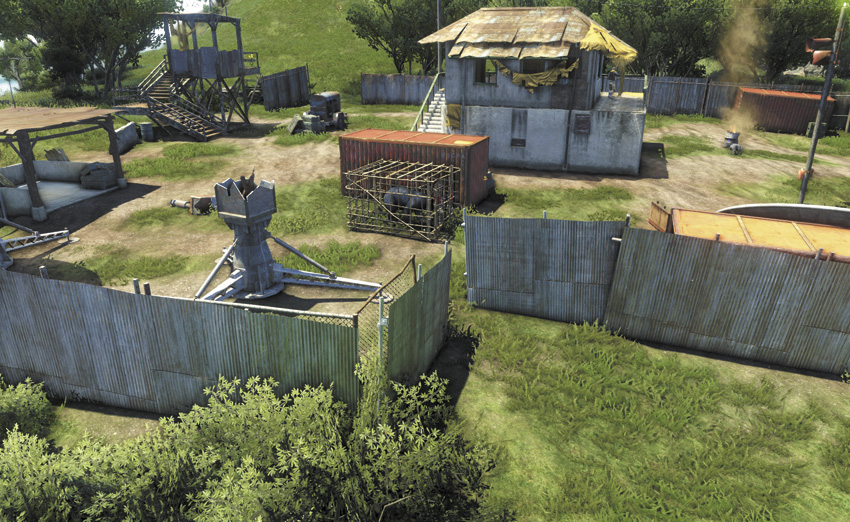
It’s hard not to feel sorry for these guys. They’ve got a fence up that has pretty good coverage of their entire location, they’re on top of a hill for maximum ability to spot an incoming assault, they’ve got a guard dog, and they’ve even got a mounted gun on the front gate that’s always manned. They’re really working hard to make sure this outpost doesn’t fall, and none of it matters because they have a caged bear on the premises and it’s right next to a gap in their fence. Shoot the lock off its cage with a silenced weapon and the bear can take care of business all by itself.
Lazy Shore Marina
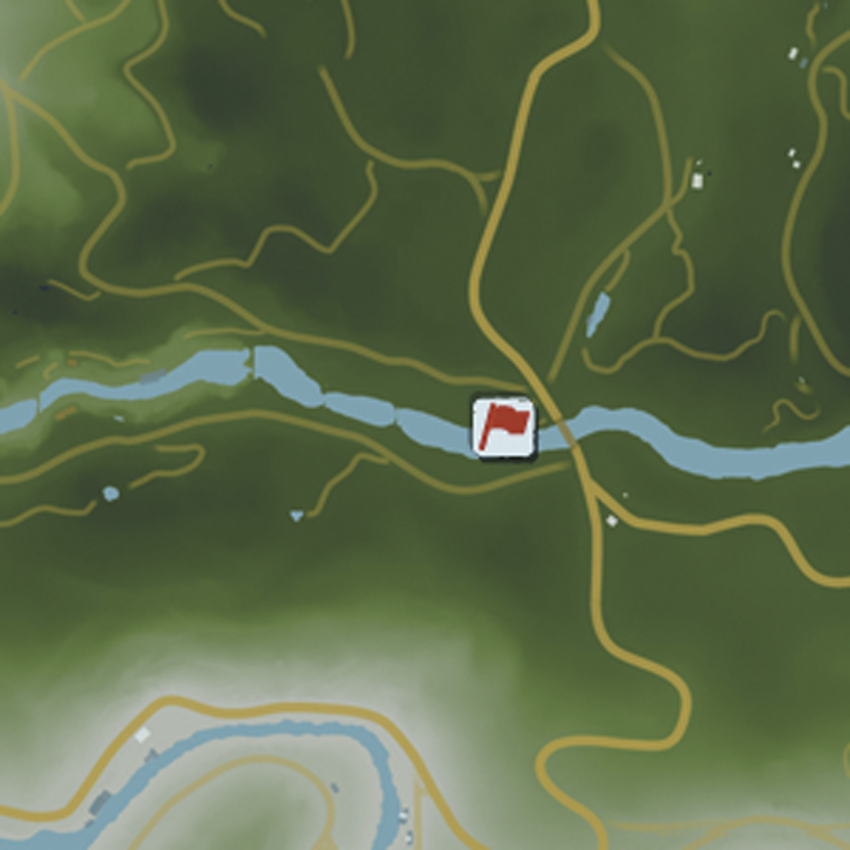
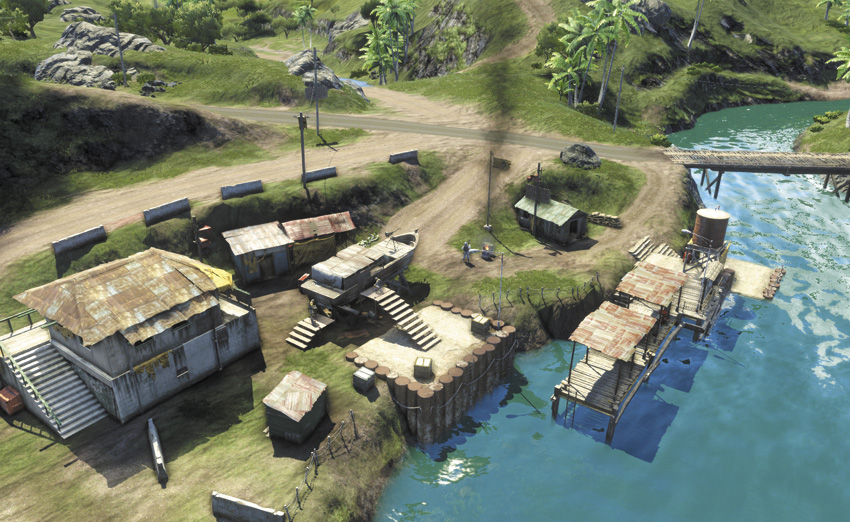
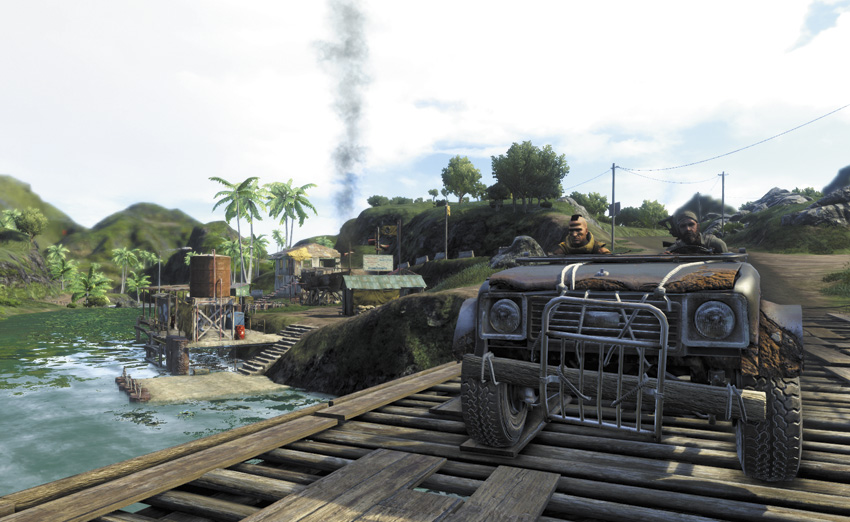
The heavy gunner on the Lazy Shore Marina’s dock never gets close enough to the water for a Takedown, which is a bit of a disappointment, and the high-traffic bridge on the east side makes it difficult to enter the outpost covertly from that direction. The big X-factor when capturing this outpost is whether you’ll be able to do it before a patrol comes by and spots you.
If you come in from the west, however, you can sneak up the stairs to the guards’ break room, throw a rock into the far corner, and use a Chain or Knife Throw Takedown to eliminate anyone inside. At least two guards are always in this room if the outpost isn’t on alert, and a third patrols inside it. That makes them easy prey for a Chain Takedown, and one of the heavies patrols by underneath the balcony, which is a good chance to drop him with a Death From Above Takedown. (Note that you do still need the Heavy Beatdown skill before Death From Above will work on a heavy.)
East Ridge Camp
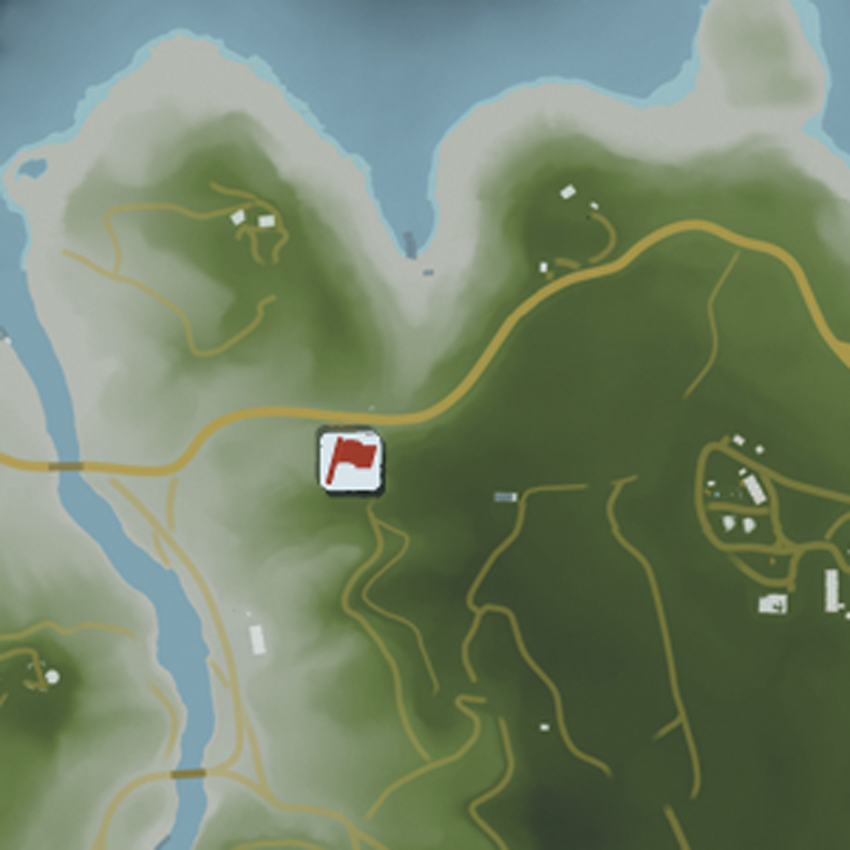
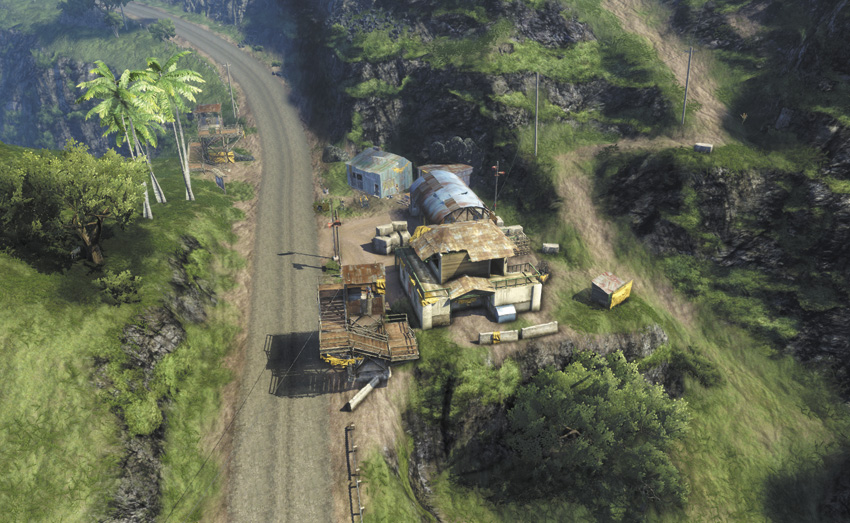
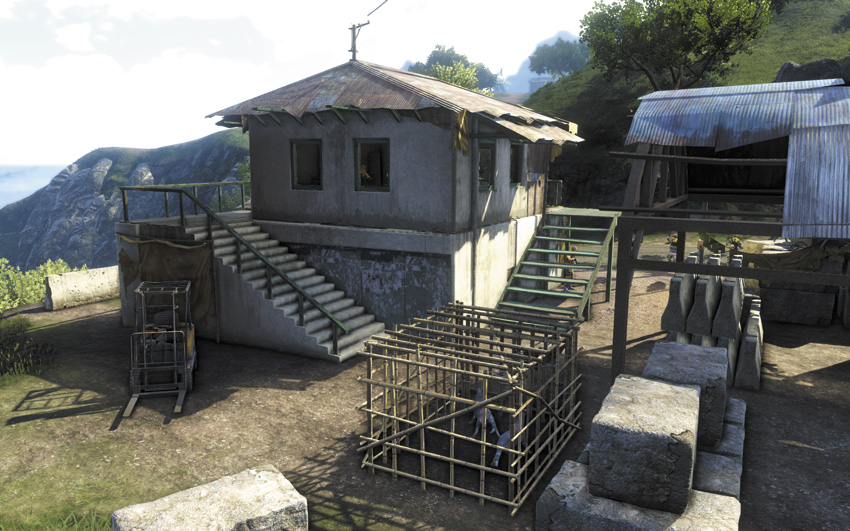
The road leading up to the East Ridge Camp is covered by two snipers in high towers facing either direction, which makes it difficult to approach. There’s a small trail leading into the back way, which makes it easy to get to one of the alarm panels and shut it down. If need be, you can free the two dingoes in the cage as a distraction, snipe both snipers, and disable the alarm before the dingoes get mowed down. Another option is to wait outside the meeting room, as three separate guards often come in to talk amongst themselves, and that makes them perfect targets for a Chain Takedown.
Spine Ridge Site
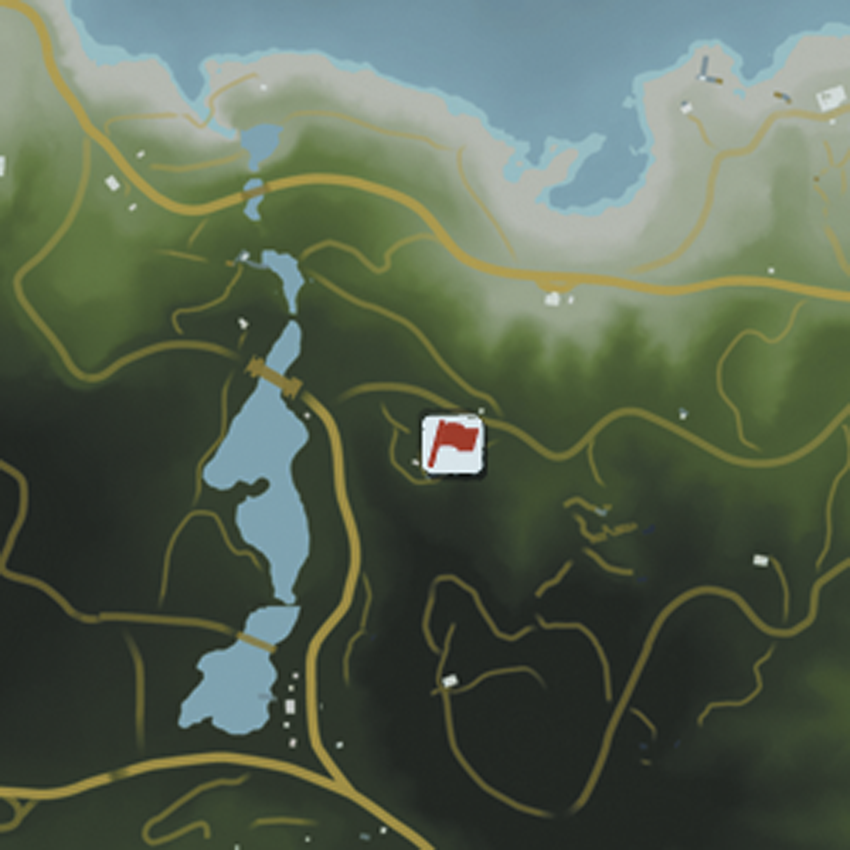
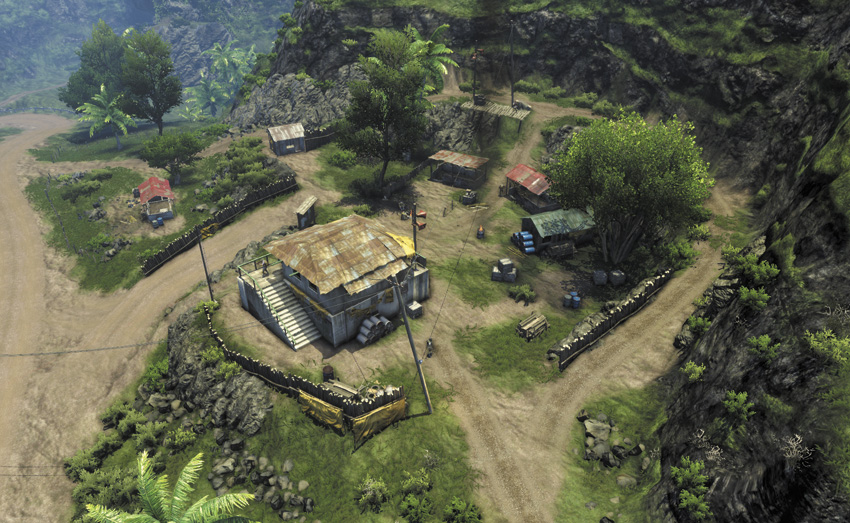
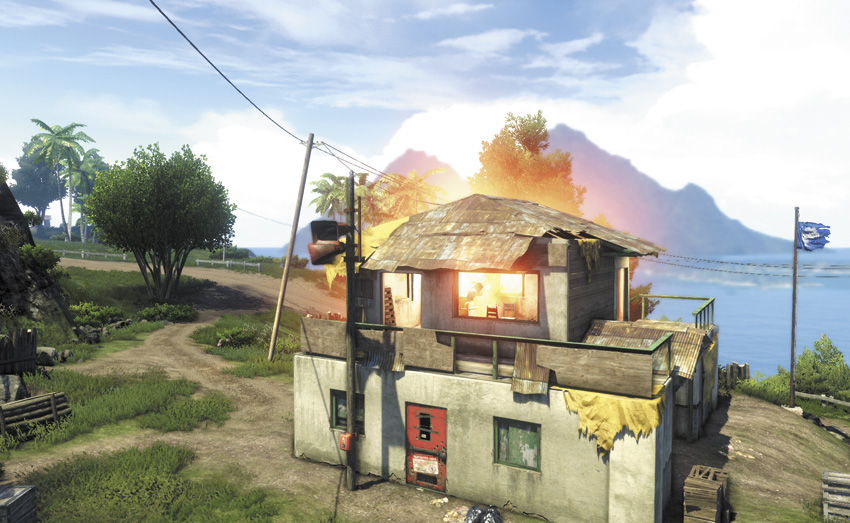
It’s tempting to sneak up on the Spine Ridge Site using the small nature trail to its east, which lets you get the drop on the sniper who’s keeping watch from above it. Unfortunately, half the camp is looking right at the guy and the other half are standing on the balcony above the safe room with RPGs.
The hilarious option is to shank the sniper, then immediately fire an RPG into the lounge above the safe room, which will kill two to four guards at once and detonates their ammo stash, resulting in a huge wall of fire and a crackling, continuous explosion. That’ll also leave two riflemen and an RPG sniper alive and at ground level for the clean-up.
North Krige Crest
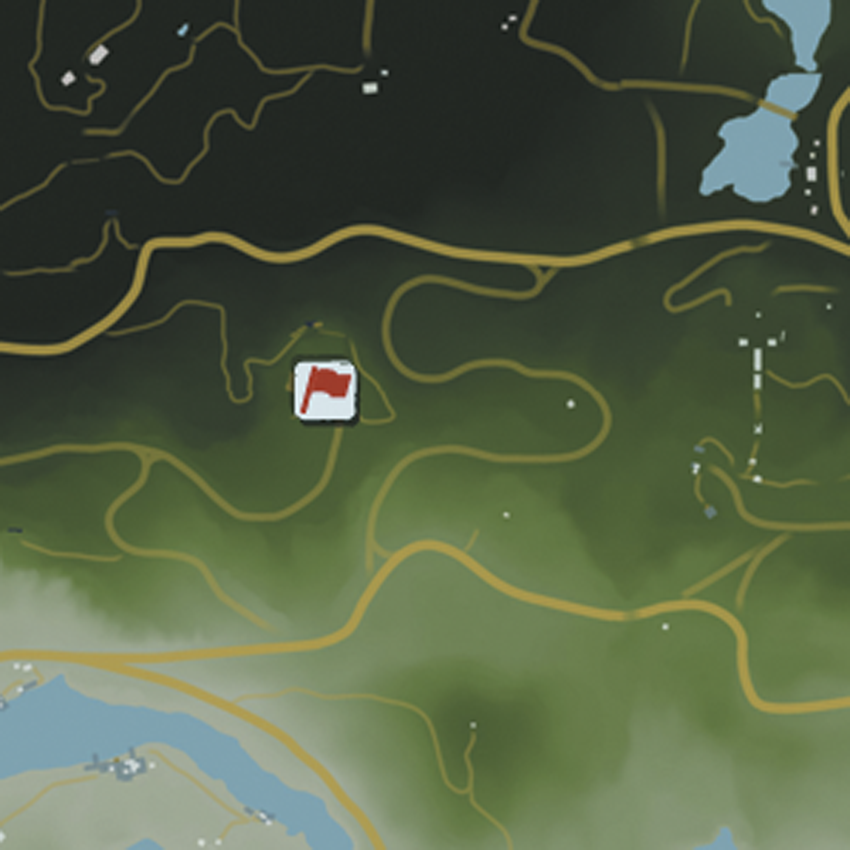
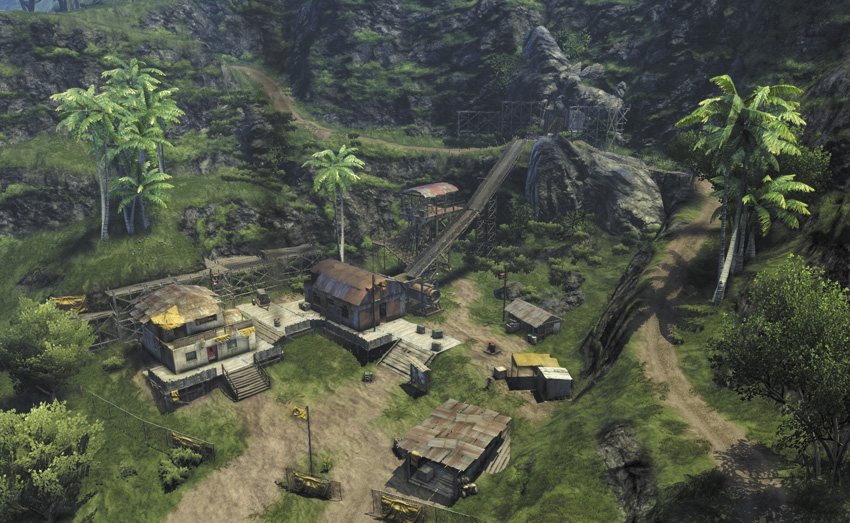
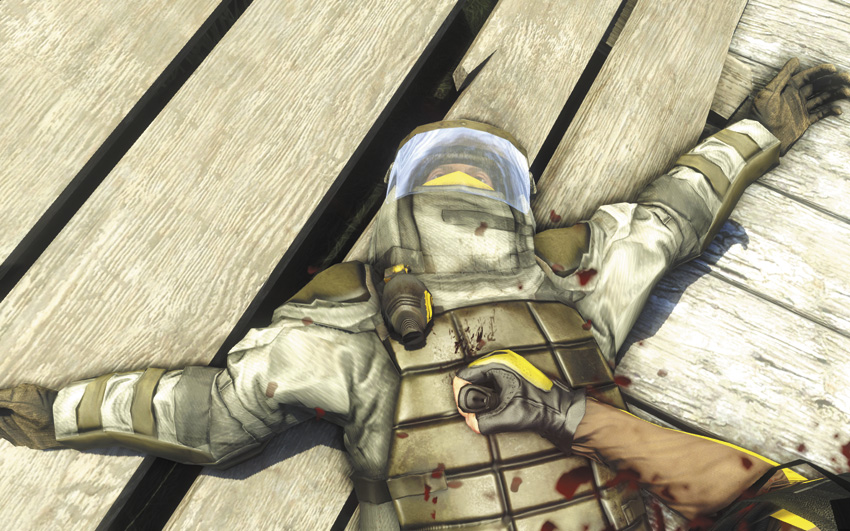
If you approach the North Krige Crest using the small trail that leads into it from the north, you’ll come out atop the gangplank that overlooks the site. This will put you directly behind one of the snipers on the upper level, which is a big help, as the theme of this outpost is that it is set in a world where RPGs come free in specially marked boxes of cereal. Starting a shootout while liberating this outpost means your position will be bombarded by multiple incoming rockets, and hilarity frequently ensues.
If you’d rather go in quietly, the southern approach lets you slip into the guards’ break room from a hilltop to the west, where you can snipe two of the RPG guys and gank the third. It also puts you into position to use a Death From Above Takedown to eliminate at least one of the heavies.
Maw Docks & Repairs
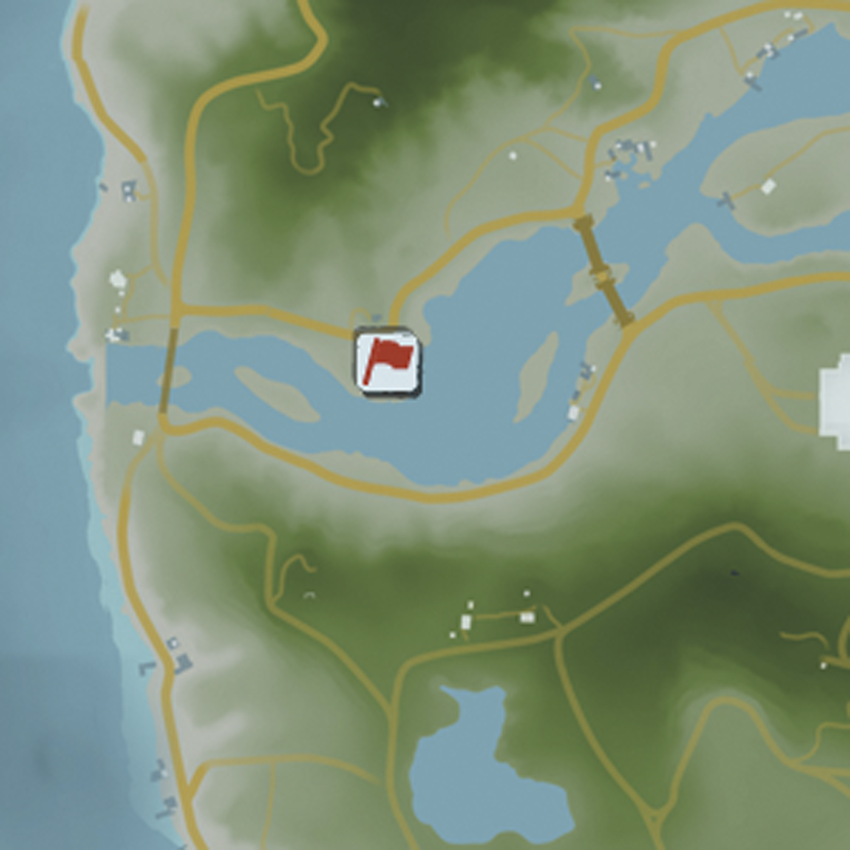
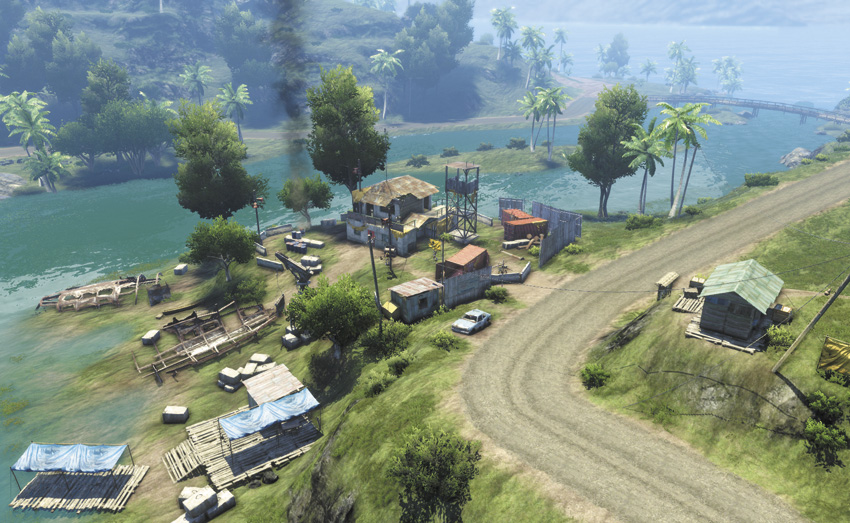
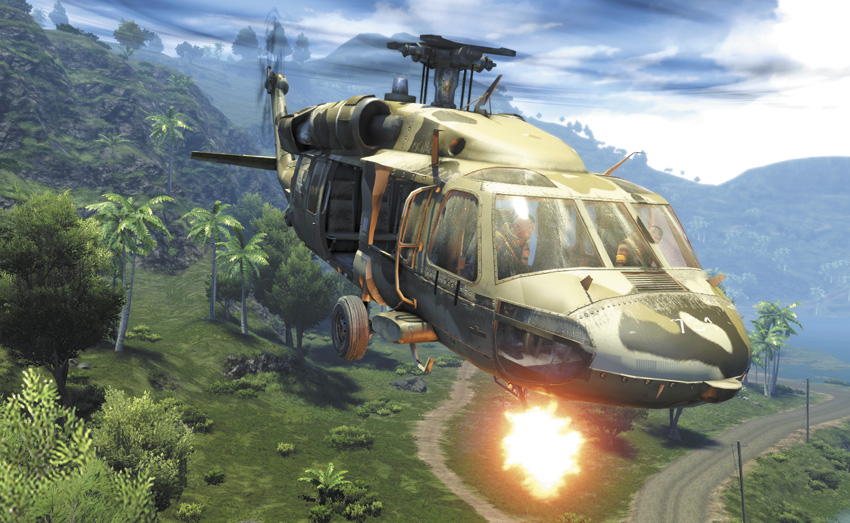
Triggering an alarm at the Maw Docks & Repairs causes an armed response that’s roughly equal to the Normandy invasion. Expect multiple gunboats topped off with an attack helicopter. It’s almost worth saving this until last and deliberately triggering an alarm just so it feels like an adequate finale.
Fortunately, the initial defense team is relatively weak, although it’s sniper-heavy, and they’re all watching the east approach. You can come in from the west side, off the river, and pick them off with stealth tactics from behind.
Lonely Shore Way
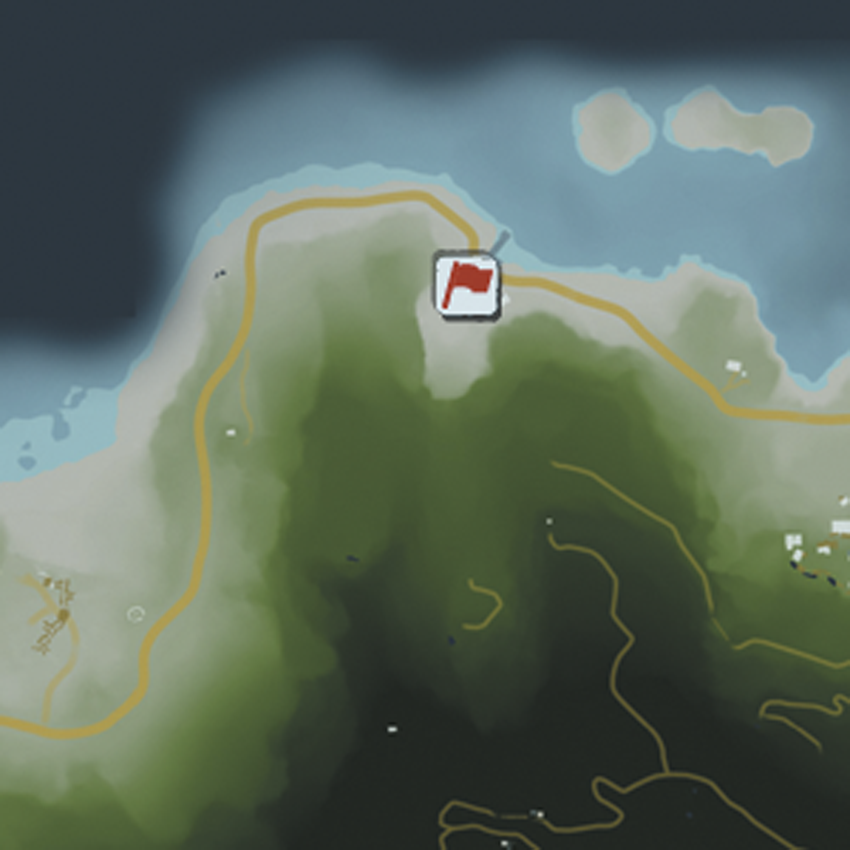
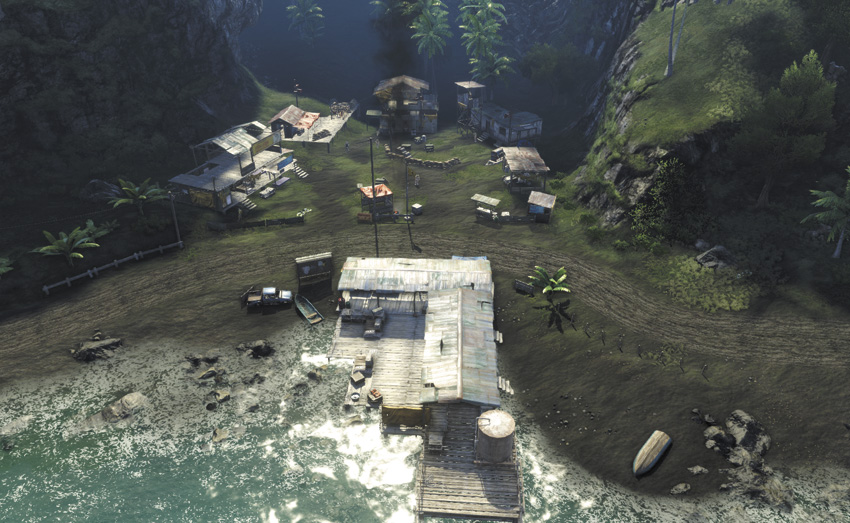
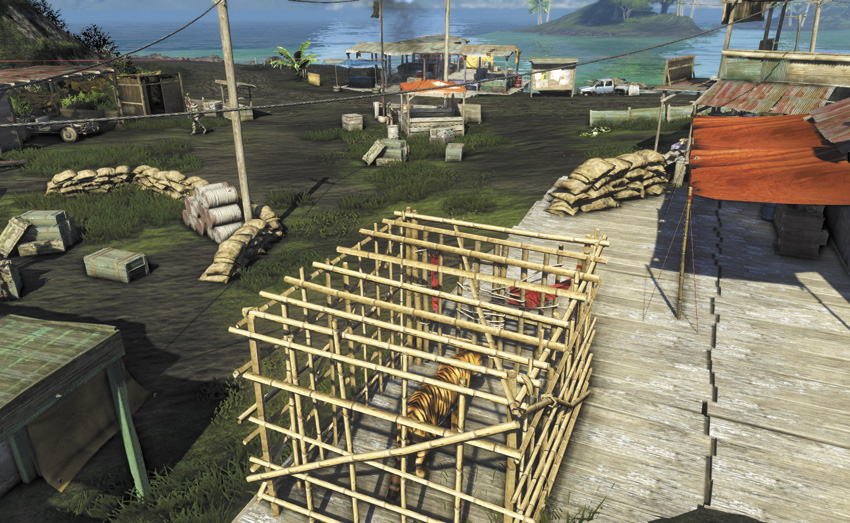
Like several other outposts, the big complication in Lonely Shore Way is that it’s on a major interchange. A jeep full of Hoyt’s privateers regularly comes through the area, which means their reinforcements have reinforcements and you’ll need to be very careful while running recon.
It’s built in a valley with high walls, which is ideal for scoping the place out. You’ll need to get much closer before you can count on doing any damage with a sniper rifle, and two of the guards spend most of their time indoors, which can make them hard to spot.
If all else fails, they do have a caged tiger on the premises. Sneak in through the back, shoot the lock off its cage, then use Takedowns and your rifle to eliminate the guards while they’re focused on the tiger.
Longshore View
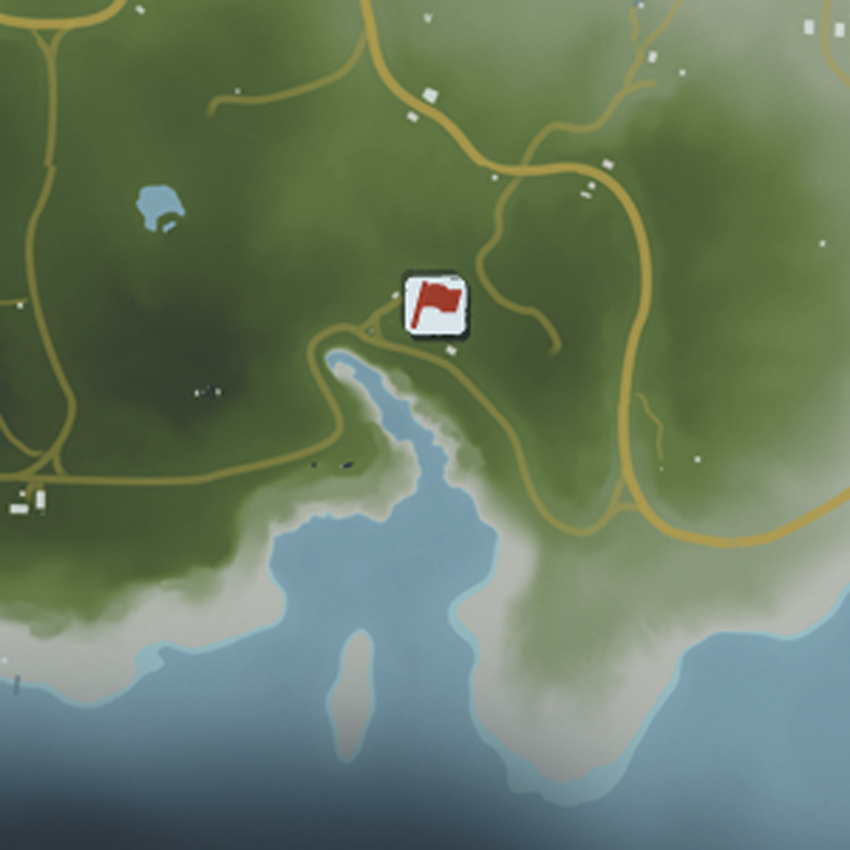
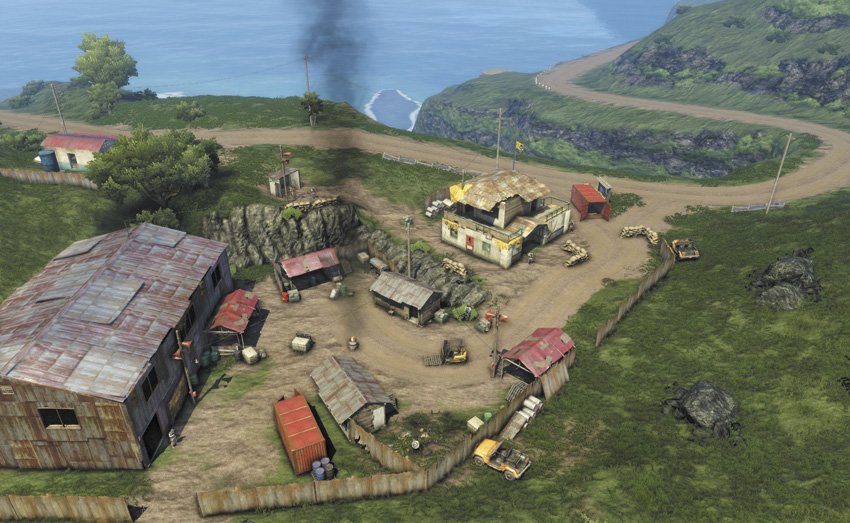
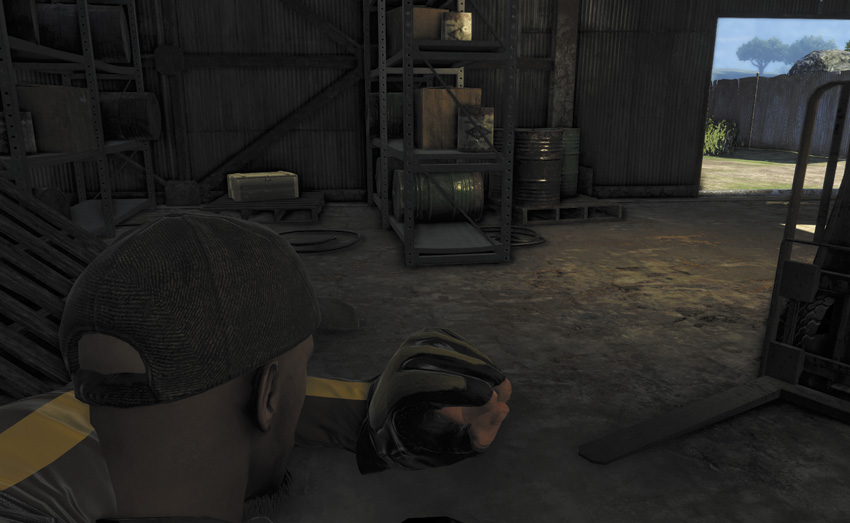
The big thing to know about Longshore View is that disabling the alarms is priority number one. This is already a well-defended outpost, with two snipers and two heavy flamers among its personnel, but if they call for reinforcements a small army shows up. The first wave comes in the form of two jeeps from the west, which will include two snipers, and the second rocks up with two heavy flamers in the back of the car. It’s better to not have to deal with that at all.
Fortunately, you have one big advantage here, and that’s the big darkened warehouse on the east side of the outpost. It’s easy to lure a few guards in here for a quick stab to the neck, then use the opening created in their patrol routine to disable the alarm panel. From there, you can either go out guns blazing or use the ladder on the back of the warehouse to reach its roof for some sniper kills.
KIRGE VALLEY RIVER FISHING
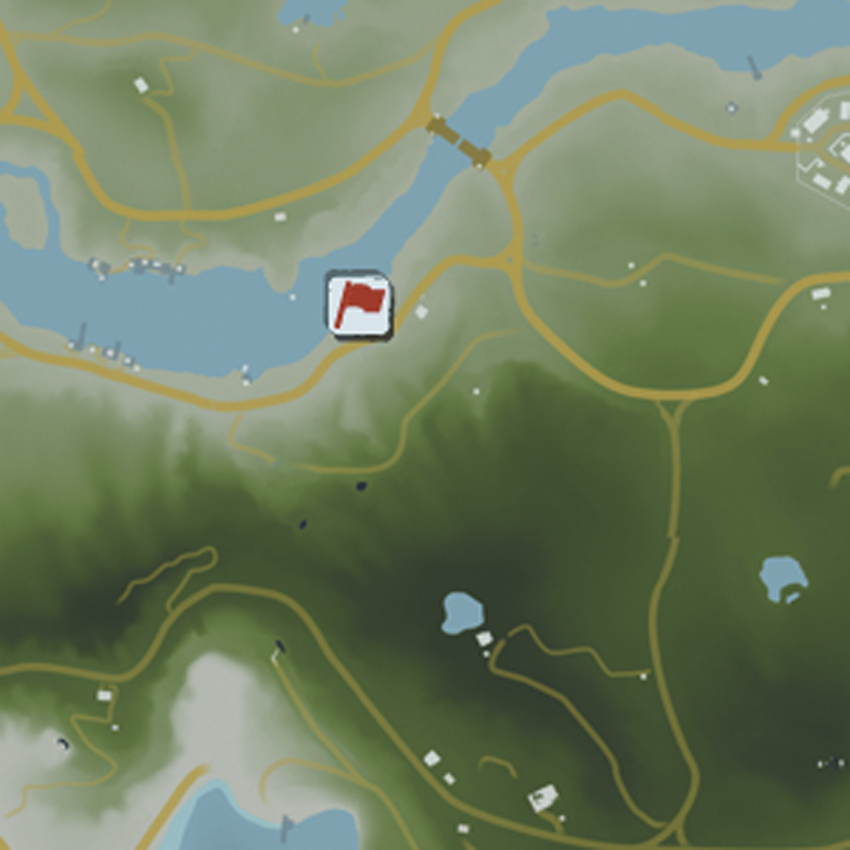
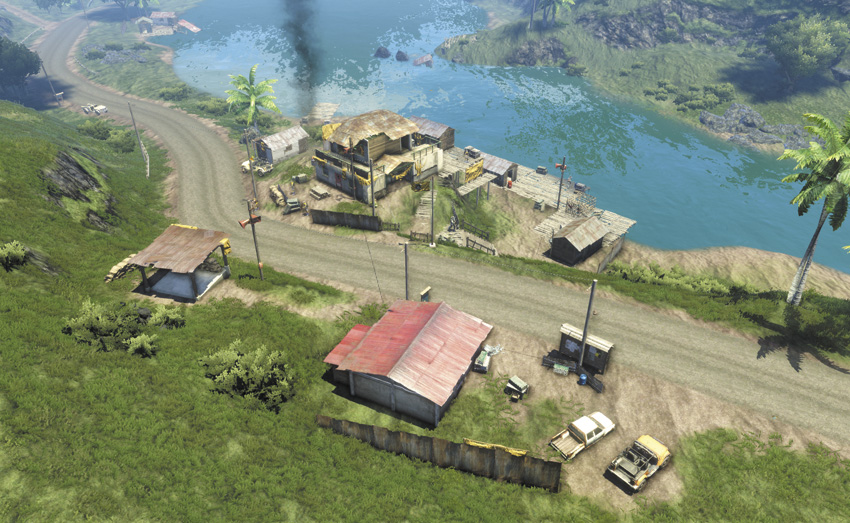
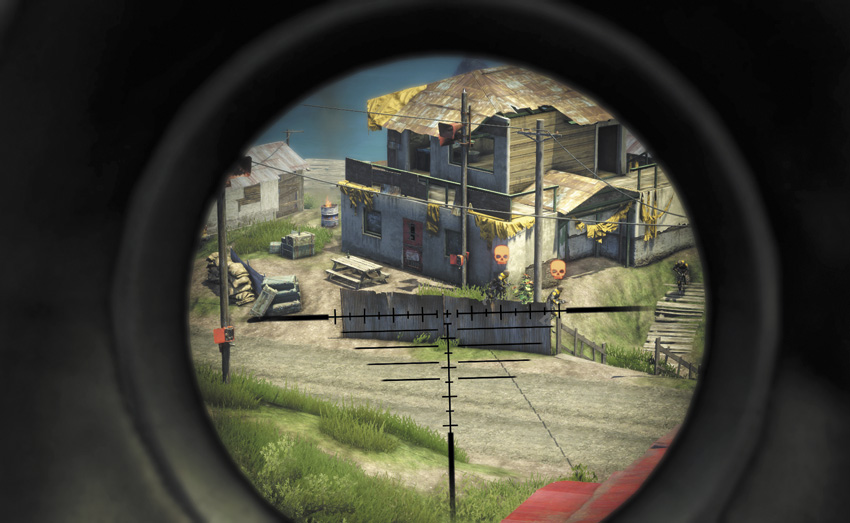
Given the proximity of this outpost to the Compound, taking it by stealth is unlikely due to the frequent patrols in the area. It’s easy to disable both of its alarm panels from a couple hundred meters out with a silenced rifle if you approach from the east, but two men are permanently stationed near the foremost panel and will go on alert when the panel explodes. If there was ever an outpost where your best bet was to drive a vehicle up to it and mow everyone down with a mounted gun, this would be that outpost.
Dry Palm Storage Depot
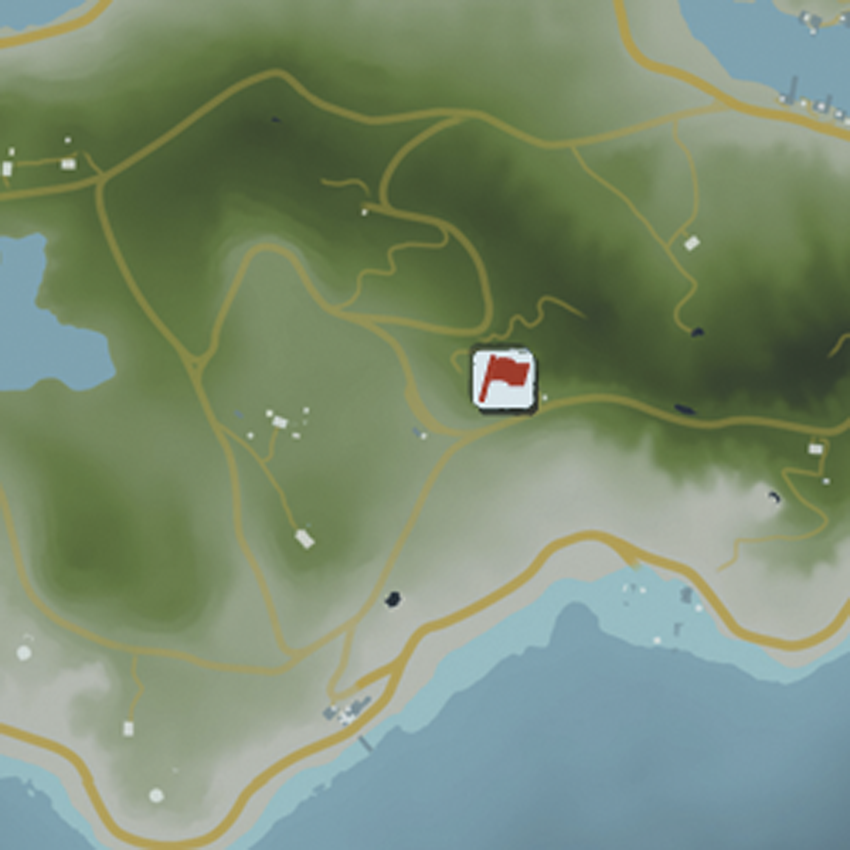
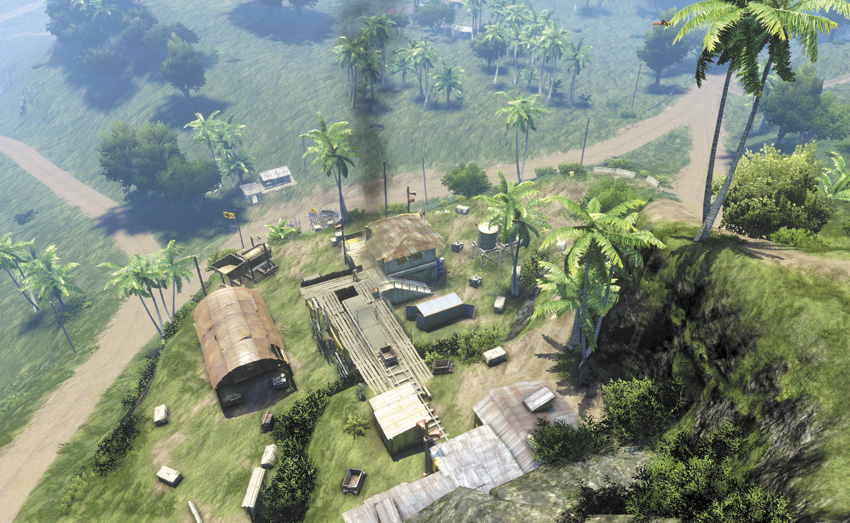
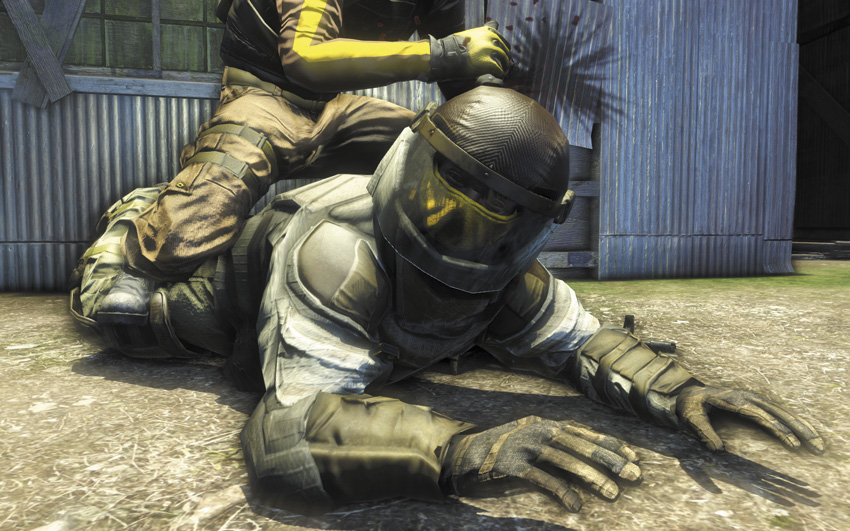
This would be a fun place for a gunfight if not for the enthusiasm with which Hoyt’s men reinforce this outpost. The first wave is close air support and it just gets sillier from there.
To take the place with a bit less fuss, come in from the hills to the northeast and get onto the rooftops surrounding the old mine tunnel. You can decoy the guard near the topmost alarm panel with a thrown rock, hit him with a Death From Above Takedown, and disable the alarm. If you can deal with the nearby heavy and sniper at the same time or shortly thereafter, all the better, and that deals with all of the major complications this outpost has to offer.
Break Point Docks
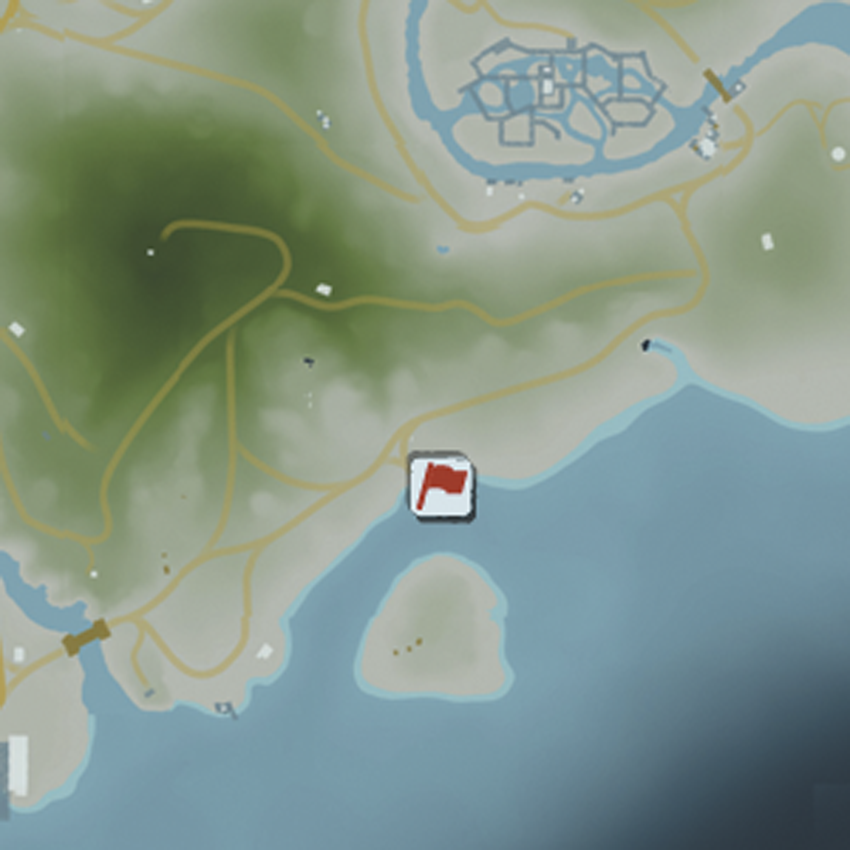
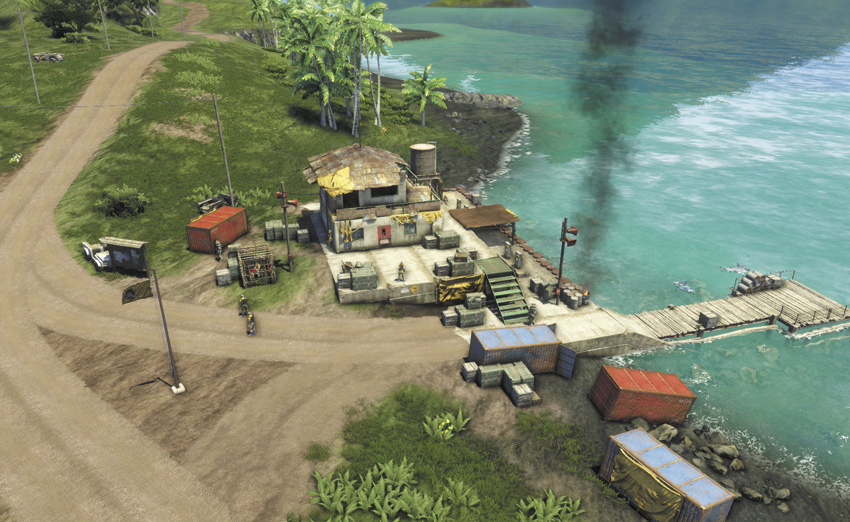
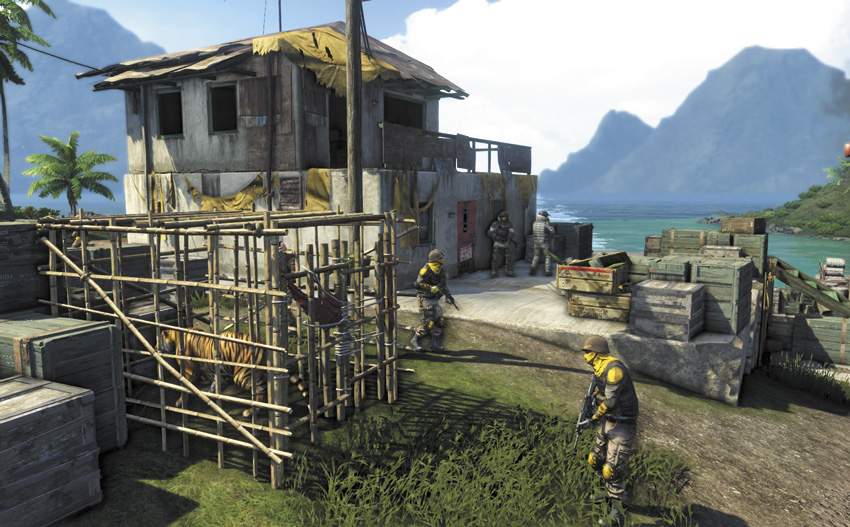
Let this be a lesson to all you would-be militia leaders out there: do not keep tigers in your fortified enclosures. The two heavies and the sniper covering their flanks would make the Break Point Docks a hard target, but they just had to capture the kitty. That’s going to cost them. Two of them even spend most of their time standing in front of the tiger’s cage as if even they can’t believe they’re doing this. If you back the cat up with a rifle from long range, it’s more than capable of handling the entire garrison.
Bridge Control
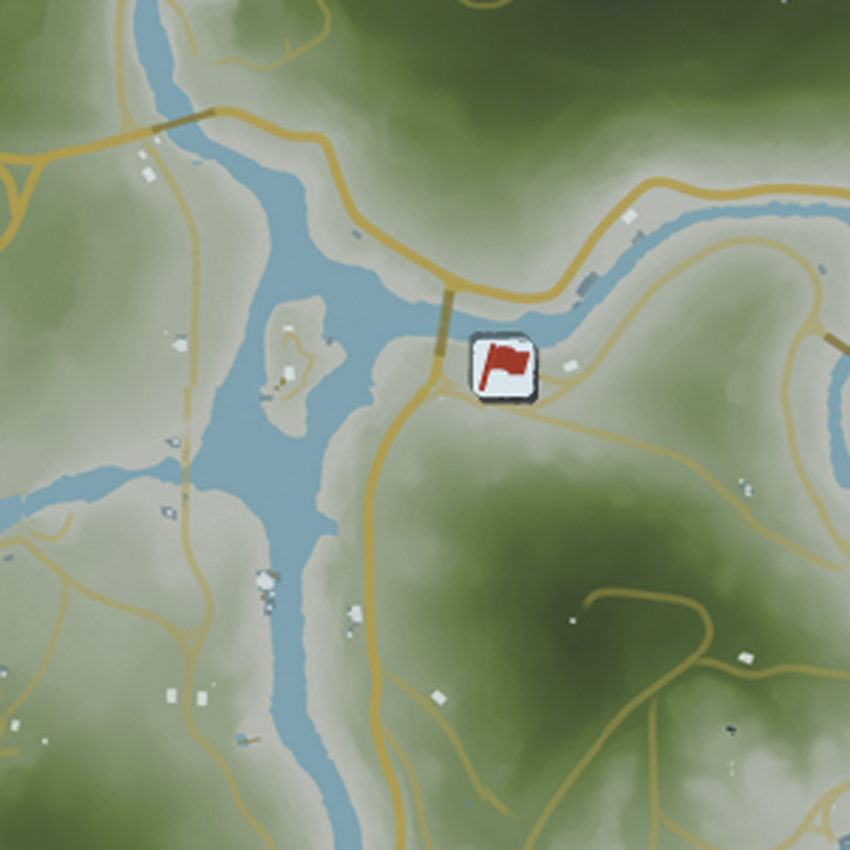
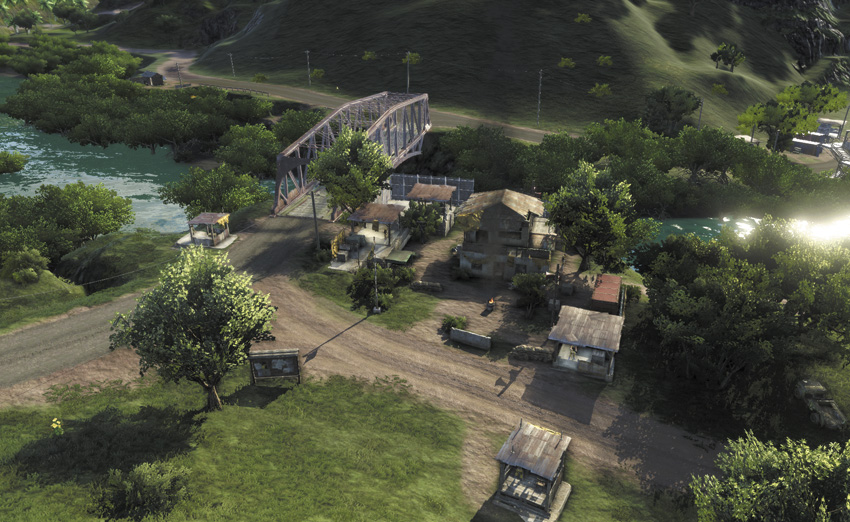
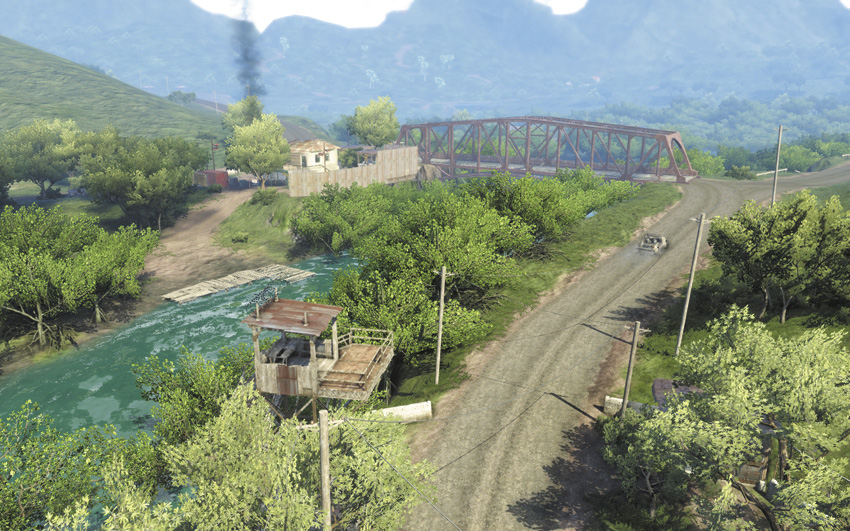
The snipers among you should enjoy liberating this outpost. There’s a big hill south of it that gives a clear field of vision on most of the guards’ patrol routes, so it’s entirely possible to clear the entire group by being patient and eliminating them one by one.
If you’ve cleared out the rest of the outpost and you can’t figure out why it hasn’t been liberated yet, there’s a sniper stationed inside a guard booth on the other side of the road. He’s far enough away that he’s easy to miss if you’ve managed to get that far without raising an alarm.