
Far Cry 3 with Interactive Map Essentials The Basics
The Basics
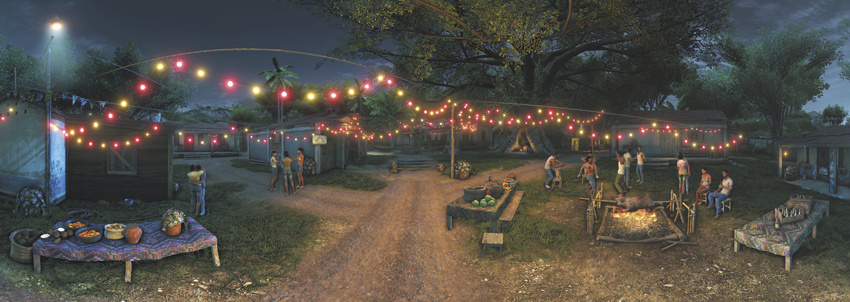
This is, at its core, a game about survival.
You are outgunned, outnumbered, and vastly outclassed at the start of the game. Rook Island is one of the most dangerous places on Earth, full of both human and animal predators, and you’re a scared kid from southern California with a camera and an old pistol. If the pirates don’t get you, the big cats or angry bears will.
How are you going to survive this? Any way you can.
Far Cry 3 features a flexible system that allows you to approach most of the challenges in the game in whatever way appeals to you. If you prefer stealth, you can load up on relevant skills, pack a full arsenal of silenced weapons, and quietly assassinate anyone in your way. If you’d rather go in guns blazing, load up on machine guns and hand grenades. You also have the option of dealing with targets at extreme long range with a high-powered rifle, setting up ambushes with explosives and mines, or using the hostile wildlife to your advantage.
There is no real “right choice” here. It’s mostly down to your personal preference as a player. As far as this guide is concerned, the real option here is “all of the above.” Whatever approach works is the right one, and you should be ready to switch between them at a moment’s notice.
Combat
Unfortunately, none of the pirates or mercenaries on Rook Island are likely to respond to an open and impassioned plea for reason amidst the violence. That means you’re going to have to deal with them by, for the most part, killing them by the dozen.
Assault
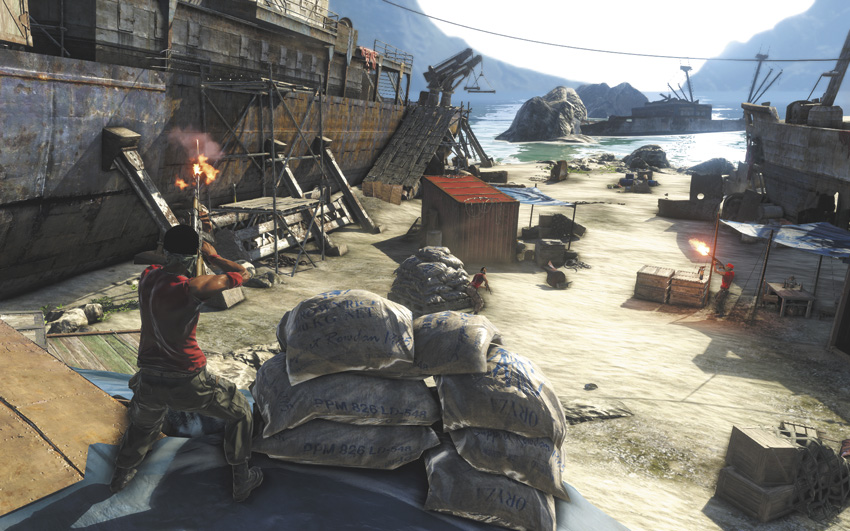
You have a lot of options when dealing with enemies in Far Cry 3 . When your original plan fails or if you decide it’s unnecessary, that’s when you simply kick in the door and shoot everyone you see.
This is a workable but dangerous option. Jason is unnaturally tough and the pirates can often be killed with a single well-aimed burst to the center of mass, but there are a lot of pirates. Early in the game, before you start chipping away at Vaas’s shipping networks and personnel, fighting them often draws in reinforcements or patrols from nearby parts of the island. Worse, they may show up in jeeps or boats with mounted guns.
The good news is that while you do receive big EXP bonuses for using stealth and Takedowns instead of open combat, the frequent waves of reinforcements do tend to compensate for that, particularly if you land a few headshots or explosion kills. You are not really penalized for going in guns blazing, except that it’s a more dangerous approach.
If you prefer assaults, it’s a good idea to do what you can to weaken or eliminate the enemy response ahead of time. Snipers and heavy machine gunners can inflict heavy damage and are difficult to kill with standard weapons, so if you can take them out ahead of time, it makes the assault much easier on you. Another solid option is, if you think you might get into trouble, be sure to lay down a few C4 charges along your planned escape route, in order to cover your retreat.
There are also a number of missions, particularly late in the game, where this approach simply will not work. Part of the reason this guide emphasizes flexibility is that the story missions often require you to change up your plan. If you get used to solving every problem with a hail of bullets, some of the later missions will make you pull your hair out.
Stealth
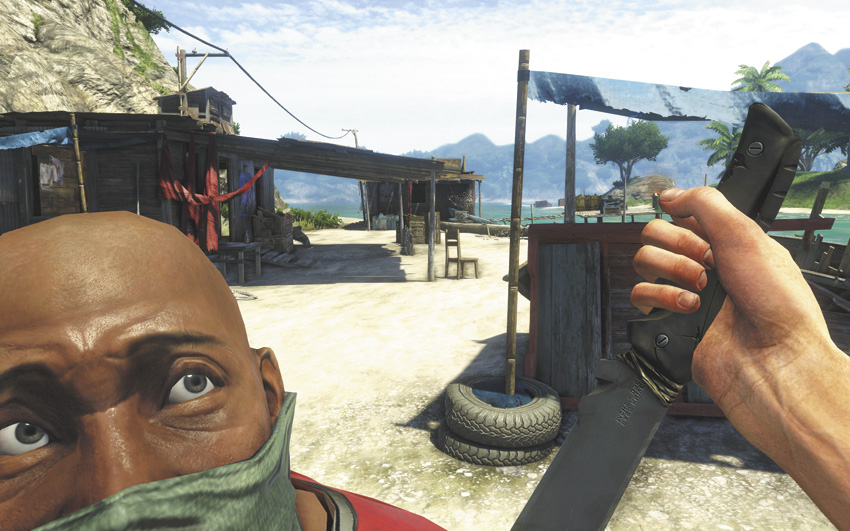
The longer you can go without alerting an enemy stronghold to your presence, the better off you’re going to be, and that’s where stealth comes into play.
By pushing the crouch button, you hunker down to the ground. While crouched, you move more slowly (unless you take the Jungle Run skill, in which case crouching actually makes you run faster) and you make much less noise.
One of the first skills you acquire is the Takedown, which allows you to launch an instant-kill, silent knife attack on an enemy from behind or by surprise. Takedowns have a surprisingly long range, but still require you to be close to an opponent before you can use them. A target you kill with a Takedown is worth double the usual EXP, and later skills allow you to use multiple Takedowns in a row against targets that are close enough together.
As a general rule, your best bet for avoiding detection in Far Cry 3 is to avoid an enemy’s line of sight. Foliage is excellent for this, and both bushes and tall grass make excellent natural camouflage. Shadows can conceal your presence at medium range, but are unreliable at best.
When an enemy initially realizes you’re in the area, a “plink” sound effect plays and an indicator marker appears on your HUD. This marker fills in gradually as a suspicious enemy comes closer to you. Once they get a good look at you, the marker turns red. At this point, the enemy knows you’re there and will attack on sight, although you can ditch your foe relatively easily by sprinting to a hiding place. Hostile wildlife do not use this system and usually announce their presence by either growling or mauling you.
In the event you’re detected and you don’t want to simply finish the fight off the old-fashioned way, enemies in Far Cry 3 are not particularly persistent. You can fast-travel in mid-combat, going to a distant safe house to prepare for a second attempt, or simply disappear into the underbrush.
Sniping
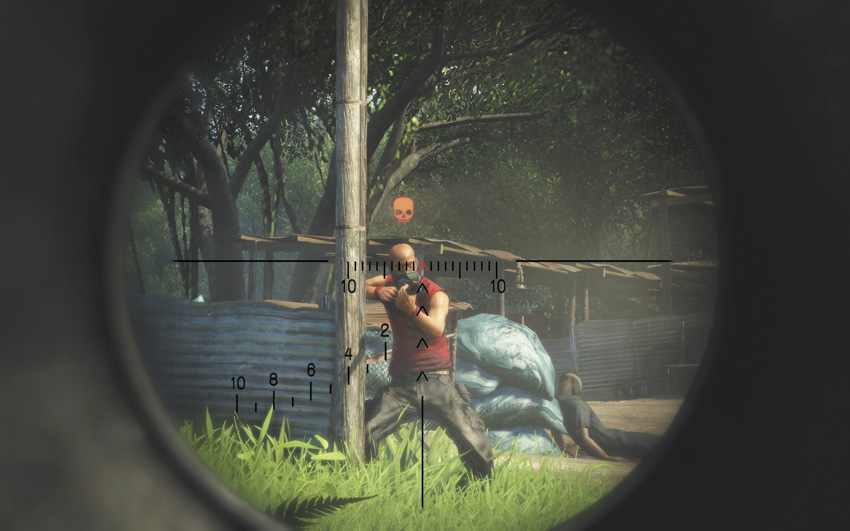
Both the North and South Islands have very hilly terrain, and most of the areas you fight through in Far Cry 3 were designed for business or production rather than tactical utility. You can go a long way in this game if you play it as a sniper, using a silenced rifle to eliminate enemies from higher ground.
The first sniper rifle you can acquire in-game is likely to be an SVD, which is one of the Russian surplus rifles carried by Vaas’s men. It is accurate and semi-automatic, but you can’t attach a suppressor. At best, you get one shot before everyone in the time zone knows where you are. At the same time, your aim is naturally unsteady unless you hold your breath for a few seconds.
Once you’ve got some money in your pocket or you’ve torn down a few of Vaas’s radio scramblers, you can upgrade from a vendor to a silenced M-700. It’s quite likely that you’ve also earned enough EXP to pick up the Steady Aim skill, which increases the amount of time that Jason can hold his breath. This is where sniping really comes into its own, as it lets you eliminate both guards and alarm panels from hundreds of meters away.
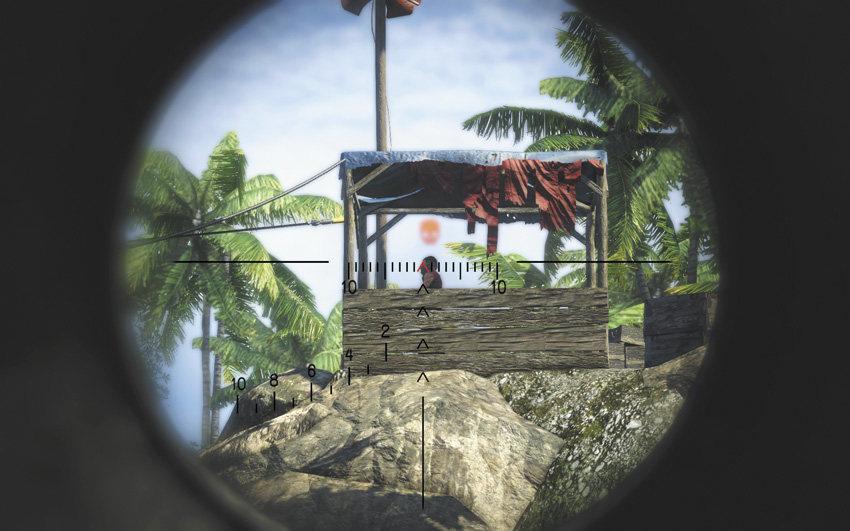
With that said, Vaas’s pirates may be drugged-up scumbags, but they’ve all been in gunfights before. If one of their buddies drops over dead with an exit wound where his face used to be, they’ve got enough experience to know that A) there’s a sniper and B) where the sniper is probably firing from. At that point, they’ll take cover, call for reinforcements if possible, and swarm in your general direction, which forces you to switch to other weapons or disappear into the jungle.
You want to be patient and smart as a sniper, and pick your targets carefully. Enemy snipers are often a good first pick, as by their nature, they tend to be stationed in high towers, well away from the rest of the targets in a zone. If a man on the ground wanders well away from the rest of his team, that’s another good chance for a sniper kill. Don’t just take whatever shots you have, but eliminate each man in turn.
Even if you don’t intend to play Far Cry 3 with sniping as one of your go-to tactics, it’s worth carrying a scoped rifle for a couple of reasons. One is to eliminate outposts’ alarm panels, as one round is enough to render them unusable, which may be a safer option than sneaking in and disabling them by hand. The other reason is to knock off a couple of enemy snipers at the start of a fight, which drastically reduces the amount of damage you take during an assault.
Tagging
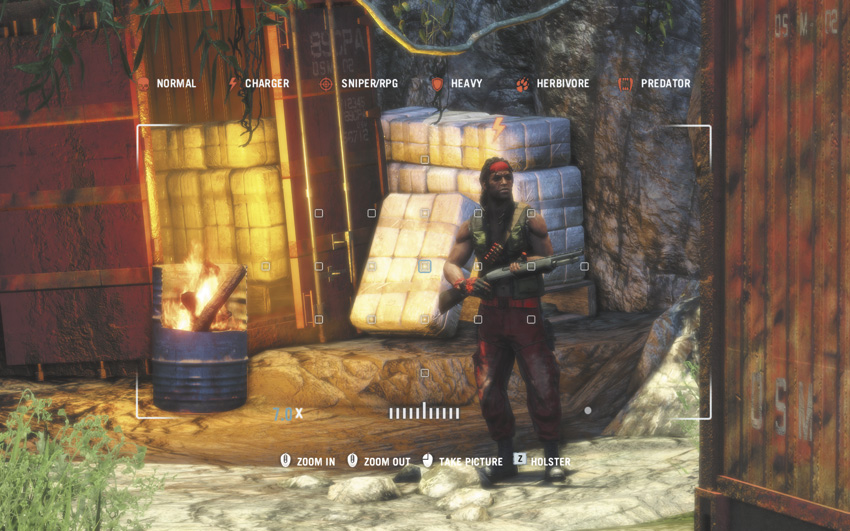
By pointing your camera or aiming along your weapon at a distant enemy, you can “tag” them. The camera or a scoped rifle can do this at long range, maybe up to 100 meters. A tagged enemy acquires an icon over its head, and you can see a silhouette of its body through buildings or foliage. A tag lasts until the tagged enemy dies or you get more than 100 meters away from it.
Against human opponents, the first or second thing they do once they realize they’re in a fight is find cover. In wilderness or near the roads, a pirate or mercenary dives behind the nearest tree or vehicle. Indoors or in more fortified locations, they’ll use crates, cars, or buildings when available. A preemptive tag makes it much easier to keep track of them, especially in deep underbrush or at night, and also gives you an idea of what weapons they’re carrying.
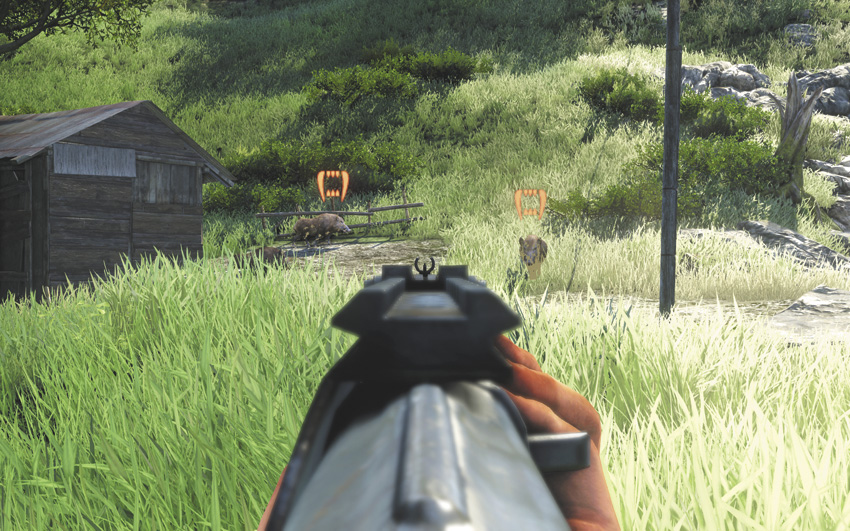
Hunting is also greatly simplified by use of tags. It’s easier to sight in on a distant animal’s silhouette, and most of the herbivores on the island will run away as soon as they notice any human in the area. A quick tag lets you sort them out from the ground clutter and track them down.
Reconnaissance
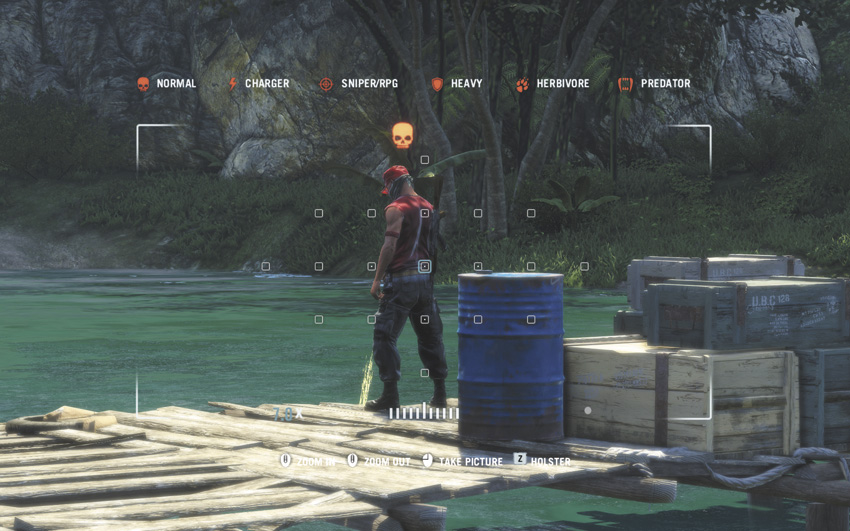
It’s easy to undervalue Jason’s camera. Even after you’ve gotten a decent scoped rifle, the camera has a smoother and more powerful zoom, which enables you to tag enemies faster and from a greater distance than you can with a weapon.
When you’re preparing to assault a fortified location, your first item of business should be to find a decent vantage point and scope it out with your camera. This enables you to keep an eye on every visible enemy in the area below you, which is a big help when it’s time to go in there.
Melee
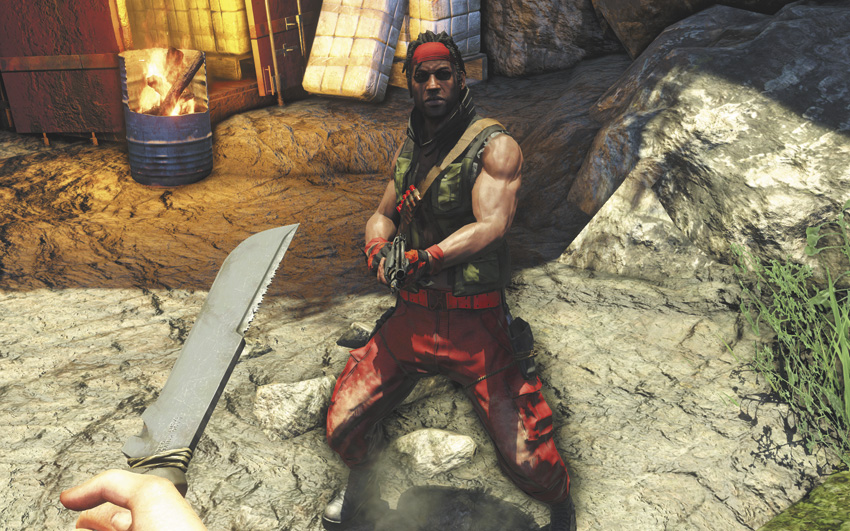
Jason is given a machete early in the game, which serves throughout as a tool for skinning animals, harvesting plants, cutting down unsuspecting sentries, and stabbing people. Your melee attack is actually very powerful, and even your default machete can kill an average target in two or three hits.
If an enemy survives your first melee attack or they have the chance to hit you first, they’ll knock you off your feet with the stock of their rifles or shotguns. This opens you up to point-blank gunfire and stuns you for a couple of crucial seconds, which makes melee a bit less than viable unless you’re truly desperate. Later in the game, you can pick up the Stone Wall skill, which makes it much harder to knock you down and makes stabbing people to death a much more viable part of your offensive strategy.
As you’ll be able to tell when they are used against you, knives and arrows both bypass body armor. When enemies start showing up in bulletproof vests (or worse, in full suits of riot gear), you can shoot at them all day without any appreciable effect, but a few knife swings will do the job in seconds.
Flexible Response
The first couple of missions of Far Cry 3 are arguably the toughest part. Once you’ve survived a few story missions and liberated a few outposts, you should have enough experience, crafting materials, and additional firepower to smooth your ride through the rest of the game.
As you progress through the main campaign, you’re also required to undertake a variety of different missions, ranging from assassination to infiltration. Particularly in the last half of the game, an all-out assault is not only unwise, but grounds for mission failure. Your best bet for survival and eventually success is to adopt a flexible outlook, keeping each of the available strategies in mind and switching between them as they’re appropriate and available.
This guide’s walkthrough is written with a heavy bias towards stealth, but it should not be considered the only way to get through the game. Don’t be afraid to experiment and figure out what approach works best with your preferences.