
Far Cry 3 with Interactive Map Walkthrough Other Missions
Wanted: Dead
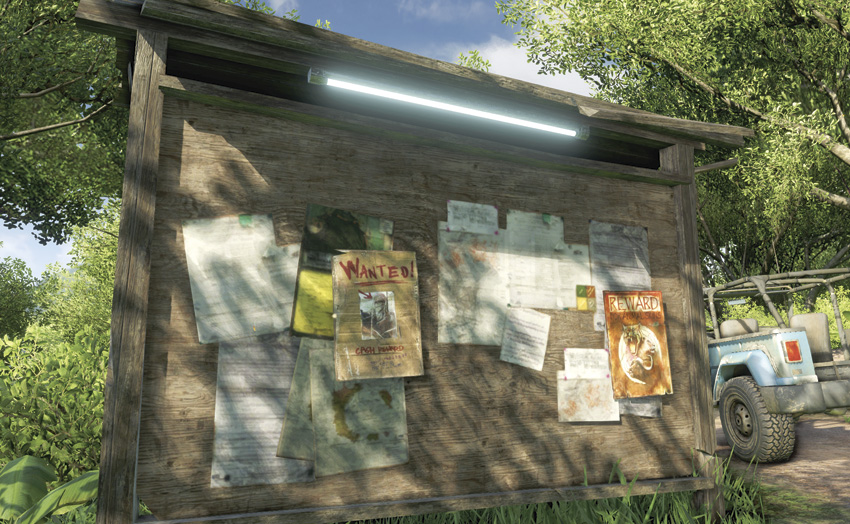
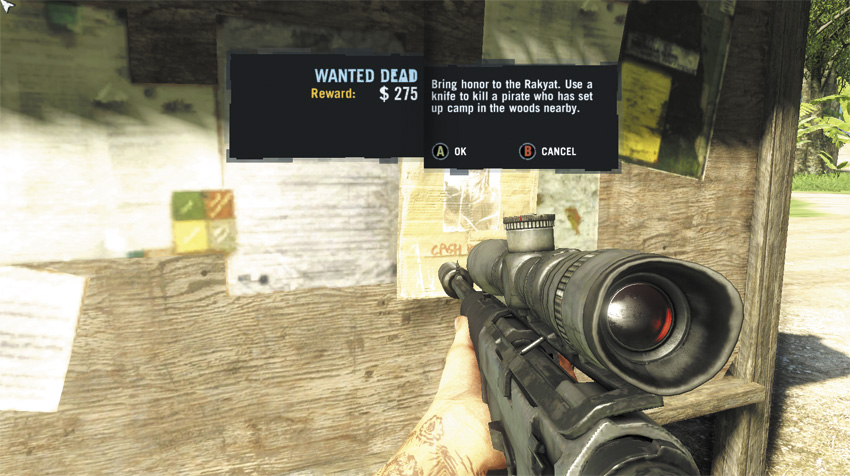
Even after you’ve chased every other pirate or privateer out of the area, there are still a few crews out there making life difficult for the Rakyat. The Rakyat are willing to pay you to take care of the problem.
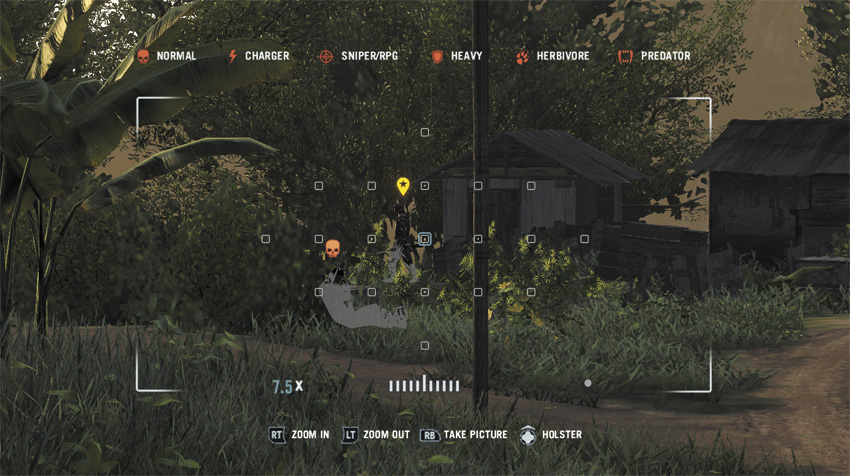
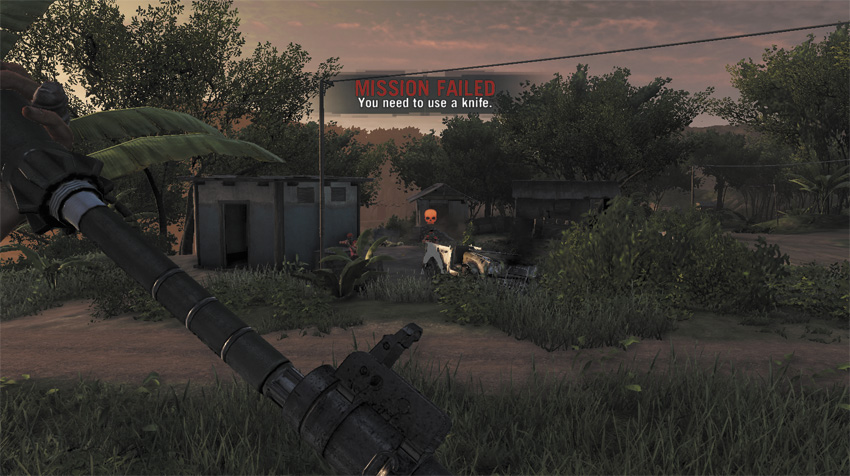
As with the Path of the Hunter quest, Wanted: Dead bounty hunts become available on the bulletin boards outside outposts that you’ve liberated. Accepting a bounty on a given target phases in a group of enemies at the cited location, and in order to complete the mission, you must kill their leader with a knife. No other method will do. You can use melee attacks, Takedowns, or throw somebody else’s knife via a Knife Throw Takedown.
This has the additional complication that many commanders carry shotguns, which means in a practical sense, these are all initially stealth missions.
In the event you manage to get something else to kill a target for you, such as a Rakyat patrol or a randomly encountered animal, it still counts as a success for the purposes of the mission. This is a big help, because if your target has holed up anywhere near a road, there is a very good chance that a Rakyat patrol will appear at some point during the mission. It’s not guaranteed, but count on about a one-in-four chance of receiving sudden backup.
Once you’ve managed to stab the enemy commander to death, the mission is over. You can proceed to either run into the bushes or wipe out every other pirate in the area as you prefer. If you have the chance to loot his corpse or you’ve purchased the Loot Takedown skill, keep in mind that a mission target often has a large amount of cash on him, which is often equal to the amount of the bounty itself. This makes the earlier, easier Wanted: Dead quests a great way to earn money early in the game.
You earn the In Cold Blood Achievement/Trophy for completing a Wanted: Dead quest. There are a total of 25 quests in this series on Rook Island, but you only need to complete 24 of them to receive credit for 100% completion in your Survival Guide.
North Island
Amanaki Outpost
Reward: $175
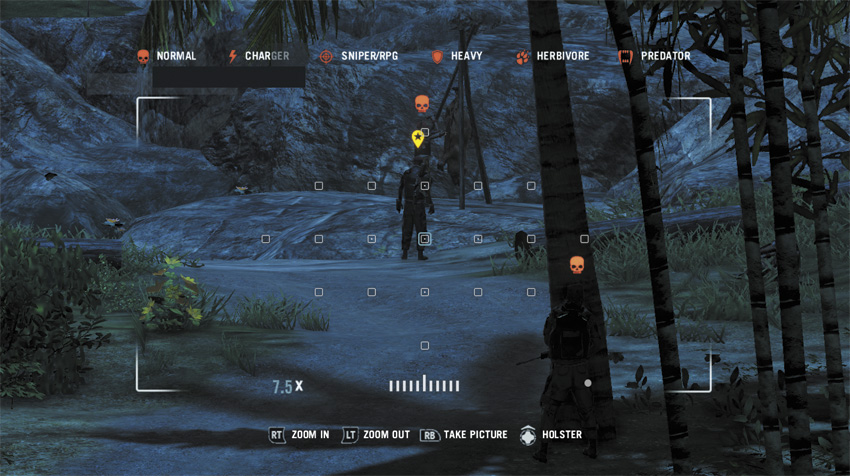
There are three riflemen, one of whom is almost permanently distracted by the corpse he’s hacking apart, and one commander to deal with. If you go in quietly through the forest, you can use a Takedown on the seated pirate, then chain it into a Knife Throw Takedown to eliminate the commander in seconds for a nice EXP bonus.
Welshore Wrecker’s House
Reward: $175
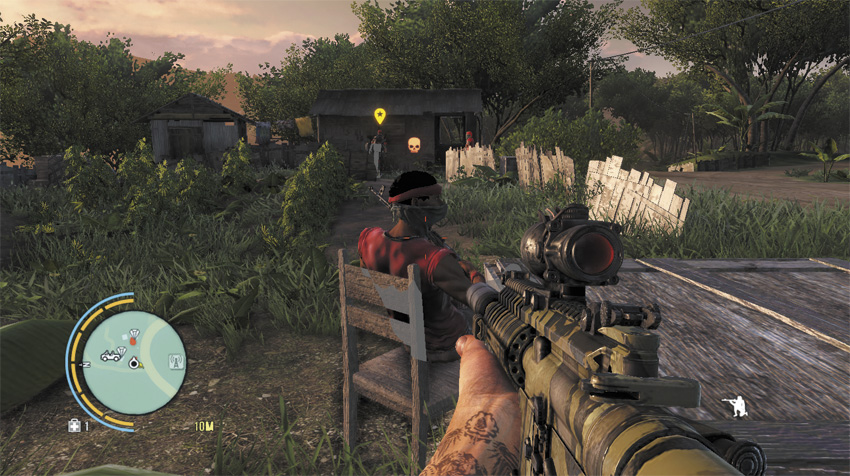
Getting to the farm in question is the first trick, as you have to cut all the way around the bluffs and come in from the southern approach. Stay in the bushes and wait for the commander to patrol around the outside edge of the farm, then go in and take him out. It’s likely that you’ll need to drop the seated guard with a silenced weapon.
Cradle View
Reward: $250
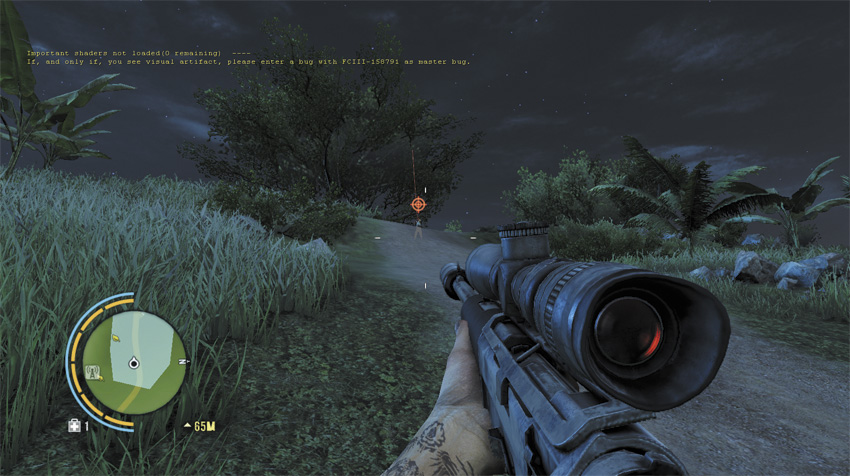
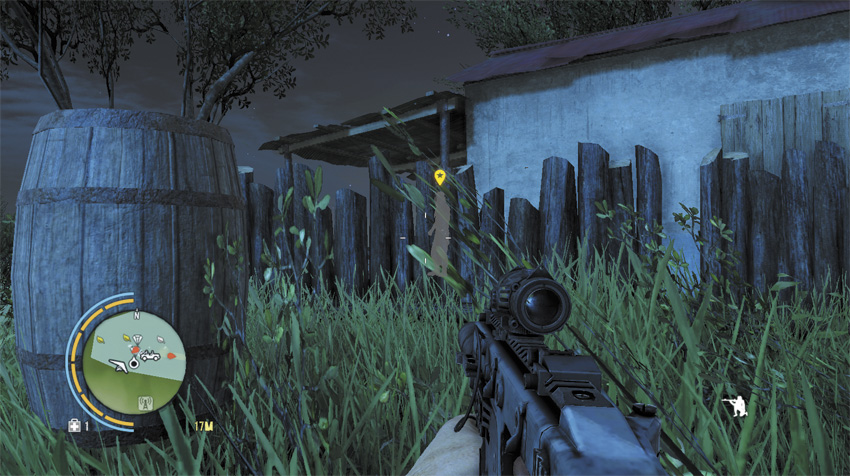
The hideout of the latest commander is at the top of a hill to the west, and he’s got a sniper watching the main approach. It’s easy to use the tall grass to either side of the road to sneak past him. The commander is usually hanging out behind the main building, and unless the whole camp’s on alert, it’s trivial to eliminate him without taking out his crew.
AM 12
Reward: $300
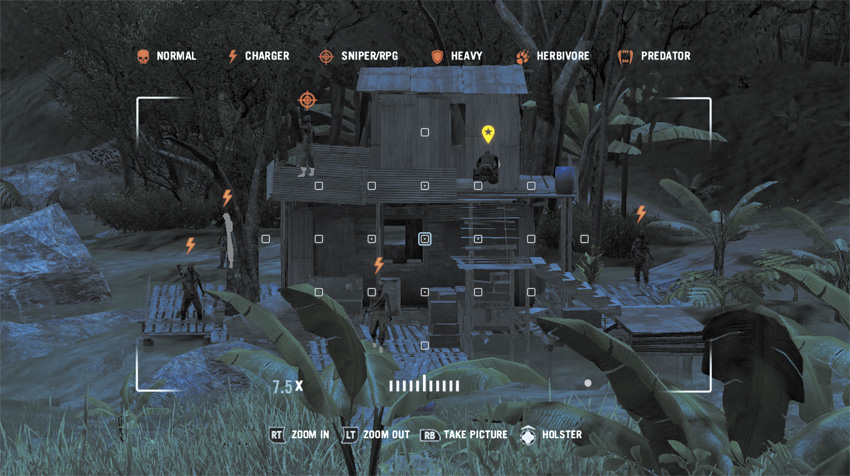
This is a mission where the knife-only restriction can be a pain. Were it not for that, it would be easy to cap this guy with a silenced rifle and be done in five seconds, but sadly, such is not the case.
Instead, you can use the same rifle to knock off the sniper on the second floor, then eliminate the chargers around the house as they dash across the field. Once the commander is alone, disappear into the bushes until you can come in from behind or cut through the first floor of the house and take him out with the knife.
Tequila Sunrise
Reward: $175
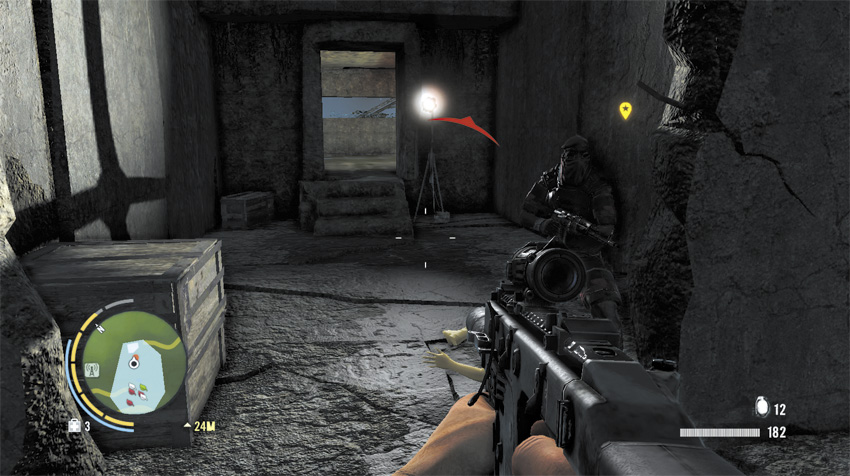
The old bunker where this target is holed up is a hard target for an assault. There are two guards out front and if you’re noticed, three chargers with Molotovs come running out of the front door.
If you’d prefer to go in quietly, climb the hill to the side of the bunker and look for a gangplank set into the cliff face. It’s possible to bypass all of the guards and go straight to the commander that way.
The Neck’s Diner
Reward: $325
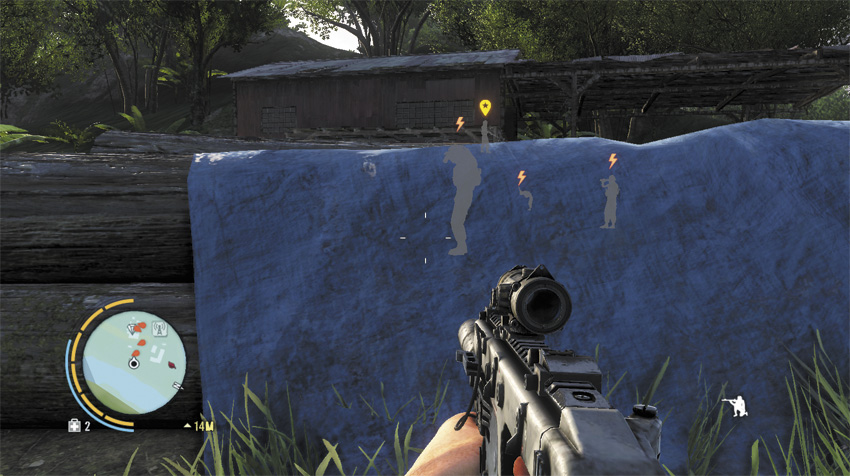
The commander for this mission is also the guy who’s watching the roads from the roof of the target location, so don’t snipe him. He’s also got a heavy watching the base of the stairs and another one at his back on the second floor, the latter of whom is very difficult to tag from outside the building, so it’s easy to run right into him without realizing he’s there. This means a stealth run on this mission is at best difficult before you have the Heavy Beatdown skill.
If you do, you can sneak around to the south side of the building, distract or assassinate the heavy there, then go up the stairs and drop the second heavy with a Takedown right as you enter the room. You’ll have to move fast on this one, before one of the chargers notices the corpse of the first heavy.
Hubris Farm
Reward: $250
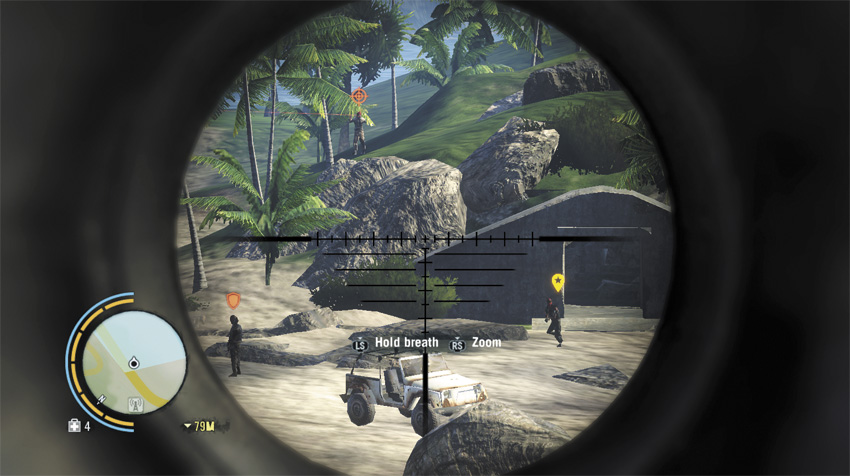
Your target on this mission probably knew you were coming. He’s hiding out in a half-sunken bunker on the beach south of Hubris Farm, with four snipers on the bluff around him and a heavy on guard detail. This is a hard nut to crack.
Pull out your own rifle and get to work, eliminating the distant snipers one at a time and staying mobile. It’s reasonably easy to pick the commander’s forces apart with guerrilla tactics, and better yet, you’re close enough to a well-traveled road that you’re likely to get Rakyat backup at some point. If they kill your target, it still counts as a successful mission. (Apparently, you respect Rakyat tradition more than the Rakyat do.)
Cradle Gas
Reward: $275
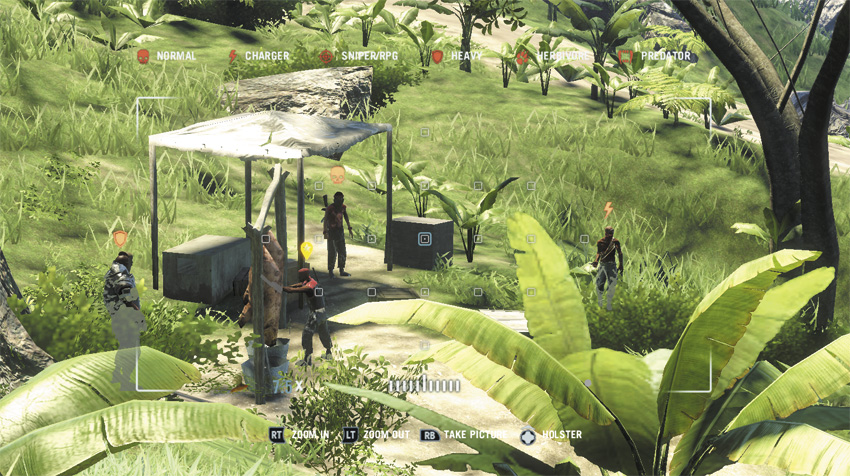
It’s easier to deal with this campsite if you circle around and hit it from the north side. If you’ve learned the Knife Throw Takedown, this is your first good chance to use it. Sneak up to the charger by the hut on the west side of the camp, use a Takedown on him, chain the Takedown to the seated charger by the fire, then cap it off by throwing his knife into the commander.
Old Mines
Reward: $300
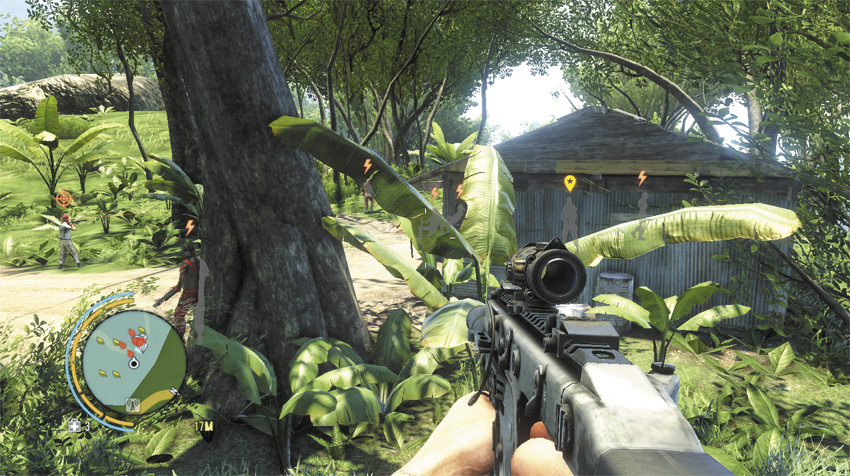
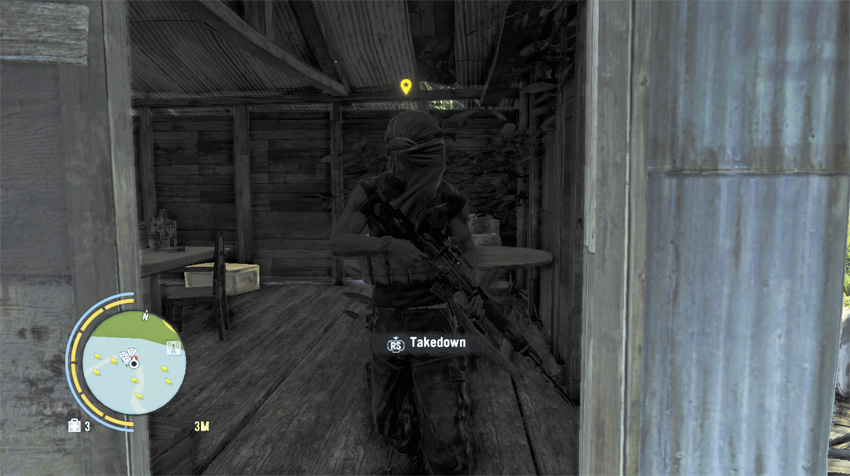
The commander for this mission is holed up inside the back room of a shack while he’s got six chargers and a sniper on the road outside. The sheer drop behind the shack makes it hard to get to the commander without drawing attention, so your best bet is to eliminate the sniper and as many chargers from range as possible, then go in hot and stab the commander to death.
Valsa Docks #1
Reward: $300
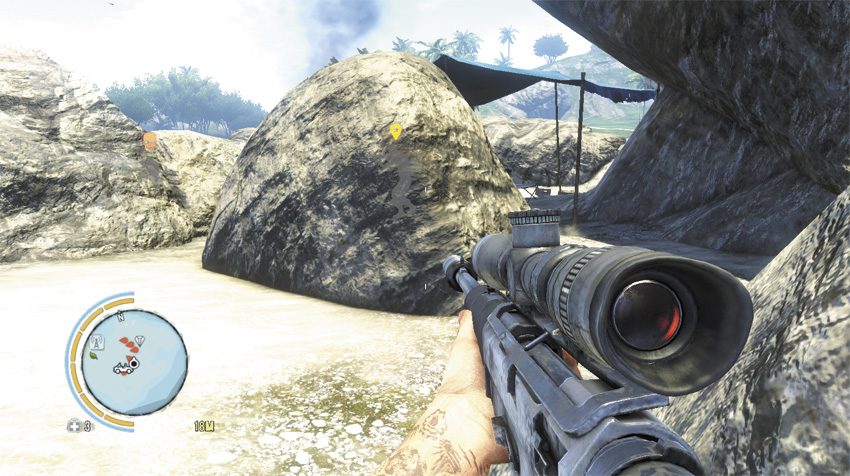
Your biggest problem here is getting across the water between this target and the Valsa Docks without being spotted, but a Deep Dive syringe can solve that. The second biggest problem is getting through all four riflemen to the commander. You’re also close enough to a road that it’s very likely that the Rakyat will drive by and jump in.
Valsa Docks #2
Reward: $200
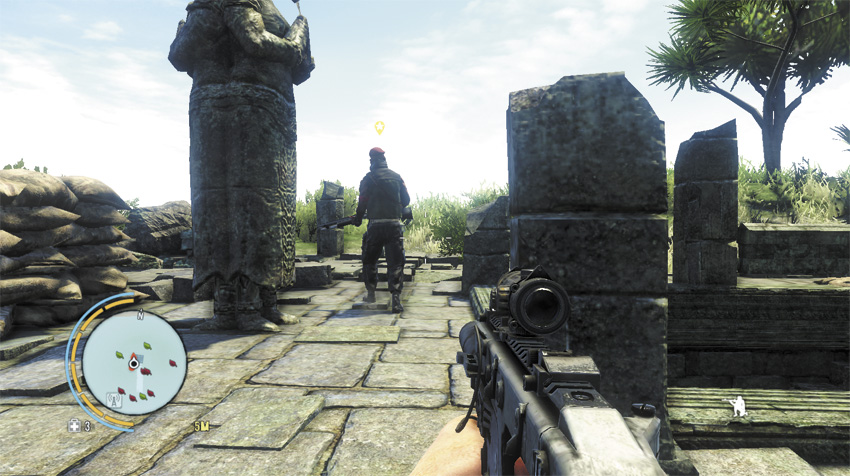
This mission takes you out to the Temple of Stone, on an island across the water. You can tag or snipe the commander’s four riflemen bodyguards from a good distance away, even from the mainland if you’ve got a high-power scope, then climb the hill to deal with him.
Mosquito Yard
Reward: $225
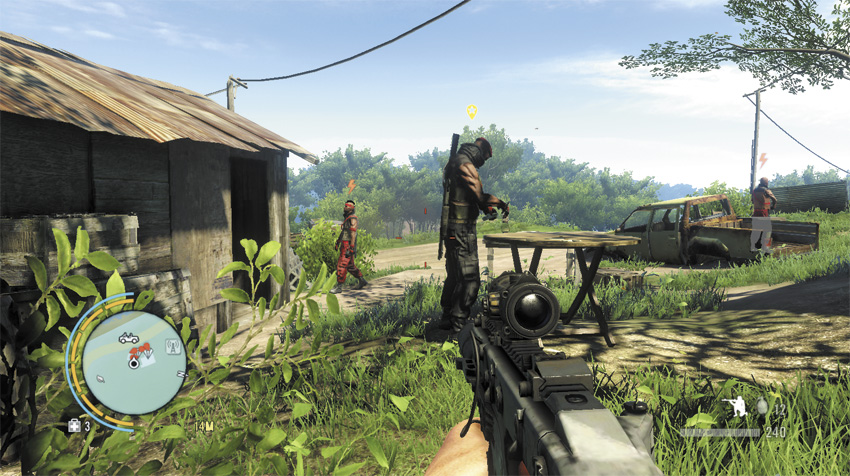
Another day, another campsite with a commander who’s surrounded himself with chargers. You can manage a stealth insertion if you take a run at your target from behind the main building.
Mosquito Yard #2
Reward: $175
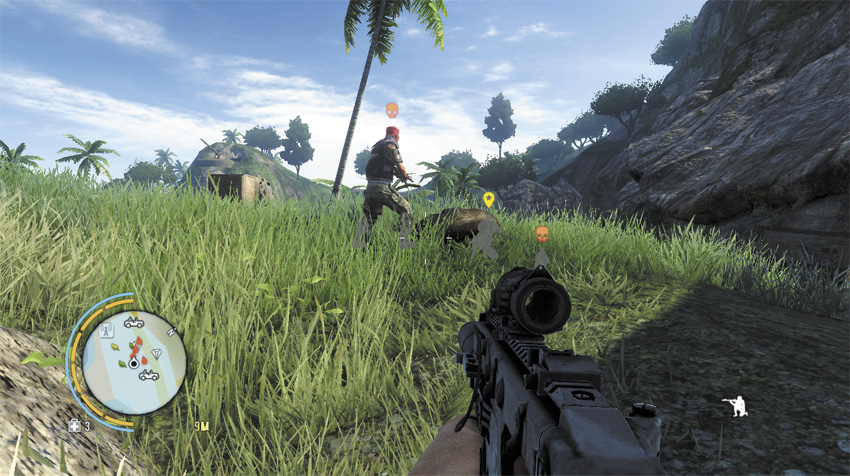
Weirdly, the bounty post for this is on the wall of the house from the previous mission. From there, the target for this bounty is a bit of a jog—a little over half a kilometer away from the poster, on the road to Dr. Earnhardt’s house. Look for him and his three privateer buddies by the wrecked truck by the side of the road. If you can manage to get into the area without the Rakyat messing things up, there’s a guy directly behind your target who’s got a knife. A Knife Throw Takedown will finish this in high style.
Orphan Point
Reward: $250
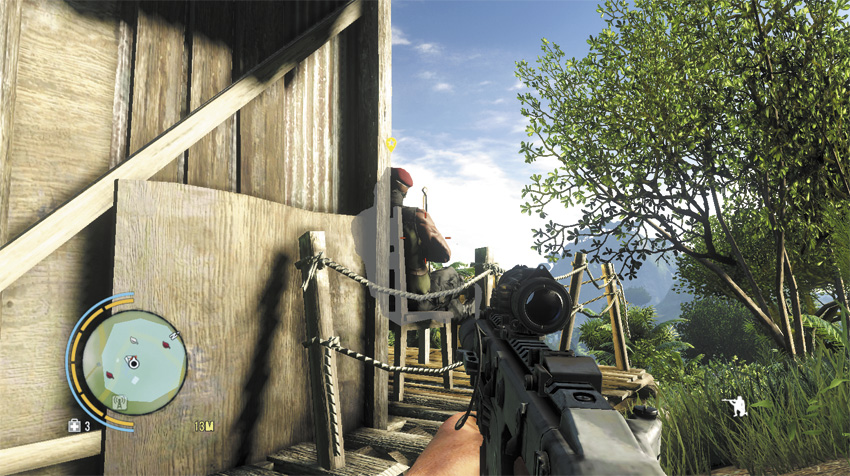
Here’s another one of those missions where the knife-only restriction chafes. If you take a boat out of Orphan Point and dock on the east side of the peninsula, you can go west on foot and come up on a hill, in a nearly perfect position to assassinate the commander. The problem is that he’s very carefully positioned so you cannot attack him with the knife.
That means you get to move around the cabin he’s stationed at, eliminating or evading his guards, so you can stab him in the neck. The easiest way to do that is to wait atop the nearby hill until both the patrollers move back behind the house, then slip around behind and inside. Go through the house, gank the commander, and then get out of there.
Northview Gas
Reward: $225
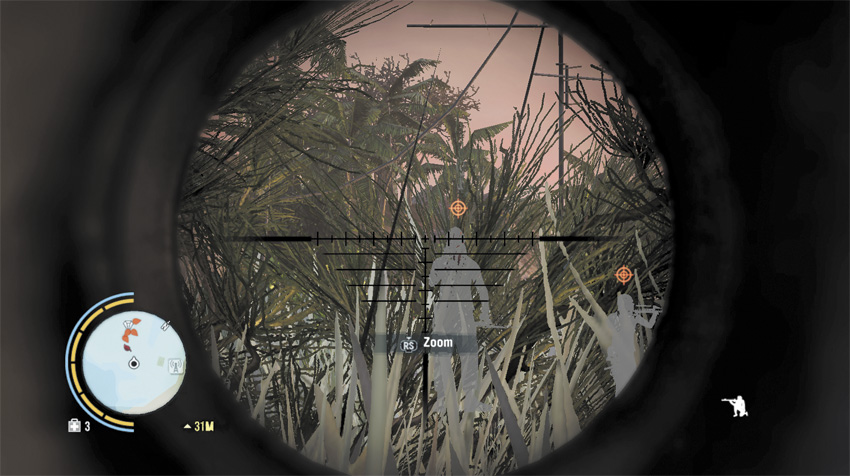
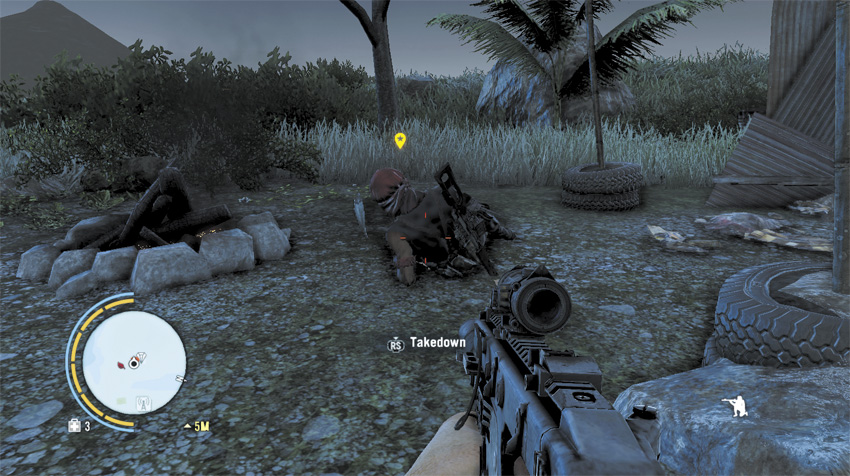
The sniper you’re after is taking a break when you arrive at his camp. He’s just chilling out and roasting a fish while his guards keep watch. Due to how they’re positioned around him, you can assassinate all his guards from a distance and he’ll never notice as long as you’re careful about where the bodies drop.
Nat’s Repairs
Reward: $300
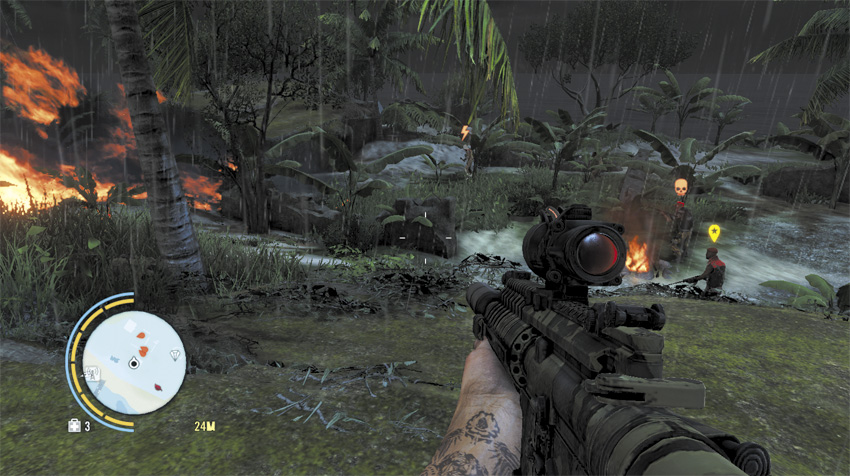
You might recognize this target’s hideout from one of Buck’s history lessons in the main game, or as where one of the Letters of the Lost can be found. It’s a bunker on a peninsula bordered by impressively shark-infested waters, which discourages sneaking up on the target via the water. On land, it is guarded by a couple of riflemen, a couple of chargers, and a guy with an RPG standing on the roof of the southwestern building. Naturally, that last one is your priority target. He’s standing too high up to be eliminated with a Death From Below Takedown, sadly, but you can knock him off from quite a distance with a scoped rifle.
With him out of the picture, you have a lot more flexibility with which to eliminate everyone else. The Rakyat are likely to appear during this mission, and make a handy distraction if and when they do.
South Island
Harmanse Gas & Repair
Reward: $375
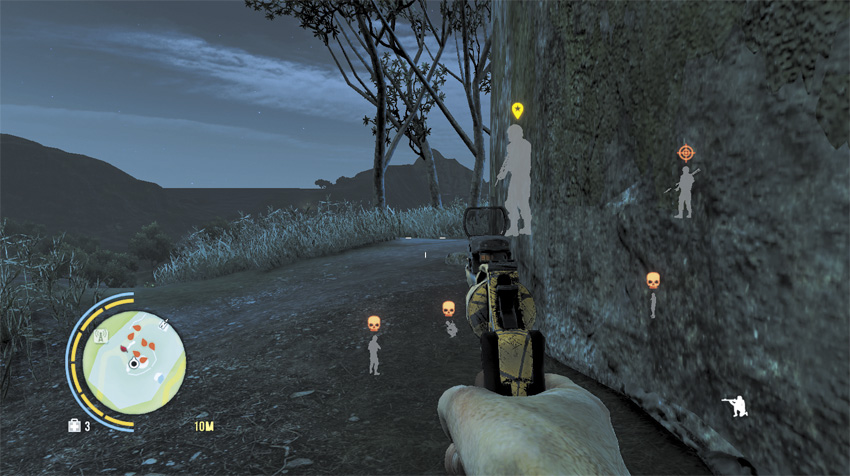
This target is holed up on the old anti-aircraft bunker north of Turtle Hill, and he’s got a ton of riflemen, a heavy, and two guys with RPGs watching the northern road. An all-out assault tends to get bloody in a hurry, but he has next to nobody watching the southern approach. If you wait in cover by the southern side of the cannon emplacement, the commander patrols right by you and is easy prey for a Takedown.
Break Point Docks #1
Reward: $500
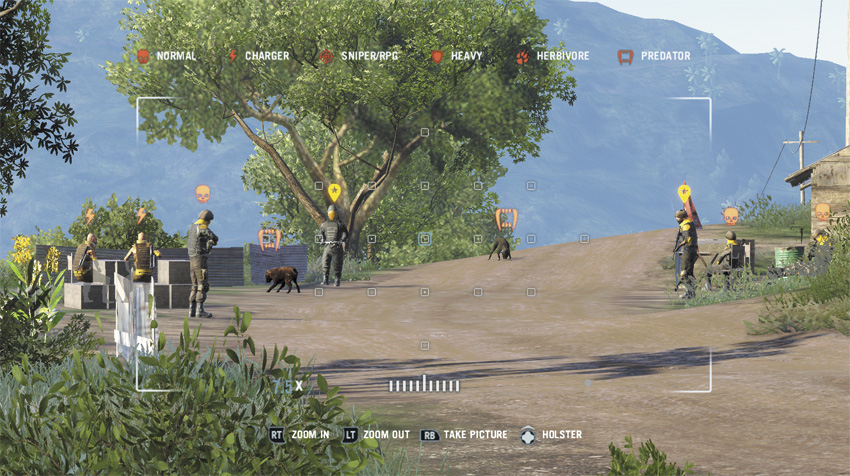
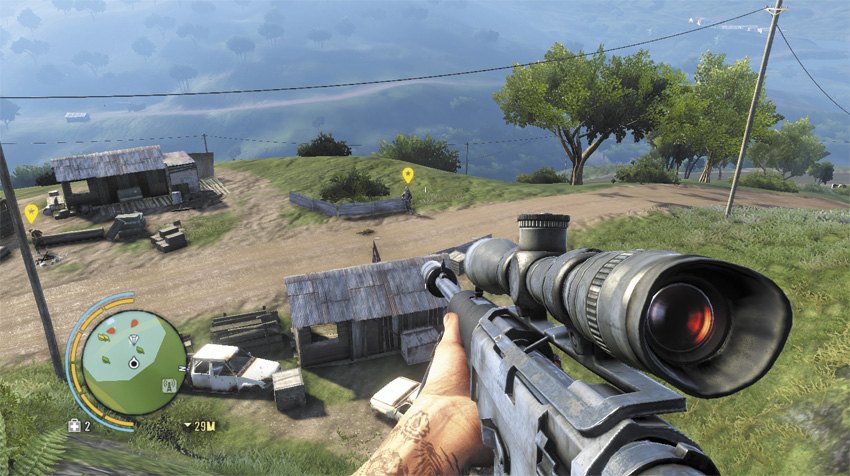
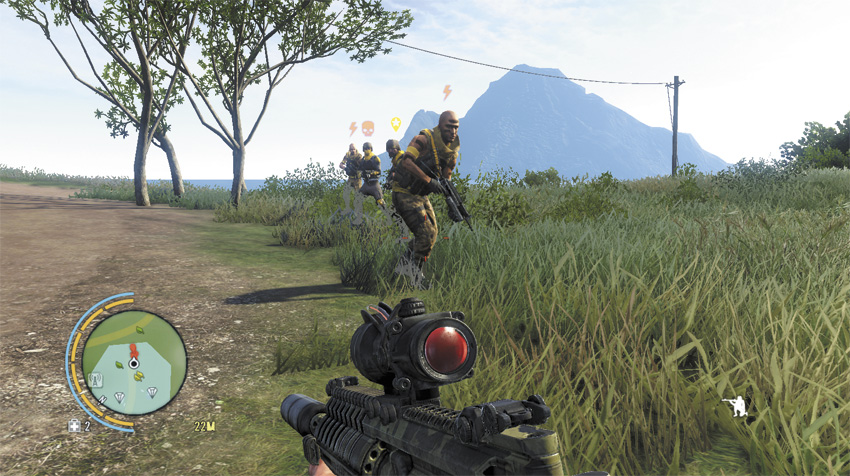
Unusually, one of your targets for this mission is a heavy flamer. Both he and his partner have a lot of guards, as well as two guard dogs, and they’re watching each other’s backs across a road at the top of a high hill. The heavy makes things a little easier on you by occasionally patrolling to the far end of the area, where none of the guards tend to go, but this is still likely to turn into a hairball.
Break Point Docks #2
Reward: $500
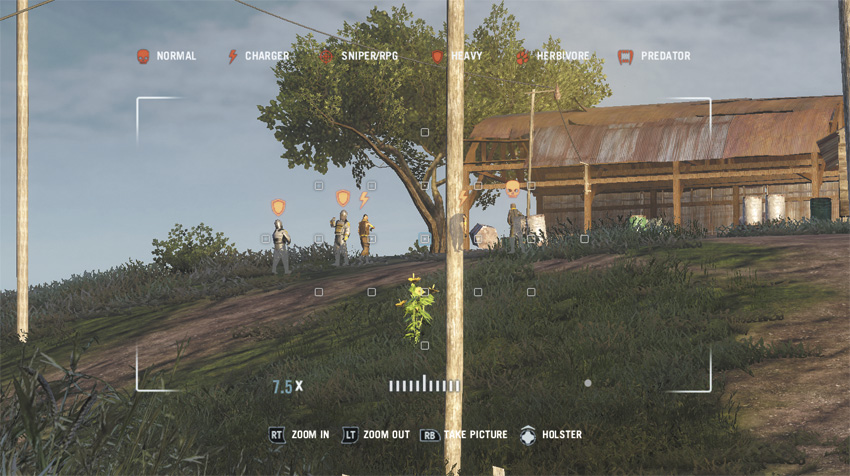
This won’t be easy. These targets’ guards include three heavies, including a flamethrower, and several chargers, all of whom surround a farmhouse that contains two separate targets. You can approach it from the north without real difficulty, at least compared to the southern road, but getting in and out without an all-out firefight is close to impossible. This is another target where you’ll want to use land mines and sniper fire to whittle away at the reinforcements before fading out, then coming at them from another angle and finishing the job.
Longshore View
Reward: $450
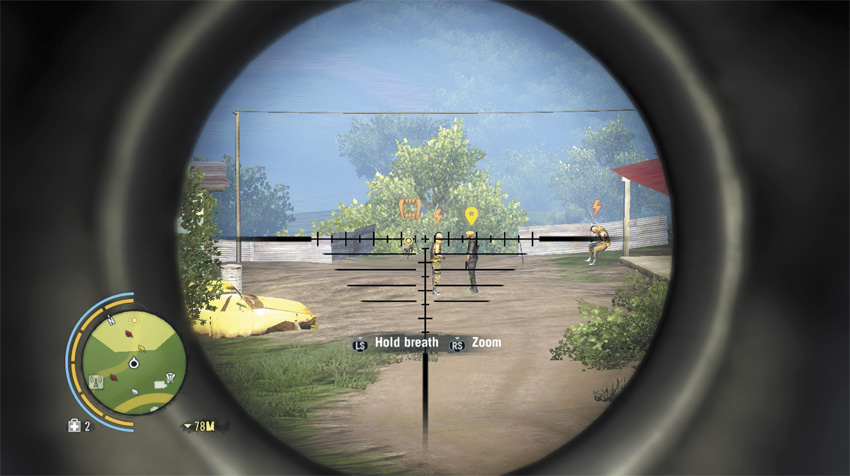
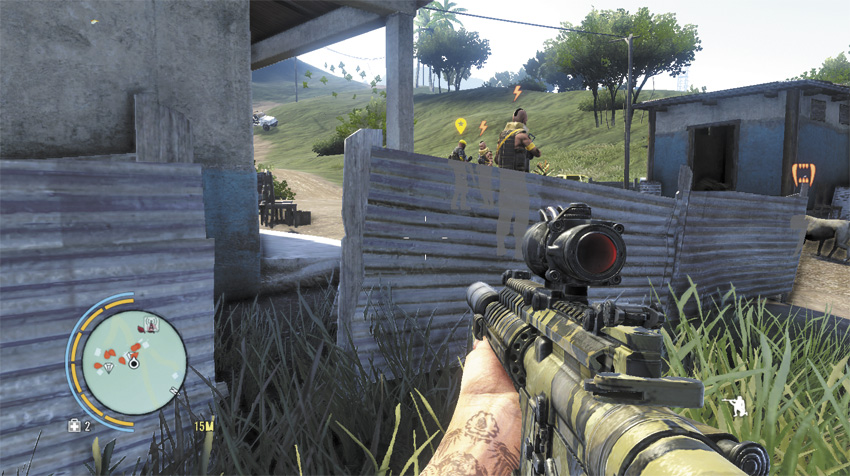
This is a big sprawling area with a lot of guards, but there’s one vulnerable point. Circle around to the south, come up behind the seated guard near the commander, hit him with a Takedown, and throw his knife into the commander’s head. Then fade away.
At this point, the other commander holes up on the south end of the camp and lets his men try to flush you out. That’s a good opportunity to get the drop on him and finish the job.
Maw Docks & Repairs
Reward: $400
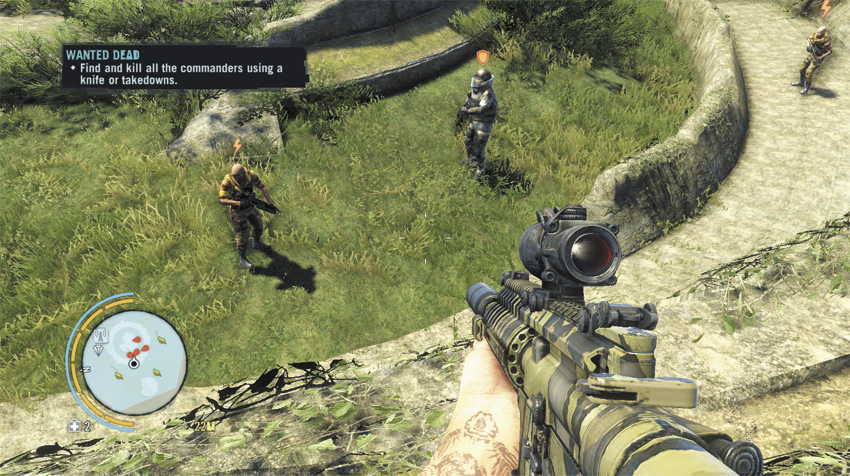
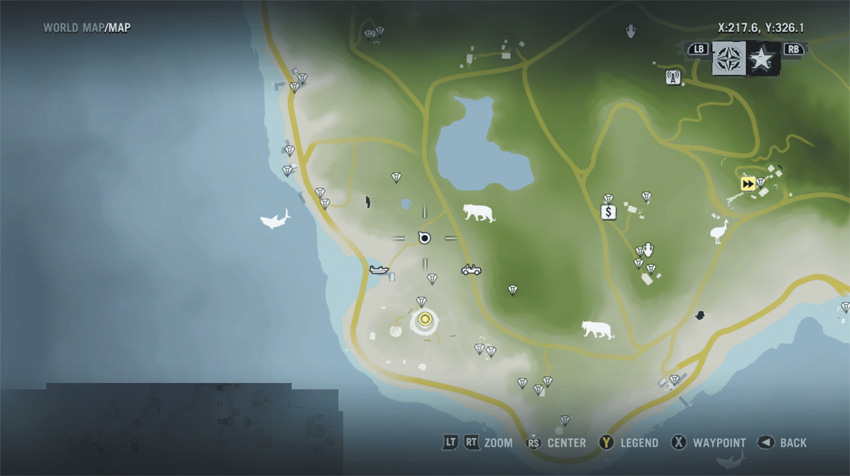
This can be a lot of fun, because the area in which your targets are hiding out is a lot more elaborate than the other Wanted: Dead missions. They’re holed up inside an old bunker complex from WWII, and you can gain access to it through an underground lake north of the target zone. If you zoom your map all the way in, you can just barely see its western entrance as a black line. (A Relic, Spider #19, is located inside the same cavern.) If you enter and swim to its southern end, you can access the bunker through an underground tunnel and no one will see you coming. You’ll get the drop on one of your targets, a heavy flamer, and be able to disable him without an issue.
The second one’s trickier, as he patrols outside near one of the old cannons, and there are a couple of chargers and another heavy flamer in his neighborhood.
Stubborn Kid Farm
Reward: $350
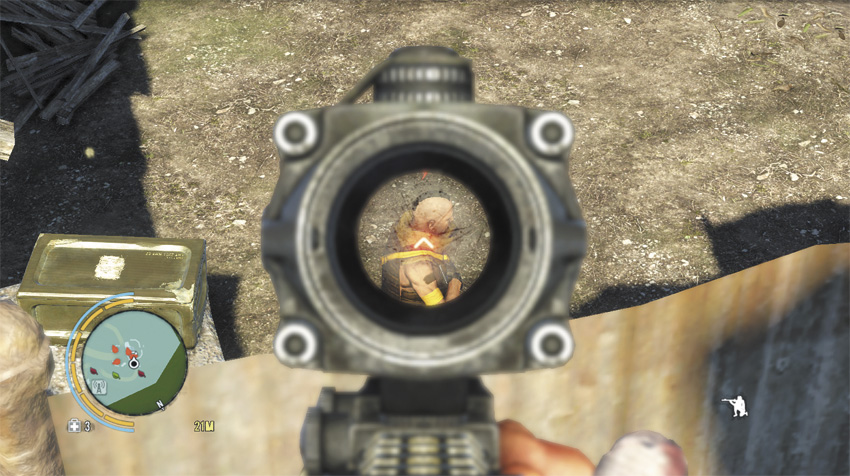
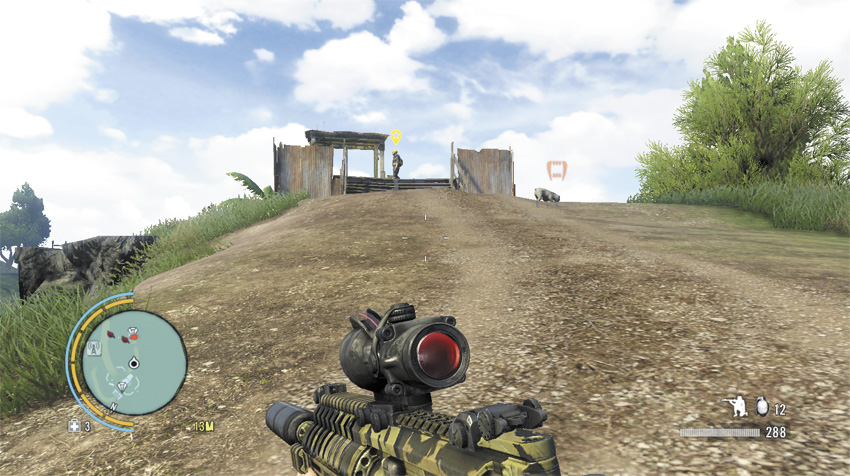
One of the snipers you’re sent to kill is standing in the middle of his camp, well-guarded but out in the open. The other one is up in the sniper’s nest on the southern edge of the area. Either way, a surgical assassination isn’t really in the cards on this one.
If you sneak around to the north, you can take out one of their sniper backup without much risk of being noticed. From there, a silenced gun lets you pick off a few of the outliers before you go in to stab your targets.
Lonely Shore Way
Reward: $350
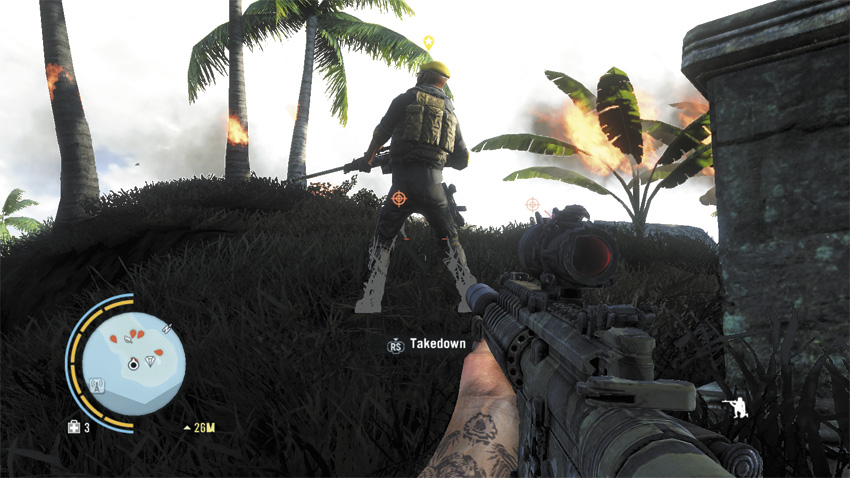
You’ll want to grab a boat from nearby to get to this target, who is out on the small islands to the northeast. The patrol boat docked at Lonely Shore Way has a mounted gun on it, which is tempting until you realize that half the perimeter guards around your target are carrying RPGs. It’s basically a sniper surrounded by a ring of snipers, which changes things up. You can counter-snipe them from the water or from the island to the west, but you can’t creep up on them from any other direction than the path up from the west due to the height of the surrounding bluffs.
East Ridge Camp
Reward: $400
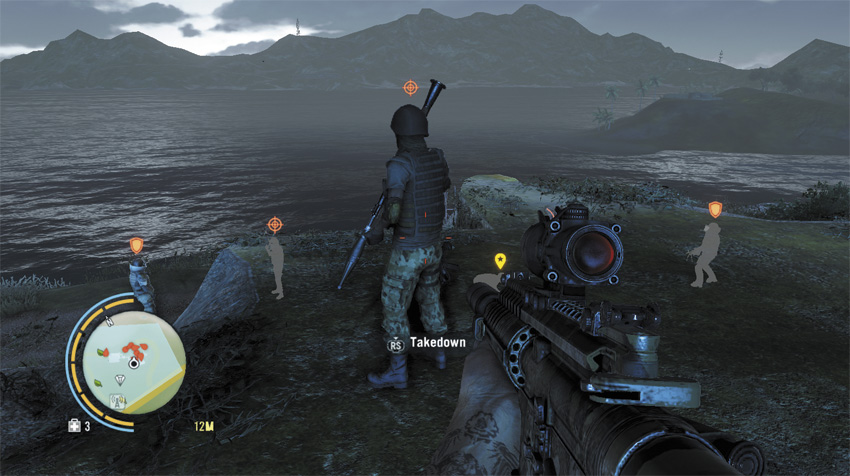
The targets and their guards are holed up inside the same bunker as Letter of the Lost #20. Aside from one guy on the roof, they’re all watching the water and aren’t looking for anyone to come in from the south, and were it not for Rakyat tradition you could just use one C4 charge and take out most of the camp. Instead, if you drop in via the roof and kill the RPG guy up there, you can use Death From Above to eliminate the first commander via a sudden surprise attack, then wipe out the others with a standard assault.