Civilization V: Brave New World Guide Scenarios
American Civil War


In this scenario, you play as either Abraham Lincoln or Jefferson Davis, guiding your side to victory by crushing the other side’s capital city. You can research new military technologies that change the course of the war, but you only have 50 turns to achieve victory!
Wartime Conditions
- Building construction is off
- Infantry requires Manpower, a limited resource produced by cities with Barracks
- Infantry units can only be created in cities with an Arsenal
- Cannons can only be produced in cities with an Ironworks
- Cavalry can only be produced in cities with a Stable
- Naval units can only be produced in cities with a Naval Yard
- Great General range is extended to five
- Great Generals are moved to a nearby city instead of being killed
- All infantry units start out “Green,” which reduces their combat effectiveness by 20%; this changes to a random bonus after their first fight. All of the bonuses are based on actual generals of the Civil War—and not all of them are good
- Cities may not perform ranged attacks and have only minimal defenses beyond any garrisoned units
- Cities cannot be razed
- Random events happen every few turns that can increase or decrease available resources, give large amounts of Gold, or even grant you (or your enemy) free units
The Machinery of War
You need to be familiar with the units you send into battle, as well as the technological innovations available. Knowing their strengths and the ways that they improve is the key to making your mark on history.
Units of the Civil War
Whichever side you choose, you need people, guns, and machines for the battles ahead. These are the units that fight and die for you, so it's important to know their strengths and weaknesses before committing them to the war effort.
Blockade Runner
 Each Blockade Runner that makes it to the eastern edge of the sea map gives the Confederacy 350 Gold. This destroys the unit.
Blockade runners aren’t there to fight. They are there to run and get their precious cargoes of cotton oversea so that the waiting markets of Europe will fund the Confederate cause.
| Cost | 80 Production |
| Combat Type | Naval Melee Unit |
| Combat | 3 |
| Movement | 7 |
| Prerequisite Tech | Rifling |
| Replaces | Frigate |
CSA Cannon/USA Cannon


Cannons are an essential part of the war, as they are the best way to assault a city’s garrison or enemy troops without taking heavy casualties. This is especially important when dealing with the enemy Capital city, as they are usually quite hard to siege with direct attacks.
| Cost | 50 Production |
| Combat Type | Siege Weapons |
| Combat | 5 |
| Ranged Combat | 12 |
| Range | 2 |
| Movement | 2 |
| Abilities | No Difficult Terrain bonus, must set up to ranged attack, may not melee attack |
| Prerequisite Tech | Rifling |
| Requires | Iron |
CSA Carbine Cavalry/USA Carbine Cavalry


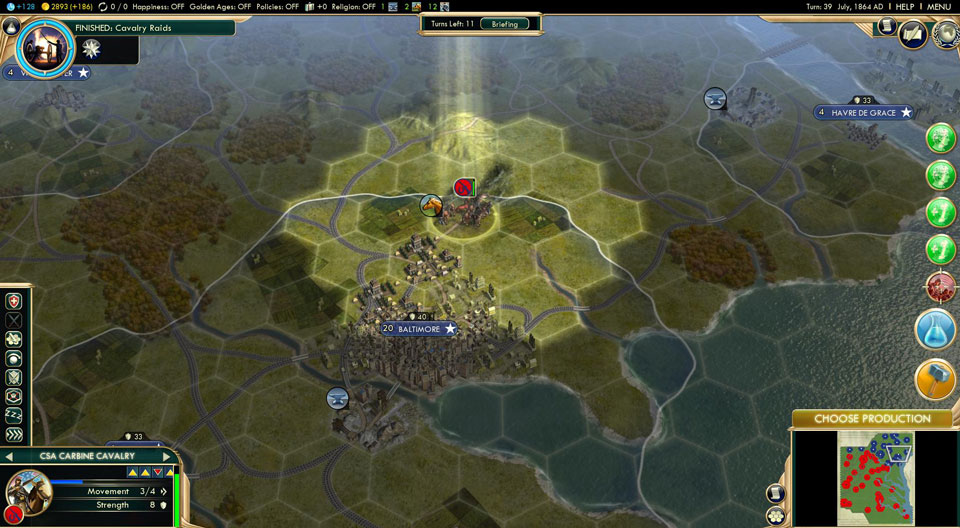
Carbine Cavalry units are twice as strong as regular cavalry. Though they’ll get shredded in a stand-up fight, use Carbine Cavalry units to harry the flanks, surgically attack wounded units, and Pillage tiles in raids.
| Cost | 50 Production |
| Combat Type | Mounted Units |
| Combat | 8 |
| Movement | 4 |
| Abilities | Move After Attacking, No Difficult Terrain Bonus, Withdraw Before Melee |
| Prerequisite Tech | Repeating Rifles |
| Requires | Horses |
CSA Cavalry/USA Cavalry


Cavalry units are excellent scouts and raiders, though they should be kept out of direct battle. This early-game cavalry is so weak that they're only viable for finishing off badly weakened units, so pull them back from any serious engagement.
| Cost | 50 Production |
| Combat Type | Mounted Units |
| Combat | 4 |
| Movement | 4 |
| Abilities | Move after attacking, No Difficult Terrain bonus, withdraw before melee |
| Prerequisite Tech | Repeating Rifles |
| Requires | Horses |
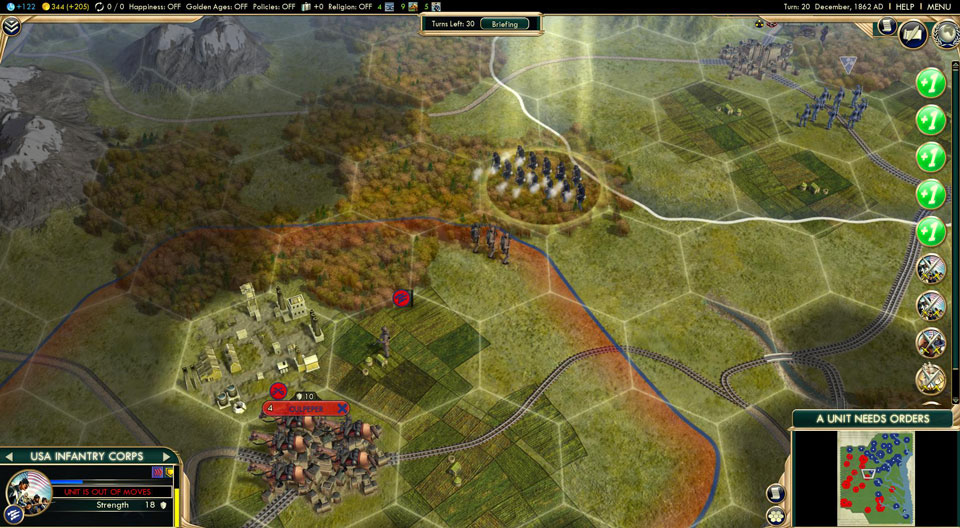
CSA Infantry Corps/USA Infantry Corps


All infantry Units start as “Green,” which gives them a 20% combat penalty. This is replaced by a random promotion based on Confederate/Union Generals after their first fight.
These are the solid core of your fighting forces. The first fight is going to be bad due to the Green penalty, so don’t send them against a hard target for their first mission or they will suffer heavy losses. If possible, send Green troops against other Green troops or targets that can’t fight back.
| Cost | 120 Production |
| Combat Type | Gunpowder Unit |
| Combat | 18 |
| Movement | 2 |
| Abilities | Green |
| Prerequisite Tech | Rifling |
| Requires | Manpower |
| Upgraded From | Infantry Division |
CSA Infantry Division/USA infantry Division


All infantry Units start as “Green,” which gives them a 20% combat penalty. This is replaced by a random promotion based on Confederate/Union Generals after their first fight.
| Cost | 50 Production |
| Combat Type | Gunpowder Unit |
| Combat | 8 |
| Movement | 2 |
| Abilities | Green |
| Prerequisite Tech | Rifling |
| Requires | Manpower |
CSA Rifled Cannon/USA Rifled Cannon


Rifled Cannons sacrifice a small amount of firepower for the ability to engage even farther away than standard Cannons, and they are superior in engaging city garrisons while avoiding reprisal. It's good to have a mix of Cannon types, so you have your heavy guns two hexes away and these Rifled Cannons three hexes away—a maximum blend of firepower and range.
| Cost | 50 Production |
| Combat Type | Siege Weapons |
| Combat | 5 |
| Ranged Combat | 10 |
| Range | 3 |
| Movement | 2 |
| Abilities | No Difficult Terrain bonus, must set up to ranged attack, may not melee attack |
| Prerequisite Tech | Rifling |
| Requires | Iron |
Frigate
 Though the Union's Frigates can't stand up to the heavy-hitting Ironclads of the CSA, they are extremely capable interdiction units if they can catch Blockade Runners before they get to open water. They also provide support fire for ground troops assaulting river cities; although, they should be kept away from Cannons.
| Cost | 80 Production |
| Combat Type | Naval Ranged Unit |
| Combat | 5 |
| Ranged Combat | 8 |
| Range | 2 |
| Movement | 6 |
| Abilities | May not melee |
| Prerequisite Tech | Rifling |
Gatling Gun
 Because of the research requirements, Gatling Guns will only be a factor late in the War. Because they attack from short range, Gatling Guns are quite helpful when sieging tougher cities. You don't suffer from counterattacks, letting you stay in the fight for an extra turn or two before having to pull back.
Gatling Guns exist in a middle ground in terms of combat power between the Infantry types, but don't have the manpower requirements. If you need a quick defense for a city and all of your Manpower is committed to the front, a few Gatling Guns will chew through assaulting troopers.
| Cost | 100 Production |
| Combat Type | Archery Unit |
| Combat | 12 |
| Ranged Combat | 12 |
| Range | 1 |
| Movement | 2 |
| Abilities | May not melee |
| Prerequisite Tech | Industrialization |
Ironclad
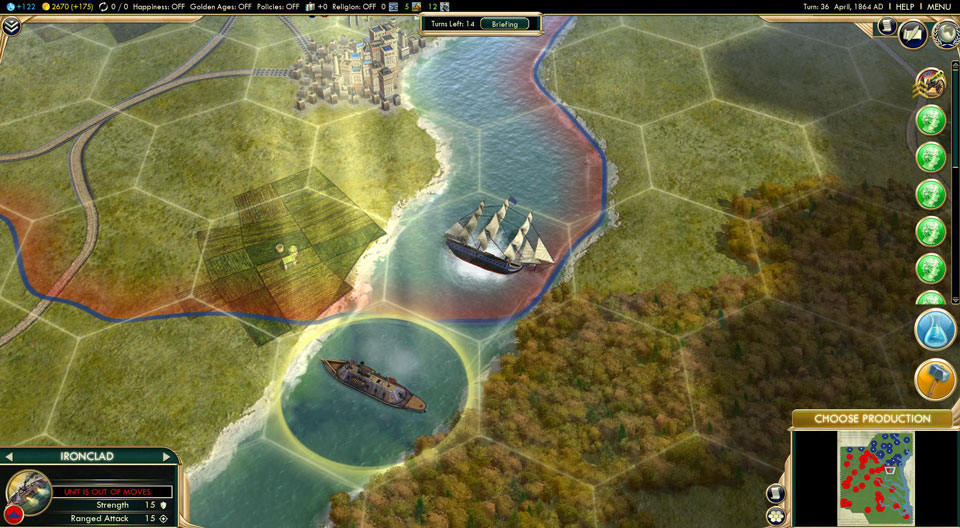
 The Confederate answer to a Frigate blockade, Ironclads are slow but powerful CSA Naval units. Though they are listed as ranged units, they are equally adept up close in a watery melee.
| Cost | 80 Production |
| Combat Type | Naval Ranged Unit |
| Combat | 15 |
| Ranged Combat | 15 |
| Range | 2 |
| Movement | 5 |
| Prerequisite Tech | Ironclads |
| Required Resource | Iron |
Military Engineer
 Military Engineers can be consumed to construct a Citadel or a Pontoon Bridge. They are vital for improving the infrastructure of the North or South, particularly the railway system. Because they are civilian units, make sure that they have a military escort when sending them into hostile areas.
| Cost | 70 Production |
| Movement | 2 |
| Ability | Embarkation |
| Prerequisite Tech | Engineering |
| Replaces | Frigate |
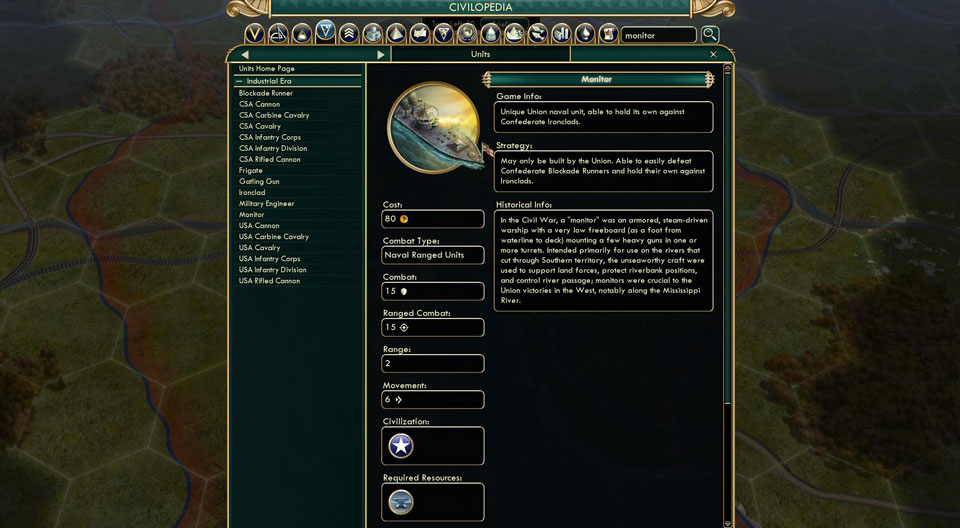
Monitor
 The Union's armored Monitors are meant to go toe-to-toe with CSA Ironclads, and their speed gives them a chance to cut off Blockade Runners before they get to open water.
| Cost | 80 Production |
| Combat Type | Naval Ranged Unit |
| Combat | 15 |
| Ranged Combat | 15 |
| Range | 2 |
| Movement | 6 |
| Prerequisite Tech | Ironclads |
Technologies of the Civil War
The Civil War was a time of technological innovation, with new weapons and tactics being tested alongside traditional military maneuvers.
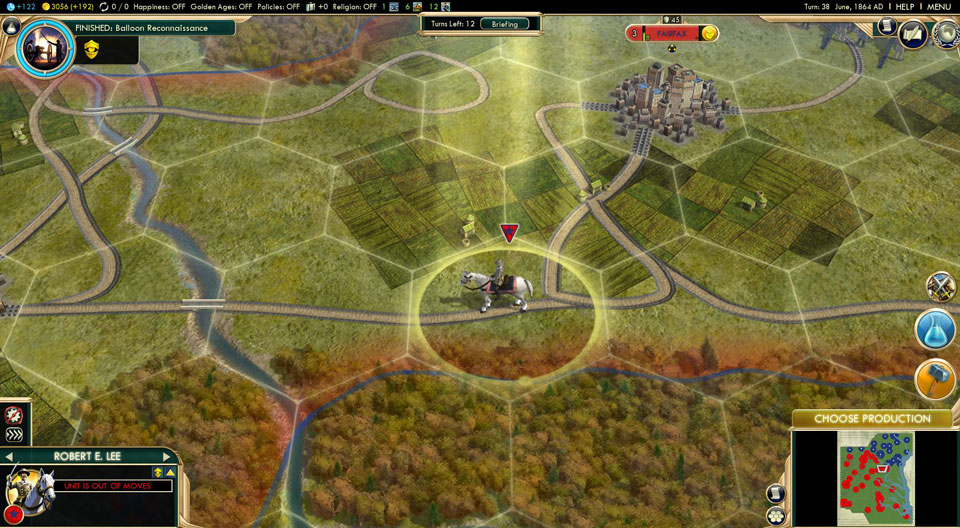
Balloon Reconnaissance
| Science Cost | 220 Science |
| Prerequisites | Engineering |
Balloon Reconnaissance gives your Great Generals an immediate bonus of two to their visibility, ensuring that you'll know what’s coming and be able to spot targets for your Cannons at a safe distance.
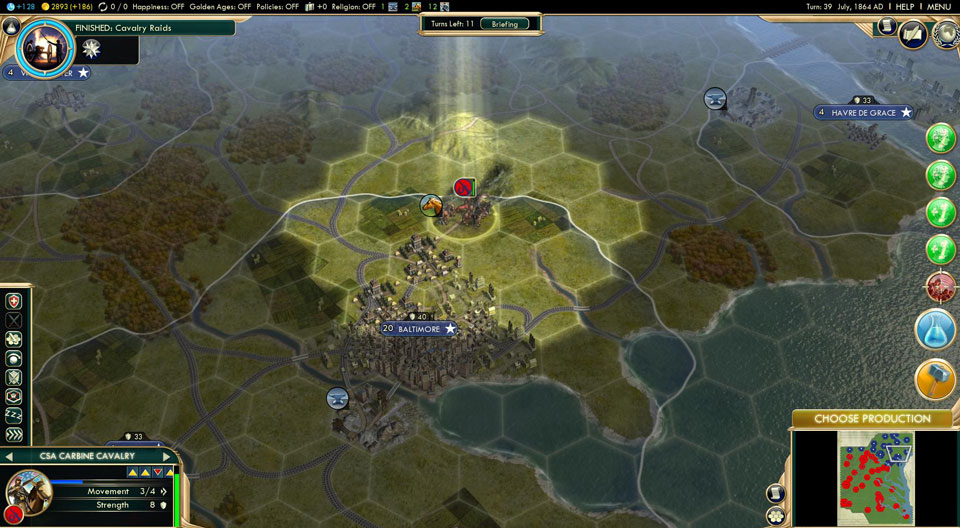
Cavalry Raids
| Science Cost | 440 Science |
| Prerequisites | Military Science |
| Leads To | Scorched Earth |
Once researched, this lets your Cavalry units Pillage improvements. It turns them into potent raiders that can tear apart enemy infrastructure. This is especially useful for the CSA because they can hold back the northern army for a long time simply by disrupting their roads.
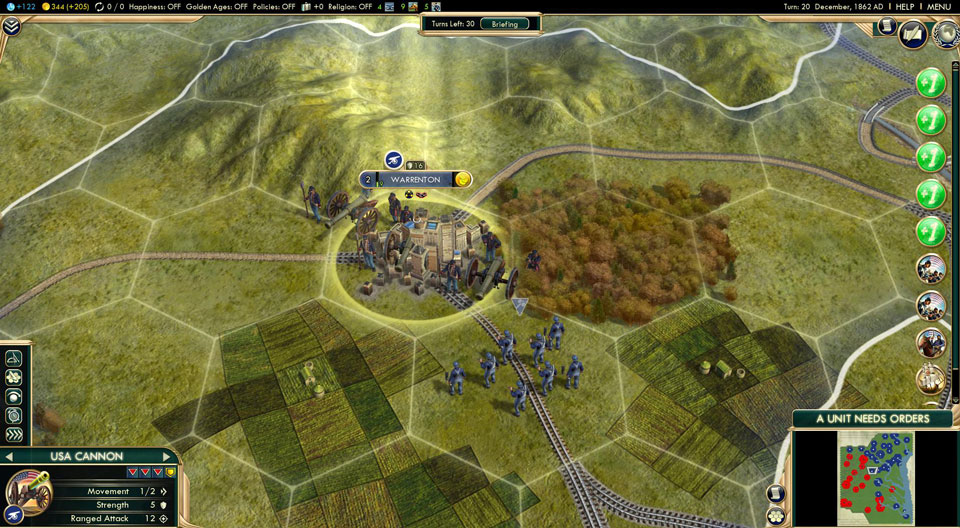
Engineering
| Science Cost | 440 Science |
| Prerequisites | Rifling |
| Leads To | Balloon Reconnaissance, Military Railroads, Entrenchment |
| Unlocks | Military Engineer, construct Pontoon Bridge |
One of the major impediments in the Civil War is getting troops where they need to be. This Technology allows you to construct railroads and improve the flow of men and materiel to the Front. It's good for the South, and amazing for the North. You're on a tight schedule for this war. It's worth sacrificing resources to make your travel to the front as fast as possible.
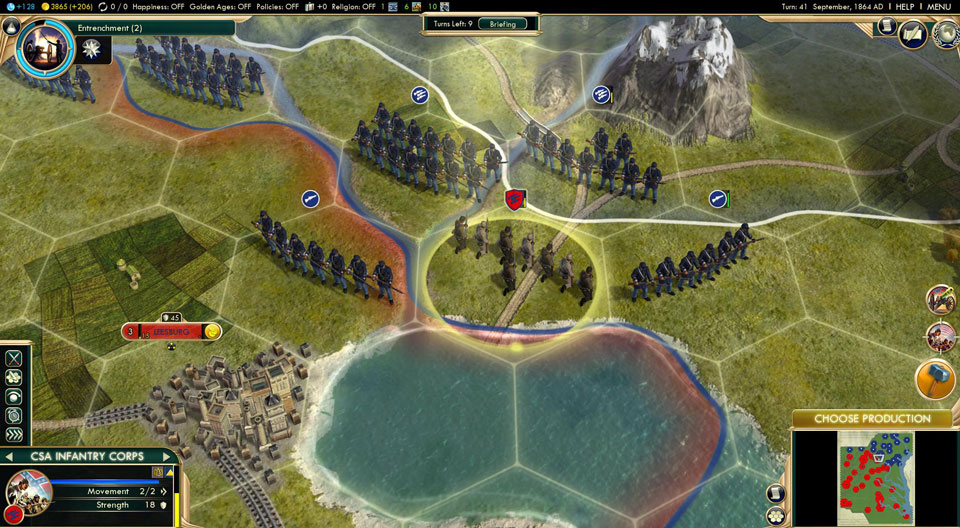
Entrenchment
| Science Cost | 660 Science |
| Prerequisites | Field Hospitals, Engineering |
| Unlocks | Double Fortification Bonus |
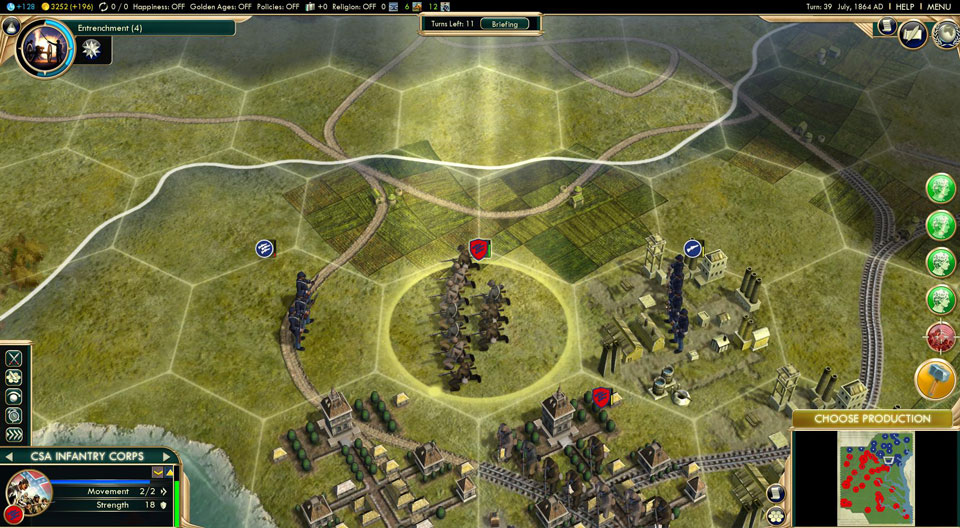
A vital Technology for garrisoned units, Entrenchment keeps your people alive until they can be rescued, or it keeps the enemy occupied while you stage an assault elsewhere. Have your infantry fortify along a front line, with Cannons behind them and Cavalry around the flanks. It's a strong formation, and Entrenchment makes it even better!
Field Hospitals
| Science Cost | 440 Science |
| Prerequisites | Military Science |
| Leads To | Entrenchment |
| Unlocks | Double Healing Rate of all units |
If you can get a wounded unit out of danger, Field Hospitals return them to fighting shape faster than before. This Technology reduces healing time for your units. This isn't just a time saver; it lets you keep your most experienced units fighting throughout the war. Considering the difference between green troops and blooded veterans, this is an important piece of research.
Industrialization

| Science Cost | 880 Science |
| Prerequisites | Repeating Rifles |
| Unlocks | Gatling Gun |
Gatling guns tear through enemy troops, and they don't require the Manpower resource to produce. It takes a while to work up to them, but they are worth it! An essential item in difficult siege work.
Ironclads
| Science Cost | 880 Science |
| Prerequisites | Rifled Artillery, Military Science |
| Unlocks | Ironclad, Monitor |
The days of wooden ships are numbered once this Technology has begun. When the first armored ships leave the docks, you'll have potent weapons to control the water.
Military Railroads
| Science Cost | 660 Science |
| Prerequisites | Engineering |
| Unlocks | Halves Railroad construction time, Double Movement on Railroads |
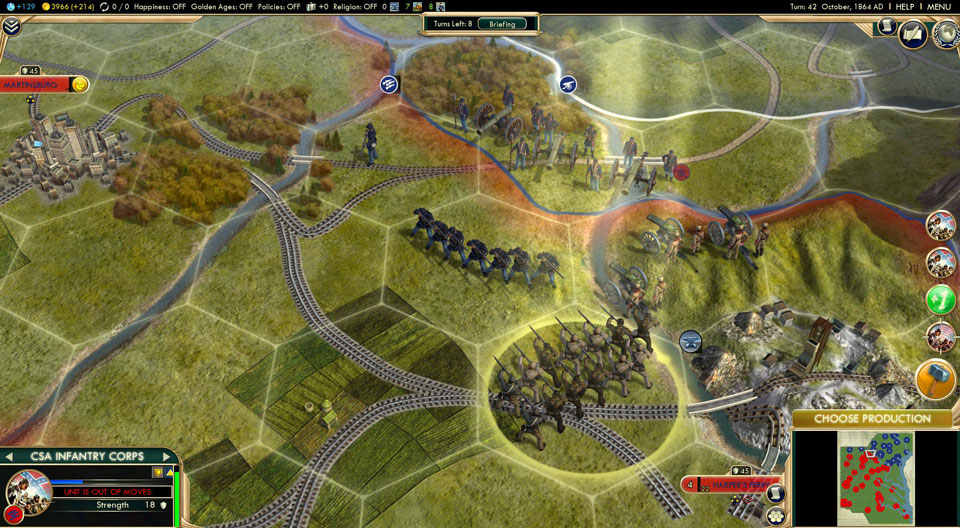
A massive boost in infrastructure improvements, Military Railroads makes it easier than ever to get your troops where they need to be.
Military Science
| Science Cost | 440 Science |
| Prerequisites | Rifling |
| Leads To | Ironclads, Cavalry Raids, Field Hospitals |
| Unlocks | USA Infantry Corps, CSA Infantry Corps |
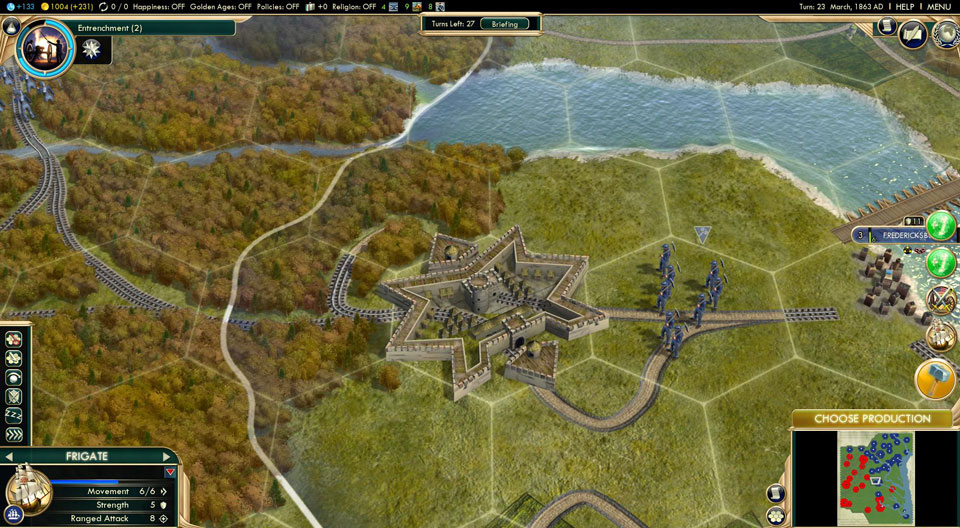
Infantry Corps cannot be built, but any Infantry Division can be upgraded with some money. Green divisions are upgraded into Green Corps, so give your veteran units preference when choosing which to upgrade. Note that this upgrade requires additional manpower, so you need more than money to get your entire army up to speed.
Repeating Rifles
| Science Cost | 660 Science |
| Prerequisites | Rifled Artillery |
| Leads To | Industrialization |
| Unlocks | Carbine Cavalry |
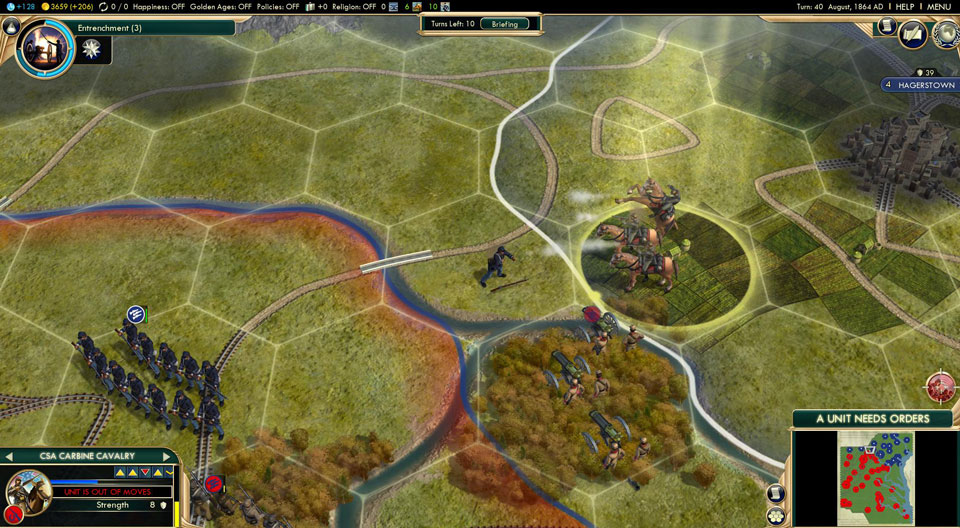
Carbine Cavalry double the combat strength of standard Cavalry units, so they give raiding parties more punch and allow Cavalry units to become better raiders of wounded stragglers. Carbine Cavalry cannot be built, but any Cavalry unit can be upgraded into one.
Rifled Artillery
| Science Cost | 440 Science |
| Prerequisites | Rifling |
| Leads To | Repeating Rifles, Ironclads |
| Unlocks | USA Rifled Cannon, CSA Rifled Cannon |
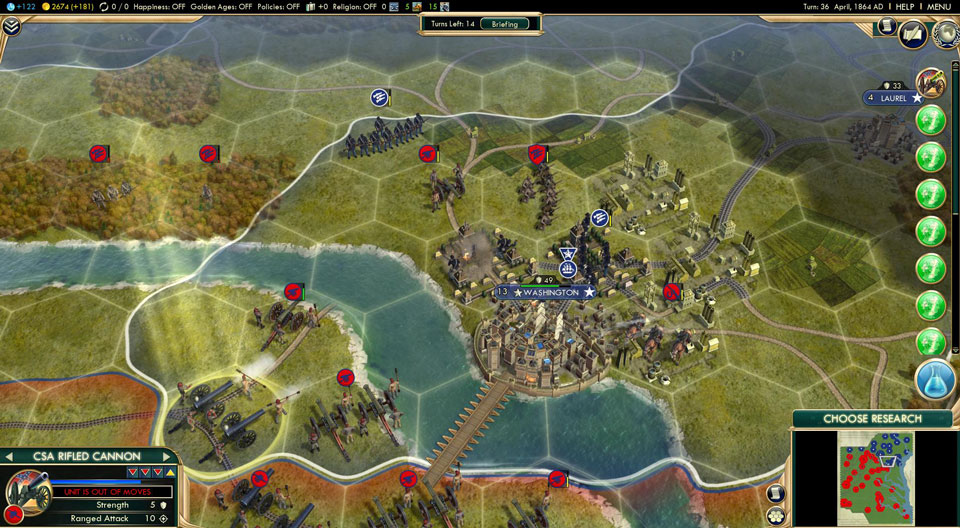
Rifled Artillery has the longest ranged attack in the Scenario, so use them to pummel far away units, punish garrisons, or clear the water of ships.
Rifling
| Science Cost | N/A |
| Prerequisites | N/A |
| Leads To | Rifled Artillery, Military Science, Engineering |
| Unlocks | USA Infantry Division, CSA Infantry Division, USA Cannon, CSA Cannon, USA Cavalry, CSA Cavalry, Frigate, Blockade Runner, Iron, Horses, Manpower, Construct a Road, Construct a Railroad |
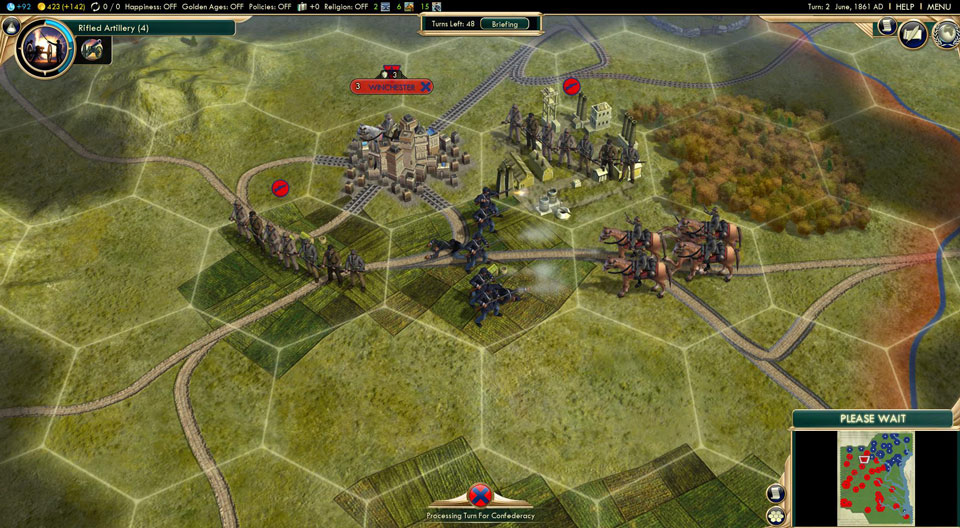
You start with this Technology already researched.
Scorched Earth
| Science Cost | 660 Science |
| Prerequisites | Cavalry Raids |
| Unlocks | Infantry Units May Pillage |
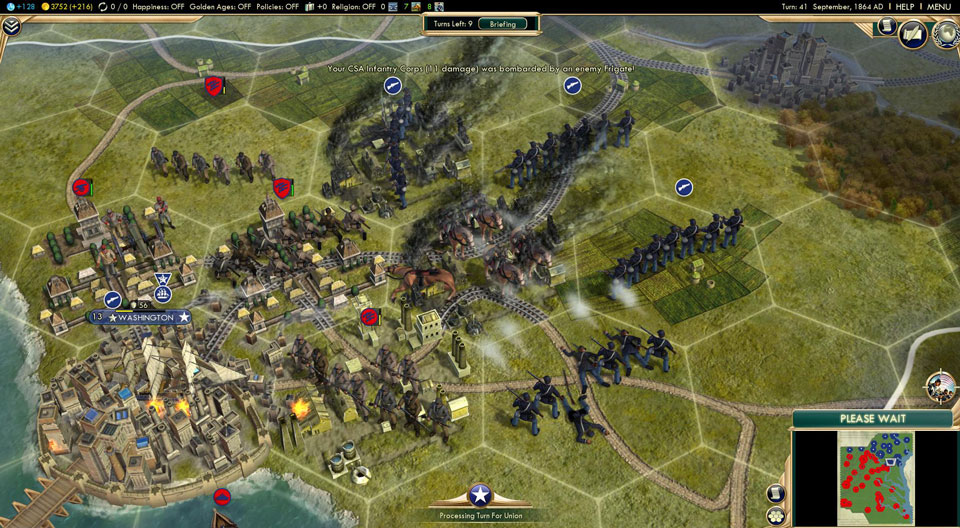
Use this to lay waste to any and all improvements you see to deprive the enemy of their usage. Only hold off if you expect to capture an area soon; if so, let the improvements stay so that your troops can use them to get around.
The Lay of the Land
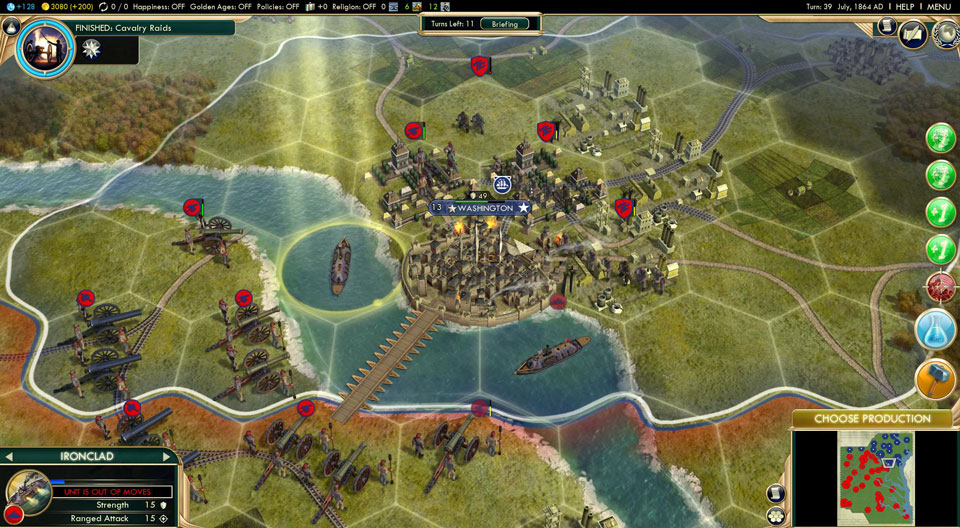
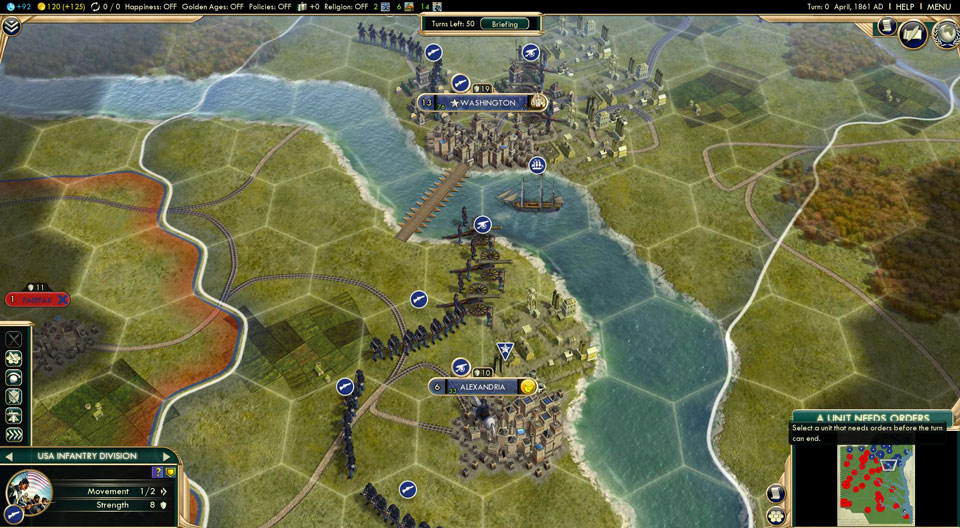
In the Northeast, the Union capital of Washington DC faces the small Confederate city of Fairfax, poised to invade with a large force of Infantry and Cannon. The rail lines of the Union extend into their densely packed system of cities in the northwest third of the map, keeping a steady flow of troops and materiel to DC.
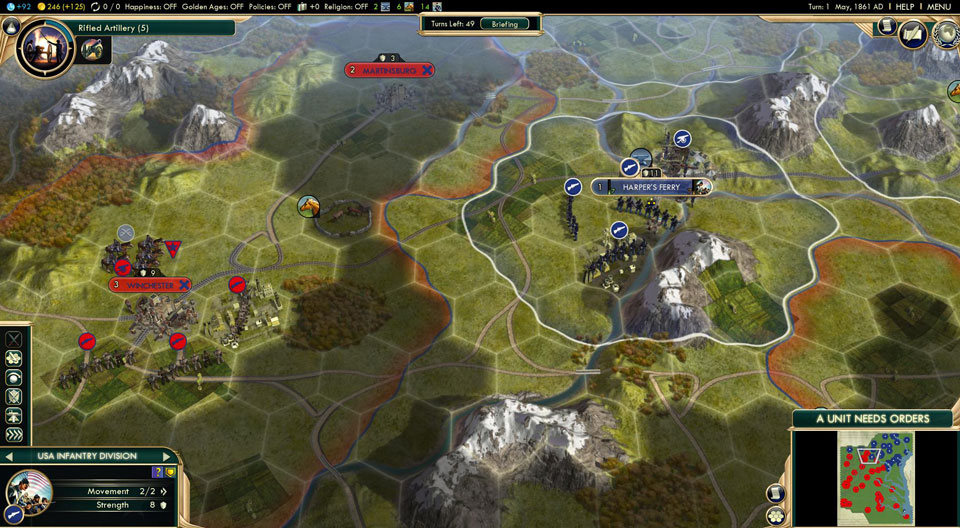
In the northwest, The Union town of Harper’s Ferry has a few Infantry Divisions and a single Cannon to face down a large Confederate force from the nearby city of Winchester. Will they be able to hold until reinforcements arrive? If the Union can push back, the Confederates might lose their only front line production city. But if Harper’s Ferry falls, then the western approach to DC is wide open.
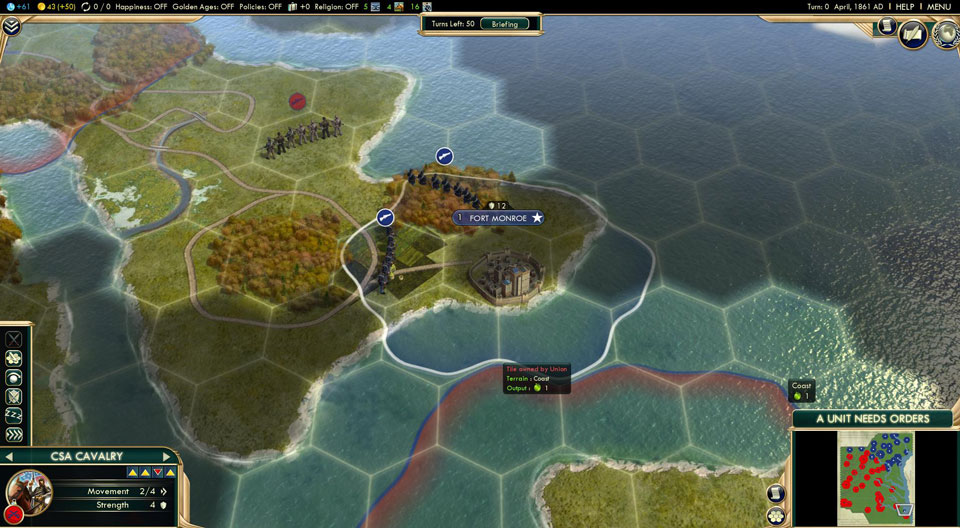
The Confederate Capital of Richmond is a river power, to the south of DC. It sends Blockade Runners to the sea with their precious cargoes of cotton. They have to make it past the Union foothold of Fort Munroe, but it is lightly staffed and in the heart of hostile territory. Surely the North will try and send their Frigates to block the river, but will they get there in time to make a difference?
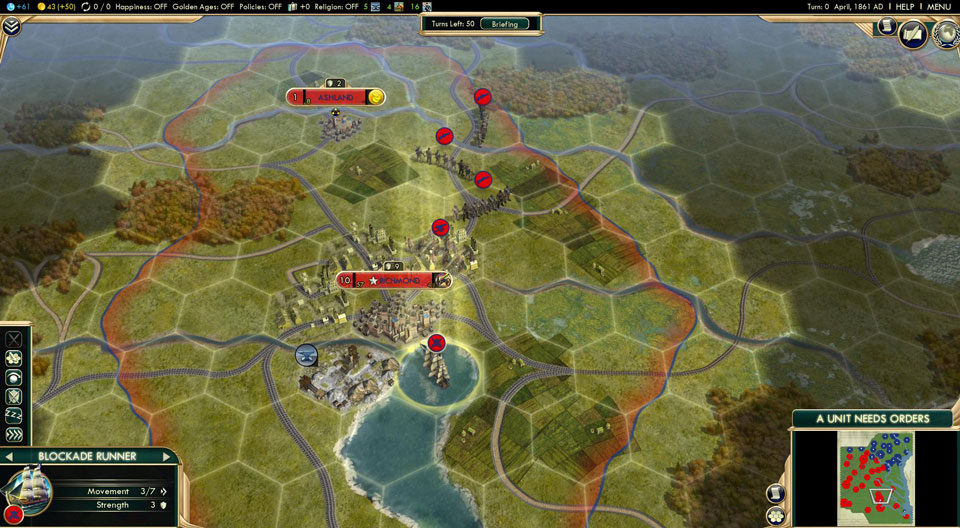
Heading further south, the Rail lines around Richmond fade into dirt roads and open fields, making it harder for units to get to the front, though equally as difficult for the Union to get to them and cut them off.
The Union
 The Union has strong Production capability and starts with a sizable group of foot soldiers poised to invade. They have more Manpower overall, so they can make more infantry units. They also have better infrastructure, so they can get their units deployed faster. Union troops are able to embark, so you can stage raids without worrying about rivers. However, in a one-on-one fight, the Southern infantry troops are tougher.
Union Strategic Overview
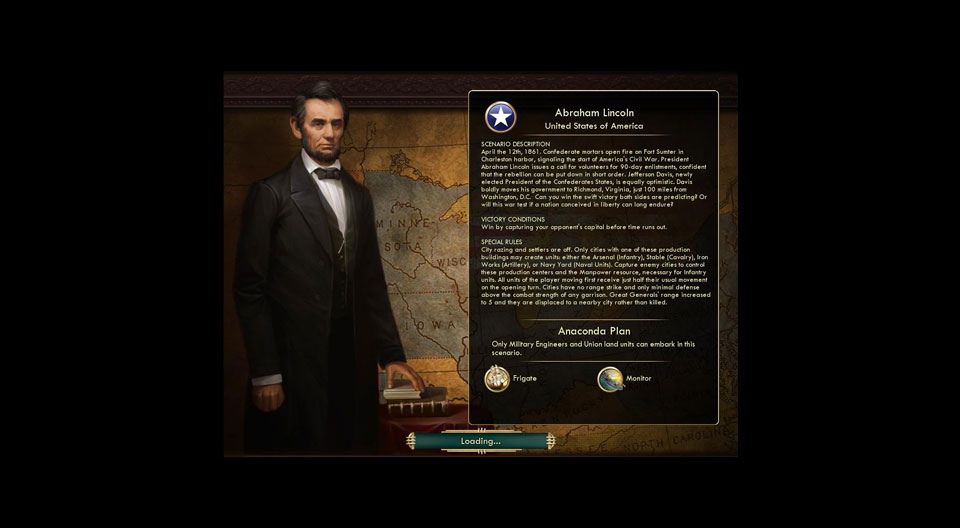
The Anaconda Plan of the Union calls for a slow, deliberate strangulation of resources, coiling around the South to deprive them of resources and isolate Richmond.
Looking over the cities of the CSA, you can see that they are spread apart. A closer look shows that they don't have much in the way of railway connections. Richmond is their main railway hub, with tendrils stretching North and South to the CSA's Production cities.
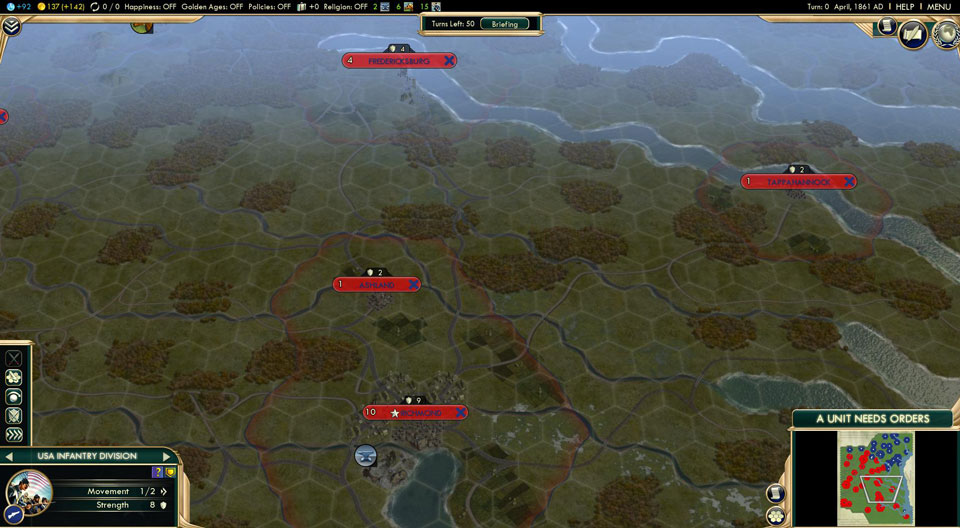
If you try to stage lightning raids, your troops will be far from reinforcements. They'll have to fend for themselves for multiple turns while reinforcements struggle through forest and along dirt roads to try and back them up. This doesn't mean that raids are impractical, but you should pursue a pattern of taking individual cities, holding them, and then pushing onto the next. If you overextend, the CSA will pick off your wounded and retake their strongholds.
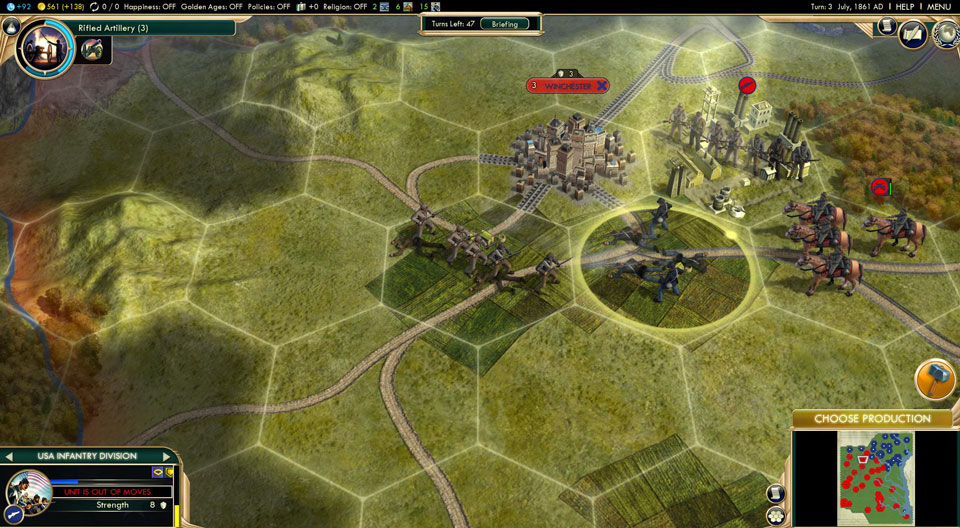
You've got a foothold behind enemy lines as you start with some Union troops at Fort Munroe. They are across the water from Norfolk and a short walk away from Williamsburg and Richmond. This gives you a constant threat to the southern Capital, and a means of setting up a blockade to prevent their goods from being sold overseas. Since each Blockade Runner that gets past to the sea is worth 350 Gold to their cause, this is a key point in making sure that they can't pay for units! The fort also gives you a constant eye on the South’s naval ambitions.
The CSA's only Naval Yards are located at Richmond and Norfolk, so send Frigates to set up a blockade near Fort Munroe. It's a perfect chokepoint. Take Norfolk as soon as you can to cut Richmond off entirely from the sea.
Union Technology Plan
Military Science is a good tech, as it allows you to turn your divisions into Infantry Corps with increased strength. However, given the distances you'll have to cover, the best starting tech for the Union is Engineering. Have Engineers behind your forces to lay down railroads. They'll stay safely out of combat and ensure that reinforcements arrive in a timely manner.
Once you’ve gotten Military Science and Engineering, start researching Repeating Rifles. You’ll be using more Infantry and Cannon than Cavalry, but you’ll want faster units with a little punch to counter the South’s Cavalry raids!
After these, go for Ironclads if the South is being difficult on the sea. Ironclads helps assault Richmond from the river, so they're good for much more than basic blockade work.
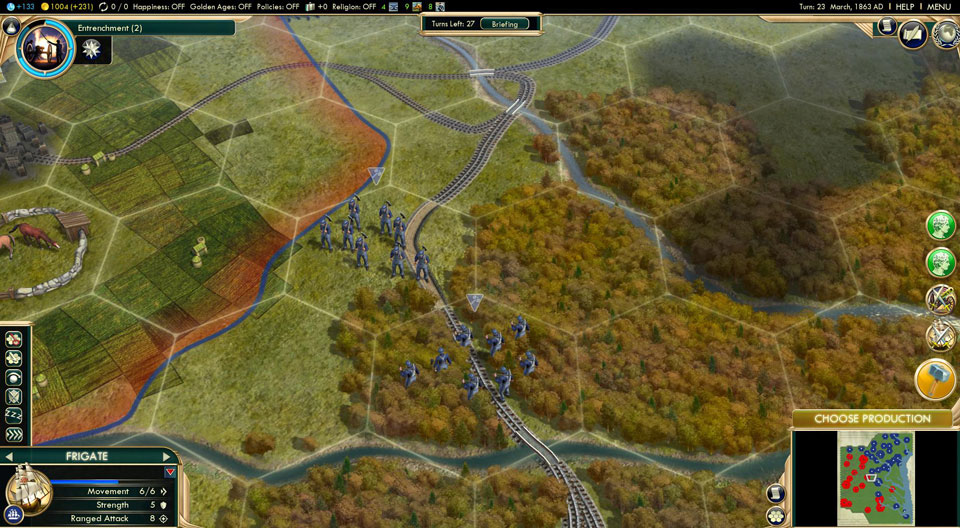
The Anaconda Plan
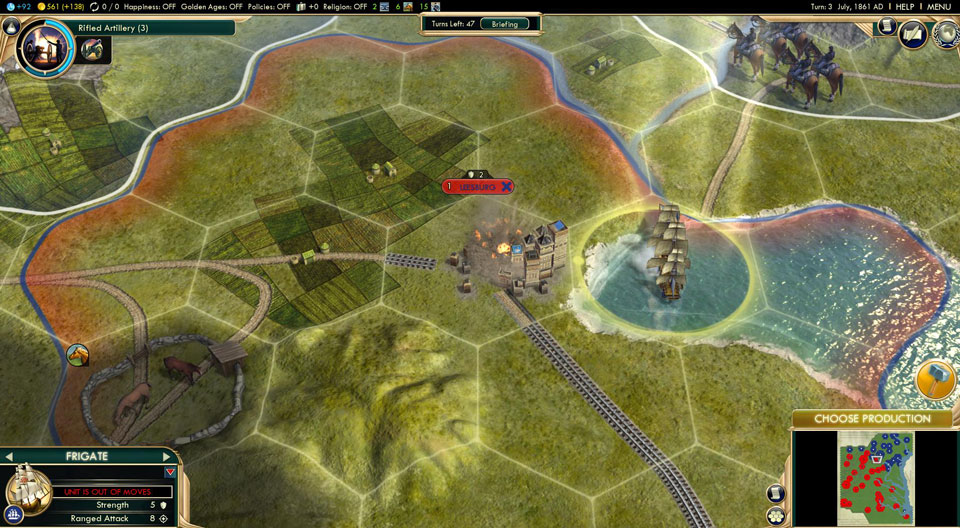
Since you start with a Frigate at DC, send it to Leesburg to pummel it into submission. Cavalry and foot soldiers from Frederick can take the city. Once Leesburg is in your hands, hold it. Keeping Leesburg and Harper's Ferry under Union control makes it very difficult for the CSA to surround DC or raid deeply into Union territory. Meanwhile, send your troops from DC and Alexandria to take Fairfax. You’ve got a sizable force, and they'll only put up light resistance.
Send Harpers Ferry troops to raid Martinsburg with the goal of taking it, and then Winchester. Winchester is the main target, as it can produce CSA troops near the frontlines, and taking it is a necessity to keep your infrastructure secure. Expect a tough fight from Martinsburg and Winchester, as the CSA has multiple Infantry Divisions, Cannons, and Cavalry to try and stop you.
Once these are in your hands, take a moment to pause and regroup. While it is tempting to try and keep spreading, the goal isn't to take every CSA city. Hold Winchester and Harper's ferry with a strong force, but don't advance. With Winchester under your control, Southern troops have a long way to walk to the western front.
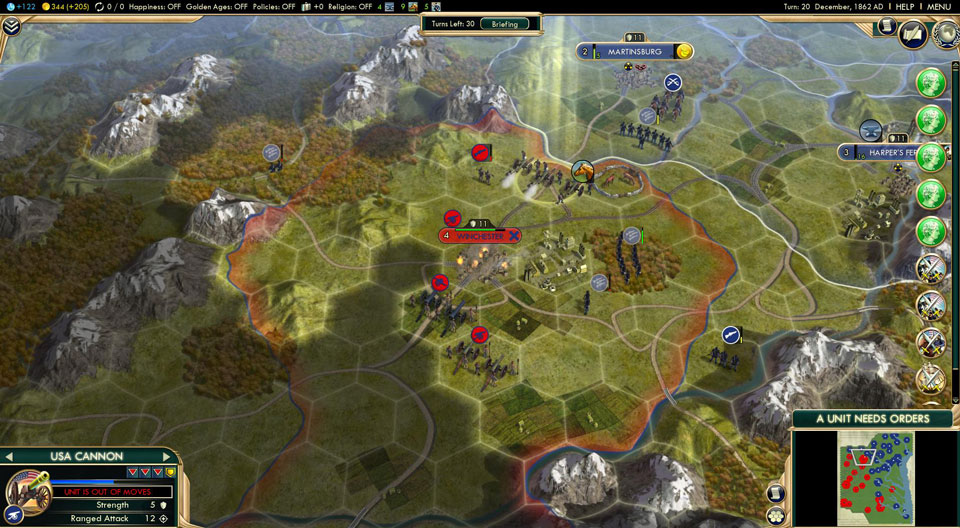
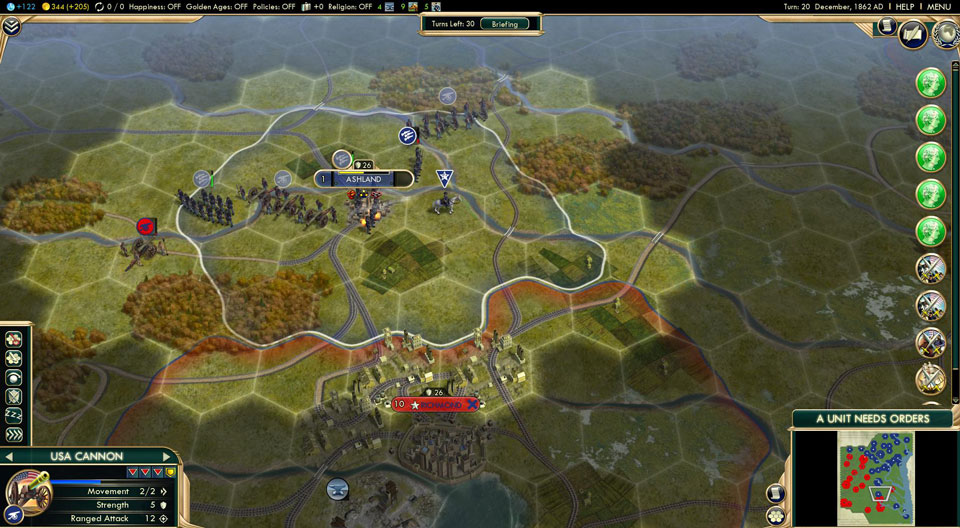
Send a small group of Cannons and Infantry south towards Fredericksburg while pushing west to take the lightly defended cities of Manassas, Warrenton, and Culpeper. This gives you a string of cities you can connect to DC with railroads (once you've got a few Engineers) so you can swing around Fredericksburg. You have to rest and heal between these assaults, but the attacks set you up for a direct assault on Richmond. Fredericksburg also has the benefit of having an Arsenal. Once it is in your hands, you're able to buy and train fresh troops, as well as deny Richmond another source of reinforcements!
As the coils of the Anaconda Plan tighten, Richmond and the Confederacy find themselves out of money and people, and their cause will be lost.
The Confederates
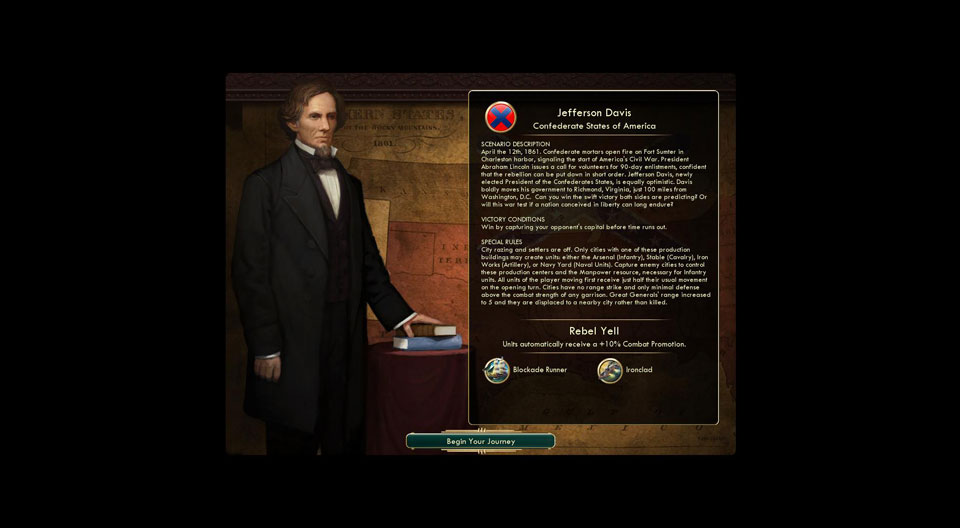
 The CSA forces are tougher than their Union counterparts, as their Rebel Yell passive power gives them a global 10% combat bonus. You still have to contend with your green troops being less effective until they get their first taste of combat. You’re going to need better troops, since you’ve got less manpower than the north, your unit-producing buildings are spread out, and you don’t have the rail systems of the North to get troops where you need them. If you can get your Blockade Runners to the sea, you’ll have plenty of money to buy and upgrade units, but that stops if the North manages to cut you off from the sea.
Southern Tactical Overview
The Union is going to win some early victories as you move your troops into position from behind the front lines. You need to be aggressive, as you cannot let the Union hold territory and choke off your resources. It’s essential to move fast to secure the water so your Blockade Runners stay unmolested. Have a small force move down toward Fort Munroe. It's nearly impossible to take early on, but being able to lock down the fort prevents the Union from building up troops there. Later, you can spare more Cannons to bring the fort under your control. For now, you're keeping them busy, and that's enough. Turn your guns on any ships or units that try to approach the fort.
Winchester and Fredericksburg are absolutely essential to your efforts, as they are the closest unit-producing cities to the Front lines. Above all else, take the fight to the Union.
Southern Technology Plan
Military Science is essential. You’ve got some hefty battles where you’ll be relying on your foot troops. Upgrade your units into Infantry Corps as soon as possible. If you can get this Technology before the Union, you’ll be able to push them hard until they can match your Technology.
Once you’ve gotten Military Science, go for Repeating Rifles and Cavalry Raids. Pillaging Union infrastructure with lightning Cavalry raids goes a long way to keeping them reeling!
Rebel Yell
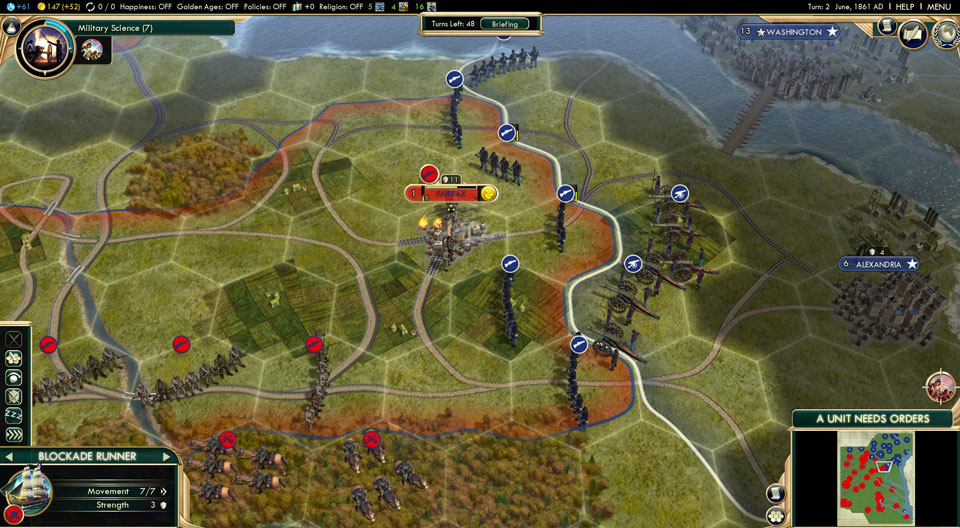
Fairfax is going to be the focal point of an early Union attack. It’s right across the river from DC, and it’s in reach of units from Alexandria. They have a major army committed to taking the city, but hold for a turn or two, despite the losses. This lets your initial Richmond infantry move into position to defend Manassas. It also puts them in prime position for striking back once the Union army is diverted to another target.
Pull your forces back when Fairfax gets swarmed, even to the point of sacrificing wounded divisions to save the Cannons and healthier units. It is grim, but if you try and get everyone out, the Union will follow them all the way back to Manassas and you'll lose all of the remaining forces. An Infantry Division or two or a few units of Cavalry can sacrifice themselves to get out the wounded. You'll avenge them later.
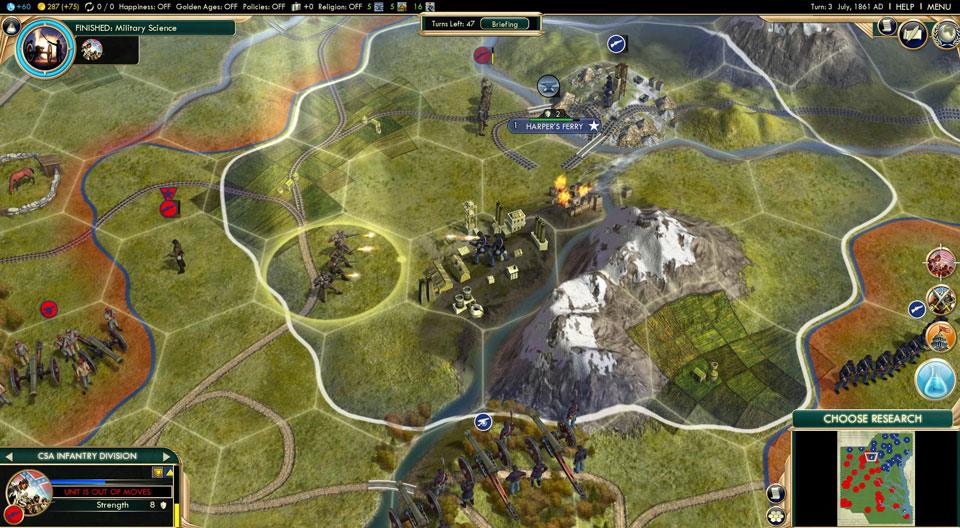
Harper's Ferry is a major target. You’ve got a Great General nearby to provide an attacking bonus; it produces Infantry and Cannons right at the frontline; and it provides a way to bypass the river to strike at DC. Unfortunately, the Union knows how valuable it is, and they have a large force of Infantry, Cavalry, and Cannons ready to keep it. Research Military Science first, and strike just before it finishes. This lets you upgrade the masses of Infantry you've mustered at Martinsburg and Winchester to Infantry Corps, which lets you weather the counterattack if you’ve already taken Harper’s Ferry or power through any remaining defenses to take the city.
Watch that town carefully. If the Union sends a blue tide of troops to take it back (or defend it), move the Manassas troops to strike at Fairfax. Treat these two battles like a seesaw, and strike wherever the Union doesn't dedicate their heavier units.
Once Harper's Ferry is in your hands and Fairfax is retaken, lock down the bridge to DC. DC is well protected, so start manufacturing Cannons and slowly moving them up to the front. Start researching Rifled Cannons as soon as possible, as their superior distance will enable you to pummel DC while staying out of reach of patrolling Frigates (or set up attacks with two ranks of Cannons from multiple positions).
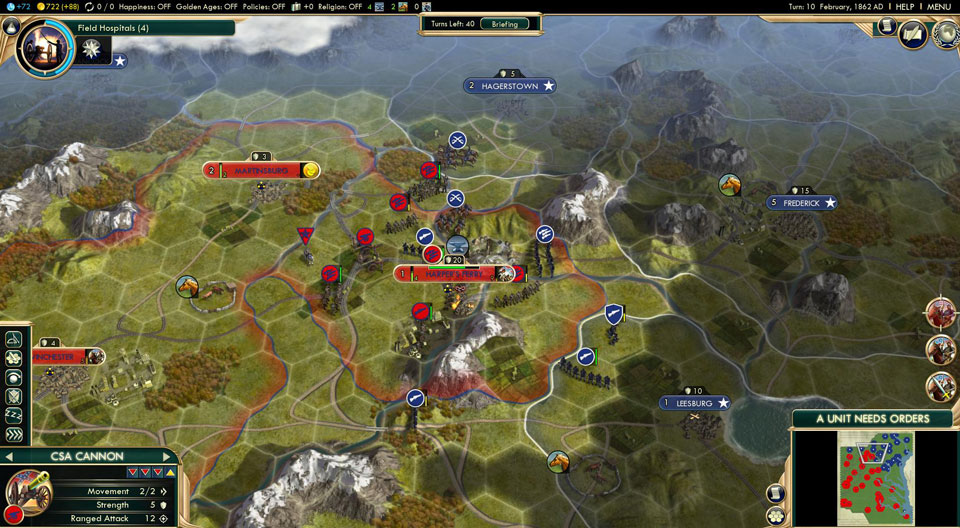
Move your forces at Harper's Ferry into position as you build up, slowly choking off the supplies to the Capital. Make sure to move your Great General to your Cannons, as DC has incredibly tough defenses and even the massed Cannons will fail to do more than DC can heal without the combat bonus.
Even with the Capital under assault, you still have to hold off Union pushes to recapture Harper's Ferry. Use a mix of Infantry, Cannons, and Gatling Guns (once you've researched them) to hold the city. After a push is defeated, send a unit or two to help with the DC assault.
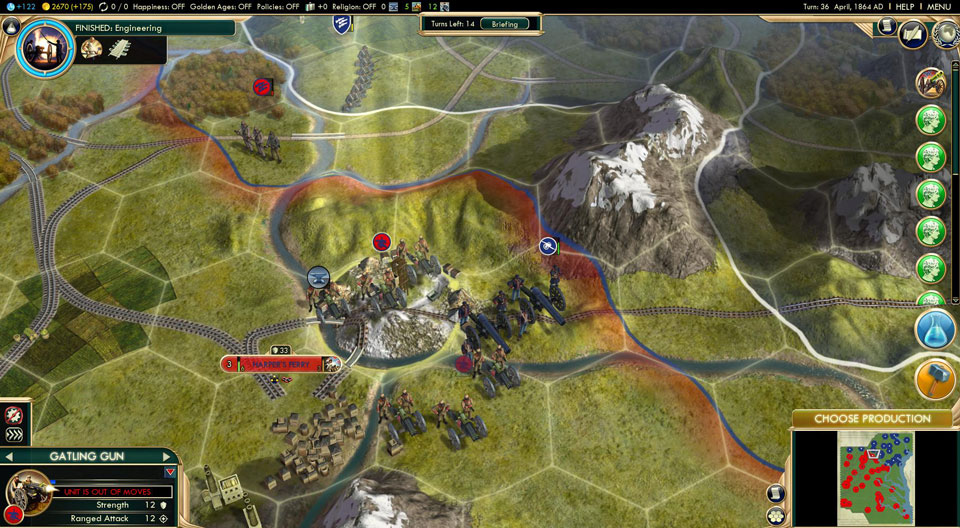
Once you've researched Ironclads, start purchasing them and sending them up the river to assault DC from the water. Be prepared for a long voyage, but once they are in position, DC has no chance to stage an amphibious assault to hit your Cannons. Hold your Infantry Corps in position north of DC, waiting to make a final assault on the city and preventing reinforcements from coming to the aid of the city. Make sure to Fortify whenever possible, as you'll need the bonus while defending!
Use Cavalry raiding parties to perform hit and fade attacks at Union improvements. Pillage train routes to DC and manufacturing tiles to slow Union reinforcements and isolate the Capital.
Once surrounded by a wall of CSA troops, DC cannot hold out. Their walls will crumble under the roar of your Cannon! Just remember, the North will rise again.