
Assassin's Creed: Brotherhood Guide Walkthrough Side Quests
Secret Locations
FOLLWERS LAIR: WOLVES AMONG THE DEAD
Unlocked:
Available from the start of Sequence 03.
Entrance:
Southwest Antico district on the city wall, right next to Piramide Cestia.
Full Synch:
Complete the memory within eight minutes.
Overview:
The red line on the map is the optimum speed run route. The blue line leads to collectibles. We suggest that you use your first visit as an opportunity to pick up all collectibles and familiarize yourself with the tunnel layout, then return to achieve Full Synchronization via the Replay function
At this junction, the left-hand path (via the door on the north wall) enables Ezio to loot a Treasure Chest and pick up Borgia Flag #1 in the large cavern that lies beyond. The route straight ahead takes a much faster path, and is strongly recommended for speed runs.
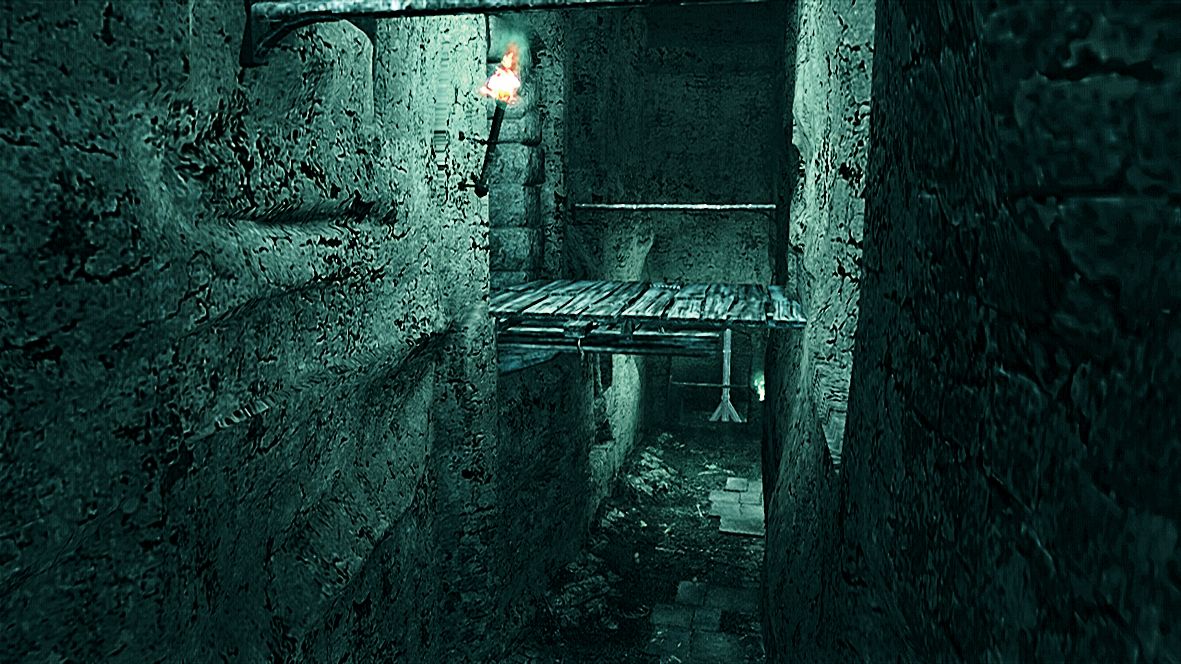
Figure 01
There are various ways to climb down at this location. Players on a speed run should employ the Drop and Catch Back move a few times for a rapid descent. It's also possible to Back Eject (spring backwards from a surface) to grab the swinging pole at the bottom to save a few seconds.
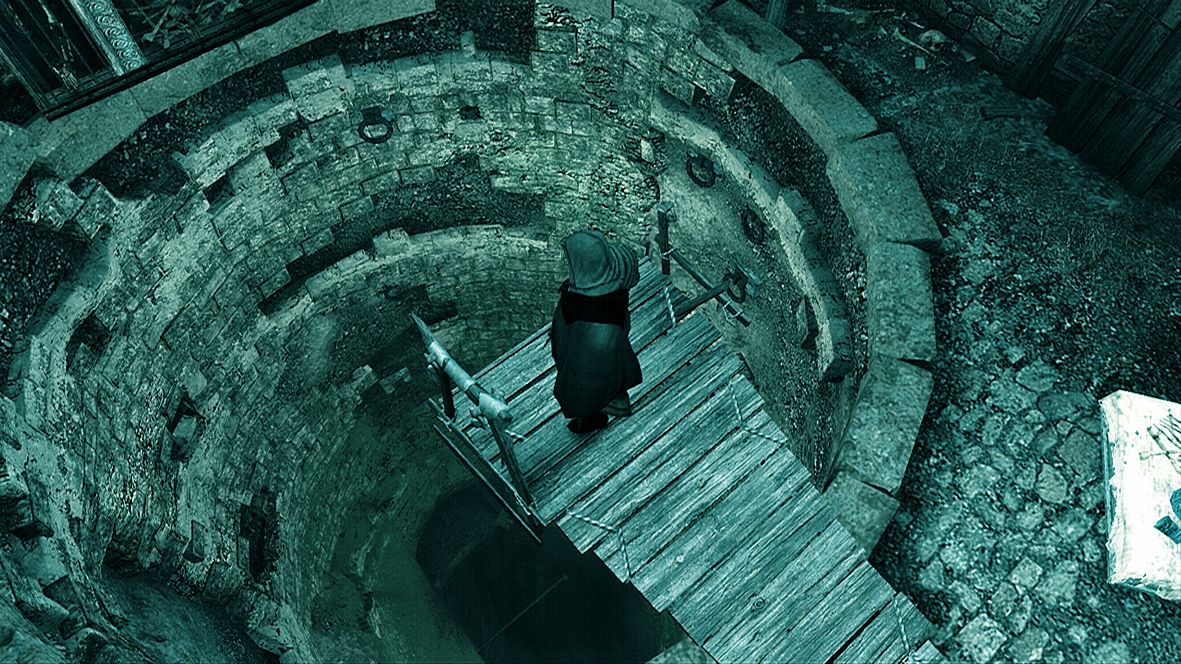
Figure 02
In this room, you can shave several seconds off a speed run time by ignoring the obvious climbing route. Instead, run around the corner to the west, and perform a Wall Eject Back: run up the wall and, at the peak of Ezio's ascent, tap the Legs Button to spring backwards and grab the platform above. For those focusing on collectibles, Borgia Flag #2 can be obtained by taking two right turns from the corridor just beyond.
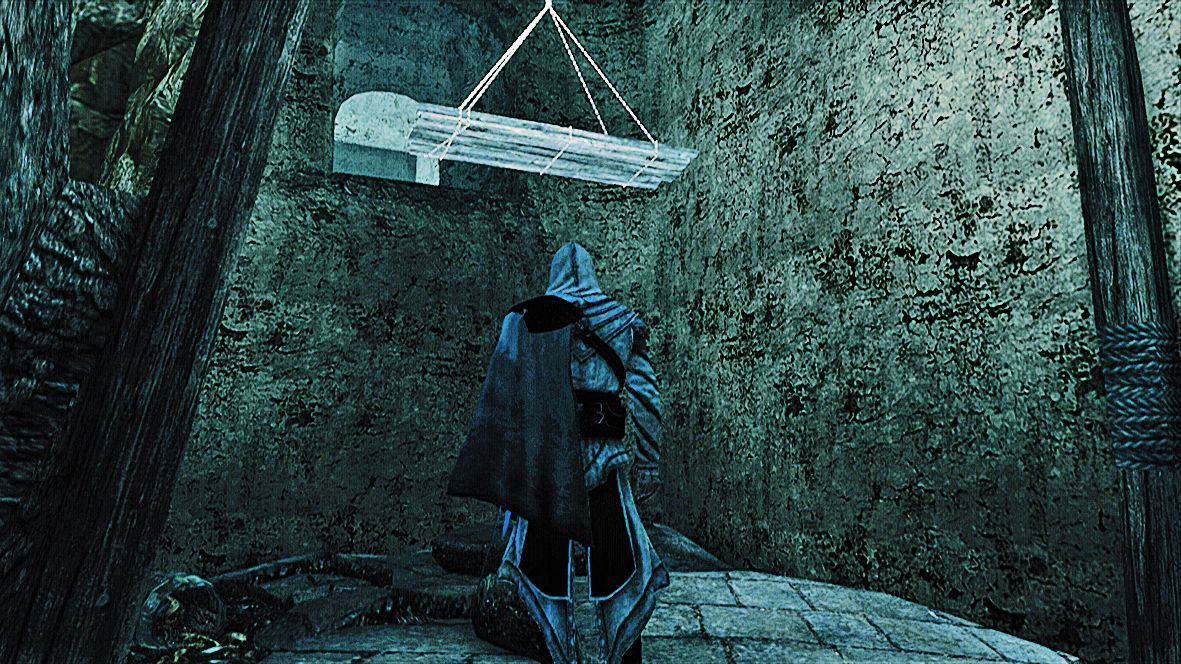
Figure 03
Inside the temple, start your climb on the south wall (as pictured here) and move round to the northeast corner of the room.
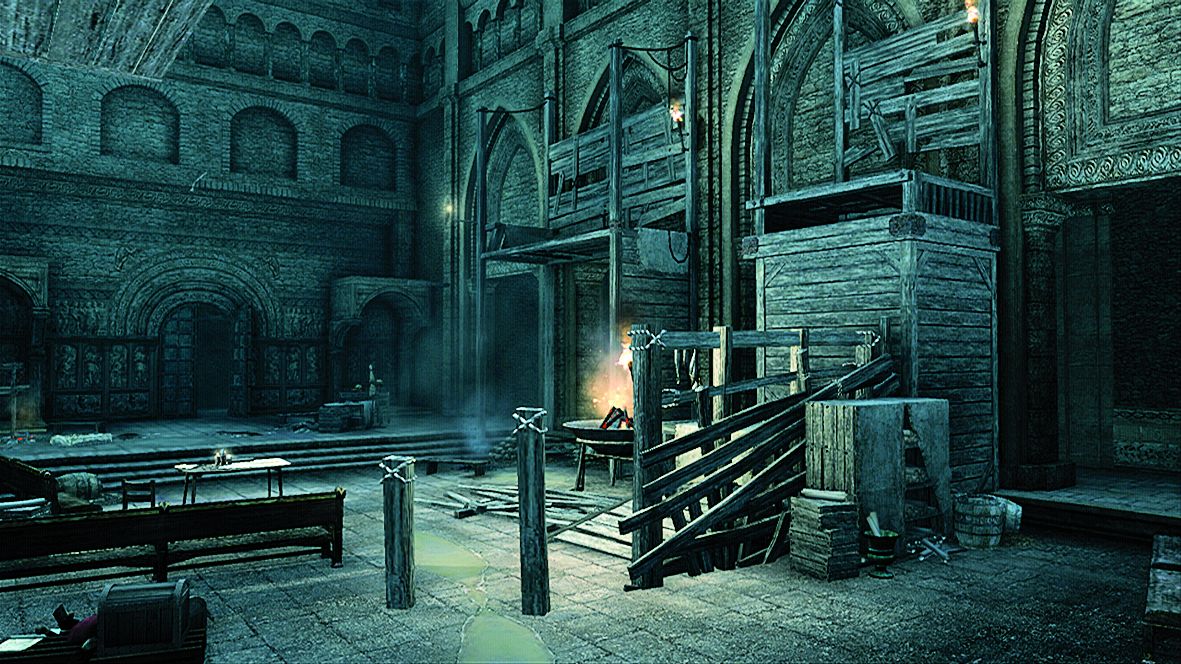
Figure 04
From the northeast corner, speed runners should follow the path marked in red on the accompanying screenshot, while those seeking maximum reward should climb up and take the upper free run path to collect Borgia Flag #3 . The next step is to reach and scale the giant cross in the west of the temple. From the top of the cross, leap over to the platform.
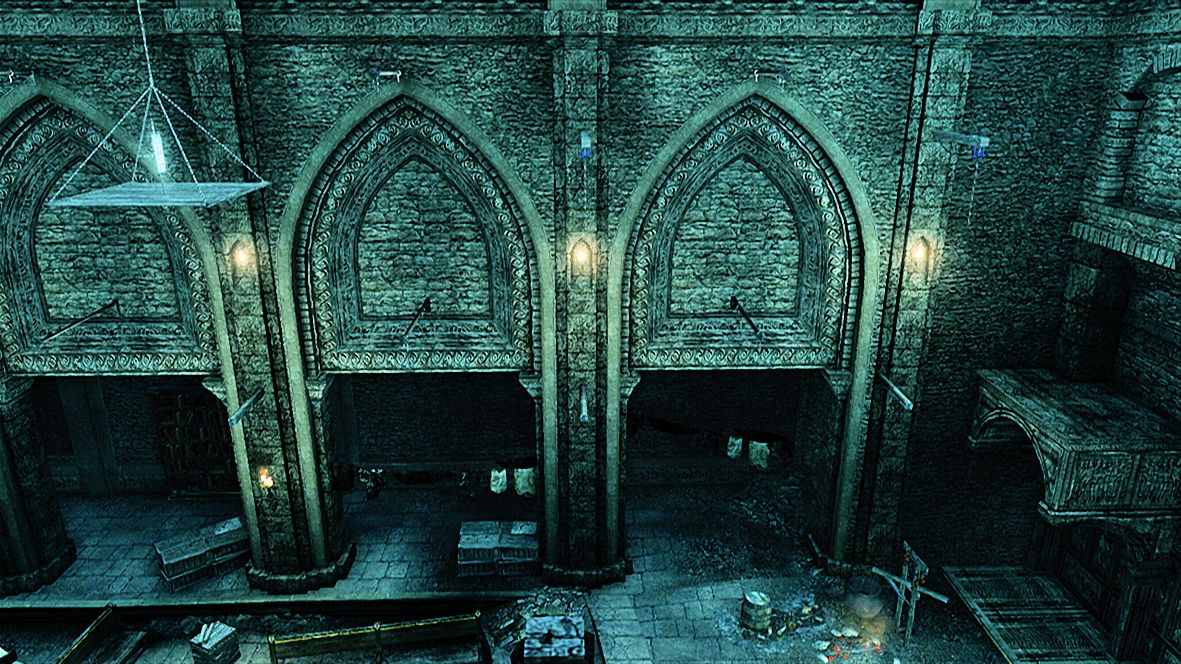
Figure 05
The last moment of note in this Lair is a fight against groups of Wolfmen as Ezio climbs to the top balcony of this room. Throwing Knives can be employed to dispatch assailants swiftly, though open combat is also fine: just be careful to select a secure location away from open ledges to avoid unfortunate falls. The wooden framework on the central pillar is used to reach each floor level. If you are attempting to complete the Full Synch condition, you will need to evade the Wolfmen completely. Once you reach the doorway on the upper level, there is a short journey to the treasure room and the exit back to Rome.
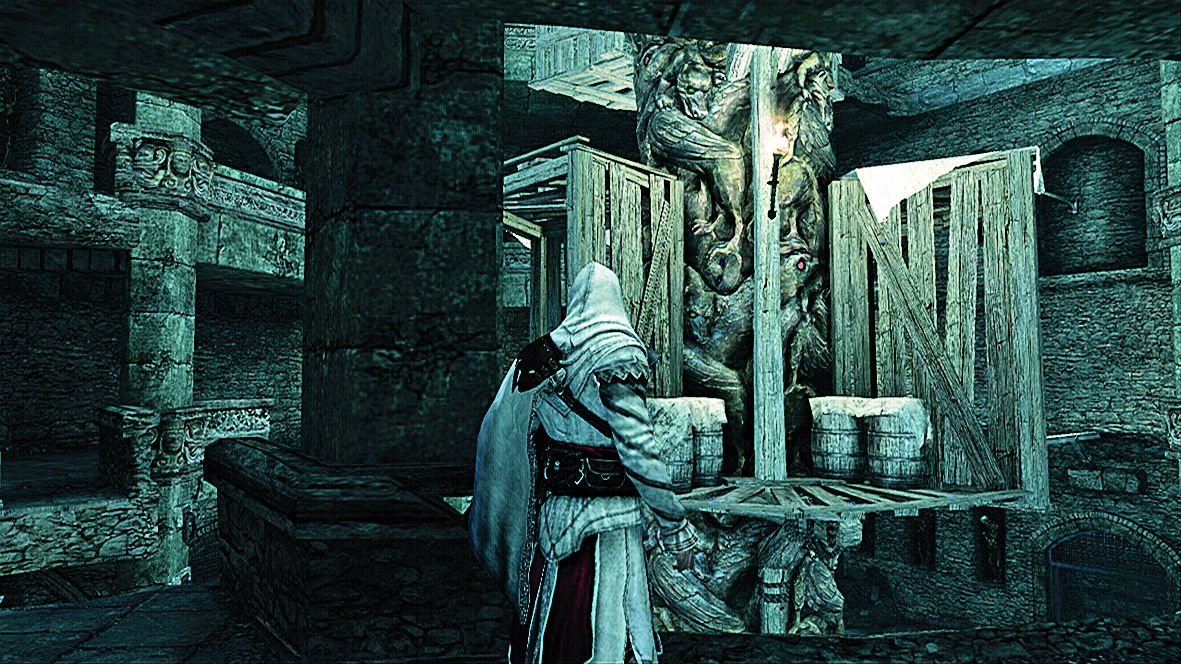
Figure 06
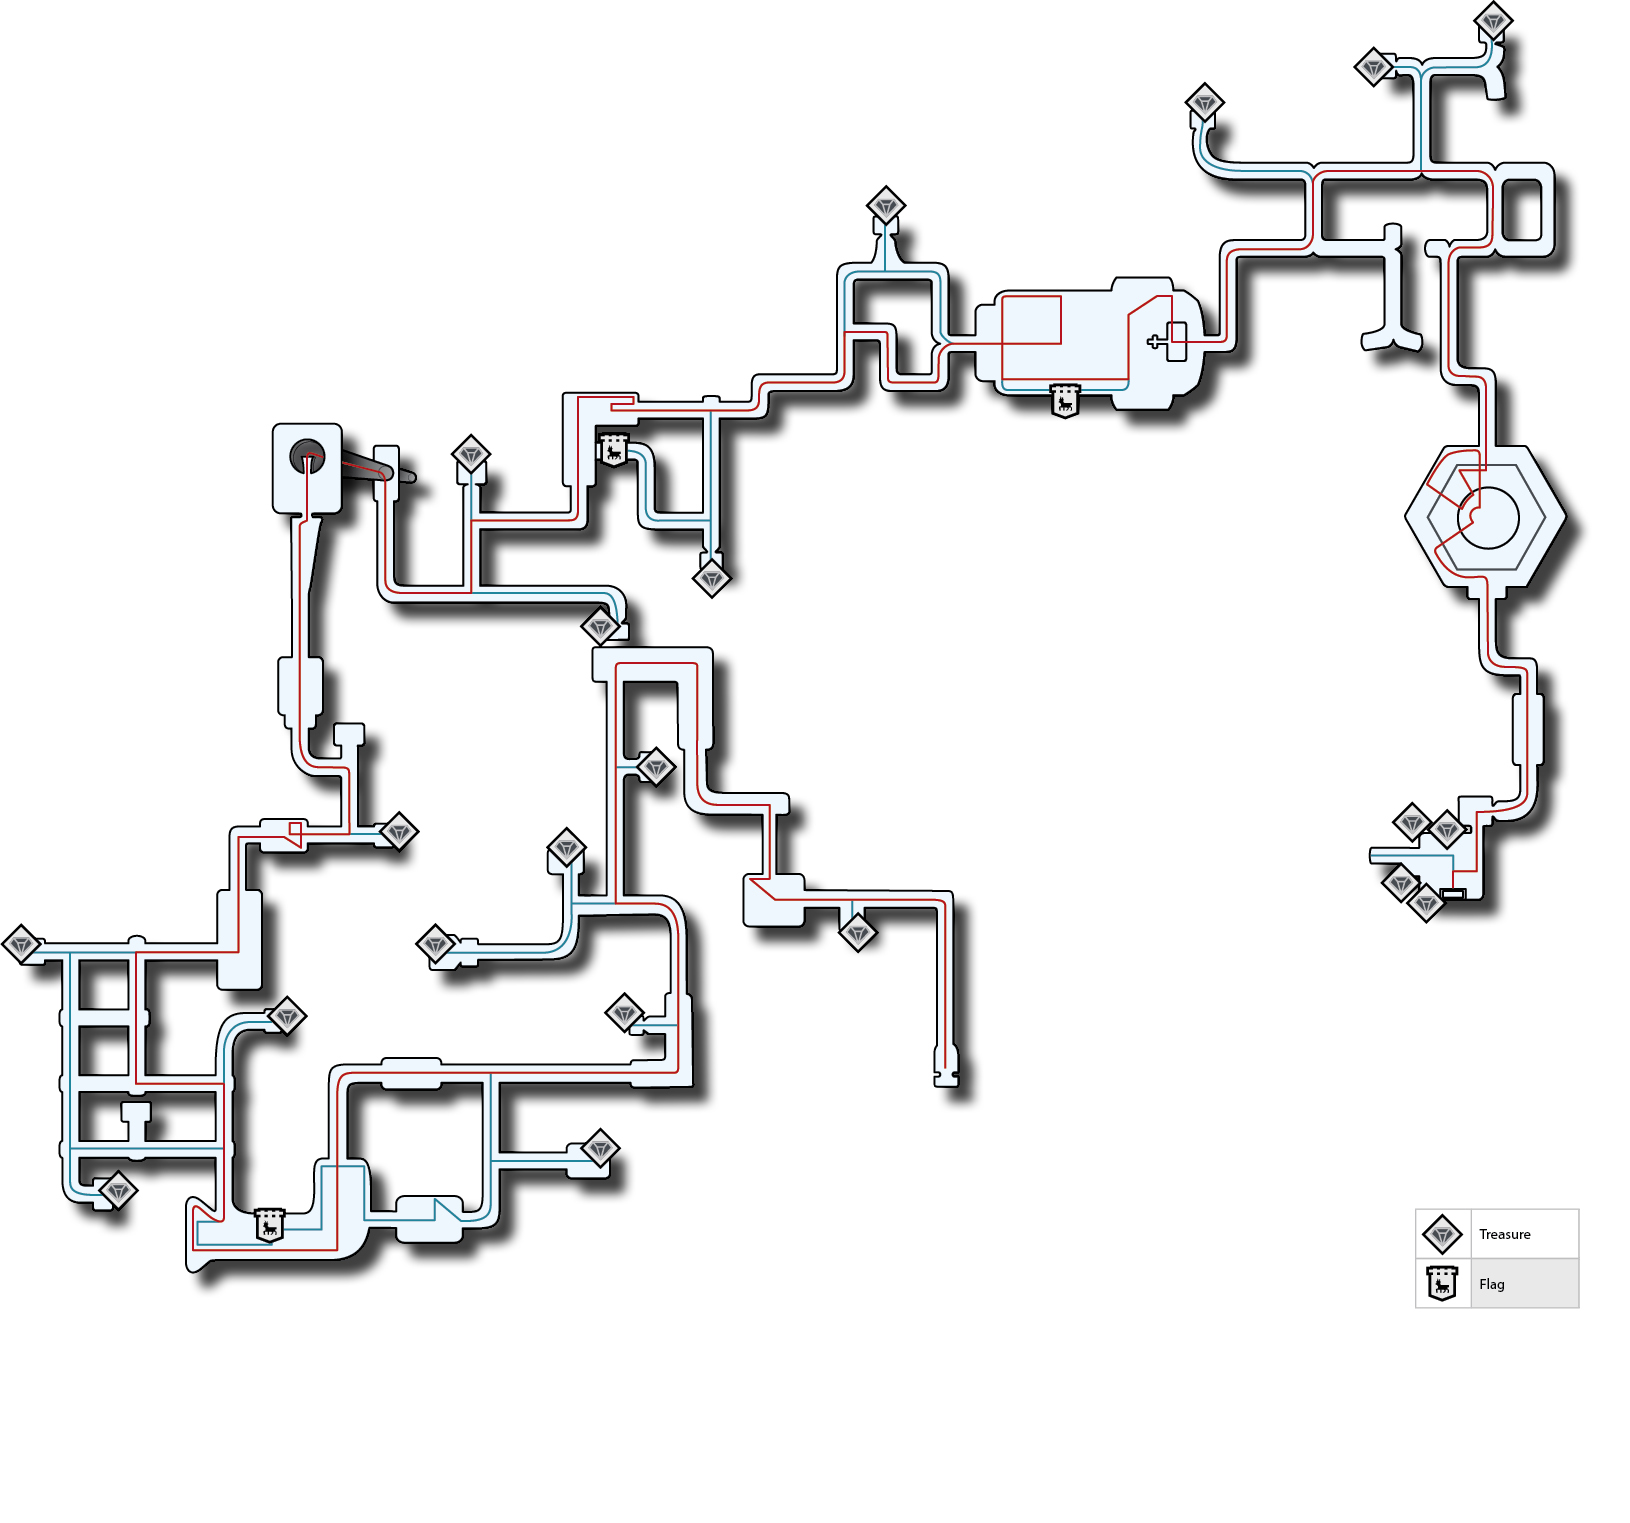
FOLLOWERS LAIR: THROWN TO THE WOLVES
Unlocked:
Available from the start of Sequence 03.
Entrance:
Antico district – it's at ground level inside the Colosseum.
Full Synch:
Don't lose more than three Health Squares.
Note that partial damage sustained counts towards overall loss.
1: From the start of the memory, Treasure Chest #0 is in the first cell on the left. Climb up to the wooden beam on the east wall, then face west and jump over to the broken wall section (Fig. 1). Borgia Flag #1 is directly below. Climb back up, then leap back over to the beam.
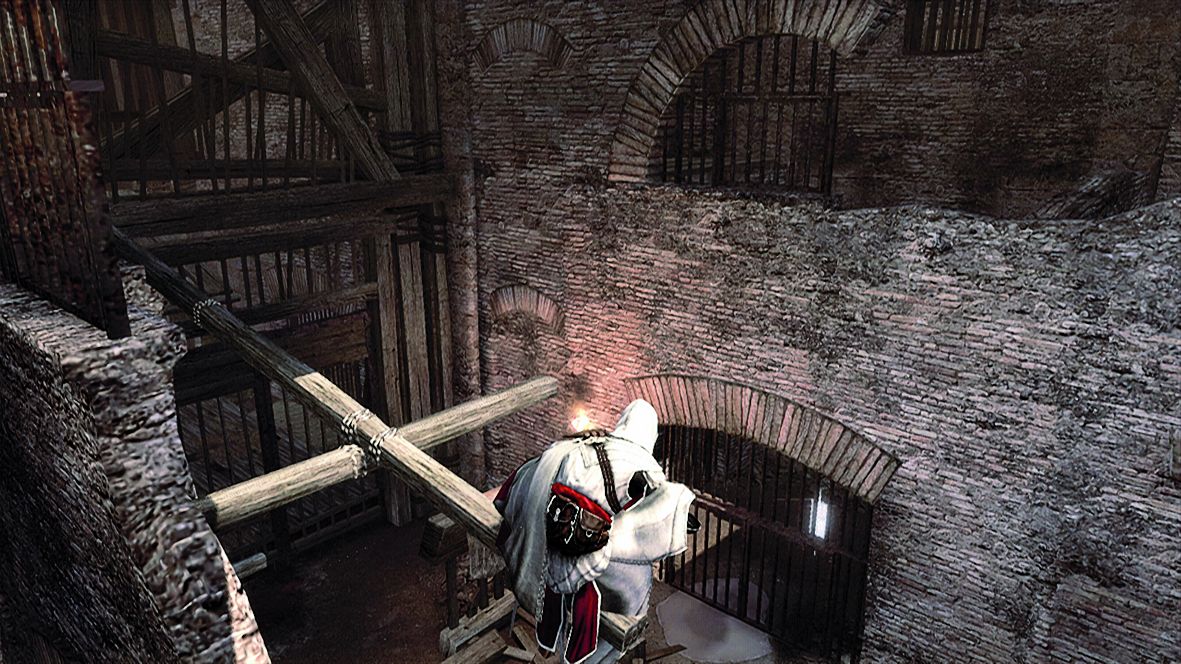
Figure 01
2: In the adjacent corridor, operate the switch and head south via the obvious free run route to reach the waypoint marker. Dispatch the Wolfmen after the cutscene (the one sitting in the chair poised to spring the trap can be dispatched with a Throwing Knife), then give chase as the target flees. He will close the most evident route forward in a few instances, but there is always an obvious alternative path nearby. Note that hanging lanterns (Fig. 2) are used to swing around corners. When the target steps
into an elevator, turn around to find
Treasure Chest #1
. Once you arrive at the party, head up the staircase on your right to reach a balcony.
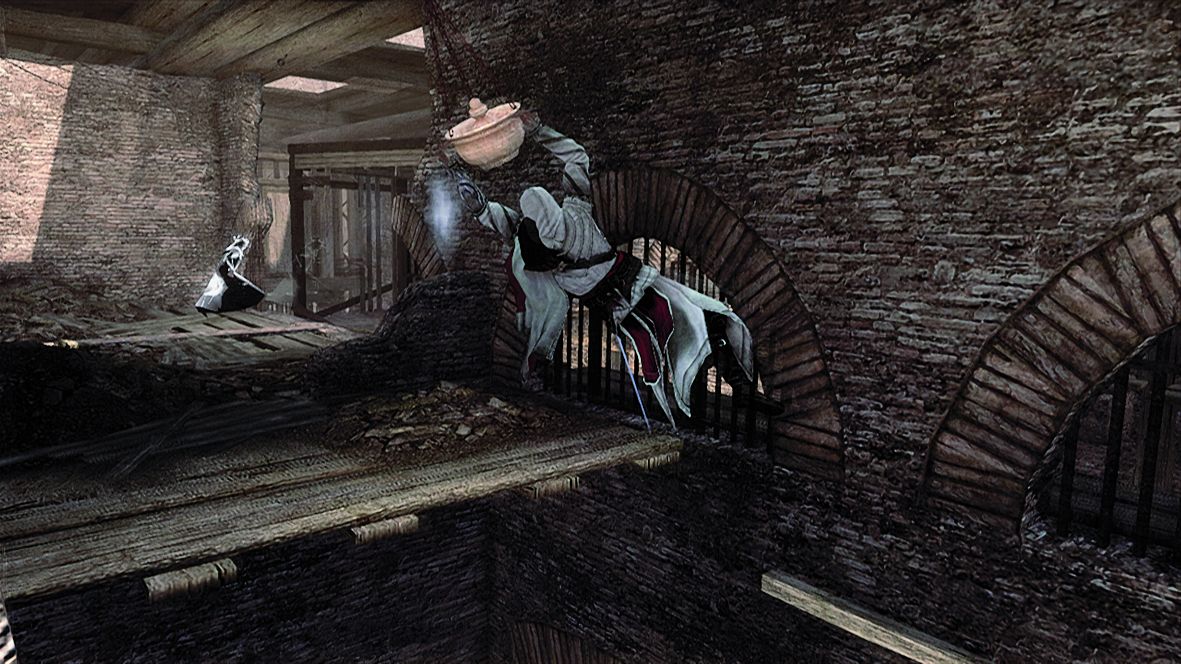
Figure 02
3: Before you locate the target, you should first attend to collectibles. Treasure Chest #2 is behind a hanging sheet on the east balcony above the room with the Jubilee Performers; you can reach it by free running over the chandeliers from the west balcony. From the chandeliers, free run north over a wooden beam and an arch to reach Treasure Chest #3 in a high alcove. Return to the original balcony. You can find Borgia Flag #2 by dropping down into the room a short jog to the south: look behind another red curtain (Fig. 3).
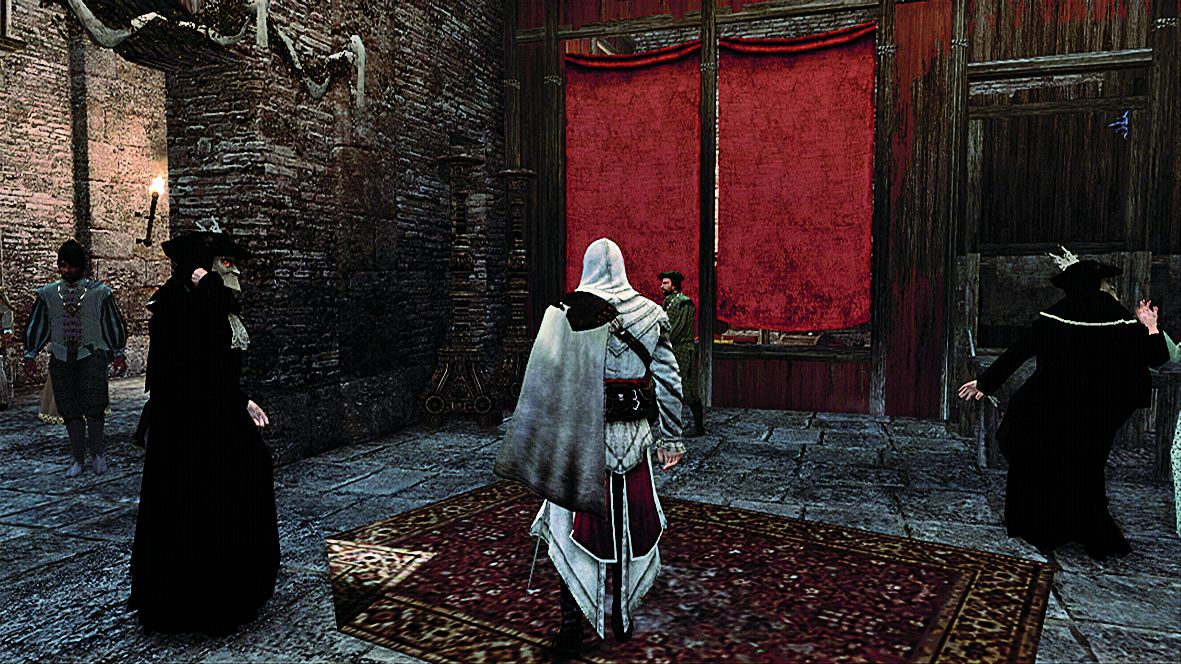
Figure 03
4.1: You can locate the target in a corridor further south. He will flee as Ezio approaches him. Run up the ladder to continue your pursuit. After the cutscene, free run down to the steed on the left: Ezio will always mount automatically if he lands on a horse. Those seeking collectibles should pause now and consult the 4.2 entry. As before, the target will pass through gates and slam them shut behind him, so don't get too close. After the third gate, however, get ready to ride hard as you hang left and head up the ramp pictured here (Fig. 4). Select your Hidden Blade and use the Target Lock Button to highlight your adversary. Now follow the onscreen prompts to leap over and assassinate him. If you cannot reach him in time, he will burst through a wall at the end of the corridor, leading to a fight against a group of Wolfmen.
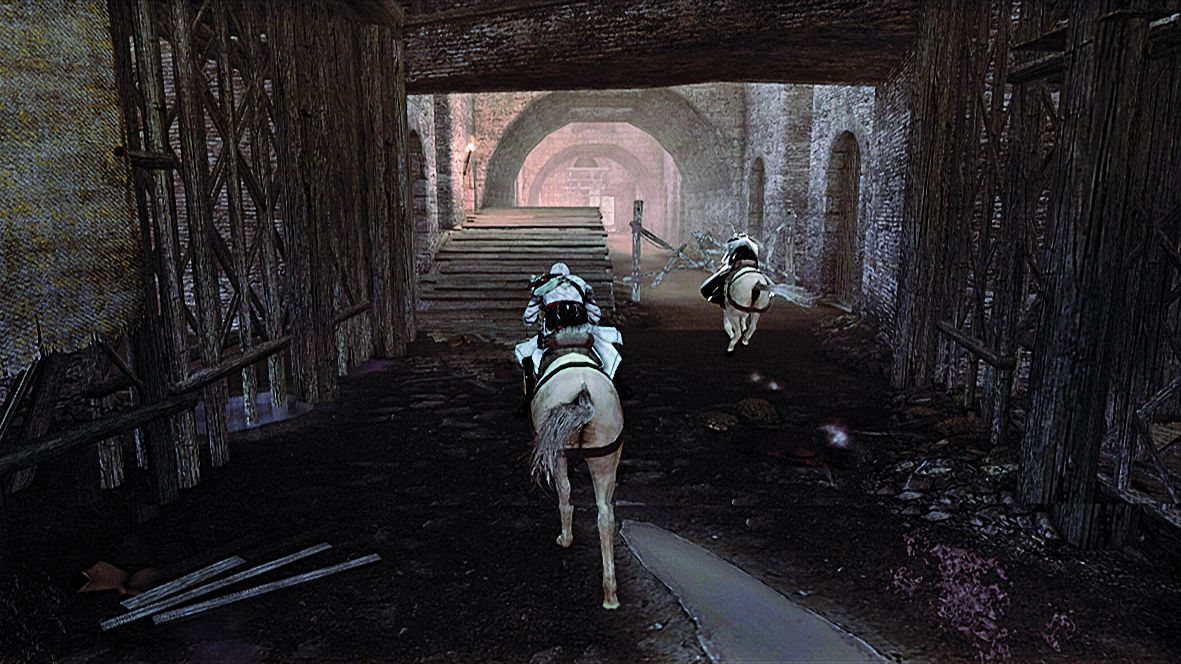
Figure 04
4.2: After first mounting the horse, proceed along the tunnel until you reach the area pictured here (Fig. 5). Gallop at full speed (High Profile + Legs Buttons) until you approach the first low beam overhead, then release and double-tap the Legs Button to leap off the horse and grab it. Climb up quickly, grab Borgia Flag #3 , then leap onto a second steed (conveniently) waiting just ahead to resume the pursuit.
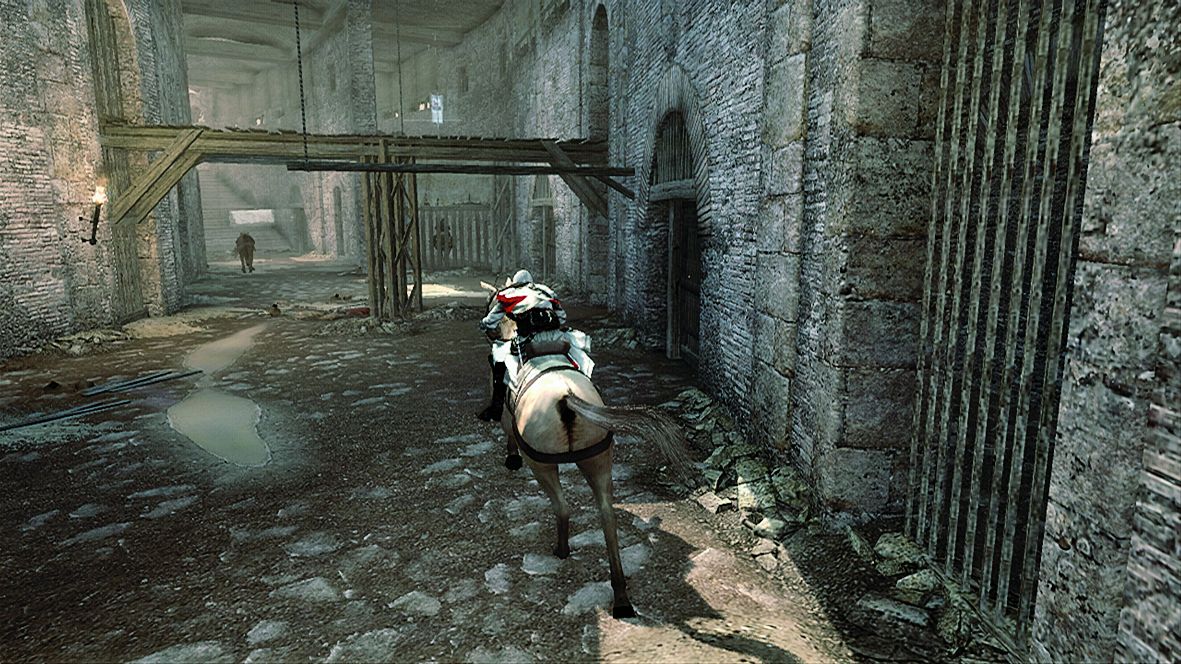
Figure 05
5: The route to the next waypoint depends on the outcome of the chase: either up the wall at the dead end and sneaking over beams to avoid the Wolfmen below (Fig. 6), or from inside the room if you fought them. When you reach the alcove, take a Leap of Faith into the hay pile. At the bottom, head through the gap in the wall (and over the beams) to reach the Shrine of Romulus. Loot the Treasure Chests, then return to Rome via the flashing wall section to end the memory.
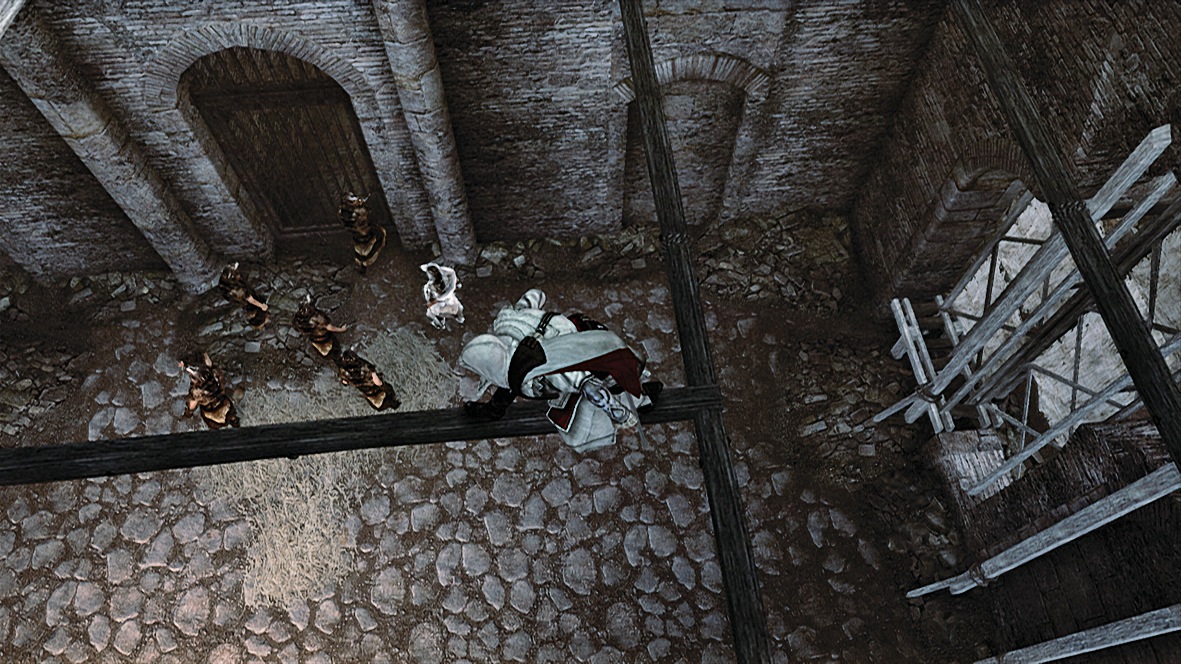
Figure 06
TEMPLAR LAIR: SHOPAHOLIC
Unlocked:
Only available in specific Assassin's Creed Brotherhood editions, or as a preorder bonus. Available from the start of Sequence 03.
Entrance:
A Templar door, on the north side of Mercati di Traiano.
Full Synch:
Kill only your target.
Overview:
This memory offers a welcome boost to Ezio's finances during Sequence 03. Smoke Bombs may be of benefit at one stage.
1: Climb up onto the broken upper walkway in the west of the room, leap across to the wooden platform, then jump over to the boarded-up windows. You can head right here and scale the wall to find Treasure Chest #1 above (Fig. 1). Afterwards, return to the central platform, then traverse and swing over to the door on the east side of the room.
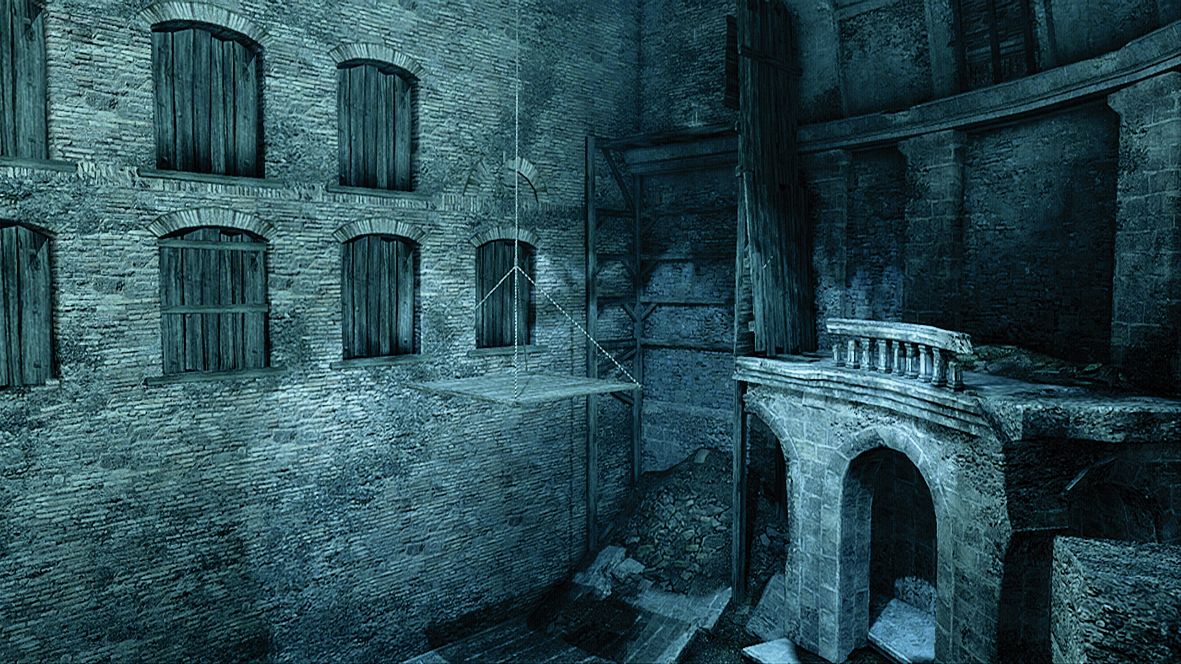
Figure 01
2: The next stage is a breakneck chase in pursuit of the fleeing target. Other guards will take up arms and attempt to block or attack Ezio, but there's really no need to fight them: an alternative route will always present itself. The trick to clearing this assault course is to sprint in bursts, slowing to Ezio's basic running pace whenever you reach a potential branching path. This will give you a vital split-second to spot the direction you are supposed to take. One tip is to look for white sheets draped over boxes and furniture (Fig. 2) – a prompt revealing that free running is possible from that position. Smoke Bombs can be employed here to deter the chasing pack if you have them. When the camera switches to a fixed position, scale the wall and drop over to escape the guards and begin the next stage of the memory.
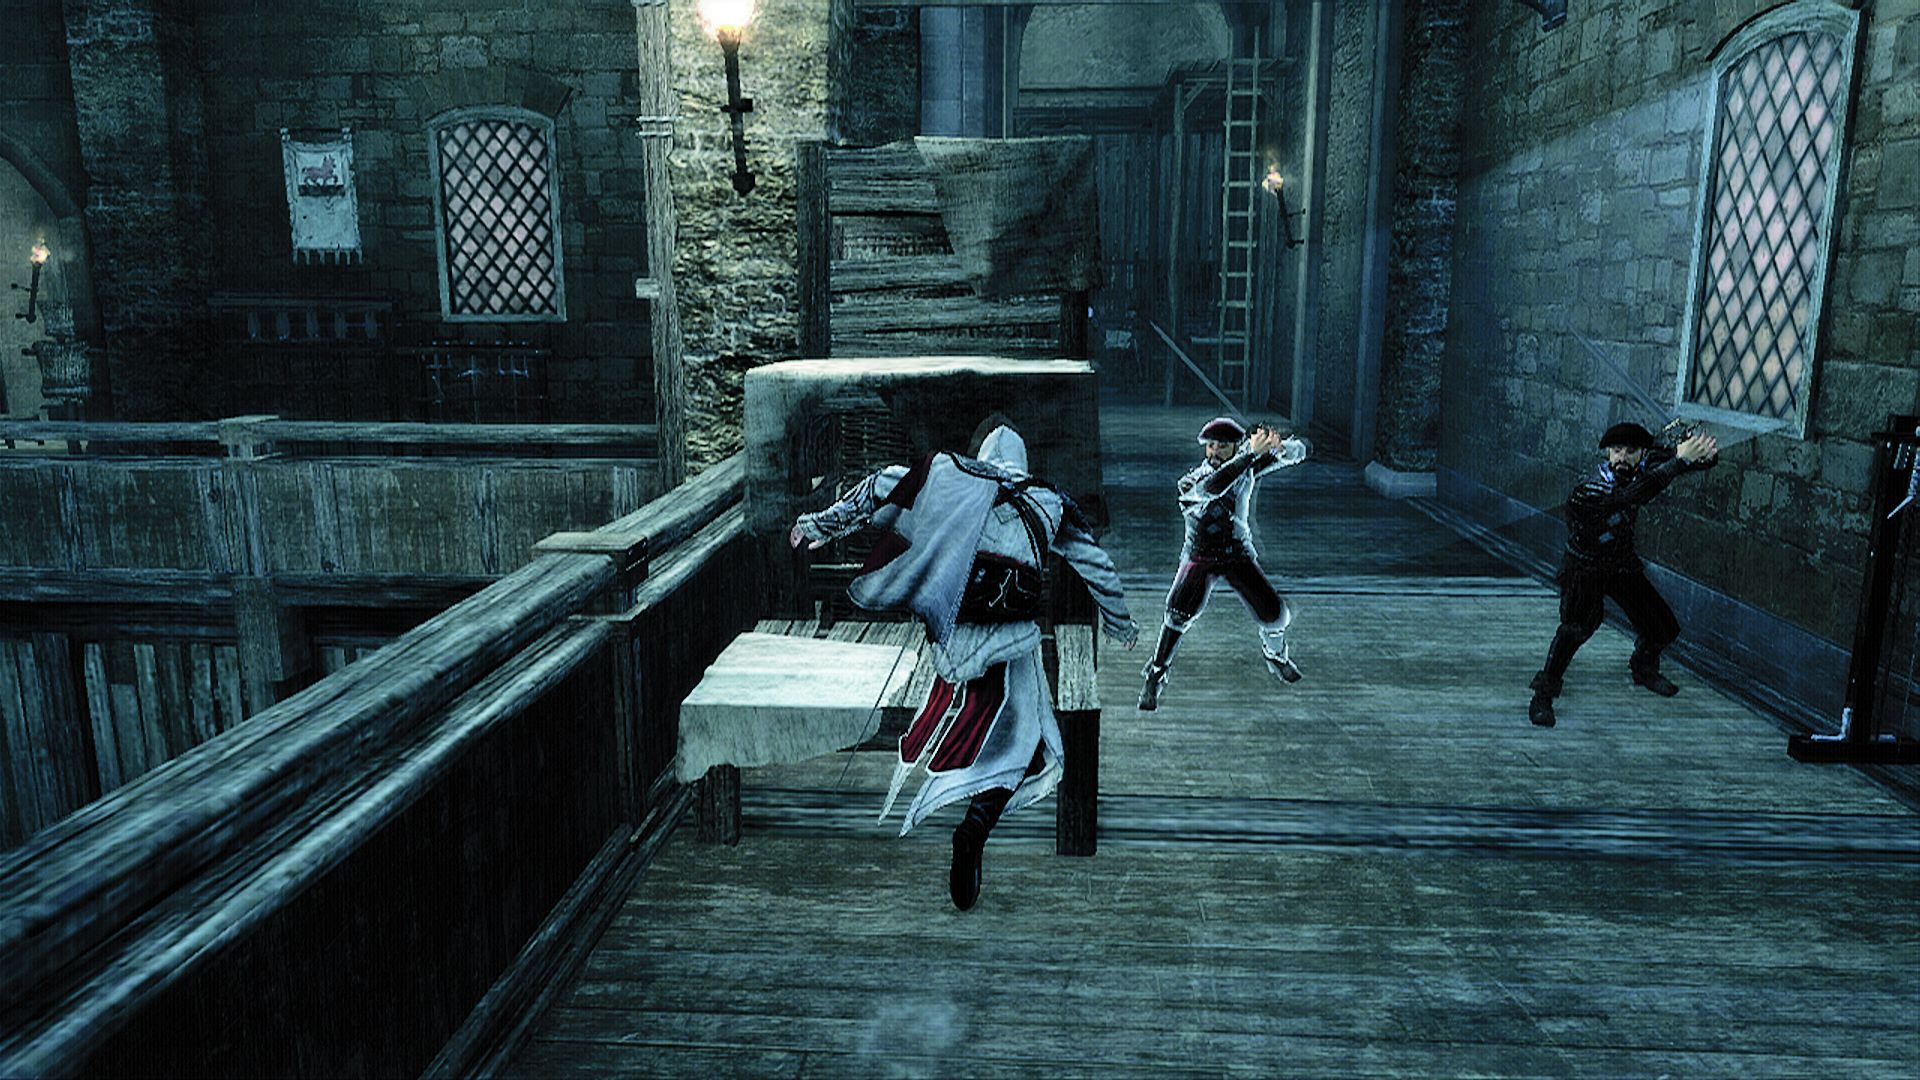
Figure 02
3: Select the Hidden Blade, then watch your quarry carefully. Being a soldier of the Agile archetype, he's immensely quick. You may be able to catch him in this enclosed area by shadowing his every move, but smarter assassins will soon recognize that the upper walkways and suspended platforms present opportunities for easy Air Assassinations as he runs below (Fig. 3). Try to shepherd him in the direction you require, then wait for the best moment to make your move. Ranged weapons can also make short work of him. With the target disabled and the key acquired, you can sneak back over the wall to the previous area and open Treasure Chest #2 in a small room to the right as you land. With that done, return and head through the highlighted gate on the upper level to continue.
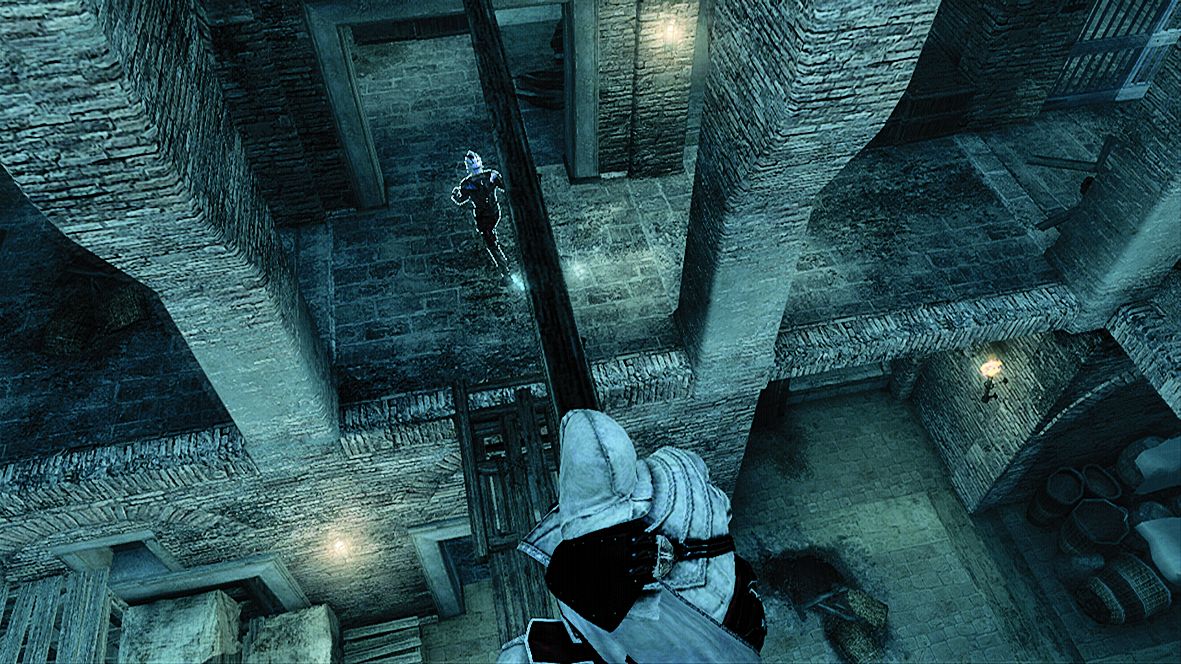
Figure 03
4: The climb inside Torre delle Milizie is fairly straightforward at first, but soon requires that Ezio employ three advanced climbing techniques: Back Eject, Sideways Jump and Wall Eject Back. With a checkpoint not far below there's no reason to panic, and the use of fixed camera angles makes it fairly apparent when each athletic feat is required. When you reach the decayed wooden wall at the top, traverse around to the south-facing side. You can perform a Back Eject here to reach hand-holds and, just around the corner, Treasure Chest #3 (Fig. 4). Return by the same route, then climb all the way up and relieve the Templars of their hoard before you exit to Rome.
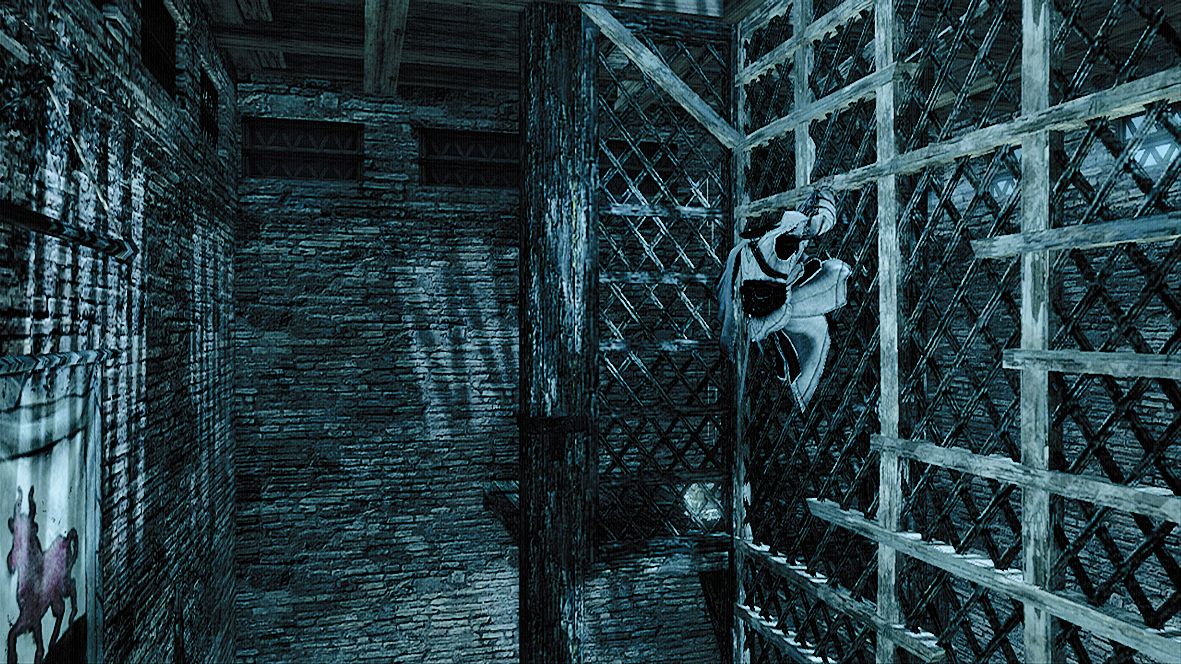
Figure 04
FOLLOWERS LAIR: THE SIXTH DAY
Unlocked:
Available from the start of Sequence 06.
Entrance:
Inside the enclosed courtyard at the Palazzo Laterano: climb down from the roof to reach it.
Full Synch:
Do not lose more than one Health Square. Note that partial damage sustained counts towards overall loss.
1: Your first objective is to find a way to the upper floor level. From the start point, head west through the decaying rooms until the available path branches off in a southerly direction. At the end of this corridor, wall run up and grab a wooden beam (Fig. 1) and then free run back along the upper level. Take a short detour to the left to collect Borgia Flag #1 , then head east.
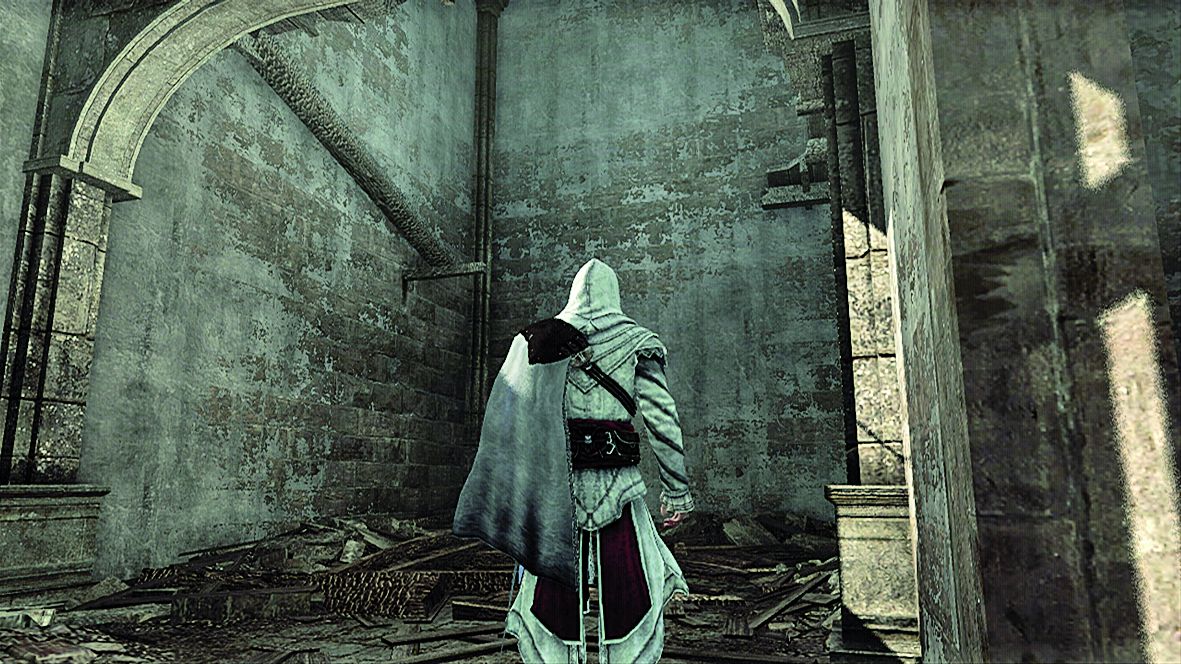
Figure 01
2: Climb up through the hole in the north wall via the broken cabinet, then run out onto the balcony. Use the chandeliers to reach another balcony on the east side of the room. When you get to the burnt-out floor, drop down to open Treasure Chest #1 , then climb back up via the cabinet in the northeast corner – wall run up to grab the beam above (Fig. 2).
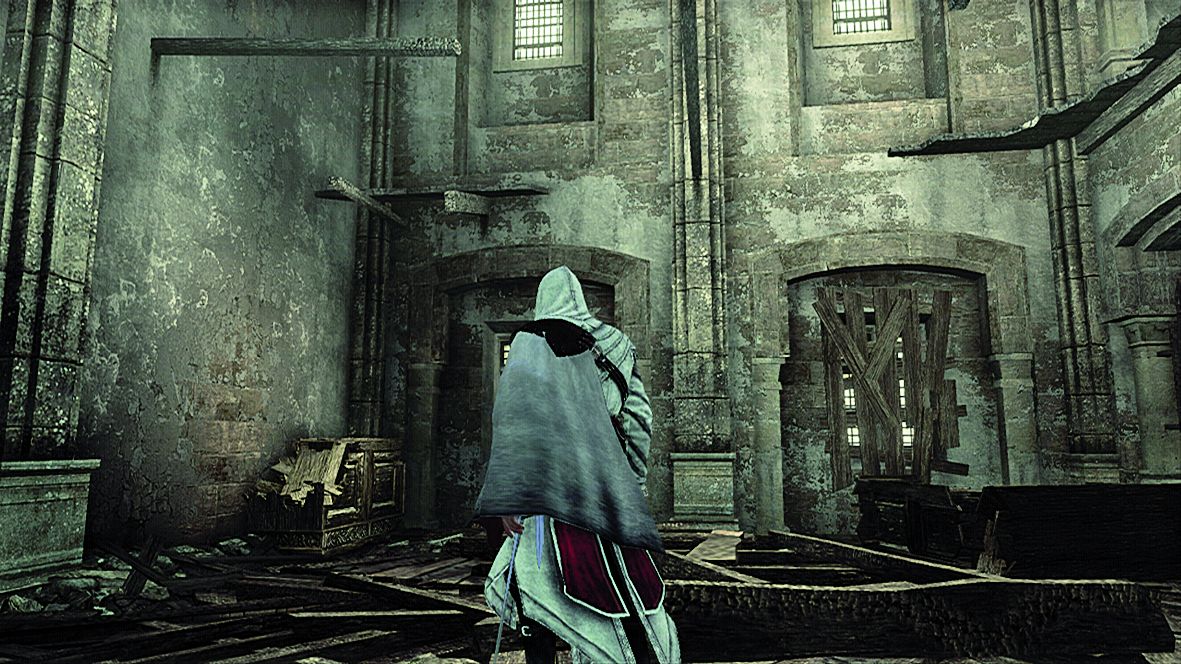
Figure 02
3: In the next room, use the cabinet beside the broken staircase to grab a wooden ledge (Fig. 3), then traverse right and climb up to collect Borgia Flag #2 . Face south and free run along the west wall until you come to a platform on top of a statue. After you reach the hanging light fitting, Ezio will release his grasp. Press the Empty Hand Button to grab a wooden ledge as Ezio falls past it. Traverse towards the south wall, then perform a Sideways Jump to get to the ledge there. You can then move left and swing into the next room. Use the weapons rack on the south wall to reach the beam above, then head through the gap in the upper wall to arrive at the next checkpoint.
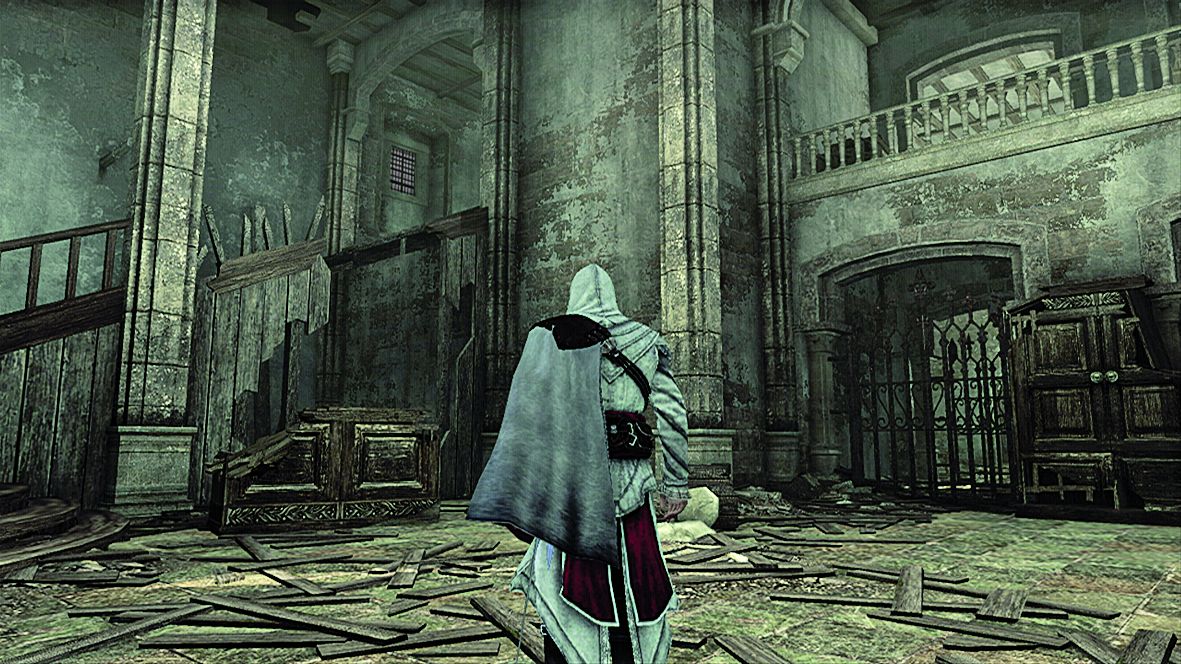
Figure 03
4: Run south, then follow the route as it swings to the west. Free run and climb along the south wall until you can move no further, then traverse along to the right (Fig. 4). When the camera angle automatically adjusts, perform a Back Eject. Traverse to the far left on the hanging wooden beams until Ezio stands, then make a sideways jump to the hole in the wall. Climb up onto the ledge above, then make a short detour to the east to find Borgia Flag #3 partially hidden on a wooden ramp. Free run to the west, using the hanging light fixture to reach another platform and, beyond it, a room where Treasure Chest #2 is concealed behind a collection of shelves. Continue west to initiate a cutscene.
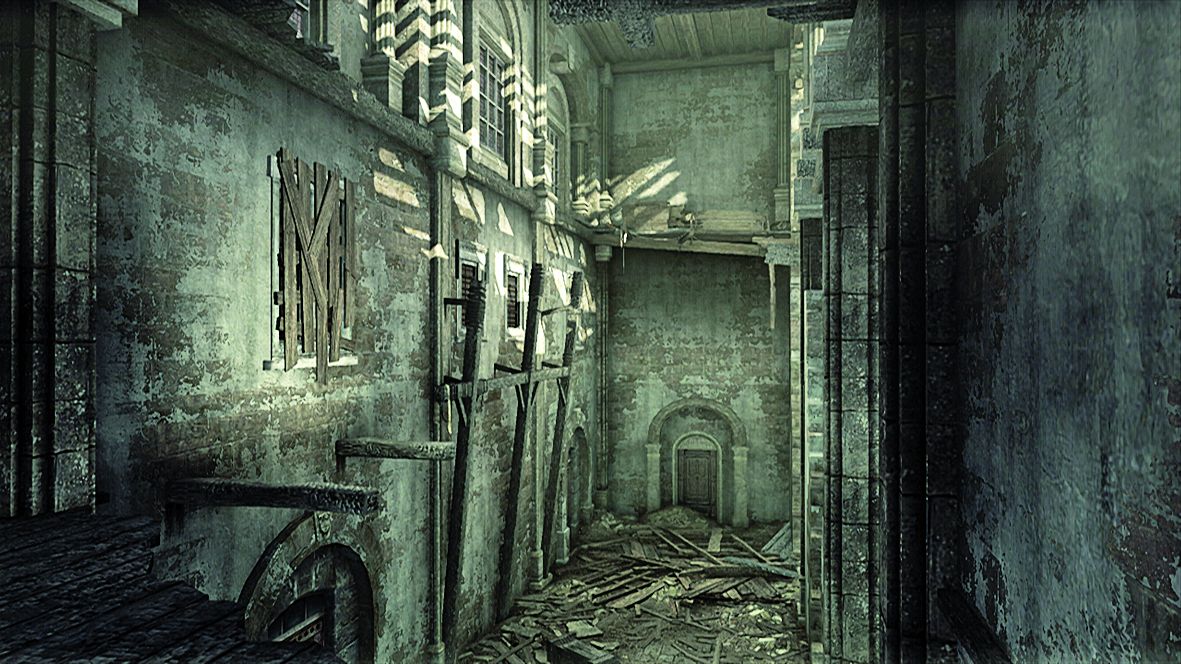
Figure 04
5: Free run down to the lower level. Treasure Chest #3 can be found in a tunnel in the northeast of the room. Now approach the highlighted gate in the north of the chamber and interact with it. Follow the onscreen instructions to shoot the counterweight, opening a gate on the lower west wall. Note that you can replenish ammo stocks at the highlighted crate to the right of the barricaded gate (and at others throughout this area). Proceed through the open gate and climb up to reach the west balcony, then shoot the second counterweight in the southwest corner (Fig. 5).
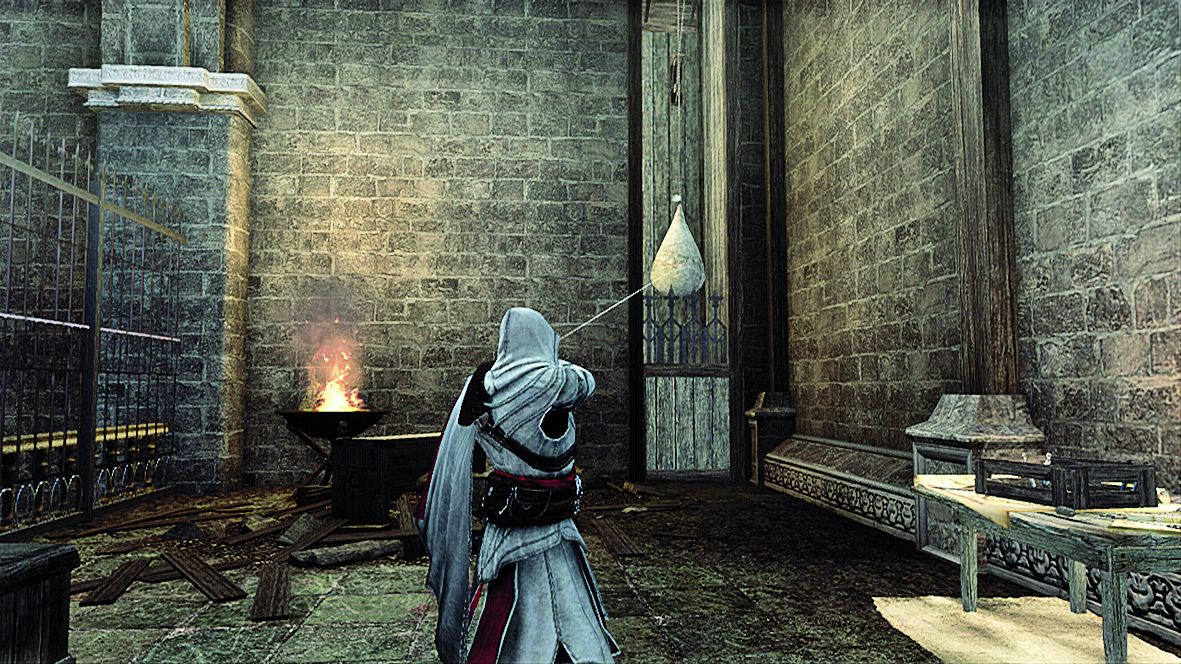
Figure 05
6: Facing north, leap onto the balustrade and climb over to the northern end of the balcony (Fig. 6). You now need to clamber over to the balcony on the east side. Hop onto the nearby column (note the metal ring) and use the wooden supports to climb all the way up, then perform a sideways jump onto the beam when prompted. Leap over to the adjacent beam, then free run to the south wall.
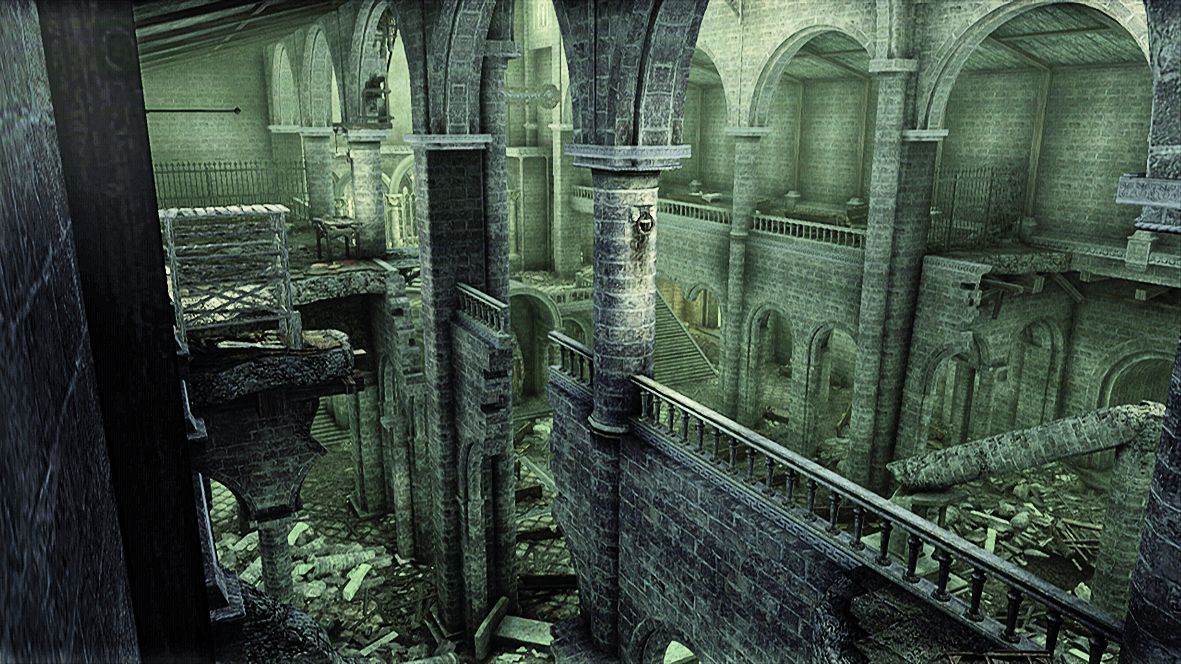
Figure 06
7: When you reach the window, leap over to the planks and climb down (Fig. 7). For the final drop to the platform below, use the Empty Hand Button to grab the lower planks as Ezio falls past. This will prevent him from sustaining damage and, as a consequence, failure of the Full Synch condition. Shoot the final counterweight in the southeast corner, then perform a Leap of Faith into the hay below. You can now loot the rooms at the waypoint marker before departing.
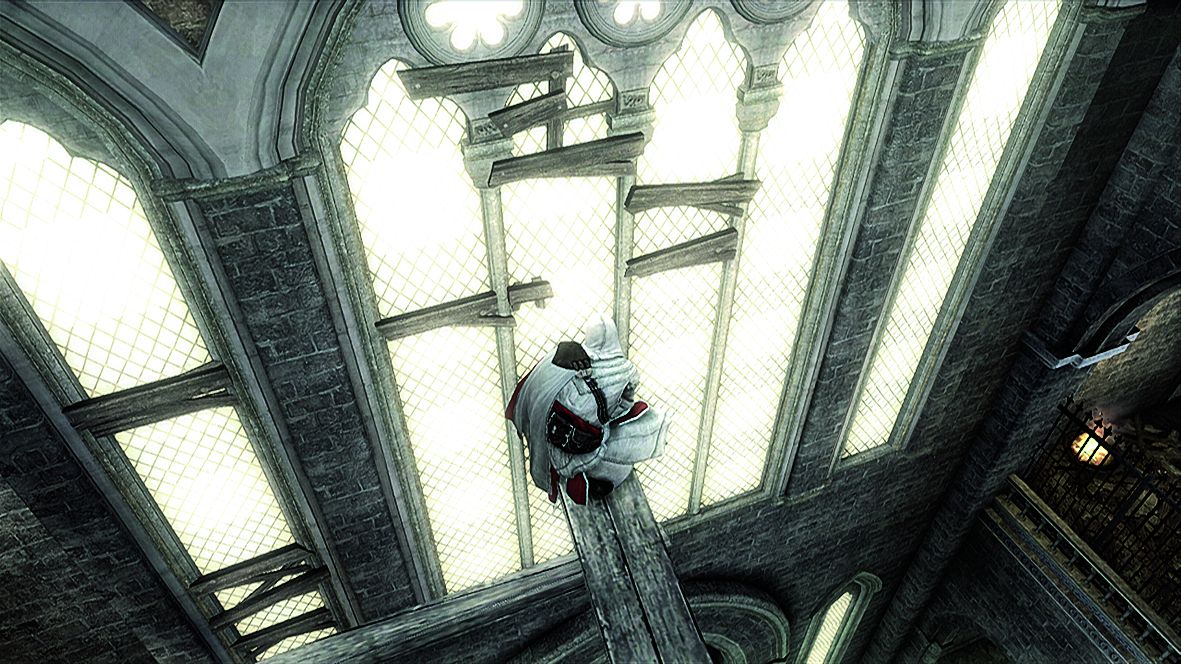
Figure 07
FOLLOWERS LAIR: LEADER OF THE PACK
Unlocked:
Available during Sequence 07.
Entrance:
Renovate the connecting Broken Acqueducts so that water flows into the Terme di Diocleziano, then swim to the entrance.
Full Synch:
Do not lose more than ten Health Squares.
Overview:
Before you start this mission, we suggest that you have a full stock of Smoke Bombs and Throwing Knives with, optimally, a few capacity upgrades for the latter. The Climb Leap Glove (purchased
from Leonardo) will also be of benefit in one instance, though it's far from mandatory.
1: Give chase to the highlighted Follower of Romulus. You can either ignore his allies (should they block Ezio's path, use the Barge move to knock them aside) or dispatch them swiftly with Throwing Knives. Smoke Bombs will prevent those behind from catching up. This is a complicated free run course, with plenty of instances where poor manual alignment of the camera or marginally imprecise directional control will plunge Ezio into the water. If in doubt, slow down and take jumps with care. There are two groups of Wolfmen to fight when the chase ends. Before you proceed, open Treasure Chest #0 in the north of the room, then climb up and perform a Back Eject to collect Borgia Flag #1 to the south (Fig. 1). You can also loot the corpses here to replenish ammunition supplies.
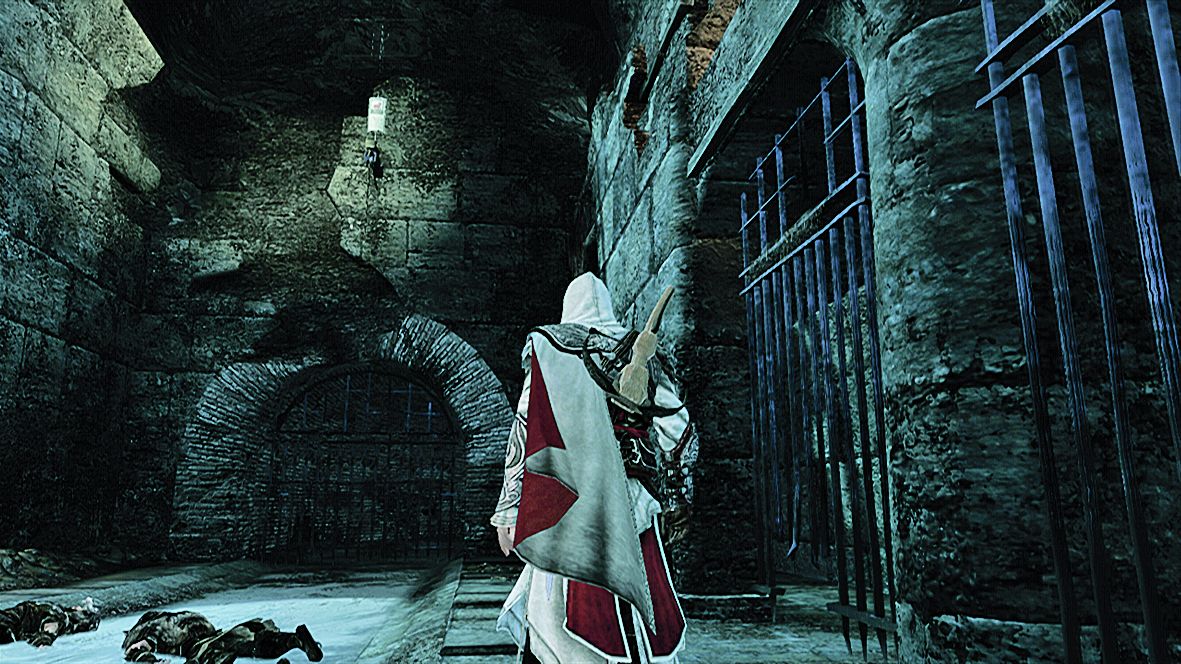
Figure 01
2 : After a short chase (and many Wolfmen to evade, bustle aside or slay with Throwing Knives), Ezio faces another group battle. When the final adversary falls, look for Treasure Chest #1 in the northwest corner. Head over to the south end of the room, climb onto the stone (note the white sheets on the shelves resting against it) and free run through the gap in the east wall. After killing more Wolfmen exit via the next opening along, swinging on the light fitting to reach the south wall. Open Treasure Chest #2 as you pass it, then swing over to the west wall and traverse to the platform further north (Fig. 2). Be ready to fight another group of Wolfmen as you approach: look to gain a secure footing before they attack, or you may need to repeat the climb. Collect Borgia Flag #2 from the tunnel once the fracas ends, then loot the bodies to replenish your stocks of Throwing Knives. Now head over to the opening in the east wall.
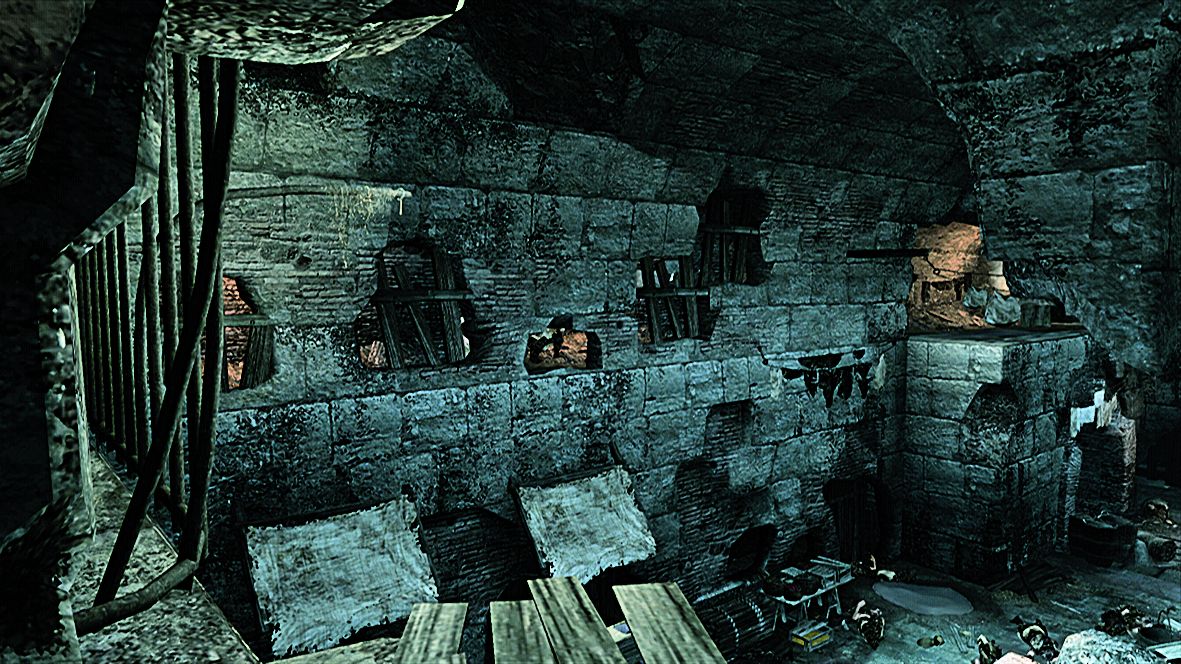
Figure 02
3: This third and final chase is not lengthy, but can be the most challenging by far. After passing the first fence, stick to the left-hand side of the tunnel. Though this route is initially tough (watch out for the "blind" turn to the left where Ezio must jump onto a beam), it's the only way to leap directly through a small gap in another fence (Fig. 3). If he approaches this barrier from the right-hand side Ezio must instead cross over, making him an easy target for projectiles. Throughout this tunnel section, strategic use of Smoke Bombs will disorient and disable the Wolfmen who attempt to block Ezio's path.
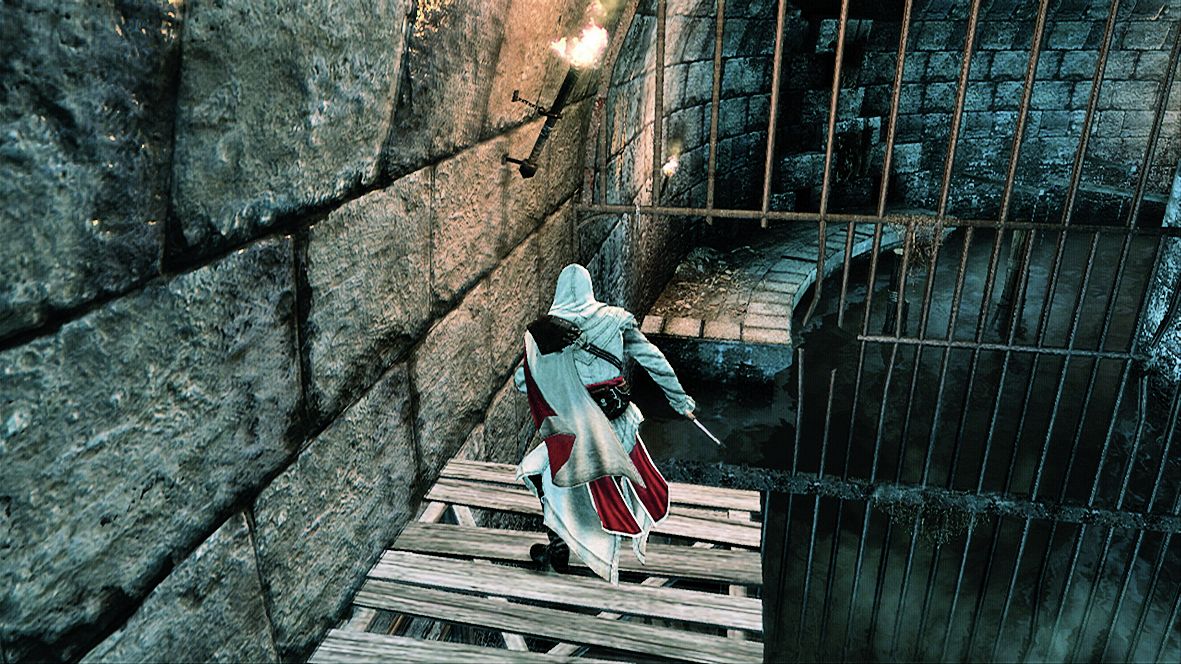
Figure 03
4: A pitched battle against two waves of Wolfmen follows the cutscene. If you're attempting to meet the Full Synchronization condition, this is make or break time. You can throw your enemies on breakable objects or in the water for instant kills. You may also be able to dispatch members of the second wave without raising a sweat if you carefully time a flurry of Throwing Knives. After the final Follower of Romulus hits the ground, jump into the water in the south of the room and dive beneath the barrier to get Borgia Flag #3 . Now climb up via the north wall to reach a ledge to the east (Fig. 4). Before you operate the lever, note that Treasure Chest #3 is located in an alcove to the right of the gate. However, you must have the Climb Leap Glove to reach it. When you are ready, enter the last room to collect the key and depart by the marked exit.
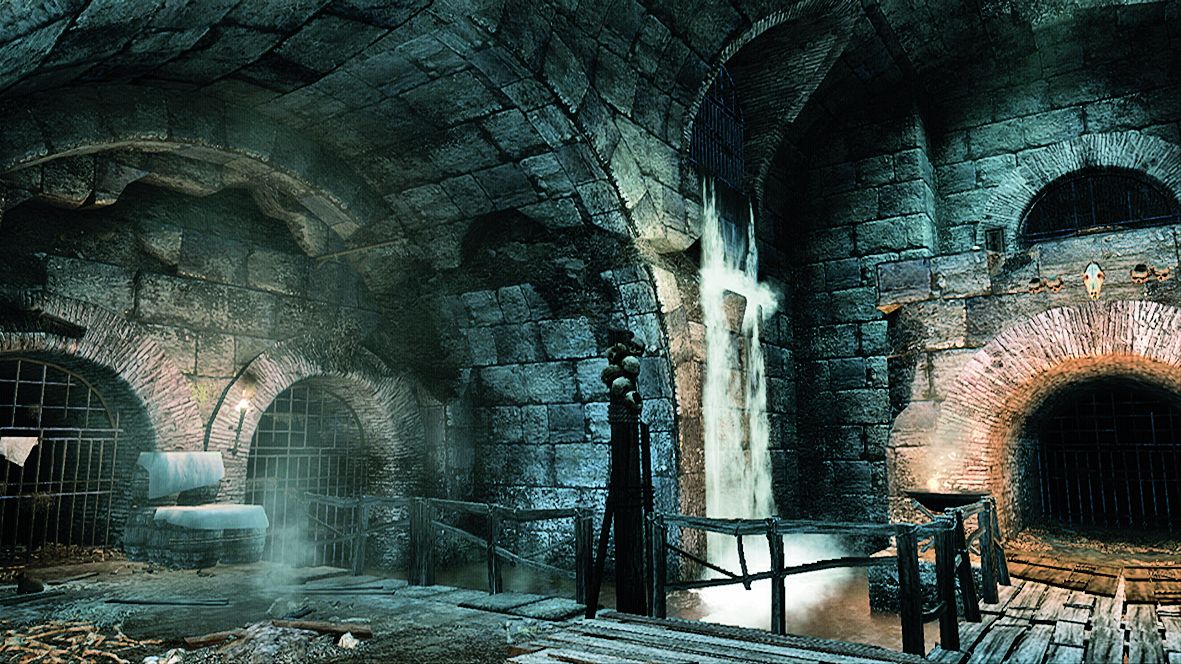
Figure 04
TEMPLAR LAIR: LIQUID GOLD
Unlocked:
Only available in specific Assassin's Creed Brotherhood editions, or as a preorder bonus. Available from the start of Sequence 08.
Entrance:
A Templar door in the Campagna district, where the acqueduct near the Mercenaries Guild HQ forks.
Full Synch:
Don't kill more than two mine workers.
1: Head into the quarry to trigger a cinematic, then move to the first waypoint. On your way there, note the crate with the distinct Animus shimmer: Ezio can replenish his ammunition here (and at others throughout the memory). Continue forward and shoot the mechanism as directed, then make your way over to the south wall (Fig. 1) to reach the next waypoint.
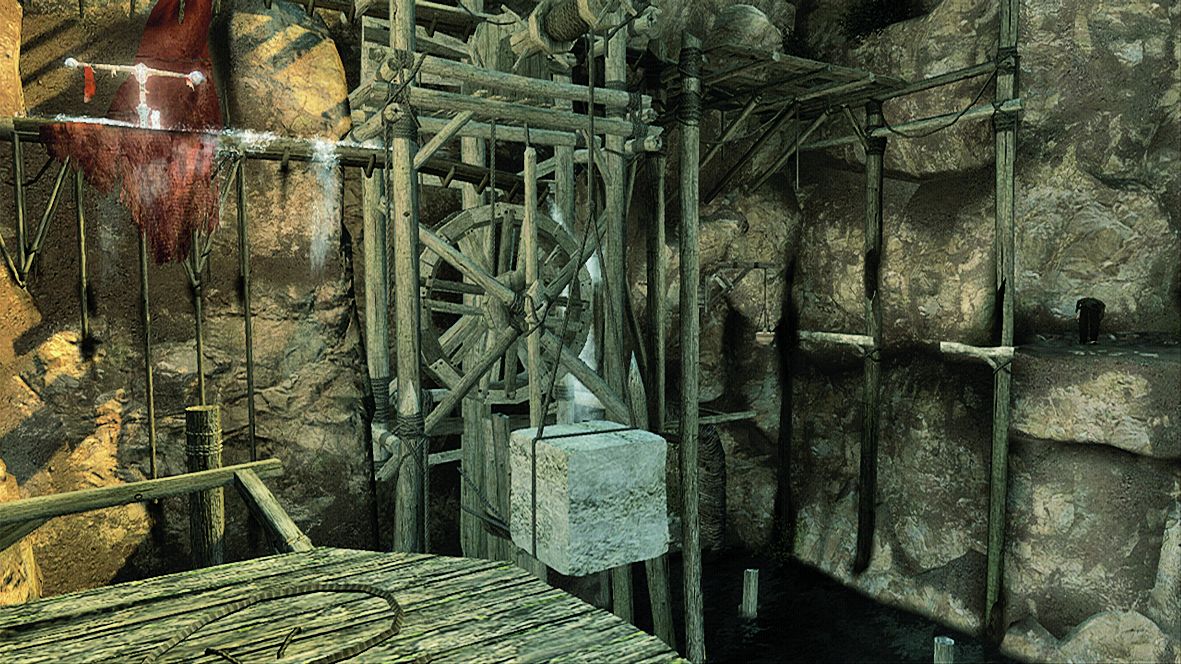
Figure 01
2: Ezio must now activate two further levers in the same manner to continue. From the raised area with the second ammunition crate, free run to the north to shoot the first mechanism in an alcove, then turn to hit a second partially concealed behind wooden boards (Fig. 2). Backtrack to the ammo resupply box, then head to the far west corner to activate the water pump on the lower level. Now hit the second mechanism again to create a climbing route. Scale the roof above the water pump mechanism and the wood "ladder" raised moments before, then Back Eject to the sluice behind Ezio. Head north to reach the upper level of the quarry.
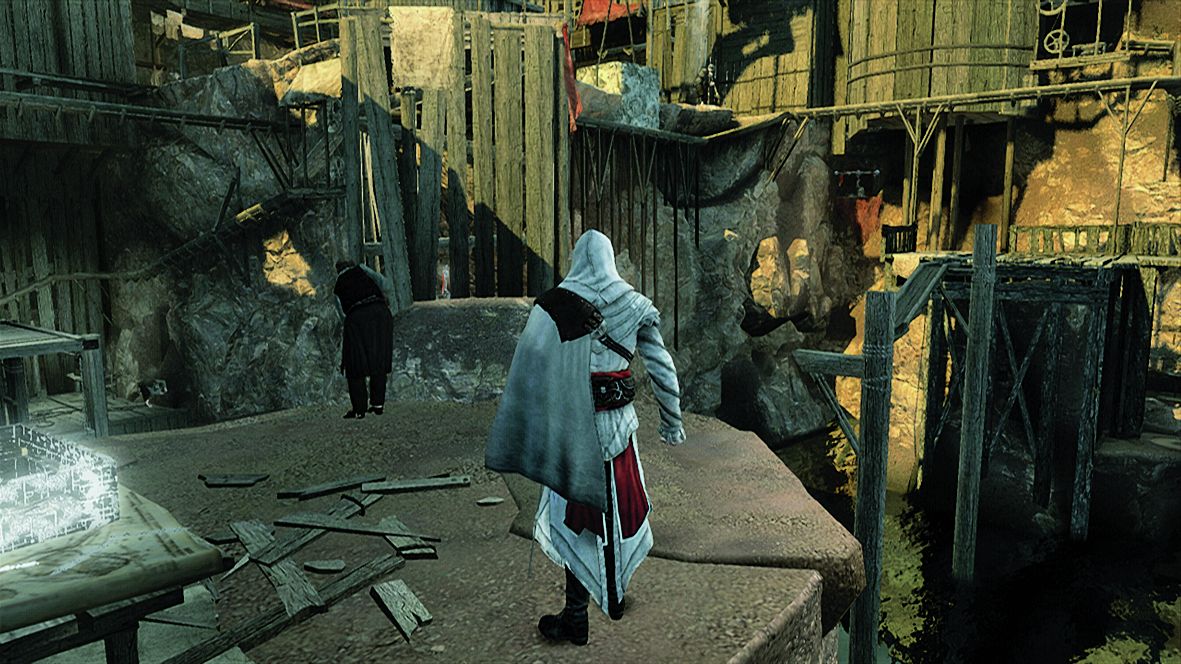
Figure 02
3: In the battle that follows, stick to unarmed combat to defeat the guards and mine workers – non-lethal takedowns with the latter are essential to complete the Full Synch specification. Once the battle ends, run over to the south end of the platform and use a hanging lantern (Fig. 3) to reach a wooden beam. Climb to the upper level, then hit the mechanism to raise a stone block, creating a path to a second lever. Drop back down to the level below.
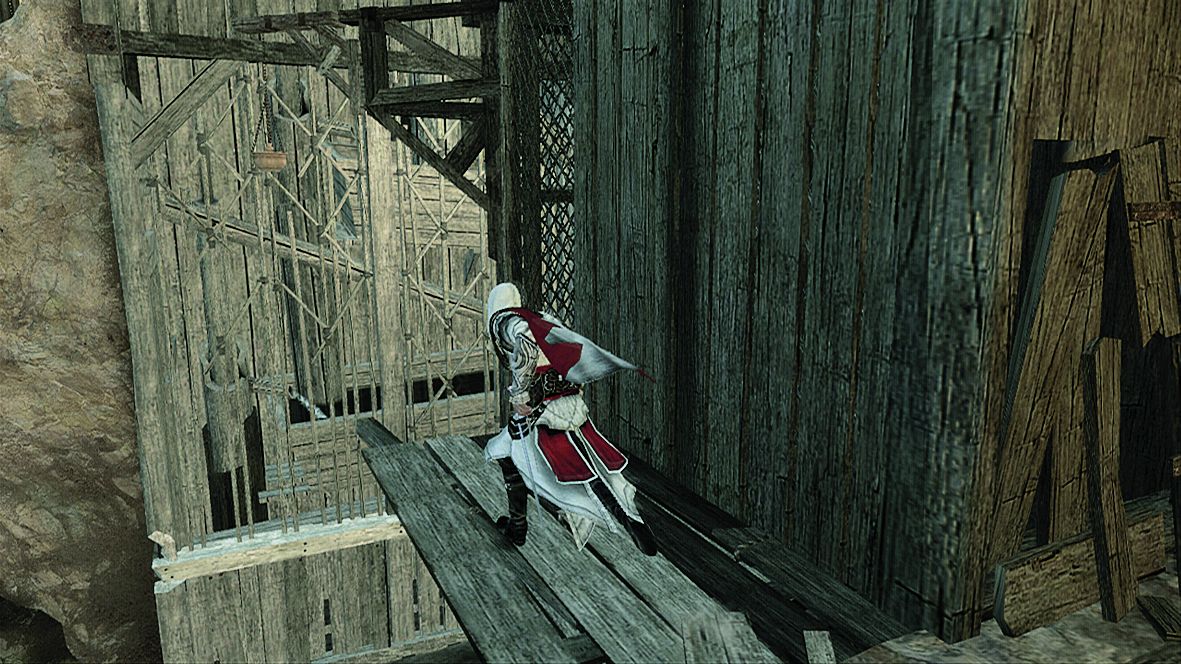
Figure 03
4: Move over to the northeast corner of the platform and run along the sluice. Use the hanging fixture to reach the ledge where Treasure Chest #1 awaits (Fig. 4).
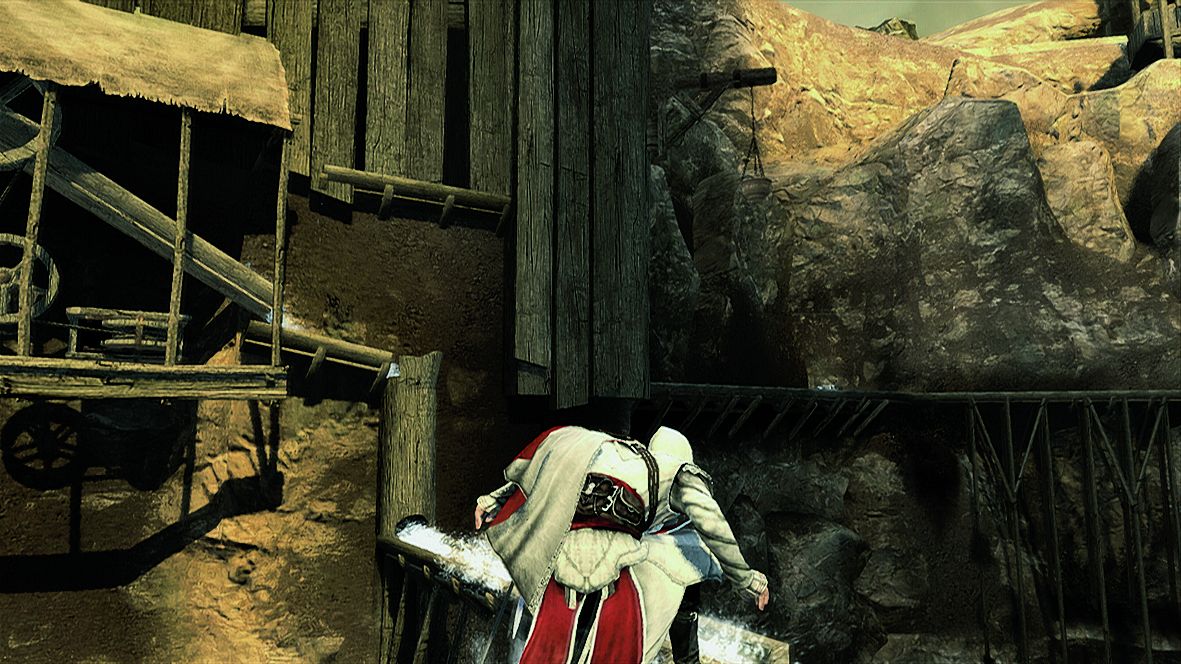
Figure 04
5: Climb onto the crane at the center of the area and leap onto the stone block raised moments before. From here, jump to the platform to the north. Shoot the mechanism (Fig. 5), then backtrack to shoot the first mechanism again. Run up the ramp after the cinematic interlude and follow the fleeing Captain.
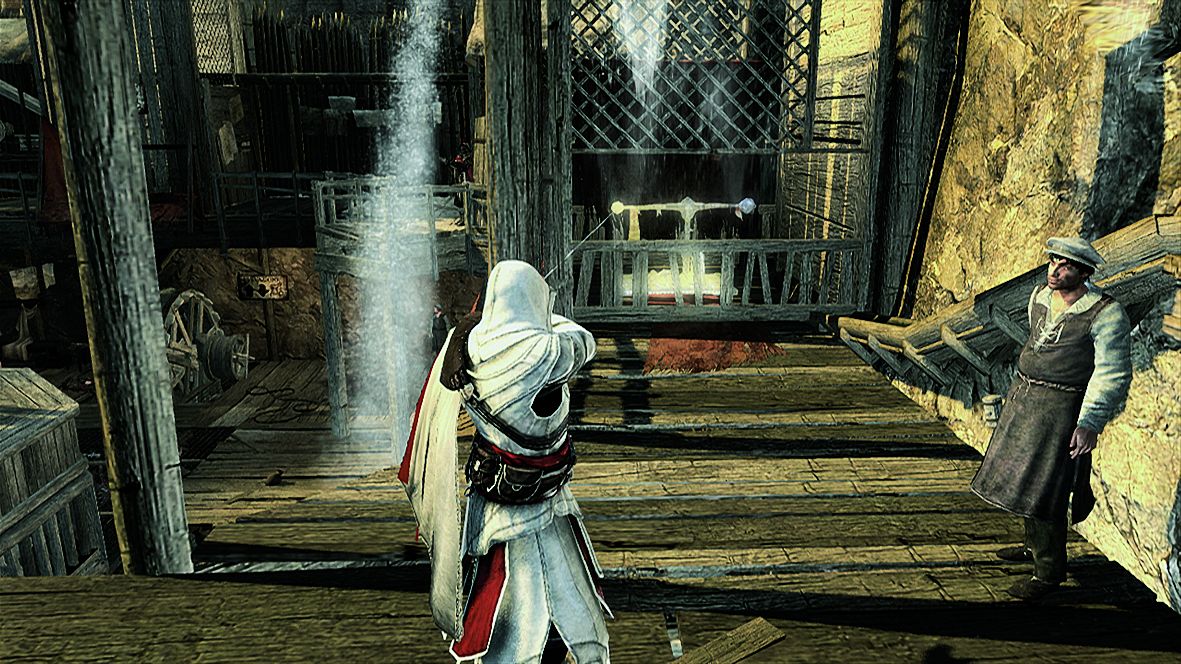
Figure 05
6: Perform a Wall Eject Back to reach the wooden beam – run up the surface via the wooden platform on the right, then jump at the apex of Ezio's climb (Fig. 6). At the top of the steps, Treasure Chest #2 awaits to the left. The pursuit that follows has an interesting twist: the Captain has a firearm. You cannot kill him before a designated point in the memory, so don't even attempt to. Instead, simply focus on completing the course before the final confrontation. Those aspiring to achieve Full Synch should be careful not to collide with mine workers here: sending them plummeting to their deaths counts as a kill.
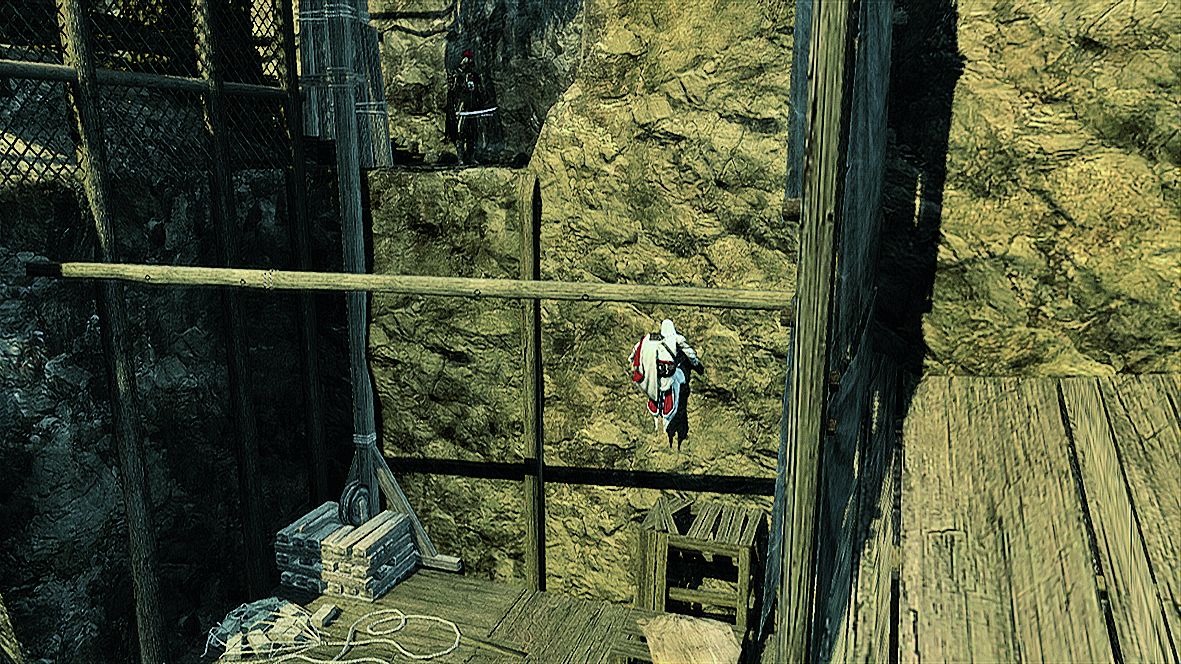
Figure 06
7: Inside the cave, drop down to the lower level to fight the Captain. Once he falls, pull the lever to open the way forward and plunder the chamber beyond. Before you perform a Leap of Faith outside to end the memory, turn to face northeast and climb over to the cave above to find Treasure Chest #3 (Fig. 7).
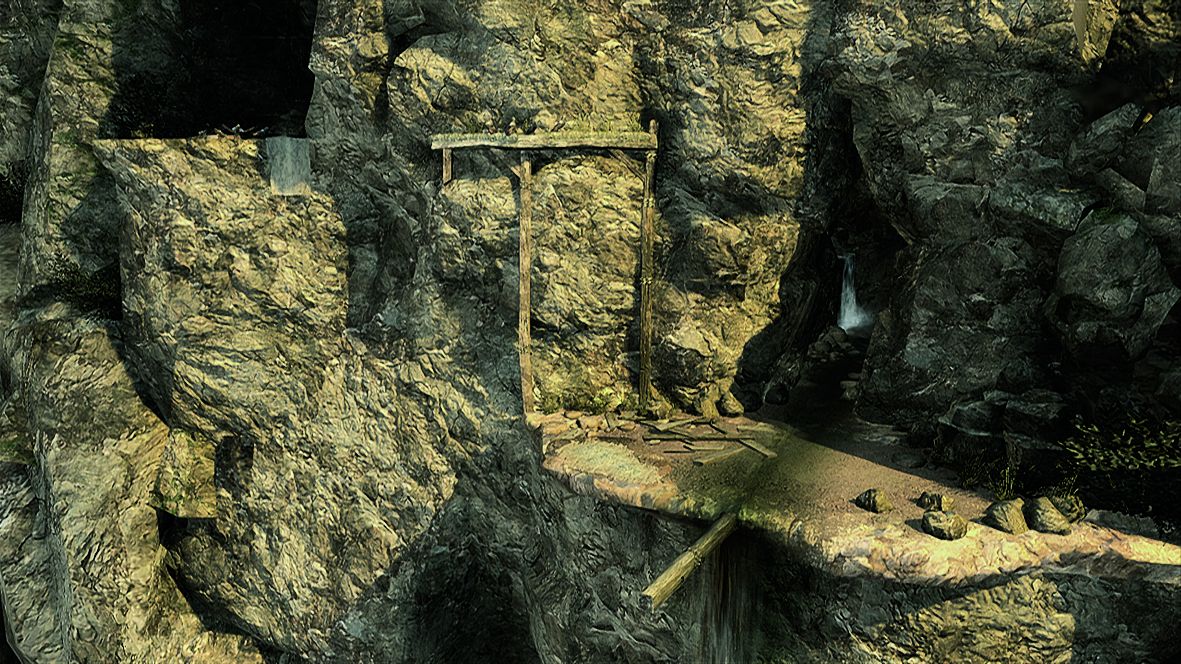
Figure 07
FOLLOWERS LAIR: A WOLF IN SHEEP'S CLOTHING
Unlocked:
Available from the start of Sequence 08.
Entrance:
On the north side of the steps at the entrance to the Basilica di San Pietro in the Vatican district.
Full Synch:
Complete the memory within eight minutes.
1: You can find Treasure Chest #1 behind the barrels to your left as the memory begins. Head upstairs to trigger a cutscene. As the Mass ends, Blend with members of the departing congregation to evade detection, then activate Eagle Vision to locate the Cardinal (Fig. 1). When he passes through a gate on the south wall, make your way discretely to the waypoint marker to initiate another cutscene. Interact with the gate to continue. The rest of this memory is a lengthy pursuit. The Cardinal is fast, granted, but not so fleet footed that you don't have time to slow down and identify the route ahead. With regular checkpoints and clear signposting of each twist, you shouldn't experience any problems in staying close to Ezio's target. However, there are a number of collectibles that you may miss during the journey – so we'll focus on these for the remainder of this walkthrough.
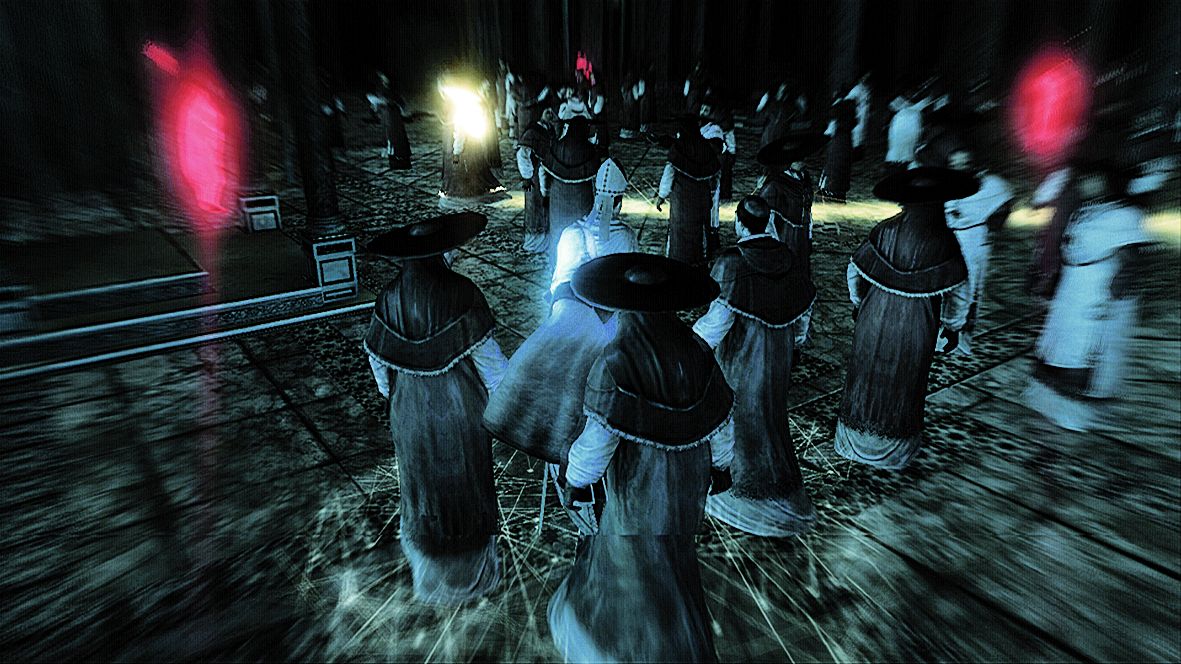
Figure 01
2: After the Cardinal uses a lift to elude Ezio during the first section of the chase, Ezio must climb a wall to reach suspended platforms to follow him. As you head east into the next chamber, Treasure Chest #2 is on the floor below (Fig. 2). Turn to the west and return to the upper level via the scaffold.
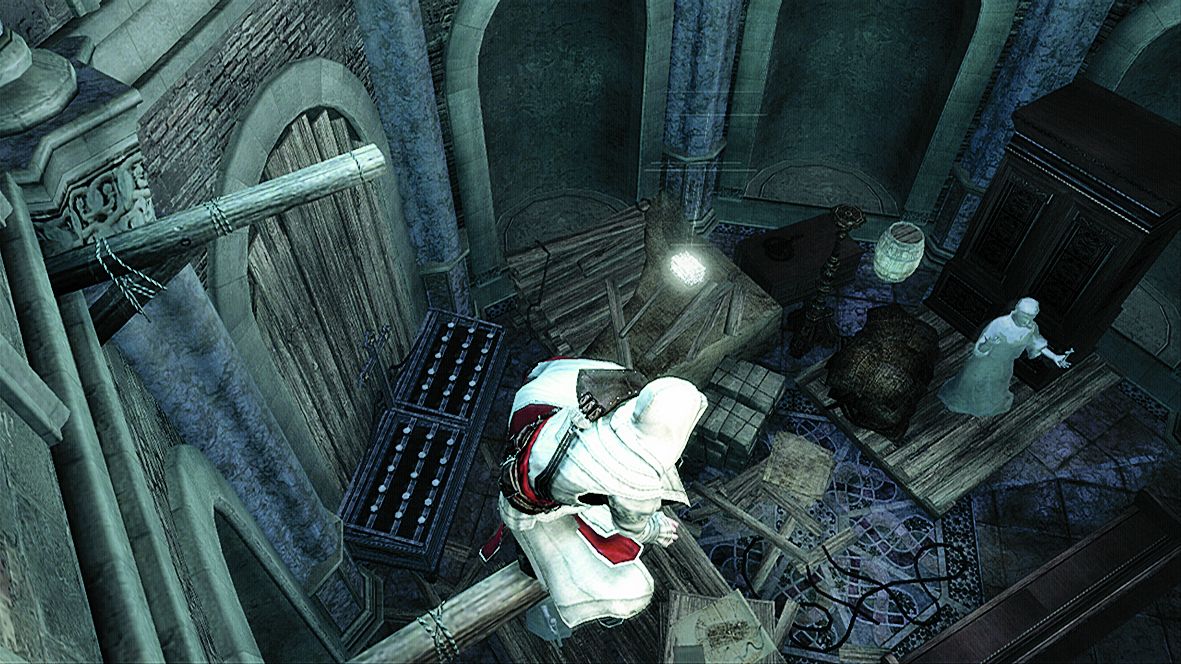
Figure 02
3: You can find Borgia Flag #1 above Treasure Chest #2 . Climb back up, then, rather than exiting via the open north window, head out onto the platform to the east. To reach the flag on top of the obelisk, you must perform a Wall Eject Side: run up the wall to your left, then immediately leap to the right. Try to do this on the very outer edge of the wall to ensure success (Fig. 3). Afterwards, leap directly onto the roof – it's a long jump, but within Ezio's capabilities. Confident players seeking a fast time to meet the Full Synch condition should also use this route.
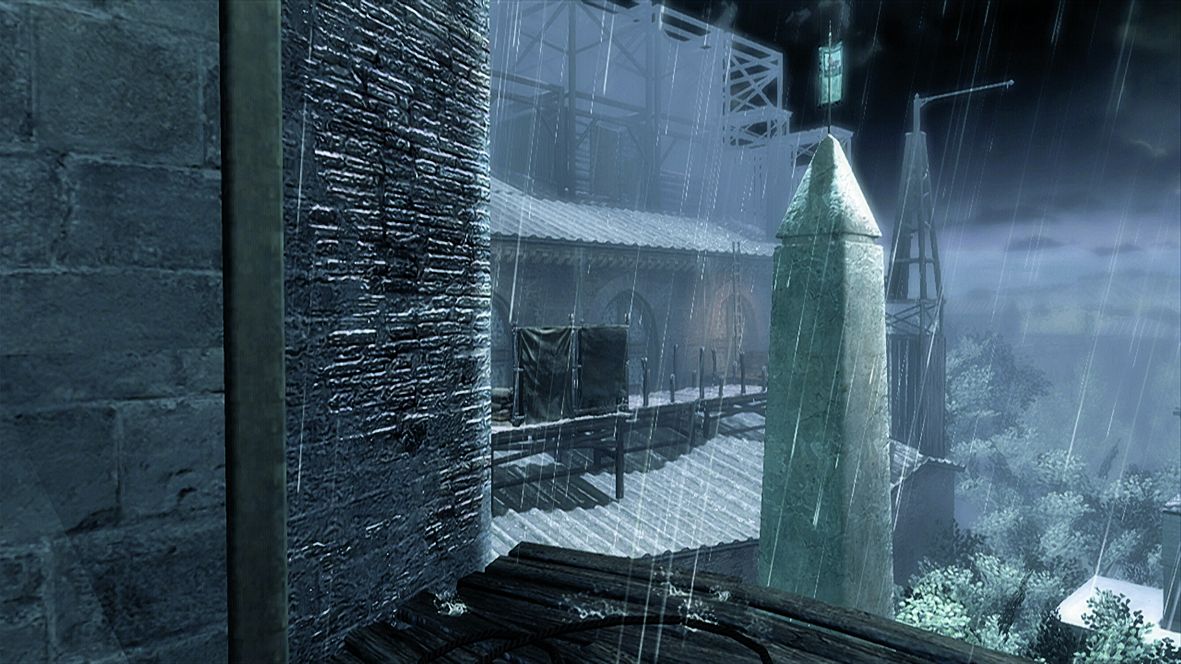
Figure 03
4: When a light fitting breaks, sending Ezio plummeting to a platform below, Treasure Chest #3 is just behind Ezio's position after he climbs back up via the boarded-up window (Fig. 4).
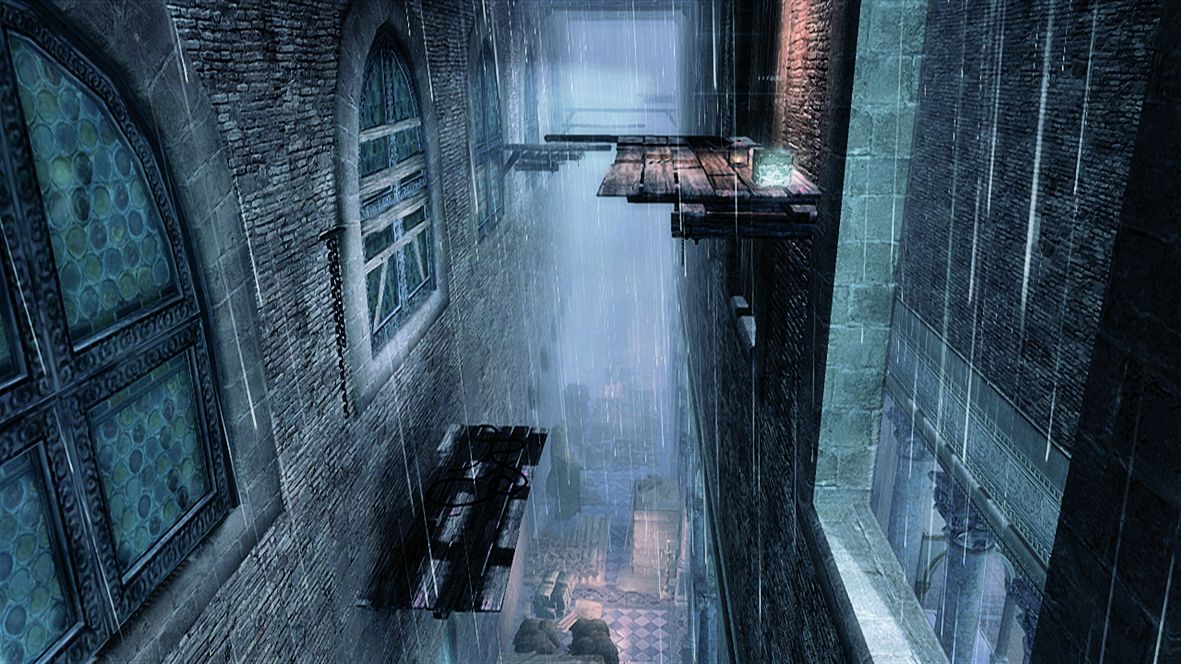
Figure 04
5: During the final leg of the chase, Ezio must free run over platforms high above the pews below. The route taken then twists round to the north, through a sequence of scaffolds. After Ezio swings on the third light fitting here, look left – Borgia Flag #2 is in plain sight, and can be swept up without disrupting the pursuit (Fig. 5).
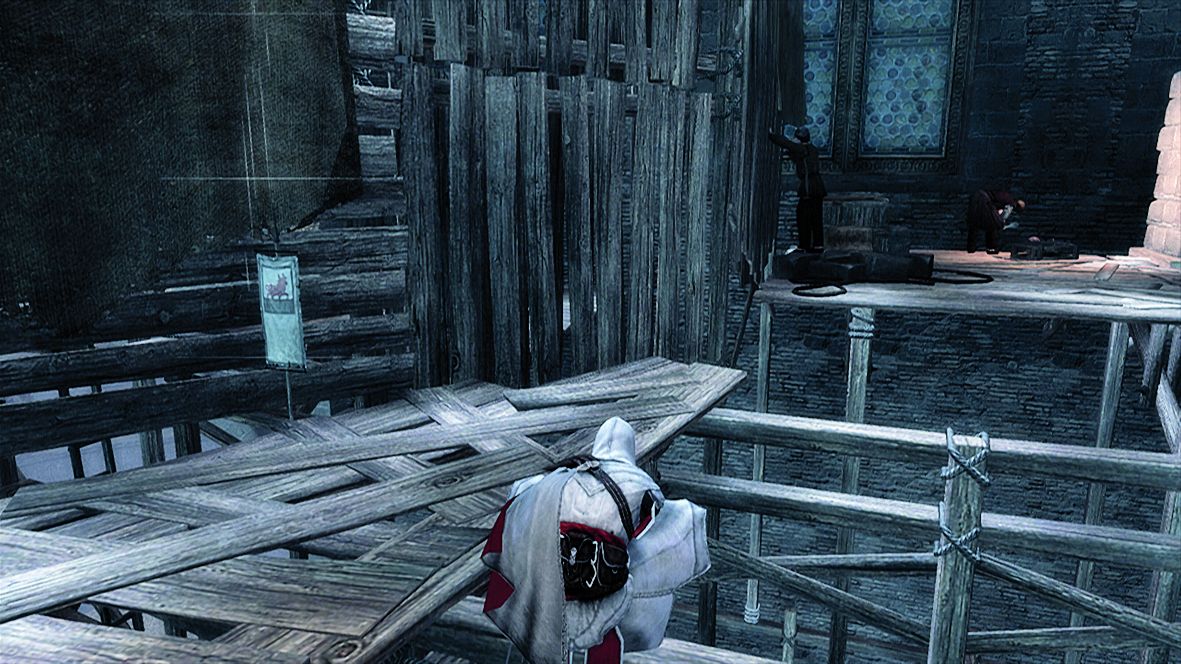
Figure 05
6: Cornered at last, the Cardinal draws a weapon and attacks Ezio. Slay him (for example by throwing him over the edge), then open Treasure Chest #4 on the desk. Walk out to the perch just behind the sheets and climb down to reach Borgia Flag #3 (Fig. 6), then perform a Leap of Faith. As you approach the gate, don't miss Treasure Chest #5 to Ezio's left. After looting the final room, return to Rome.
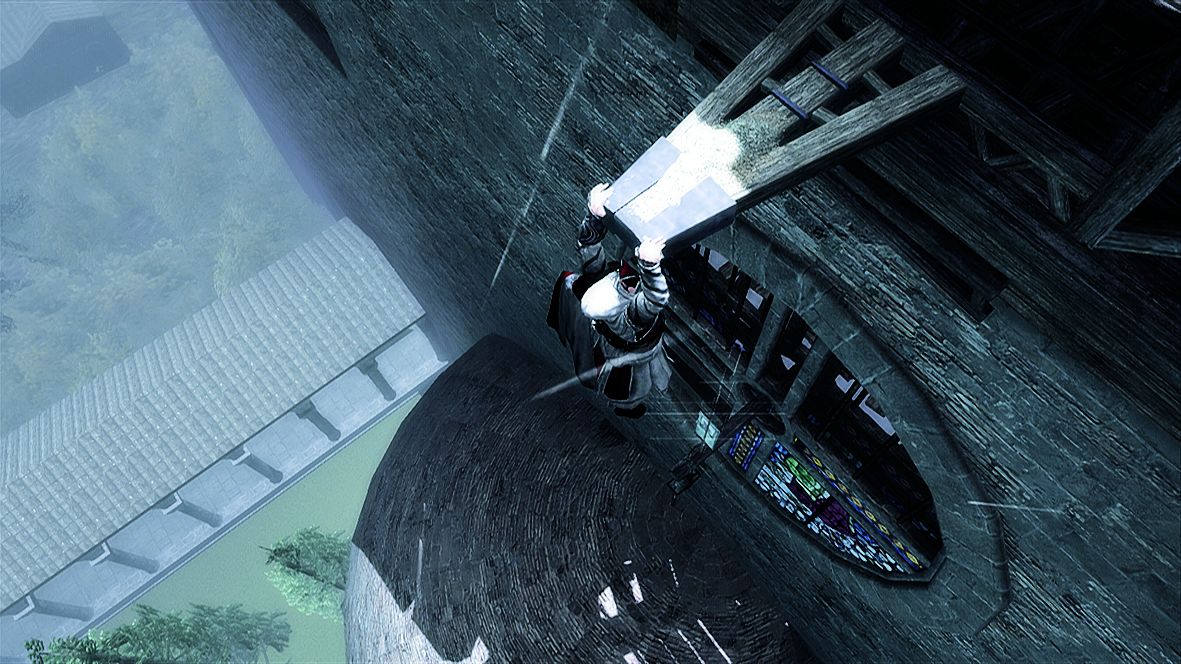
Figure 06
Final Reward
Completing all five optional Followers Lairs enables Ezio to lay claim to a remarkable reward: the Armor and Dagger of Brutus.
To collect these prizes, you must visit a vault beneath Prospero da Siena's Borgia Tower on Palantine Hill.