
Star Trek Guide Walkthrough Chapter 9: Mothership
Mothership
Chapter Summary
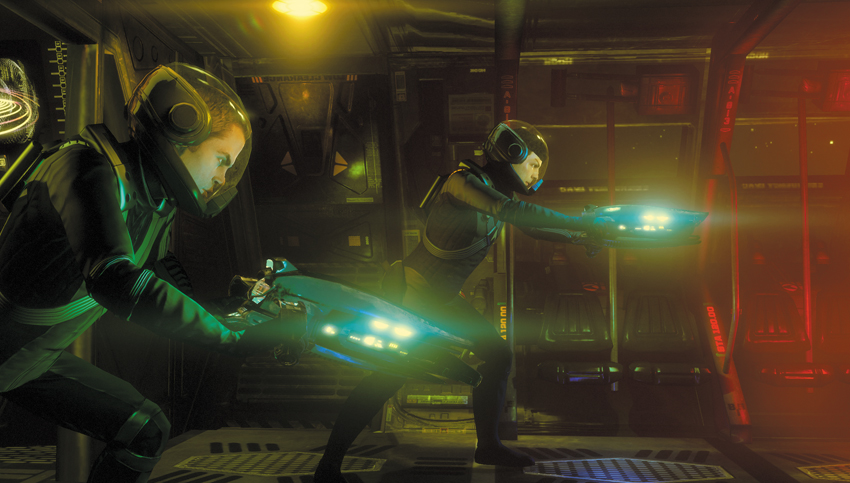
Kirk and Spock must risk it all in an attempt to save T’Mar and stop the Gorn from exploiting the Helios Device.
Enterprise Capture Collectables
| # | Name |
|---|---|
| 1 | Gorn Metal (1 of 2) |
| 2 | Gorn Metal (2 of 2) |
| 3 | Gorn Experiments (1 of 4) |
| 4 | Gorn Experiments (2 of 4) |
| 5 | Gorn Species Research (2 of 3) |
| 6 | Gorn Species Research (1 of 3) |
| 7 | Tribble (7 of 7) |
| 8 | Gorn Species Research (3 of 3) |
| 9 | Gorn Experiments (3 of 4) |
| 10 | Gorn Experiments (4 of 4) |
| 11 | Gorn Sentinel |
| 12 | Gorn Advanced Tech (2 of 2) |
| 13 | Gorn Advanced Tech (1 of 2) |
Achievements/Trophies
| Icon | Name | Criteria | Gamerscore | Trophy |
|---|---|---|---|---|

|
Fascinating | Found all research items | 50 | Gold |

|
Exemplary Commendation | Complete all optional objectives | 100 | Gold |

|
Beat Mothership | Completed the Mothership chapter on any difficulty | 20 | Bronze |

|
Well Done Captain | Completed the game on any difficulty setting | 30 | Silver |

|
Into Darkness | Completed the game on hard difficulty setting | 30 | Silver |

|
Away Team: Mission Accomplished | Complete all chapters in co-operative play | 30 | Silver |
Punch a Hole
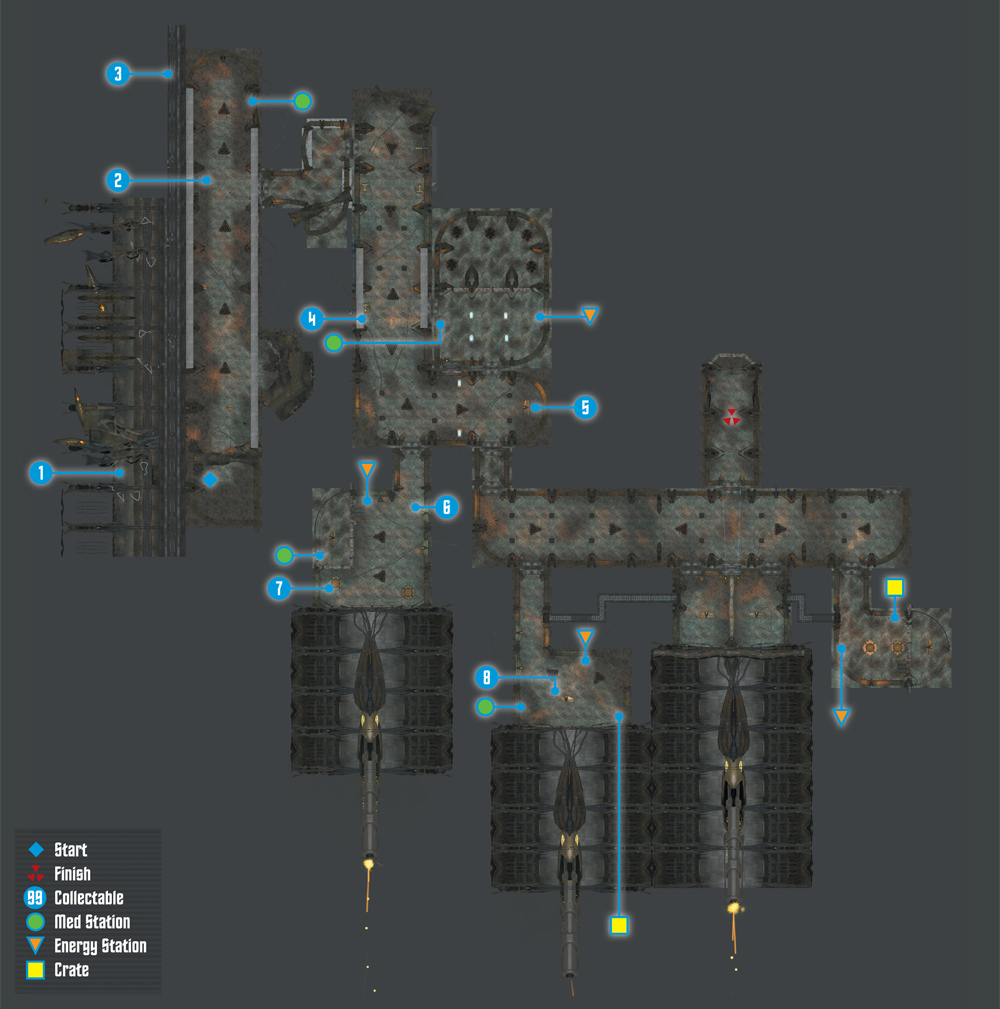
Collectables Checklist
| # | Name | Type | XP |
|---|---|---|---|
| 1 | Gorn Metal (1 of 2) | Research Data | 100 |
| 2 | Gorn Metal (2 of 2) | Research Data | 100 |
| 3 | Gorn Experiments (1 of 4) | Research Data | 100 |
| 4 | Gorn Experiments (2 of 4) | Research Data | 100 |
| 5 | Gorn Species Research (2 of 3) | Research Data | 100 |
| 6 | Gorn Species Research (1 of 3) | Research Data | 100 |
| 7 | Tribble (7 of 7) | Tribble | 250 |
| 8 | Gorn Species Research (3 of 3) | Research Data | 100 |
Enterprise
 New Objective: Get to the Rocket Sleds
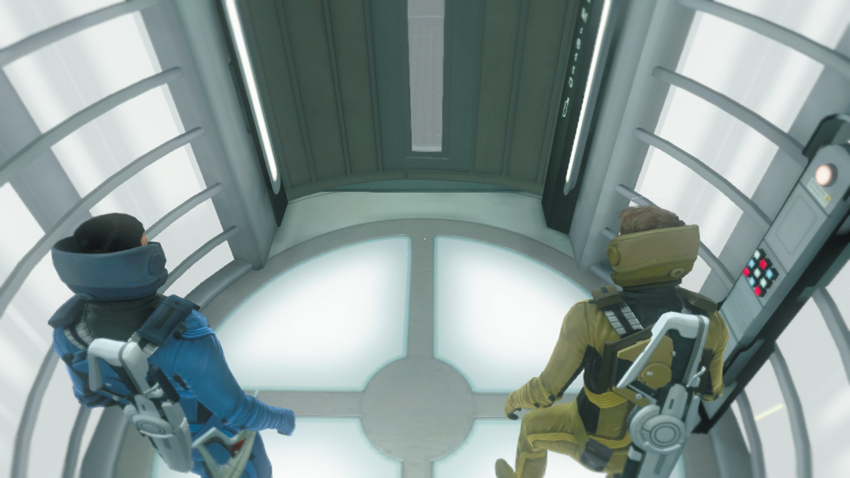
Only minutes after taking the Enterprise back from the Gorn, Kirk and Spock are suited up and ready to take the fight to the enemy’s Mothership—there isn’t much time. As the pair ride a Turbolift down to the breached section of Engineering, several crew members check in over the comms. Chekov reports that the rip will close in approximately one hour. Lieutenant Uhura questions the wisdom of boarding the Gorn ship. But Spock assures her that it’s the only option—securing the Helios Device and T’Mar is the only way to guarantee the safety of the Federation. Scotty offers his support, telling Kirk that he and the crew will do their best to defend the ship from Gorn attacks until he gets back. When the Turbolift reaches Engineering, exit and pass through the door just ahead. Take a right in the next corridor to find the Rocket Sleds Kirk and Spock used earlier to access the Enterprise—it’s time for another rocket jump.
New Objective: Navigate through the battle to the Mothership hull breach
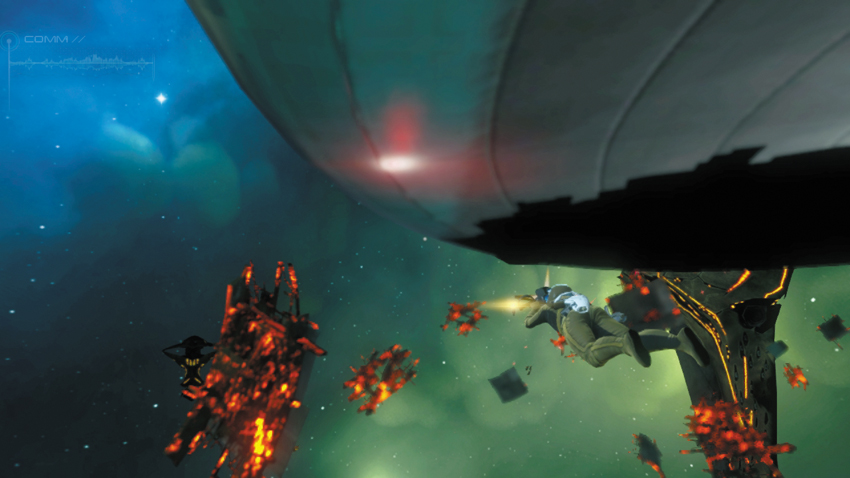
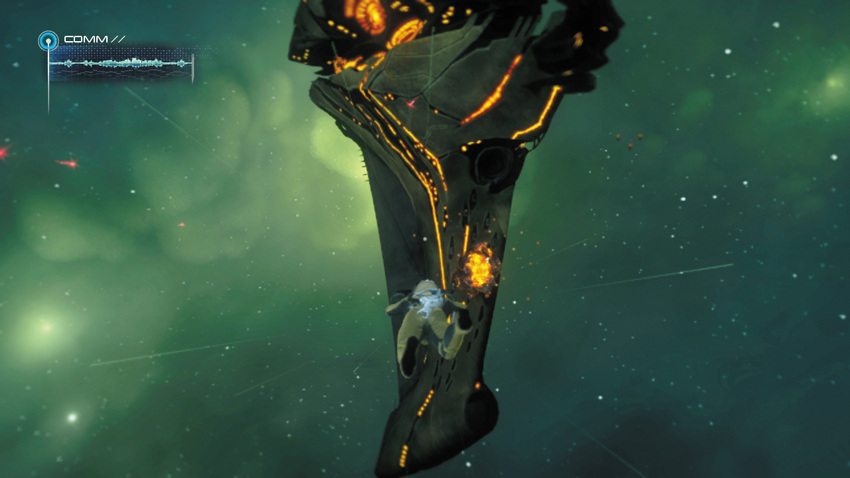
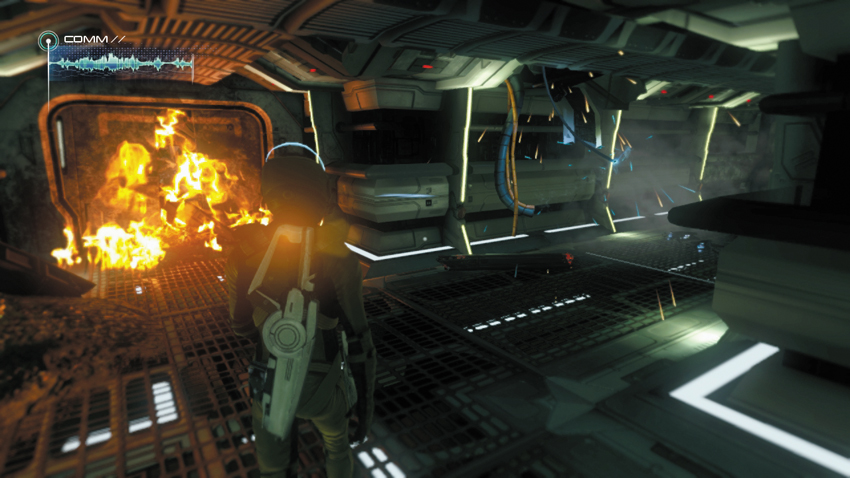
As Kirk and Spock grab the Rocket Sleds, they rush through the adjoining air lock and begin their perilous journey toward the Gorn Mothership. Upon exiting the Enterprise, maneuver around the debris beneath the saucer section, making slight adjustments to your flight path to avoid a collision. Once you’re clear of the Enterprise, the rest of the flight is relatively free of debris. Watch as Sulu fires a salvo of photon torpedoes at the Gorn Mothership to breach the hull—that’s your entry point. Fly toward the large hole in the side of the enemy ship.
Gorn Mothership
New Objective: Infiltrate the Gorn Mothership
Commendation: Complete infiltration without provoking any enemy attacks (Stealth)
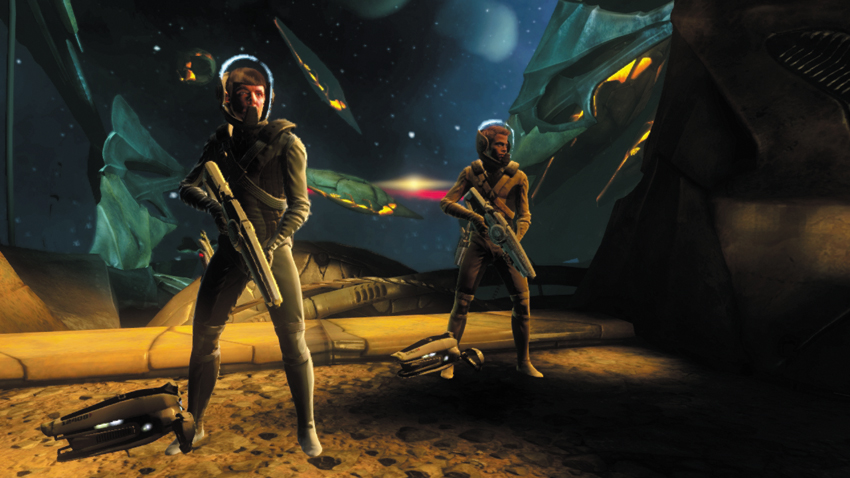
Kirk and Spock have made it aboard the Gorn Mothership, but something is not right. As they release their Rocket Sleds in the zero gravity environment, Spock notices that the ship appears to have a double hull—it looks like Sulu’s torpedo strike punctured only the outer layer. You need to find another way in.
1: Gorn Metal (1 of 2)
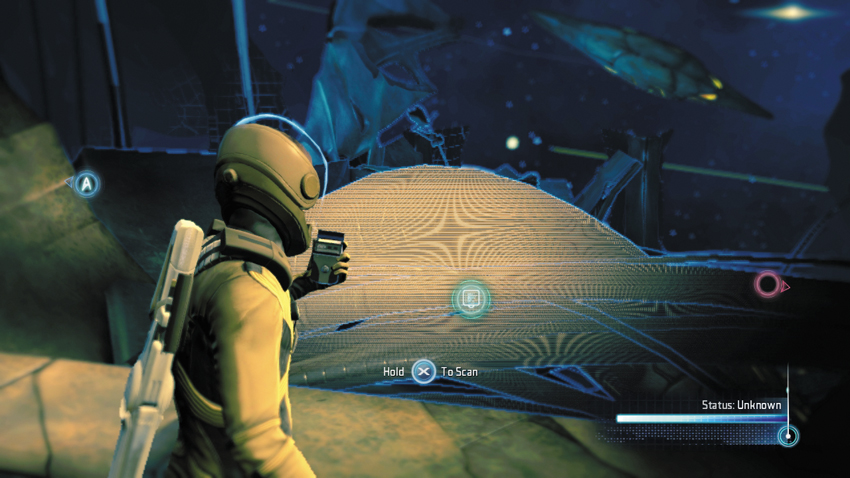
Immediately following the rocket jump, turn around and scan this section of metal tubing.
Type: Research Data
Set: Punch a Hole/Advanced Metals
XP: 100
Log Entry: The materials used to build the Gorn ship are fascinating. Elements are similar to Earth’s, but different enough that I may be able to come up with some interesting uses for them.
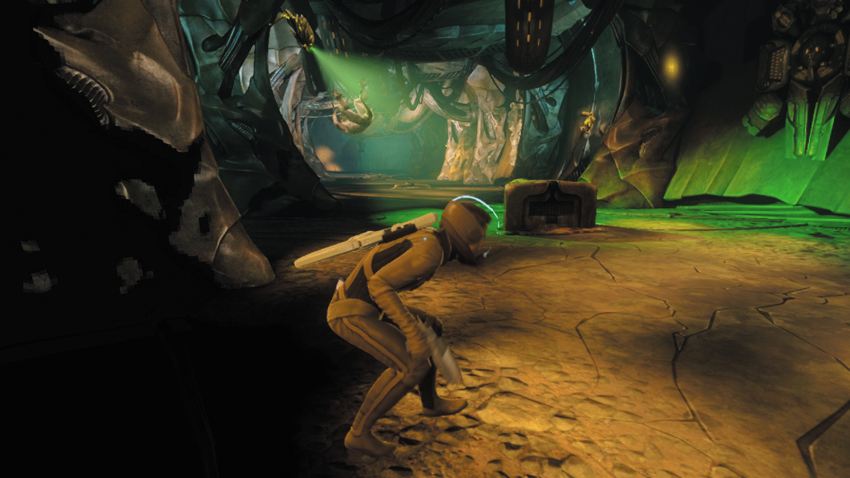
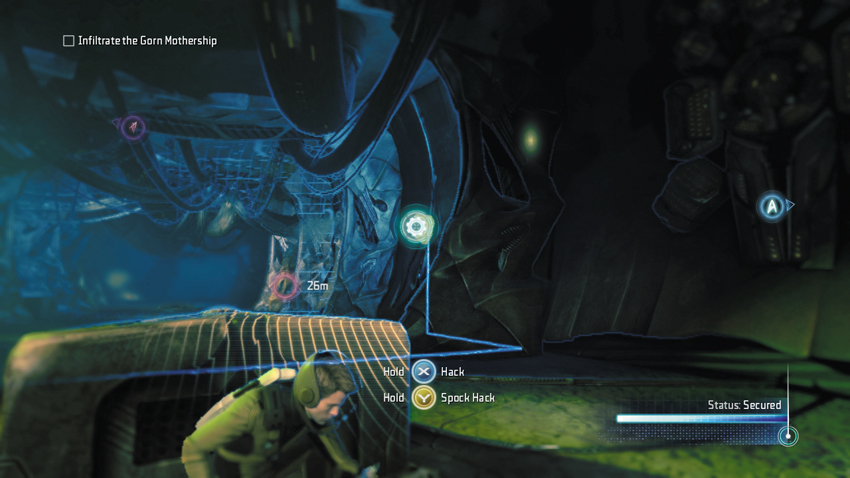
A security camera positioned on the wall to the left monitors the corridor ahead . Creep forward and use your tricorder to raise the barrier in the floor. But don’t move toward the barrier until the camera pans away from your position. At this point, creep up behind the barrier and look for the console on the wall to the right. While behind the barrier, use your tricorder to hack the console to disable the security camera. Just beyond the security camera is an air lock on the right side of the corridor. But don’t enter it yet—there are two more collectables to scan in this corridor.
2: Gorn Metal (2 of 2)
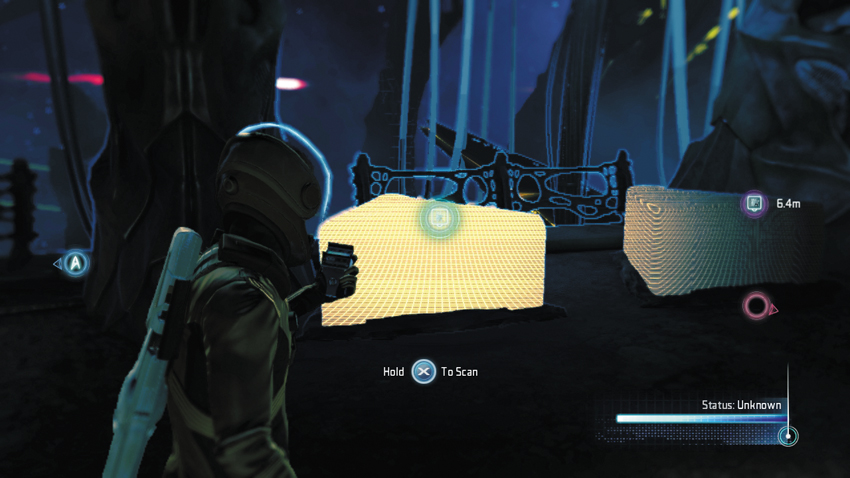
Turn away from the air lock door and scan one of these two barriers on the left side of the corridor.
Type: Research Data
Set: Punch a Hole/Advanced Metals
XP: 100
Log Entry: Always a shame encountering a new civilization that would rather eat you than talk to you. I’d love to swap knowledge with a Gorn engineer, but I’m afraid it would be a short and painful conversation.
3: Gorn Experiments (1 of 4)
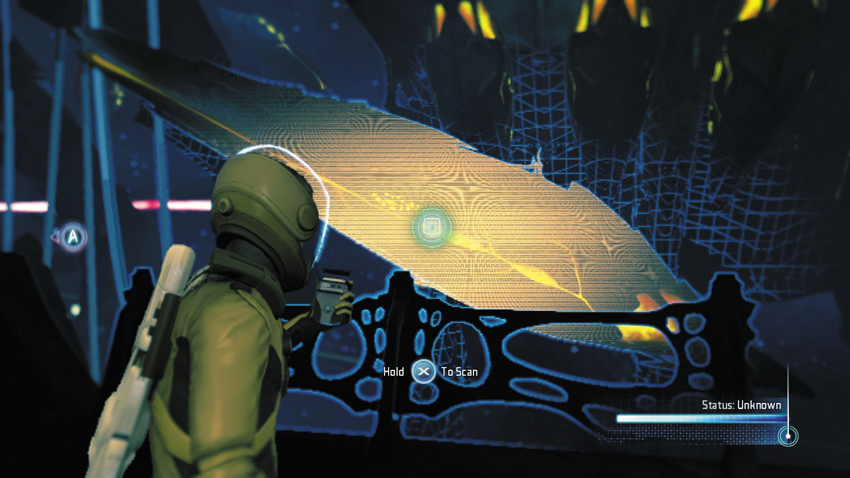
Continue down the corridor, past the air lock, and scan this pod-like object beyond the railing on the left side.
Type: Research Data
Set: Punch a Hole/Gorn Experiments
XP: 100
Log Entry: This looks like the Gorn equivalent of transporter technology. They seem to need a physical link present in order to transport matter. We’re ahead of them in that, at least. Let’s hope that’s not the only place we have an advantage over these beasties.
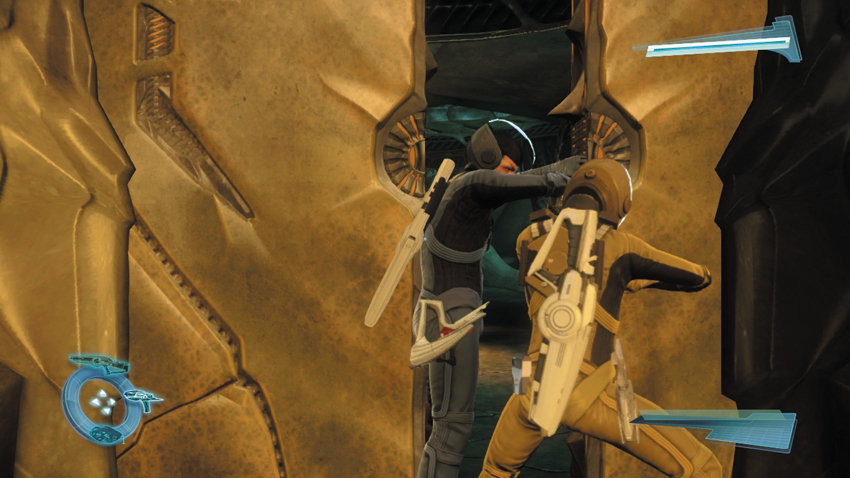
Backtrack to the air lock door and work with your partner to pry it open. Once inside, a seal is achieved, and Kirk and Spock can ditch their helmets. Lieutenant Uhura reports that scans indicate that the Mothership’s central hull must be destroyed. Scotty adds that they need assistance dealing with the Gorn ship’s weapons. The Enterprise is taking heavy damage and can’t take many more hits. Pass through the short air lock corridor and unlock the door at the end.
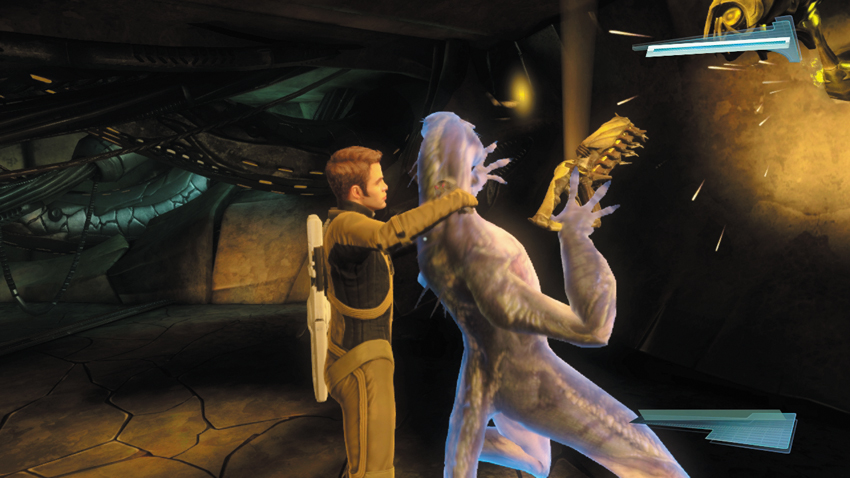
Upon passing through the next door, you spot a Gorn Initiate straight ahead. Fortunately, his back is turned as he inspects a malfunctioning security camera attached to the wall. Stun the Gorn Initiate with your phaser, then rush up behind him and perform a takedown before he can recover.
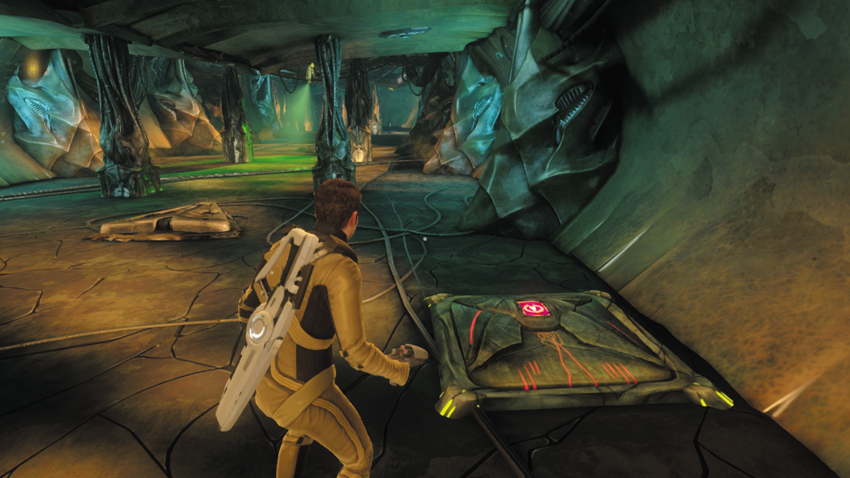
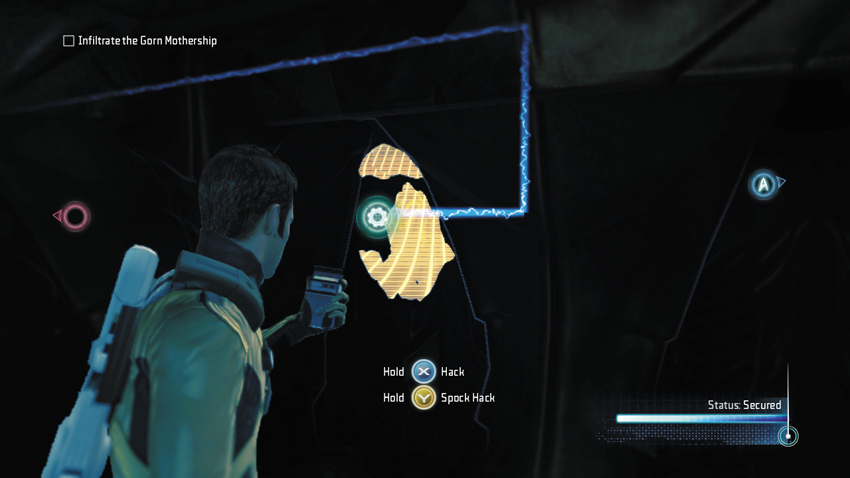
Next, look down the corridor to the right to spot another security camera. There are two hatches in the floor along the perimeter of the corridor. Approach the hatch on the right and open it. Climb down inside the hatch and look for a console on the wall—this controls the security camera above. Hack the console using your tricorder to disable the security camera.
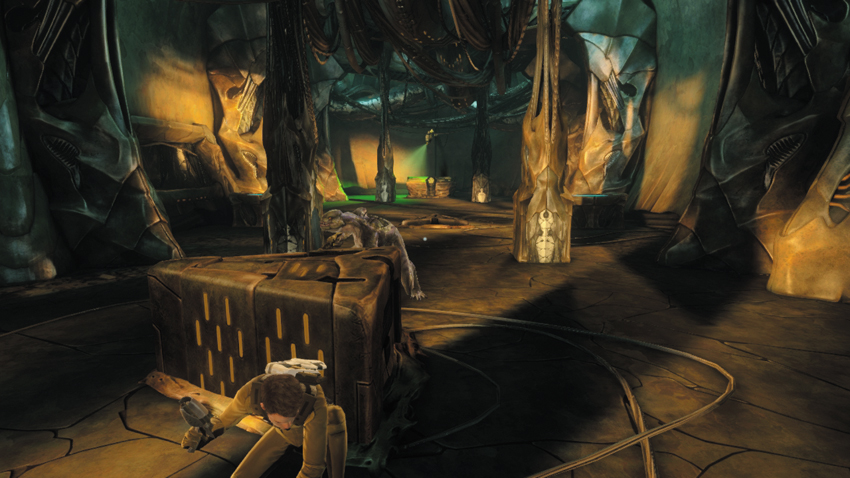
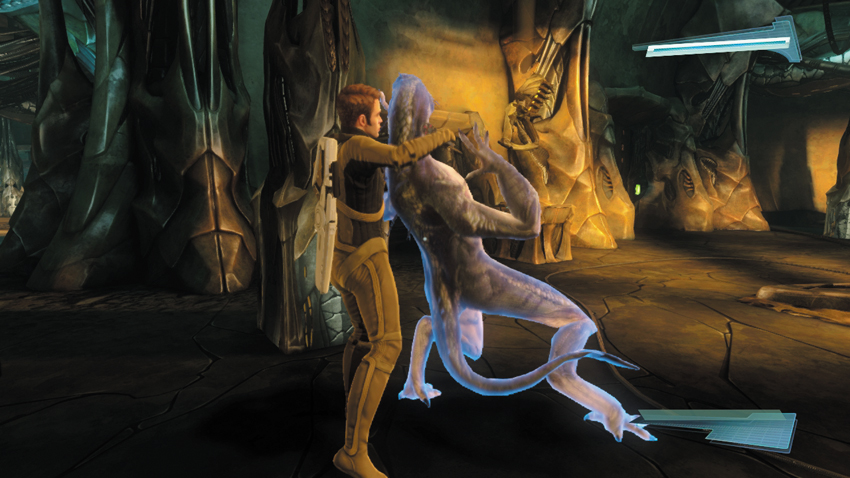
Crouch and creep forward through the corridor, past the disabled security camera. Just ahead, a lone Gorn Initiate patrols, regularly entering a room on the left. When the Gorn Initiate is out of sight, advance and use your tricorder to raise a barrier, just beyond the range of another security camera. Hide behind the barrier and wait for the Gorn Initiate to approach—he pauses on the other side of the barrier. When the Gorn Initiate turns around to resume his patrol, shoot him in the back with your phaser’s stun setting, then incapacitate him with a takedown. Be careful to stay out of sight of the security camera.
4: Gorn Experiments (2 of 4)
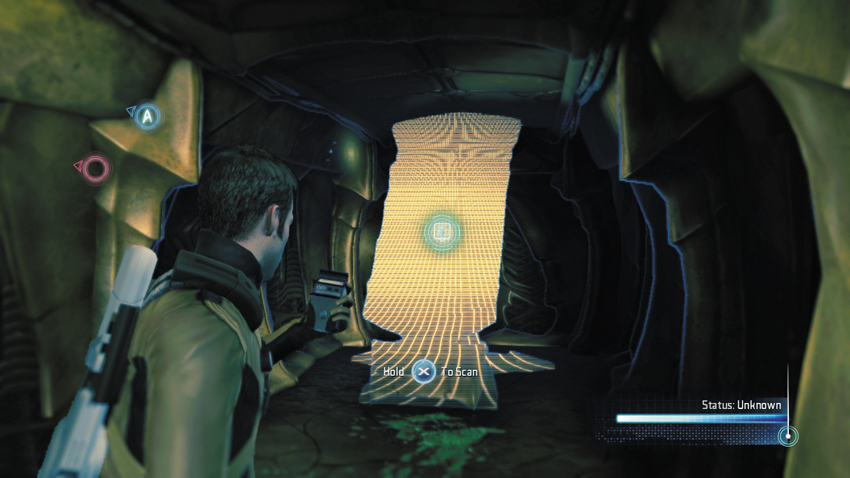
After dispatching the Gorn Initiate in the corridor, backtrack a few meters down the corridor and look for a hatch in the floor. Drop down into the short tunnel and find a piece of equipment like a gurney at the far end.
Type: Research Data
Set: Punch a Hole/Gorn Experiments
XP: 100
Log Entry: No need to wonder what this slab is for. The Gorn tie prisoners down and go to work on them. To what end I shudder to think. It’s amazing that a race so obviously advanced can be so heartlessly cruel.
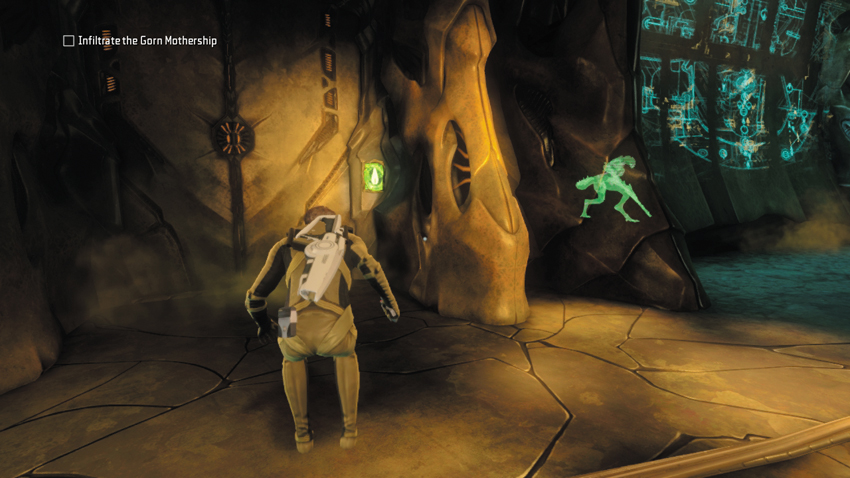
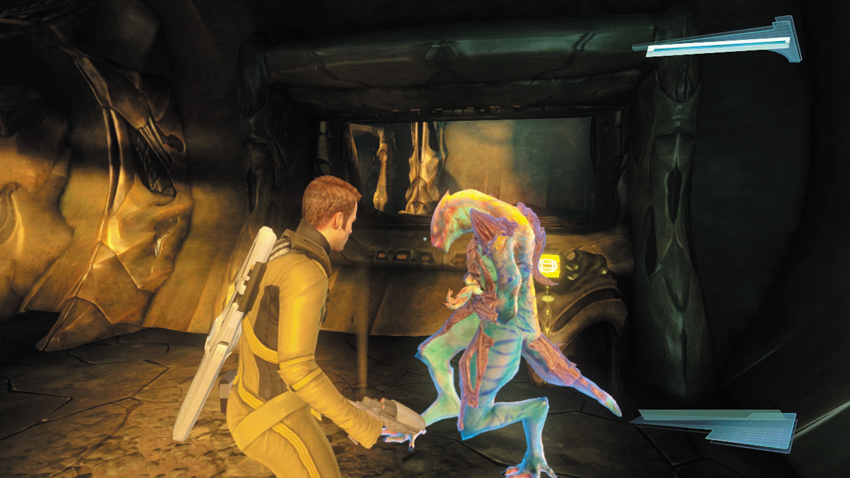
Now move to the locked door on the left side of the room. Activate your tricorder to spot a Gorn Tech patrolling inside. Monitor his movements and wait for him to take a position behind the console to the right of the door. At this point, unlock the door, creep inside, and sneak up behind the Gorn Tech while he’s still standing in front of the console. Stun him with your phaser before he turns around and spots you. While he’s still stunned, rush up behind him and perform a takedown.
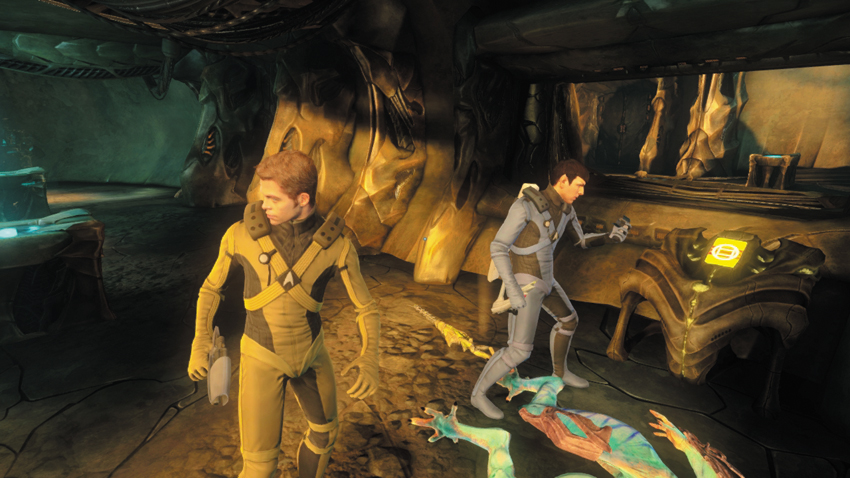
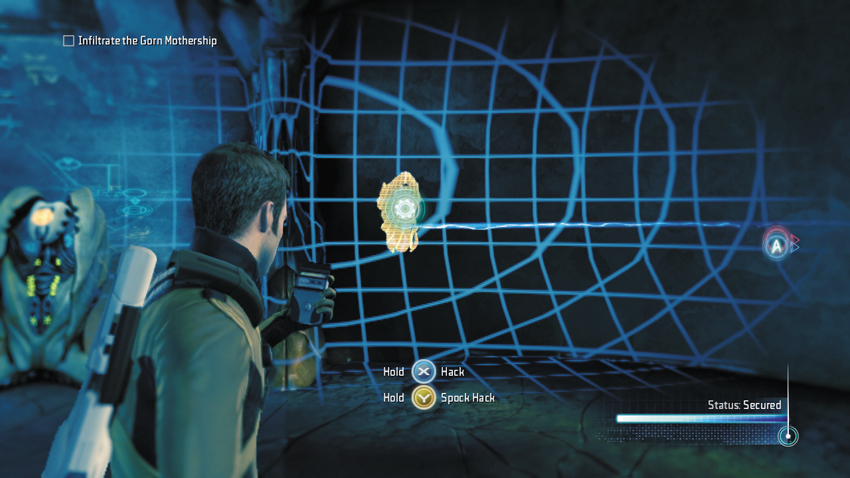
Once the Gorn Tech is down, hack the console he was standing next to. This unlocks the door to the next area corridor. But don’t leave this room just yet. On the far side of the room there’s an Energy Station. On the right side of the Energy Station is another wall-mounted console connected to the security camera outside—hack the console to disable the security camera. You can now exit back into the hall without being detected by the security camera.
5: Gorn Species Research (2 of 3)
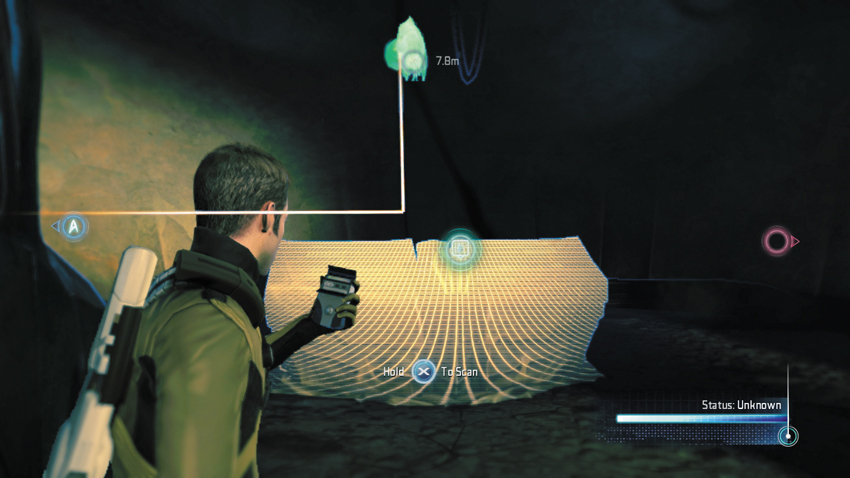
After disabling the security camera, return to the main corridor and scan the console beneath the camera.
Type: Research Data
Set: Punch a Hole/Gorn Species
XP: 100
Log Entry: You can’t say the Gorn let anything go to waste. They extract the strongest genetic traits from their conquests to add to their own physiology, and then they use their prisoners as a slave army to remake the world in the Gorn image. It would be impressive if it wasn’t so horrifying.
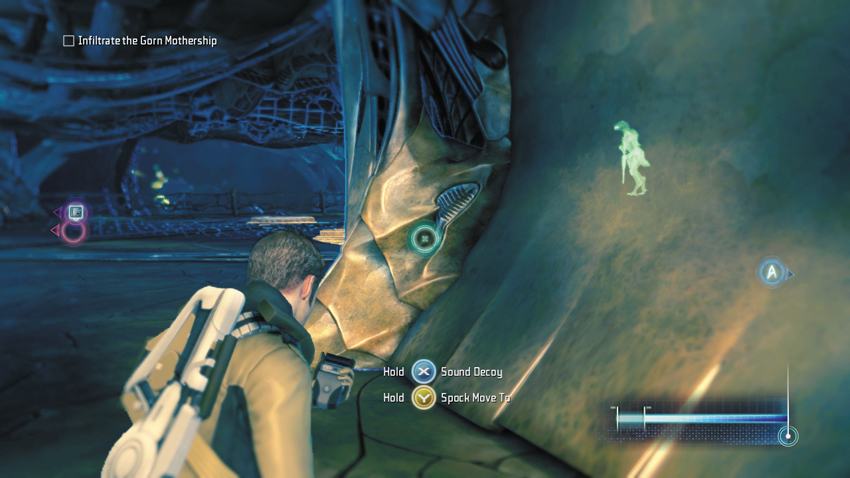
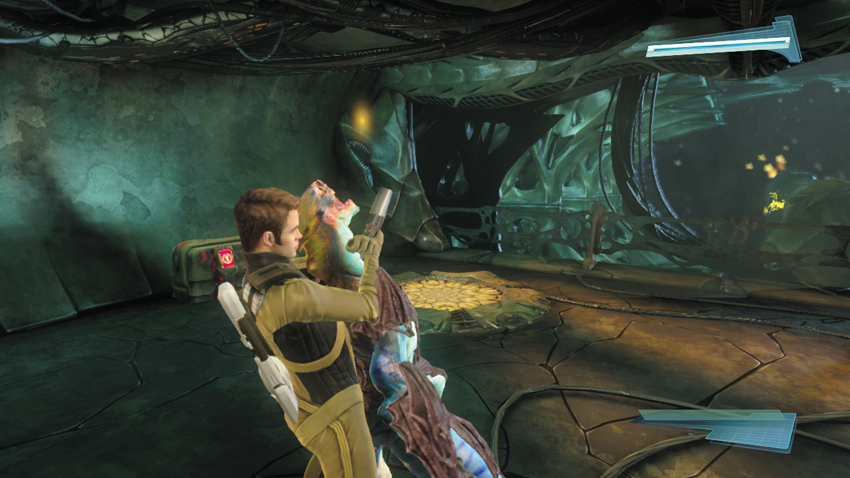
If you want to scan two more collectables, don’t enter the door you unlocked with the console just yet. Instead, backtrack down the main corridor and look for an unlocked door on the left side. While crouched, step through the doorway then activate your tricorder. A stationary Gorn Tech is keeping watch over this room, and there’s no way to enter without being spotted. So target a spot on the floor near the distant crate on the left and place a sound decoy there with your tricorder. Stay hidden near the doorway while the Gorn Tech moves to investigate the sound. When his back is turned, stun him with your phaser, then rush up behind him and perform a takedown. Now you’re free to scour the room for goodies. A Plasma Grenade is in the nearby crate, an Energy Station is near the entrance, and a Med Station is on the platform where the Gorn Tech was standing. But more importantly, there are two collectables in the room.
6: Gorn Species Research (1 of 3)
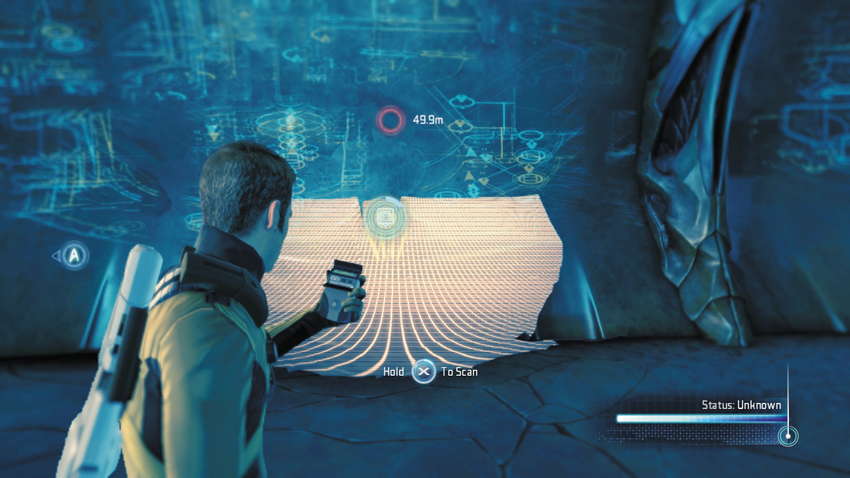
Scan this console along the wall, near the entrance to the room.
Type: Research Data
Set: Punch a Hole/Gorn Species
XP: 100
Log Entry: Despite their primitive ferocity, it appears the Gorn have a strict social structure. At the bottom are the foot soldiers. A strict hierarchy continues based on superior strength and intelligence, culminating in the ruling class that decides where and when the Gorn will strike next. That doesn’t sound all that different from Starfleet, come to think of it.
7: Tribble (7 of 7)
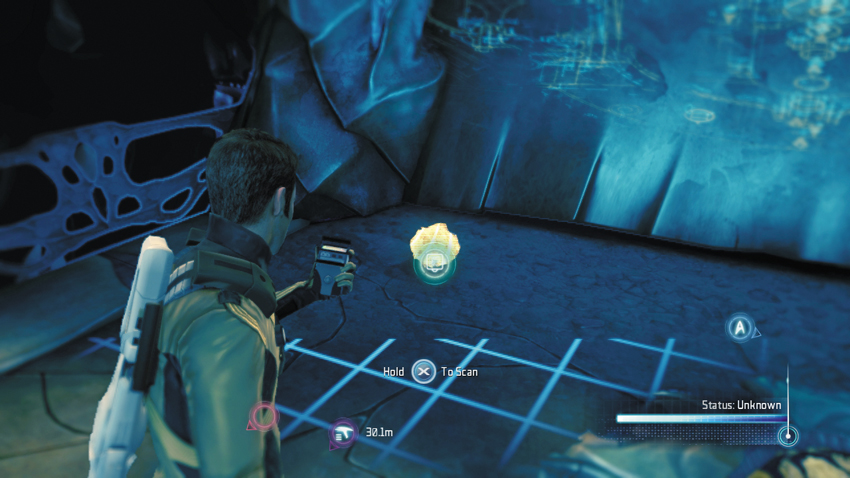
Don’t leave until you find this Tribble sitting on the floor in the far corner of the room.
Type: Tribble
Set: Tribbles/Tribbles
XP: 250
Log Entry: But I’m done with pets.
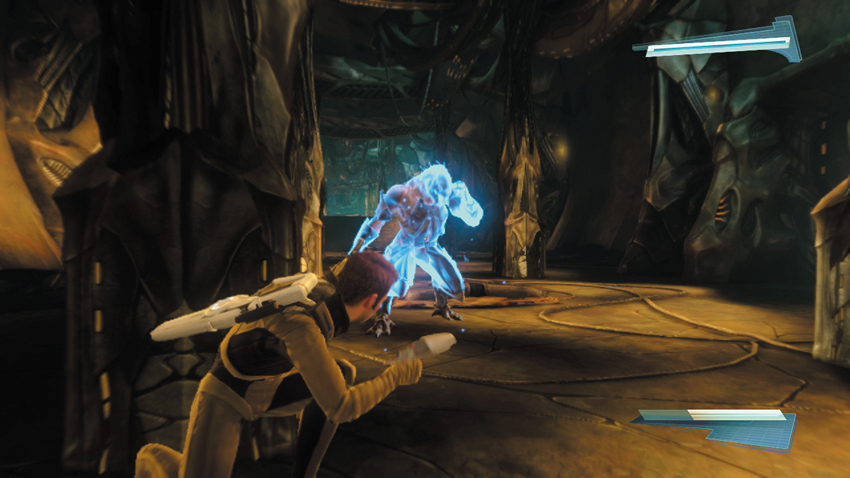
Return to the main corridor, turn right, then enter the door you unlocked earlier. Immediately take cover behind the nearest pillar in the next corridor and wait for a Gorn Warrior to approach. When he’s only a few meters away, peek around the right side of the pillar and stun the Gorn Warrior with your phaser. While the Gorn Warrior is still stunned, rush up to him and perform a takedown.
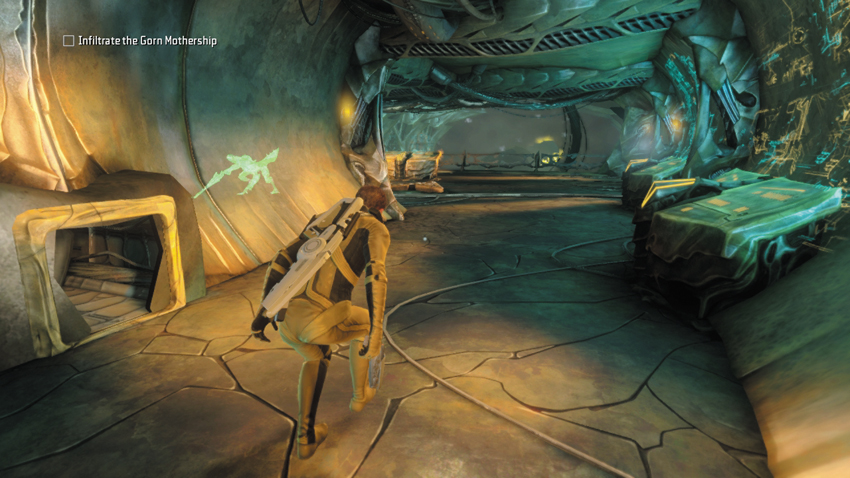
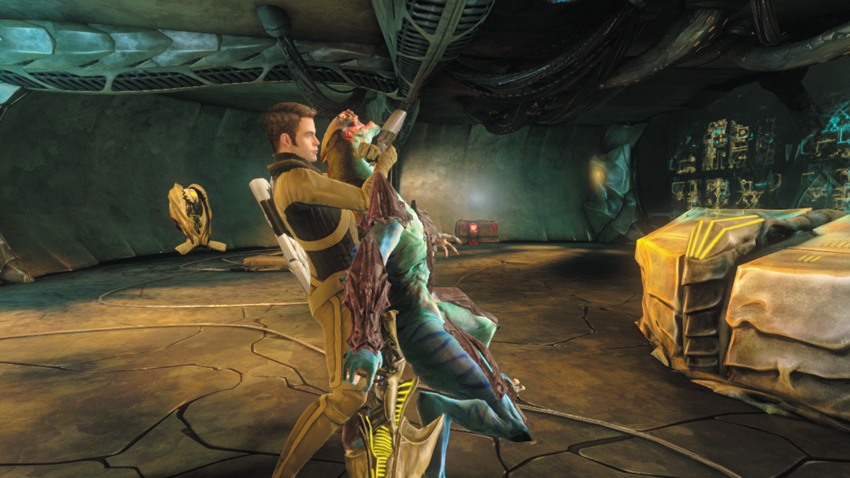
Now that the Gorn Warrior is dispatched, unlock the door on the right side of the corridor and step inside. If you want to scan another collectable, ignore the vent on the left for now. Instead, activate your tricorder to spot another Gorn Tech in this room. When the Gorn Tech moves toward the console in the center of the room, sneak up behind him and perform a takedown. Take a moment to explore the room, and use the nearby Energy Station and grab a Plasma Grenade from the crate.
8: Gorn Species Research (3 of 3)
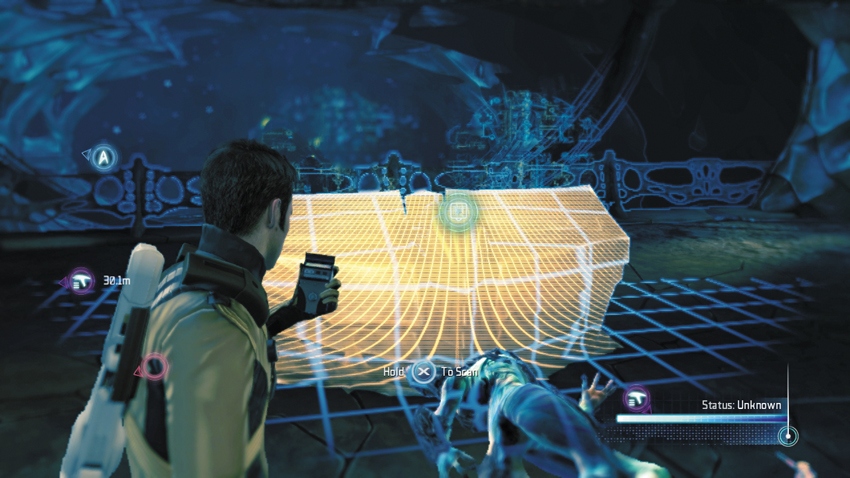
After incapacitating the Gorn Tech, scan the console in the middle of the room.
Type: Research Data
Set: Punch a Hole/Gorn Species
XP: 100
Log Entry: It’s not just genetic information that the Gorn take from conquered species. They analyze and adopt the technology of each defeated race, so that with each world they conquer the Gorn become that much more advanced. Weapons, tools, engineering—everything is fair game for the Gorn war machine.
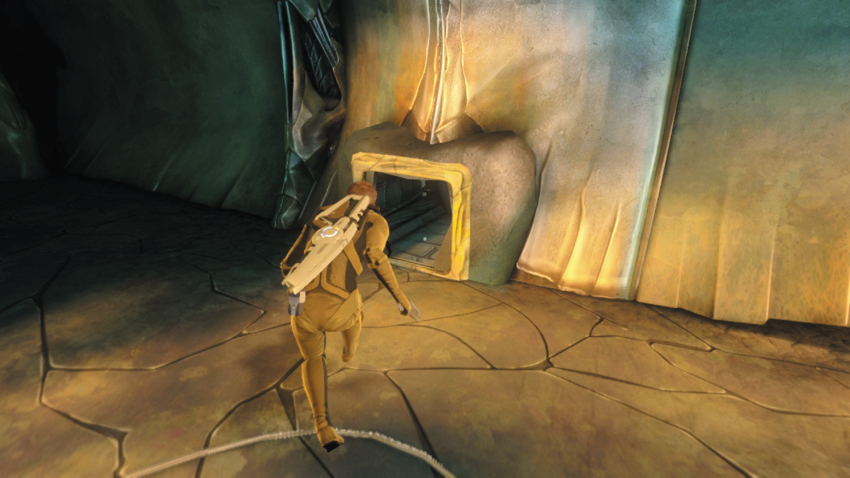
Return to the vent you spotted earlier, near the room’s entrance, and crawl inside. Advance through the vent, but stop short of exiting at the other end. Use your tricorder to make sure the room is empty—this room is frequented by another Gorn Tech.
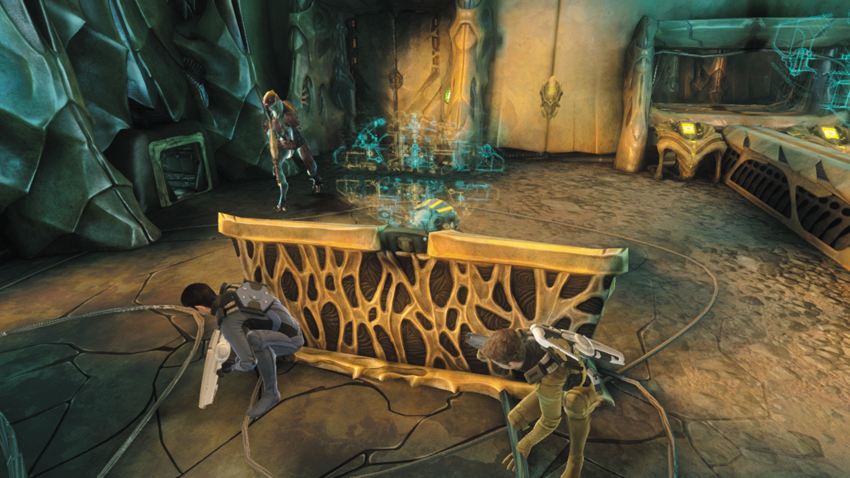
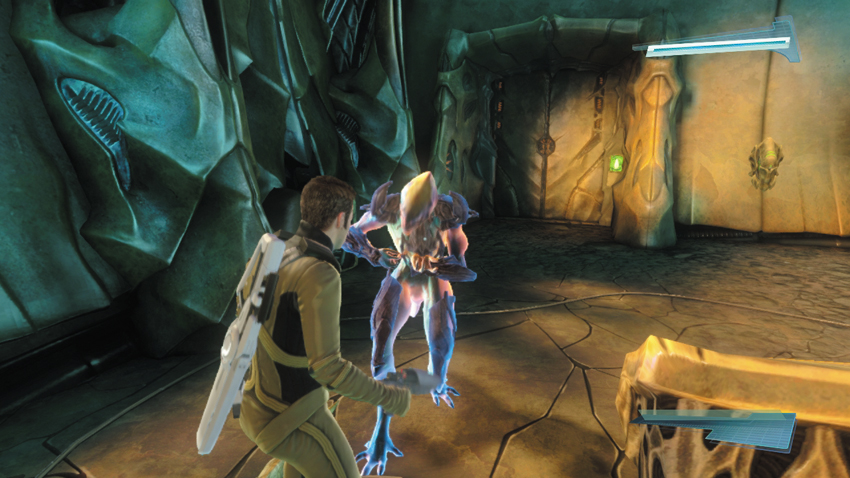
Once you’ve verified that the room is empty, exit the vent and take cover behind the nearby console to make sure that you can’t be spotted from the room’s door. The Gorn Tech moves between this room and the room next door, which is separated by a transparent divider. But as long as you stay hidden behind this console, he won’t see you. While you’re waiting, order your partner to hack the console to the right of the door—this disables the security camera outside. Wait for the Gorn Tech to return to this room, then quickly peek out of cover and stun him with your phaser. Don’t give him a chance to recover—rush toward him and perform a takedown. Before you can hack the next doorway, leading to the Bio Enhancement Facility, you must enter the adjoining room to access the console. Have your partner stay behind in this room while you move out.
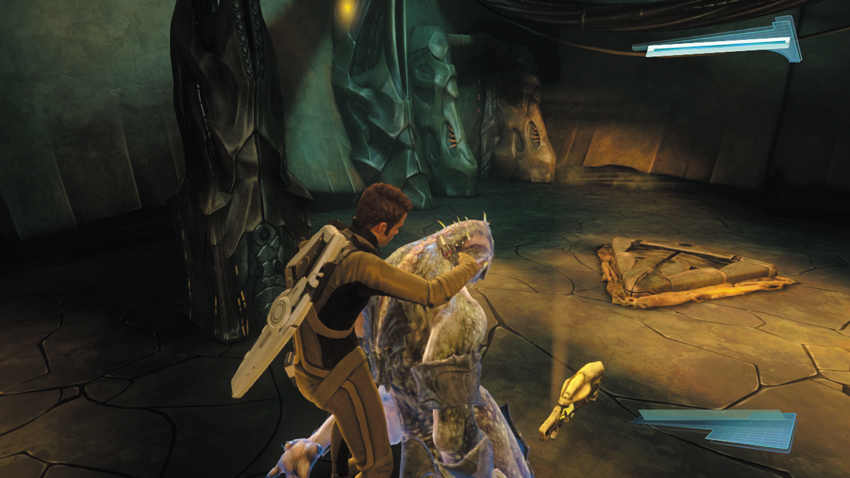
Before exiting, use your tricorder to monitor the movements of the Gorn Warrior patrolling outside. When he moves away, step into the corridor and follow behind him. Shoot him in the back with your phaser to stun him, then rush up behind him and perform a takedown. Assuming you made it this far without being spotted, the area is now clear of threats.
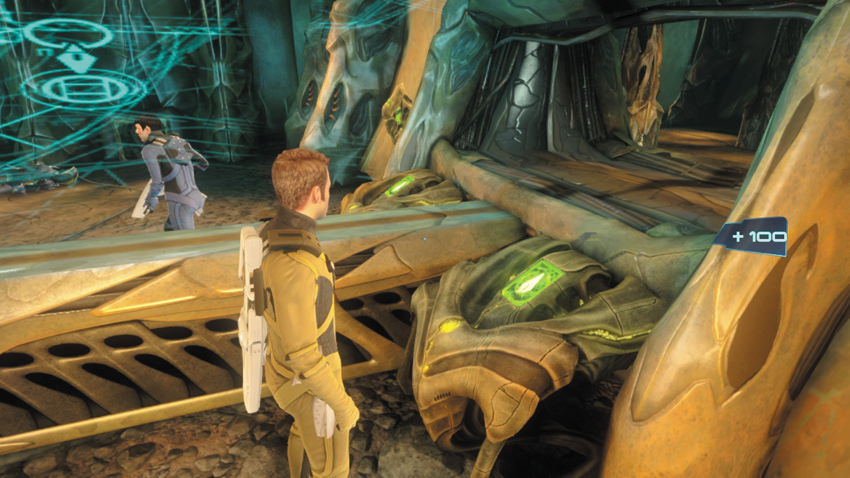
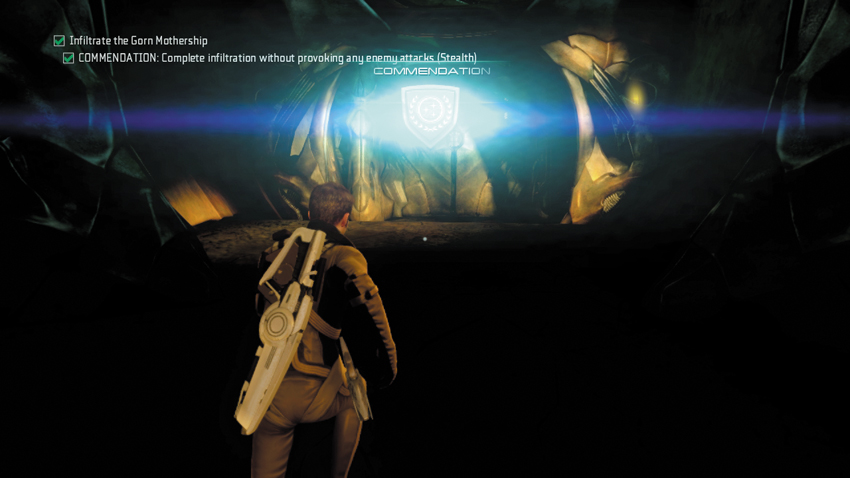
Step into the room next to the one where your partner is waiting. Now it’s time to hack the next door. Work together with your partner to complete the hack then regroup in the corridor outside. Proceed through the now-unlocked door on the opposite side of the corridor. If you managed to make it to this point without provoking any enemy attacks, you earn the stealth-based commendation and 300 XP.
Bio Enhancement Facility
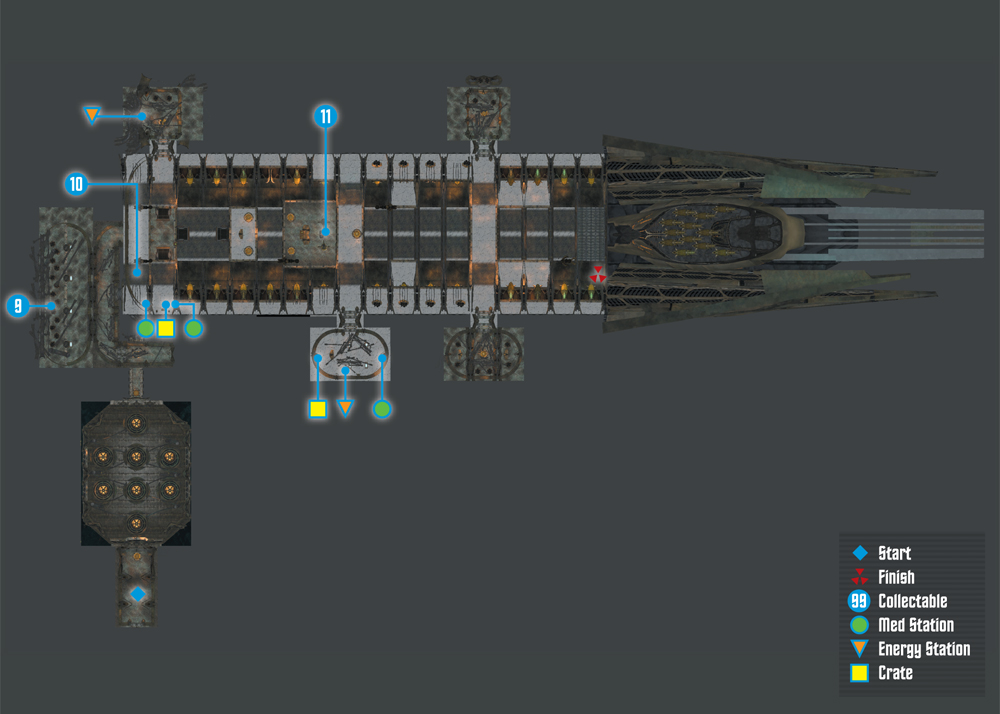
Collectables Checklist
| # | Name | Type | XP |
|---|---|---|---|
| 9 | Gorn Experiments (3 of 4) | Research Data | 100 |
| 10 | Gorn Experiments (4 of 4) | Research Data | 100 |
| 11 | Gorn Sentinel | Research Data | 100 |
New Objective: Find a way to assist the Enterprise
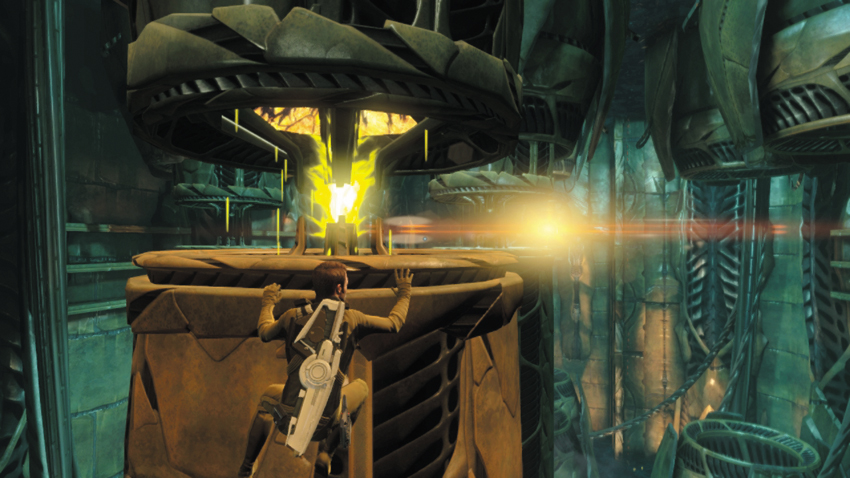
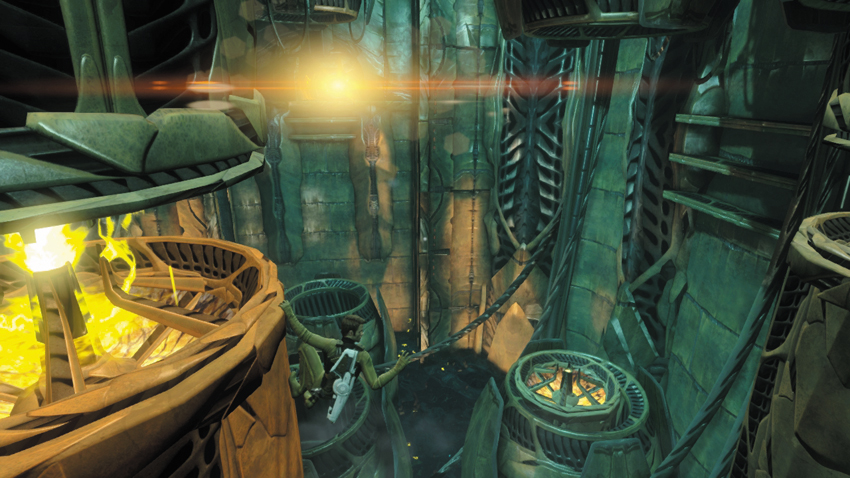
The next passage leads to a massive chamber filled with large pillars ascending from the floor—it appears these pillars are responsible for generating power. Sprint, then leap toward the first pillar to grab hold of one of the ledges on the side. Once on the first pillar, mantle up to the top, then traverse to the other side. Reach out to the next pillar, then jump. Continue leaping from one pillar to the next until you reach the passage on the far side of the room. More pillars rise form the floor as you advance, giving you multiple pathways to the other side. But you will need to jump toward the pillars on the perimeter of the room before working your way back toward the center and making the final jump toward the ledges beneath the passage.
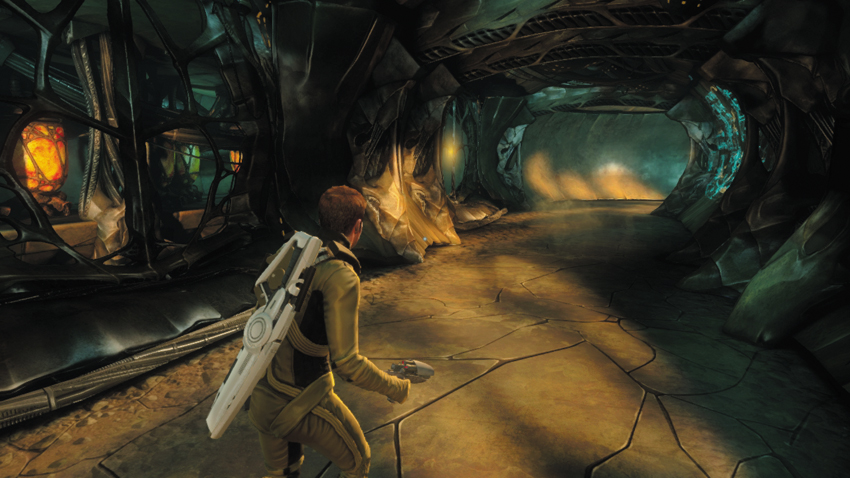
Climb the ladder at the end of the passage, then work with your partner to pry open the next door. In the adjoining corridor, take notice of the illuminated pods through the window-like opening on the left. Spock theorizes these pods were not manufactured for stasis. Instead, they appear to be used for bio enhancement. To Dr. McCoy, it all sounds like genetic engineering—this is how the Gorn have advanced as a species.
9: Gorn Experiments (3 of 4)
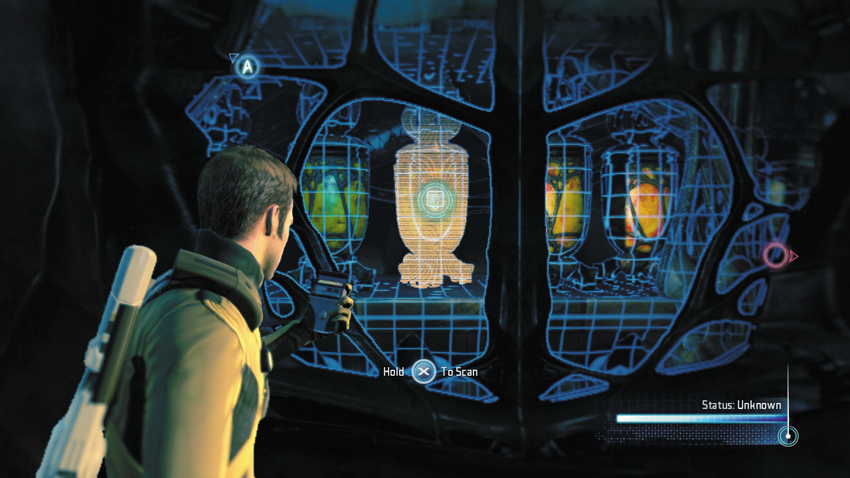
While walking through the passage, look through the second window-like opening on the left and scan one of the illuminated pods.
Type: Research Data
Set: Punch a Hole/Gorn Experiments
XP: 100
Log Entry: Some kind of holding tank. It looks like there are various points at which some kind of liquid can be injected inside, effectively drowning the subject inside. Lovely.
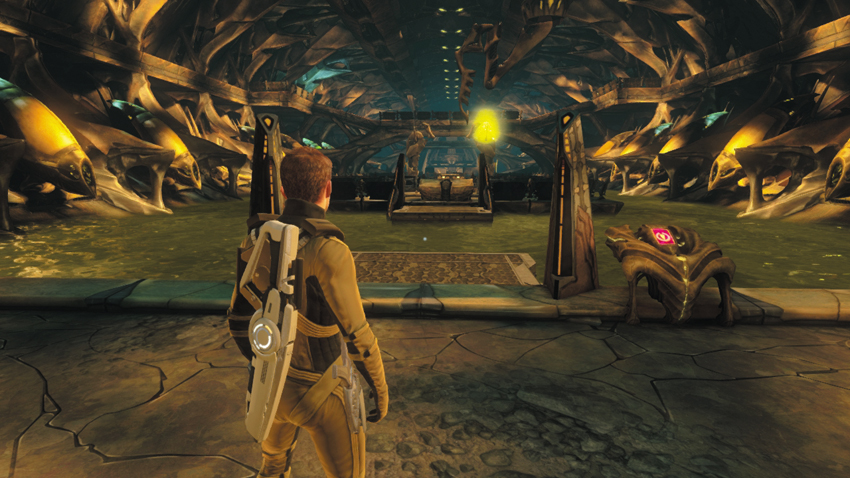
Unlock the door at the end of the corridor to enter a massive chamber lined with the pod-like storage tanks you saw in the previous passage. Given the size of the ship, Kirk is doubtful they’ll find the Helios Device unless they can find a way to access the ship’s secure systems. Start by activating the console nearby to extend the bridge to the next platform. But before crossing the bridge, look for a collectable nearby.
10: Gorn Experiments (4 of 4)
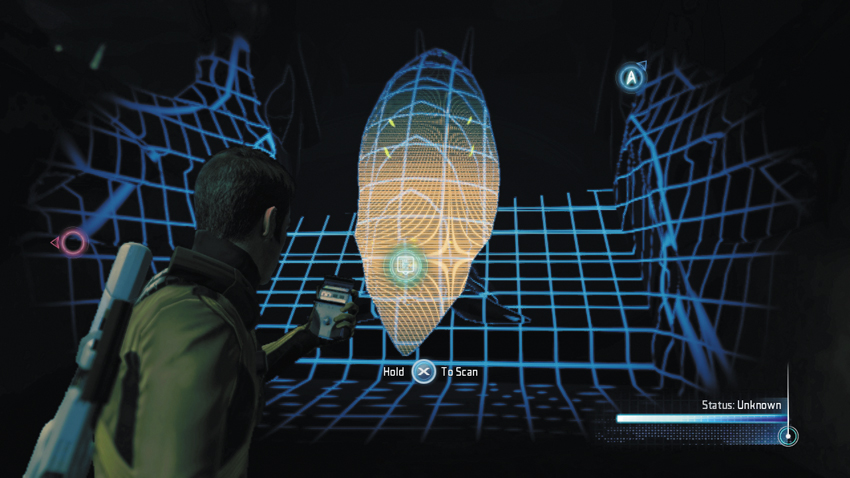
Upon entering the large chamber, turn to the right and scan this pod-like storage tank attached to the wall.
Type: Research Data
Set: Punch a Hole/Gorn Experiments
XP: 100
Log Entry: From what I can tell, these tanks are used for some kind of incubation. The Gorn create a genetic cocktail based on the species they conquer, taking the strongest traits and adding them to their own. It means the Gorn grow more powerful with every race they overwhelm. Let’s hope humanity stays off the list.
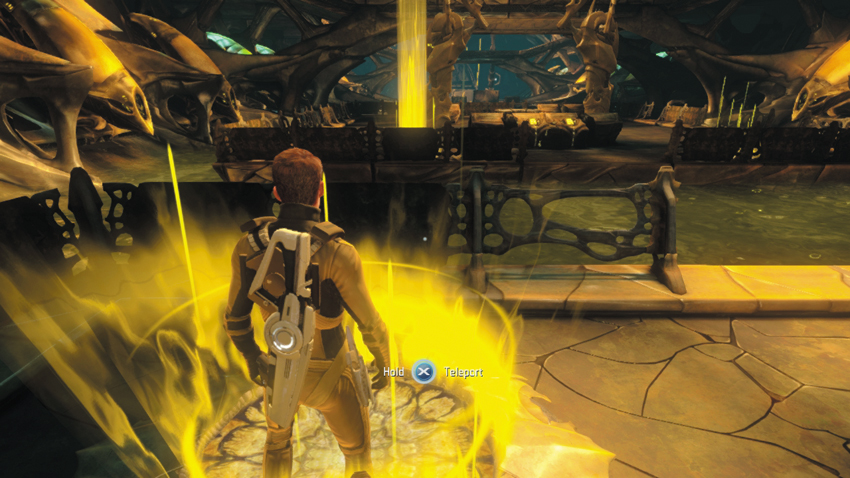
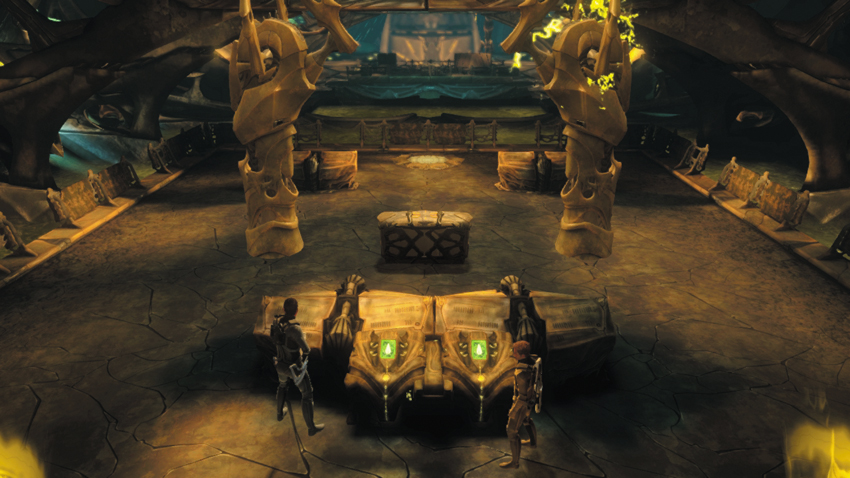
Cross the bridge to reach a platform with two Gorn teleporter pads. Step onto one of the pads and activate it to teleport to the next platform, just ahead. Alternately, you can swim to the next platform. Step up to the large console on the new platform and work together with your partner to hack it. Following the hack, Kirk notices that all the ship’s weapons are controlled from some sort of targeting platform on the other side of the ship. But Kirk’s analysis is cut short by the arrival of a new enemy.
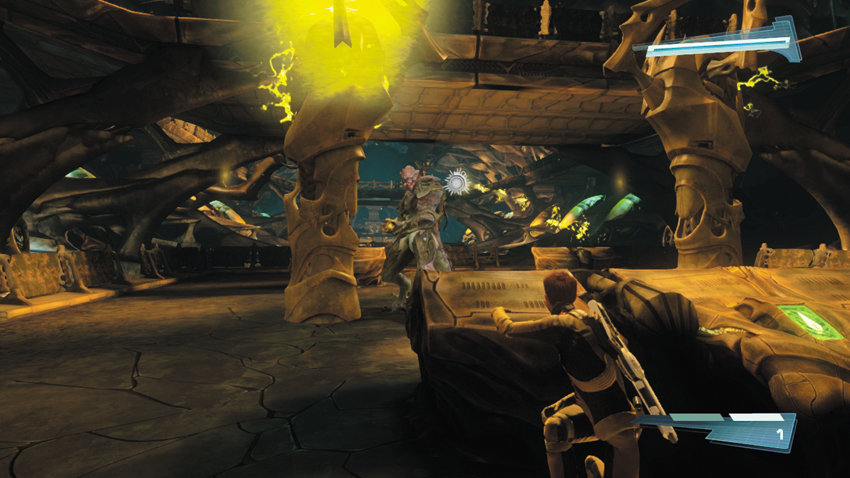
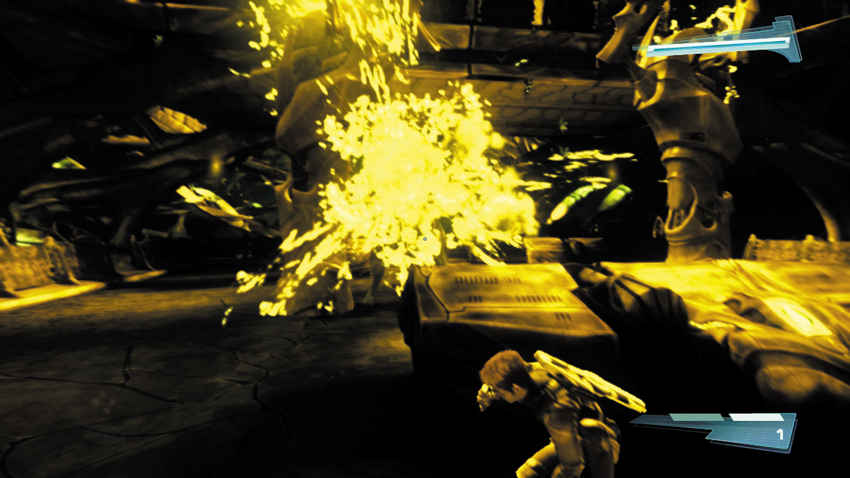
Stay behind cover at the console as a Gorn Sentinel teleports in front of you—it looks like your intrusion into the Gorn system hasn’t gone unnoticed. This enemy is armed with an Arc Driver, so it’s imperative to stay behind cover. To avoid exposing yourself, toss Plasma Grenades at the Gorn Sentinel. If you score a hit, the Plasma Grenade sticks to the enemy’s skin before exploding and inflicting massive damage. But it will take at least two Plasma Grenades to kill this guy. If you only have one Plasma Grenade (or none at all) use your Starfleet Phaser Rifle to engage this threat—keeping hitting him until he slumps to the ground.
New Objective: Proceed to the targeting platform
11: Gorn Sentinel
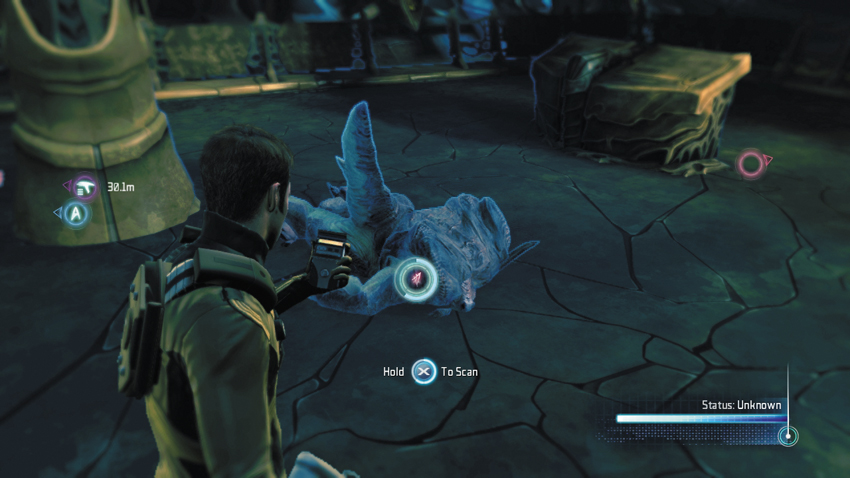
After killing the Gorn Sentinel, scan his body. But if the killing blow was performed with an explosive weapon, such as a Plasma Grenade, there won’t be anything left to scan.
Type: Research Data
Set: Enemies/Gorn Advanced Enemies
XP: 100
Log Entry: Advanced genetic structure suggest that this fellow is the pinnacle of the evolutionary mischief the Gorn have been making. Approach with caution. In fact, don’t approach at all. Run away. The quicker the better.
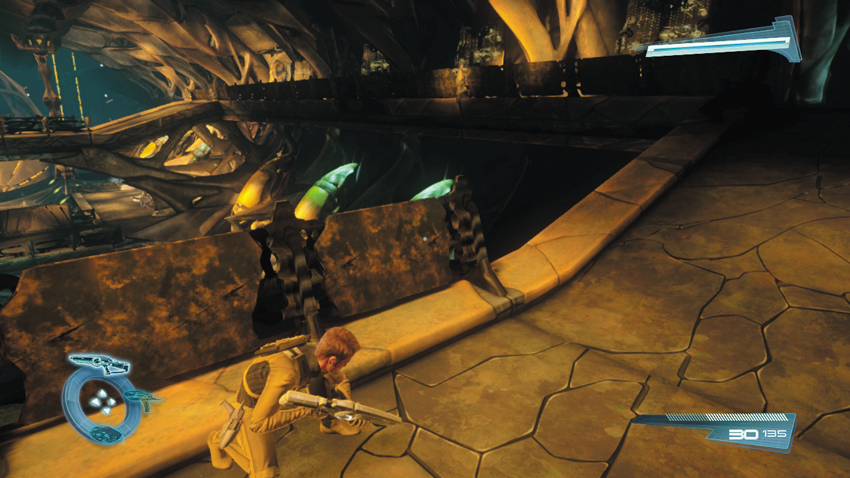
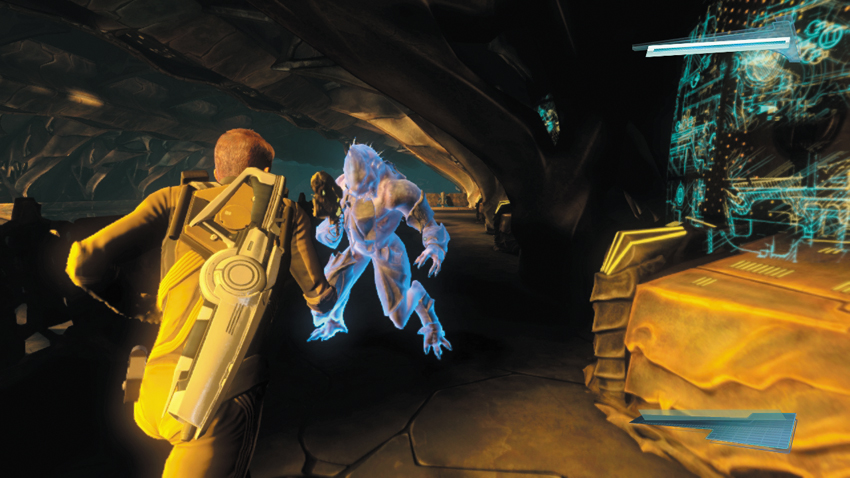
Step onto the teleporter pad where the Gorn Sentinel arrived to teleport to a distant bridge on the chamber’s upper level. Take cover along the edge of the bridge and monitor the adjoining perimeter walkways for enemy movement—this area is patrolled by a mix of Gorn Warriors and Gorn Initiates. Approach the perimeter walkway to the right and wait for a Gorn Warrior to approach—stun him with your phaser before he spots you, then immediately incapacitate him with a takedown.
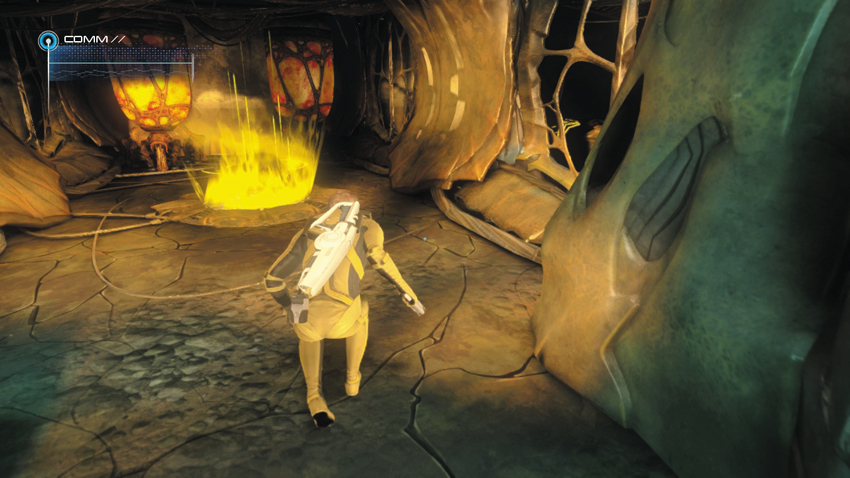
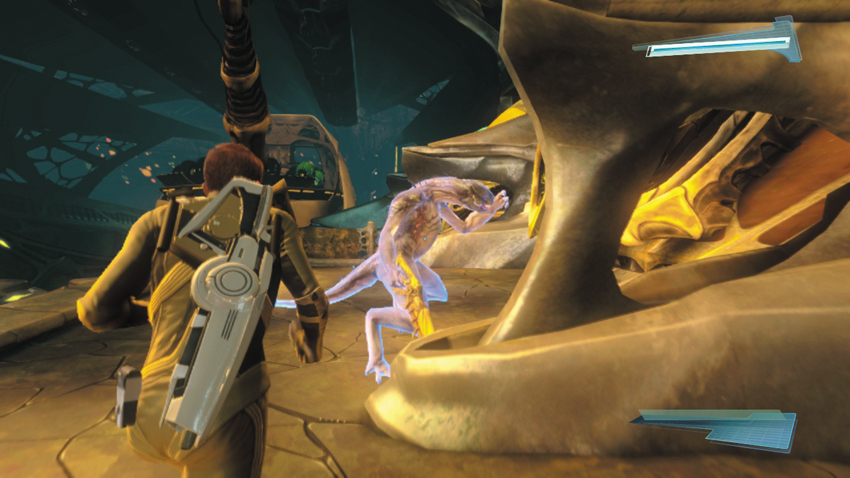
The goal is to hitch a ride in one of the tanks so that a crane conveyance system will take both of you to the targeting platform where the ship’s weapons are controlled. Scotty advises scanning one of the tanks before getting in it. Continue along the perimeter walkway on the right side of the chamber and be careful to avoid being spotted by the Gorn Initiate patrolling the next bridge to the left. When the Gorn Initiate moves away from you, slip into the next room on the right and step onto the Gorn teleporter pad. Activate the pad to teleport to the chamber’s lower level. A row of tanks is just around the corner, but so are two Gorn Initiates. Wait until the enemies separate, then stun the one nearby, then incapacitate him with a takedown. If necessary, hunt down the other Gorn Initiate before he returns.
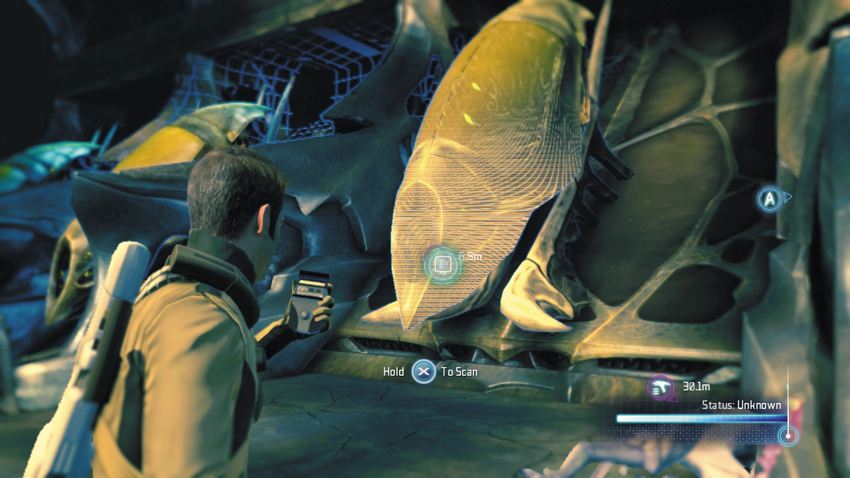
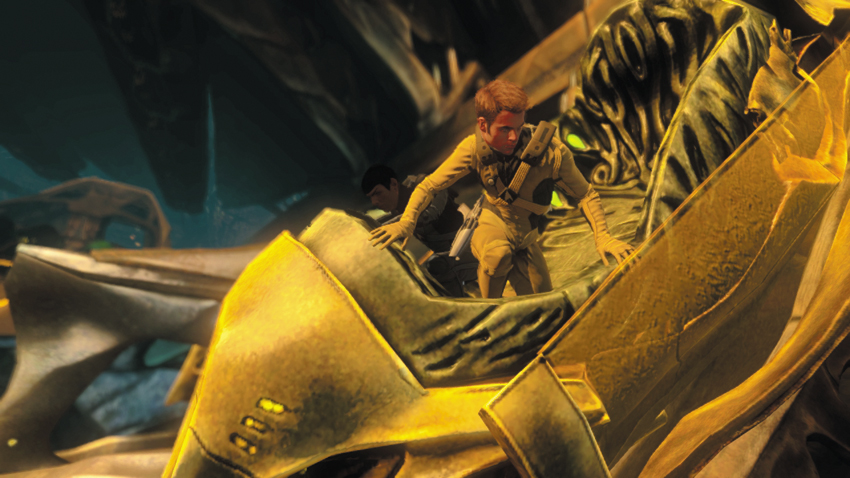
Once the area is clear, scan the tank indicated by the waypoint marker using your tricorder. This allows Kirk and Spock to climb inside. Soon after entering the pod-like tank, a crane picks it up and deposits it on a tram heading for the targeting platform.
Sabotage
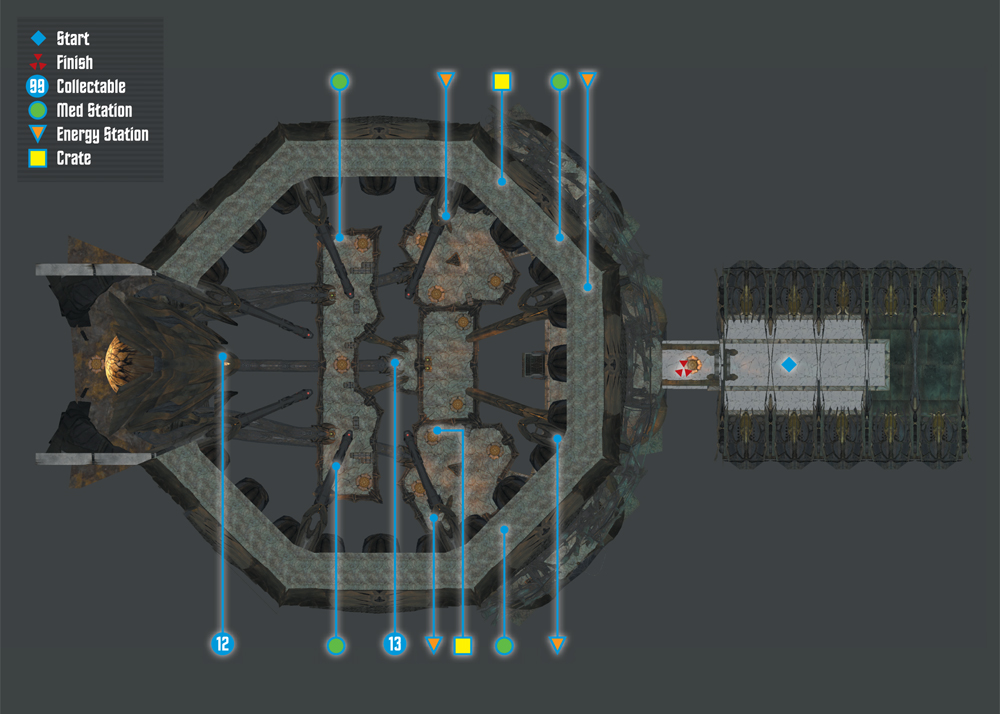
Collectables Checklist
| # | Name | Type | XP |
|---|---|---|---|
| 12 | Gorn Advanced Tech (2 of 2) | Research Data | 100 |
| 13 | Gorn Advanced Tech (1 of 2) | Research Data | 100 |
Targeting Platform
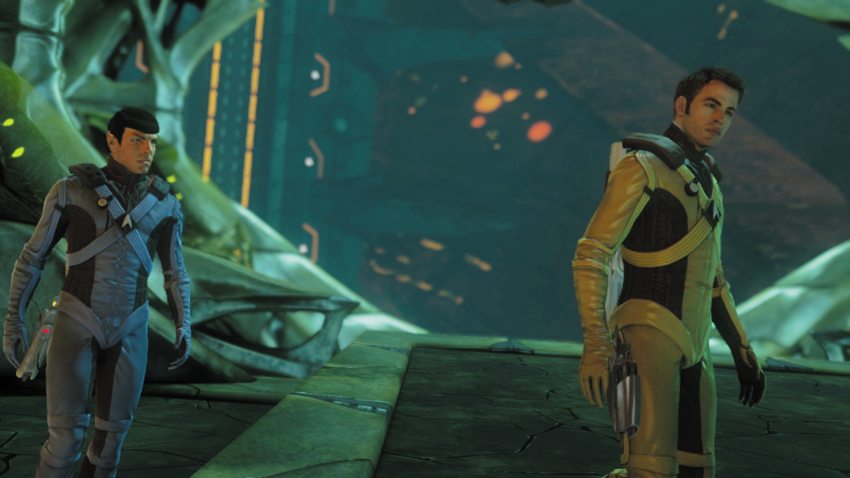
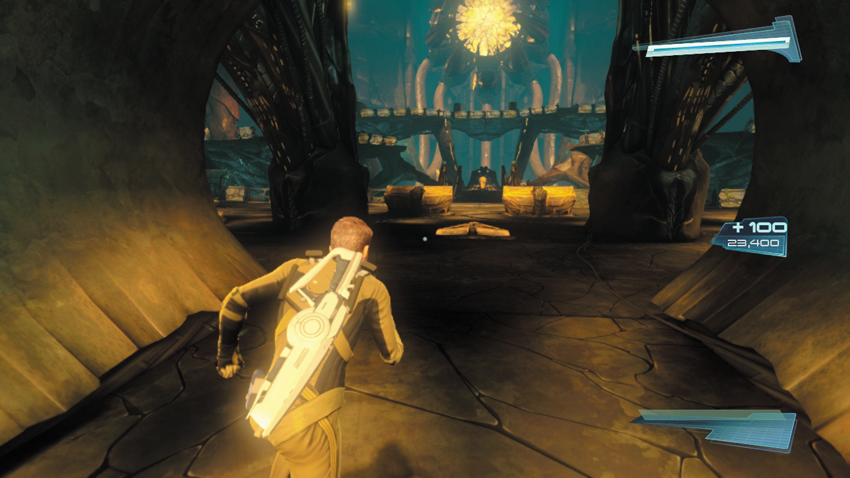
As Kirk and Spock arrive outside the targeting platform facility, Sulu reports that the Enterprise’s shields are down to 30 percent—they can’t withstand the Gorn attack much longer. Move to the nearby door and work with your partner to hack it. Once the hack is complete, step through the door to reach the targeting platform, along with the ship’s central computer. The computer is connected to the ship through a series of large cables. Spock suggests overriding the consoles to sever connections to the computer, thereby disabling the Mothership’s weapon systems. But their analysis is cut short when a turret activates in the distance and begins scanning the room. Kirk and Spock quickly take cover to avoid being spotted by the turret.
New Objective: Disconnect the targeting platform cables
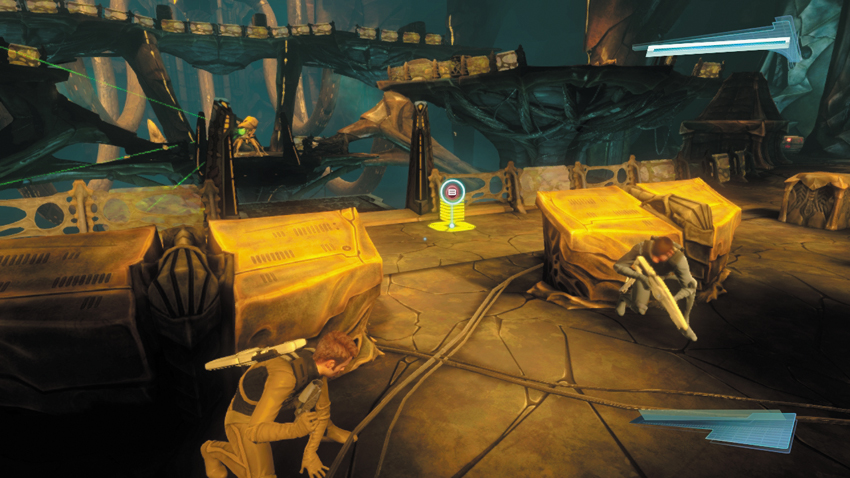
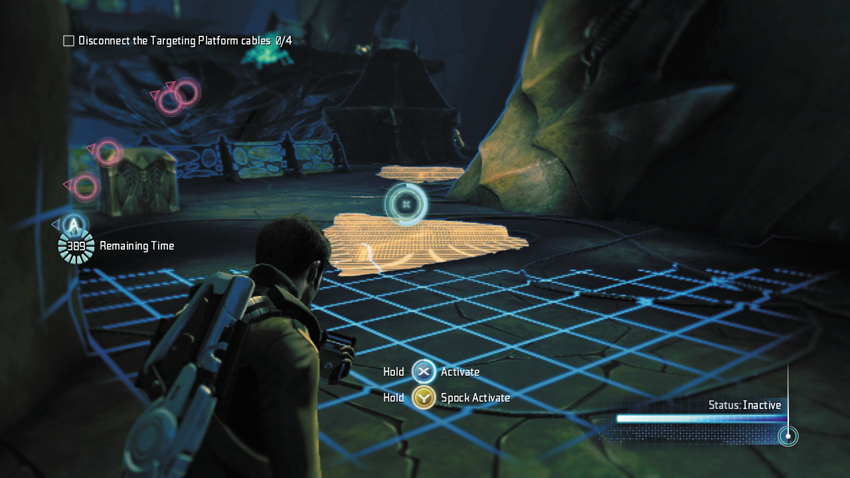
Following the cinematic, monitor the turret’s movements. When it pans to the left, move to the right while staying behind cover to avoid detection by the turret. At this point, a timer appears on the left side of the HUD, giving you only 400 seconds to override the four consoles in the room. While you won’t be able to sneak through this entire room, it’s best to avoid detection for as long as possible—at least until you can override a couple of turrets. While advancing to the right side of the room, use your tricorder to raise barriers that provide more cover for you to stay behind—always place a piece of cover between yourself and the turret to avoid being detected.
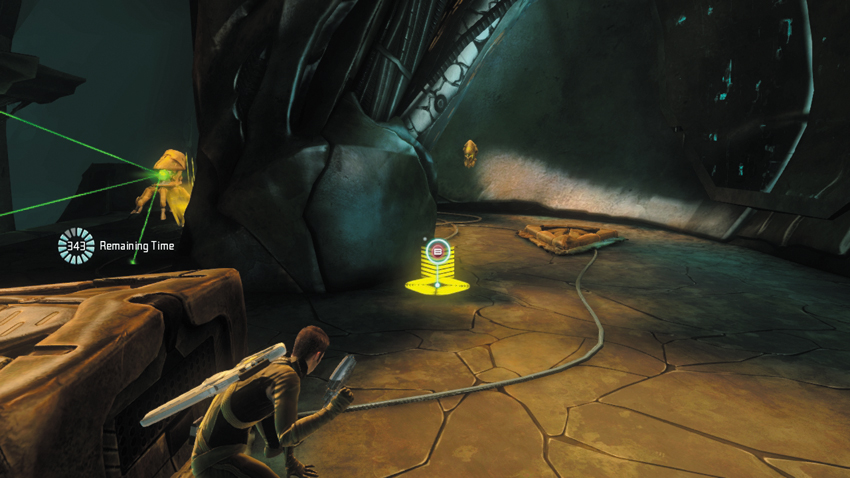
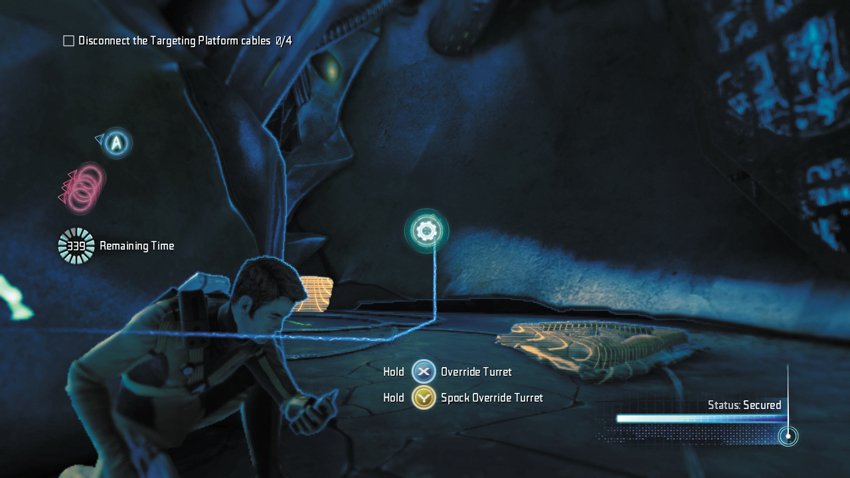
As you approach an Energy Station on the right, watch out for another turret ahead. Stay behind the raised barriers or the nearby pillars to avoid detection, moving only when the turret pans away from you. When the turret is facing away from your direction, move behind the pillar next to it. From here you can use your tricorder to hack the turret’s control station, attached to the nearby wall.
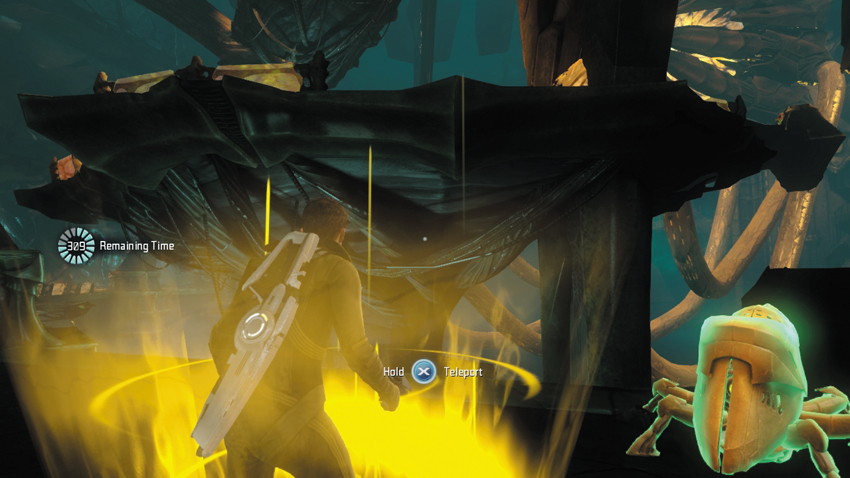
Once it is bypassed, the turret will not attack you, and you can access the nearby crate that contains a Plasma Grenade. A Gorn teleporter pad is located directly in front of the bypassed turret. Step onto the pad and activate it to teleport to the platform above.
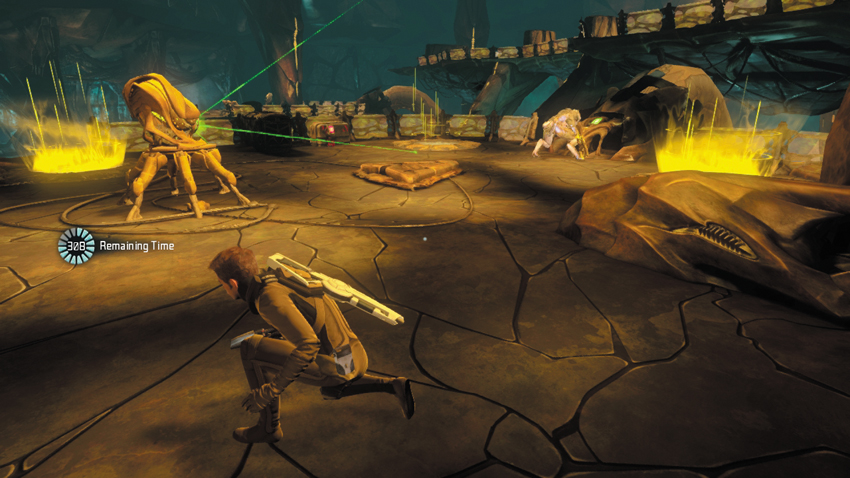
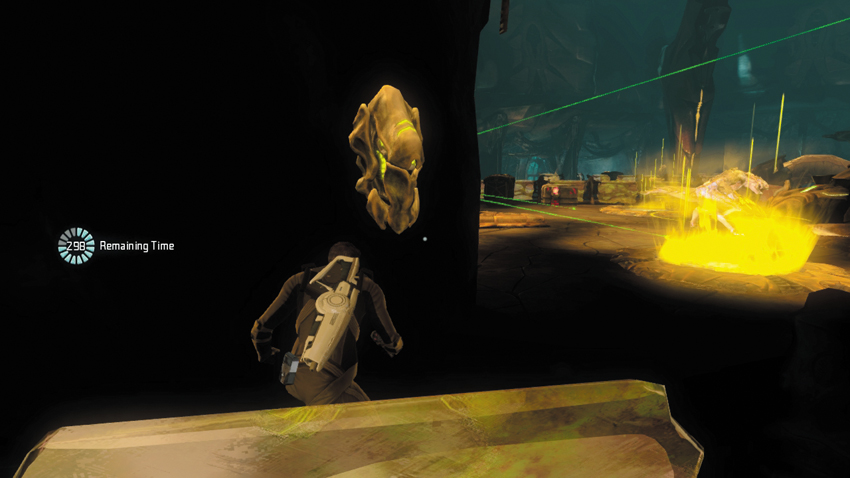
On the platform, the first console is guarded by a Gorn Warrior as well as a turret—fortunately, they’re both facing away from you. Resist the urge to shoot the Gorn Warrior in the back. Instead, creep toward the Energy Station on the right side of the platform. As you inch forward, the turret activates and begins scanning. As it pans to the left side of the platform, slip behind the pillar on the right side of the platform. As long as you stay behind the pillar, the turret can’t see you. Attached to the pillar is the control station for the turret. Hack the turret and watch it gun down the Gorn Warrior standing in front of the console.
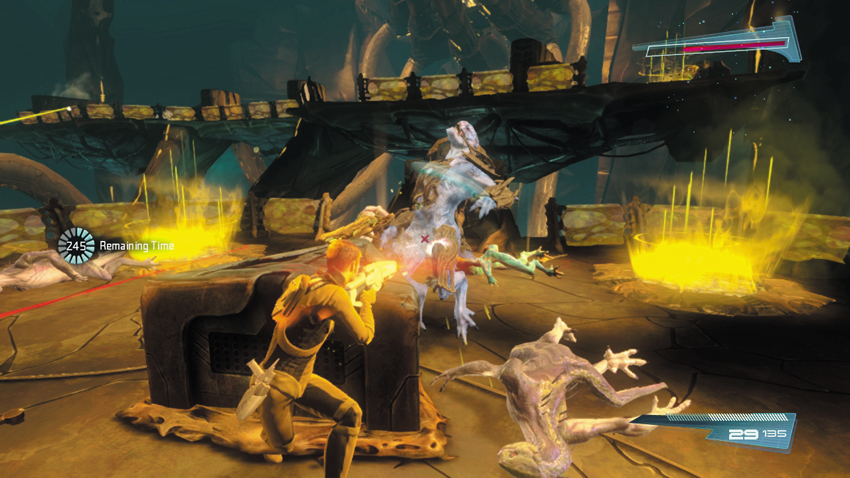
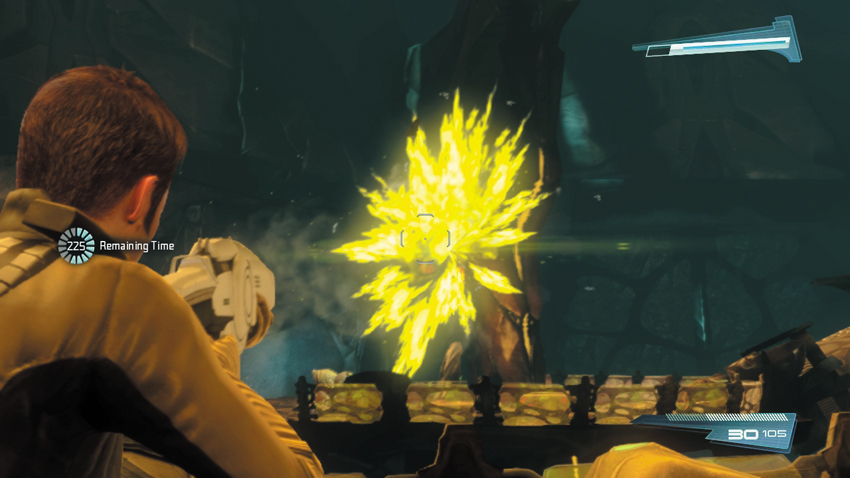
As the turret opens fire, expect several Gorn enemies to respond; they arrive on the teleporter pads flanking the console. Fortunately, these enemies arrive directly in front of the hacked turret, significantly limiting their lifespan. However, don’t stay near the turret’s control station. Instead, rush to cover behind the barrier in front of the turret and join the chaotic fight. Watch for a mix of Gorn Techs, Gorn Initiates, and a Gorn Enforcer to appear on the teleporter pads. Once the enemies stop teleporting to the platform, target enemies on the distant platforms. Also, watch out for a few Attack and Exploding Drones. Target the red Exploding Drones first, before they get close enough to detonate, then focus on the Attack Drones. There’s a Plasma Grenade in the crate on the left side of the platform—grab it when you’re not taking fire.
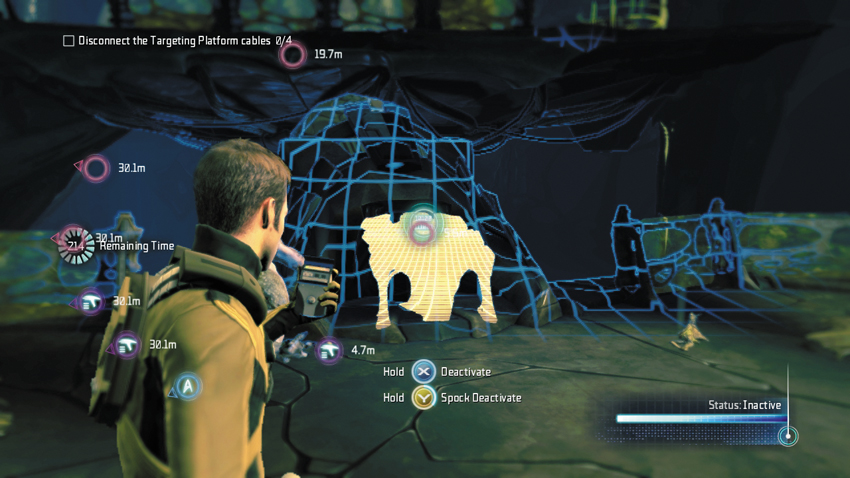
When the incoming fire dies down, turn to the console and deactivate it—you can do this with your tricorder from a distance, or by simply walking up to it and pressing the button shown on-screen. Next, step onto the Gorn teleporter pad to the right of the console and activate it. If you choose the teleporter pad on the left side of the console, you arrive directly in front of a hostile turret—chances are you won’t survive.
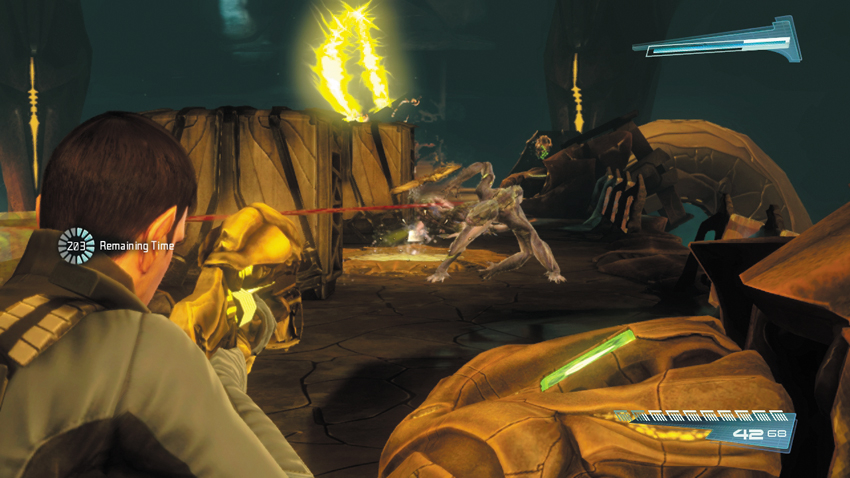
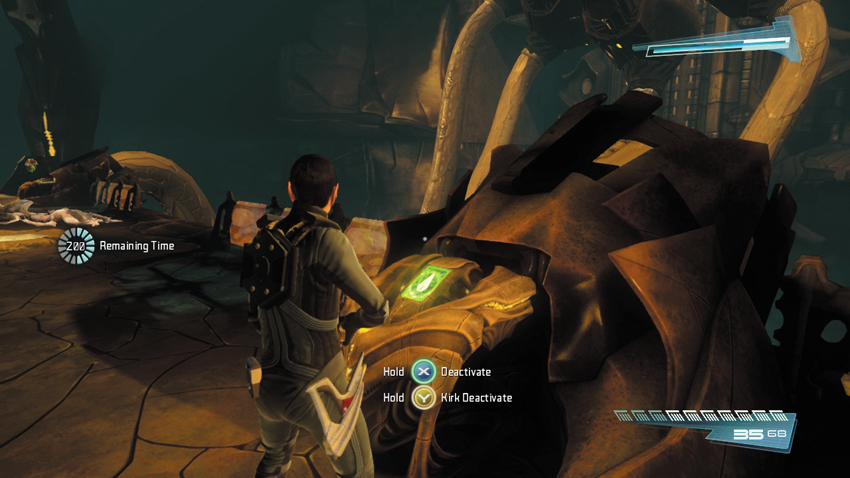
The next platform is narrow, like a catwalk. But don’t rush to the nearby console just yet. This platform is occupied by several enemies, including a potential mix of Gorn Initiates, Gorn Warriors, Gorn Techs, and a Gorn Enforcer—some of these enemies may have already responded to the previous platform. Stay behind cover and engage the enemies with your weapon of choice. Consider grabbing a weapon off one of the dead Gorn enemies, such as a Pillager. The Pillager’s automatic primary fire is great for intermediate-range engagements while its secondary fire shotgun-like spread is perfect for close-quarter encounters. There are two consoles on this platform. When you’re not taking fire, deactivate both consoles. Three down, one more to go!
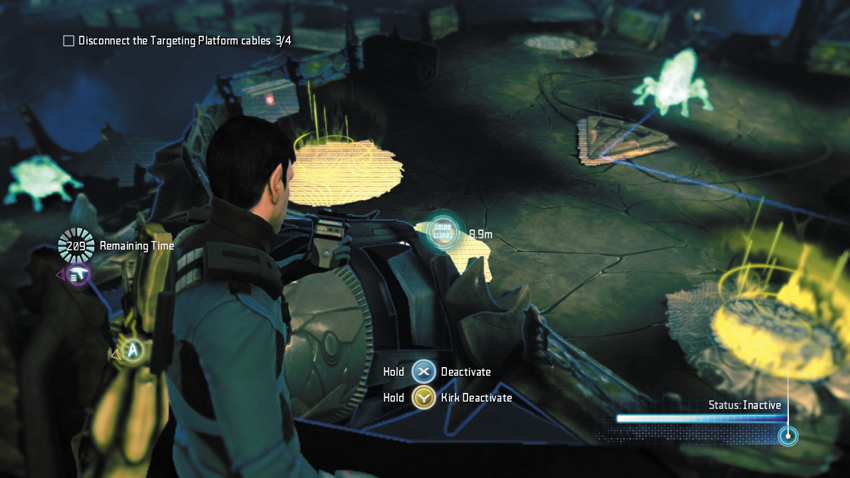
With three consoles deactivated, rush to the far end of the platform and look over the edge. Just below is another platform guarded by a turret. There’s no need to teleport over to this platform. You can deactivate the console from a distance using your tricorder. Now that all four cables have been disconnected, you can target the ship’s central computer.
New Objective: Destroy the Gorn targeting platform
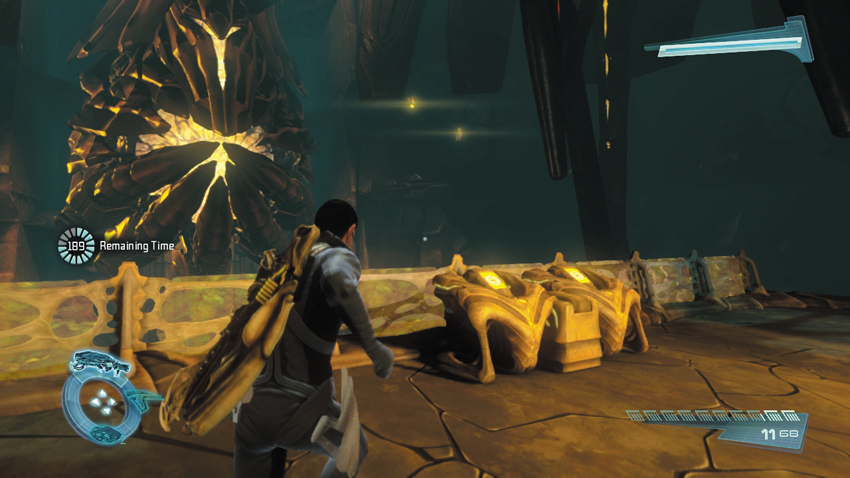
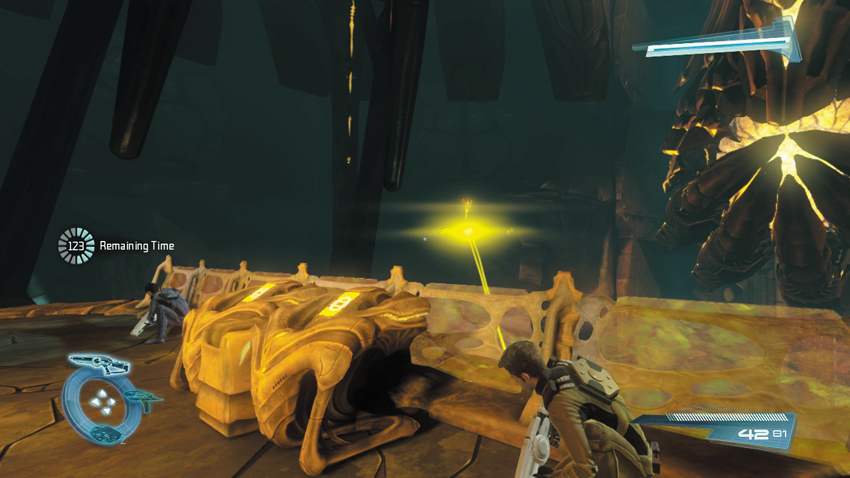
Follow the waypoint marker to the teleporter pad in the middle of the long catwalk platform and activate it. This puts you on a platform overlooking the central computer. However, the computer cannot be attacked just yet. You need to work together with your partner to hack the nearby console. But before commencing the hack, target the mix of Attack and Exploding Drones that are closing in on your position. Take cover near the console and open fire on the drones. Once the area is clear of threats, hack the console to expose the ship’s central computer.
12: Gorn Advanced Tech (2 of 2)
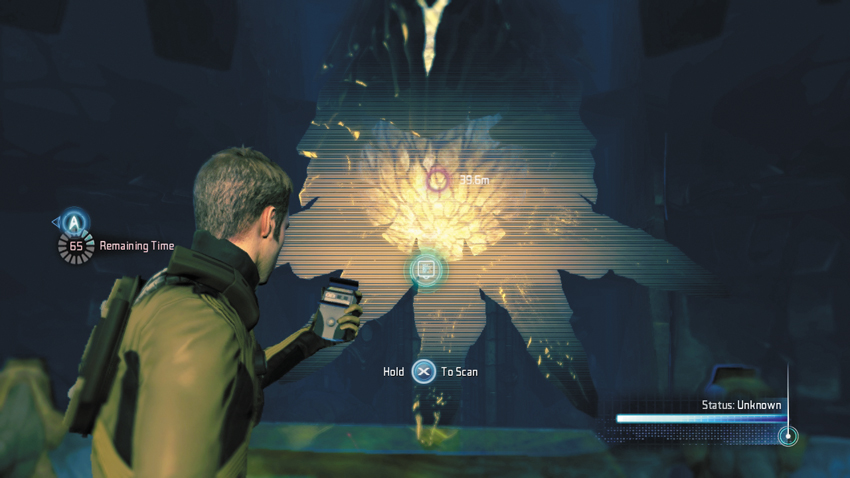
Before opening fire on the central computer, scan it with your tricorder.
Type: Research Data
Set: Sabotage/Gorn Advanced Technology
XP: 100
Log Entry: What we’ve learned about the Gorn Mothership: it’s alive. It’s more than just a vehicle. It’s an organic environment that changes and adapts to the conditions inside it. It acts like a kind of networked intelligence that connects all the individual Gorn to a central consciousness. It attacks invaders like an immune system attacking illness. Which does not bode well for any non-Gorn visitors.
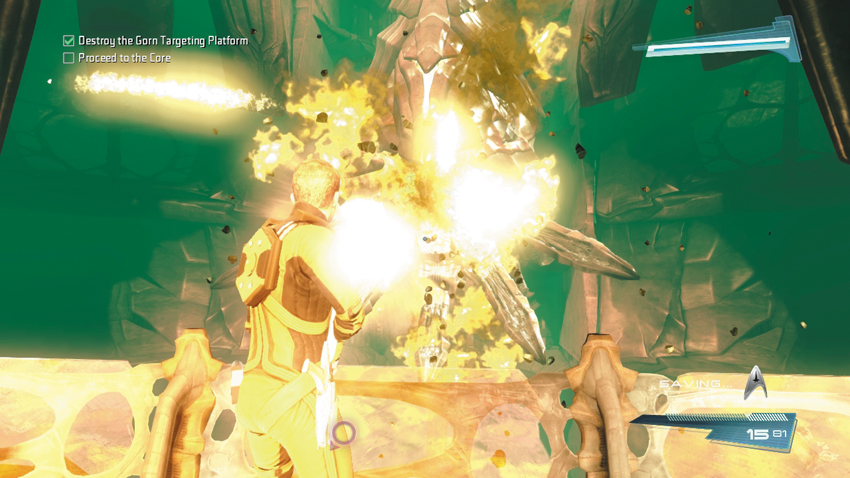
After scanning the central computer, open fire to destroy it. Once exposed, the computer is extremely vulnerable and fragile, exploding after sustaining only a few hits. Following the computer’s destruction, Sulu reports that your attack worked—the Mothership’s weapons have been disabled. Now it’s time to get to the ship’s core.
New Objective: Proceed to the core
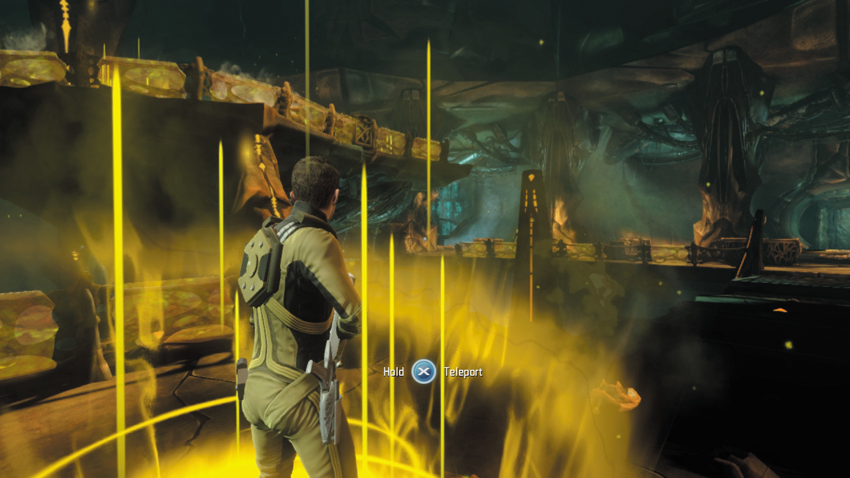
From the console, turn around and step onto the teleporter pad on the left. This takes you down to the ground floor, close to where you originally entered. Don’t worry, that turret you evaded earlier is now offline. But before leaving the facility, turn around and scan the piece of equipment next to the teleporter pad to find the last collectable.
13: Gorn Advanced Tech (1 of 2)
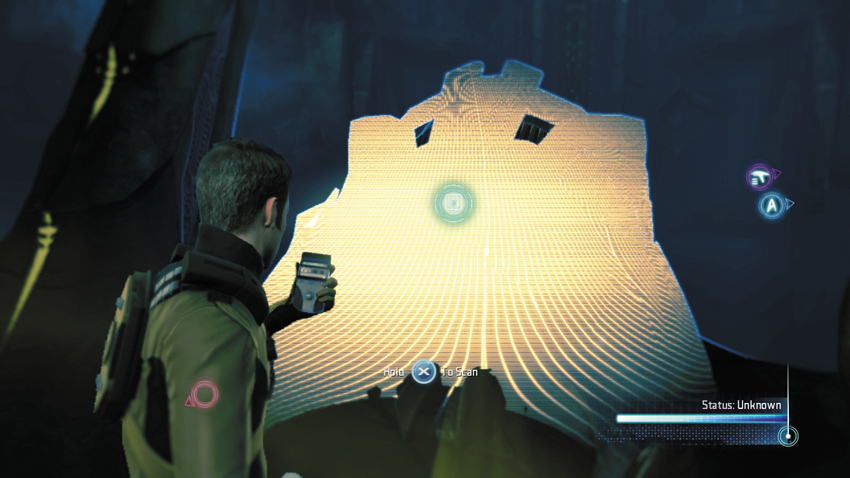
After destroying the ship’s central computer, teleport down to the room’s lower level, then turn around—scan the large piece of equipment next to the teleporter pad.
Type: Research Data
Set: Sabotage/Gorn Advanced Technology
XP: 100
Log Entry: Why did I get assigned “explain how the Gorn works” duty? I’m the Chief Engineer, not the Chief Science Officer! But since the Chief Science Officer is currently running for his life alongside the Captain, everyone says “Oh, give all the science-y talk to Mr. Scott to take care of! Because Engineering is Science, and Scotty is the Chief Engineer! Let’s ignore the hundred other junior science officers that can do it!” This is the sound of the Chief Engineer sighing.
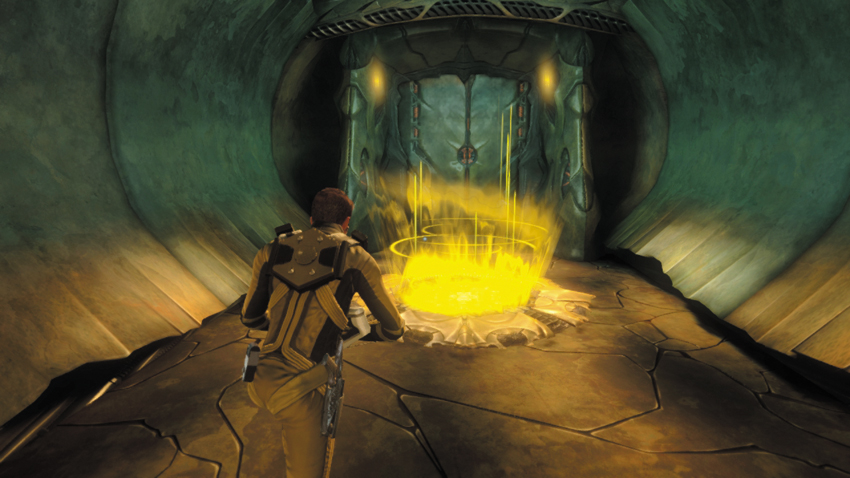
Cross the bridge to return to the room’s entrance. Step onto the teleporter pad in front of the door and activate it to reach the next part of the Mothership.
To the Top
Ascend
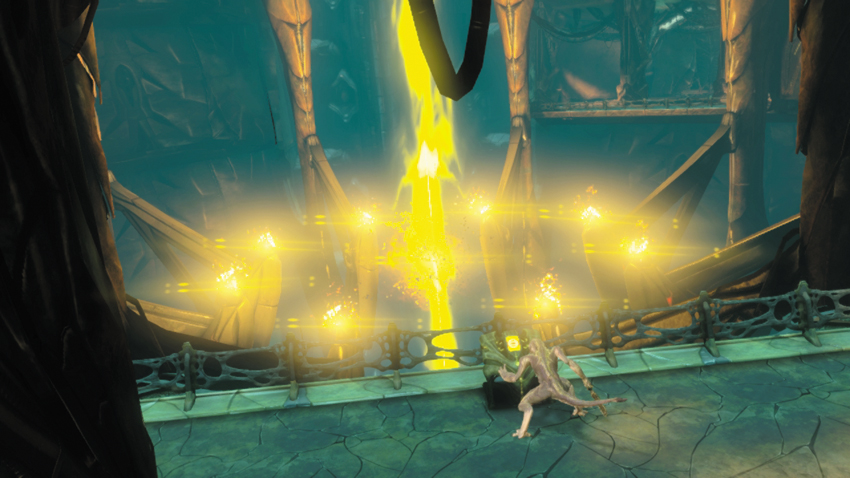

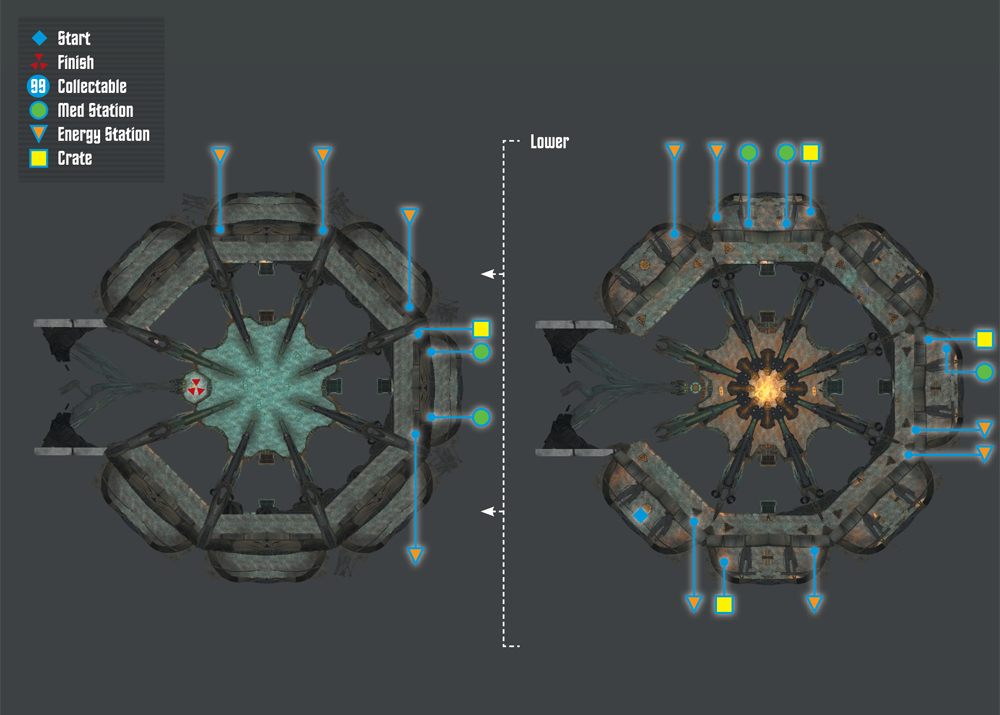
The next chamber is massive and ringed by several perimeter walkways. Upon entering, Chekov reports a huge energy surge within the Gorn Mothership. Suddenly, the Mothership emits a powerful beam of energy, just missing the Enterprise. But the Enterprise wasn’t the target. Instead, the beam has opened a second rip. It looks like the Gorn have finally harnessed the Helios Device for their needs. Spock warns that they must destroy the Helios Device to prevent the Gorn from attacking multiple targets in the universe without warning.
First Level
New Objective: Ascend to the second level
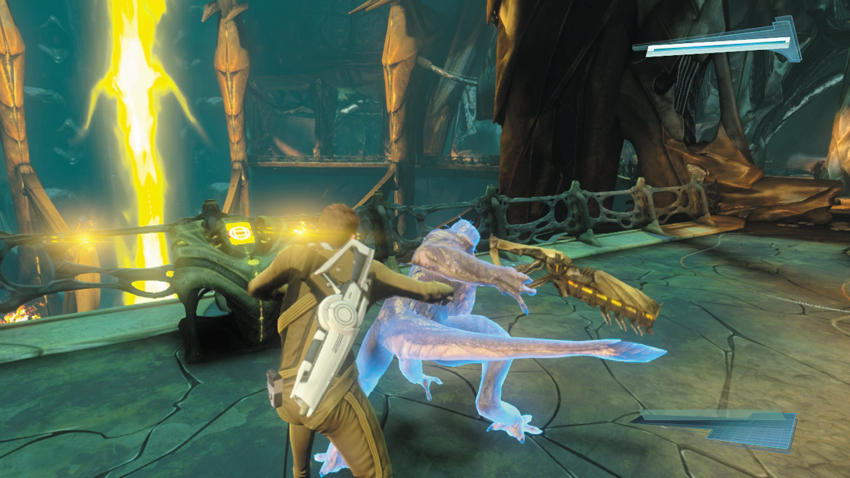
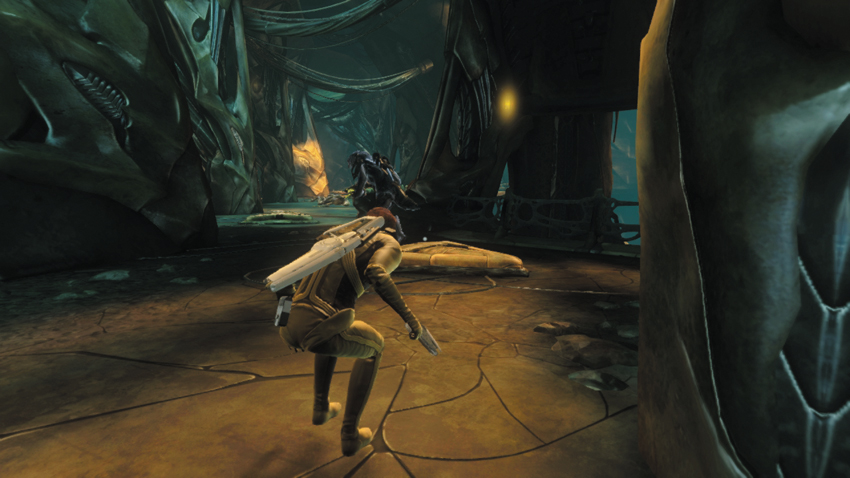
Following the cinematic, turn to the right and replenish your ammo from the nearby Energy Station. Also, keep an eye on the Gorn Warrior that is patrolling nearby. During this sequence, there’s no need to advance quietly. However, it’s best to eliminate as many targets as possible without being detected—the more enemies you eliminate quietly, the fewer you’ll have to confront in a fire fight. Wait for the Gorn Warrior to move away, then start by stunning and taking down the nearby Gorn Initiates preoccupied with their work at consoles. Next, keep watch for a Gorn Enforcer patrolling nearby. Wait for him to pass you, then sneak up behind him and perform a takedown.
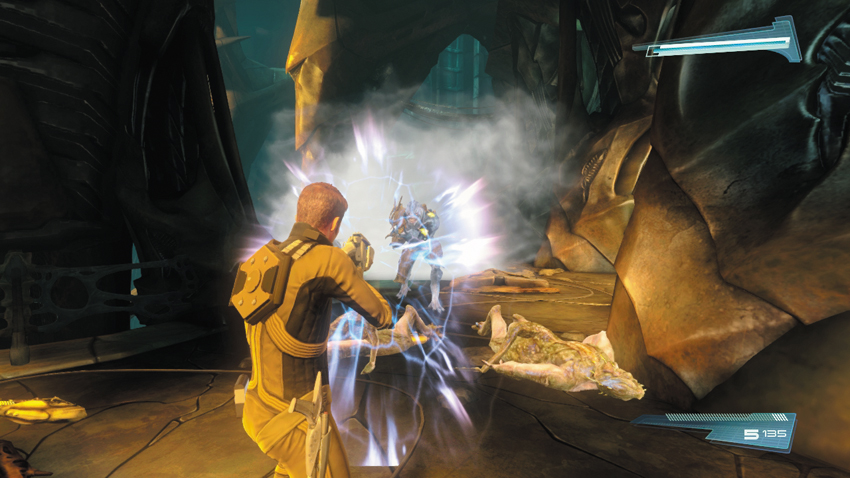
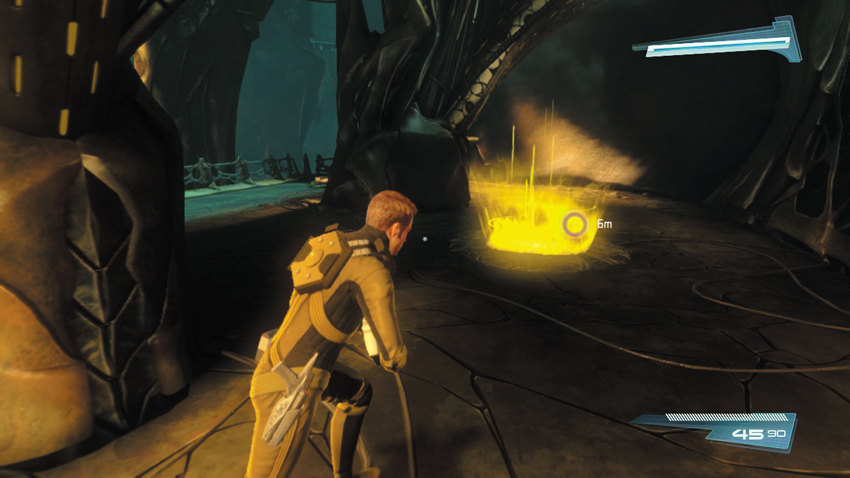
Keep up the stealthy advance as long as possible. But if you’re detected, take cover and prepare for an intense firefight as more Gorn enemies rush toward you. There are several Energy and Med Stations along the way, not to mention crates containing Plasma Grenades. If you still have your Starfleet Phaser Rifle, use its shield, activated with the secondary fire button, to block incoming fire, then retaliate when your enemy stops firing. When you’ve mopped up the enemies on this level, follow the waypoint marker to a Gorn teleporter pad to reach the second level.
Second Level
New Objective: Ascend to the third level
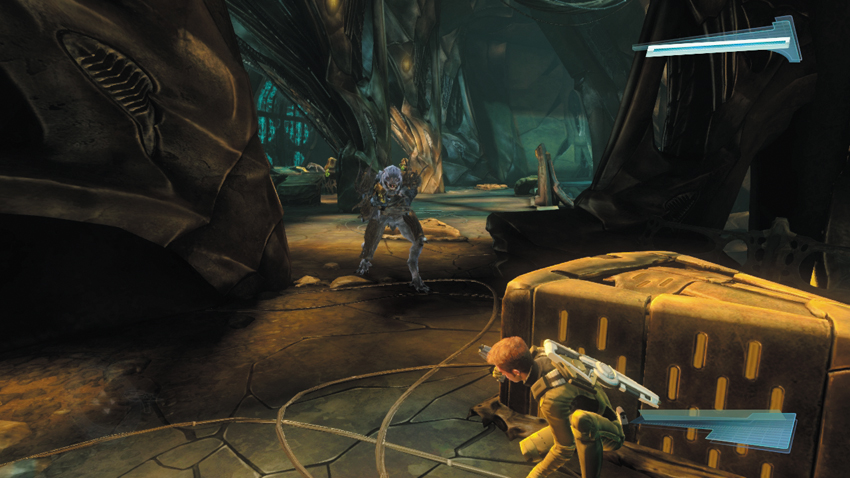
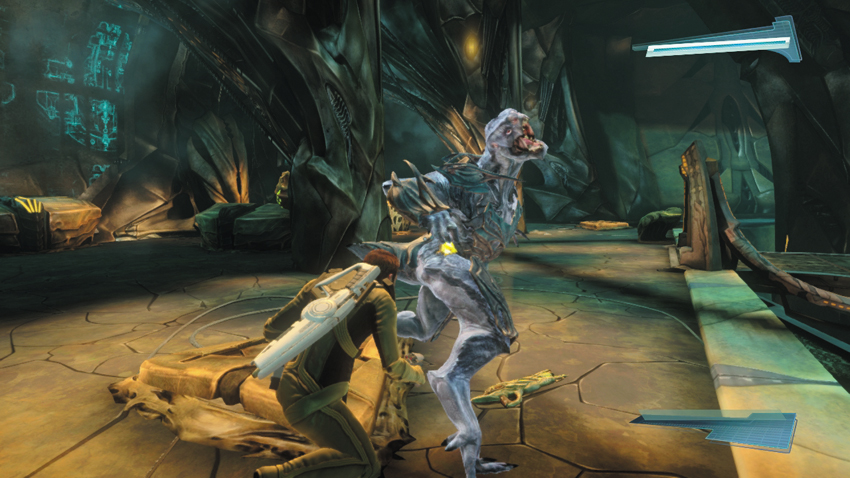
Regardless of what happened on the first level, the enemies on the second level are not expecting you. Do your best to remain undetected to prevent reinforcements from arriving. This next area, next to a bridge, is guarded by a Gorn Enforcer, a Gorn Warrior, and a Gorn Initiate. Raise the nearby barrier and take cover behind it while waiting for the patrolling Gorn Enforcer to approach—he stops only a few meters away. When he turns around, shoot him in the back with your phaser’s stun setting, then immediately perform a takedown. Remember, Gorn Enforcers aren’t stunned very long, so you must act quickly.
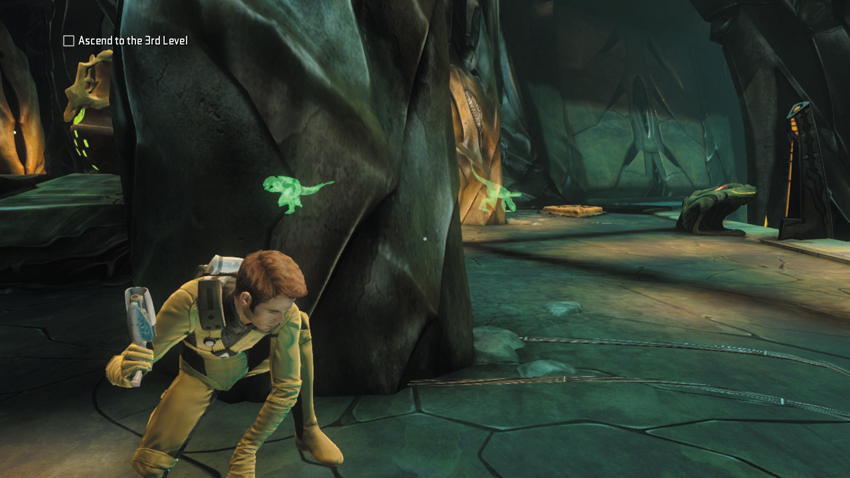
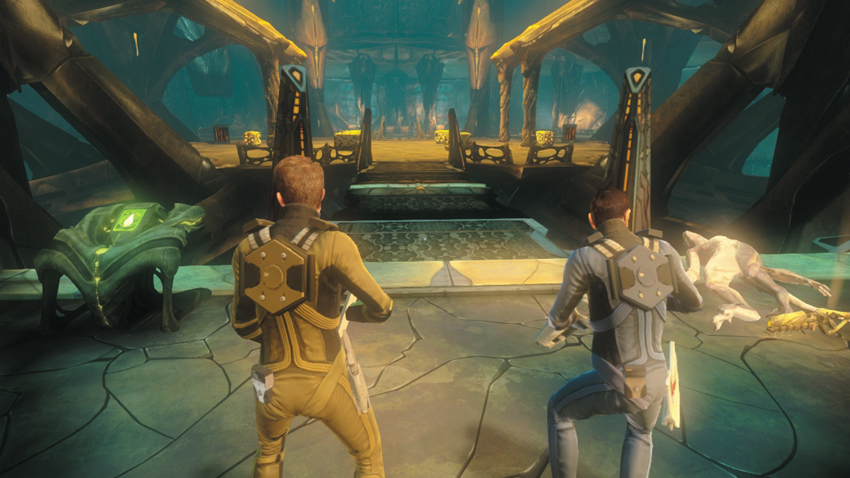
Next, take cover and monitor the movements of the Gorn Warrior and Gorn Initiate. These two enemies never move very far from each other, which makes them difficult to isolate and takedown. Consider using a tricorder sound decoy to break them apart, then stun and incapacitate them. But if you’re spotted, you must contend with a number of Gorn Initiate reinforcements that teleport into the area. So be ready for a fight if you’re detected. Use the Med Station and Energy Station nearby, then turn to the console by the bridge. Activate the console to extend the bridge leading to a large central platform.
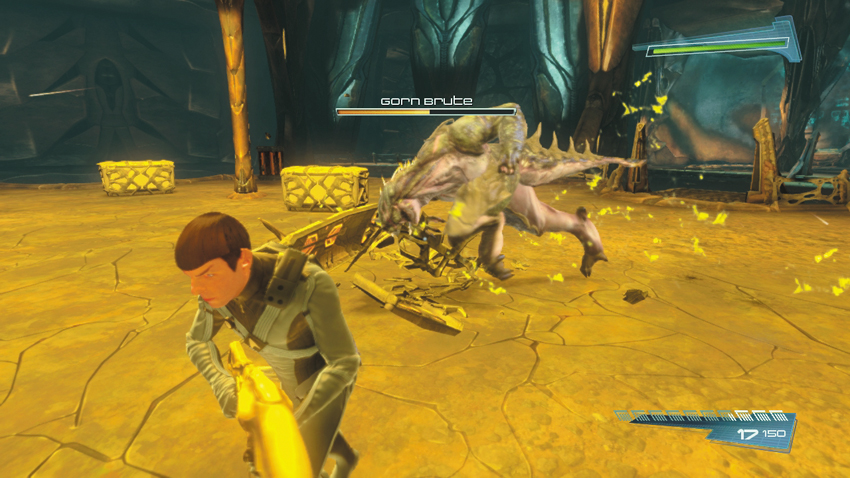
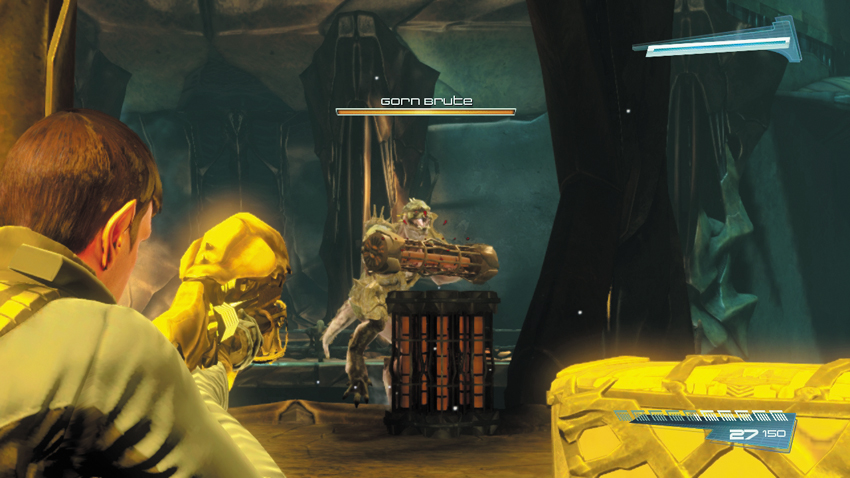
When you reach the central platform, a Gorn Brute teleports in front of you—toss a Plasma Grenade at him before he begins moving. You haven’t faced a Gorn Brute since New Vulcan, but the fight plays out the same. Instead of taking cover, get ready to evade the Gorn Brute’s charging attacks by diving out of the way. Occasionally the Gorn Brute moves to the perimeter of the platform and begins throwing energy cells in your direction. As soon as he stops next to an energy cell container, take aim and shoot the energy cell in his hands before he can throw it. This causes the energy cell to explode in his face and inflict heavy damage. Following several attempts to throw energy cells, the Gorn Brute will resume his charging attacks. Keep evading the Gorn Brute’s attacks while continually shooting him with your chosen weapon. He’ll eventually fall off the side of the platform when his health meter is completely depleted.
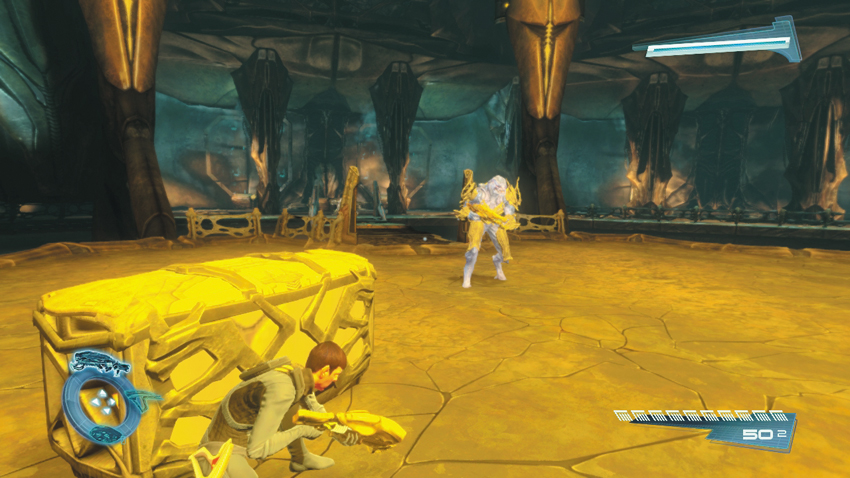
After defeating the Gorn Brute, stay on the platform and seek cover behind one of the remaining crates—the Gorn Brute probably destroyed most of them during his charging attacks. A Gorn Enforcer comes marching across the bridge ahead to investigate. When he’s nearby, open fire with your weapons to drop him quickly. If you act fast, you can kill him before he can sound an alert.
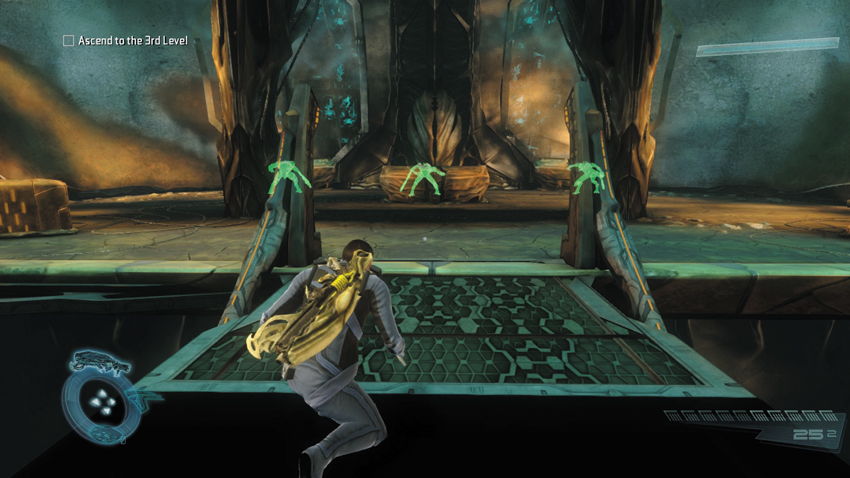
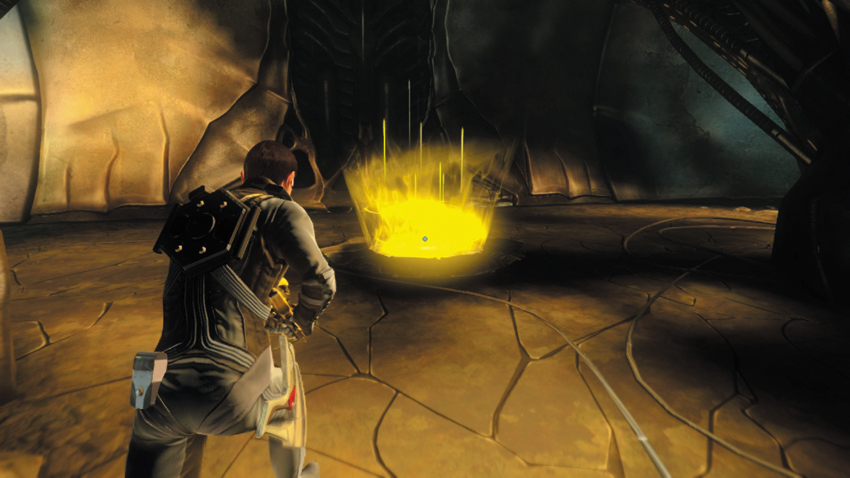
Now, cross the bridge, keeping your eye on two Gorn Warriors and one Gorn Initiate on the other side. All three enemies are preoccupied in front of their consoles. There’s no need to disturb them. While crouched, simply cross the bridge and turn right, following the waypoint marker to another Gorn teleporter pad. As long as you stay low and quiet, you can pass by the enemies without being detected.
Third Level
New Objective: Ascend to the Mothership core
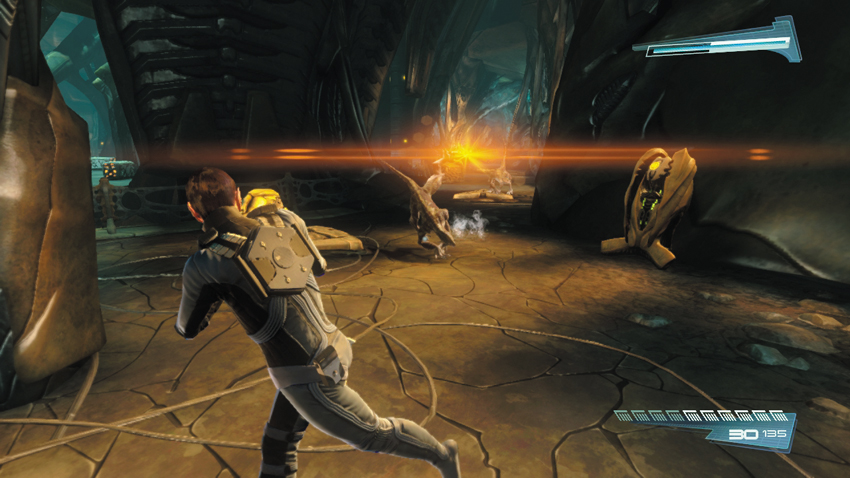
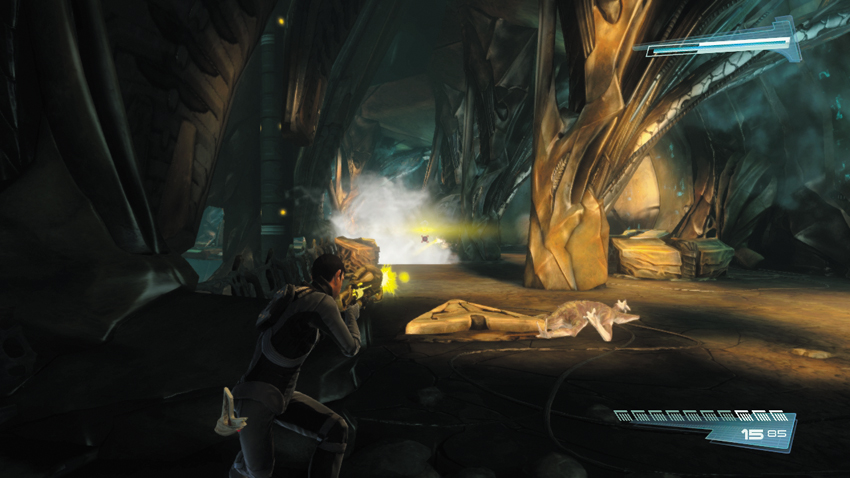
The next walkway appears to be free of hostiles. But as you advance, two Gorn Rushers charge toward you. Try to gun them down before they can pounce on top of you. Keep your distance and be ready to dive out of the way. Keep shooting the Gorn Rushers while running away from them—the Marauder or the Pillager’s secondary fire function works well against these enemies. Your battle with the Gorn Rushers draws the attention of more enemies, including a Gorn Enforcer and a few Gorn Initiates. Take cover and open fire on the enemies as they approach—try to kill the Gorn Enforcer before he gets too close. One of the Gorn Initiates is armed with an Arc Driver. Target this enemy next.
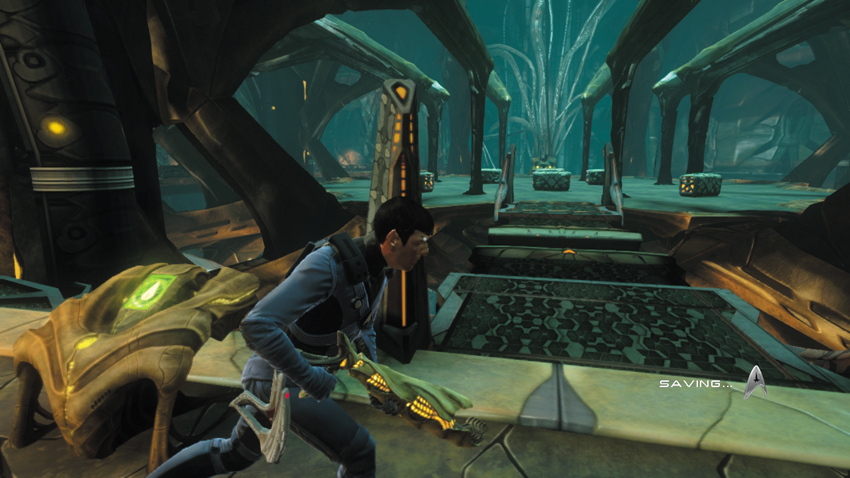
When the fire fight is over, grab the Arc Driver off the dead Gorn Initiate. Gather Plasma Grenades off the dead enemies as well—more Plasma Grenades can be found in the nearby crates. Continue along the perimeter walkway until you come to a retracted bridge. Interact with the nearby console to extend it to reach another large platform in the center of the chamber. Before crossing the bridge, make sure you have an Arc Driver and as many Plasma Grenades as you can carry—it’s time for another big fight!
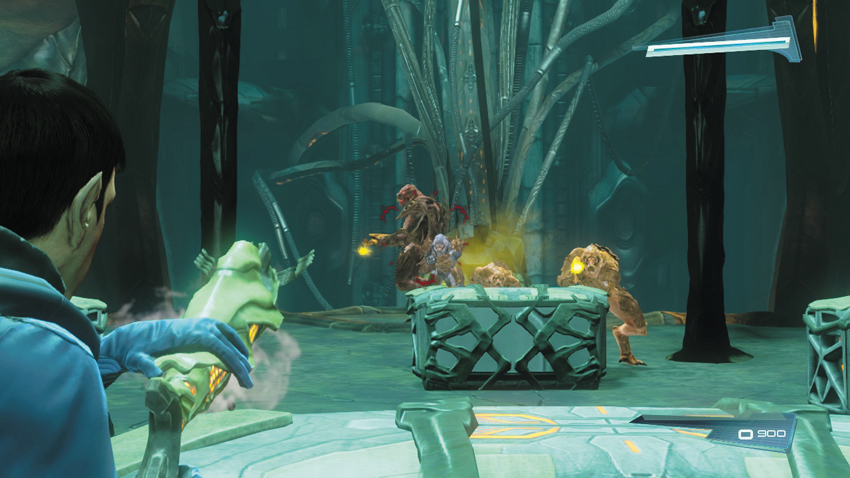
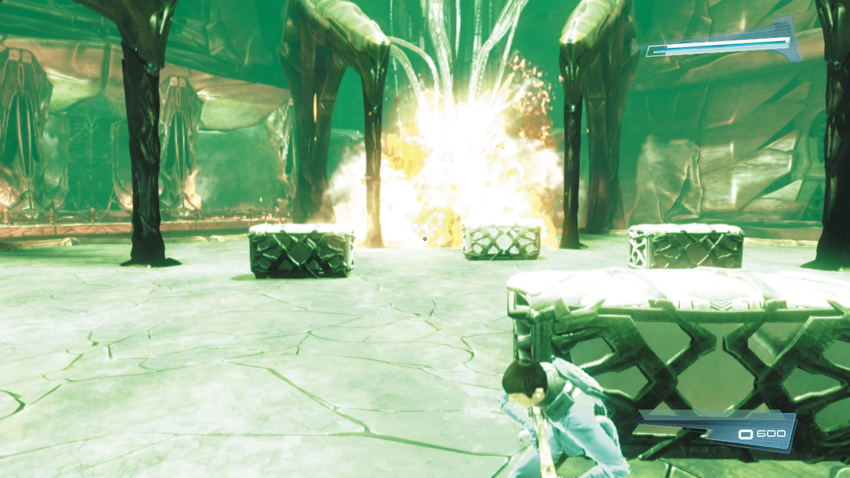
As you cross the bridge, take aim straight ahead toward the next waypoint marker. Multiple enemies teleport onto the central platform, including a Gorn Sentinel, a Gorn Enforcer, and a few Gorn Warriors. Take aim at the Gorn Sentinel and use the Arc Driver’s secondary fire function to launch an explosive missile at the group of enemies while they’re still bunched up. If you score a hit, the resulting blast kills all the enemies except for the Gorn Sentinel. Take cover behind the crate just ahead and reload your Arc Driver. When you’re ready to fire again, peek out of cover and hit the Gorn Sentinel again with the Arc Driver’s secondary fire attack. Keep hitting the Gorn Sentinel with the Arc Driver until there’s nothing left.
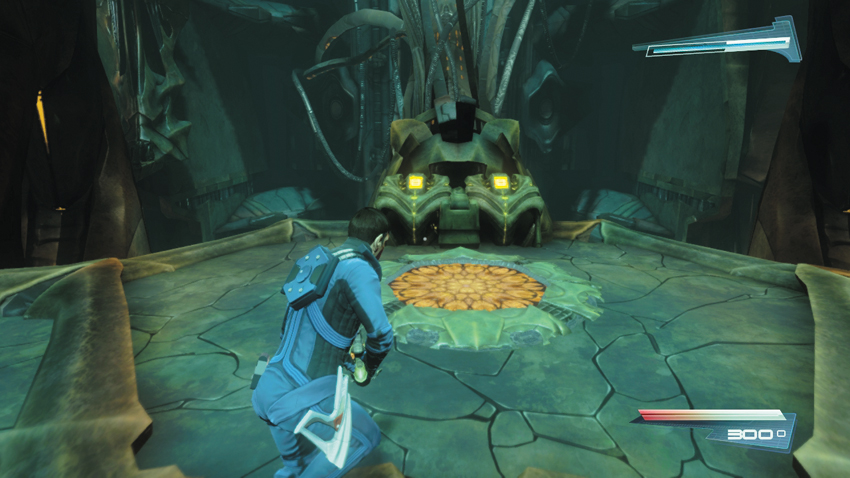
After defeating the Sentinel and his friends, approach the console on the opposite end of the platform and work with your partner to hack it. Successfully completing the hack gives you access to the Gorn Mothership’s core, where the Helios Device is located.
Final Confrontation
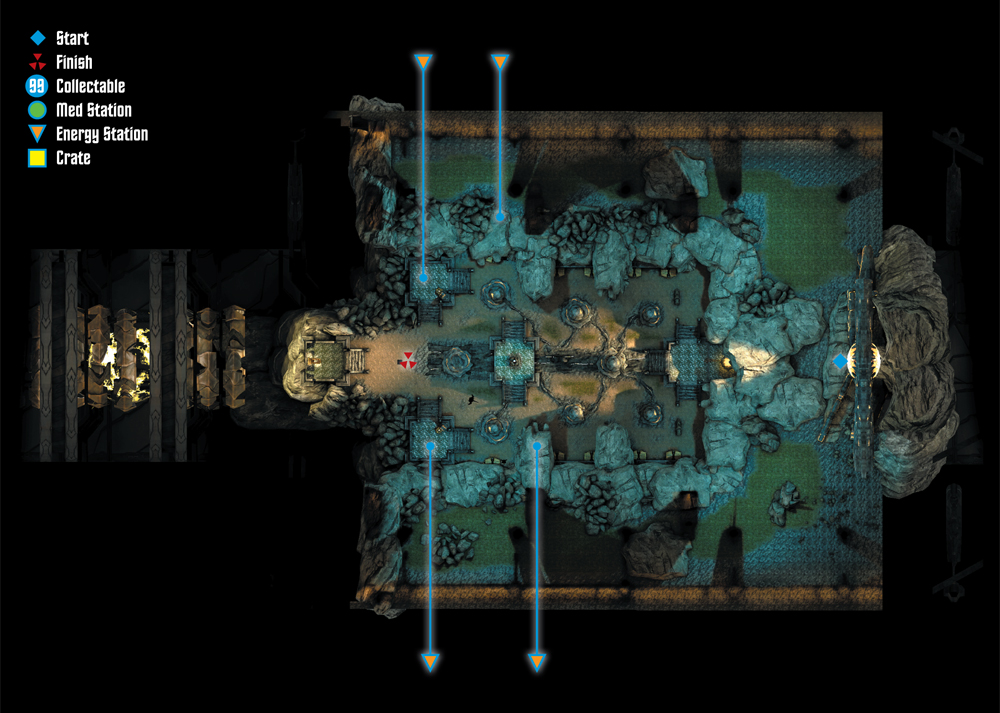
Mothership Core
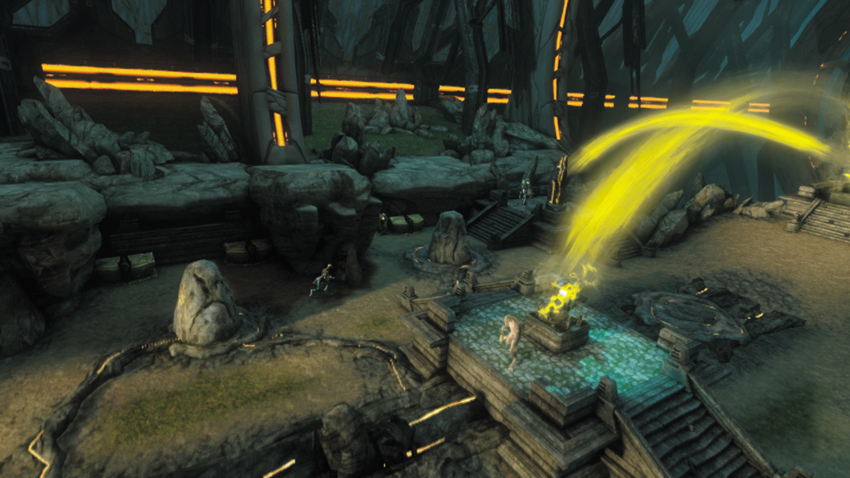
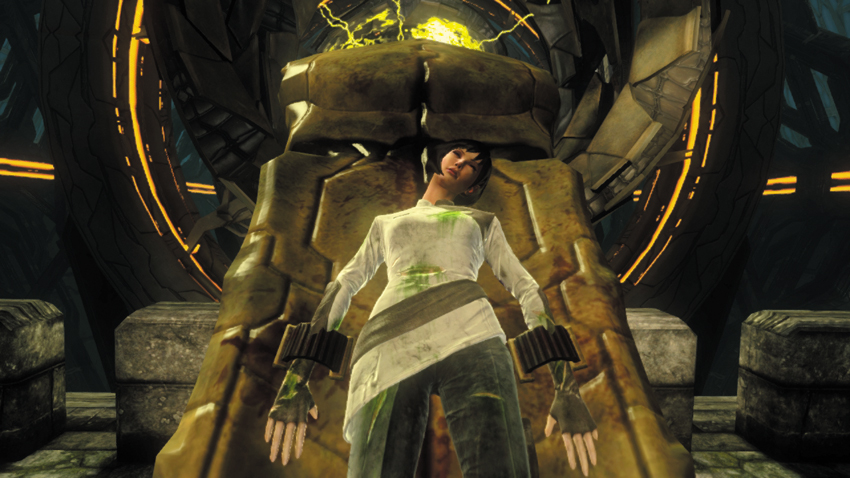
Upon reaching the core, Kirk and Spock spot the Helios Device. T’Mar is also here, restrained to metal slab on the far side of the room. Spock theorizes that the Gorn are somehow forcing T’Mar to operate the Helios Device against her will. As long as the Helios Device is operational, they will be unable to beam out. But before the Helios Device can be destroyed, the nearby plasma transducers must be overloaded.
New Objective: Overload the plasma transducers
Commendation: Complete your objectives without provoking any enemy attacks (Stealth)
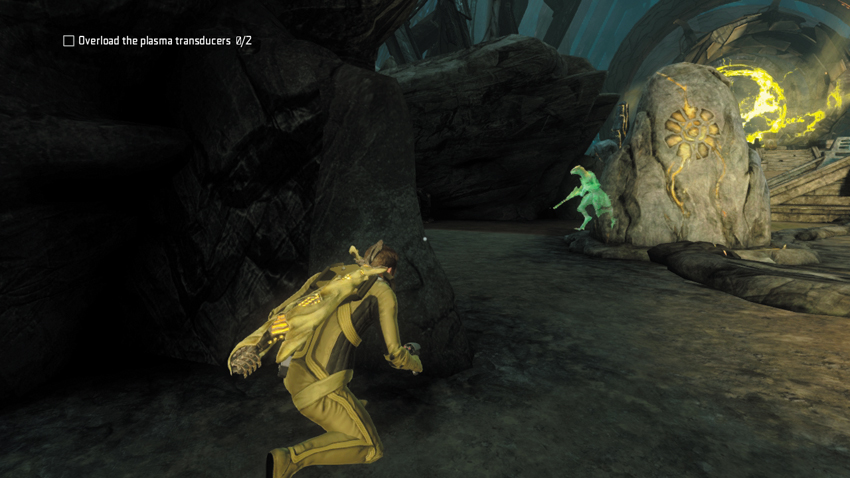
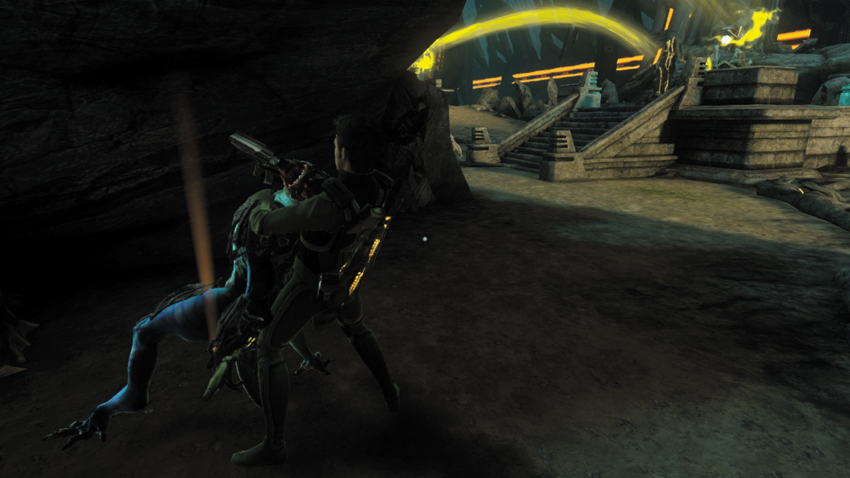
This side of the room is patrolled by two Gorn Techs and one Gorn Initiate. If you want to earn the final commendation, you’ll need to destroy the Helios Device without being detected. Start by moving to the left side of the room. Keep an eye on the Gorn Tech patrolling nearby. When he moves to a console on the left side of the room and stops, sneak up behind him and perform a takedown.
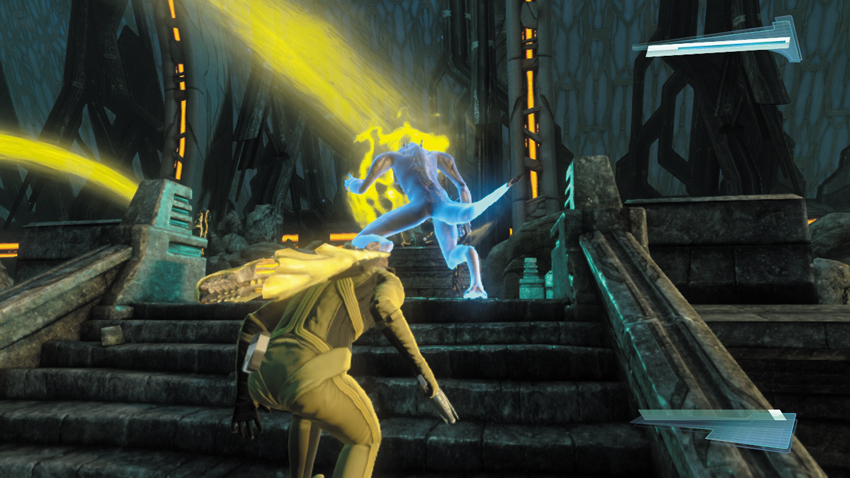
Next, turn your attention to the Gorn Initiate patrolling near the central platform where the Helios device is suspended by yellow beams of energy. Wait for the Gorn Initiate to climb the steps leading up to the platform, then follow closely behind and shoot him in the back with your phaser’s stun setting. While he’s still stunned, rush up and perform a takedown. Once he’s down, descend the steps and seek cover before the other patrolling Gorn Tech spots you.
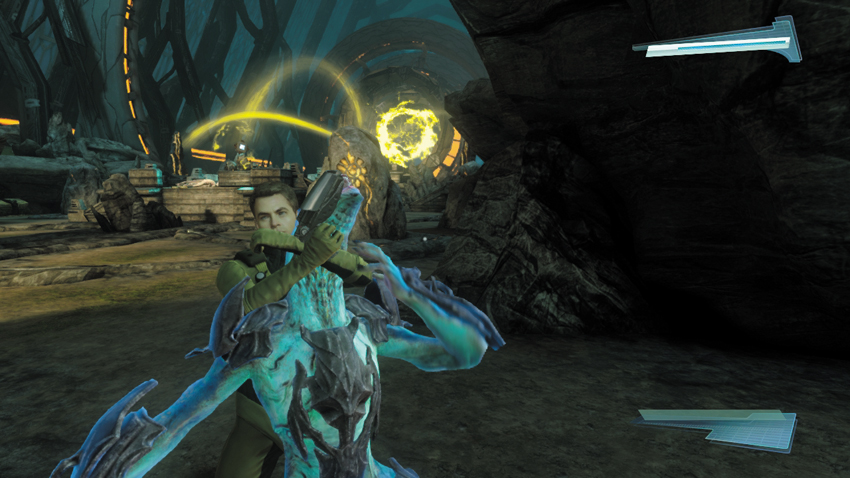
Now all that’s left is the remaining Gorn Tech. Stay behind cover and monitor his patrol pattern. When he has his back turned, creep up behind him and shoot him in the back with your phaser to stun him. While he’s stunned, rush up behind him and perform a takedown.
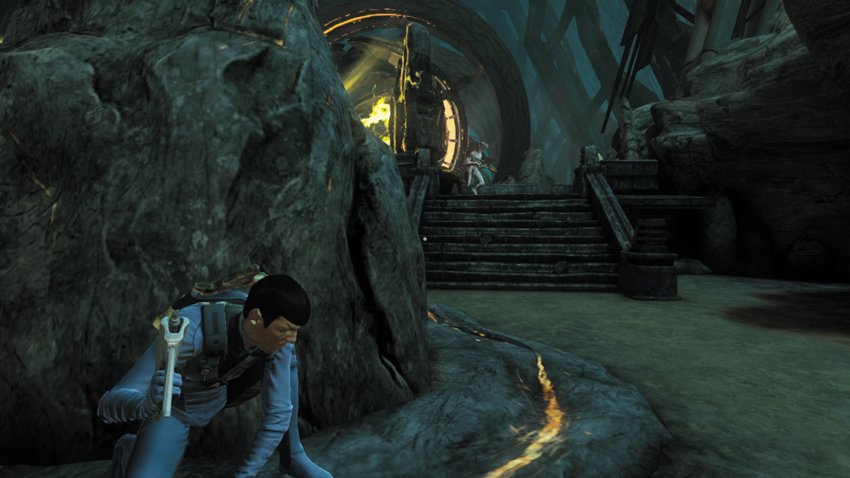
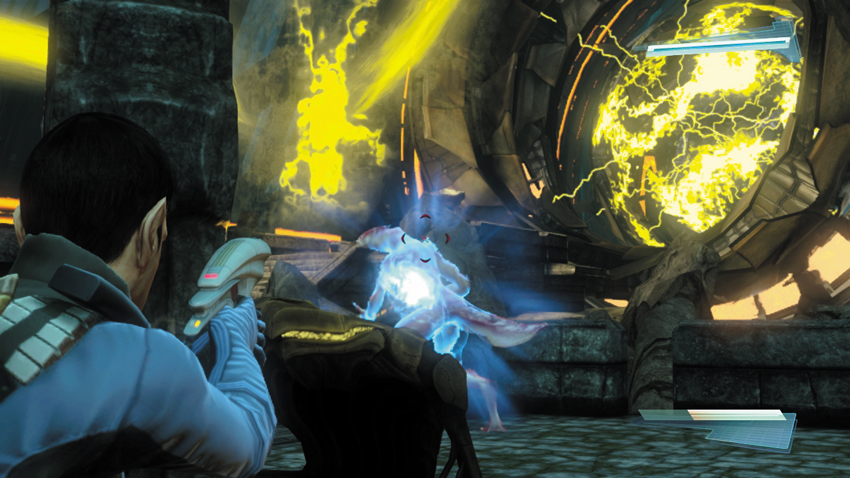
Now move toward the plasma transducer on the right side of the room, taking cover behind the tall rock. The transducer platform is patrolled by a Gorn Observer—don’t let her see you. Take a moment to study her patrol pattern. When the Gorn Observer moves away, creep up toward the platform and stun her with your phaser, shooting her in the back.
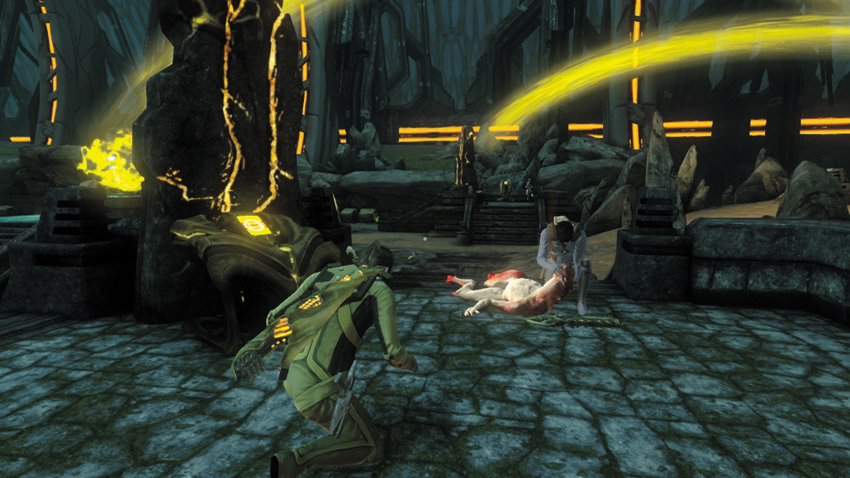
Spock can perform a mind-meld on the incapacitated Gorn Observer guarding the plasma transducers. The mind-meld reveals the code necessary to deactivate each transducer, so you can input the code without hacking the console. Once the code has been retrieved, interact with the nearby console to deactivate the first plasma transducer.
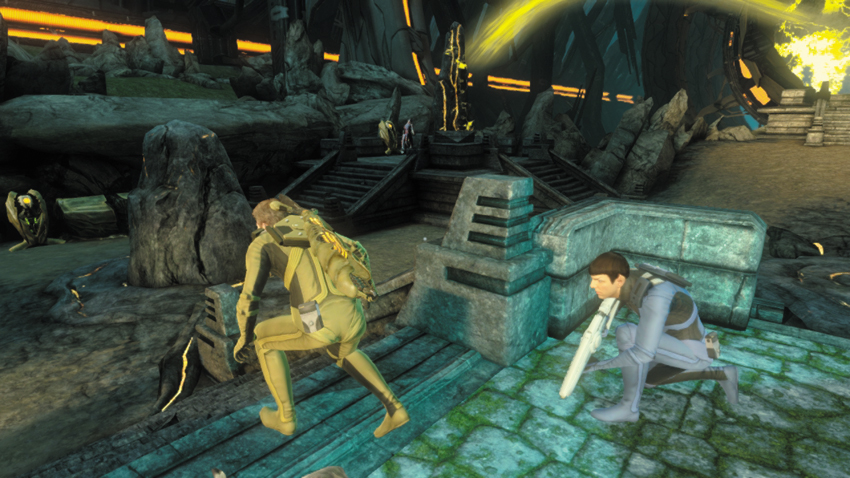
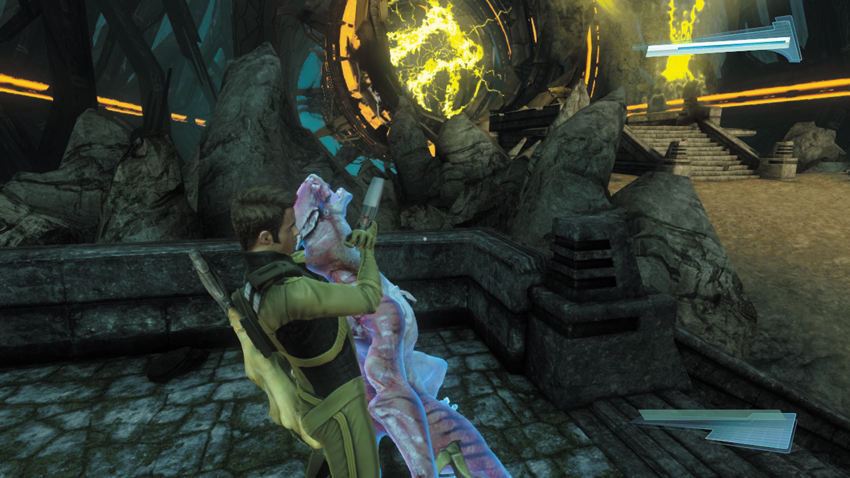
Instead of heading directly for the next plasma transducer on the left side of the room, take a detour and move toward the Helios Device. The central platform provides the cover necessary to sneak up on the next Gorn Observer guarding the second plasma transducer. Stay hidden on the central platform until the Gorn Observer turns her back. Take this opportunity to sneak up behind her. As with the other Gorn Observer, shoot this Gorn in the back with your phaser to stun her, then incapacitate her with a takedown.
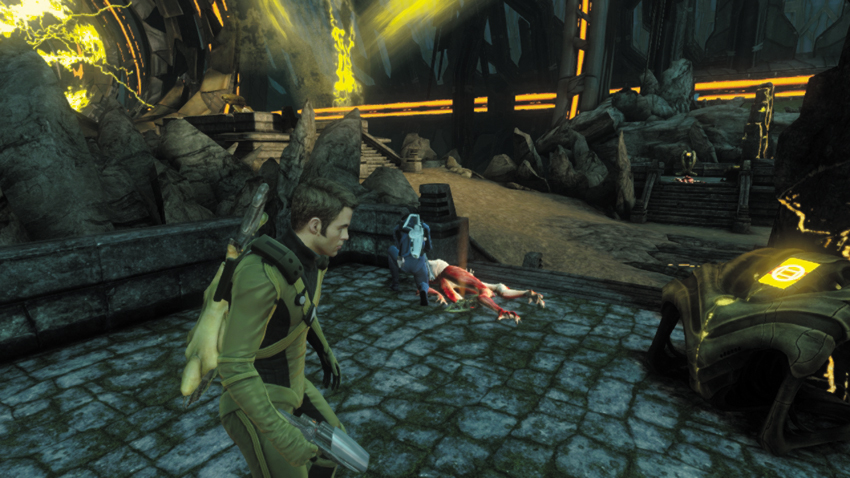
Once the Gorn Observer has been rendered unconscious, have Spock perform a mind-meld to retrieve the code for the next console. Once the code has been retrieved, interact with the console to deactivate the second plasma transducer.
New Objective: Destroy the Helios Device
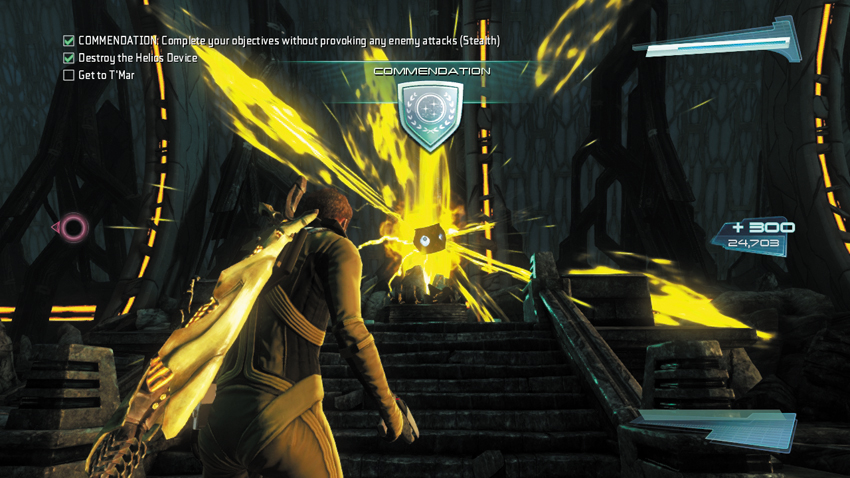
With both plasma transducers deactivated, you can now destroy the Helios Device. Approach the device on the central platform and shoot it with your phaser’s kill setting—it takes only a couple of hits to make it explode. If you have managed to make it to this point without provoking any enemy attacks, you earn the stealth-based commendation worth 300 XP.
New Objective: Get to T’Mar
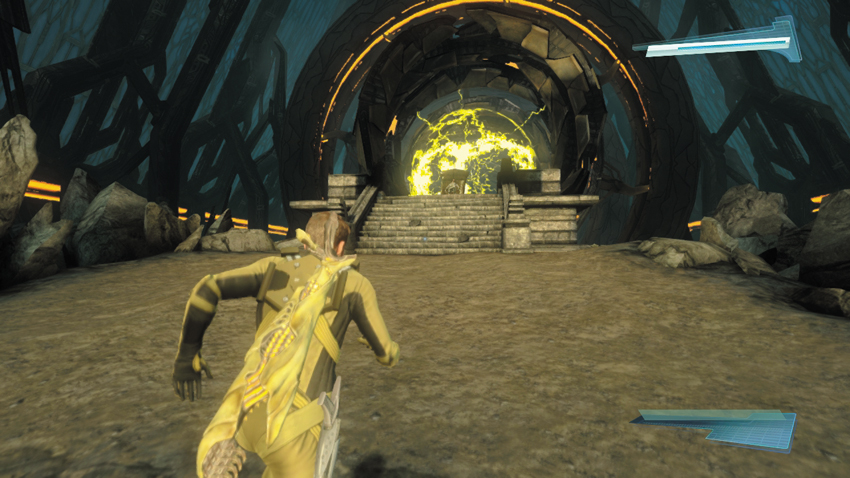
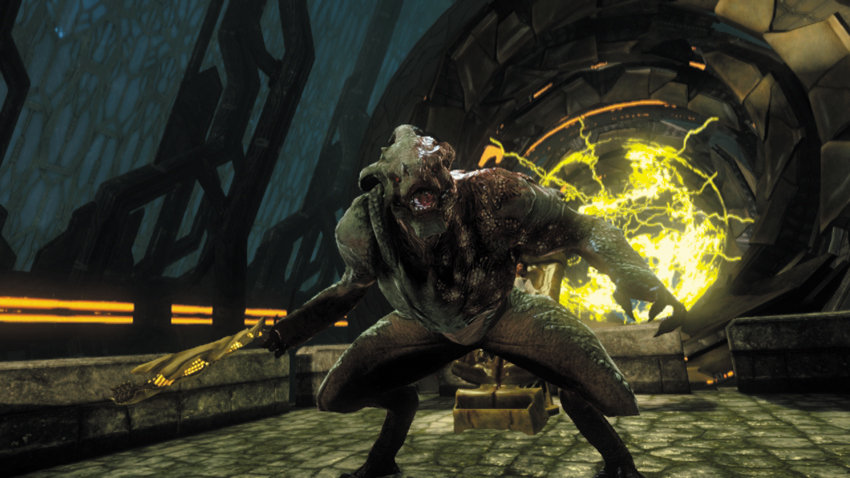
As soon as the Helios Device is destroyed, Scotty reports that he’s achieved a solid transporter lock on both of you. But Kirk and Spock aren’t ready to go yet—they need Scotty to beam out T’Mar as well. But Scotty is unable to get a lock on her, probably due to interference caused by the device she’s attached to. Move toward the platform where T’Mar is restrained. But as you approach, the Gorn Commander appears, blocking your path to T’Mar—it looks like you’ll need to defeat this guy before you can escape with T’Mar.
Gorn Commander Battle
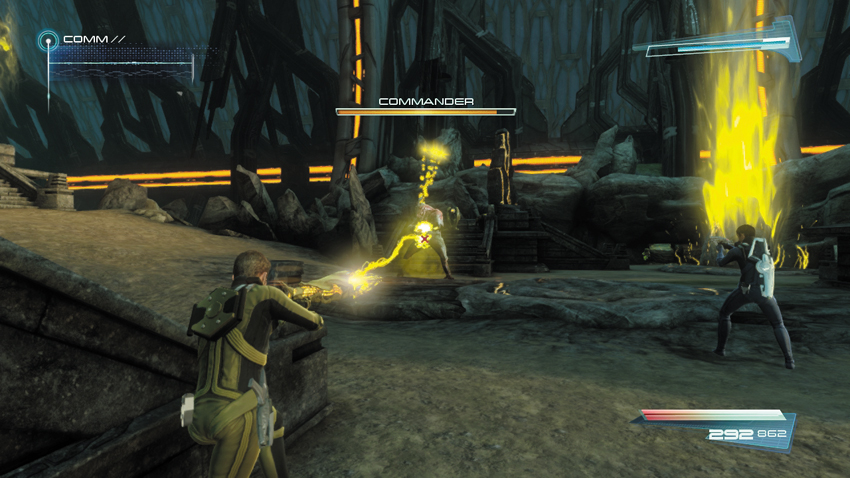
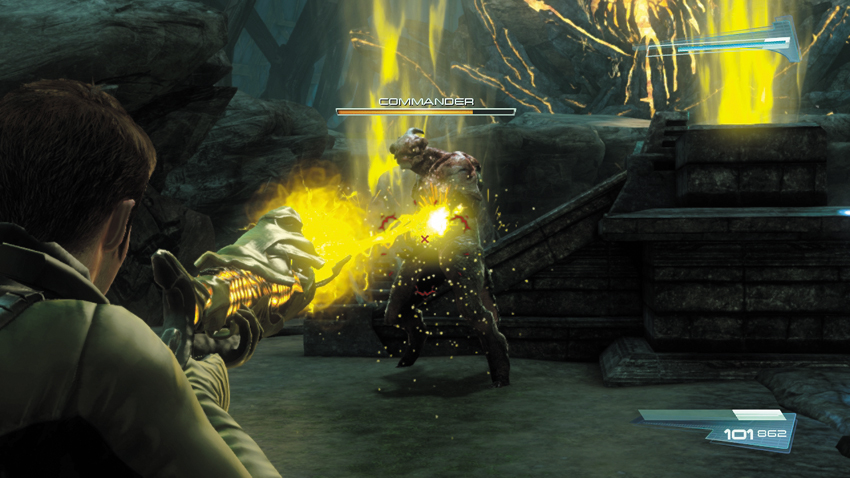
The Gorn Commander is the most durable enemy you’ve ever faced, capable of absorbing massive damage. Be ready to evade his attacks. The Gorn Commander is armed with a modified Arc Driver. While its primary attack functions the same way, the weapon’s secondary attack fires a spread of four munitions like grenades, each with a large blast radius. When the Gorn Commander launches these grenades, move away, as they’re likely to impact right where you’re standing. When you’re not evading the Gorn Commander’s attacks, return fire, preferably with the Arc Driver. The Arc Driver’s primary fire function is the most effective against this enemy; it gradually depletes his health, as shown on the HUD.
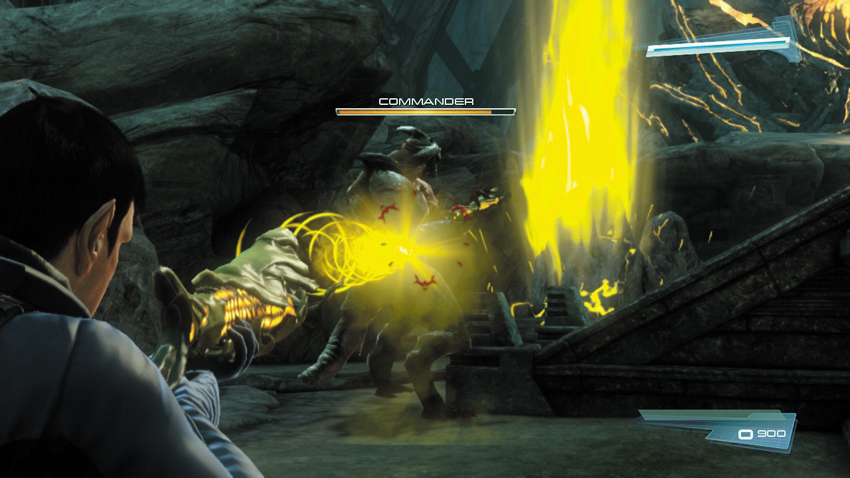
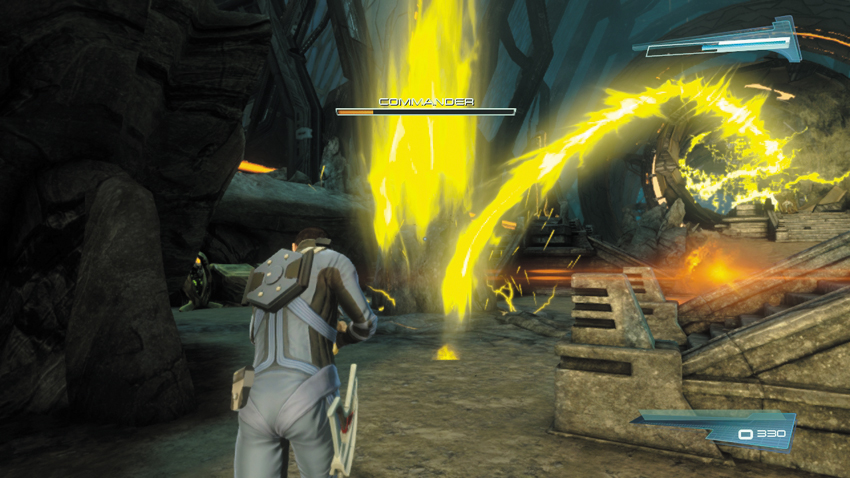
Your Arc Driver’s secondary fire function fires a rocket that is capable of heavy damage. However, this secondary function consumes a full magazine of ammo, requiring frequent reloads and trips to Energy Stations. You’re better off using the weapon’s primary fire function to concentrate the beam of energy on the Gorn Commander’s torso. The Gorn Commander can’t walk fast, but he is capable of teleporting throughout the room at will—follow the streak of yellow energy to determine where he’ll show up next. So instead of taking cover, it’s best to keep moving around the room. If you stay in one spot, there’s a good chance the Gorn Commander will flank you.
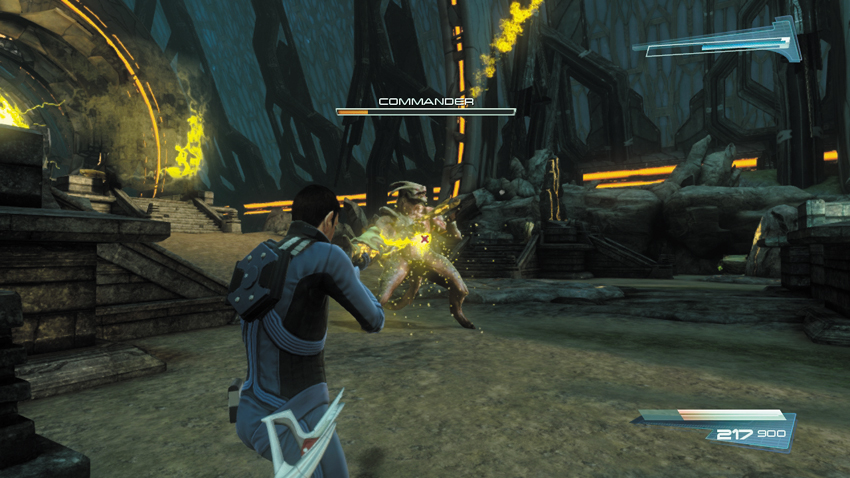
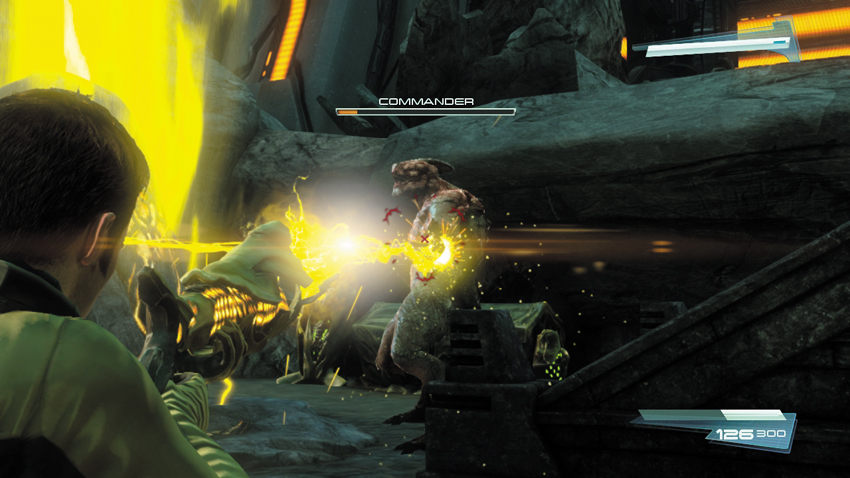
Keep up the attack, constantly hitting the Gorn Commander with your Arc Driver until his health is reduced to a sliver. The Gorn Commander can concentrate on only one target at a time, so if you work together, you can defeat him relatively quickly. If you’re the one being targeted, simply dash and dive around the room to evade the enemy’s attack. If you’re not being attacked by the Gorn Commander, unload on him with everything you’ve got. While focused on attacking your partner, the Gorn Commander pays little attention to you, which allows you to inflict heavy damage.
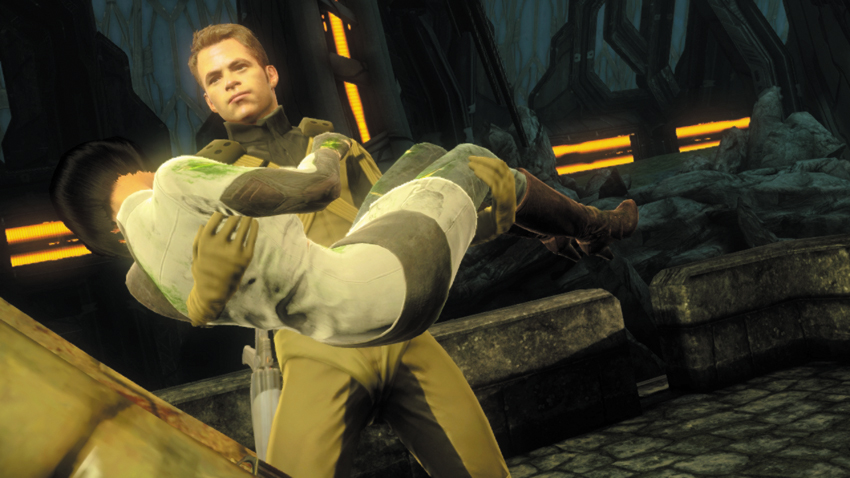
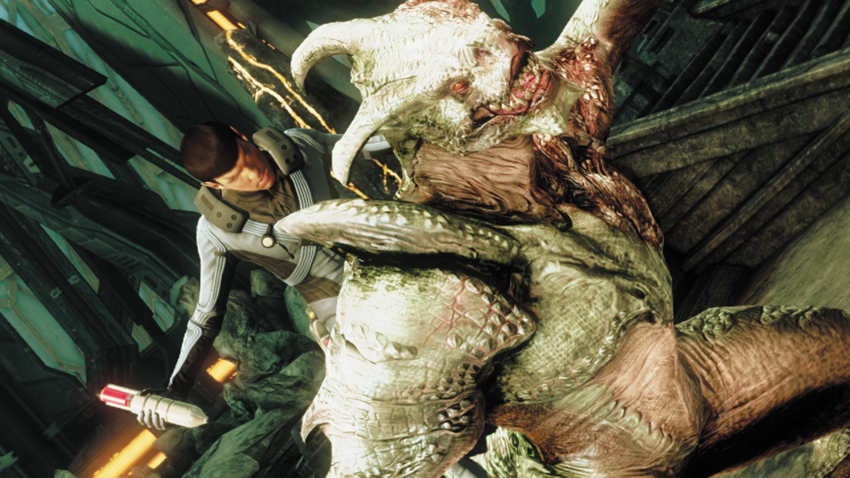
When the Gorn Commander’s health is reduced to a sliver, a cinematic is triggered showing Kirk and Spock separating. Spock volunteers to take care of the Gorn Commander—he has a score to settle. If you’re playing as Kirk, you see him race toward T’Mar and release her from the Gorn equipment in preparation for beaming aboard the Enterprise. Meanwhile, Spock runs after the injured Gorn Commander and injects him with the antidote synthesized by Bones. After receiving the injection the Gorn Commander writhes in pain before exploding.

With only seconds to spare, Scotty beams Kirk, Spock, and T’Mar aboard the Enterprise, just before the Gorn Mothership explodes.
Epilogue
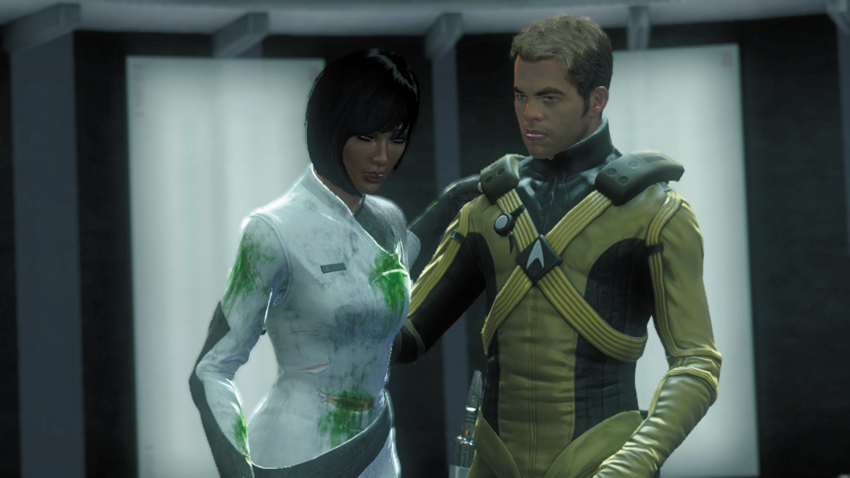
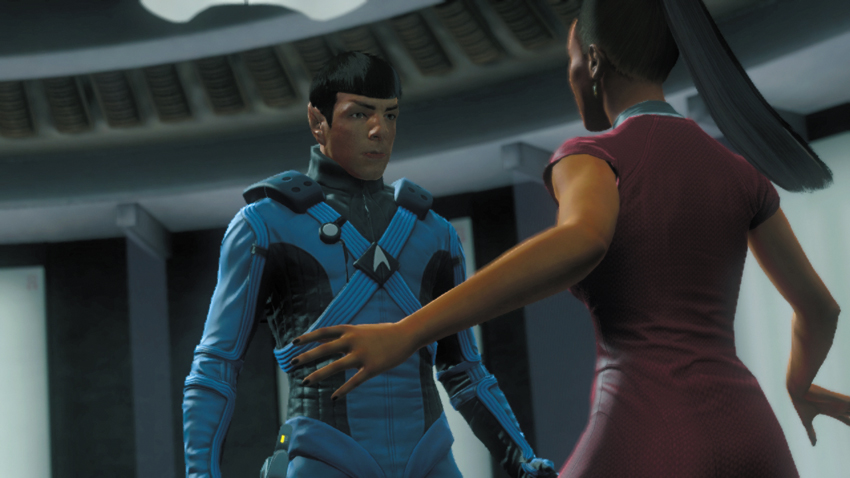
As the trio arrive in the Enterprise’s Transporter Room, Scotty and Lieutenant Uhura are there to greet them. Relieved, Uhura embraces Spock while Kirk helps T’Mar steady herself—it’s clear that T’Mar has experienced extreme physical torture at the hands of the Gorn, as indicated by her ripped and blood-stained tunic.

But the Enterprise isn’t out of trouble just yet. Scotty reports that fleet of Gorn ships have just emerged from the second rip. Kirk orders Sulu to plot a course for the first rip before it closes. Heavily damaged from its fight with the Gorn, the Enterprise reaches the rip only seconds before it closes, preventing the fleet of Gorn ships from pursuing them.