
Star Trek Guide Walkthrough Chapter 3: New Vulcan
New Vulcan
Chapter Summary
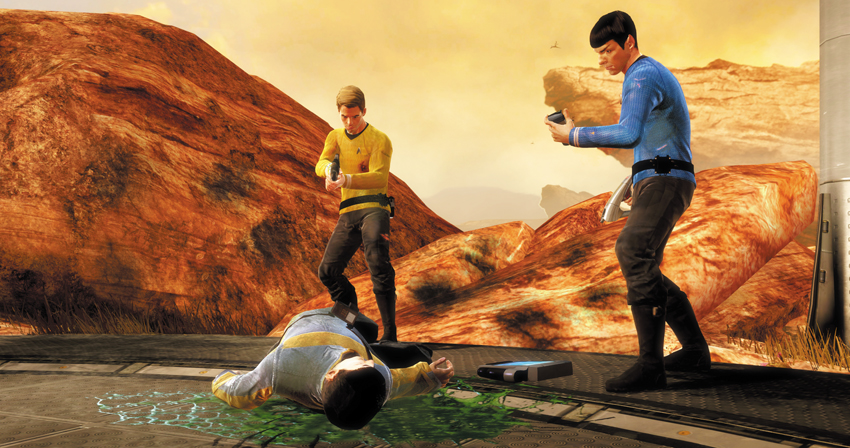
- Kirk, Spock, and T’Mar beam down to New Vulcan. They discover signs of conflict, but are able to establish communication with the last remaining survivors. In the darkest and most confined of places they encounter a violent alien species…
New Vulcan Collectables
| # | Name |
|---|---|
| 1 | Vulcan Cactus Cluster |
| 2 | Vulcan Desert Grass |
| 3 | New Vulcan Avian Scavenger |
| 4 | Tribble (2 of 7) |
| 5 | Vulcan Corpse |
| 6 | Unknown Structural Damage |
| 7 | Unknown Blood Sample |
| 8 | Infected Vulcan |
| 9 | Helios Device (1 of 3) |
| 10 | Helios Device (2 of 3) |
| 11 | Helios Device (3 of 3) |
| 12 | T’Mar’s Audio Log #3 |
| 13 | Surok’s Audio Log #2 |
| 14 | Vulcan Pulse Cannon |
| 15 | Surok’s Audio Log #3 |
| 16 | Gorn Brute |
| 17 | T’Mar’s Audio Log #4 |
| 18 | Gorn Initiate |
| 19 | Gorn Ravager |
| 20 | Starfleet Type III Rifle |
| 21 | Stun Grenade |
| 22 | Unknown Breaching Tool |
| 23 | Unknown Assault Equipment |
| 24 | T’Mar’s Audio Log #5 |
| 25 | Unknown Hacking Tool |
| 26 | Surok’s Audio Log #4 |
| 27 | T’Mar’s Audio Log #6 |
| 28 | Surok’s Audio Log #5 |
| 29 | Sh’Tok Memorial |
| 30 | T’Par Memorial |
Achievements/Trophies
| Icon | Name | Criteria | Gamerscore | Trophy |
|---|---|---|---|---|

|
Go Team! | Kill or take down an enemy that your teammate (AI or co-op player) has stunned | 10 | Bronze |

|
Non-Lethal Master (Start) | Took down 30 enemies in a non-lethal manner | 10 | Bronze |

|
Tricorder Tinkerer (Start) | Bought all upgrades for the tricorder | 30 | Bronze |

|
Captain’s Phaser Tinkerer (Start) | Bought all upgrades for the Captain’s phaser | 30 | Bronze |

|
Vulcan Repeater Tinkerer (Start) | Bought all upgrades for the Vulcan Repeater | 30 | Bronze |

|
Dagger of the Mind (Start) | Performed mind-meld on 10 different enemies | 10 | Bronze |

|
Captain’s Phaser Master (Start) | Kill 100 enemies with the Captain’s phaser | 10 | Bronze |

|
Vulcan Repeater Master (Start) | Kill 100 enemies with the Vulcan Repeater | 10 | Bronze |

|
Starfleet Type III Rifle Master (Start) | Kill 20 enemies with the Starfleet Type III Rifle | 10 | Bronze |

|
Vulcan Pulse Cannon Master (Start) | Kill 50 enemies with the Vulcan Pulse Cannon | 10 | Bronze |

|
Ravager Master (Start) | Kill 50 enemies with the Ravager | 10 | Bronze |

|
Live Long and Prosper (Start) | Revived your teammate (AI or co-op player) 20 times | 10 | Bronze |

|
Exemplary Commendation (Start) | Complete all optional objectives | 100 | Gold |

|
One Man Army | Kill three enemies while your teammate (AI or co-op player) is in a downed state | 10 | Bronze |

|
Down But Not Out | Kill three enemies while in a single downed state | 10 | Bronze |

|
Beat New Vulcan | Completed the New Vulcan chapter on any difficulty | 20 | Bronze |
Vulcan Planet
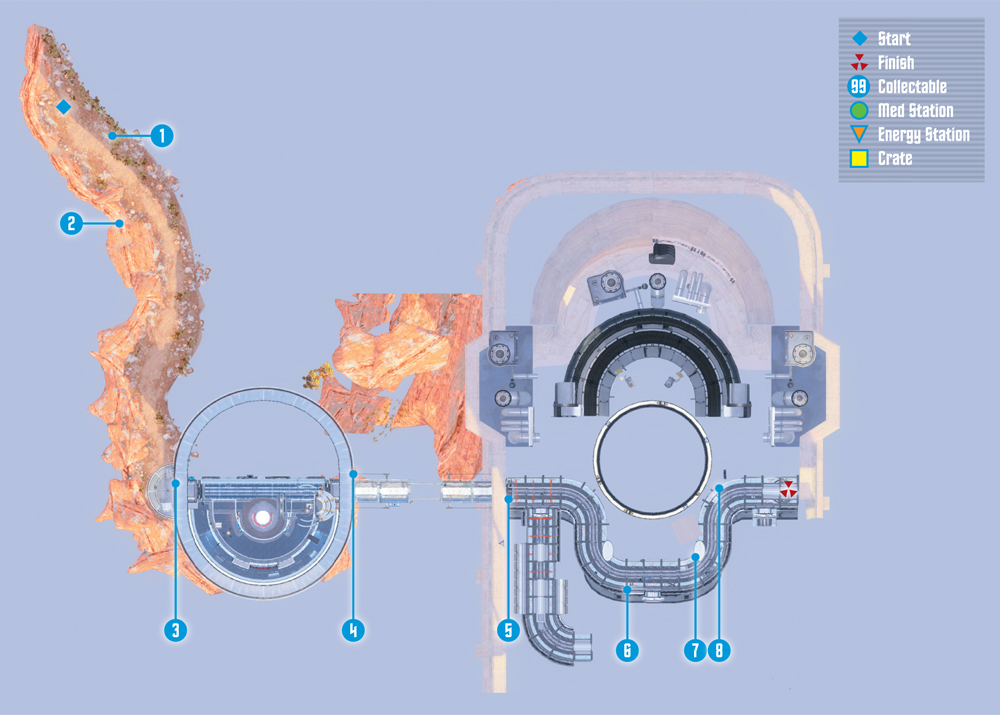
Collectables Checklist
| # | Name | Type | XP |
|---|---|---|---|
| 1 | Vulcan Cactus Cluster | Research Data | 100 |
| 2 | Vulcan Desert Grass | Research Data | 100 |
| 3 | New Vulcan Avian Scavenger | Research Data | 100 |
| 4 | Tribble (2 of 7) | Tribble | 250 |
| 5 | Vulcan Corpse | Research Data | 100 |
| 6 | Unknown Structural Damage | Research Data | 100 |
| 7 | Unknown Blood Sample | Research Data | 100 |
| 8 | Infected Vulcan | Research Data | 100 |
 New Objective: Follow T’Mar
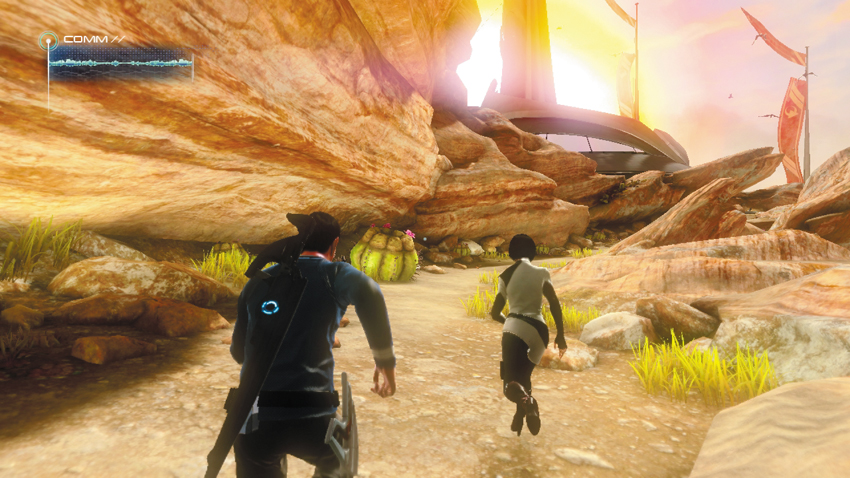
Kirk, Spock, and T’Mar beam down several meters outside the research facility. Scotty reports that there was too much interference to transport the away team any closer. At least this gives you a chance to explore the planet’s exterior along with some flora and fauna. Equip your tricorder and prepare to scan a few collectables on your way to the research facility.
1: Vulcan Cactus Cluster
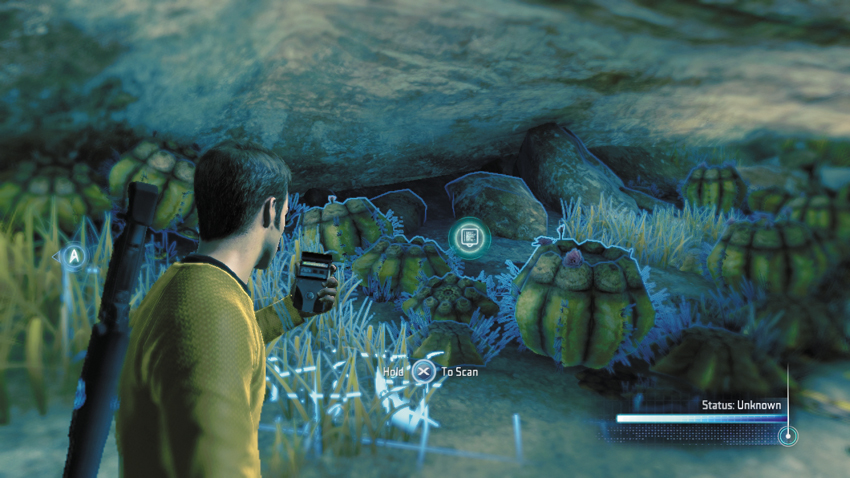
Scan this group of cactus plants on the left side of the path leading to the Vulcan research facility.
Type: Research Data
Set: Vulcan Planet/Flora and Fauna
XP: 100
Log Entry: I’m told Vulcan Cacti come in a variety of sizes and shapes, but all of them share an incompatibility with the human digestive system. Not unlike the cuisine of my native Scotland, come to think of it. Better to appreciate Vulcan flora for their aesthetics than their nutritional value.
2: Vulcan Desert Grass
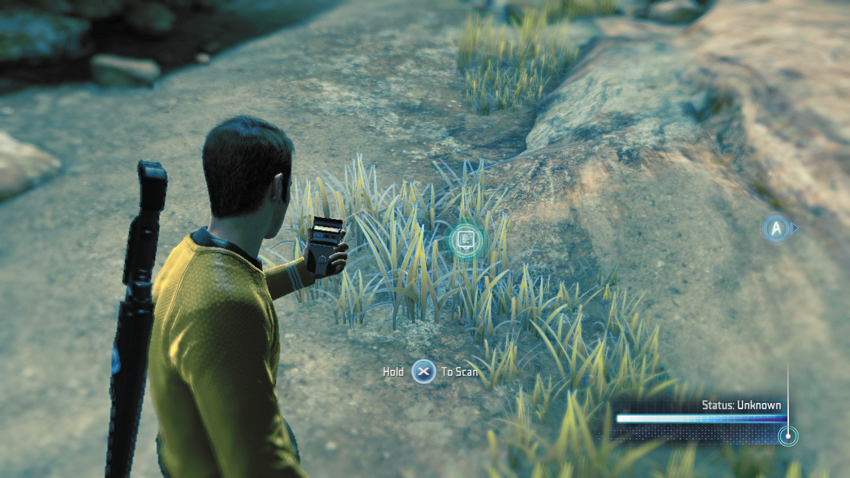
Shortly after scanning the Vulcan Cactus Cluster, turn to the right side of the path and scan this clump of grass.
Type: Research Data
Set: Vulcan Planet/Flora and Fauna
XP: 100
Log Entry: It’s grass. Vulcan grass. Grass from Vulcan. What do you want me to say? I’m an engineer, not a botanist. Touch it if you want, make a hat out of it, I don’t care. Can I get on with my work now?
3: New Vulcan Avian Scavenger
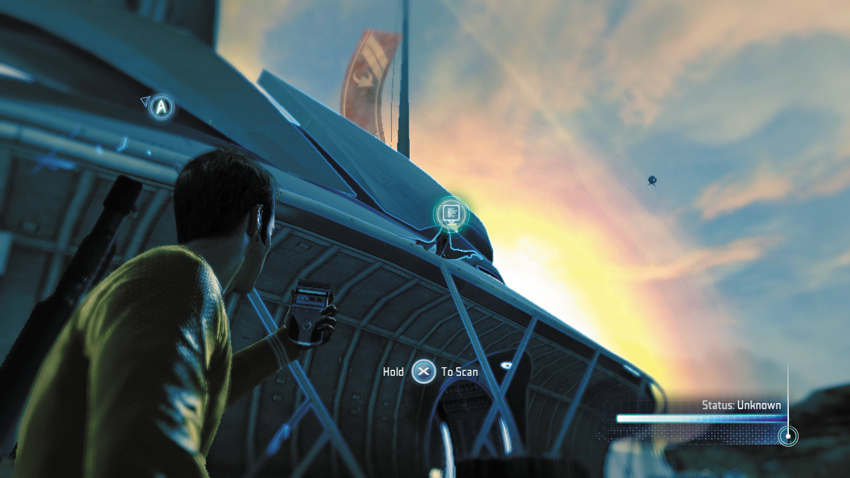
As you near the research facility, look up and scan this birdlike creature sitting on the roof.
Type: Research Data
Set: Vulcan Planet/Flora and Fauna
XP: 100
Log Entry: One of the wonderful things about serving in Starfleet is discovering new alien species, like this little fellow from New Vulcan. And by wonderful I mean “let Spock and his blue shirts worry about it,” because I didn’t sign up to go poking things that will most likely poke me back, puncture my skin, and infect me with some horrible xeno-flu. The effects of which on my body Spock will no doubt be delighted to study.
New Objective: Hack the door with your partner
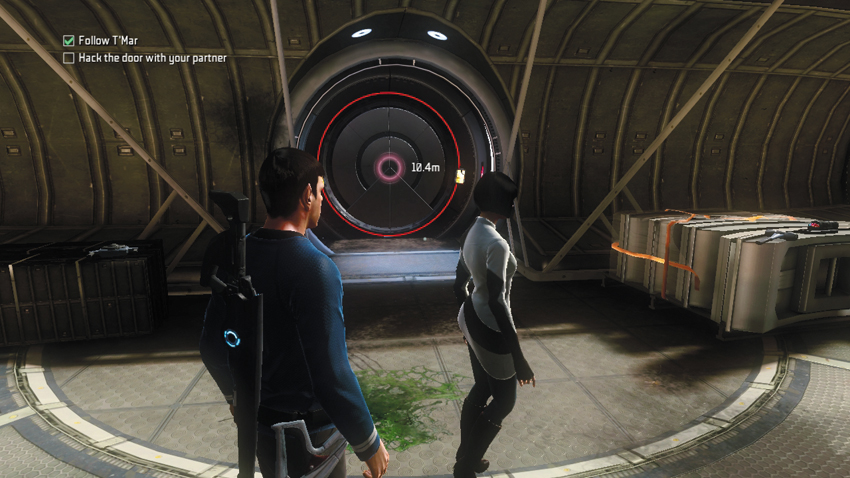

Now that you’ve scanned nearly everything in sight, turn you attention to gaining entry into the research facility. T’Mar is uncertain why the highest security protocols have been enabled on this door. You’ll need to work together with your buddy to hack it. Start targeting one of the two yellow panels on the sides of the circular door. A new hacking interface appears on-screen, prompting you to tune two different signals until they match. Manipulate the tuning dials until the waves are in sync to complete the hack and earn 100 additional XP.
Security Station
New Objective: Find Surok
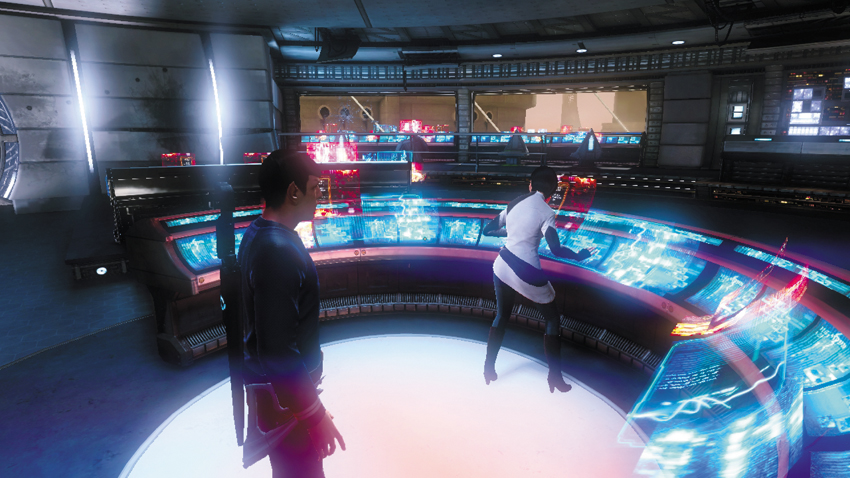
Just beyond the door is an abandoned security station. Kirk suggests that T’Mar stay behind and monitor the systems while he and Spock search for Surok. T’Mar is resistant to the idea at first, but Spock convinces her that her assistance will be vital if he and Kirk encounter any trouble. Kirk promises she’ll be the first to know when they find her father. T’Mar agrees to stay behind and man the security station; she stays in constant contact with Kirk and Spock as they advance through the facility.
4: Tribble (2 of 7)
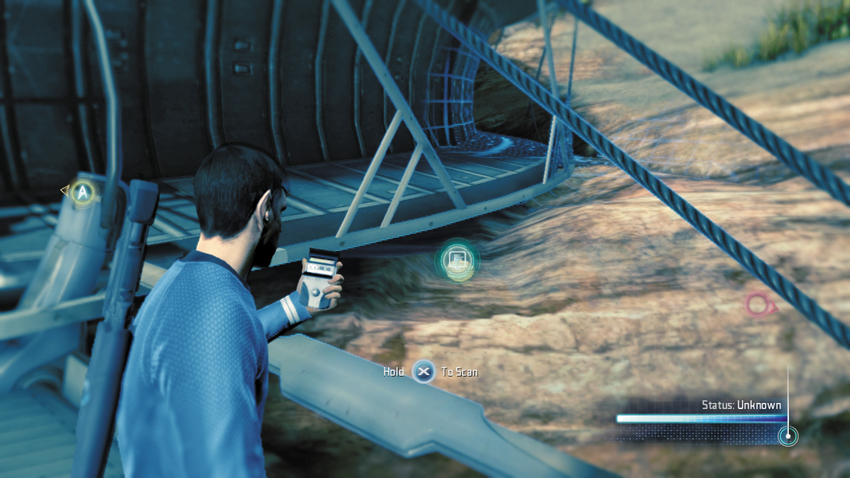
Immediately after exiting the security station, turn to your left and look for this Tribble sitting on a ledge outside.
Type: Research Data
Set: Tribbles/Tribbles
XP: 250
Log Entry: I had no problems with the Tribble on Delta Vega. It just sat on my desk and made little cooing noises, and given that my only other companion was a tiny, ill-tempered Roylan who barely said a word, I considered my decision to adopt a Tribble a wise one. It didn’t eat much, it purred when I pet it, and it didn’t judge me for that incident with the Admiral’s beagle. All in all, an ideal pet.
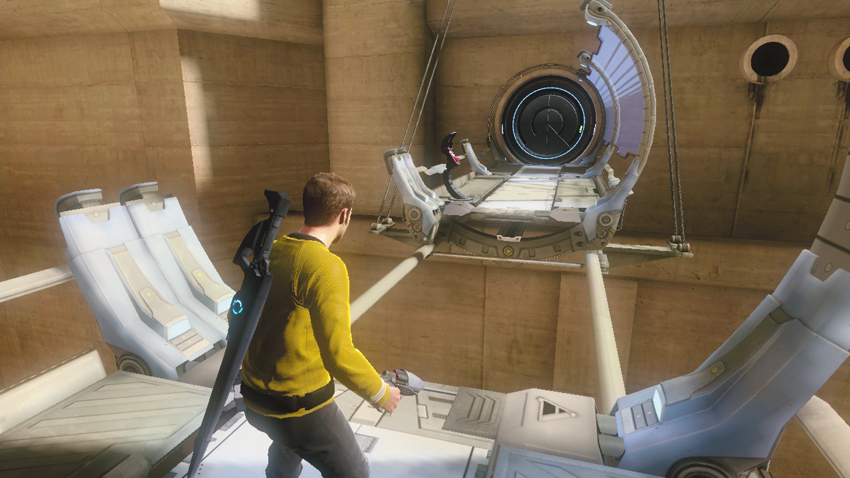
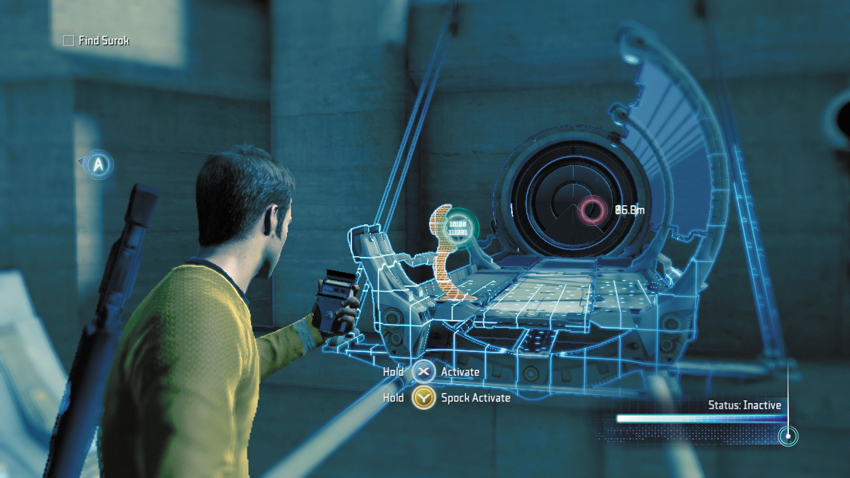
Step out of the security station and out onto a disabled bridge. It appears this drawbridge-like path is another security feature intended to keep unwanted visitors out of the research facility. By sprinting, it’s possible to jump to the other side. Instead, use your tricorder to target the console on the distant span of the bridge. By activating the console with your tricorder, the bridge extends, allowing you to cross and enter the facility through the adjoining doorway.
5: Vulcan Corpse
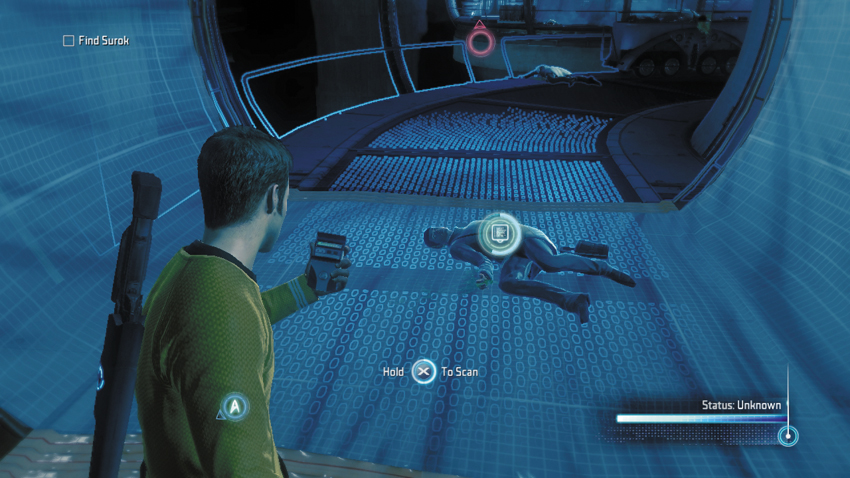
Immediately after entering the doorway, scan the dead Vulcan on the floor.
Type: Research Data
Set: Vulcan Planet/An Unknown Threat
XP: 100
Log Entry: Poor bastard. I don’t know a lot about Vulcans, but I know that they’re tougher than humans by no small degree. If something was horrible enough to do this to a Vulcan … I shudder to think what it would do to me.…
6: Unknown Structural Damage
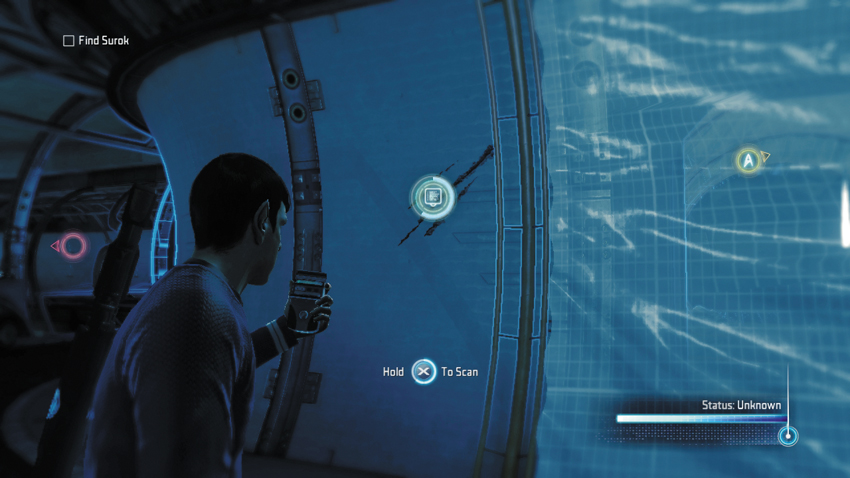
After scanning the dead Vulcan, scan the scratches in the wall on the right side of the corridor.
Type: Research Data
Set: Vulcan Planet/An Unknown Threat
XP: 100
Log Entry: Deep, rending gashes of unknown origin in the side of otherwise solid colony walls? I’m sure it’s nothing to worry about. This is why I don’t go on away teams.
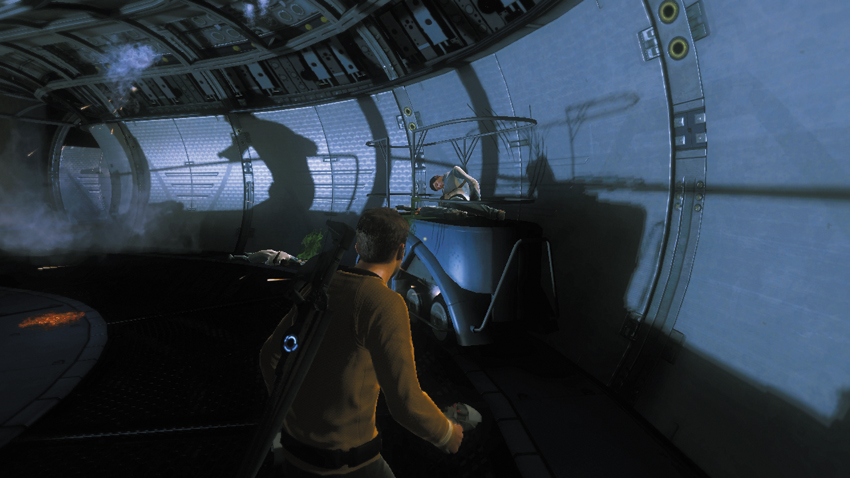
Seeing the damage firsthand, Kirk feels a second away team may be necessary. However, communication with the Enterprise is garbled. Scotty suggests moving to a new location. While advancing along the path, Kirk and Spock encounter more dead Vulcans. Suddenly, a shadow is cast across a wall briefly. Someone, or something, is moving around in here.…
7: Unknown Blood Sample
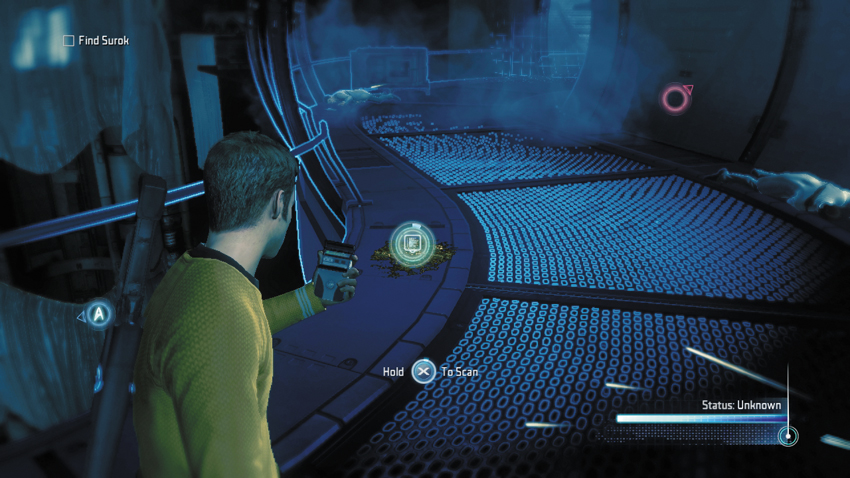
Shortly after witnessing the startling shadow, turn to the left side of the path and scan this dried pool of blood.
Type: Research Data
Set: Vulcan Planet/An Unknown Threat
XP: 100
Log Entry: Blood of unknown origin splattered on the wall. Lovely. They don’t teach you about this at the Academy. Particularly not in the engineering lectures. No, I can safely say alien blood splatters were not part of the curriculum. An egregious hole in my otherwise comprehensive education. You’ll forgive me if I choose to remain ignorant on the subject.
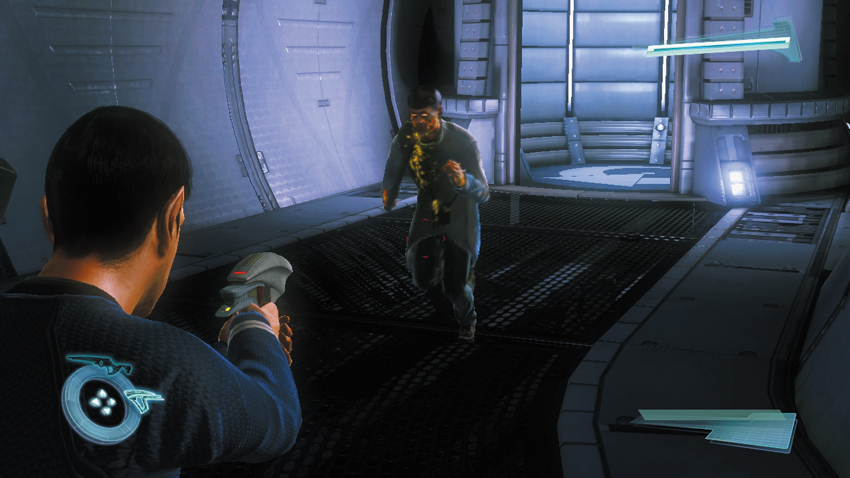
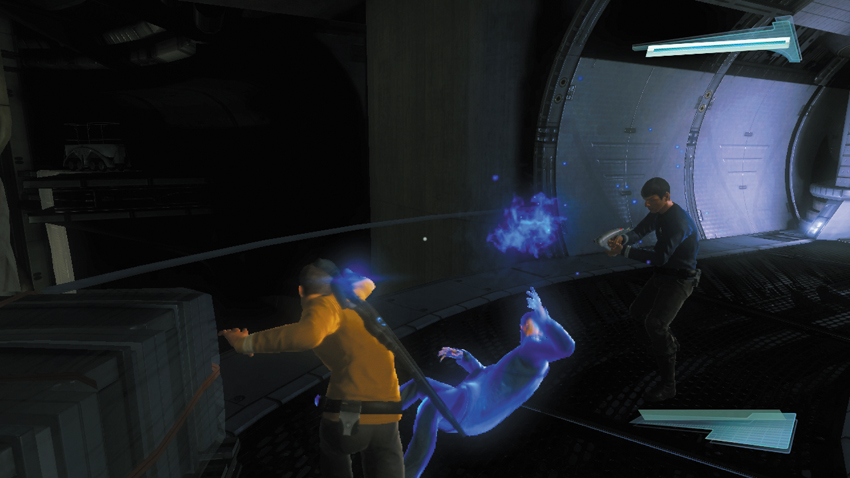
Just ahead, a Vulcan scientist with glowing yellow eyes comes charging at you from a Turbolift. It’s unclear what’s wrong with him, but that metal pipe in his hand suggest his intentions are less than friendly. Immediately raise your phaser and press the secondary fire button to stun the charging Vulcan. One hit with a stun shot causes the Vulcan to temporarily stand in place—immediately charge forward and perform a non-lethal takedown before he recovers. As soon as you’re within range of the stunned Vulcan, the takedown button appears on the screen. Tap the button once to render the Vulcan unconscious. Stunning enemies and performing takedowns is the preferred method for preserving life, especially when dealing with an endangered species such as Vulcans.
8: Infected Vulcan
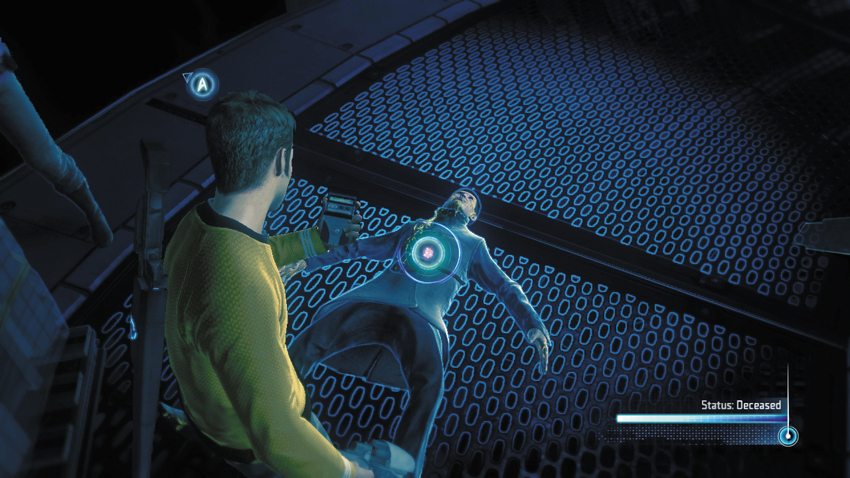
Once the enraged Vulcan has been subdued, scan his body to reveal more information about his ailment.
Type: Research Data
Set: Enemies/Federation Enemies
XP: 100
Log Entry: It’s not enough for this force to mortally wound their enemies. They have to turn them against their own kind. Yet another reason to make sure that it stays as far away from our corner of the universe as possible.
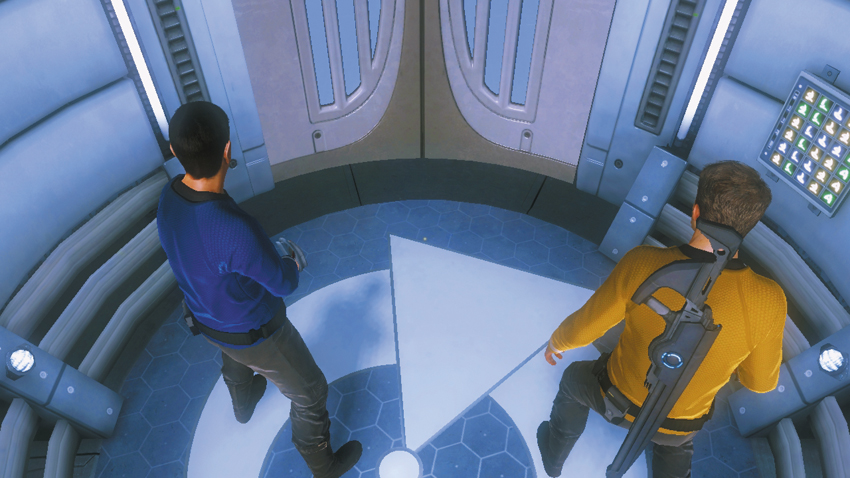
After disabling and scanning the infected Vulcan, step into the nearby Turbolift and interact with the control panel. Wait for your buddy to catch up then wait for the Turbolift to transport you to the Vulcan labs.
Vulcan Laboratories
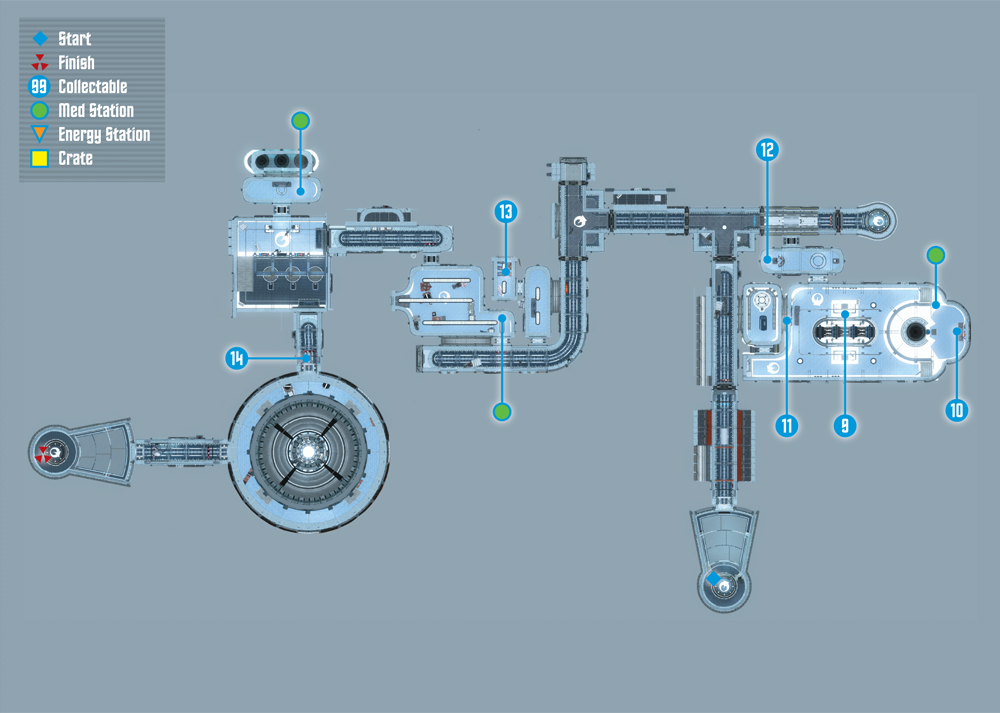
Collectables Checklist
| # | Name | Type | XP |
|---|---|---|---|
| 9 | Helios Device (1 of 3) | Research Data | 100 |
| 10 | Helios Device (2 of 3) | Research Data | 100 |
| 11 | Helios Device (3 of 3) | Research Data | 100 |
| 12 | T’Mar’s Audio Log #3 | Audio Log | 50 |
| 13 | Surok’s Audio Log #2 | Audio Log | 50 |
| 14 | Vulcan Pulse Cannon | Research Data | 100 |
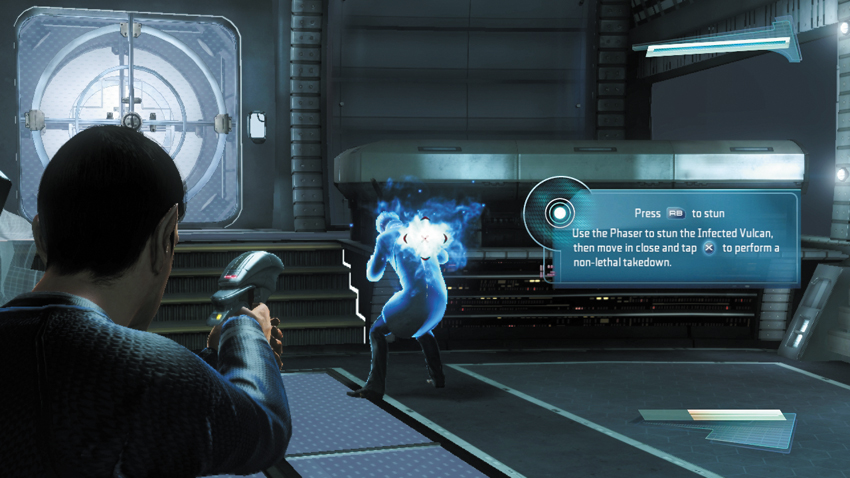
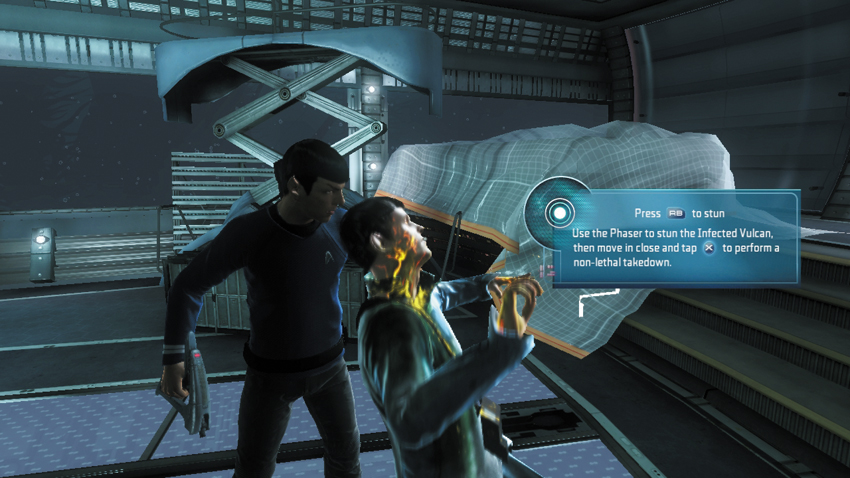
As the Turbolift’s doors slide open, another infected Vulcan is revealed, standing with his back turned. Kirk advises to use stun only. Take aim at the infected Vulcan’s back and use the phaser’s secondary fire button to stun your target. Once the infected Vulcan is stunned, step up behind him and perform a non-lethal takedown. Alternatively, you don’t have to stun this enemy at all. Crouch and creep up behind him, then perform the takedown once you’re within range. Takedowns can only be performed on stunned or unsuspecting enemies. So if an enemy hasn’t spotted you, try sneaking up behind them for a silent takedown. However, be ready to stun them, just in case they turn around and spot you before you’re within melee range.
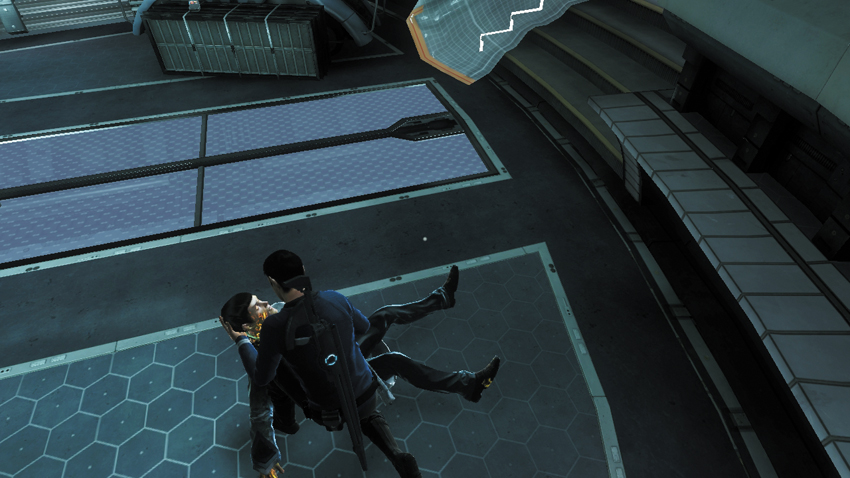
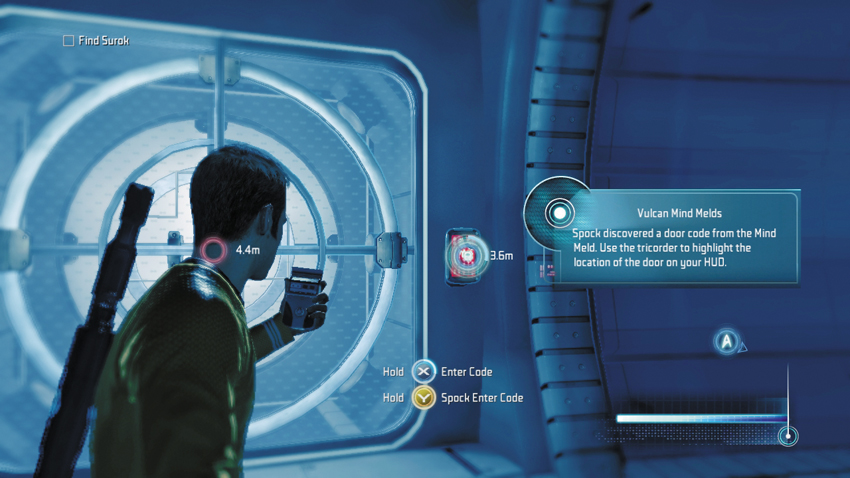
The door ahead is locked and it can’t be hacked. Spock suggests using a mind-meld to retrieve the code from the unconscious infected Vulcan. Spock can mind-meld some unconscious enemies to learn door codes. Look for enemies with mind-meld icons in the tricorder view. If you’re playing as Kirk, order Spock to perform the mind-meld by targeting the unconscious infected Vulcan with the tricorder. If you’re playing as Spock, simply walk up to the infected Vulcan and press the button shown on-screen to initiate the mind-meld. Along with visions of reptilian creatures, Spock retrieves the door code. Now either Kirk or Spock can open the door by targeting the panel on the right side of the door with the tricorder.
Upper Labs
Commendation: Complete your objectives without directly killing any Infected (Non-Lethal)
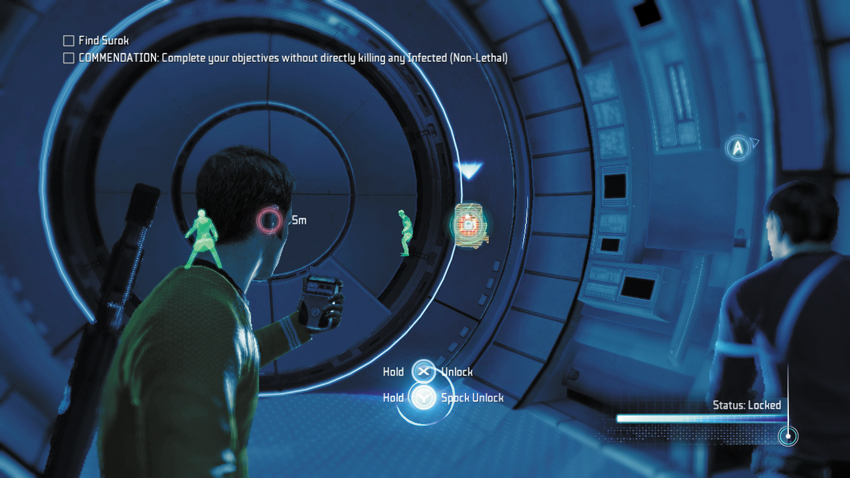
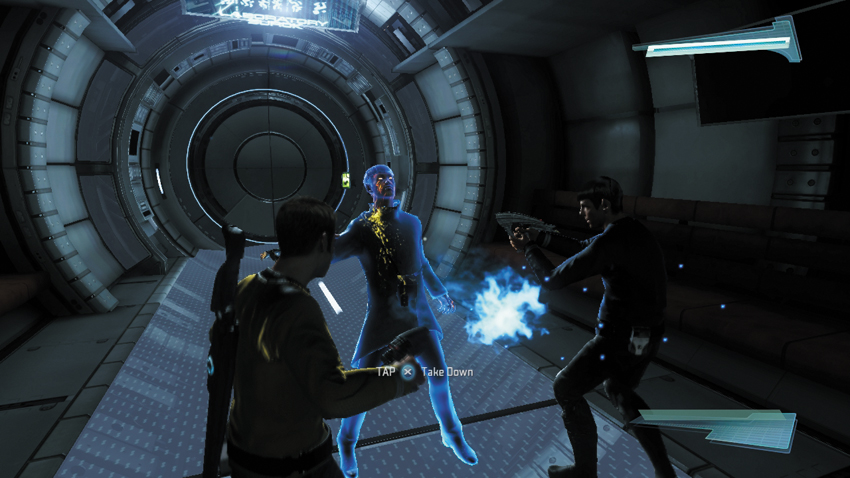
Enter the next corridor and activate your tricorder. The tricorder can see more infected Vulcans in the lab beyond the next door—these enemies appear as green silhouettes, indicating they’re armed only with melee weapons. Use the tricorder to unlock the door, then prepare to engage the hostiles charging at you—hold your ground and let the enemies come to you. Once again, use the phaser’s secondary fire function to stun the infected Vulcans as they charge at you, then incapacitate them with non-lethal takedowns. For best results, have one partner do the shooting while the other performs the takedowns. If you want to earn the commendation, it’s important to clear the Vulcan laboratories without killing any of the infected.
Surok’s Lab
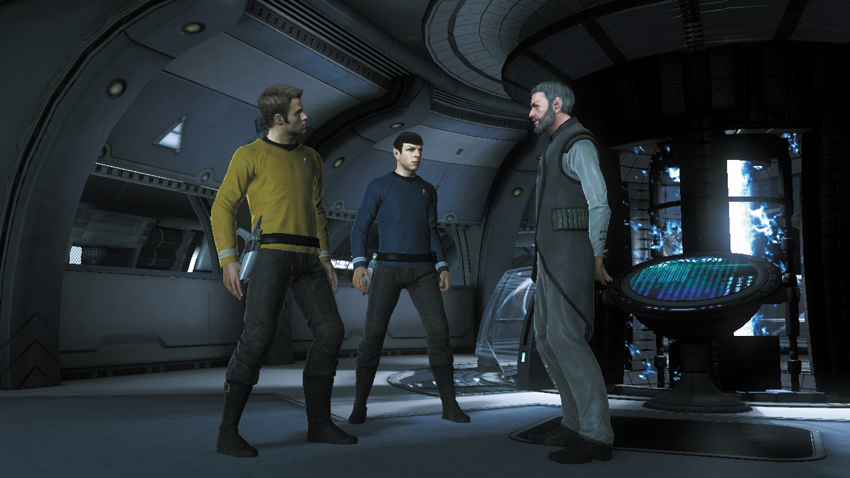

With the two infected Vulcans down, the path to Surok’s lab is now clear. Enter the next corridor and vault through the broken window on the right. Step through the next doorway to enter Surok’s lab. You’re greeted by two armed Vulcan guards—don’t shoot. One of the guards escorts you to Surok, who is in the back of the lab. Spock greets Surok and introduces Kirk. Surok is pleased to hear T’Mar’s voice. When Kirk presses Surok for details, he reveals that the facility has been attacked by creatures of an unknown origin. They emerged from the rip not long after it appeared. Little is known about the creatures, but the Vulcans have been able to decipher that they call themselves the Gorn. Surok is adamant that they can’t let the Helios Machine fall into the hands of the Gorn. They could use it to create rips anywhere in the universe and attacking without warning.
The Helios Device is underground, in the colony’s deepest labs. Surok has secured all entries into the lab to prevent it from falling into enemy hands. T’Mar says she open the fire door leading further into the labs, but beyond that point, there isn’t much she can do to provide assistance. But she advises caution, stating that Kirk and Spock are likely to encounter more infected Vulcans in the labs. Surok leads you to a doorway that serves as the lab’s exit. But before you pass through the door, equip your tricorder and perform some scans to learn more about the Helios Device.
New Objective: Secure the Helios Device
9: Helios Device (1 of 3)

Scan this terminal near the lab’s exit to retrieve the first entry on the Helios Device.
Type: Research Data
Set: Vulcan Laboratories/The Helios Device
XP: 100
Log Entry: I will try to maintain an objective engineer’s stance when it comes to a description of the Helios Device, out of respect for Vulcans as fellow members of the Federation … oh, forget it. What were they thinking? Building a fancy toy to drain power from the sun so they can terraform a new colony? I’m sure nothing bad could happen.…
10: Helios Device (2 of 3)

Scan the terminal at the back of the lab, where you first met Surok, to retrieve the second Helios Device entry.
Type: Research Data
Set: Vulcan Laboratories/The Helios Device
XP: 100
Log Entry: Here’s the thing about Helios: There’s a reason no one tried it before. I’ve looked over all the schematics, and I’m duly impressed by the theories put into practice. But that’s the rub. It’s still a theory, and it needs to be tested, not rushed into practical use simply because it might be possible. Good luck standing between the Vulcans and the promise of a new home, though.
11: Helios Device (3 of 3)

Return to the lab’s exit and turn left to scan this terminal for the last Helios Device entry.
Type: Research Data
Set: Vulcan Laboratories/The Helios Device
XP: 100
Log Entry: Pandora’s box. That’s what they should have called it. Because that’s what the Vulcans have opened with their Helios technology. And God help us all if it falls into the hands of someone who has more than peaceful terraforming on their mind. I thought red matter was bad enough. Maybe I should retire while there’s still an Earth to retire on.
12: T’Mar’s Audio Log #3
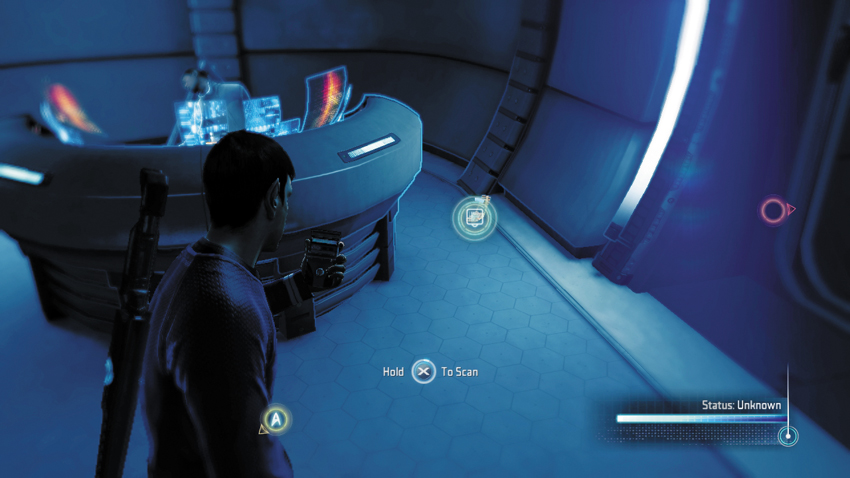
Exit Surok’s lab and turn to the left to spot a desk occupied by a dead Vulcan. Scan the floor to the right of the desk to uncover another audio log.
Type: Audio Log
Set: Vulcan Laboratories/Logs
XP: 50
Log Entry: Welcome news. The United Federation of Planets has come to the aid of the Vulcan people. Commodore Daniels of Starfleet has committed the resources we will need to complete the Helios Device and establish a new Vulcan homeworld. With their backing, we will be able to complete construction and testing of the device. It gives me so much hope that in the darkest time for my people our allies remain steadfast in their support. Commodore Daniels and Starfleet will have an honored place in the history of New Vulcan.
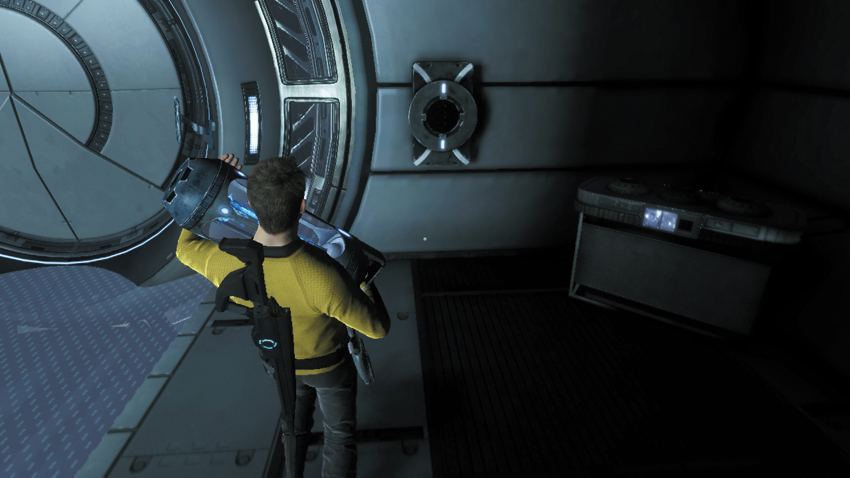
Continue through the adjoining corridor until you come to a disabled door. T’Mar reports that the door can’t be pried open—it is designed for containment. She suggests restoring power to the door by installing a spare power cell. Pick up the power cell located on the right side of the corridor—stand next to it and press the button shown on-screen to pick it up. Carry the power cell over to the door and install it in the socket on the right side. This restores power to the door, allowing you to proceed into the next corridor.
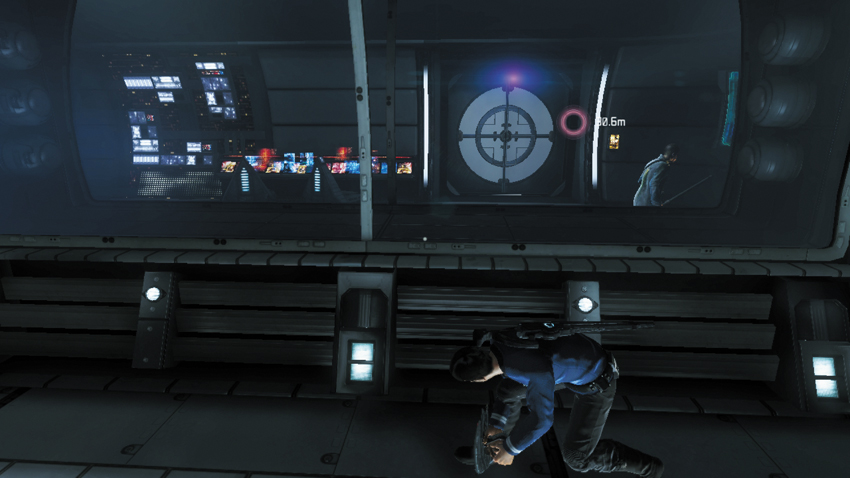
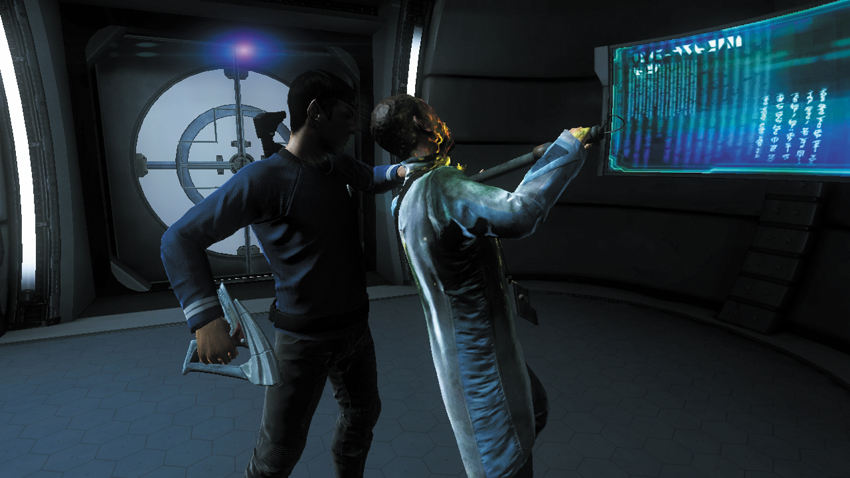
An infected Vulcan is in a room on the right side of the next corridor. Surok urges you to be merciful when engaging the infected Vulcans. Drop to a crouch and take cover along the wall on the right. This allows you to creep below the window and prevent the enemy from seeing you. As you near the corner, you come to a doorway leading into the room with the infected Vulcan. Use your tricorder to ensure that the enemy is facing away from the door, then enter. While still crouched, creep up behind the infected Vulcan and perform a non-lethal takedown—there is no need to stun the target unless the Vulcan sees you. Incapacitating this Vulcan is only necessary if you want the audio log in the adjoining supply closet.
13: Surok’s Audio Log #2
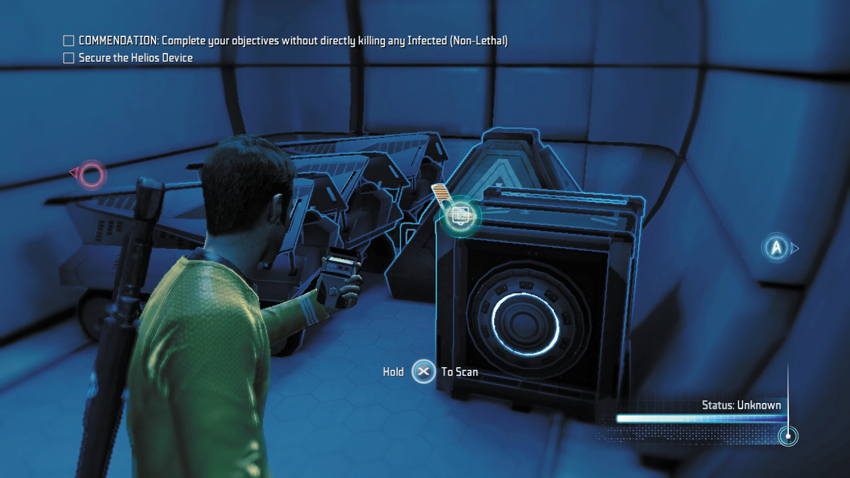
Have Spock perform a mind-meld on the unconscious infected Vulcan to retrieve the door code to the nearby supply closet. Input the code into the door’s lock using the tricorder and then step inside. The audio log is on a crate to the right.
Type: Audio Log
Set: Vulcan Laboratories/Logs
XP: 50
Log Entry: This is Surok of Vulcan. We are on the verge of a new dawn for the Vulcan people. The colony we are establishing here is the first step toward restoring what was lost when our homeworld was destroyed. The elder Spock was wise to suggest a planet as far from the neighboring systems as possible. That distance gives us a measure of protection as our colony grows. But Spock does not know of the Helios Device. We need its power to terraform the planet. But I know Spock would oppose us using such an unproven and dangerous technology. We have been able to keep the existence of Helios a secret from all but a select few. I can only hope it stays that way.
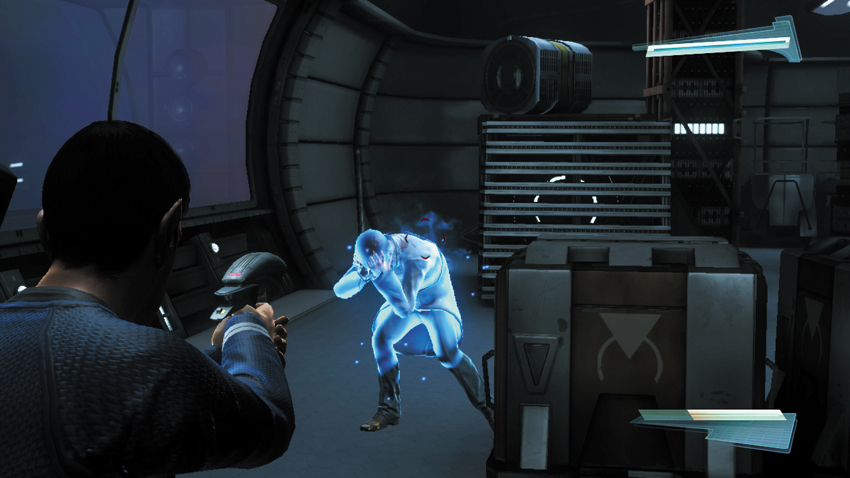
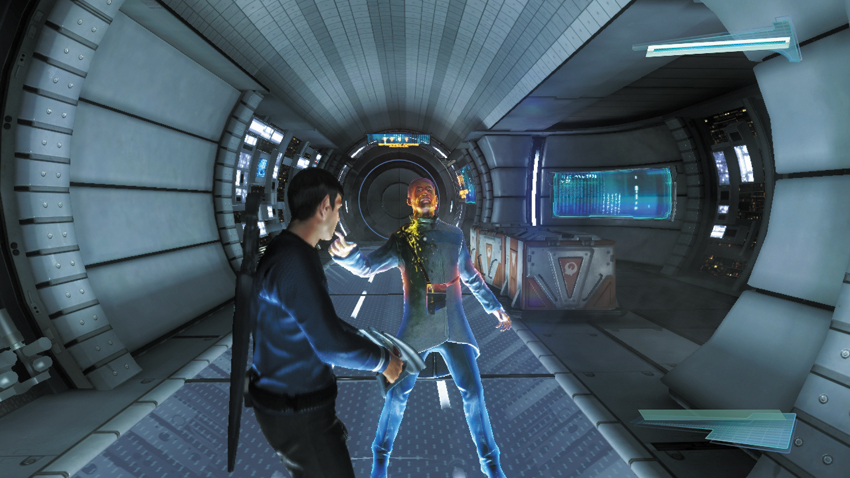
Return to the main corridor and unlock the next door on the right using your tricorder. There is another infected Vulcan patrolling this large storeroom. Try to sneak up behind him and perform a takedown. But if he sees you, stun him with your phaser first before rendering him unconscious. Another infected Vulcan patrols the next corridor. You probably won’t be able to sneak up behind him. So as you enter the corridor, turn left with your phaser already aimed. Stun your target, then perform a non-lethal takedown. The door at the end of this passage is locked. Use your tricorder to unlock it.
Energy Core Alpha
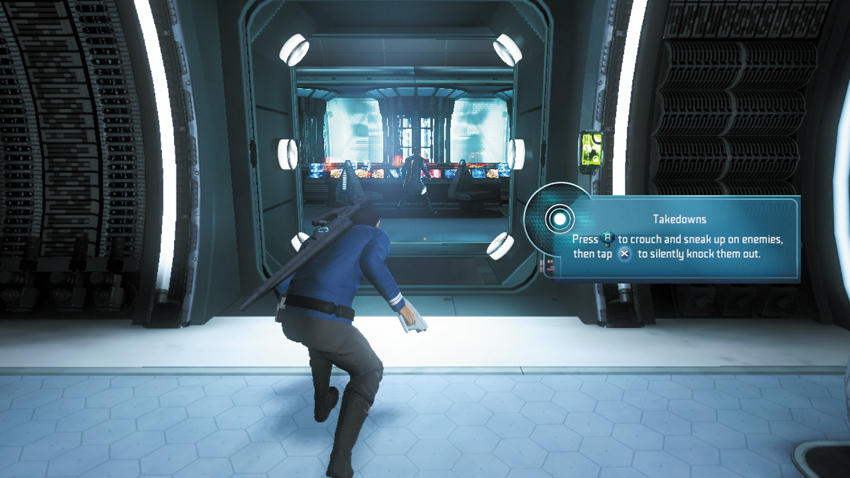
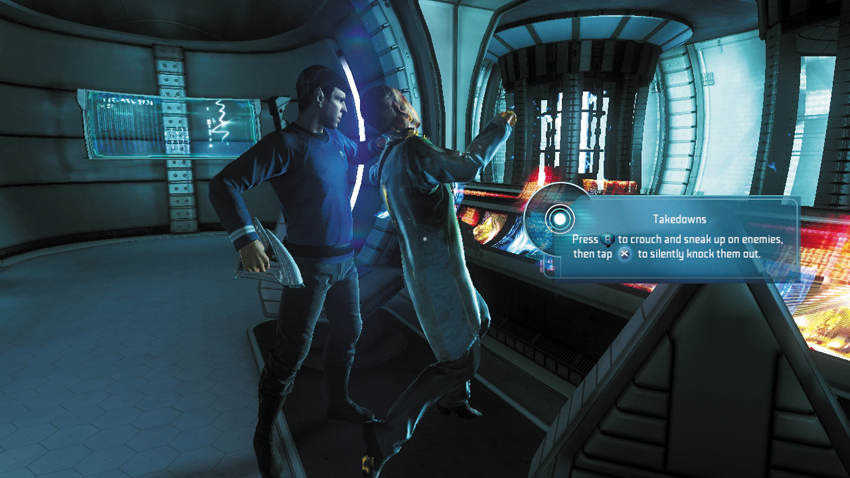
As you step into the next lab, look for another infected Vulcan patrolling nearby. Drop to a crouch and sneak into the lab, then follow the infected Vulcan into a control room on the right. While the infected Vulcan’s back is still turned, creep up behind him and perform a takedown. Spock checks in with Dr. McCoy aboard the Enterprise, inquiring about the infection. McCoy reports that there are high toxin levels of unknown origin found in the infected. He’ll continue to investigate. Then communication with Dr. McCoy breaks up due to interference.
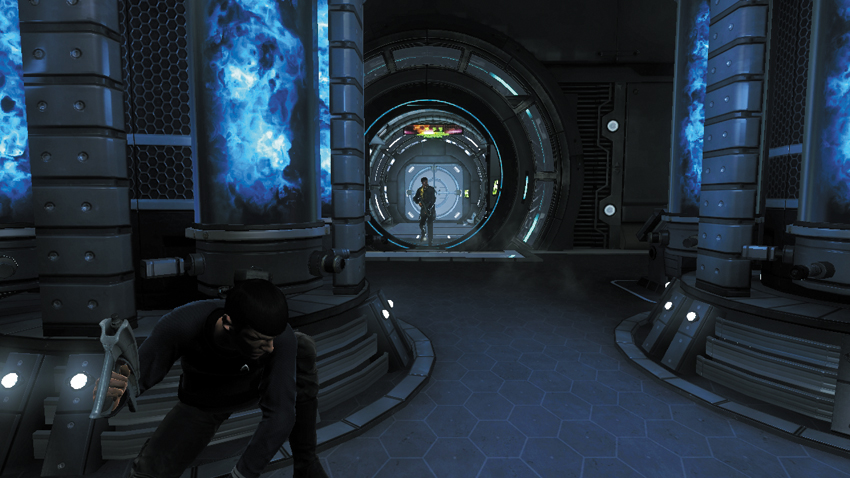
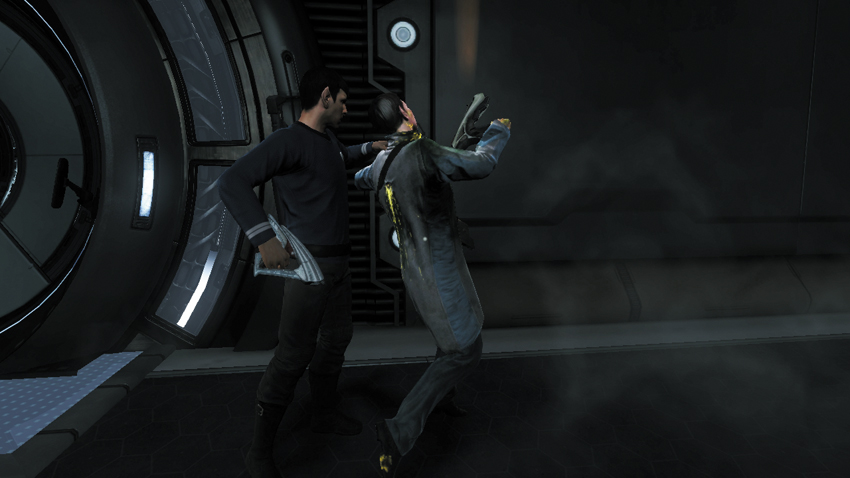
Exit the control room and proceed downstairs into the lower level of the lab. But be cautious—there’s an infected Vulcan below, armed with a Vulcan Pulse Cannon. Crouch and remain out of sight, using the large cylindrical structures for cover. When the patrolling infected Vulcan turns his back, sneak up behind him and put him to sleep with a takedown. If he does see you, stay behind cover to avoid getting hit by the Vulcan Pulse Cannon. Return fire, but only using the phaser’s stun function. Once he is stunned, rush up to him and perform a takedown before he can recover. The infected Vulcan drops his Vulcan Pulse Cannon. You could pick it up and replace your default Starfleet Type III Rifle. But it’s best to keep your Starfleet Type III Rifle for now.
14: Vulcan Pulse Cannon
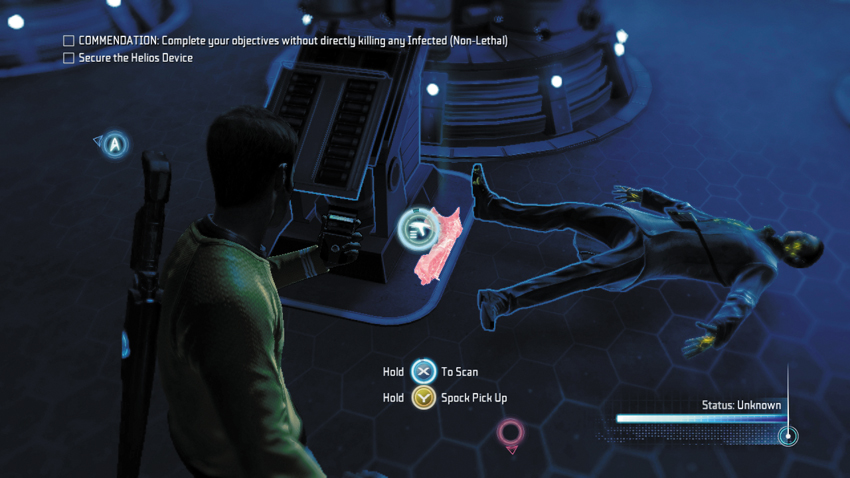
Don’t forget to scan the Vulcan Pulse Cannon dropped by the infected Vulcan before moving on. In fact, if you plan to take the weapon, scan it first.
Type: Research Data
Set: Weapons/Federation Weapons
XP: 100
Log Entry: Unlike the Vulcan Repeater, this Cannon’s got a bit more edge to it. It was developed by Vulcan engineers after the destruction of their homeworld by Nero, and it shows. There’s less emphasis on quiet resolution, and more focus on getting the job done as quickly as possible regardless of what stands in the way.
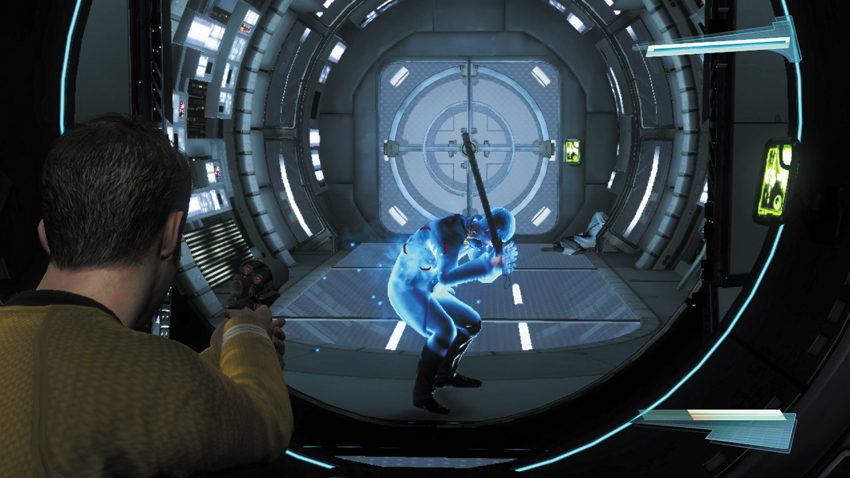
While scanning the Vulcan Pulse Cannon, make sure another infected Vulcan in the adjoining corridor doesn’t surprise you. Fortunately, this enemy is armed only with a metal pipe. But don’t let him get close. Step up to the doorway and stun him with your phaser before performing a takedown. Activate your tricorder to scan for activity in the lab beyond the next door. The lab contains several infected Vulcans—get ready for a fight. But remember, only use non-lethal tactics.
Generator Alpha
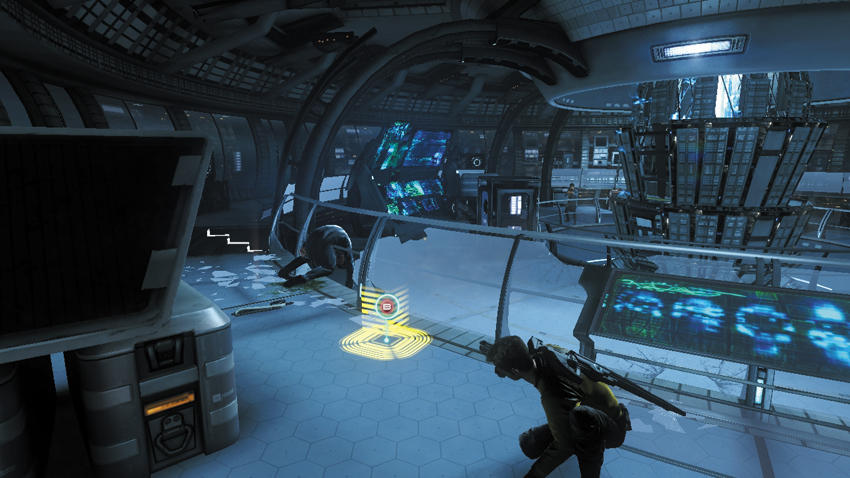
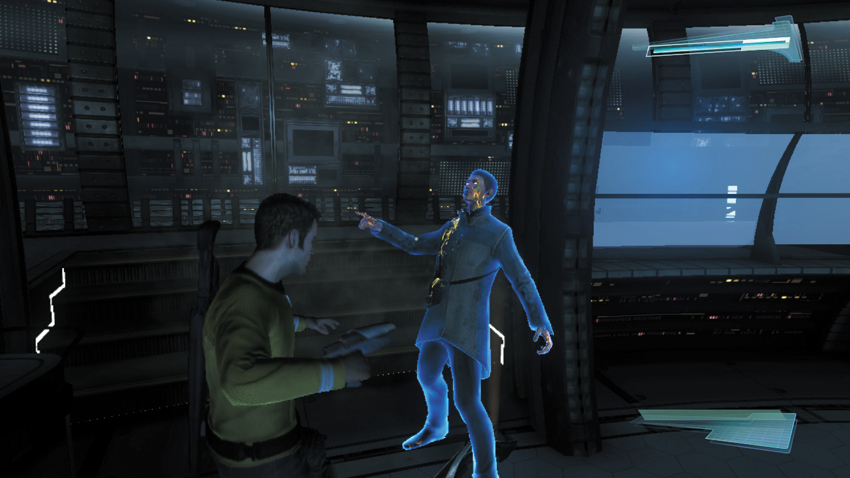
Upon entering the next lab, stay low and behind cover to avoid detection as long as possible. Use the tricorder to periodically scan for enemies that may not be visible. If possible, sneak up behind the infected enemies and silently incapacitate them with a takedown. However, it’s difficult to avoid detection for very long. If one of the infected enemies spots you, all the others will go on alert and assume a defensive posture. All of the infected Vulcans in this lab are armed with Vulcan Pulse Cannons, so stay behind cover to avoid getting hit. Move from one piece of cover to the next until you can stun your target at relatively close range—this will give you enough time to perform a takedown before the infected Vulcan recovers. For best results, stay on the lab’s perimeter and target enemies in the middle. But only take cover behind the consoles and crates—the breakable glass partitions won’t block anything.
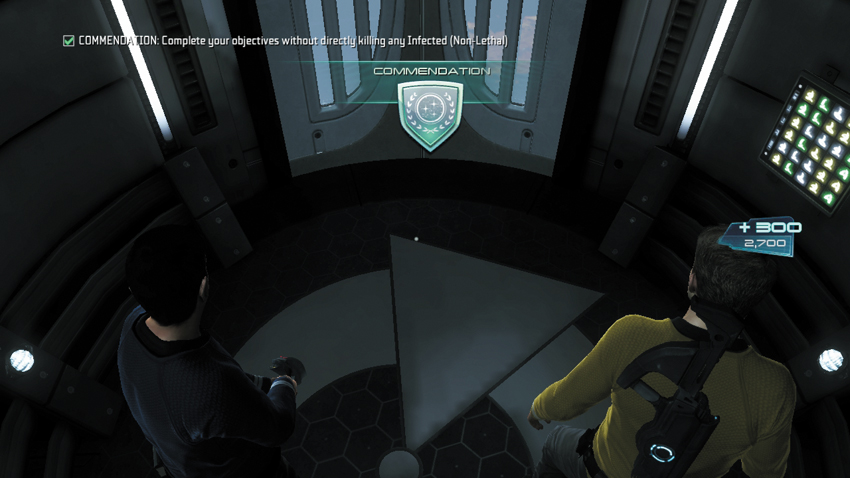
Once all of the infected enemies are incapacitated, locate the lab’s exit and proceed through the adjoining corridor. The corridor leads to a small room with a Turbolift. Step inside the Turbolift (waiting for your partner) and ride it down to the next level of labs. At this point, you’re awarded the commendation, assuming you made it through the Upper Labs without killing any infected Vulcans. The commendation is worth 300 XP. It might be time for another upgrade.
Surok’s Laboratories
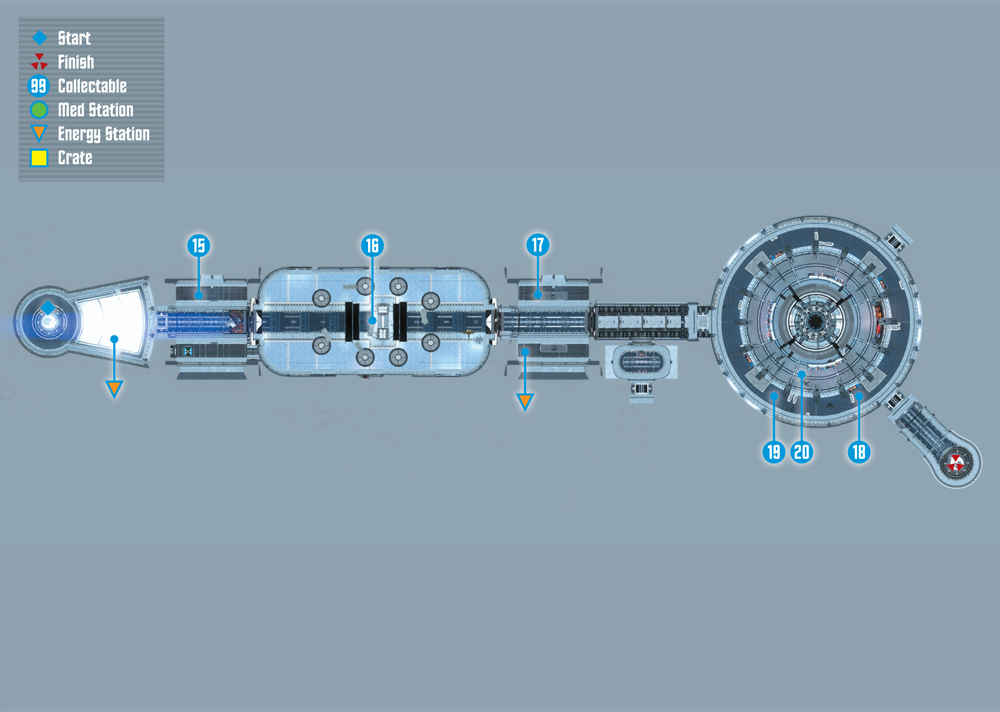
Collectables Checklist
| # | Name | Type | XP |
|---|---|---|---|
| 15 | Surok’s Audio Log #3 | Audio Log | 50 |
| 16 | Gorn Brute | Research Data | 100 |
| 17 | T’Mar’s Audio Log #4 | Audio Log | 50 |
| 18 | Gorn Initiate | Research Data | 100 |
| 19 | Gorn Ravager | Research Data | 100 |
| 20 | Starfleet Type III Rifle | Research Data | 100 |
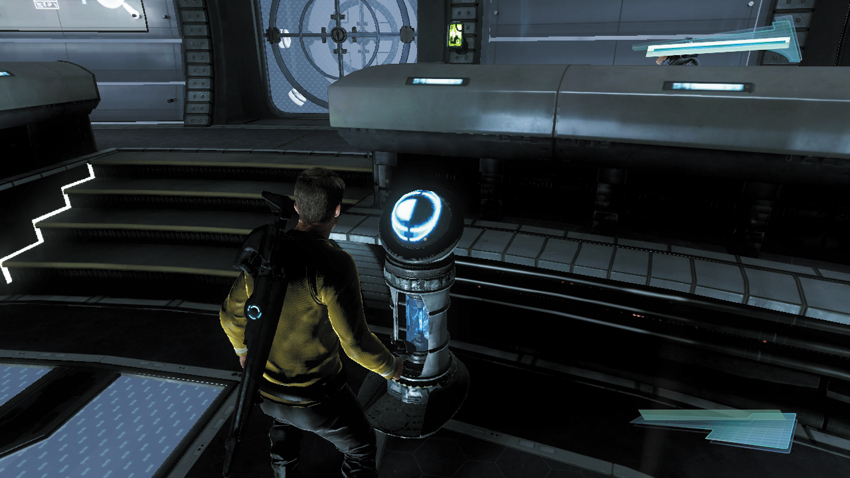
Your are now deep below the surface, not far from the Helios Machine. Step out of the Turbolift and approach the nearby Energy Stations. Energy Stations replenish your tricorder energy as well as ammo for weapons—your phaser does do not use ammo, but other weapons do. There is also a Vulcan Pulse Cannon on the floor next to the Energy Station. But we recommend that at least one of you keep the Starfleet Type III Rifle for now—it will come in handy very soon.
Helios Lab
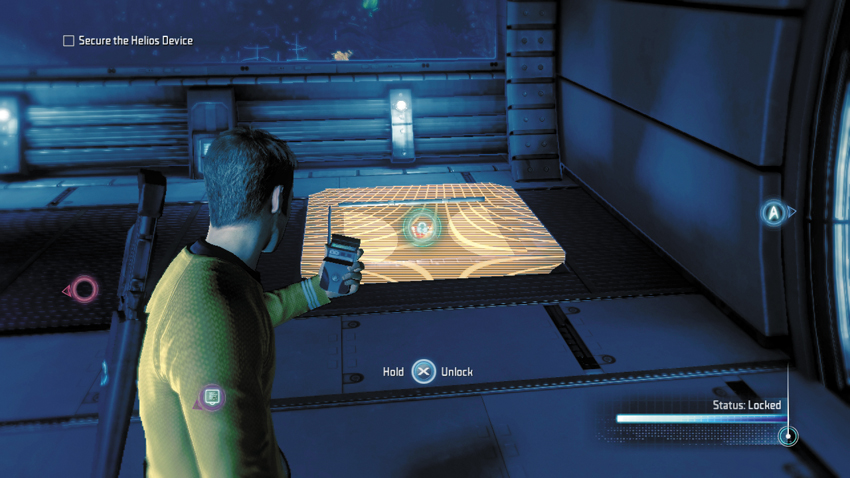
Upon entering the next room, you see that the path ahead is blocked by rubble and a disabled door—you’ll need to find another way around. Turn to the right and locate a hatch in the floor; unlock it using your tricorder. However, don’t drop through the hatch just yet. There’s another audio log in this room.
15: Surok’s Audio Log #3
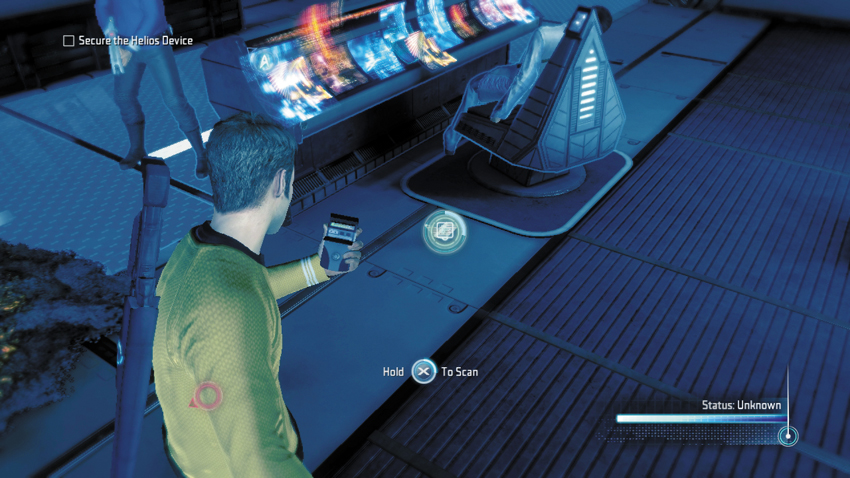
Turn to the left side of the room to locate this audio log on the floor, next to the dead Vulcan behind the console.
Type: Audio Log
Set: Surok’s Laboratories/Logs
XP: 50
Log Entry: I no longer believe that Commodore Daniels has the best interest of the Vulcan people at heart. His assistance in the construction of the Helios Device was gratefully received. But with it has come an expectation of control over the device’s operations that is most troubling. The engineers he sent to work with us seem more interested in capitalizing on the potential side effects of the device than on ensuring its safe use in the creation of a new Vulcan homeworld. I have expressed by doubts to T’Mar. But she remains adamant that she will not allow Daniels to compromise our plans. I no longer trust Daniels. But my trust in my daughter must not waver.
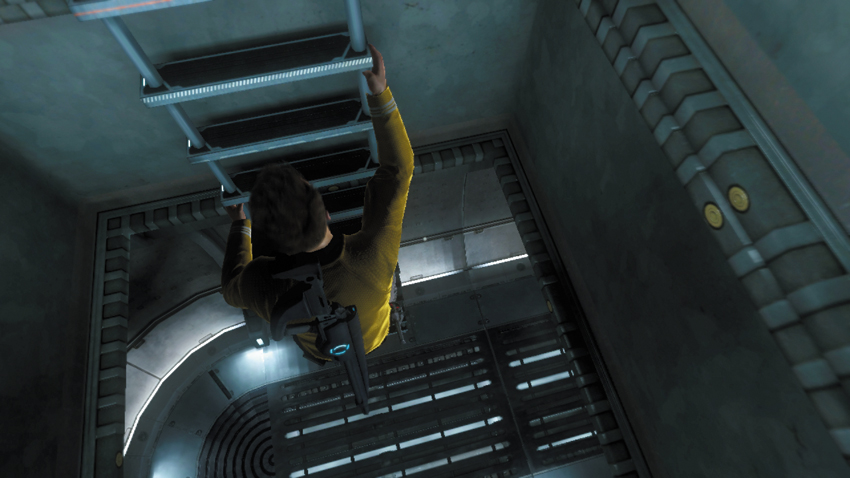
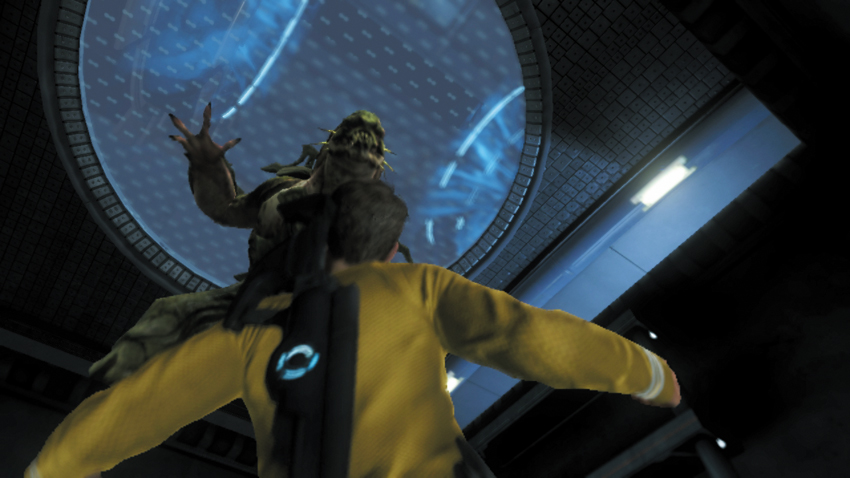
Now it’s time to descend through the hatch. Interact with the ladder to grab hold, then climb down into a cramped maintenance tunnel. T’Mar reports that the Gorn are attempting to steal the Helios Device—she urges you to pick up the pace. Follow the tunnel to the very end and climb a ladder up to reach another hatch. Press the button shown on-screen to push open the hatch. But there’s more than you bargained for waiting on the other side. A Gorn Brute yanks your character out of the hatch and tosses you against a stack of crates. Fortunately the creature is distracted by your partner pelting him in the back with phaser fire.
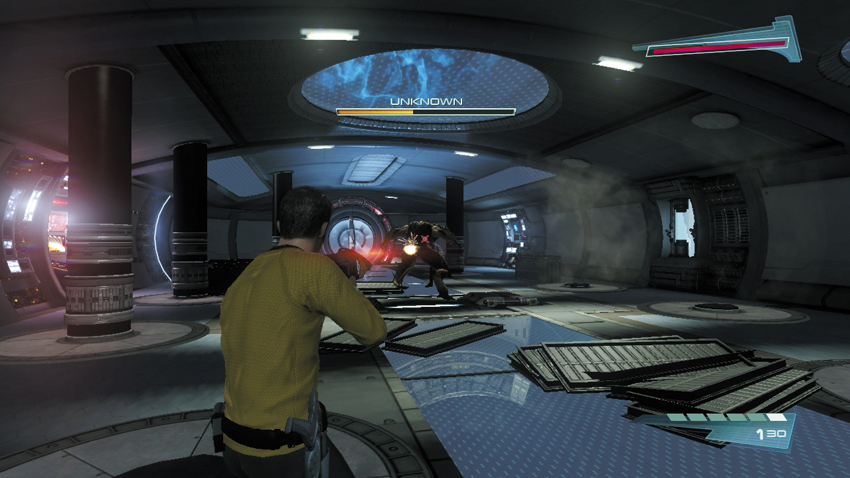
As you regain control, immediately equip your Starfleet Type III Rifle and target the huge Gorn Brute—there’s no need to take this guy alive. The Starfleet Type III Rifle is a high-powered, slow-firing, sniper-like weapon. Although a bit cumbersome, it inflicts heavy damage with each shot fired and is equipped with a magnified scope. Given the close proximity, you don’t have to worry about using the rifle’s scope. Instead, simply use the dot reticle in the center of the HUD to aim the weapon. The health meter at the top of the screen represents the enemy’s health. Keep hitting him to whittle down his health.
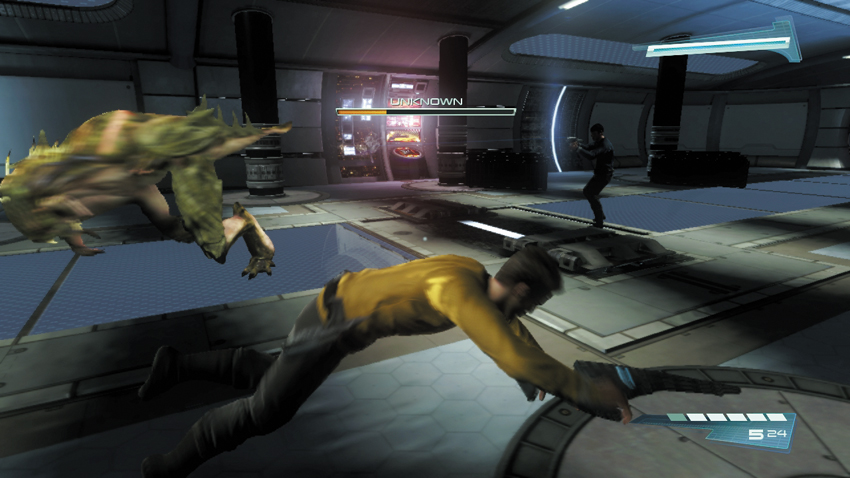

The creature relies primarily on charging and melee attacks, so don’t worry about taking cover. In fact, it’s best to stay mobile in this large room, diving out of the way to avoid the Gorn Brute’s rapid charging attacks. The Gorn Brute occasionally throws power cells at you, too, which it retrieved from a container near the doorway. Try to shoot the power cells while he’s still holding them, which causes them to explode in his face—the Starfleet Type III Rifle’s scope is ideal for such pinpoint marksmanship. But if you can’t hit the power cell, be ready to move before the creatures hurls the explosive object at you. When you’re not evading its attacks, keep hammering the Gorn Brute with shots from your Starfleet Type III Rifle until he finally falls, smashing the disabled door in the process.
16: Gorn Brute
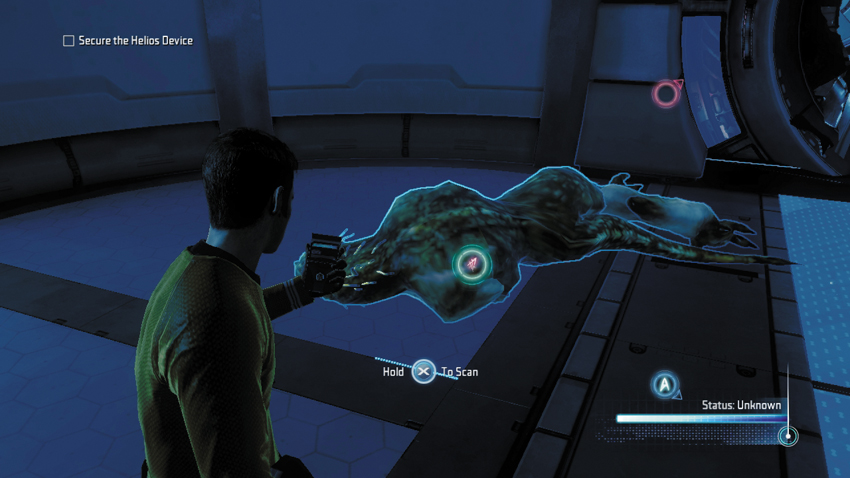
Once the Gorn Brute is down for the count, scan its body.
Type: Research Data
Set: Enemies/Gorn Advanced Enemies
XP: 100
Log Entry: Nasty one, this. Picking up signs of toxic stimulants. Best not to poke and prod too much, unless you’re poking and prodding with a very long, very sturdy stick.
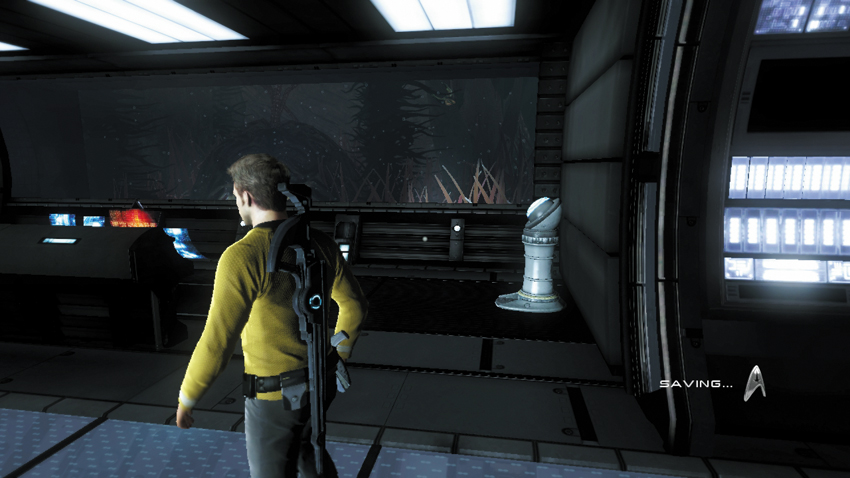
Spock notices that the Gorn Brute’s corpse contains the same toxins found in the infected Vulcans. However, the creature does not appear to be infected. He suggests the Gorn are the hosts. Step through the doorway that was smashed open by the Gorn Brute. Here you can find an Energy Station on the right side of the room as well as another audio log on the left side. Use the Energy Station to replenish the ammo for your Starfleet Type III Rifle.
17: T’Mar’s Audio Log #4
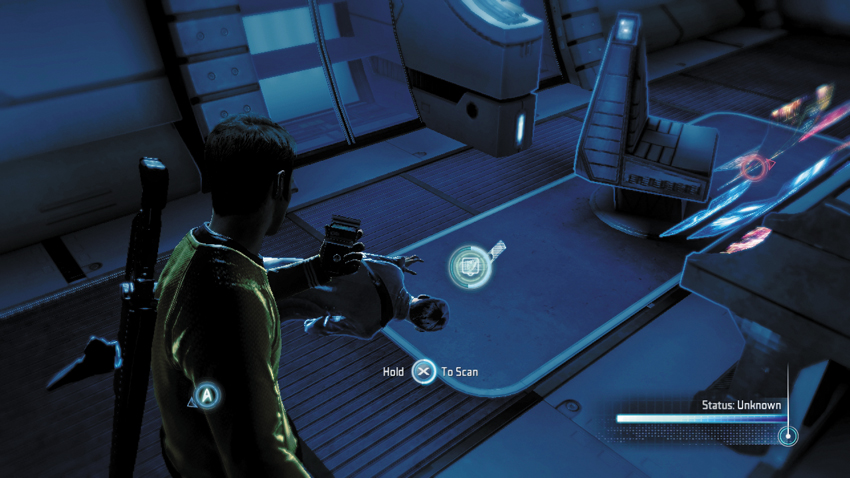
This audio log is located on the left side of the room, next to a dead Vulcan.
Type: Audio Log
Set: Surok’s Laboratories/Logs
XP: 50
Log Entry: I will always be grateful for the assistance Commodore Daniels has shown the Vulcan people. But recently his … priorities have become troubling. He remains steadfast in his support of the Helios Device, but he increasingly appears to show more interest in the possible side effects of the device rather than its primary function. There is some evidence to show that the device, once fully operational, could have unforeseen repercussions. The catastrophic nature of this event is obvious, and yet Daniels seems oblivious to the dangers. He sees the threat as more of an opportunity to be seized rather than a disaster to be avoided. He insists that further testing is unnecessary. I’m dependant upon his help, but I fear that my dependence has put us all at great risk.
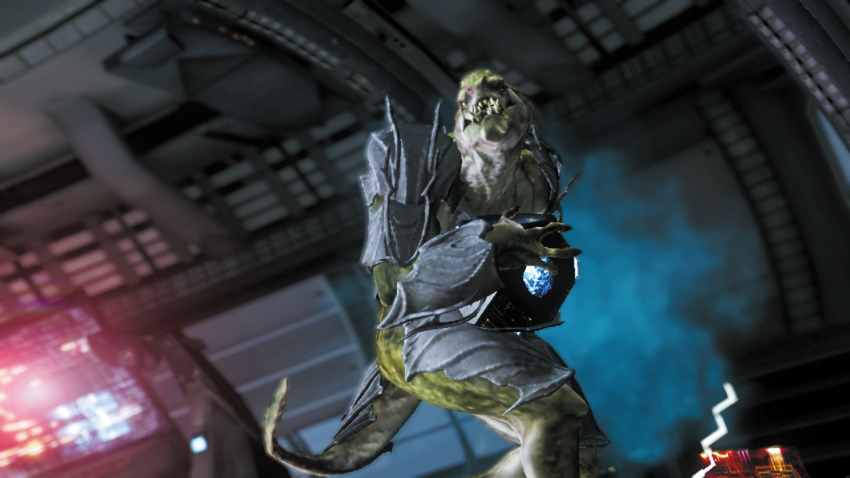
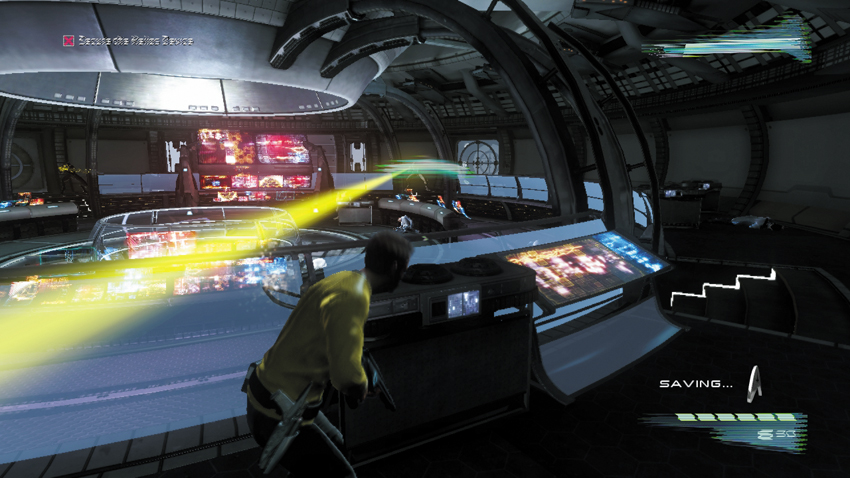
Step through the next doorway and pause for another decontamination scan. Once the scan is complete, you can proceed into the Helios lab. But as Kirk and Spock enter the lab, a Gorn Lieutenant snatches the Helios Device and escapes, leaving behind several Gorn Initiates to contend with any pursuers. Following the cinematic, take cover and engage the Gorn Initiates. These enemies are much weaker than the Gorn Brute you encountered earlier. But they’re armed with Ravagers—rapid-firing assault rifle-style weapons—so stay behind cover to avoid getting hit.
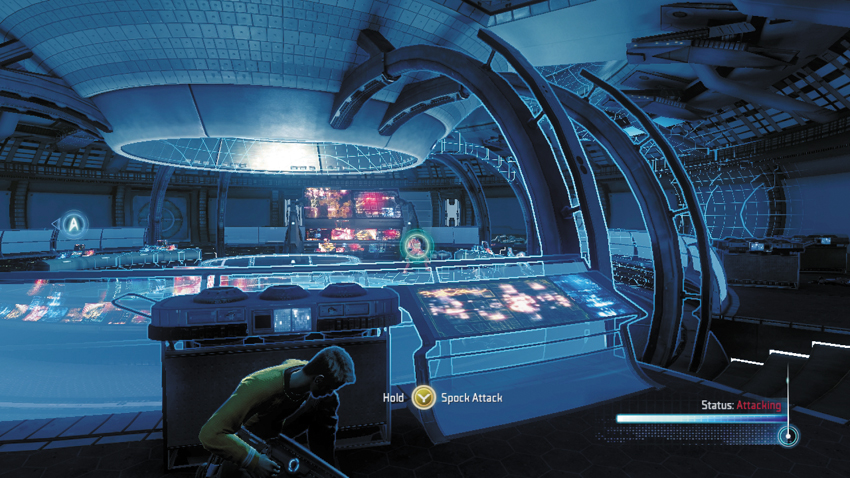

Your Starfleet Type III Rifle is ideal for this firefight. Stay behind cover, near the lab’s entrance, and use the rifle’s scope to engage the Gorn Initiates from long range. If you’re having trouble spotting the enemies, activate your tricorder to get a reading on their positions; they appear as red silhouettes. The rifle’s magnified scope allows you to target these enemies even if they’re hiding behind cover—target any piece of their body which is exposed. All it takes is one hit to kill each Gorn Initiate. After each shot, duck behind cover and setup your next shot, using the dot reticle in the center of the HUD. This allows you to peek out of cover, aim through the scope, and fire a shot quickly instead of trying to acquire a new target entirely through the scope, which can be a bit disorienting while leaving you exposed.
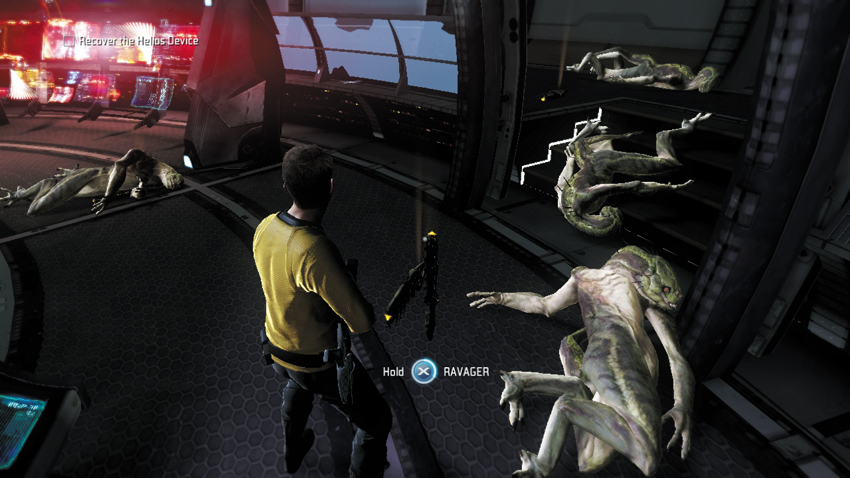
Once you’ve eliminated all the Gorn Initiates, T’Mar reports that the Gorn are taking the Helios Device to the surface. She restores power to the lab’s Turbolift so you can intercept them. But before exiting the lab, perform a couple of tricorder scans on the Gorn Initiates and their weapon. This may also be a good time to swap out your Starfleet Type III Rifle for the Gorn Ravager. At the very least, test out the Gorn Ravager in the lab to determine if its rapid fire fits your style of play. If you don’t care for it, retrieve your Starfleet Type III Rifle and continue punishing enemies with high-powered, long-range precision shots. When you’re finished scanning the collectables, step into the nearby Turbolift and ride it to the next level.
18: Gorn Initiate
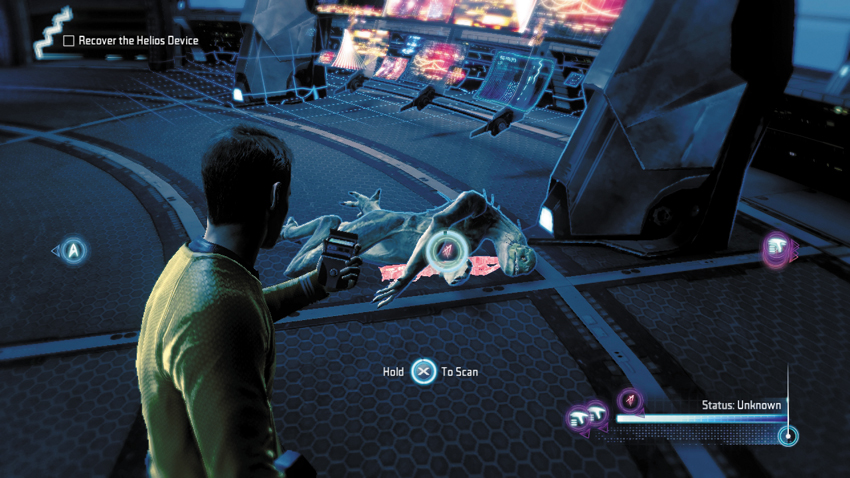
Scan any of the dead Gorn Initiates to learn more about these enemies.
Type: Research Data
Set: Enemies/Gorn Enemies
XP: 100
Log Entry: The comparatively small brain size on this one suggests that he’s lower on the Gorn totem pole than the other. The kind way to say it: “a bit slower on the uptake.” The more accurate way to say it would be “cannon fodder.”
19: Gorn Ravager
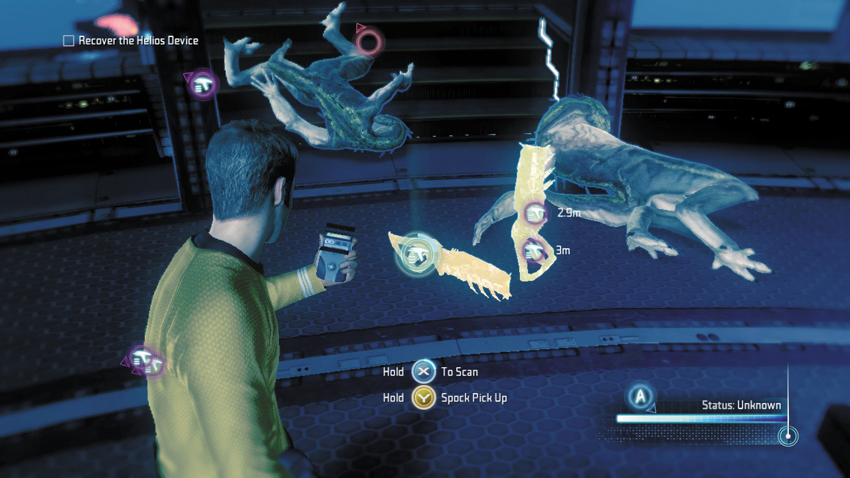
After scanning a Gorn Initiate, scan one of their weapons.
Type: Research Data
Set: Weapons/Gorn Weapons
XP: 100
Log Entry: A nasty projectile weapon used by what I’m calling the “Initiate” class of Gorn soldiers. The knock-down secondary fire should be effective against a wider range of enemies than phasers normally are.
20: Starfleet Type III Rifle
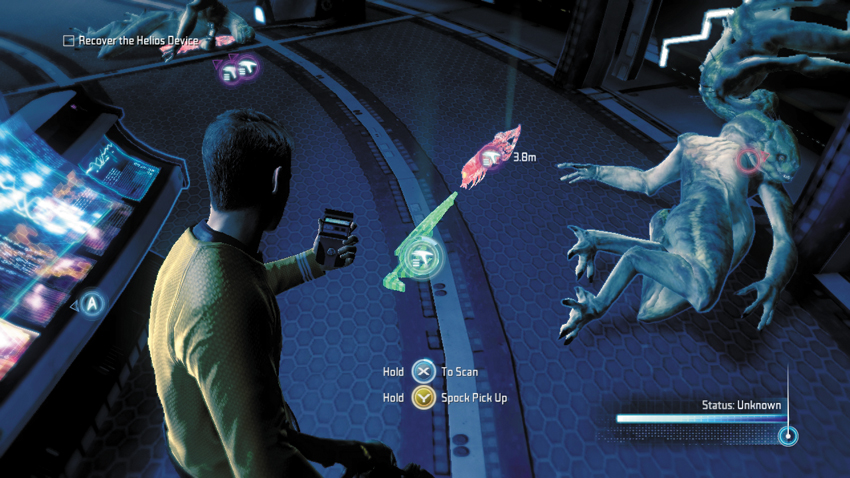
If you pick up the Gorn Ravager, be sure to scan your Starfleet Type III Rifle left behind on the floor.
Type: Research Data
Set: Weapons/Federation Weapons
XP: 100
Log Entry: No touching this one without advanced combat training. It takes the DNA of the standard phaser and gives it an evolutionary bump. Not for friendly non-lethal encounters. This one means business.
Vulcan Laboratories Part 2
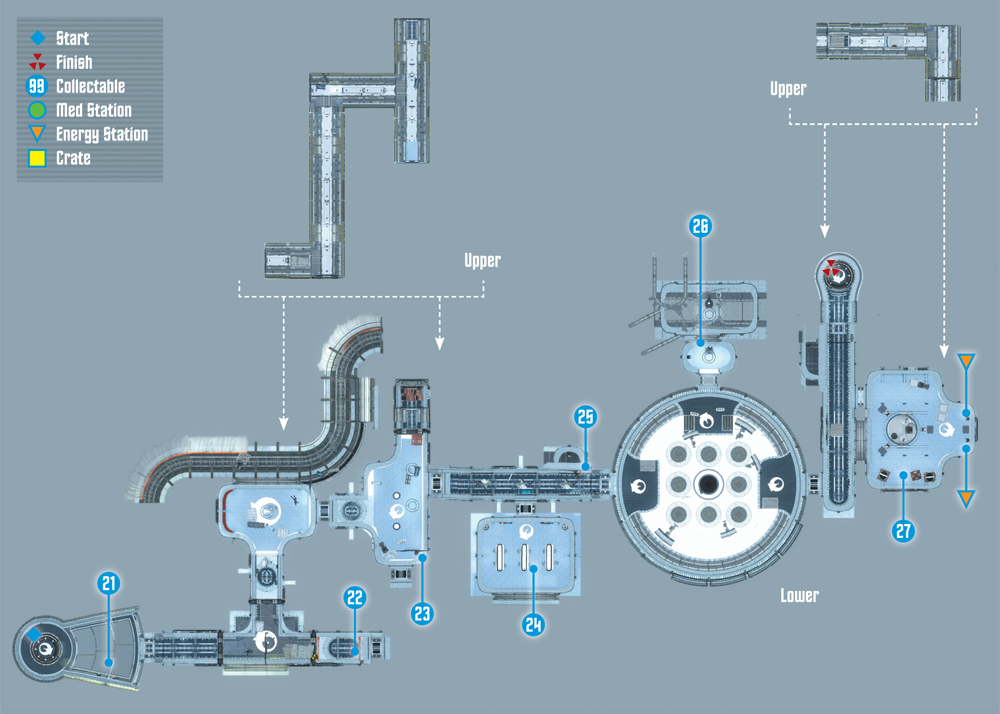
Collectables Checklist
| # | Name | Type | XP |
|---|---|---|---|
| 21 | Stun Grenade | Research Data | 100 |
| 22 | Unknown Breaching Tool | Research Data | 100 |
| 23 | Unknown Assault Equipment | Research Data | 100 |
| 24 | T’Mar’s Audio Log #5 | Audio Log | 50 |
| 25 | Unknown Hacking Tool | Research Data | 100 |
| 26 | Surok’s Audio Log #4 | Audio Log | 50 |
| 27 | T’Mar’s Audio Log #6 | Audio Log | 50 |
New Objective: Recover the Helios Device
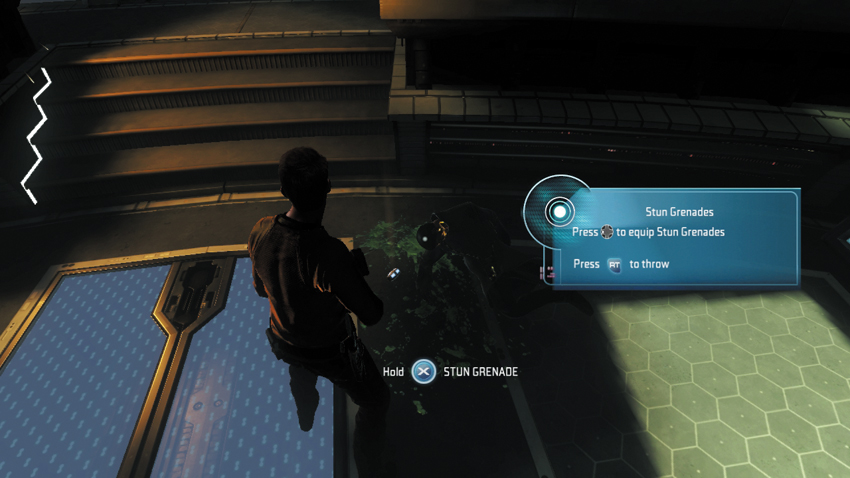
When the Turbolift stops, step out and approach the dead Vulcan on the floor ahead. The Vulcan left behind a couple of Stun Grenades. These have the same impact as the stun setting on your phaser but are capable of temporarily incapacitating large groups of enemies at once. Before picking them up, scan one to earn some more XP. Stun Grenades are equipped like any other weapon in your inventory. But these items are thrown by hand and explode upon contact, stunning all enemies within their wide blast radius. After grabbing the grenades, Kirk tries to check in with the Enterprise, but there’s no response. T’Mar reports that the since the Helios Device has been removed from its containment cell, it causes a great deal of interference.
21: Stun Grenade
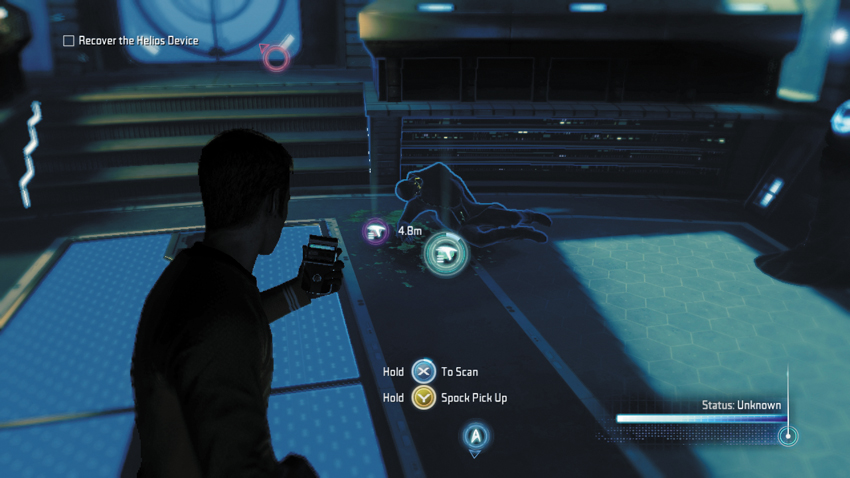
Scan one of the Stun Grenades next to the dead Vulcan.
Type: Research Data
Set: Weapons/Federation Weapons
XP: 100
Log Entry: Good for taking care of groups of unfriendly natives when you don’t have time to stun them one by one.
Lower Labs
Commendation: Find an alternate path around the Gorn’s ambush
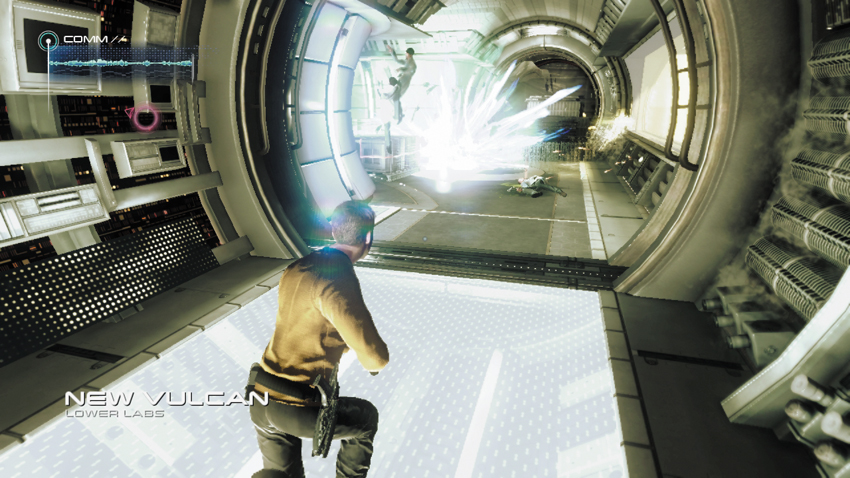
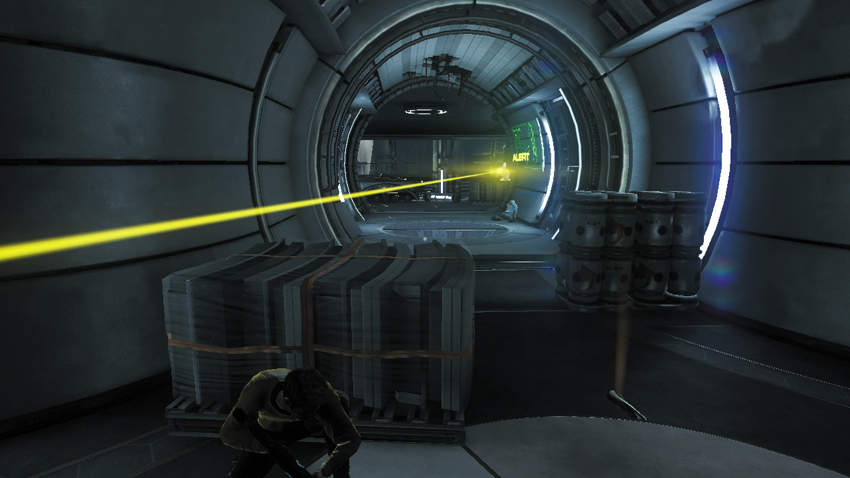
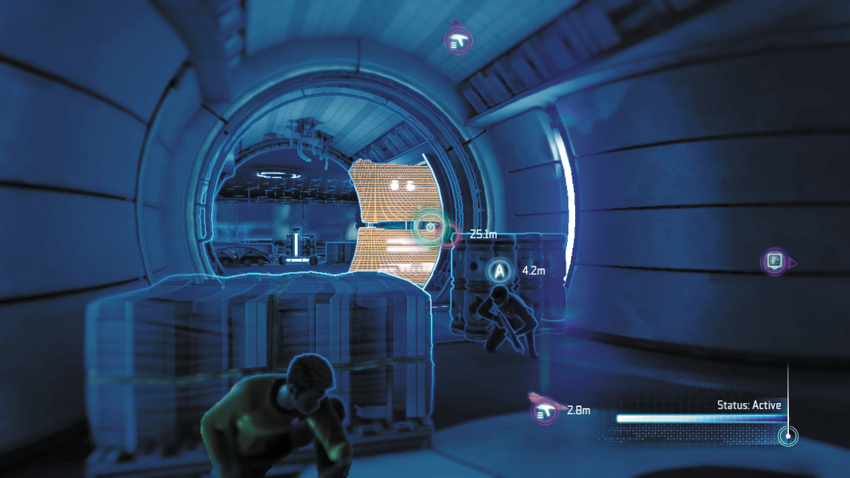
In the next corridor, two Vulcans are engaged in a firefight with several Gorn Initiates. As you approach, a large explosion rocks the corridor, killing the two Vulcans. The on-screen advice prompts you to use your tricorder to order your teammate to pick up one of the Vulcan Pulse Cannons dropped by one of the Vulcans. Take cover in the corridor near the dead Vulcans, hiding behind the pallet of supplies. At this point you can choose to perform a frontal assault on the Gorn Initiates, or attempt to flank them, and earn a commendation in the process. It’s safest to sneak around the ambush and take the Gorn Initiates by surprise. There’s an open hatch in the ceiling to the right, just beneath a stack of crates.
22: Unknown Breaching Tool
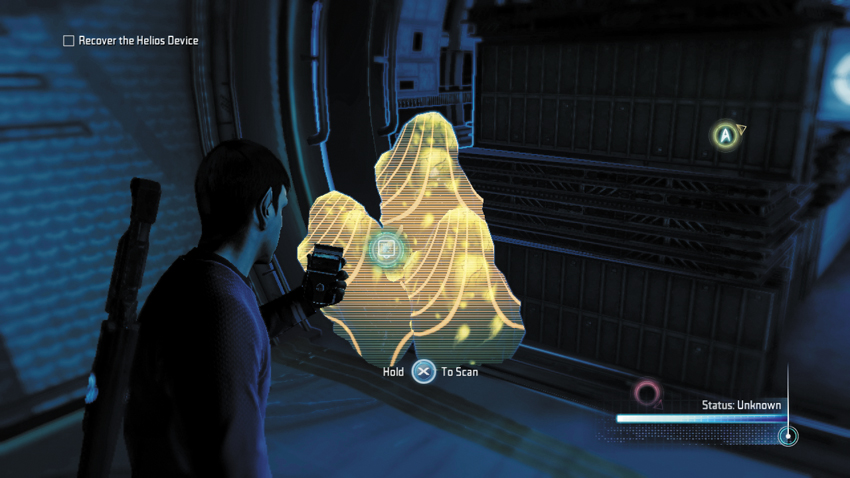
Before entering the hatch in the ceiling, search the area behind the crates to scan this yellow substance.
Type: Research Data
Set: Vulcan Laboratories Part 2/Unknown Technology
XP: 100
Log Entry: This tool was not designed by a peaceful race. As far as I can tell, its sole purpose is to break things: doors, walls, locks … body parts.

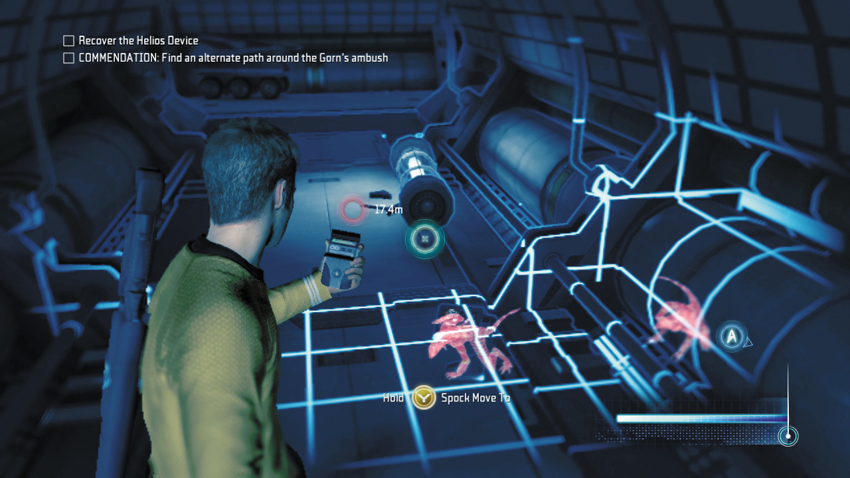
Climb atop the crates beneath the hatch in the ceiling. Press the button shown on-screen to boost your partner up into the hatch. Once he is in the hatch, your teammate reaches down and pulls you up. The hatch leads into a cramped maintenance shaft just above the labs. While advancing through this passage, use your tricorder to monitor enemy movements below; the Gorn Initiates appear as red silhouettes. The passage splits in two directions. If you are playing with a friend, split up, with one going left and the other going right. This allows you to flank the two Gorn Initiates below and attack from two different directions.
23: Unknown Assault Equipment
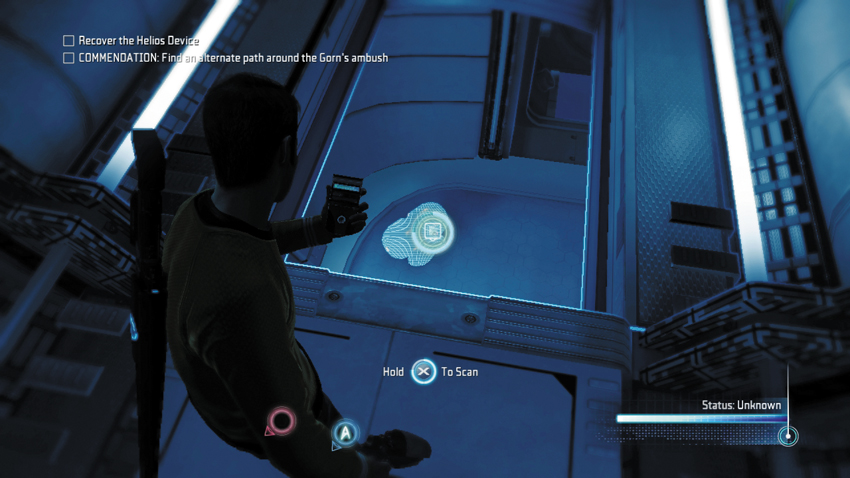
If you turn right in the maintenance shaft, peer through the hole in the floor and scan this cannister-shaped object below.
Type: Research Data
Set: Vulcan Laboratories Part 2/Unknown Technology
XP: 100
Log Entry: I very, very much want to take this thing apart and figure out how it works. It’s the engineer in me. I’m also very, very afraid of what will happen to me if I attempt to do so. It’s the terrified Scot in me.
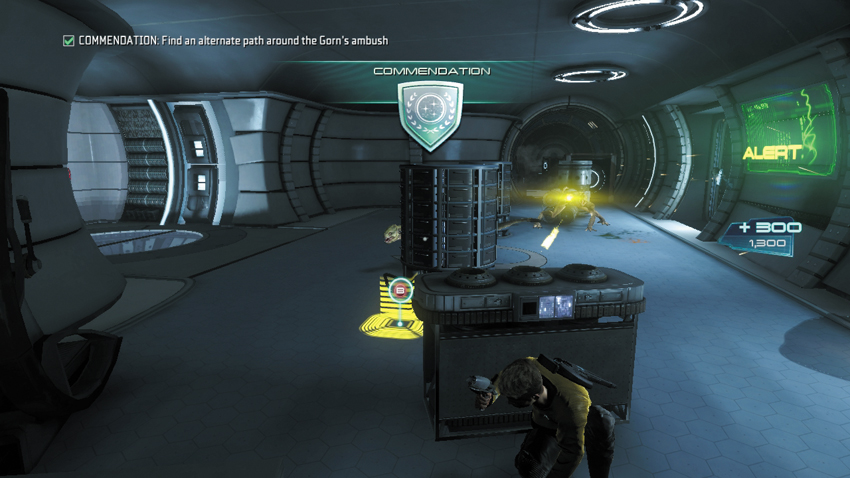
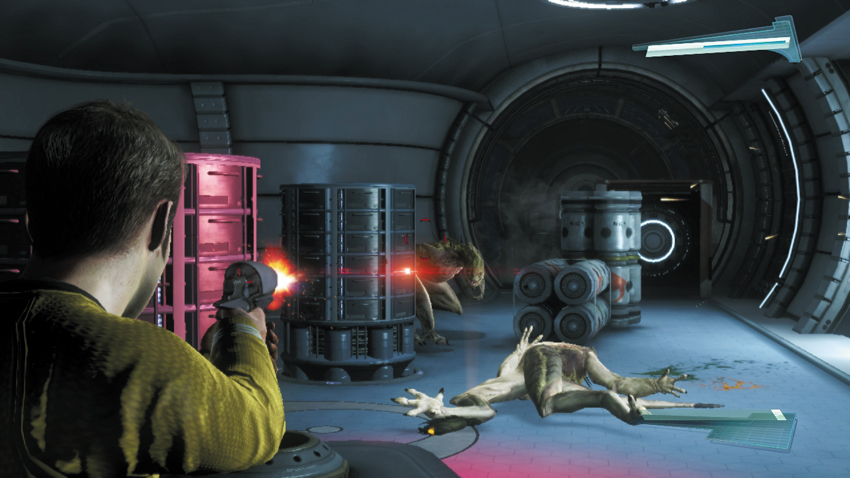
Drop through the hatch on the right side of the passage and immediately take cover behind the nearby crate. Sneaking up on the Gorn Initiates has earned you another commendation worth 300 XP. But don’t pat yourself on the back just yet. Using your weapon of choice, return fire, engaging the Gorn Initiates with lethal force. This might be a good time to try out one of those Stun Grenades. Toss it toward the enemies to stun them, then charge forward and dispatch them with takedowns before they can recover. But watch for a third Gorn Initiate to come charging out of the nearby door on the right.
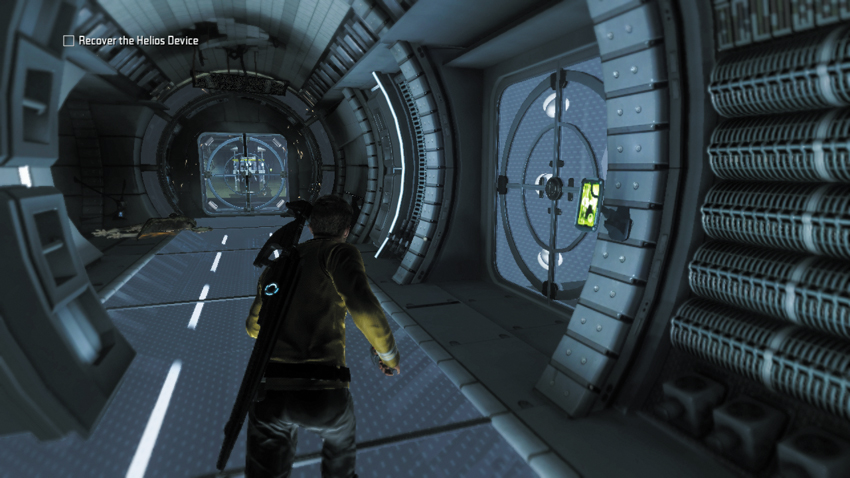
After you dispatch the three Gorn Initiates, proceed into the next corridor. There are no enemies here, but there are a couple of collectables in this area, including one in the room on the right.
24: T’Mar’s Audio Log #5
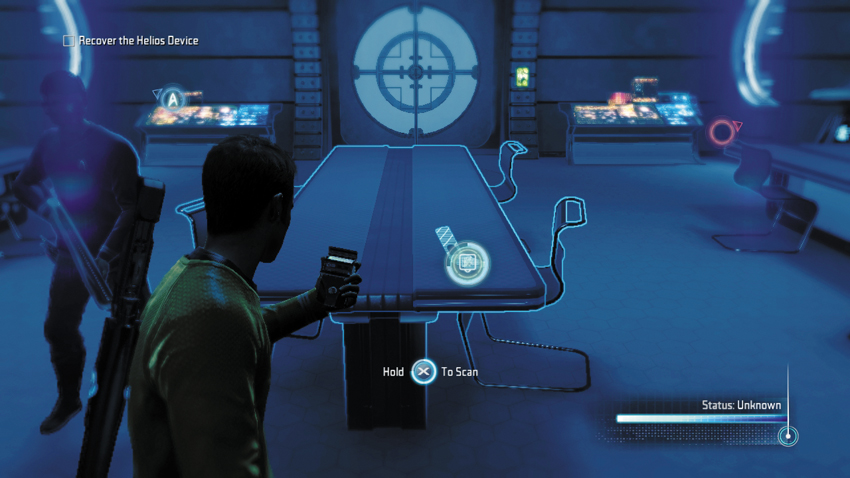
Enter the room on the right side of the corridor and scan the audio log resting at the end of the center table.
Type: Audio Log
Set: Vulcan Laboratories Part 2/Logs
XP: 50
Log Entry: We stand at the dawn of a new era for the Vulcan race. Thanks to Helios, we have a chance to create a new home on a planet never before inhabited. The unlimited energy provided by Helios will allow us to create a haven for our people. And yet, our resources provided by the Vulcan High Council are insufficient. Without help from another source I fear our greatest hope may be lost before it can be born.
25: Unknown Hacking Tool
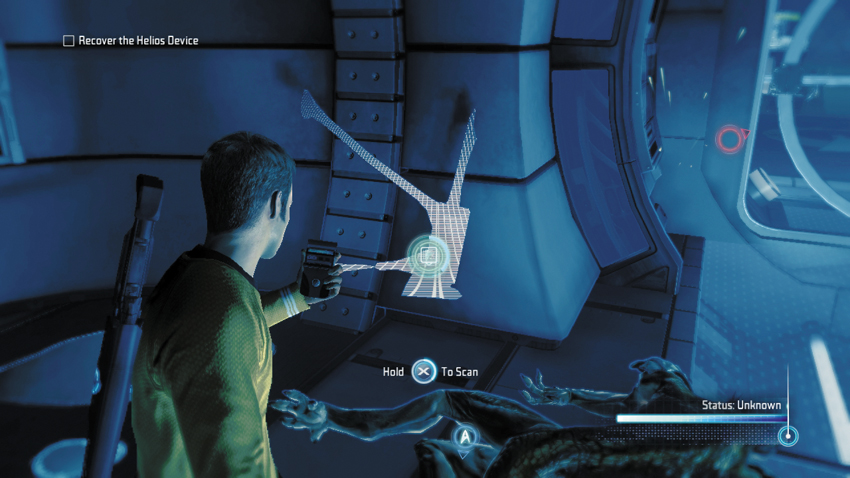
Return to the main corridor and scan this object on the left, next to an Energy Station and a dead Gorn Initiate.
Type: Research Data
Set: Vulcan Laboratories Part 2/Unknown Technology
XP: 100
Log Entry: I quite like this little gadget. It’s designed to hack into a computer, but the program it runs is never the same. It rewrites itself depending on the nature of its target. Makes it devilishly hard to defend against. Which is why I don’t want it coming anywhere near the Enterprise.
Power Room
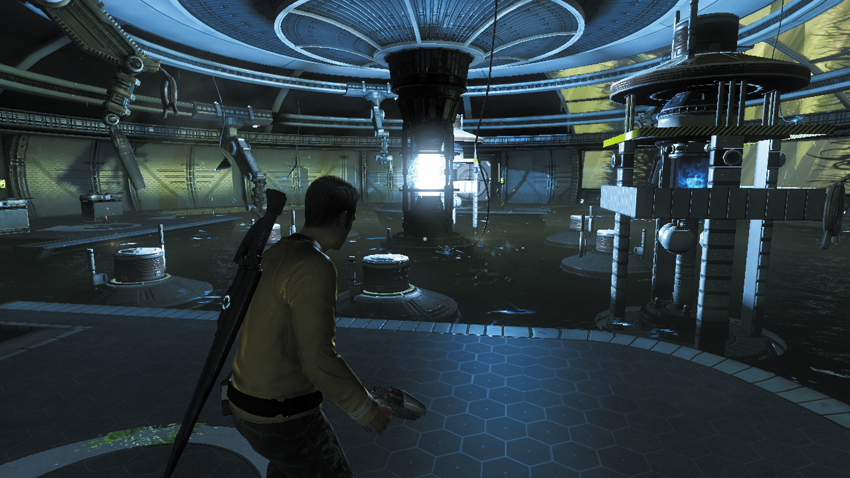
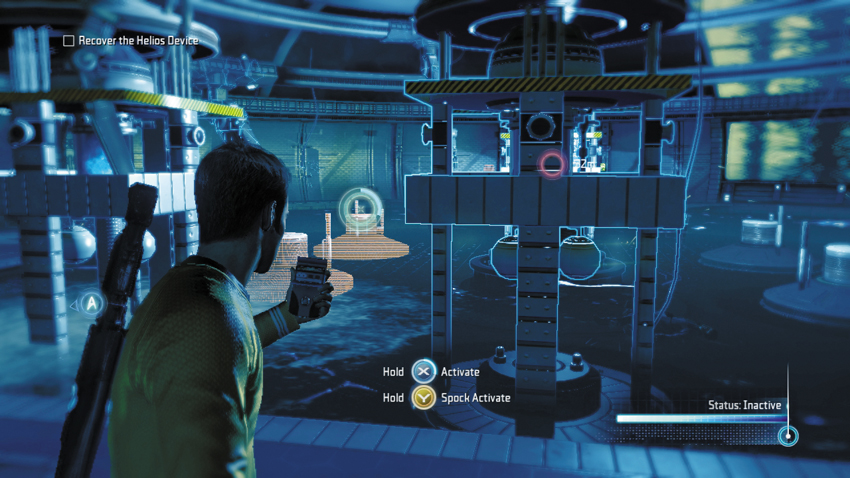
Work together with you partner to pry open the door at the end of the corridor to enter the next room. Soon after entering this partially flooded power room, an infected Vulcan, wading through the water, is electrocuted—it’s clear you’ll need to find another way across. Use your tricorder to activate a series of pillar-like transformers that are partially submerged in the water. The idea is to create a bridge across the water so you can leap from one transformer to the next to reach the other side.
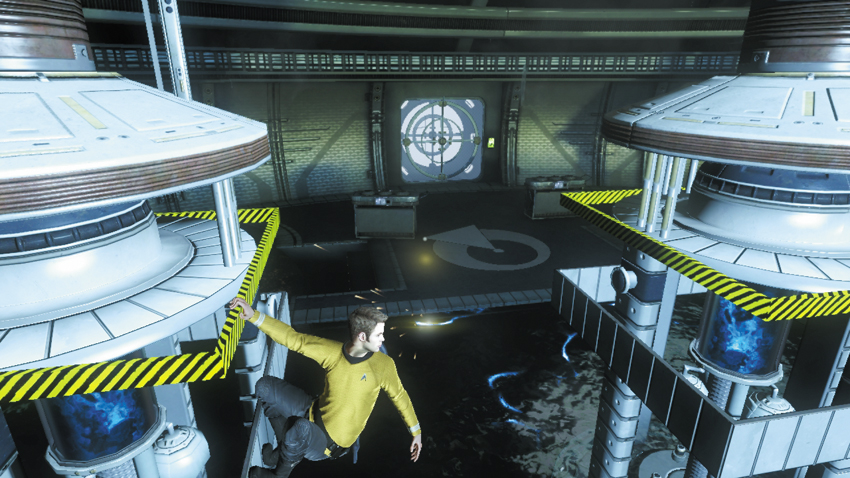
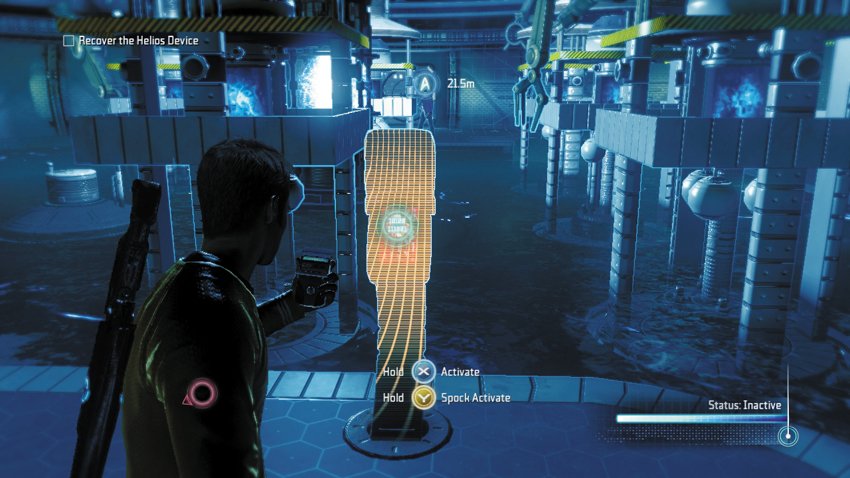
Once you’ve raised a few transformers, begin the crossing by leaping to the nearest one. Traverse along the yellow-and-black striped edge of the transformer until your back is facing a nearby transformer—but don’t jump yet. Instead, push out, in the direction you wish to jump—your character will automatically twist and lean in the direction. Once your character is properly aligned and facing the proper direction, perform a jump to reach the next transformer. Continue jumping from one transformer to the next until you can reach the dry walkway on the other side of the room. If necessary, you can access your tricorder while gripping one of the transformers—it may be necessary to raise a submerged transformer during the crossing. Once safely on the other side, use your tricorder to interact with the console, shutting down the power in the room and thereby making it safe to wade through the water. This allows you to enter the office on the perimeter of the room to obtain another collectable.
26: Surok’s Audio Log #4
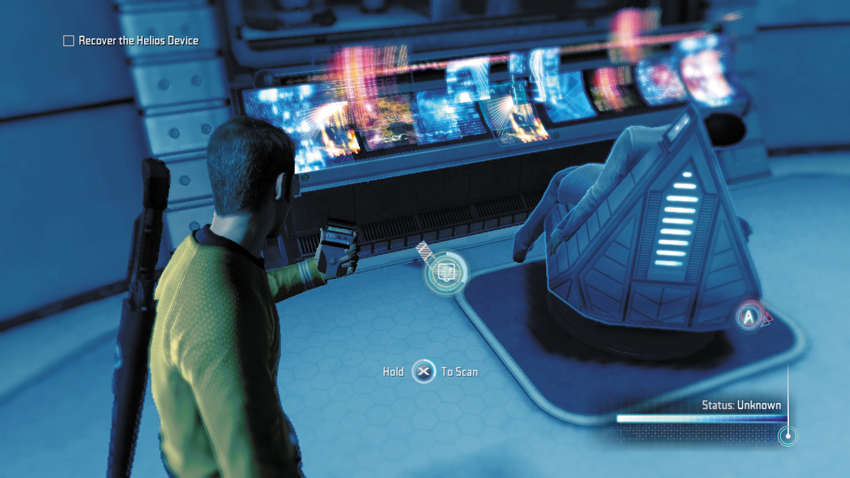
Once the water is no longer electrified, wade over to this small office on the power room’s perimeter and scan this audio log on the floor, next to the dead Vulcan behind the console.
Type: Audio Log
Set: Vulcan Laboratories Part 2/Logs
XP: 50
Log Entry: My daughter is the most brilliant scientist I know. Her skill is matched only by her imagination. To have conceived of such a thing as the Helios Device, and to have brought it to so close to a reality, she honors not only her family, but the entire Vulcan people. She has taken it upon herself to provide a future for us all. Would I have had the courage to pursue such a solution? To put into practice theories that tinker with the very fabric of our universe? I am not sure I would have. My daughter does. And my trust in her outweighs any reservations I may have for now.
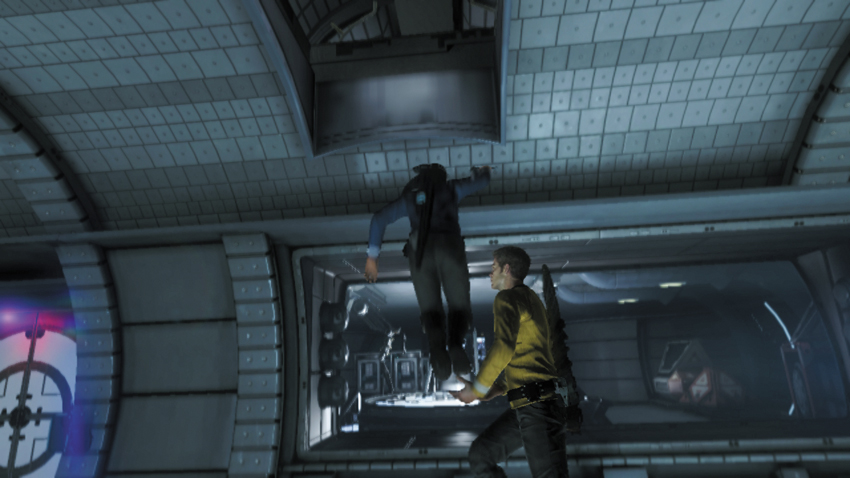
Exit the Power Room and enter the next corridor. The path ahead is blocked due to an unpowered door. Spock suggests retrieving a power cell from a functional socket—perhaps from the nearby lab. But the door to the lab isn’t working either. Scan the crate in the middle of the corridor to initiate a one-way boost. Alternately, hop onto the crate and request a boost from your partner. Whichever player accepts the boost is responsible for entering the lab via the overhead passage and retrieving the power cell—the other player must wait behind in the corridor.
27: T’Mar’s Audio Log #6
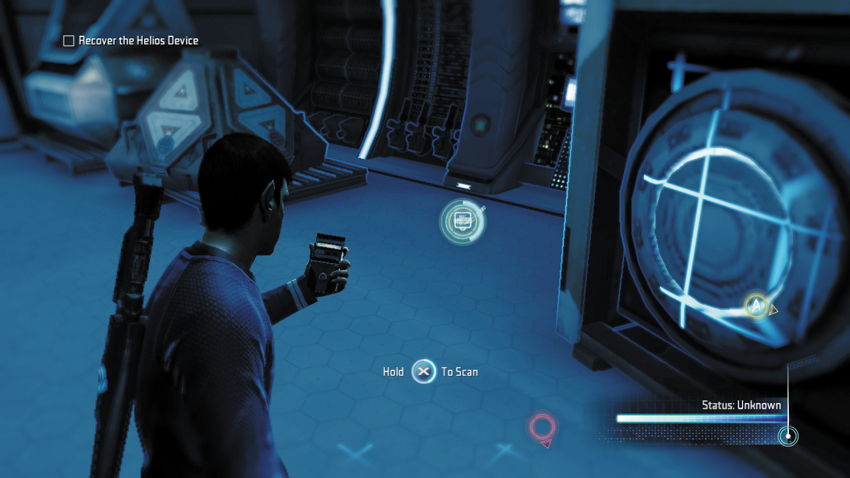
Once in the lab, scan this audio log on the floor next to a pyramid-shaped crate.
Type: Audio Log
Set: Vulcan Laboratories Part 2/Logs
XP: 50
Log Entry: My faith in the Helios Device remains strong. But recent tests indicate that our grand experiment will not proceed as easily as we had hoped. The construction of the device is almost complete, and ahead of schedule. The assistance provided by Commodore Daniels of Starfleet has been invaluable. And yet, we have detected anomalies we are unable to explain. Surok is concerned that we are proceeding too quickly. I remain confident in our plan, but father is not wrong. The closer we get to Helios becoming fully operational, the more careful we must be.
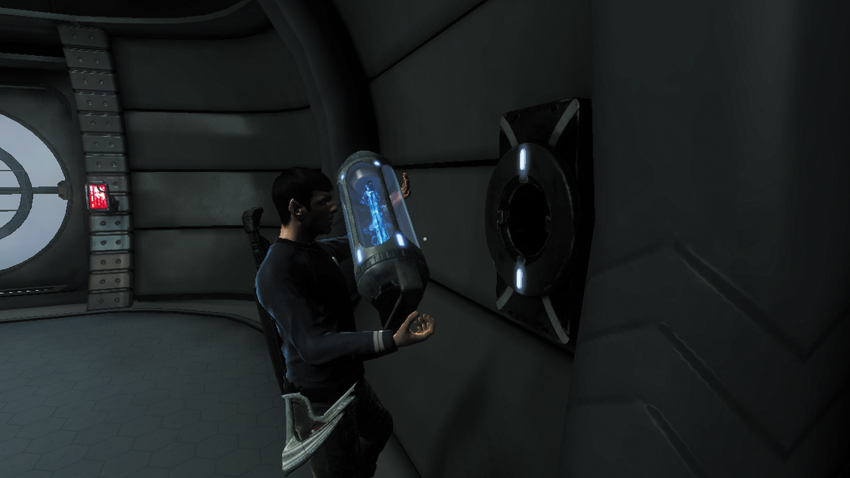
After scanning the audio log, locate the power cell—it’s next to the lab’s locked door. Retrieve the power cell from its socket, then use your tricorder to unlock the lab’s door. Rejoin your partner in the corridor and carry the power cell over to the unpowered door. Just beyond the door is a Turbolift leading to the surface. Step inside and get ready to chase after the Helios Device.
Vulcan Escape
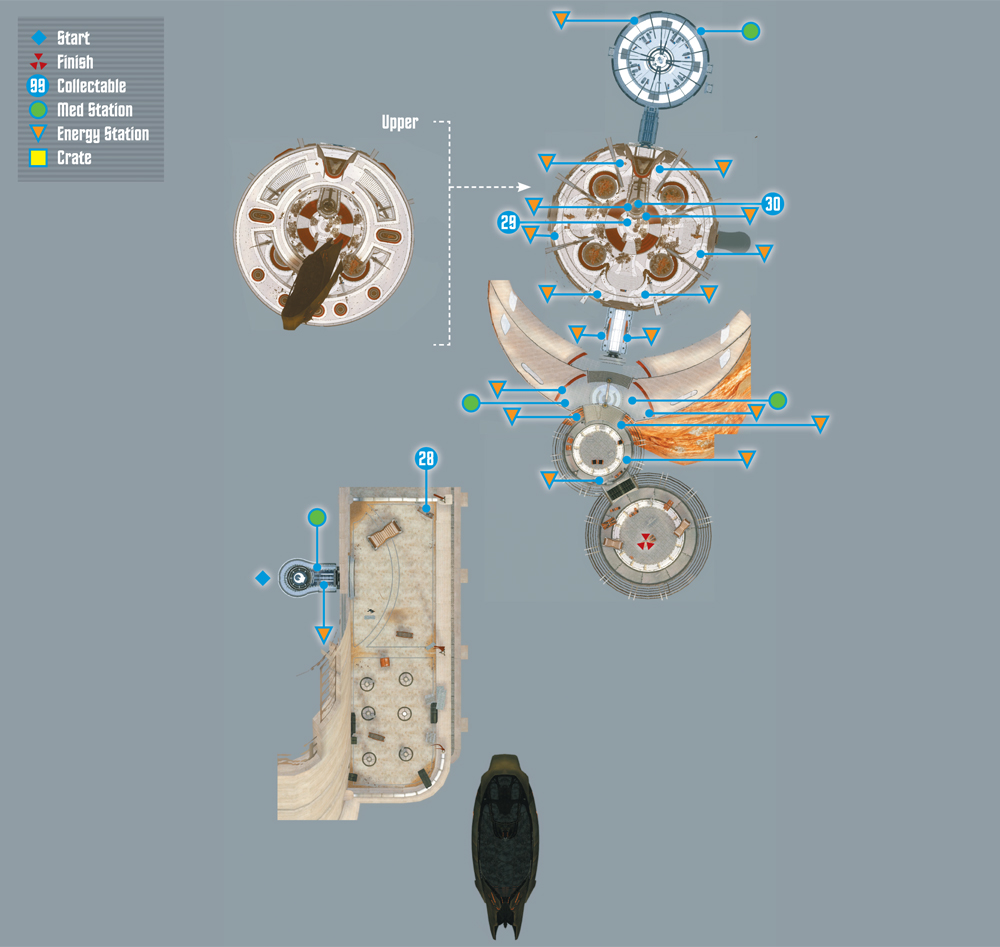
Collectables Checklist
| # | Name | Type | XP |
|---|---|---|---|
| 28 | Surok’s Audio Log #5 | Audio Log | 50 |
| 29 | Sh’Tok Memorial | Research Data | 100 |
| 30 | T’Par Memorial | Research Data | 100 |
28: Surok’s Audio Log #5
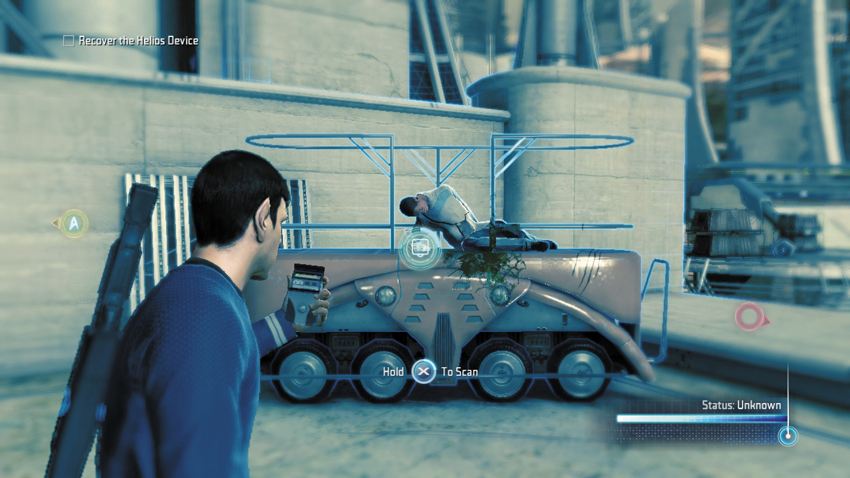
Immediately after exiting the Turbolift, turn to the left and scan the audio log in the hand of the dead Vulcan laying on the orange vehicle.
Type: Audio Log
Set: Vulcan Escape/Logs
XP: 50
Log Entry: This is Surok of Vulcan. It does not surprise me that the Helios Device has attracted the attention of Starfleet. In the wrong hands, a device that can harness the power of stars to reshape the geology of a planet could be used as a doomsday weapon. Fortunately, it is a Vulcan creation and as such is used only according to the rules of logic. To abuse the power of Helios would be against all the principles upon which Vulcan civilization was founded—the same principles we seek to preserve in this new Vulcan colony. As beneficial as Helios is to our people, I am grateful there is only one such device in existence. To replicate it would be to invite its use by less … responsible parties. To replicate it, would court disaster.
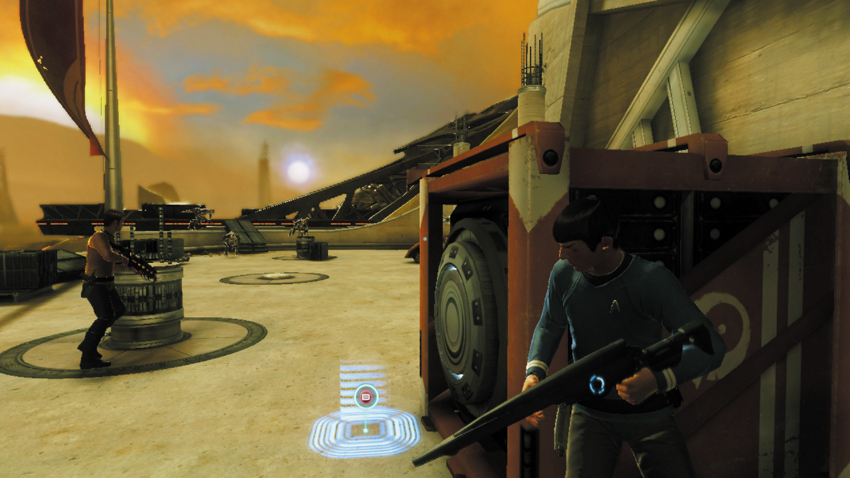
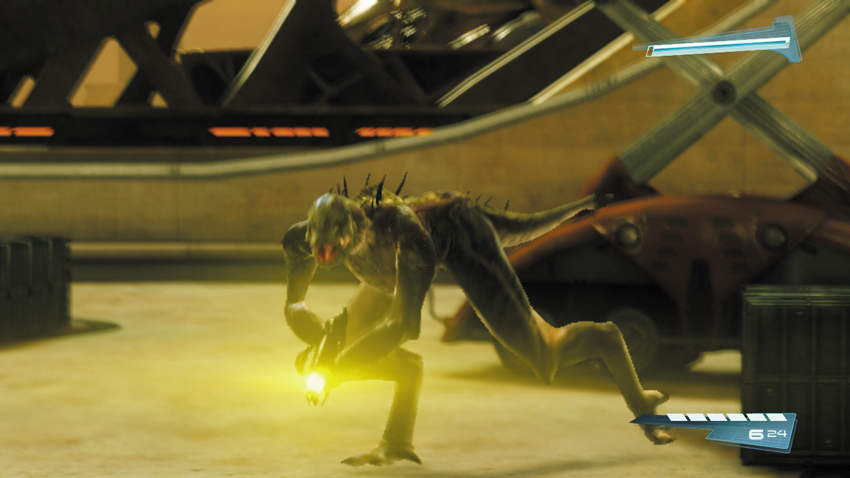
After scanning the audio log, turn to the right and take cover behind one of the crates. A Gorn ship appears in the distance, dispatching several Gorn Initiates to hunt you down. Hold your ground and engage the enemies one at a time—just make sure none of them flank your position. The Gorn Initiates are easy to dispatch using any of the weapons you’ve encountered thus far. But the Starfleet Type III Rifle ensures a one-hit kill.
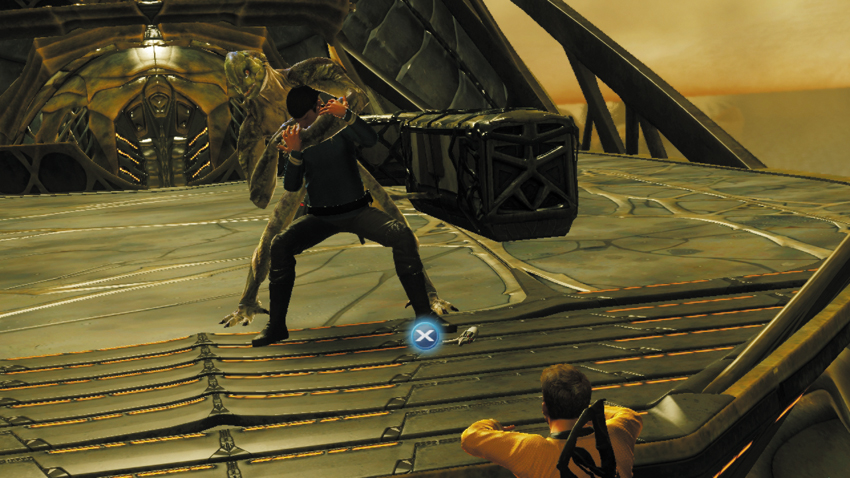
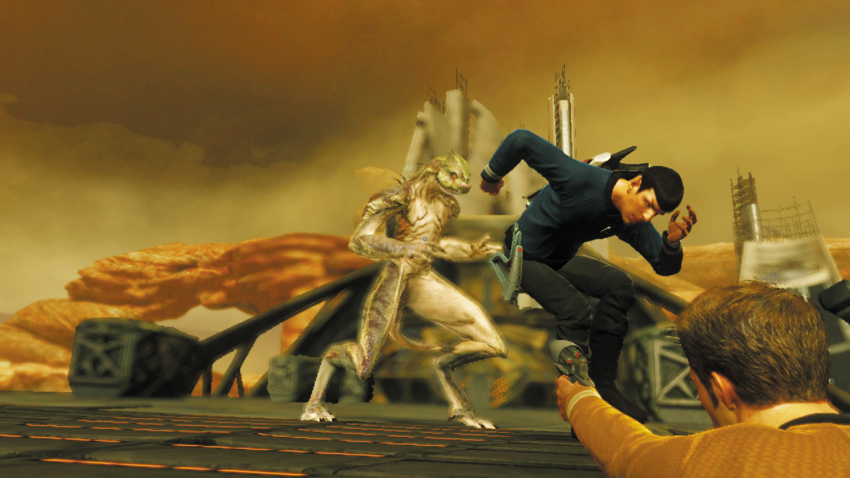
Once you’ve eliminated all the Gorn Initiates, the Gorn Lieutenant carrying the Helios Device boards the nearby ship. Kirk and Spock follow closely behind, leaping aboard the vessel. But Kirk’s jump falls just short of the ship’s deck, and he reactively clings to the ledge. Spock tries to help, but is restrained by a Gorn Initiate. If you are playing as Spock, press the button shown on-screen to kick a phaser to Kirk so he can shoot the Gorn Initiate. If you are playing as Kirk, you must make the shot with the phaser. Be careful not to hit Spock.
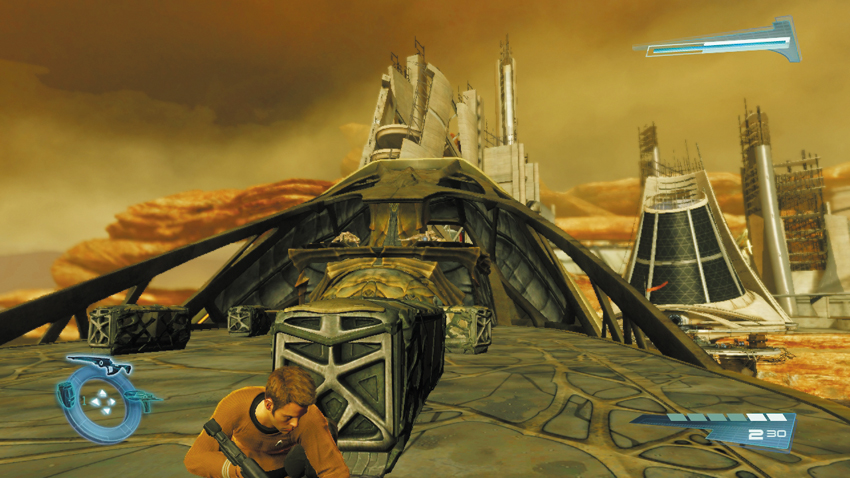
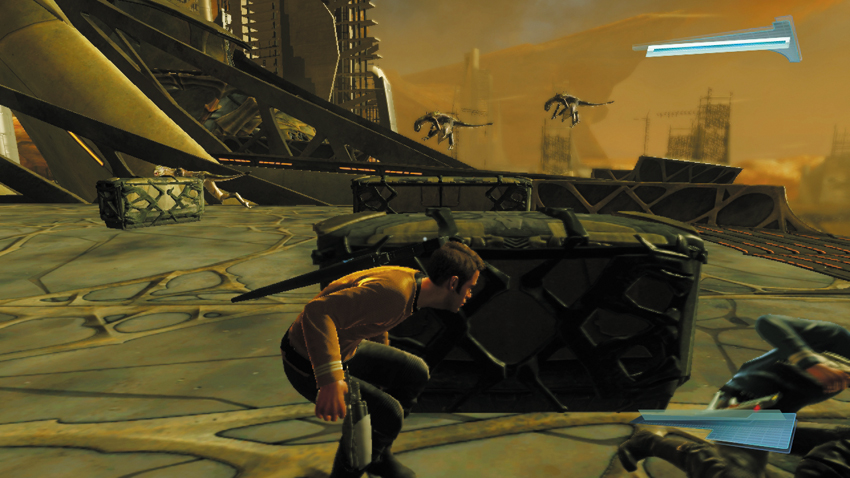
Once you’re both on the deck of the Gorn ship, watch out for more Gorn Initiates positioned on the superstructure ahead. Take cover behind one of the crates on the deck and return fire with the weapon of your choice. But be ready to shift to a new covered position as a second ship appears on the right. Take cover behind the crates on the left side of the ship to deal with these new arrivals. If you haven’t used them yet, now is a good time to use those Stun Grenades, while the Gorn Initiates are bunched up in tight group. Stunning them makes them easier to pick off, one by one. After eliminating the latest group of enemies, the nearby ship targets you with its main weapon. Spock manages to push Kirk out of the way just in time, and they both avoid the brunt of the resulting explosion. However, the targeted Gorn ship is heavily damaged and it falls out of the sky and crashes into one of the colony’s main structures.
Great Hall
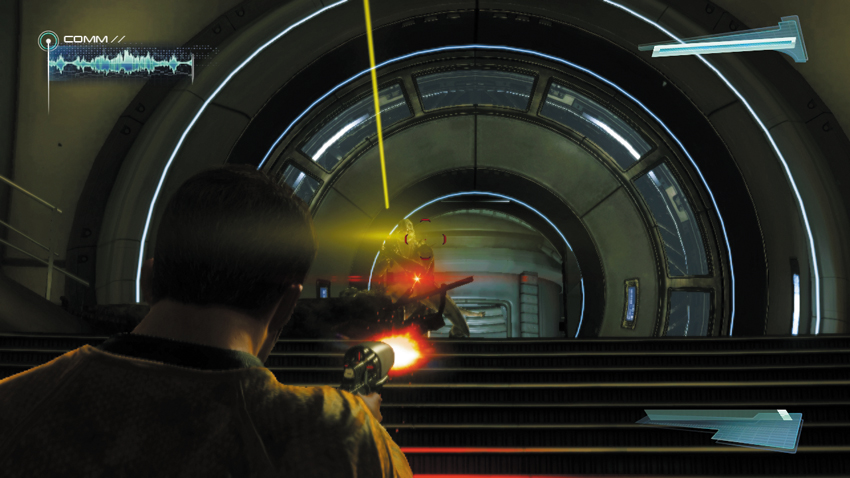
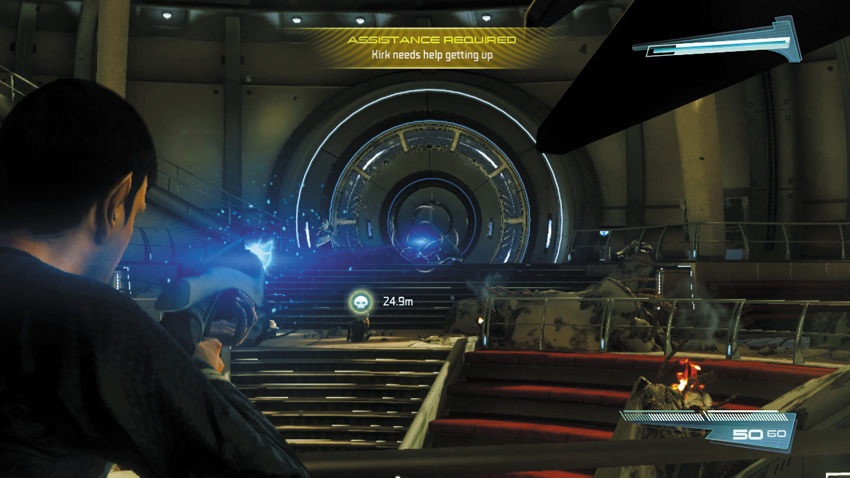
Kirk finds himself on the floor of the Great Hall, but he can’t move—his leg is broken. If you’re playing as Kirk during this sequence, you can crawl about on the floor at a slow speed. But turn most of your attention to the Gorn Initiates attacking from the perimeter walkway and nearby doorway. Armed only with a phaser, you must make each shot count. Consider stunning your targets first, then follow up with lethal shots to put them down. If you’re playing as Spock, you must reach Kirk before he’s overrun by the Gorn Initiates. Spock starts on the upper level of the Great Hall and is armed with his phaser as well as a Vulcan Pulse Cannon. Use the Vulcan Pulse Cannon to target the enemies around Kirk’s position. Use cover during the advance and use the nearby Energy Stations to replenish ammo as necessary during this firefight.
New Objective: Heal Kirk
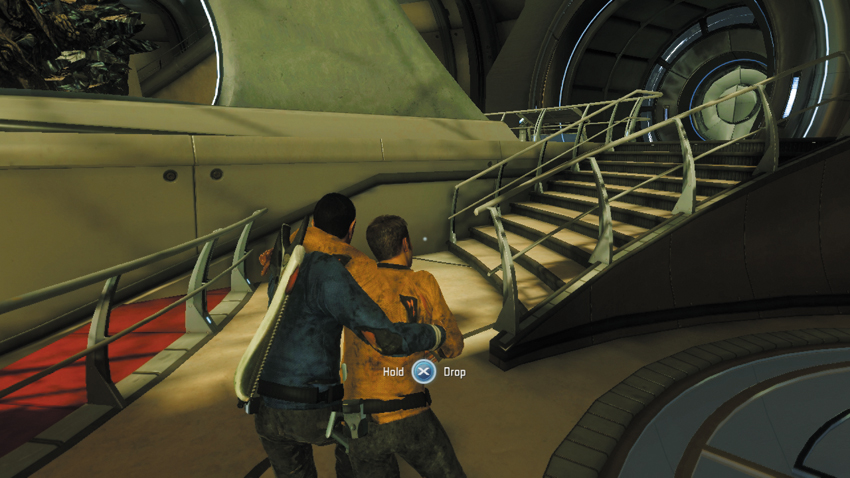
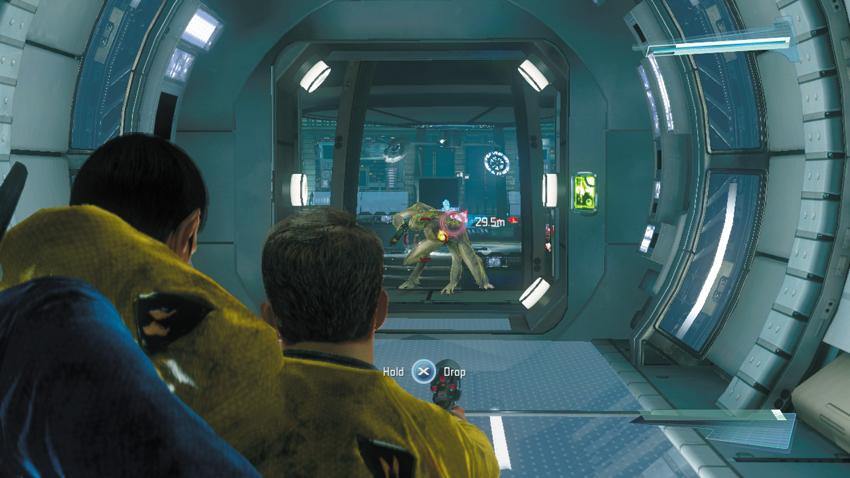
Once Spock reaches Kirk, the two must travel to a nearby medical facility, which is marked on the HUD with a waypoint marker. During this sequence, Spock helps Kirk walk while Kirk operates his phaser. As the two hobble toward the waypoint, more Gorn Initiates emerge from the medical facility. Attack aggressively with Kirk’s phaser, gunning down the enemies as they come into view. Don’t bother stopping or taking cover. You can handle the Gorn Initiates while pressing forward.
Medbay
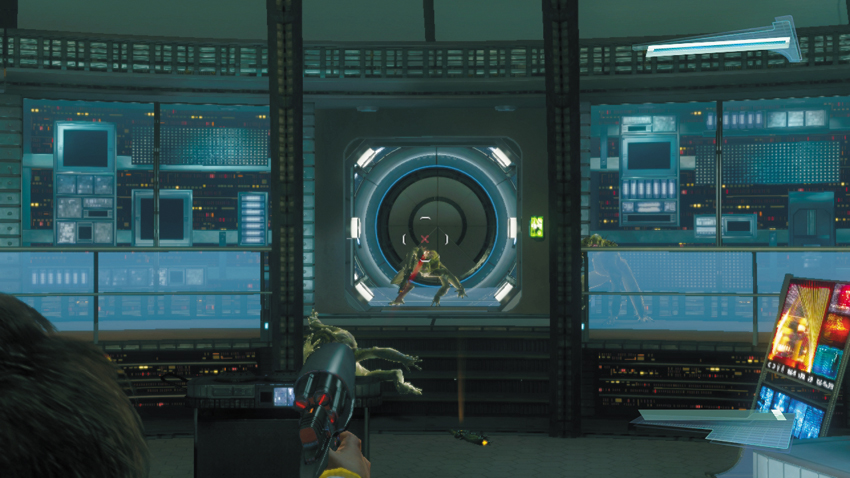
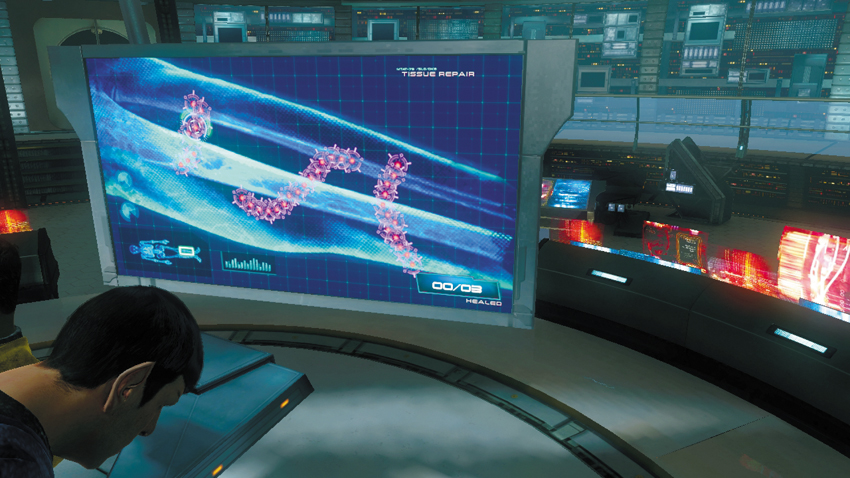
Get Kirk onto the gurney in the center of the medbay. This is another sequence which requires teamwork. Kirk must hold off the attacking Gorn Initiates that are emerging through the nearby door, while Spock operates on Kirk’s leg. If you’re playing as Kirk, keep your phaser pointed at the doorway and blast anything that moves. However, fire at a slow and steady pace to prevent your weapon from overheating. Meanwhile, Spock must repair the tissue in Kirk’s leg. Follow the on-screen directions to target the fractures in Kirk’s leg, essentially erasing the red marks with the reticle while holding down the fire button. Once all of the fractures are healed, work together to finish off the remaining enemies in the medbay. Kirk may want to equip himself with one of the dropped Ravagers. It’s time to find a way outside—T’Mar reports that she is heading to your location, despite Kirk’s protests.
New Objective: Escape the Science Center
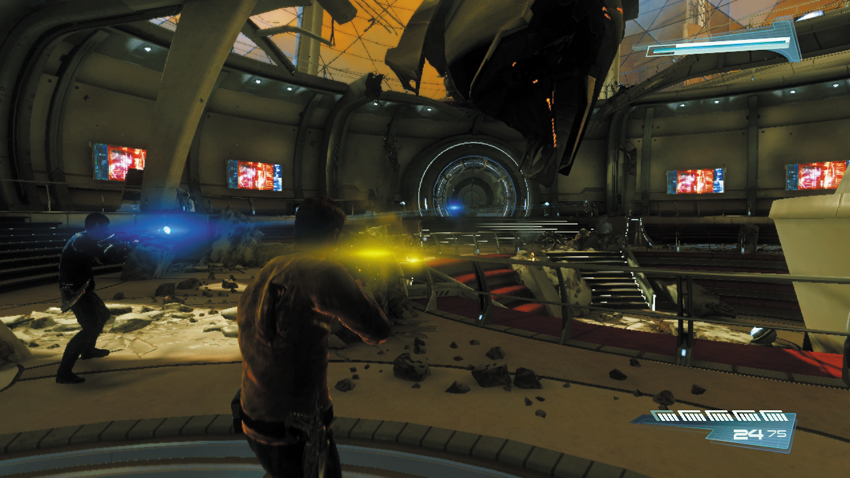
Exit the medbay and return to the Great Hall. But be ready to take cover—several Gorn Initiates occupy the far side of the room, waiting to ambush you. There’s no need to rush. Stay behind cover and engage the enemies one at a time. Don’t forget to use your tricorder to spot the enemies hiding behind cover. Once the room is clear, take a quick time out to scan a couple of items in the center of the room.
29: Sh’Tok Memorial
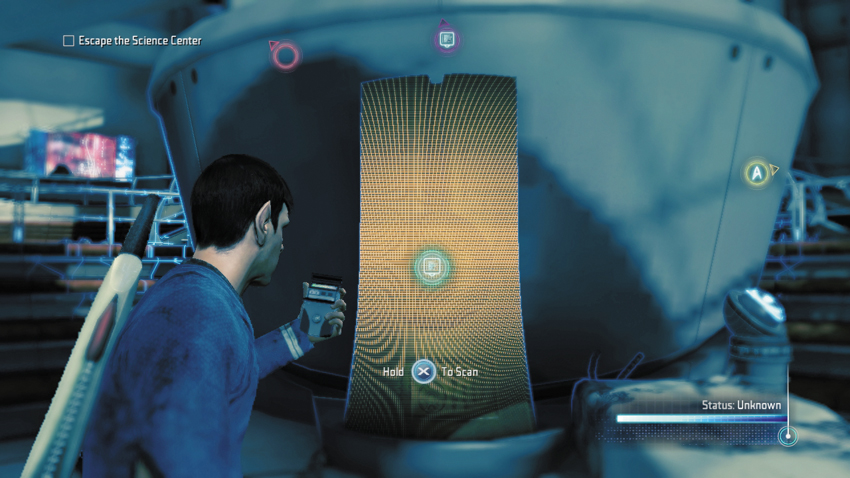
Scan this plaque in the middle of the room to learn more about a renowned Vulcan scientist.
Type: Research Data
Set: Vulcan Escape/Vulcan Remembrance
XP: 100
Log Entry: This monument is dedicated to the memory of Vulcan scientist Sh’Tok, last acting administrator of the Vulcan Science Academy prior to the destruction of the Vulcan homeworld.
30: T’Par Memorial
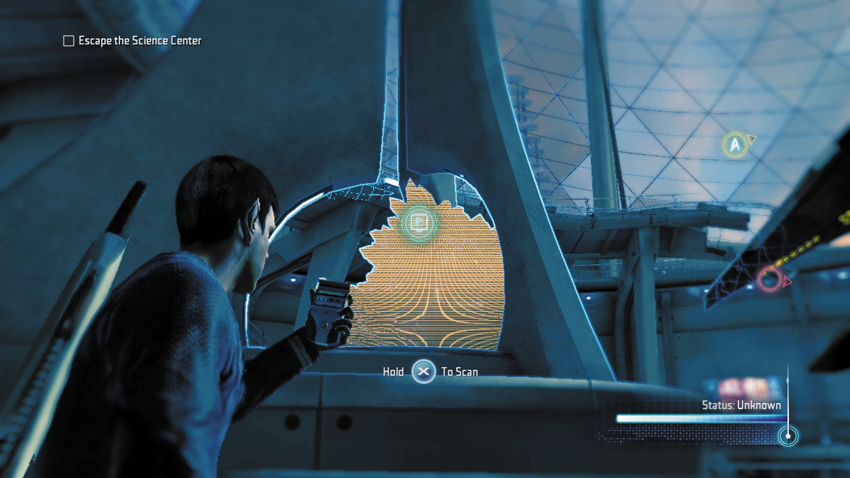
Scan the rock-like sculpture above the Sh’Tok Memorial to add another entry to your collection. Type: Research Data
Set: Vulcan Escape/Vulcan Remembrance
XP: 100
Log Entry: This sculpture is dedicated to the memory of Vulcan scientist T’Par, Chief Scientist of the Vulcan High Council prior to his death during the destruction of the Vulcan homeworld.
New Objective: Survive the Gorn Reinforcements
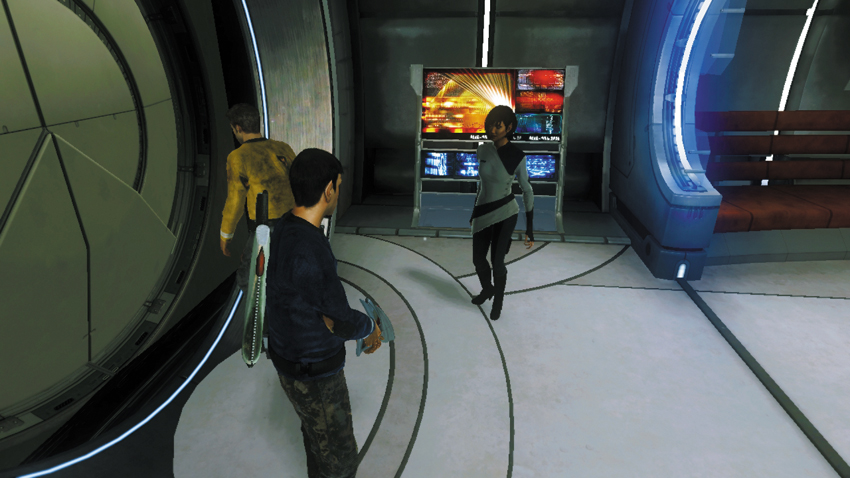

Work together with your partner to pry open the door at the far end of the Great Hall. T’Mar is waiting on the other side, reporting that the Gorn have completely infested the colony. Before exiting this chamber, replenish you ammo by interacting the Energy Station on the left side. Beyond the next door another Gorn ambush awaits. Rush outside and take cover, exchanging fire with the numerous Gorn Initiates on the landing pad below. Limit your exposure by blind firing, using the dot reticle to aim over your cover. This allows you to take quick shots from behind cover and reduces your chances of getting hit. But even after eliminating the first wave of enemies, Scotty can’t achieve a transporter lock. Kirk orders Scotty to fire torpedoes at the next wave of enemies—but he’ll need some targeting assistance to score a direct hit.
New Objective: Call down an orbital strike using your tricorder.

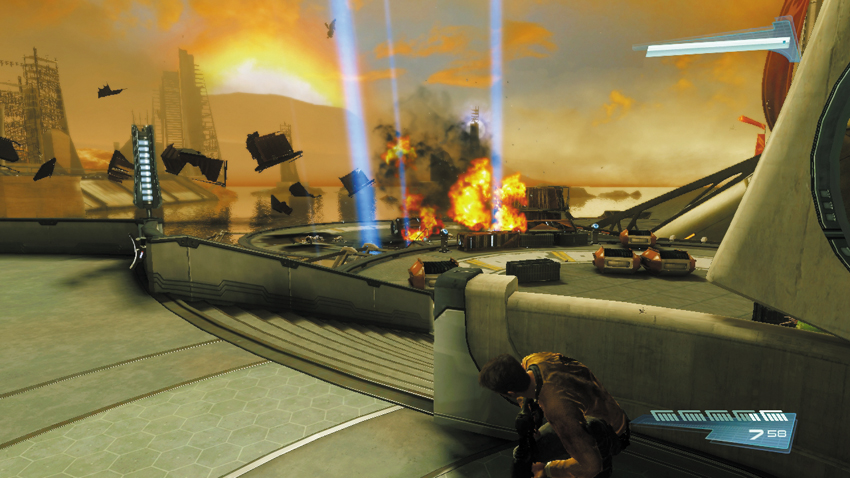
While still behind cover, activate your tricorder and target the red waypoint marker ahead, holding down the fire button to initiate the torpedo barrage. Once the lock is achieved, the Enterprise unleashes a salvo of torpedoes from orbit. Within seconds, the familiar blue streaks appear over head and slam into the target area, killing all the Gorn Initiates. But the fight isn’t over yet.
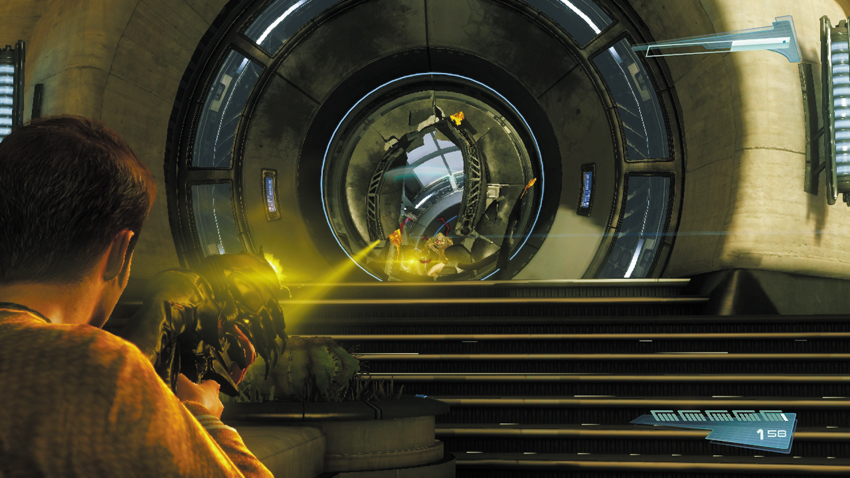
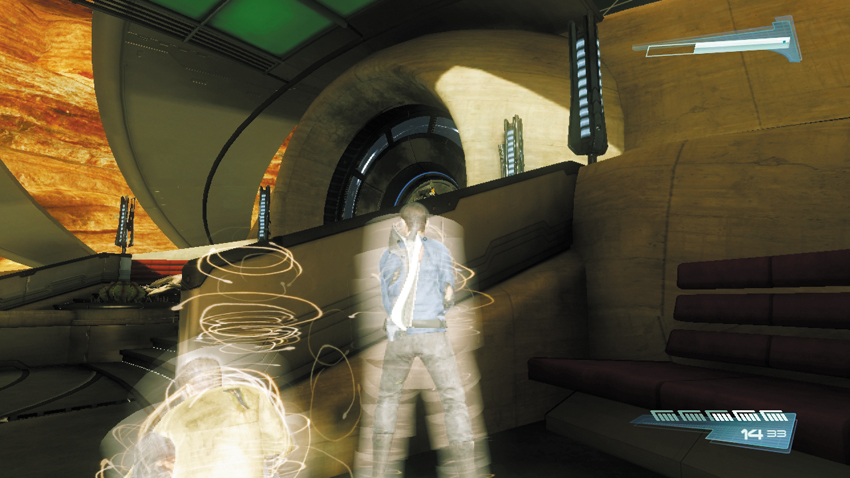
Soon after the torpedo strike, a new wave of Gorn Initiates approach from the Great Hall. Find some new cover fast to avoid be flanked and return fire. You don’t have to eliminate every single enemy during the sequence. So find a good hiding spot and hold the enemies at bay until Scotty reports that the interference is clearing up—T’Mar feels this is due to the Gorn escaping with the Helios Device. Stay put until Scotty can beam all three of you back to the Enterprise.