
Star Trek Guide Walkthrough Chapter 2: Helios-1
Helios-1
Helios-1
Chapter Summary
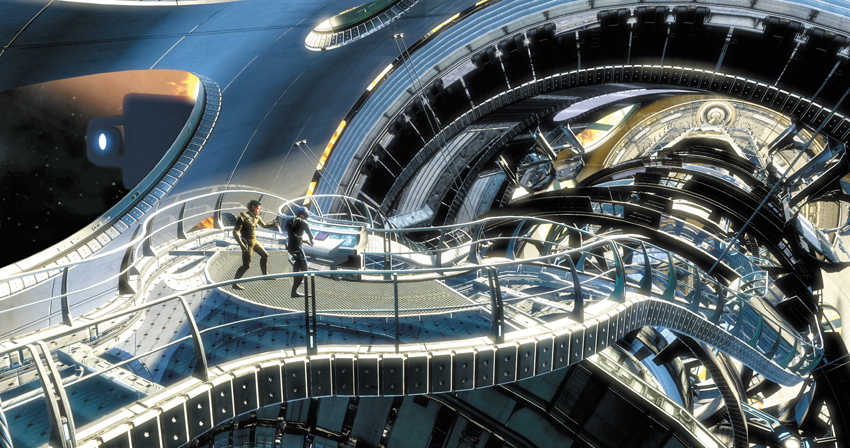
- The Enterprise picks up a distress call from a mysterious space station. The station is slipping out of its orbit and heading directly into the star.
Collectables
| # | Name |
|---|---|
| 1 | Vulcan Hypospray |
| 2 | T’Mar’s Audio Log #1 |
| 3 | Helios Engineering Schematic |
| 4 | Surok’s Audio Log #1 |
| 5 | Tribble (1 of 7) |
| 6 | T’Mar’s Audio Log #2 |
| 7 | Helios Control Cluster |
Achievements/Trophies
| Icon | Name | Criteria | Gamerscore | Trophy |
|---|---|---|---|---|

|
Listening In (Start) | Found half of all audio logs | 20 | Bronze |

|
The Whole Story (Start) | Found all audio logs | 50 | Gold |

|
Researcher (Start) | Found half of all research items | 20 | Bronze |

|
Fascinating (Start) | Found all research items | 50 | Gold |

|
I’ll Cover You! (Start) | Order your teammate (AI or co-op player) and have him complete 5 bypasses in a row | 10 | Bronze |

|
Technologic (Start) | Cleared 30 minigames including co-operative hacks, bypasses, and power reroutes | 10 | Bronze |

|
Beat Helios-1 | Completed the Helios-1 chapter on any difficulty | 20 | Bronze |
Pre Helios
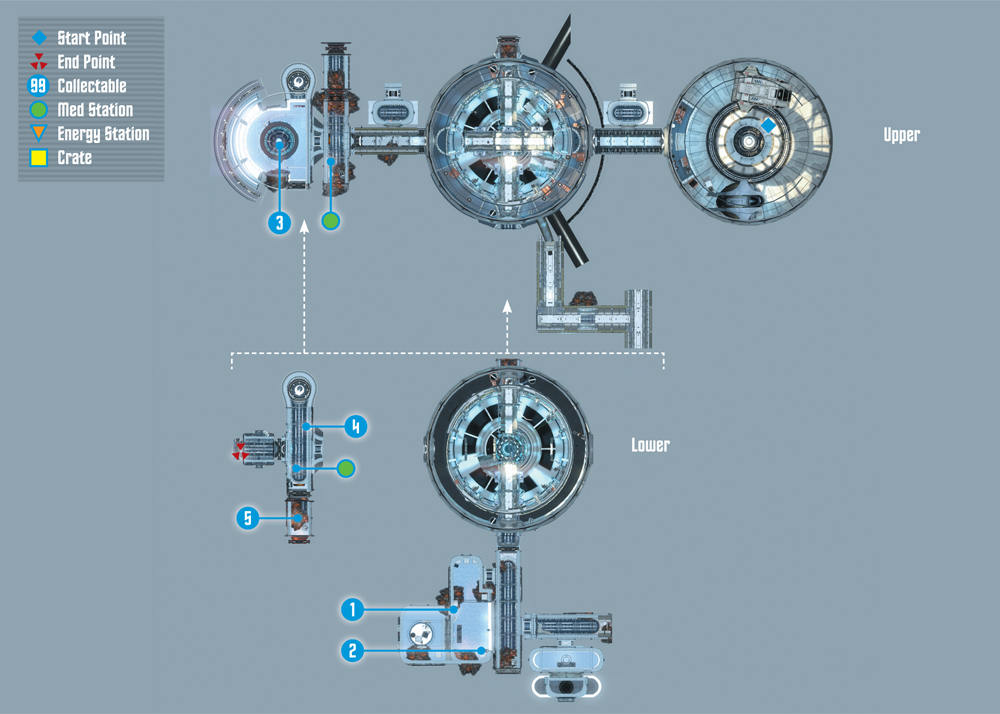
Collectables Checklist
| # | Name | Type | XP |
|---|---|---|---|
| 1 | Vulcan Hypospray | Research Data | 100 |
| 2 | T’Mar’s Audio Log #1 | Audio Log | 50 |
| 3 | Helios Engineering Schematic | Research Data | 100 |
| 4 | Surok’s Audio Log #1 | Audio Log | 50 |
| 5 | Tribble (1 of 7) | Tribble | 250 |
Space Station
 New Objective: Exit the shuttle bay
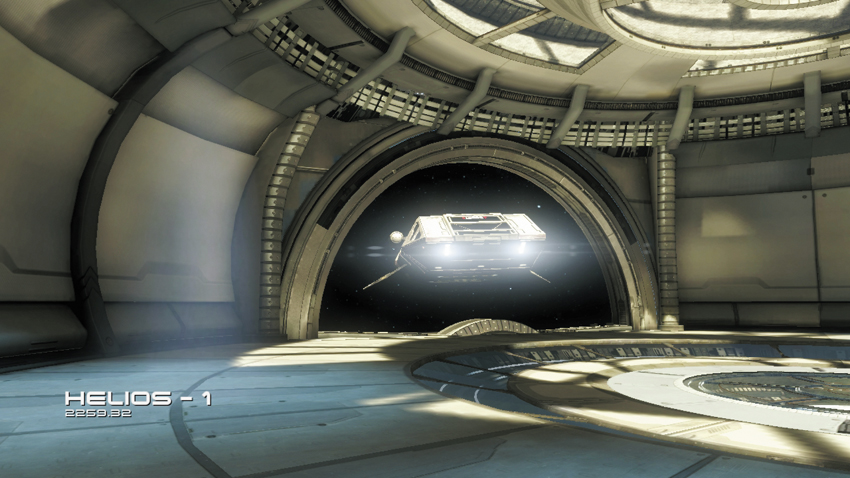
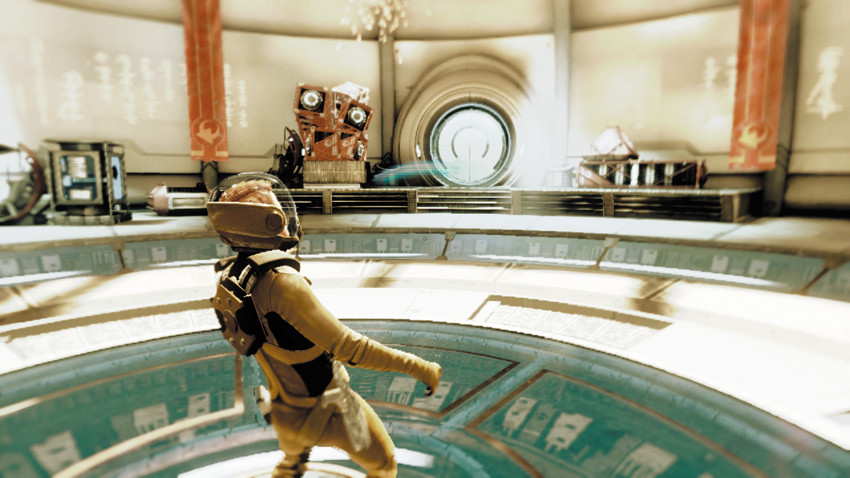
As the shuttle sets down inside space station’s shuttle bay, Kirk orders Sulu to keep the engines running. He has no intention of staying onboard this doomed station any longer than necessary. As you regain control of your character, move toward the circular doorway on the opposite side of the shuttle bay. After you take only a few steps forward, an explosion rocks the space station, causing you to stumble backward. Once you regain your footing, proceed through the circular doorway and into the decontamination chamber.
New Objective: Move to the center of the scanner for decontamination
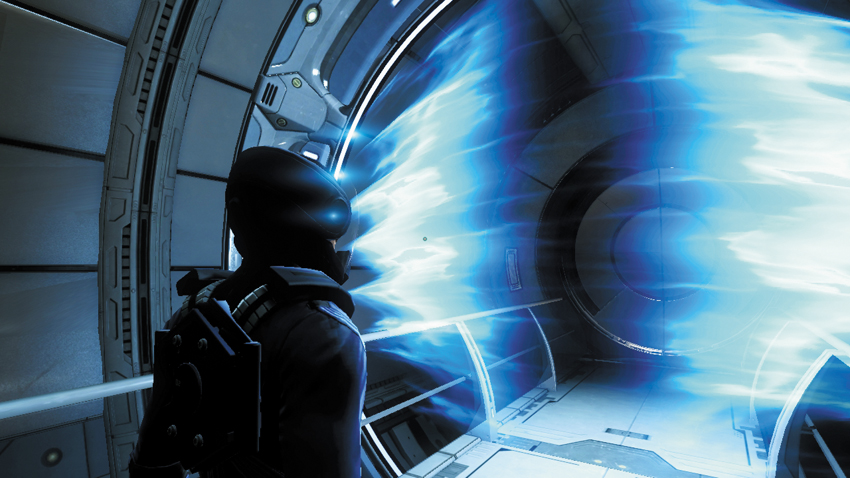
Once inside the decontamination chamber you must wait for your teammate before the scan can commence. Step into the center of the chamber and wait for your buddy to do the same. Simply stand still and wait for the scanning beam to pass by. Once the scan is complete, the door at the end of the chamber opens, allowing access to the station’s reactor.
Reactor
New Objective: Proceed to the command center
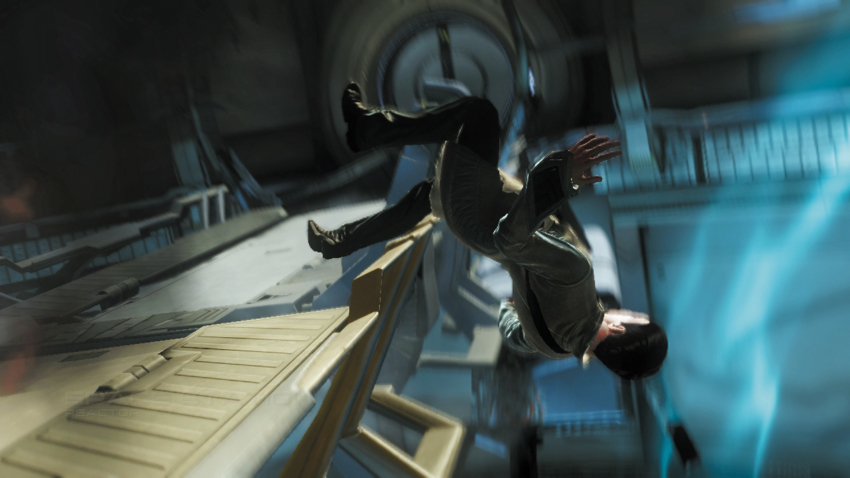
Just inside the reactor, Spock addresses a Vulcan officer, asking to see the captain of the space station. But before the officer can lead Kirk and Spock to the command center, another explosion shakes the station, causing the bridge over the reactor to collapse and taking the Vulcan officer along with it—it looks like you’ll need to find the command center on your own.
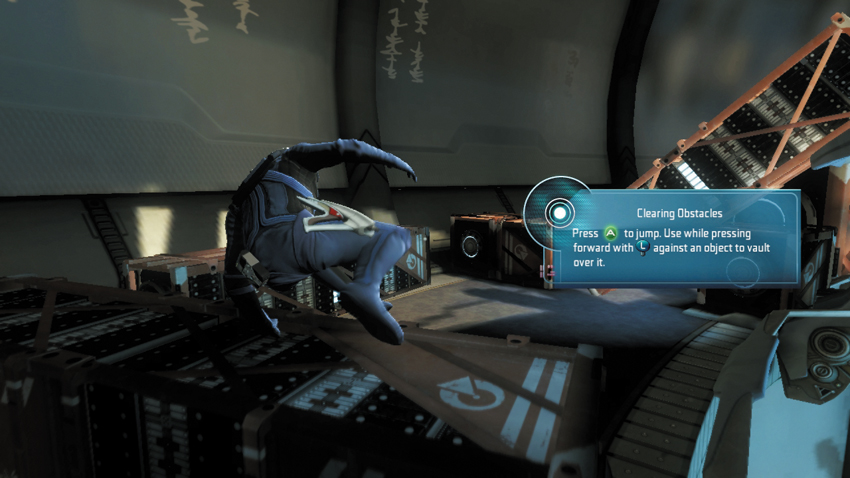
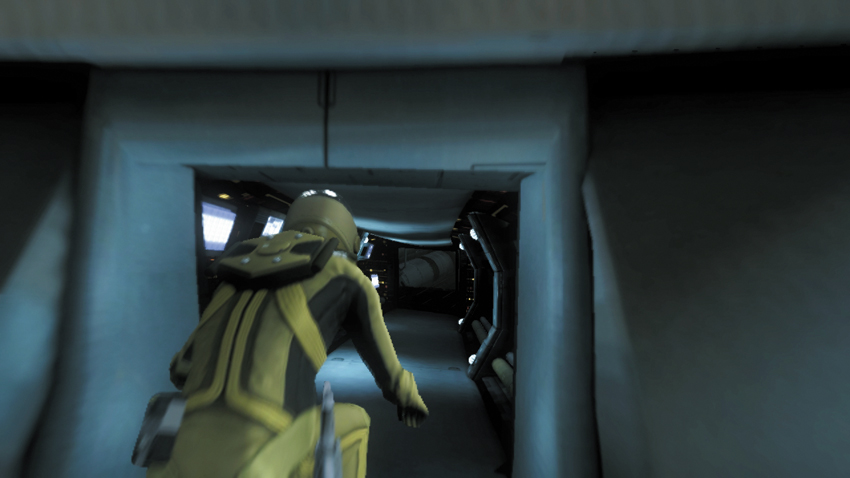
Following the cinematic, turn to the left toward a jumble of scattered crates. Follow the on-screen directions to vault over the crates along the reactor’s perimeter pathway. Your need to leap over three crates, stopping when you come to a small vent opening in the perimeter wall. Step up to the vent and then press the button shown on-screen. Your character automatically crouches down and enters the vent.
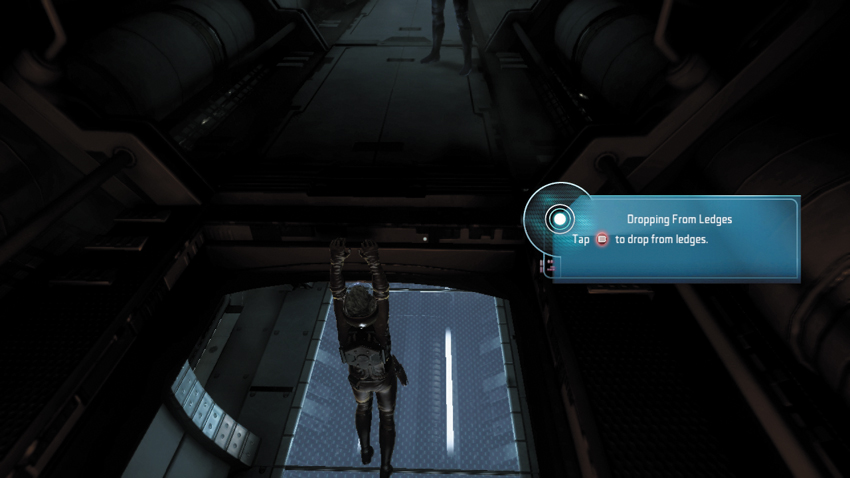
As you advance through the vent, Chekov reports they’re picking up some strange readings from some sort of anomaly. Kirk advises Chekov to keep an eye on it. In the meantime, you’ve come to an opening in the floor of the vent. Step through the opening and your character will automatically cling to the ledge. As you hang from the ledge, press the button shown on-screen to release your grip and drop into the corridor below.
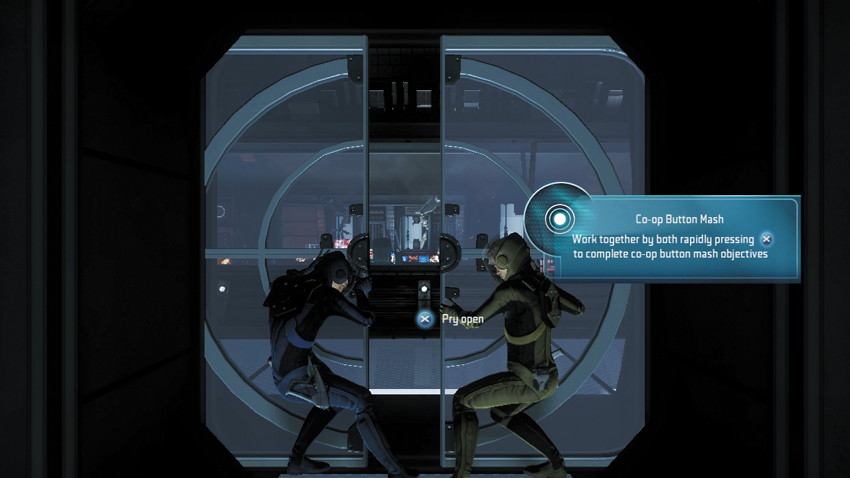
The door ahead is stuck. You’ll need to work with your buddy to pry it open. Step up to the door to stand at its side. Wait for your teammate to move into position on the opposite side of the door. Once you both have a handle on the door, mash the button shown on-screen to pry the door open.
Laboratory
New Objective: Unlock the door to free the Vulcan scientist
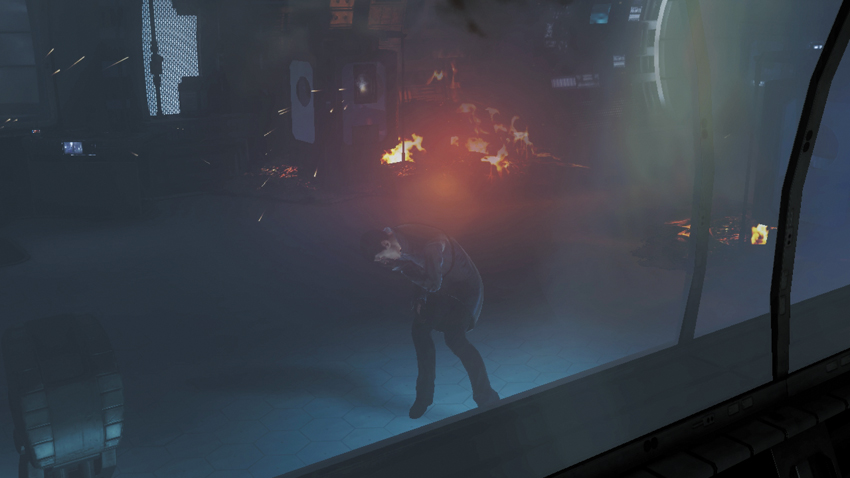
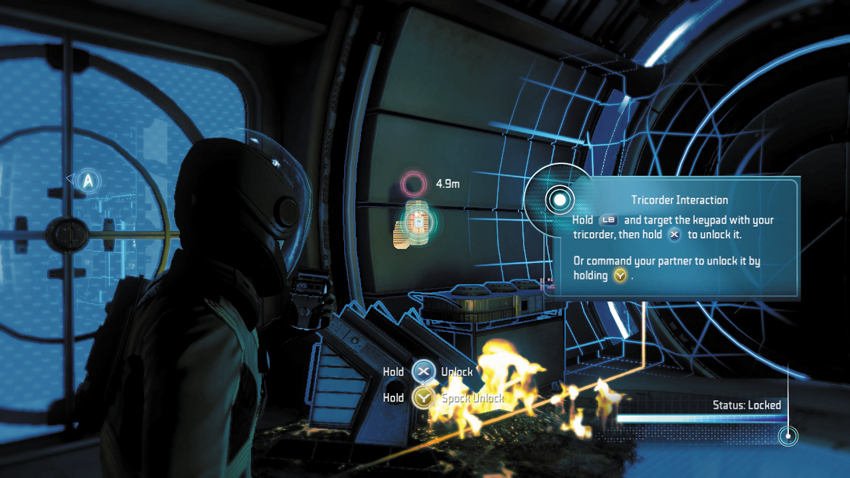
After you pass through the doorway, you see a Vulcan scientist in the adjoining laboratory, coughing and collapsing to the floor. He pleads with you to open the door to his lab. The door is currently locked. But Spock suggests hacking it with your tricorder. Activate your tricorder and move toward the red lighted panel on the door’s right side. Place the tricorder’s reticle directly over the red panel. You can now unlock the door by pressing the button shown on-screen. Alternatively, you can order your teammate to unlock the door. Once the door is unlocked, enter the lab and approach the Vulcan scientist. As you approach, the scientist gets to his feet and thanks you. Spock orders the scientist to head for the shuttle bay for immediate evacuation. Spock notes that all of the space station’s crew appear to be Vulcan. With fewer than 10,000 Vulcans remaining following the destruction of Vulcan, he questions the logic of putting so many on an experimental power station.
New Objective: Find a way to open the door
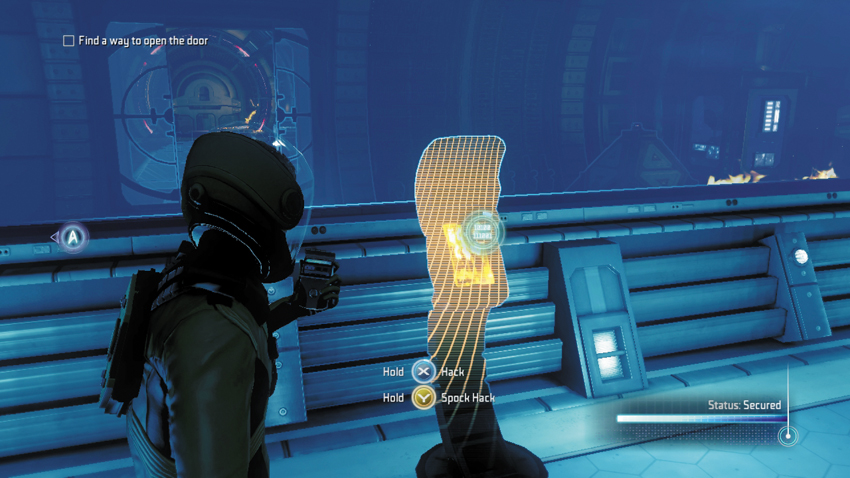
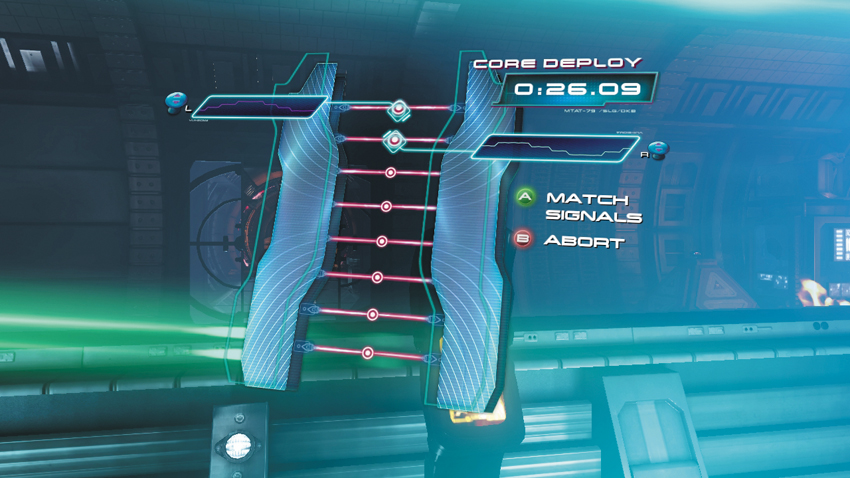
While the scientist is free, Kirk and Spock must press on toward the command center. However, the next door is locked. Activate your tricorder and follow the orange wire to a console in the lab. Target the console with the tricorder and press the button shown on-screen to begin hacking. This initiates a minigame that requires you to match a series of signals. But you only have 40 seconds to complete the hack, so get busy. There are eight signals, represented graphically in the interface as different waves. Scroll up and down the signals until you’ve selected two wave patterns that match, then press the Match Signals button, shown on-screen. Repeat the same steps for the remaining three signal pairs to complete the hack. If you don’t complete the hack within the allotted time, you will need to start over, reinitiating the hack with the tricorder. Successfully completing the hack unlocks the door and nets you 100 XP.
XP are awarded for completing certain tasks and for finding collectables. Accumulated XP can be spent on equipment upgrades. But you’ll need more than 100 XP to purchase your first upgrade. Fortunately, you can score a few more XP by scanning two collectables hidden within the laboratory using your tricorder.
1: Vulcan Hypospray
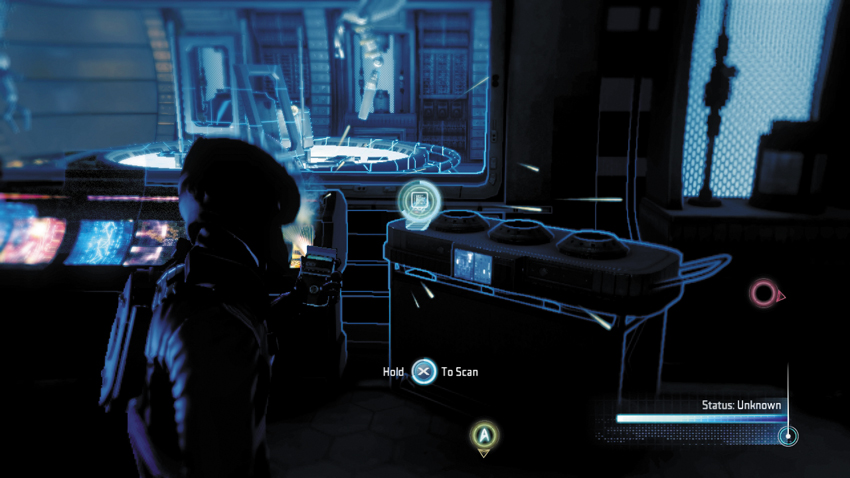
Before leaving the laboratory, look for this collectable located on a crate of cylinders beside the glass room with the robotic arm. Use the tricorder to scan it.
Type: Research Data
Set: Helios-1/Helios Station
XP: 100
Log Entry: A Vulcan Hypospray. And like standard-issue Federation hyposprays, it’s something I’d just as soon avoid, thank you very much. Yes, it’s supposed to be less invasive than a needle, but medicine is still medicine, and the less time I need to spend under Dr. McCoy’s watchful eye the better.
2: T’Mar’s Audio Log #1
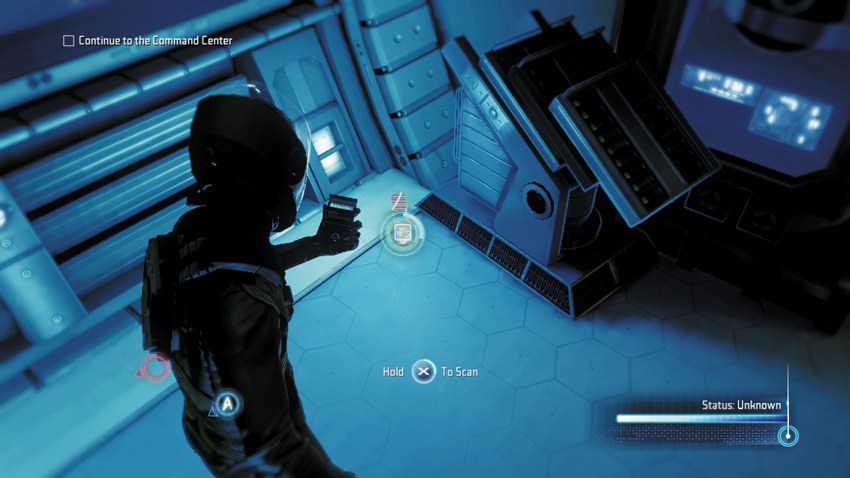
A second collectable is also located within the laboratory. Scan the floor to the right of the console you just hacked. Once the item is scanned, the audio log begins playing automatically.
Type: Audio Log
Set: Helios-1/Logs
XP: 50
Log Entry: Surok, can you hear me father? Helios has been activated ahead of schedule, but we have not finished our testing. It must have been Commodore Daniels’s doing. He has been pushing us to activate the device. He does not understand the risks involved. Activating Helios before it is ready could be problematic. Father, please respond.
New Objective: Continue to the command center
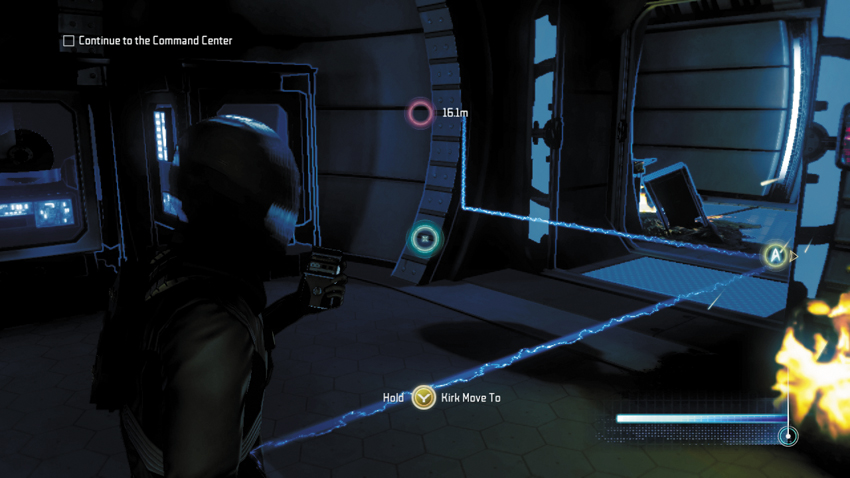
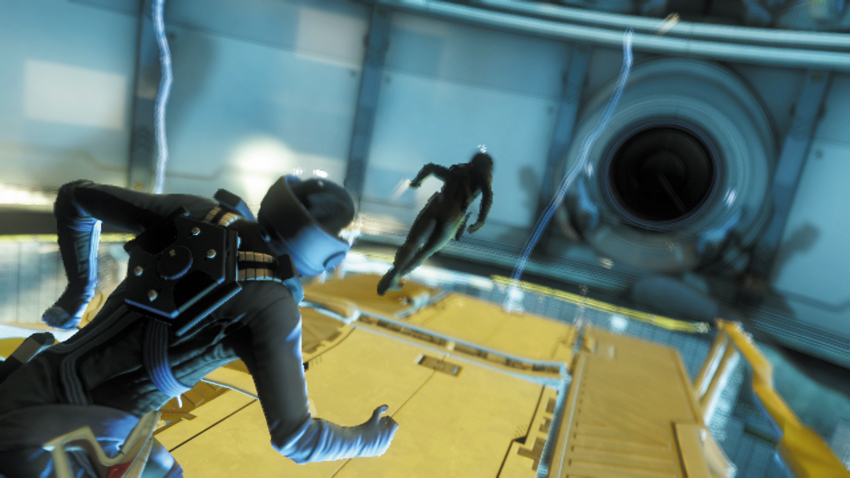
After successfully hacking the console, activate your tricorder and follow the blue wire to the next door—turn left after exiting the lab. Pass through the next two doors to return to the reactor room, this time on a lower level. But as Kirk and Spock attempt to cross the bridge spanning the room, the reactor releases a powerful pulse, causing the bridge to collapse. Kirk and Spock are thrown on opposite sides of the room. While Kirk grabs hold of the debris from the collapsed bridge, Spock clings to a ledge on the opposite side of the room. Not far from Spock’s position, two laser arms have gone haywire, preventing Spock from advancing.
New Objective: Disable the laser arm
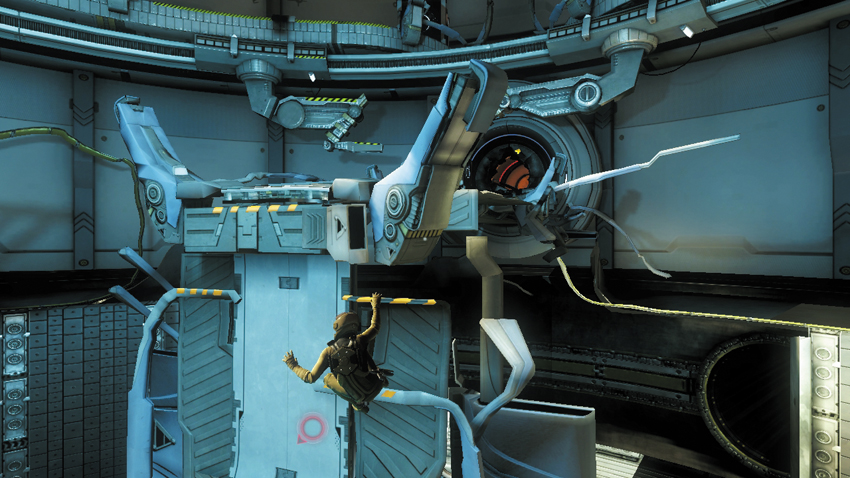
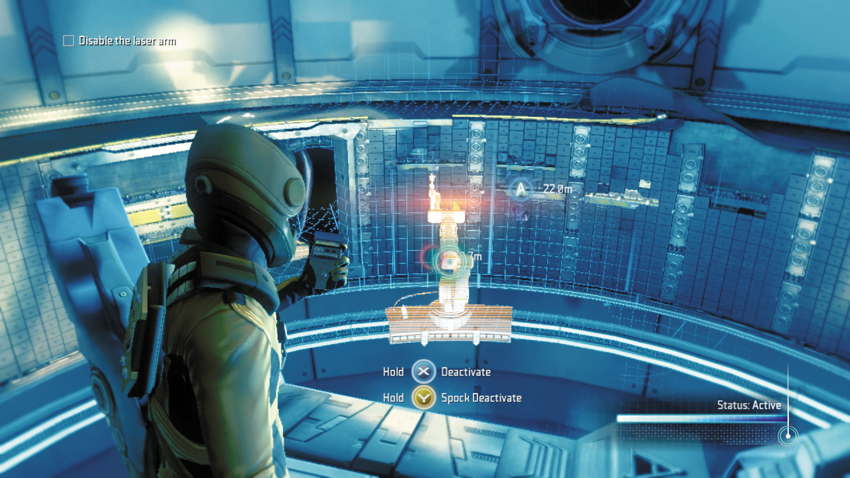
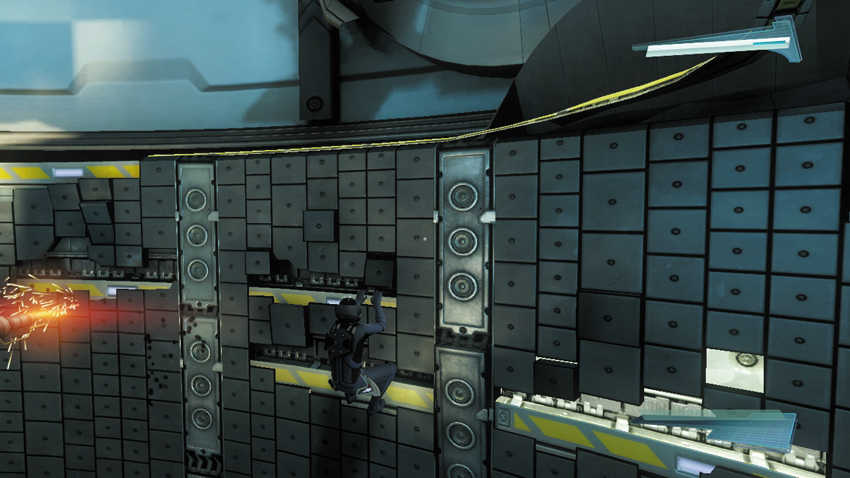
If you’re playing as Kirk, follow the on-screen instructions to traverse along the yellow striped ledges. Once you’ve moved to the right, mantle upward and grasp the next two ledges above you. Then push out to the left and jump laterally to the next ledge. Finally, mantle upward one more time to reach an untouched span of the bridge. Once on your feet, turn toward Spock on the opposite side of the room. Activate your tricorder and deactivate the laser arm next to Spock. This allows Spock to advance and rejoin you.
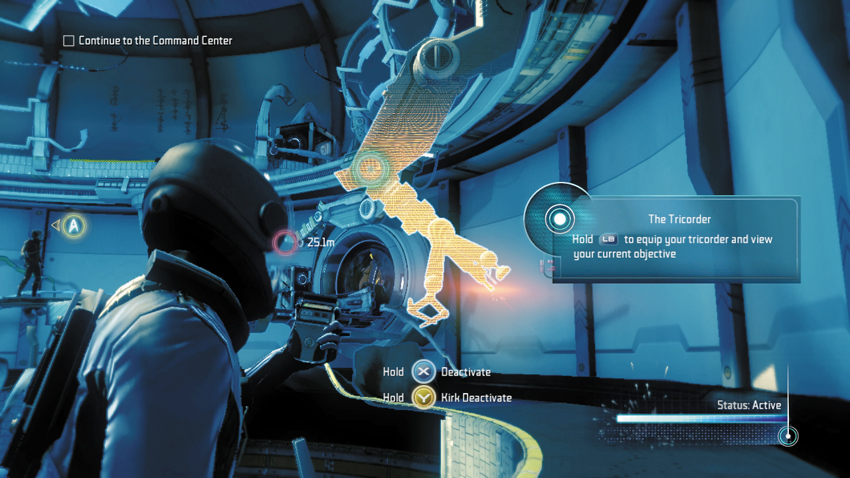
If you’re playing as Spock, you can deactivate the laser arm yourself. Simply activate your tricorder and target the laser arm. Once the laser is shutdown, perform traversal and mantle movements to reach the reactor room’s perimeter walkway. But there’s one more laser arm in your way. As you near the next laser arm, use your tricorder to deactivate it. Once past the second laser arm, climb back onto the bridge where Kirk is waiting.
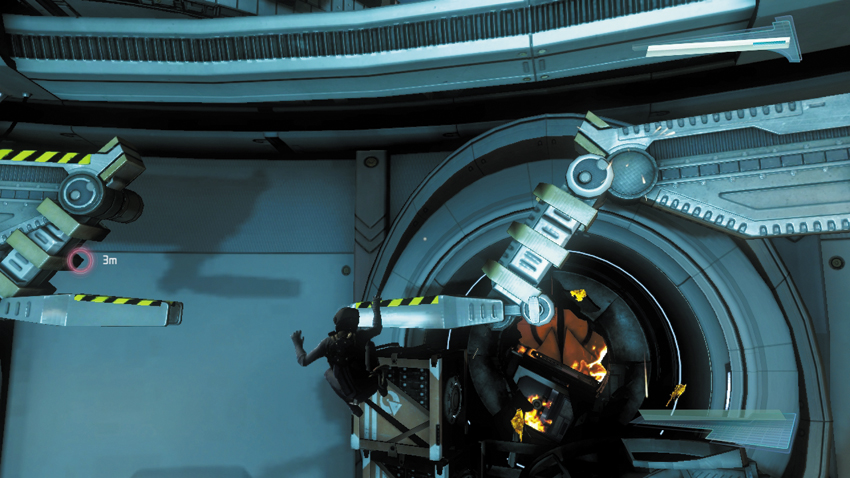
There’s nowhere left to go on this level of the reactor room. So turn back to the doorway where you entered. This path is now blocked by debris. But look for the black-and-yellow striped ledge just above a stack of crates. Jump up to this ledge, then perform a series of traversal and mantle jumps to reach the perimeter walkway above. Follow the walkway to another doorway—this one is jammed. Work together and mash buttons to pry the door open.
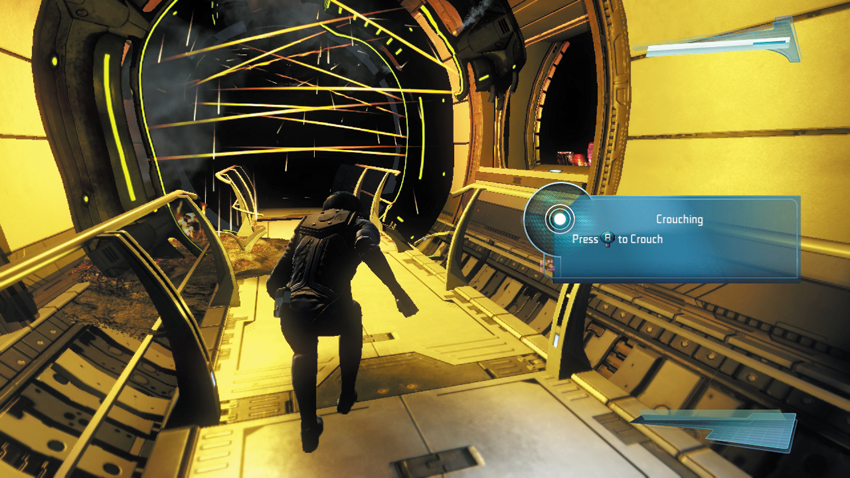
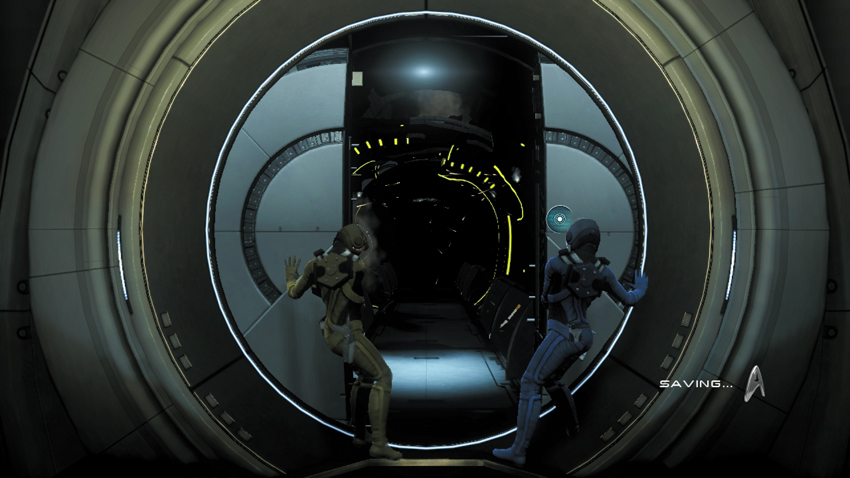
Beyond the doorway is malfunctioning decontamination chamber that is emitting high-powered beams of yellow energy. Spock advises against stepping into the scanner, but there’s no other option. Follow the on-screen command to make your character crouch then pass beneath the beams in the chamber. Crouching not only reduces your profile, but it also allows you to move stealthily, which is ideal for sneaking around. Pass through the chamber and enter the next corridor. The command center is straight ahead.
Command Center
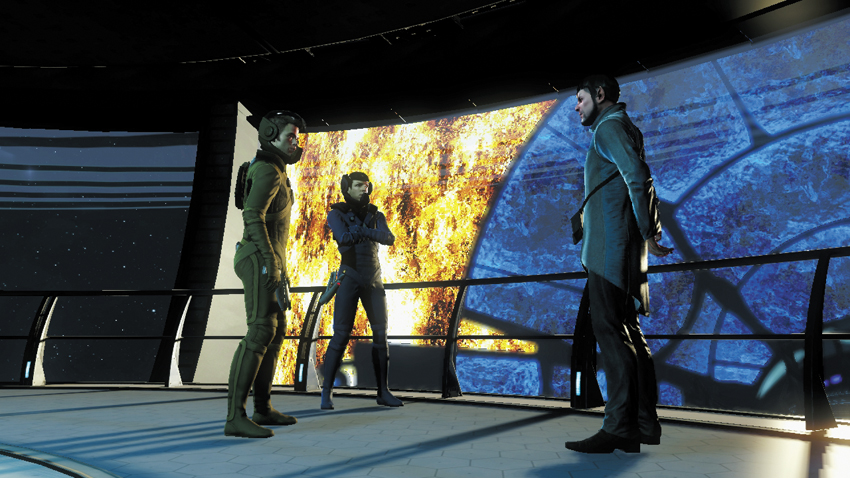
Inside the command center, Kirk approaches an officer and announces that a shuttle is ready for evacuation. But the officer isn’t ready to leave the space station just yet. He reports that the station’s captain and several top scientists are trapped in the transporter room on the other side of the station—he won’t abandon them. Spock suggests going to the transporter room in an attempt to aid Scotty in establishing a manual lock on each evacuee. But the Vulcan officer has doubts, revealing that all interior corridors are blocked. When Kirk suggests an exterior approach, the officer advises against it—the station’s solar shield is failing and direct exposure to the sun would be fatal. But Kirk sees no other option—it’s time for a space walk!
3: Helios Engineering Schematic
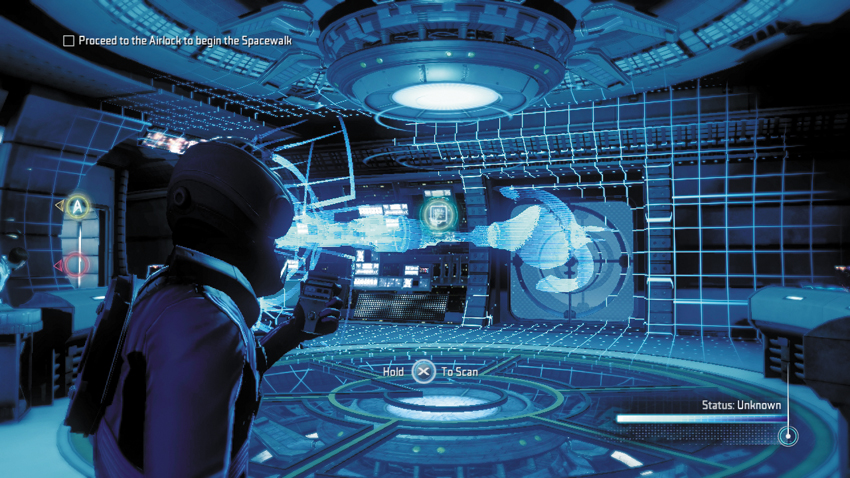
Before exiting the command center, scan the holographic Schematic in the center of the room with your tricorder.
Type: Research Data
Set: Helios-1/Helios Station
XP: 100
Log Entry: Holographic cross-section of the Helios Station intended for use by engineers to monitor station functions. I speak from extensive experience when I say that if any part of the holographic cross-section of anything starts blinking red very quickly … you should make sure you have an escape shuttle ready and waiting.
New Objective: Proceed to the air lock to begin the space walk
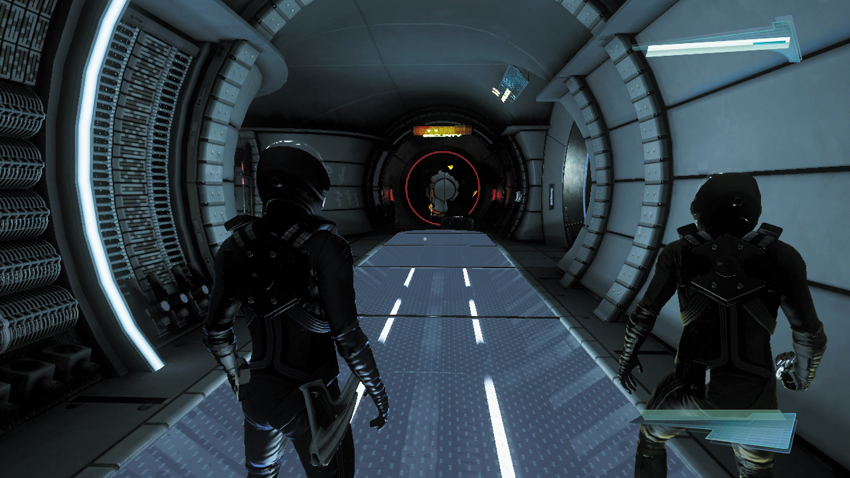
Step into the Turbolift within the command center and activate it. Remember, you must wait for your teammate to join you before the Turbolift moves. After a short ride in the Turbolift, step into the next corridor. But ignore the doorway on the right for now. Instead, push forward toward the damaged doorway, marked with a yellow “Security” sign. There are a couple of collectables in this corridor.
4: Surok’s Audio Log #1
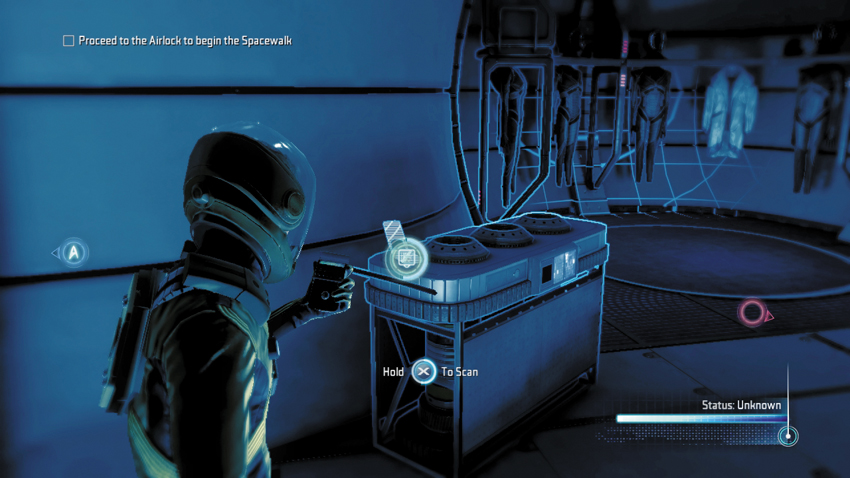
You can find this audio log on the left side of the corridor, resting atop the cylinder container.
Type: Audio Log
Set: Helios-1/Logs
XP: 50
Log Entry: T’Mar. T’Mar, can you hear me? I’m detecting unusual activity aboard your station. Readings are inconclusive. Contact me as soon as you can.
5: Tribble (1 of 7)
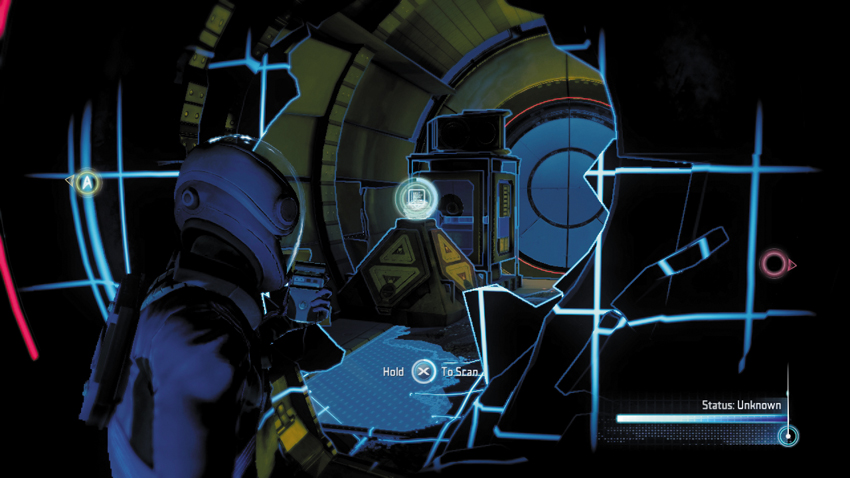
Peek through the hole in the security door and scan the first of seven Tribbles resting atop the pyramid-shaped crate.
Type: Tribble
Set: Tribbles/Tribbles
XP: 250
Log Entry: Okay, I’ve heard lots of rumors flying around concerning “Scotty and the Tribble,” so let me just take this opportunity to set the record straight. A few years ago I bought a Tribble off a shady trader named Jones. I’d just been assigned to the loneliest outpost in all of Starfleet, on the frozen mud ball of Delta Vega, and I thought it might be nice to have a pet. I’d never seen a Tribble before. I didn’t know anything about their … unique metabolism.
Helios-1
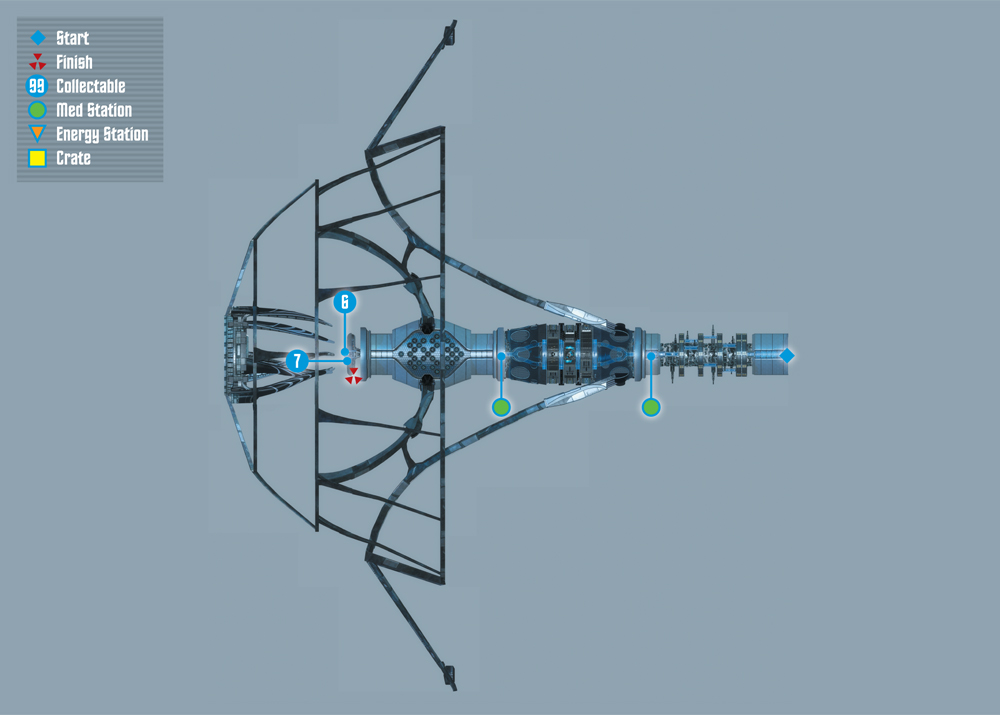
Collectables Checklist
| # | Name | Type | XP |
|---|---|---|---|
| 6 | T’Mar’s Audio Log #2 | Audio Log | 50 |
| 7 | Helios Control Cluster | Research Data | 100 |
New Objective: Proceed to the station core

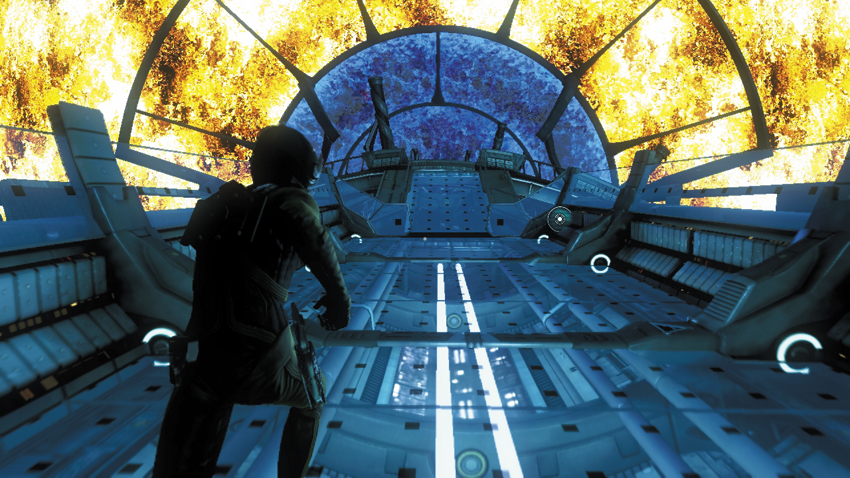
Soon after exiting the air lock, Kirk and Spock realize the severity of the situation the Vulcan officer warned of. The station’s solar shield is only functioning intermittently. Spock advises staying behind cover until the shield regenerates. Once the blue shield is restored, exit cover and sprint toward the next piece of cover just ahead. The shield will only be active for a few seconds, so don’t waste any time. If you get caught out in the open without cover, the radiation from the sun will quickly deplete your health.
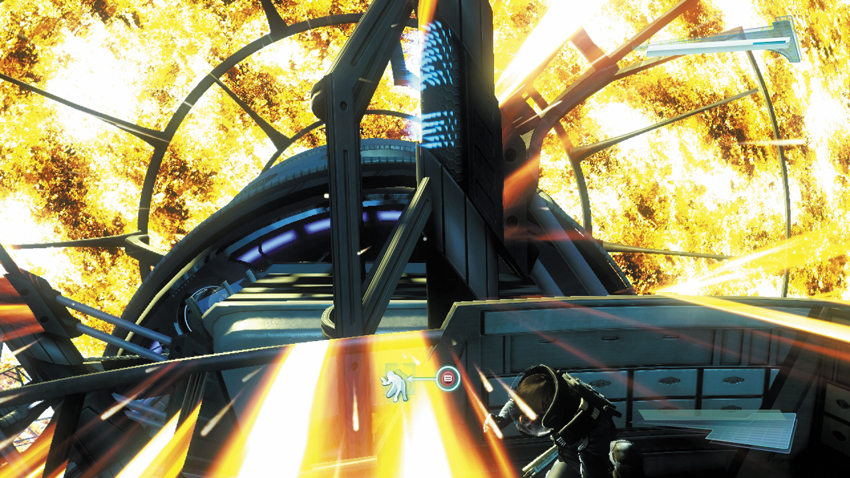
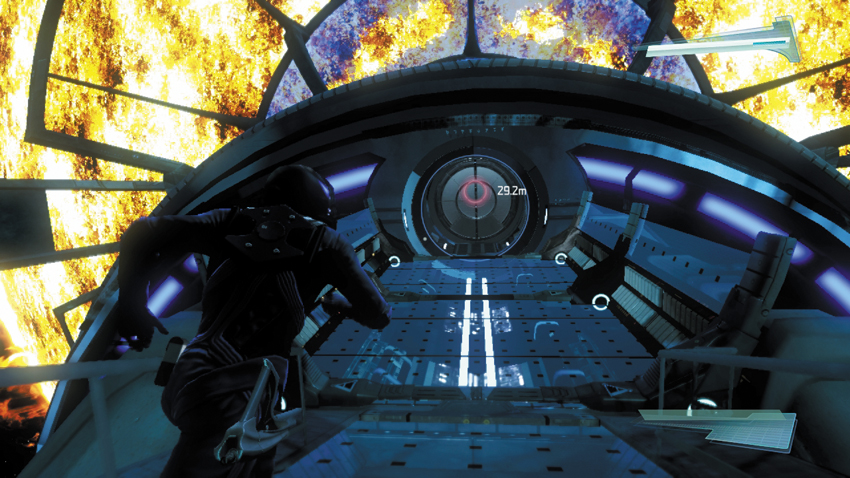
Continue leapfrogging from one piece of cover to the next. There’s no need to rush, so don’t get too aggressive during your advances. It’s possible to automatically advance from one piece of cover to the next. Simply push out toward a nearby piece of cover then press the hold the button shown on-screen to automatically make the transition. Your character will automatically dive or dash toward the marked piece of cover. Hold near the final walkway leading to the next door. There is no cover along this walkway, so wait until the solar shield is fully restored then sprint toward the doorway. Once you’re near the door you’re safe from radiation exposure. But the door is jammed. Work with your buddy to pry it open.
Space Station’s Core
New Objective: Shutdown the first core ring
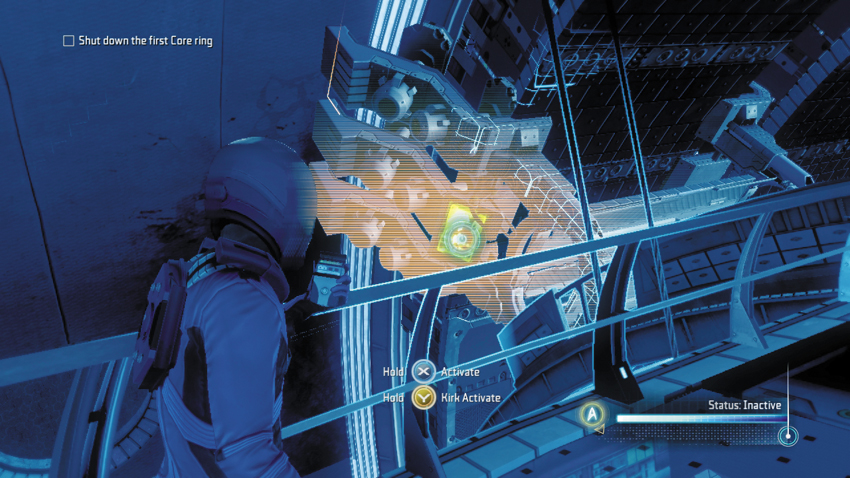
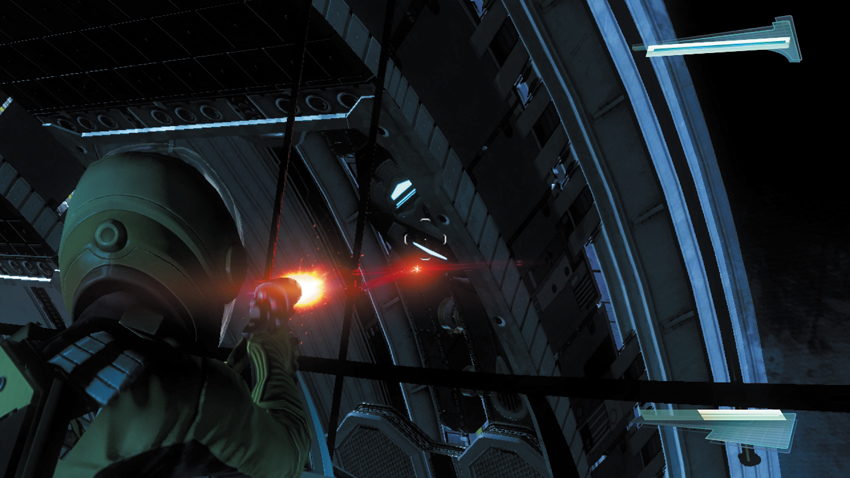
As you enter the core, the Vulcan officer reports in. The only way to advance through this section is by shutting down the core’s three rings. This requires careful coordination. One of you must scan the control console to stop each ring while the other engages the locking mechanism by shooting it with a phaser. If you are playing with someone else, discuss who will complete each task. If you’re charged with scanning the control console, look for the green panel and target it with the tricorder to temporarily stop the ring. If you’re having trouble locating the locking mechanism, use the tricorder to find it; it appears as an orange piece just behind the rotating ring. Once the ring is stopped, a small hatch opens, allowing you to target the locking mechanism with your phaser. A direct hit on the locking mechanism causes the first ring to stop for good, which allows you to advance to the second ring.
New Objective: Shutdown the second core ring
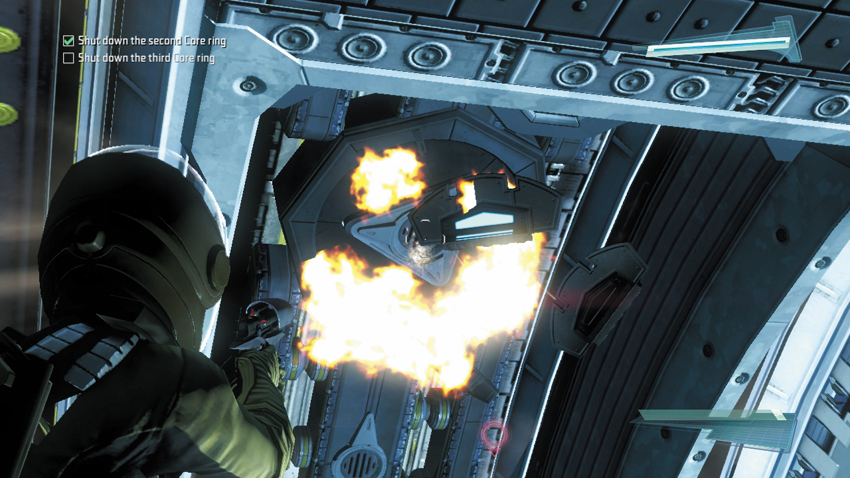
Stopping the second ring is just as easy as stopping the first one. First, locate the control console and the locking mechanism. If you are scanning the console, wait until your buddy is in place before activating it with the tricorder. When your buddy is in place, scan the console to stop the ring. If you’re charged with shooting the locking mechanism, take aim and wait for the hatch to open before firing your phaser. With the second ring stopped, you can now advance to the third ring.
New Objective: Shutdown the third core ring
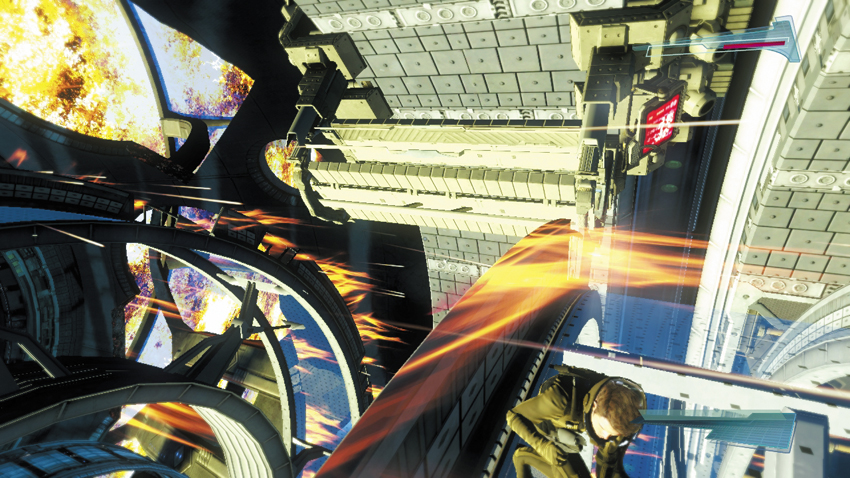
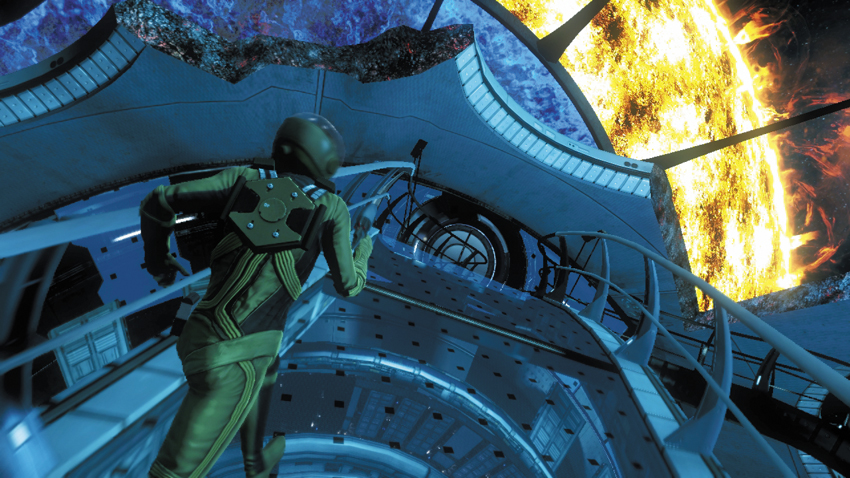
As you approach the third ring, you’re exposed to radiation from the sun. Once again, seek cover and wait for the solar shield to regenerate before moving out into the open. Circle around the ringlike pathway until you can find both the control console and locking mechanism. If possible, stay behind cover while scanning the control console or shooting the locking mechanism. If you can’t get a clear angle, move out of cover long enough to make your scan or shot while the solar shield is activated. Once the third ring is stopped, continue advancing through the core, stopping periodically to take cover from the sun’s radiation. Look for a curved path leading toward a jammed door. You’re safe from the radiation once you reach the door. Wait for your buddy to catch up, then work together to pry open the door.
New Objective: Proceed to the emergency transporter room
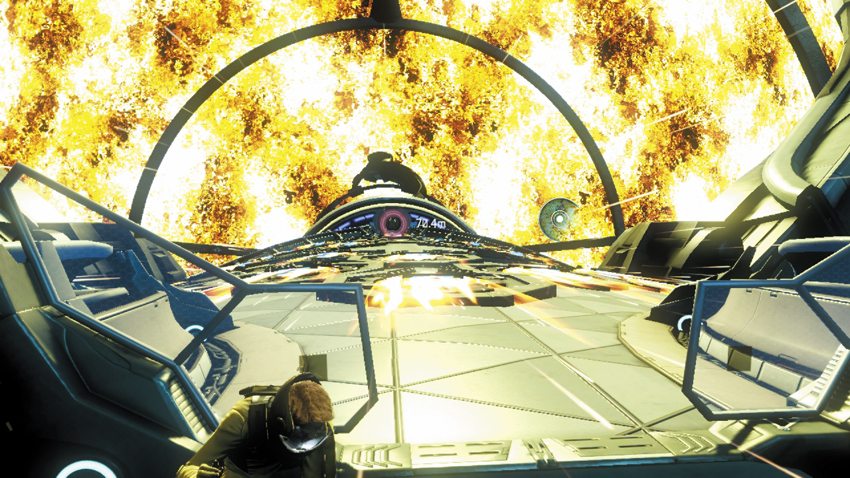
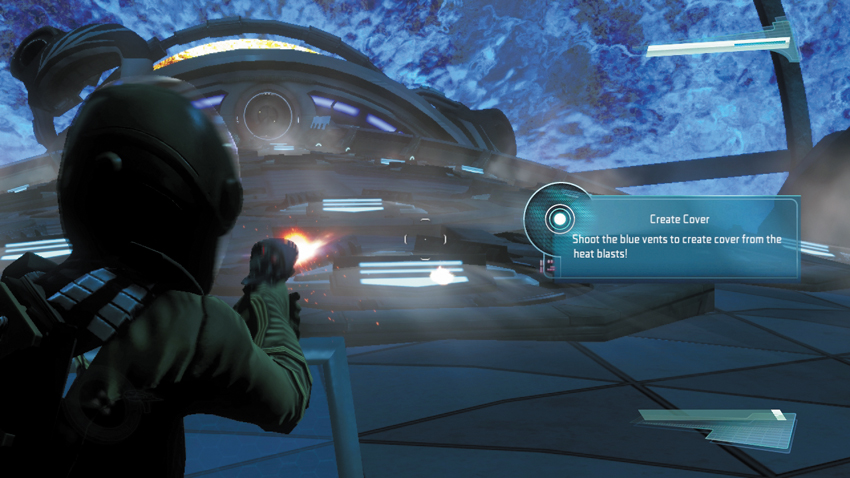
Soon after passing through the jammed door, you come to long walkway. Immediately take cover behind one of the low transparent walls on the perimeter of the path. Just ahead is a long stretch with no cover at all. However, there are several blue lighted vents embedded in the floor. Spock suggest shooting the vents to create cover. Wait until the solar shield has regenerated, then pop out of cover to take aim at the nearest blue vent. Hitting the blue vent with your phaser causes a barrier to emerge from the duct to provide you with a piece of cover. When the solar shield has regenerated, sprint to the new piece of cover.
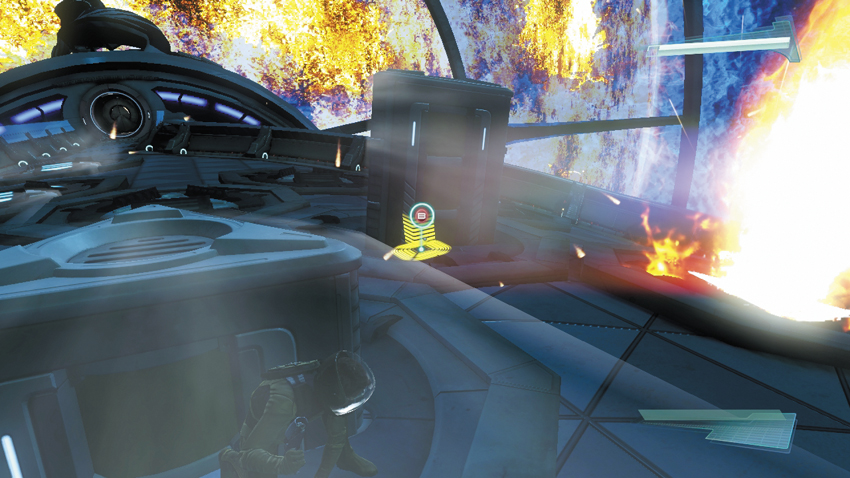
Using your phaser, continue shooting vents in the floor to create new pieces of cover. However, not all vents are stable; some release fiery plumes instead of solid cover. So always plan out your movements before stepping out of cover. Once a nearby piece of cover is available, you can automatically transition to it by pushing out toward it and pressing the button shown on-screen. But don’t make your transition until the solar shield has regenerated. Continue pushing forward, moving toward the door at the far end of the walkway.
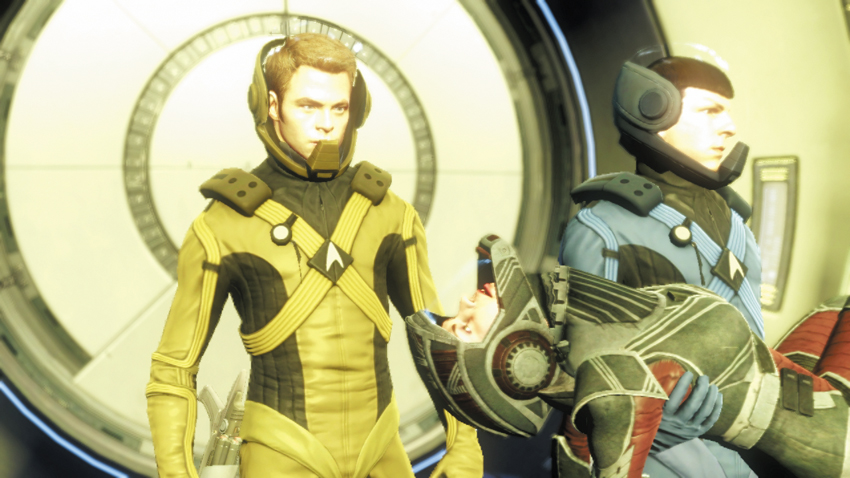
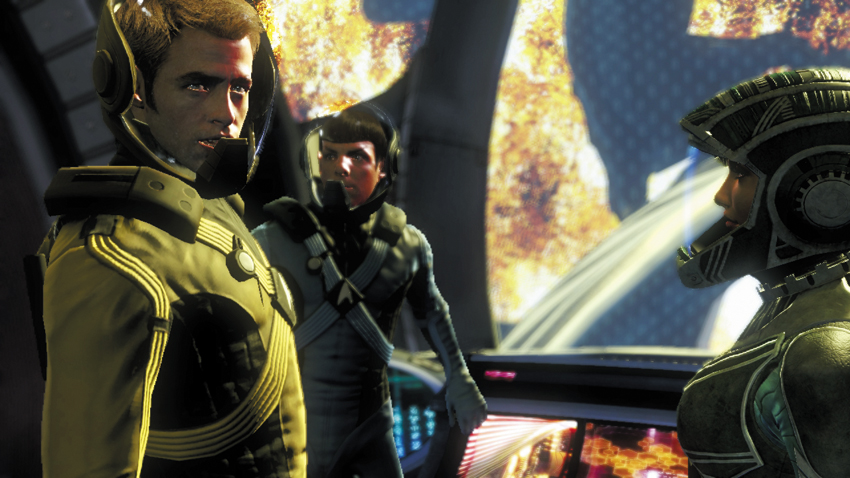
When you reach the door, you find a scientist lying on the walkway. Spock indicates that the scientist is still alive. Spock picks up the scientist and follows Kirk through the nearby doorway, leading into a control room. One of the scientists in the room reports that the transporter is still unable to obtain a reliable signal. T’Mar, the station’s captain, tells Spock that the station has experienced a complete loss of power and that the transporters are unreliable—there’s no safe way to beam out. Even Scotty is incapable of obtaining a lock. T’Mar suggests heading for the transporter room, where they may have a better chance of boosting a signal for beaming off the station. Before chasing after T’Mar, hang around here to find a couple of collectables.
6: T’Mar’s Audio Log #2
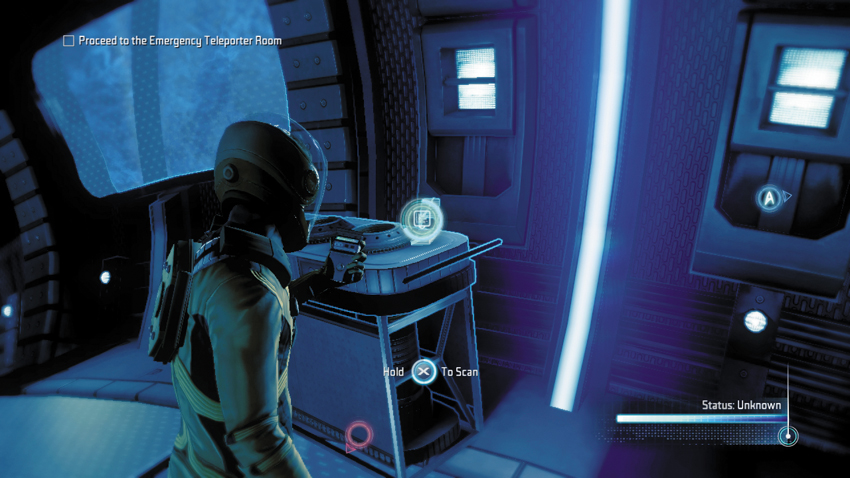
Immediately after speaking with T’Mar, scan this item on the nearby cylinder to reveal another audio log.
Type: Audio Log
Set: Helios-1/Logs
XP: 50
Log Entry: If anyone can hear me … this is … captain of the Helios station. We are in desperate need of help. Station integrity is compromised … systems failing … need immediate assistance. If anyone can hear this, please respond.
7: Helios Control Cluster
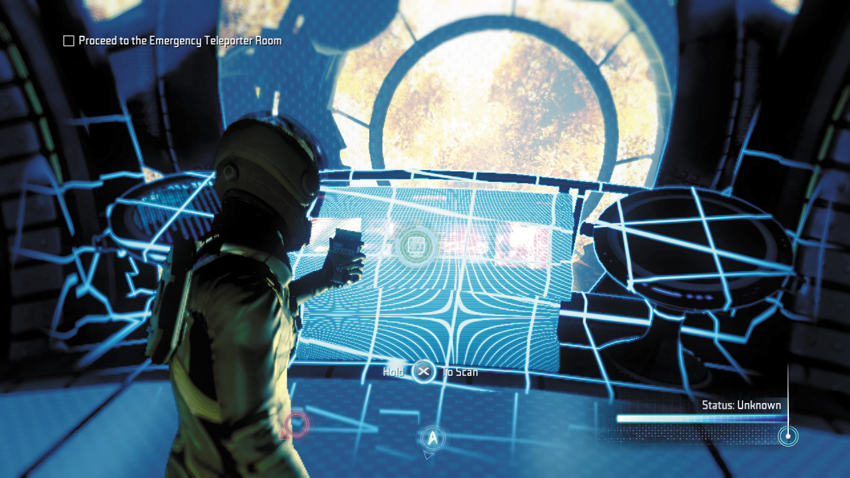
While following T’Mar through the next corridor, stop at the circular window on the right and scan the control panel beneath it.
Type: Research Data
Set: Helios-1/Helios Station
XP: 100
Log Entry: Access point granting engineers access to Helios station control systems. Decentralized command and control allows for rapid response to emergencies regardless of engineer location. Which is another way of saying engineers never have an excuse for not addressing a problem, which smells to me like a trap set by blame-obsessed bureaucrats sitting behind a desk somewhere, who never have to take responsibility for anything. But I may be biased.
Emergency Transporter Room
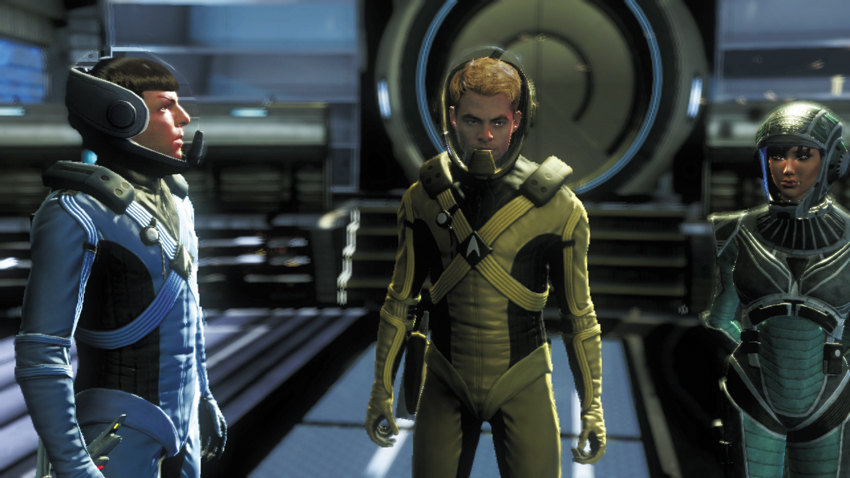
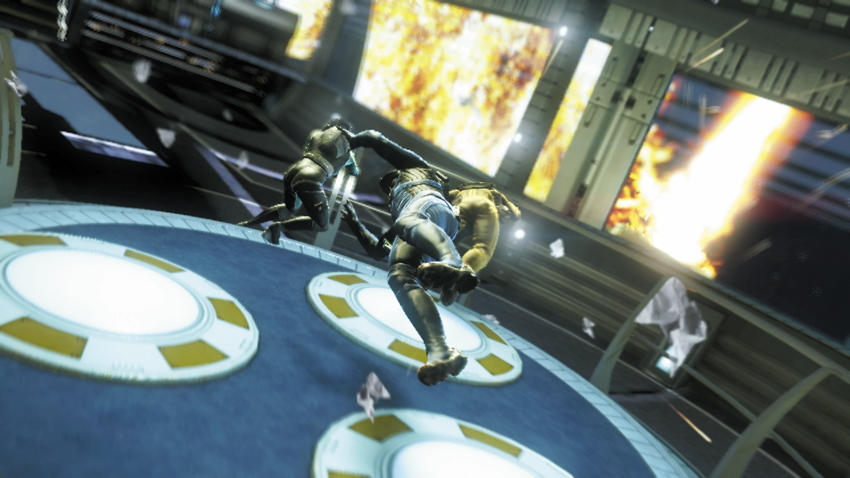
Follow T’Mar through a doorway on the left side of the corridor to enter a small chamber. You must wait here until your buddy catches up. When all three of you are together, T’Mar enters the emergency transporter room, triggering another cinematic. T’Mar refuses to leave the station until her crew members have been safely transported to the Enterprise. But shortly before the last members of her crew are to be transported off the station, the solar shield fails, causing a breach in a nearby window. Everyone is blown out into space, including Kirk, Spock, T’Mar, and her crew. While there’s no hope for saving her crew, T’Mar thinks fast and activates her magnetic boots, gaining a foothold on station’s exterior—Kirk and Spock do the same.
Station Exterior
New Objective: Outrun the destruction!
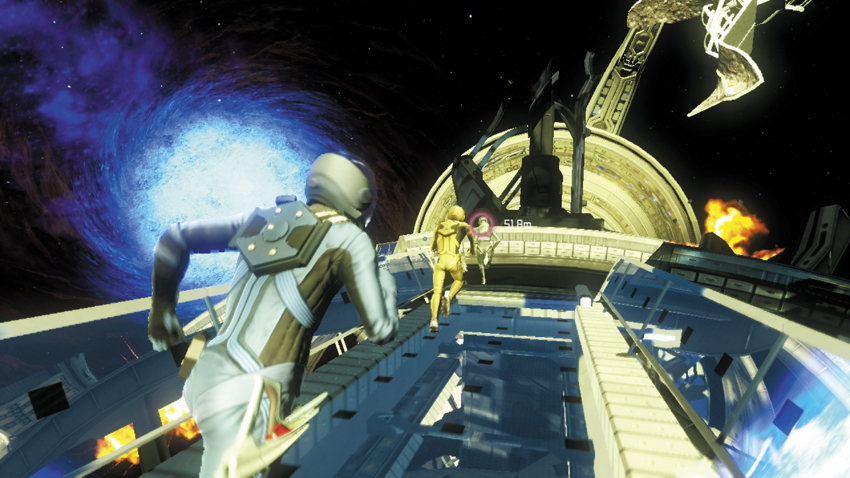
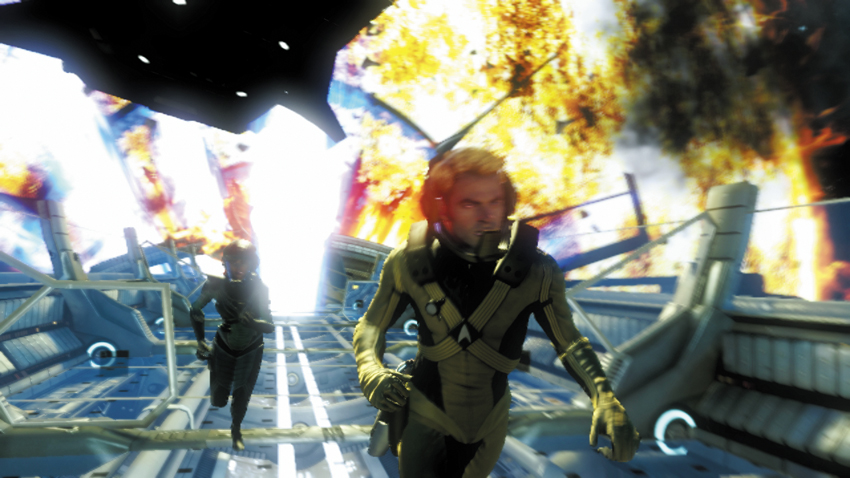
The station is coming apart and there’s no time to waste! Follow T’Mar as she races along station’s exterior walkway. To pick up the pace, break into a sprint using the command shown on-screen. Sprinting allows you to move at the fastest possible speed, which is necessary for keeping up with T’Mar and your teammate. If you fall too far behind, you will be caught up in the destruction of the space station and forced to restart this sequence. As you near the end of the walkway, Sulu arrives in the shuttle overhead allowing Kirk, Spock, and T’Mar to escape mere seconds before the station explodes.
Enterprise
New Objective: Reach the Bridge
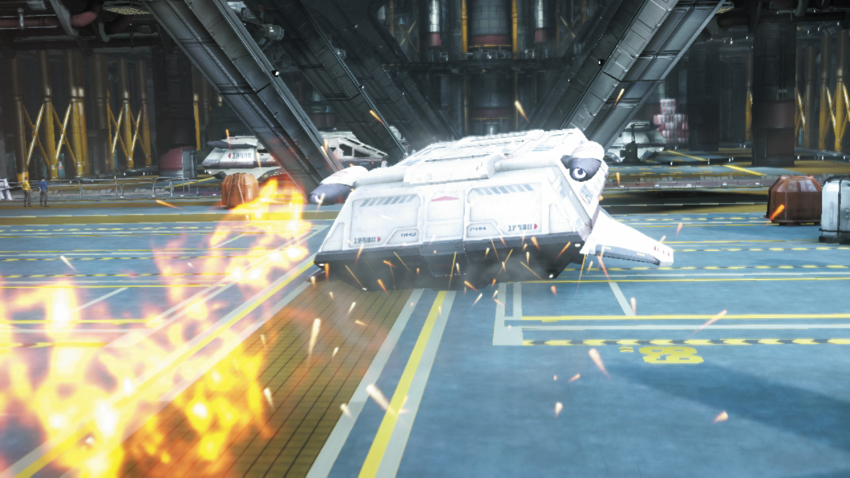
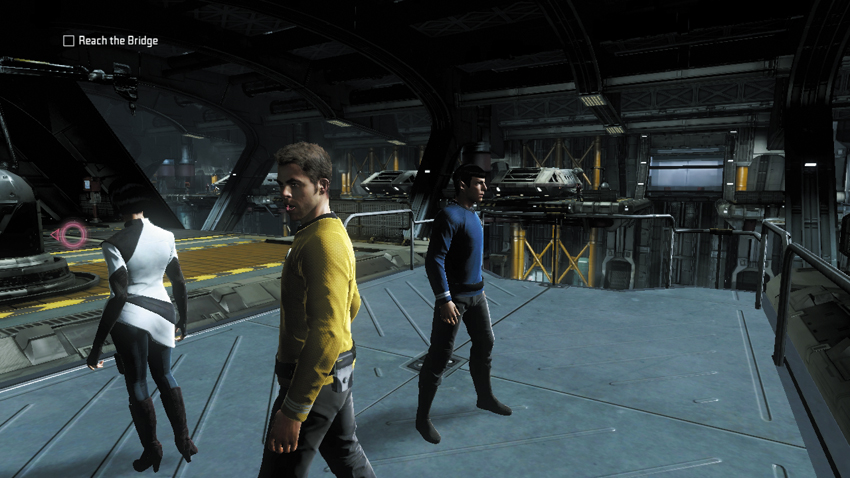
Damaged from the exploding space station, Sulu performs an emergency landing in the Enterprise’s Shuttle Bay. The shuttle skids to an abrupt stop, ejecting Spock, Kirk, and T’Mar from the hatch. Soon after their arrival, Kirk is summoned to the Bridge by Chekov—apparently there’s a new problem Kirk must see for himself. Following the cinematic, start moving through the Shuttle Bay toward the new waypoint marker. Along the way, T’Mar reveals that the space station did not malfunction. The station was used to harness the energy from the binary stars. But the station’s primary controls were operated from a base on a nearby planet called New Vulcan.
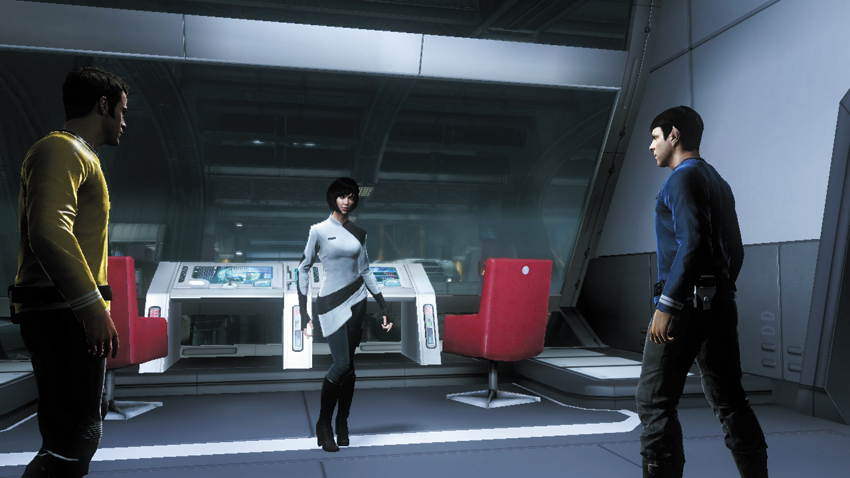
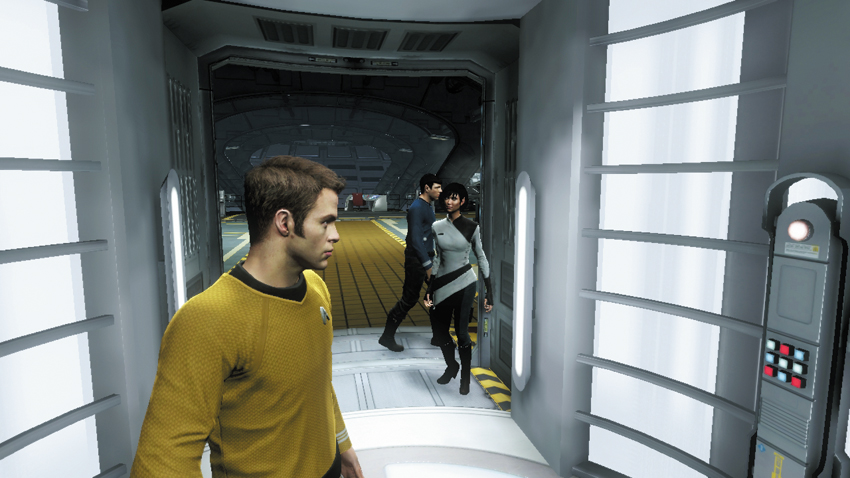
T’Mar reveals more information about the project when you reach the waypoint marker. After the destruction of Vulcan, the search for a new planet began. New Vulcan seemed perfect. But a project of this magnitude would have taken generations to complete. To speed up the process, Vulcan scientist created a device called the Helios Machine. The space station was merely a part of this project, responsible for harnessing energy from the binary stars to power the Helios Machine located on New Vulcan. But two days ago, for an unknown reason, the power to the station was shut off. Without power, the station could not withstand the gravitational pull of the stars. It turns out the power was shut down by Surok, T’Mar’s father and a renowned Vulcan scientist. T’Mar isn’t sure why power was shut down but suspects the Helios Machine may have created an anomaly. Following T’Mar’s explanation, resume your advance to the Bridge, entering the Turbolift in the Shuttle Bay. Interact with the Turbolift’s control panel and wait for T’Mar and your teammate to board.
Bridge
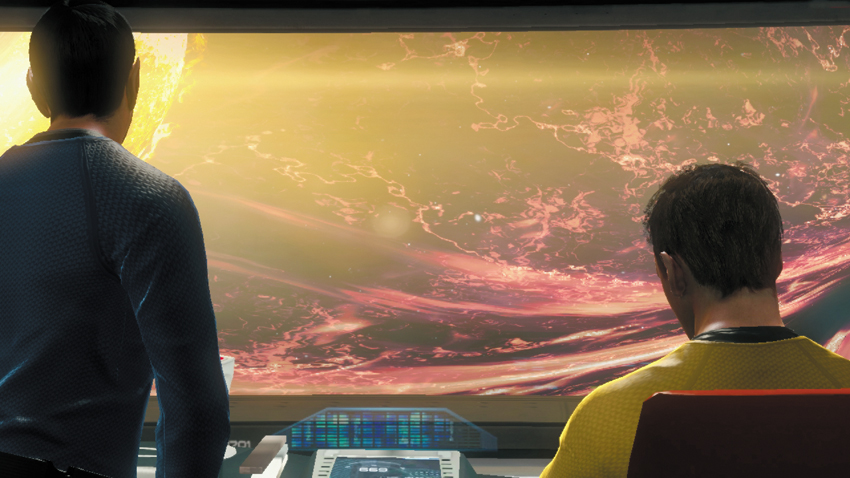

Kirk requests a situation report from Chekov as they arrive on the Bridge. Chekov reports that the anomaly appears to be some sort of rift in the fabric of space, like a wormhole or a shortcut through space. Spock wants to know where it leads. But Chekov is incapable of tracing the anomaly’s origins. T’Mar feels the rift is the reason Surok shut down the Helios Machine. Unfortunately Surok cannot be hailed—communication with New Vulcan was lost when the Helios Machine was shut down. Chekov reports that the rift is contracting and will be gone in approximately 12 hours. Kirk orders Sulu to move the Enterprise within range of New Vulcan—it’s time to pay Surok a visit.
New Objective: Reach the Transporter Room
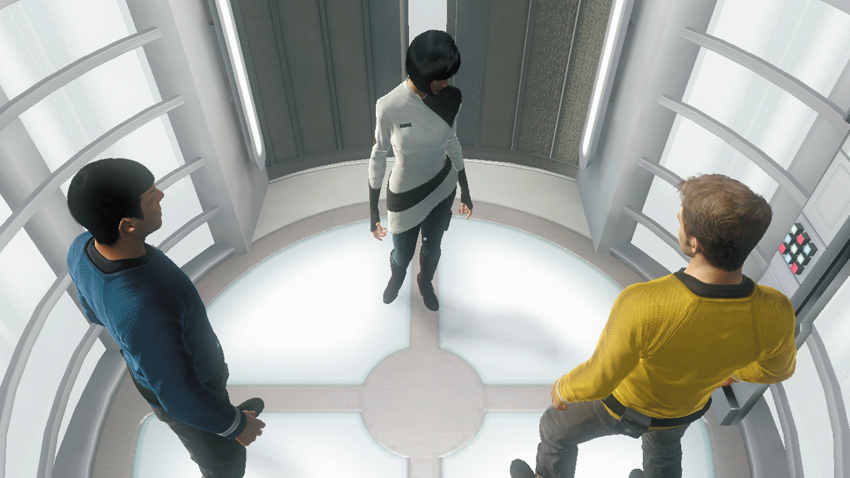
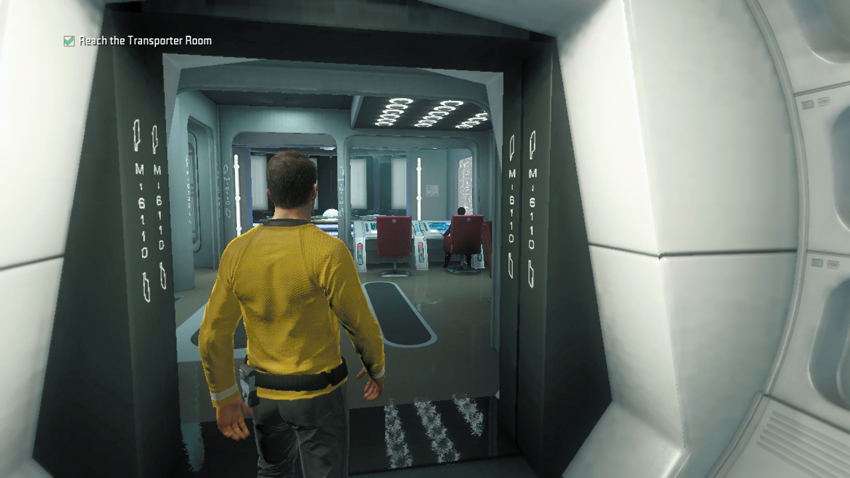
Step back into the Turbolift and wait for T’Mar and your teammate to join you. Spock requests permission to join Kirk during his visit to New Vulcan. T’Mar interrupts the banter to state the importance of this project. This planet is the best hope for the Vulcan people to prosper. Spock adds that having a Vulcan as a member of the away team would be essential to the success of the mission. And T’Mar’s familiarity with New Vulcan would also be an asset. Kirk finally concedes, realizing Spock and T’Mar are ideal choices for this away team mission. When the Turbolift stops, exit and proceed through the doorway at the end of the long corridor to enter the Transporter Room.
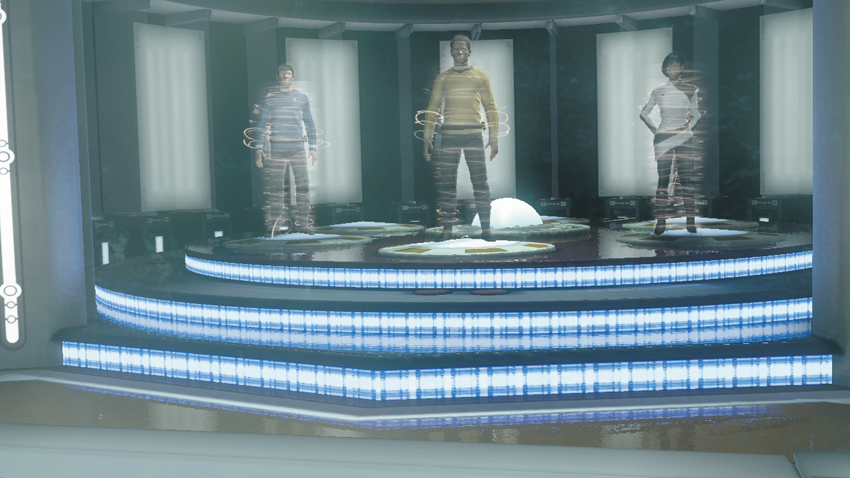
Before beaming Kirk, Spock, and T’Mar down to New Vulcan, Scotty makes sure the away team is well armed. But Kirk isn’t interested in the latest gear Scotty has to offer, opting for a standard Starfleet loadout, including his trusty phaser. Once properly equipped, Scotty energizes the transporter, beaming the away team down to New Vulcan.