
Star Trek Guide Walkthrough Chapter 7: Gorn Planet
Gorn Planet
Chapter Summary
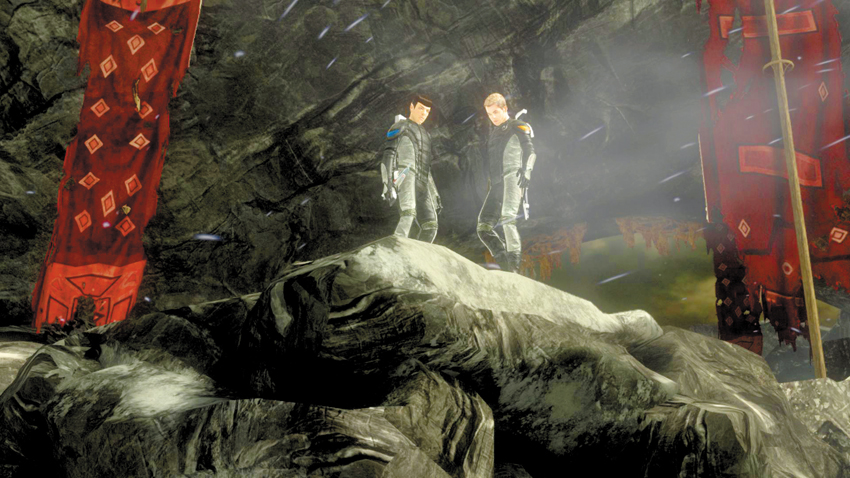
- Kirk and Spock land on the Lymax planet to begin the search for T’Mar.
Gorn Planet Collectables
| # | Name |
|---|---|
| 1 | Sentinel Statue |
| 2 | Golem Statue |
| 3 | Grand Chest |
| 4 | Companion Statue |
| 5 | Gorn Scout |
| 6 | Gorn Striker |
| 7 | The Lymax (1 of 3) |
| 8 | Security Camera |
| 9 | Defense Drone |
| 10 | The Lymax (3 of 3) |
| 11 | The Lymax (2 of 3) |
| 12 | Glowflower |
| 13 | Water Cabbage |
| 14 | Stalactites |
| 15 | Gorpion |
| 16 | Dog |
| 17 | Crystal Formation |
| 18 | Arc Driver |
| 19 | Instruments of Science? (1 of 3) |
| 20 | Instruments of Science? (3 of 3) |
| 21 | Instruments of Science? (2 of 3) |
| 22 | Tribble (5 of 7) |
| 23 | Daniels’s Audio Log #7 |
| 24 | Gorn Guardian |
| 25 | Instruments of Pain (1 of 2) |
| 26 | Crew Member’s Audio Log |
| 27 | Daniels’s Audio Log #8 |
| 28 | Instruments of Pain (2 of 2) |
Achievements/Trophies
| Icon | Name | Criteria | Gamerscore | Trophy |
|---|---|---|---|---|

|
Striker Master (Start) | Kill 20 enemies with the Striker | 10 | Bronze |

|
Arc Driver Master (Start) | Kill 50 enemies with the Arc Driver | 10 | Bronze |

|
Arena | As Kirk, get a Gorn enemy to melee you | 10 | Bronze |

|
Are You Not Entertained? | Win the brawl against your buddy in “The Trials” chapter | 20 | Bronze |

|
Get to the Shuttle! | After the brawl, escape in less than six minutes in “The Trials” chapter | 20 | Bronze |

|
Beat Gorn Planet & The Trials | Completed the Gorn Planet and The Trials chapters on any difficulty | 20 | Bronze |
Errand of Mercy
Collectables Checklist
| # | Name | Type | XP |
|---|---|---|---|
| 1 | Sentinel Statue | Research Data | 100 |
| 2 | Golem Statue | Research Data | 100 |
| 3 | Grand Chest | Research Data | 100 |
| 4 | Companion Statue | Research Data | 100 |


Committed to rescuing T’Mar and recovering the Helios Device, Kirk and the crew of the Enterprise travel through the rip and approach an unknown planet. Spock reports that is appears to be the same planet they saw during the mind-meld of the Gorn Lieutenant. To this point, the Enterprise has remained undetected, using interference from the rip to hide from the Gorn. But Sulu warns that an approach by a shuttle will likely not go unnoticed. Kirk recruits Spock, Sulu, and Bones for his away team mission, despite protests from Dr. McCoy. Chekov reports that the rip will close in approximately six hours, giving the team a limited time to complete their mission. Kirk orders Chekov to travel back through the rip before it closes, whether the away team is back or not—he doesn’t want the Enterprise and its crew to fall into the hands of the Gorn.

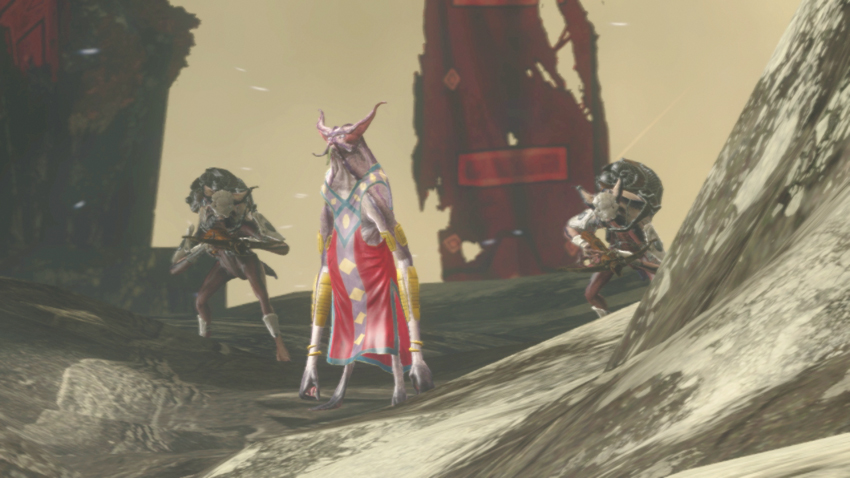
As Sulu feared, the away team’s shuttle is spotted by Gorn defenses on the planet’s surface. Upon approach, the shuttle is struck by incoming fire that forces Sulu to perform a crash landing on a mountainside. Soon after emerging from the damaged shuttle, the away team realizes they’re being watched. Spock reports that the species, known as the Lymax, are different than the Gorn and don’t appear to be hostile. Bones adds that their biological makeup appears ill-suited for this type of environment—perhaps they were driven here by the Gorn? Spock suggests lowering their weapons to prevent making a new enemy. As the away team drops their weapons, the Lymax creatures retreat into the mountains.
 New Objective: Find a way off the mountain
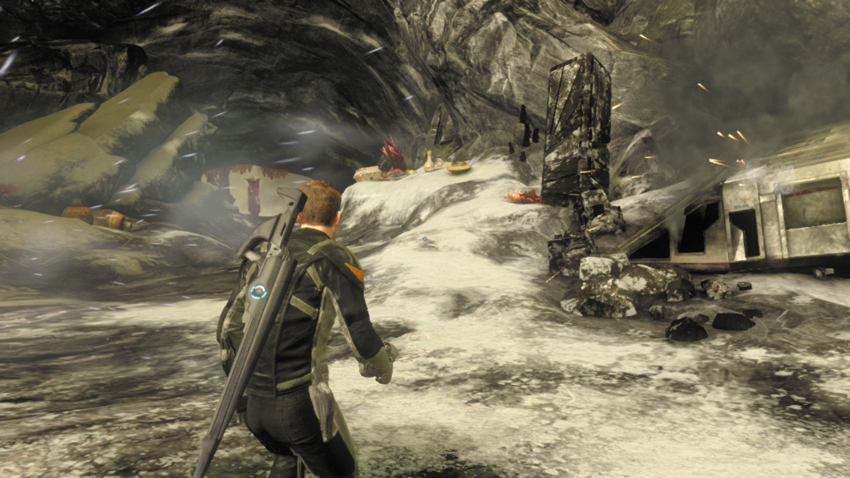
Before advancing to the next waypoint marker, take a moment to scour the nearby path and cave for collectables. A variety of the Lymax artifacts are scattered about this area, giving you more insight into the creatures you just encountered.
1: Sentinel Statue
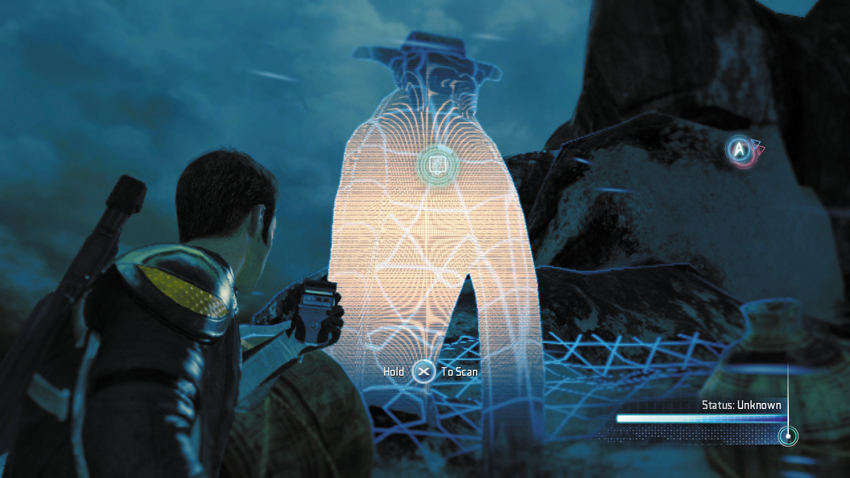
Scan this large statue next to the shuttle.
Type: Research Data
Set: Errand of Mercy/Lymax Culture
XP: 100
Log Entry: Always fascinating to see what connects species that have evolved light years apart. Just like primitive Earth cultures, the Lymax have taken to representing themselves—or their Gods, perhaps—through art.
2: Golem Statue
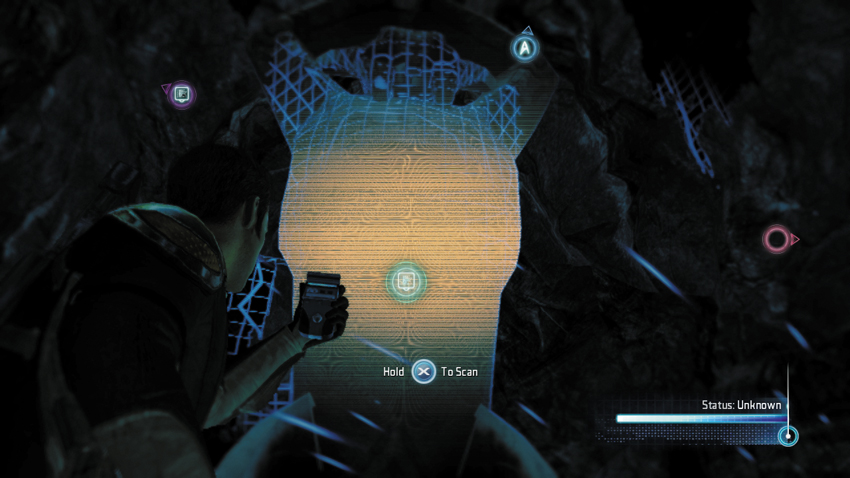
Before approaching the cave, take the path to the left and scan this massive statue with its arms raised above its head.
Type: Research Data
Set: Errand of Mercy/Lymax Culture
XP: 100
Log Entry: I quite like this one. Given his size he must be quite an important character in Lymax lore. Let’s call him Goliath.
3: Grand Chest
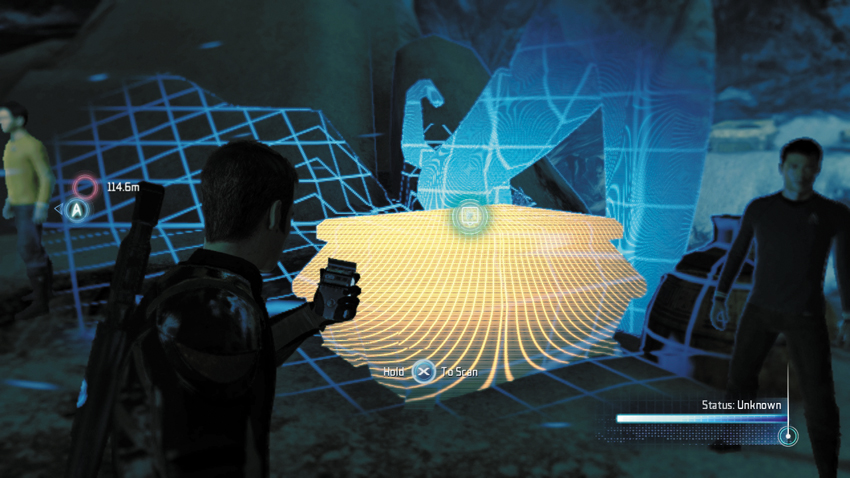
Not far from the Golem Statue, scan this large chest.
Type: Research Data
Set: Errand of Mercy/Lymax Culture
XP: 100
Log Entry: A treasure chest! No, not really. But when I was a wee lad and used to imagine that space travel involved less benevolent exploration and was instead full of glorious acts of piracy. This chest is most likely some kind of ceremonial or religious artifact.
4: Companion Statue
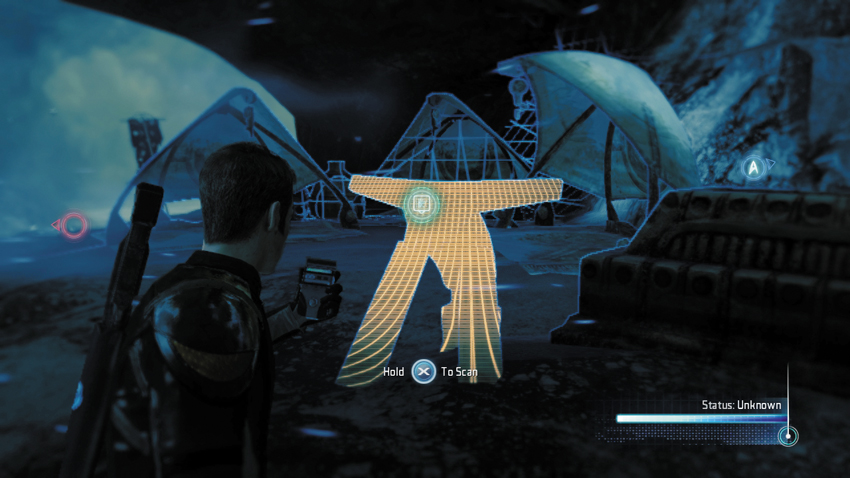
Proceed into the cave and scan this small statue on the right side, within the Lymax encampment.
Type: Research Data
Set: Errand of Mercy/Lymax Culture
XP: 100
Log Entry: For every Goliath, there must be a David. Having spent the last year trapped in Engineering with Keenser, I’m quite used to short feisty creatures by now.
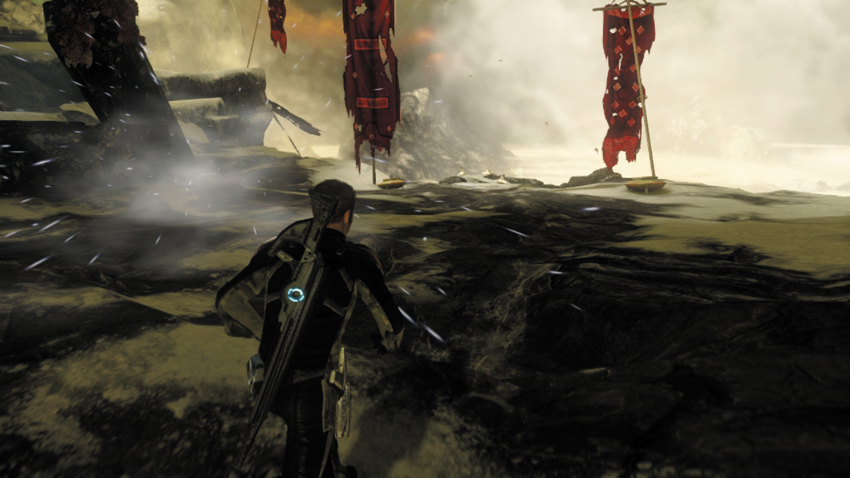
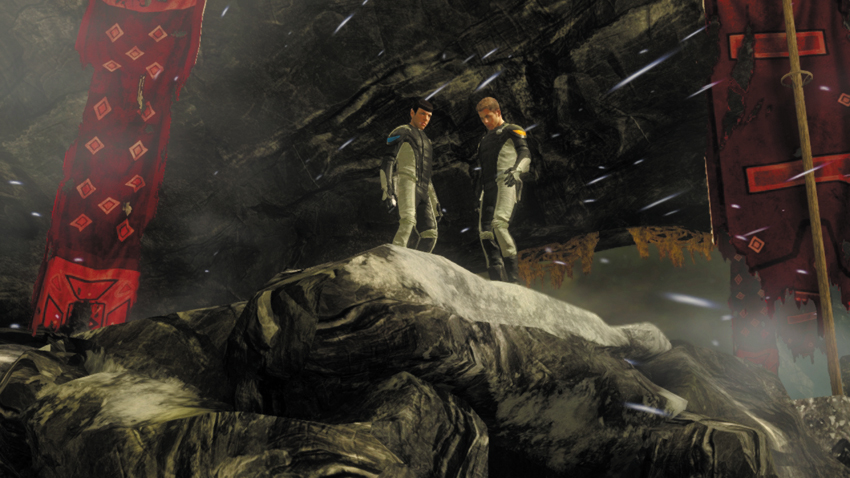
Once you’ve scanned all four Lymax artifacts, advance to the cave to reach the waypoint marker. Spock reports that transponder frequencies are coming from beyond the ridge. It’s time to see what’s out there, but it’s a long way down. Sulu agrees to stay behind and repair the shuttle. At first, Bones wants to come along with Kirk and Spock. But upon seeing the sheer face of the drop they must descend, he decides to stay behind with Sulu and keep working on his antidote. Spock advises that the two of you take out the radio tower he detected. But you have to get there first.
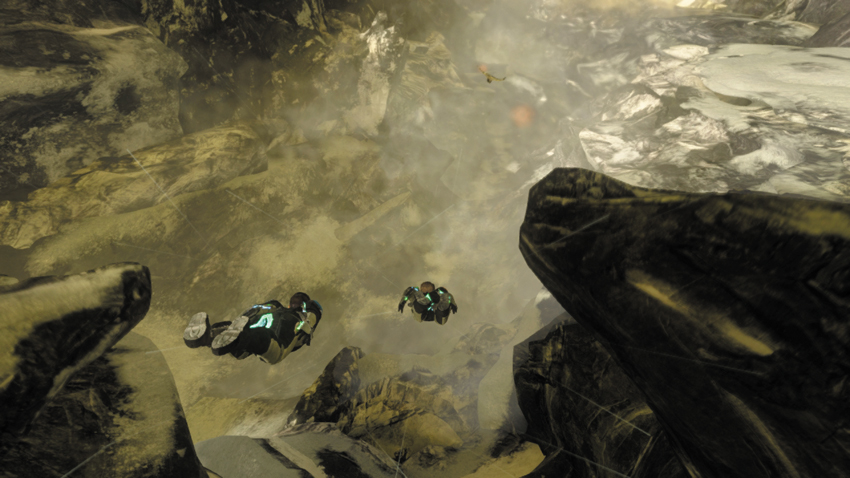
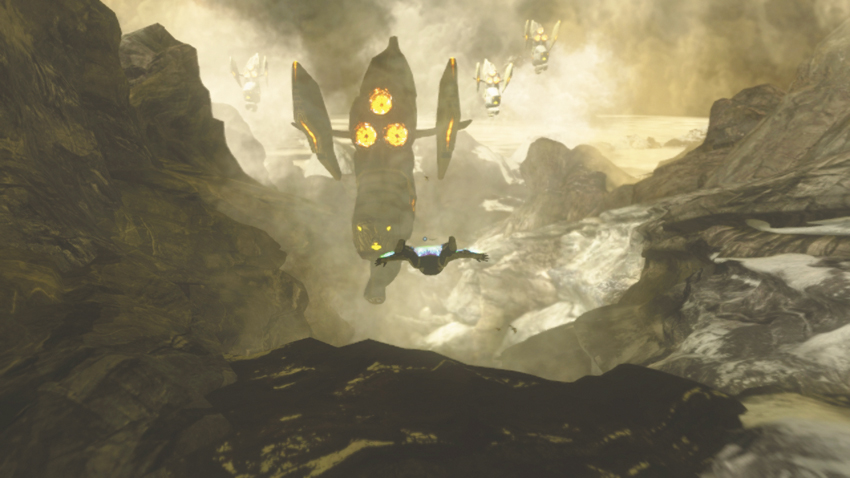
Without much hesitation, Kirk and Spock leap off the edge of the mountain, diving into the rocky canyon below. As they near the bottom, wing-like extensions appear from beneath the arms and between the legs of their suits, which help them to glide through the canyon. During the sequence you must successfully glide without hitting any of the rocky obstacles in the canyon. Similar to the rocket jump on the Starbase, make minor adjustments to your flight path to avoid smashing into the canyon’s walls or other objects in your way. Ignore the Gorn ships flying overhead—they don’t pose a threat. Instead, stay focused on the path ahead and be ready to alter your heading to prevent any collisions.
Where No Man Has Gone Before
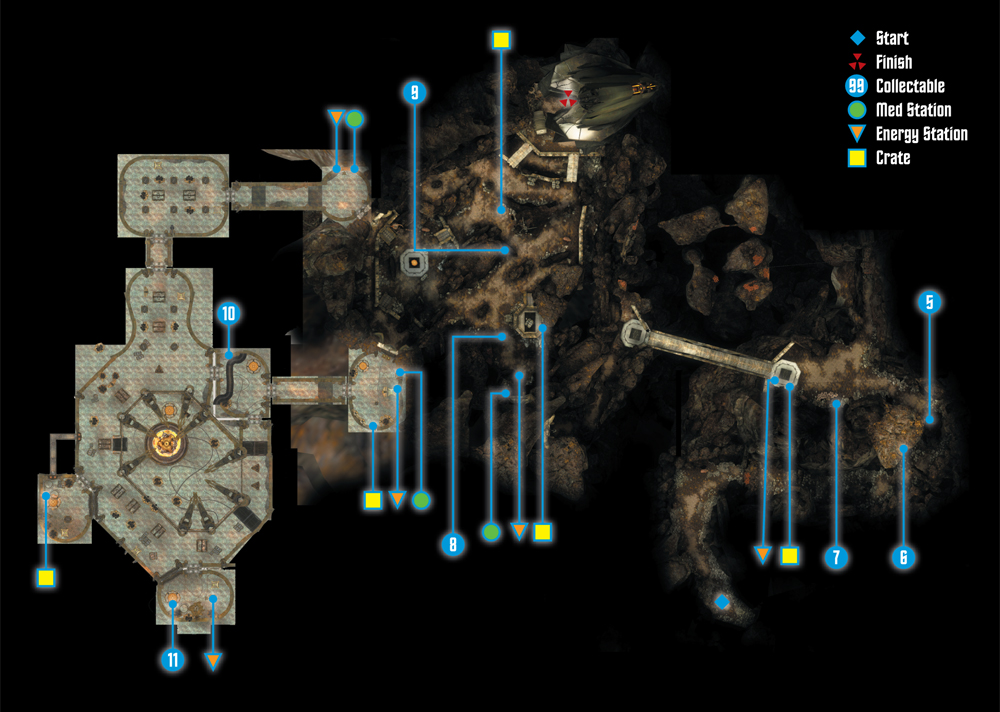
Collectables Checklist
| # | Name | Type | XP |
|---|---|---|---|
| 5 | Gorn Scout | Research Data | 100 |
| 6 | Gorn Striker | Research Data | 100 |
| 7 | The Lymax (1 of 3) | Research Data | 100 |
| 8 | Security Camera | Research Data | 100 |
| 9 | Defense Drone | Research Data | 100 |
| 10 | The Lymax (3 of 3) | Research Data | 100 |
| 11 | The Lymax (2 of 3) | Research Data | 100 |
New Objective: Find a way to the outpost
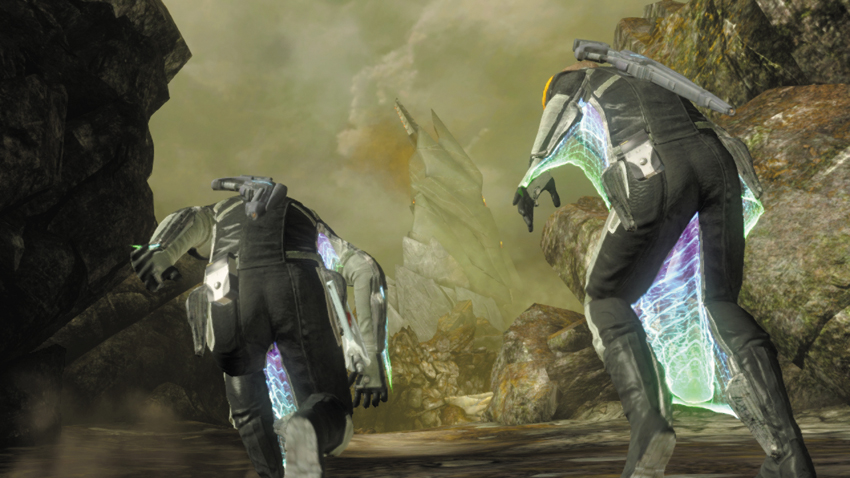
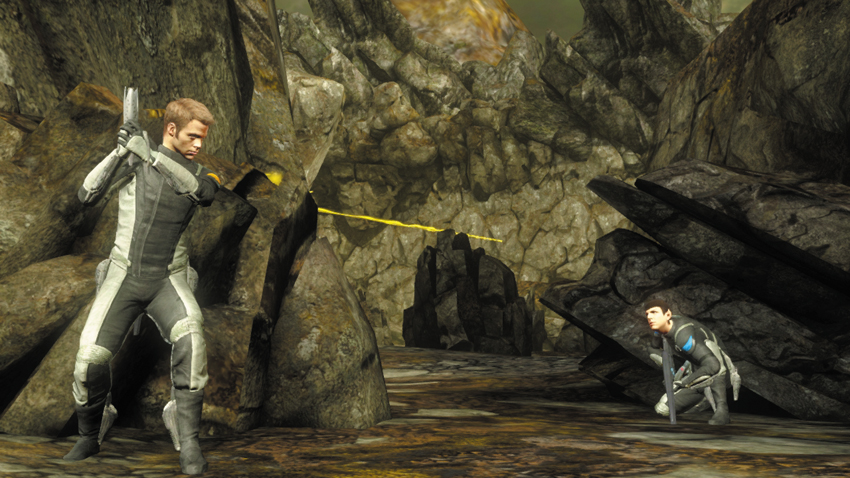
Kirk and Spock set down in a rocky clearing within view of the tower that shot down their shuttle. Follow the waypoint marker to a short ledge and mantle up to reach a narrow path. Here Kirk and Spock come under attack by several Gorn Scouts that come scurrying along the distant cliff side. Like the Gorn Lieutenant, the Gorn Scouts are equipped with cloaking devices that make them invisible. But just because you can’t see them, don’t assume they can’t see you. Each Gorn Scout is equipped with a Striker, a powerful sniper-like weapon capable of pinpoint accuracy and extreme damage. Always stay behind cover when engaging these threats. Even when peeking out of cover to take a shot, you’re likely to get hit, even that this range.
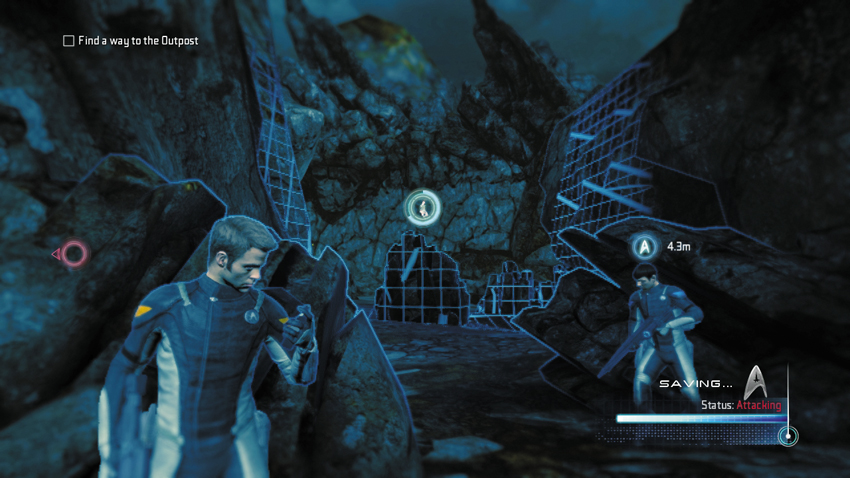
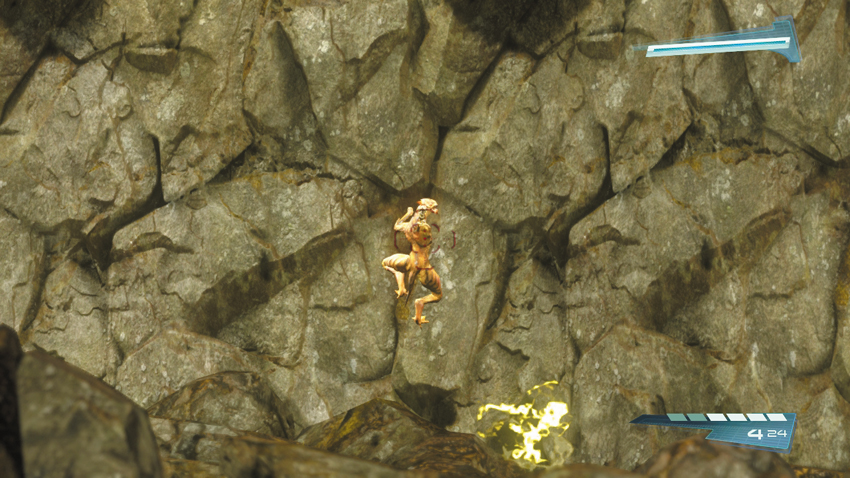
As you did with the Gorn Lieutenant, use your tricorder to reveal the cloaked Gorn Scouts on the rock face. Once revealed, the Gorn Scouts remain visible for a few seconds before their cloaking devices reactivate. While they are exposed, take aim with your Starfleet Type III Rifle and engage the Gorn Scouts, one at a time. To limit your risk, place the white aiming reticle over your target, then zoom in with the weapon’s scope to take a quick shot. All it takes is one hit with the Starfleet Type III Rifle to kill each Gorn Scout. However, their frequent movements can make them tough to hit. For best results, wait until they stop before taking a shot.
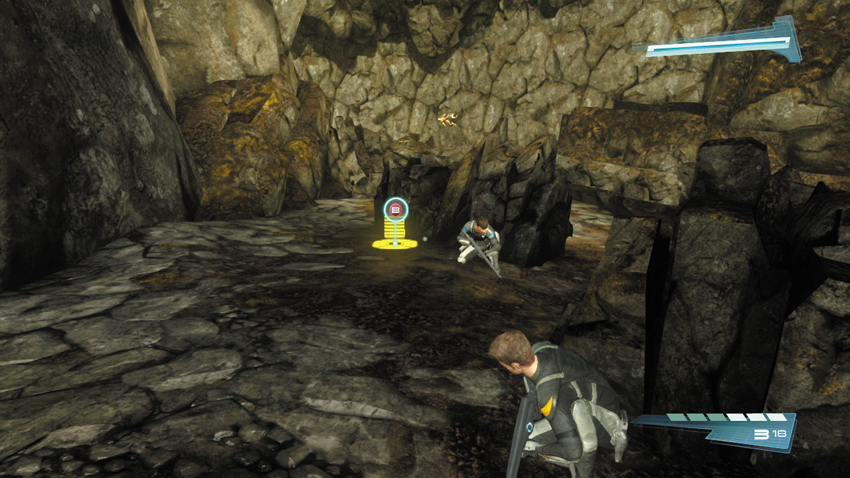
There are six Gorn Scouts in this area, and all of them must be eliminated. You can’t get a clear shot at all six of these enemies from one location. So transition from one piece of cover to the next until you can adequately engage these threats. Moving between the various rocks along the path is the safest way to advance without getting hit. Keep up the attack until all the Gorn Scouts are down for good. Approach one of the fallen Gorn Scouts and scan its body and weapon using your tricorder.
5: Gorn Scout
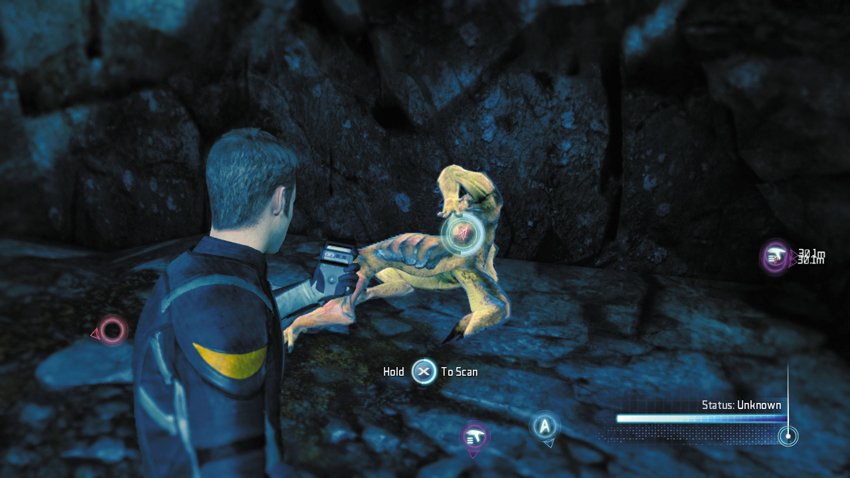
Once the fire fight is over, approach one of the dead Gorn Scouts and scan it.
Type: Research Data
Set: Enemies/Gorn Enemies
XP: 100
Log Entry: A particularly nasty specimen, this. It secretes a viscous substance over every inch of its body that renders it invisible to the naked eye. The goo would be well worth studying for our own uses, but I’d never want to get close.
6: Gorn Striker
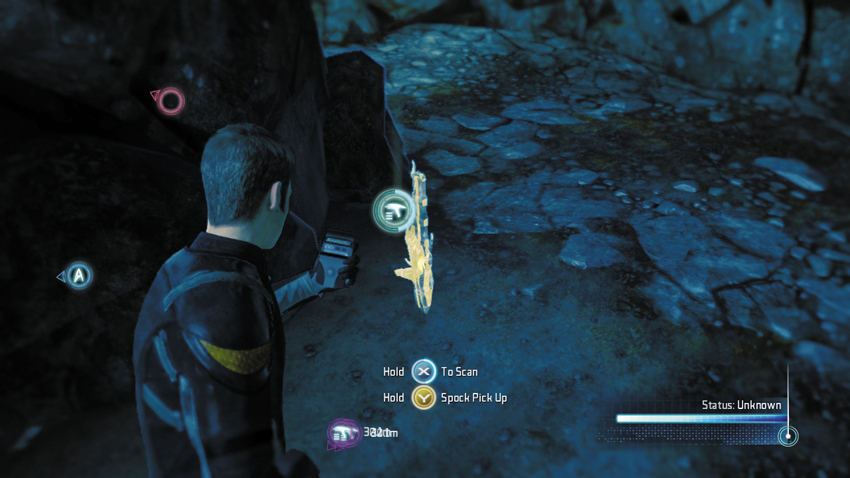
Next, scan the weapon next to one of the dead Gorn Scouts.
Type: Research Data
Set: Weapons/Gorn Weapons
XP: 100
Log Entry: The Gorn equivalent of a sniper rifle. As much as the Gorn seem to prefer dispatching their enemies at close range, this weapon is evidence that they’ll use whatever means necessary to eliminate opposition.
Bridge Crossing
New Objective: Extend the bridge
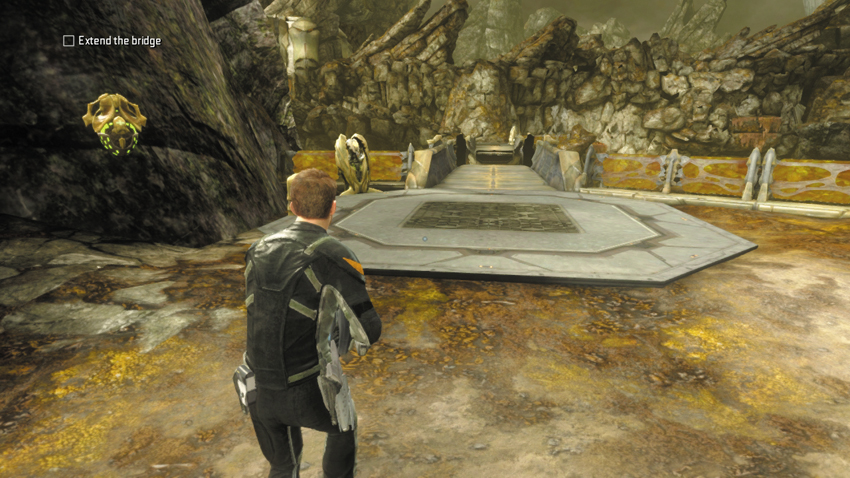
Beyond the ambush site you come to a bridge. But you can’t cross it yet—it must be extended, and the controls are on the other side. So you’ll need to find another way across. Before moving out, use the Med Station and Energy Stations next to the bridge to replenish your health and ammo. There’s also a crate between the two stations that contains a Striker.
7: The Lymax (1 of 3)
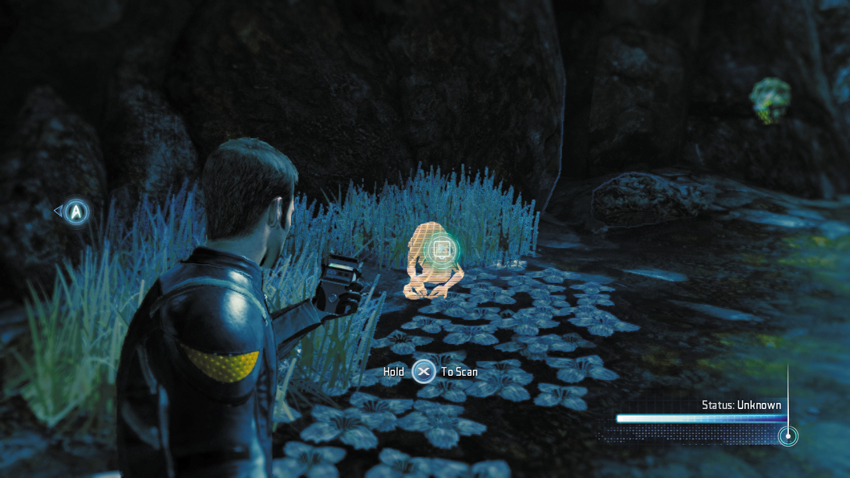
Along the way to the bridge, scan this Lymax creature on the left side of the path, sitting next to some grass.
Type: Research Data
Set: Where No Man Has Gone Before/Lymax Species
XP: 100
Log Entry: It never ceases to amaze me how similar alien races can be to our own. Take the Lymax. They’ve developed a hunter-gatherer culture similar to Earth’s early days, with a basic communal structure that ensures that the weak and young among them are cared for. It gives me hope, in the face of something like the Gorn, that civilization will always find a way to survive.
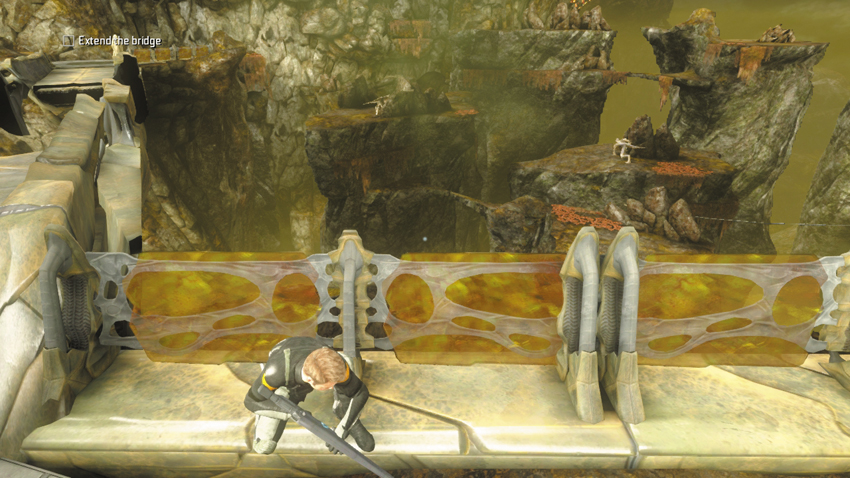
Next, take cover along the right side of the bridge and scan the distant plateaus for enemy movement. Here you see a couple of Gorn Initiates patrolling the across the tops of some rocks. They won’t spot you at this range, so take your time lining up shots with your Starfleet Type III Rifle. It’s best to take these enemies out now before attempting to cross.
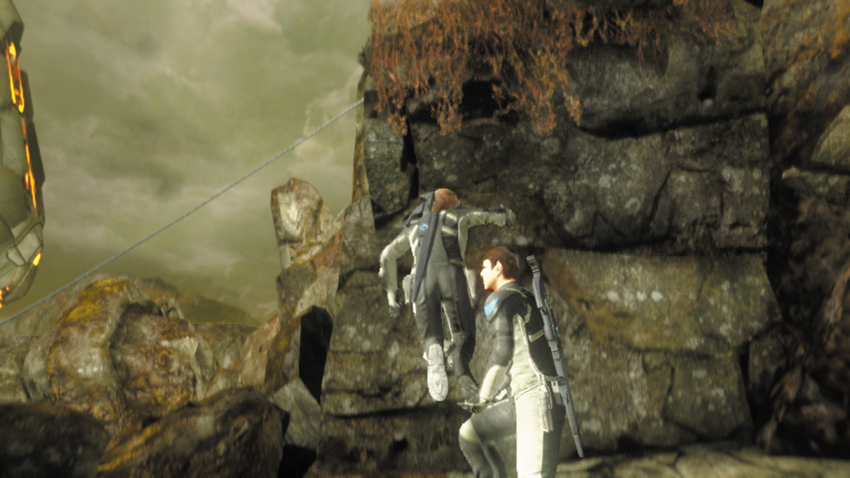
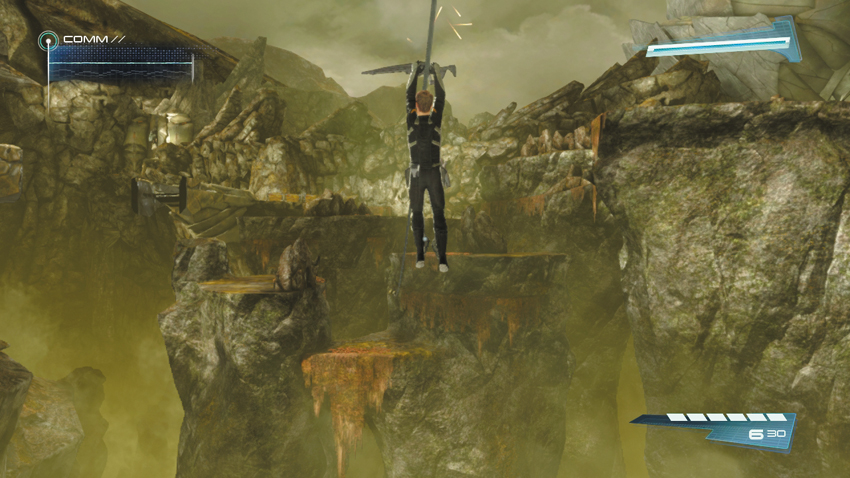
From the bridge, turn to the right and follow a narrow path to a steep ledge—request a boost from your partner to reach the top. At this point the two of you are separated. The teammate who accepts the boost is tasked with crossing to the other side and extending the bridge while the other partner stays back and provides long-range fire support. If playing cooperatively, take a moment to discuss who will accomplish each task before performing the boost. Whichever partner accepts the boost must now use a zipline to reach the first cluster of rocks on the right side of the bridge. Along the way, more Gorn Initiates appear on the rocks ahead.
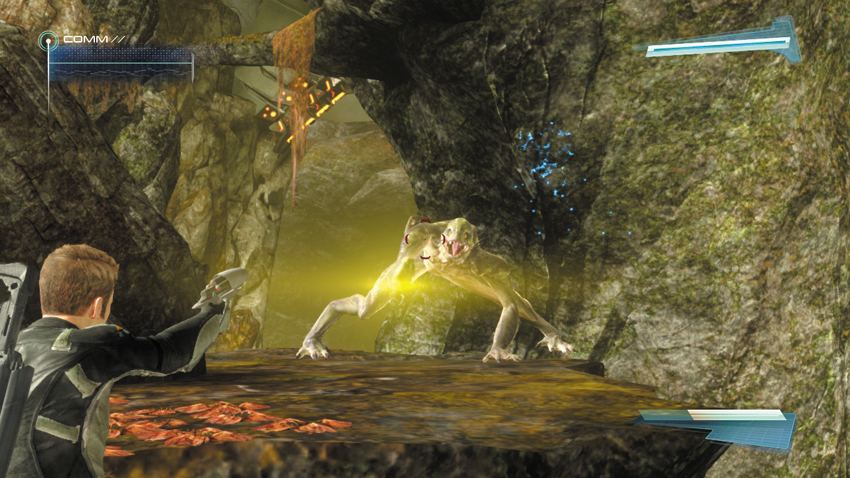
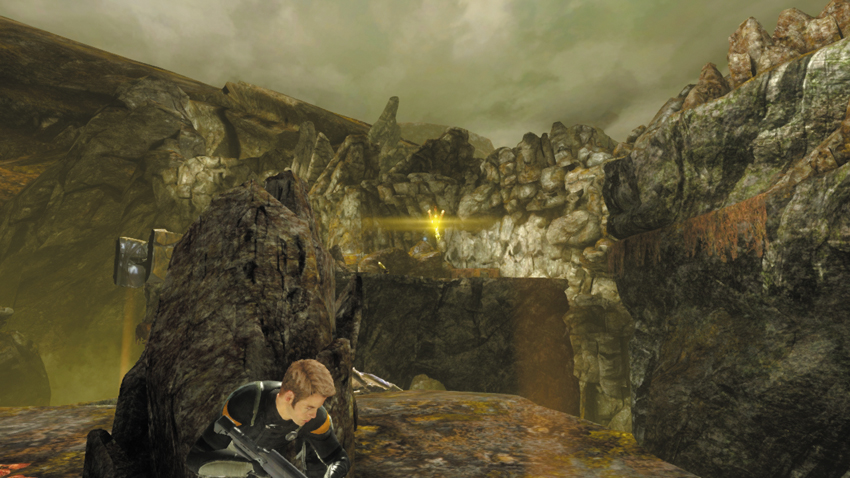
If you choose to cross to the rocks via the zipline, get ready to perform jumps and traversals while evading a variety of enemies. Fortunately, you partner has a clear view of these threats and can eliminate them one by one to clear a path for your advance. But be ready to engage these threats yourself, particularly if you’re playing the game on your own—your AI-controlled partner may not attack as aggressively as you would wish. During the first phase, watch out for a couple of Gorn Initiates, as well as a series of Attack Drones. Stay behind cover until all threats are eliminated.
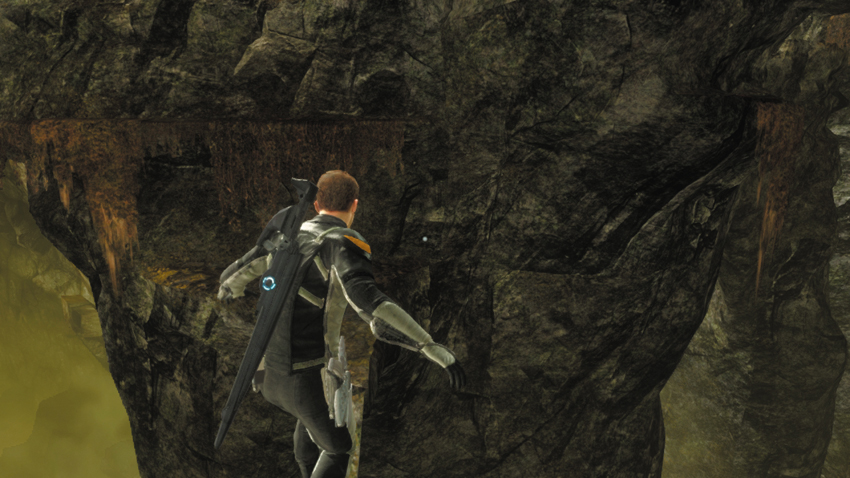
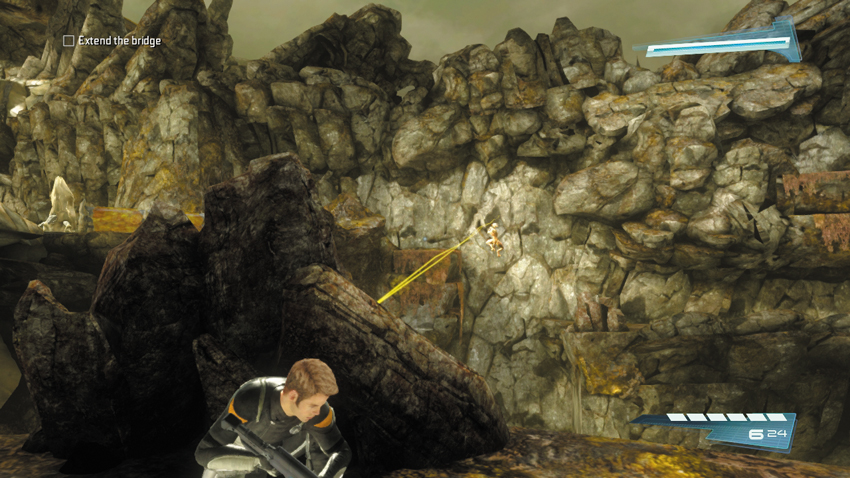
From the top of the first rock, leap over to the next plateau on the left. From here you must traverse a narrow sliver of rock, similar to crossing the balance beam sections on the Starbase. Climb to the top of the next rock, but watch out for a Gorn Scout on the rock face ahead. Wait for your partner to take him out, or climb to the top of the rock, take cover, and deal with him yourself. Remember, use your tricorder to make him visible, then take him down with your Starfleet Type III Rifle.
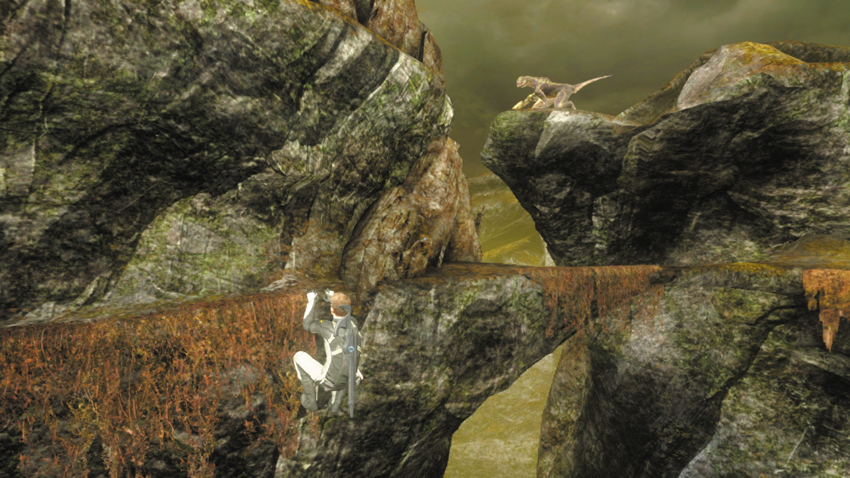
Next, leap over to the ledge on the left that’s draped in dry vegetation. From the ledge, traverse to the right. But keep an eye open for another Gorn Initiate on the rock ahead—ask your partner to take him out. Otherwise, get to your feet as soon as possible and engage the Gorn Initiate before he notices you. You’re extremely vulnerable while clinging to the ledge.
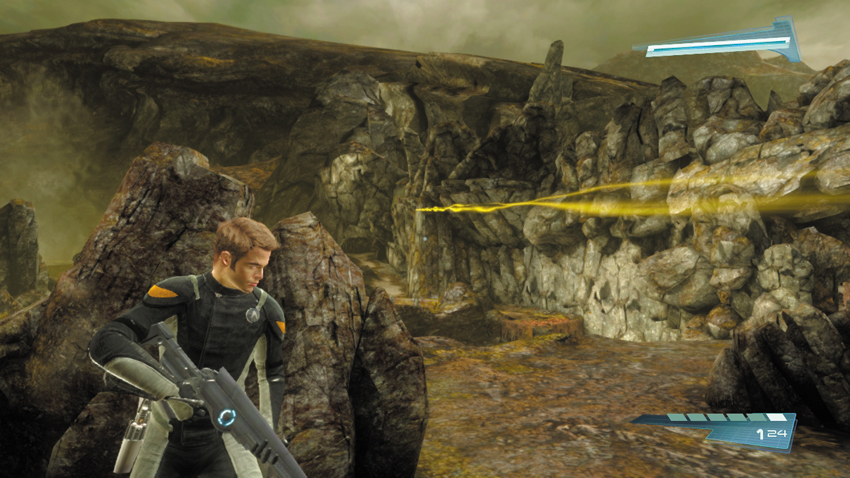
Now climb to the top of the next rock, then leap toward the next plateau. Upon landing you come under attack by a couple of Gorn Scouts scurrying along the distant rock face. Immediately take cover and request assistance from your partner. Use your tricorder to uncover the positions of the enemies while your partner takes them out. Otherwise, do it all yourself, staying behind cover the whole time. Once the two Gorn Scouts are eliminated, the area around the bridge is finally secure.
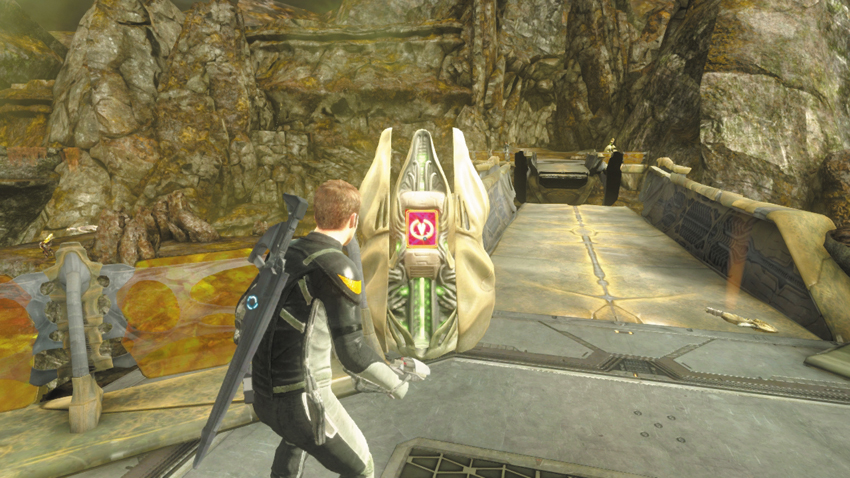
Leap over to the nearby ledge, then drop down to a narrow path. From the path, leap over to another vegetation covered ledge and mantle up to reach the bridge. Use your tricorder on the console to extend the bridge, allowing your partner to finally cross and join you.
New Objective: Infiltrate the outpost
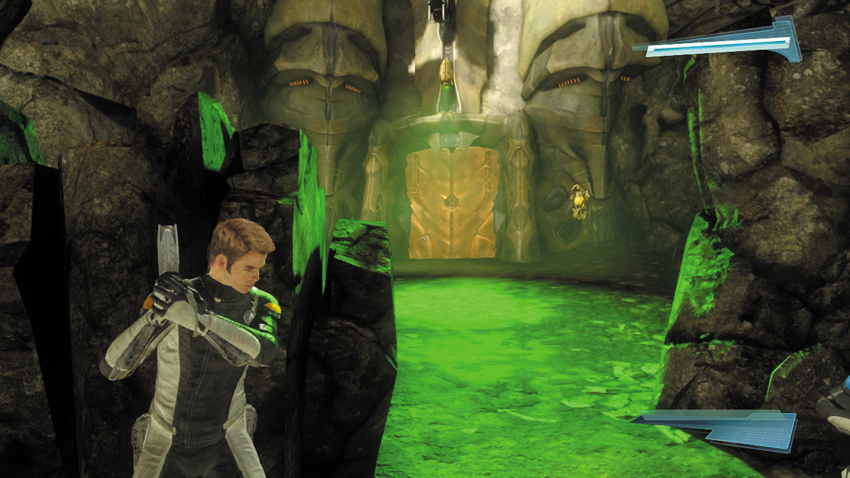
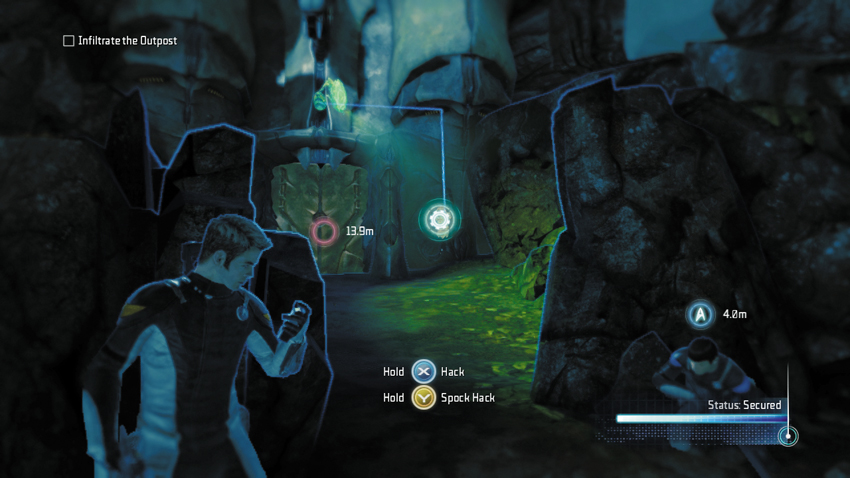
Reunited with your partner, proceed up the dirt path toward a door that is watched by a Security Camera. The green-lit area on the ground represents the camera’s visible arc as the device pans left and right. There’s no need to sneak past this camera. Instead, hack the controls on the right side of the door using your tricorder. This isn’t a simple hack, but it’s easier than trying to slip past the camera without being noticed. If hacking isn’t your forte, ask your partner to complete the hack. An AI-controlled teammate is always successful when asked to perform a hack. Once the camera is deactivated, work with your partner to pry open the door. You can find a Med Station and an Energy Station inside the adjoining entryway.
8: Security Camera
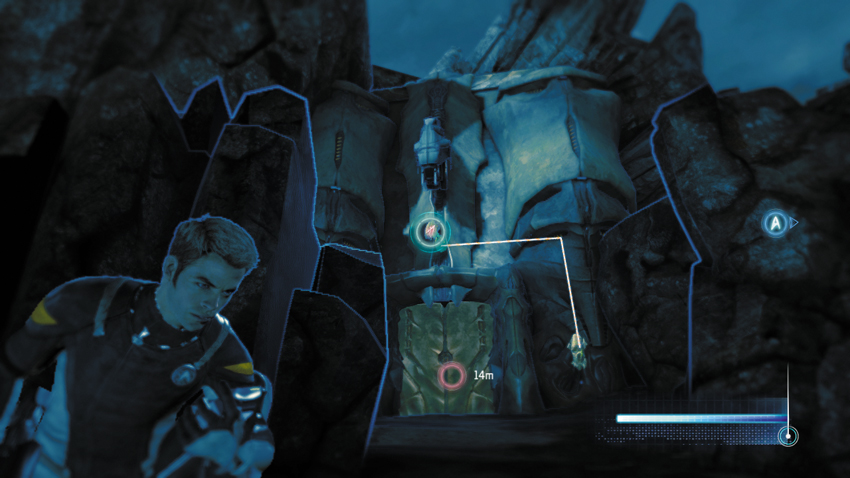
Before passing through the door, scan the deactivated Security Camera with your tricorder.
Type: Research Data
Set: Enemies/Gorn Security
XP: 100
Log Entry: I guess even the Gorn can’t have soldiers everywhere. If you’re spotted by this … well, don’t get spotted by it. It’s bad.
Outpost Perimeter
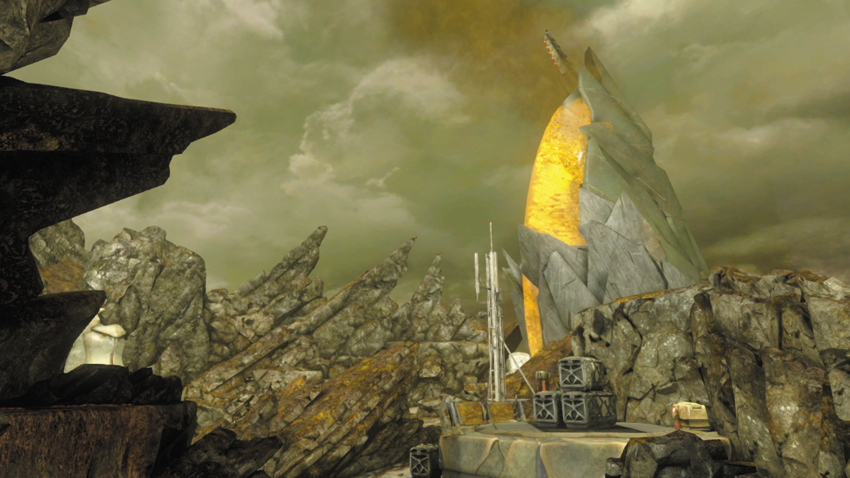
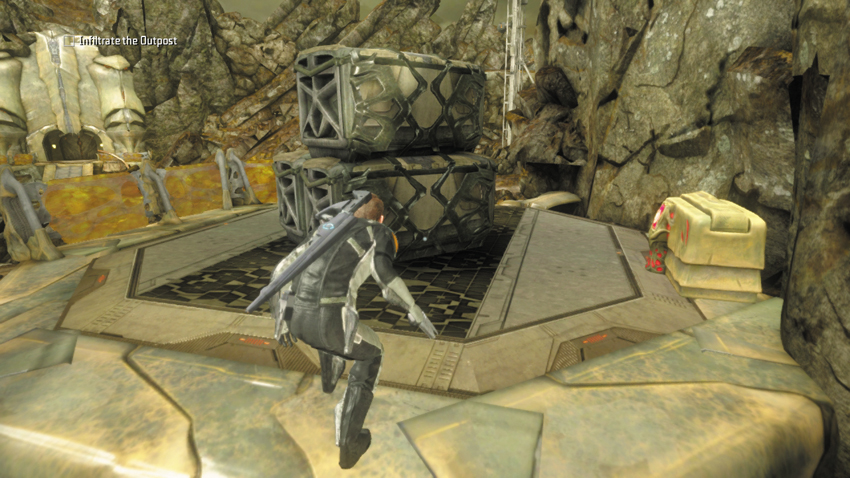
As you pass through the next doorway, the tower is just ahead. However, a shield blocks the tower’s entrance, preventing you from climbing to the top. Spock suggests entering the nearby facility to disengage the tower’s shielding. This area is patrolled by a Gorn Observer, an Initiate, an Enforcer, and a Defense Drone. Climb up to the nearby platform on the right and monitor the enemy movements using your tricorder. A nearby crate contains a Plasma Grenade. While you can enter the facility with guns blazing, it’s best to take a stealthy approach to prevent the arrival of Gorn reinforcements. If you’re patient, you can eliminate all of these enemies without raising an alert.
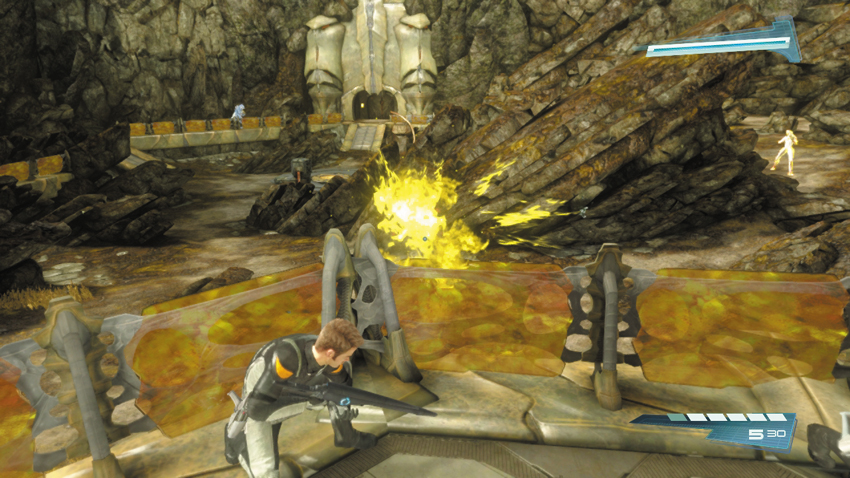
Keep an eye on the Gorn Observer patrolling nearby. She’s occasionally approached by the Defense Drone and enabled with a yellow shield—this prevents her from taking damage by weapons. While the Defense Drone poses no direct threat to you, it will raise an alert if it spots you. Wait for the Gorn Observer to move away, then blast the Defense Drone with your Starfleet Type III Rifle as it passes in front of your position. As long as the Gorn Observer is a safe distance away, she won’t respond to the sound of your weapon or the exploding drone.
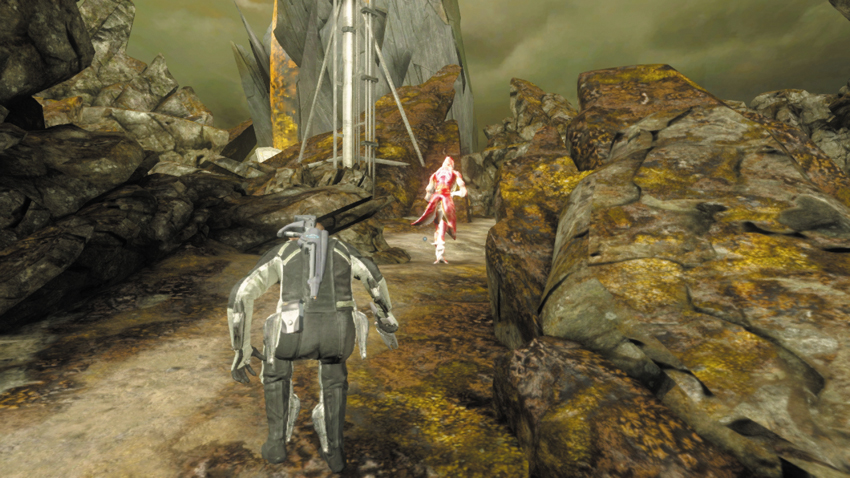
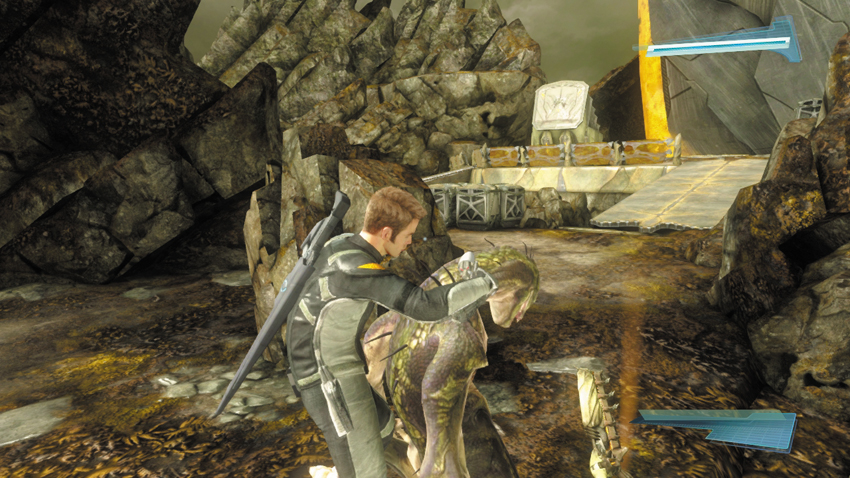
Now wait for the Gorn Observer to complete another circuit, then creep up behind her and perform a takedown. Remember, Gorn Observers can conjure reinforcements, so don’t let him hear you. Remain crouched to avoid making any noise and silently take her down from behind. If she’s too far away and you can’t catch up, stun her with your phaser, then rush up behind her and perform the takedown before she can recover. Immediately after incapacitating the Gorn Observer, stalk the Gorn Initiate nearby. Once again, watch this enemy’s movements, then close in for the silent takedown—feel free to use your phaser’s stun setting to get the jump on him.
9: Defense Drone
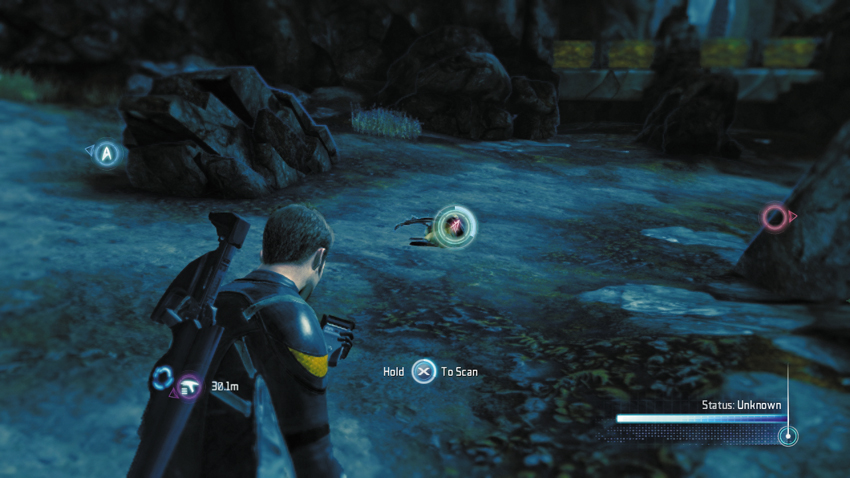
After incapacitating the Gorn Observer and Gorn Initiate, backtrack to the spot where you shot the Defense Drone and scan the wreckage. Like all drones, this one can only be scanned once it has been destroyed.
Type: Research Data
Set: Enemies/Gorn Security
XP: 100
Log Entry: This drone appears to have been designed for primarily defensive purposes. A refreshing change from the Gorns’ otherwise unwaveringly sadistic design choices.
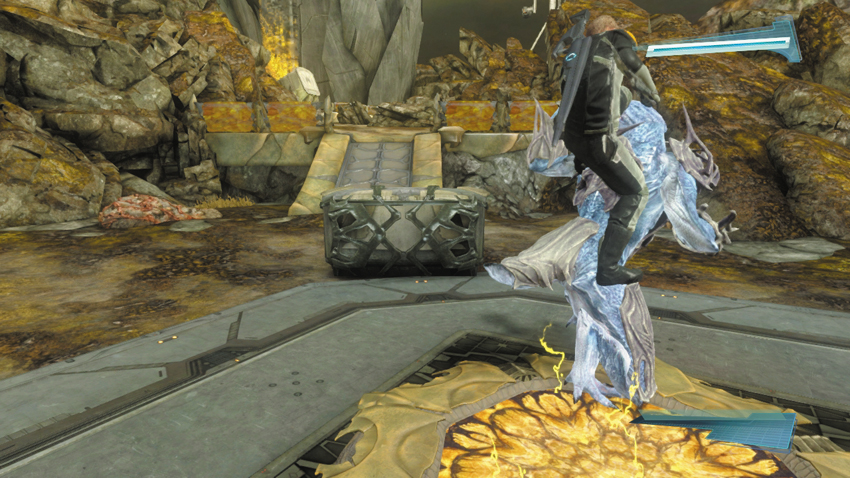
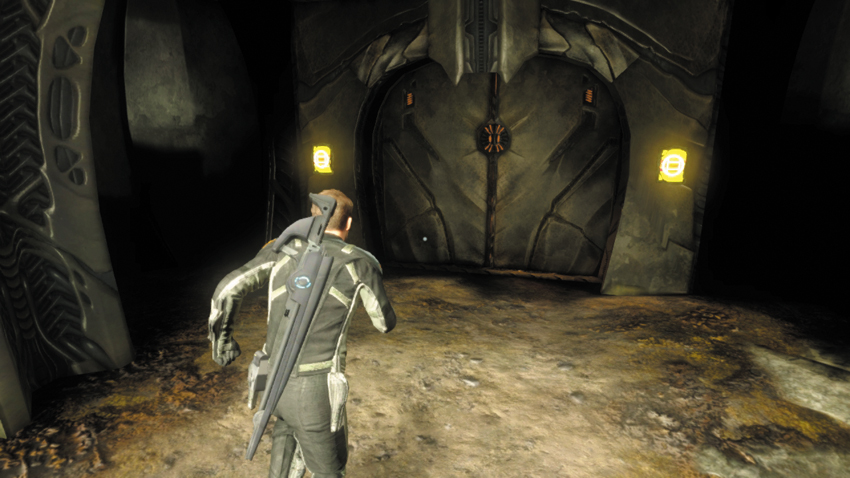
The Gorn Enforcer, the last enemy in this area, is patrolling near the entrance to the facility. Stay low and out of sight while monitoring the Enforcer’s movements. When the opportunity arises, sneak up behind him and perform the takedown. Unlike with the Gorn Observer and Initiate, your phaser’s stun setting has no effect on the Enforcer—it only alerts him to your presence. So you must get in close and approach him from behind to silently incapacitate him. With the Gorn Enforcer out cold, work with your partner to hack the door leading into the facility. Just beyond the door, use the Med Station and Energy Station to replenish your health and ammo, then proceed through the next doorway.
Commendation: Complete deactivation of tower shields without provoking any enemy attacks (Stealth)
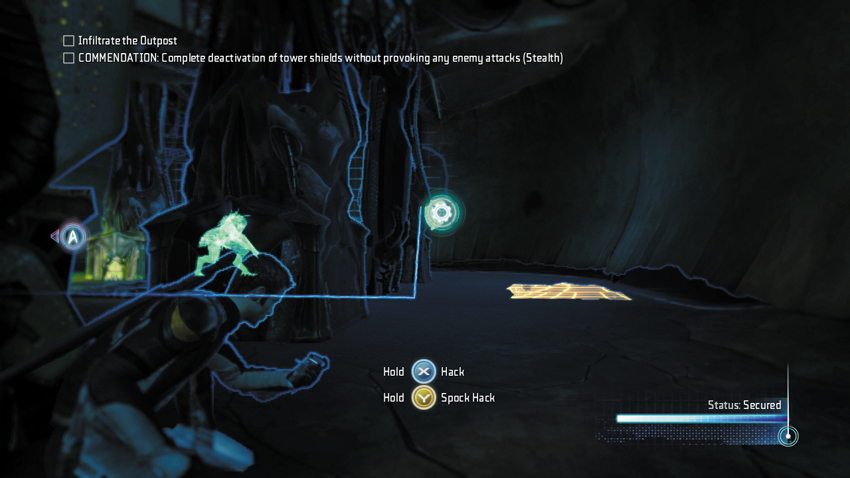
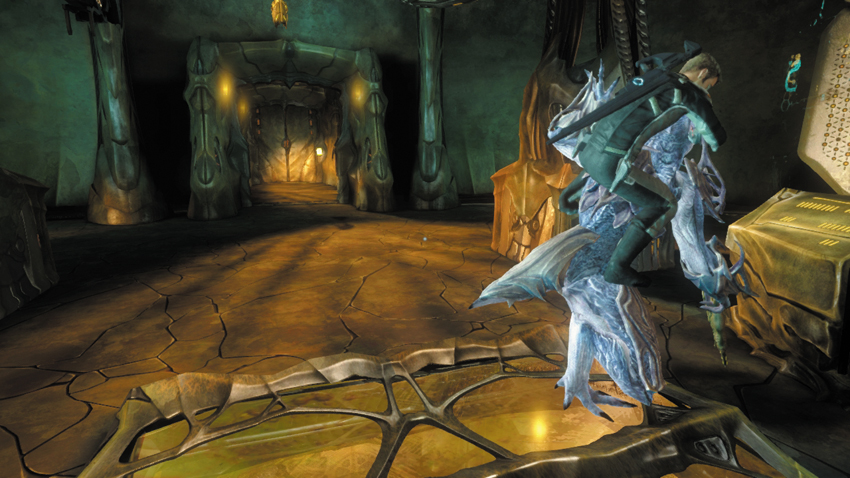
As you enter the next room, a Gorn Enforcer can be seen just ahead, with his back turned, standing in front of a console. As long as you remain silent, he won’t turn around. But the Enforcer is the least of your worries for now—there’s a Security Camera on the left side of the room. While crouched, creep to the right side of the room, using the pillar structures to remain hidden. The console for the Security Camera is on this side of the room—use your tricorder to hack it. With the Security Camera offline, you can now sneak up behind the Gorn Enforcer and perform a silent takedown.
Outpost Security Center
New Objective: Disable the coolant system
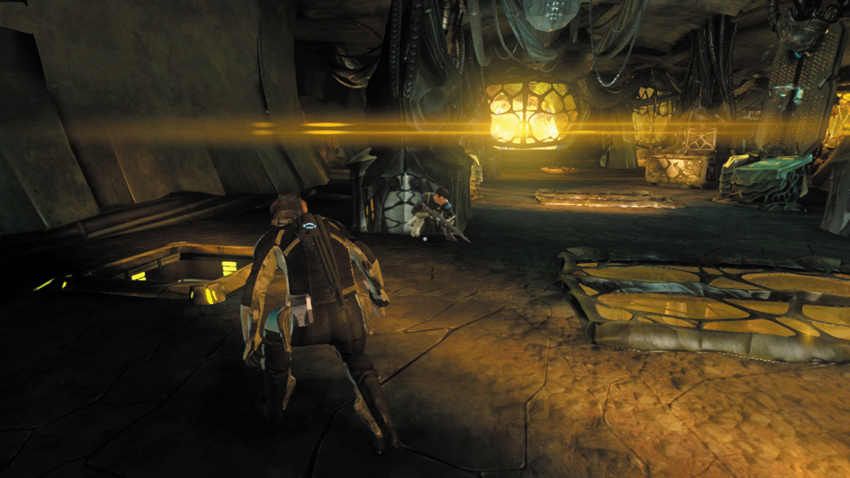
Hack the next door on the left side of the room to enter a massive security center that is patrolled by numerous enemies. Spock thinks they may be able to shut down the main security system through the facility’s central computer. He has detected a coolant system running through the pipes beneath the room. If you can stop the coolant, it should shut down the main system. Stay behind cover until the Gorn Enforcer ahead of you moves away. Then turn to the left side of the entrance to locate a hatch in the floor. Open the hatch with your tricorder and proceed into the tunnel system beneath the security center.
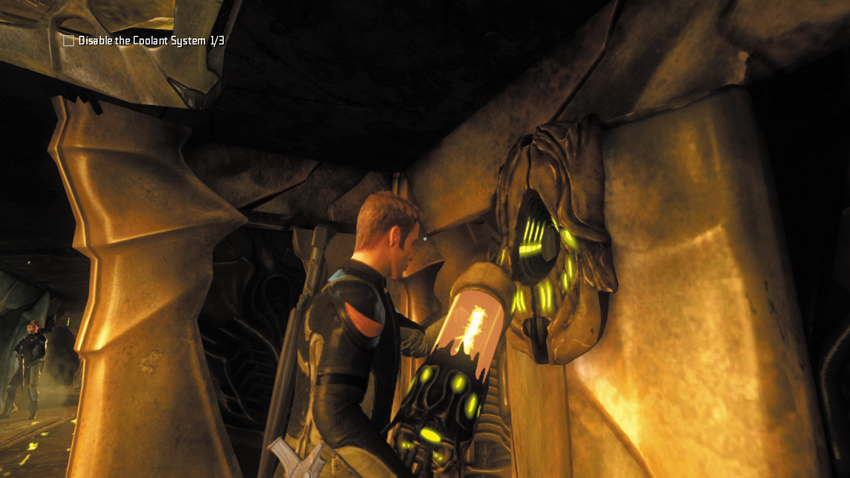
While moving through the tunnel, remain crouched—any noise you make down here may alert the Gorn enemies above. Access your tricorder and follow the tunnel to the nearest of three waypoint markers, each representing the location of a power cell. When you reach the first power cell on the left side of the tunnel, remove it from its socket. You don’t need to do anything more with this power cell, so simply drop it on the ground, near the empty socket. That’s one down, two more to go.
10: The Lymax (3 of 3)
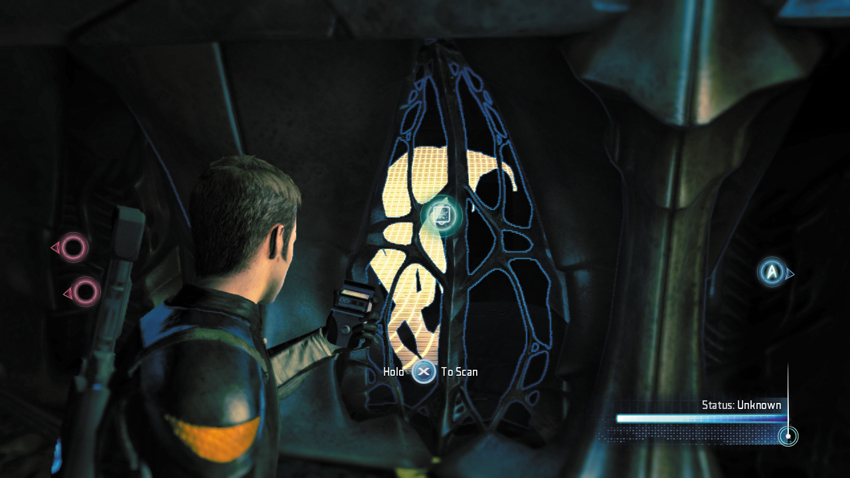
After removing the first power cell, enter the adjoining dead-end passage to scan an imprisoned Lymax behind bars on the right.
Type: Research Data
Set: Where No Man Has Gone Before/Lymax Species
XP: 100
Log Entry: I’m an engineer, not a xeno-biologist, but I would love to show one of these Lymaxes … Lymaxians … whatever, I’d love to show them around the Enterprise. What must it look like to them? To see the ship through the eyes of a primitive culture is to be reminded of the miracles we take for granted, the miracles that let us sail across the stars.
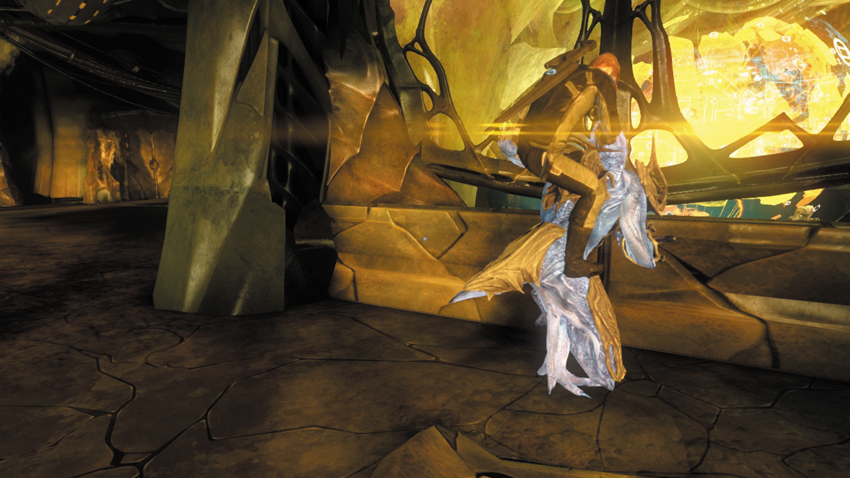
Enter the tunnel passage opposite the empty power cell socket and climb the ladder, then open the hatch above to exit. The Gorn Enforcer you spotted earlier is still patrolling nearby. Take cover behind the equipment next to the hatch and wait for him to pass by your position, moving from left to right. Take this opportunity to sneak up behind him and perform a takedown.
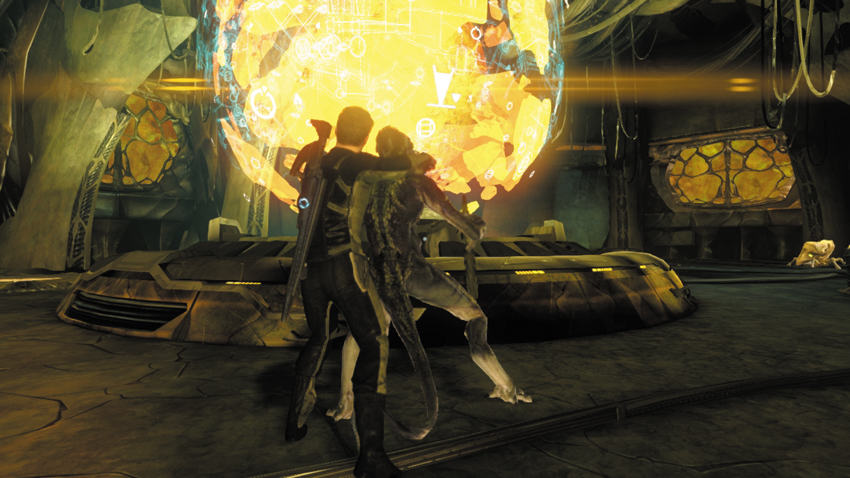
Continue past the hatch you just exited while watching for a Gorn Initiate that’s patrolling ahead. Stay low and behind cover to avoid being spotted. When the Gorn Initiate walks down a set of steps and approaches the amber holographic image of the planet, sneak up behind him and perform another silent takedown. Be careful to stay away from the turret on the opposite side of the room.
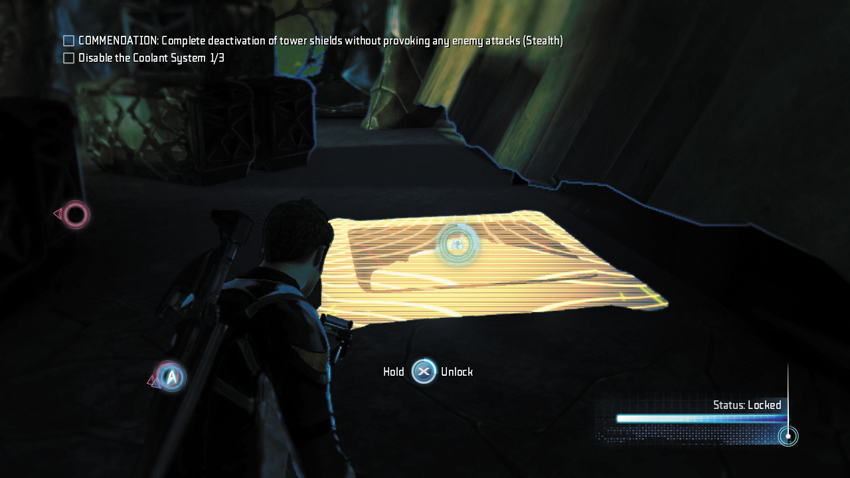
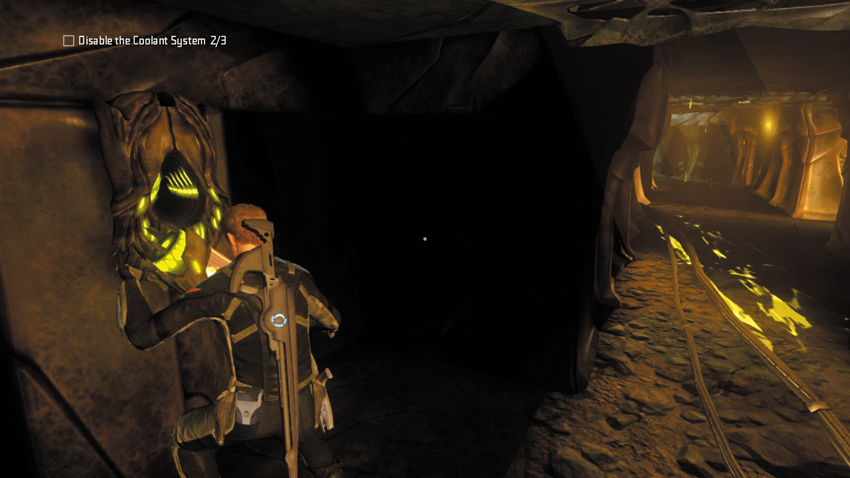
Return to the perimeter pathway and watch out for another Gorn Initiate patrolling ahead—stay out of sight and let him resume his patrol. When he turns away, move toward another hatch in the floor, next to the outer wall and behind a row of consoles. Use your tricorder to locate and open the hatch, then drop down into the tunnel below. At the tunnel intersection, turn left and follow the closest waypoint marker to the next power cell on the right. Remove the power cell from the socket—only one more to go! Your activity has drawn the attention of the Gorn in the room above, but as long as you stay quiet, you will remain undetected.
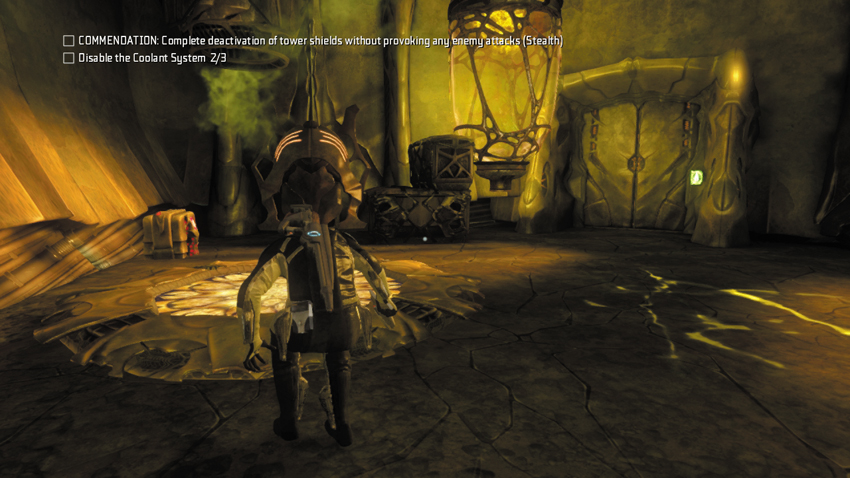
Continue down the tunnel, following it down to a new ladder and hatch. This leads into an unoccupied perimeter room. Open the crate in this room to retrieve a Plasma Grenade. Next to the crate is a vent; use your tricorder to open the vent door. Crawl inside the vent and exit on the other side. You emerge near the stairway where you stalked the Gorn Initiate. This allows you to bypass the activity on the other side of the room.
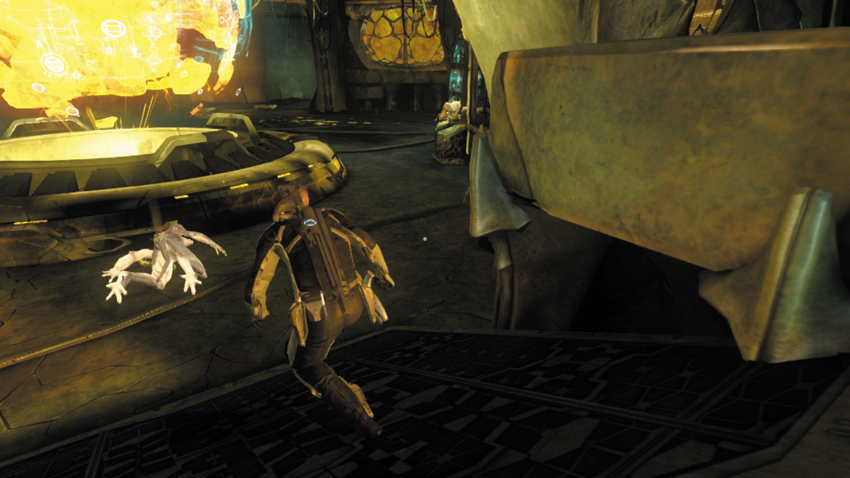
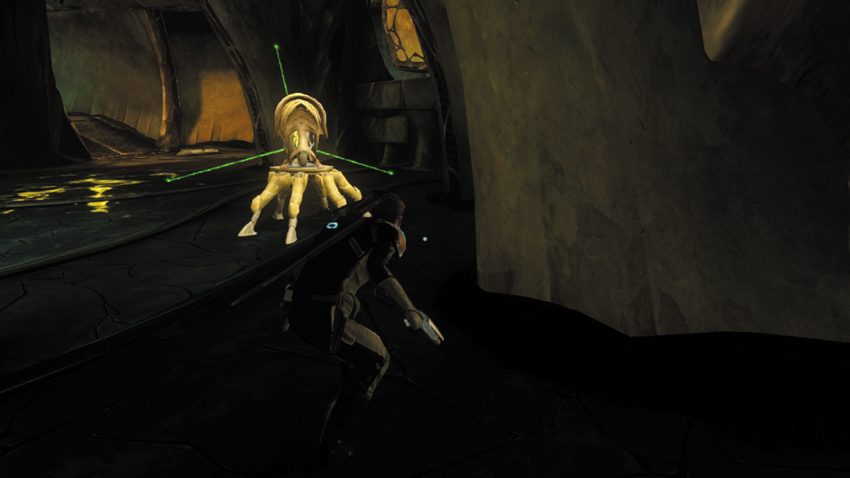
Now move down the stairs, toward the holographic image of the planet in the center of the room. This area is guarded by a turret. But as long as you stay out of sight, you can slip past the turret undetected. Stay on the right side of the room, using the consoles for concealment. As you get close to the turret, it activates, scanning the room with its green beams. As the turret pans away from you, advance and move directly behind the turret. While behind the turret, wait for it to pan to the left, then proceed to the right and take cover in the adjoining corridor.
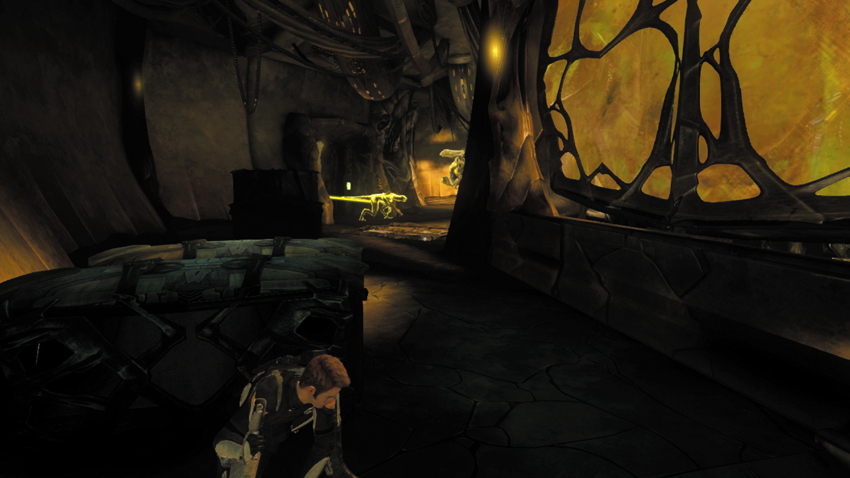
After slipping past the turret, pause in this corridor and take cover behind the crates. A Gorn Initiate, accompanied by a Defense Drone, patrols this area, including a room on the left. Wait for the Gorn Initiate to exit the room and move away from your position. Make sure the Defense Drone follows him. As the Gorn Initiate and Defense Drone move away, step out of cover and enter the room on the left that the enemies just exited.
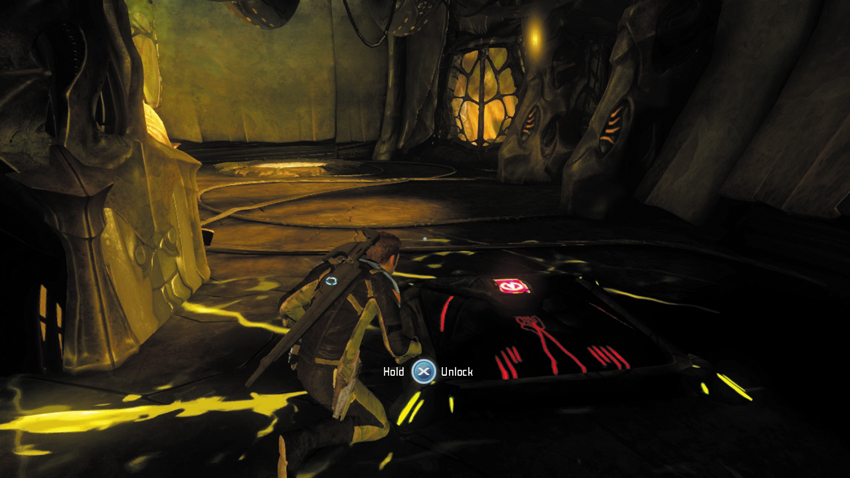
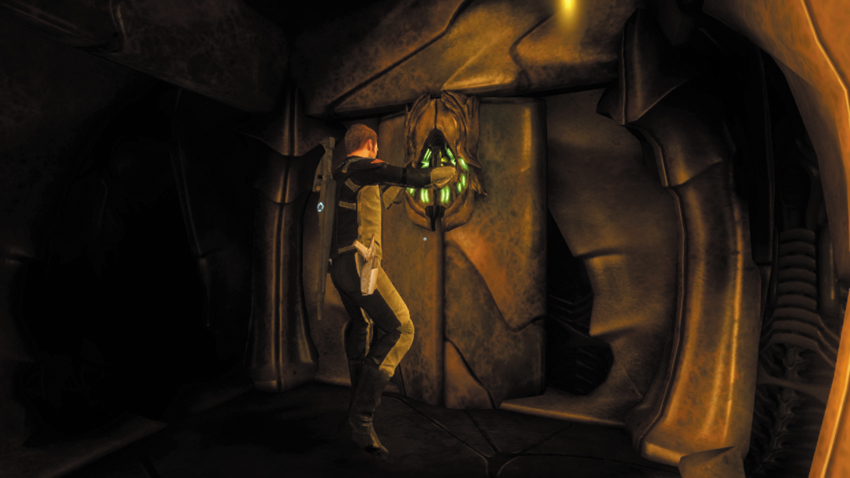
Once in the room, turn left and locate a hatch in the floor. Open the hatch and drop into the tunnel below before the Gorn Initiate and the Defense Drone return. In the tunnel, turn right and remove the final power cell from its socket. With the coolant system disabled, a security door lowers and gives you access to the core. Drop the power cell, turn away from the socket, then drop through a hatch at the end of the next passage.
New Objective: Access Core
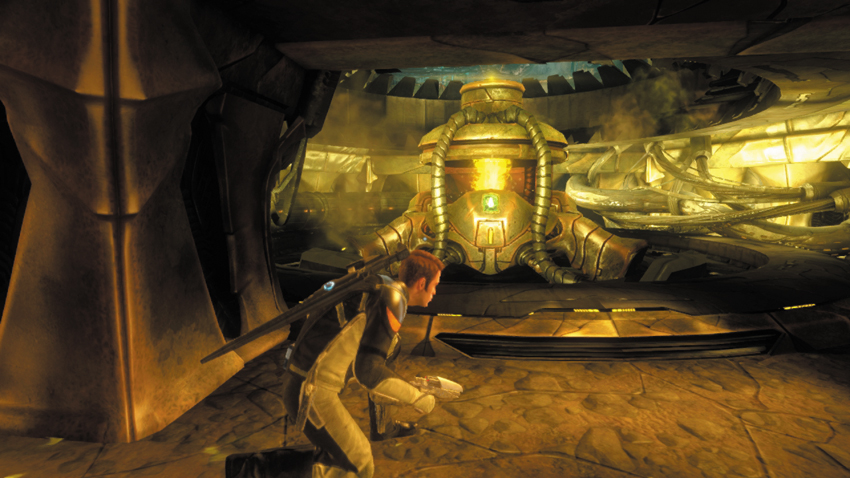
The lower tunnel passage leads to the core. Use your tricorder to deactivate it. Now backtrack the way you came, returning to the room that is patrolled by the Gorn Initiate and Defense Drone. Before emerging from the tunnel, use your tricorder to scan for enemy movement above. When the coast is clear, climb the ladder and take cover behind the nearby pillar. There’s a collectable in here that you should scan before you leave.
11: The Lymax (2 of 3)
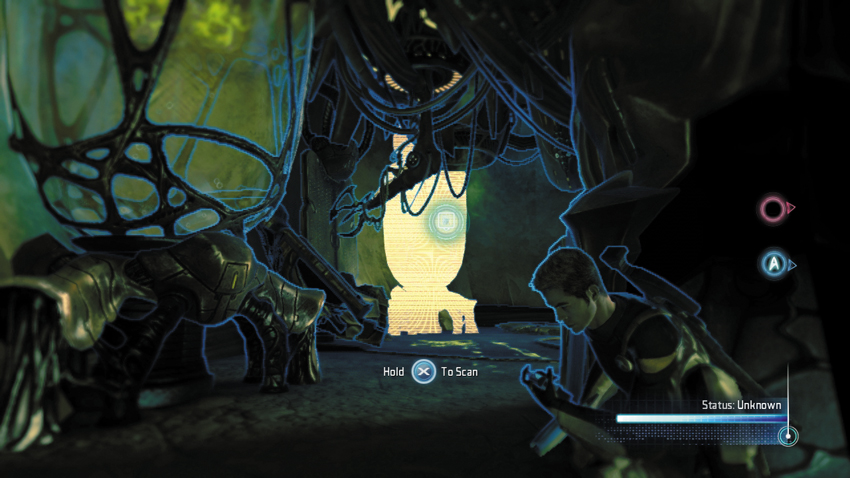
While hiding behind the pillar, scan the large yellow tank structure on the far side of the room; it contains some sort of liquid … and a Lymax.
Type: Research Data
Set: Where No Man Has Gone Before/Lymax Species
XP: 100
Log Entry: I’m not a fan of the Prime Directive. It sounds good in principle, but in reality it too often means standing to the side watching a less developed species get run over by a more advanced race. The Prime Directive is meant to save species like the Lymax from outside interference. What about saving them from extinction?
New Objective: Open the Tower Shields
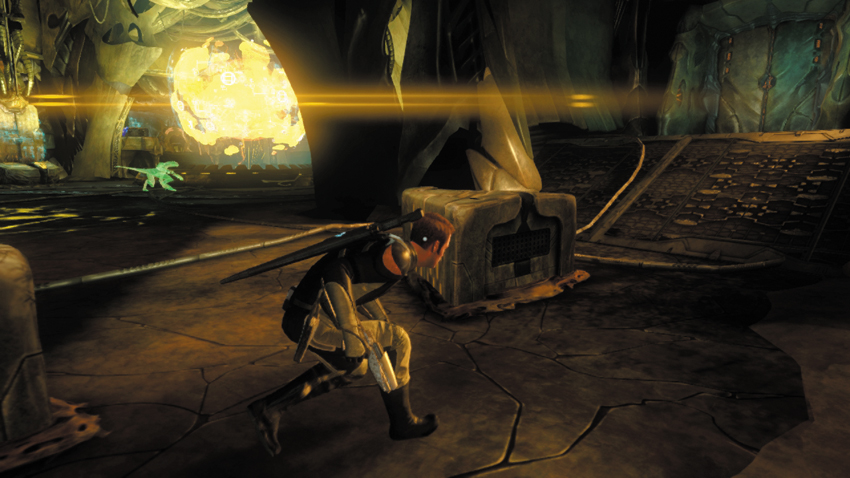
Stay behind the pillar until the Gorn Initiate and Defense Drone return. As they exit, follow behind them. They turn to the left. You should go to the right and return to the passage you entered after you slipped past the turret. A Gorn Initiate is patrolling the room with the turret and holographic projection. To avoid being spotted, use your tricorder to raise a pair of barriers in the floor. This allows you to transition from one piece of cover to the next while proceeding to the next doorway, which is indicated with a waypoint marker.
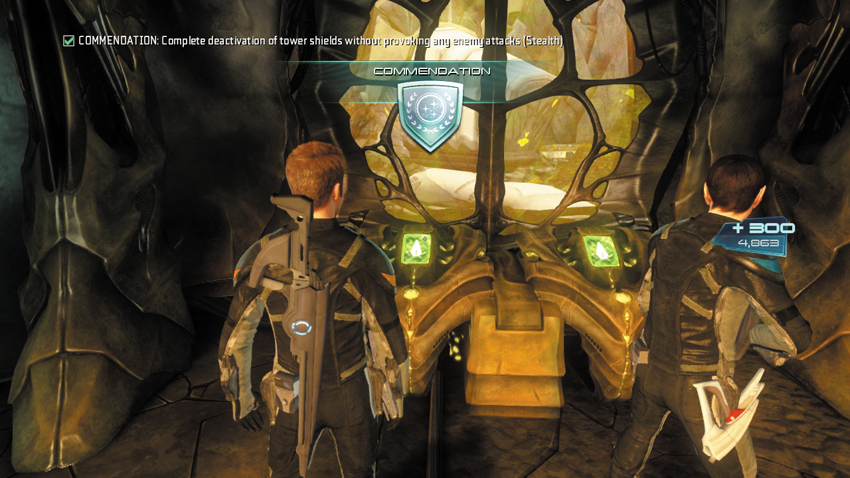
Pass through a couple of doorways until you reach the control room. Here you can stock up on health and ammo from a Med Station and an Energy Station. There’s also a crate containing a Plasma Grenade. When you’re finished scouring the room for goodies, approach the console that is positioned in front of a window—the shielded tower can be seen in the distance. Using your tricorders, work with your partner to hack the console and deactivate the shield. Soon after the shield is deactivated, a Gorn ship arrives and drops off two Gorn Initiates, a Gorn Observer, and a Gorn Enforcer outside. It looks like your trip to the tower won’t be uneventful. If you managed to deactivate the shield without provoking an enemy attack, you earn the stealth-based commendation, worth 300 XP.
New Objective: Plant explosives on the tower
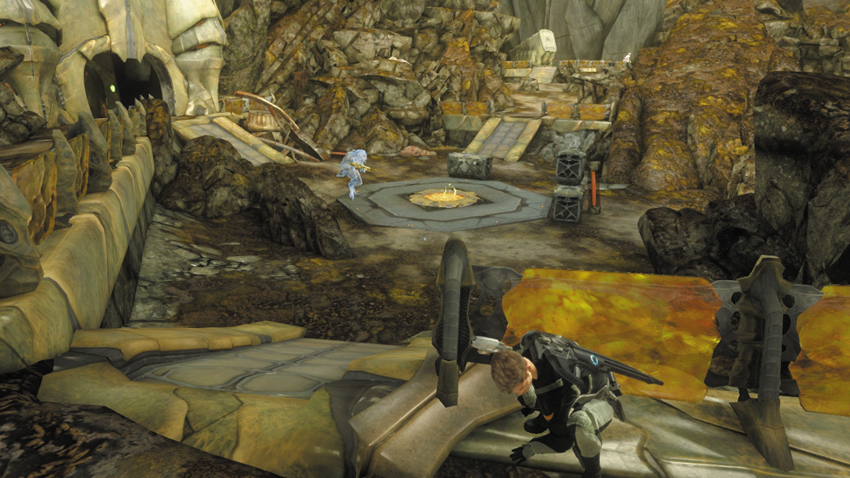
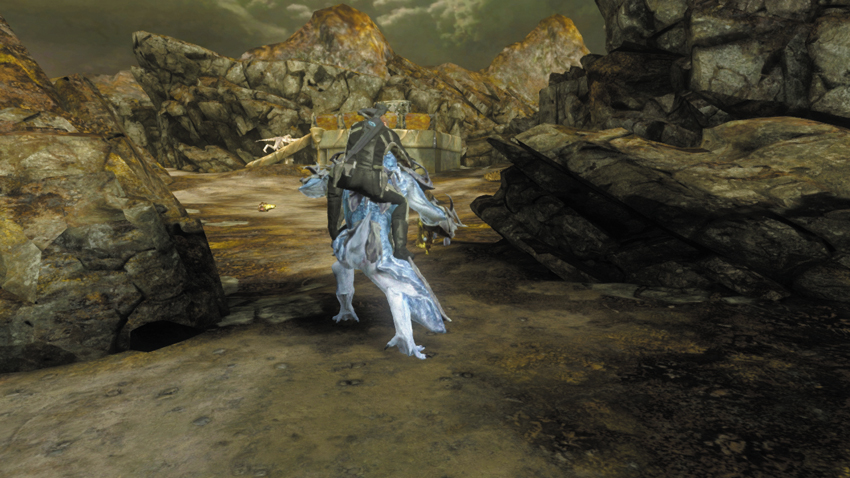
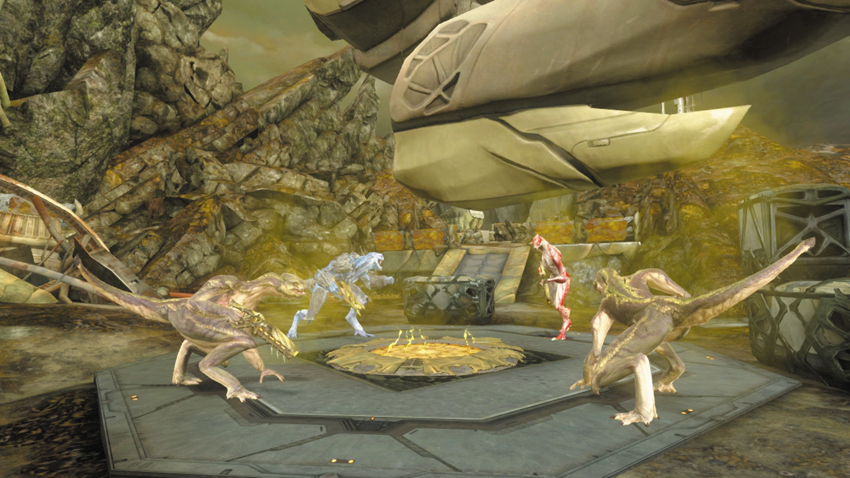
In the control room, look for a hatch in the floor and open it. Proceed into the tunnel system and pass through a vent leading back out to the outpost’s perimeter, which now is patrolled by fresh reinforcements. While you can fight your way to the tower, it’s just as easy to take a stealthy approach. Take cover near the vent and watch for the Gorn Enforcer patrolling nearby. When the Enforcer moves away from the facility’s door and enters the courtyard below, sneak up behind him. Follow the Enforcer until he stops, then perform a silent takedown.
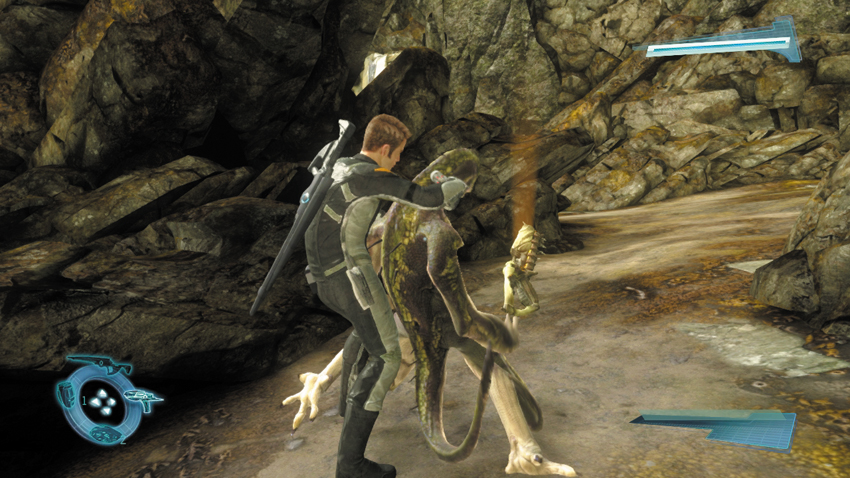
Take cover behind the rock next to the fallen Gorn Enforcer and watch the Gorn Initiate on the platform ahead. When he exits the platform and moves to the left, sneak up behind him and perform a takedown. If needed, you can retrieve a Plasma Grenade from the nearby crate. But be careful not to get spotted by the other Gorn Initiate that is patrolling nearby.
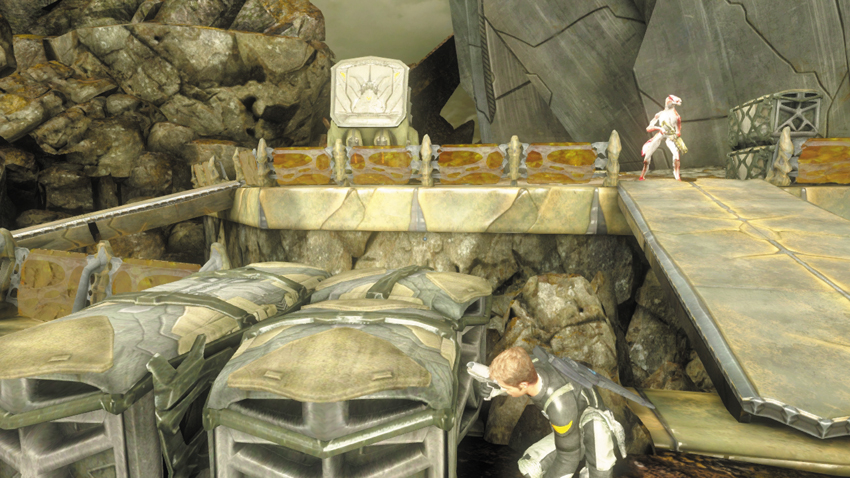
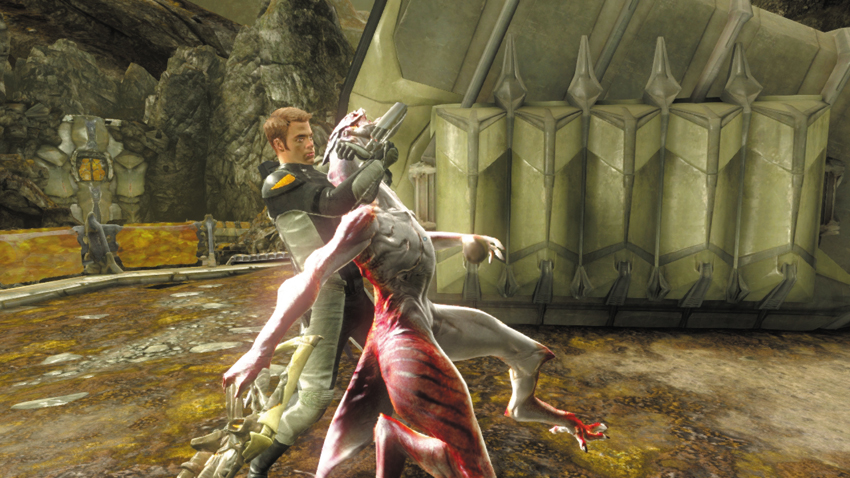
Return to the perimeter path patrolled by the Gorn Initiate and cautiously approach the platform at the base of the tower. This platform is guarded by a Gorn Observer—if she sees you, she’ll not only raise an alert, but also conjure multiple Gorn Initiate reinforcements. Remain behind cover near the platform and wait for the Gorn Observer to move away from your position. Take this opportunity to get even closer to the platform. But don’t get greedy. Hold near the bottom of the platform and wait for the Gorn Observer to complete another circuit. When she moves away from you, creep up onto the platform, sneak behind the Gorn Observer, and incapacitate her with a takedown. There’s no need to worry about the other patrolling Gorn Initiate—he won’t see you.
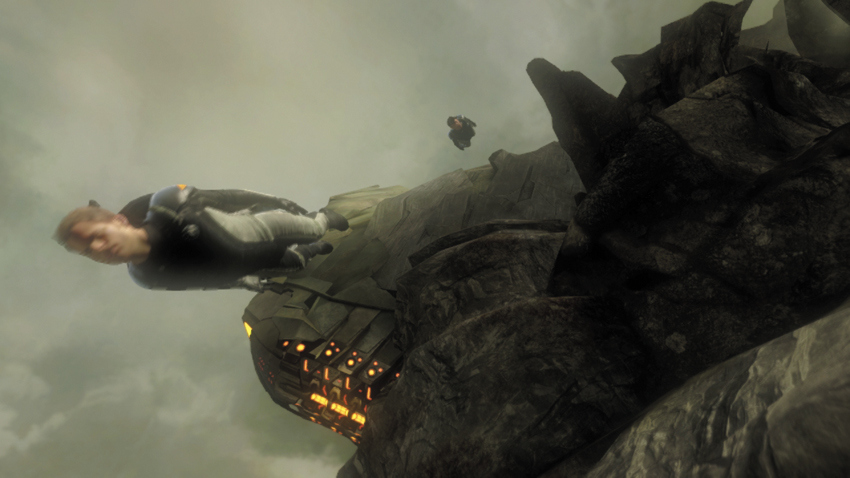
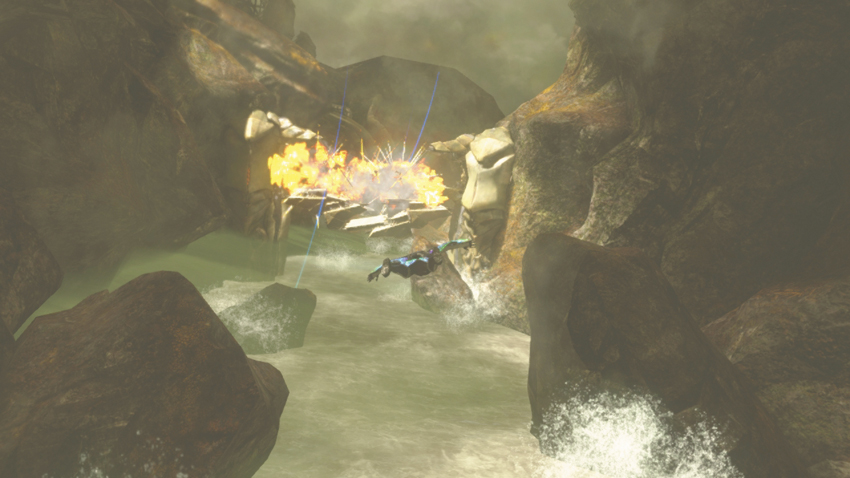
Climb the tall ladder leading up to the tower to complete your objective and trigger a cinematic. Soon after setting an explosive charge on the tower, Kirk and Spock leap off the side, just seconds before a massive explosion. This gives way to another gliding sequence that requires you to avoid collisions with rocks and other obstacles in the canyon beneath the tower. Along the way, Kirk orders the Enterprise to fire torpedoes at a bridge in your path, which demolishes it only seconds before you collide with it. Continue moving through the canyon until you near a cave where the gliding sequence ends.
The Apple Part 1
Tunnels
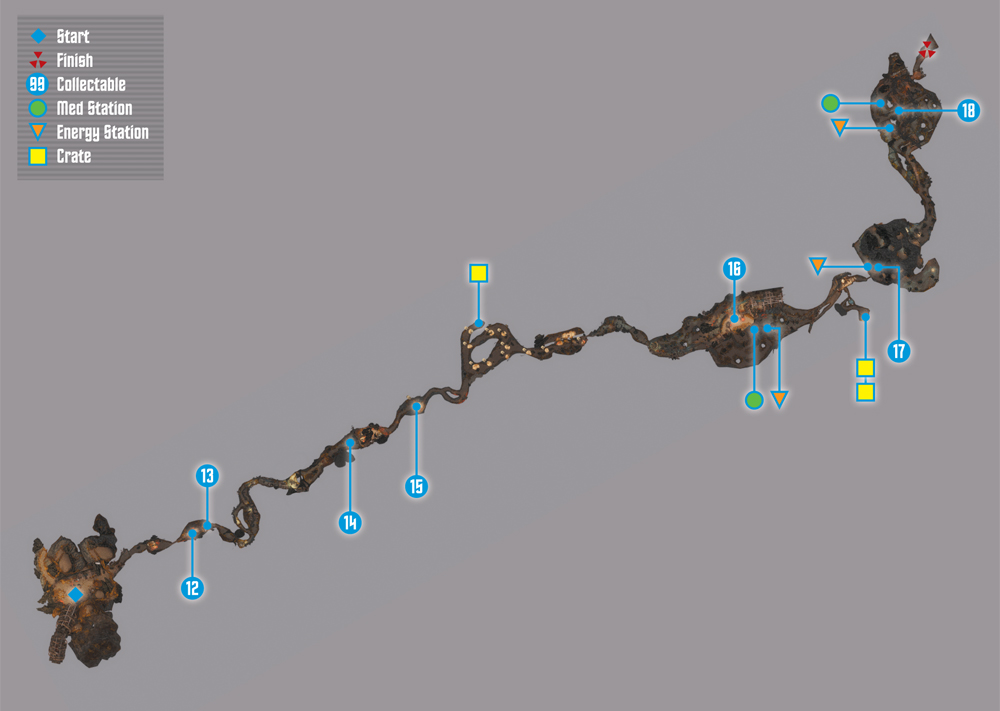
Collectables Checklist
| # | Name | Type | XP |
|---|---|---|---|
| 12 | Glowflower | Research Data | 100 |
| 13 | Water Cabbage | Research Data | 100 |
| 14 | Stalactites | Research Data | 100 |
| 15 | Gorpion | Research Data | 100 |
| 16 | Dog | Research Data | 100 |
| 17 | Crystal Formation | Research Data | 100 |
| 18 | Arc Driver | Research Data | 100 |
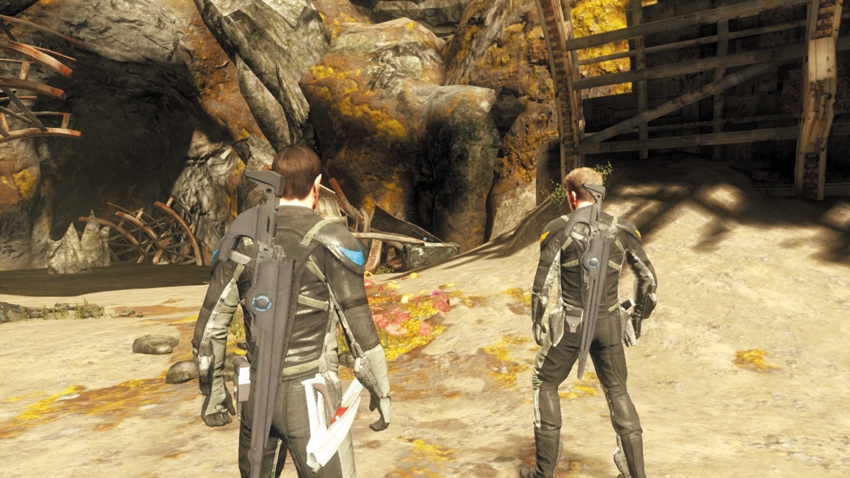
Following the gliding sequence, Kirk and Spock set down outside a cave. Before advancing into the tunnel system, Kirk checks in with the Enterprise. Uhura reports escalated Gorn activity—she suspects the torpedo barrage got their attention. But Chekov says the Enterprise has not yet been detected because it is still masked by interference from the rip. Still, Scotty isn’t sure how long they’ll be able to hide from the Gorn, and he urges Kirk and Spock to get a move on. Spock detects a subterranean passage just ahead.
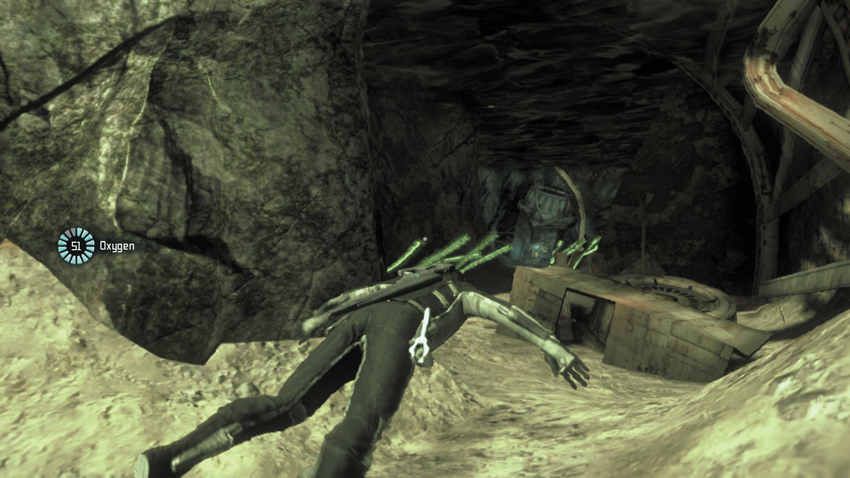
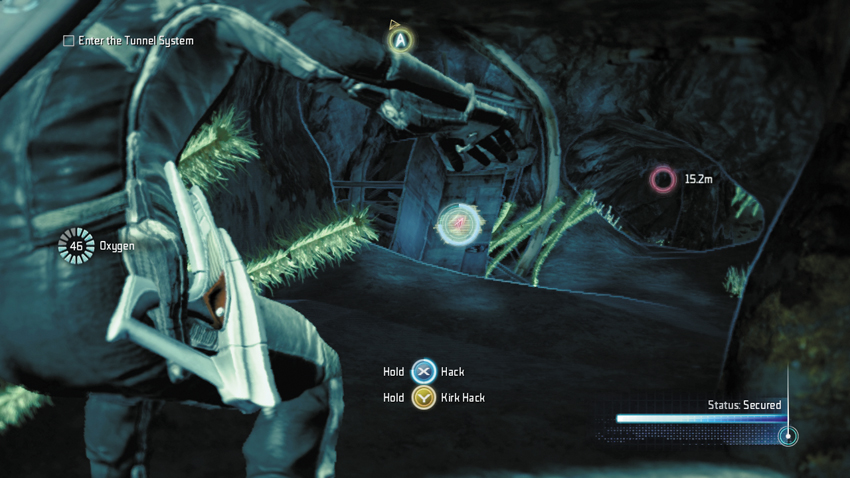
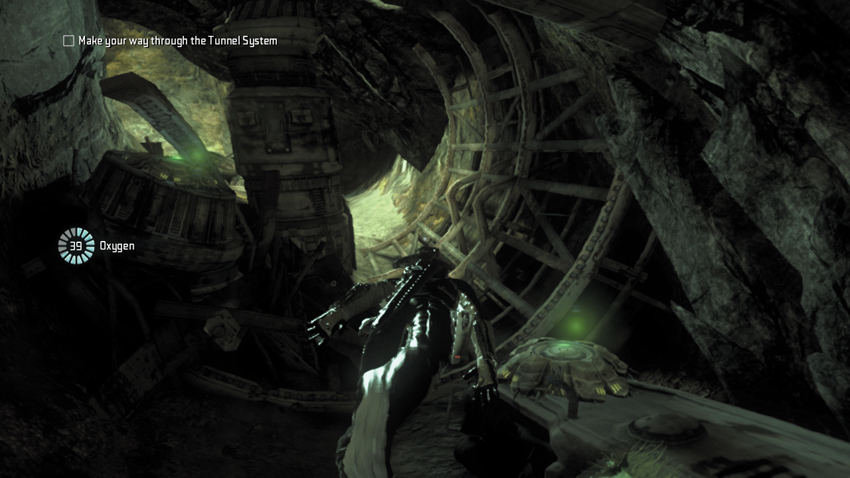
Approach the mouth of the cave and jump into the water. This is just the first of many swimming sequences you must complete to advance through the tunnel system. Follow the on-screen instructions to swim. As you can see, swimming is much like moving, but while underwater you can move in three dimensions. Take a moment to practice diving and surfacing. The oxygen meter on the left side of the HUD indicates how long you can stay underwater—you need to surface before this meter counts down to zero. Upon surfacing, the oxygen meter automatically resets. Swim through this first underwater passage, but watch out for a couple of mines. Use your tricorder to detect the mines, then hack them. Hacking mines underwater is instantaneous—you don’t need to complete a hacking minigame to complete the hack. Once a mine has been hacked, you can swim past it without triggering it. At the end of the underwater passage, swim to the surface and climb out of the water. Climbing out of the water is just like mantling up from a ledge. Just ahead, slip through a narrow crevice in the cave to access the next tunnel.
12: Glowflower
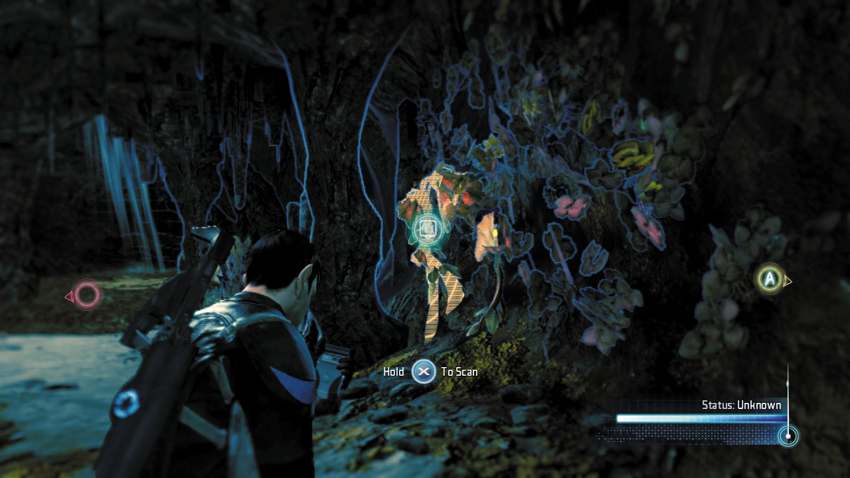
After squeezing through the crevice, turn to the right side of the cave to scan this red plant.
Type: Research Data
Set: The Apple Part 1/Gorn Flora
XP: 100
Log Entry: I was going to call this “Glow Flower” (two words) but “Glowflower” (one word) just sounds more exotic, don’t you think? Evocative of faraway planets, the romance of space exploration. Same reason it’s not called “Star Fleet.”
13: Water Cabbage
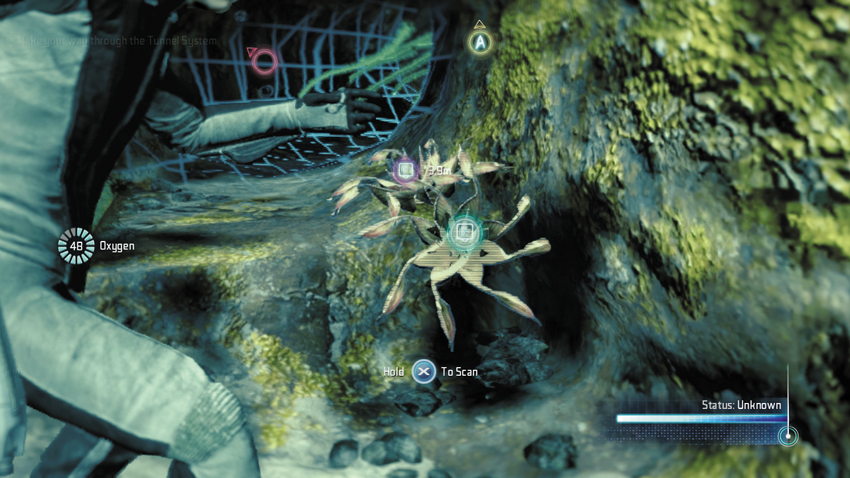
Beyond the Glowflower, enter the next pool of water and scan one of these plants growing along the bottom.
Type: Research Data
Set: The Apple Part 1/Gorn Flora
XP: 100
Log Entry: I’m sure the brainiacs back at Starfleet will end up calling this something else in their official Big Book of Alien Plants, but in the meantime I’m sticking with Gorn Water Cabbage, because 1) we found it on a Gorn planet, 2) it lives in the water, 3) it smells like cabbage. My nomenclature skills are formidable indeed.
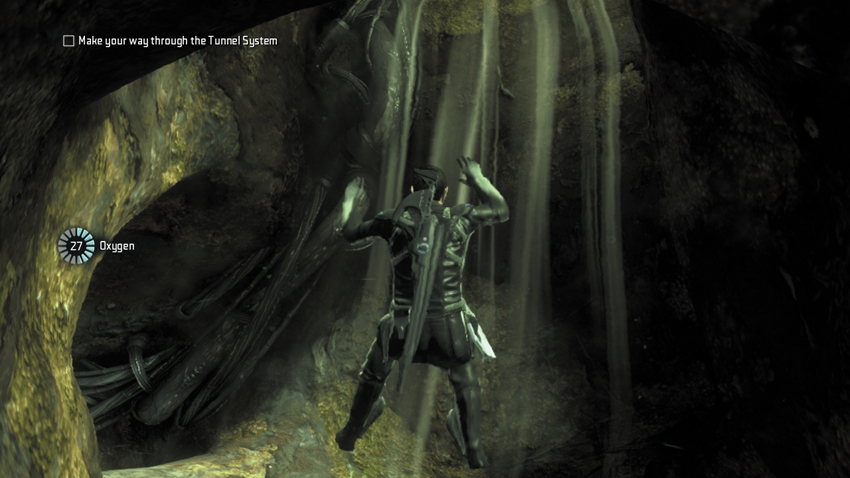
After scanning the Water Cabbage, continue swimming through the underwater passage and hack two mines along the way. When you spot light ahead, swim to the surface to catch your breath. These little air pockets don’t allow you to climb out of the water, but they give you the chance to replenish your oxygen meter before continuing through long underwater caverns. Once you’ve surfaced, dive back down and use your tricorder to get your bearings. Swim toward the next waypoint marker.
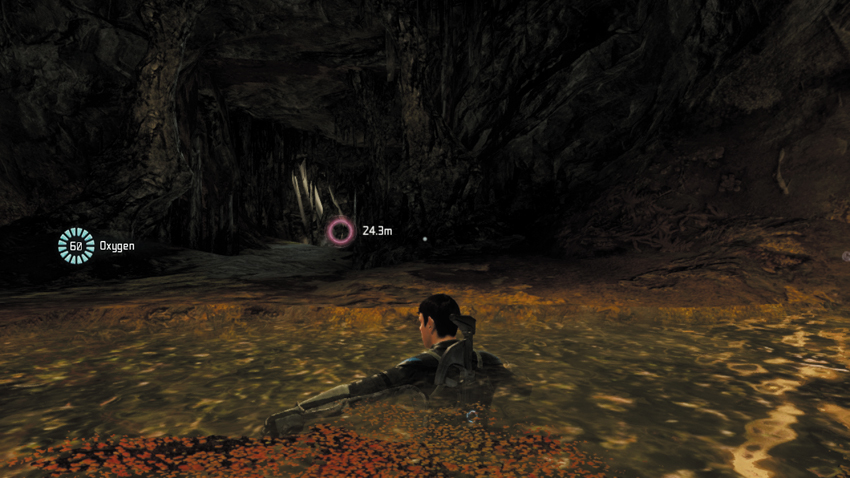
There are four mines in the next passage, along with some debris you’ll need to swim around. Once past the mines and debris, head for the next air pocket, which is marked with a large beam of light shining from the water’s surface. This is a long swimming sequence so you need to keep moving to reach this air pocket before your run out of oxygen. Once you get some air, continue swimming through the next passage that is filled with more debris and two mines. Once again, swim toward the light to surface and catch your breath before continuing. There are two entrances to the final passage—both are mined. So regardless of which direction you choose, hack the mines along the way. When you surface at the end of the last passage, you come to a new span of the tunnel system. Hop out of the water and proceed on foot.
14: Stalactites
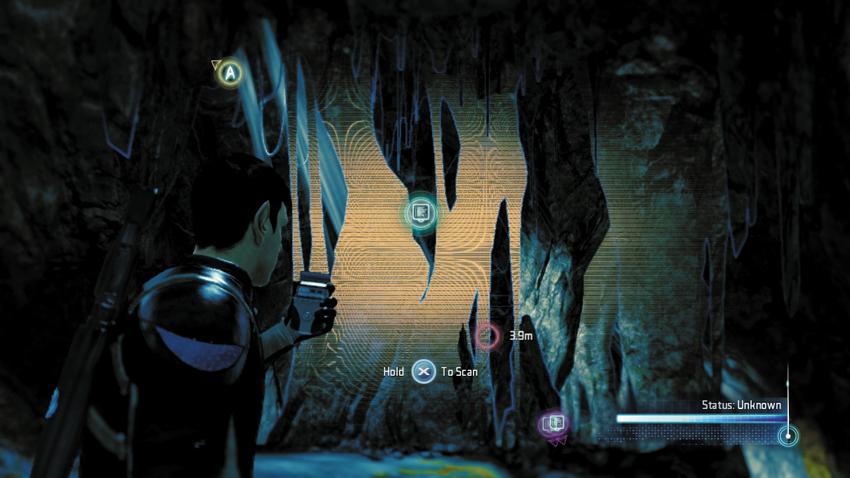
After you emerge from the water, continue forward and scan this large rock formation.
Type: Research Data
Set: The Apple Part 1/Native Geology
XP: 100
Log Entry: Great, you’ve found a rock formation. If you’re looking for an education about the nuances of geology, you’ve come to the wrong Scot.
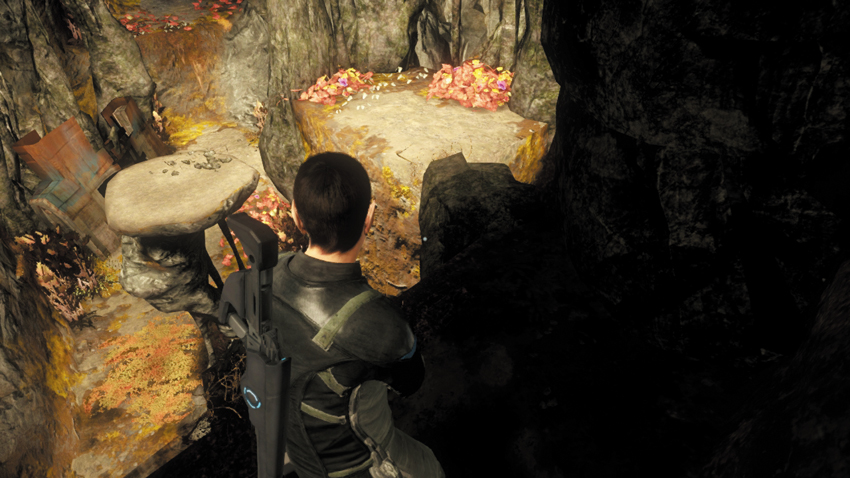
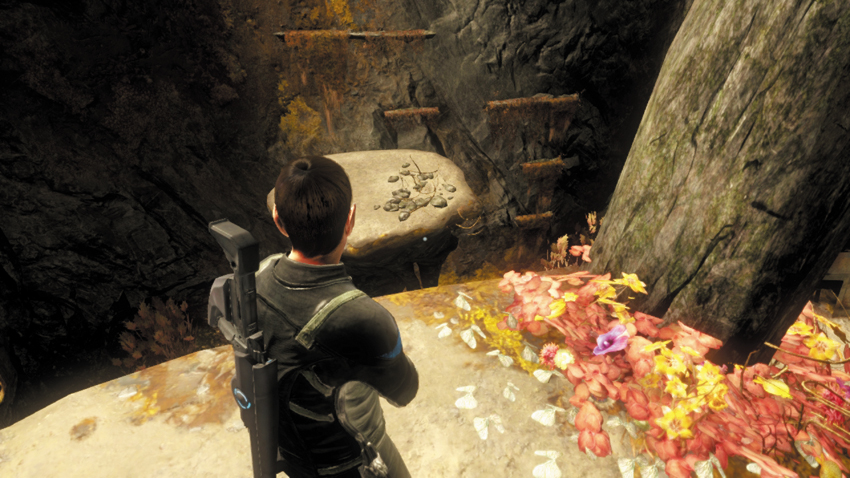
Now you must carefully descend a series of ledges to reach the lower cavern. Drop down to the ledge on the left side of the stalactites. Drop down again, and this time cling to the ledge below. Pull yourself up from the ledge to gain a foothold on a narrow shelf on the cliff’s face. From here, leap over to the nearby plateau. Once you land, turn to the left and jump over to the next plateau. From the second plateau, jump toward the cavern wall on the left side and traverse along a series of ledges, and then drop down to the tunnel’s floor. Just ahead, perform a boost to lift your partner onto a tall ledge that leads into the next tunnel. Wait for him to pull you up into the tunnel, too.
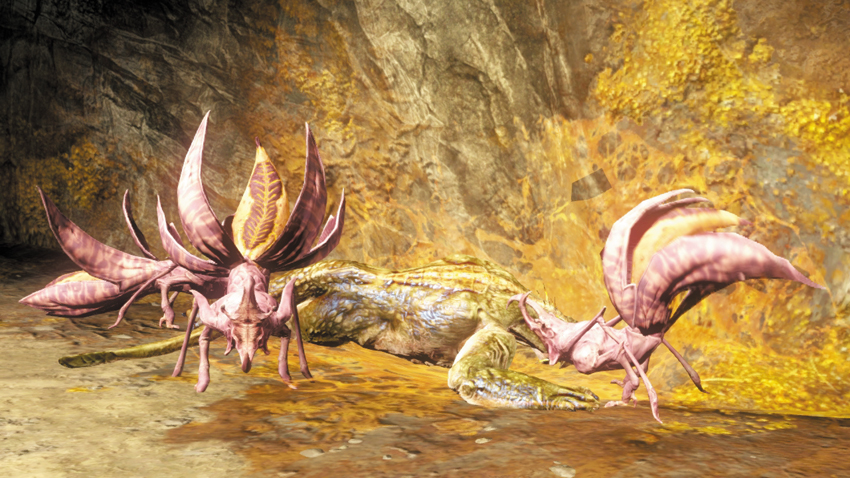
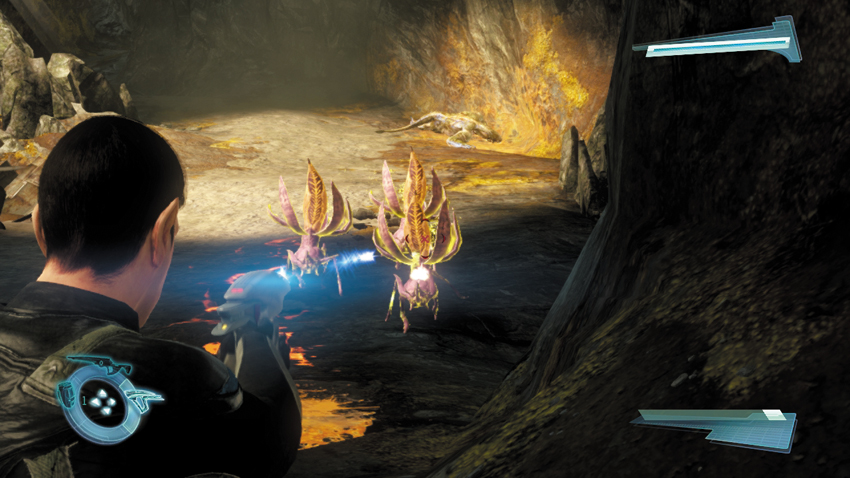
In the next span of the tunnel you spot a dead Gorn Initiate—it looks like it was attacked by something. Spock reports some kind of life form is just ahead. Keep pressing forward until a cinematic reveals three Gorpions feasting on the corpse of another Gorn Initiate. Open fire on the Gorpions before they get too close—when they’re within a few feet, these suicidal creatures explode, inflicting heavy damage. Due to their explosive nature, killing one Gorpion with your phaser can set off a chain reaction, causing nearby Gorpions to explode as well. Therefore, try to hit these enemies while they’re bunched up in a group. Otherwise, pick them off individually. But don’t get greedy. If they get close, be ready to dive out of the way to avoid taking damage from their eventual explosion.
15: Gorpion
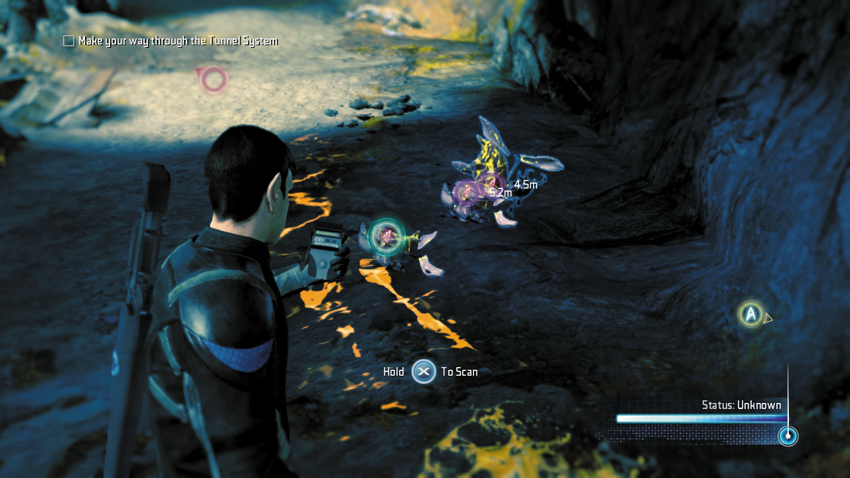
Immediately after killing the three Gorpions, scan one of their carcasses with your tricorder.
Type: Research Data
Set: Enemies/Gorn Enemies
XP: 100
Log Entry: “Gorpion,” get it? “Gorn” plus “Scorpion.” That’s how science works. Don’t try this at home.
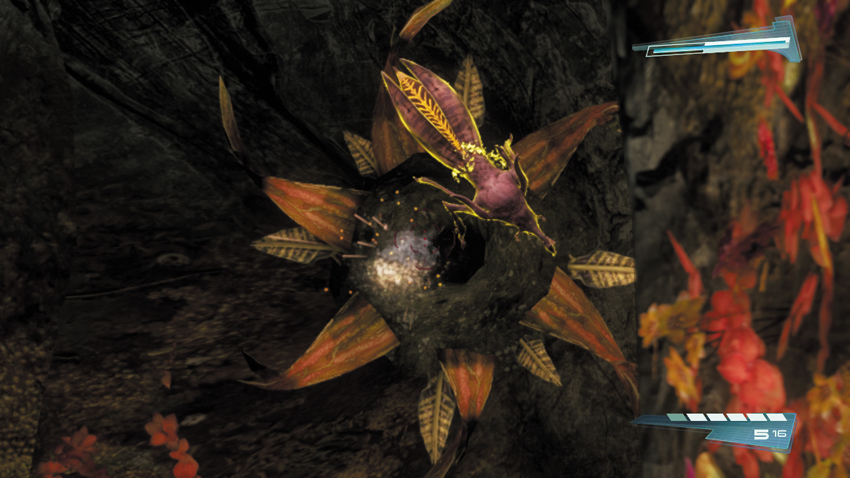
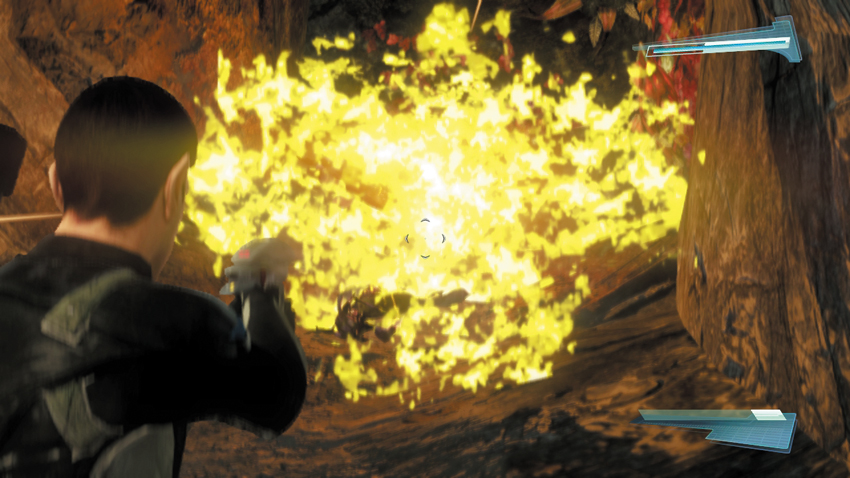
Continue through the tunnel system until a cinematic shows a Gorpion nest attached to the cavern wall ahead. Gorpion nests are best eliminated with your Starfleet Type III Rifle—it only takes two hits. However, don’t expect the Gorpions in and around the nest to take your aggression lightly. Immediately after you destroy the nest, switch to your phaser and engage the incoming Gorpions racing along the cavern floor. For best results, use teamwork—have one partner target the nest while the other engages the Gorpions. This tactic will serve you well in the next passage.
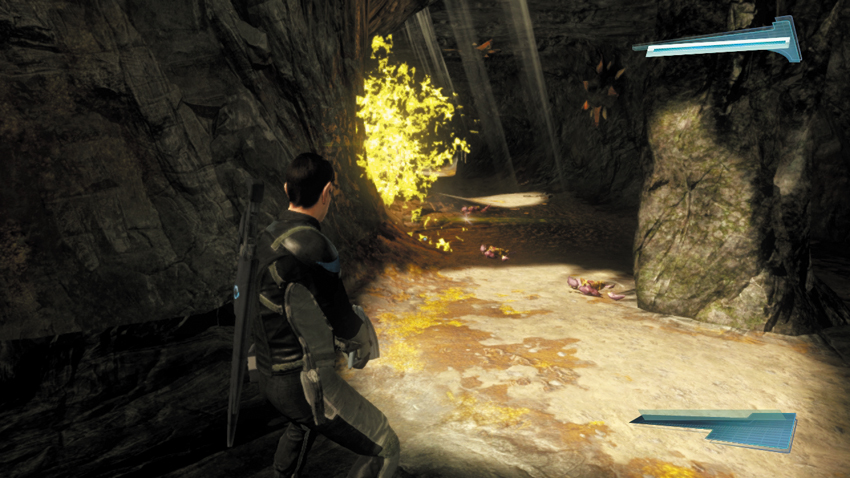
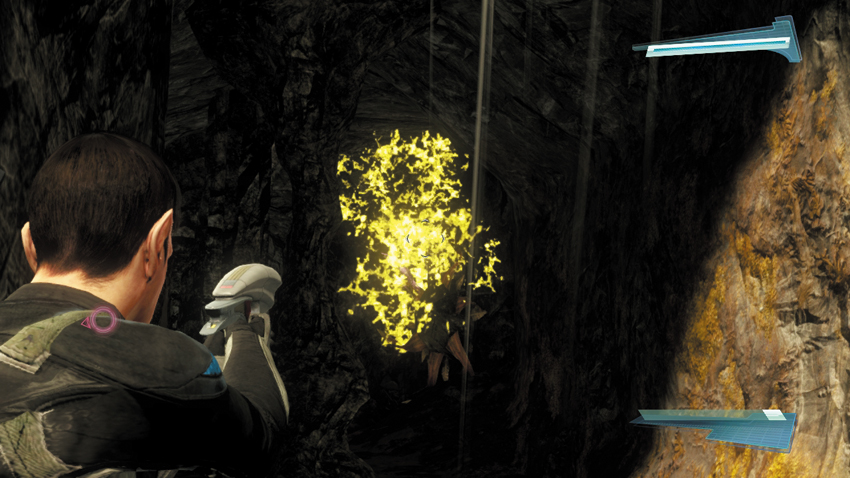
As you advance deeper into the tunnel system, use your tricorder to detect multiple Gorpion nests attached to the walls and ceiling. There’s no easy way to slip past this area undetected, so get ready for some quick shooting. Once again, have one partner focus on clearing out the nests using the Starfleet Type III Rifle while the other partner uses his phaser to engage the swarms of Gorpions heading in your direction. Take it slow during this sequence, engaging one nest at a time. Once a nest and its Gorpions are eliminated, use your tricorder to locate the next target. Inch your way through this wide passage and eliminate every nest you encounter along the way.
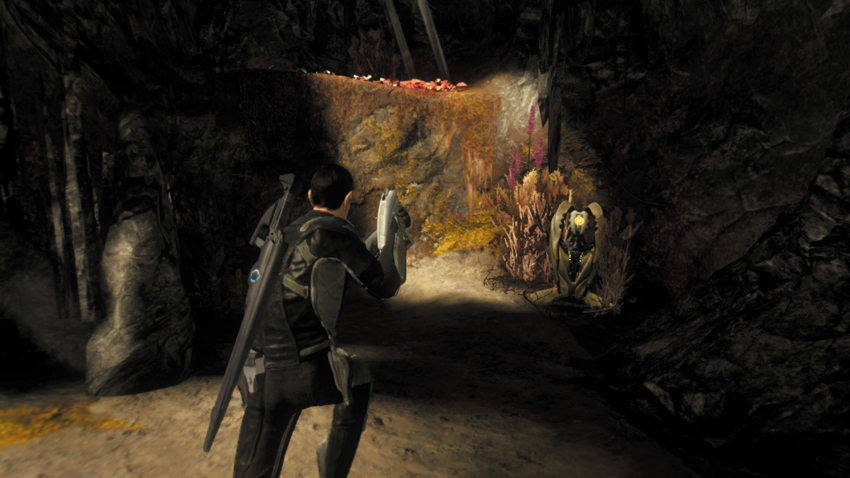
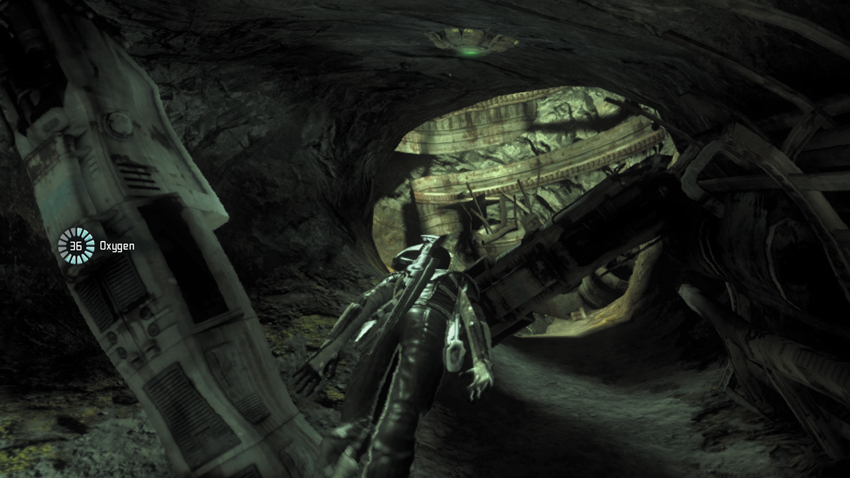
Beyond the Gorpion nests, approach a Gorn Energy Station at the base of a steep ledge. Take a moment to replenish your ammo at the Energy Station, then boost your partner up to the ledge and have him pull you up to the top. Look for a small crawl space in the nearby wall and press the button shown on-screen to crawl through. The crawl space leads to another tunnel with a pool of water. Dive in and start swimming, and use your tricorder to locate and hack three mines along the way.
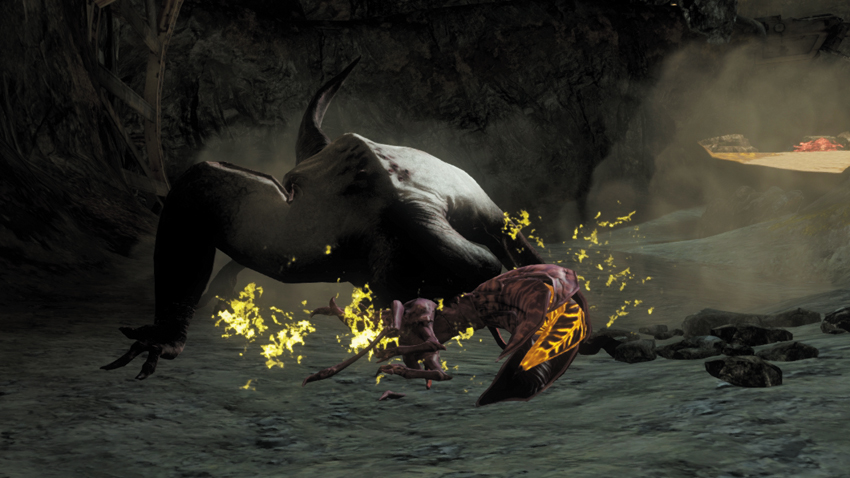
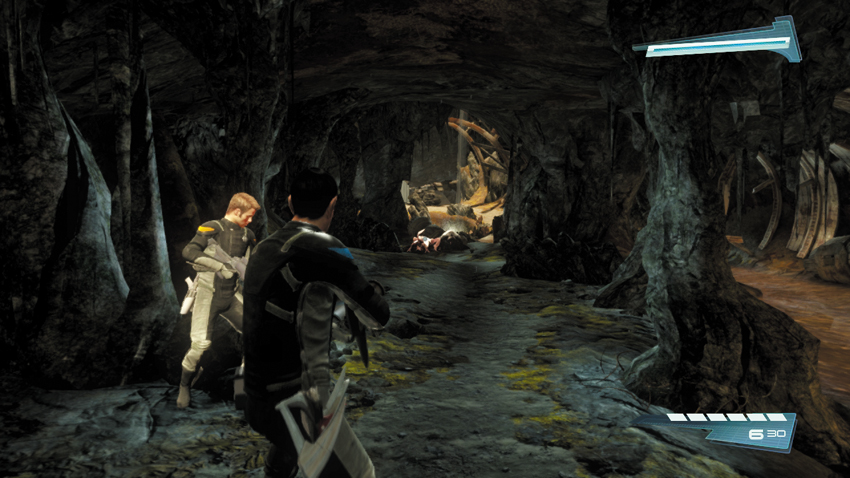
You emerge from the water in a tunnel occupied by a new creature—a cinematic shows a Gorn Dog attacking and feasting on an unsuspecting Gorpion. Just ahead, two Gorn Dogs feast on a kill. Bones reports that these creatures are indigenous to this planet, but that their DNA appears to be altered, perhaps by the Gorn, to make them more aggressive. Hold back and take aim with your Starfleet Type III Rifle, picking off each Gorn Dog before they can charge you—all it takes is one hit to kill each of these ferocious creatures.
16: Dog
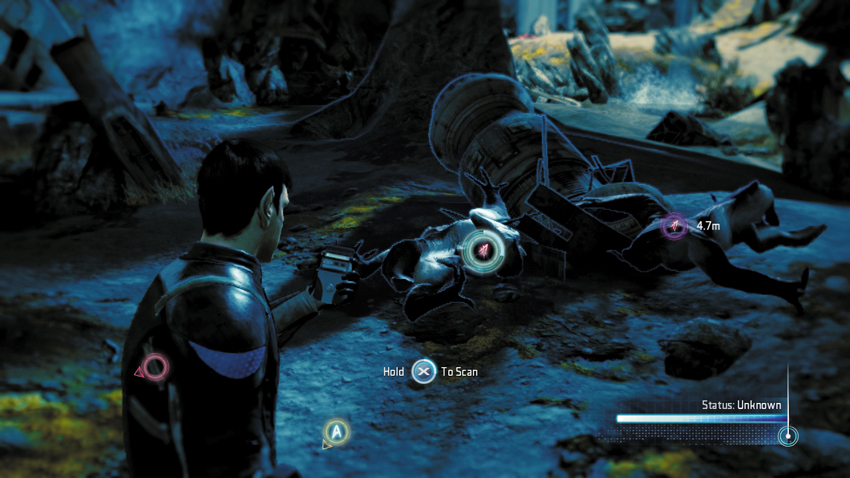
After killing one of the Gorn Dogs, scan its carcass to add another entry to your collection.
Type: Research Data
Set: Enemies/Gorn Enemies
XP: 100
Log Entry: Every advanced alien civilization we find has some version of a dog. It’s like some kind of unbreakable rule throughout the universe. Gravity. Speed of Light. Dogs. This one is not one of the friendly ones.
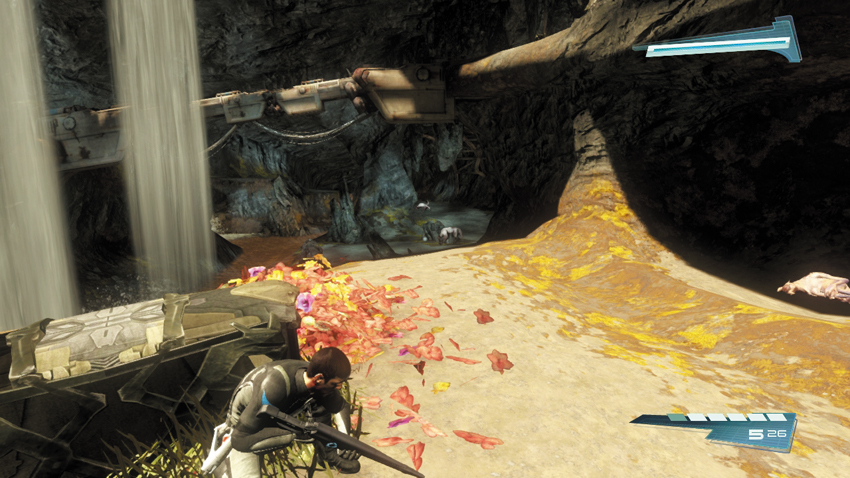
Continue through this passage, inching your way forward while scanning for more Gorn Dogs. The goal is to take out these creatures from long range using your Starfleet Type III Rifle. But in the event a Gorn Dog charges you, stun it with you phaser to stop it dead in it’s tracks—temporarily. This gives you time to engage it with your more lethal Starfleet Type III Rifle before it recovers. Stay along the elevated path to the right—this gives you a better view into the next passage, which is ideal for sniping more Gorn Dogs.
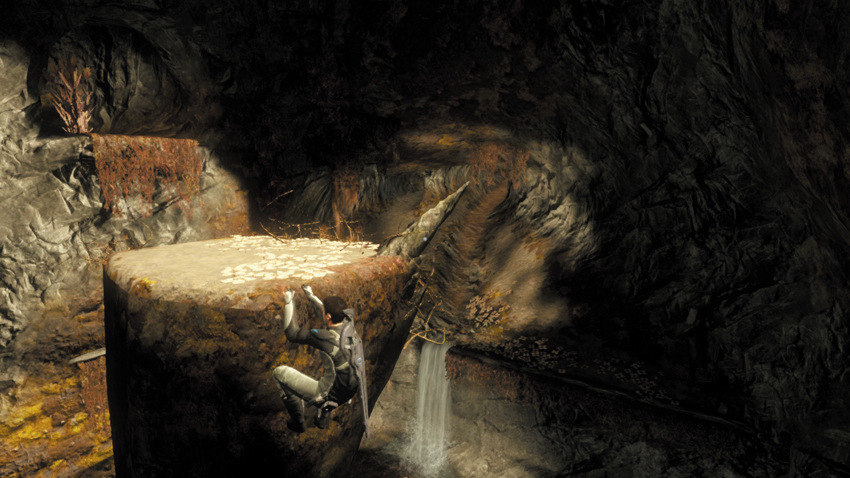
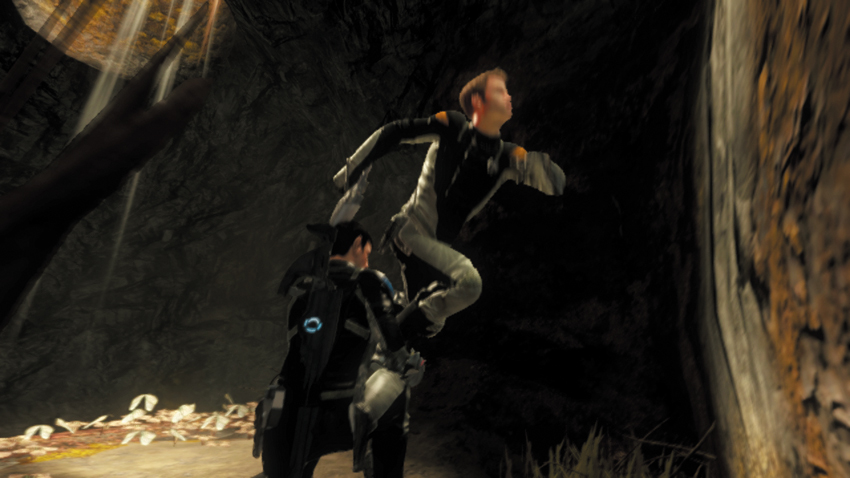
After finish putting your sharpshooter skills to the test by picking off the Gorn Dogs, continue to the end of the passage to approach another obstacle course. Begin by mantling up the ledges straight ahead, then traverse toward the left side of the cave. From the upper ledge on the left, leap over to the pillar-like plateau. Pull yourself up to the top of the plateau and turn to the left. Sprint and leap over to the next set of ledges. Mantle upward over the next few ledges then boost your partner up to reach the next steep ledge. Squeeze through the narrow crevice ahead to enter the next section of the tunnel.
17: Crystal Formation
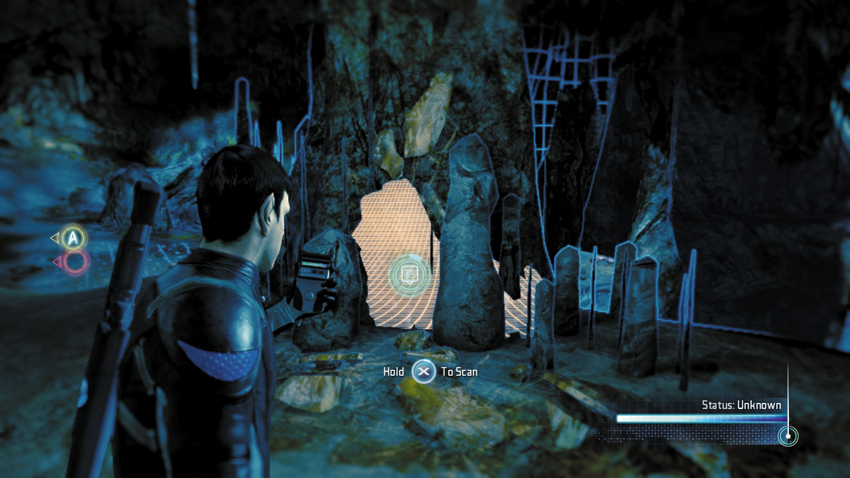
After passing through the narrow crevice in the wall, scan this amber crystal encased in the rock.
Type: Research Data
Set: The Apple Part 1/Native Geology
XP: 100
Log Entry: Interesting. Some kind of natural resource that has power-conducting properties. These Gorn are brutal bastards, but may not completely mindless. If we get out of this alive, it will be worth examining this sample more closely.
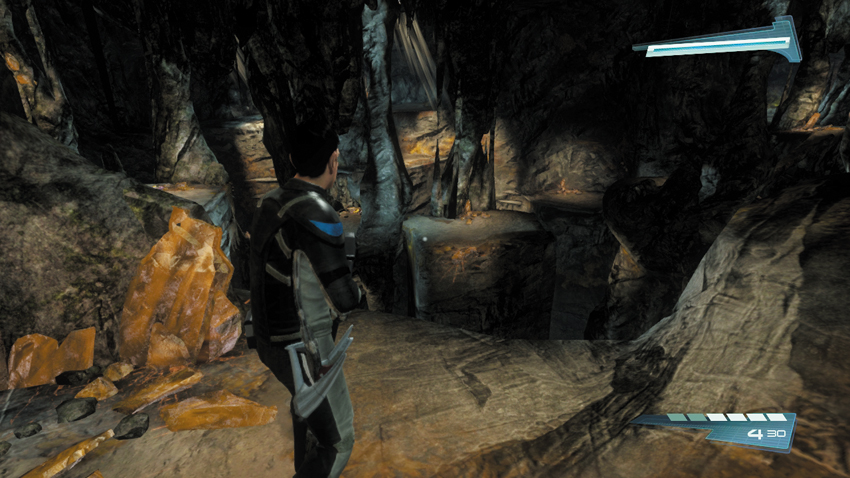
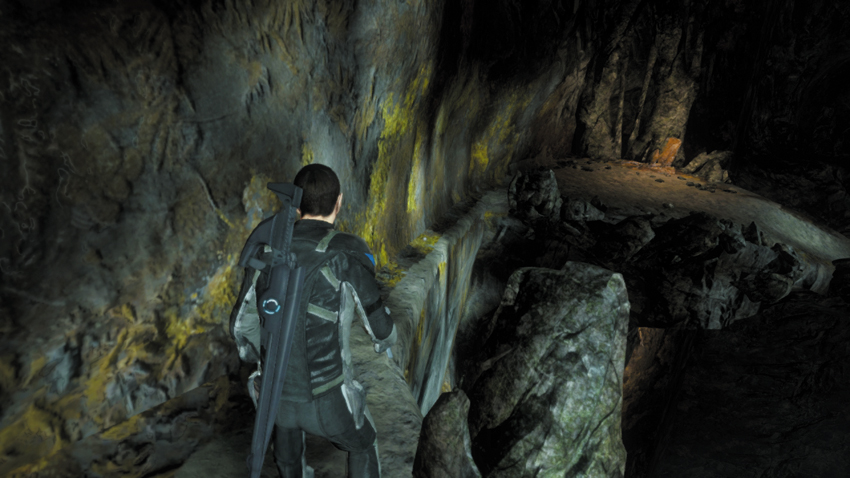
There are two ways across this next span of the cavern—move to the left and stock up on ammo along the way at the nearby Energy Station. Before navigating a series of platforms and ledges, clear out a few hostiles first, using your Starfleet Type III Rifle. There are a number of Gorpions on the platforms below as well as a Gorn Warrior patrolling in the distance. When you’re finished sniping enemies, proceed along the narrow ledge on the far left side of the cavern, side-stepping your way to the next path.
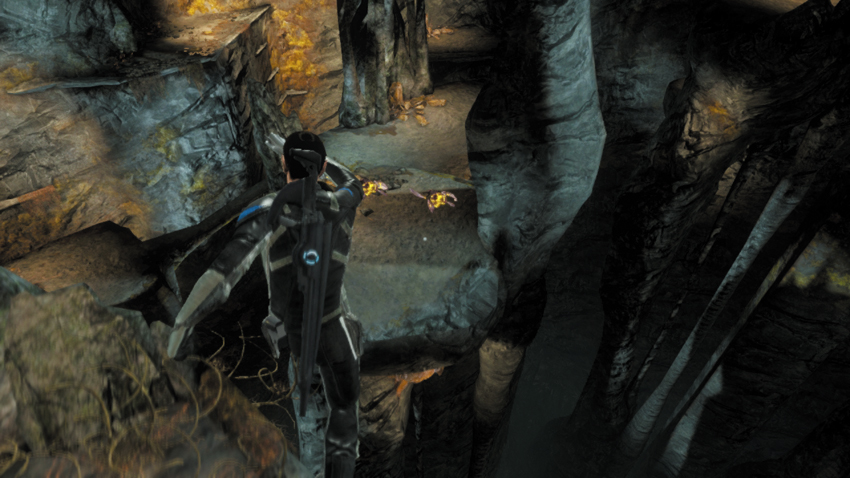
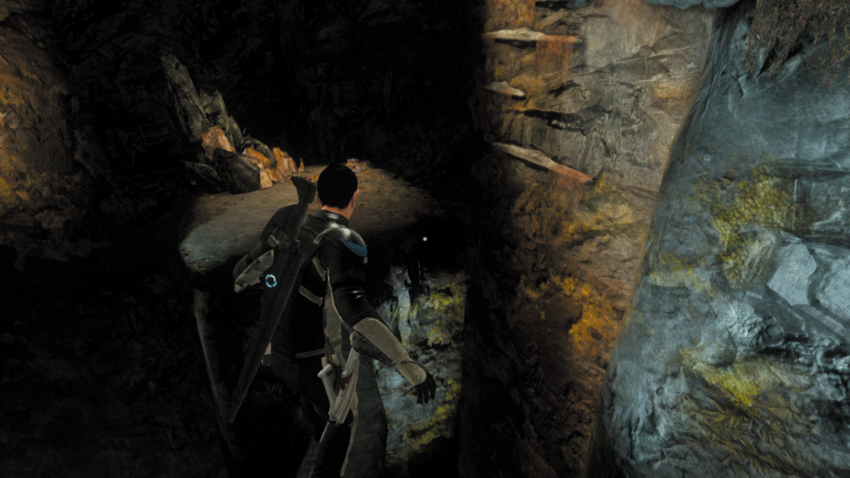
Next, approach the end of the path where you killed the Gorpions and leap over to the plateau below. On the plateau, turn to the left and advance across the narrow rock bridge, crossing it like you would a balance beam. Now jump over to the series of ledges on the right—sprint before jumping to ensure that you make it across. Mantle up the ledges and traverse to the right. Pull yourself up onto the next ledge, then wait for your partner to give you a boost up to the top of the final ledge. Heal yourself using the Med Station at the top of the cliff before advancing into the next tunnel.
Commendation: Find an alternate path leading around the Gorn checkpoint
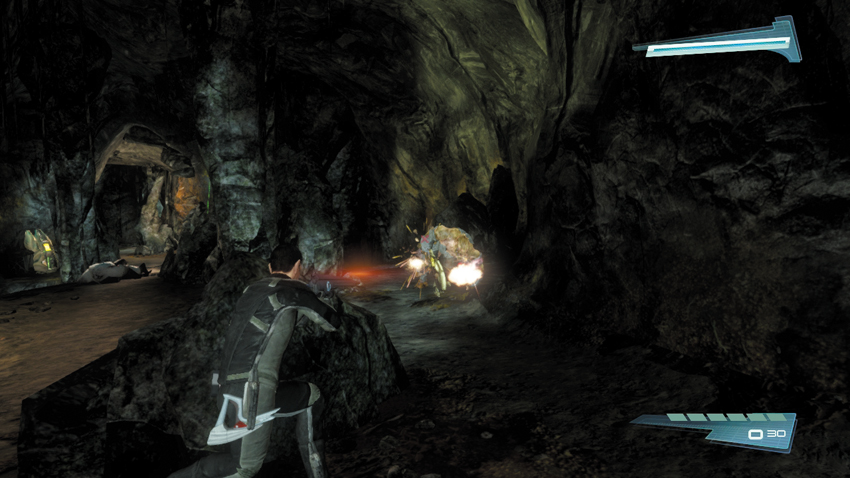
Drop to a crouch and quietly advance through the next passage, staying behind cover. A Gorn checkpoint is just ahead and it’s being monitored by a turret, a Gorn Dog, and a Gorn Warrior. Start by sniping the Gorn Warrior and the Dog using your Starfleet Type III Rifle. Kill each creature with a single shot. If you act quickly, you can eliminate both targets before they have a chance to respond. But if you miss, be ready to engage these threats at close range when they rush your position. Hold back behind cover and keep firing—at this range, blind firing the Starfleet Type III Rifle is preferable than aiming it through the scope view.
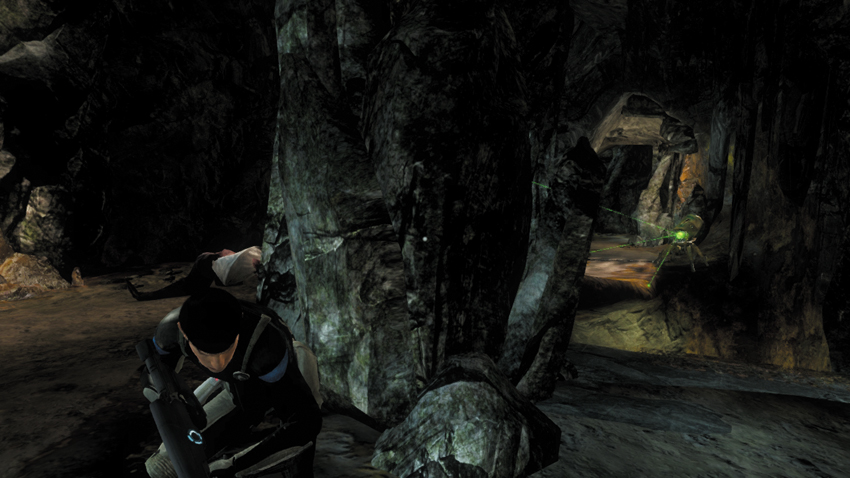
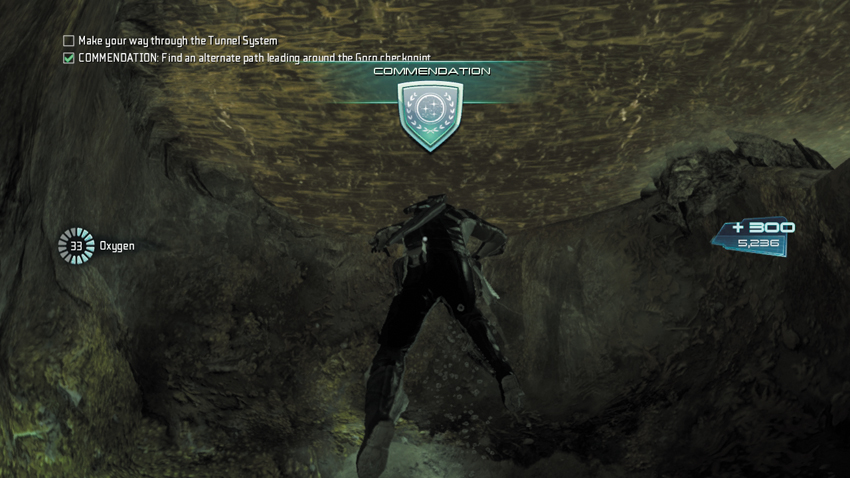
With the Gorn Warrior and Gorn Dog out of your way, cautiously advance toward the turret at the far end of a stone bridge spanning a pool of water. If you want to earn the commendation, you’ll need to find a way to slip past this turret. Take cover behind the rock on the right side of the tunnel, just before the stone bridge. Watch the turret pan left and right, scanning the passage with its three green detection beams. As the turret pans to the left, step out of the right side of cover and dive into the water beneath the stone bridge. If you move quickly, you can avoid detection. There are three mines in this underwater passage, so be ready to hack them with your tricorder. Once you swim past the mines, proceed through the underwater cavern and surface behind the Gorn checkpoint. Taking this route earns you the commendation and 300 XP.
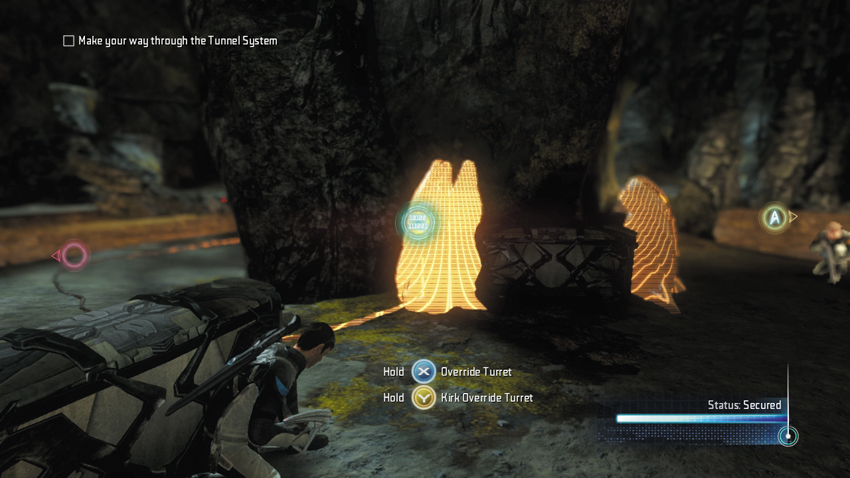
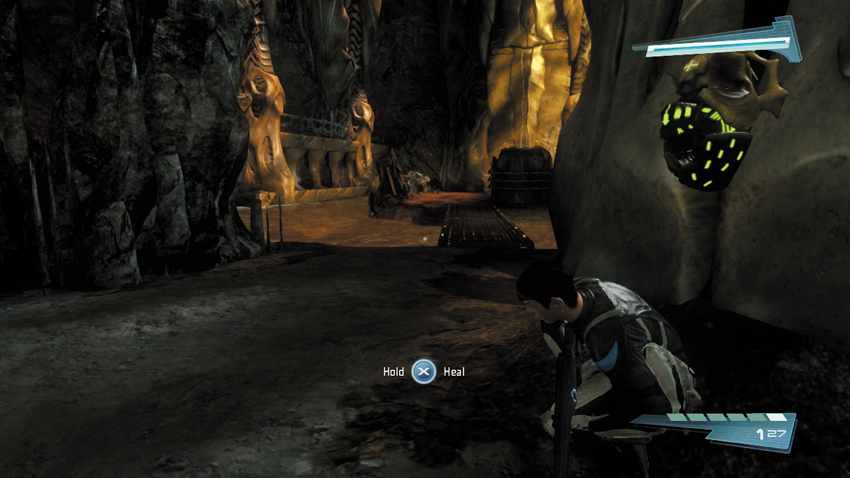
After emerging from the underwater cavern, stay low and remain quiet. There are multiple enemies in this area, including two Gorn Warriors that guard the nearby door. Take cover behind the crate and override the turret control station next to an Energy Station. Once it’s overridden, the turret opens fire on all enemies in the chamber, mowing down a Gorn Dog and the two Gorn Warriors near the door. Stay behind cover and flank the Gorn Warriors, sniping them with your Starfleet Type III Rifle. Make your shots count—one of the Gorn Warriors is armed with an Arc Driver, a very powerful and destructive energy weapon.
18: Arc Driver
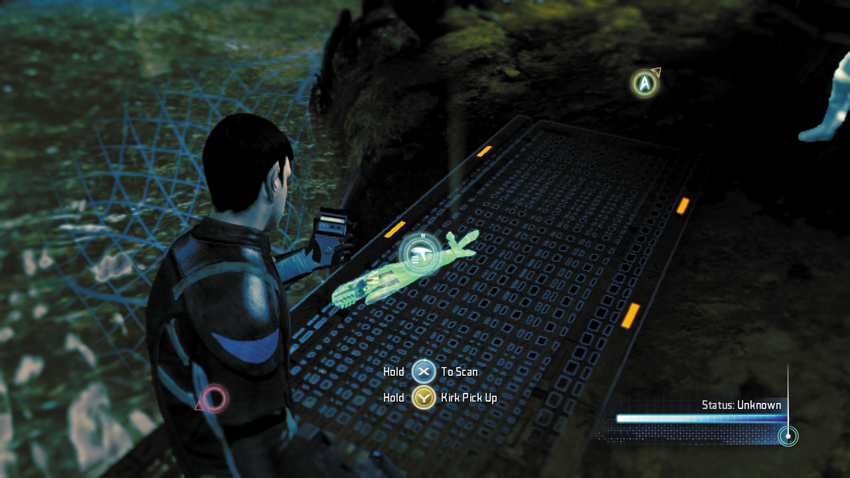
One of the enemies guarding the door is armed with an Arc Driver—scan it to complete the Gorn Weapons set.
Type: Research Data
Set: Weapons/Gorn Weapons
XP: 100
Log Entry: A ranged energy weapon of considerable destructive power. If you see one coming, looking for cover should become your priority. I can almost respect the ingenuity that went into this one. Almost.
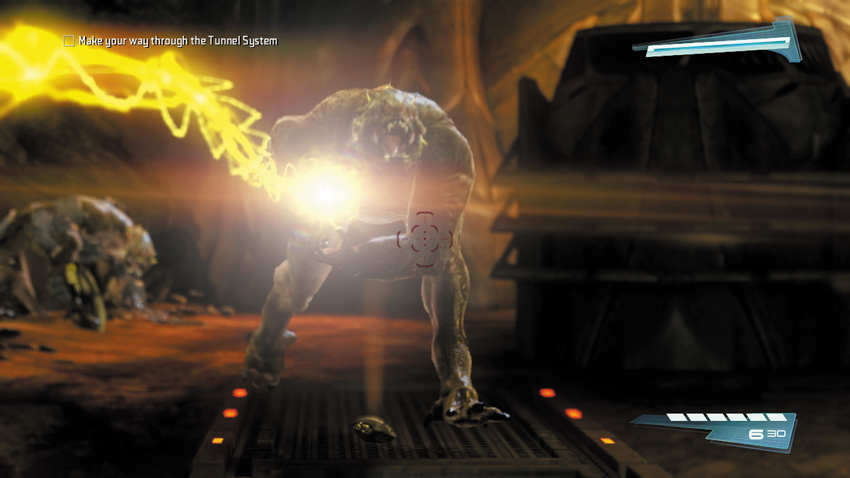
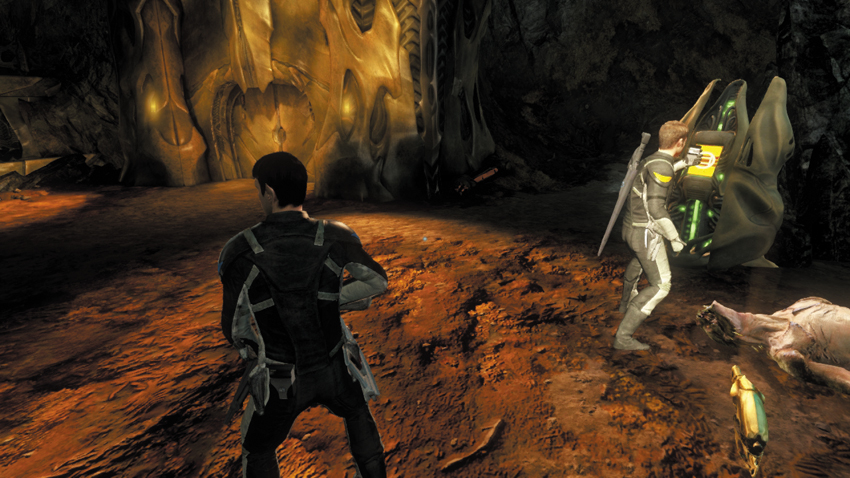
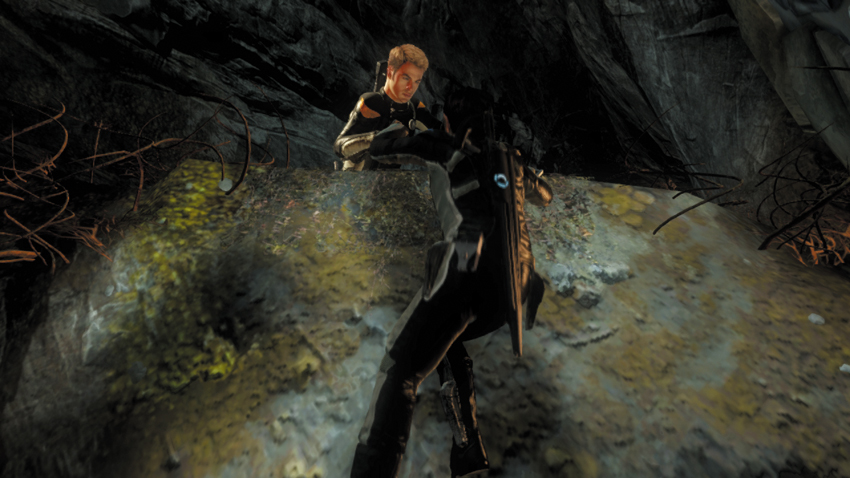
As the turret continues targeting enemies in this chamber, approach the door previously guarded by the Gorn Warriors. Before you can open the door, you must hack the terminal on the right. Following the hack, access the terminal again to unlock the door. Beyond the door, give your partner a boost up to the ledge on the left. Once on your feet, move toward the door at the end of the passage to complete your journey through the tunnels.
The Apple Part 2
Gorn Labs
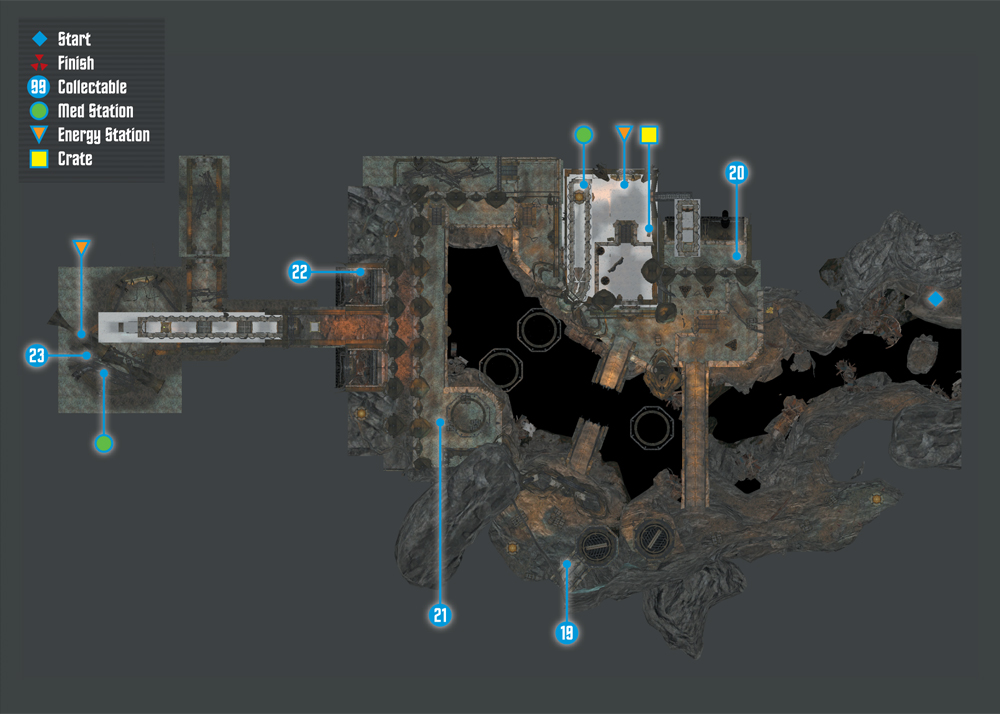
Collectables Checklist
| # | Name | Type | XP |
|---|---|---|---|
| 19 | Instruments of Science? (1 of 3) | Research Data | 100 |
| 20 | Instruments of Science? (3 of 3) | Research Data | 100 |
| 21 | Instruments of Science? (2 of 3) | Research Data | 100 |
| 22 | Tribble (5 of 7) | Tribble | 250 |
| 23 | Daniels’s Audio Log #7 | Audio Log | 50 |
New Objective: Access the Complex
Commendation: Find an alternate path into the complex
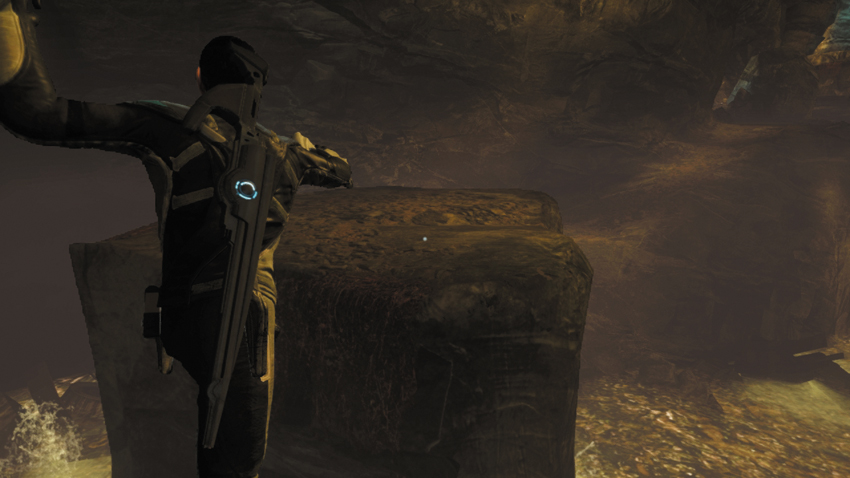
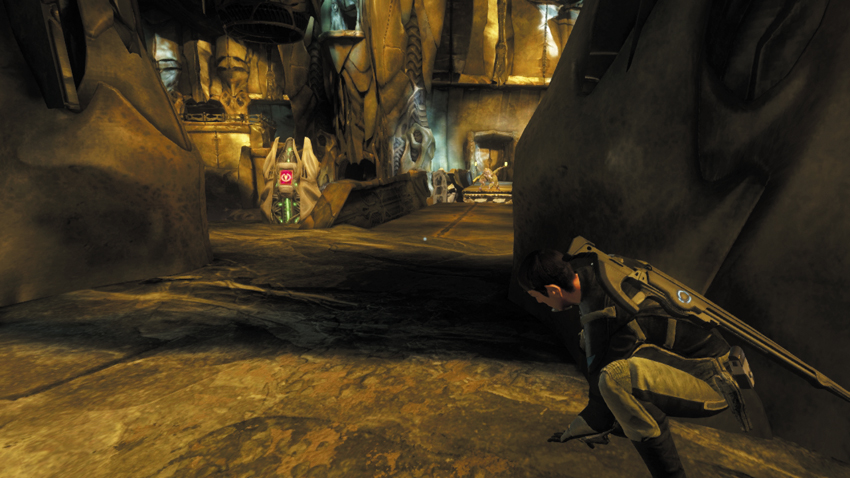
Expect a heavy Gorn presence in the cavern ahead; you’re getting closer to the complex where T’Mar is being held. While you can rush through this next area with guns blazing, it’s much safer (and easier) to take a stealthy approach and advance without being spotted. Triggering an alert will only results in the appearance of more Gorn reinforcements that make a direct assault much more dangerous. Start by advancing to the ledge above a rushing stream. Sprint then jump toward the plateau in the middle of the stream and pull yourself to the top. From the plateau, sprint and leap again to land on the stream’s opposite bank.
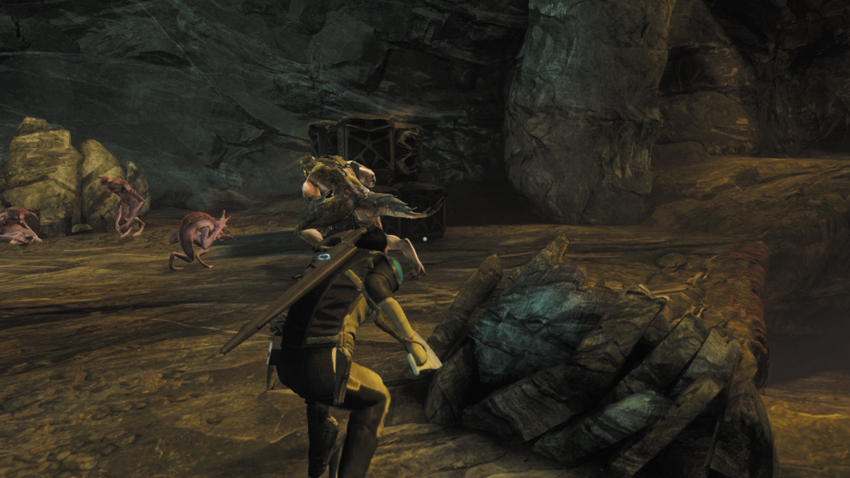
Once there, crouch and creep along the path, following behind a patrolling Gorn Warrior. When the Gorn Warrior pauses near a group of Lymax slaves, sneak up behind him and perform a silent takedown. Spock fears the Gorn will enslave the rest of the galaxy if they harness the power of the Helios Device—yet another reason to secure the device.
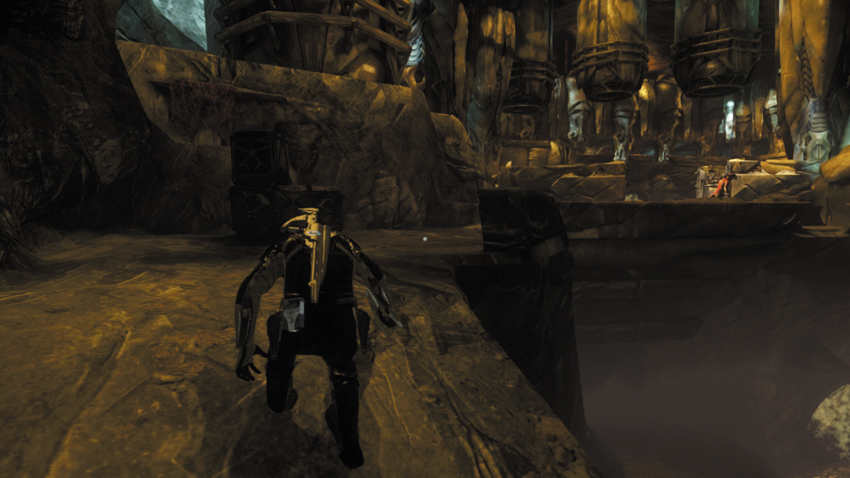
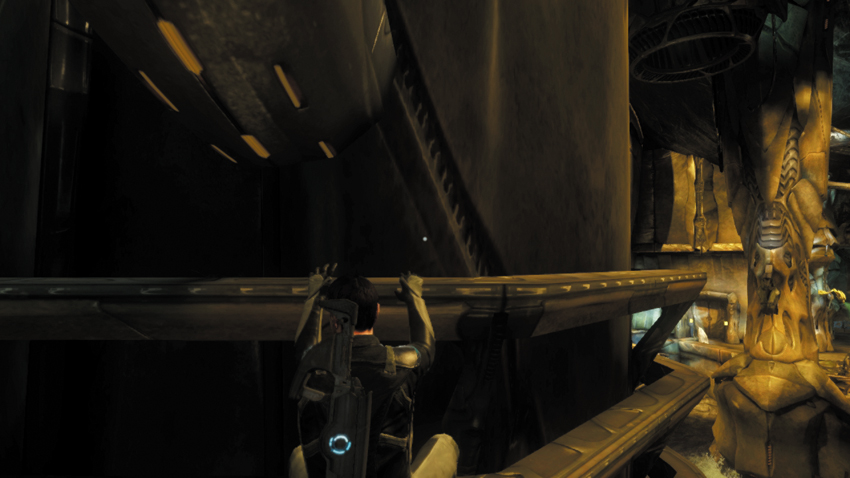
Pause near the incapacitated Gorn Warrior and watch the bridge ahead. It’s patrolled by a lone Gorn Observer—you do not want this enemy to spot you, so stay behind cover. When the Gorn Observer resumes his patrol along the bridge, moving to the right, step out of cover and continue along the path toward the bridge. But instead of stepping onto the bridge and following the Gorn Observer, leap up onto a ledge straight ahead, behind a stack of crates. Pull yourself up a couple of ledges until you reach the base of a tower. The tower is encircled with three ringlike ledges. Leap up to the third ledge, and begin traversing to the left, before the Gorn Observer turns around and spots you.
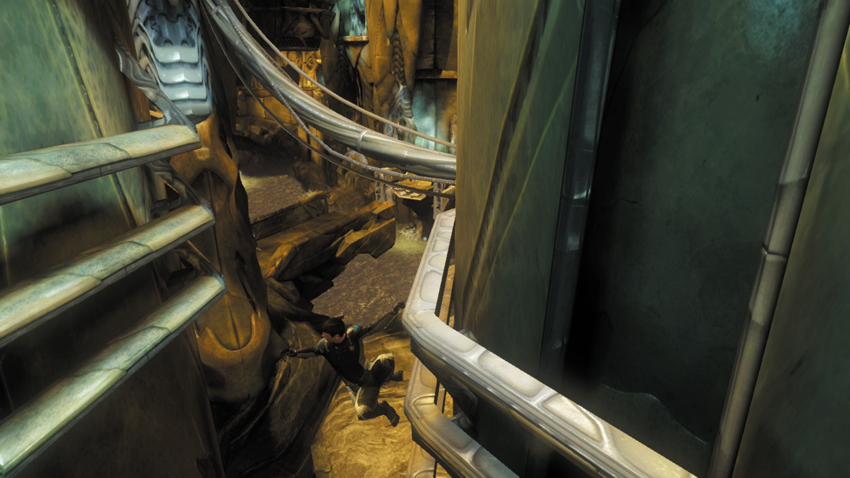
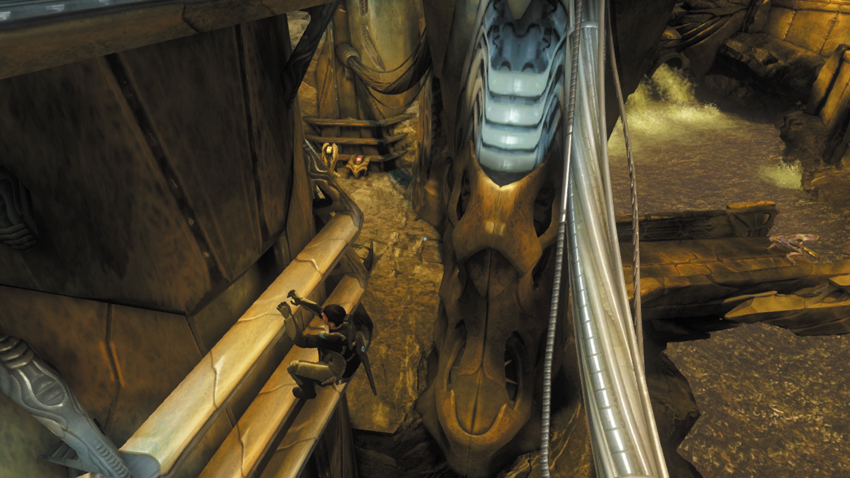
As you traverse left along the tower’s ledge, a second tower comes into view. Keep traversing left until the second tower is directly behind you. Next, reach out toward the second tower and jump to grab hold of its lower ledge. Mantle up to the second tower’s top ledge, then traverse to the right. But keep an eye on the Gorn Warrior below. Wait for him to move behind the security camera console (with his back turned) before moving any farther—you don’t want him to spot you while you’re perched on the tower. He patrols the extendable bridge on the right as well as the room with the security camera console.
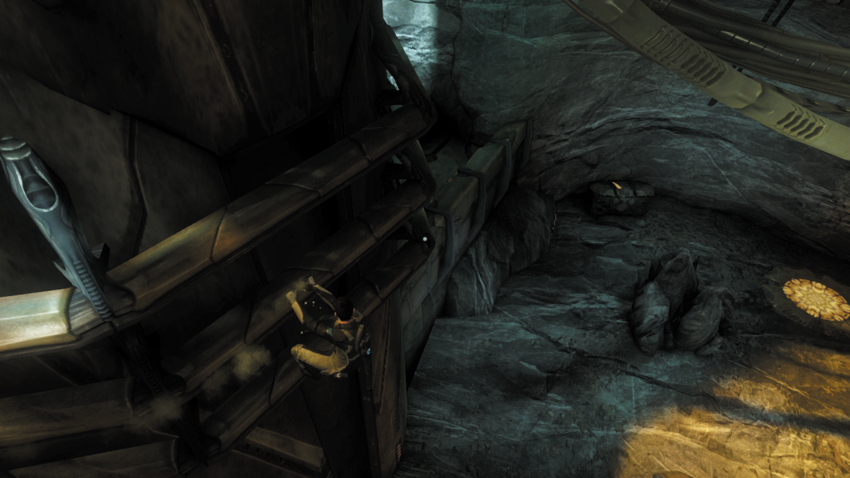
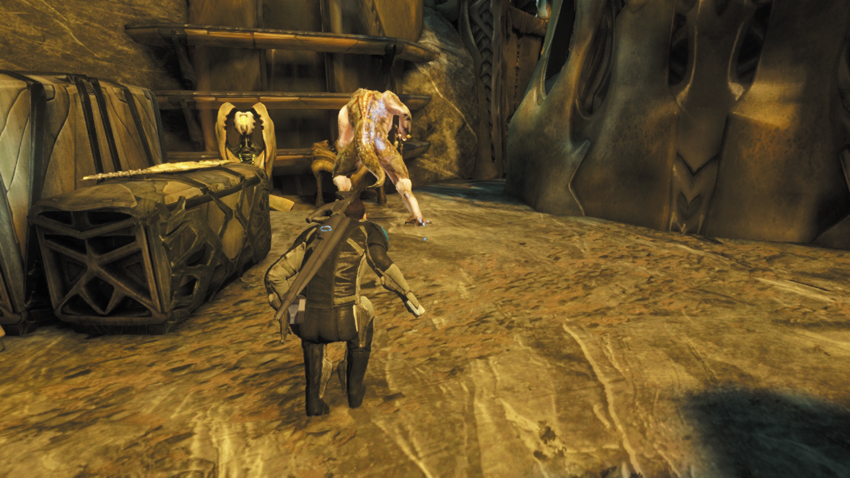
As the Gorn Warrior moves to the left and steps behind the security camera console below, traverse along the tower to the right and descending into the alcove behind the Gorn Warrior. While the Warrior is still standing in front of the security camera console, sneak up behind him and perform a silent takedown—he drops an Arc Driver. Take a moment to look around this area for a few goodies. The security camera console can be accessed to view the area on the opposite side of the extendable bridge. There’s also a crate containing a Plasma Grenade and an Energy Station in this room. A Railer also sits atop one of the crates in the middle of the room. Don’t forget to scan the collectable in the corner.
19: Instruments of Science? (1 of 3)
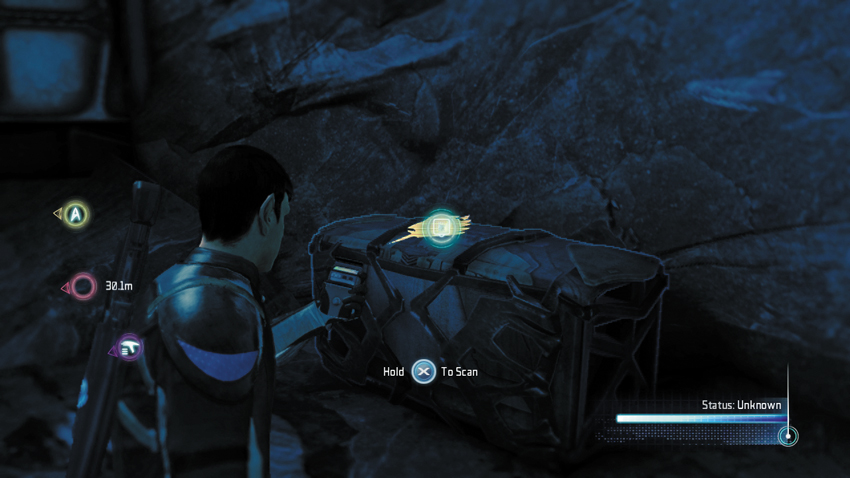
This object is sitting on a crate, across the room from the Energy Station.
Type: Research Data
Set: The Apple Part 2/Instruments of Science
XP: 100
Log Entry: I very much want to say this is a scientific tool. But based on what we’ve seen of the Gorn so far, I shudder to think what its true purpose is.
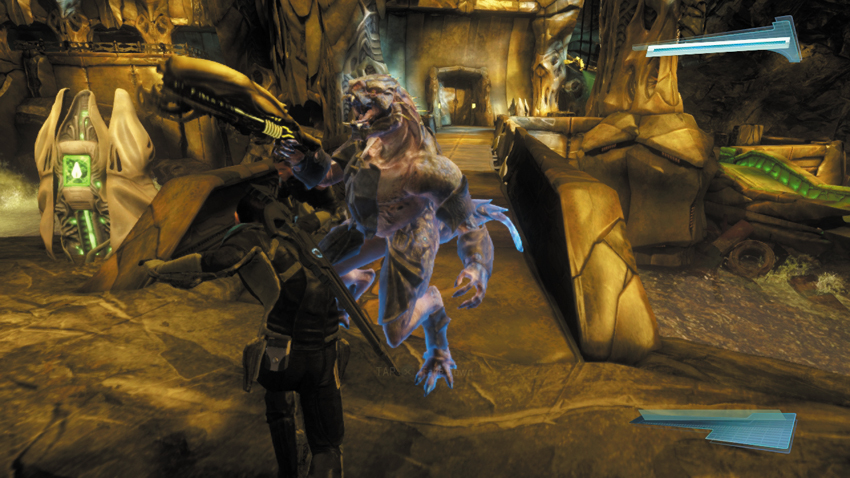
Once you’re done looting the room, turn to the extendable bridge. Stay behind cover and locate the console on the left side of the bridge—use your tricorder on the console to extend the bridge. This allows the Gorn Warrior patrolling the opposite side to approach your position. Stay concealed behind cover as he approaches and stops near the control console. Wait for him to turn around and resume his patrol, then sneak up behind him and perform a takedown. But if you fear you may be spotted, stun him with your phaser to prevent him from raising an alert, then perform the takedown before he can recover.
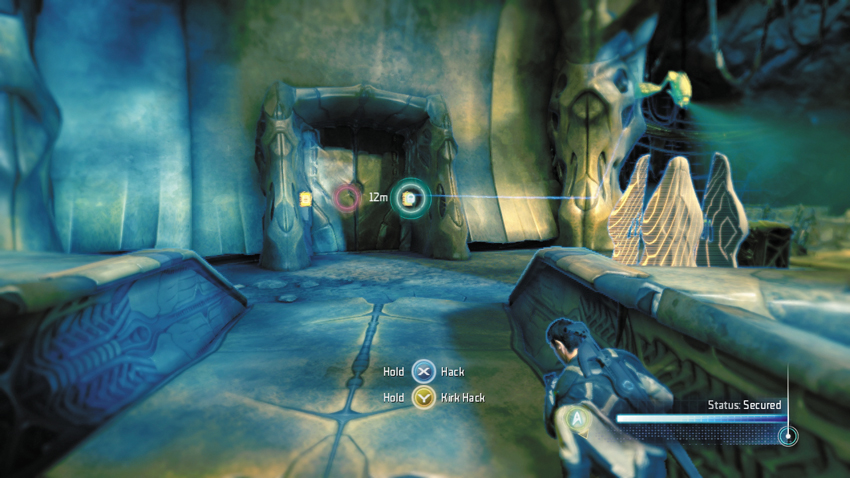
Now advance along the extended bridge, staying low to avoid detection by the Gorn Observer still patrolling the bridge on the right. The security camera you accessed earlier is posted on a wall just ahead, panning left and right. As long as you stay low and on the bridge the camera can’t see you. Instead, turn your attention to the door straight ahead and hack it with your tricorder—you’ll need the assistance of your partner to complete this hack. Once the hack is complete, make sure the Gorn Observer is out of sight before you make a move for the door.
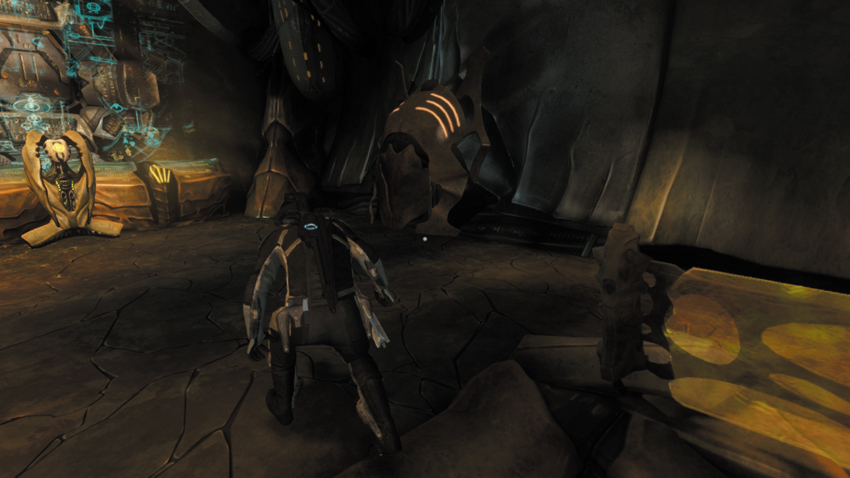
Upon entering the room, ascend the ramp and move toward the Energy Station—there’s a couple of crates in here, too, and each contains a Pillager. On the right side of the Energy Station is a small vent. Unlock the hatch covering the vent, and crawl inside. Advance through the crawl space, open another hatch, and then drop down through an opening in the floor.
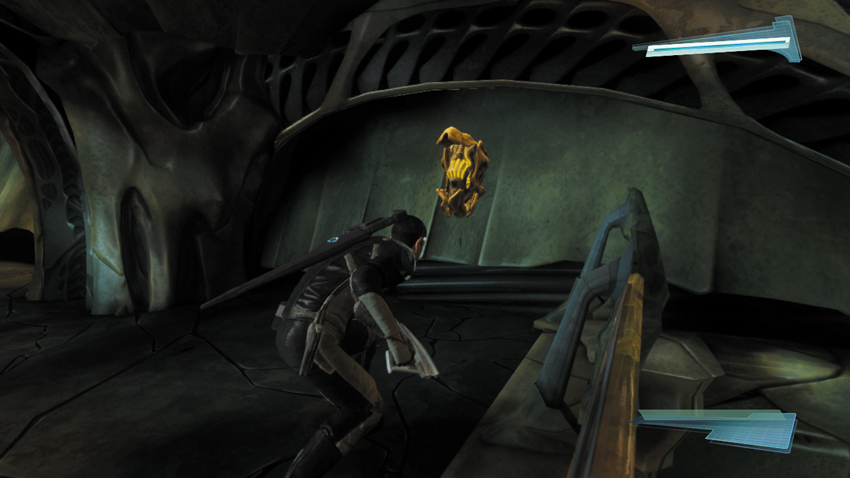
You’re now back outside, on the other side of the security camera. Take cover behind the nearby wall and scan your surroundings to make sure the Gorn Observer isn’t nearby. When the area is clear, turn to the right to locate the security camera control panel. Hack it with you tricorder to disable the security camera.
20: Instruments of Science? (3 of 3)
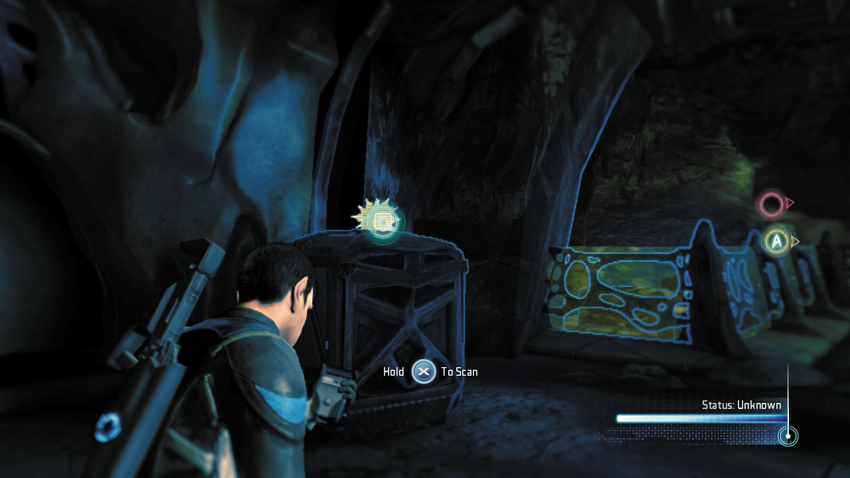
After hacking the security camera, turn around from the console to find this device resting on a crate—scan it with your tricorder.
Type: Research Data
Set: The Apple Part 2/Instruments of Science
XP: 100
Log Entry: Bones has some genuinely spine-tingling instruments (literally and figuratively) at his disposal in Sickbay, but even the good Doctor would be unnerved by the look of these Gorn tools.
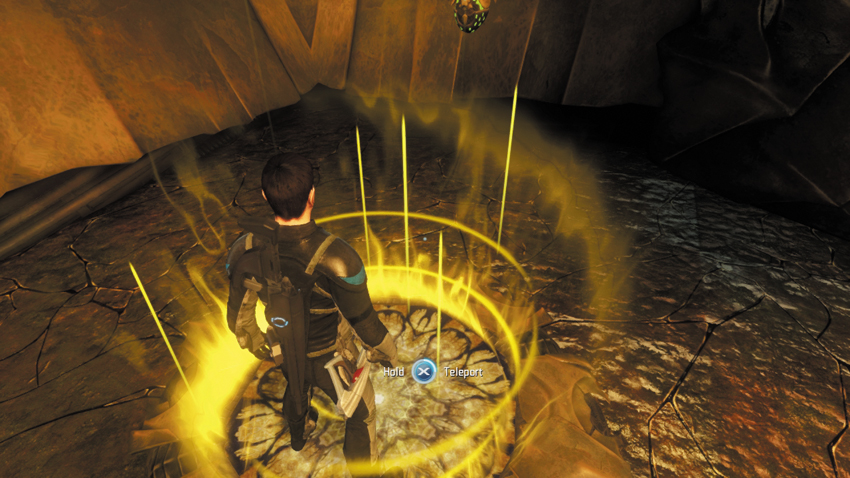
Now, return to the room with the Energy Station. Be careful to avoid detection by the patrolling Gorn Observer. You can either receive a boost from your partner, and enter through the hatch in the ceiling to return through the crawl space, or you can simply walk through the door you hacked earlier—with the security camera disabled, you can now reach the door from this location without trigger the alert. Once inside, locate an active Gorn teleporter pad that emits a yellow glow. Step onto the pad and press the button shown on-screen to activate it.
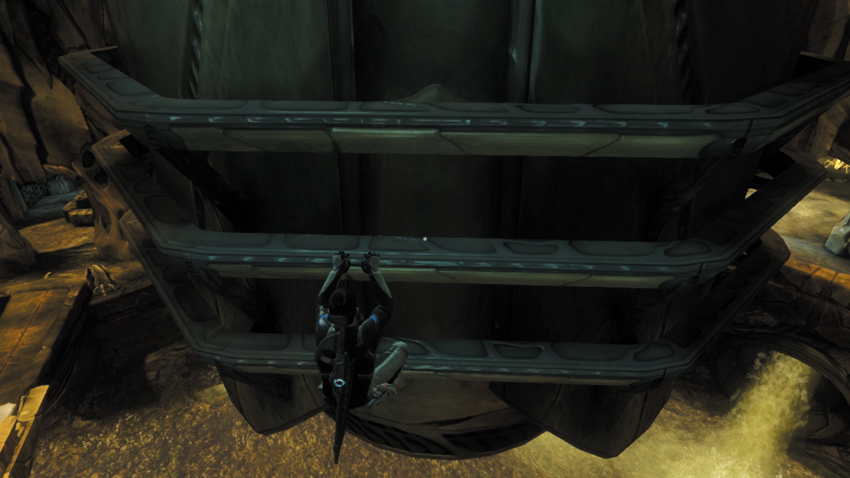
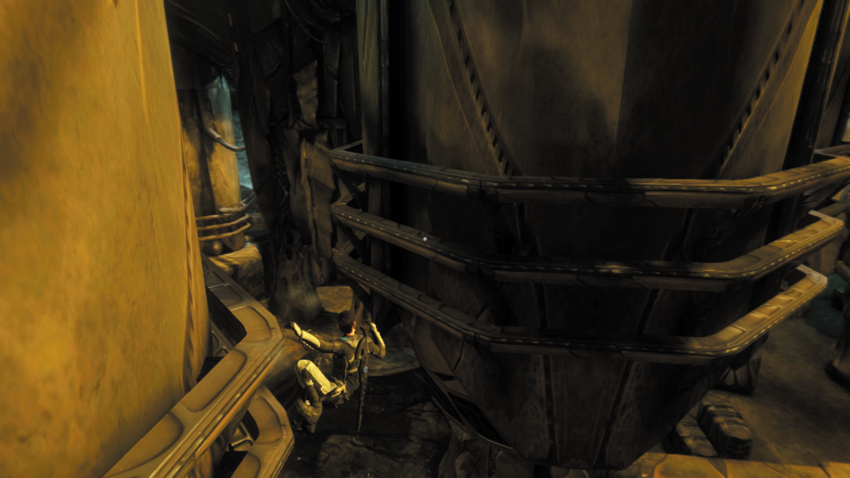
In a flash, you’re teleported to a cramped tunnel high above the next chamber. Multiple enemies patrol the room below. But thanks to your use of the teleporter pad, you can bypass them all by carefully advancing across the top of the room. Advance to the end of the tunnel then sprint and jump toward the pillar suspend from the ceiling, grasping one of its three ledges—these ledges look just like the ones ringing the two towers you encountered earlier. Traverse to the left, along the pillar’s ledge until another pillar comes into view. Keep traversing until the new pillar is directly behind you, then leap across to grasp it.
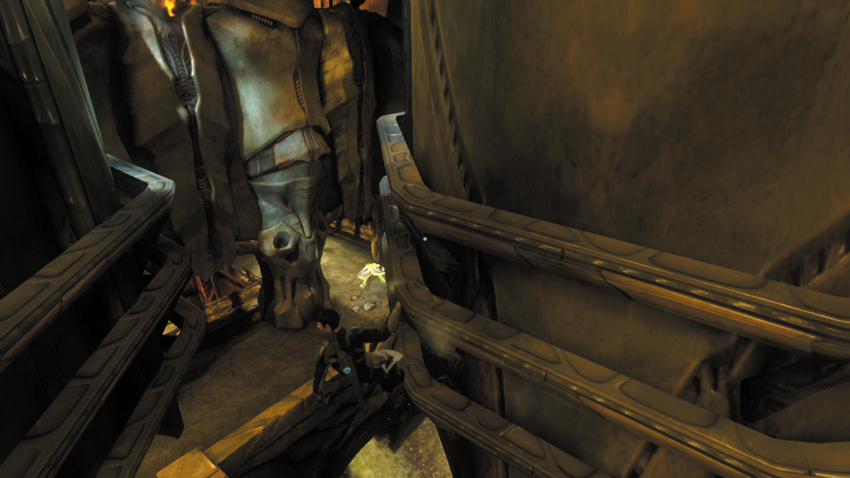
Once on the second pillar, traverse to your left to avoid being spotted by the enemies patrolling below. As a third pillar comes into view, pause and monitor the movements of a Gorn Warrior below. Before making a move to the third pillar, make sure this enemy is looking away from you. As the Gorn Warrior moves away, place yourself between the second and third pillars, then leap across the gap.
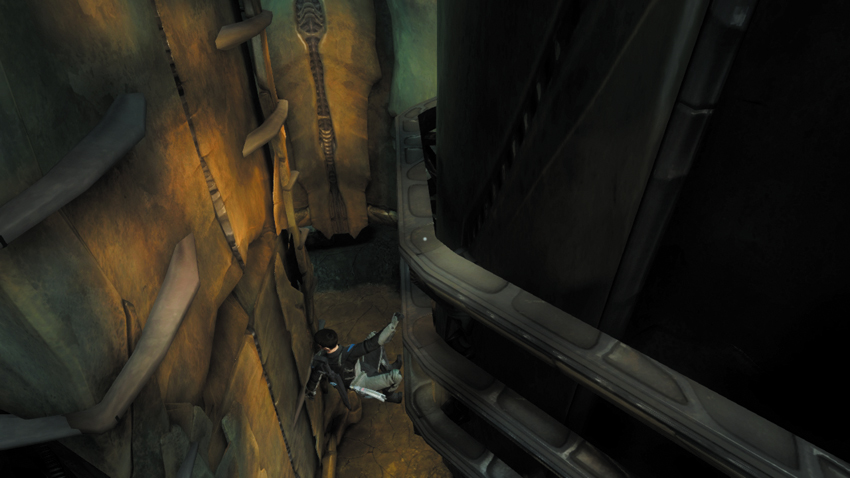
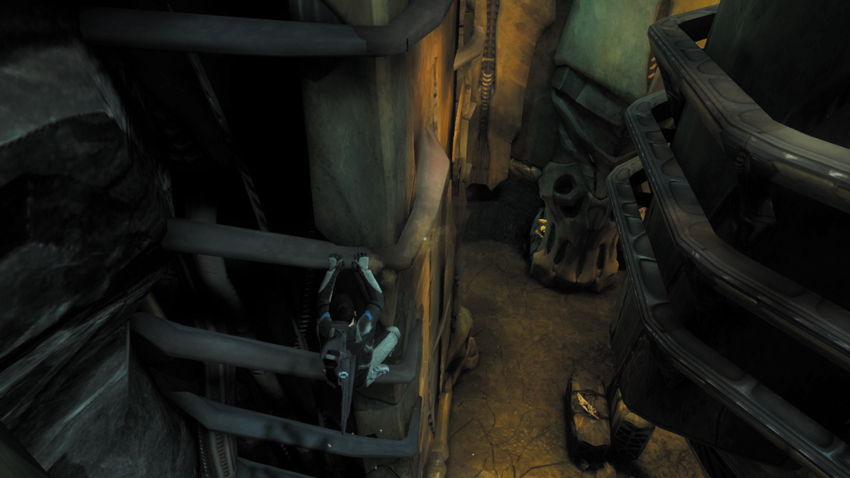
Now on the third pillar, traverse to the left, staying out of sight of the enemies below. As you move to the opposite side of the pillar, a wall comes into view, adorned with several ledges. Keep an eye on enemy movement below and wait for an opening. When it’s clear, traverse along the ledge until the wall is directly behind you, then leap across and grab one of the ledges. Once on the wall, traverse along the ledge to the left, moving around the corner to remain concealed. From here, simply drop down from one ledge to the next until you reach the floor below.
21: Instruments of Science? (2 of 3)
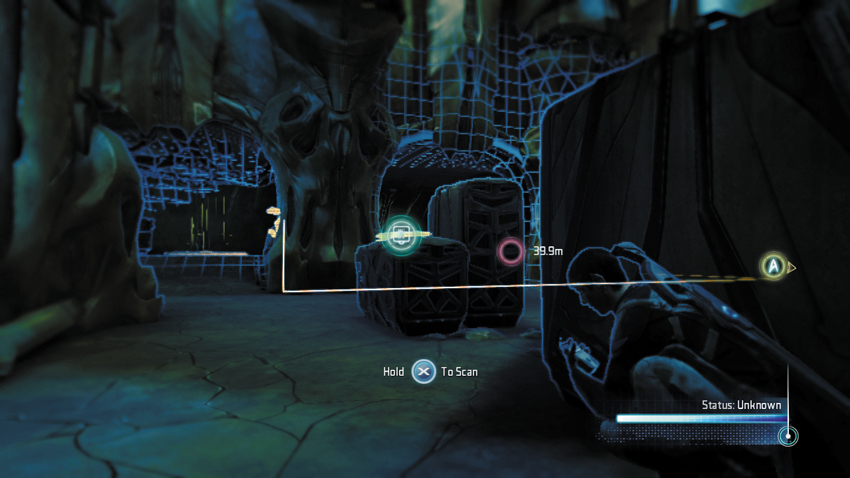
Take cover behind the crate and scan the object resting atop a smaller crate nearby.
Type: Research Data
Set: The Apple Part 2/Instruments of Science
XP: 100
Log Entry: Starfleet optimistically imagines that we can learn something new and useful from every species we encounter. I’m starting to think the Gorn are the exception to the rule.
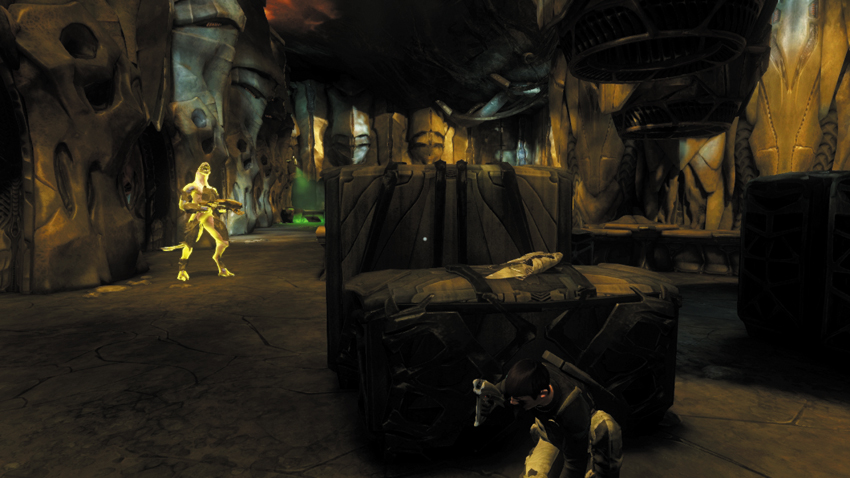
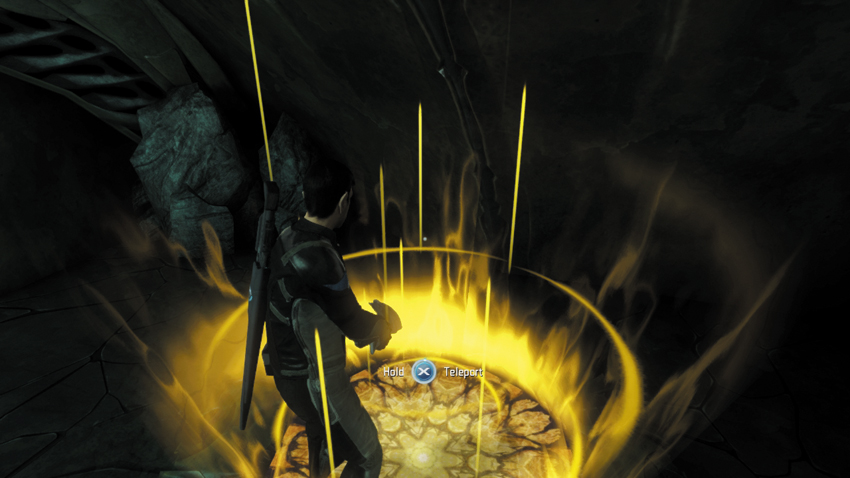
As the nearby Gorn Warrior moves away from your position, transition to the crate holding the collectable you just scanned. Pause here for a moment and wait for the Gorn Warrior to complete another circuit. As he moves away, move into the alcove on the left, which containing another Gorn teleporter pad as well as a turret control station. Resist the urge to hack the turret, unless you really want the XP. Instead, proceed to the teleporter pad and activate it to exit the chamber without raising an alert.
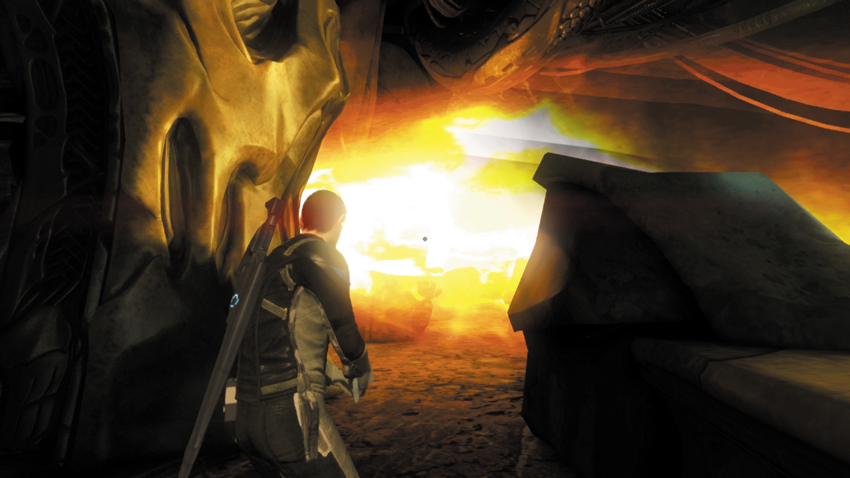
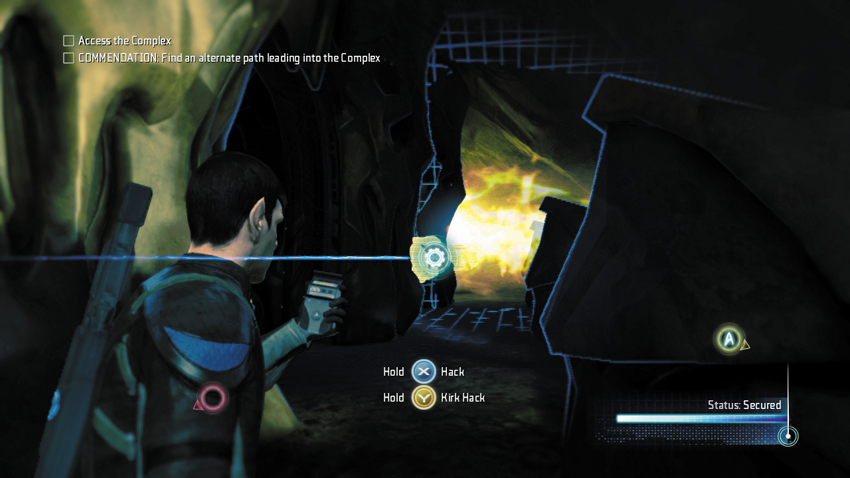
The teleporter takes you to a passage blocked by three fiery jets. The jets emit flames for a few seconds before temporarily shutting off. While you can time your movements to pass by each jet when it’s inactive, it’s safest to hack the controls for each jet. Use your tricorder to scan through the flames and locate a console beyond each wall of flames. Hack each console to deactivate all three corresponding jets.
22: Tribble (5 of 7)
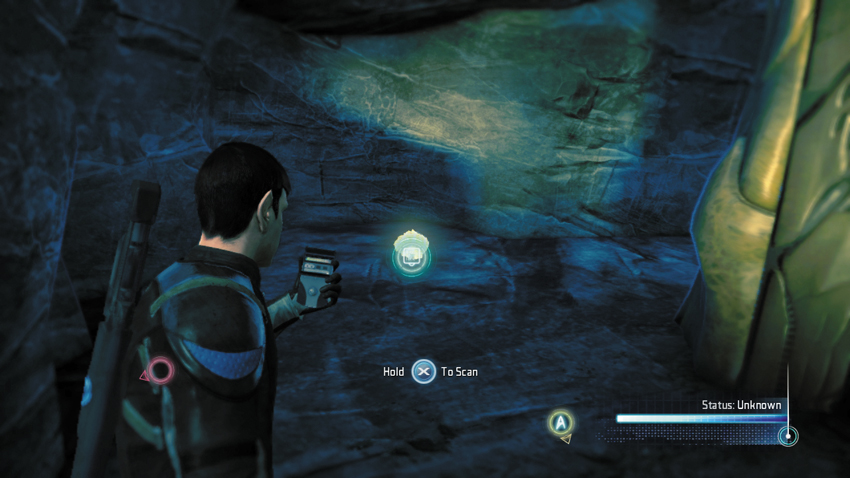
After hacking the third and final jet, enter this dark alcove nearby to locate another well-hidden Tribble.
Type: Tribble
Set: Tribbles/Tribbles
XP: 250
Log Entry: As luck would have it, the Enterprise had just found itself in orbit around the Tribbles’ home planet of Geminorum IV. Additional Tribbles were brought back aboard for examination, and we determined that exposure to cold temperatures slowed the Tribbles’ metabolism enough to halt their reproductive cycle. The information was relayed back to Earth, and the Tribble invasion was contained in time by mass-freezing the sea of fuzzy invaders that had overwhelmed the Academy.
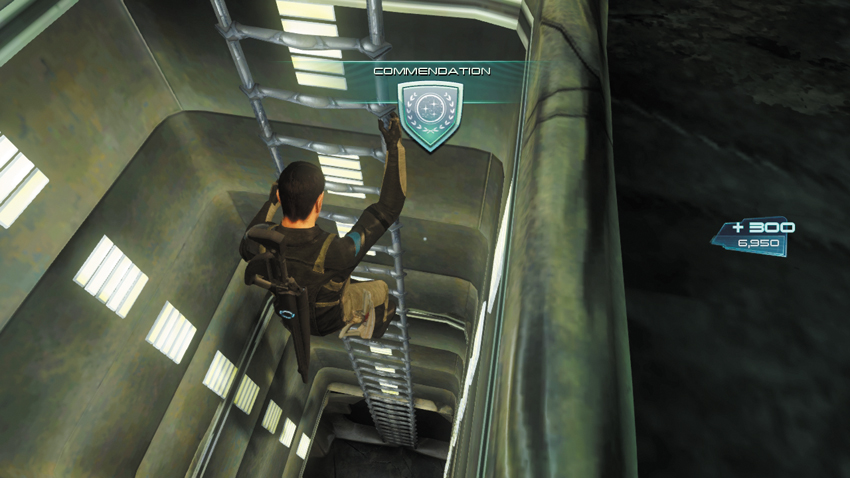
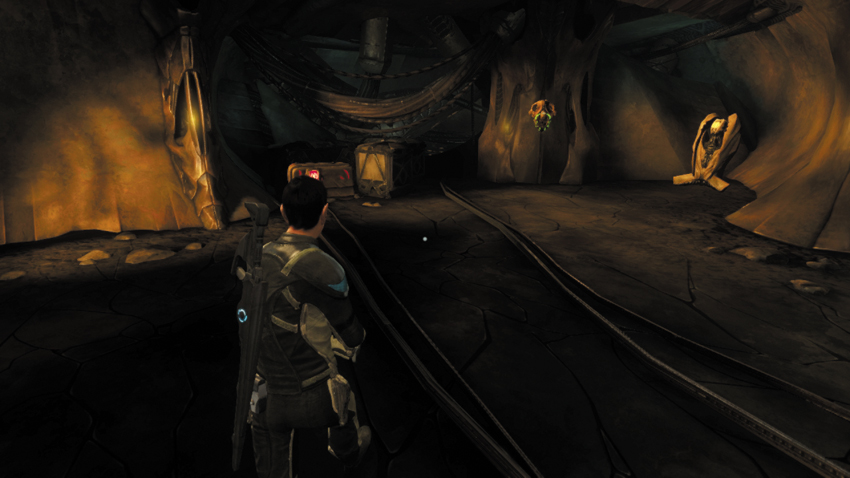
After locating the Tribble, backtrack to the middle passage that was once roasted by a jet. At the end of the passage, just below the dormant jet, is an hatch in the floor. Access the ladder in the hatch and climb down to the bottom. Along the way you earn the commendation for finding an alternate path, worth 300 XP. At the bottom of the ladder, advance through a short tunnel and open a hatch in the floor at the end, and drop down into the room below. The room contains a Med Station and an Energy Station as well as a crate containing a Marauder.
23: Daniels’s Audio Log #7
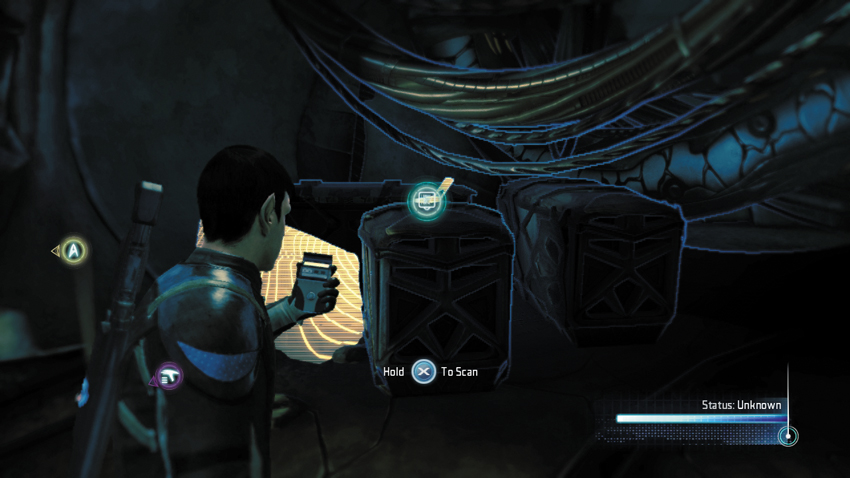
This audio log is resting on a crate, to the left of the Med Station.
Type: Audio Log
Set: The Apple Part 2/Logs
XP: 50
Log Entry: The worst has happened. My Starbase is in ruins. My shuttle crew has been captured by the Gorn. They’ve begun torturing us for information but we don’t know what they want. And the worse part is that all of this is my fault. These things came through the tear in space time that I was so eager to explore. But how was I to know? How could anyone know? I was acting in the best interest of Starfleet! But now we’ve made an enemy that I’m not sure even Starfleet can withstand.
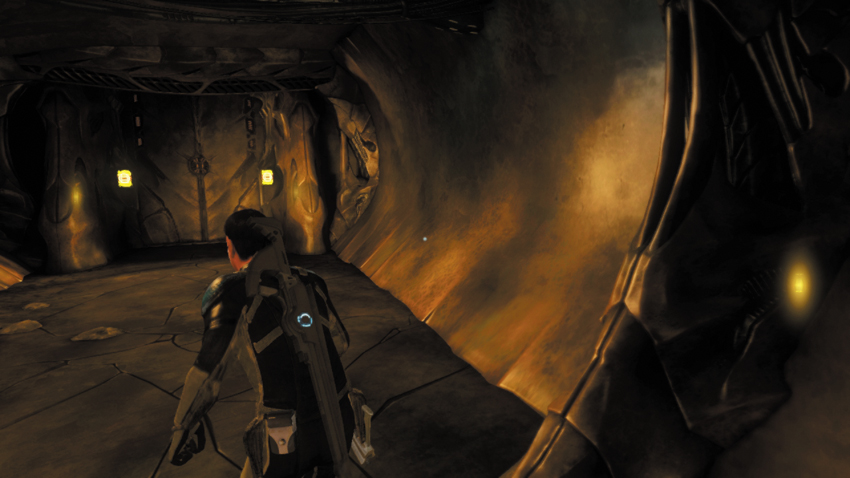
Once you’ve scanned the audio log, exit the room by hacking the door’s control panel. In the next corridor, turn left. Don’t go straight—it leads back to the same chamber patrolled by the Gorn that you just successfully bypassed. Work with your partner to hack the door on the left. Once hacked, pass through the door and advance through the next corridor to enter the complex where T’Mar is being held. From the sounds of it, Commodore Daniels was captured as well.
The Apple Part 3
Complex Laboratories
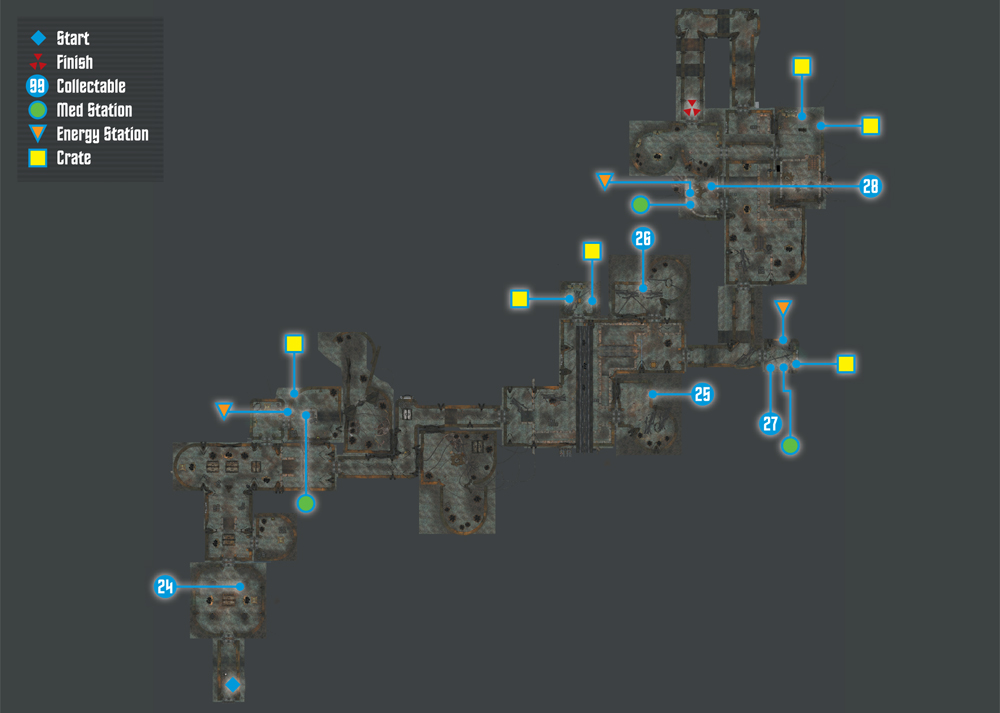
Collectables Checklist
| # | Name | Type | XP |
|---|---|---|---|
| 24 | Gorn Guardian | Research Data | 100 |
| 25 | Instruments of Pain (1 of 2) | Research Data | 100 |
| 26 | Crew Member’s Audio Log | Audio Log | 50 |
| 27 | Daniels’s Audio Log #8 | Audio Log | 50 |
| 28 | Instruments of Pain (2 of 2) | Research Data | 100 |
New Objective: Locate T’Mar
Commendation: Locate T’Mar without provoking any enemy attacks (Stealth)
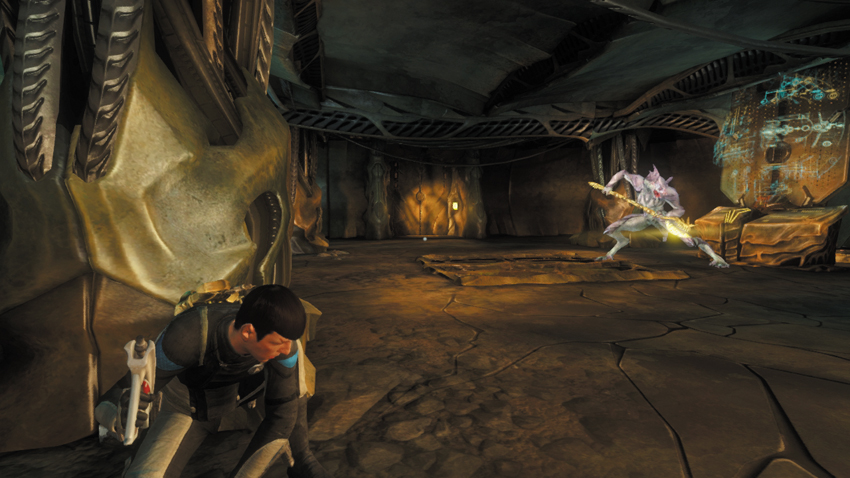
As you advance through the next corridor, Kirk notices something familiar on the crates to the left. Spock confirms Kirk’s suspicions—the items could only come from Starfleet officers. Enter the room at the end of the corridor to trigger a cinematic showing a Gorn Guardian patrolling the next room. Following the cinematic, your character is behind cover, concealed from this fearsome new enemy. If you want to complete the stealth-based commendation as well as scan this enemy, you must incapacitate him without raising an alert.
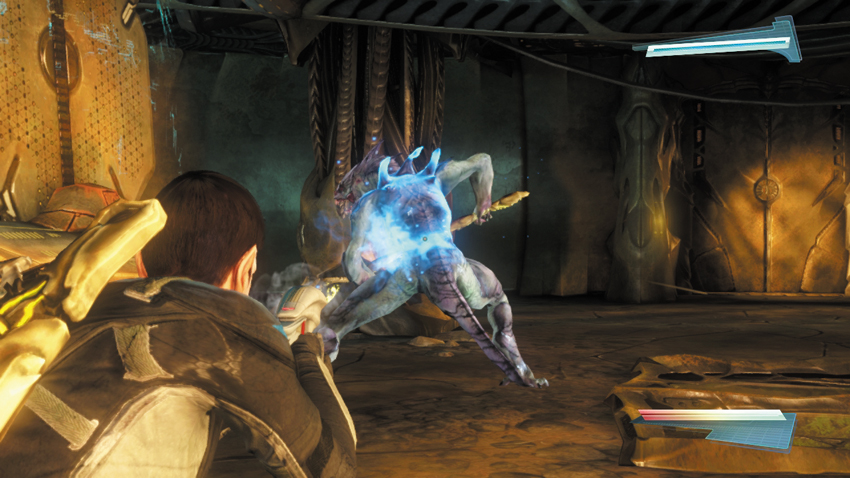
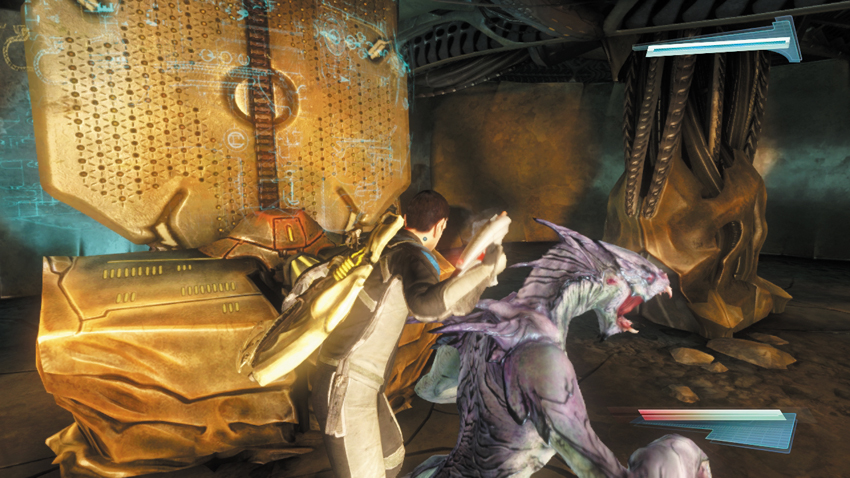
When the Gorn Guardian turns away from you, peak out of cover and shoot him in the back with your phaser’s stun setting. Aim low, targeting the enemy’s lower torso, as he has a tendency to duck when he hears your phaser, potentially causing your shot to miss. But like the Gorn Enforcer, this enemy isn’t stunned very long, so you must move quickly to secure the takedown. Sprint up behind the Gorn Guardian while he’s still stunned and perform the takedown before he can respond. This takedown may take a few attempts to pull off, so feel free to load the game from the last checkpoint if you don’t get it right the first time.
24: Gorn Guardian
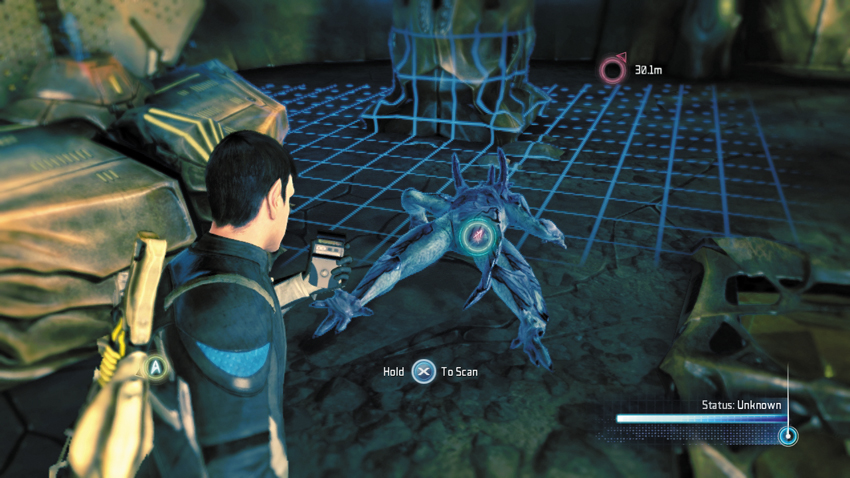
Once the Gorn Guardian is down for the count, scan his body.
Type: Research Data
Set: Enemies/Gorn Enemies
XP: 100
Log Entry: The thick skin on this one suggests he was designed for close combat. The more I learn about the Gorn, the creepier it gets, almost like each type was designed to serve a particular role. A kind of “directed evolution” of a kind not seen on Earth for centuries, and banned ever since.
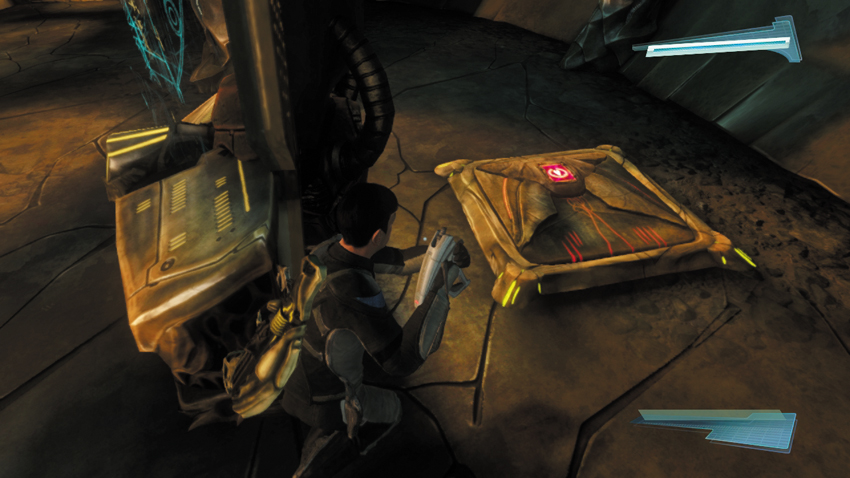
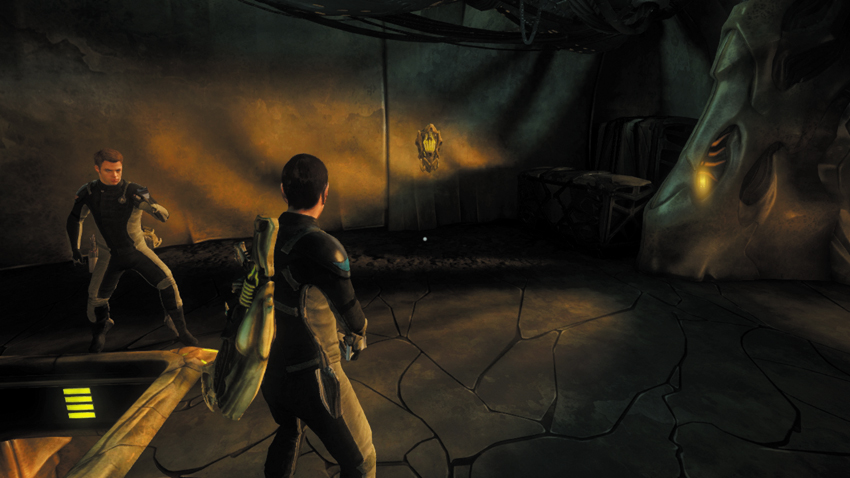
After incapacitating and scanning the Gorn Guardian, look on the left side of the room for a crate containing a Pillager. But don’t exit the room through the door just ahead—a security camera is waiting on the other side. Instead, look for a hatch on the right side of the room. Open the hatch and descend into the passage below. Climb the ladder at the end of the passage to enter a new room. Here you find the console controlling the security camera—hack it. The room also contains a console that allows you to view the camera’s perspective.
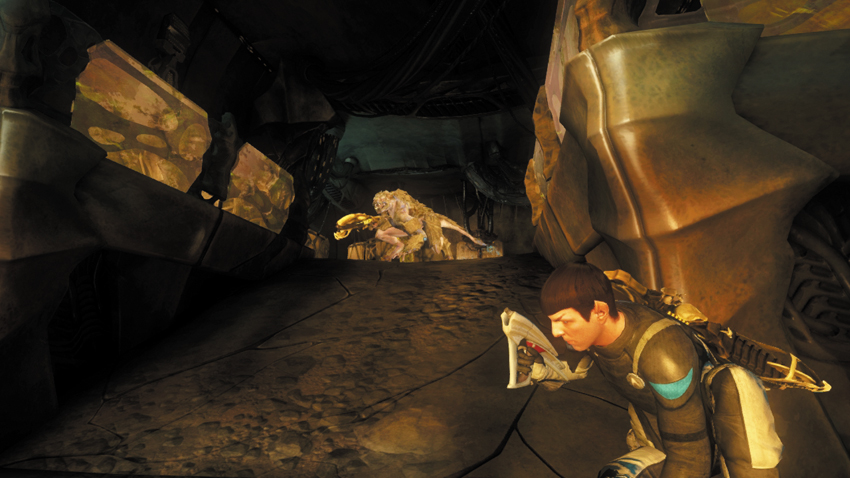
When the camera disabled, exit the room by unlocking the door. After passing through the door, take cover behind the low wall on the right. A couple of enemies patrol the next passage, including a Gorn Warrior and a Gorn Tech. Wait for the Gorn Warrior to approach your position and pause only a few feet away. When he turns away, sneak up behind him and perform a takedown.
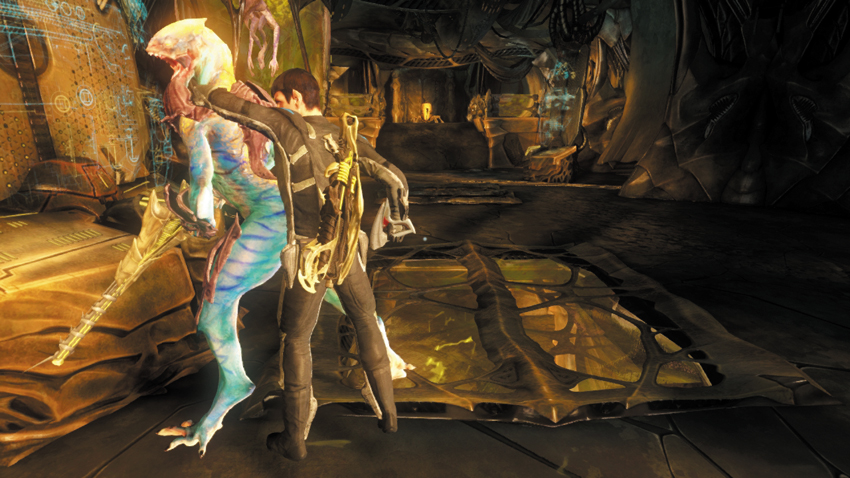
With the Gorn Warrior out cold, take cover behind the nearby crates and watch the Gorn Tech moving between a couple of consoles in the next passage. When he moves toward the console straight ahead and turns his back, sneak up behind him and perform a takedown. Once he is unconscious, Spock can perform a mind-meld on the Gorn Tech to retrieve the code to the nearby door. But don’t move to the door—it’s watched by a turret. Don’t worry, there’s another way inside.
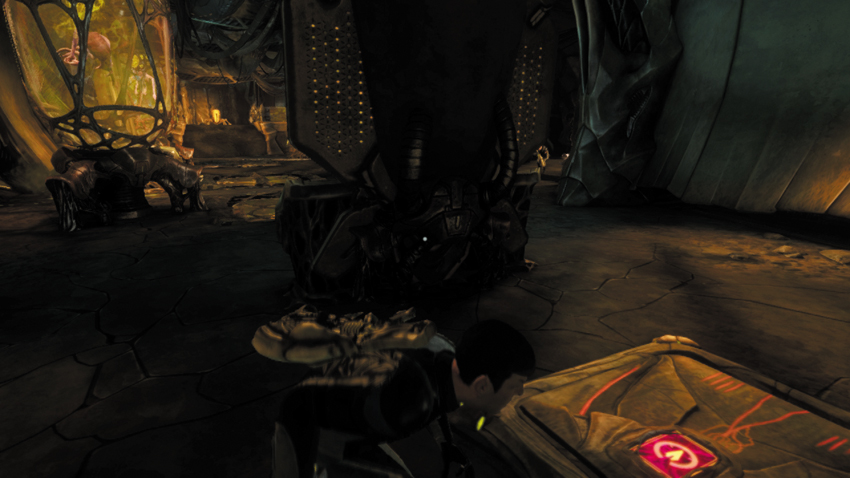
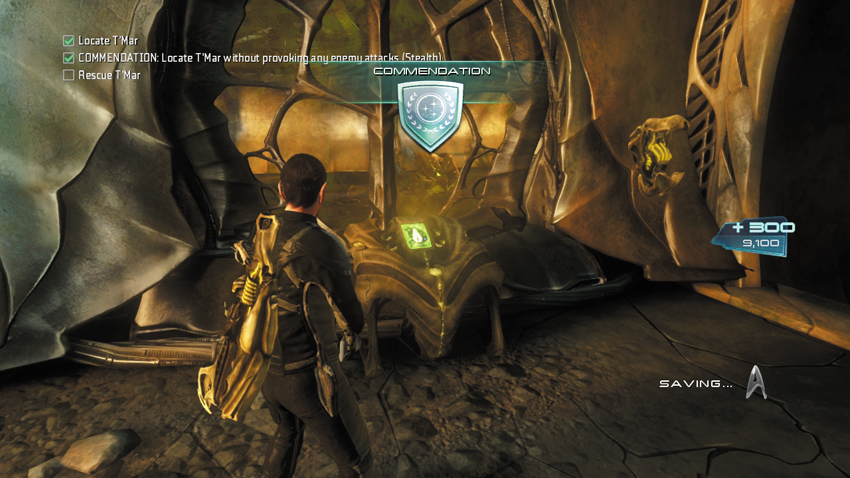
From the console where you took down the Gorn Tech, turn to the left, moving in the opposite direction of the turret at the end of the corridor. Here you find another hatch in the floor leading to an underground passage. Open the hatch and climb down inside, following the tunnel to another ladder. Ascend the ladder and open the hatch overhead to enter a new room. Pass through the entryway on the left to enter a control room. Here you can access an Energy Station and a Med Station as well as retrieve a Plasma Grenade from a crate. Use your tricorder to activate the console beneath a large window. Spock reports that T’Mar can be found in the labs ahead. If you managed to reach this location without provoking any attacks, you complete the stealth-based commendation as soon as you activate the console; it’s worth 300 XP.
New Objective: Rescue T’Mar
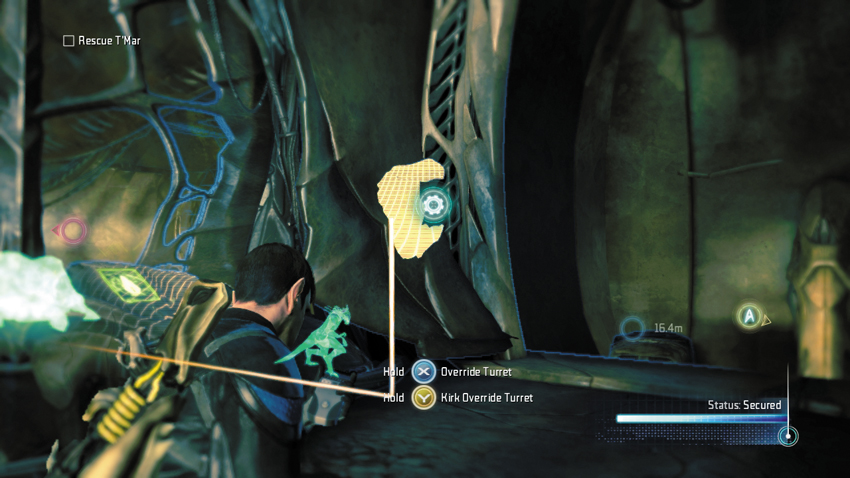
After activating the console, a Gorn Guardian appears outside the room; they’re visible through the large window. Since the stealth-based commendation is complete, feel free to dispose of this enemy using the turret. Hack the turret controls to the right of the console and watch through the window as it mows down the Gorn Guardian outside. Once the Guardian has been killed, exit the room through the door on the right. If you used the mind-meld on the Gorn Tech earlier, you can unlock this door without hacking it.
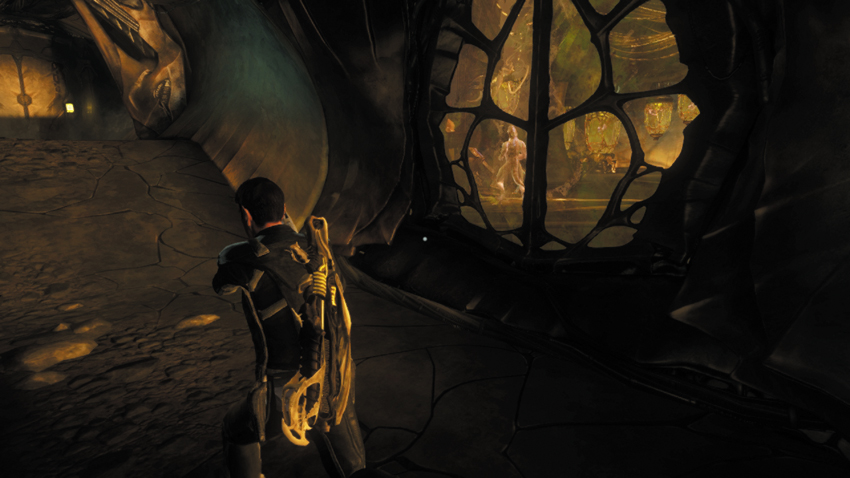
Pass through the door just beyond the hacked turret to enter a winding corridor. Through the windows in this corridor Kirk and Spock can see the Gorn perfoming biological experiments on the Lymax slaves. At the end of the corridor, work with your partner to hack the next door.
New Objective: Search the cells
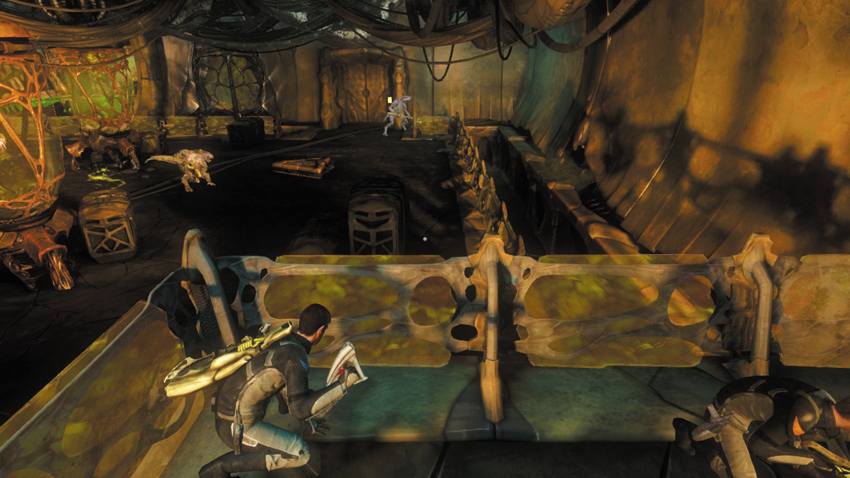
The lab beyond the door contains two holding cells—perhaps T’Mar is being held in one of them? But before you rush toward the two cells, make note of the Gorn Warrior and Gorn Guardian patrolling the lab. While it’s not necessary to remain stealthy during this sequence, triggering an alert will lead to the arrival of Gorn reinforcements. So stay behind cover until both enemies move away from your position.
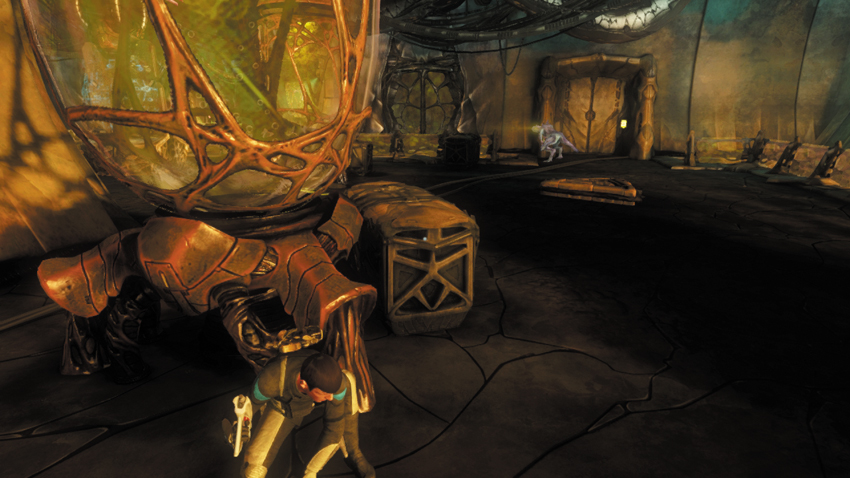
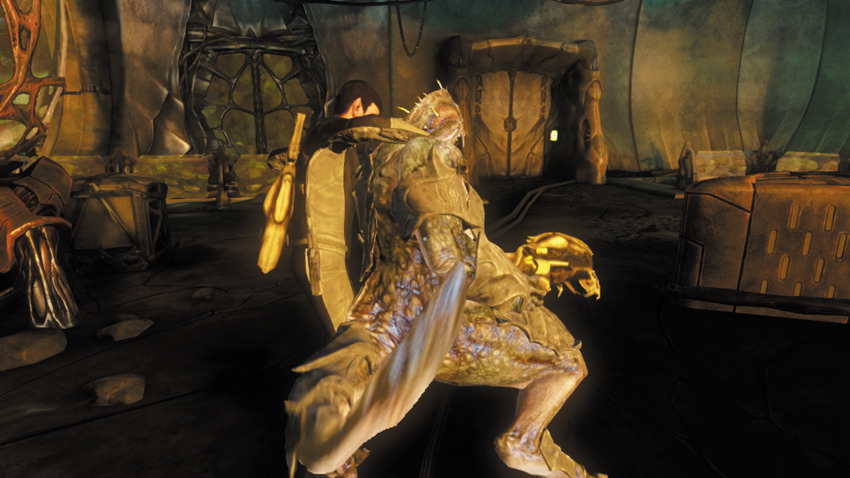
When the area ahead is clear, move down the short ramp and take cover behind this nearby storage tank while awaiting the return of the Gorn Warrior. He stops on the opposite side of this tank and stares off to the right. Take this opportunity to circle around the left side of the tank and sneak up behind the Warrior to eliminate him with a silent takedown.
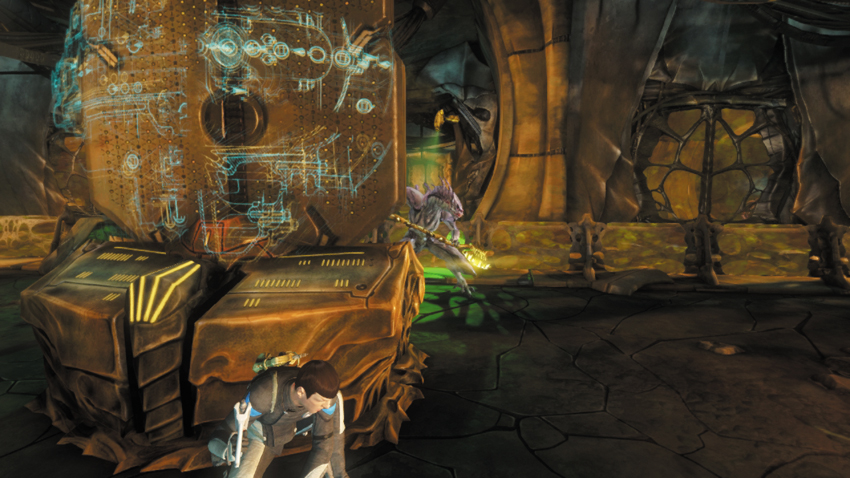
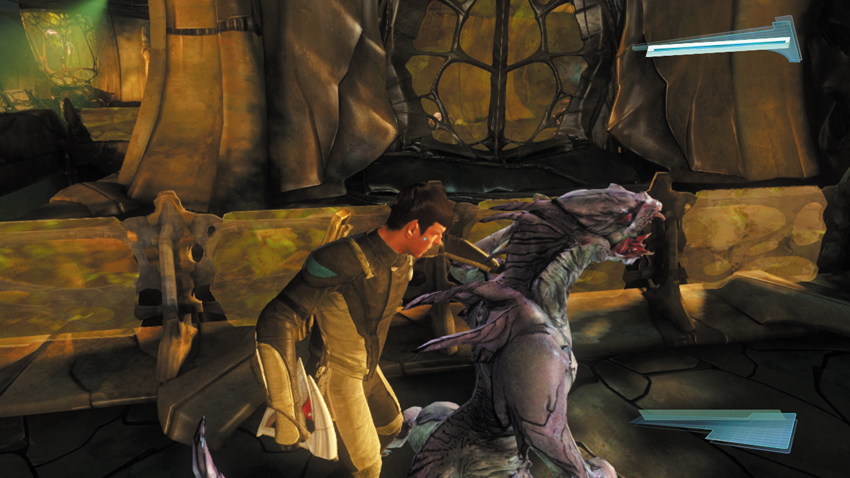
From the fallen Gorn Warrior, take cover behind this nearby console to the left and wait for the Gorn Guardian to return. While moving to the console, make sure you avoid the distant Security Camera’s scans—don’t step into the green light! As the Gorn Guardian marches past your position to the right, take aim at his back and stun him. Immediately after stunning him, rush up behind him and perform a takedown before he recovers. Timing is critical during this takedown—if the Guardian sees the unconscious Warrior, he’ll start searching for you, which makes it much more difficult to stun him.
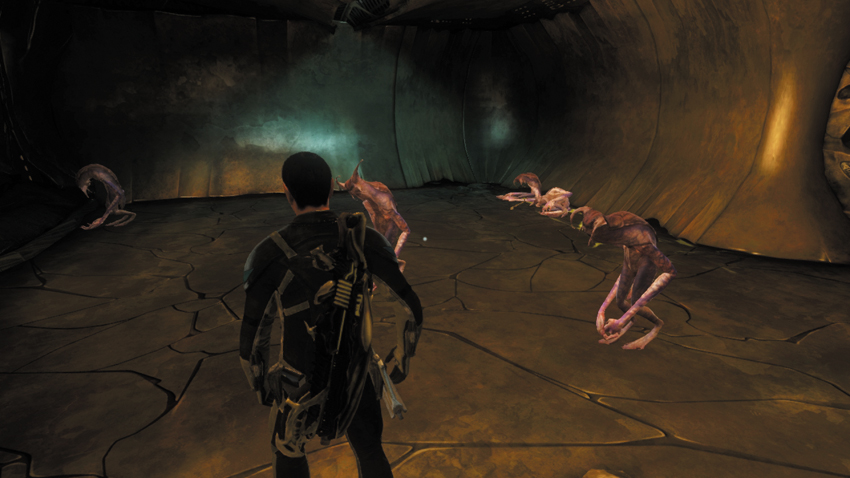
With the Gorn Warrior and Gorn Guardian out of the way, hack the door to the nearby cell. Inside all you find are unfortunate Lymax slaves. However, there is a collectable on the floor—scan it with your tricorder.
25: Instruments of Pain (1 of 2)
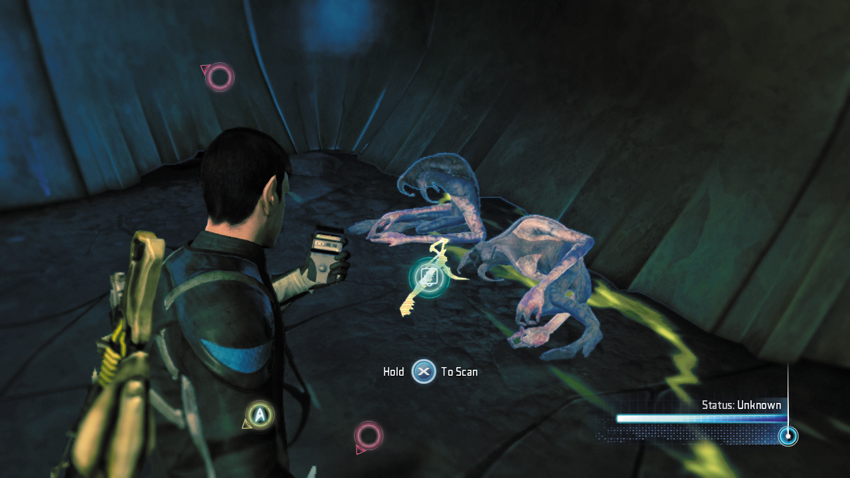
This item is located next to one of the dead Lymax slaves, in the first cell.
Type: Research Data
Set: The Apple Part 3/Instruments of Pain
XP: 100
Log Entry: These aren’t “tools” at all, if by “tool” you mean something useful. These are simply instruments of pain. I fear for anyone captured by the Gorn.
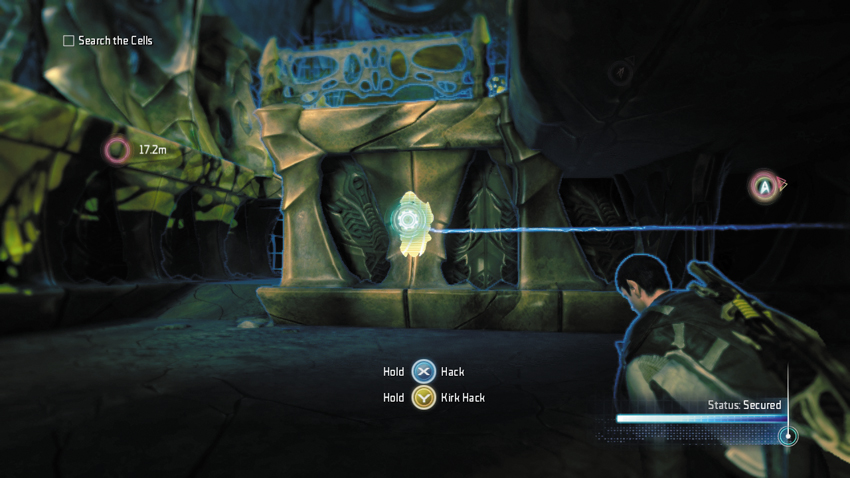
Upon exiting the cell with the Lymax slaves, drop down into the trench to the right. Along the way, watch for the green light emitted by the security camera positioned on the nearby wall. When the light pans away from your position, advance and take cover near this wall, just across from the security camera’s console. Hack the console to deactivate the security camera, then climb out of the trench.
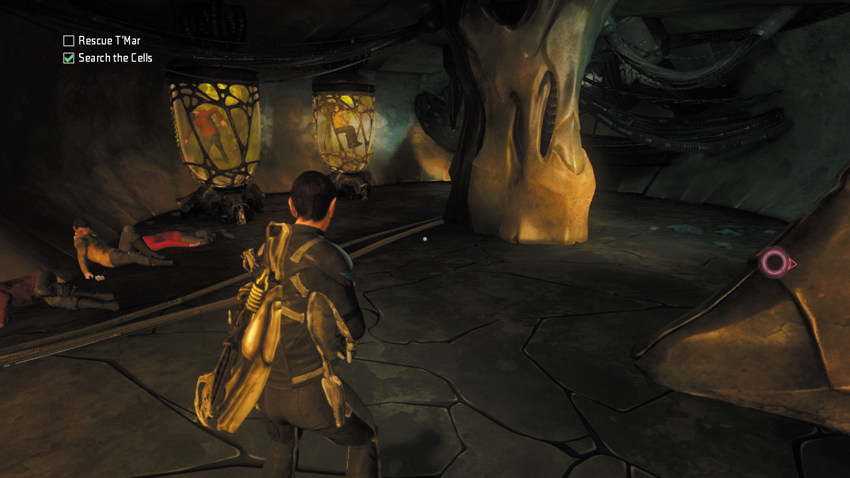
With the security camera disabled, it’s easy to enter the next cell. Unlock the cell door, and step inside—T’Mar isn’t in here either. However, a few members of Commodore Daniels crew are here—and they’re all dead. Scan the floor near the dead crewman to uncover an audio log.
26: Crew Member’s Audio Log
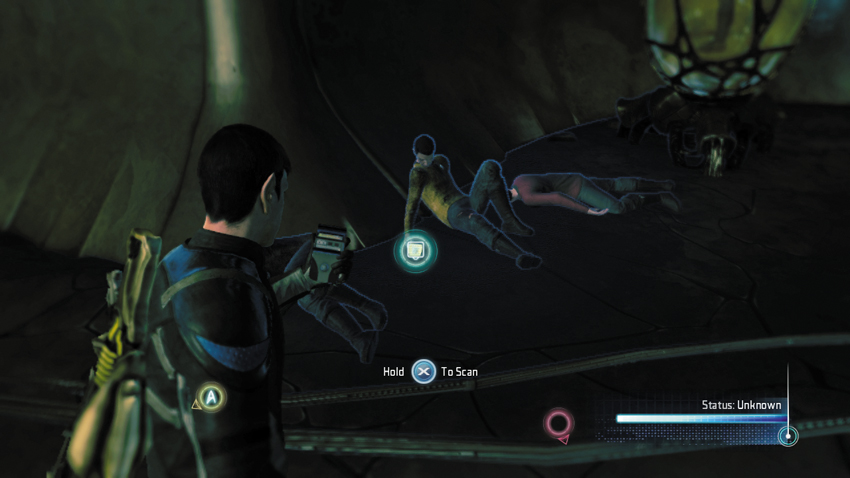
Scan this audio log next to the dead crewman in the second cell.
Type: Audio Log
Set: The Apple Part 3/Logs
XP: 50
Log Entry: Why? Why did I listen to Daniels? Why didn’t I listen to my wife? She warned me. She wouldn’t stop warning me, when I thought I knew everything—at least everything Daniels told me. Damn him! Damn his promises of promotion, his promises of glory. Nothing but empty promises. Now we’re all going to die at the hands of these … things from God knows where. I never should have left home. I never should have left my wife.
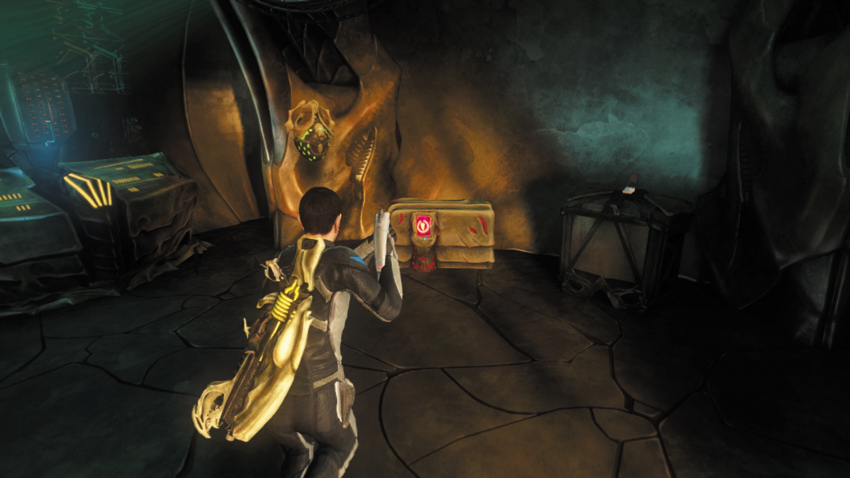
Exit the cell with the dead Starfleet crewmen and pass through the next door on the left to exit the lab. There are two doorways in the next L-shaped corridor. Hack the first door at the intersection to enter a storage room with a Med Station and an Energy Station as well a crate containing a Marauder. There’s also another collectable in here.
27: Daniels’s Audio Log #8
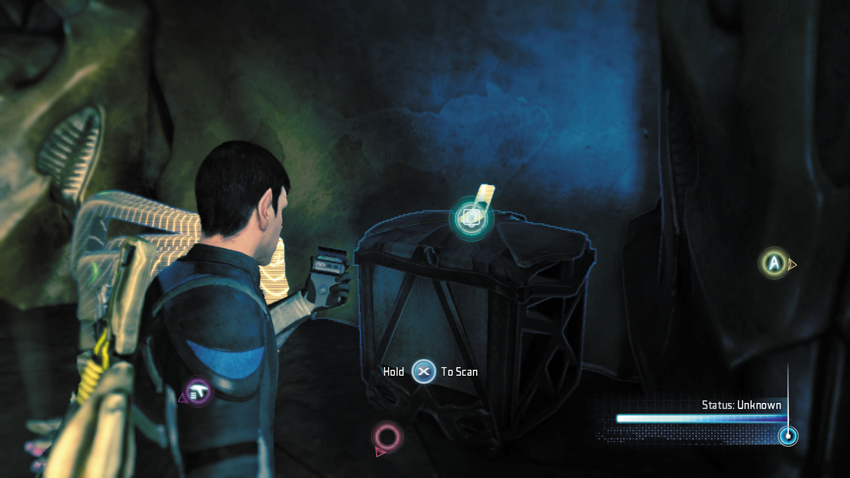
This audio log is located on the crate on the right side of the supply room.
Type: Audio Log
Set: The Apple Part 3/Logs
XP: 50
Log Entry: There’s still a chance. I can still get out of here alive. I’m too valuable not to. I just have to convince these creatures of that. They’re obviously not stupid. There’s no way Starfleet will be able to hold off a full-scale invasion. If only I had been more patient with T’Mar’s tests, I … what? What are you doing? No! I can help you. Don’t! I’m … Nooo!
New Objective: Reach Commodore Daniels
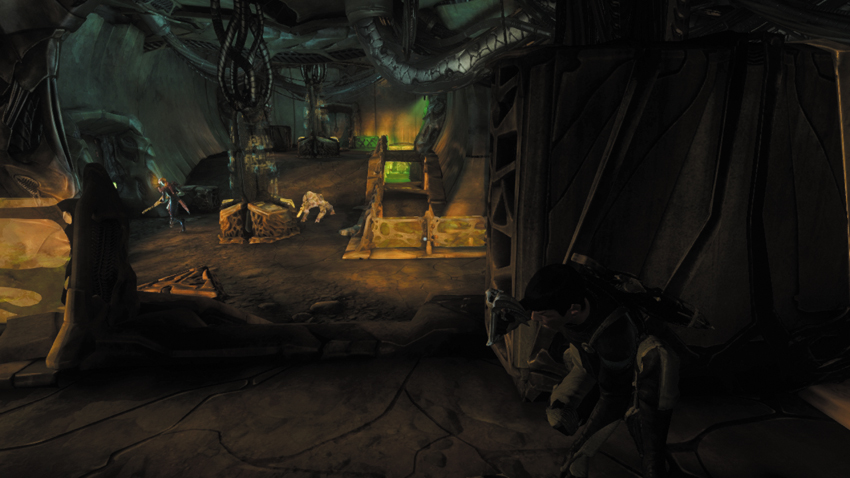
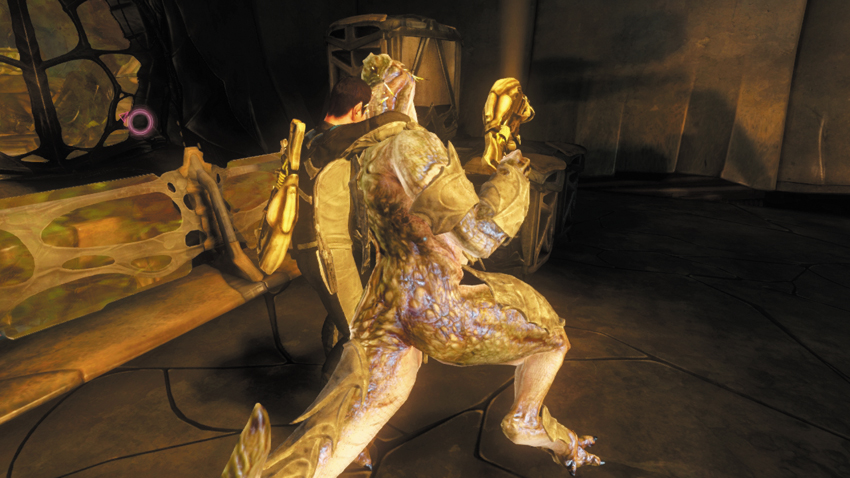
Exit the storeroom and turn right to hack the door at the end of the corridor—you’ll need to work together with your partner to complete this hack. The next lab is patrolled by a Gorn Warrior and Gorn Tech—it appears Daniels may be inside the adjoining room. Once again, a stealthy approach isn’t necessary in this lab. But if an alert it raised, Gorn reinforcements will appear and that leads to a dangerous firefight. If you have the patience, stalk these enemies and eliminate them silently. Start by watching the Gorn Warrior. When he approaches your position, sneak up behind him and perform a takedown—don’t worry, the Gorn Tech won’t see you because he’s in the adjoining room.
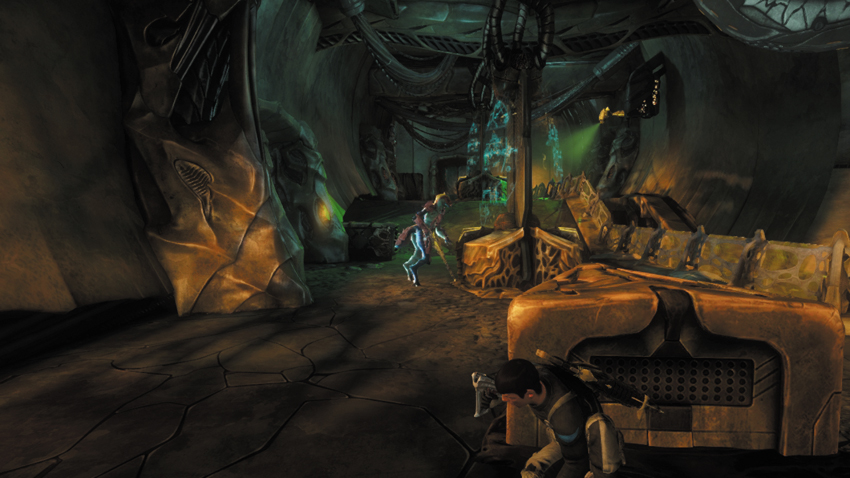
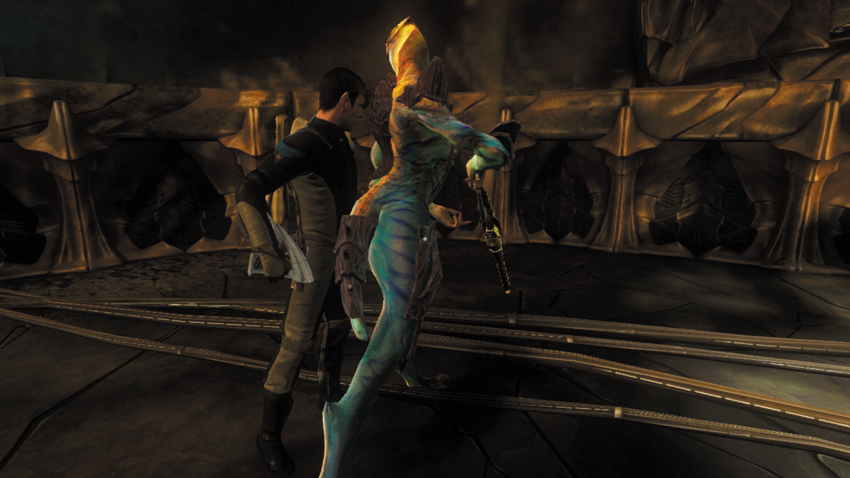
Next, use your tricorder to raise this barrier next to the console frequented by the Gorn Tech. Hide behind the barrier and wait for the Gorn Tech to return to the console. When his work is complete, he turns around and passes through the door on the left—follow him inside. Once inside, creep up behind the Gorn Tech and incapacitate him with a takedown. This room contains a Med Station and an Energy Station as well as a collectable on a nearby crate.
28: Instruments of Pain (2 of 2)
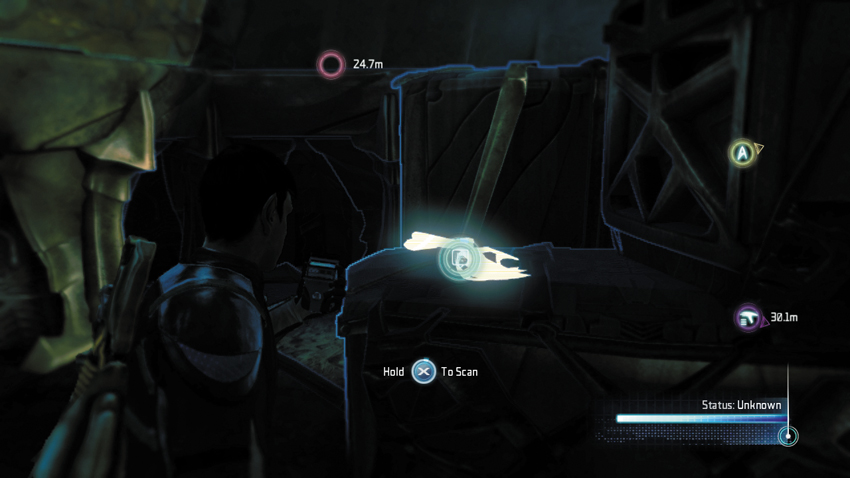
Look for this collectable on the crates in the room patrolled by the Gorn Tech.
Type: Research Data
Set: The Apple Part 3/Instruments of Pain
XP: 100
Log Entry: A truly grisly object. I doubt the Gorn even care whether it causes a prisoner to spill secrets. It looks like its sole purpose is to inflict pain.
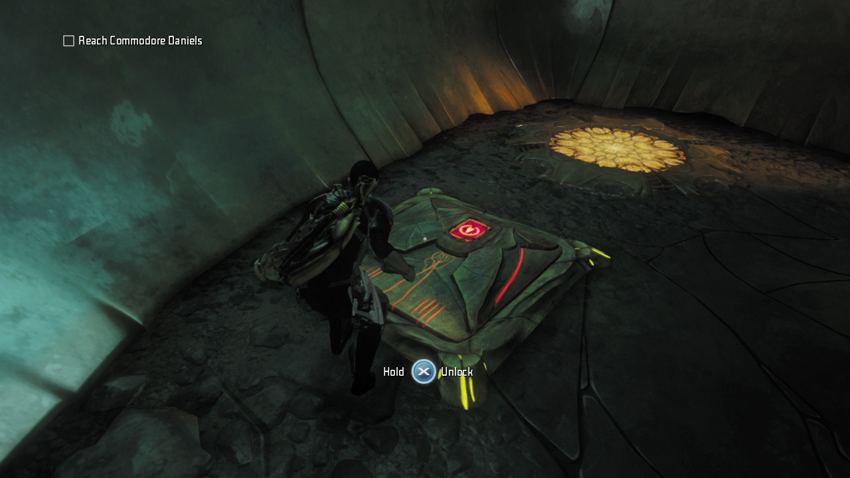
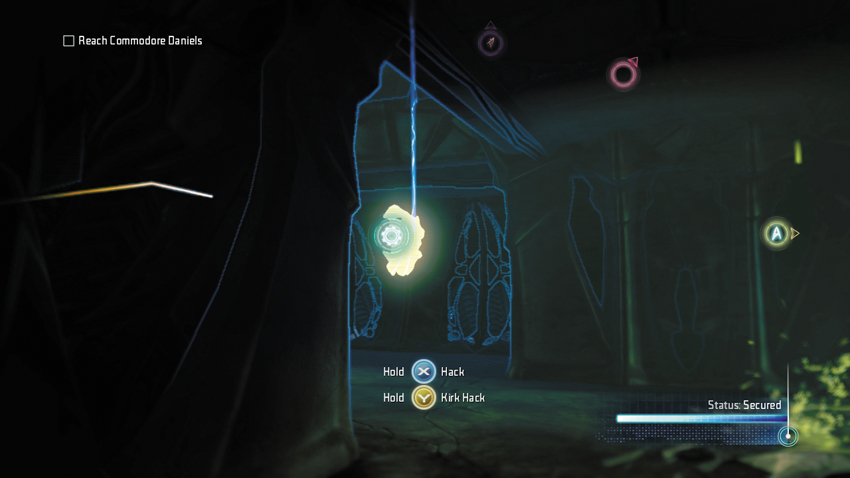
After taking out the Gorn Tech and scanning the collectable, locate a hatch in the floor of the room. Open the hatch and drop inside to enter a short vent shaft. Unlock the hatch at the end of the shaft to enter a cramped crawl space. Unlock another hatch at the end of the crawl space and look for a console attached to a security camera just ahead—don’t exit the crawl space or you may be spotted by the camera. Hack the console to disable the security camera. Now exit the crawl space and climb out of the trench to return to the main lab.
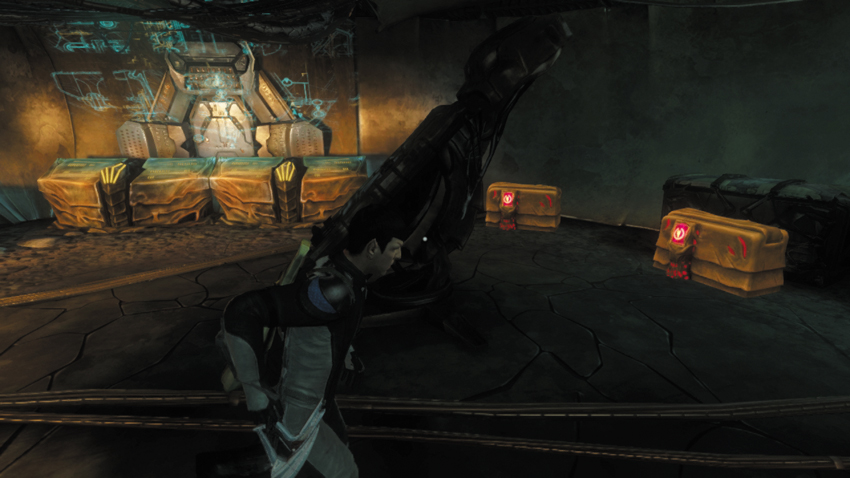
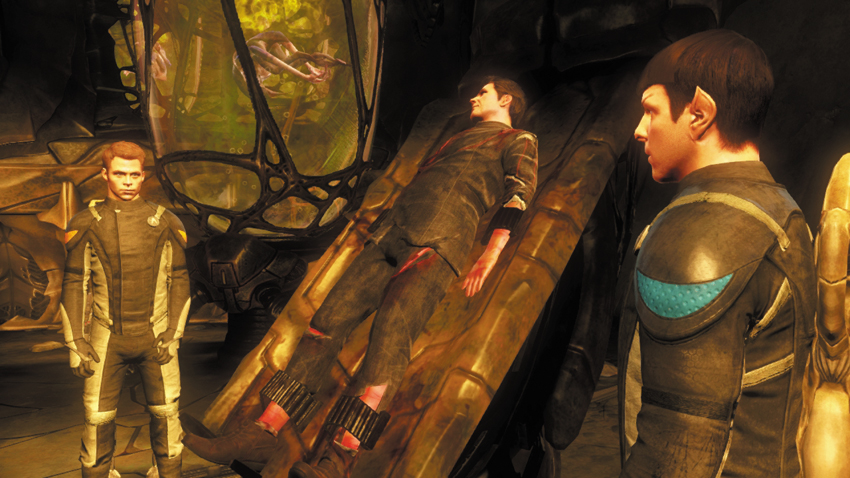
Enter the doorway just beneath the disabled security camera; you must hack the door to unlock it. Commodore Daniels is being held inside this torture chamber. But don’t approach him just yet. Instead, open the crates near the entrance containing a Railer and Marauder. Consider grabbing the Marauder—you’re not getting out of this room without a fight. When you have the weapon of your choice, approach Commodore Daniels, who is restrained to a metal exam table. Daniels is anything but grateful; he blames Kirk for leading the Gorn to his Starbase. But Spock sets the record straight, citing Daniels’s obsession with the Helios Device as the catalyst to this calamity. When asked about T’Mar’s whereabouts, Daniels is resistant, repeating there’s no hope for saving her. But as Daniels talks, two Gorn Initiates barge into the room and open fire, killing the Commodore in the process.
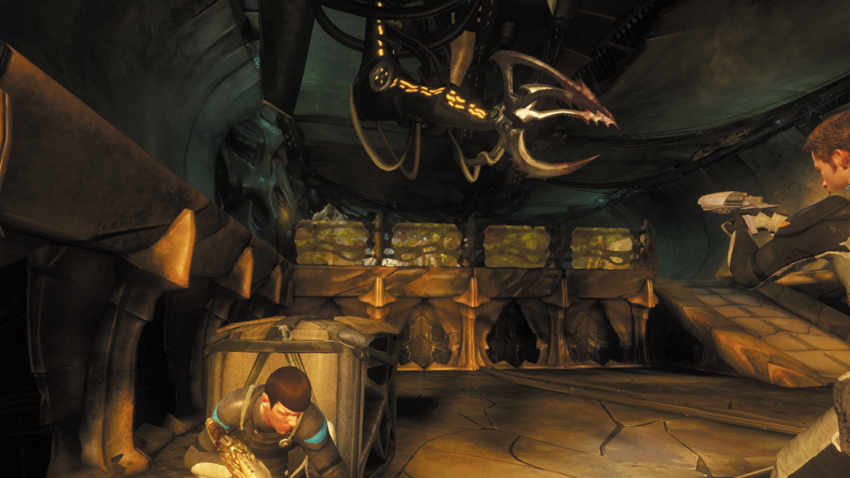
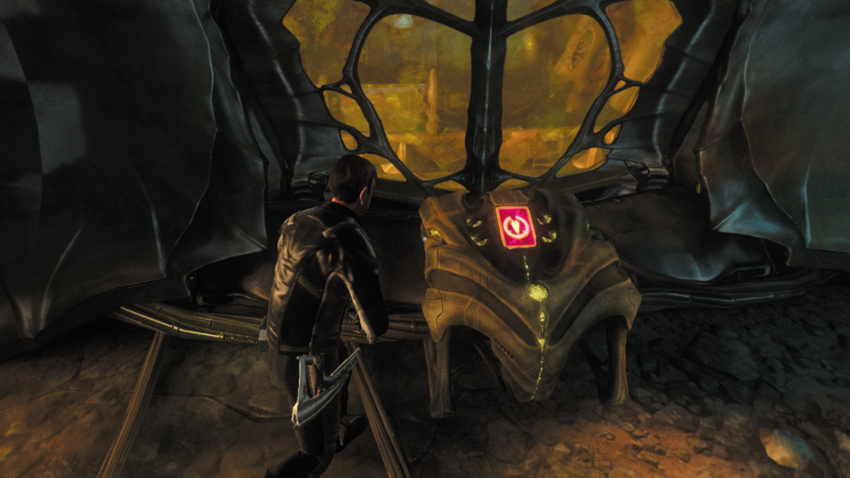
Following the cinematic, immediately take cover to avoid meeting the Commodore’s fate. The initiates are positioned behind a low wall, firing and tossing Plasma Grenades from behind cover. There isn’t much room to maneuver here, but make an effort to dive out of the way of incoming grenades. If you have the Marauder, fire grenades of your own over the low wall to strike the enemies. Once the Gorn Initiates are eliminated, approach the console in the room beneath the window to unlock the next door. Exit the lab and follow the waypoint markers through the next corridor to the lab where T’Mar is being held.
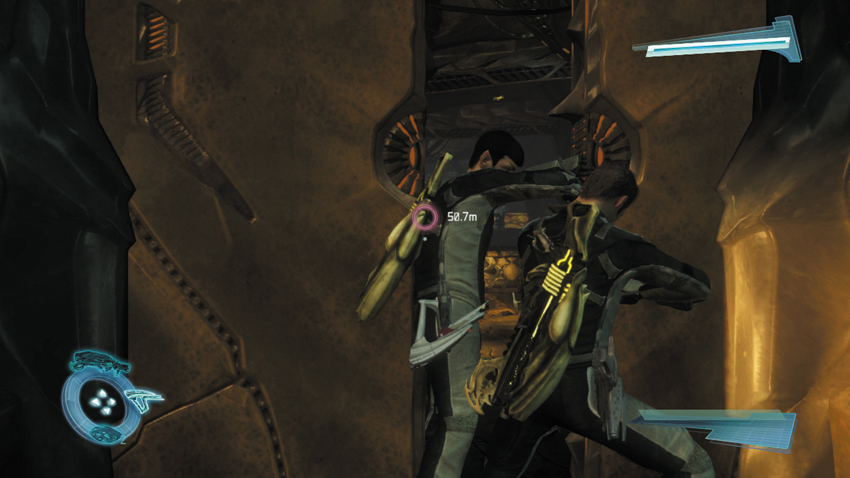
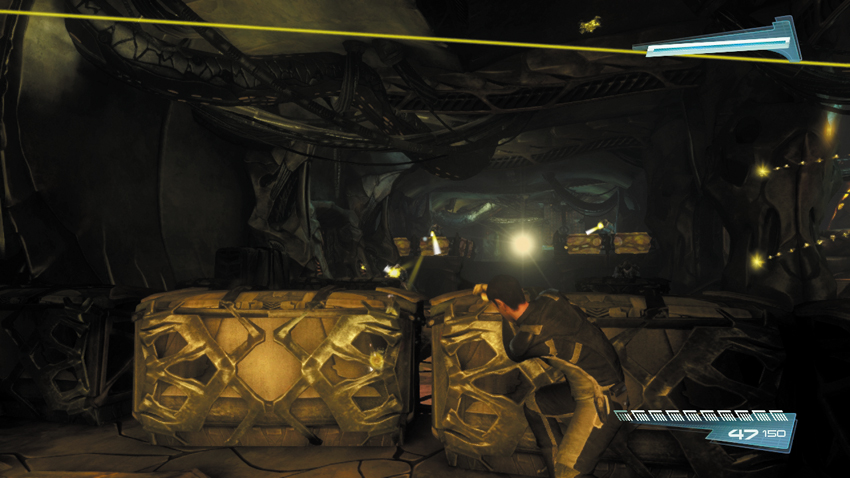
Work together with your partner to pry open the door to the next lab. But upon entering, Kirk and Spock are caught in an ambush—this is the same sequence from the prologue of the game. As you did in the opening moments of the game, stay low and behind cover, and return fire. But no matter how successful you are, the outcome is unavoidable. As a grenade detonates nearby, both Kirk and Spock black out.
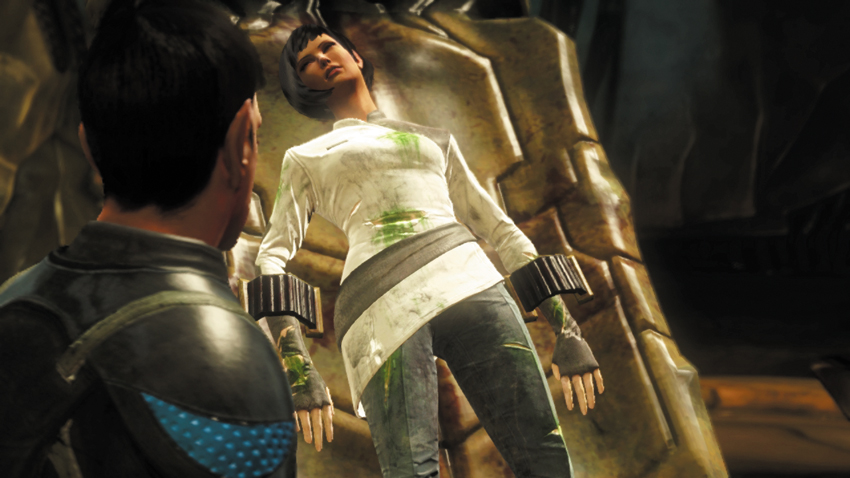
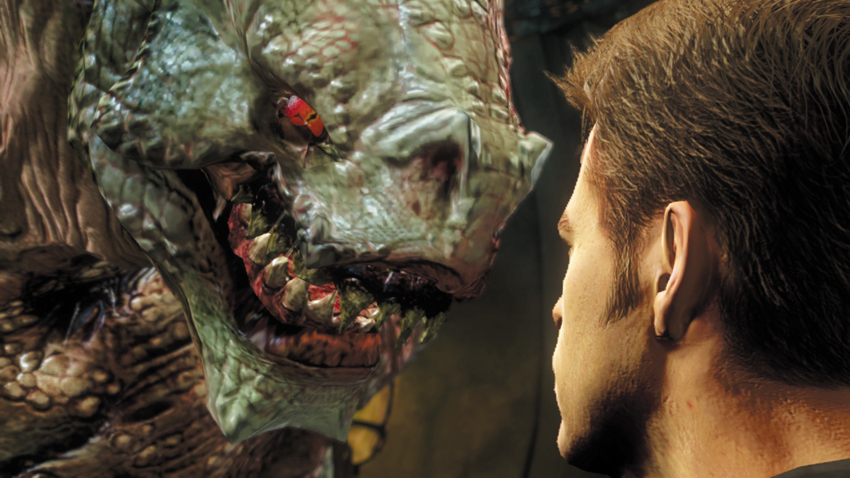
When Kirk and Spock regain consciousness, they are being held captive by the Gorn and are led to the chamber where T’Mar is being tortured—the Helios Device sits nearby. Suddenly the Gorn Commander marches into the room, ordering his troops to load T’Mar onto his ship. He has something special planned for Kirk and Spock.…
The Trials
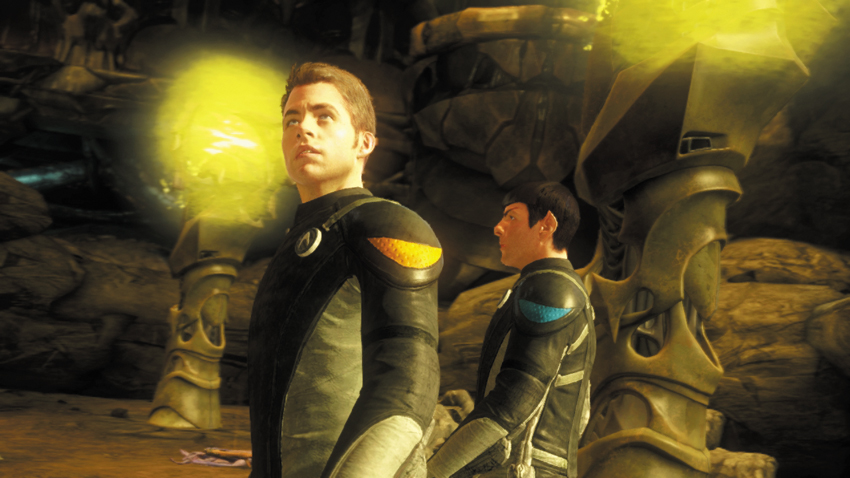
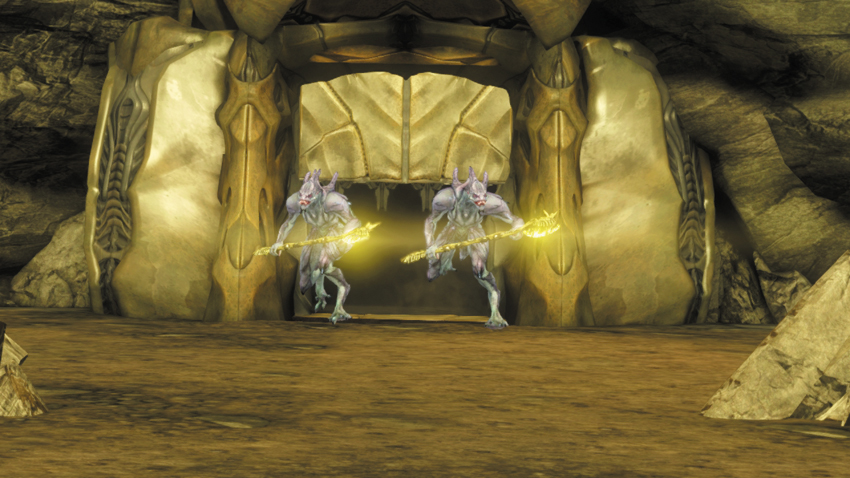
Kirk and Spock are escorted into a large gladiatorial arena as the Gorn Commander and T’Mar, restrained by a Gorn Enforcer, watch from a perimeter balcony. On the Gorn Commander’s order, a large door opens on the arena’s opposite side and two Gorn Guardians march out. Stripped of their weapons and gear, Kirk and Spock must rely on their physical stamina and ingenuity to survive wave after wave of enemy attacks.
New Objective: Survive the Gorn Trials
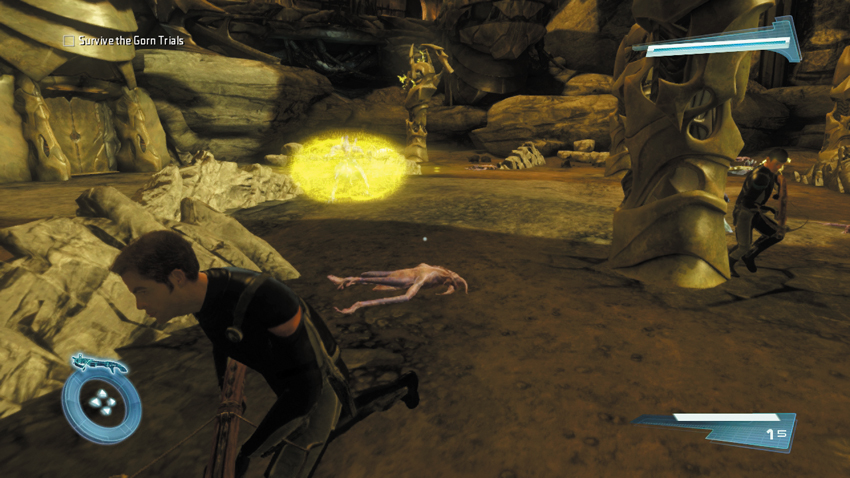
Immediately following the opening cinematic, start scouring the floor of the arena for weapons. There are several dead Lymax creatures are scattered throughout the arena. Next to each Lymax you can find a Lymax Bow or a Plasma Grenade—grab either weapon you come across. In the meantime, be ready to dive out of the way to avoid attacks by the Gorn Guardians. Rotate the camera so that you can see behind your character—this makes it easier to evade attacks by enemies chasing you. While there is plenty of cover in the arena, in the form of rocks and pillars, do not stop to take cover. Instead, stay on the move and sprint and dive away from the charging enemies.
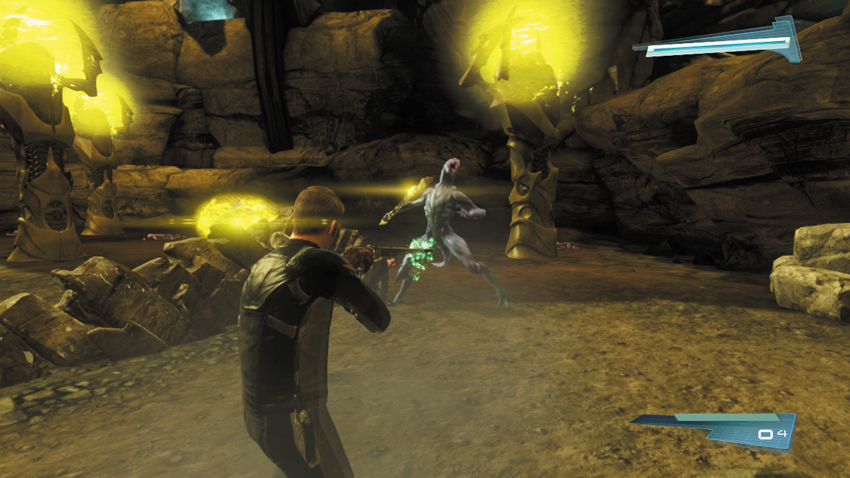
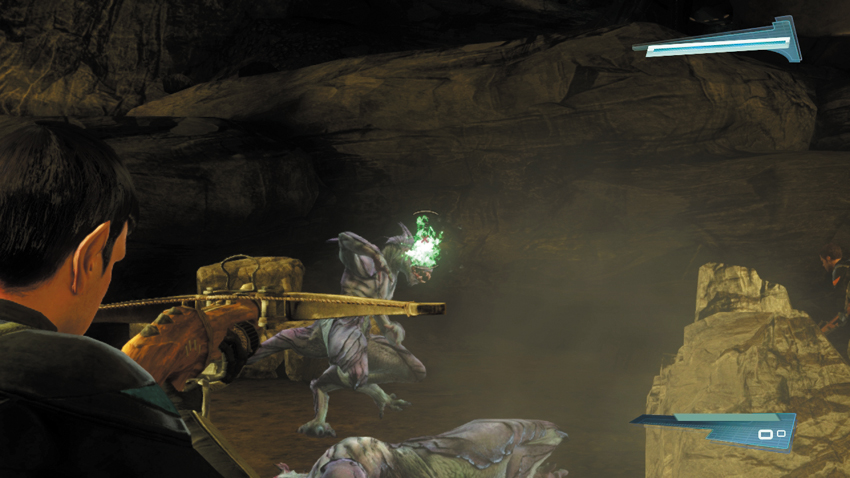
The Lymax Bow, which is like a crossbow, isn’t the best weapon for killing Gorn Guardians, but it will have to do. When they’re not attacking, the Gorn Guardians defend themselves with a yellow energy shield. Don’t bother shooting the Lymax Bow while this shield is active. Instead, wait for them to perform a melee attack to drop their energy shield. First, evade the melee attack, then hit them with a bolt fired from the Lymax Bow. This is a single-shot weapon that requires a reload after every shot, so after scoring a hit, run away while reloading and prepare to repeat the process, dodging an incoming attack before firing again. If you run low on ammo, simply run over another Lymax Bow on the ground to automatically restock—there’s no need to stop. Surprisingly, it only takes about three or four shots with the Lymax Bow to kill each Gorn Guardian.
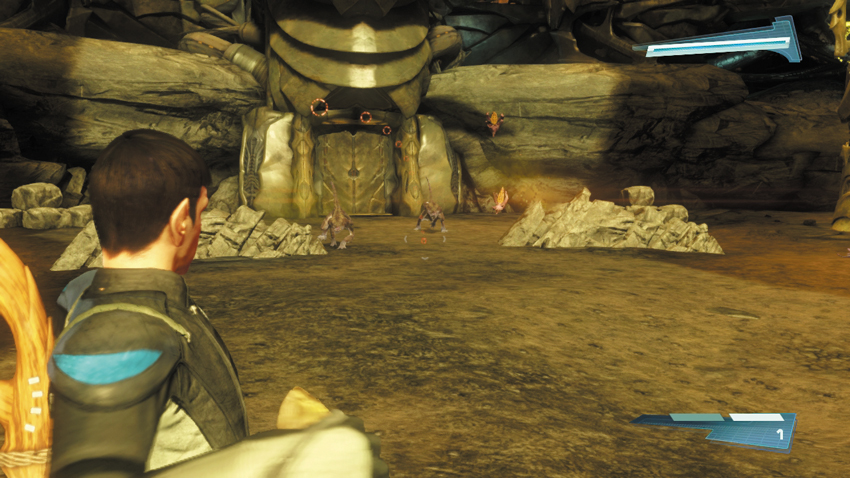
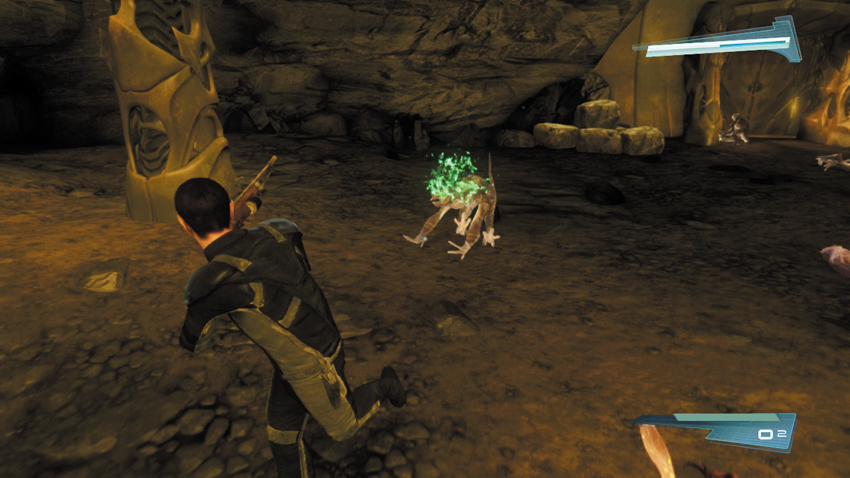
Immediately after you kill the two Gorn Guardians, the second phase of the trials begins, as several Gorpions and Gorn Rushers fill the arena. Toss a Plasma Grenade toward the Gorpions. If you’re lucky, the grenade will start a chain reaction of explosions as these volatile creatures pop like firecrackers. But don’t overlook the Gorn Rushers. These ferocious creatures charge directly at you. If they make contact, they’ll pin you to the ground and you’ll have to push them off by rapidly pressing the button shown on-screen. To evade the Gorn Rushers, keep running. Orient the camera so you can see behind your character and fire the Lymax Bow at the pursuing creatures. It takes only one hit with the Lymax Bow to kill each Gorn Rusher.
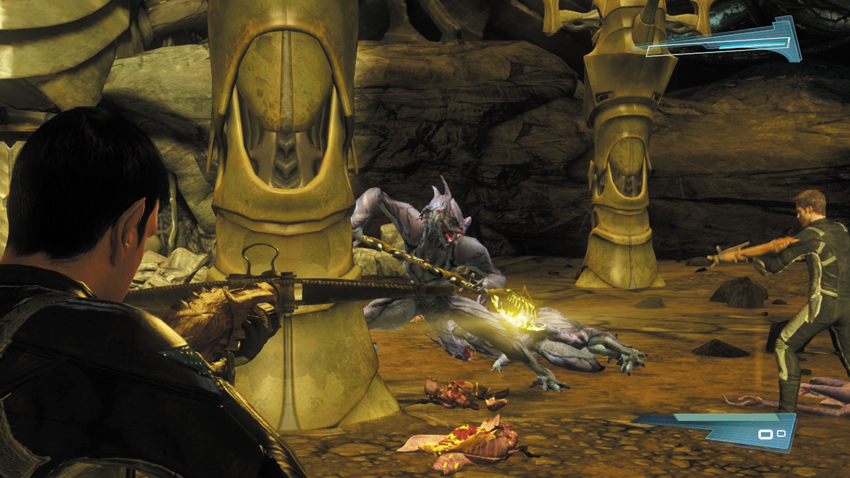
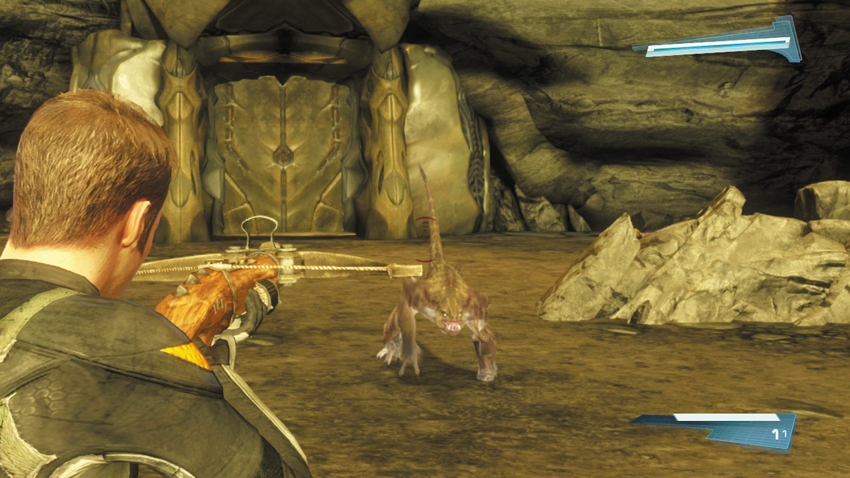
Even before all the Gorn Rushers are dead, more Gorpions and a pair of Gorn Guardians enter the arena. Once again, keep moving and allow the Gorpions to detonate before turning your attention to the Guardians. When only the Guardians are left, dodge their melee attacks and immediately retaliate with a shot from your Lymax Bow before they can activate their energy shield. The Guardians are followed by another round of Gorn Rushers. Take aimed shots at the Gorn Rushers before they can move into attack range, but be ready to move—otherwise you’ll get pinned to the ground when these creatures pounce. As the Rushers chase after you, fire behind you, and drop your pursuers while staying a few steps ahead.
New Objective: Overcome the unstoppable Gorn Champion
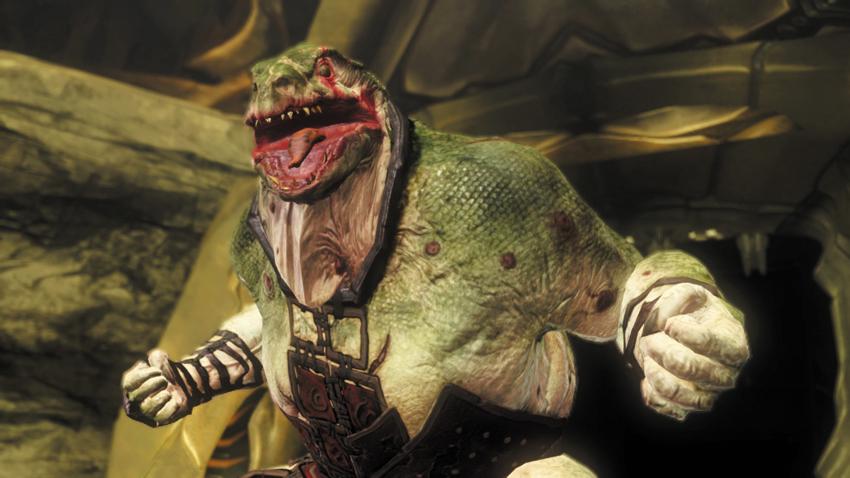
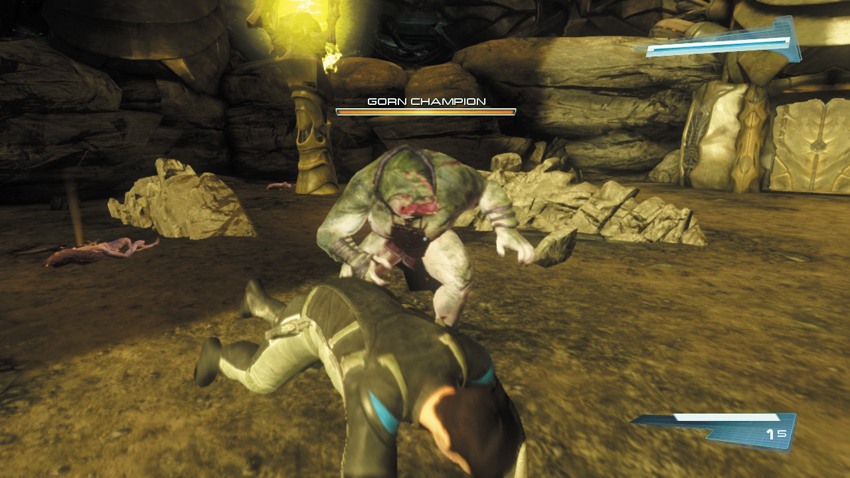
Even after dispatching several rounds of Gorn Guardians, Rushers, and Gorpions, the Gorn Commander isn’t impressed by your performance. He decides to bring the show to an end by unleashing his Gorn Champion. Don’t bother shooting this creatures at the beginning of the fight—your Lymax Bow will inflict no damage. Instead, focus on evading the enemy’s attacks. This massive creature has two basic attacks. When the Gorn Champion moves toward a stack of rocks on the arena’s perimeter, be ready to dodge the boulders he hurls in your direction. While he may look slow, the Gorn Champion is capable of quick bursts of speed, and he performs devastating charge attacks. He’ll run right over you if you don’t get out of the way. Dive laterally out of the way of the incoming Champion to avoid getting trampled. When you’re not busy evading the Champion, gather Plasma Grenades found near the dead Lymax.
New Objective: Attach grenades to Lymax weapons
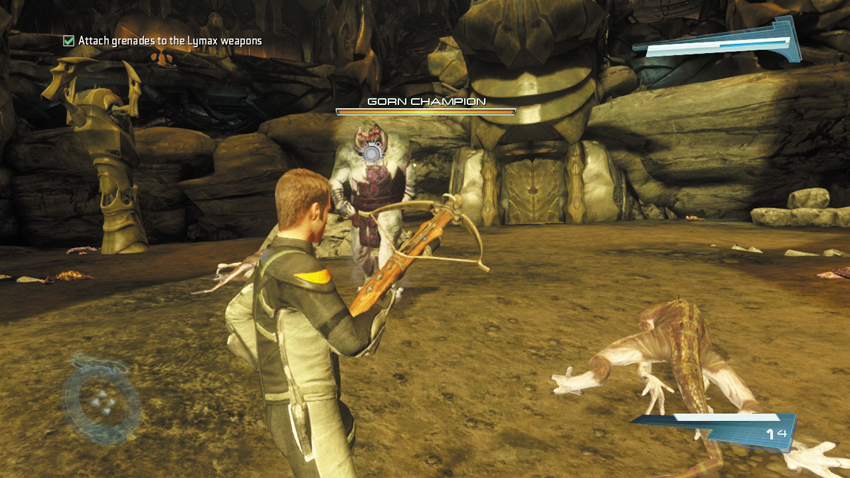
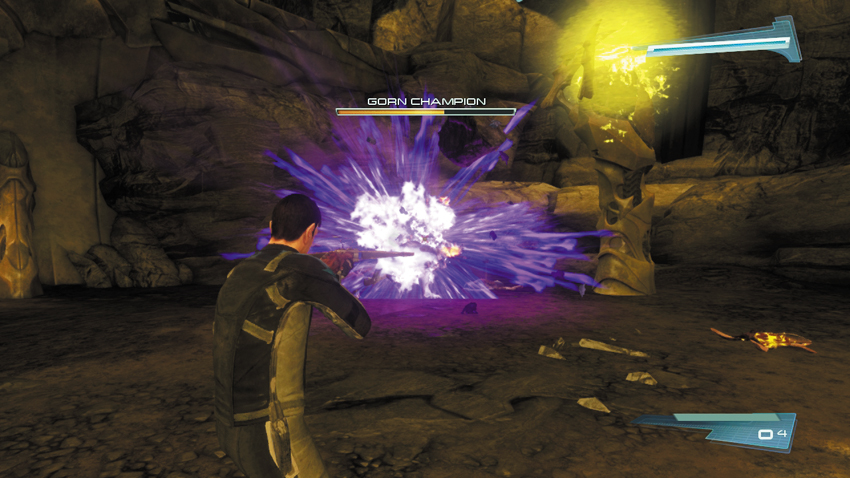
While discussing tactics, Spock suggests combining the Plasma Grenades with the Lymax Bow to create a crude but effective weapon that’s ideal for depleting the Gorn Champion’s health, which is visible on the bar on the HUD. Once you have at least one Plasma Grenade in your possession, press the button shown on-screen to combine your weapons. The result is a crossbow capable of firing grenades. Open fire on the Gorn Champion, but keep your distance. The grenades stick to the Champion’s skin before eventually exploding—just make sure you’re a safe distance away from the enemy when the grenades explode. Keep hammering the Gorn Champion with grenades until his health is finally depleted. It takes approximately eight hits to kill the enemy.
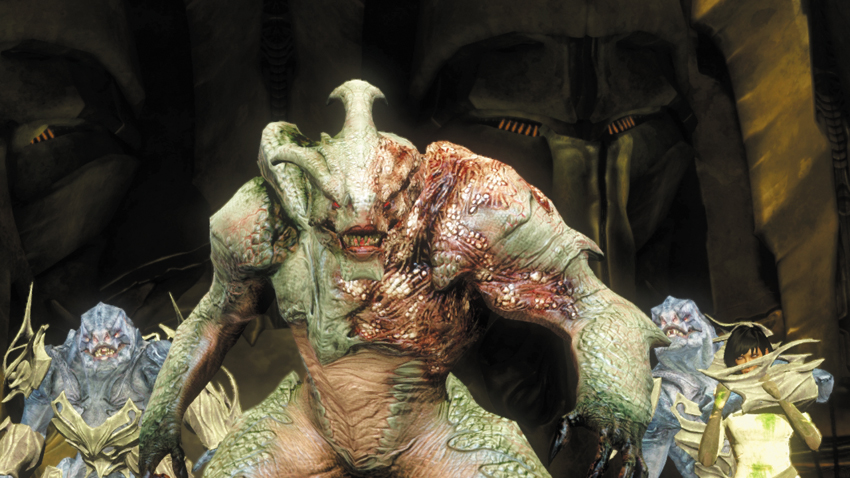
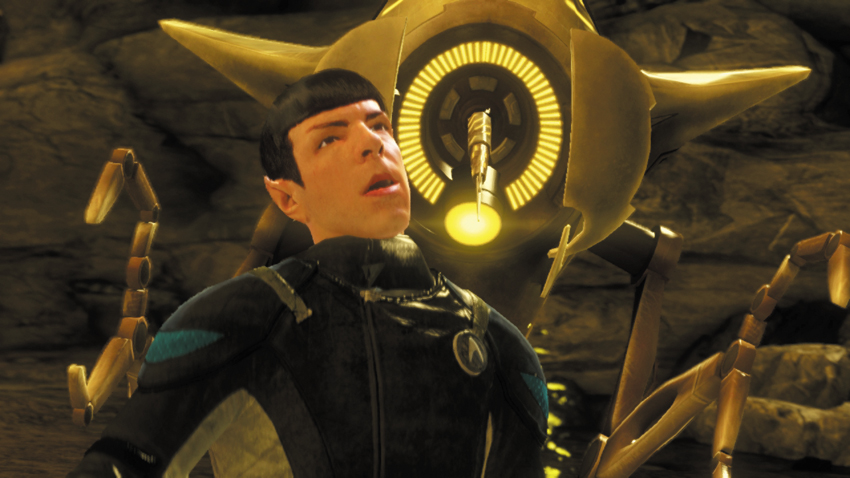
Outraged by your success in the arena, the Gorn Commander orders Kirk and Spock to fight to death. Suddenly, a drone appears behind Spock and infects him. He falls to the ground and passes out. Kirk tries to intervene but is knocked unconscious by a Gorn Enforcer. When the two regain consciousness, Spock is clearly infected. Kirk does his best to get through to his friend, but Spock charges forward, ready to fight—this scene plays out just like the sequence from the prologue.
New Objective: Defeat Spock/Kirk
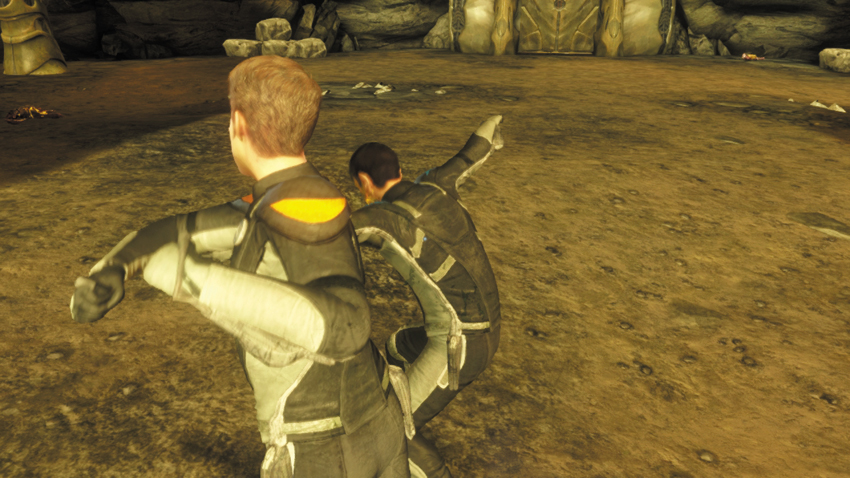
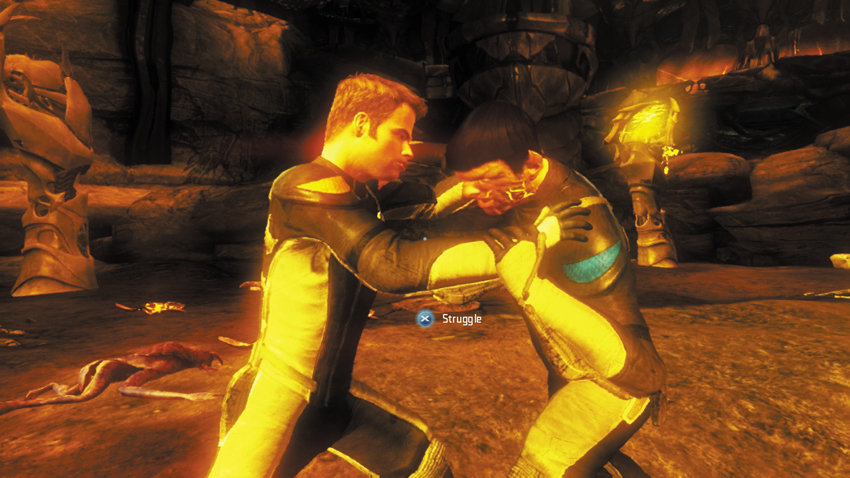
In this sequence, you must defeat your partner in a fist fight. If playing as Kirk, you must defeat Spock. If playing as Spock, you must defeat Kirk—the HUD is bathed in a red hue, which indicates that Spock is infected. During the fight, the button usually used to reload a weapon allows you to throw a punch. Press the button for dodging or taking cover to block incoming punches. As you both make contact, there’s a chance both characters will become locked in a grappling struggle. During this sequence, rapidly press the button shown on-screen to win the grapple and throw your opponent to the ground. Once your partner gets back up, the fist fight resumes. Punch your opponent relentlessly to come out on top during this fight.
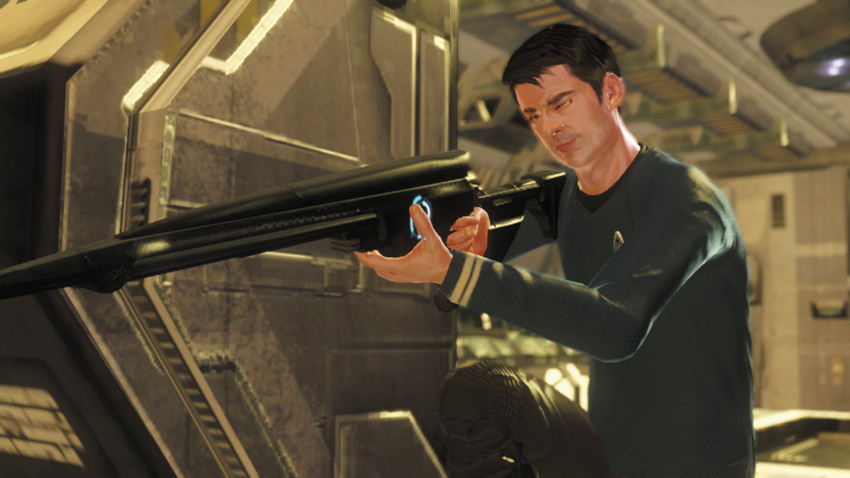
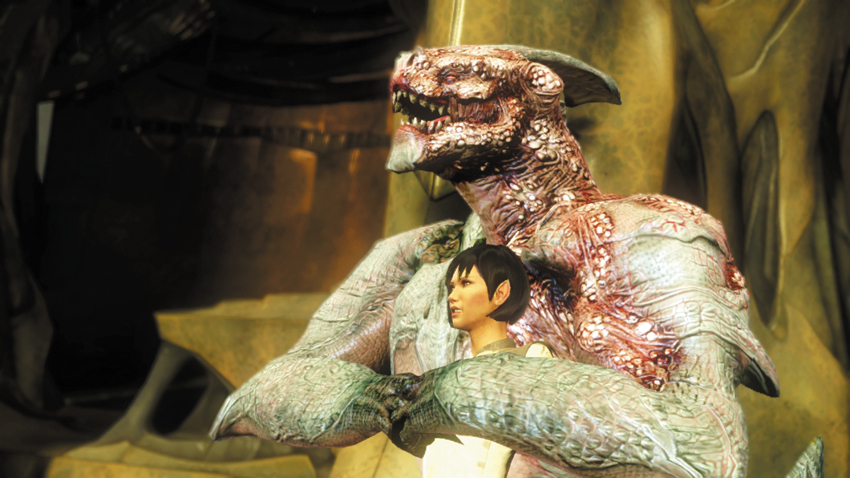
Regardless of who wins the fist fight, the outcome is the same: The struggle moves to the ground with Spock choking Kirk. Suddenly the shuttle appears overhead, pulling to a hover above the arena. As Sulu steadies the shuttle, Dr. McCoy uses a modified Starfleet Type III Rifle to inject Spock with the antidote and cure the infection. Spock recovers almost instantaneously as the Gorn Commander flees, taking T’Mar with him. Sulu is unable to land the shuttle, but Bones tosses out a crate containing phasers and tricorders. You’ll need to fight your way to a suitable landing site before Sulu can pick you up.
Trials Escape
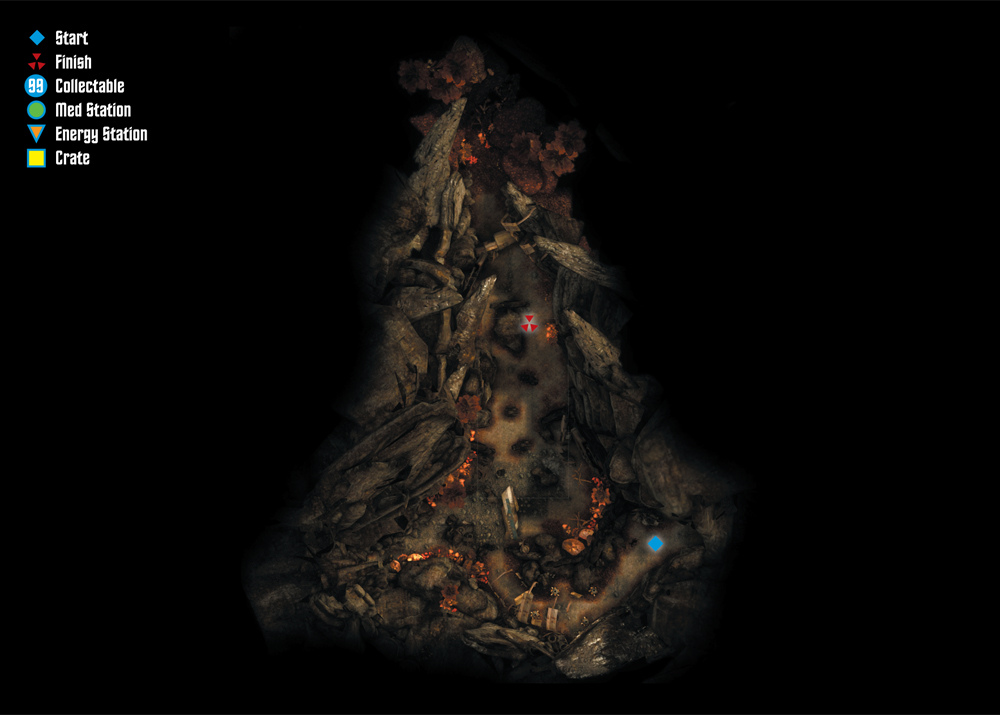
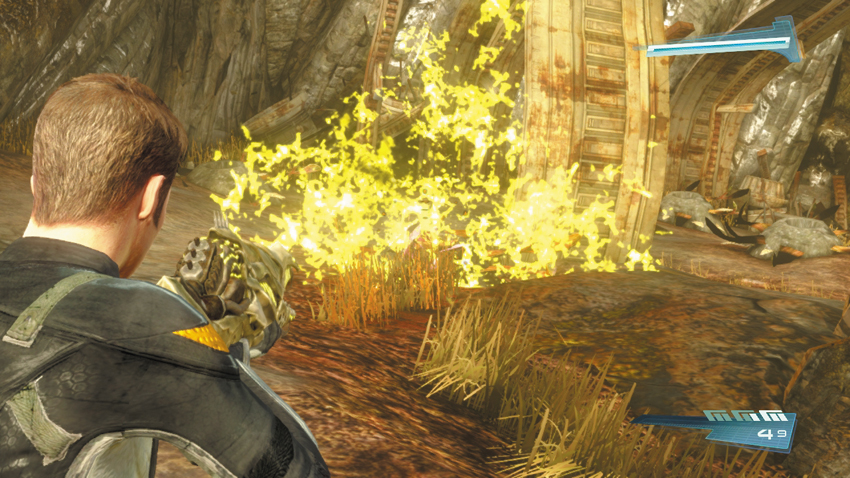
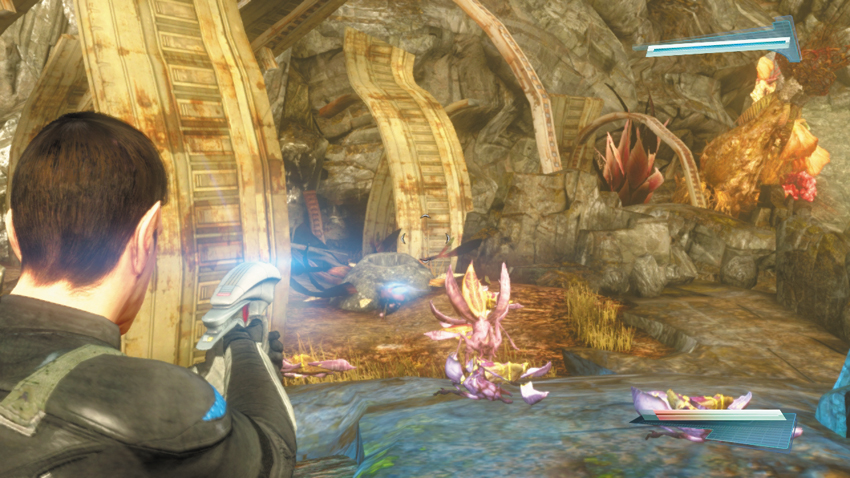
Following the cinematic, Kirk and Spock find themselves on a path outside the arena. Grab the Marauder off the dead Gorn Initiate on the right side of the path and target the Gorpion nests ahead with grenades. As you attack the nest, prepare for a rush of Gorpions. Fortunately, the Marauder is well suited for handling these creatures—but the weapon has limited ammo. When the Marauder runs out of ammo, switch to your phaser to finish off the Gorpions and their nests. The faster you destroy the nests, the fewer Gorpions you’ll have to confront or evade.
New Objective: Clear the area of Gorn so Sulu can land the shuttle
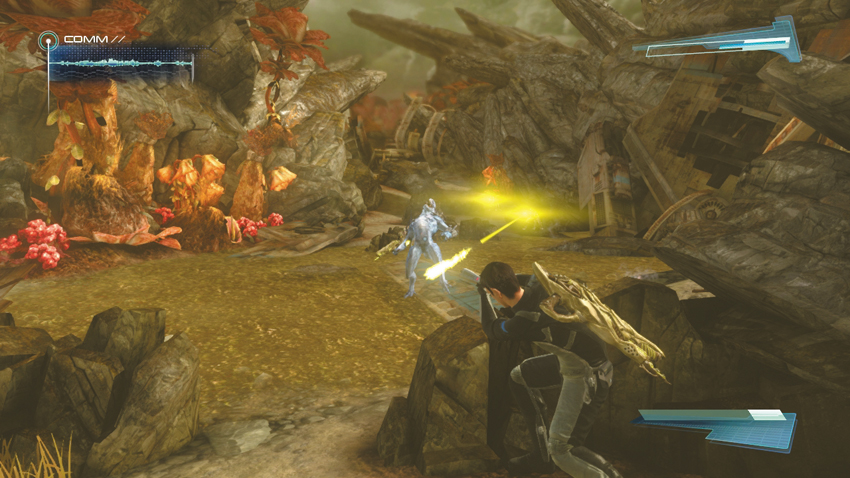
Once the Gorpions and their nests are eliminated, advance along the path until you come to a shallow stream. Here the Gorn have staged an ambush to prevent your escape. Immediately take cover and focus your fire on the Gorn Enforcer marching across the stream. But the other enemies are too difficult to hit from this range. So once the Gorn Enforcer is down, hunker down behind cover and wait for assistance from Sulu—he can provide close air support if you mark a target area.
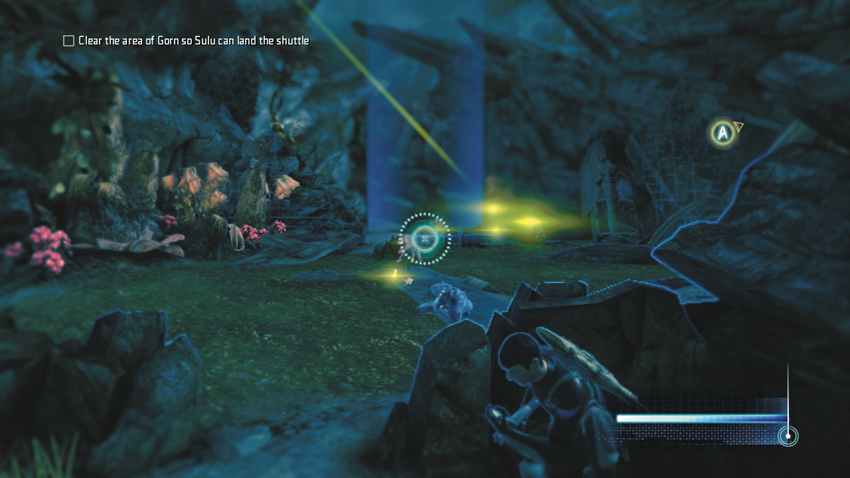
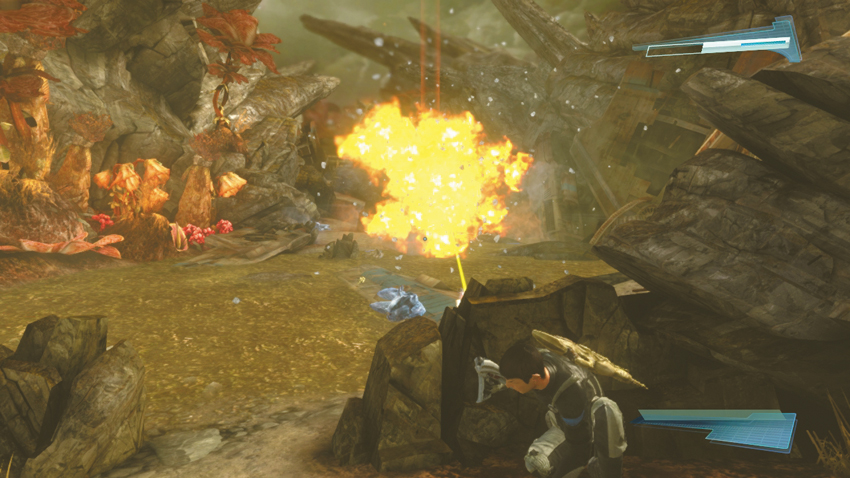
While behind cover, use your tricorder to call in an air strike. Target the area on the opposite side of the stream, then press and hold the primary fire button to initiate the attack. But even after the first strike, attacks by the Gorn persist. Call in two more air strikes, using your tricorder, to wipe out the Gorn opposition.
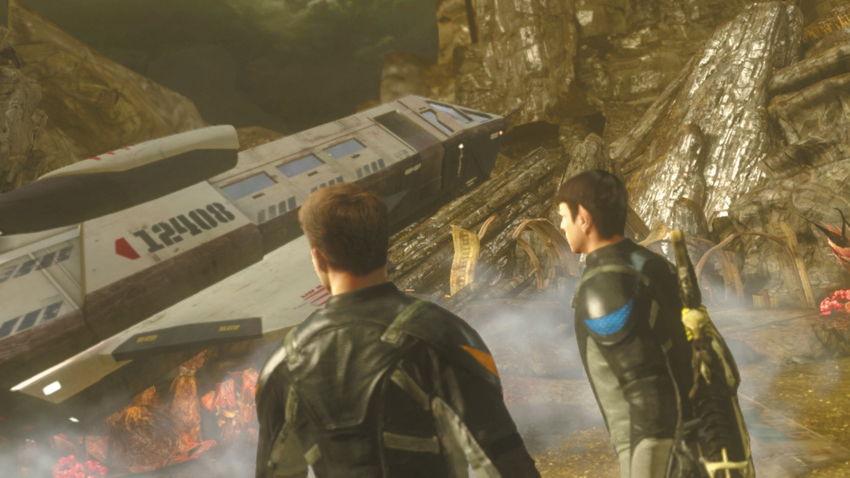
After the third air strike by the shuttle, the path ahead is now clear. Cross the shallow stream and race to the end of the path on the other side. This triggers a cinematic showing the shuttle setting down. Once onboard the shuttle, Kirk orders Sulu to scan for the Helios Device. Sulu reports that it appears to have been moved onto one of the Gorn ships. Bones adds that his readouts are going nuts. Spock suggests the Gorn have powered up the Helios Device, with T’Mar’s unwilling cooperation. Kirk orders Sulu to plot a course back to the Enterprise—they’re going to need more firepower if they hope to stop the Gorn now.