
Star Trek Guide Walkthrough Chapter 1: Boldly Go
Boldly Go
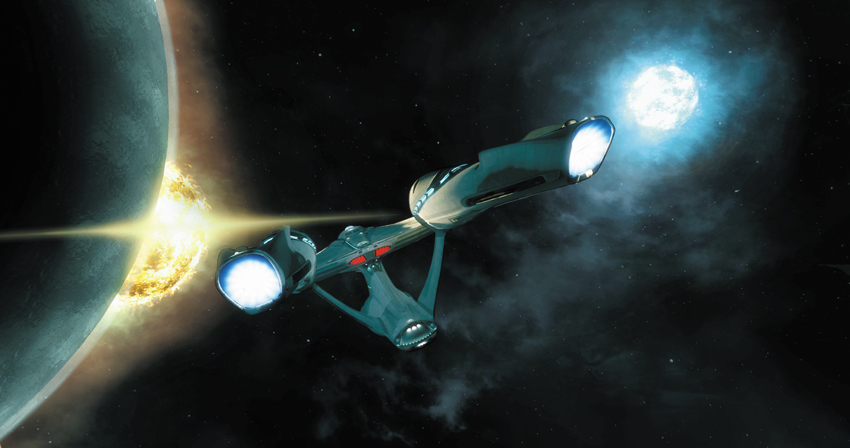
Following the destruction of the Vulcan homeworld, Vulcan scientists are hard at work establishing a colony on New Vulcan. With the help of an experimental piece of technology known as the Helios Device, the scientists hope to terraform the planet, creating a home for the few remaining Vulcans. But when activated, the Helios Device creates a rip in the fabric of space time, leading to an attack by an unknown alien race emerging from the anomaly. It’s up to Captain Kirk, First Officer Spock and the crew of the Enterprise to confront this new threat, preventing the Helios Device from falling into enemy hands. The future of the Vulcan people and the entire Federation is at stake.
Boldly Go
Chapter Summary
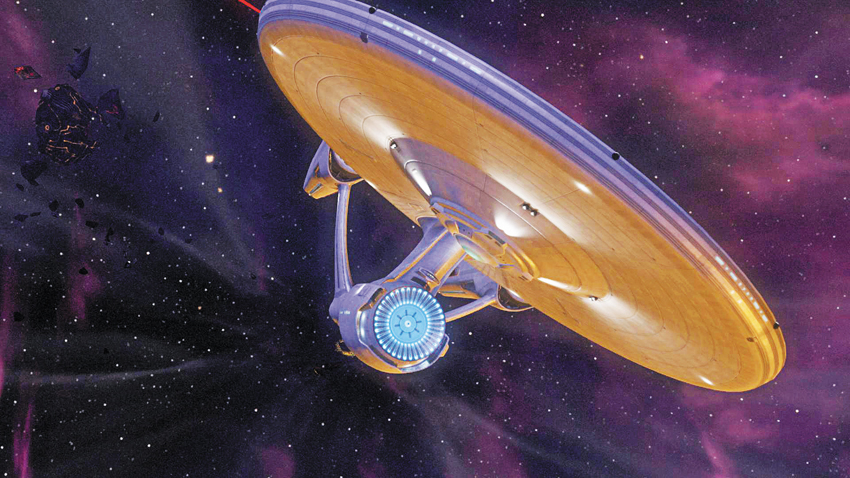
The beginning of a grand adventure for the crew of the U.S.S. Enterprise: to boldly go where no one has gone before.
Collectables: None
Achievements/Trophies
| Icon | Name | Criteria | Gamerscore | Trophy |
|---|---|---|---|---|

|
Away Team: Mission Initiated | Complete one chapter in co-operative play | 10 | Bronze |
Prologue
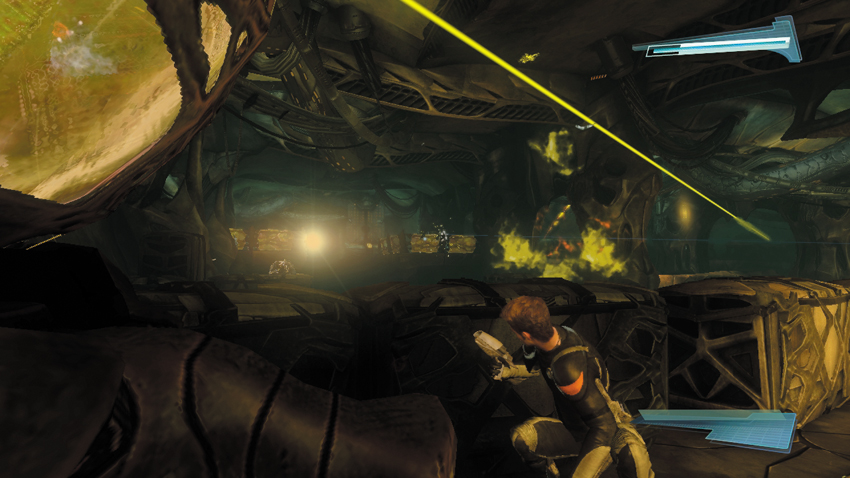
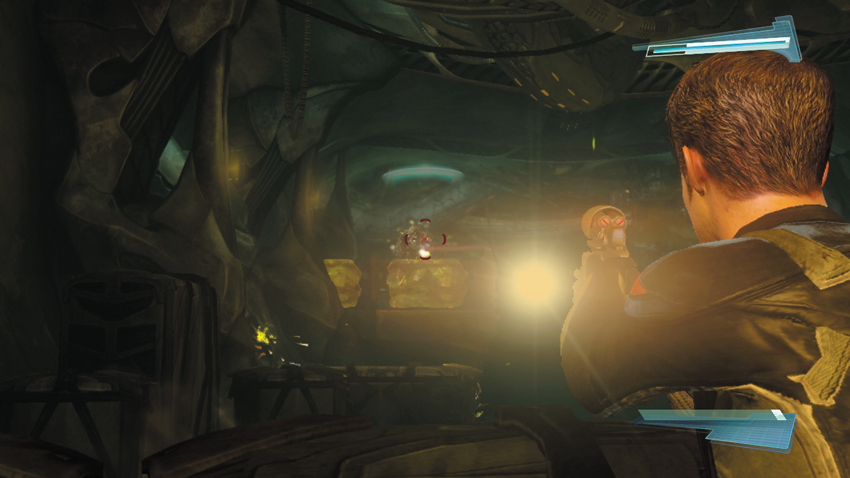
Only seconds into the adventure, Kirk and Spock find themselves pinned down by an aggressive attack by an unknown force. During this opening sequence, your character is locked behind cover. While behind cover you cannot be hit by incoming direct fire. The on-screen directions show you which buttons to press to return fire. Before firing, take aim. While you are aiming, the camera switches to a third-person, over-the-shoulder view, and a white reticle appears in the center of the HUD. The reticle turns red when it’s placed over an enemy, indicating a clear shot. But while aiming, you’re also exposed to incoming fire—release the aim button to automatically drop back behind cover. Practice popping in and out of cover by aiming and firing at the distant enemies. The enemies are also hiding behind cover, so you may need to wait until they expose themselves to get a clear shot.
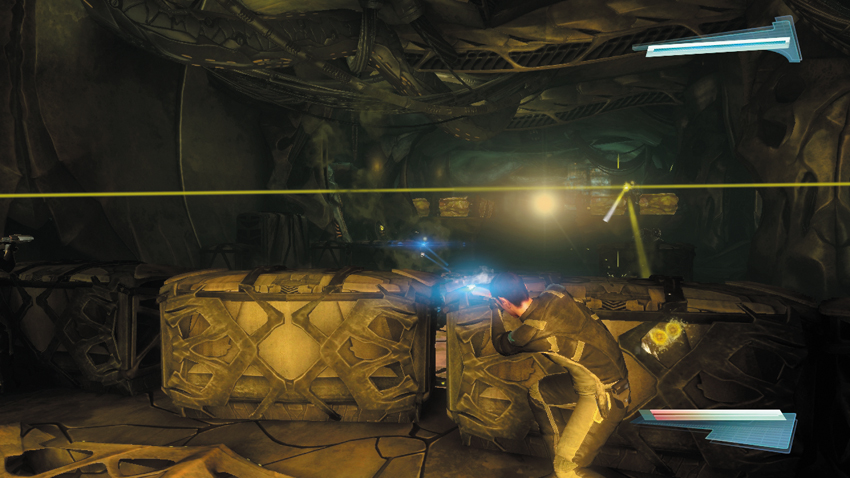
In addition to firing an aimed shot, you can also fire blindly over or around cover. This is far less accurate but allows you to return fire without exposing yourself. Use the white dot reticle in the center of the HUD to aim at a target then fire. Unlike the aiming reticle, this white dot does not turn red when placed over a target. But as long as the white dot is placed over an enemy, your shots will land nearby, potentially hitting the target. As you rapidly fire your phaser, take note of the meter in the bottom right corner of the HUD. This is your weapon’s heat gauge, filling from right to left. The faster you fire the weapon, the faster your weapon will overheat. If the gauge fills completely, your phaser will become inoperable for a few seconds while it cools down. Slow down your rate of fire to prevent overheating, or simply keep an eye on the heat gauge and lay off the trigger when the phaser is close to overheating. Since blind fire is less accurate, you’re more likely to overheat your phaser during these tense situations.
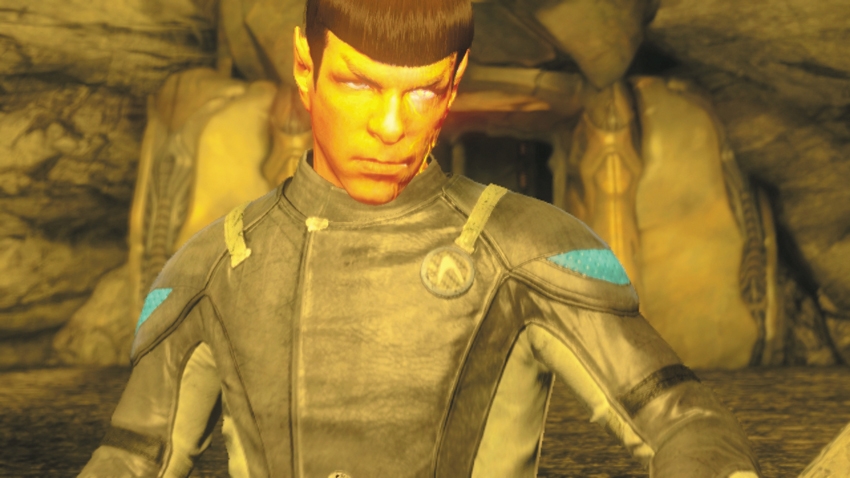
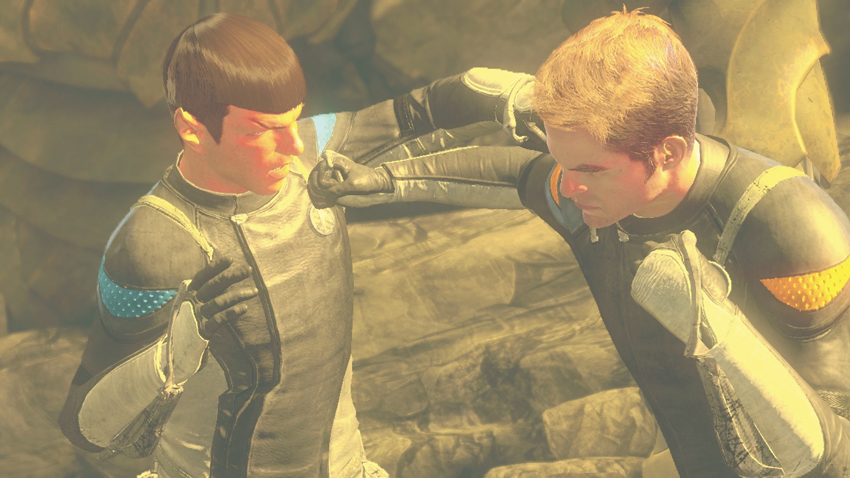
Only a few seconds into the firefight, Spock calls out an incoming grenade—then everything goes black. Spock and Kirk awake to find themselves in a large arena-like enclosure. But something is clearly wrong with Spock, which is indicated by an anomaly in his left eye. Spock gets to his feet and immediately walks toward Kirk at a brisk pace. Kirk seems to realize there’s something wrong with his first officer and braces himself for a fight. When the two are within a few feet of each other, they both throw a punch and the scene fades to white.…
Enterprise
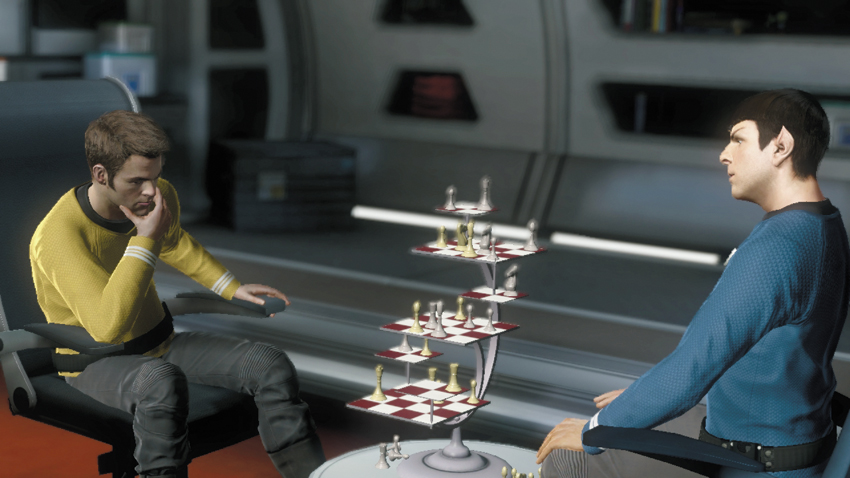
Eight hours earlier, the two are seen on the Enterprise enjoying a friendly game of three-dimensional chess in Spock’s quarters. Spock patiently waits for Kirk to complete his turn, then quickly capitalizes on his Captain’s errant move. But the game is interrupted by a message from the Bridge—the Enterprise has received an emergency signal from a nearby space station. Since they have been summoned to the Bridge, Spock gives Kirk the chance to concede, but Kirk isn’t ready to give up just yet.
 New Objective: Reach the Bridge
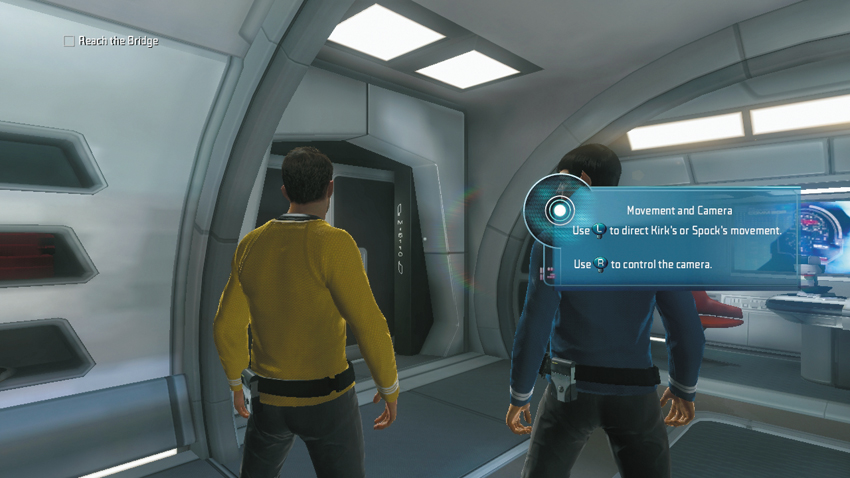
While in Spock’s quarters, take a moment to familiarize yourself with the basic movement controls, which are shown on-screen. Experiment with moving your chosen character around the room while manipulating the camera angle. The camera can be rotated a full 360 degrees around your character, which allows you to get a good view of your surroundings without moving. But it’s easiest to keep the camera situated behind your character while moving.
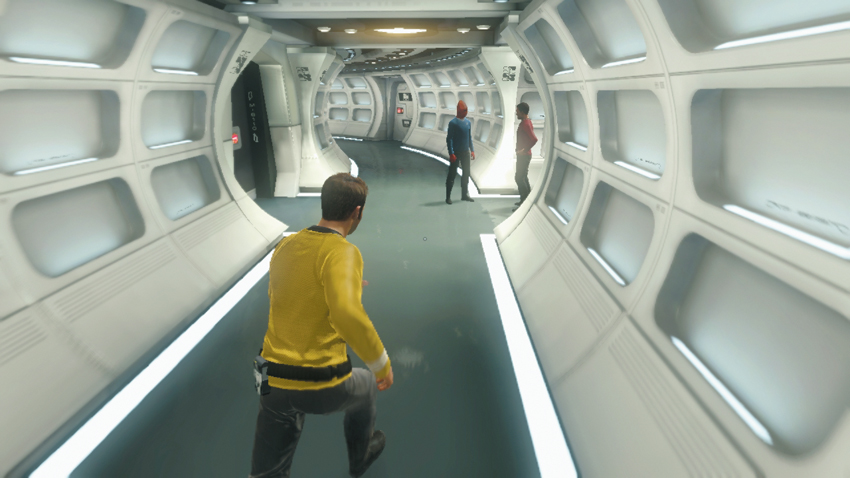
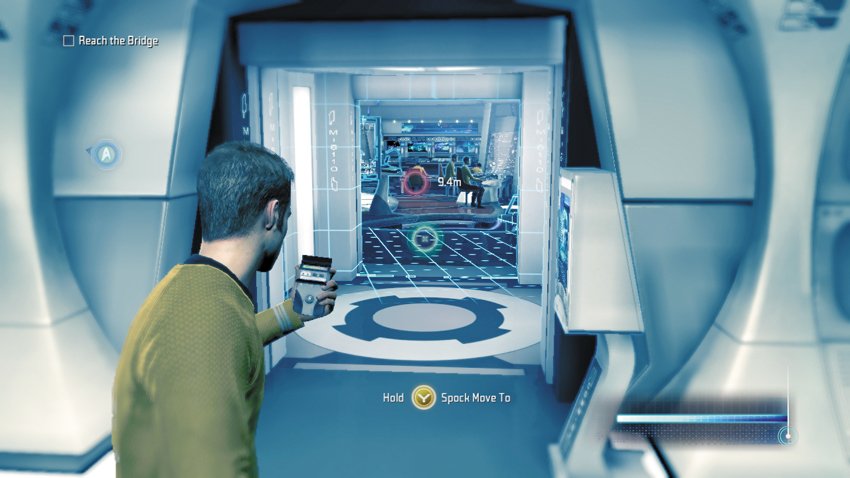
Step out of Spock’s quarters and into the adjoining corridor. Your character can move at various speeds based on how far you move the movement control stick. Nudge the stick slightly up to make your character walk. Or push the stick all the way up to break into a run. Eventually you’re prompted to access your tricorder. Press and hold the button shown on-screen to activate the tricorder. When the tricorder is active, the screen is washed in a blue tint and a new reticle appears in the center of the HUD. Aiming the tricorder is similar to aiming a phaser. Point it at various objects to gain more information. You will also see a red marker on the HUD that indicates your current waypoint—this is where you need to go next. While the tricorder is active you can also order your AI-controlled teammate to move to a specific point. Continue down the corridor, following the waypoint marker to the Bridge.
Bridge
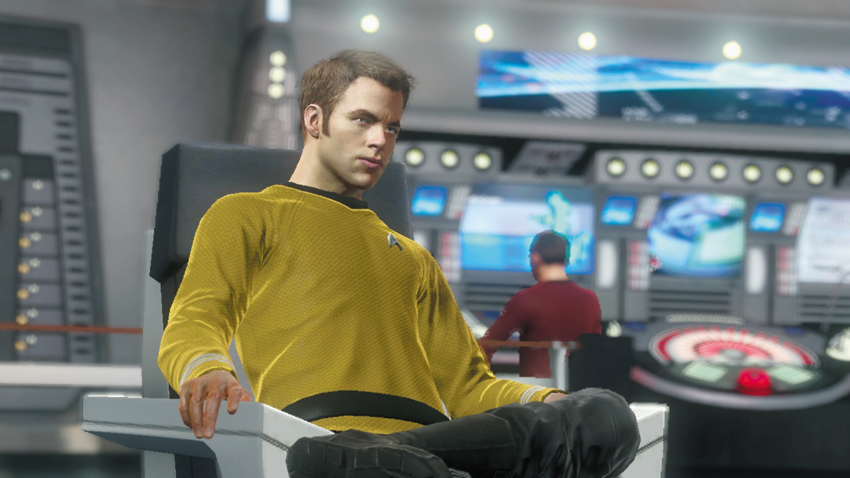
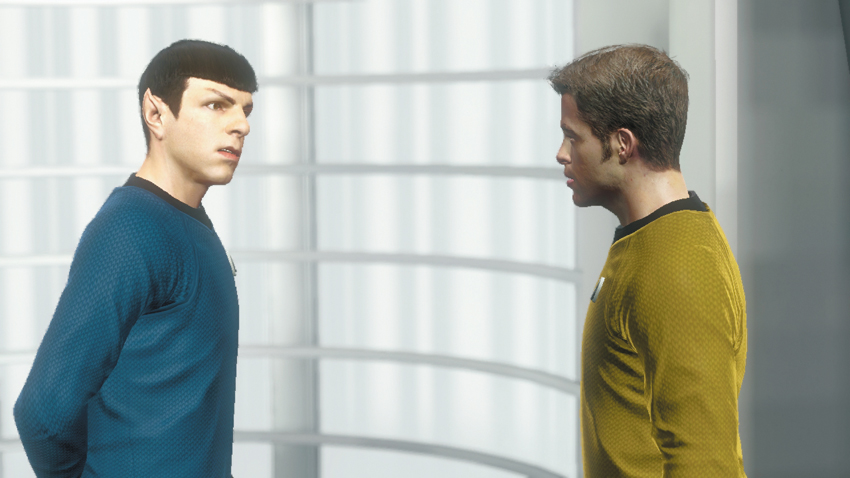
Upon entering the Bridge, Communications Officer Uhura reports that radiation from the nearby binary stars is making communication with the distressed space station difficult. Chekov, the Enterprise’s navigator, adds that the station is operating under emergency power and struggling to maintain altitude. But a transporter evacuation isn’t possible—Chief Engineer Scott reports that the stars are creating too much interference to safely beam the space station crew aboard. With no other viable options available, Kirk decides to pay a visit to the space station himself, despite Spock’s concerns.
New Objective: Reach Shuttle Bay
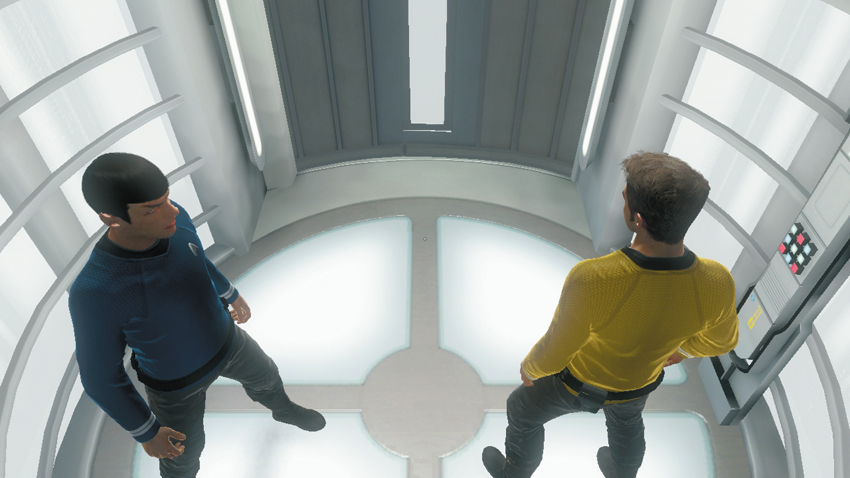
Following the cinematic, step inside the Bridge’s Turbolift, an elevator-like transportation system capable of traveling up, down, left, and right throughout the ship. Hold down the button shown on-screen to activate the Turbolift. Before the Turbolift can move, you must wait for your partner to enter; the Turbolift will not move until you’re both inside. Spock continues his protest during the short trip to the Shuttle Bay. But Kirk brushes aside Spock’s concerns, suggesting a change of scenery will do him some good.
Shuttle Bay
New Objective: Enter Shuttle
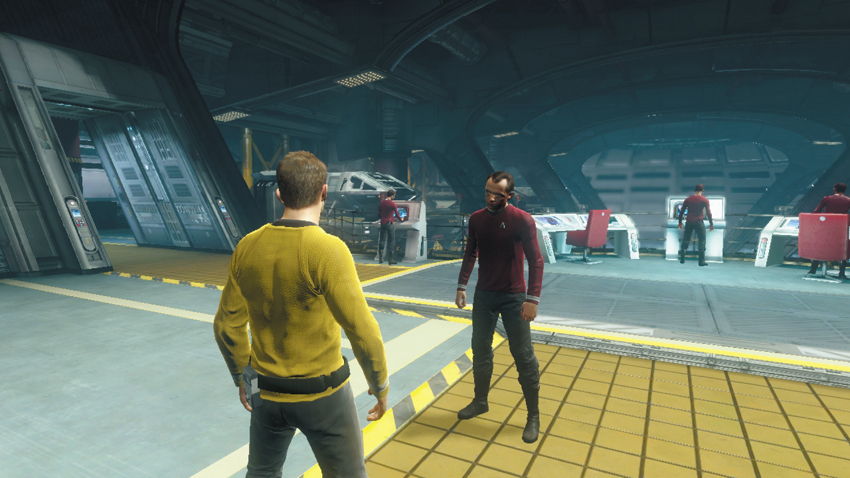
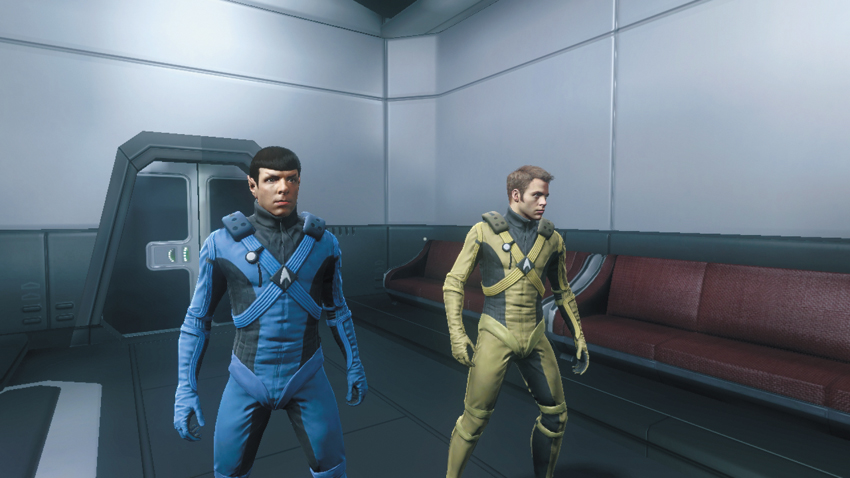
By the time Kirk and Spock reach the Shuttle Bay, Chief Engineer Scott has prepared a shuttle. Scott echoes Spock’s concerns, suggesting he could handle the job along with some recruits. Kirk reassures Scotty that he’ll be fine. Activate your tricorder to get a reading on the shuttle’s location. Follow the waypoint marker to a doorway. Kirk and Spock automatically enter and don their environmental suits.
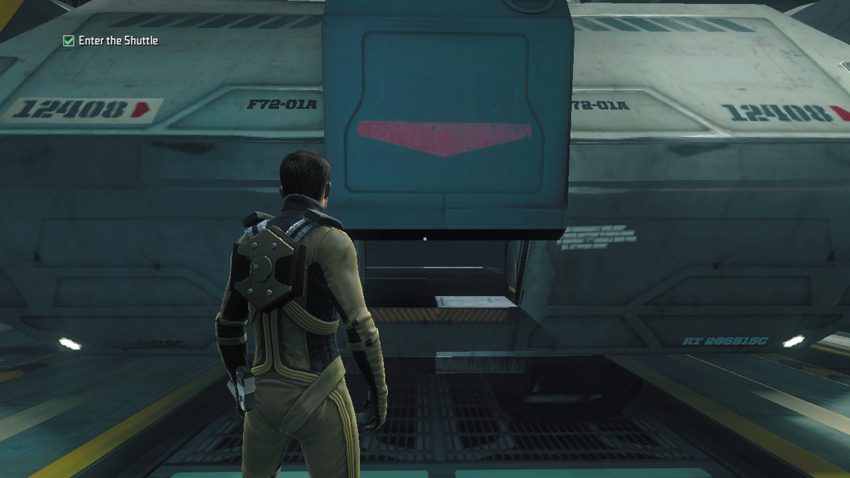
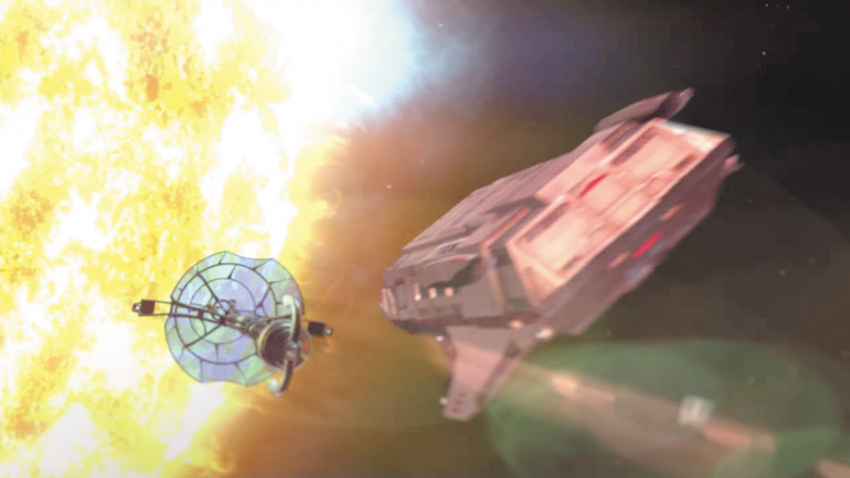
Step through the next doorway and follow the walkway to the waiting shuttle. En route to the space station, Enterprise Helmsman Sulu reports that he’s picking up high levels of radiation from two binary stars. Kirk is unsure how the station is still operational given its close proximity to the stars. Spock notices that the station is equipped with solar collectors. Kirk continues to wonder what an experimental power station is doing out in the middle of nowhere. Whatever is happening out here, Starfleet has no record of this space station or its mission. It’s time to take a closer look.