
Star Trek Guide Walkthrough Chapter 5: Frontier Starbase
Frontier Starbase
Chapter Summary
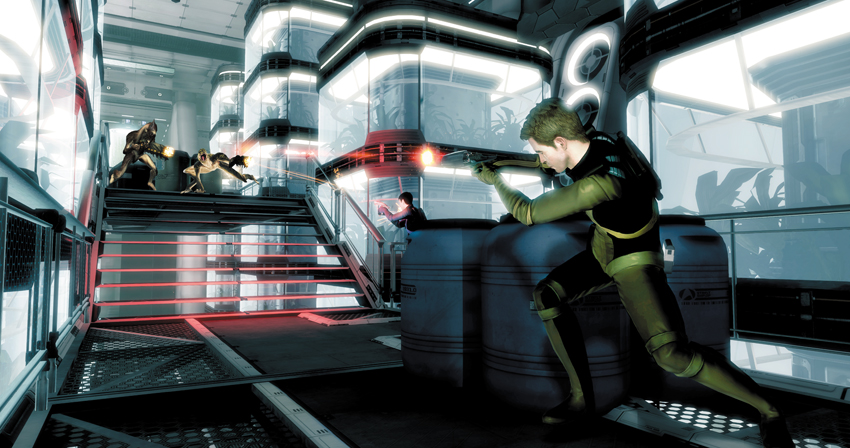
- The Enterprise beams down Kirk and Spock to meet with Commodore Daniels. Kirk and Spock must restore the station’s systems and expel the Gorn invaders.
Frontier Starbase Collectables
| # | Name |
|---|---|
| 1 | Atmospheric Calibration Unit |
| 2 | Captain’s Phaser |
| 3 | Vulcan Repeater |
| 4 | Starfleet Phaser Rifle |
| 5 | Surok’s Audio Log #6 |
| 6 | Starbase Command Console |
| 7 | Commodore’s Chair |
| 8 | Gorn Enforcer |
| 9 | Gorn Marauder |
| 10 | Plasma Grenade |
| 11 | Daniels’s Audio Log #1 |
| 12 | Gorn Turret |
| 13 | Federation Officer |
| 14 | Attack Drone |
| 15 | Gorn Tech |
| 16 | Gorn Railer |
| 17 | Neurocortical Monitor |
| 18 | Epidermal Analyzer |
| 19 | Osteogenic Stimulator |
| 20 | Tribble (3 of 7) |
| 21 | Yolendran Spittle Pods |
| 22 | Flowering Phistella Sporophyte |
| 23 | Walgettian Fire Blossom |
| 24 | Daniels’s Audio Log #2 |
| 25 | Gorn Rusher |
| 26 | Shuttle Survivor Pack |
| 27 | Daniels’s Audio Log #3 |
| 28 | Remote Comms Package |
| 29 | Compact Medkit |
| 30 | Gorn Observer |
| 31 | Starbase Comms Relay |
| 32 | Starbase Armory Data |
| 33 | Daniels’s Audio Log #4 |
| 34 | Starbase Power Unit |
| 35 | Engineer Transport Tool |
| 36 | Daniels’s Audio Log #5 |
| 37 | Daniels’s Audio Log #6 |
| 38 | Gorn Weapon Research (1 of 4) |
| 39 | Gorn Weapon Research (4 of 4) |
| 40 | Gorn Weapon Research (3 of 4) |
| 41 | Gorn Weapon Research (2 of 4) |
| 42 | Gorn Warrior |
| 43 | Gorn Pillager |
Achievements/Trophies
| Icon | Name | Criteria | Gamerscore | Trophy |
|---|---|---|---|---|

|
Marauder Master (Start) | Kill 50 enemies with the Marauder | 10 | Bronze |

|
Plasma Grenade Master (Start) | Kill 20 enemies with Plasma Grenades | 10 | Bronze |

|
My Robot Friend | Hack an enemy drone to your side and have it kill another enemy | 10 | Bronze |

|
Railer Master (Start) | Kill 50 enemies with the Railer | 10 | Bronze |

|
Pillager Master (Start) | Kill 50 enemies with the Pillager | 10 | Bronze |

|
Listening In | Found half of all audio logs | 20 | Bronze |

|
Researcher | Found half of all research items | 20 | Bronze |

|
Beat Frontier Starbase | Completed the Frontier Starbase chapter on any difficulty | 20 | Bronze |
Arrival
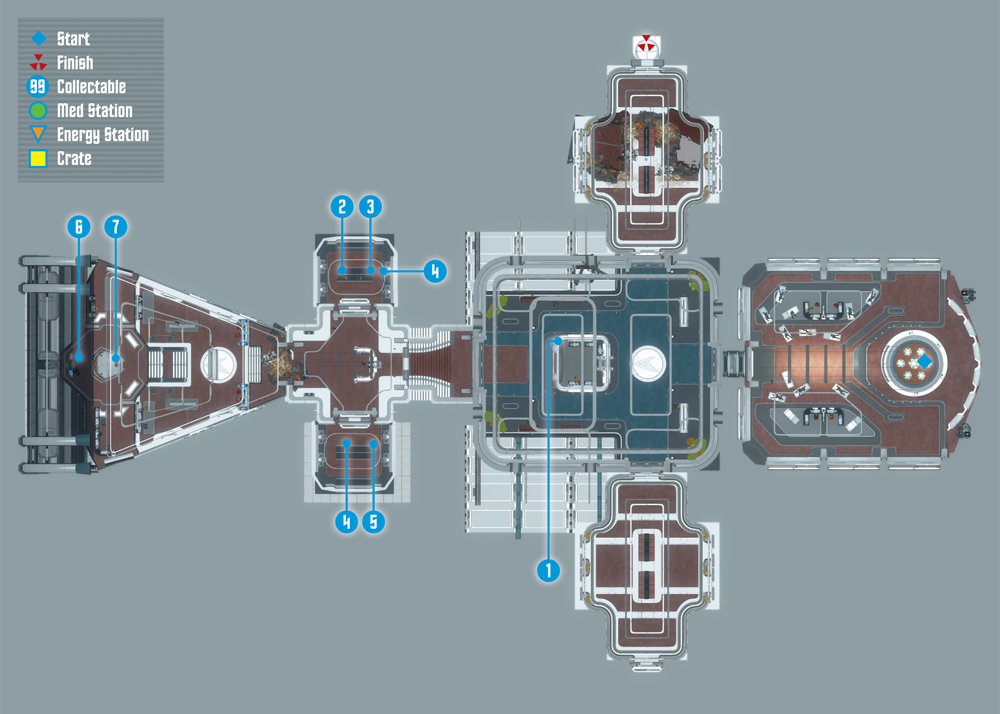
Collectables Checklist
| # | Name | Type | XP |
|---|---|---|---|
| 1 | Atmospheric Calibration Unit | Research Data | 100 |
| 2 | Captain’s Phaser | Research Data | 100 |
| 3 | Vulcan Repeater | Research Data | 100 |
| 4 | Starfleet Phaser Rifle | Research Data | 100 |
| 5 | Surok’s Audio Log #6 | Audio Log | 50 |
| 6 | Starbase Command Console | Research Data | 100 |
| 7 | Commodore’s Chair | Research Data | 100 |


Kirk is prepared to follow the Gorn into the rip, but his crew voices reservations. Dr. McCoy needs to get the wounded to the nearest Starbase immediately. Uhura reports that the rip is interfering with communications, leaving no way to contact Starfleet. Spock adds, that if the Enterprise were to fail, Starfleet would never know of their fate. After contemplating the situation, Kirk orders Sulu to power down the engines. T’Mar mentions that Commodore Daniels operates a Starbase nearby and may be able to provide additional support. After making the quick jump to Starbase Frontier 17, Kirk orders Sulu to take the Enterprise back to New Vulcan and pick up any survivors. In the meantime, Kirk, Spock, and T’Mar beam down to the Starbase to have a word with Commodore Daniels.
Frontier 17
 New Objective: Speak to Commodore Daniels
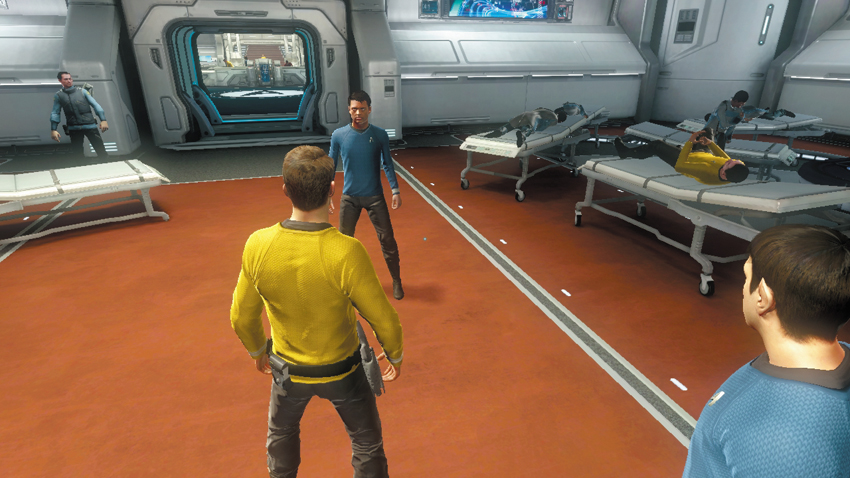
Dr. McCoy has established a triage of injured Vulcans and Enterprise crew members in the Starbase’s transporter room—he advises Kirk to stay clear of the injured. Kirk asks McCoy to continue researching the infection while he, Spock, and T’Mar go talk to Daniels. Follow the waypoint marker into the Starbase’s main lobby. But before approaching the Starfleet officer in the yellow uniform, use your tricorder to scan one of the consoles in the middle of the room.
1: Atmospheric Calibration Unit
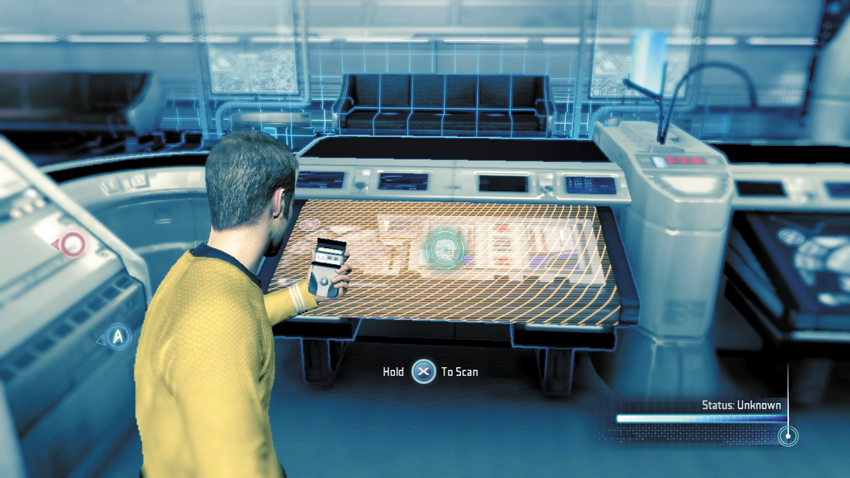
Step behind the consoles in the middle of the room and scan this terminal to unlock a new entry.
Type: Research Data
Set: Arrival/Commanding the Station
XP: 100
Log Entry: Quick, think of a worse job more than being in charge of atmospherics on a Starbase. Time’s up! Everyone complaining to you every moment of the day about how hot it is, or how cold it is, or how little Timmy came down with the Andorian flu because the humidity in the room was too high. Show me an atmospherics officer, and I’ll show you a glutton for punishment.
New Objective: Follow the escort to the command center

The officer at the waypoint marker advises you that he’s been ordered to escort you to the Commodore. Kirk protests at the idea of being escorted by an armed officer, but Spock suggests it’s best to play by the Commodore’s rules. Follow the officer up a short flight of stairs into a security checkpoint. The officer pauses here and asks Kirk and Spock to check their weapons before proceeding to the Commodore. Once again, Kirk can’t believe the formalities of the security protocol, but eventually agrees to disarm.
Security Checkpoint
New Objective: Drop off your weapons
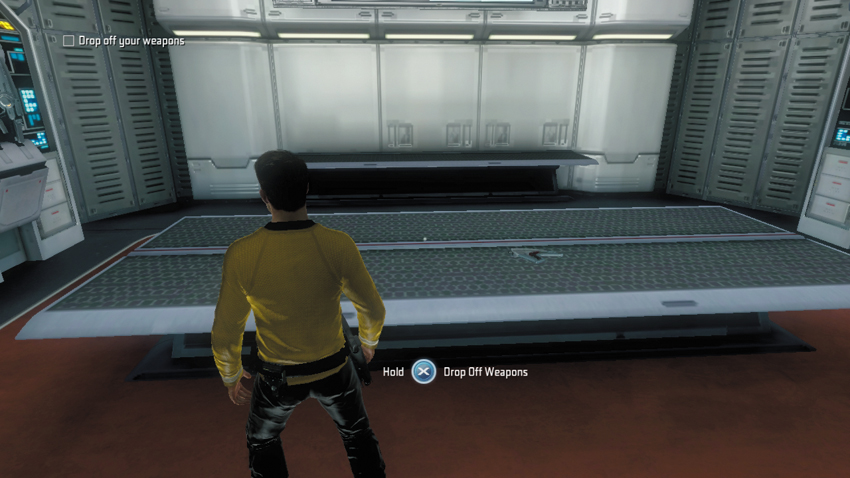
At the security checkpoint, enter the armory on the right and place your phaser on the table. But before you leave this room, activate your tricorder and scan the weapons, including your own phaser. There are more items to scan in the armory on the opposite side of the security checkpoint. So use your tricorder in both armories before visiting Commodore Daniels.
2: Captain’s Phaser
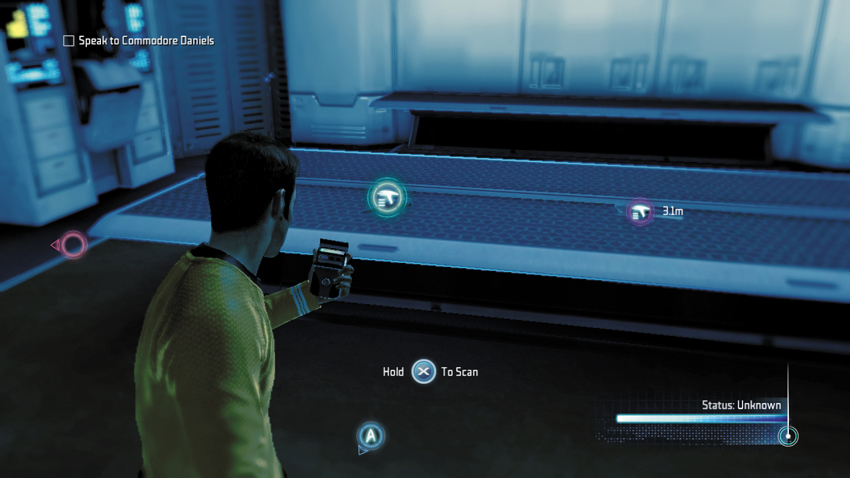
Immediately after placing your phaser on the table in the armory, scan Kirk’s weapon.
Type: Research Data
Set: Weapons/Federation Weapons
XP: 100
Log Entry: Ooh, fancy. This is a one-of-a-kind phaser created specifically for one Captain James Tiberius Kirk by his loyal Chief Engineer, who would be me. I took a standard-issue Starfleet phaser and basically made it better in every way: improved accuracy, faster reload, less recoil, quicker phase shift between stun and kill mode. I gave it all sorts of nifty projectile enhancements and added a bio-signature lock that ensures that only the Captain can use it. I’m still waiting on my special commendation.
3: Vulcan Repeater
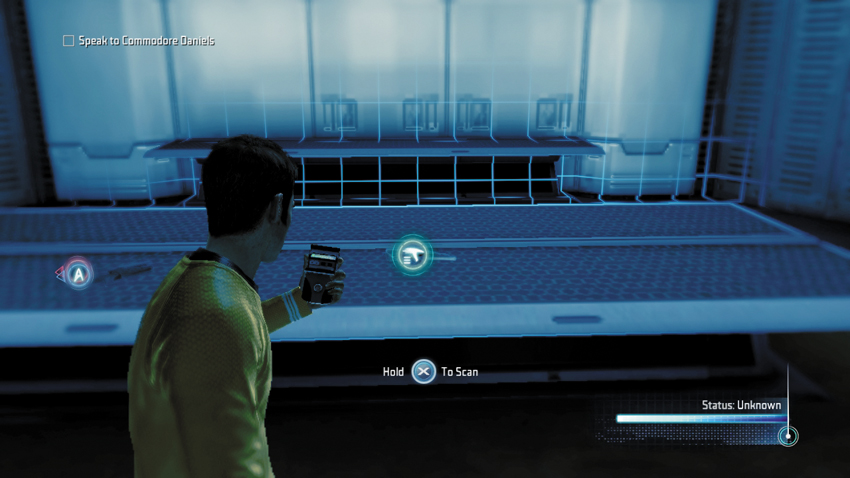
Next, scan Spock’s phaser, which is on the table next to Kirk’s in the armory.
Type: Research Data
Set: Weapons/Federation Weapons
XP: 100
Log Entry: The quintessential Vulcan weapon. Efficient, no bells and whistles, optimized for non-lethal takedowns, but as deadly as can be when the situation calls for it. Much like Commander Spock, come to think of it.
4: Starfleet Phaser Rifle
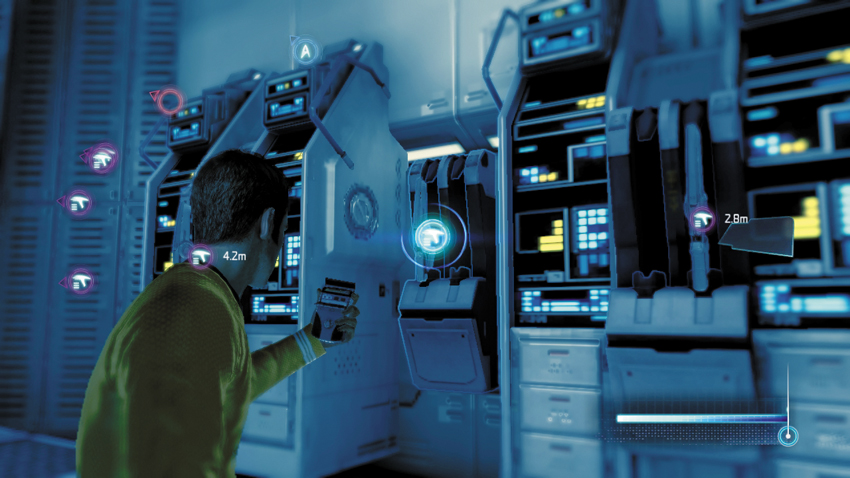
Turn to the rack of weapons on the right side of the armory and scan one of the rifles.
Type: Research Data
Set: Weapons/Federation Weapons
XP: 100
Log Entry: Standard-issue Starfleet rifle. The big brother of the phaser, equipped with a dilithium-enhanced deflector shield. Higher magazine capacity and longer range than the phaser pistol, but not quite as stealthy. When you use one, they’ll know you’re coming.
5: Surok’s Audio Log #6
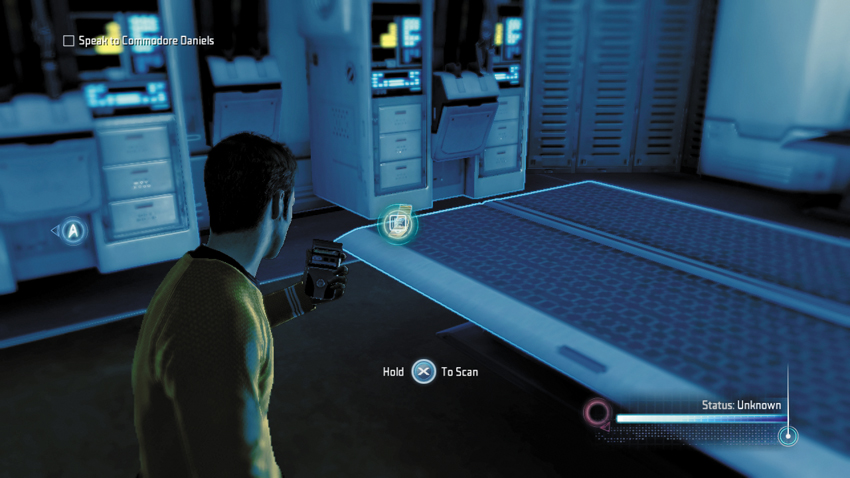
Enter the armory on the opposite side of the security checkpoint to locate this audio log.
Type: Research Data
Set: Arrival/Logs
XP: 50
Log Entry: This is Surok of Vulcan. Even my worst fears did not anticipate the events that have unfolded in the wake of bringing Helios online. We have brought devastation upon ourselves because of that cursed device. It provided the opportunity of these bizarre and deadly creatures to overrun the colony, just as we were ready to celebrate its founding. I can only hope my warning beacon is received and that Sarek, the elder Spock, and the other Vulcan dignitaries stay away from this place. I fear that we have only invited them to their doom. Having just begun to recover from the loss of our homeworld, we now face the ultimate test—a test that could that could spell the end of our people … forever.
Command Center

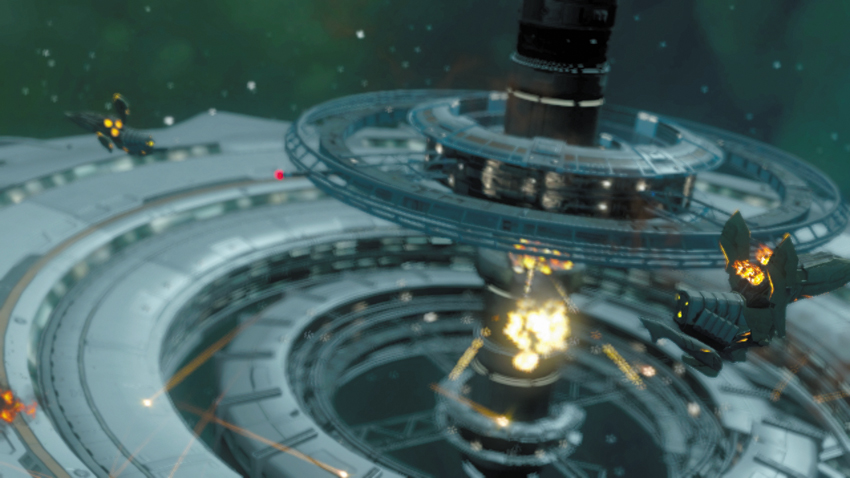
Once you’ve deposited your weapon in the armory, walk into the command center to begin a conversation with Commodore Daniels. Daniels is preoccupied with one question: he wants to know if anything came through the rip. He seems less concerned about the Gorn incursion and their attack on New Vulcan. Daniels nonchalantly orders Kirk and Spock to get the Helios Device back before there are more casualties. T’Mar admits that she knew the device may cause a rip, but she had no idea what repercussions it would have. But the conversation is cut short as the Starbase comes under attack by dozens of Gorn fighters. Spock advises contacting Starfleet immediately, but Daniels protests, stating that he will be the one who contacts Starfleet. In the meantime, he advises his security detail to prepare his shuttle for evacuation, and then leaves. T’Mar says she’s familiar with the Starbase and can lead Kirk and Spock to the communications bay on the upper level. But don’t leave the command center just yet—there are a couple of items to scan here.
6: Starbase Command Console
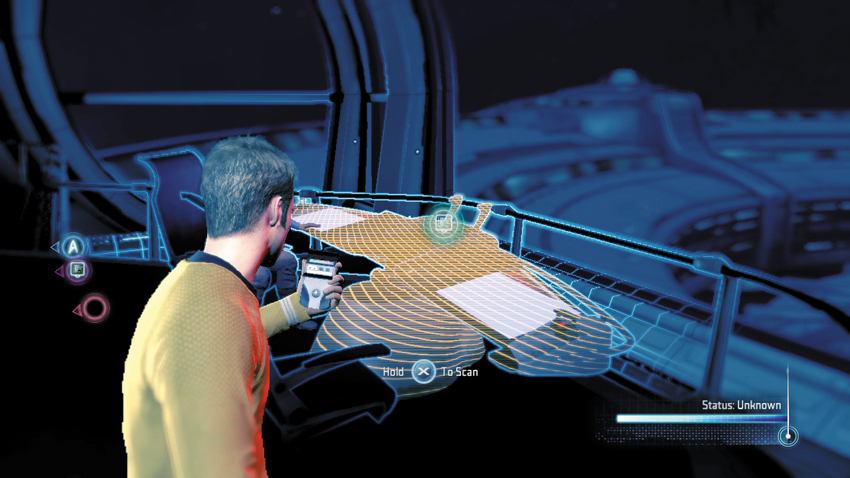
Before leaving the command center, scan this console beneath the large window.
Type: Research Data
Set: Arrival/Commanding the Station
XP: 100
Log Entry: Second only to atmospheric officer in terms of terminal job dissatisfaction is Starbase systems administrator. Nobody will ever know your name until something goes wrong. Oh, the glory. The wonder. The unending boredom of sitting at a monitor watching a completely self-sufficient Starbase run itself without any help from you. Get on a ship, kids. That’s where the fun is.
7: Commodore’s Chair
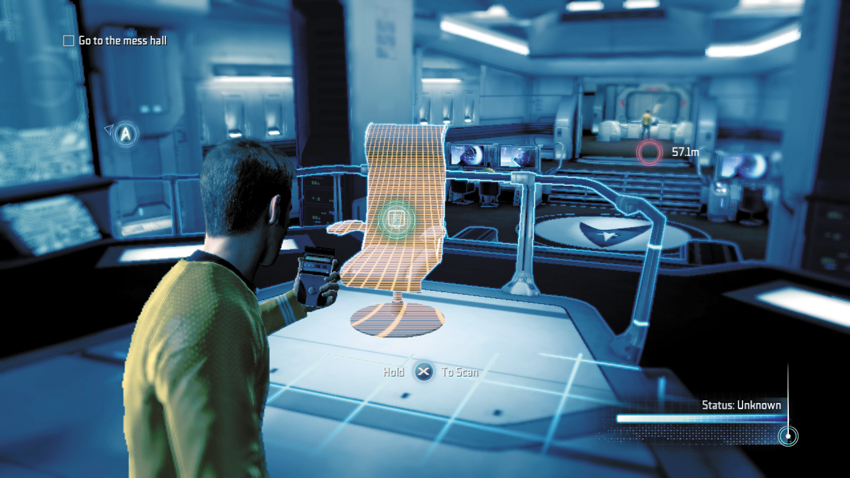
Next, turn to Commodore Daniels’s chair and scan it.
Type: Research Data
Set: Arrival/Commanding the Station
XP: 100
Log Entry: I still haven’t figured out if the seat makes the man, or the man makes the seat. The seat being a Starbase Commander’s chair, the man being a pompous blowhard who has spent a few too many years off-Earth and now runs his particular fiefdom like … well, a fiefdom. And it’s not just men. I’ve met horrible female Commanders too. Which leads me to think it’s all the chair’s fault.
New Objective: Go to the mess hall
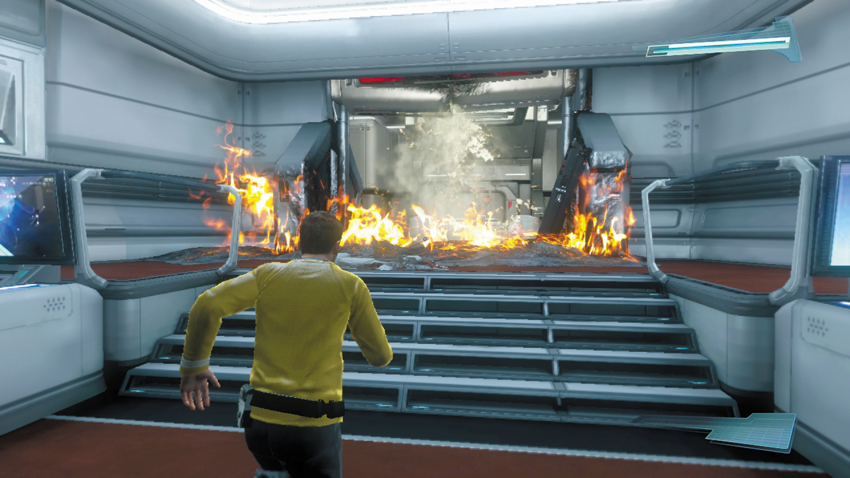
As you move toward the command center’s exit, an explosion rocks the Starbase, causing a fire to spread and block your path. Pause for a few seconds and wait for the Starbase’s automated fire suppression system to put out the blaze. Once the fire is extinguished, return to the security checkpoint.
New Objective: Retrieve your weapons
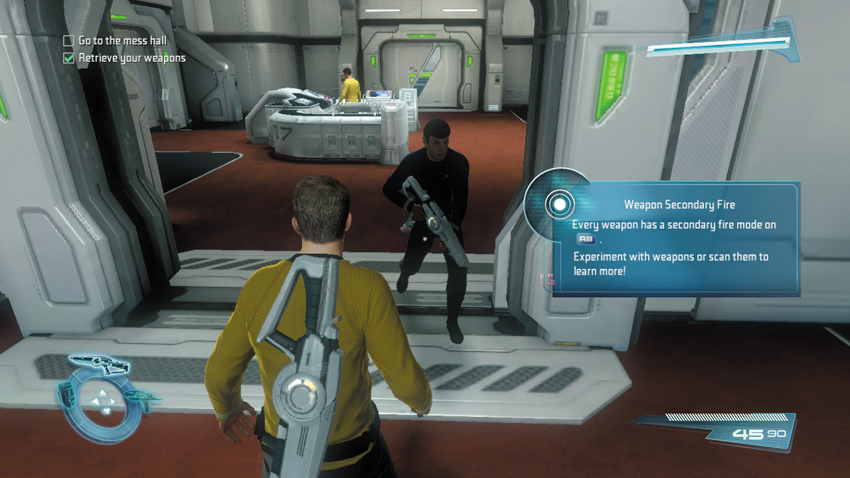
When you reach the security checkpoint, return to the armory where you dropped your weapons earlier. You can retrieve your phaser here as well as a Starfleet Phaser Rifle and a Stun Grenade. Stand next to the table in the armory and press the button shown on-screen to retrieve this three-piece arsenal. The newly acquired Starfleet Phaser Rifle fires a three-round burst with each pull of the trigger, which is ideal for frantic firefights. It is also equipped with a deflector shield that is activated by pressing the secondary fire button. The deflector shield blocks incoming shots when activated, but consumes power at a steady rate, depleting the weapon’s ammo.
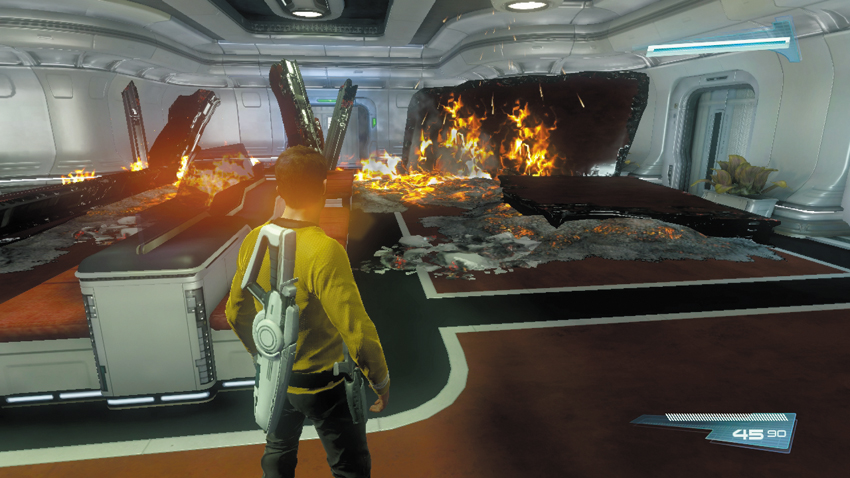
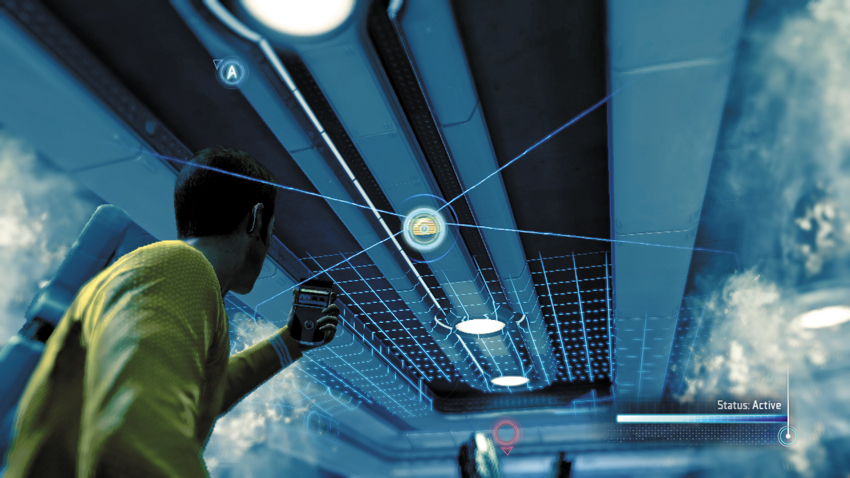
From the security checkpoint, backtrack to the Starbase’s main lobby and turn left, following the waypoint marker through the doorway leading into this unoccupied Turbolift room. Once again, the Starbase is rocked by another explosion that causes another fire to block your path. This time the Starbase’s fire suppression system has failed. Spock suggests overriding the power grid with a tricorder. Activate your tricorder and activate the power grid node in the ceiling. This activates the fire suppression system, allowing you to proceed to the Turbolift straight ahead. Step into the Turbolift and ride it to the Starbase’s mess hall.
Mess Hall
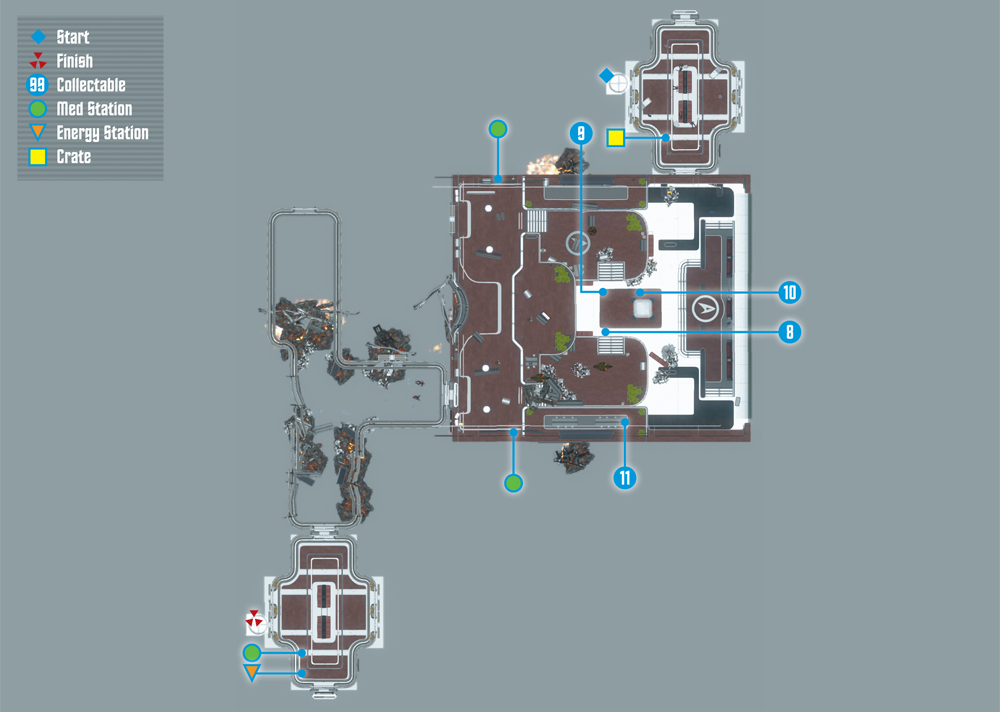
Collectables Checklist
| # | Name | Type | XP |
|---|---|---|---|
| 8 | Gorn Enforcer | Research Data | 100 |
| 9 | Gorn Marauder | Research Data | 100 |
| 10 | Plasma Grenade | Research Data | 100 |
| 11 | Daniels’s Audio Log #1 | Audio Log | 50 |
New Objective: Clear the mess hall of the invading Gorn
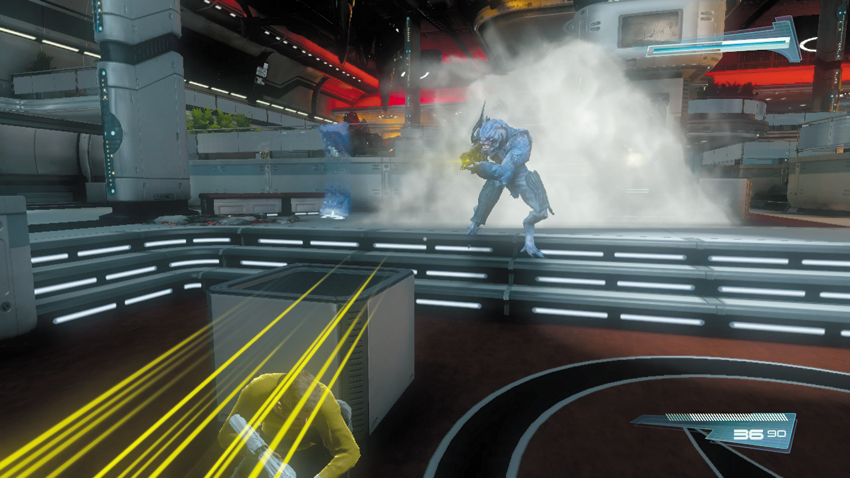
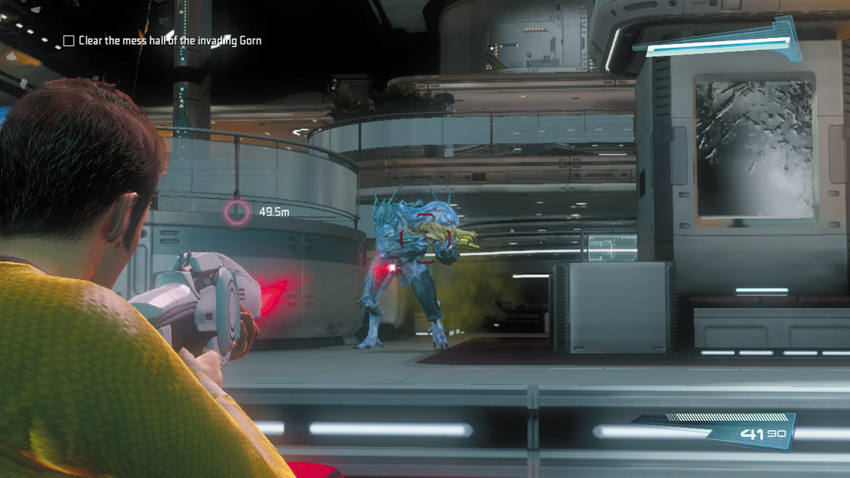
Upon exiting the Turbolift, pass through the doorway on the right to enter the mess hall. Here the Starbase’s security team has already prepared for a possible enemy attack by placing several portable force fields throughout the mess hall that offer some makeshift cover. While speaking with one of the security officers, a large explosion rocks the Starbase. This is followed by the arrival of several Gorn enemies, led by a pair of Gorn Enforcers. These blue-skinned enemies are equipped with Gorn Marauders, shotgun-like weapons capable of inflicting massive damage at close range. So don’t let these guys get close. Immediately take cover and open fire with your Starfleet Phaser Rifle. The Gorn Enforcers can absorb a lot of damage, so keep hitting them until they drop. Occasionally these enemies will deploy smoke grenades to conceal their movement. If you lose track of a Gorn Enforcer through the smoke, use your tricorder to zero-in on their location.
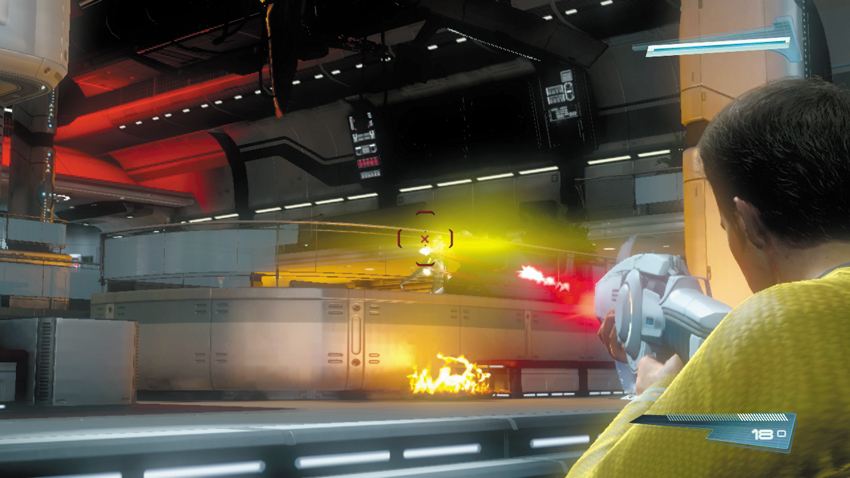
The two Gorn Enforcers are accompanied by several Gorn Initiates armed with Gorn Ravagers. Stay put near the entrance of the mess hall and engage these threats from long range using the Starfleet Phaser Rifle. Some of the Gorn Initiates unwisely take cover behind the glass partitions within the mess hall. Use your tricorder to identify these concealed enemies, then simply fire through the glass to take them out. Don’t move out of cover until all the Gorn Initiates are down for the count.
8: Gorn Enforcer
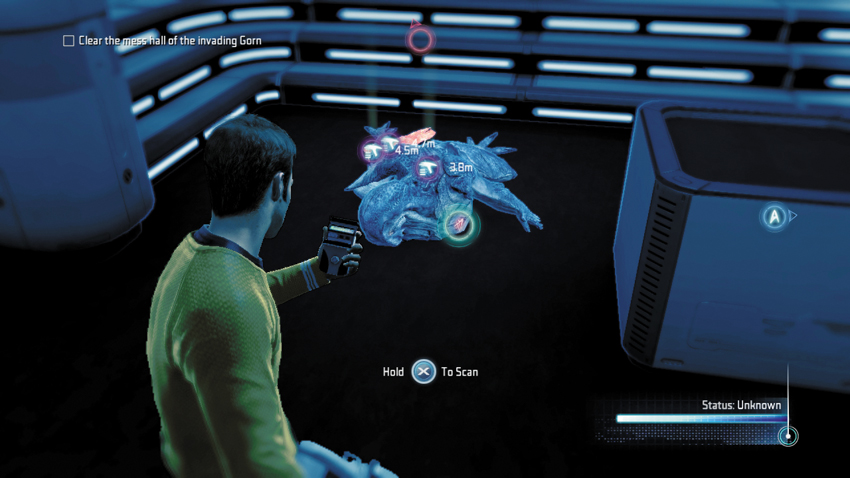
Once the first wave of enemies has been eliminated, take a moment to scan one of the fallen Gorn Enforcers.
Type: Research Data
Set: Enemies/Gorn Enemies
XP: 100
Log Entry: This beastie has a more upright posture, a bigger brain, and a higher metabolic rate. If I had to guess, this one would be in charge of his smaller-brained comrades. A sort of Gorn officer.
9: Gorn Marauder
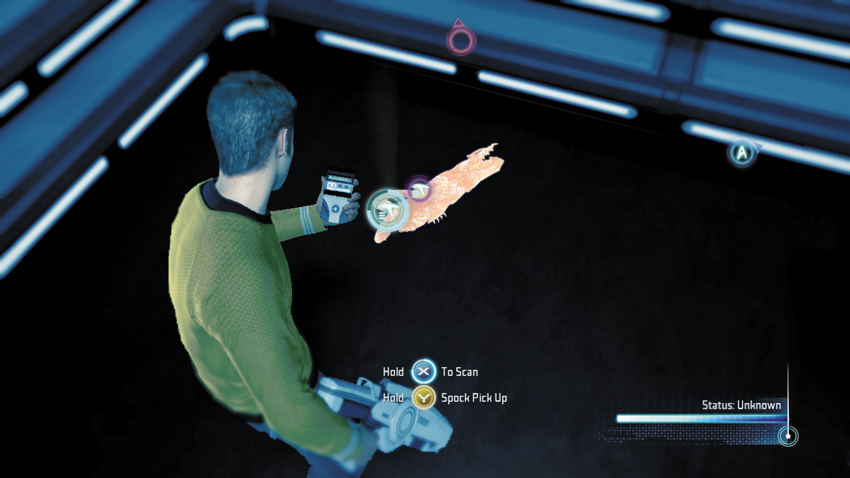
Next, scan the weapon dropped by one of the Gorn Enforcers.
Type: Research Data
Set: Weapons/Gorn Weapons
XP: 100
Log Entry: A particularly brutal weapon intended for close-range mayhem, not unlike the shotgun used in Earth’s history.
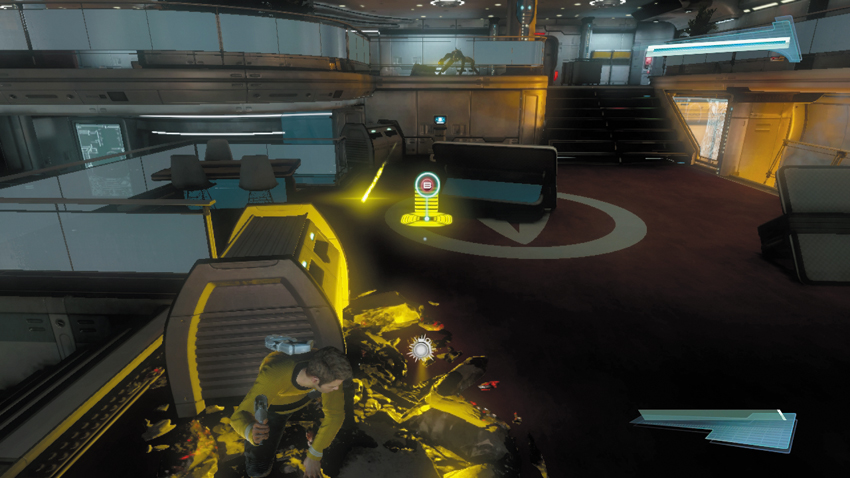
Advance through the mess hall toward the waypoint marker, but be ready to take cover as more Gorn Initiates appear ahead. Some of these Gorn Initiates are equipped with Plasma Grenades. These hand-tossed weapons are fitted with a timed fuse so they explode a few seconds after they’re thrown. This gives you a limited amount of time to move out of their blast radius. Watch for incoming grenades, which appear as white grenade icons on the HUD. If one lands nearby, run or dive our of the way before it explodes. For best results, transition to a new piece of cover when attempting to move away from a grenade—this reduces your chances of getting hit by incoming fire. When not dodging grenades, continue engaging the Gorn Initiates in the mess hall with your Starfleet Phaser Rifle.
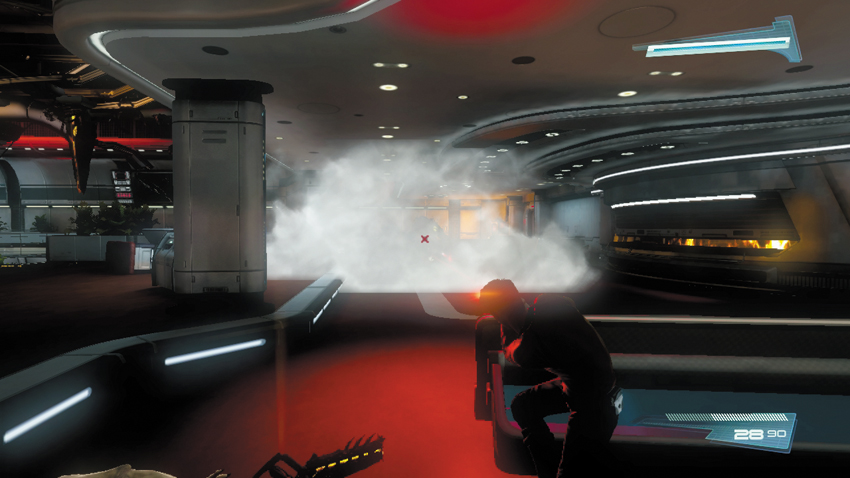
As you move to the mess hall’s upper level, three more Gorn Enforcers appear and they’re backed by a few Gorn Initiates. Target the Enforcers first, hammering them with your Starfleet Phaser Rifle. The Enforcers don’t seek cover and charge directly at you, firing their devastating Marauders while deploying smoke. Do your best to keep your distance from these enemies, even if it means retreating. In addition to its lethal close-range spread pattern, the Marauder can also fire grenades capable of inflicting heavy damage, even if you’re behind cover. Consider stunning these enemies with your phaser or a Stun Grenade, to temporarily halt their advance. Once the Enforcers are down, turn your attention to the Gorn Initiates and finish them off with the Starfleet Phaser Rifle. Or pick up one of the dropped Marauders and take them down with this devastating Gorn weapon.
10: Plasma Grenade
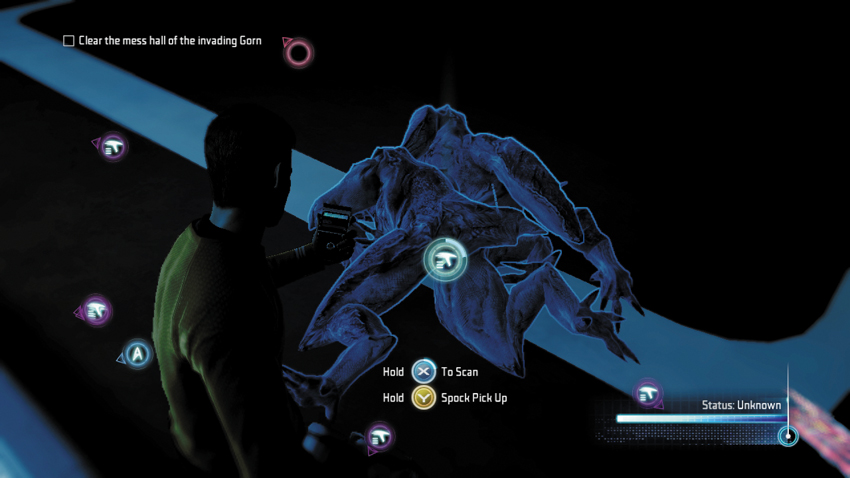
When there’s a lull in the fight, scan a Plasma Grenade next to one of the dead enemies. After scanning it, pick it up.
Type: Research Data
Set: Weapons/Gorn Weapons
XP: 100
Log Entry: Standard grenade used by the Gorn for maximum carnage. It has the ability to stick to any surface, including you, so be ready to peel it off and throw it back. Preferably in the direction it came from.
11: Daniels’s Audio Log #1
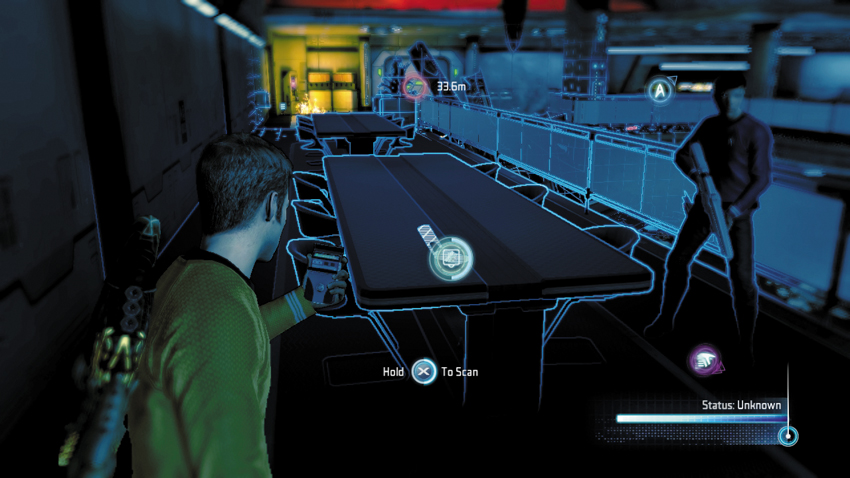
Move to the far end of the mess hall’s upper level and use your tricorder to locate this audio log on the long table.
Type: Audio Log
Set: Arrival/Logs
XP: 50
Log Entry: The clearer it becomes that this Helios Device could become a powerful weapon for the Federation, the more T’Mar resists my efforts to steer the research in that direction. I understand that she views the device primarily as a way to power the colony on New Vulcan, but it’s obvious she’s blind to the full potential of her invention. It’s a shame that a scientist as brilliant as T’Mar lacks the vision necessary to truly change the future. I must convince her to see the benefits to the entire Federation. I cannot let this opportunity be wasted.

Follow the waypoint marker to the next doorway on the mess hall’s upper level to enter to damaged corridor filled with more Gorn enemies. Attack the Gorn Initiates and Enforcers aggressively using the Marauder’s secondary fire grenades. This is a great way to stop the Enforcers dead in their tracks and give them a taste of their own medicine. The Marauder’s grenades are also great for targeting Gorn Initiates hiding behind cover. When firing the grenades at distant targets, aim high to compensate for its drop. This makes it possible to lob grenades over cover to hit targets on the other side. Each grenade fired used up three rounds of Marauder ammo, so make each shot count.
New Objective: Go to the biolabs
Shortly after you clear out the Gorn enemies in the mess hall, Dr. McCoy reports that he’s surrounded and could use your assistance. T’Mar adds that they’ve lost contact with Starbase defense teams in the lab. Enter the Turbolift room at the end of the corridor. Before boarding a Turbolift, stock up on ammo at the Energy Station and replenish your health at the Med Station. Once you’re well stocked, enter the Turbolift and proceed to the biolabs to find Dr. McCoy.
Search for a Cure Part 1
Starbase Biolabs
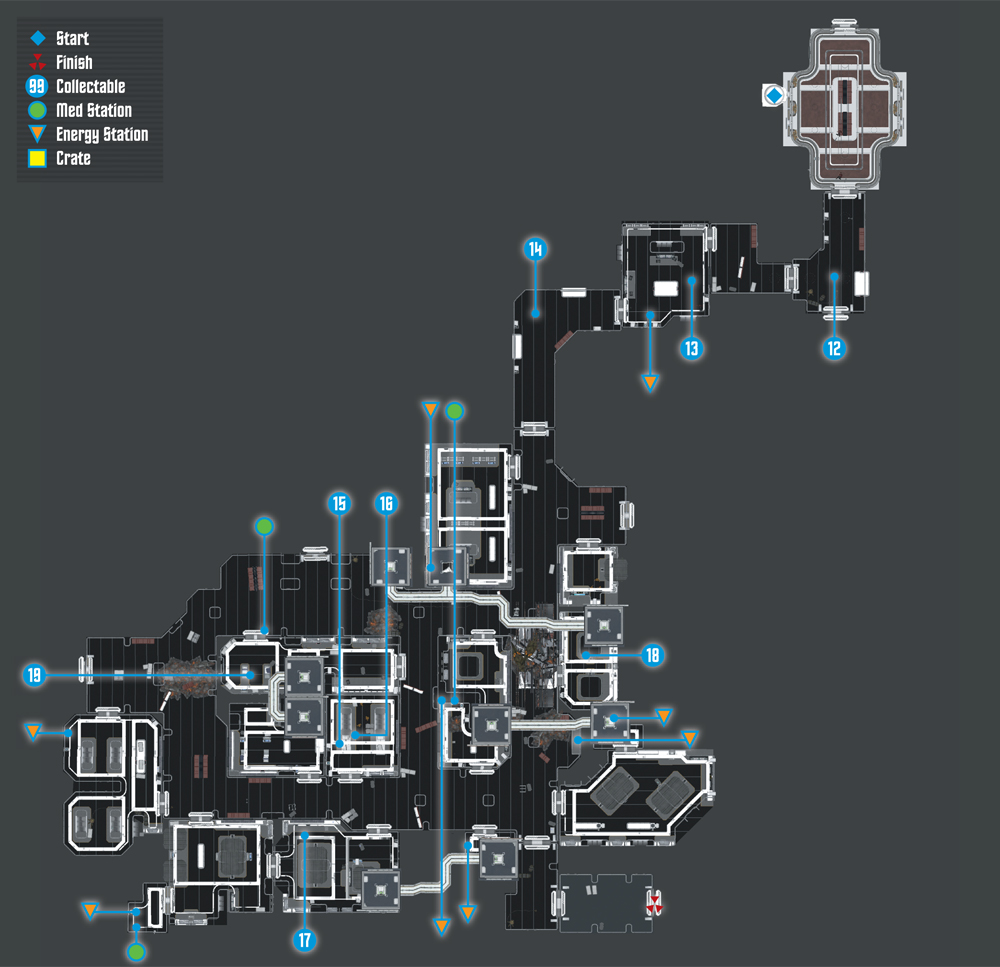
Collectables Checklist
| # | Name | Type | XP |
|---|---|---|---|
| 12 | Gorn Turret | Research Data | 100 |
| 13 | Federation Officer | Research Data | 100 |
| 14 | Attack Drone | Research Data | 100 |
| 15 | Gorn Tech | Research Data | 100 |
| 16 | Gorn Railer | Research Data | 100 |
| 17 | Neurocortical Monitor | Research Data | 100 |
| 18 | Epidermal Analyzer | Research Data | 100 |
| 19 | Osteogenic Stimulator | Research Data | 100 |
New Objective: Find Bones
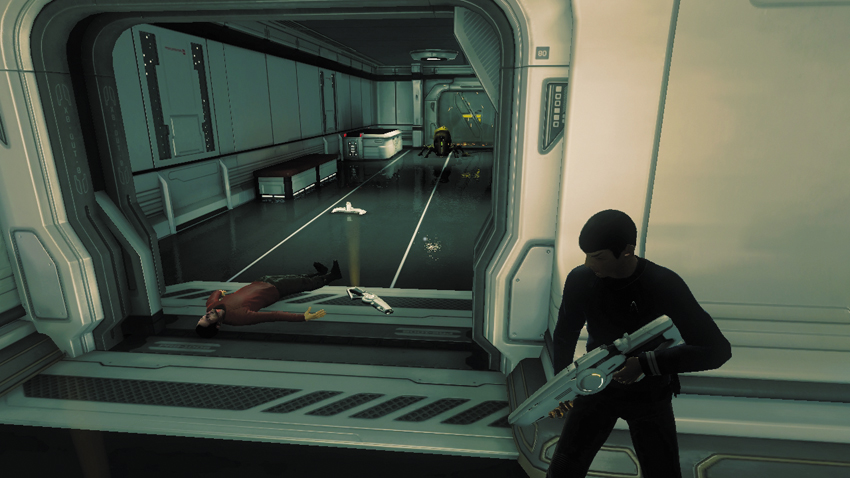
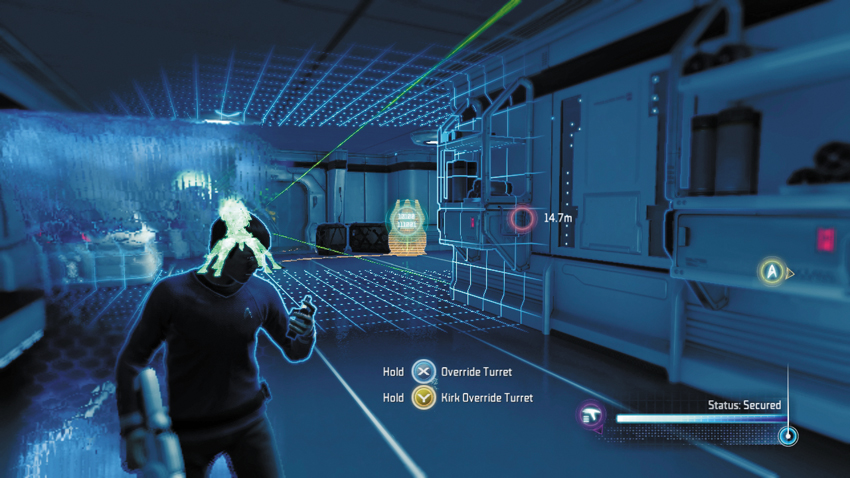
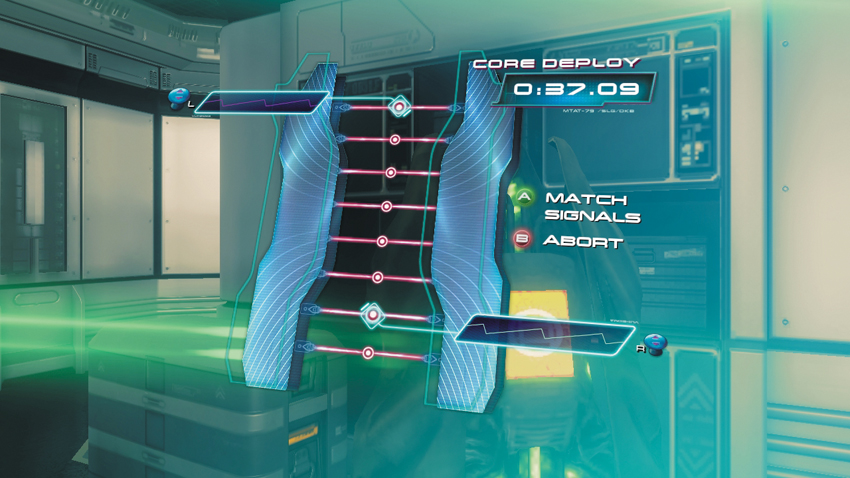
As you approach the biolabs, a cinematic shows a Starfleet officer being gunned down by a Gorn Turret positioned in the adjoining corridor. Order your buddy or AI-controlled teammate to stay near the Turbolift—it takes only one of you to disable the turret. Approach the corridor with caution, taking cover near the entrance. While behind cover, notice the deactivated force field in the floor ahead, which appears as a metallic strip. Race up to the force field device and activate it before the turret can open fire on you. While hiding behind the force field, use your tricorder to override the turret’s control station on the right side of the corridor—follow the orange wire leading from the turret to locate the control station. Like other hacks you’ve completed, this requires you to match a series of signals. Match all the signals to override the turret and earn 100 XP in the process. Hacked turrets no longer attack you and your partner, but they will open fire on units hostile to you, which makes them a very powerful ally.
12: Gorn Turret
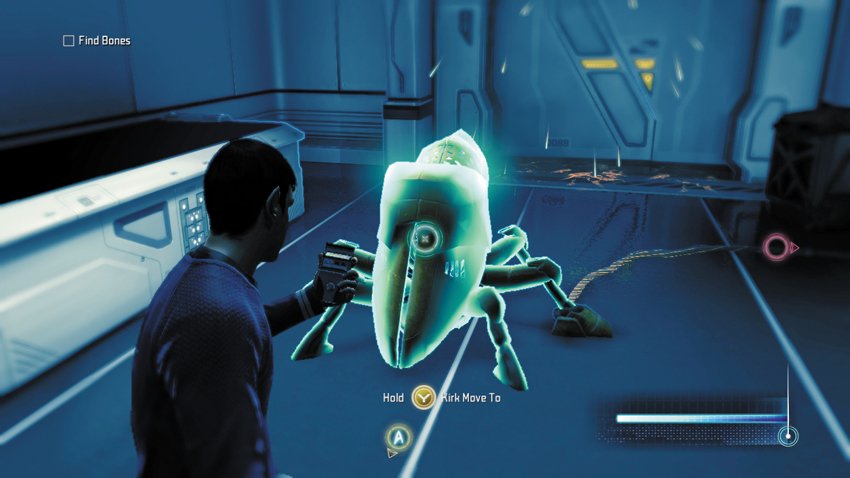
Once the turret has been overridden, scan it with your tricorder.
Type: Research Data
Set: Enemies/Gorn Security
XP: 100
Log Entry: This thing might be the most deadly of the Gorn technology so far. I’d stay clear of it. On the other hand, it does look like you could use it to give them a taste of their own medicine.
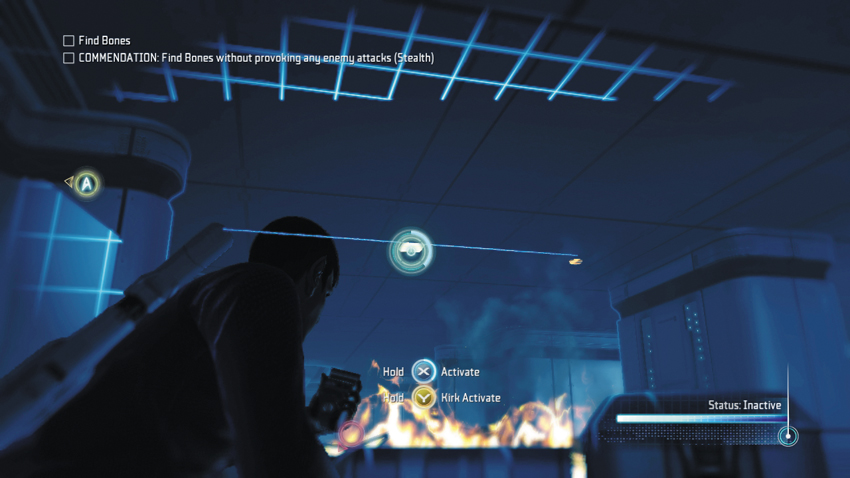
Commendation: Find Bones without provoking any enemy attacks (Stealth)
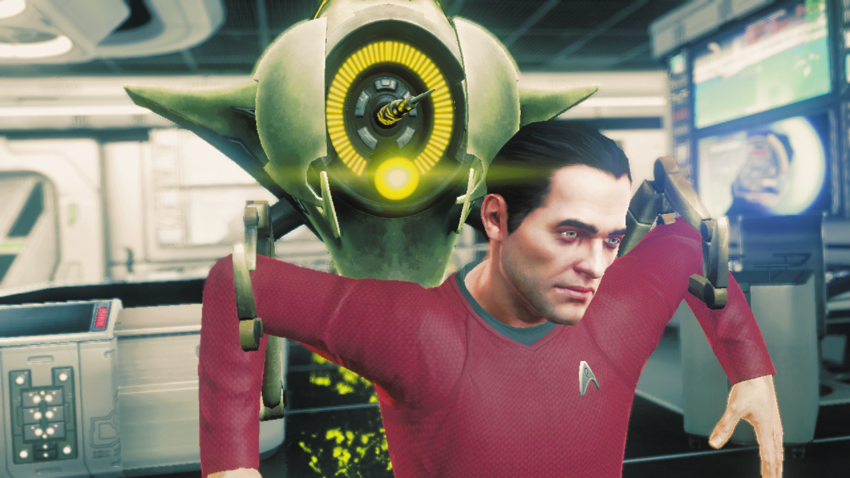
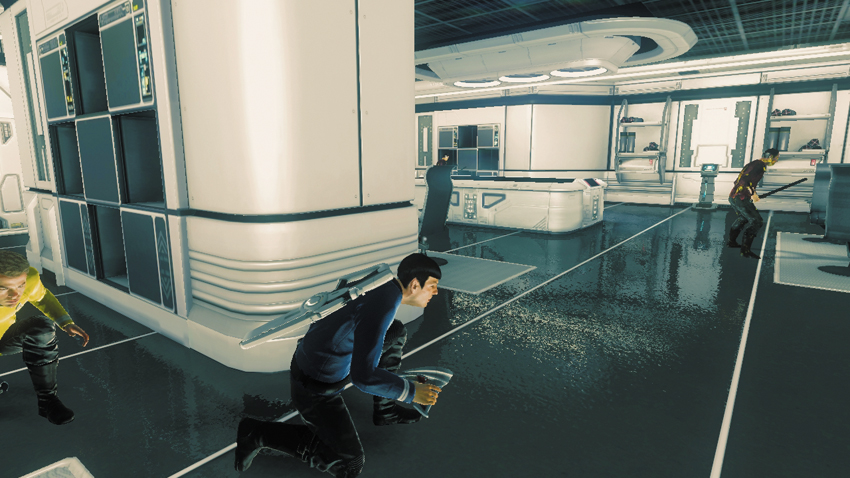
When you enter the next room, you see a Gorn Attack Drone injecting a Federation officer with some sort of venom. Spock theorizes this is how the infection is spread. At this point, a commendation is offered: You must reach Dr. McCoy without being seen. If you want to take the stealthy approach to earn the commendation, stay behind cover and don’t let the two infected Federation officers in this section see you. Crouch down and remain behind cover to avoid being spotted. One by one, sneak up behind each Federation officer and perform a silent takedown—don’t let the other enemy see you. Also, don’t use your phaser’s stun setting, as this makes noise and may alert the other officer, resulting in a failure of the commendation. Alternatively, you can just slip out of the room and into the next corridor without being seen. But it’s best to incapacitate these two infected officers to prevent them from hearing you confront the Attack Drone in the adjoining corridor.
13: Federation Officer
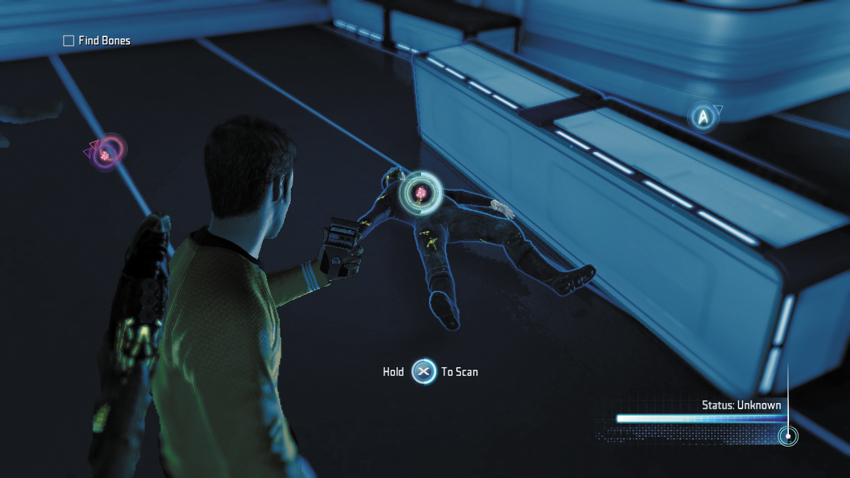
Use your tricorder to scan one of the incapacitated Federation officers.
Type: Research Data
Set: Enemies/Federation Enemies
XP: 100
Log Entry: There must be a way to reverse the effects of the Gorn infection. If anyone can do it, Bones can. I shudder to think what will become of us all if he can’t.
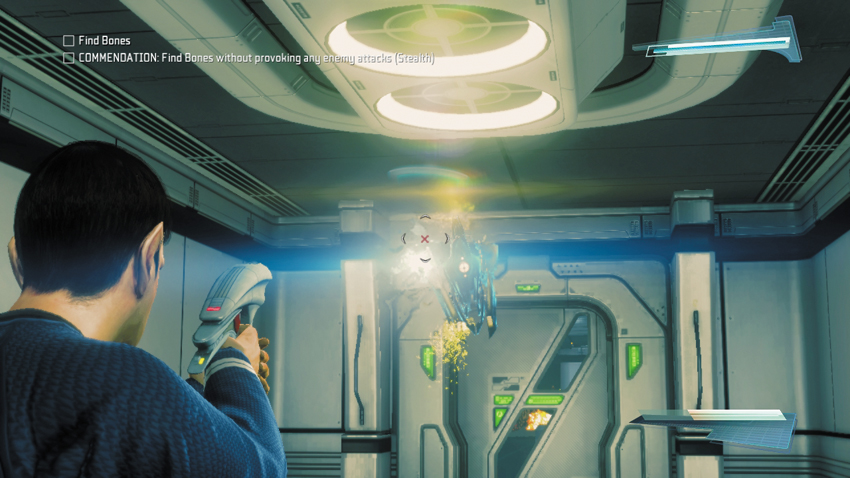
The Attack Drone that infected the officers in the previous room is hovering in the next corridor. Hit it with your phaser’s stun setting to prevent it from attacking you. This causes the drone to fall to the floor, but only for a few seconds. While the drone is stunned you have a couple of options. Using the tricorder, you can hack the drone, allowing it to follow you through the labs and provide additional firepower. However, if you want to earn the stealth-based commendation, it’s best if you don’t have the drone around, firing on every enemy within sight. So while the drone is still stunned, shoot it with your phaser’s kill setting to destroy it. If you didn’t incapacitate the two infected Federation officers in the previous room, the sound of the drone exploding may alert them, which will result in a failure of the stealth-based commendation.
14: Attack Drone
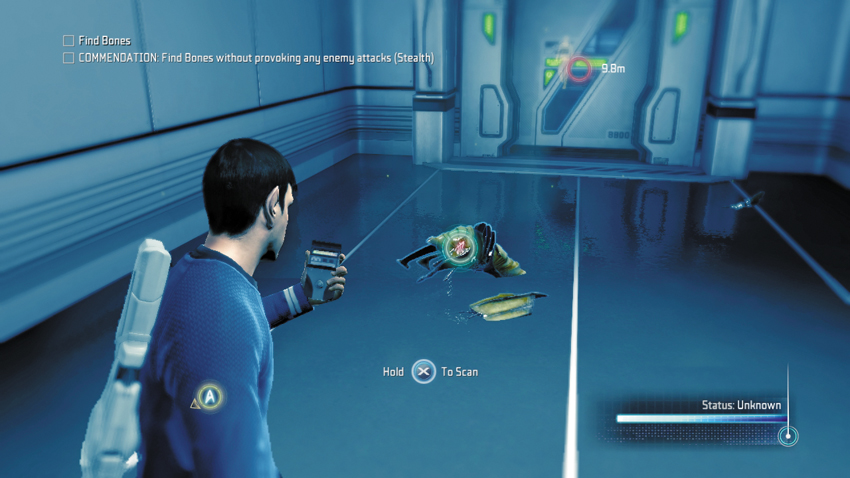
Destroy the drone and then scan the wreckage with your tricorder—the drone cannot be scanned when active or stunned.
Type: Research Data
Set: Enemies/Gorn Security
XP: 100
Log Entry: An Attack Drone that appears to be controlled by the collective Gorn intelligence. Best to disable them as quickly as possible, before they can alert the hive mind to your presence.
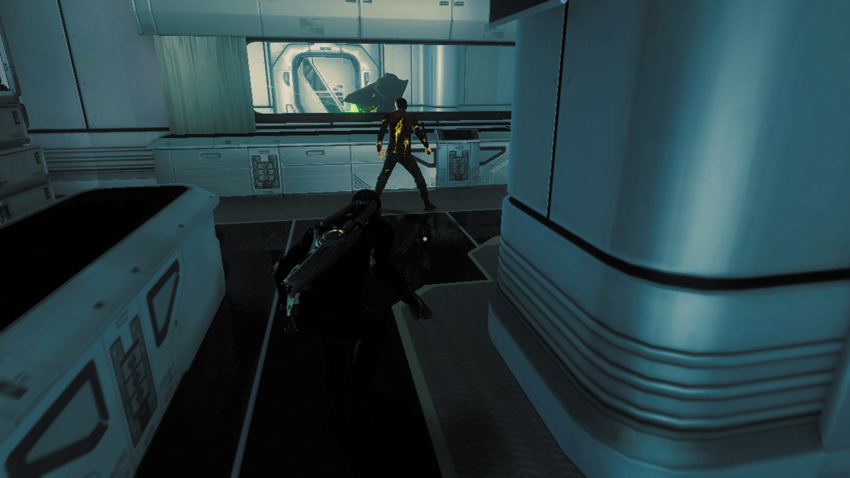
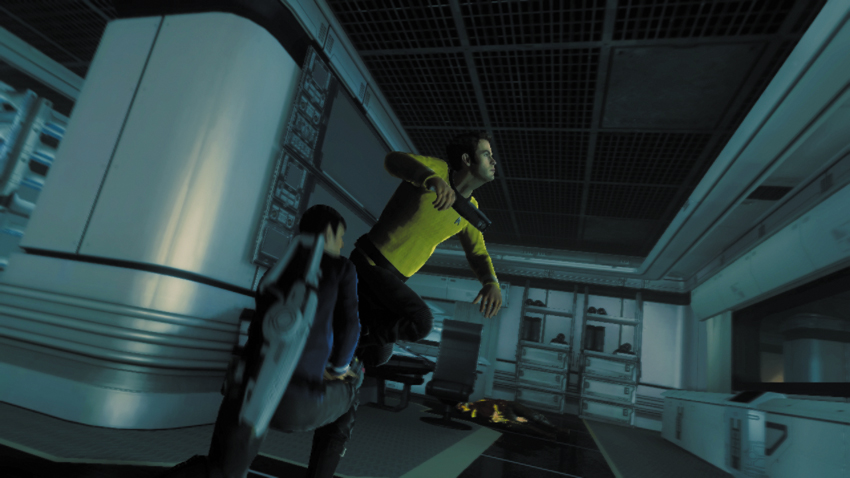
After taking out the drone, creep into the next corridor while crouching. There are several infected Federation officers patrolling the labs and if any of them sees you, you can forget about completing the commendation. Enter the first doorway on the right and stalk the lone infected Federation officer inside, incapacitating him from behind with a silent takedown. Next, look up to spot a hatch in the ceiling—give your partner a boost, then wait as he lifts you inside the vent. T’Mar reports that the power supply to the labs is being diverted, which explains the low-light conditions.
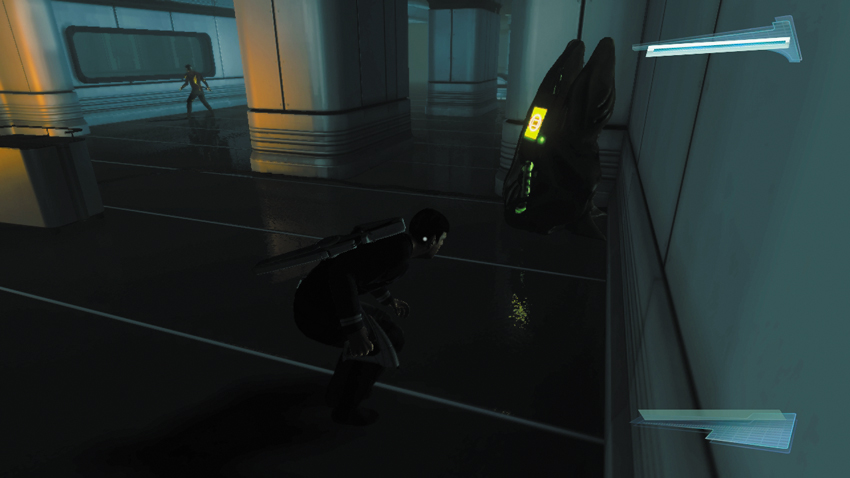
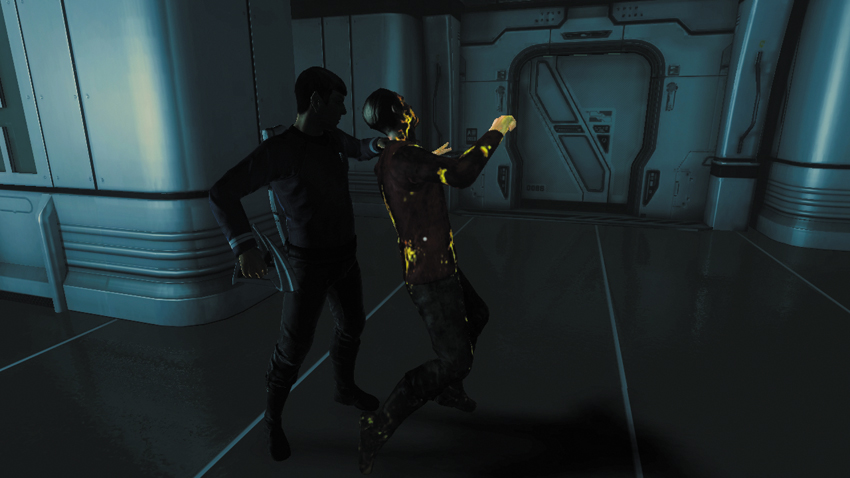
Inside the vent you come to a branch. Take the branch on the right to sneak past several enemies including a Gorn Turret. At the end of the vent, unlock a hatch and drop back down into the labs. Hold near the point where you drop out of the hatch and monitor the movements of another infected Federation officer patrolling nearby. When his back is turned, sneak up behind him and perform a silent takedown. There’s a Gorn Turret’s control station here, too, but don’t bother hacking it just yet—if the turret opens fire on any enemies, you’ll fail the stealth-based commendation.
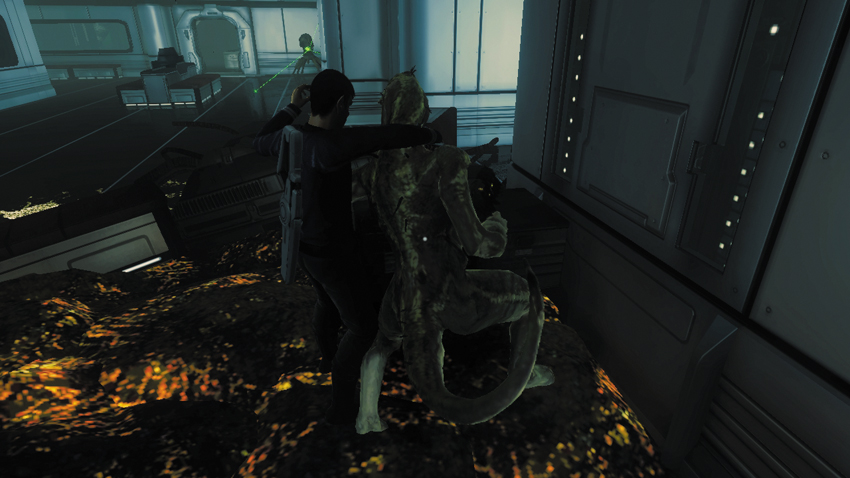
With the infected Federation officer out of your way, continue down the corridor to the right until you come to this span that is partially blocked by a fire. Take cover behind the nearby crates and watch for a Gorn Initiate patrolling in the distance—use your tricorder to spot him if necessary. When the Gorn Initiate is closest to your position, use your tricorder to activate the fire suppression system in the ceiling, just above the fire. The sound of the fire suppression system draws the Gorn Initiate over to investigate. Stay behind cover until the Gorn Initiate has his back turned, then sneak up behind him and perform a silent takedown.
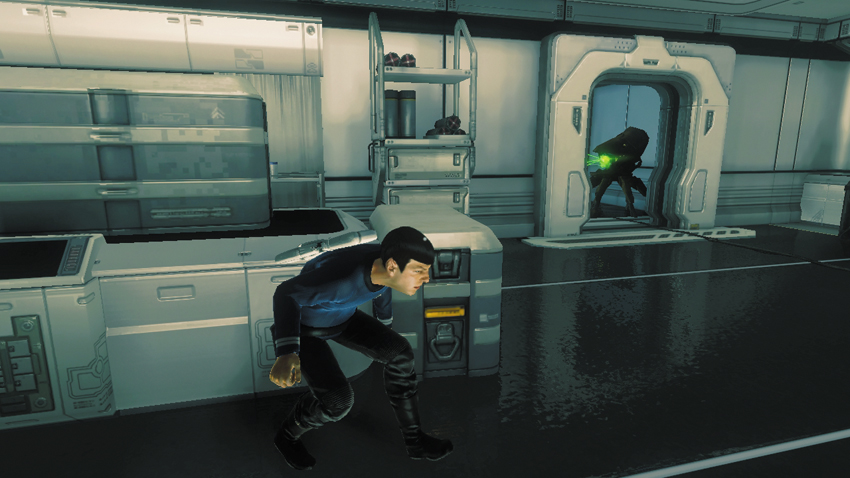
Avoid the turret in the corridor ahead by sneaking through this small lab on the right. Stay low and use the lab bench in the middle of the room for concealment. The turret in the adjoining hall rotates, peering through a nearby door during one of its sweeps. Monitor the turret’s movements and wait for it to pan its view away from the doorway before moving toward its control station located in the corner of the lab.
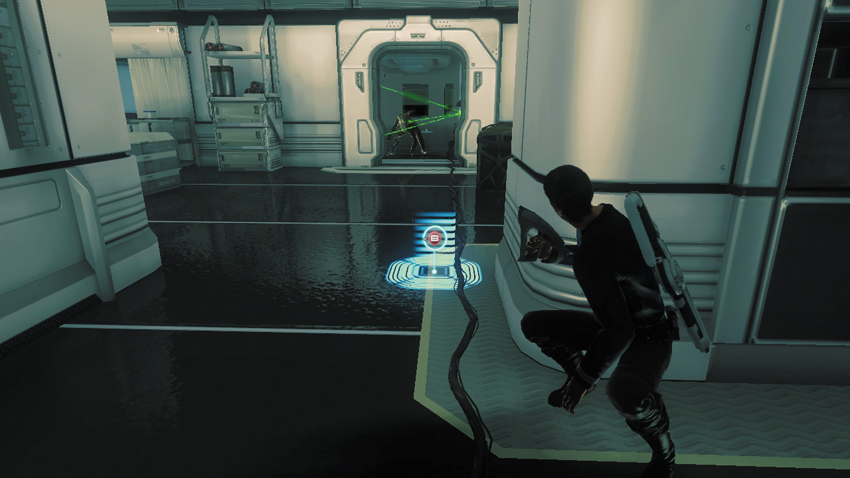
Before hacking the turret’s control station, monitor the movements of a Gorn Initiate in the hall outside the lab. This enemy paces up and down the hall, stopping at the lab’s doorway next to the turret. Wait until the Gorn Initiate turns away from the doorway and resumes his patrol, moving to the far end of the corridor, beyond the range of the turret. Now hack the turret before the Gorn Initiate returns. Otherwise, the turret will open fire on the Gorn Initiate, resulting in a failure of the commendation.
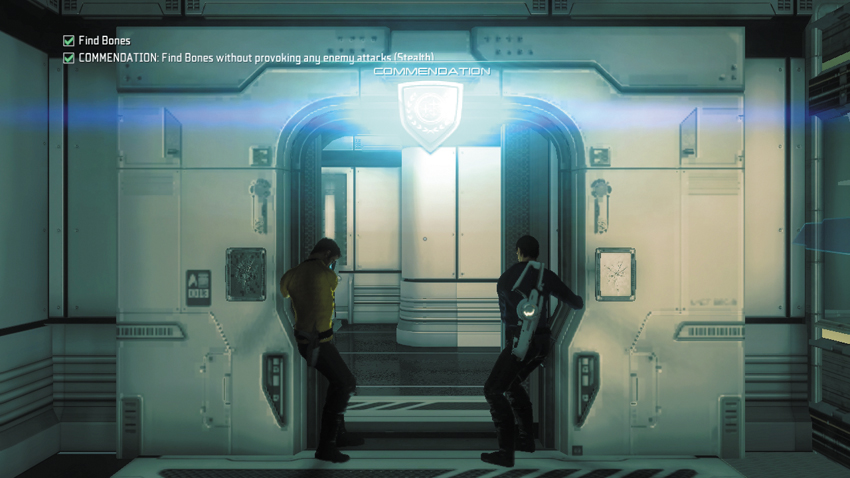
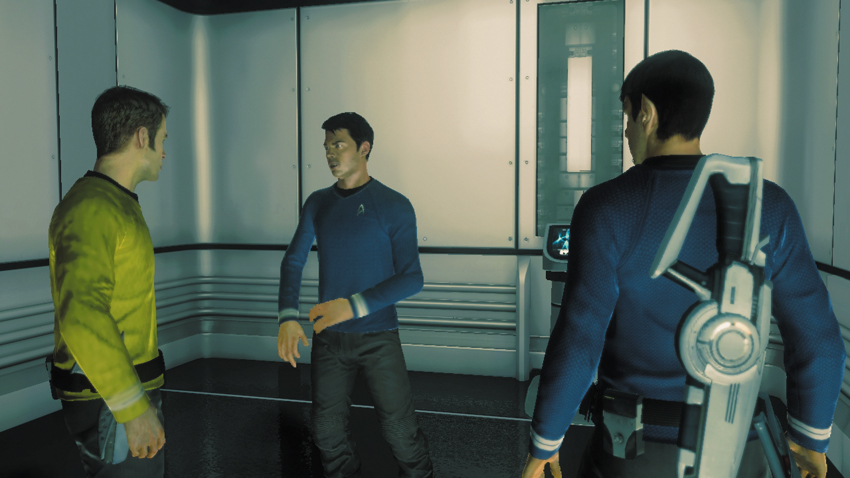
Immediately after hacking the turret, step through the nearby doorway, passing directly in front of the hacked turret, entering the next doorway on the right. Bones has barricaded himself in small closet here—just follow the waypoint marker. Work together with your partner to pry open the jammed door to the closet. If you managed to make it this far without being seen, you have earned the stealth-based commendation, along with 300 XP. Dr. McCoy is happy to see his friends, but there’s no time to celebrate just yet. Soon after reuniting with Bones, the lab’s power is restored, and several new enemies appear throughout the facility. T’Mar reports that the Gorn have gained access to the lab’s computer systems. McCoy feels they’re probably searching for information on the Helios Device. T’Mar has marked the compromised terminals—she needs you to destroy them before the Gorn can access the information.
New Objective: Destroy the Gorn Devices
Commendation: Complete your objectives without directly killing any Infected (Non-Lethal)
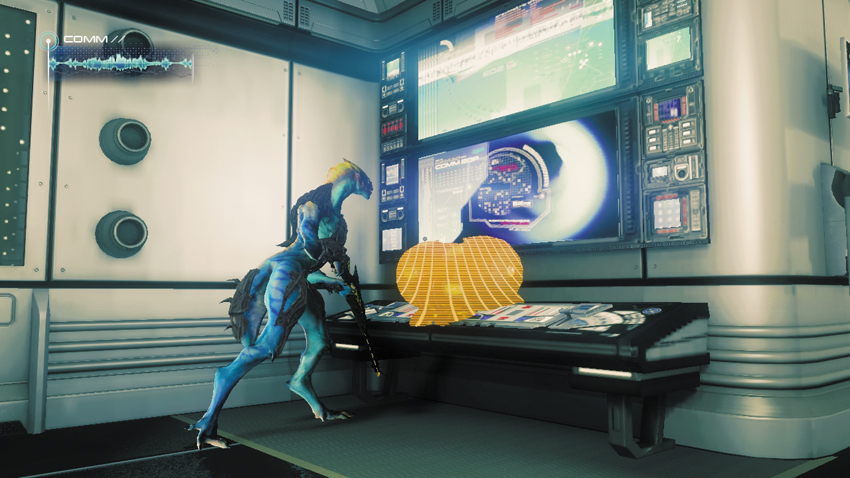
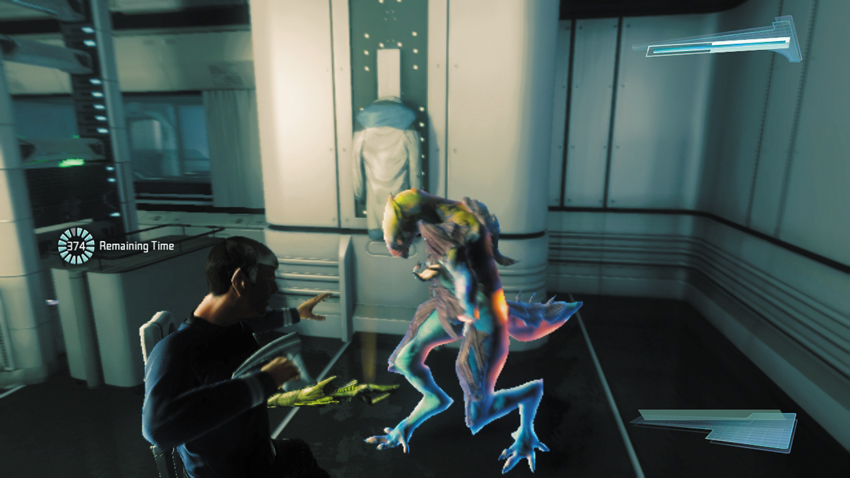
During this phase you have approximately six minutes to disable the Gorn devices attached to three different terminals scattered throughout the lab—a timer appears on the left side of the HUD, showing how much time is left. In addition to destroying the Gorn devices, you need to proceed carefully, using non-lethal tactics against infected Federation officers to earn another non-lethal commendation—you are not penalized if a hacked turret kills an enemy. So keep your phaser equipped and prepare to stun enemies you encounter. The first terminal is located across the hall, in a small lab and guarded by a Gorn Tech. These enemies are equipped with a high-powered Railer, so don’t let him fire a shot. The Gorn Tech may have also conjured an Attack Drone within the room using the Railer weapon. Stun the Attack Drone and hack it, then let it attack the Gorn Tech. Alternately, simply stun the Gorn Tech and perform a takedown while he’s stunned. At close range, stuns and takedowns are often faster and safer than engaging in close-quarters firefights.
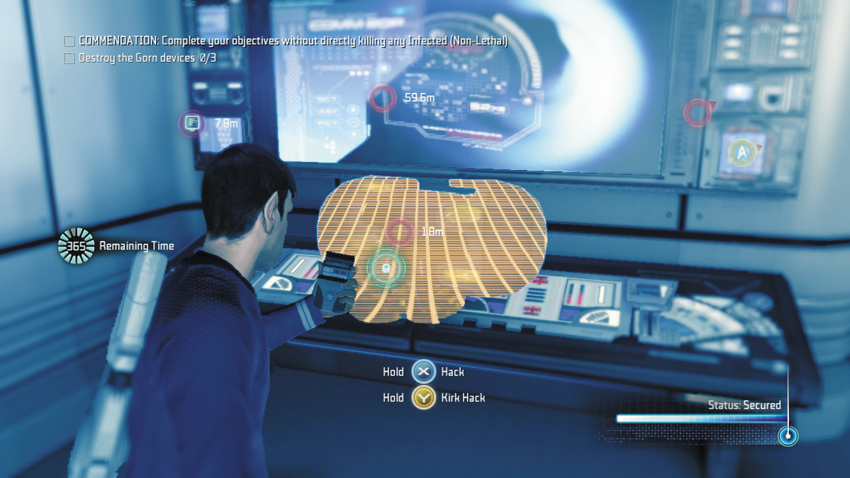
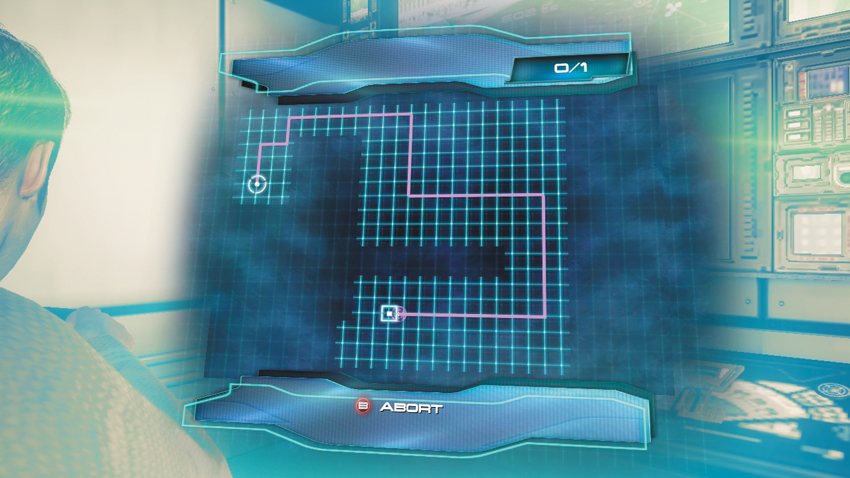
With the Gorn Tech down, turn to the terminal and hack the Gorn device attached to it. This hack requires you to complete a maze-like puzzle, moving the pink line along a grid from a start point to an end point. If the line moves off the grid at any point, the hack is unsuccessful and you’ll have to start over. But once the pink line reaches the end point, the hack is successful, shutting down the Gorn device and earning you 100 XP—one down, two to go!
15: Gorn Tech
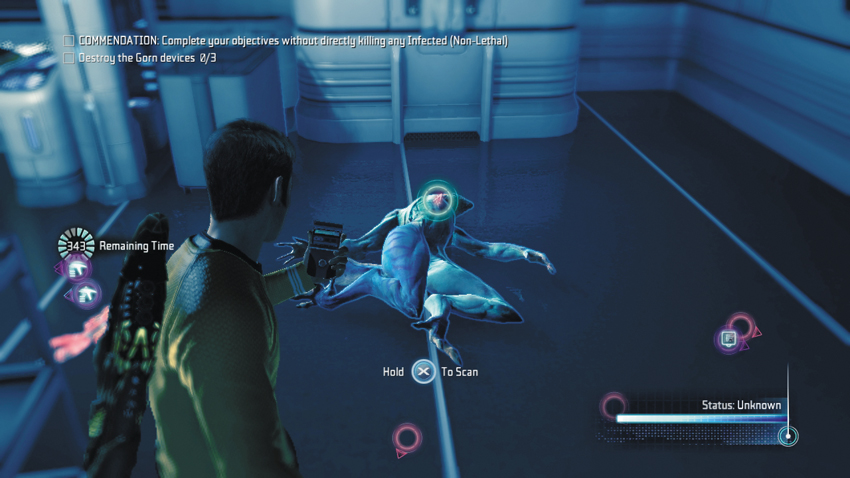
After hacking the first Gorn device, scan the Gorn Tech on the floor.
Type: Research Data
Set: Enemies/Gorn Enemies
XP: 100
Log Entry: Moving up the Gorn evolutionary tree, this one has a bigger brain that suggests it’s better suited to technical tasks than direct combat. Much like myself, come to think of it.
16: Gorn Railer
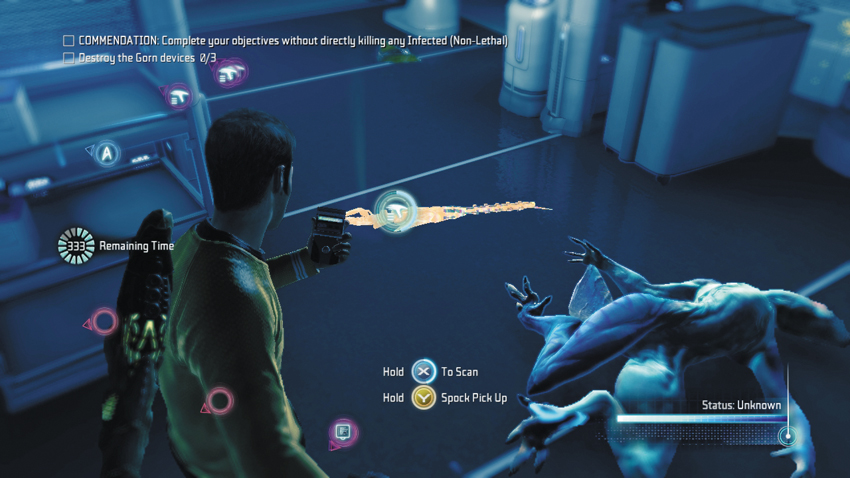
Scan the weapon on the floor, next to the Gorn Tech.
Type: Research Data
Set: Enemies/Gorn Enemies
XP: 100
Log Entry: A high-powered charge weapon that can penetrate thin walls and hit multiple targets at once. This is evidence that the Gorn are not simple brutes, but possess a technological aptitude that allows them to develop weapons that rival Starfleet’s in their sophistication.
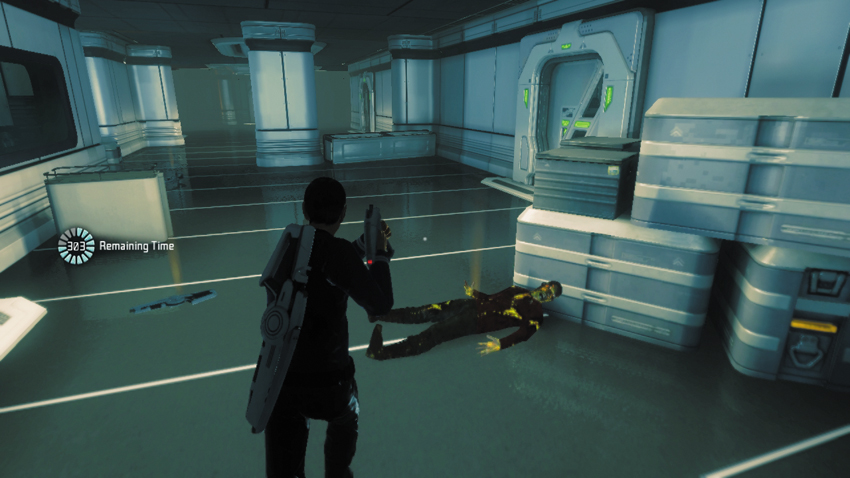
Exit the lab and turn left, engaging any enemies you encounter in the corridor. Chances are the turret you hacked earlier has cleared a path. But remember, if you encounter any infected Federation officers, stun them and perform a takedown to avoid failing the non-lethal commendation. If you have the time, enter the large lab on the right side of the corridor to find the Neurocortical Monitor.
17: Neurocortical Monitor
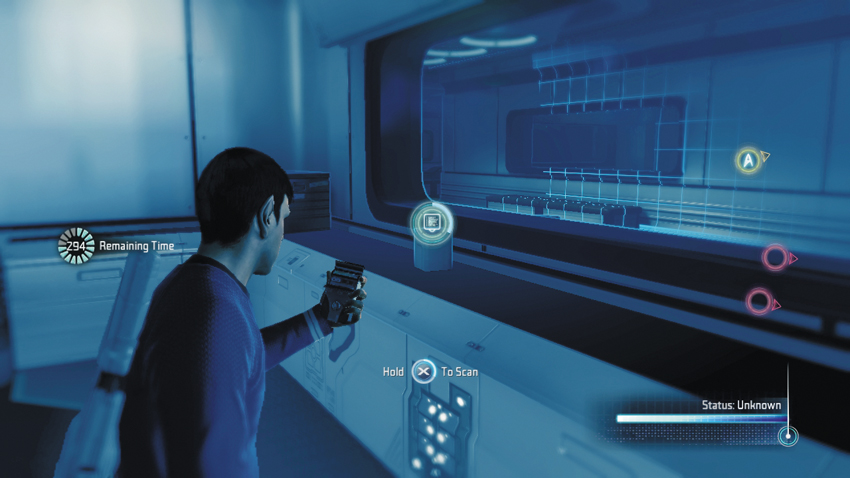
This item is located next to the window of the large lab, not far from where you found Bones and disabled the first Gorn device. You must enter the lab to scan it—you can’t scan it through the window.
Type: Research Data
Set: Search for a Cure Part 1/Biolab Equipment
XP: 100
Log Entry: When I was a wee lad I had a persistent headache. Doctors stuck a Neurocortical Monitor on my neck for a month. All the other kids made fun. Turned out my headache was just a symptom of growing up surrounded by a bunch of nasty little Scottish weevils whose parents raised them without a shred of compassion. Eventually I felt better.
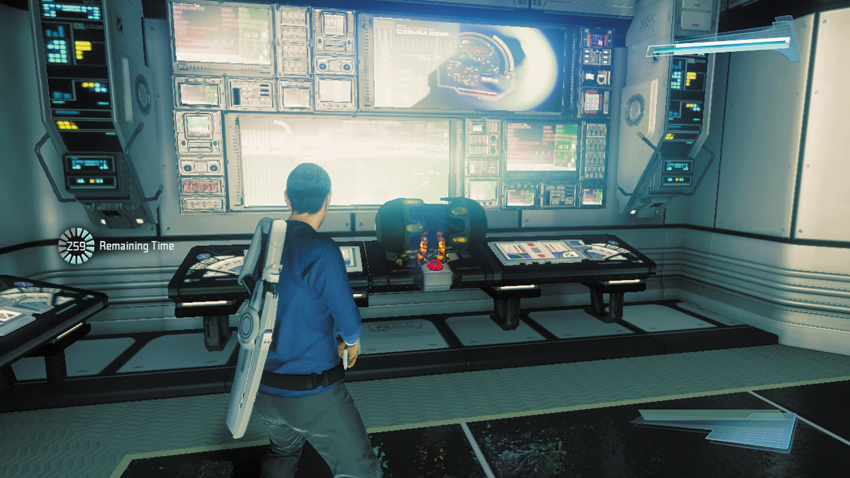
Return to the main corridor and turn right. The second terminal is located at the far end of the corridor and guarded by a single Gorn Initiate. Rush into the lab, stun the Gorn Initiate, then incapacitate him with a takedown. Proceed to the terminal and hack it. Two down, one to go.
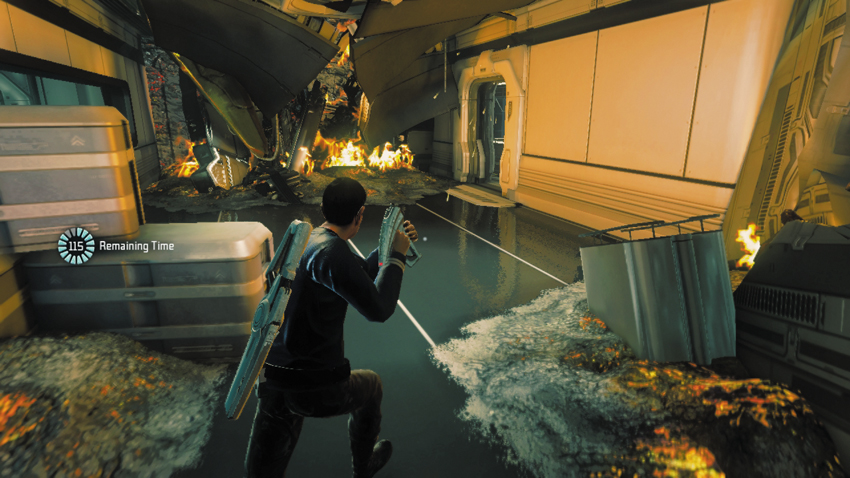
After disabling the second Gorn device, exit the lab and turn right, entering a corridor blocked by flaming rubble—you’ll need to find another way around. Step through the doorway on the right, next to the flaming barricade to enter a small lab. There’s another collectable inside this lab as well as a vent access.
18: Epidermal Analyzer
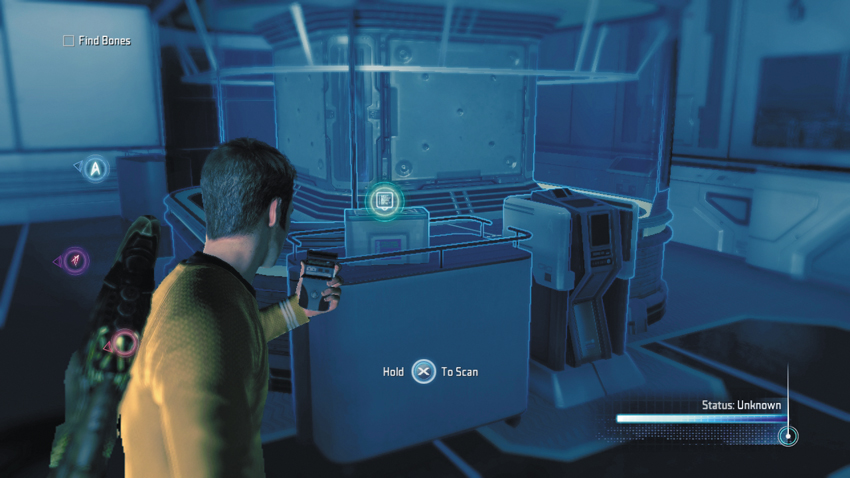
This item is located in the lab next to the flaming barricade.
Type: Research Data
Set: Search for a Cure Part 1/Biolab Equipment
XP: 100
Log Entry: Bones is really the one to ask about this thing. You put it under your tongue, I think. And it tells you when you’re going to die? Something like that.
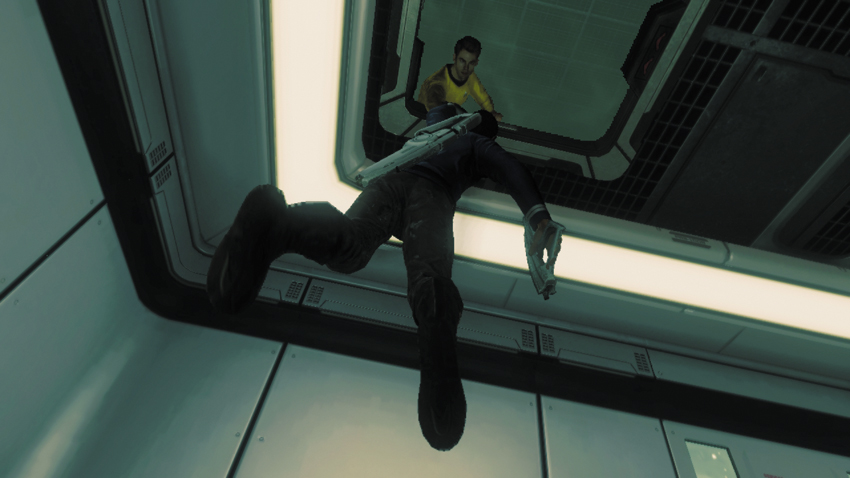
In the same room as the Epidermal Analyzer, use your tricorder to unlock a hatch in the ceiling, then boost your partner into the vent above. The vent system allows you to avoid more enemies, as well as a turret. Crawl through the vent and take the first right, returning to the room where you first entered the vent system.
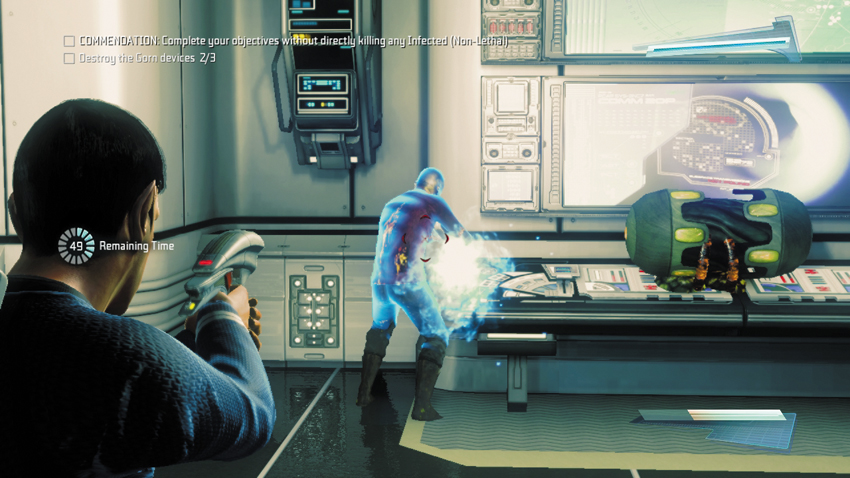
The last Gorn device is attached to a terminal in a lab across the hallway. Enter the lab and prepare to stun an infected Federation officer near the terminal. Once stunned, perform a takedown on the officer, then begin hacking the Gorn device before time runs out. T’Mar thanks Kirk and Spock for their quick action. Bones then checks in, asking if you’ve retrieved his research samples. Kirk agrees to retrieve samples for McCoy. But first you’ll need to escape this section of the lab.
New Objective: Reach the next laboratory section
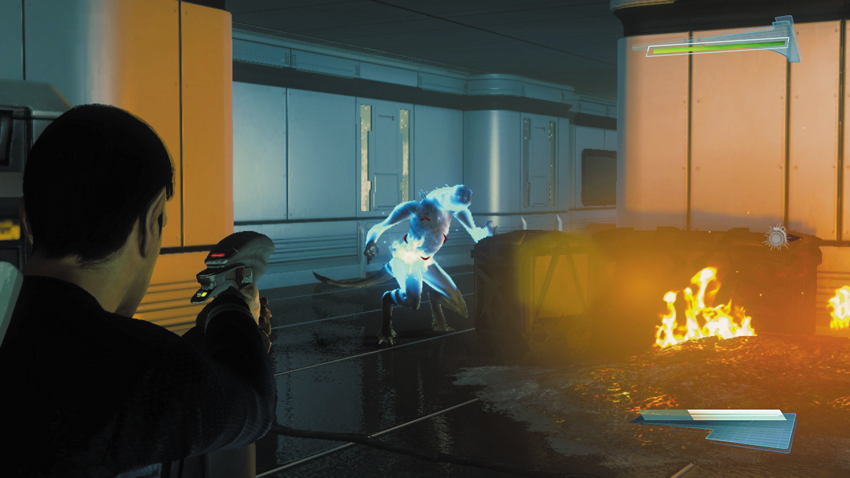
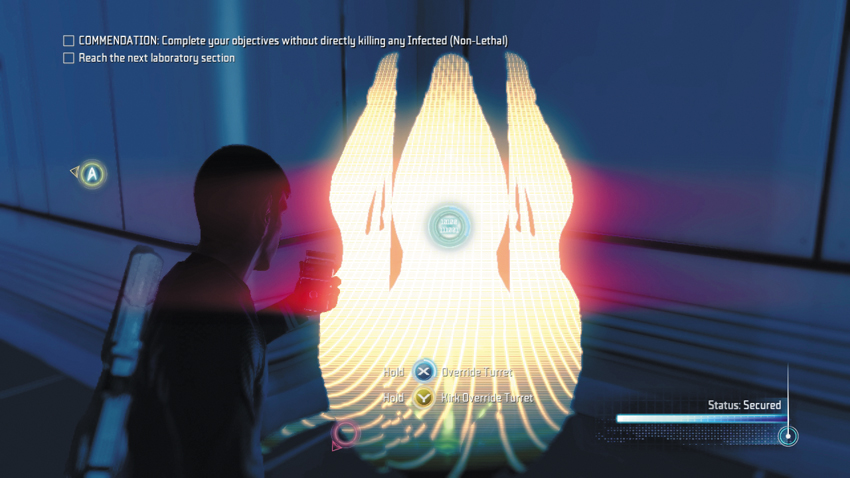
Return to the room across the hall and enter the vent system one more time. This time take a right and drop down into the corridor next to a turret’s control station. Clear the corridor of any nearby Gorn Initiates, then hack the control station to override the turret, earning 100 XP. The turret automatically opens fire on any nearby enemies. Remember, you aren’t penalized for any infected that are killed by the turrets.
19: Osteogenic Stimulator
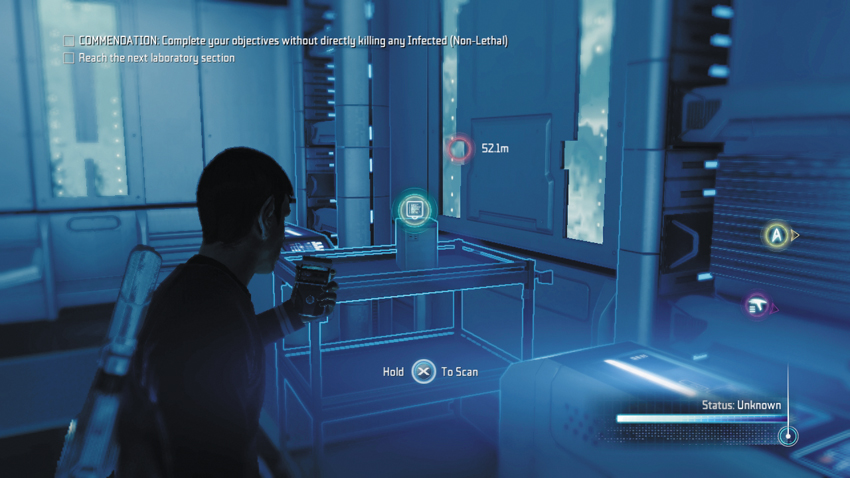
Enter the medical lab across the hall from the turret’s control station to scan this item, which is located on a cart behind the gurneys.
Type: Research Data
Set: Search for a Cure Part 1/Biolab Equipment
XP: 100
Log Entry: One of the few devices that convinces me that medical progress is not an oxymoron. Did you know that before these things came along doctors used to just immobilize broken bones in massive plaster casts? I think it was back when they still used money to pay for things—like massive plaster casts.
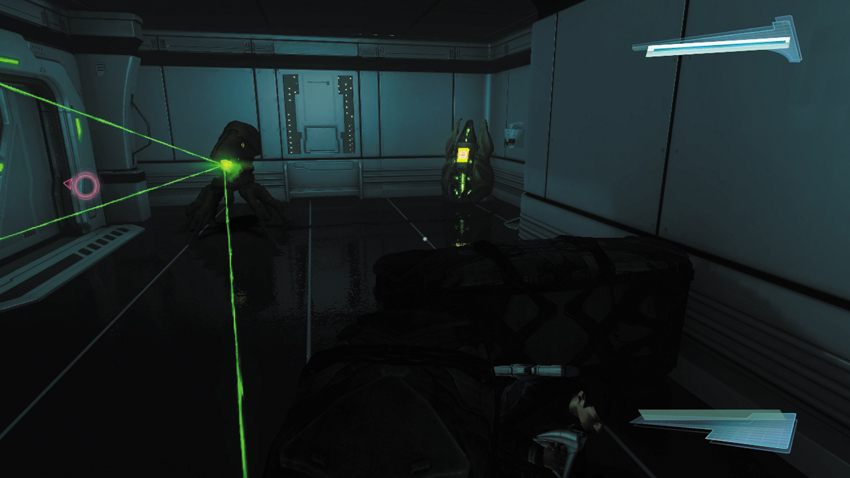
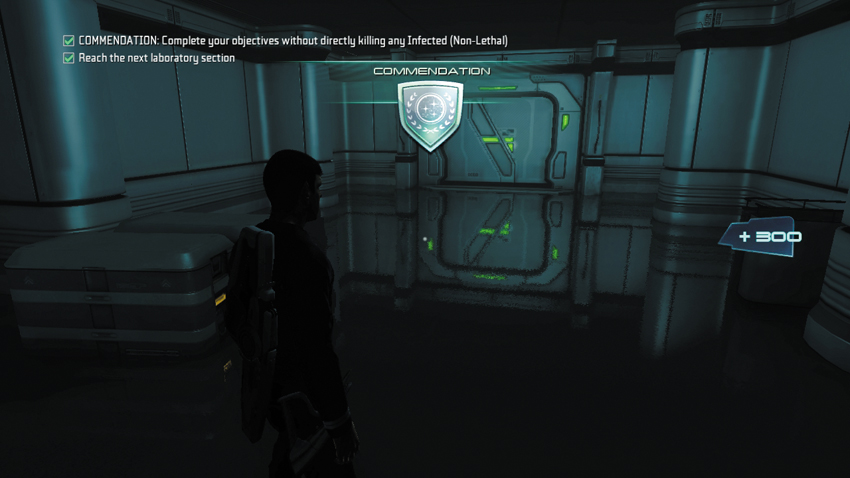
Follow the waypoint marker to the lab’s exit, but be careful not to get gunned down by the turret next to the final doorway. When the turret pans away, approach and take cover behind a low stack of crates. From here you can hack the turret’s control station using your tricorder and render it harmless. Stand up and move through the doorway on the left to exit this part of the lab. If you managed to complete this section without killing any infected, you’ve earned the non-lethal commendation, worth 300 XP.
Search for a Cure Part 2
Starbase Biolabs
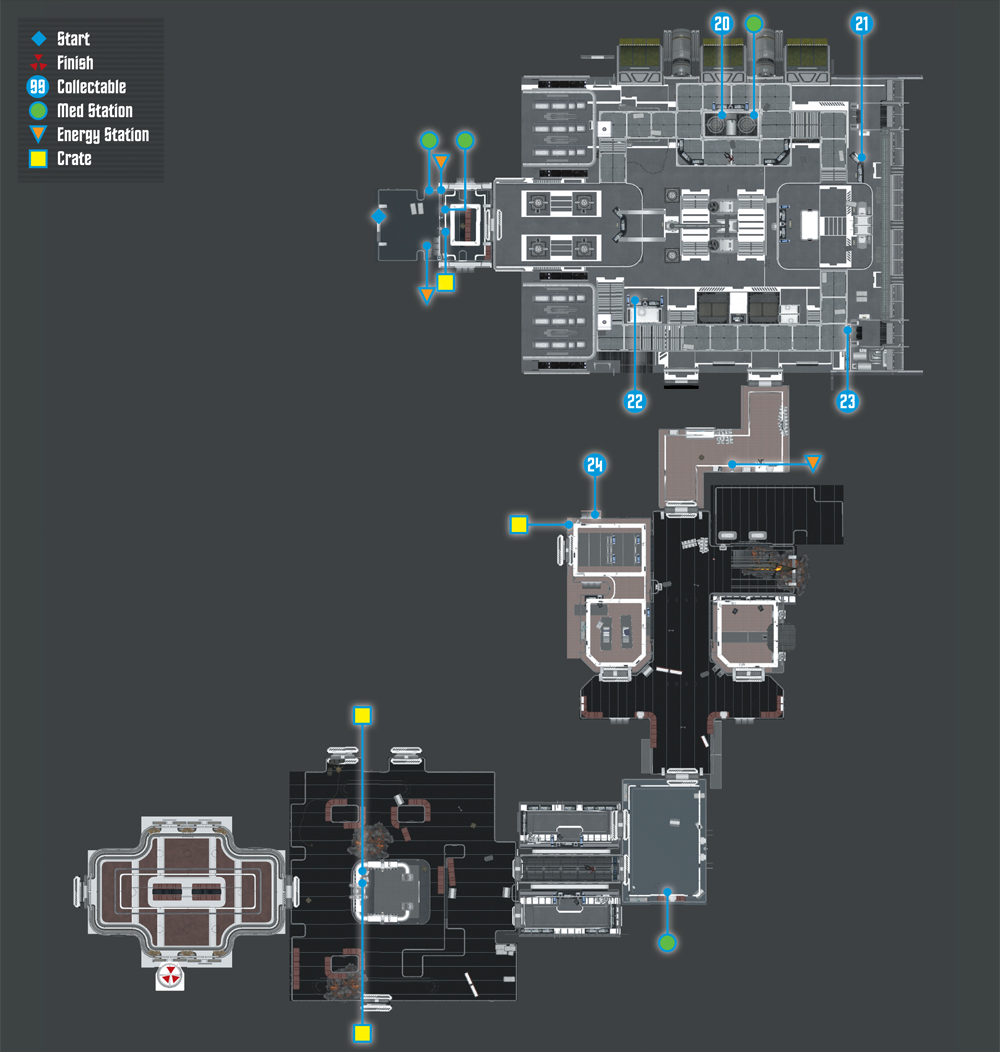
Collectables Checklist
| # | Name | Type | XP |
|---|---|---|---|
| 20 | Tribble (3 of 7) | Tribble | 250 |
| 21 | Yolendran Spittle Pods | Research Data | 100 |
| 22 | Flowering Phistella Sporophyte | Research Data | 100 |
| 23 | Walgettian Fire Blossom | Research Data | 100 |
| 24 | Daniels’s Audio Log #2 | Audio Log | 50 |
Commendation: Complete your objectives without provoking any enemy attacks (Stealth)
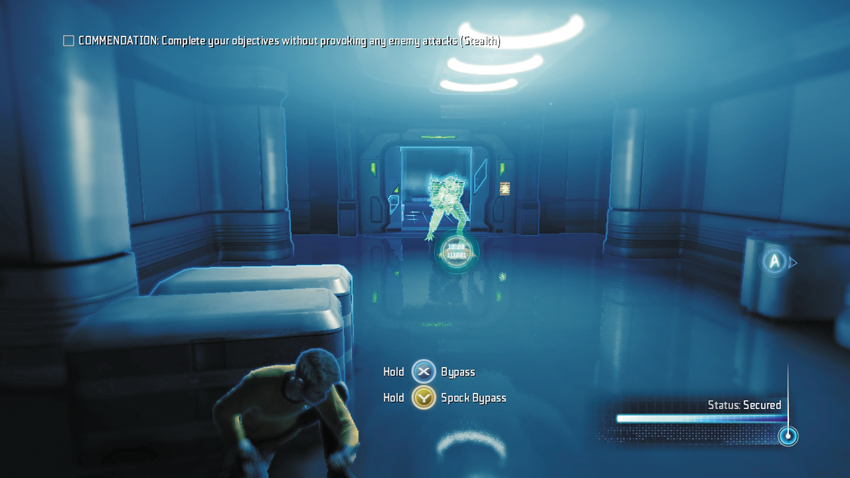
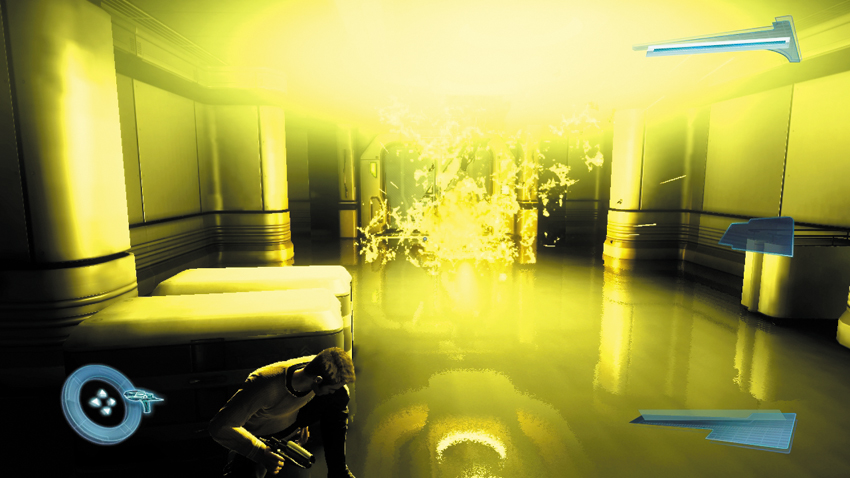
At the start of the next phase, you begin behind cover as a Gorn Enforcer enters the room and stands directly next to a mine on the floor. Spock advises hacking the mine to disable it. While still behind cover, use your tricorder to bypass the mine. This hack is similar to those performed on the Gorn devices attached to the terminals—move the pink line along the mazelike grid to the end point. Upon bypassing the mine, it explodes in a yellow flash, killing the Gorn Enforcer. Killing enemies with mines does not make you fail the stealth-based commendation. Grab a Plasma Grenade off the Gorn Enforcer and consider taking his Marauder, too, if you don’t already have one.
New Objective: Retrieve the samples for Bones’ research
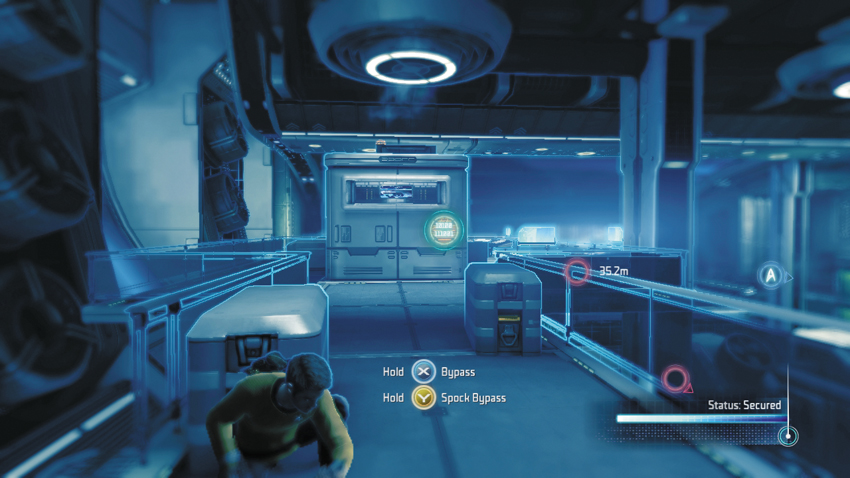
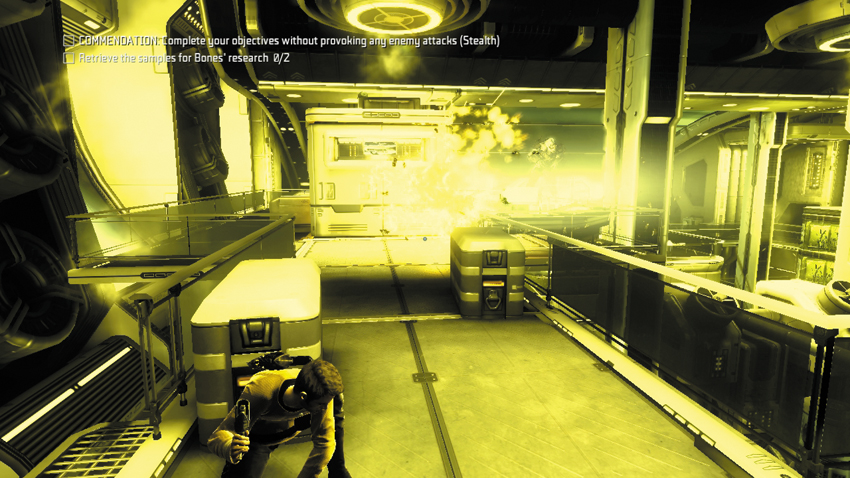
Pass through the nearby doorway to enter a large lab—crouch down to avoid being seen or making too much noise. You enter on lab’s upper floor. Follow the catwalk on the left and take cover behind a crate. There’s a mine attached to the wall at the end of the catwalk—use your tricorder to bypass it. Hold behind cover and wait for a Gorn Enforcer to appear ahead; the enemy pauses for a few seconds before resuming his patrol. When the Enforcer pauses, use your tricorder to place a sound decoy next to the bypassed mine. As he rounds the corner to investigate, the mine explodes and kills the Enforcer. Alternately, you can sneak up behind the Enforcer when he stops and perform a takedown.
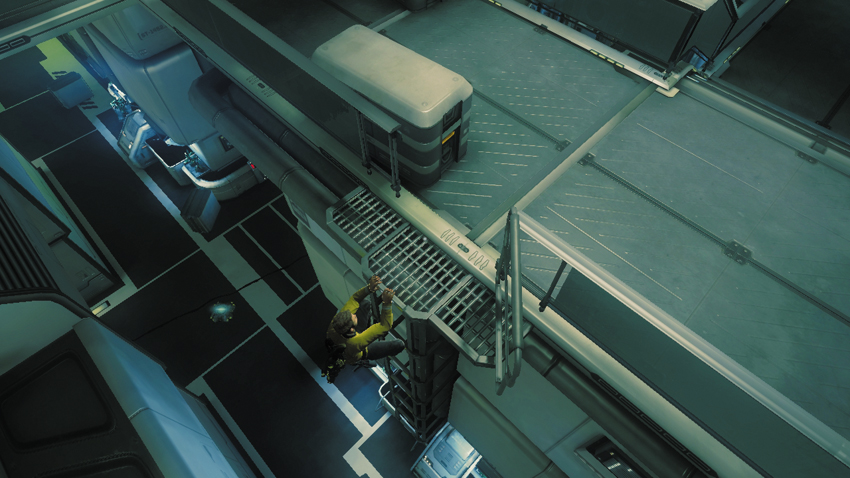
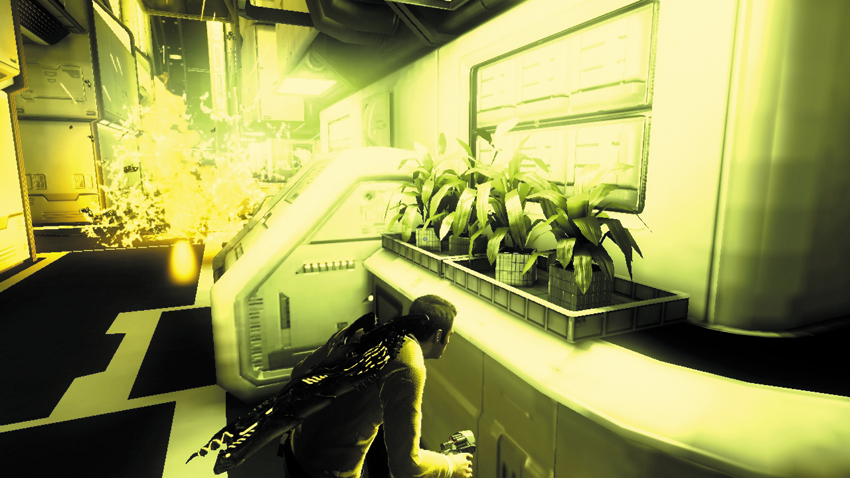
While you’re still on the catwalk, drop off the left side to descend a series of ladder rungs—you must drop down to each rung individually. But don’t descend all the way to the floor just yet. Turn to the left to locate a mine on the floor below—use your tricorder to bypass it. Resume your descent to the floor and hide in the nearby corner. Activate your tricorder to monitor enemy movement nearby. You can see a turret on the other side of the wall as well as a Gorn Enforcer patrolling nearby, stopping just short of your hiding spot. When he pauses, use the tricorder to place a sound decoy near the bypassed mine, prompting him to investigate. Once again, the mine explodes, killing the Gorn Enforcer. While it may be tempting, don’t hack the nearby turret’s control station. If the turret opens fire on enemies, the stealth-based commendation is failed.
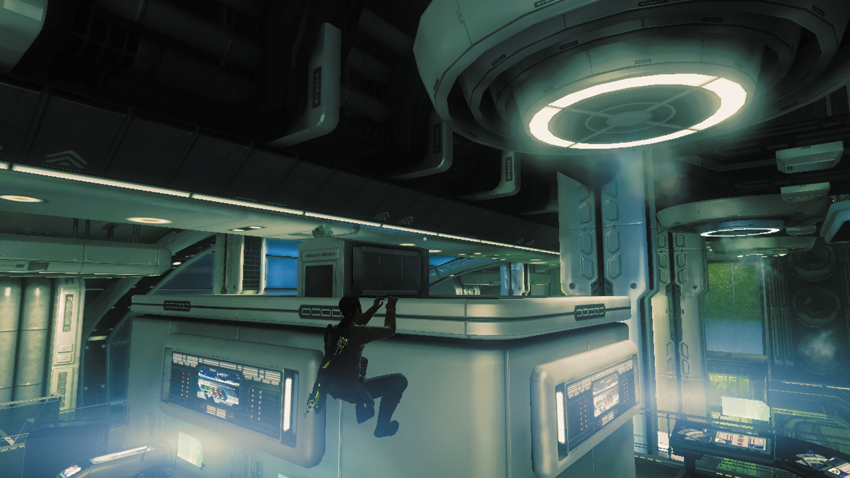
Climb back up to the catwalk, mantling up each rung, and advance to the wall where the mine was stuck. You can climb to the top of this console-like partition in the middle of the walkway. Move around to the left side and mantle upward to reach the top. Here you can find another Tribble for your collection.
20: Tribble (3 of 7)
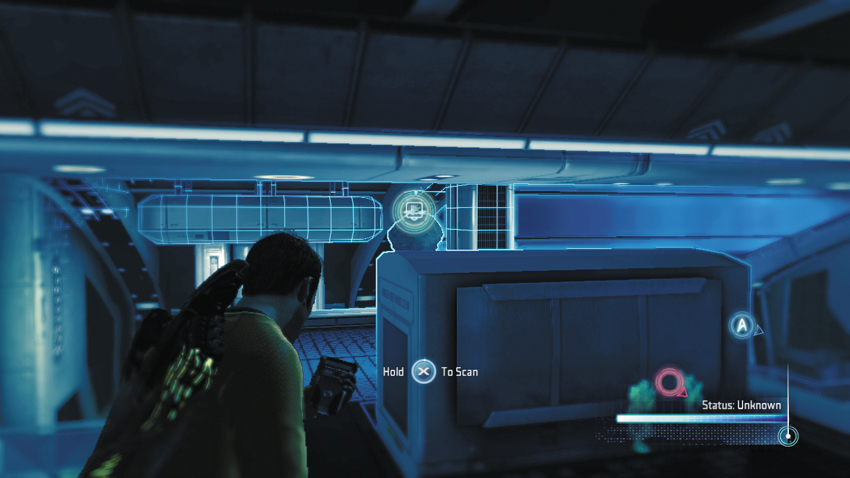
This Tribble is located on top of a crate on the console you just climbed.
Type: Tribble
Set: Tribbles
XP: 250
Log Entry: I took the Tribble with me when I joined the crew of the Enterprise. It lived happily in a corner of Engineering until I had the brilliant idea to use it as a test subject in a new transwarp beaming experiment I had in mind. I hypothesized that I could beam a small object all the way back to Earth while the Enterprise was at warp, not unlike the way Captain Kirk and myself we able to beam aboard from Delta Vega. I contacted my nephew back at Starfleet Academy, and together we achieved a ground-breaking success that resulted in my Tribble arriving in San Francisco hale and hearty.
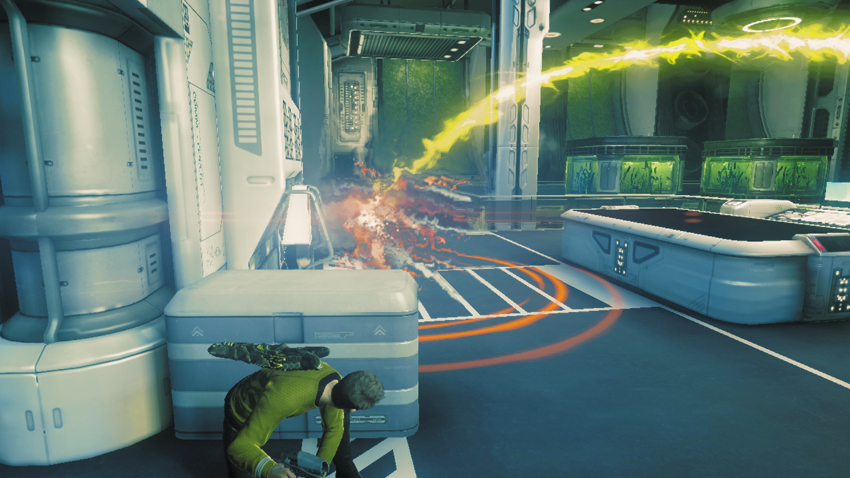
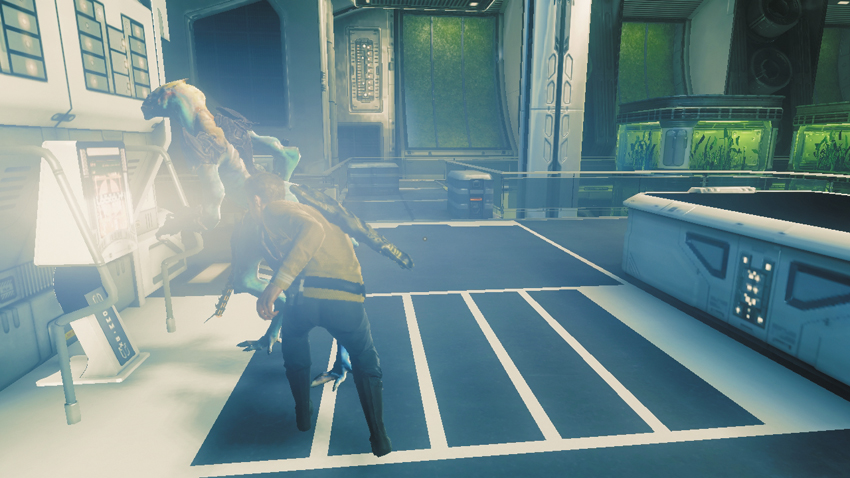
Drop down from the console and resume your advance along the catwalk, following it to a large terminal. The terminal is frequented by a Gorn Tech that beams back and forth between the two terminals in this lab. Wait until the Gorn Tech beams away, then approach the terminal and take cover behind the nearby crate. Wait here for the Gorn Tech to return, then sneak up behind him and perform a takedown . Now you can hack the terminal to retrieve the first sample for Bones’s research. But stay behind cover while performing the hack—otherwise an Attack Drone patrolling the ground floor may spot you, thereby blowing your cover and leading to a failure of the stealth-based commendation.
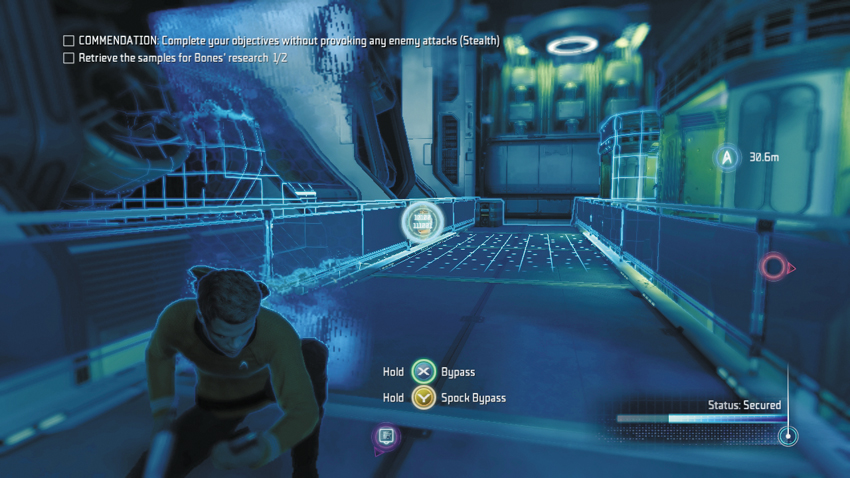
After hacking the first terminal, proceed along the next catwalk. Take cover behind the force field to bypass another mine, which is stuck beneath the railing on the left. There’s no need to lure enemies into this mine for now, but it could come in handy later.
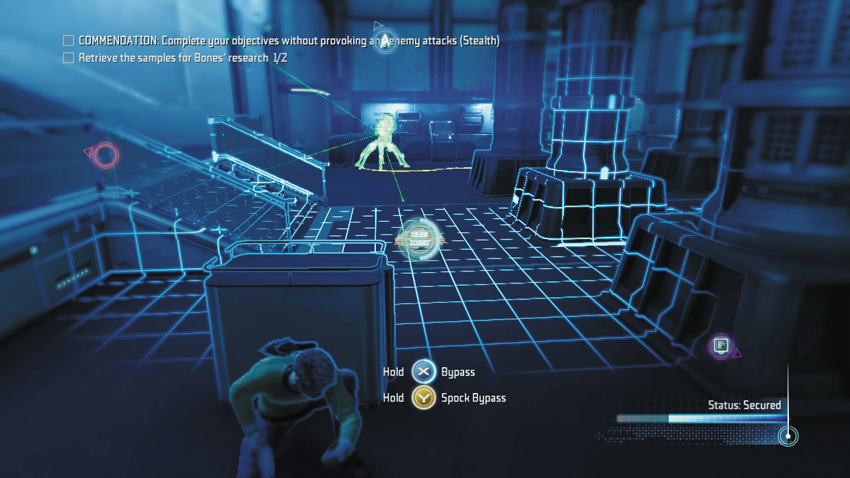
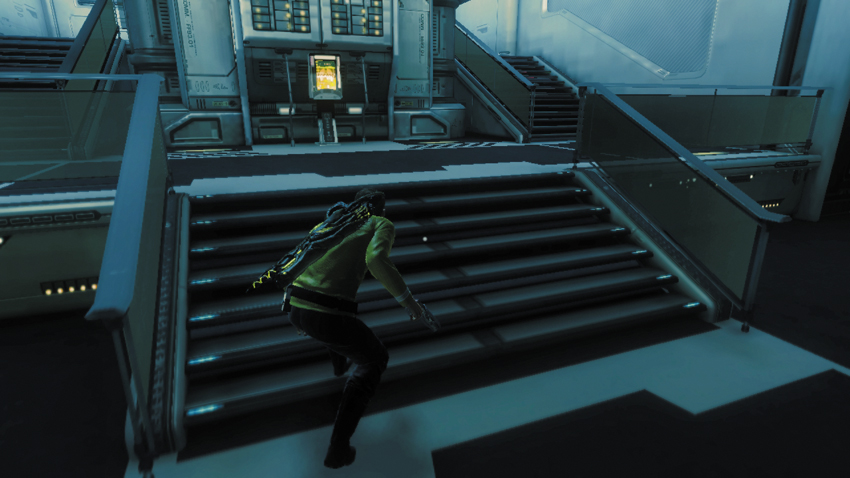
Cautiously advance to the end of the catwalk and make note of the turret on the opposite side of the room. Stay behind cover to avoid being spotted by the turret, not to mention the patrolling Attack Drone—use your tricorder to monitor the movements of the Attack Drone. Once the turret pans away and the Attack Drone is out of sight, descend the stairs at the end of the catwalk and immediately take cover behind the crate straight ahead. Before making a move for the second terminal, bypass the mine at the base of the short flight of steps. After bypassing the mine, go for the terminal, moving only when the turret isn’t facing your direction. Don’t hack the terminal just yet—you may be spotted by the Attack Drone. Instead, move behind the terminal and wait for the Attack Drone to complete its current circuit.
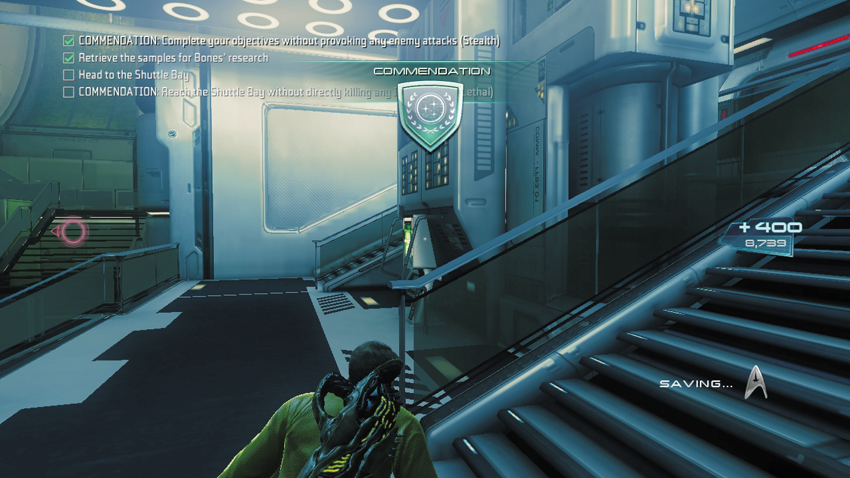
Once the Attack Drone has moved away from your position, move along the side of the terminal, closest to the turret, and perform the hack. Retrieve the final sample for Bones’s research. If you managed to retrieve both samples without alerting the enemies, you earn the stealth-based commendation worth 400 XP. Now that Dr. McCoy has everything he needs for his research on the infection, Kirk advises him to make his way to the Starbase’s shuttle bay. T’Mar reports that the Starbase has been completely overrun by the Gorn. She feels there’s nothing that can be done, short of calling for a complete evacuation. She advises heading for the shuttle bay along with the rest of the survivors.
New Objective: Head to the Shuttle Bay
Commendation: Reach the Shuttle Bay without directly killing any Infected (Non-Lethal)
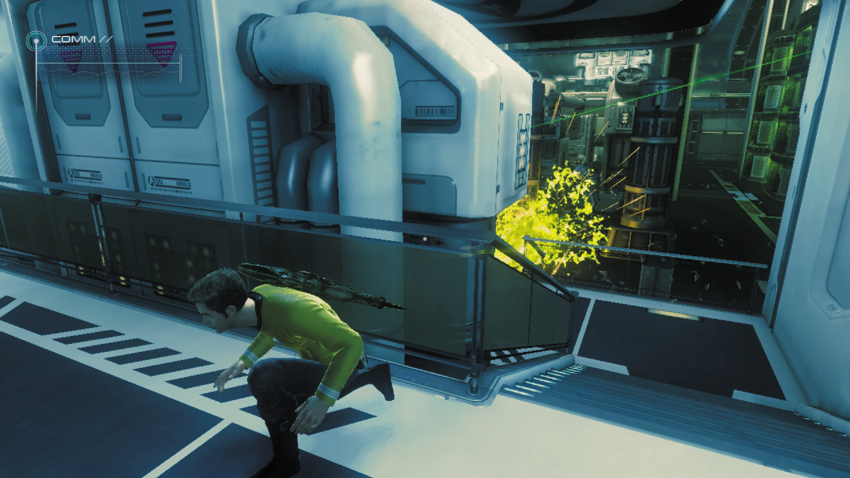
After hacking the terminal, several Gorn enemies enter the lab, including a Gorn Enforcer and several Gorn Techs. Hide behind the terminal and wait for the Gorn Enforcer to approach the mine you bypassed. While you can engage in direct combat now with no repercussions, make an effort to use the Gorns’ own weapons against them.
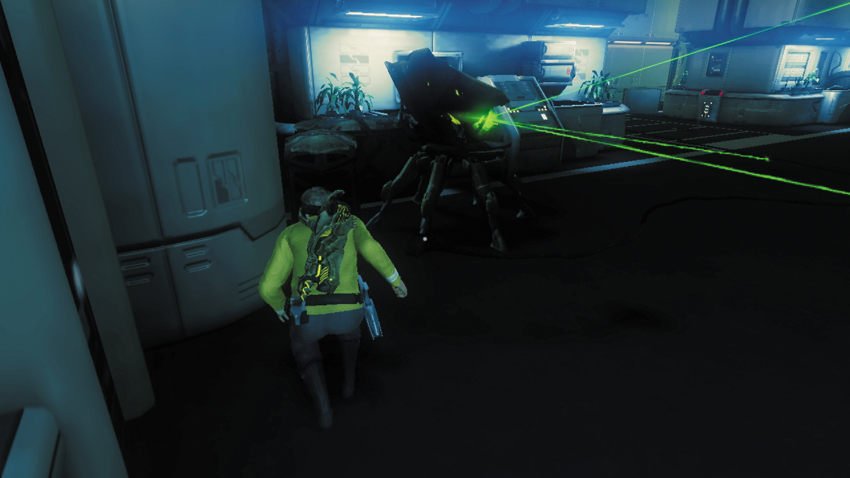
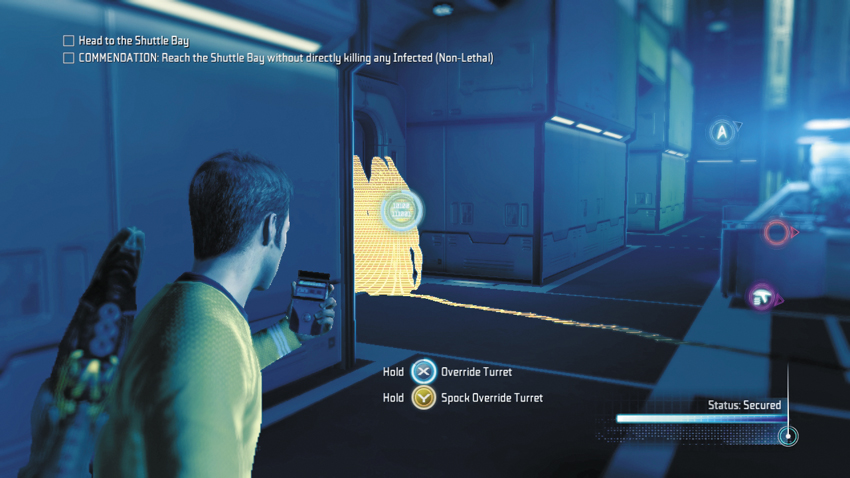
Once the mine explodes, killing the Gorn Enforcer, sneak out along the left side of the terminal and approach the turret as it pans away from you—be careful to avoid detection by the patrolling Attack drone. Hop onto the console behind the turret and slip behind, advancing toward the control station. Hide in the corridor, out of sight from the turret and other enemies, and hack the control station. Once hacked, the turret opens fire on all enemies, including the Gorn Techs and the Attack Drone. Hold back and let the turret do most of the dirty work. Feel free to give the turret a hand, opening fire on the Gorn Techs from behind cover.
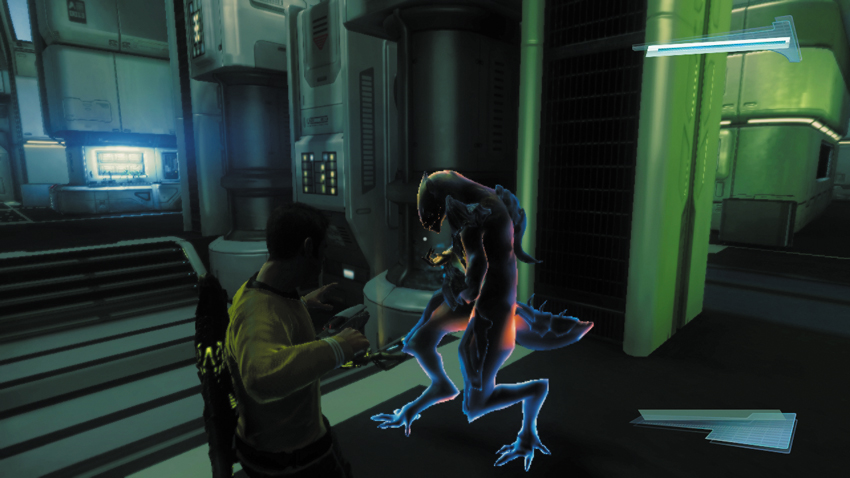
The turret may not be able to see all the Gorn Techs, so stalk them yourself, moving from one piece of cover to the next while using your tricorder to monitor their movements. Remember, if you’re spotted, Gorn Techs can conjure more Attack Drones by means of their Railer weapon. So avoid detection when possible to prevent this. When possible, sneak up behind the Gorn Techs and perform takedowns. If you can’t get behind them easily, simply stun them with your phaser, then perform a takedown before they can recover. Once the lab is clear of enemies, activate your tricorder and scan three collectables before leaving this room.
21: Yolendran Spittle Pods
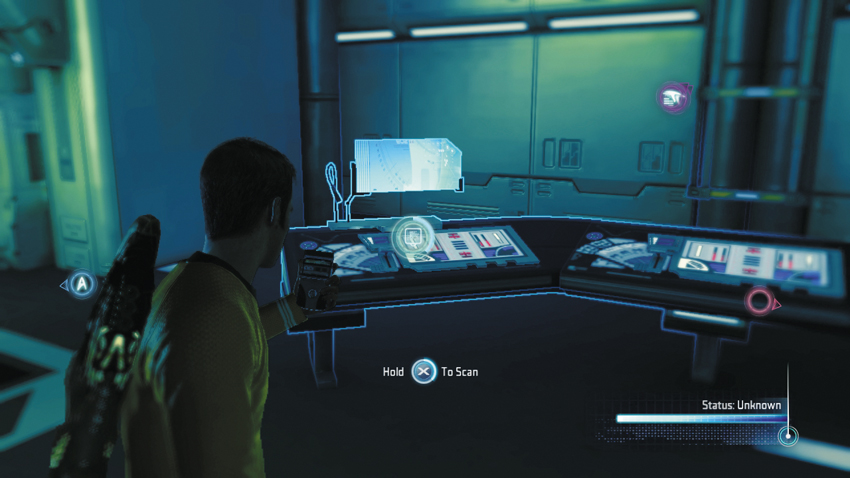
Scan this terminal next to the small lab on the ground floor to retrieve this entry.
Type: Research Data
Set: Search for a Cure Part 2/Biolab Flora
XP: 100
Log Entry: Would you like a Yolendran spittle pod? No thanks, I just had a heaping bowl of spittle pods. Really, I’m stuffed. Of course, I don’t want to eat something called a spittle pod. Go away.
22: Flowering Phistella Sporophyte
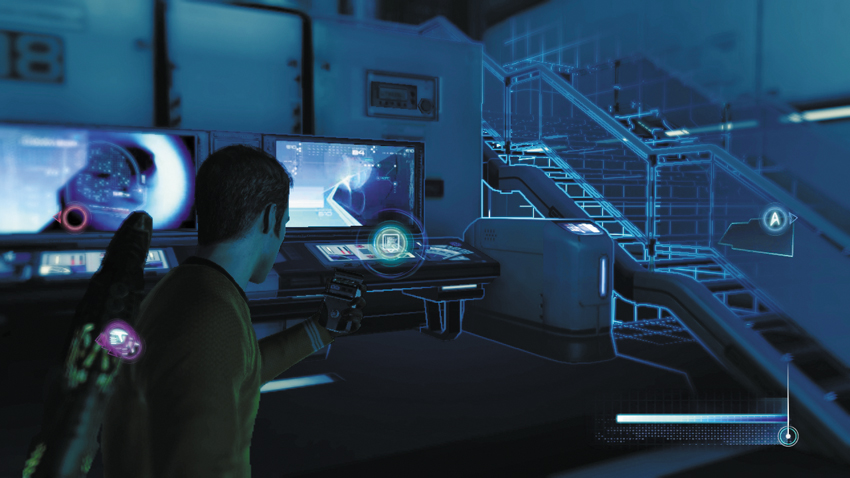
Scan this terminal next to the staircase on the ground floor for another flora entry.
Type: Research Data
Set: Search for a Cure Part 2/Biolab Flora
XP: 100
Log Entry: They really need to start naming new plants after the first poor redshirt who touched it and died of whatever fatal disease was hiding in the leaves. Instead of “Flowering Phistella Sporophyte,” it should be “Ned’s Where-Did-My-Skin-Go Flower.” A touching tribute to the spirit of discovery, and yet another reason why I am the last to volunteer for away teams.
23: Walgettian Fire Blossom
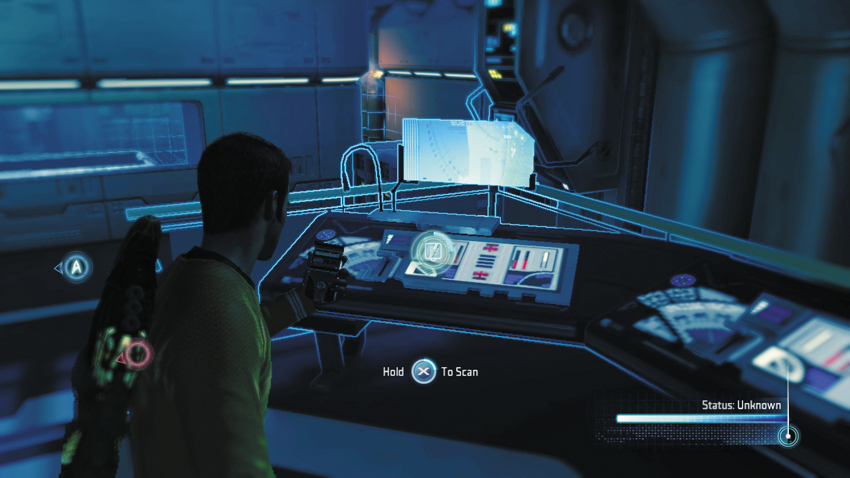
The last flora entry is located within this terminal, next to the lab’s exit.
Type: Research Data
Set: Search for a Cure Part 2/Biolab Flora
XP: 100
Log Entry: This is how the Earth will die. Not from a massive alien invasion. Not from a homegrown geological cataclysm. No, it will end because some unsuspecting fool will sneak something like the Walgettian Fire Blossom past quarantine, and three weeks later the planet will be one big flowery ball, with no room left for things like humans. Mark my thoroughly depressing words.
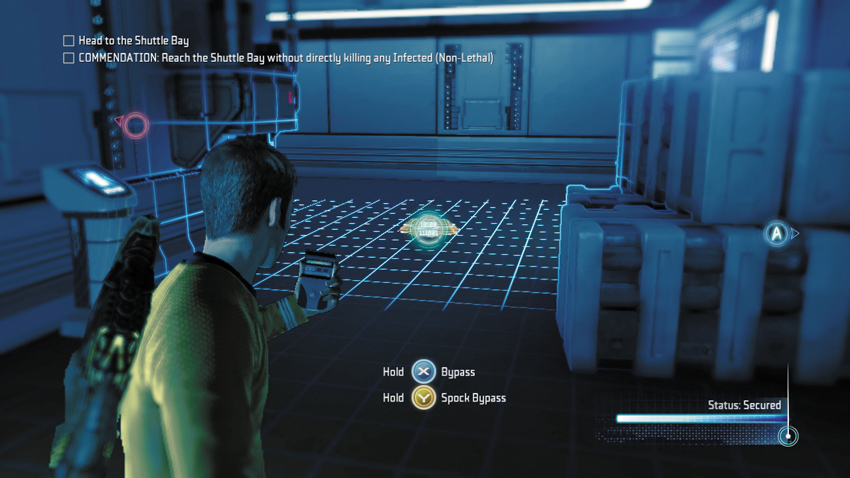
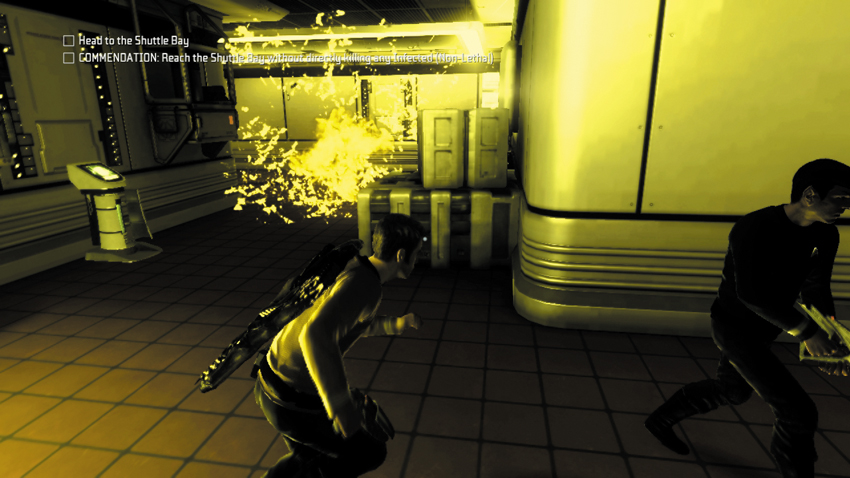
Follow the waypoint marker to the lab’s exit and cautiously enter the adjoining hallway. Just around the corner to the right is another mine. Keep your distance and use your tricorder to bypass it. Feel free to use the nearby Energy Station once the mine has been bypassed. Next, proceed to the next doorway and get the attention of a Gorn Enforcer in the next corridor. Instead of engaging this enemy, get him to follow you. Run past the bypassed mine and move to a safe distance before the trailing Gorn Enforcer detonates it.
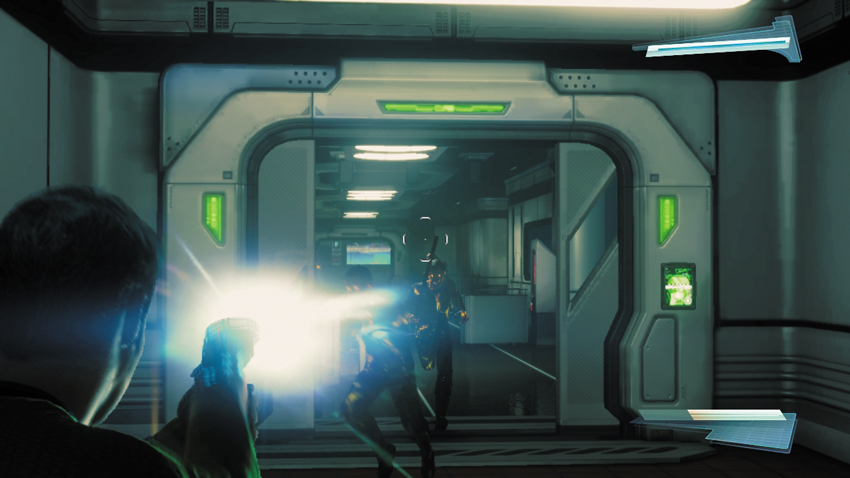
Shortly after the Gorn Enforcer is killed by the mine, three infected Federation officers rush into the corridor, armed with metal pipes. You must use non-lethal force to incapacitate these infected enemies if you wish to complete the non-lethal commendation. So use your phaser to stun these enemies, then perform takedowns. These are the last of the infected enemies you encounter during this section, so feel free to use lethal force against the remaining enemies.
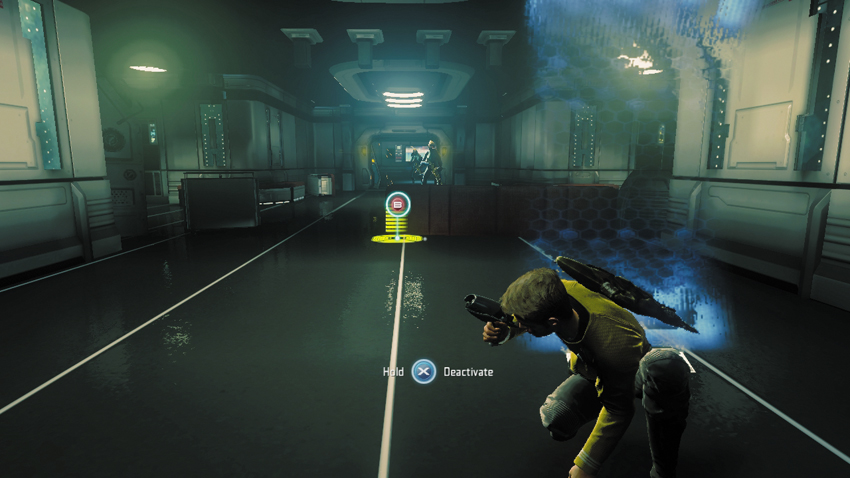
Enter the next corridor and be prepared to confront a pair of Gorn Techs at the opposite end of the hall. Use the crates and force fields for cover while engaging these enemies. And watch out for Attack Drones conjured by the Gorn Techs. Stun the Attack Drones with your phaser, then hack them with your tricorder to turn the drones against their masters.
24: Daniels’s Audio Log #2
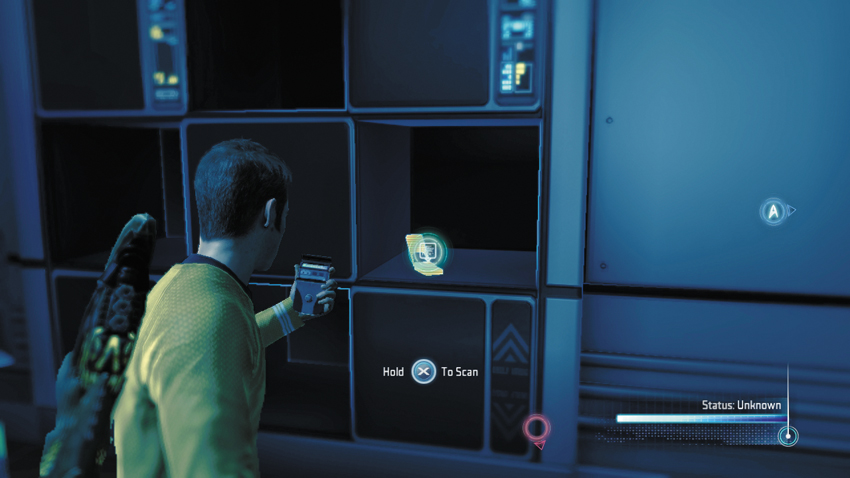
Once the Gorn Techs have been eliminated, enter a lab on the right side of the corridor to locate this audio log on a shelf. Unlock the nearby crate with your tricorder to get a Stun Grenade.
Type: Research Data
Set: Search for a Cure Part 2/Logs
XP: 50
Log Entry: Commodore’s log, supplemental. I must confess that my interest in helping the Vulcan scientist T’Mar is not entirely altruistic. The Helios Device T’Mar has designed could provide an incredible tactical advantage for the Federation. T’Mar believes that a possible side effect of the device is a tear if the fabric of space time. The prospect frightens her, but she is a scientist, not a tactician. Imagine, using that tear to travel instantaneously across the galaxy. In the hands of Starfleet it could tip the balance of power in the Federation’s favor. I will keep a close eye on the progress of the Helios Project.
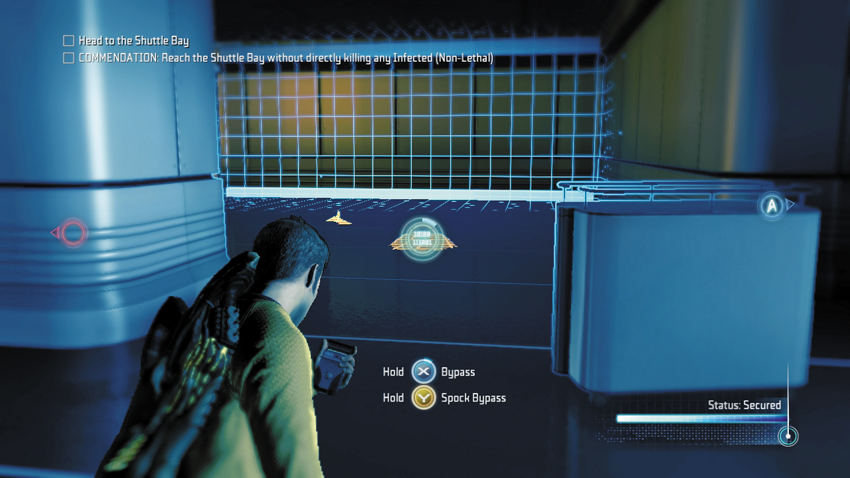
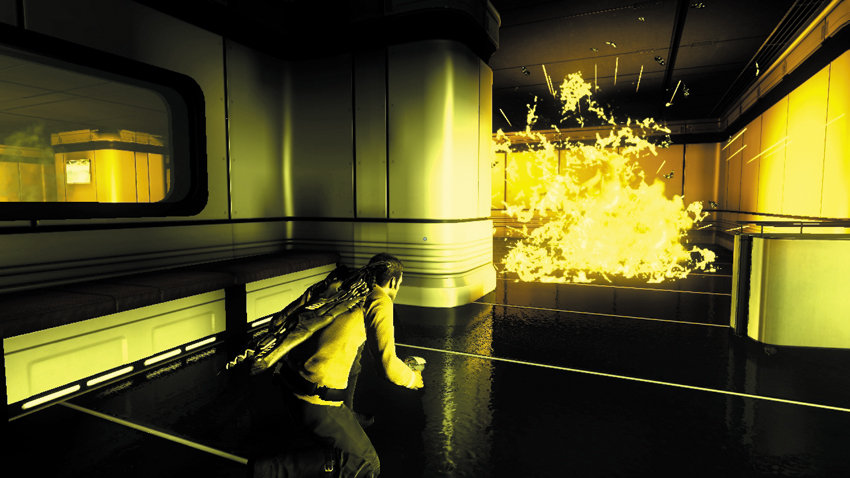
Exit the lab and return to the corridor, passing through a disabled decontamination scanner along the way. The next room is occupied by a Gorn Enforcer, a Gorn Tech, and a turret. Turn to the right and locate a mine on the floor—bypass it using your tricorder. Now draw the Gorn Enforcer toward the mine by using a sound decoy produced by your tricorder. As the Enforcer moves closer to investigate the sound, the mine explodes and kills the enemy.
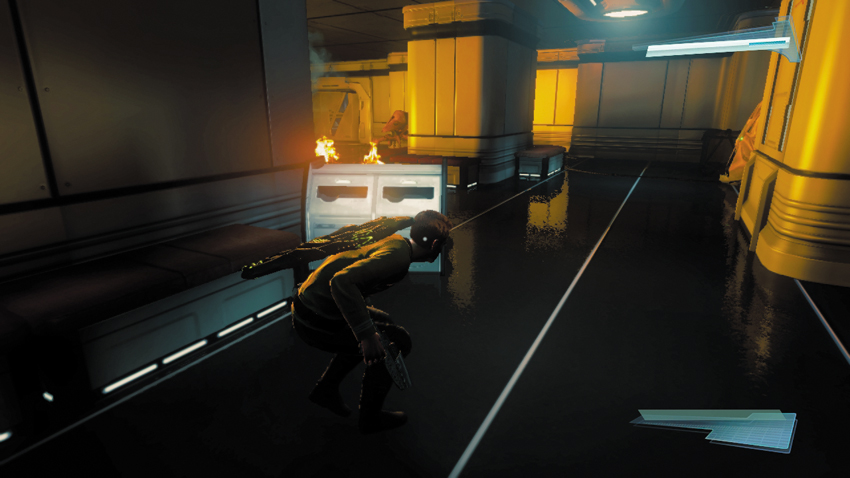
Next, sneak along the right side of the room, careful to avoid the view of the panning turret. When the turret turns away, approach its control station and hack it. Before beginning the hack, make sure the nearby wall conceals you from the turret’s view. Once the turret has been hacked, it automatically opens fire on the Gorn Tech. But the room isn’t totally secure just yet—bypass the mine on the floor next to the turret.
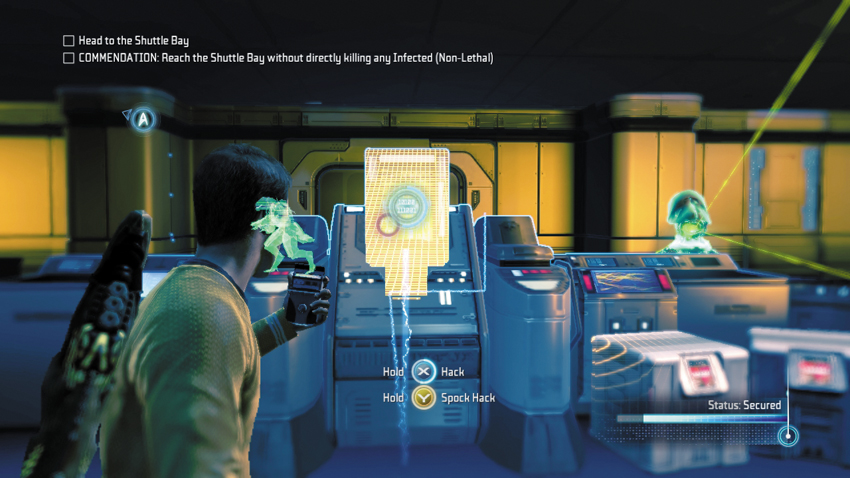
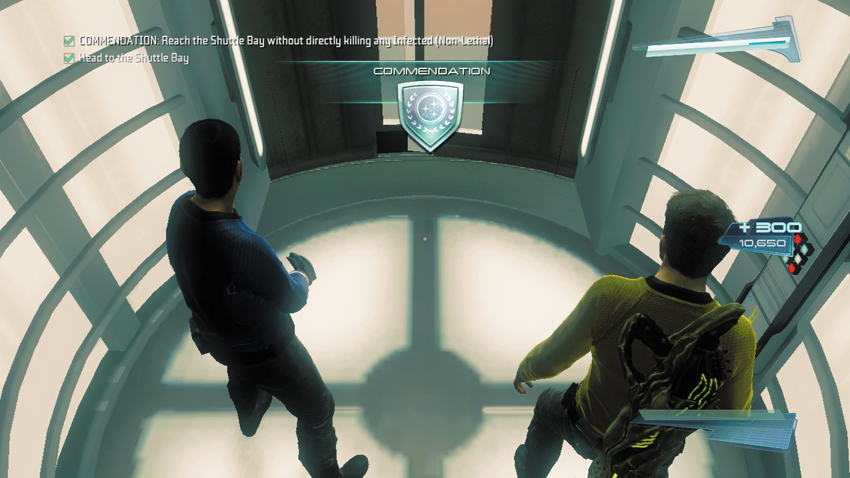
Now, move to the console in the center of the room and use your tricorder to hack the terminal that controls the next door. A Gorn Enforcer is on the other side of the door, but don’t worry about him—he’ll be eliminated by the mine or turret once the door is opened. Grab a Plasma Grenade off the dead Gorn Enforcer and proceed to the Turbolift in the next room. Upon entering the Turbolift, you complete the non-lethal commendation, which is worth 300 XP. It’s time to get to the shuttle bay.
Evacuate
Shuttle Bay
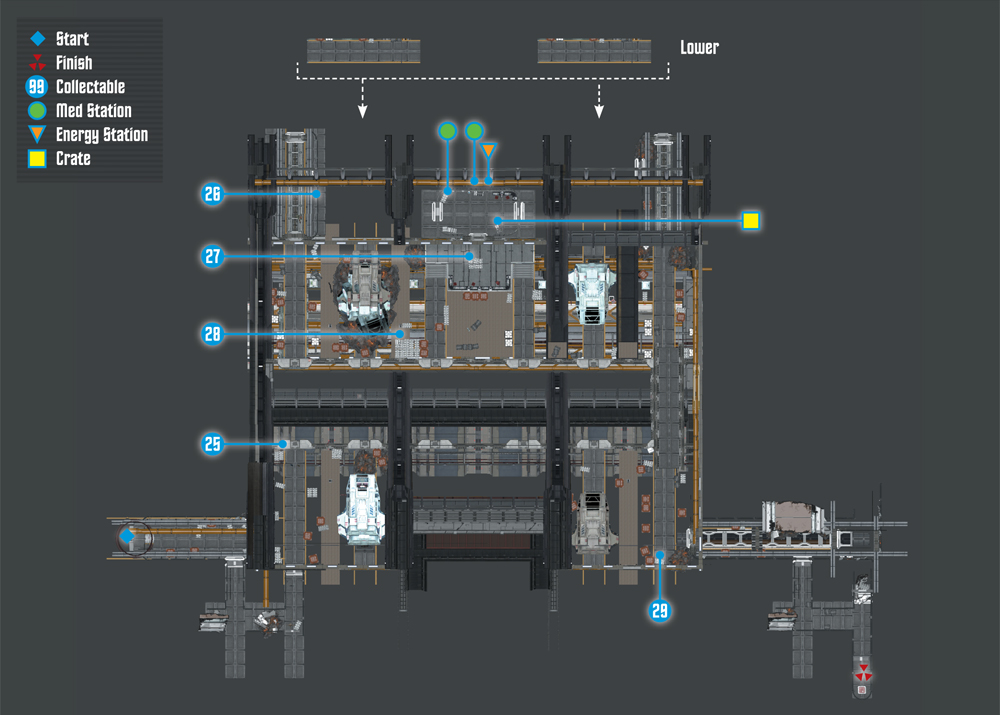
Collectables Checklist
| # | Name | Type | XP |
|---|---|---|---|
| 25 | Gorn Rusher | Research Data | 100 |
| 26 | Shuttle Survivor Pack | Research Data | 100 |
| 27 | Daniels’s Audio Log #3 | Audio Log | 50 |
| 28 | Remote Comms Package | Research Data | 100 |
| 29 | Compact Medkit | Research Data | 100 |
New Objective: Assist in clearing the Gorn from the shuttle bay
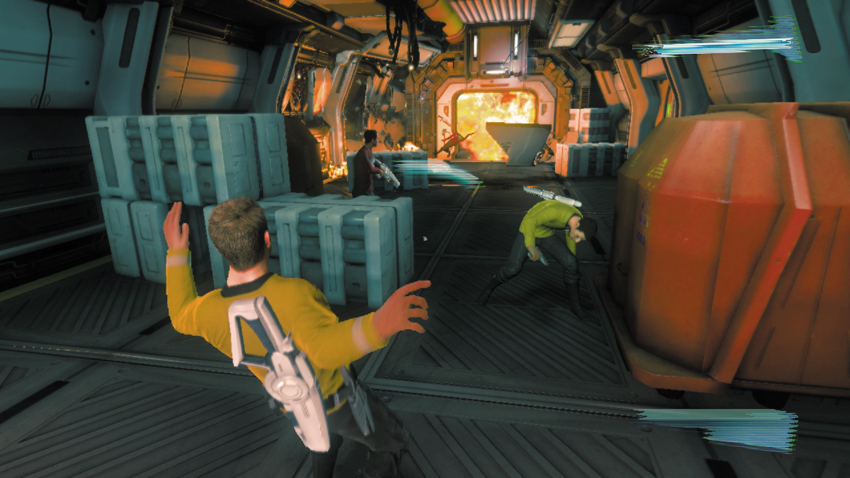
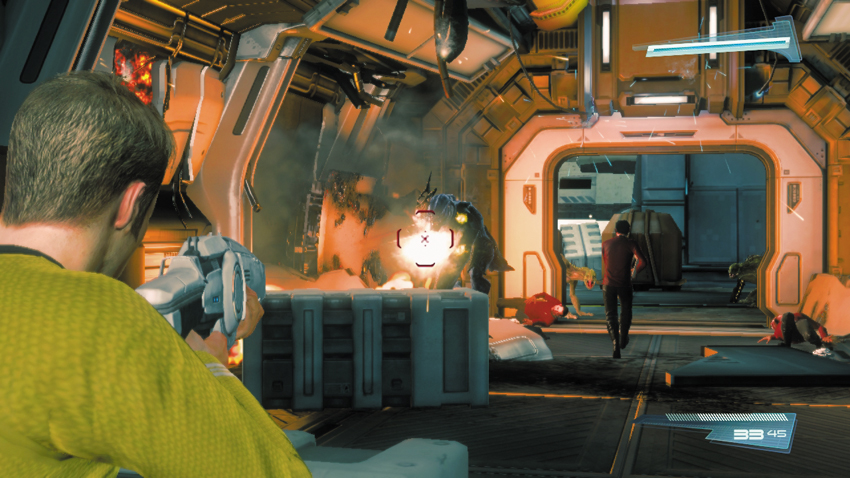
In the corridor leading to the shuttle bay you encounter a security officer. Spock suggests pressing ahead to the shuttle bay before the Gorn make an escape impossible. Just as the officer is about to enter the shuttle bay with his team, an explosion rocks the corridor. Immediately take cover behind one of the crates and open fire on the Gorn enemies just ahead—a Gorn Enforcer and several Gorn Initiates. Drop the Gorn Enforcer as quickly as possible before he can charge forward and attack with grenades fired from his Marauder. Once the Enforcer is down, mop up the remaining Gorn Initiates. If you don’t have a Marauder of your own yet, grab one off the dead Enforcer. It will come in handy soon enough. Follow the security crew into the shuttle bay.

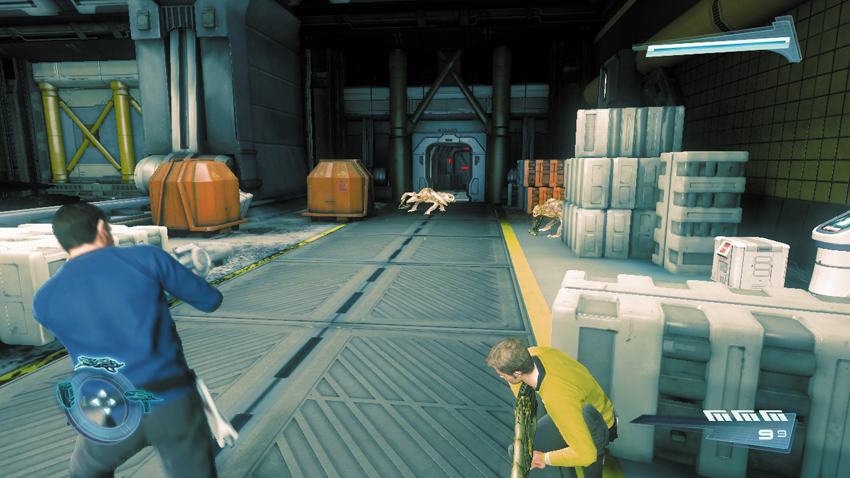
Soon after entering the shuttle bay, Commodore Daniels is seen fleeing from a Gorn Initiate. Daniels wastes no time; he shoves his own security detail out of the way and hogs an entire shuttle to himself. As Daniels saves himself, turn your attention to the Gorn Initiates approaching from the distant corridor. Knock them down with a grenade fired from the Marauder, then finish them off at close range before the survivors can get to their feet. Don’t worry about wasting too much ammo. There’s an Energy Station nearby, along with a crate containing a Stun Grenade.
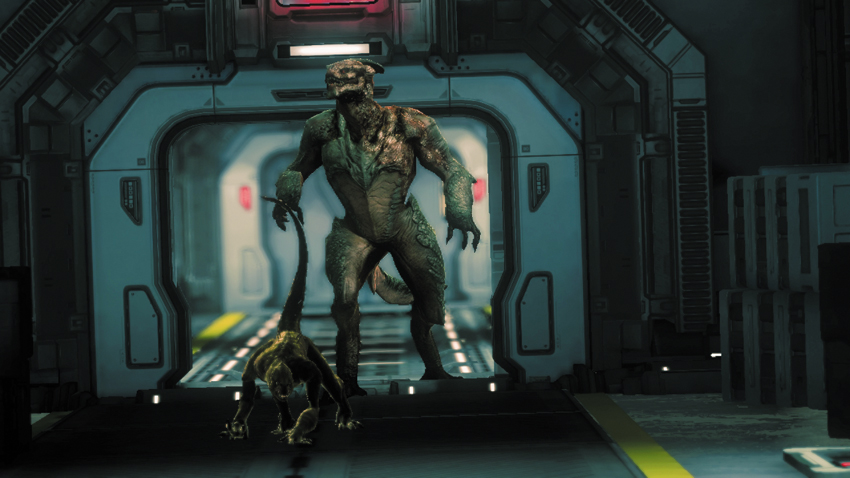
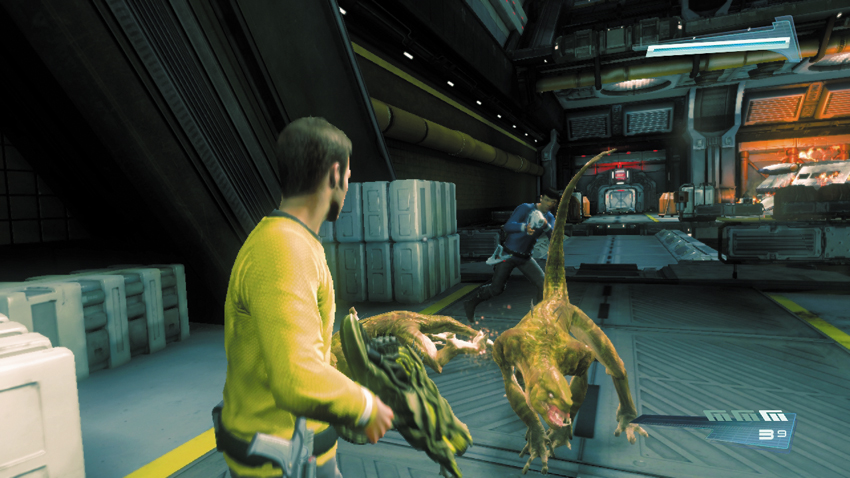
After eliminating the latest wave of enemies, a security officer on the other side of the shuttle bay gets your attention. Move in his direction and wait for him to extend a bridge. While waiting for the bridge, the massive Gorn Commander appears behind the officer and then sics a Gorn Rusher on a departing shuttle. The Rusher enters the shuttle just as it’s about to take off, wrecks havoc inside the craft, and causes it to crash. As the shuttle erupts into flames, the Gorn Commander disappears, leaving behind a few Gorn Rushers. Following the cinematic, take aim at the Gorn Rushers dashing across the bridge. These enemies charge directly at you. If you don’t kill them quickly, they’ll pin you to the ground. Fortunately, the Marauder is well suited for dishing out heavy damage at close range, usually killing a Gorn Rusher with one or two shots. Once the Gorn Rushers are down, restock your ammo at the nearby Energy Station before crossing the bridge.
25: Gorn Rusher
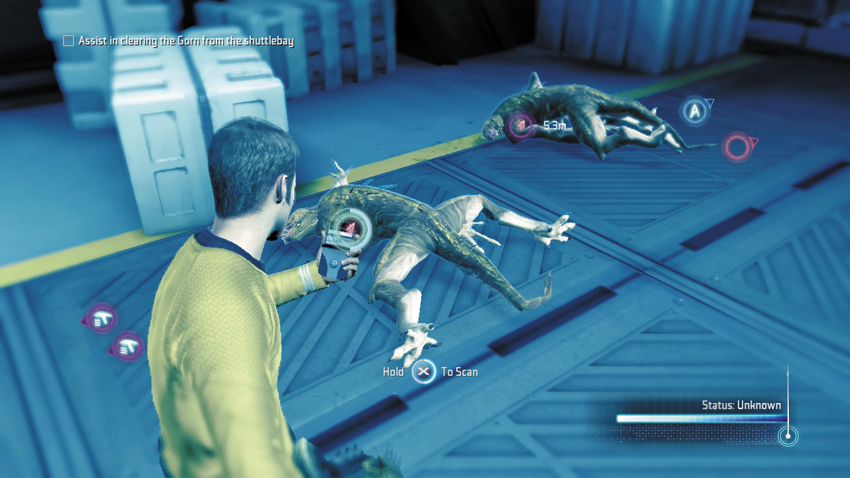
After the first encounter with the two Gorn Rushers, scan one of their bodies.
Type: Research Data
Set: Enemies/Gorn Enemies
XP: 100
Log Entry: This is a curious one. Genetic analysis suggests it represents a lonely outlying branch on the Gorn evolutionary tree. Every family has that slightly feral cousin you’d rather not have around at holidays. This would be that Gorn version.
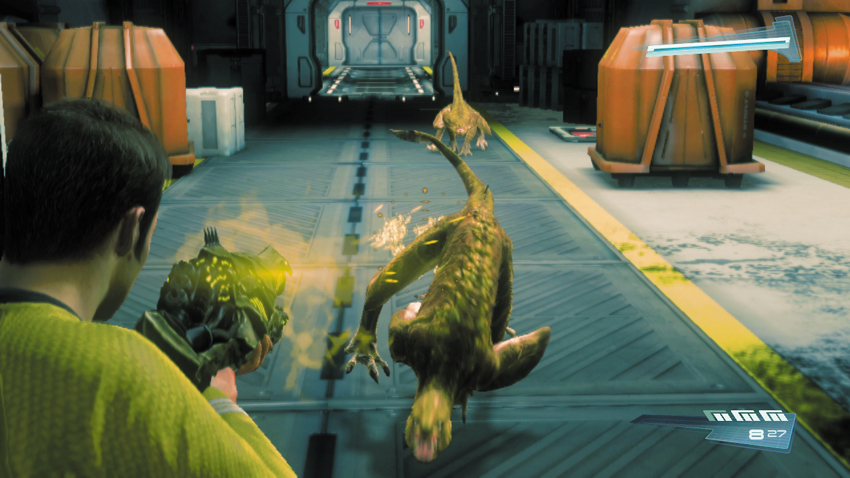
As you cross the bridge, be ready to engage four more Gorn Rushers that charge directly at you. Take aim with your Marauder and drop them before they can pin you. But make your shots count. You don’t want to be caught reloading your weapon while attempting to avoid attacks by these swift creatures. When all the Gorn Rushers are down, enter the dead-end corridor ahead to find a collectable.
26: Shuttle Survival Pack
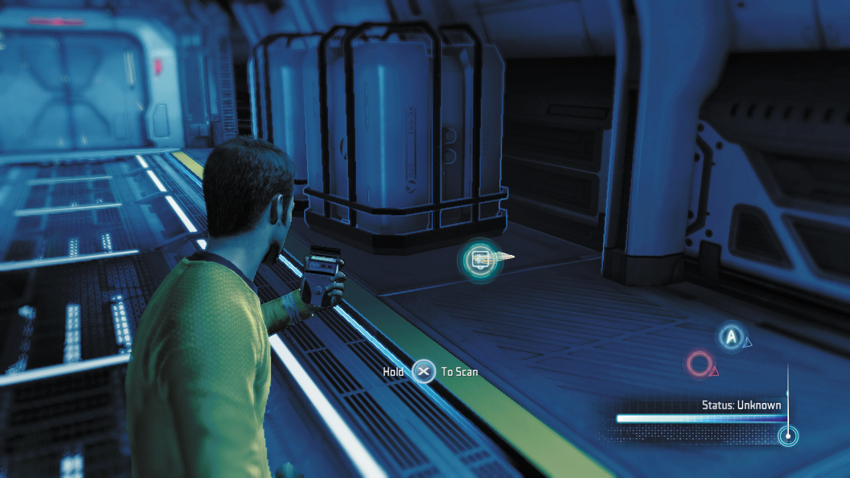
Enter the corridor beyond the bridge and scan this object on the right to add another entry to your collection.
Type: Research Data
Set: Evacuate/Manifest
XP: 100
Log Entry: Standard-issue life support pack carried by every shuttle. Contains enough power, shelter, and supplies for survival on hostile planetary surface for six months. At which point it’s time to consider eating the redshirts. I kid. Mostly.
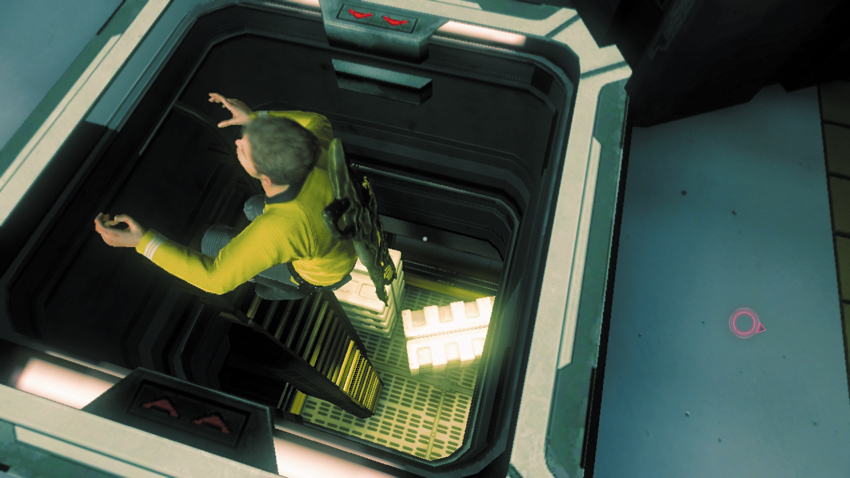
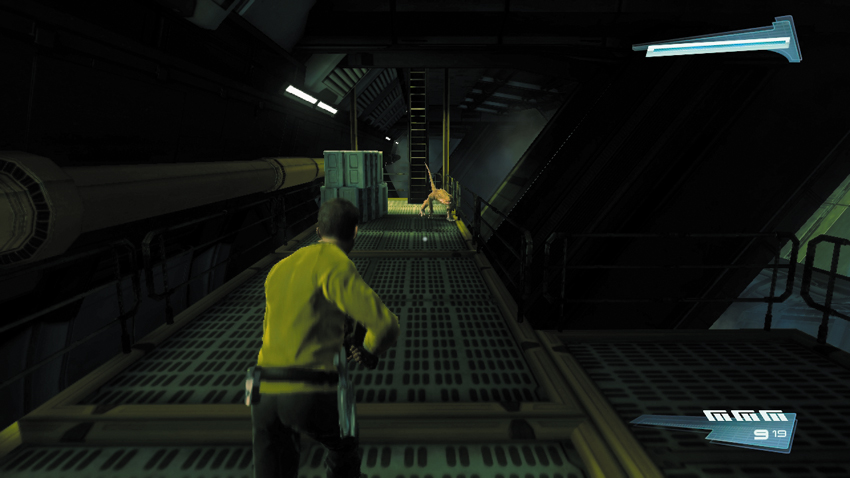
Return to the shuttle bay and look for a hatch in the floor. Unlock it using your tricorder. Descend the ladder through the hatch to access a narrow catwalk beneath the shuttle bay. Keep your weapon raised to engage another Gorn Rusher, and take it down before it can get within melee range. Just past the dead Rusher is another ladder. Climb it to reach the next section of the shuttle bay.
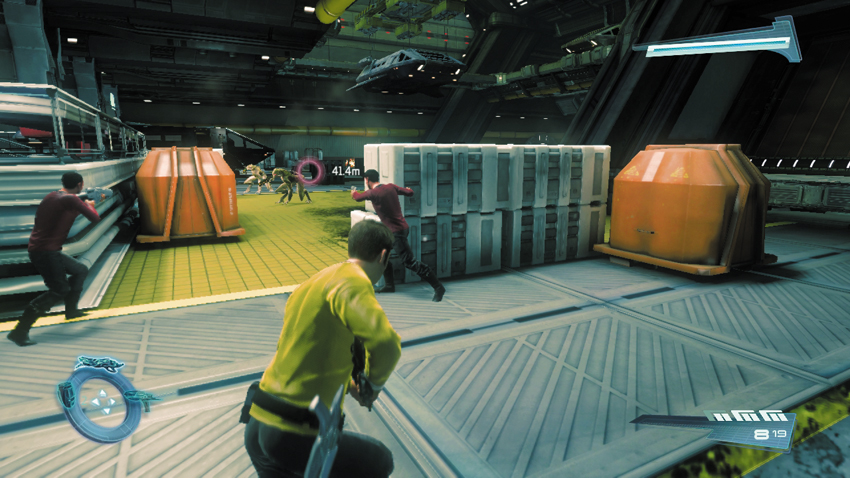
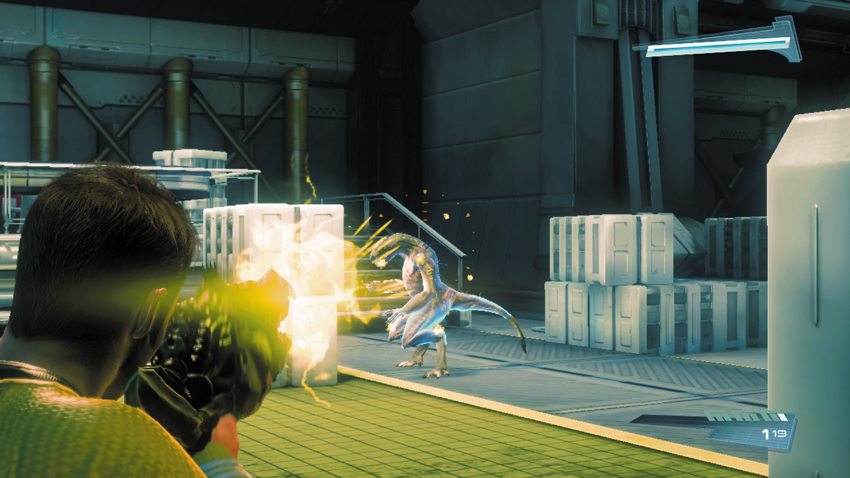
Upon emerging through the hatch, you join a firefight in progress. Immediately seek cover behind one of the nearby crates and assist the security officers in battling a group of Gorn Initiates. These tightly clustered enemies are particularly vulnerable to grenade attacks. Also, look for opportunities to flank while the enemies are focused on battling the security officers. The Gorn Initiates tend to have tunnel vision, focusing on one target at a time. You can sneak beside them and blast them at close range with the Marauder or other weapon of your choice. Once the Gorn Initiates are eliminated, the security officers make a break for a nearby shuttle.
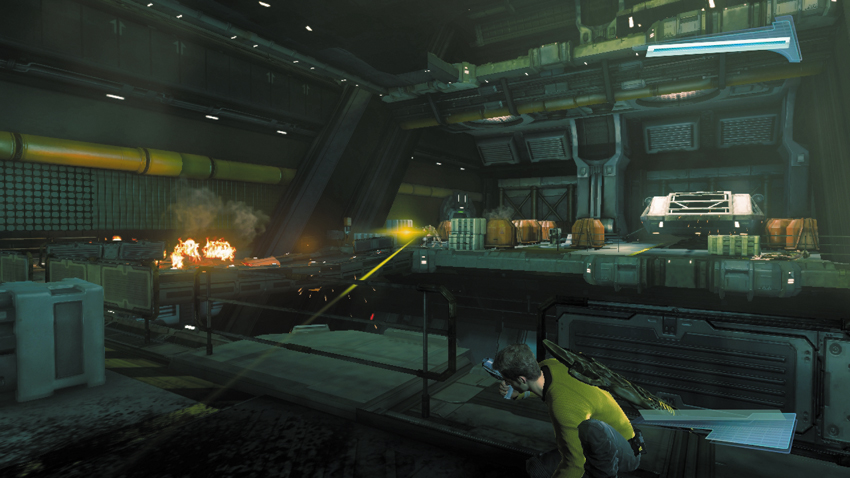

As the security officers board the shuttle, two more Gorn Initiates on the opposite side of the shuttle bay attack from long range. With no bridge access to the other side, there’s no safe way to approach these enemies. So find cover and return fire using your phaser or Starfleet Phase Rifle (the Marauder isn’t very effective at this range). Once these distant enemies are down for the count, a cinematic shows the Starbase taking a direct hit from a Gorn vessel. The resulting explosion disables the shuttle bay’s main door, preventing any shuttles from escaping. T’Mar reports that the Starbase’s main weapon systems are offline. But Spock suggests creating a makeshift weapon using the Starbase’s subspace relay tower. It’s a long shot, but it’s your only choice.
New Objective: Go to the power station
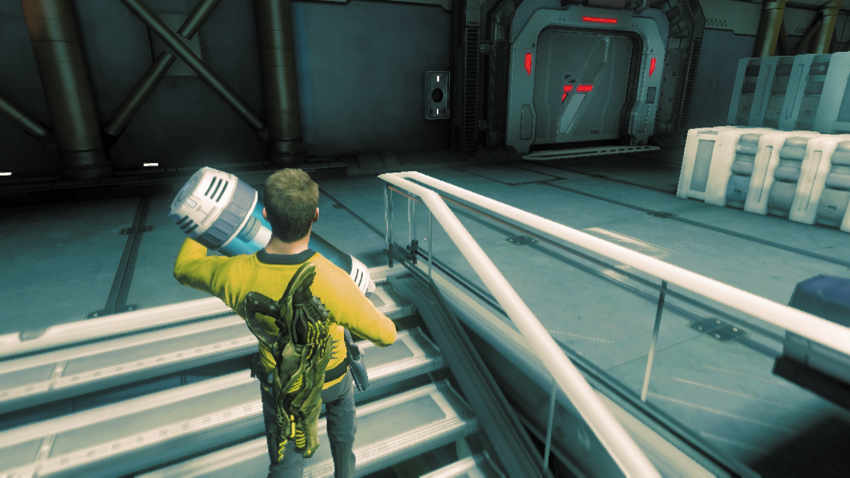
Before leaving this side of the shuttle bay, take a few moments to scavenge for gear and collectables. A couple of power cells are on the floor here, including one by the shuttle. Using a power cell, you can power the red door near the center console. This gives you access to a supply room containing an Energy Station, two Med Stations, and a crate holding a Stun Grenade.
27: Daniels’s Audio Log #3
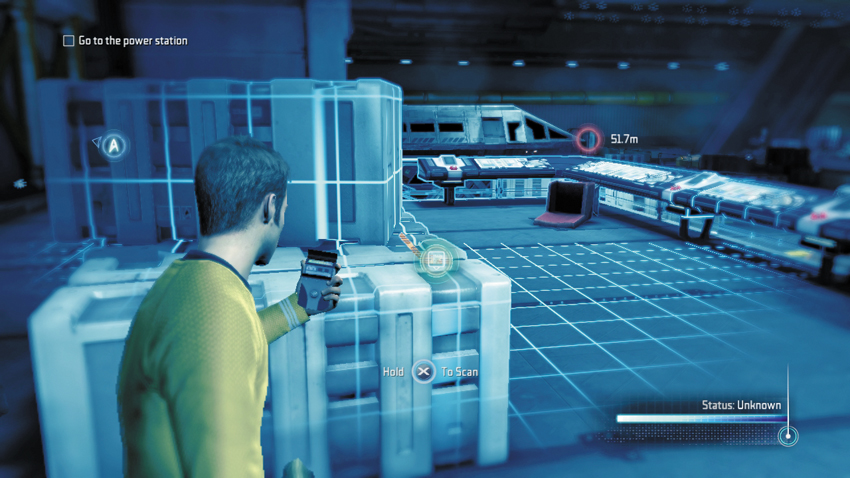
Upon exiting the supply room, scan this audio log located on some crates, behind the large console.
Type: Research Data
Set: Evacuate/Logs
XP: 50
Log Entry: The time has come. I’ve allowed T’Mar’s countless tests to go on long enough. The critical support I’ve given the Helios Project has given me the leverage I need to take control and start up the machine now. Nothing I can say will make T’Mar understand that her fears are unfounded. Only by putting the machine into action can I prove my case. My team is on-site and monitoring the situation closely. And I am prepared to shut down the device at the first sign of trouble. But I am confident that everything will go according to plan.
28: Remote Comms Package
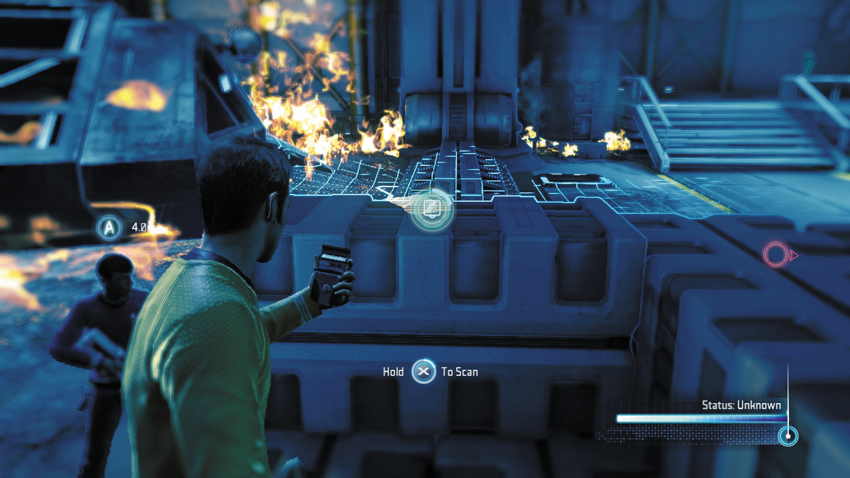
Move toward the flaming wreckage of the crashed shuttle and climb on the nearby crates to scan this collectable.
Type: Research Data
Set: Evacuate/Manifest
XP: 100
Log Entry: Also known as “Message in a Bottle.” Let’s be honest. If you’re stranded somewhere in a downed shuttle and you’re relying on your Remote Comms Package to call for help, chances are you’re too far away to be found and rescued before you’re seriously considering eating the Remote Comms Package just to survive. Just make sure you wait until after you eat the redshirts. I kid. Mostly.
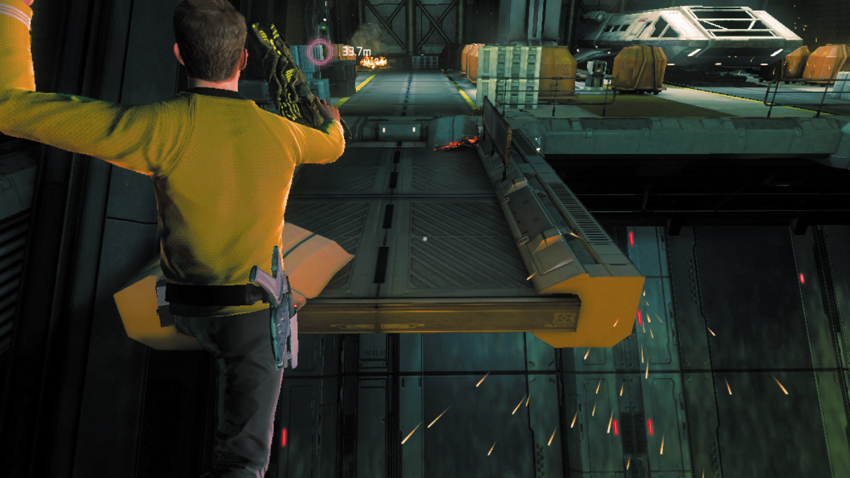
Once you’ve stocked up on ammo, gear, and health, return to the point where you engaged the last two Gorn Initiates. The bridge here is inoperable, but you can make the jump. Start by sprinting toward the gap, then leap at the last moment. If you time it just right, you’ll grab hold of the ledge on the opposite side. Pull yourself up and proceed toward the next doorway. But before passing through the door, activate your tricorder to find the last collectable in the shuttle bay.
29: Compact Medkit
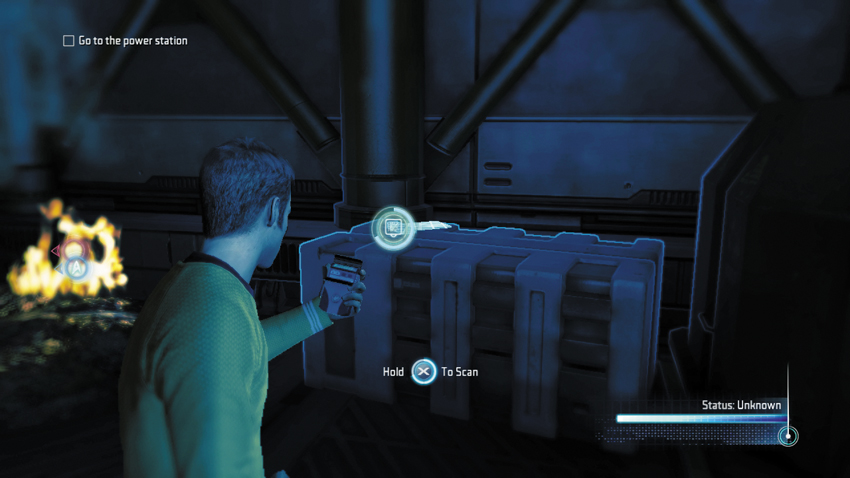
After leaping across the malfunctioning bridge, locate this collectable on a crate next to the doorway.
Type: Research Data
Set: Evacuate/Manifest
XP: 100
Log Entry: Dr. McCoy and I share an aversion to joining away teams, for obvious life-threatening reasons. Unfortunately for him, as Chief Medical Officer he’s duty-bound to fulfill his rotation on away teams among all medical personnel. He tried to circumvent protocol by quadrupling the number of Compact Medkits aboard every away shuttle, hoping that would be enough. According to Starfleet protocol, it’s not.
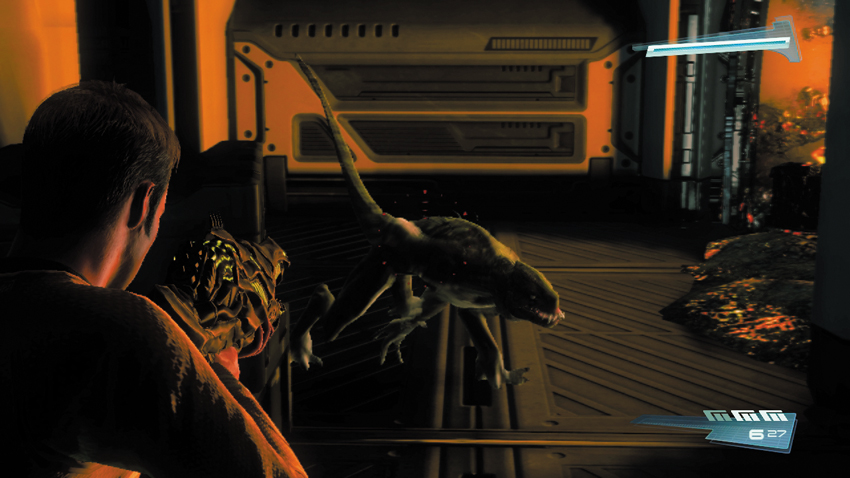
Advance through the next doorway and follow the adjoining corridor to a cramped, dimly lit passage. There’s a Gorn Rusher inside this narrow space, so keep your weapon raised and prepare to engage the creature at close range—the Marauder is perfect for this encounter. After you eliminate the Rusher, continue through the passage until you come to a red hatch, leading to the power station.
Power Station
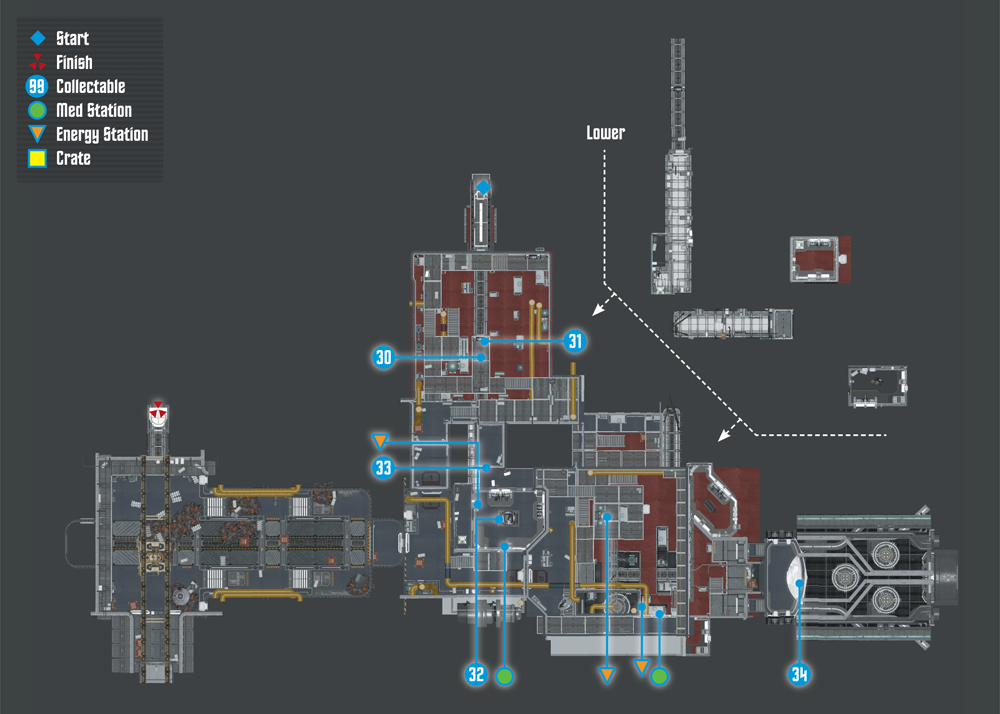
Collectables Checklist
| # | Name | Type | XP |
|---|---|---|---|
| 30 | Gorn Observer | Research Data | 100 |
| 31 | Starbase Comms Relay | Research Data | 100 |
| 32 | Starbase Armory Data | Research Data | 100 |
| 33 | Daniels’s Audio Log #4 | Audio Log | 50 |
| 34 | Starbase Power Unit | Research Data | 100 |
New Objective: Gain access to the power station
Commendation: Gain access without provoking any enemy attacks (Stealth)
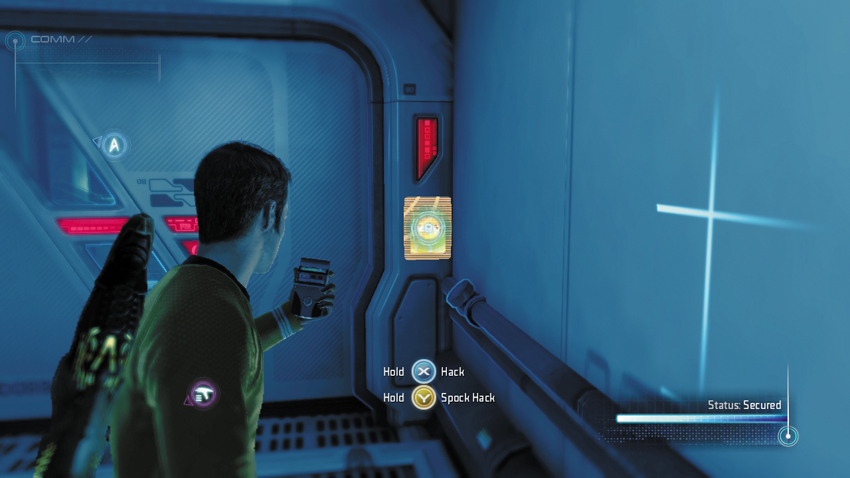
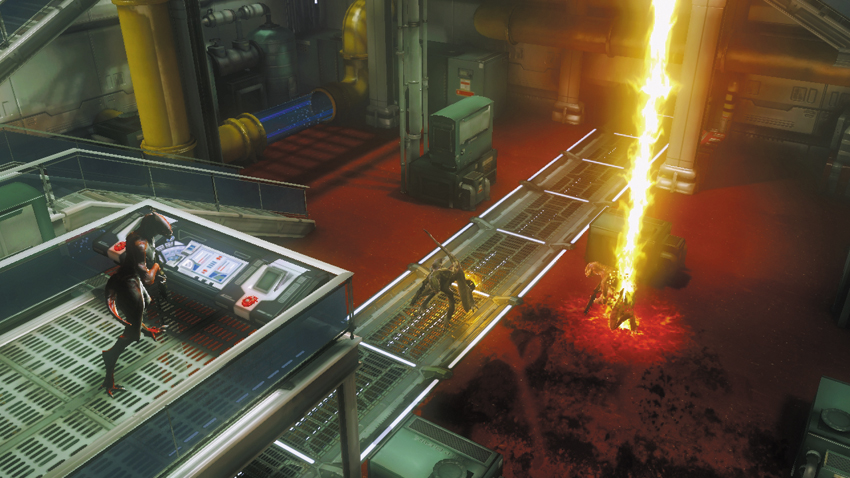
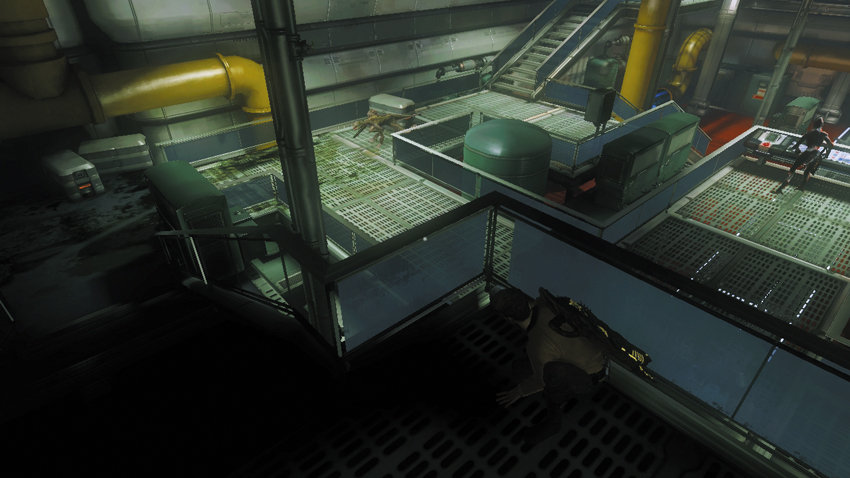
You begin this level in a short corridor leading to the power station. Hack the door at the end of the corridor while listening to an update. T’Mar reports that the power station’s most sensitive areas are locked down. She suggests heading for the security room where you can gain full access to the facility. Upon hacking the door, Kirk and Spock silently enter the power station’s first room. This room is watched by a Gorn Observer, standing behind a console in the center of the room. She’s joined by three Gorn Initiates, one patrolling the floor below, and two others patrolling the upper level catwalks in the distance. It’s best to advance through this room quietly, without being seen, particularly if you want to earn the stealth-based commendation.
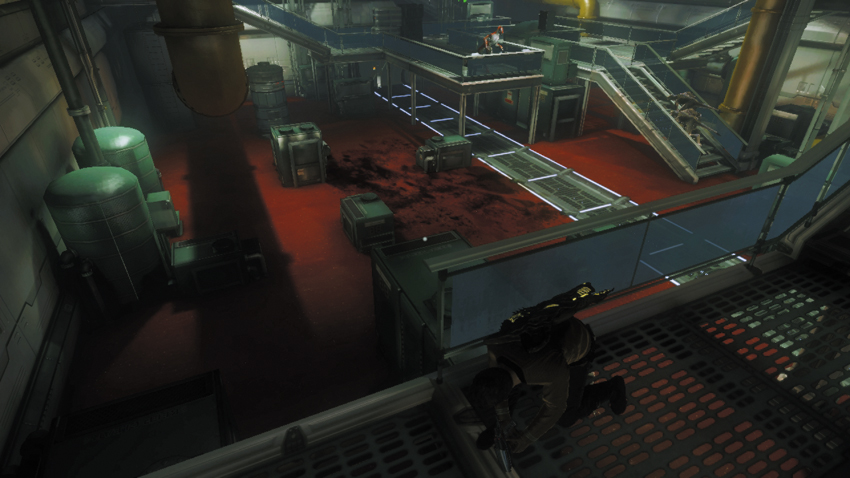
Start by moving along the catwalk to the left side of the room. Stay low and use the partition beneath the catwalk’s railing to remain concealed. Watch the lone Gorn Initiate patrolling the floor below. He stops momentarily just beneath your position. When he moves away, toward the back of the room, drop off the side of the catwalk to reach the floor.
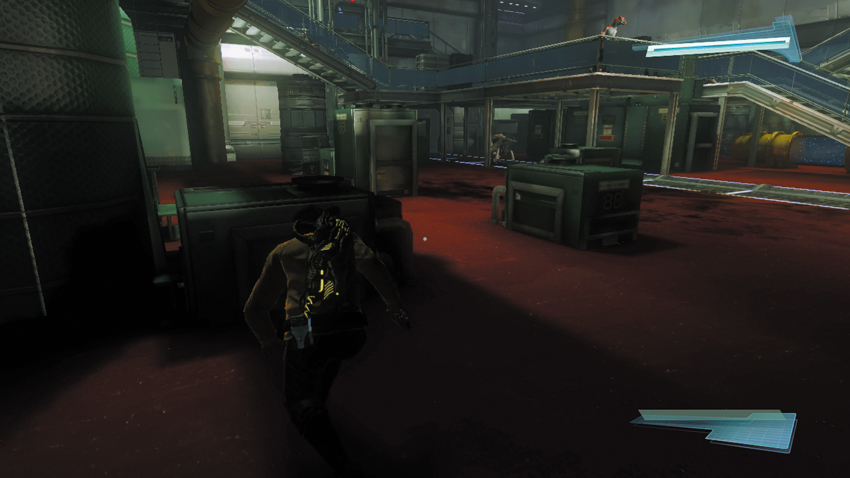
On the floor, immediately move along the dark shadow on the floor while keeping an eye on the Gorn Observer in the center of the room. This enemy pans her head, left and right, scanning both sides of the room. When she looks away from your position, continue your advance toward the back of the room, following the dark shadow to the ladder.
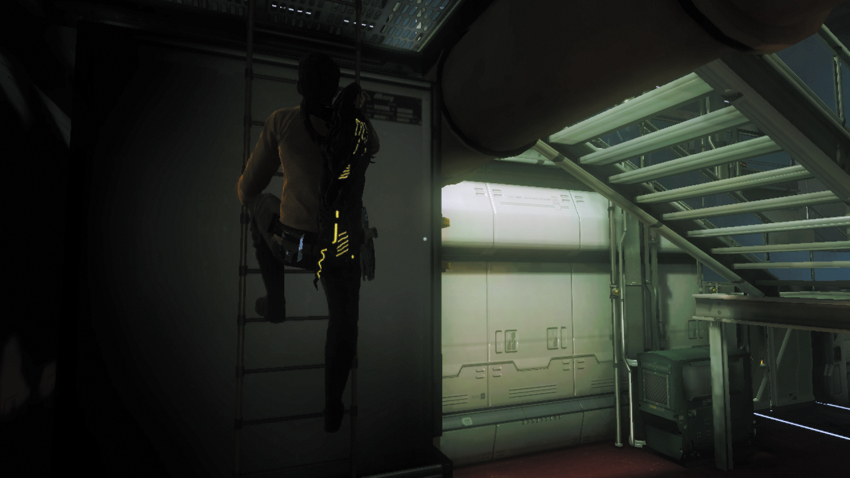
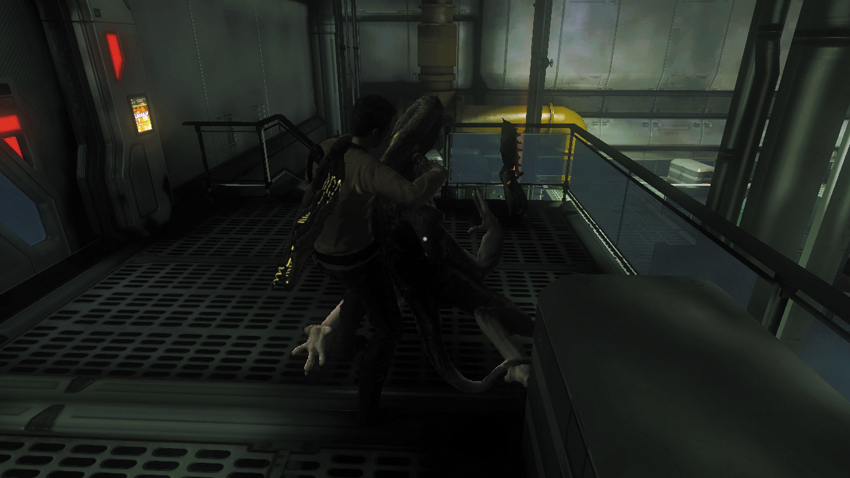
Pause near the base of the ladder and wait for the Gorn Initiate on the ground to move back to his patrol starting point on the far side of the room. Start climbing the ladder, but keep an eye on the Gorn Initiate patrolling the catwalk above—he pauses at the very top of the ladder, then walks away. When he walks away from the ladder, climb to the top, then sneak up behind the enemy and perform a takedown.
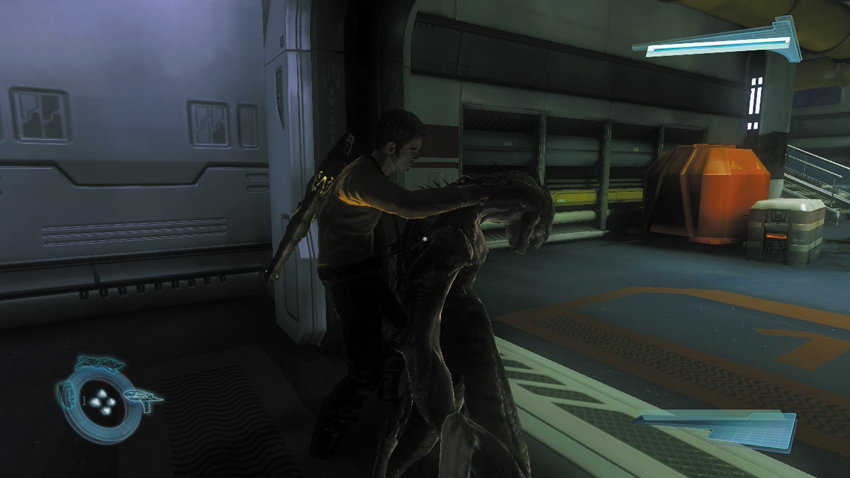
Pause on the catwalk near the Gorn Initiate you just incapacitated. Next, monitor the patrolling Gorn Initiate on the adjoining catwalk. As the Gorn Initiate passes your position and enters the doorway on the left, descend the nearby steps and follow him. Remain crouched and sneak up behind the Gorn Initiate to perform another silent takedown. At this point you can continue to the security room, but if you want all the collectables, return to the previous room to confront the Gorn Observer.
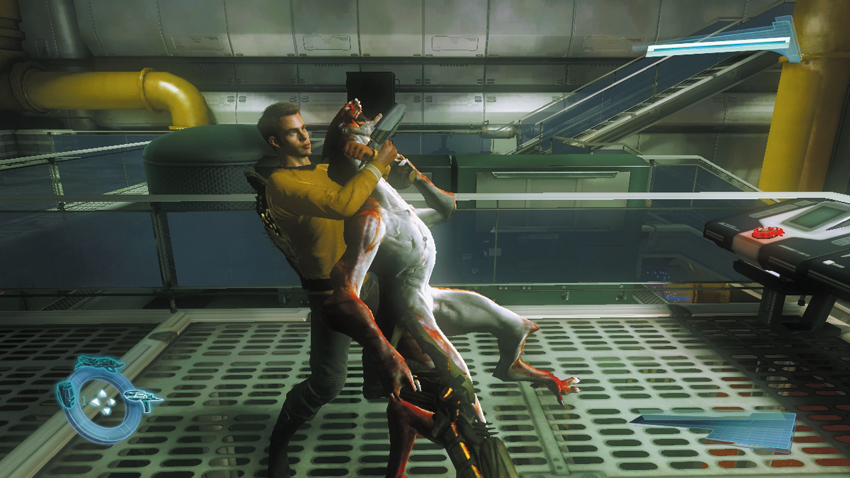
Having eliminated the Gorn Initiates responsible for watching his back, you’ll now find that sneaking up on the Gorn Observer is easy. Just stay low and make sure the Gorn Initiate on the floor doesn’t see you. Once you’re within range, perform a takedown to incapacitate the Gorn Observer. As long as you stay out of sight, there’s no need to go after the Gorn Initiate on the floor. Quickly scan the Gorn Observer and the nearby console to gather your collectables. Spock can also perform a mind-meld on the incapacitated Gorn Observer.
30: Gorn Observer
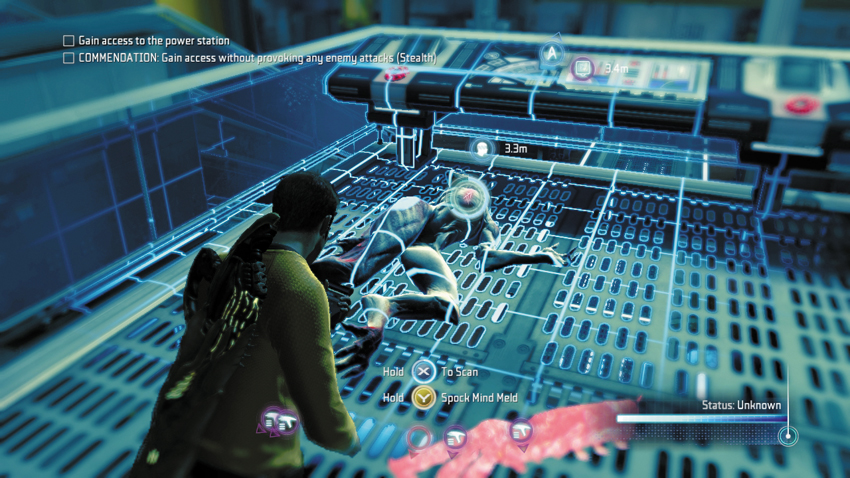
Following the takedown, scan the Gorn Observer’s body to unlock another entry.
Type: Research Data
Set: Enemies/Gorn Enemies
XP: 100
Log Entry: Another big-brained Gorn, which suggests a more advanced role in their culture than their smaller-brained brethren we’ve encountered.
31: Starbase Comms Relay
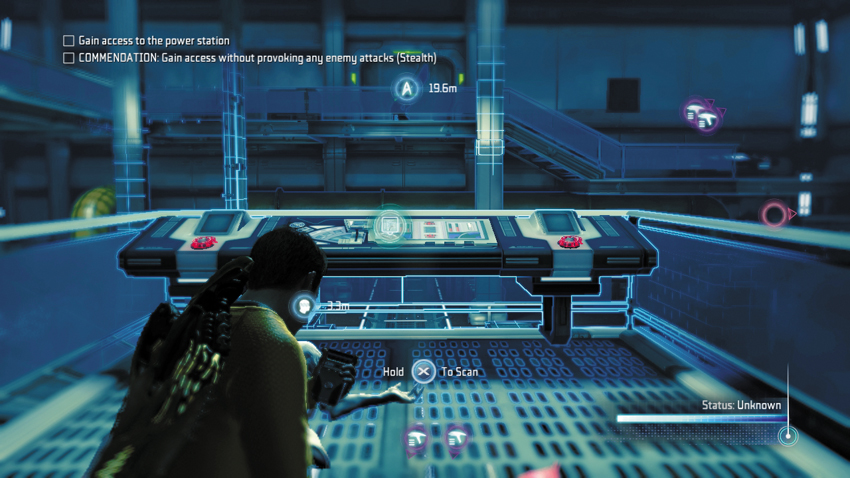
Scan the console where the Gorn Observer was positioned to reveal more information.
Type: Research Data
Set: Power Station/Power Station
XP: 100
Log Entry: I once heard Starbases compared to islands in a vast ocean. Little outposts of civilization in an empty expanse. Flickering embers of light representing the valiant refusal of life to succumb to the void. They call out into the abyss, never knowing who might respond, but never wavering in their duty to stand against the night. I have nothing sarcastic to add. I actually think that’s quite lovely.
Security Room
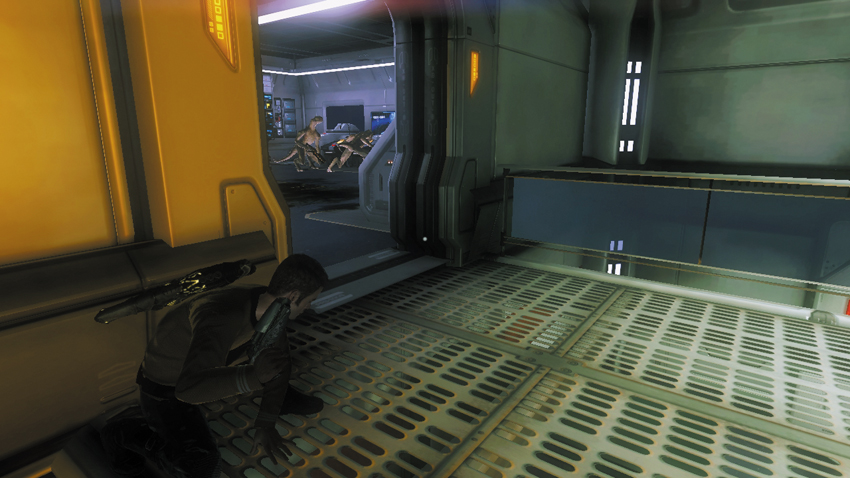
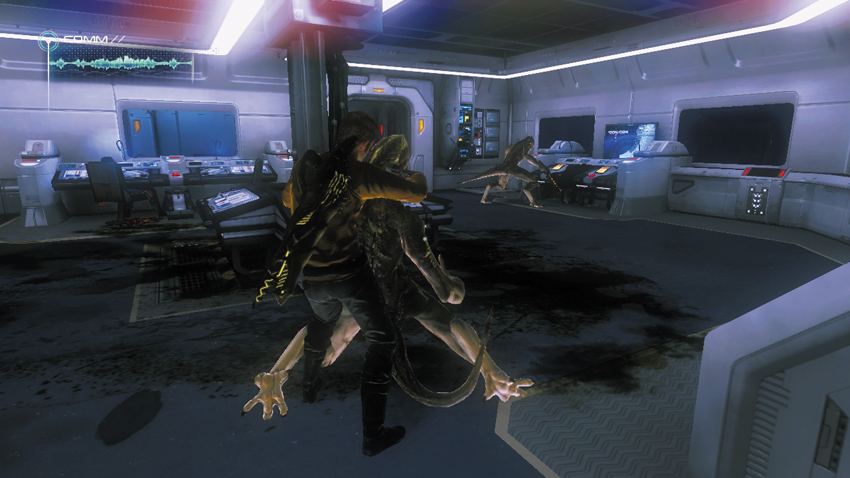
Now, proceed to the security room, returning to the corridor where you dropped the last Gorn Initiate. But don’t barge into the security room—two more Gorn Initiates are inside. You need to take these guys out quietly if you hope to earn the stealth-based commendation. Wait outside the room’s doorway and wait for the two Gorn Initiates to pause in front of a console, standing side by side. If you are playing with a buddy, perform a simultaneous takedown on both Gorn Initiates while they’re standing together in front of the console. Even if you’re playing alone, you can perform both takedowns on your own—if you act quickly and quietly. Wait until the nearby enemy moves toward the console, then sneak up behind him and perform the takedown, then advance to the console and eliminate the second Gorn Initiate.
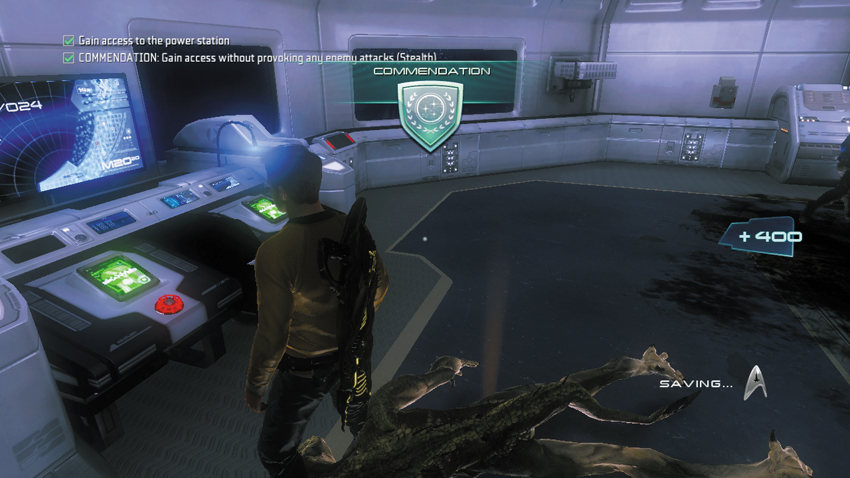
Shortly after entering the security room, T’Mar says you need to disable the security system from the nearby console—the same one the enemies were interested in. Use your tricorder to hack the console, then work together with your partner to match the two wavelengths, tuning the dials until the two waves overlap. Once the hack is complete, you earn the stealth-based commendation worth 400 XP. Following the hack, T’Mar reports that you can now access the power station’s control room. But before heading for the control room, conduct a few scans in the security room to find a couple more collectables.
32: Starbase Armory Data
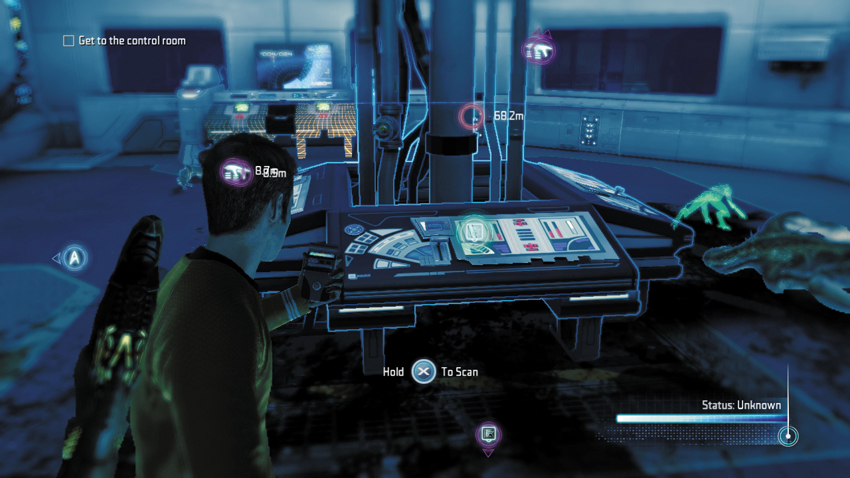
Scan the console in the center of the security room for this entry.
Type: Research Data
Set: Power Station/Power Station
XP: 100
Log Entry: One other thing I envy about Starbases: the prompt response they get from Starfleet Requisitions. I send in requests from the flagship of the fleet and it’s treated like a handwritten note from a snot-nosed Ensign asking for a new tricorder. But if a Starbase asks? Watch the bureaucracy trip over itself to make sure the base doesn’t run out of air freshener for the cargo bays.
33: Daniels’s Audio Log #4
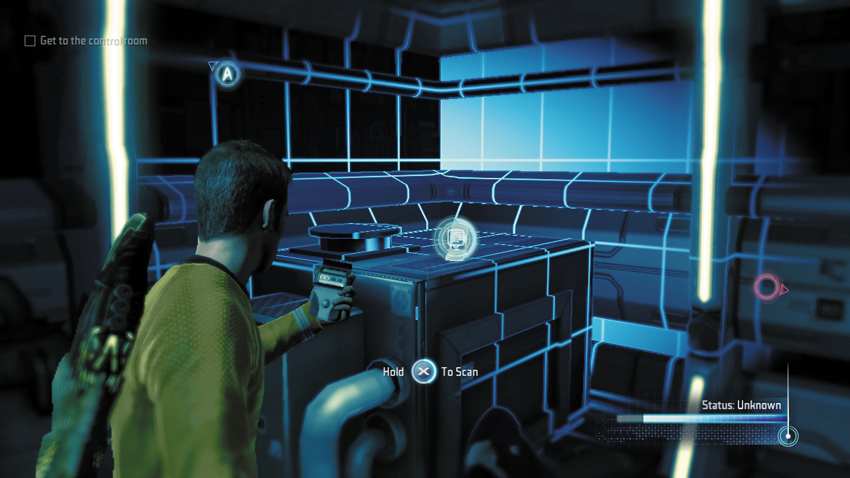
In the security room, pass through the doorway next to the Energy Station to find a hatch in the floor containing a ladder. Descend the ladder to a maintenance shaft connected to the first room. This audio log is located on a crate, near the base of the ladder.
Type: Audio Log
Set: Power Station/Audio Logs
XP: 50
Log Entry: Damn their Vulcan ineptitude! Thanks to their incompetence, the Helios Device is failing. I should have taken full control of the project myself and made it a Starfleet operation from the very beginning. Instead, I’m forced to listen to T’Mar’s distress calls begging for help. To make matters worse, the Enterprise is already on its way there. The last thing I need is that boy, Kirk, sticking his nose in things and taking credit for salvaging the Helios Device. No doubt he’s looking to make himself a hero, again. Damn Admiral Pike for giving him the keys to the flagship. All of my work could be for naught.
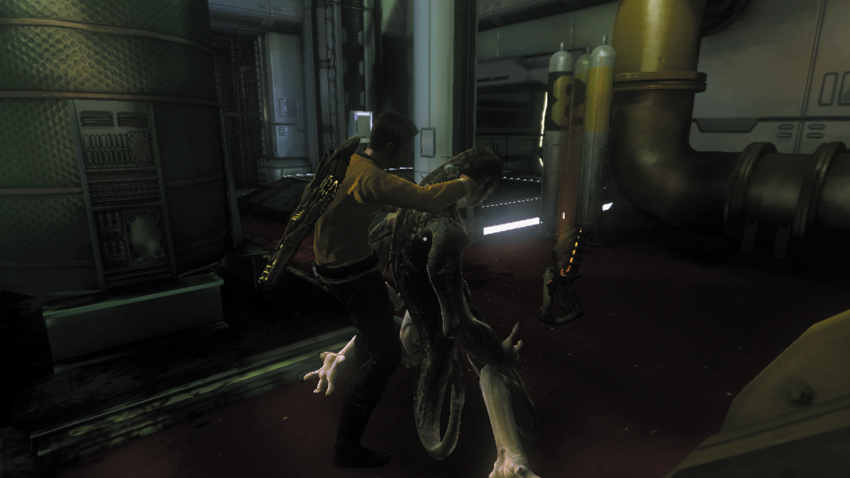
Return to the security room and follow the waypoint marker toward the control room. This next multilevel room is patrolled by a few Gorn Initiates—two on the upper level and one on the ground floor. While there’s no need to remain stealthy, it’s best to approach the control room without gaining the attention of these enemies. Use your tricorder to monitor their movements while remaining concealed behind cover. As opportunities arise, sneak up behind the Initiates and perform takedowns. Hunt them down, one by one, until the room is clear of threats, then proceed to the control room.
Control Room
New Objective: Bring all three power cores back online
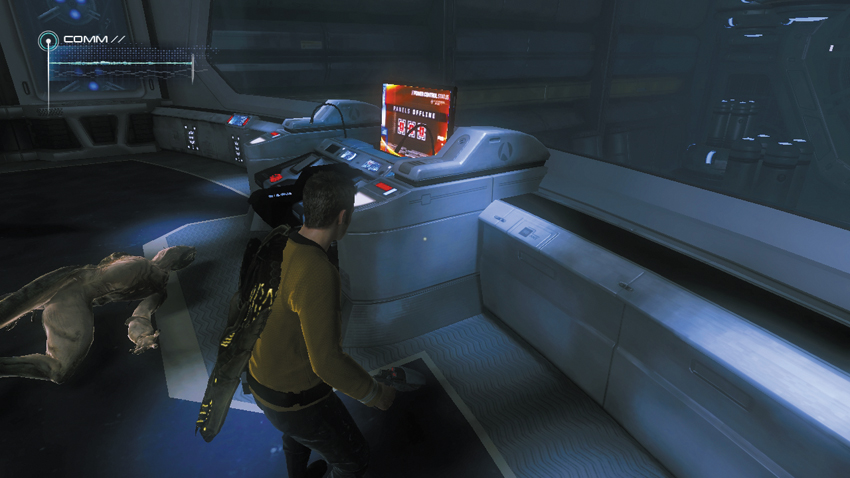
One more Gorn Initiate is inside the control room—use your tricorder to monitor his movements before entering. When the Initiate’s back is turned, enter the room, sneak up behind the enemy and perform a takedown. Once the room is clear, Spock reports back to T’Mar, telling her that all three cores are offline. T’Mar fears that the Gorn are trying to disable the station by starving it of power. She suggests following the power lines to the nearby circuit panels to discover any tampering caused by the Gorn attackers. Activate your tricorder to follow the power lines to the circuit panels in the previous room.
34: Starbase Power Unit
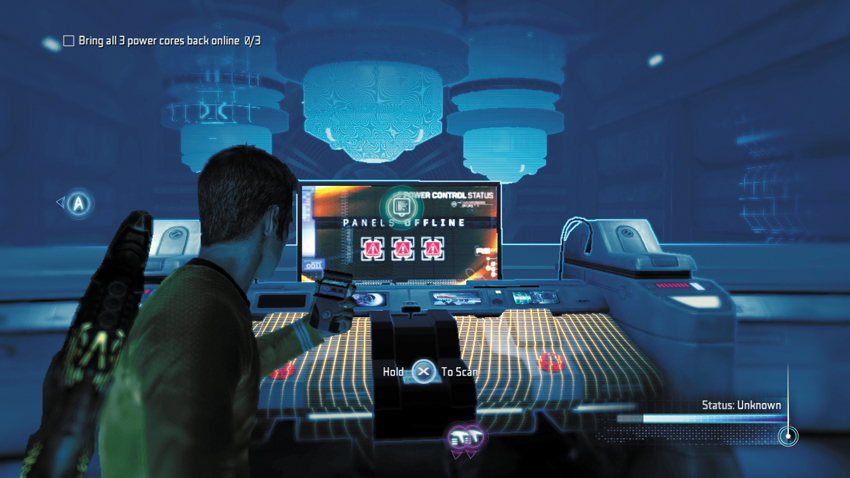
Retrieve this entry by scanning the terminal in the control room.
Type: Research Data
Set: Power Station/Power Station
XP: As much as I prefer working on a starship to wasting one’s life away on a Starbase, there is one thing about bases that fills me with burning envy: their power supply. They need copious amounts of state-of-the-art fuels cells, obviously, given that most bases are stranded out in the middle of nowhere, but I still dream of packing that much power into the bowels of a ship. We’d never have to stop to refuel. Which means I would never have to see another Starbase. Everybody wins.
Circuit Panel 1
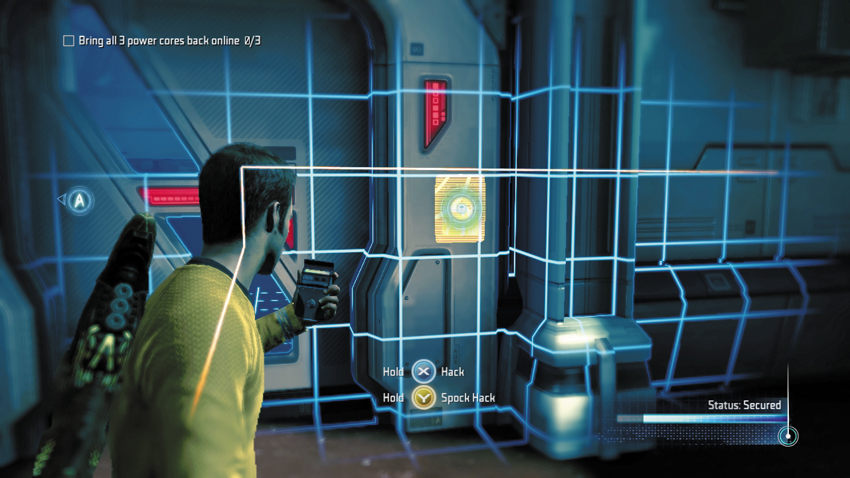

Exit the control room and use your tricorder to follow the orange power lines to the circuit panels; one of the lines leads into a nearby room on the left. Approach the locked door to this room and hack the panel to unlock it. Just inside the room, there’s a strange-looking Gorn device attached to the wall, next to the circuit panel. Use your tricorder on the circuit panel to perform a bypass. This is similar to bypassing mines, but this time you must make two connections from one starting point—and the pink lines cannot intersect at any point. So plan out your movements before starting the bypass operation. Successfully completing the bypass earns you 100 XP. One down, two to go.
Circuit Panel 2
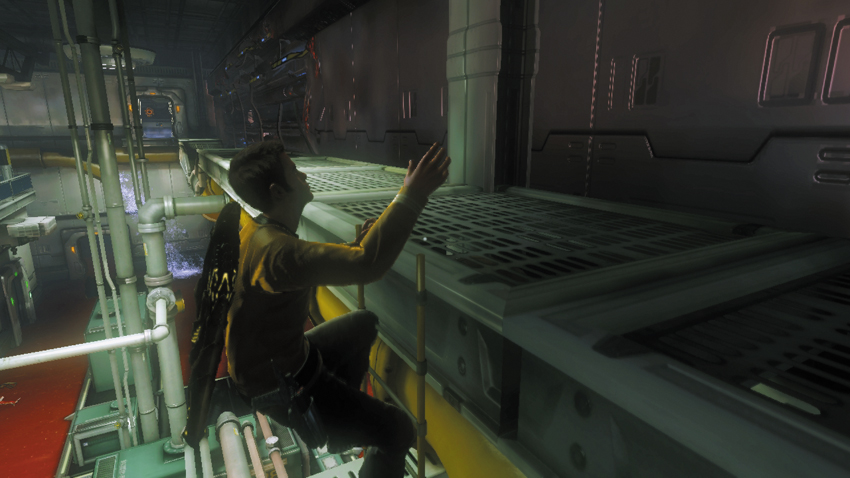
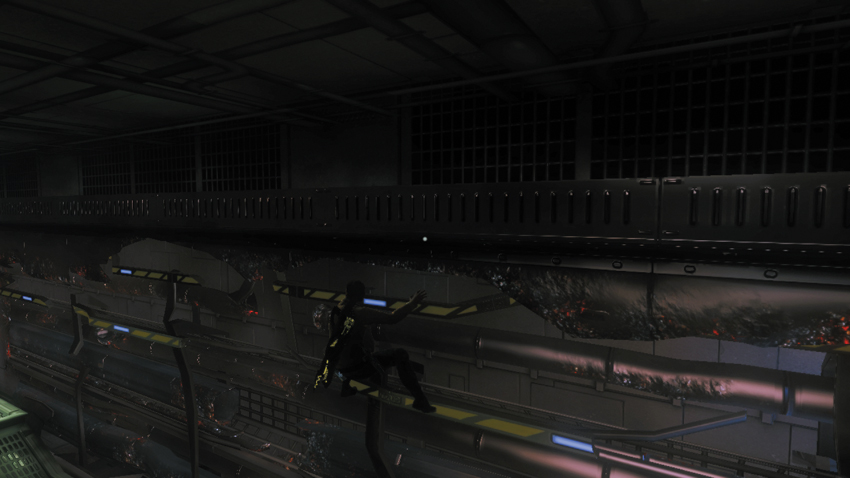
For the next circuit panel, climb to the room’s upper level and locate a short ladder leading to a narrow catwalk. As you reach the top of the ladder, an explosion rocks the Starbase, causing a portion of the catwalk to collapse—make sure the vibrations don’t cause you to fall off the catwalk. Turn to the wall on the right and jump to reach a series of ledges to traverse across the gap. Drop back down onto the catwalk and continue into the adjoining alcove to find the circuit panel. This one has also been tampered with by the Gorn. Bypass the circuit panel then return to the ground floor, being careful to avoid any Gorn Observers who have appeared.
Circuit Panel 3
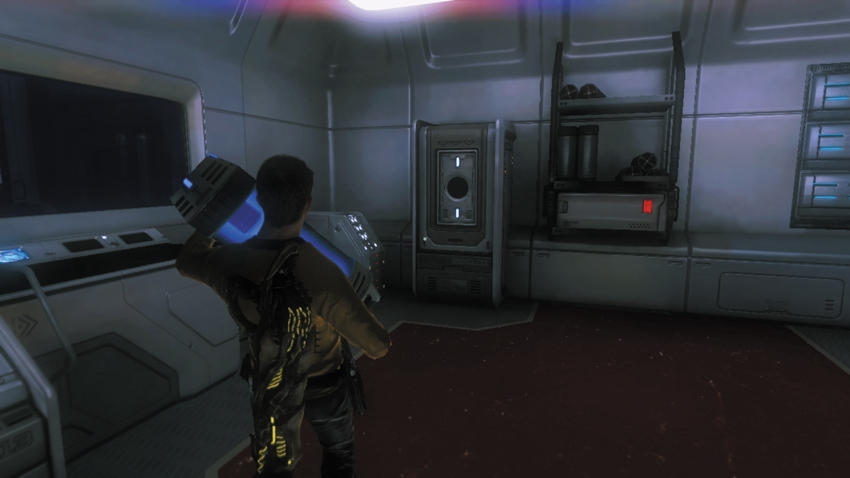
Once on the ground floor, locate two adjacent rooms, each with a locked door. Start by hacking the locks to both doors. You can find a power cell in one of the rooms and an empty power cell socket in the other. Carry the power cell over to the empty power cell socket to energize a nearby lift.
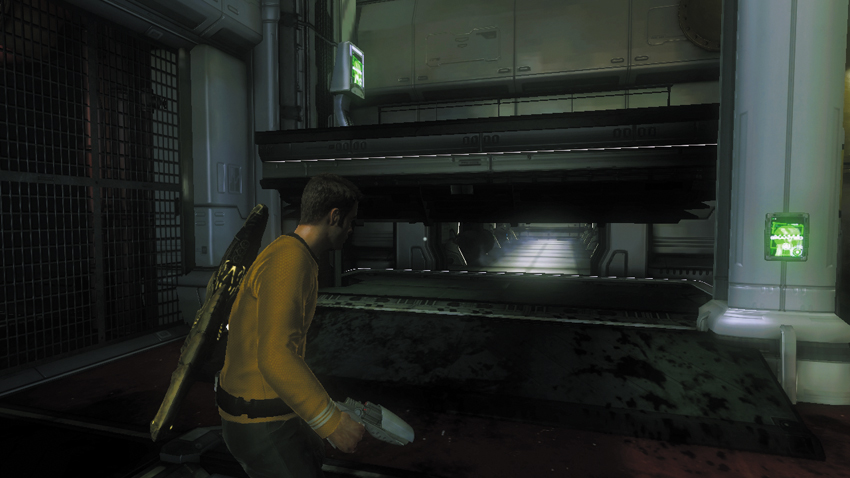
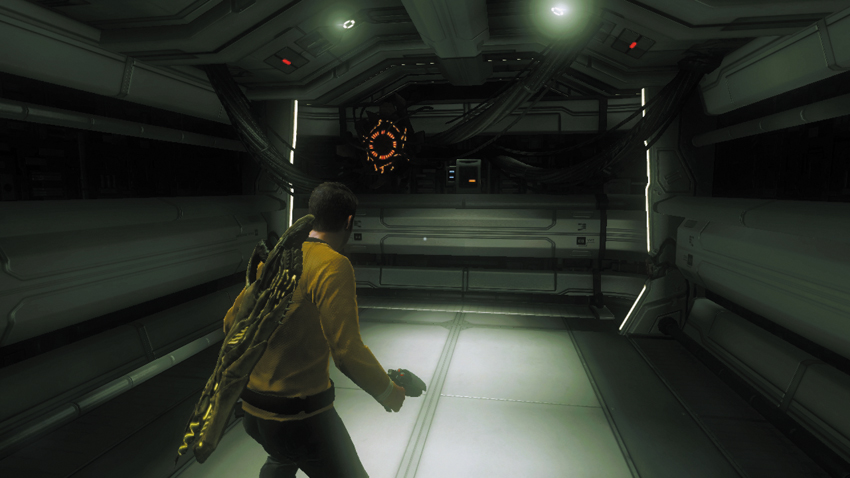
Follow the power lines from the power cell socket to the nearby lift. Use your tricorder to raise the lift, then proceed into the maintenance tunnel—you cannot enter this tunnel until the lift has been raised. The third and final circuit panel is on the wall at the end of this tunnel. Bypass the circuit panel, then return to the main room to hunt down any new Gorn Observers who have appeared. After you clear the room, return to the control room.
New Objective: Reroute the power at the console
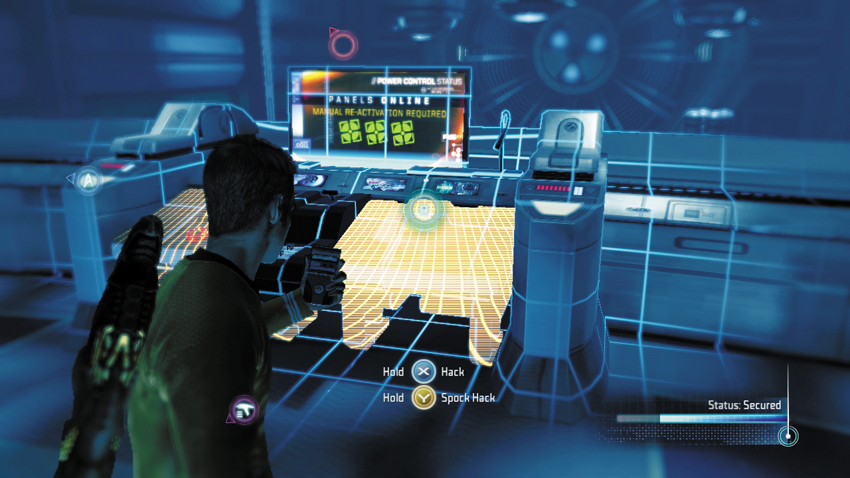
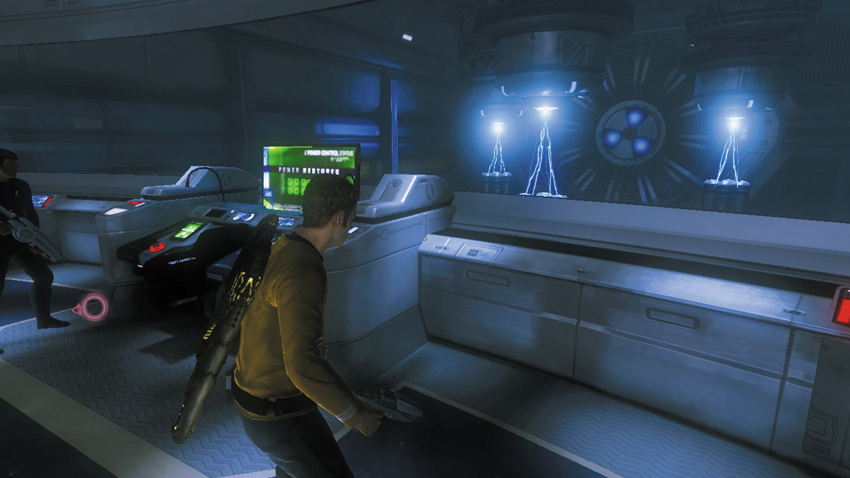
Now that the circuit panels have been bypassed, it’s time to reroute the power. Use your tricorder to begin the hack on the central console in the control room. This hack is similar to the one you performed earlier in the security room, requiring you to work together with your partner to synchronize two wave patterns. Use the dials to adjust the wave amplitudes until they match. Completing the hack earns you 100 XP and restores power to the three cores. T’Mar reports that full power has now been rerouted to the relay tower. It’s time to head for the relay tower and put Spock’s theory to the test. T’Mar promises to guide you through the weaponization process once you arrive.
New Objective: Escape the power station
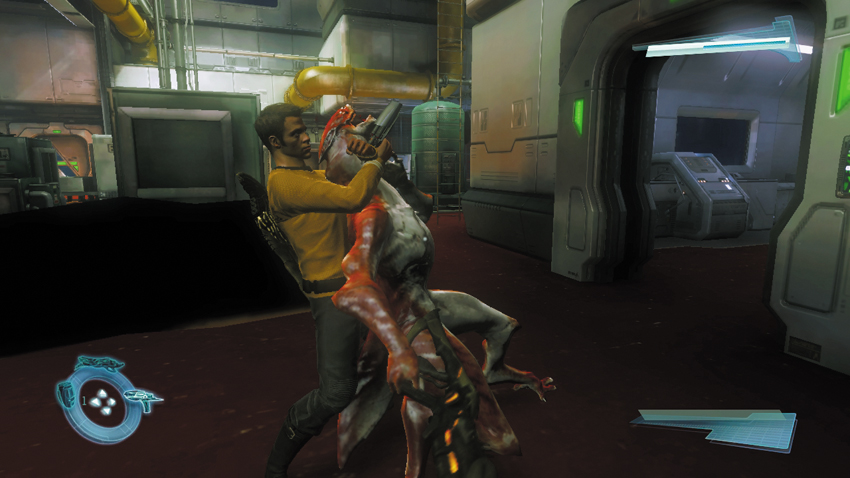
Creep out of the control room and make a beeline for the security room. Watch out for more Gorn Observers patrolling this area along the way. Do your best to avoid detection to prevent an intense firefight from breaking out. Instead, take your time and stealthily sneak up behind any enemies in your path and perform silent takedowns.
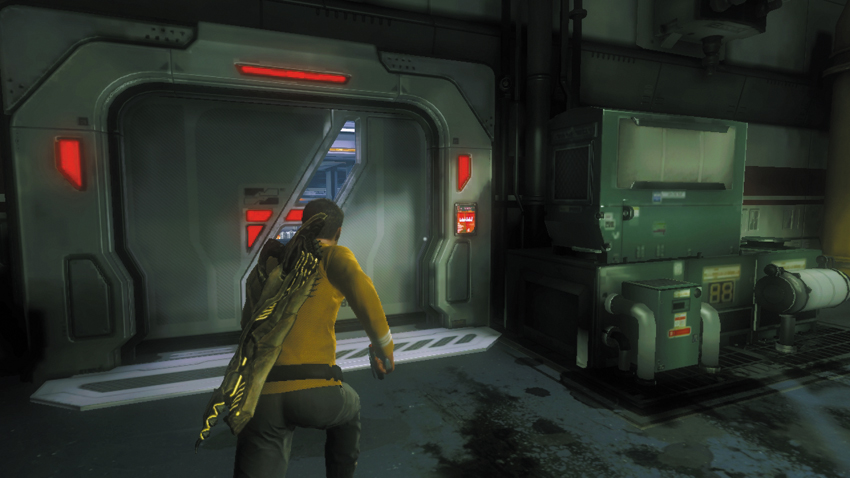
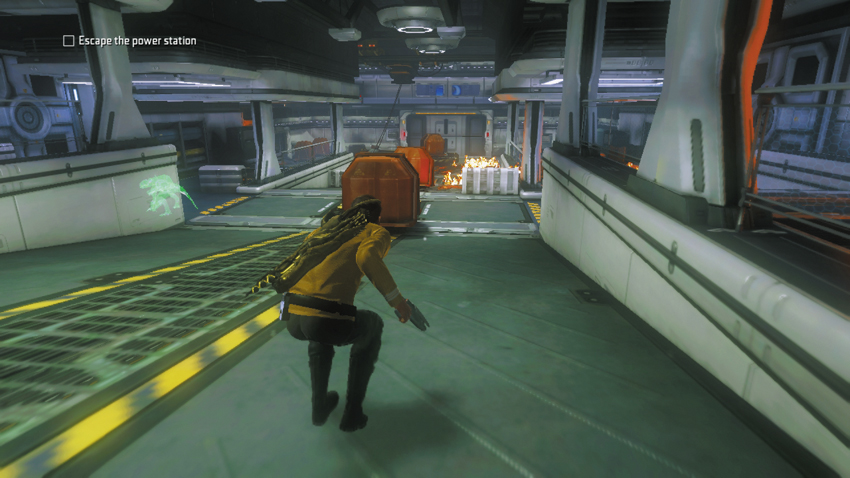
The security station is clear of hostile forces. So simply pass through the room follow the waypoint marker to a locked door in the corridor outside the security room. Hack the door to unlock it and step inside a large storage room. Use your tricorder to locate two Gorn Initiates patrolling just ahead. There’s also a Gorn Observer at the far end of the room, pacing along a catwalk. Silently incapacitate the two Gorn Initiates—monitor their patrol patterns and take them down once they turn their back. If the Gorn Observer detects anything, she will conjure more Gorn Initiates that will beam in as reinforcements. So do your best to avoid detection.
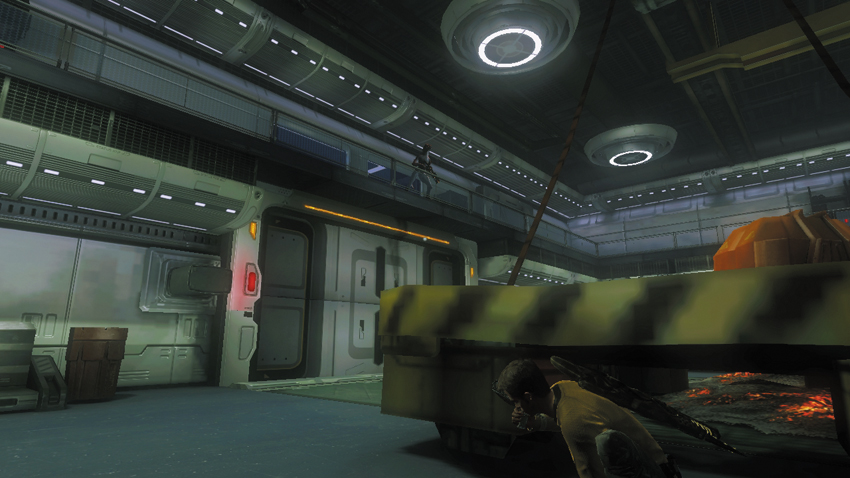
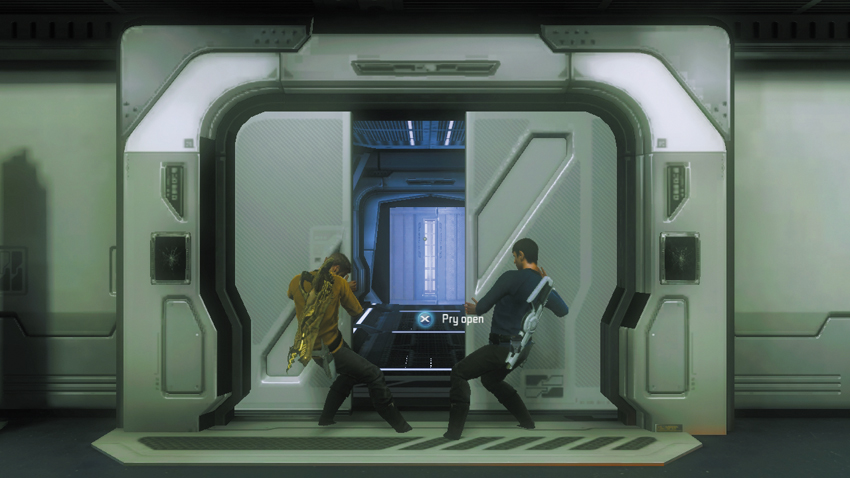
Now it’s time to sneak past that Gorn Observer. As the enemy moves away, advance into the storage area filled with crates and other equipment. The crates provide excellent cover so that you can remain concealed. Wait for the Gorn Observer to move toward the right side of the room, then follow her, hugging the room’s perimeter wall and moving just beneath her. You eventually come to a jammed door. Work together with your partner to pry open the door, then proceed into the Turbolift on the other side.
Relay Tower
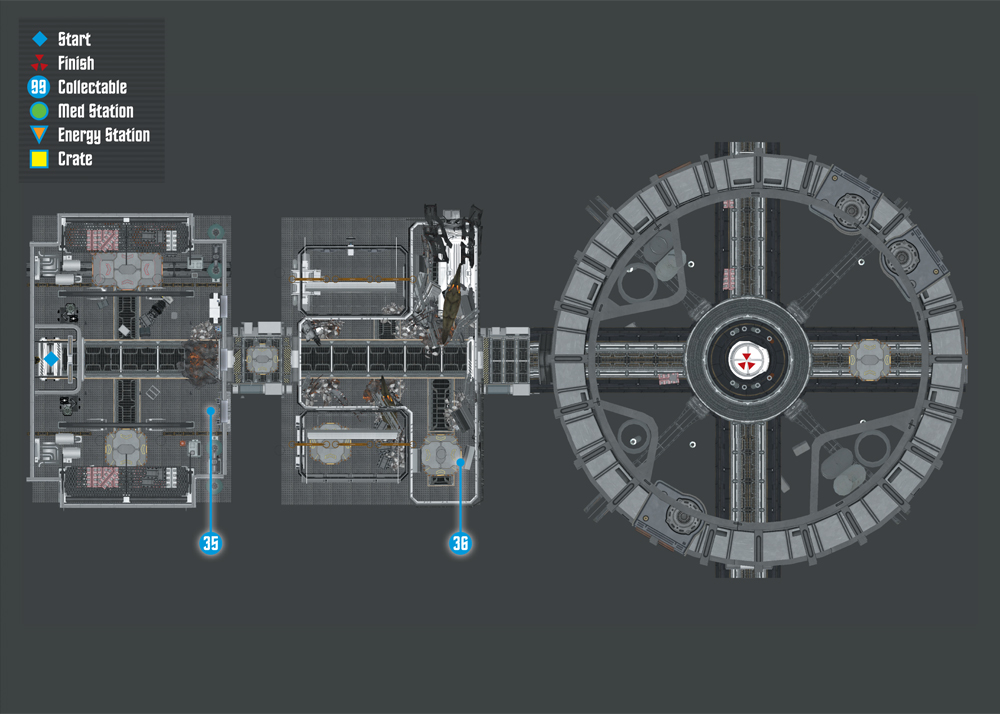
Collectables Checklist
| # | Name | Type | XP |
|---|---|---|---|
| 35 | Engineer Transport Tool | Research Data | 100 |
| 36 | Daniels’s Audio Log #5 | Audio Log | 50 |
New Objective: Acquire an Engineer Transport Tool
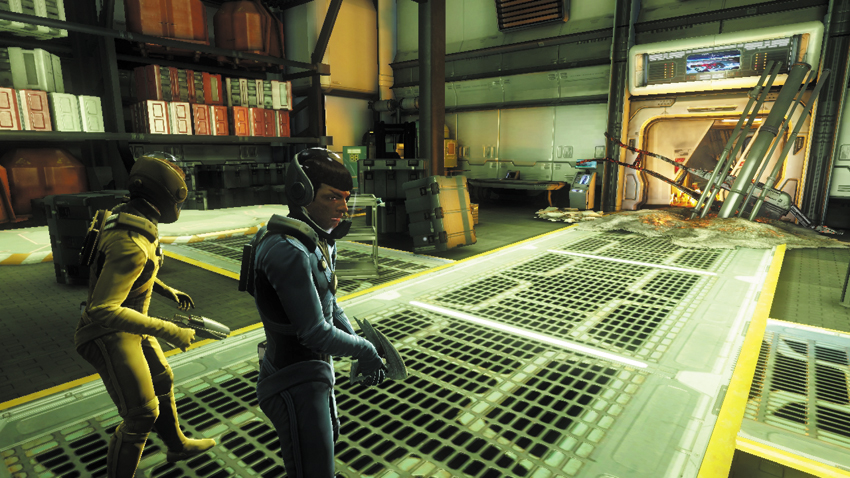
Before making the advance toward the relay tower, Kirk and Spock don environmental suits—this journey will take them outside the Starbase for another space walk. But for now, you must deal with a blocked passage just ahead. T’Mar advises that the Engineering Transport Tool, or ETT, is available in this area. It allows the transporting of matter over short distances.
35: Engineering Transport Tool
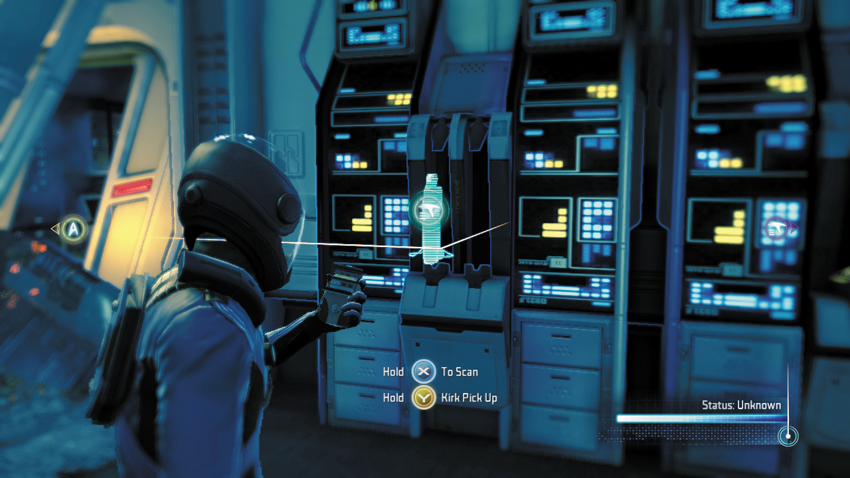
Scan the ETT on the weapon rack to the right of the blocked doorway. After scanning it, pick it up.
Type: Research Data
Set: Weapons/Federation Weapons
XP: 100
Log Entry: I’m very proud of this one. Think of it as a transporter for your pocket. You can send small objects short distances, just like beaming them from a transporter pad. I’ve not finished tests on organic material yet, so be careful. Still, it’s quite a breakthrough. And thus the name Scott joins Newton and Einstein in the pantheon.
New Objective: Take the Turbolift up to the relay tower access
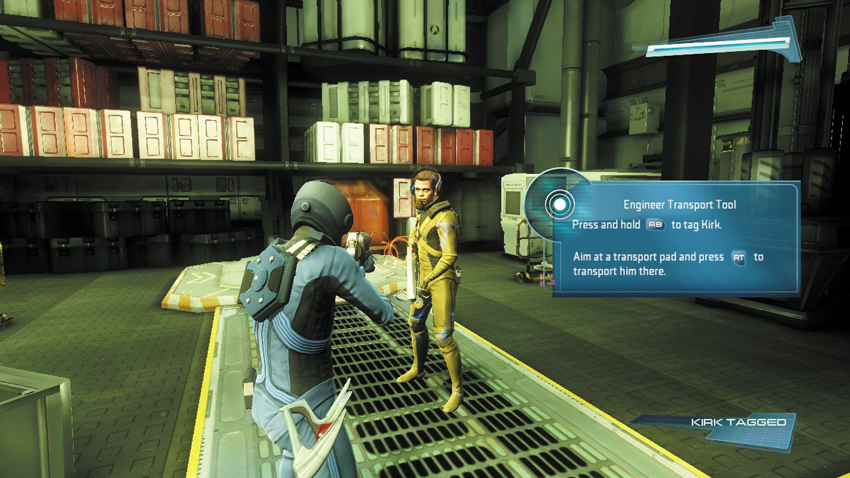
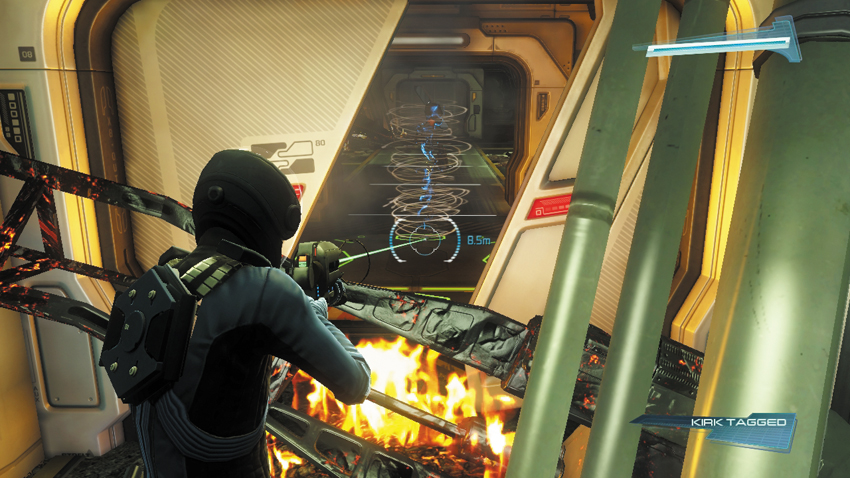
With the ETT in hand, aim it at your partner and press the secondary fire button—don’t worry, it won’t hurt. The secondary fire button tags a target for transport. Once a target has been tagged, a notification appears in the bottom right corner of the HUD. Now that your partner is tagged, aim at the transporter pad beyond the blocked doorway. Take aim through the opening in the doorway and press the primary fire button to transport your partner into the adjoining corridor. Once he is on the other side, your partner can do the same for you, tagging you first with the secondary fire button, then transporting you onto the transporter pad. Simple enough, right?
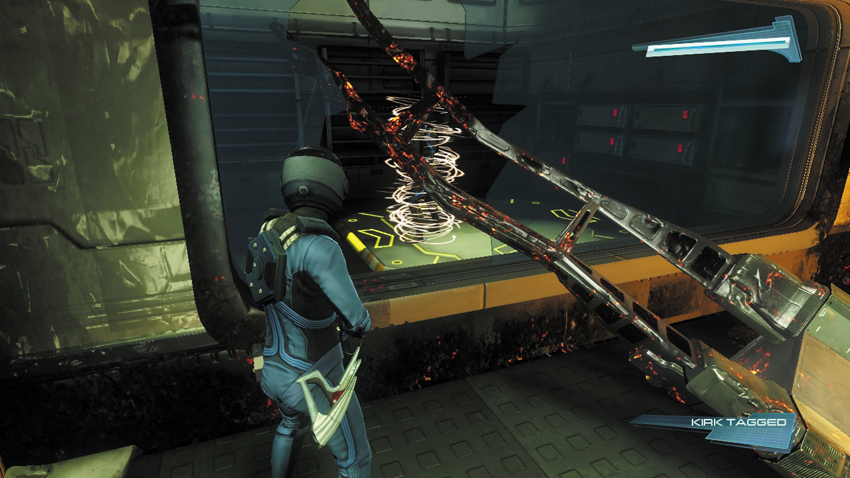
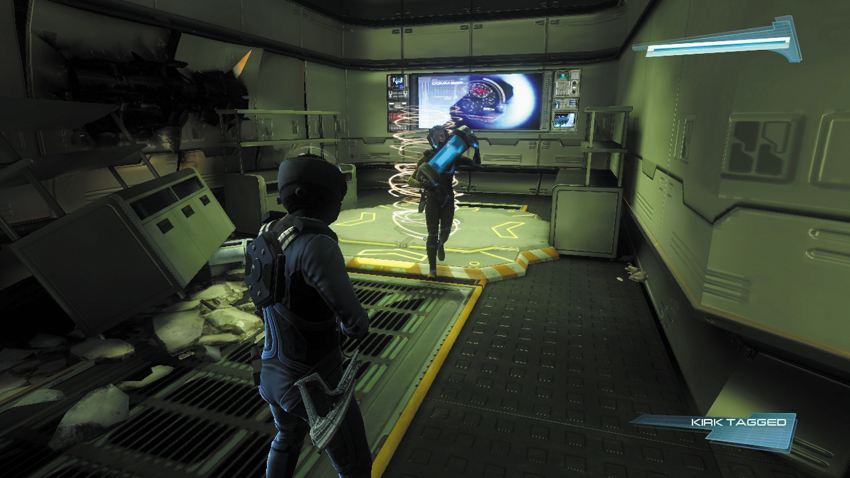
Can you figure out this next transporter puzzle? The door ahead is unpowered, meaning a power cell needs to be installed somewhere. Turn to the room on the right side of the corridor and take aim through the crack in the window to target a transporter pad inside the room. Once your partner is inside the room, he can grab a power cell from the floor. Next, transport your partner (and the power cell) back out into the corridor, using either of the two transporter pads. Your partner can now install the power cell into the empty socket, which is located in the room on the left side of the corridor. This powers the door and now you can reach the next corridor.
36: Daniels’s Audio Log #5
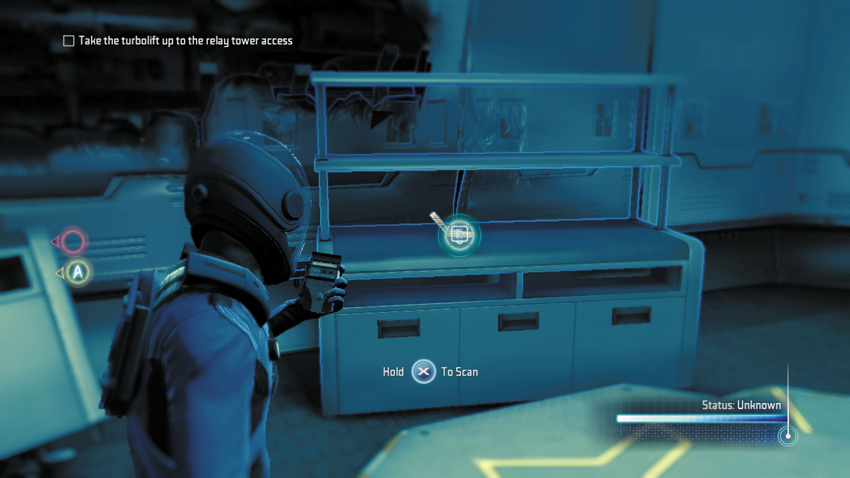
Before leaving the room, locate this audio log sitting on a shelf on the right side of the room.
Type: Audio Log
Set: Relay Tower/Logs
XP: 50
Log Entry: The Helios Device … is gone. Details are still coming in, but it appears that an unknown force has attacked the colony on New Vulcan and taken the device. The Enterprise is on its way here with the survivors, but I don’t know if I can wait for them to get here. A single Starbase is no match for an enemy that can wipe out an entire colony. And no doubt, the Vulcans will accuse me of wrongdoing for turning Helios on ahead of schedule. But I was doing what was best for the Federation. I have no doubt that events will prove me right. But until then …
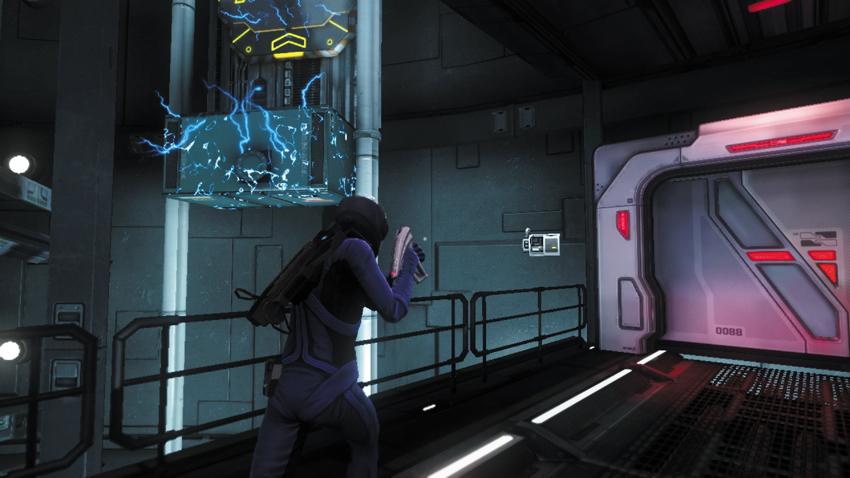
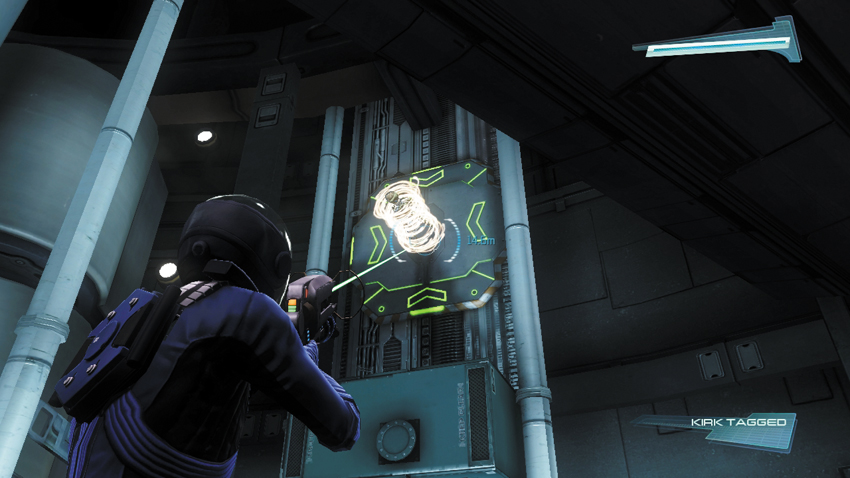
Pry open the door at the end of the next corridor to enter this large, dimly lit chamber. It appears that the gravity is offline here, as indicated by the crates floating in midair. Fortunately, your magnetic boots are active and they keep your feet firmly planted to any surface. Follow the waypoint marker to the far side of the chamber where you can see a transporter pad on a wall. However, the pad is electrified. Use your tricorder on the nearby console to deactivate the electrical field covering the pad. Once the transporter pad is safe, beam your partner over to the pad using the ETT—wait for your partner to transport you to the same pad.
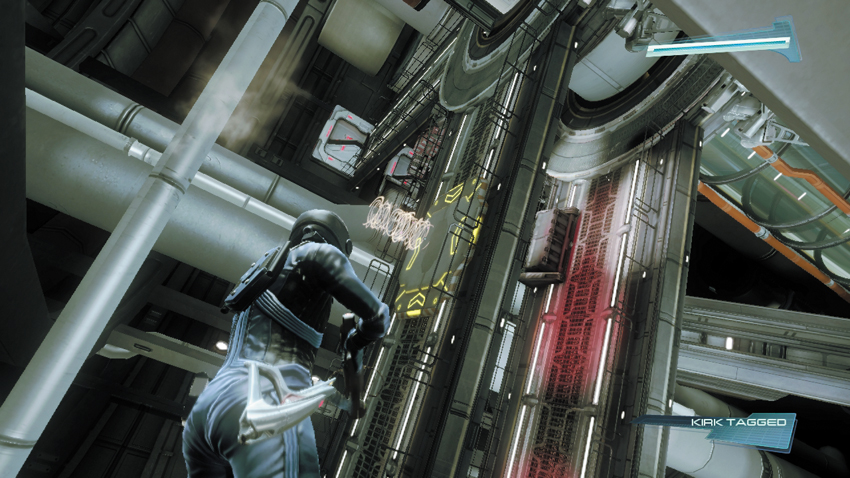
Feeling queasy yet? Standing on the wall, turn to your left to spot another transporter pad on a nearby catwalk. Take aim, and beam your partner over to the pad using the ETT. Wait for your partner to transport you over to the new pad, then proceed into the Turbolift at the end of the catwalk.
Starbase Exterior
New Objective: Access the relay tower antenna control
Commendation: Complete your objectives without directly killing any Infected (Non-Lethal)
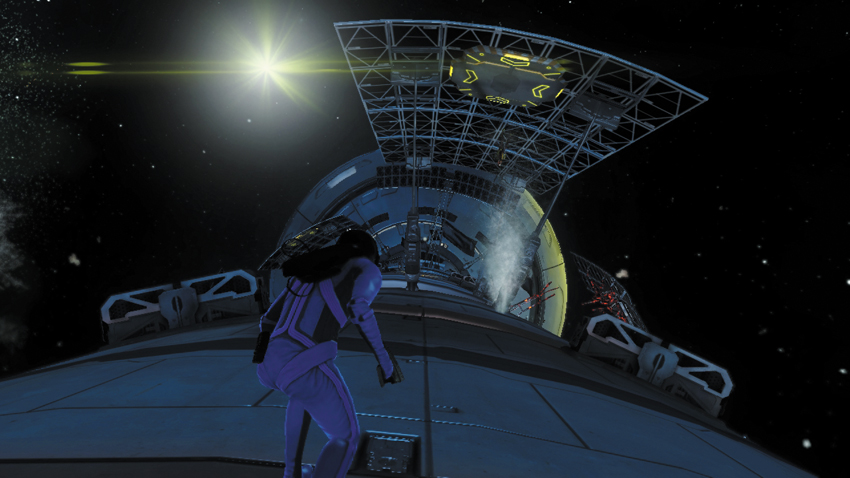
Upon exiting the Turbolift, climb the ladder at the end of short corridor to emerge from a hatch. Kirk and Spock find themselves standing on the Starbase’s exterior hull, while Gorn fighters continue their attack. T’Mar reports that she has sent a distress signal to the Enterprise, but for some reason, the Starbase is incapable of receiving a response. Advance along the exterior hull in the direction of the waypoint marker and keep an eye open for infected Federation officers posted out here. To complete the non-lethal commendation, you must avoid killing these enemies. Equip your phaser and prepare to stun during each engagement. The first infected enemy is standing next to a transporter pad. Simply hit him with one stun shot to incapacitate him. You’re now safe to beam over to the transporter pad, using the ETT.
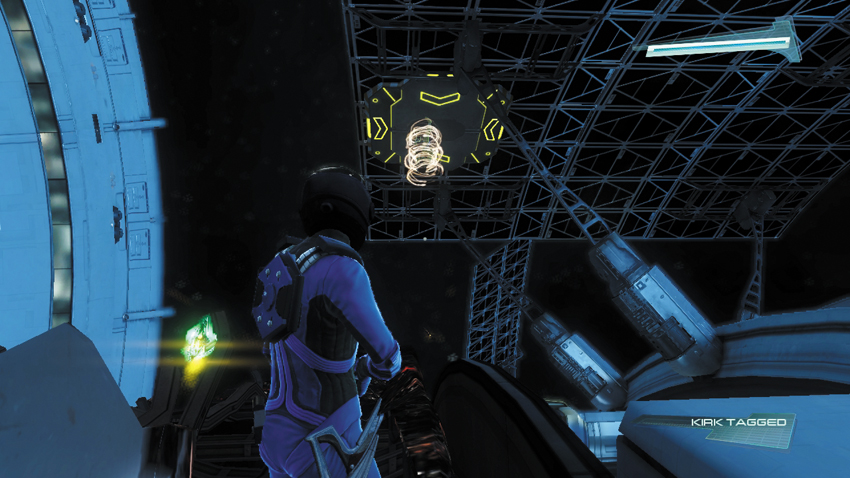
Continue leapfrogging along the exterior of the Starbase, using the ETT to beam from one transporter pad to the next. But be prepared to encounter some resistance along the way in the form of infected Federation officers, and Attack Drones. Make an effort to stun the Attack Drones, then hack them before they can recover. This allows you to use the Attack Drones to your advantage, as they engage other enemies for you.
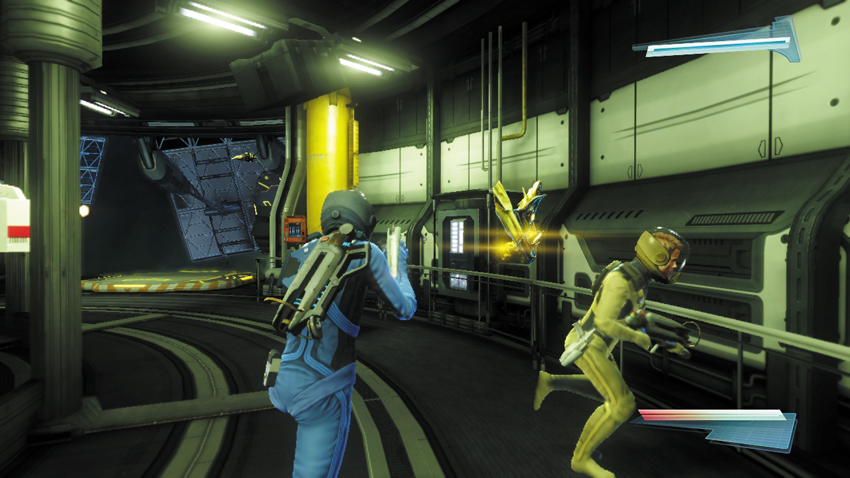
Expect stiff resistance from Attack Drones as you enter this cylindrical room. Do your best to stun, then hack the Attack Drones, then use your new friends to attack the remaining enemy drones. But don’t be afraid to use your phaser’s kill setting either, completely annihilating these pesky attackers. Use your tricorder to locate Attack Drones that are hiding behind cover, then hunt them down, one by one. Once the room is clear of threats, consider using the Energy and Med Stations here before continuing toward the relay tower antenna.
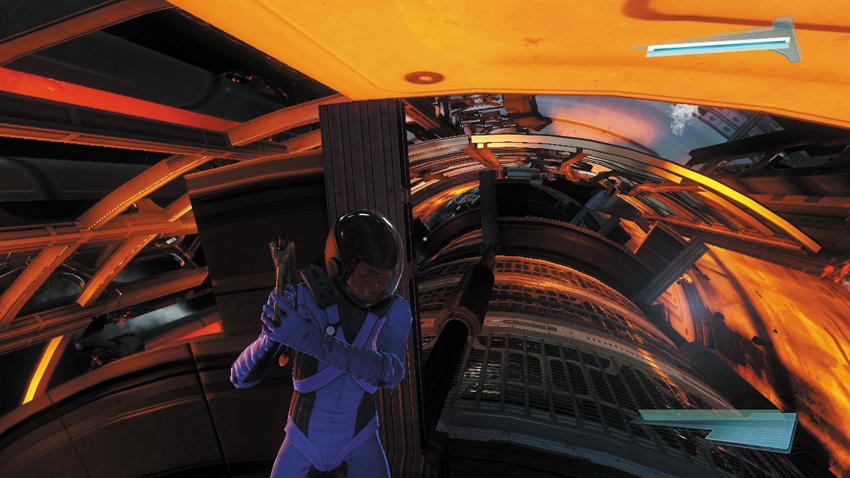
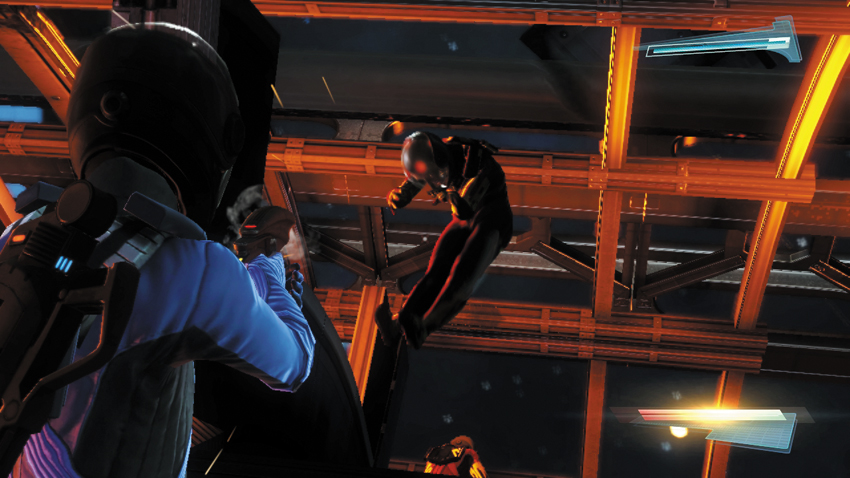
Jump across a few more transport pads using the ETT to enter this corridor passage. Stay low and make use of cover to avoid getting hit by infected Federation officers posted here. Scan ahead using your tricorder to locate these enemies, then proceed cautiously, engaging them only with your phaser’s stun setting. These enemies attack aggressively with Starfleet Phaser Rifles, so remain behind cover whenever possible. If you take too much damage, your magnetic boots will lose their grip and you will float off into space, preventing your teammate from healing you. At the end of this section, look up through an opening in the ceiling to spot a distant transporter pad and use your ETT to reach it.
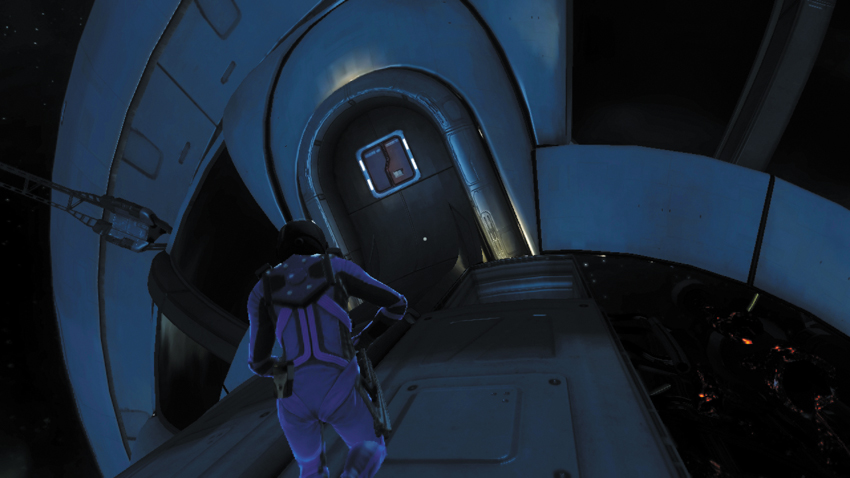
Beam across to one more transporter pad, then follow the waypoint marker to a red hatch—this leads into the relay tower array. Upon entering the hatch you earn the non-lethal commendation worth 300 XP.
Relay Tower Antenna
New Objective: Power up the antennas
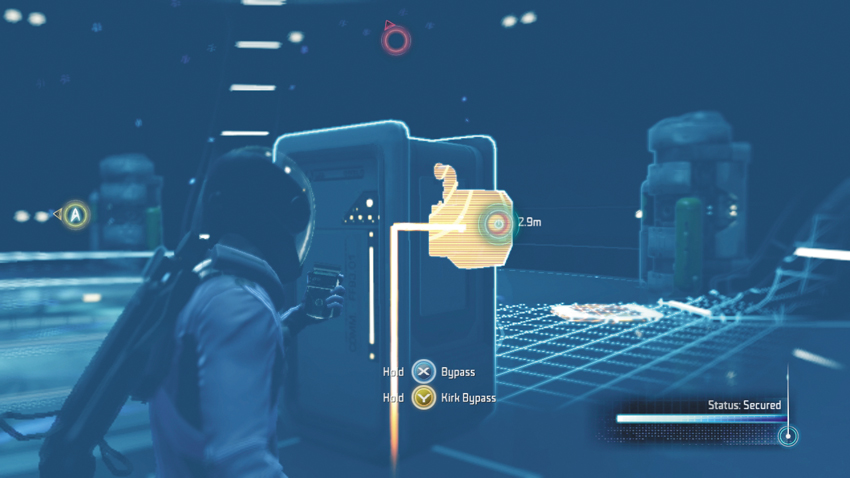
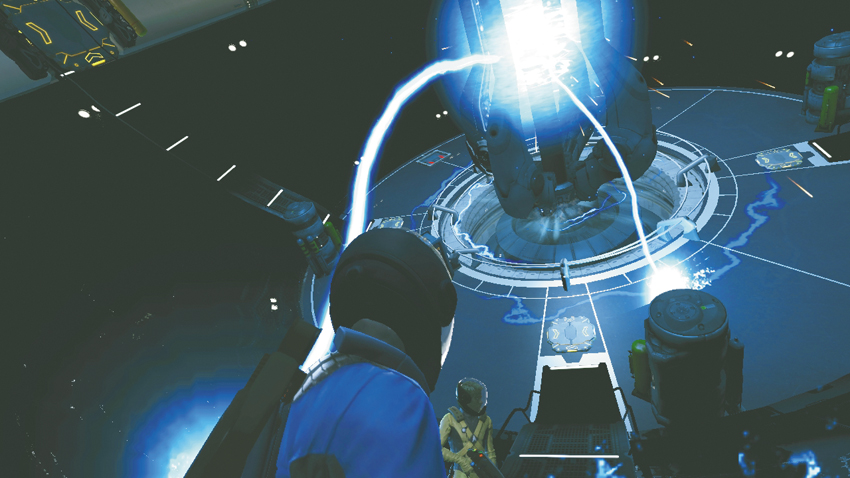
The hatch leads to a long shaft, with a ladder. Climb the ladder to the top of the shaft and unlock the hatch overhead to gain access to the relay tower antenna. The antenna is currently offline, so you’ll need to perform a manual override to restore functionality. Turn to the right and use your tricorder to perform a bypass on the nearby console. This activates the first of two antennas. Immediately after completing the bypass, rush up one of the perimeter walkways leading up the wall of the chamber. This puts you out of danger from the blue arcs of electricity emitted by the antenna. T’Mar reports that the Gorn are closing in on her position in the command center. She’s not sure how long she and the Starbase’s security forces will be able to hold back the attackers.
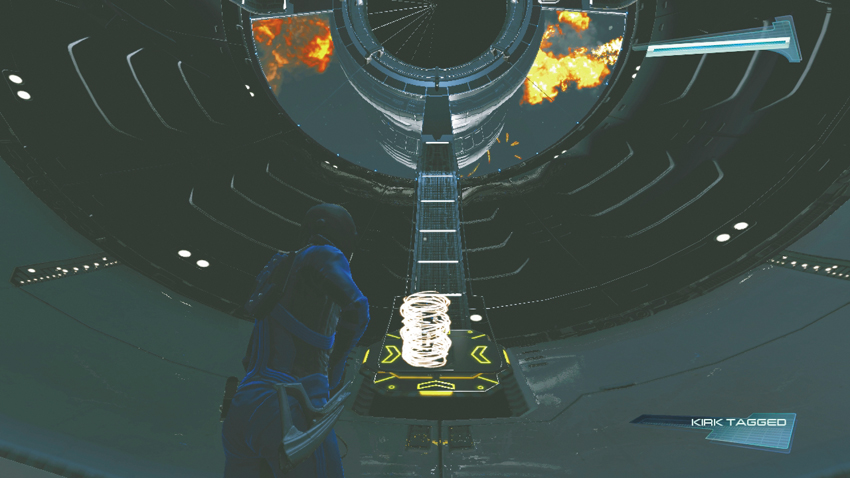
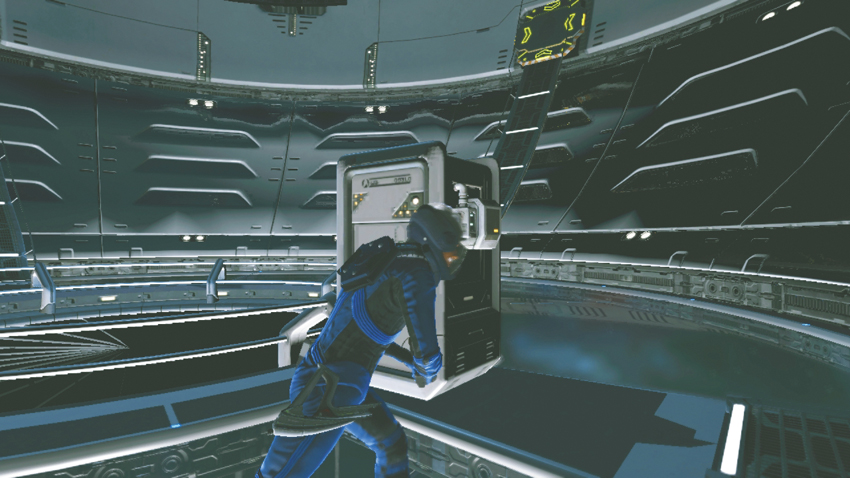
Now it’s time to get the second antenna working. Turn to the opposite end of the chamber and look for a distant transporter pad. Use your ETT to beam across to this pad, then approach the console near the second antenna. Once again, use your tricorder to bypass the console. But this time, stay on the floor, near the antenna. The blue arcs of electricity emitted from this antenna travel along the perimeter walls and the floor is the safest place to be.
New Objective: Open the discharge port
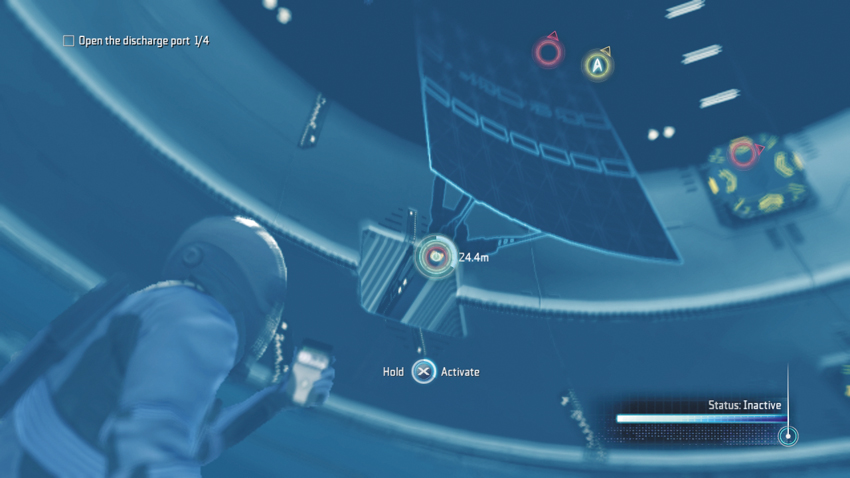
Before the antenna can be turned into a weapon, you must first open the discharge port. Stay on the floor near the antenna and look up. There are four panels extended from the wall, attached by a steel arm. Scan the steel arm with your tricorder to activate a node. You must activate a total of four nodes, one on each of the steel arms. Once all four nodes are activated, the discharge port is open—it’s time to get out of here!
New Objective: Escape from the room before it blows up
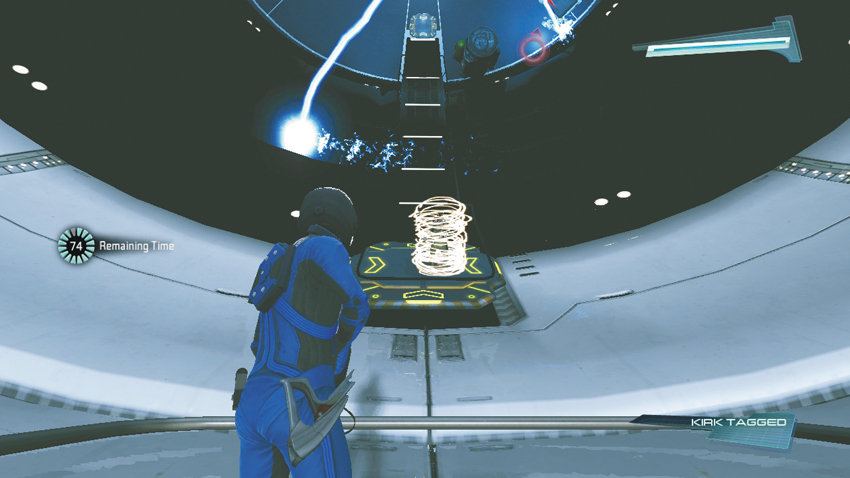
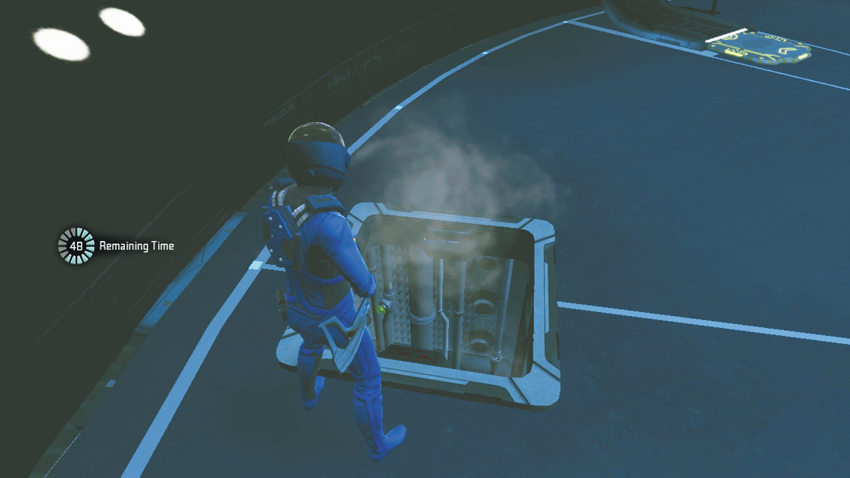
Immediately move up one of the walkways on the perimeter of the room—time your movement carefully to avoid getting struck by one of the orbiting arcs of electricity racing along the outer wall. At this point, a timer appears on the left side of the HUD; you have 80 seconds to escape the antenna chamber. Step onto the transporter pad just ahead, then target the distant pad with your ETT to return to the opposite end of the chamber, where you first entered. Locate the hatch in the floor and descend the ladder. Following your escape, the antenna emits a powerful pulse, destroying one of the Gorn vessels. But the enemy attack isn’t over yet. You need to reach the command center and assist T’Mar in repelling the attackers.
New Objective: Survive the rocket jump back to Starbase
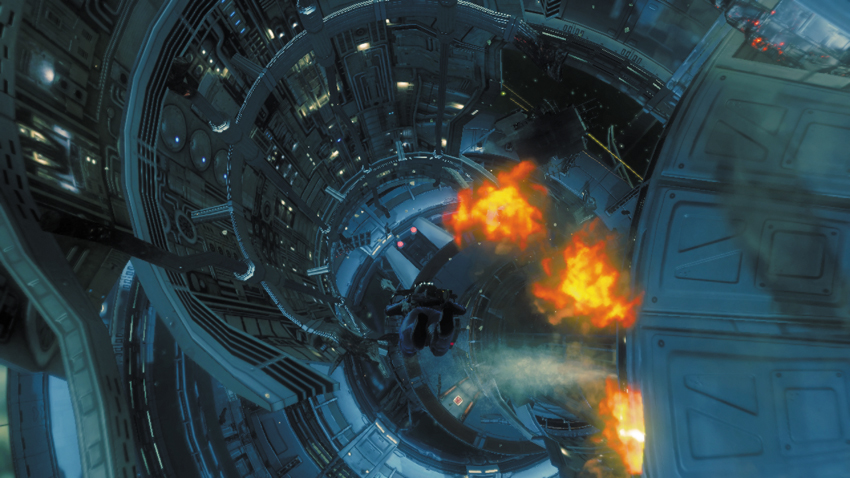
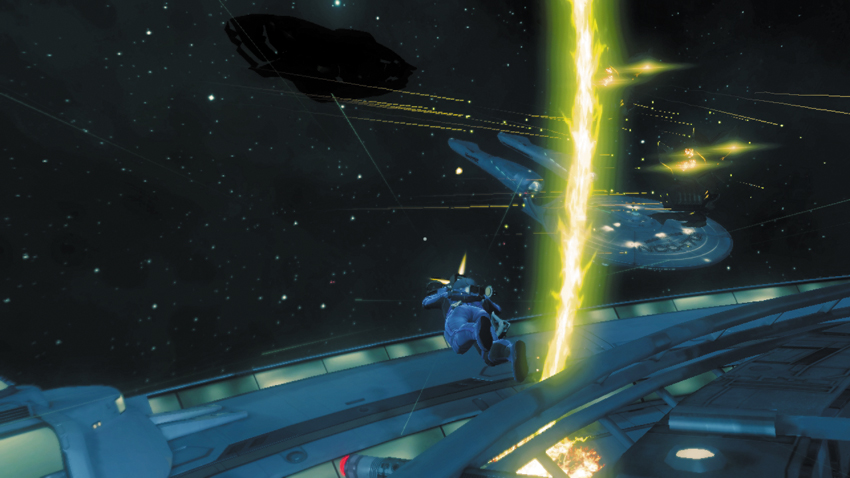
You have successfully escaped the relay antenna. Now, you must guide your character back to the command center during a free-fall sequence, dodging debris and yellow energy beams along the way. Use slight movement inputs to activate thrusters on the back of Kirk’s and Spock’s environmental suits. Stay focused on the path ahead and make only slight corrections to avoid incoming debris. Along the way, the Enterprise can be seen in the distance—it looks like they received T’Mar’s distress signal after all. Kirk orders the Enterprise to join the fight, attacking the remaining Gorn ships. Keep dodging incoming debris until you come to a breach in the hull of the Starbase. You can access the interior through this.
To the Rescue
Living Quarters
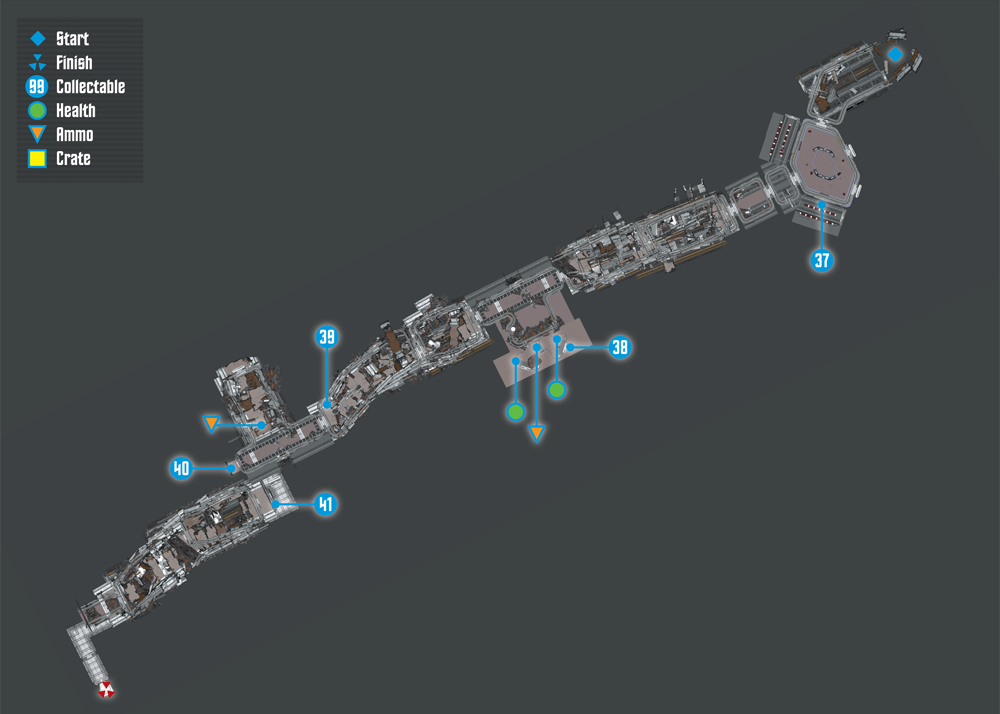
Collectables Checklist
| # | Name | Type | XP |
|---|---|---|---|
| 37 | Daniels’s Audio Log #6 | Audio Log | 50 |
| 38 | Gorn Weapon Research (1 of 4) | Research Data | 100 |
| 39 | Gorn Weapon Research (4 of 4) | Research Data | 100 |
| 40 | Gorn Weapon Research (3 of 4) | Research Data | 100 |
| 41 | Gorn Weapon Research (2 of 4) | Research Data | 100 |
New Objective: Get to the command center
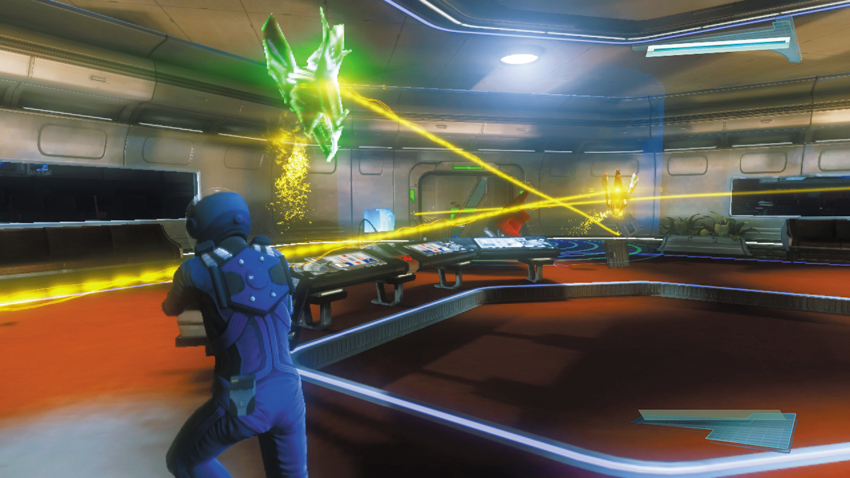
Although your feet are firmly planted on the Starbase, artificial gravity is offline in this section of the living quarters, as indicated by the floating debris. There’s no need for the ETT any longer, so both Kirk and Spock leave these weapons behind. You now are armed with only phasers. Step into the next room, brushing debris aside, and prepare to confront a few Attack Drones. For best results, stun, then hack the drones to gain a few allies during this firefight. But don’t neglect cover; use one of the consoles to absorb incoming beams.
37: Daniels’s Audio Log #6
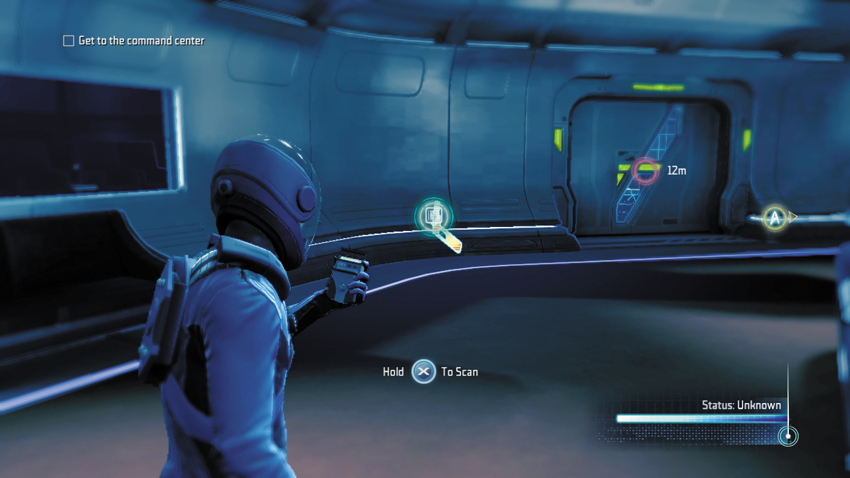
Once all the Attack Drones are eliminated or hacked, scan this room for an audio log that is floating near the exit.
Type: Audio Log
Set: To the Rescue/Logs
XP: 50
Log Entry: The time has come. I’ve allowed T’Mar’s countless tests to go on long enough. The critical support I’ve given the Helios Project has given me the leverage I need to take control and start up the machine now. Nothing I can say will make T’Mar understand that her fears are unfounded. Only by putting the machine into action can I prove my case. My team is on-site and monitoring the situation closely. And I am prepared to shut down the device at the first sign of trouble. But I am confident that everything will go according to plan.
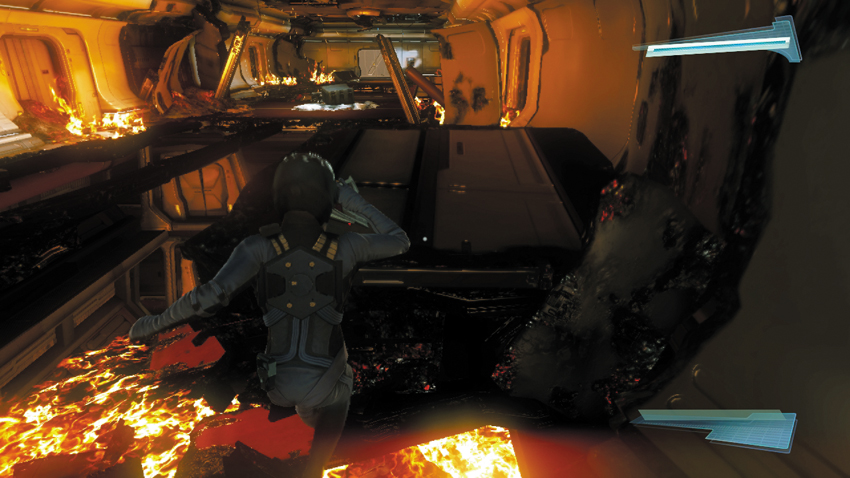
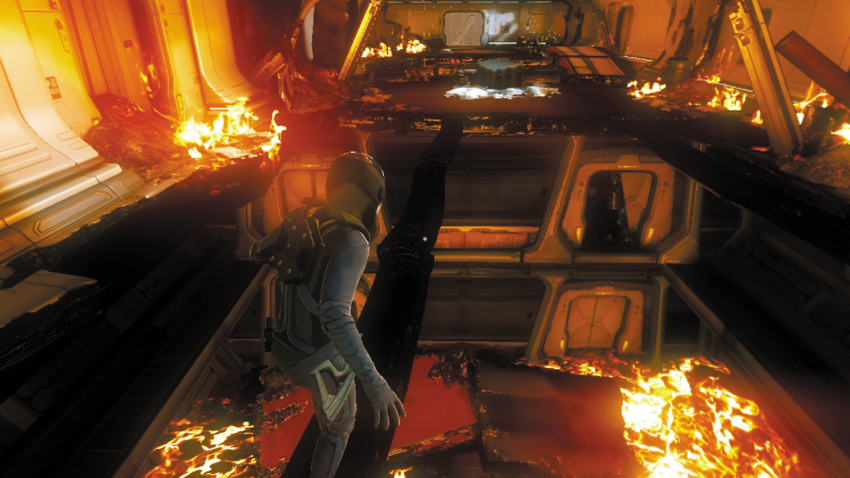
Step into the air lock ahead where gravity is finally restored. Proceed through the next hall and into a large corridor. When you enter, the Starbase is rocked by a massive explosion, causing the floor ahead to collapse and taking a couple of crew members with it. Move to the right side of the room and leap toward the ledge ahead—you’ll make the jump easily if you sprint before jumping. Otherwise, you’ll grab hold of the ledge and must then pull yourself up. Next, turn to the left and leap over to the next platform. From there you must traverse a narrow beam high above the flaming corridor below. Keep the white dot reticle in the center of the HUD aligned with the beam as you cross to maintain your balance.
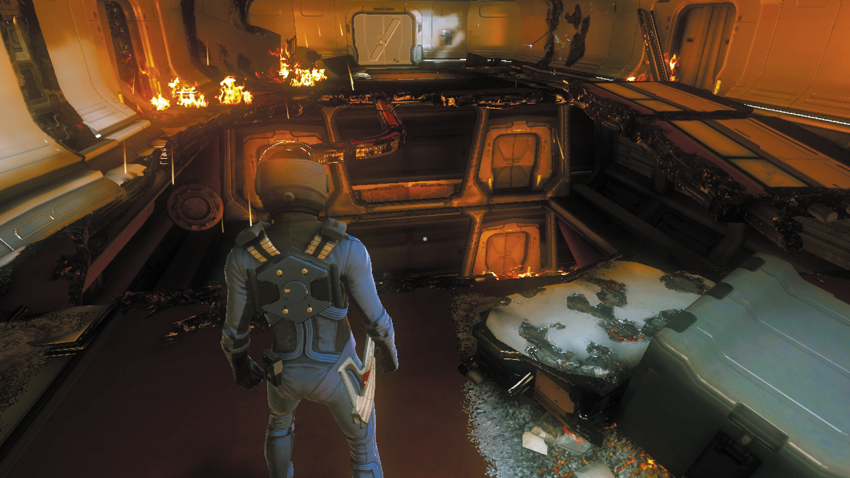
Once across the beam, you must cross another gap in the floor—there are two options here. If you move along the left side, you must traverse another narrow beam. For a faster approach, move to the right side and leap across the gap to a platform. But before making the next jump, time the movements of a dangling electrified wire that is swinging back and forth like a pendulum—striking the wire is fatal, so don’t be too hasty to jump. Once on the other side, work together with your partner to pry open the jammed door.
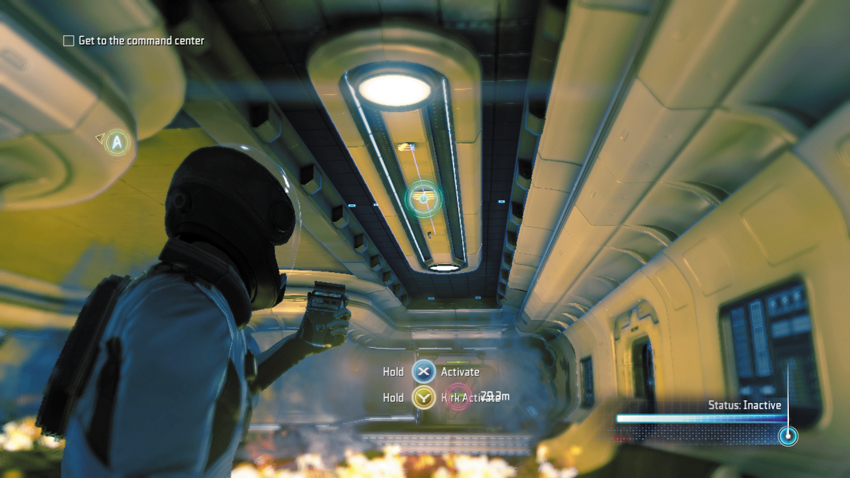
Beyond the jammed door, a low wall of flame blocks your path. Use your tricorder to activate the node in the ceiling, turning on the Starbase’s fire suppression system. As you move ahead, a Starbase crew member requests your assistance. Take a quick detour to earn an easy commendation.
Commendation: Rescue the trapped Starbase crew
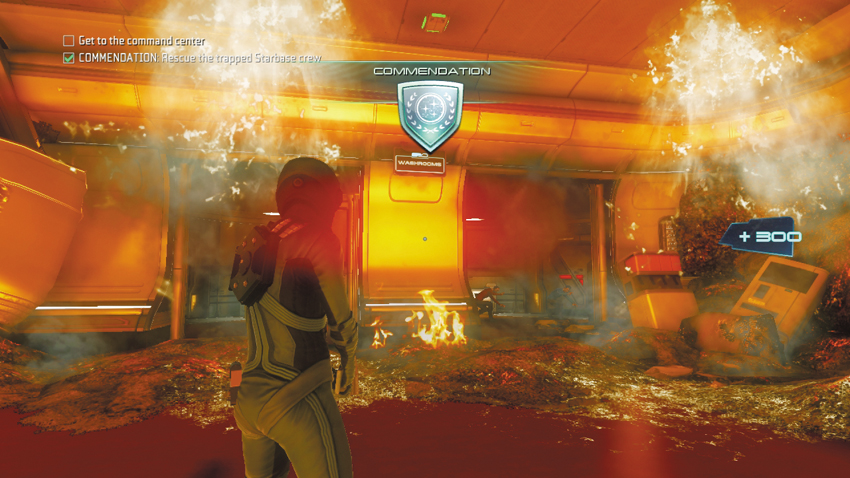
After extinguishing the fire, turn to the left to locate a washroom where two Starbase crew members are trapped by encroaching flames. Once again, use your tricorder to activate the fire suppression system and earn 300 XP. After rescuing the crew, enter the washroom and grab the Starfleet Phaser Rifle on the floor. There’s also an Energy Station and a Med Station inside. Spock advises the two crew members to seek safety and await further orders. Before leaving, scan the collectable on the floor of the washroom.
38: Gorn Weapon Research (1 of 4)
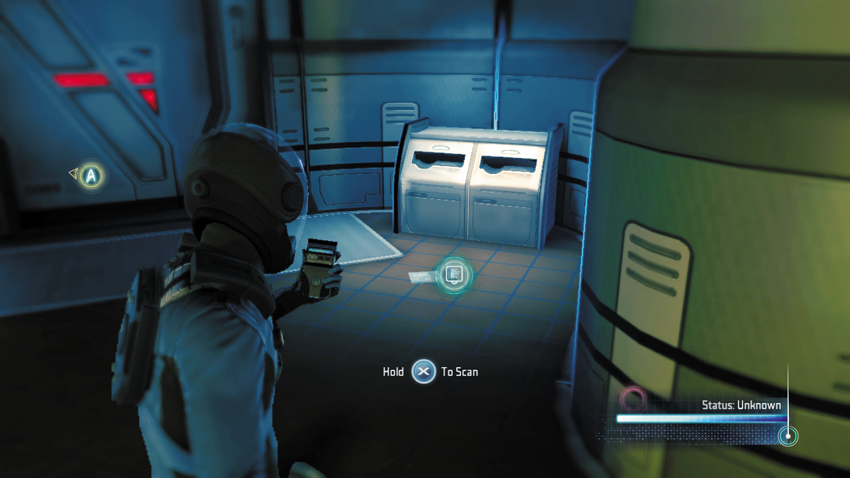
This collectable is located on the floor of the washroom.
Type: Research Data
Set: To the Rescue/Gorn Attack
XP: 100
Log Entry: Gorn weaponry is curious indeed. It’s as much organic as technological in nature, as if it was grown rather than manufactured. It’s difficult to tell where the weapon ends and the user begins.
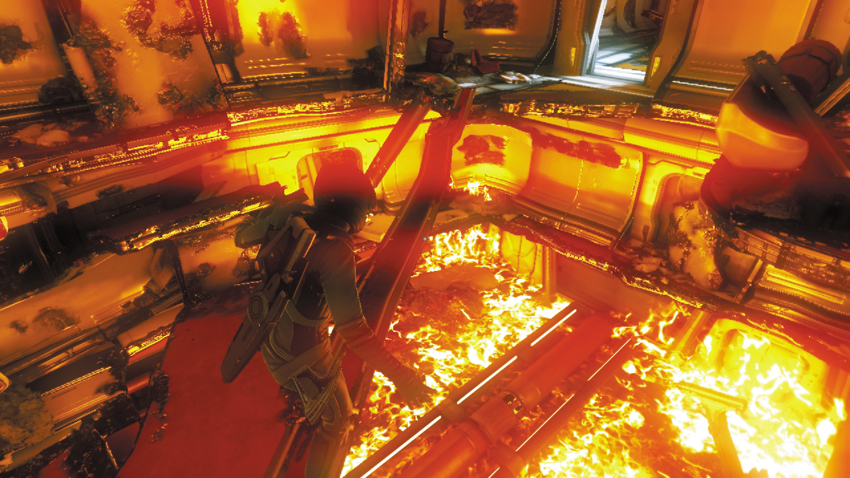
Exit the washroom and proceed to the next room at the end of the corridor. Here you’re faced with another obstacle course. Start by climbing up onto the ledge on the left side of the room. Traverse along the ledge to the left, then pull yourself up to the next floor. From there, move along the narrow beam suspended above the flames. Once again, keep the white dot reticle aligned with the beam to maintain your balance.
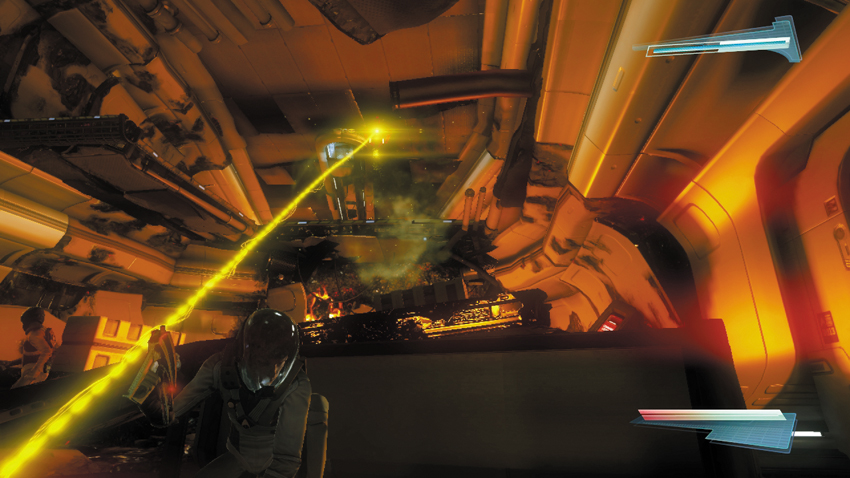
Pass through the next door and drop through a hole in the floor to reach another damaged corridor. Here you come under attack by two more Attack Drones. Take cover behind the rubble and return fire. Stun at least one of the drones and hack it, adding more firepower to your team. Or simply use your kill setting and blast both drones out of the air. Once the drones are down, proceed to the next obstacle at the end of the corridor. Jump up on the crate on the right side, then leap up to a ledge and pull yourself up to the next floor.
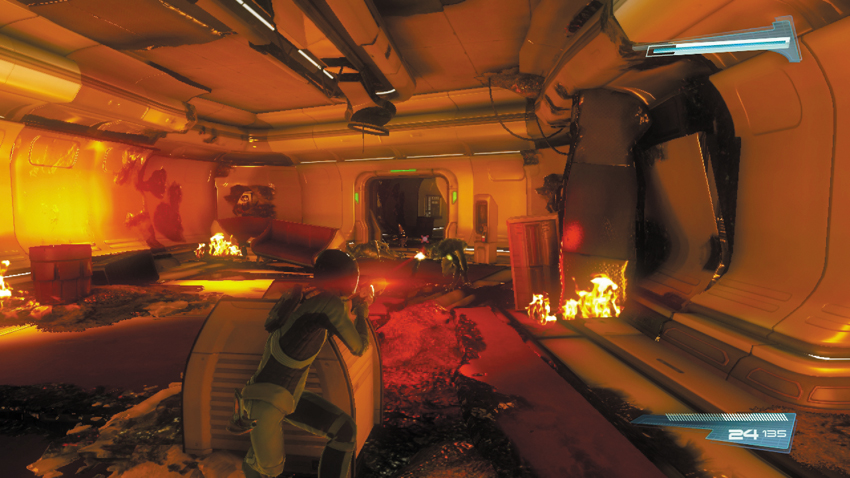
Take cover behind the nearby debris as two Gorn Initiates and an Attack Drone rush through the doorway ahead. Use your phaser or Starfleet Phaser Rifle to engage these enemies. Consider stunning and hacking the Attack Drone to cause it to engage the Gorn Initiates. Once you’ve dealt with these enemies, watch out for another Gorn Initiate that is patrolling the next corridor. Consider grabbing the Plasma Grenades and Ravager carried by the Gorn Initiates. But don’t leave this room just yet—there’s a collectable next to the doorway.
39: Gorn Weapon Research (4 of 4)
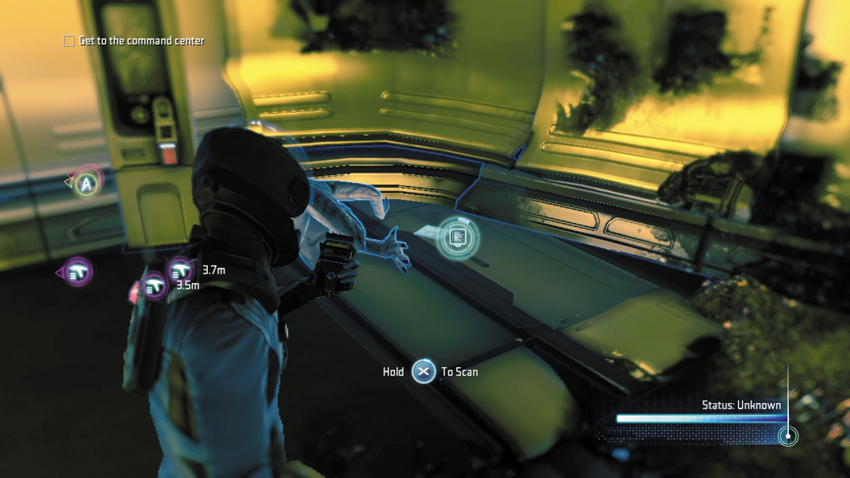
Before exiting the room, look to the right side of the doorway to scan this collectable on the floor.
Type: Research Data
Set: To the Rescue/Gorn Attack
XP: 100
Log Entry: As terrible as these Gorn weapons are, I do want to retrieve samples for study. The question is whether they can get past quarantine. It would be simple enough if they were purely technological. But their biological component means we have to treat them more like organisms than simple weapons.
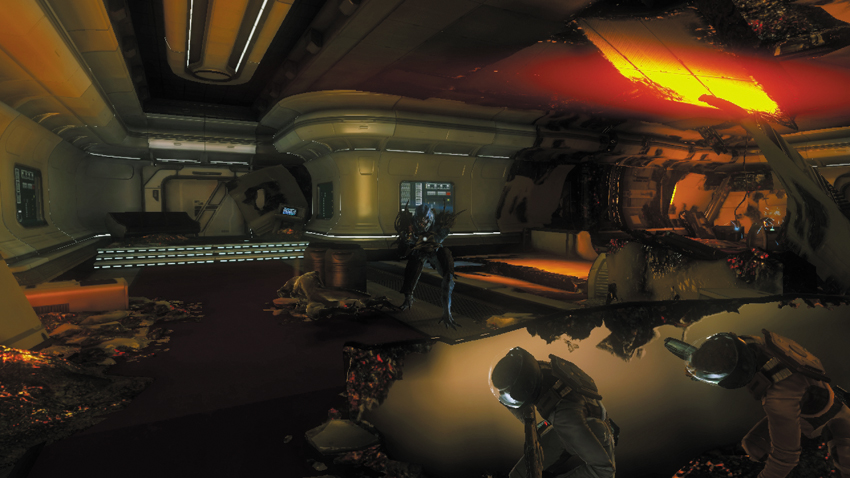
Duck behind cover in the next corridor and watch out for a Gorn Enforcer patrolling nearby. If the Enforcer doesn’t see you enter, he won’t attack, which gives you the opportunity to get the jump on him. Quickly peek out of cover and open fire with your Starfleet Phaser Rifle or Ravager. Pummel him with shots until he slumps to the ground. The Enforcer’s Marauder can come in handy later, along with his Plasma Grenade.
40: Gorn Weapon Research (3 of 4)
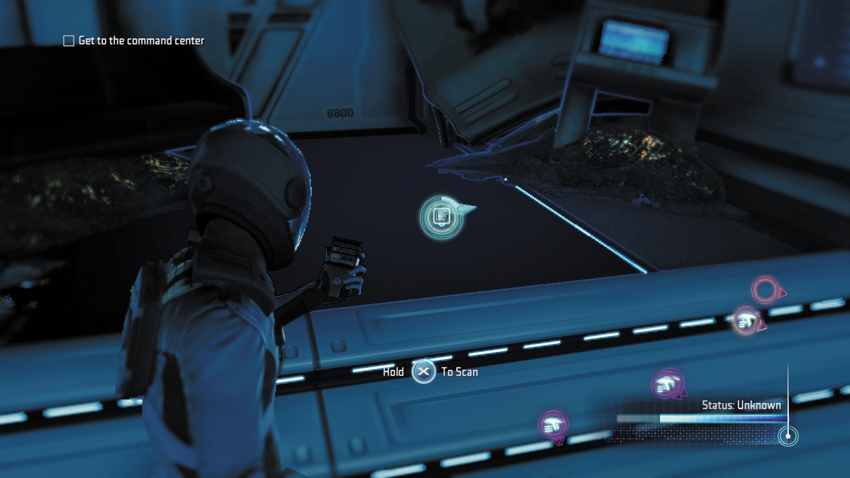
After defeating the Gorn Enforcer, scan this dead-end passage at the T-intersection to find this collectable on the floor.
Type: Research Data
Set: To the Rescue/Gorn Attack
XP: 100
Log Entry: These Gorn weapons are truly fearsome inventions. I have plenty of faith in Starfleet’s own armory, but at least we put control measures in place like stun capability and adjustable phaser strengths so we don’t simply obliterate everything we see at first glance. The Gorns have no such self-restraint.
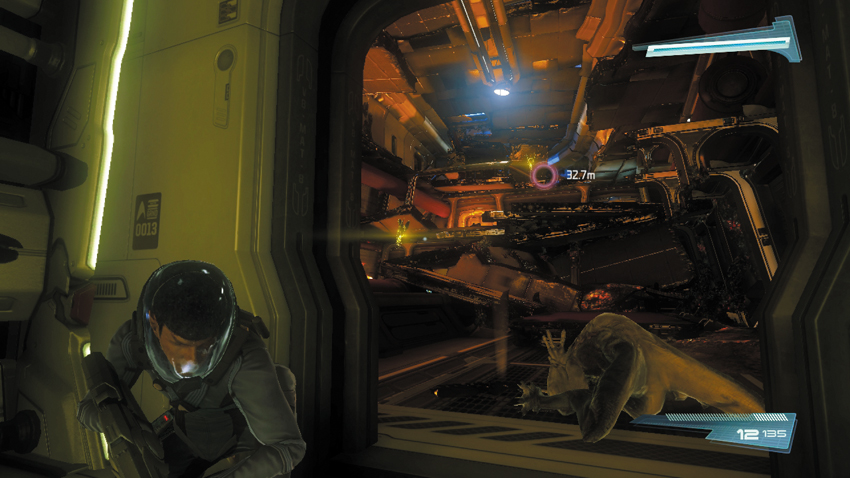
Drop through a hole at the end of the corridor and proceed downward through a series of hatches and holes in the floor. You eventually come to a room patrolled by a Gorn Initiate and several Attack Drones. Gun down the Gorn Initiate, then take cover along the side of the doorway to engage the Attack Drones. The Starfleet Phaser Rifle and Ravager make quick work of the drones, so don’t worry about stunning and hacking them—just blast them until they explode. Once all the enemies are down, enter the room and turn left, then ascend a ramp into a dead-end corridor containing a collectable.
41: Gorn Weapon Research (2 of 4)
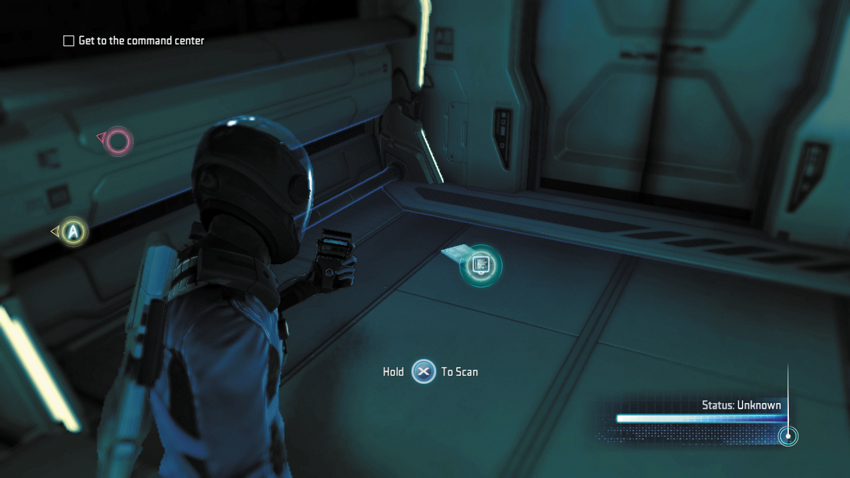
After eliminating the Gorn Initiate and Attack Drones, enter this dead-end corridor by traversing a ramp. The collectable is located on the floor at the end of the corridor.
Type: Research Data
Set: To the Rescue/Gorn Attack
XP: 100
Log Entry: It appears the Gorn weapons can be used by human hands, but I wouldn’t recommend spending too much time with them. It they truly are organic in nature, there’s no telling what effects using them may have on a human nervous system. Better to stick to Federation-approved armaments, methinks.
Now for another obstacle course. Start on the left side of the room and jump up to reach a ledge and then pull yourself up onto a platform. Jump and mantle up over the next few ledges to reach a hatch in the ceiling. Along the way, you hear a Starbase crew member requesting assistance. But as you near the stranded crew members, an explosion in the floor causes them to fall to their deaths—there’s nothing you can do for them now. So continue downward, into the maintenance tunnel. But when you’ve taken only a few steps into the tunnel, another explosion rocks the Starbase, resulting in a hull breach. Spock acts quickly, using his tricorder to seal the doorway at the end of the tunnel before he and Kirk are both blown out into space. Pry open the door at the end of the maintenance tunnel and proceed into the Turbolift.
Command Center
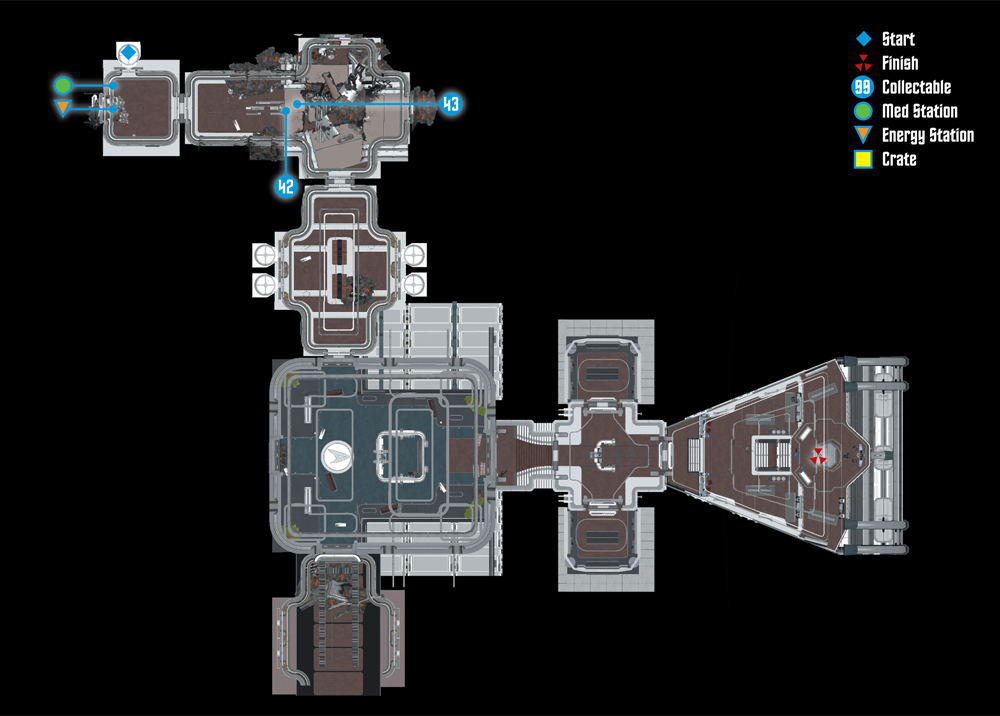
Collectables Checklist
| # | Name | Type | XP |
|---|---|---|---|
| 42 | Gorn Warrior | Research Data | 100 |
| 43 | Gorn Pillager | Research Data | 100 |
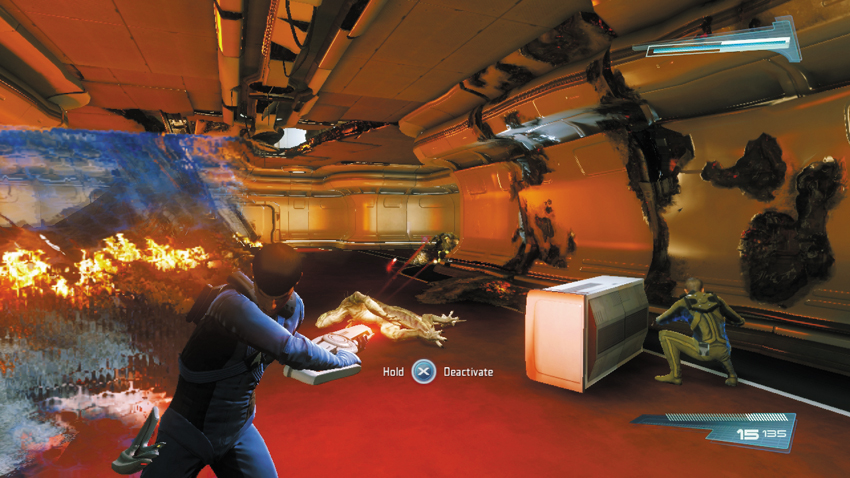
Exit the Turbolift and replenish your ammo from the nearby Energy Station. T’Mar reports that she’s under direct attack. She advises caution, warning that the Gorn attack in large numbers. She doesn’t know how much longer she can hold them back. Keep your weapon raised as you pass through the next doorway—a Gorn Rusher comes charging right at you. Gun down the Gorn Rusher, then step into the next corridor and take cover while returning fire. Several Gorn Initiates and Gorn Warriors are positioned behind cover. Take aim and make quick work of these enemies while using the weapon of your choice. The Gorn Warriors take a bit more damage than the smaller Gorn Initiates, but it’s nothing a Starfleet Phaser Rifle, Ravager, or Marauder can’t handle. Just stay behind cover to avoid getting hit by their Pillager weapons.
42: Gorn Warrior
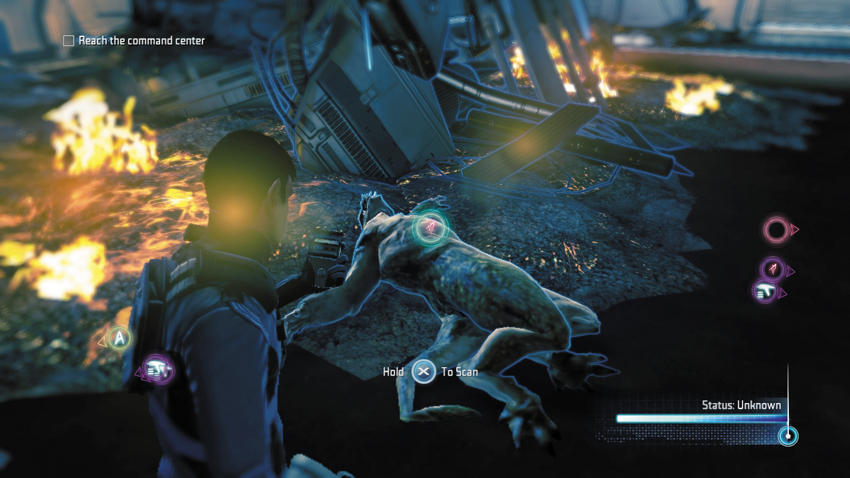
Once the firefight has concluded, scan one of the dead Gorn Warriors.
Type: Research Data
Set: Enemies/Gorn Enemies
XP: 100
Log Entry: Slightly bigger brain on this one, and slightly older than the cannon fodder. Musculature more developed, more aggressive demeanor. Not the deadliest of the species, but not to be taken lightly.
43: Gorn Pillager
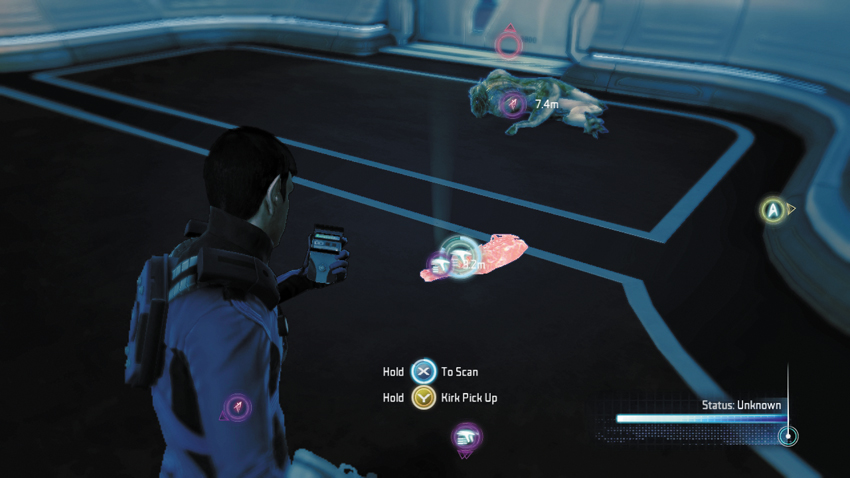
Scan one of the new weapons located next to one of the Gorn Warriors.
Type: Research Data
Set: Weapons/Gorn Weapons
XP: 100
Log Entry: A ballistic weapon stolen from an enslaved race and used by various Gorn Warrior classes. I shudder to think what they would do if they got their hands on Starfleet weapons. So let’s ensure that they don’t.
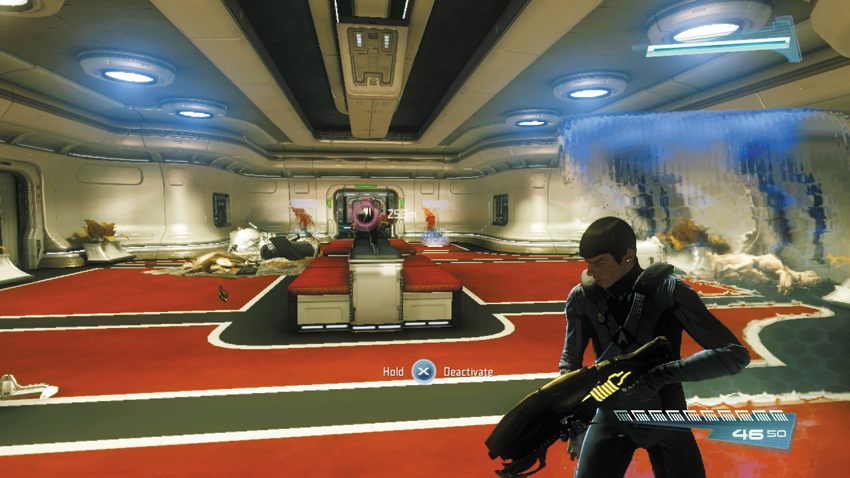
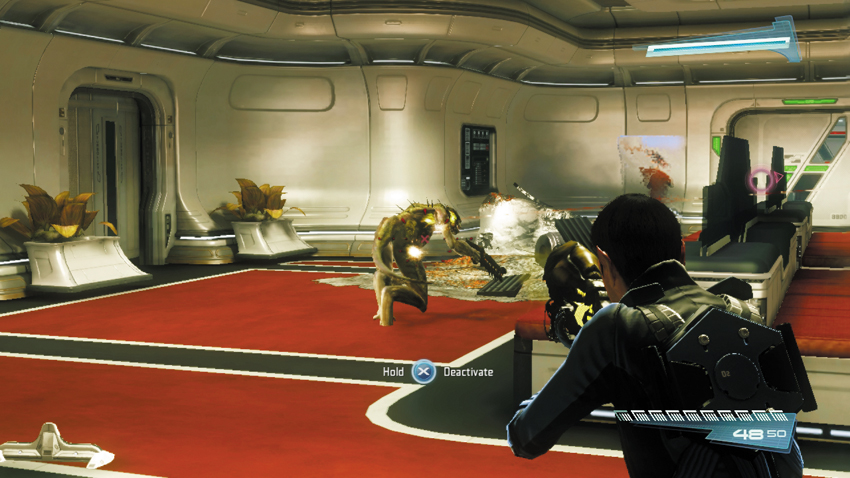
Enter the Turbolift room and help a few Starbase security officers repel a Gorn attack. Take cover behind one of the force fields and open fire with your chosen weapon. This room is filled with a variety of enemies, including Gorn Initiates, Gorn Rushers and a Gorn Enforcer approaching from the doorway at the opposite end. If you are trying out the new Pillager, the primary fire functions much like the Ravager, firing automatically. But the secondary fire shoots a spread shot, similar to the Marauder. This makes the Pillager effective at multiple ranges. Use the spread shot secondary fire function to drop the Gorn Rushers and Gorn Enforcer as they approach.
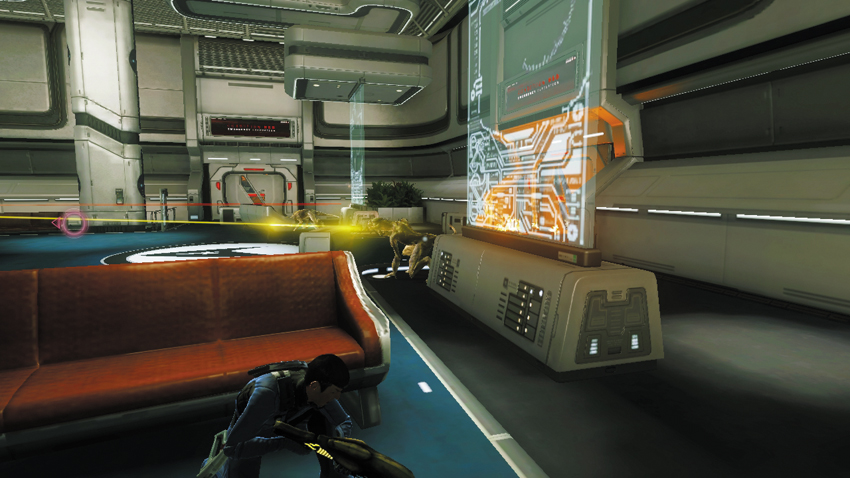
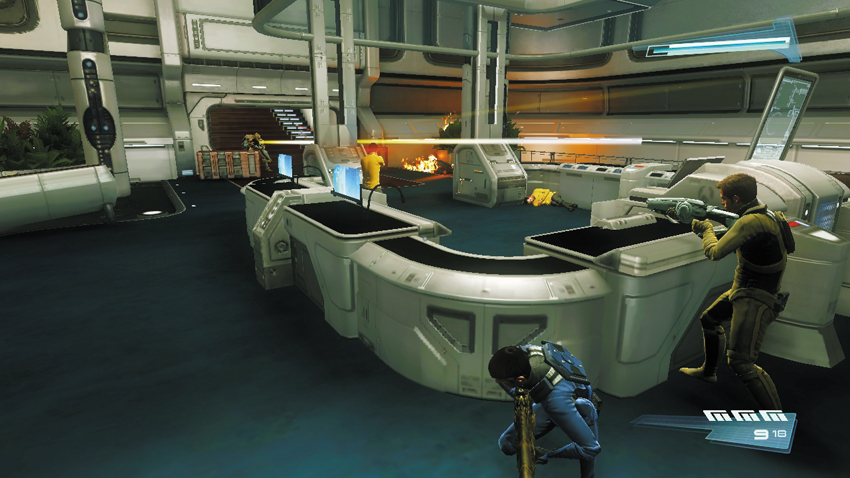
Continue into the main lobby and engage more Gorn enemies here. Take cover near the doorway and flank a few Gorn Initiates before they take notice of your presence. Next, turn your attention to the stairway leading to the security checkpoint. A Gorn Enforcer approaches from this direction, shooting and advancing toward you. Stay behind cover and return fire to drop him before he can fire a grenade from his Marauder. Two more Gorn Warriors stand in your path; they are behind the cover of crates flanking the stairway. If you haven’t already, grab a Marauder off one of the dead Enforcers and use its grenades to target the Gorn Warriors. At the very least, the grenades will knock down the Warriors, allowing you to finish them off at close range with the Marauder’s shotgun-like primary fire function. Once the security checkpoint is clear, rush up the stairs, through the security checkpoint, and into the command center.


T’Mar is still alive and fighting in the command center. Kirk and Spock join the fight, engaging a variety of Gorn enemies. But suddenly, two Gorn Enforcers and the Gorn Commander transport into the command center directly behind T’Mar. As soon as one of the Enforcers grabs T’Mar, the trio beam back out—the Gorn now have Surok and T’Mar! Just as Scotty is about to beam Kirk and Spock aboard the Enterprise, Spock charges at the Gorn Lieutenant—the same one who stole the Helios Device. As Spock makes contact, the enemy is caught in the transporter beam and transported aboard the Enterprise….