
Star Trek Guide Walkthrough Chapter 6: Volatile Cargo
Volatile Cargo
Chapter Summary
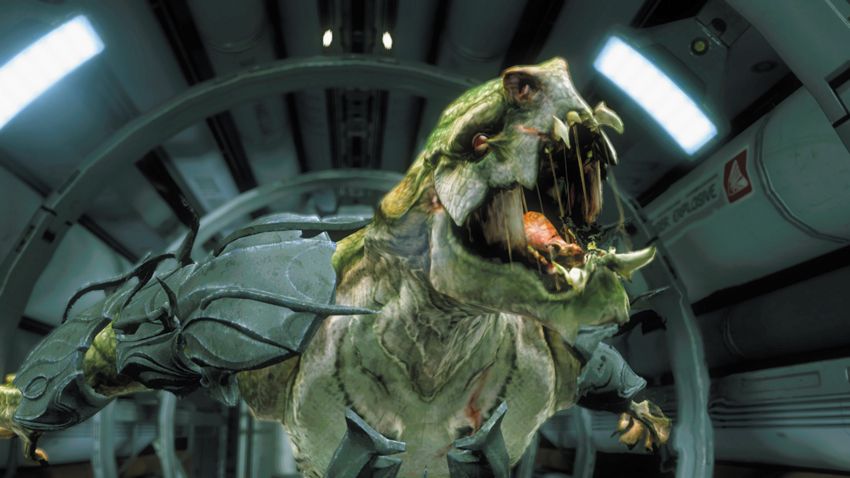
- The Gorn Lieutenant escapes after being transported aboard the Enterprise. Kirk and Spock must give chase to subdue the Lieutenant.
Volatile Cargo Collectables
| # | Name |
|---|---|
| 1 | Bones’s Audio Log #1 |
| 2 | Bones’s Audio Log #2 |
| 3 | Uhura’s Audio Log #1 |
| 4 | Turbolift Repair Kit |
| 5 | Uhura’s Audio Log #2 |
| 6 | Quarantine Control Console |
| 7 | Uhura’s Audio Log #3 |
| 8 | Bones’s Audio Log #3 |
| 9 | Exploding Drone |
| 10 | Tribble (4 of 7) |
Achievements/Trophies
| Icon | Name | Criteria | Gamerscore | Trophy |
|---|---|---|---|---|

|
Beat Volatile Cargo and Flashback | Completed the Volatile Cargo and Flashback chapters on any difficulty | 20 | Bronze |
Part 1
Enterprise
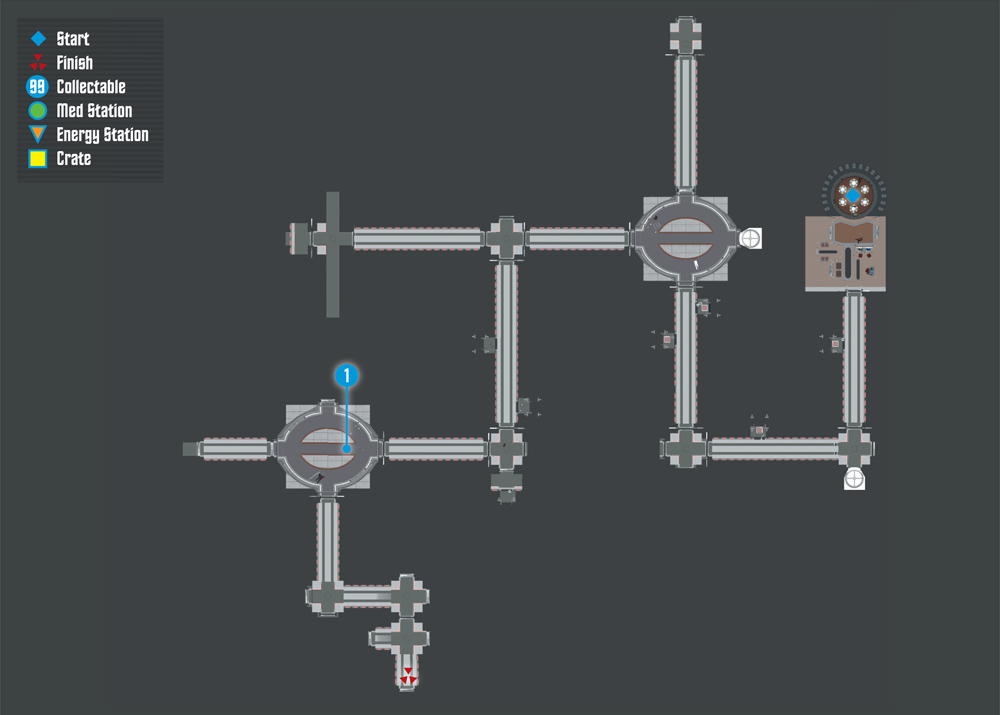
Collectables Checklist
| # | Name | Type | XP |
|---|---|---|---|
| 1 | Bones’s Audio Log #1 | Audio Log | 50 |
 New Objective: Chase the Gorn Lieutenant down the hallway
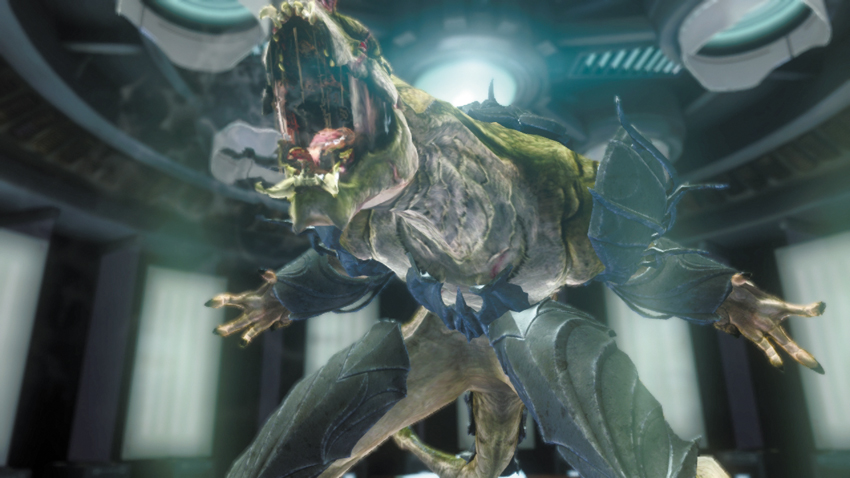
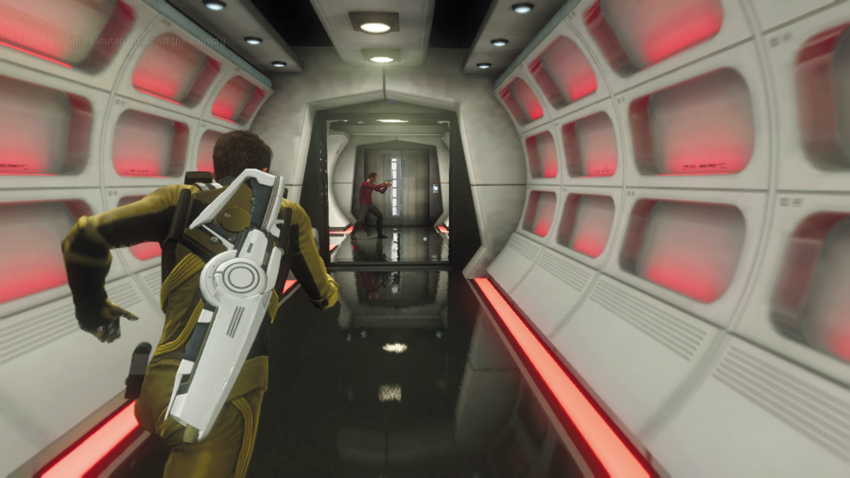
During the evacuation of the Starbase, Scotty inadvertently beams the Gorn Lieutenant aboard the Enterprise, along with Kirk and Spock. Upon arrival in the transporter room, the Gorn Lieutenant throws Spock across the room and he crashes into Kirk. Next, the creature turns his rage toward on an unfortunate redshirt, while seemingly brushing off shots from a Starfleet Phaser Rifle. After slamming the security officer against the bulkhead, the Gorn Lieutenant rushes down the adjoining hall. Chase after him! Race out of the Transporter Room and pursue the enemy. Along the way, Kirk orders Uhura to lock down all doors on this level. During this sequence there is only one path to follow. So simply sprint after the fleeing enemy. Before long the Gorn Lieutenant renders himself invisible by utilizing some sort of cloaking device. Crew members do their best to stop him, but they’re no match for this hulking, invisible enemy.
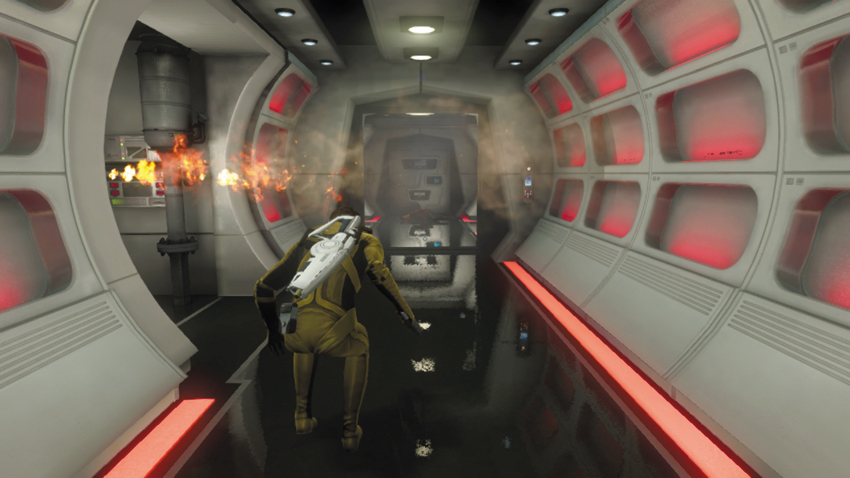
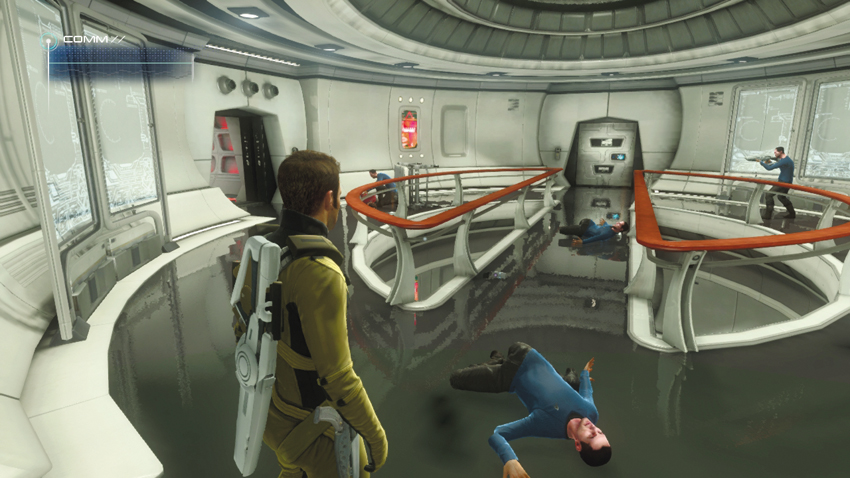
During the chase, the Gorn Lieutenant triggers an explosion on the left side of the corridor, causing a jet of fire to block your path. There’s no way to extinguish this blaze, so instead, simply crouch down and pass beneath it. Beyond this obstacle, continue down the next corridor until you come to a security room. Here several crew members open fire on the invisible enemy, but are unable to stop him. Uhura warns that the creature is heading directly for the Officers’ Quarters. Spock warns that they must prevent the enemy from coming in direct contact with the crew. Kirk orders Uhura to trap the Lieutenant in the Officers’ Quarters by shutting down all exit points. Before leaving this security room, scan the floor for an audio log.
1: Bones’s Audio Log #1
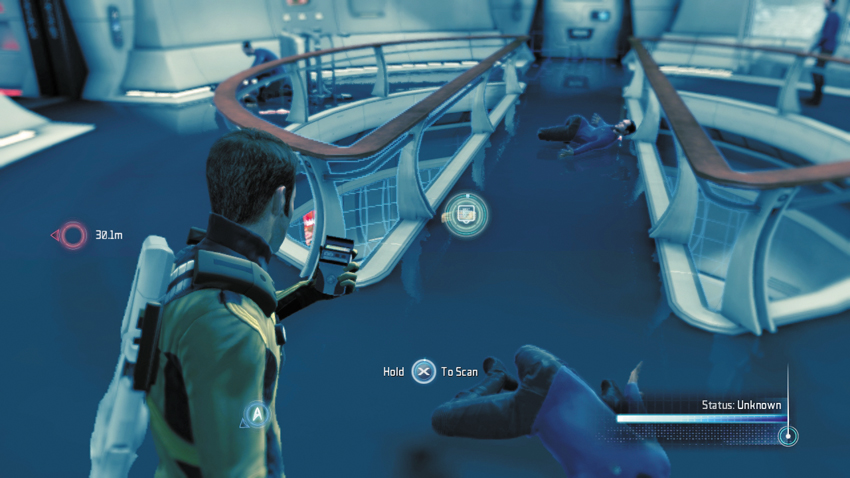
This audio log is located in the security room, along the center walkway.
Type: Audio Log
Set: Volatile Cargo Part 1/Logs
XP: 50
Log Entry: Chief Medical Officer’s log, supplemental. I should’ve been a farmer, stayed in Mississippi, and bought a nice plot of land. Spent my days chasing chickens and sippin’ lemonade on the porch. Instead, I’m about as far from Mississippi as you can get, chasing cures to alien diseases we never even knew existed, and drinking stale Romulan ale. Not a porch in sight.
New Objective: Wait for Scotty to lift quarantine
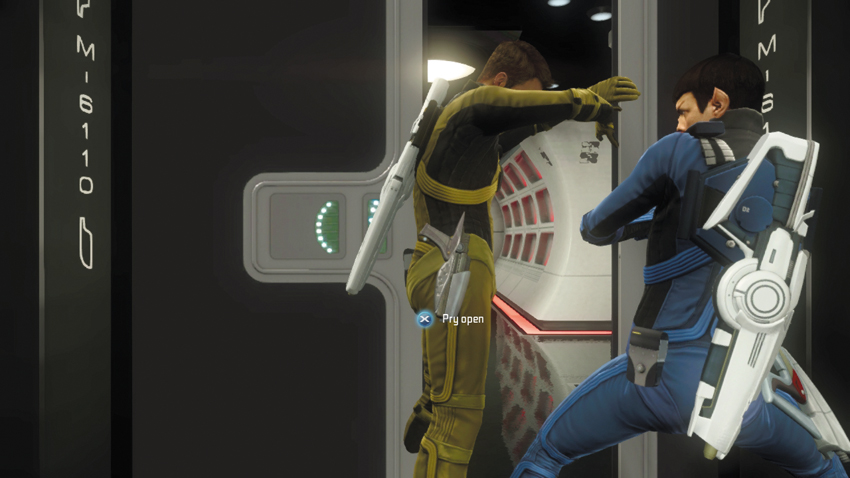
Continue down the next corridor and work with you partner to pry open a door. Uhura has sealed the next door and trapped the Gorn Lieutenant in the Officers’ Quarters—you must wait for Scotty to override the door before you can enter. Scotty voices reservations about your entering the Officers’ Quarters. But Kirk is determined to stop the creature’s rampage before it tears apart the ship. Scotty follows orders and grants Kirk and Spock access to the chaotic Officers’ Quarters.
Part 2
Officers’ Quarters
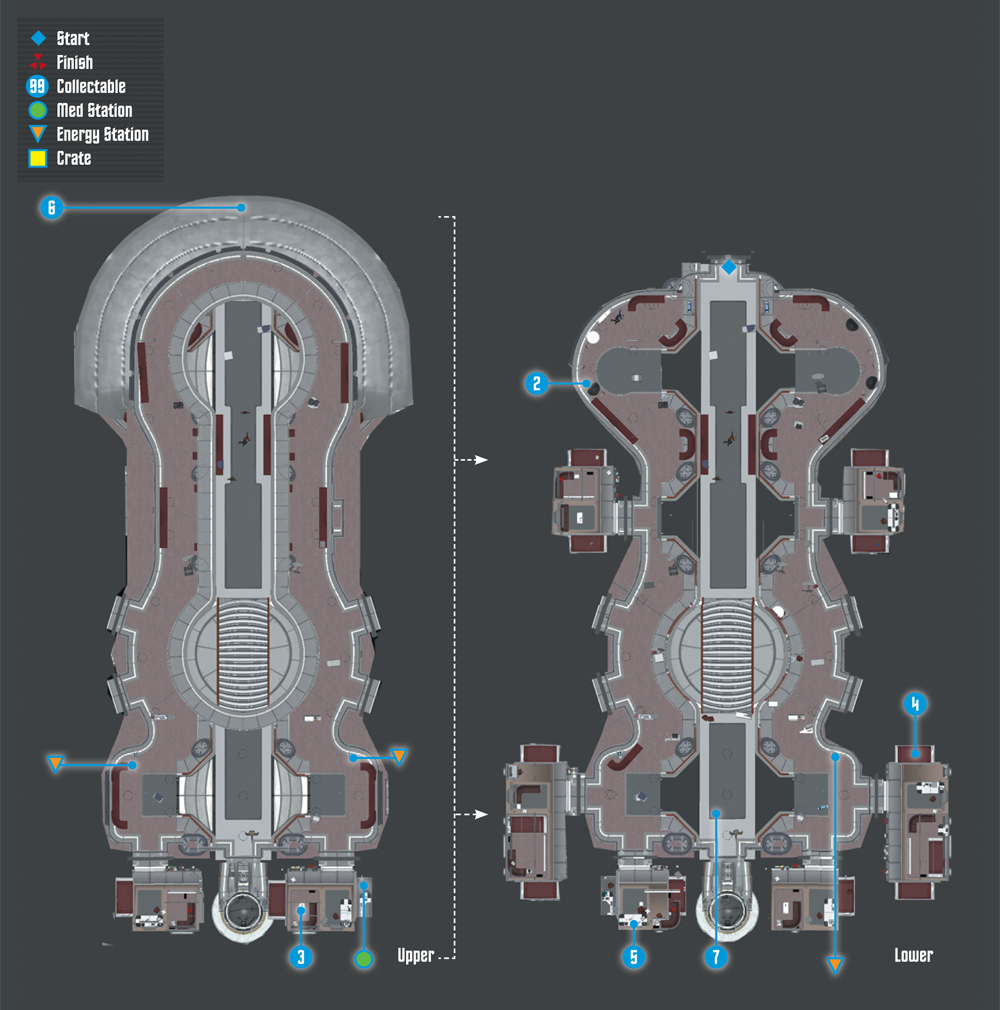
Collectables Checklist
| # | Name | Type | XP |
|---|---|---|---|
| 2 | Bones’s Audio Log #2 | Audio Log | 50 |
| 3 | Uhura’s Audio Log #1 | Audio Log | 50 |
| 4 | Turbolift Repair Kit | Research Data | 100 |
| 5 | Uhura’s Audio Log #2 | Audio Log | 50 |
| 6 | Quarantine Control Console | Research Data | 100 |
| 7 | Uhura’s Audio Log #3 | Audio Log | 50 |
Commendation: Complete your objective without directly killing any Infected (Non-Lethal)
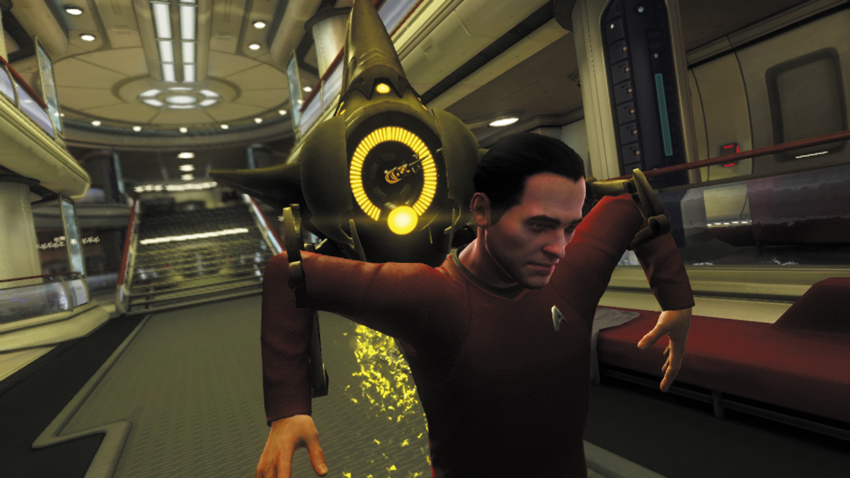
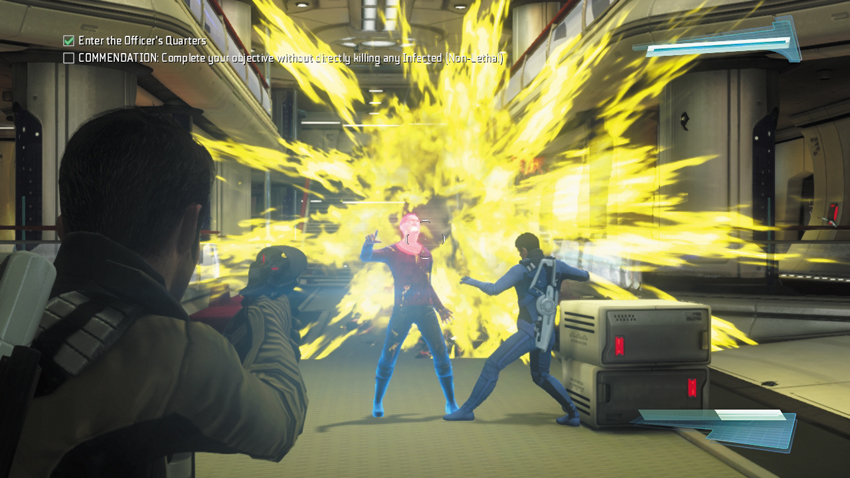
Upon entering the Officers’ Quarters, an Attack Drone is seen infecting one of the crew members, turning him and several others against you. Immediately stun the attacking infected crew member as he charges at you. But watch out for the red, glowing drone approaching behind him—this is an Exploding Drone. Once the infected crew member is stunned, use your phaser’s kill setting to destroy the Exploding Drone before it gets too close. True to their name, Exploding Drones move directly toward you and explode when they’re within a few feet, dishing out enormous damage. So keep an eye open for these red drones and destroy them before they get too close for comfort. With the Exploding Drone eliminated, perform a takedown on the still-stunned infected crew member. To earn the non-lethal commendation in the section, you must use takedowns on all infected crew members. So keep your phaser equipped and be prepared to stun.
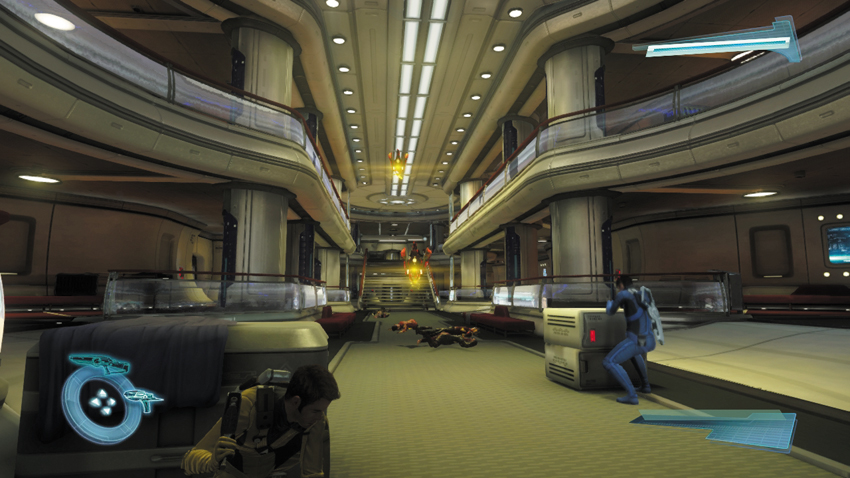
Stay near the Officers’ Quarters’ entrance and take cover behind one of the nearby crates. Continue stunning infected crew members charging toward you, but don’t leave cover just yet. Watch for two Attack Drones that approach from the room’s upper level. You could stun these drones, then hack them to give yourselves a bit more firepower. But it’s much faster to blast these pesky attackers out of the air using your phaser’s kill setting.
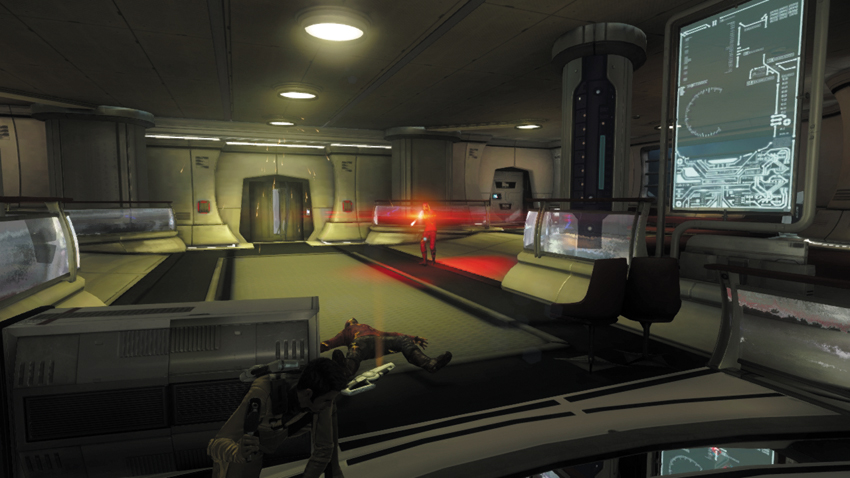
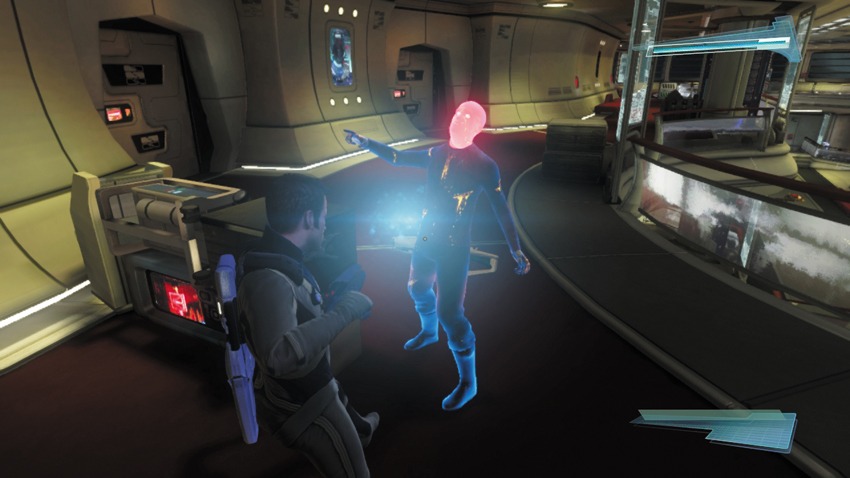
Once the Attack Drones are down, cautiously approach the staircase ahead, using your tricorder to identify two infected crewmen patrolling the second floor, each armed with a Starfleet Phaser Rifle. Creep up the steps and take cover behind the crate at the top. From behind cover, engage the two infected crewmen. Stun them with your phaser and incapacitating them with a takedown. Once the room is clear of threats, Kirk requests an update from Dr. McCoy regarding the antidote. Bones reports that progress on a cure is slow; the DNA coding of the Gorn is very complex. He’s going to need a sample of the toxin from someone who was recently infected.
New Objective: Scan infected crewman for Bones
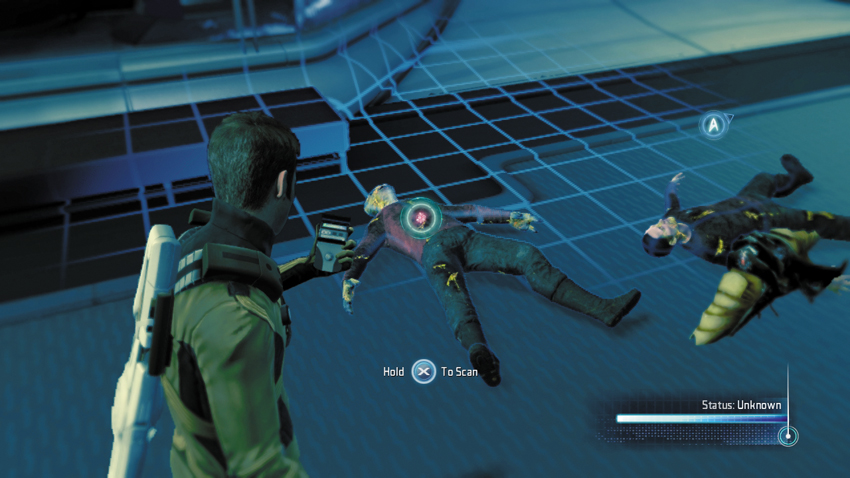
Before scanning one of the infected crewmen with your tricorder, take a moment to replenish your ammo. There’s an Energy Station on the second floor, on either side of the staircase. And if you haven’t already done so, grab a Starfleet Phaser Rifles off one of the incapacitated crewmen. When you’re well stocked and armed, scan one of the infected crewmen on the floor below to retrieve the sample for Bones.
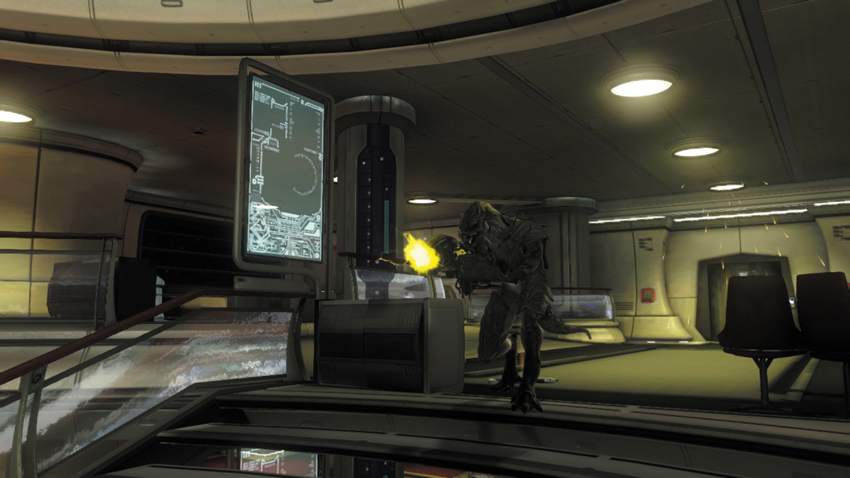
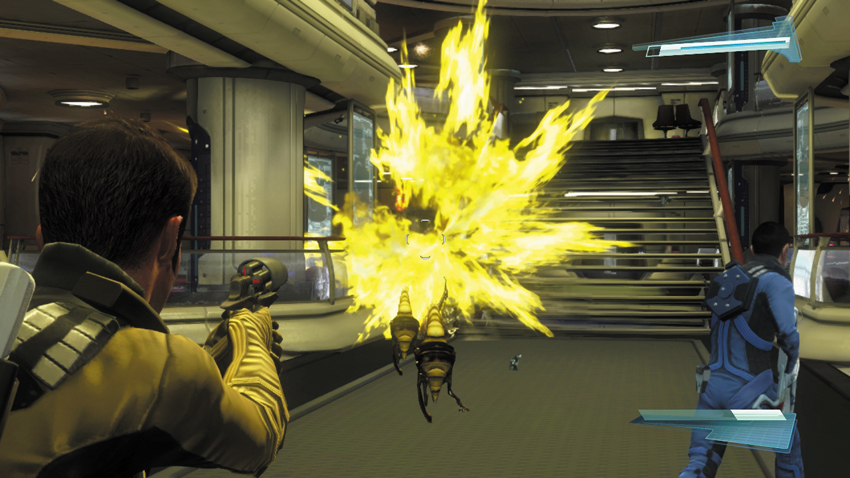
Immediately after performing the scan on one of the infected crewman, the Gorn Lieutenant materializes on the second floor and fires down at Kirk and Spock for a few seconds before disappearing. The Gorn Lieutenant is obviously trapped in the Officers’ Quarters, but you’ll need to find a way to track this invisible enemy’s movements. As soon as you regain control, turn your attention to the nearby Exploding Drone, which was deployed by the Gorn Lieutenant. Hit it with your phaser or Starfleet Phaser Rifle before it gets too close and explodes.
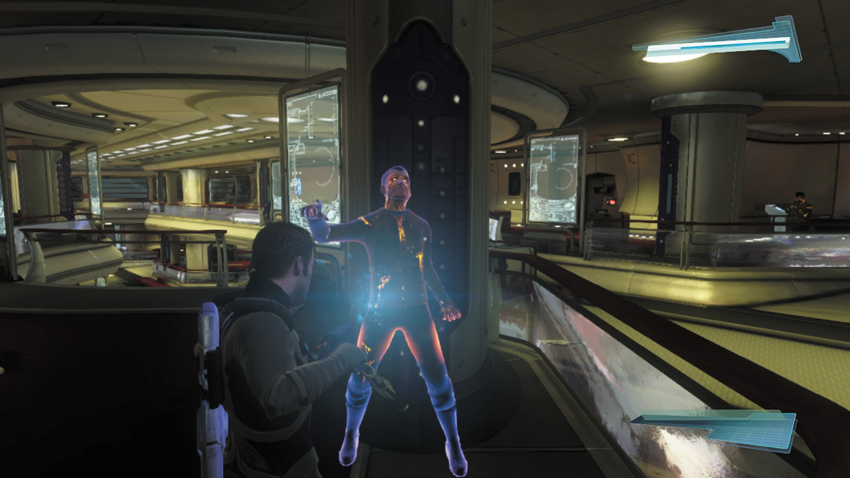
With the Exploding Drone out of the way, race upstairs. But don’t hunt down the Gorn Lieutenant just yet. Two more infected crewman appear on this floor, each armed with a Starfleet Phaser Rifle. Stay behind cover and hunt down these infected enemies one by one, stunning them with your phaser, then rushing in to close range to perform a takedown.
New Objective: Use the Haylon Sprayers to reveal the Gorn Lieutenant for attack!
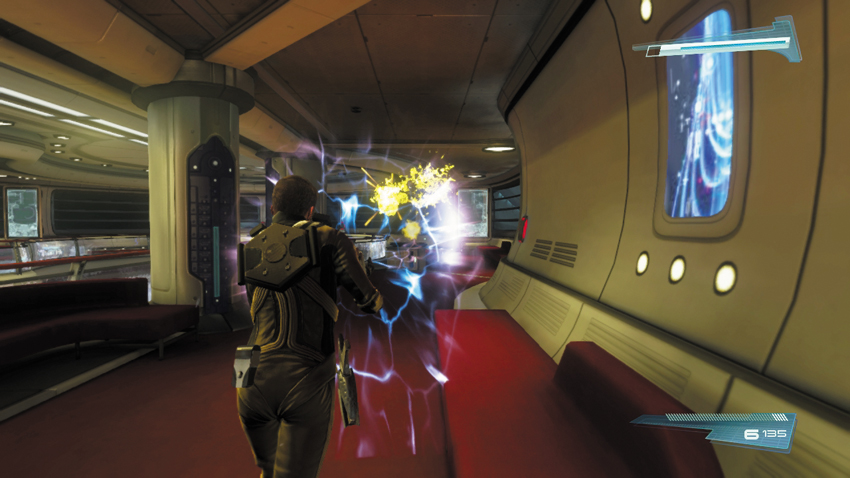
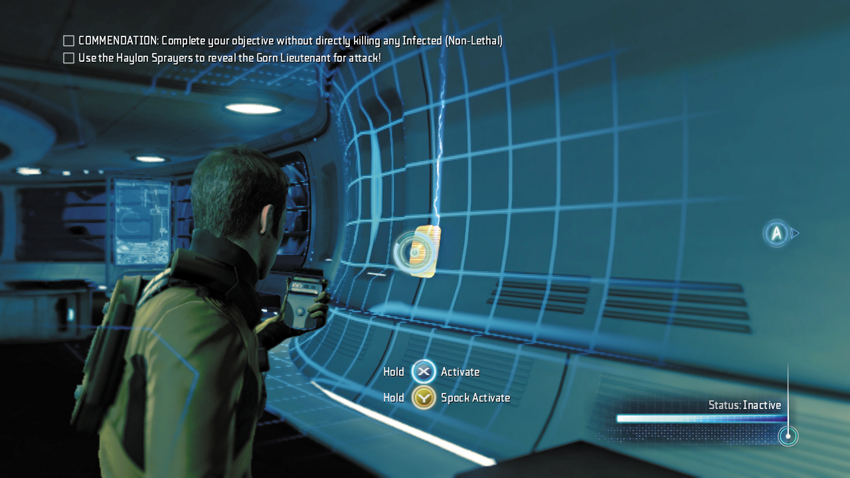
Now you can begin the hunt for the Gorn Lieutenant. The creature remains on the upper floor, taking shots at you and your partner while remaining cloaked. Equip your Starfleet Phaser Rifle and use its secondary fire feature to deploy the weapon’s shield. While active, the shield blocks all incoming shots so you can get close to the Gorn Lieutenant’s position without taking damage. But you can’t score a hit on the enemy while he remains cloaked. Spock suggests activating the fire suppression systems in the room to emit an opaque gas, potentially outlining the enemy. Unfortunately, Scotty can’t activate the suppression system remotely—each system must be activated manually. Using your tricorder, locate the panels on the perimeter of the upper floor to activate the connected fire suppression system. Each interaction activates the suppression system for only a small portion of the upper level. So move toward the cloaked Gorn Lieutenant, and activate the nearby suppression system to reveal him.
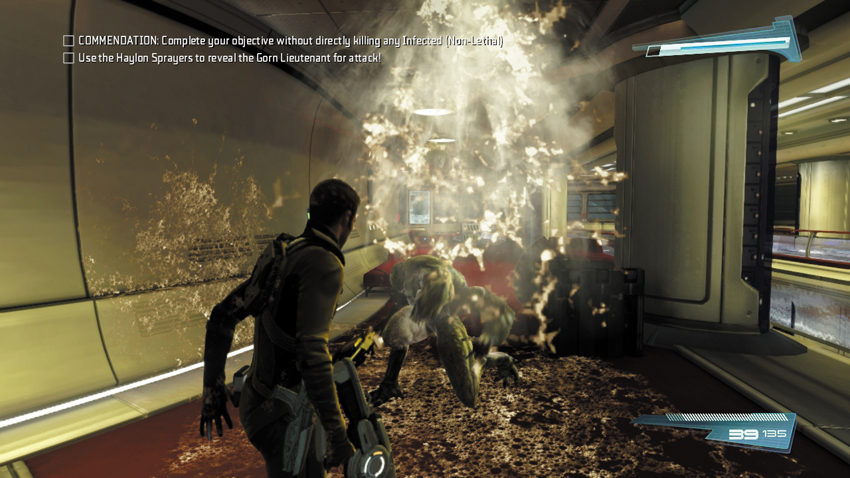
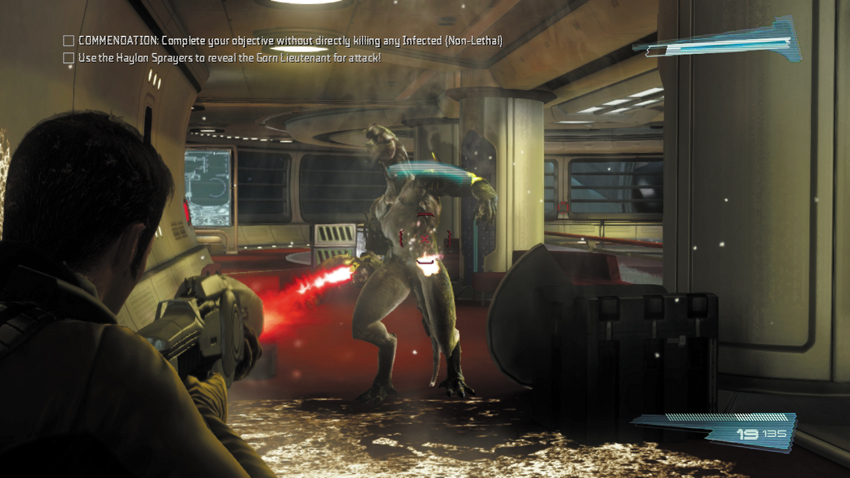
The fire suppression system does more than outline the Gorn Lieutenant—it temporarily disables his cloaking device! Take this opportunity to dish out some damage. Fire your Starfleet Phaser Rifle at him, but don’t expect the Lieutenant to just stand still and absorb your fire. Once he recovers, he returns fire with his weapon. So be ready to take cover to avoid getting hurt. Eventually, the Gorn Lieutenant disappears again. Remain mobile and watch for his incoming fire. Race toward his position, using your weapon’s shield for cover, then activate the fire suppression system above him to disable his cloaking device. Continue chasing the Gorn Lieutenant around the top floor of the Officers’ Quarters, dishing out more damage with each engagement.
New Objective: Scan the Lieutenant’s blood for Scotty
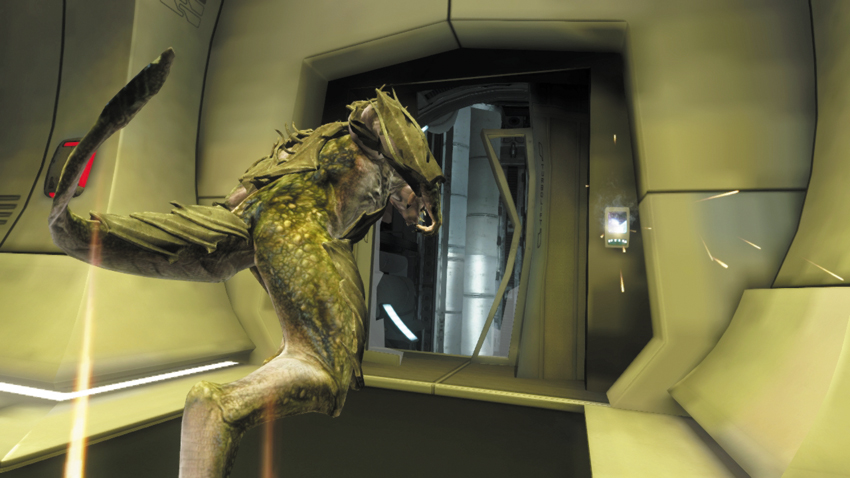
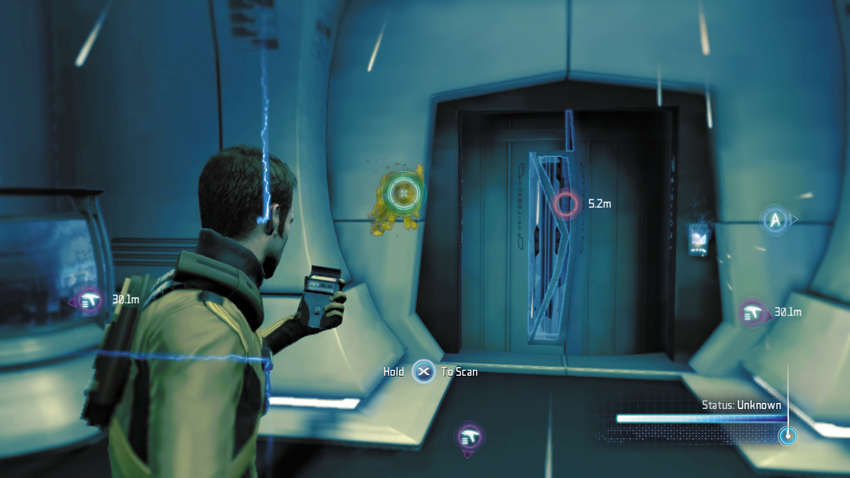
After a few successful engagements, the Lieutenant pries open the Turbolift doors on the top floor and escapes. Spock advises against following the creature into the Turbolifts, but there’s no other option. Scotty reports that he may be able to isolate the Lieutenant’s DNA signature if you can get a sample of his blood. Then you can use your tricorder to track him. Spock theorizes the Lieutenant was injured during your fight, possibly leaving behind a trail of blood. Move to the Turbolift door on the upper level, where the creature escaped. To the left of the door is a spot of Gorn blood; scan it with your tricorder. Scotty reports that he’s received the blood sample and will begin working on updating your tricorder. In the meantime, you need to follow the Gorn Lieutenant into the Turbolift system. But before doing so, take a moment to scan a variety of collectables in the Officers’ Quarters. Six collectables are scattered among the two floors. Return to the first floor, where you entered, and begin scouring the room with your tricorder.
2: Bones’s Audio Log #2
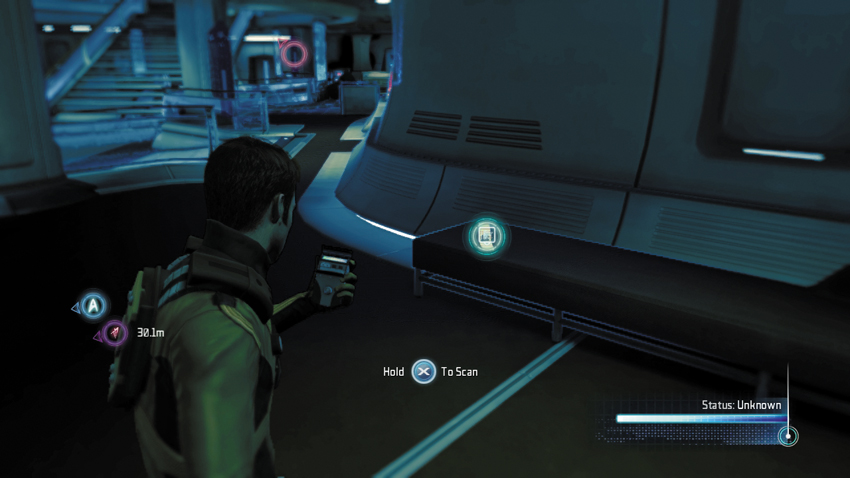
This audio log is located on the Officers’ Quarters ground floor, positioned on a bench to the right of the entry point.
Type: Audio Log
Set: Volatile Cargo Part 2/Logs
XP: 50
Log Entry: Chief Medical Officer’s log, supplemental. I love the captain like a brother, I really do. But I wish he’d ask me the next time he goes planetside for some R&R. Every time an away team goes out, every time, they bring back some cough or tickle or itch that sneaks by quarantine and ends up in my lab. Bones to the rescue once again. I’m all for exploring new worlds, just wish it didn’t mean filling up my Sickbay.
3: Uhura’s Audio Log #1
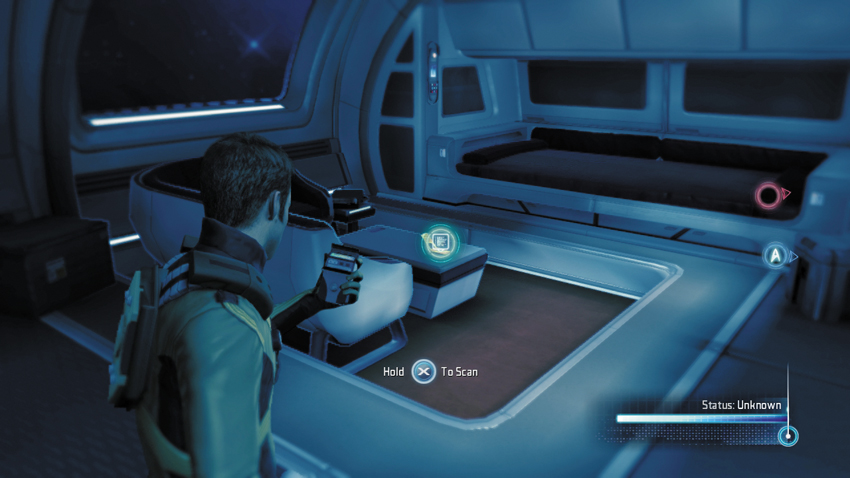
Next, head upstairs and turn left. Enter the open doorway to the left of the Turbolift where the Gorn Lieutenant escaped. This audio log is located on a coffee table in these quarters.
Type: Audio Log
Set: Volatile Cargo Part 2/Logs
XP: 50
Log Entry: Communications log, supplemental. Analysis of the unknown alien language recorded in New Vulcan is underway. The basic phonologies are an interesting mix of mammalian and squamate, with a porosity similar to advanced species encountered mostly in subtropical ecosystems. But the variations unique to this species are unprecedented. I just wish I had more time to study them.
4: Turbolift Repair Kit
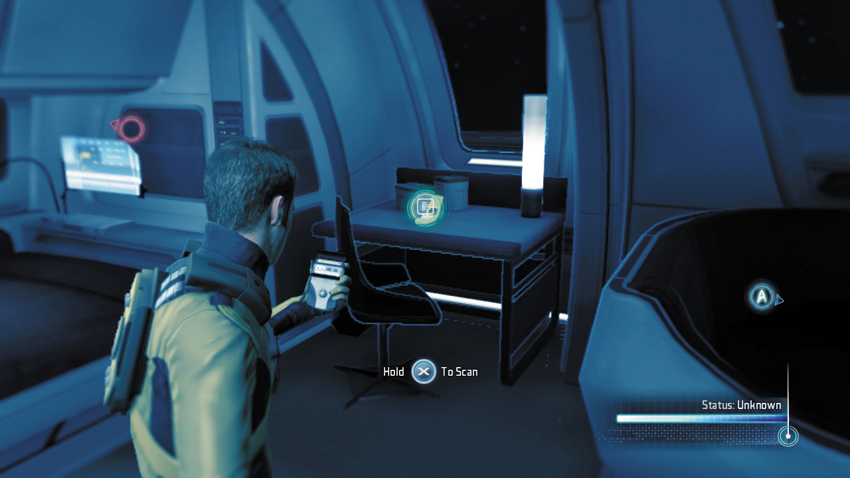
Enter the quarters next door, on the right, to scan another collectable, sitting on a table.
Type: Research Data
Set: Volatile Cargo Part 2/Federation Technology
XP: 100
Log Entry: Set of specialized tools designed for quick and complete repair of Turbolift functions, including pulse reset and magnetic resonance recalibration. You’d be surprised how often these things break down.
5: Uhura’s Audio Log #2
Now, enter the quarters to the right of the Turbolift, also on the second floor. This audio log is on a desk inside the quarters.
Type: Audio Log
Set: Volatile Cargo Part 2/Logs
XP: 50
Log Entry: Communications log, supplemental. I’ve been able to break down the alien syntax enough to decipher a basic lexicon. What I found is troubling. Even in exchanges between members of this species themselves, every word, every sentence, every intonation, is highly aggressive. Obviously we can only analyze the fragments of their speech that we’ve captured so far. But I doubt their language has anything approaching a word for peace.
6: Quarantine Control Console
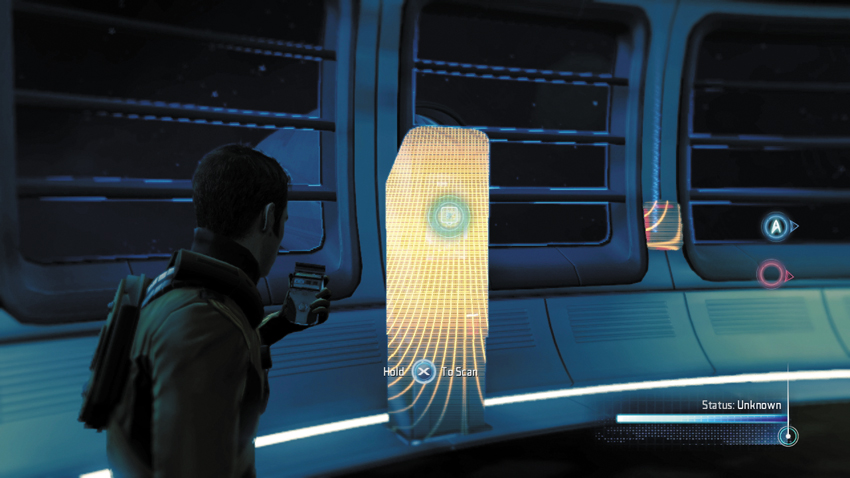
While still on the second floor, scan this console at the far end of the room, just above the doorway where you originally entered the Officers’ Quarters.
Type: Research Data
Set: Volatile Cargo Part 2/Federation Technology
XP: 100
Log Entry: Very important piece of machinery, this. Think of it as a high-tech canary in a galactic coal mine. If it starts making strange noises, odds are something mean and microscopic has found its way onto the ship uninvited. Best seek out Dr. McCoy. Not the Chief Engineer. Sorry, can’t help you. Please stop coughing in my direction.
7: Uhura’s Audio Log #3
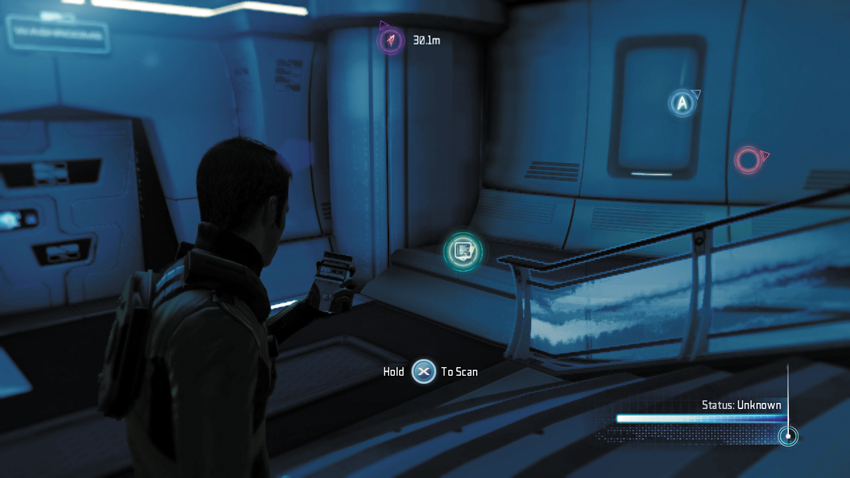
Now head downstairs and approach this stairway leading down to the washroom. This audio log is located on the ledge to the right.
Type: Audio Log
Set: Volatile Cargo Part 2/Logs
XP: 50
Log Entry: Personal log, Lieutenant Nyota Uhura. Spock won’t admit it to me, but I can tell how much it means to him to see a new Vulcan colony established. He rarely talks about the loss of his homeworld. If anything, it’s like he’s become more Vulcan since the tragedy. But I know him too well. He might not show it, but the promise of a new start for his people fills his heart with hope.
Turbolift System
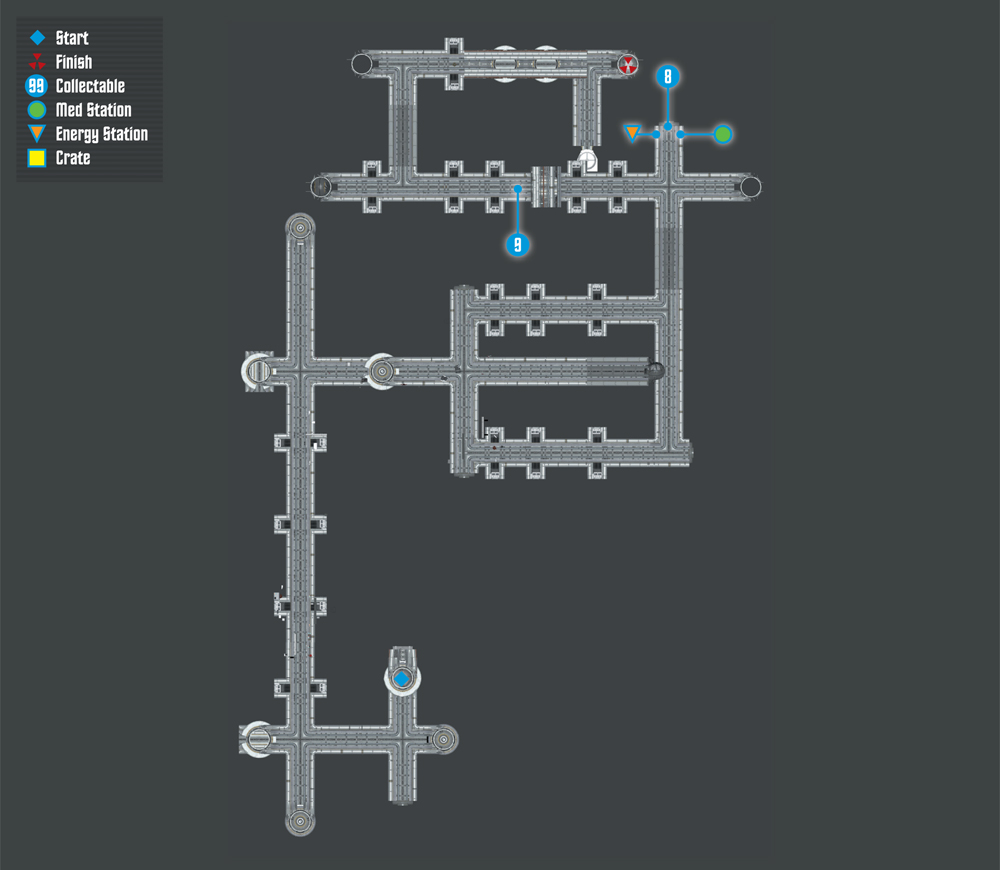
Collectables Checklist
| # | Name | Type | XP |
|---|---|---|---|
| 8 | Bones’s Audio Log #3 | Audio Log | 50 |
| 9 | Exploding Drone | Research Data | 100 |
New Objective: Pursue the Gorn Lieutenant down the Turbolift
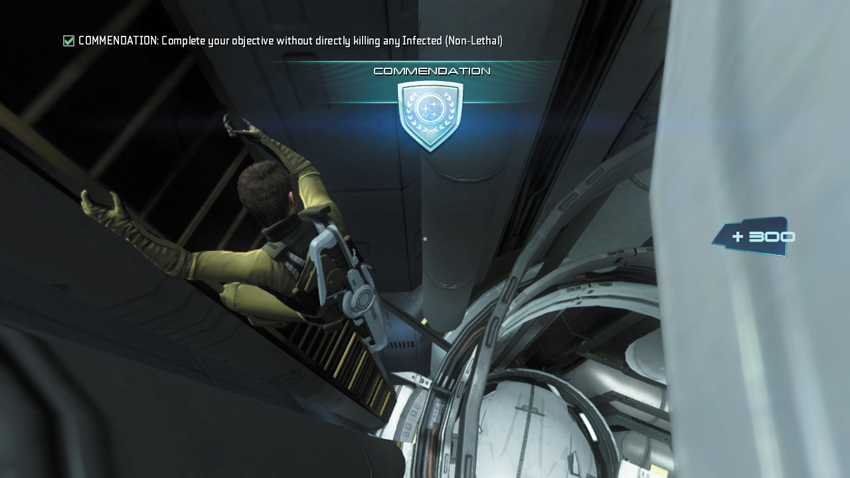
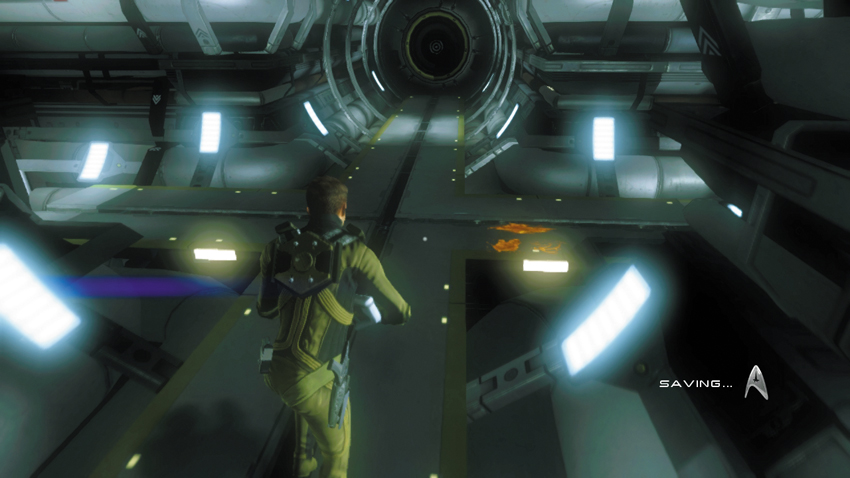
After tracking down all six collectables in the Officers’ Quarters, advance to the Turbolift on the first floor, behind the stairway. As the door opens, step inside and interact with a ladder leading down into the Turbolift shaft. Slide down the ladder to reach the bottom. If you managed to incapacitate all the infected crewmen in the Officers’ Quarters, you earn the non-lethal commendation, worth 300 XP. When you reach the bottom of the shaft, look for a pool of orange blood on the floor ahead, indicating the direction in which the wounded Gorn Lieutenant traveled. These pools of blood are found at each intersection in the Turbolift system and they help you determine which way to go.
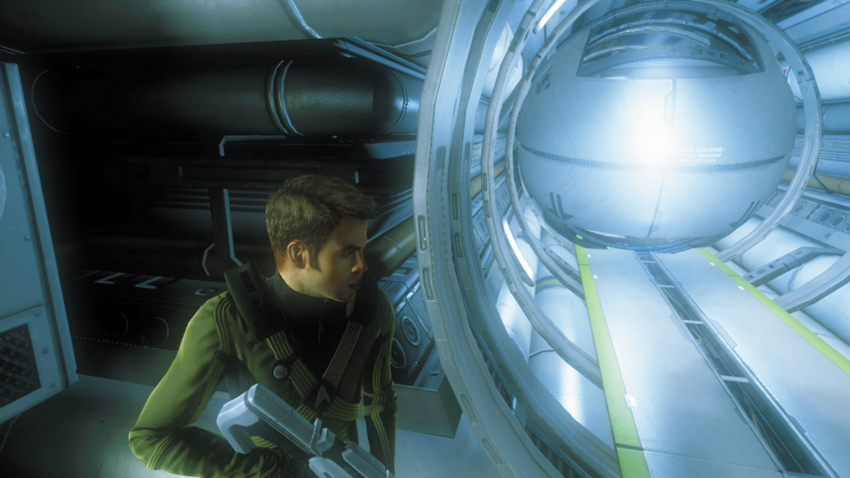
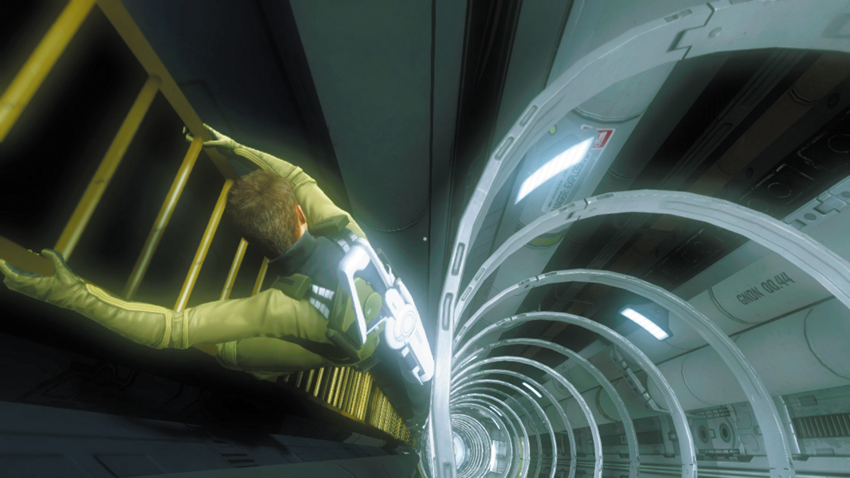
The second pool of alien blood leads to a long tube, frequented by fast moving Turbolifts. These sphere-shaped vehicles travel down the tube at a rapid speed. To avoid getting smashed by an oncoming Turbolift, move into one of the alcoves on the left or right sides of the tube, and wait for the Turbolift to pass. Once the Turbolift has passed, return to the tube and sprint to the next alcove. As long as you take your time while advancing, and leapfrog from one alcove to the next, you can successfully reach the end of the tube. Turn right where you spot the next blood stain. This short passage leads to another ladder down. Slide down the ladder as Turbolifts continue racing through the adjoining tube. As you near the bottom of the ladder, a Turbolift stops in the tube and you can walk across the top of it to reach the next span.
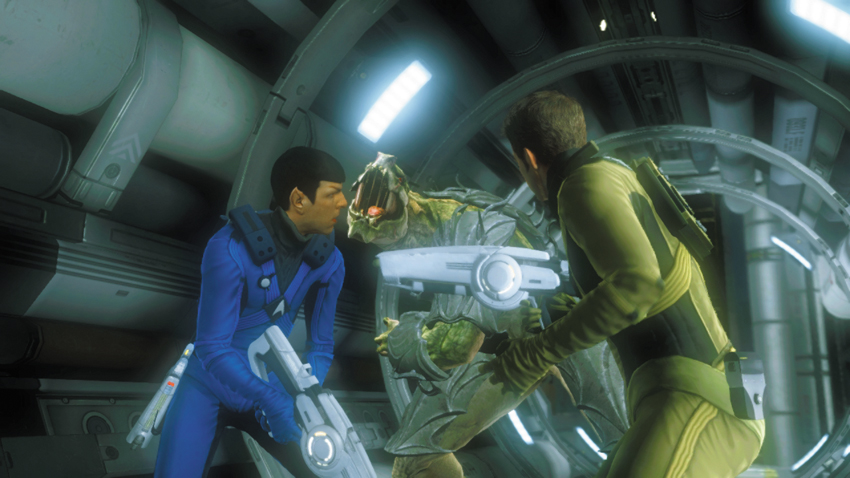
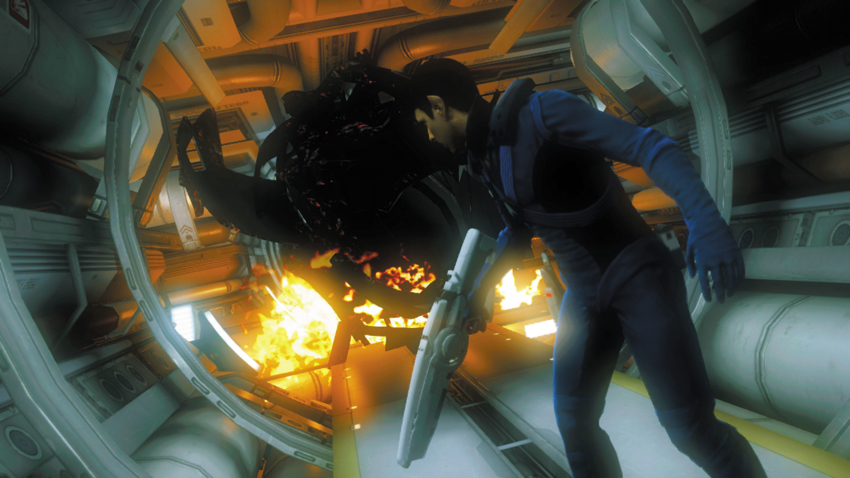
A cinematic shows the Gorn Lieutenant dropping down from the ceiling, just behind Kirk and Spock. The creature knocks Kirk and Spock out of his way, then charges down an adjoining tube, damaging a Turbolift along the way. As the flaming wreckage of the Turbolift approaches, Kirk and Spock dive in opposite directions to avoid the getting smashed.
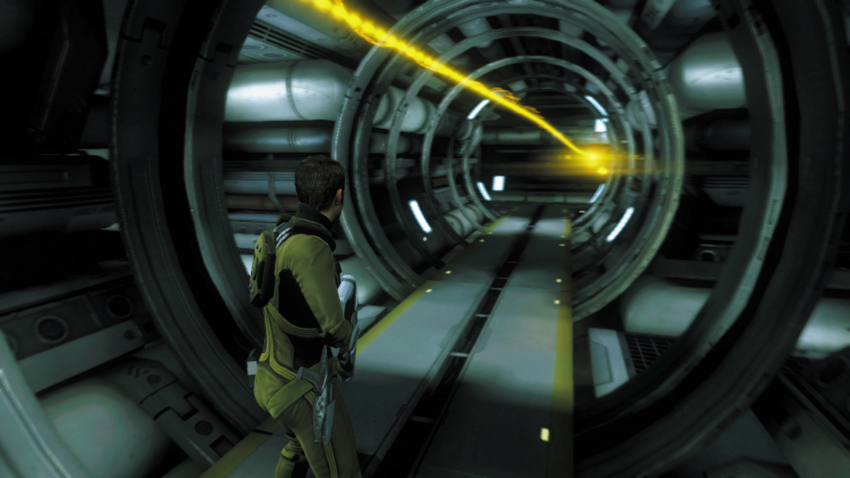
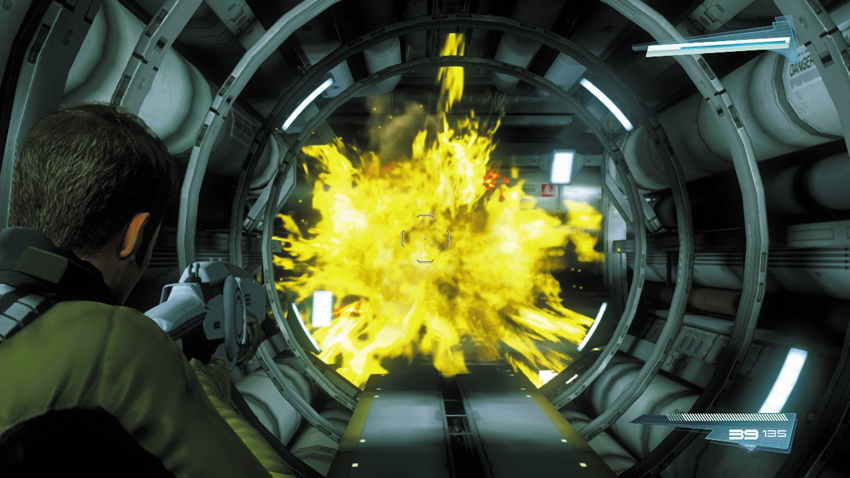
At this point, Kirk and Spock are separated by the wreckage of the Turbolift. Regardless of which character you’re playing as, use your tricorder to get a reading on the next waypoint marker and move out—you’ll rendezvous with your partner soon enough. But be ready to engage an Attack Drone along the way—Kirk and Spock each face one Attack Drone in their respective passages. There’s no need to hack and stun these drones, so use your Starfleet Phaser Rifle to blast them to bits. If necessary, take cover in one of the alcoves as you return fire. If you act quickly, you can eliminate these threats before they can even fire. When the Attack Drone is out of your way, proceed to the next intersection to meet up with your partner.
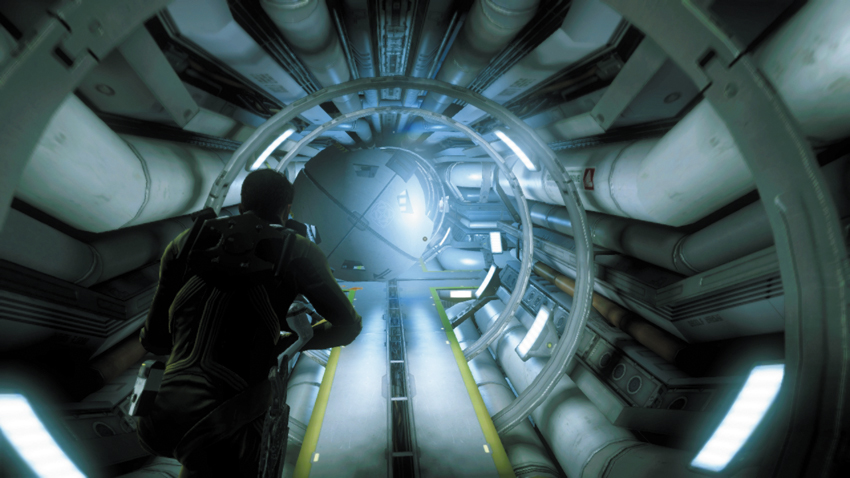
Reunited with your partner, continue moving down the next tube marked with a blood stain on the floor. Approach the next intersection with caution—Turbolifts are still active in the adjoining tube. Pause at the intersection and wait for a Turbolift to pass, then move straight ahead to enter a short dead-end tube containing a Med Station and an Energy Station. Chekov reports that the creature is heading for the Shuttle Bay. The Gorn Lieutenant’s best chance of survival is to escape the Enterprise. Before chasing after the enemy, take a moment to stock up on ammo then scan the floor with your tricorder to retrieve another audio log.
8: Bones’s Audio Log #3
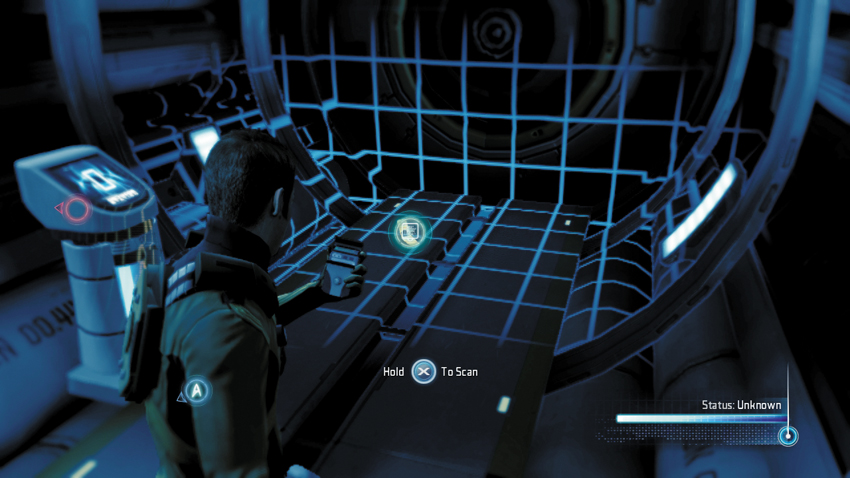
Scan this audio log in the dead end tube, next to the Energy Station.
Type: Audio Log
Set: Volatile Cargo Part 2/Logs
XP: 50
Log Entry: Personal log, Chief Medical Officer Leonard McCoy. Sometimes I feel like a space-faring Charles Darwin—if the good ship Beagle was equipped with a warp core. The endless variety of species we encounter never fails to amaze. When I’m not treating patients, I’m poking and prodding at yet another sample of a previously unknown alien life—some scarier than others. I just hope that if survival of the fittest is a constant throughout the universe, our species still has a fighting chance.
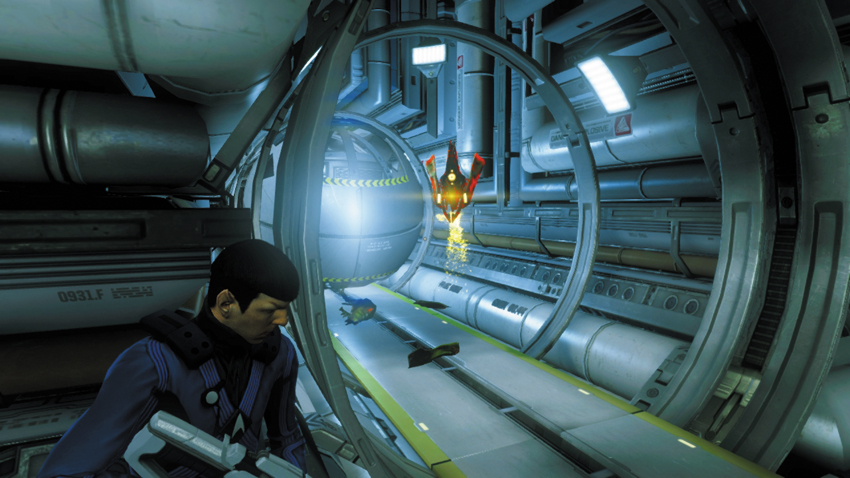
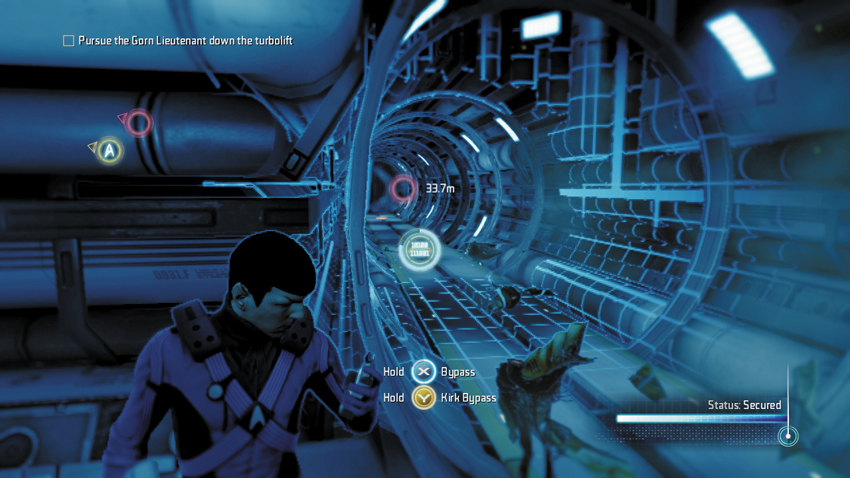
From the dead-end tube, turn right, moving toward the incoming Turbolifts. Once again, seek cover along the alcoves on the tube’s perimeter to avoid getting smashed during this advance. There are also a few Exploding and Attack Drones which appear in this tube. Simply take cover in an alcove and let an oncoming Turbolift destroy these threats. But if an Exploding Drone gets too close, take it out with your Starfleet Phaser Rifle. However, the Turbolifts will not destroy the mines on the floor left behind by the Gorn Lieutenant. You can either bypass these mines with your tricorder, or simply shoot them with your weapon to cause them to explode. But if you choose to shoot the mines, do so from a safe distance.
9: Exploding Drone
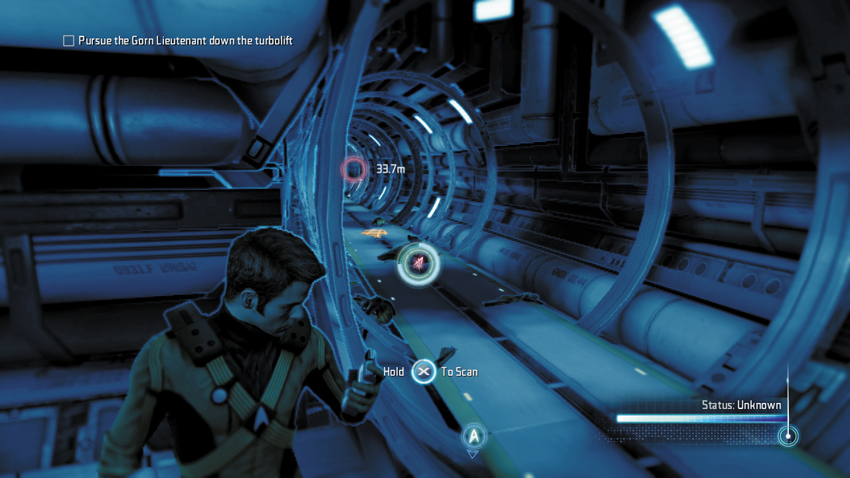
After encountering an exploding drone, scan the wreckage left behind while tucked away in one of the perimeter alcoves—you don’t want to get smashed by an incoming Turbolift while conducting your scan.
Type: Research Data
Set: Enemies/Gorn Security
XP: 100
Log Entry: The Gorn have made a drone that is suicidal. Of course they have.
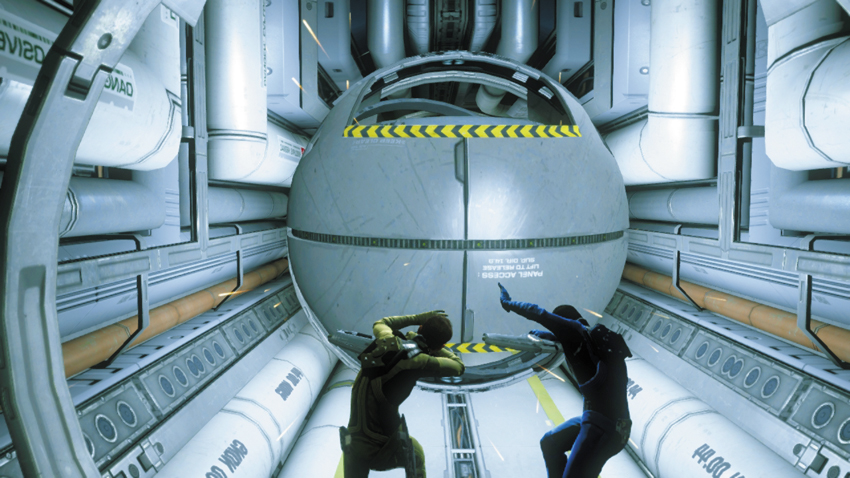
Continue advancing through the Turbolift system, following the pools of blood at the next two intersections. Watch out for an Exploding Drone and two mines in the next tube, as well as passing Turbolifts. But as you advance down the tube, a cinematic shows a Turbolift approaching and then stopping just in time—it looks like Chekov finally figured out how to disable the system. As Chekov reverses the Turbolift, move down the tube and take the next right. Enter the Turbolift at the end of the short passage and proceed to the Shuttle Bay.
Shuttle Bay
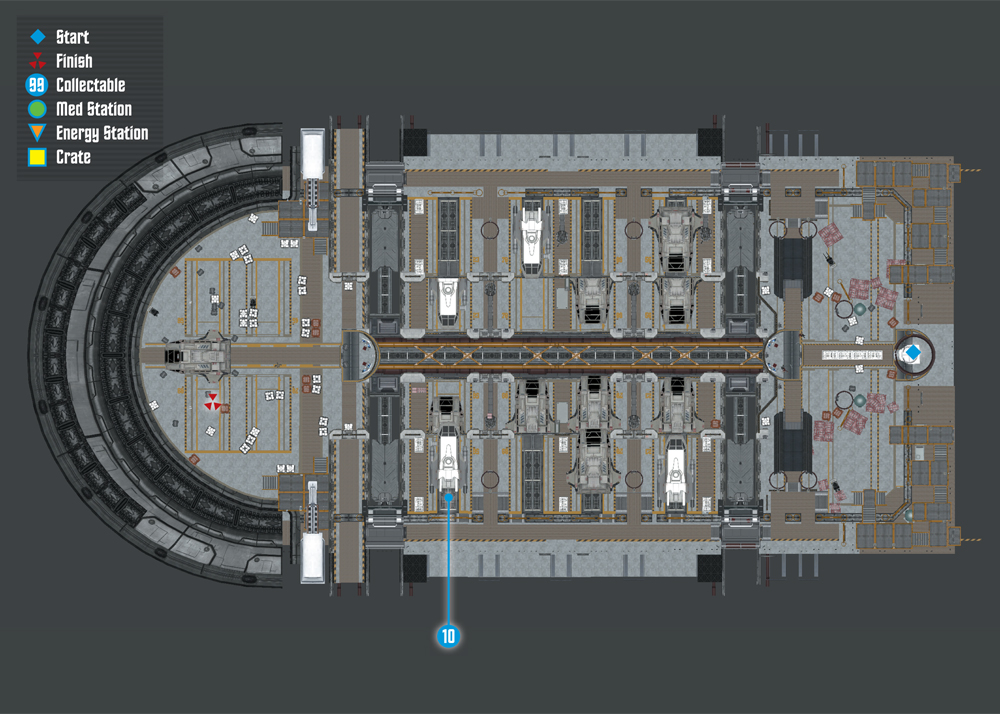
Collectables Checklist
| # | Name | Type | XP |
|---|---|---|---|
| 10 | Tribble (4 of 7) | Tribble | 250 |
New Objective: Chase the Gorn Lieutenant!
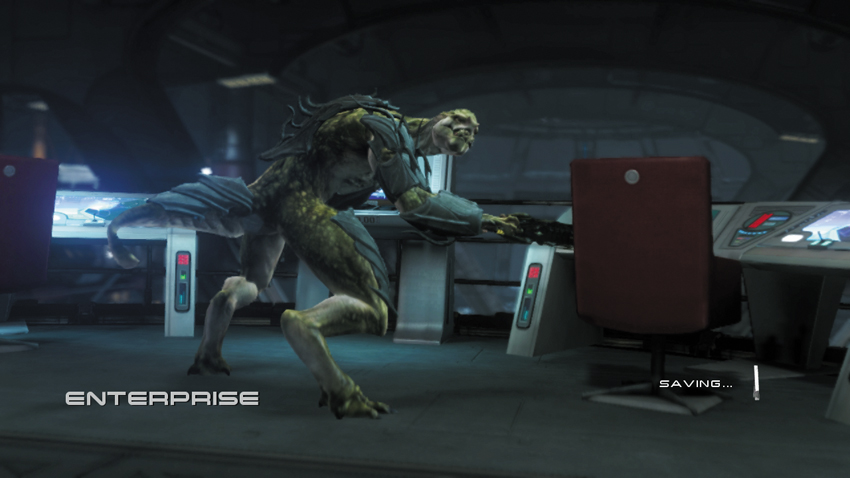
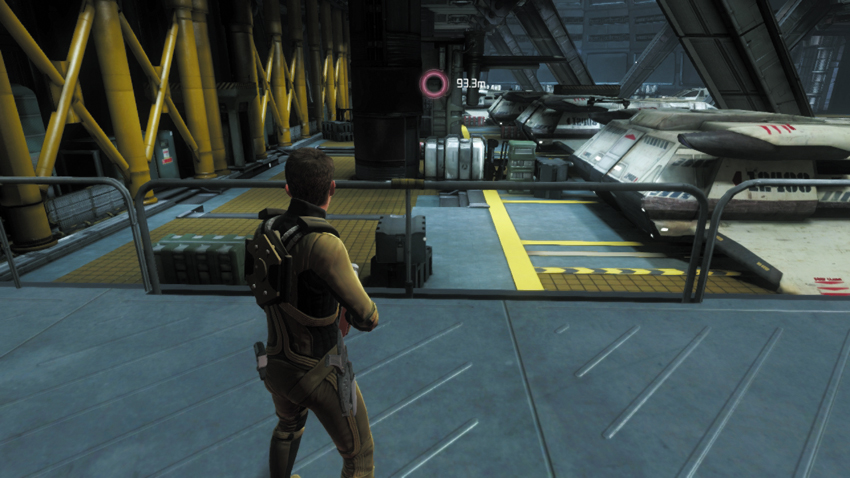
Upon entering the Shuttle Bay, you see the Gorn Lieutenant standing in front of a console, then he leaps down to the lower level. Scotty reports that the creature has locked him out of the Shuttle Bay systems, preventing him from controlling anything remotely. Even worse, the Gorn Lieutenant is powering up a shuttle. It’s up to Kirk and Spock to restrain the enemy before he can commandeer a shuttle and escape the Enterprise. Race out of the Turbolift and follow the waypoint marker to a lift on the left side of the Shuttle Bay. The lift transports Kirk and Spock to the lower level to pursue the Gorn.
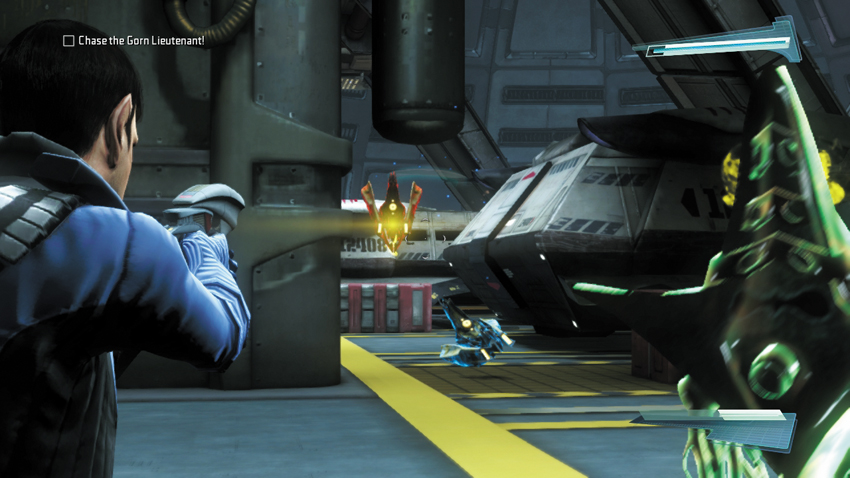
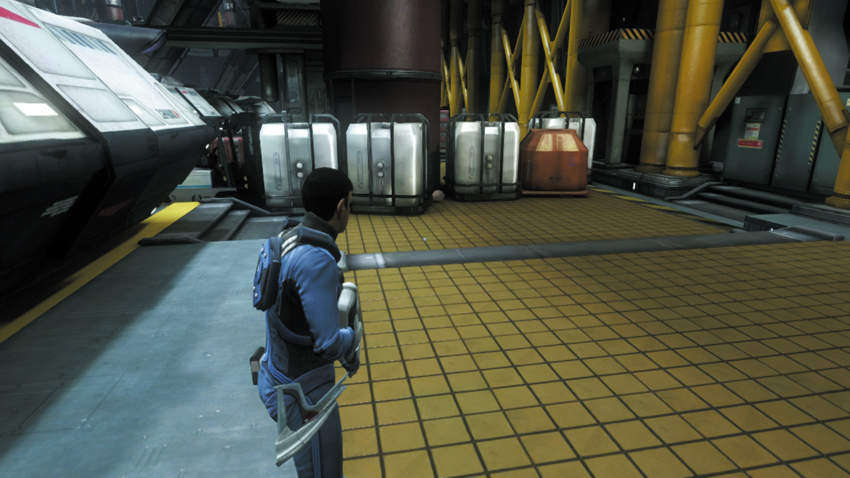
As you advance along the Shuttle Bay’s lower level, the Gorn Lieutenant leaves behind a few friends—one Exploding Drone and two Attack Drones. Instead of destroying these drones, stun them with your phaser, then hack them. The extra firepower these little guys give will come in handy later when you confront the Gorn Lieutenant and give him a taste of his own medicine. With your new friends in tow, proceed toward the next lift just ahead. But once you reach the lift, and the game saves, turn around and look for a well-hidden Tribble located between two crates next to a shuttle.
10: Tribble (4 of 7)
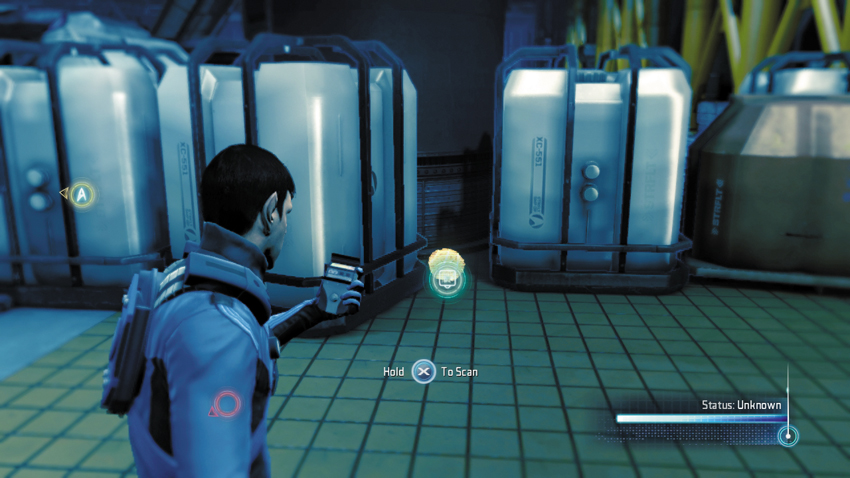
Before engaging the Gorn Lieutenant, scan this Tribble between the two crates.
Type: Research Data
Set: Tribbles/Tribbles
XP: 250
Log Entry: And there my troubles began. My solitary Tribble must have found the crisp San Francisco Bay absolutely invigorating, because the little bastard began to multiply like there was no tomorrow. Which soon resulted in an Academy-wide quarantine to prevent wave upon wave of newly birthed Tribbles from blanketing the city. The subsequent investigation led inevitably to my cousin, which led inevitably to me.
Gorn Lieutenant Battle
New Objective: Stop the Lieutenant before he escapes!
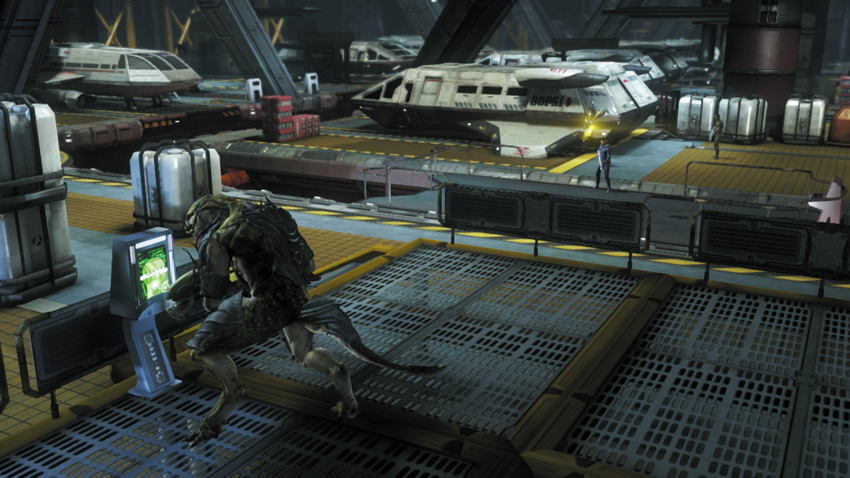
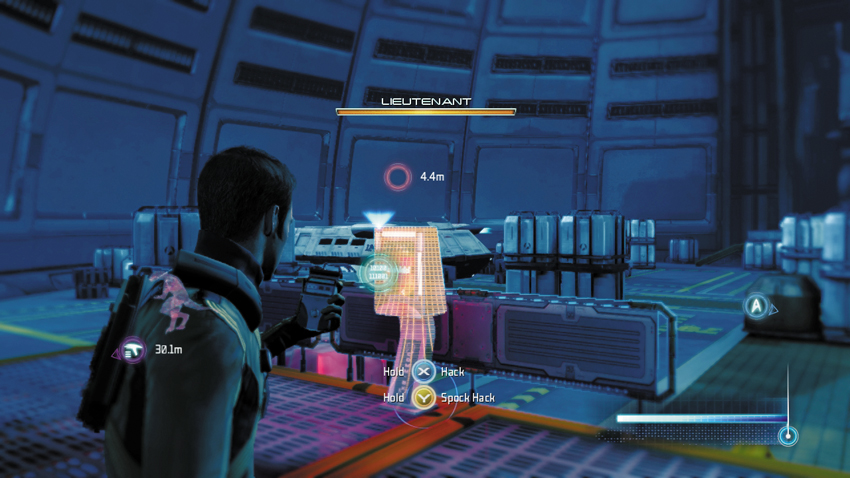
After scanning the Tribble, proceed to the waypoint marker to catch up with the Gorn Lieutenant. A cinematic shows the Gorn standing in front of a console, prepping a shuttle for launch. Don’t bother opening fire on him at this point—you won’t inflict any damage. After tampering with the console, the Gorn Lieutenant activates his cloaking device and disappears. Rush toward the console where he stood and use your tricorder to hack it. You have a limited time to complete this hack—if you don’t act quickly, the Gorn Lieutenant will escape in a shuttle. Only one of you needs to hack the console while the other draws fire from the enemy. If you are playing on your own, order your AI-controlled partner to complete the hack while you uncover the location of the Gorn Lieutenant.
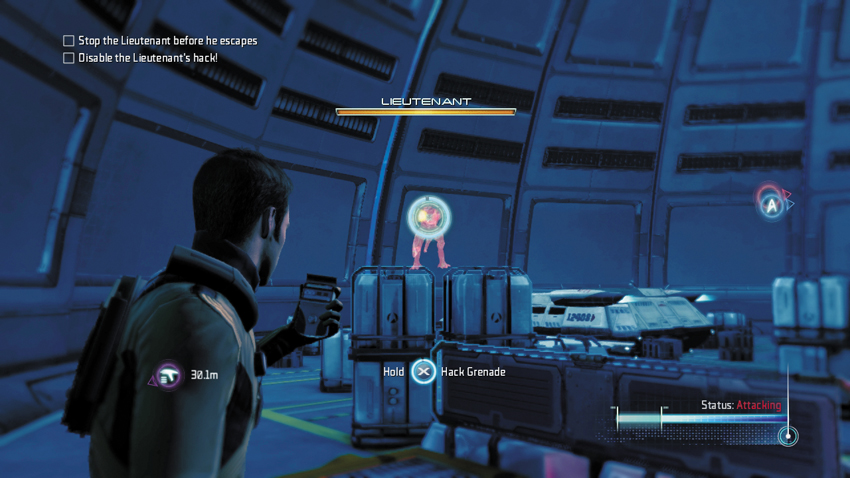
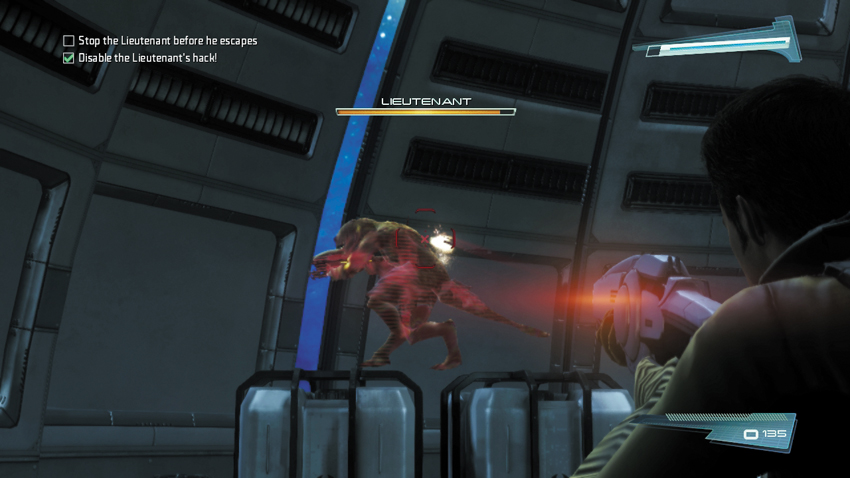
Scotty has finally upgraded your tricorder and now it can track the Gorn Lieutenant while he’s cloaked. Equip your tricorder and watch for the Gorn Lieutenant’s red silhouette—hold the tricorder’s reticle over the creature for a few seconds to temporarily disable his cloaking device. Now the Gorn Lieutenant is visible and you can shoot him with your weapons. Use your Starfleet Phaser Rifle to inflict heavy damage—the enemy’s health meter appears near the center of the HUD and it depletes with each hit you score. After a few seconds, the Gorn Lieutenant’s cloaking device begins functioning again and he disappears. Once again, track him down with your tricorder to reveal his position.
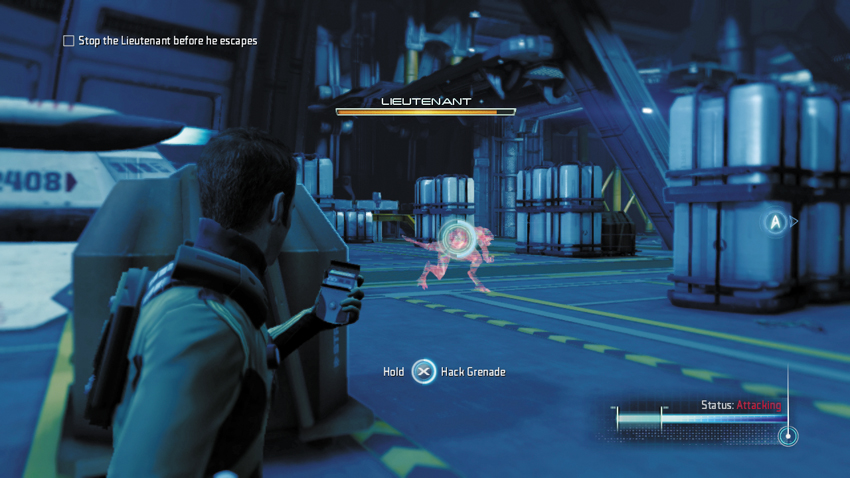
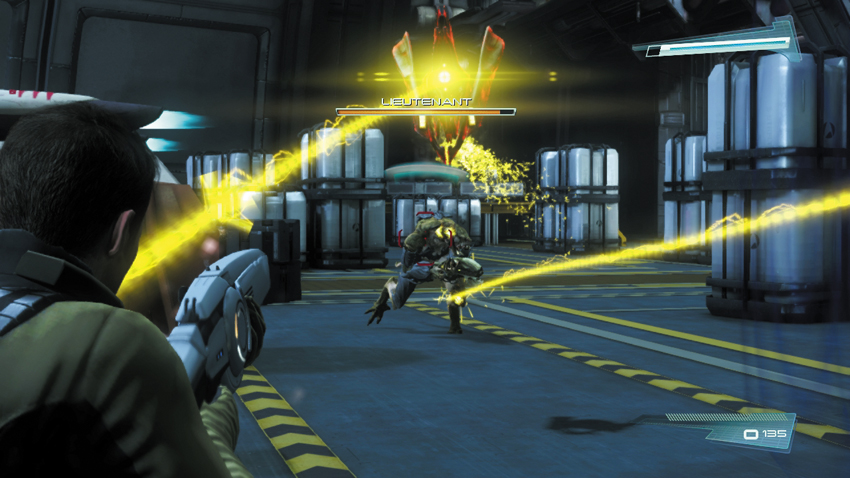
Once your partner has reversed the Gorn Lieutenant’s hack, hunt down the creature in the Shuttle Bay. But be ready to engage more Attack Drones conjured by the Gorn Lieutenant. Blast these nuisances out of the air. Any drones you hacked earlier will join you in this fight, automatically attacking the Gorn Lieutenant when he’s visible. Your hacked drones are also useful for distracting the other Attack Drones deployed by the enemy.
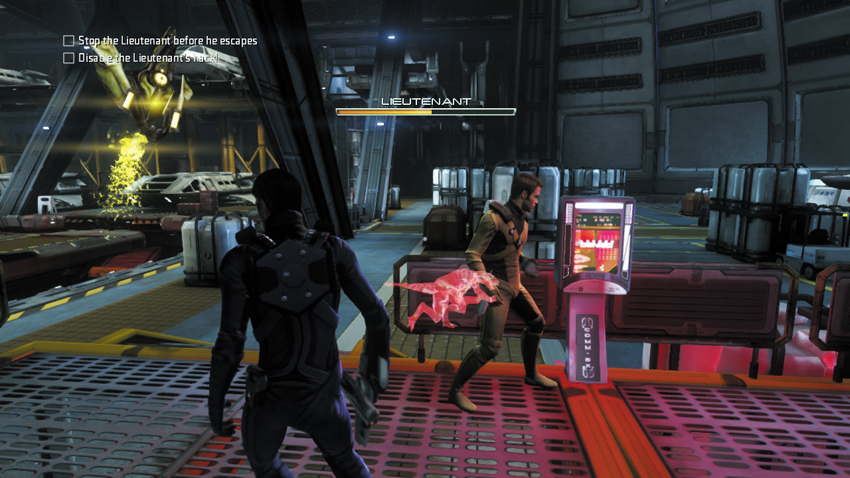
Throughout the battle, the Gorn Lieutenant will attempt to hack another console to prep a new shuttle for his departure. There are three accessible consoles in the Shuttle Bay, including the one you just disabled. If the Lieutenant successfully hacks a new console, Uhura will inform you over the comms. Locate the hacked console using your tricorder—a waypoint marker appears just above it. Once again, you have only a short time to complete this hack before the enemy can escape in a shuttle. For best results, have your partner perform the hack while you continue hunting the Gorn Lieutenant. Keep up the attack to prevent the enemy from approaching any of the three consoles.
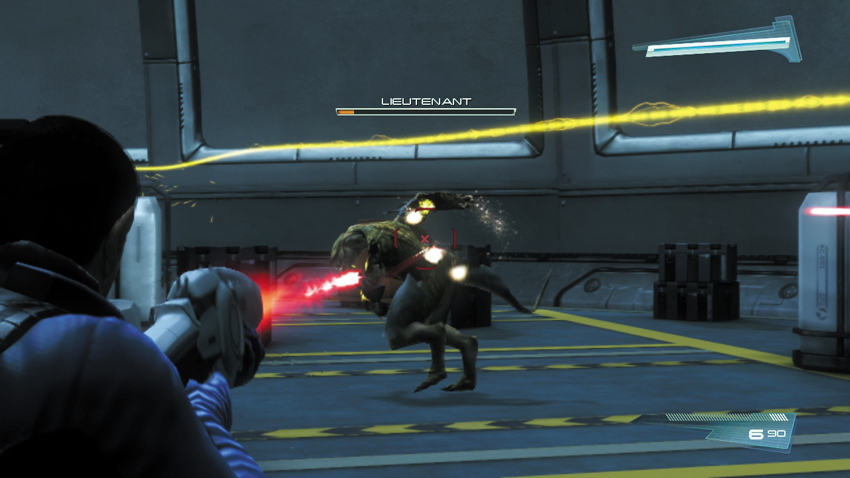
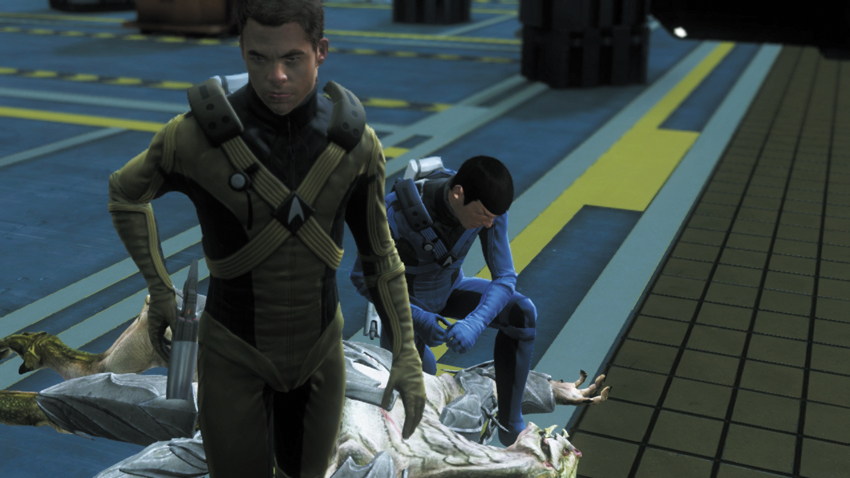
When you’re not busy hacking consoles, attack the Gorn Lieutenant aggressively. If you work together and concentrate your fire on the enemy, you can deplete his health meter quickly. Any hacked drones following you also contribute to the damage. But even after completely depleting the Lieutenant’s health, he isn’t dead. Instead, he lies on the floor of the Shuttle Bay, occasionally twitching. Spock is uncertain how long the Gorn officer will remain unconscious, so he suggests a mind-meld. Given Uhura’s limited success in deciphering the Gorn language, Spock feels a mind-meld is the best option. Kirk reluctantly agrees, and offers to hold down the Gorn Lieutenant as Spock begins the procedure.
Flashback


As the mind-meld gets underway, a white light is seen in the center of the HUD, within the middle of a tunnel bathed in streaking blue hues. The mind-meld plays out the same way whether you are playing as Kirk or Spock; both characters see the same images. Move forward, through the passage. The white light becomes bigger and bigger, until it fills the entire screen. The accompanying cinematic gives a brief history of the Gorn. They conquered their galaxy, crushing every planet they encountered.
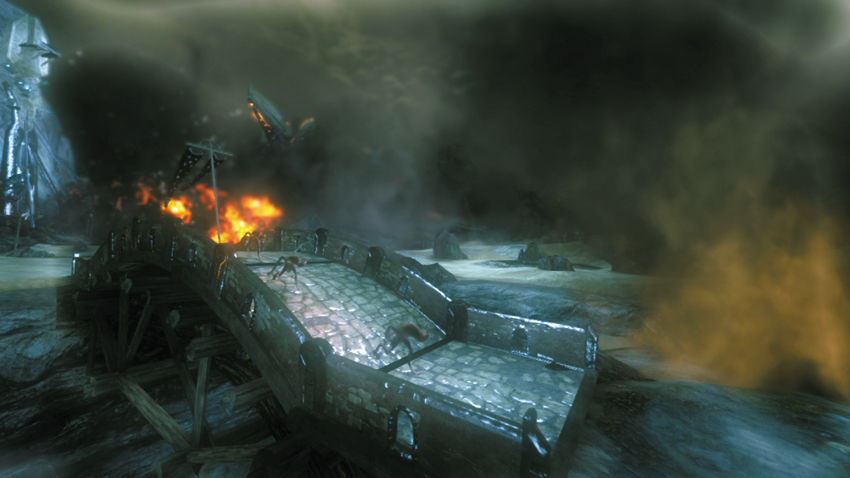
During the second phase of the mind-meld, once again, move forward through the tunnel toward the white light to uncover the next memory. Here, a cinematic shows the Gorn attacking the surface of a distant alien world. They killed all those who resisted and enslaved the rest.
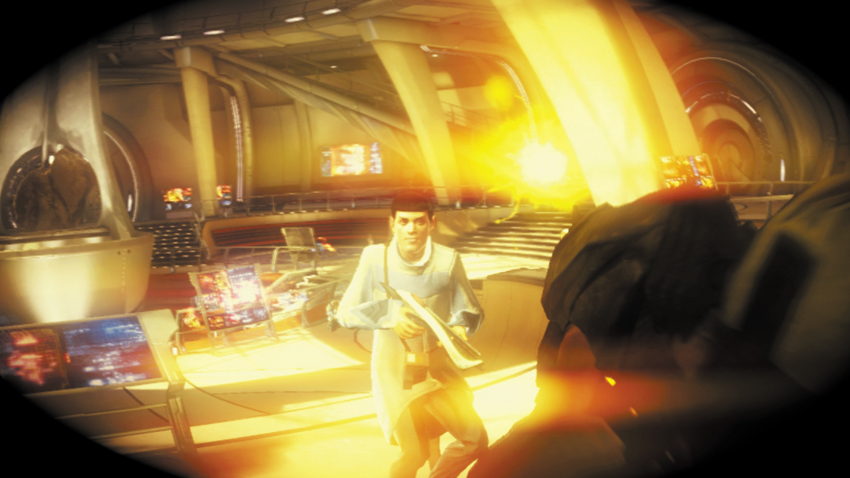
Following the second phase, push forward again into the light to reveal the next memory. Despite their dominance within their own galaxy, the Gorn were contained there… until the rip caused by the Helios Device. The Gorn fearlessly traveled through the rip, looking for more worlds to conquer. Here a cinematic shows a first-person perspective of the Gorn Lieutenant attacking the Vulcan colony, mercilessly gunning down Vulcans in the Great Hall and stealing the Helios Device from Surok’s lab.
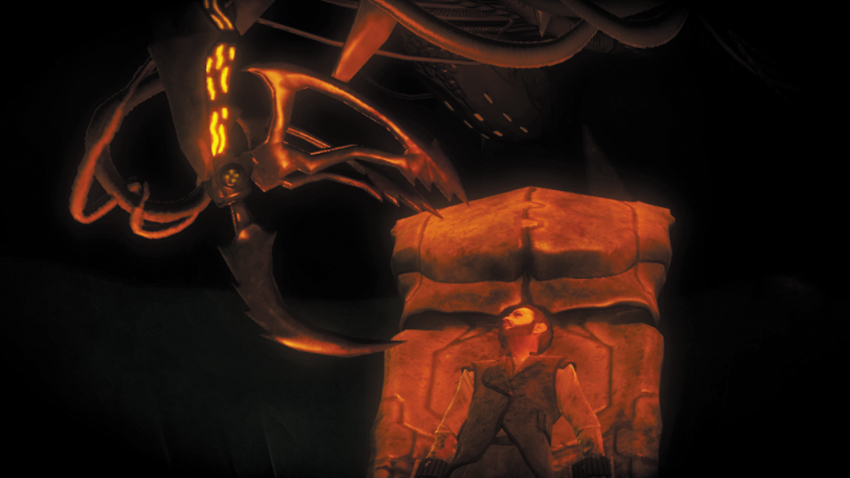
In the fourth and final phase of the mind-meld, trigger the next cinematic by once again moving forward into the white light. Here Surok is shown being interrogated by the Gorn Lieutenant. Courageously, Surok refuses to tell them anything about the Helios Device. When Surok isn’t forthcoming with information, the Gorn Commander orders his Lieutenant to find Surok’s daughter, T’Mar—perhaps she will be more useful in revealing the full potential of the Helios Device. No longer any use to the Gorn, the Commander orders the Gorn Lieutenant to dispose of Surok. A sinister, sharp, clawlike instrument descends from the ceiling of Surok’s interrogation chamber—press the button shown on-screen to complete the cinematic.
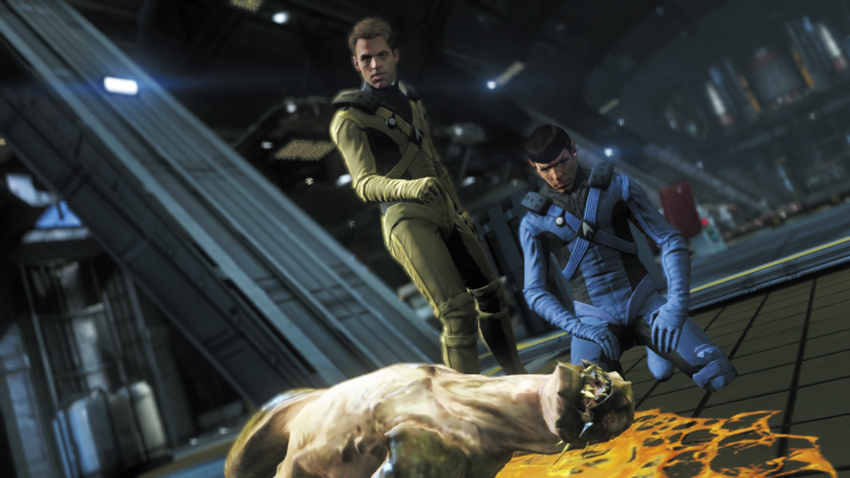
As Spock snaps out of the mind-meld, Kirk orders Enterprise crewman to haul the still unconscious Gorn Lieutenant to the Brig. Meanwhile, Kirk offers his sympathies to Spock; he realizes what the loss of Surok means to the already suffering Vulcan people. But any hint of emotion from Spock is replaced with resolve. Kirk fears that T’Mar will likely suffer the same fate as her father if they don’t intervene. Spock agrees—they must travel through the rip, recover the Helios Device, and rescue T’Mar.